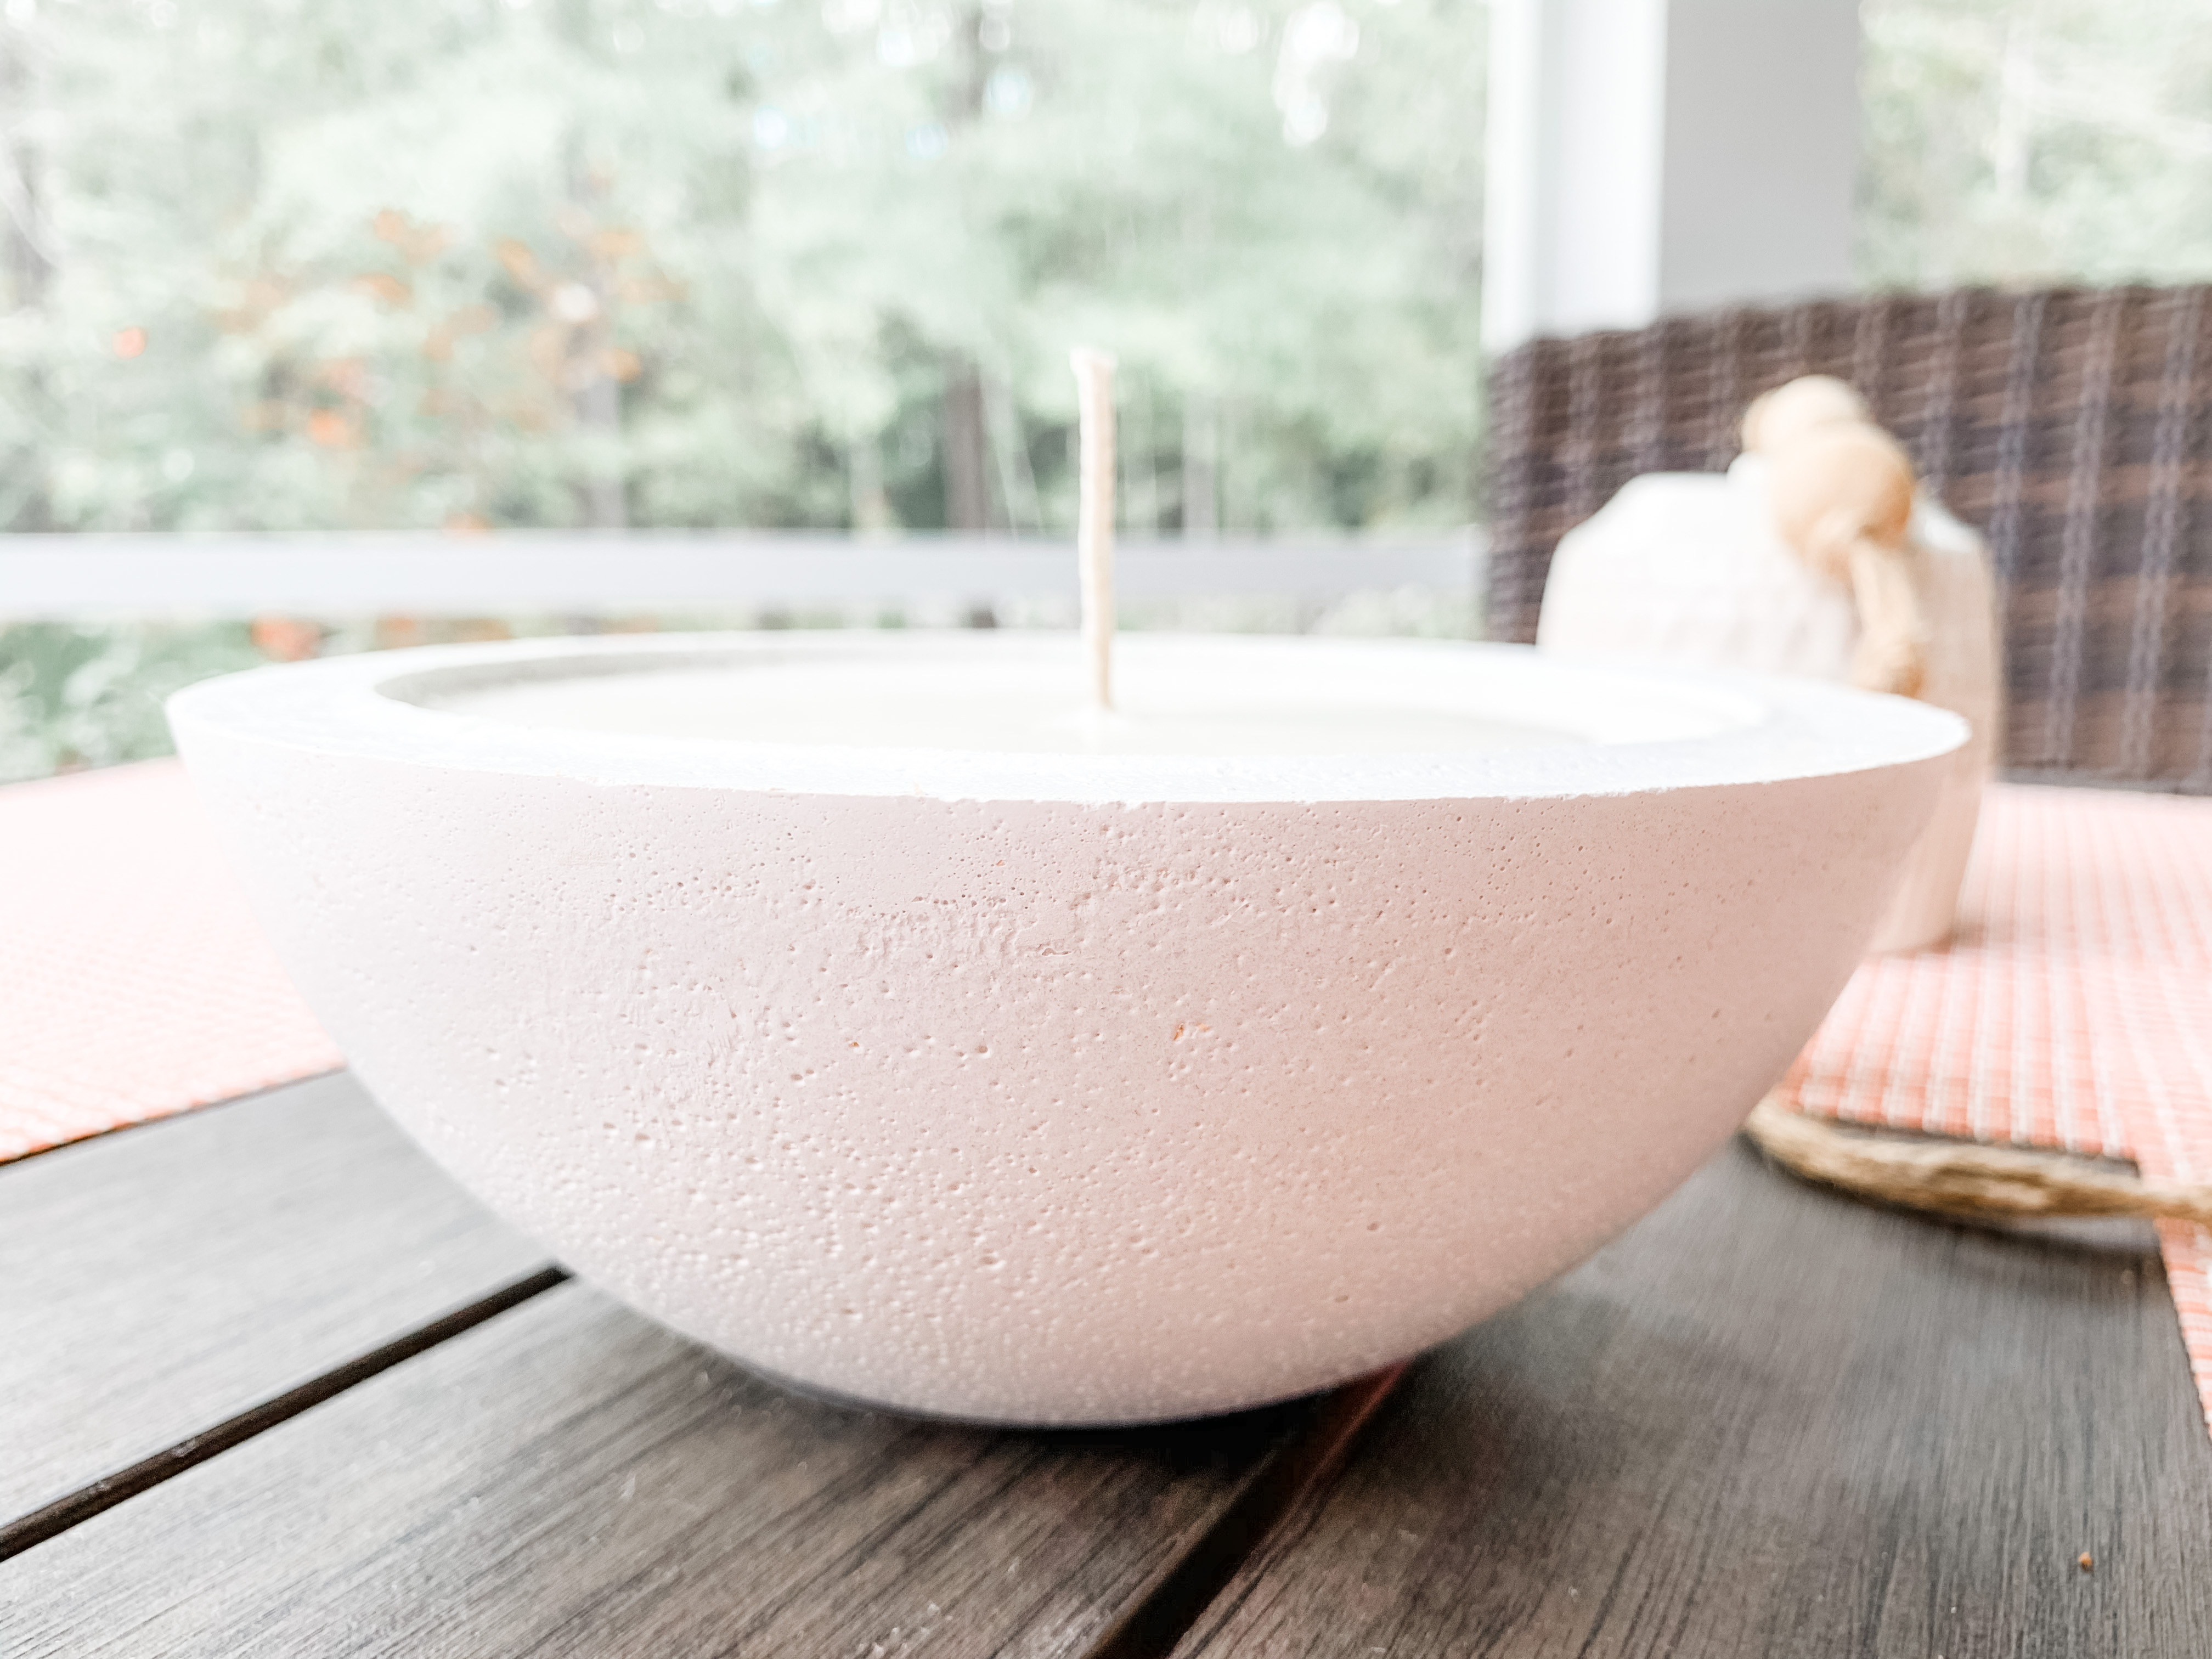
It’s outdoor season on the East Coast and that means bugs…Last year I made my first Citronella Candles in DIY concrete containers. They came out so beautifully I decided to make some more.
I love the fact that when you are done burning them, you could repurpose the bowl and plant succulents in it or refill it again and have another candle.
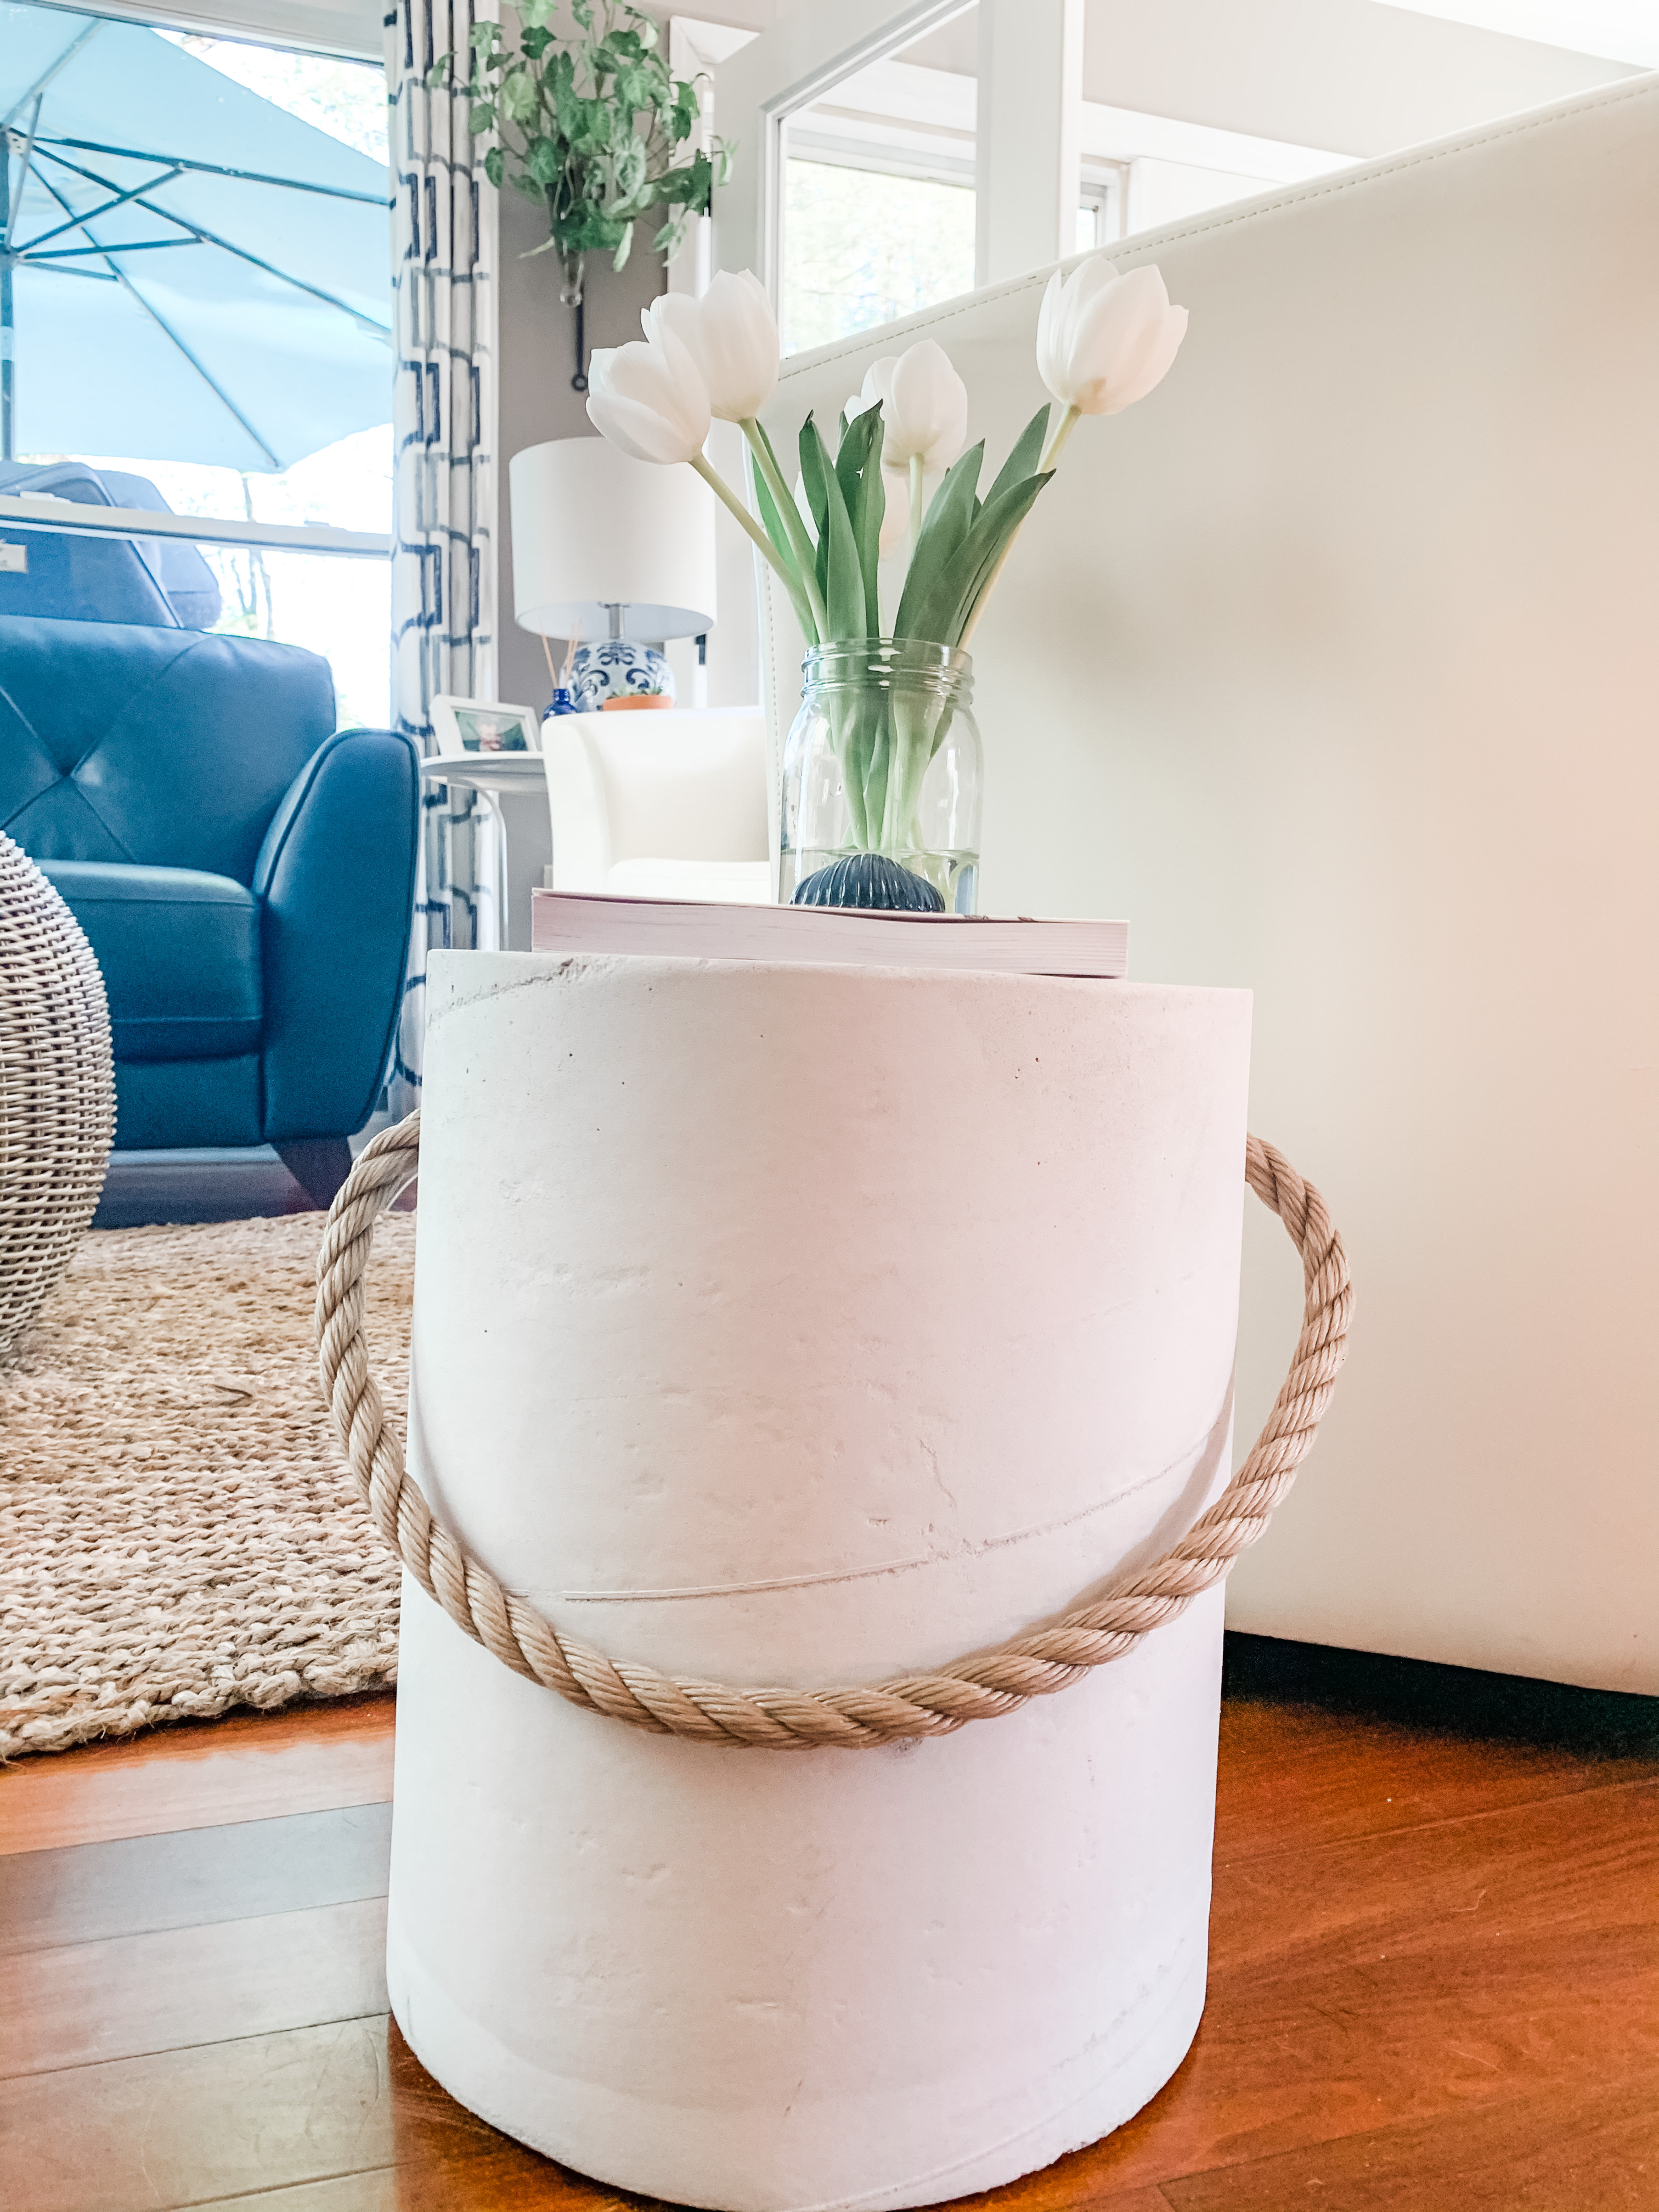
You may already know I love crafting with concrete from my Terrain Concrete Stool knock off earlier this year. Here’s the post if you missed it.
I used the countertop concrete, it’s currently not available from Amazon but you can order it directly from Concrete Countertop Solutions online. It’s white countertop mix and comes in a 50 lb for $29. It is a finer, whiter type that gives you a super smooth finish.
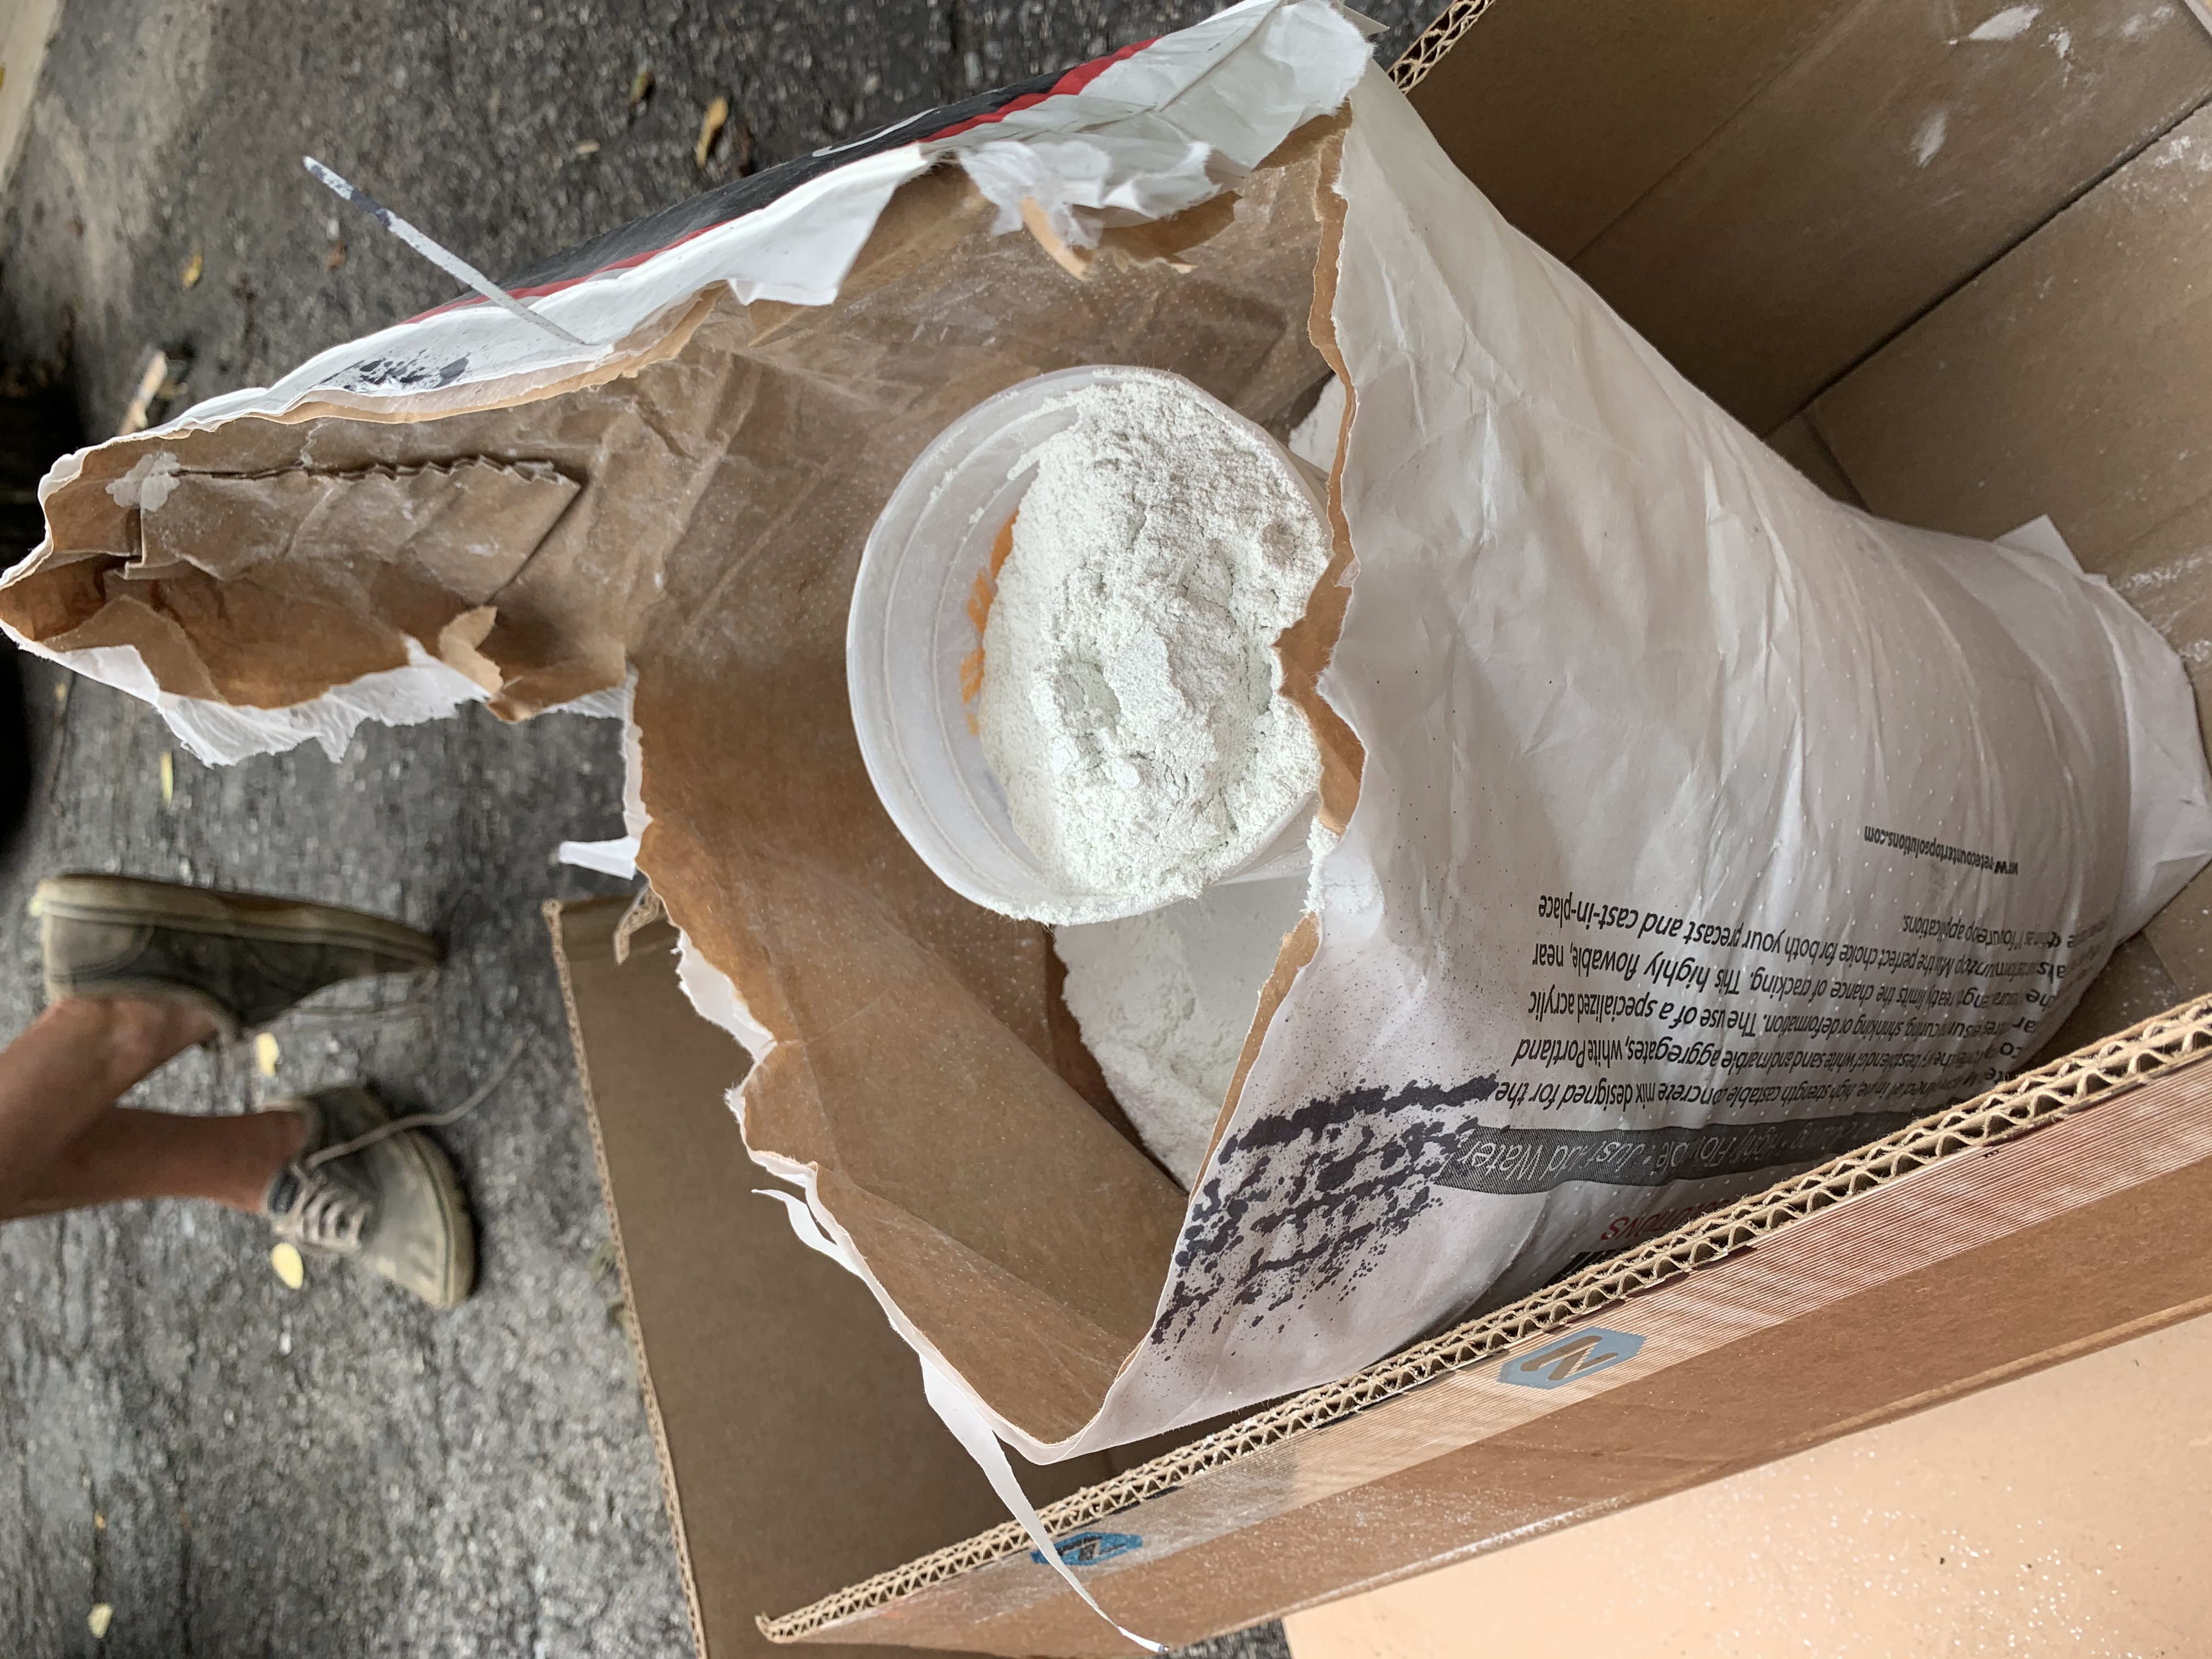
You can certainly use a less expensive type from Amazon, here is one that is sold for stepping stones but is a good all around concrete in a much smaller amount.
I was in Target in the summer/seasonal area and saw the cutest concrete citronella candles for not the cutest price – $25. Even using the countertop concrete, you could probably get 10 out of one bag. You do the math, even with wicks and oil and soy way, you come out way ahead.
I did find a new bowl for a perfect mold at Target, it’s the exact shape of the candle they sell. The bowl was $3.
Ok on to the directions. First you have to make the concrete container for the candle. If you just want to make the candle in another container you can skip way ahead. If not, here goes. To make the bowl for the candle, find a container that you like, I used a small bowl but you could use a variety of containers you find in your house. You just will need a similar shaped one for the inside. Next oil the inside of your mold. I’ve used PAM spray and vegetable oil rubbed on and prefer the latter.
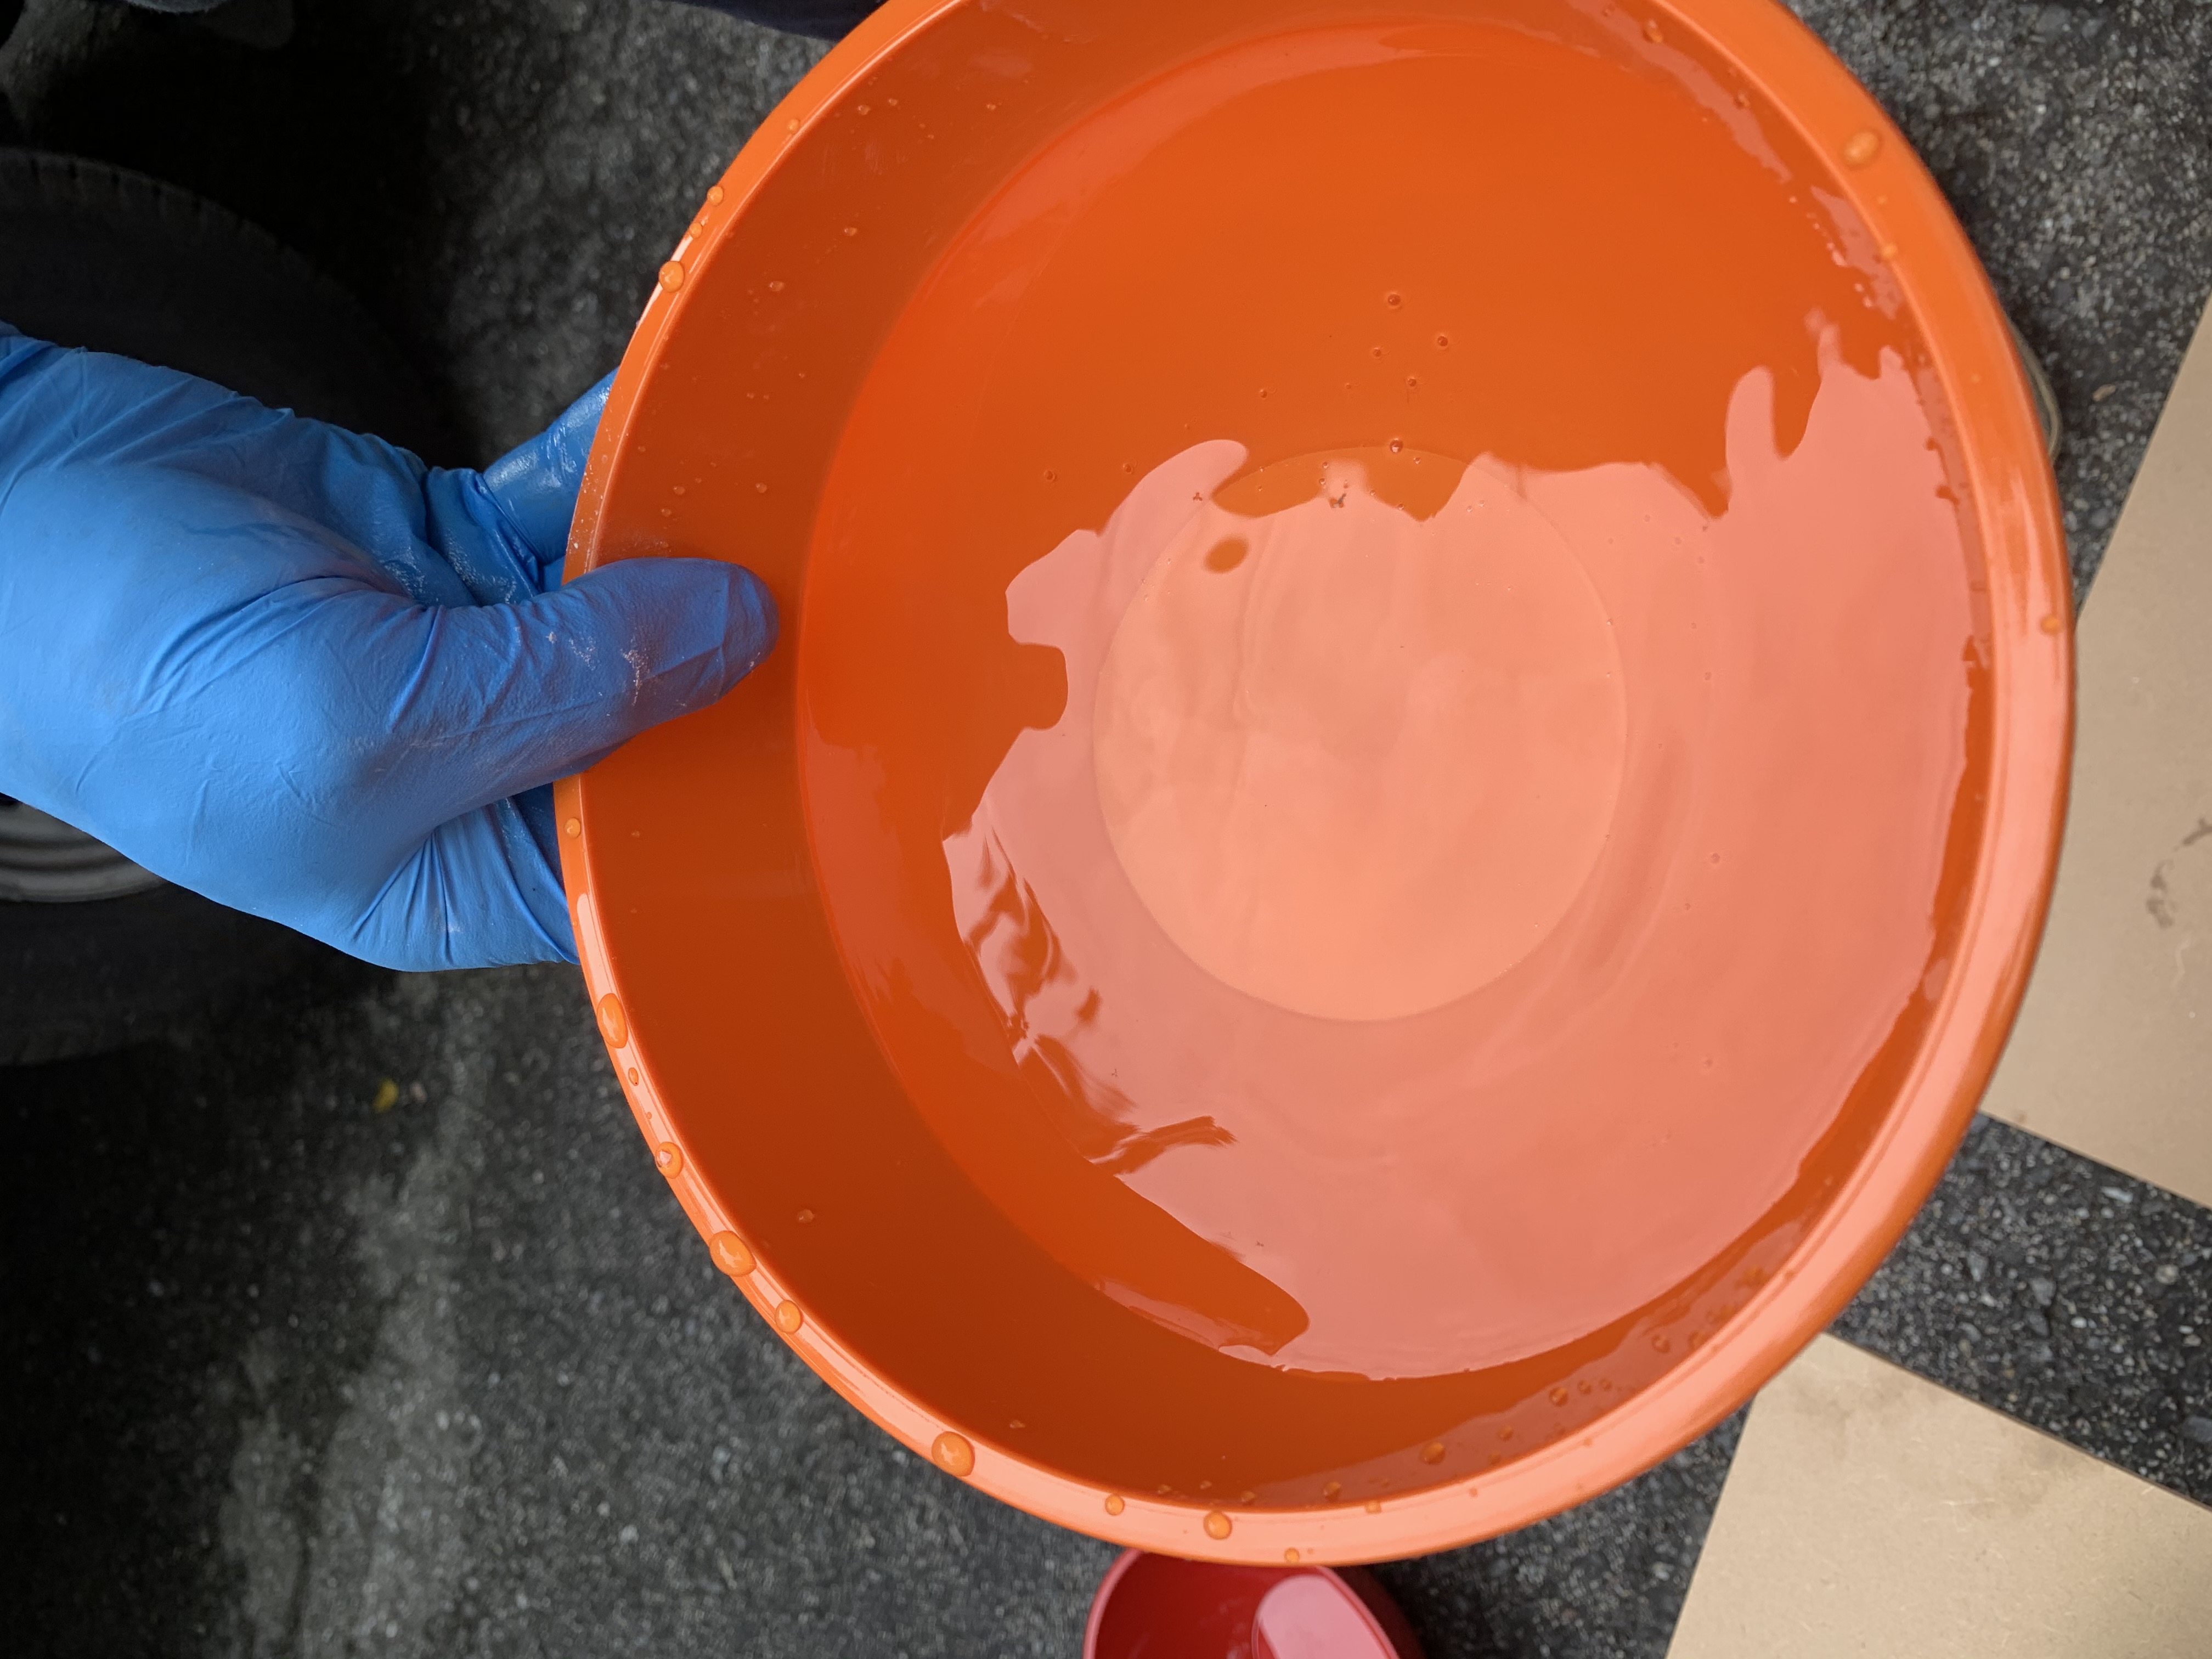
Start by mixing the concrete with water until you get the consistency of cake batter. I used my go to 5 gallon buckets from Home Depot.
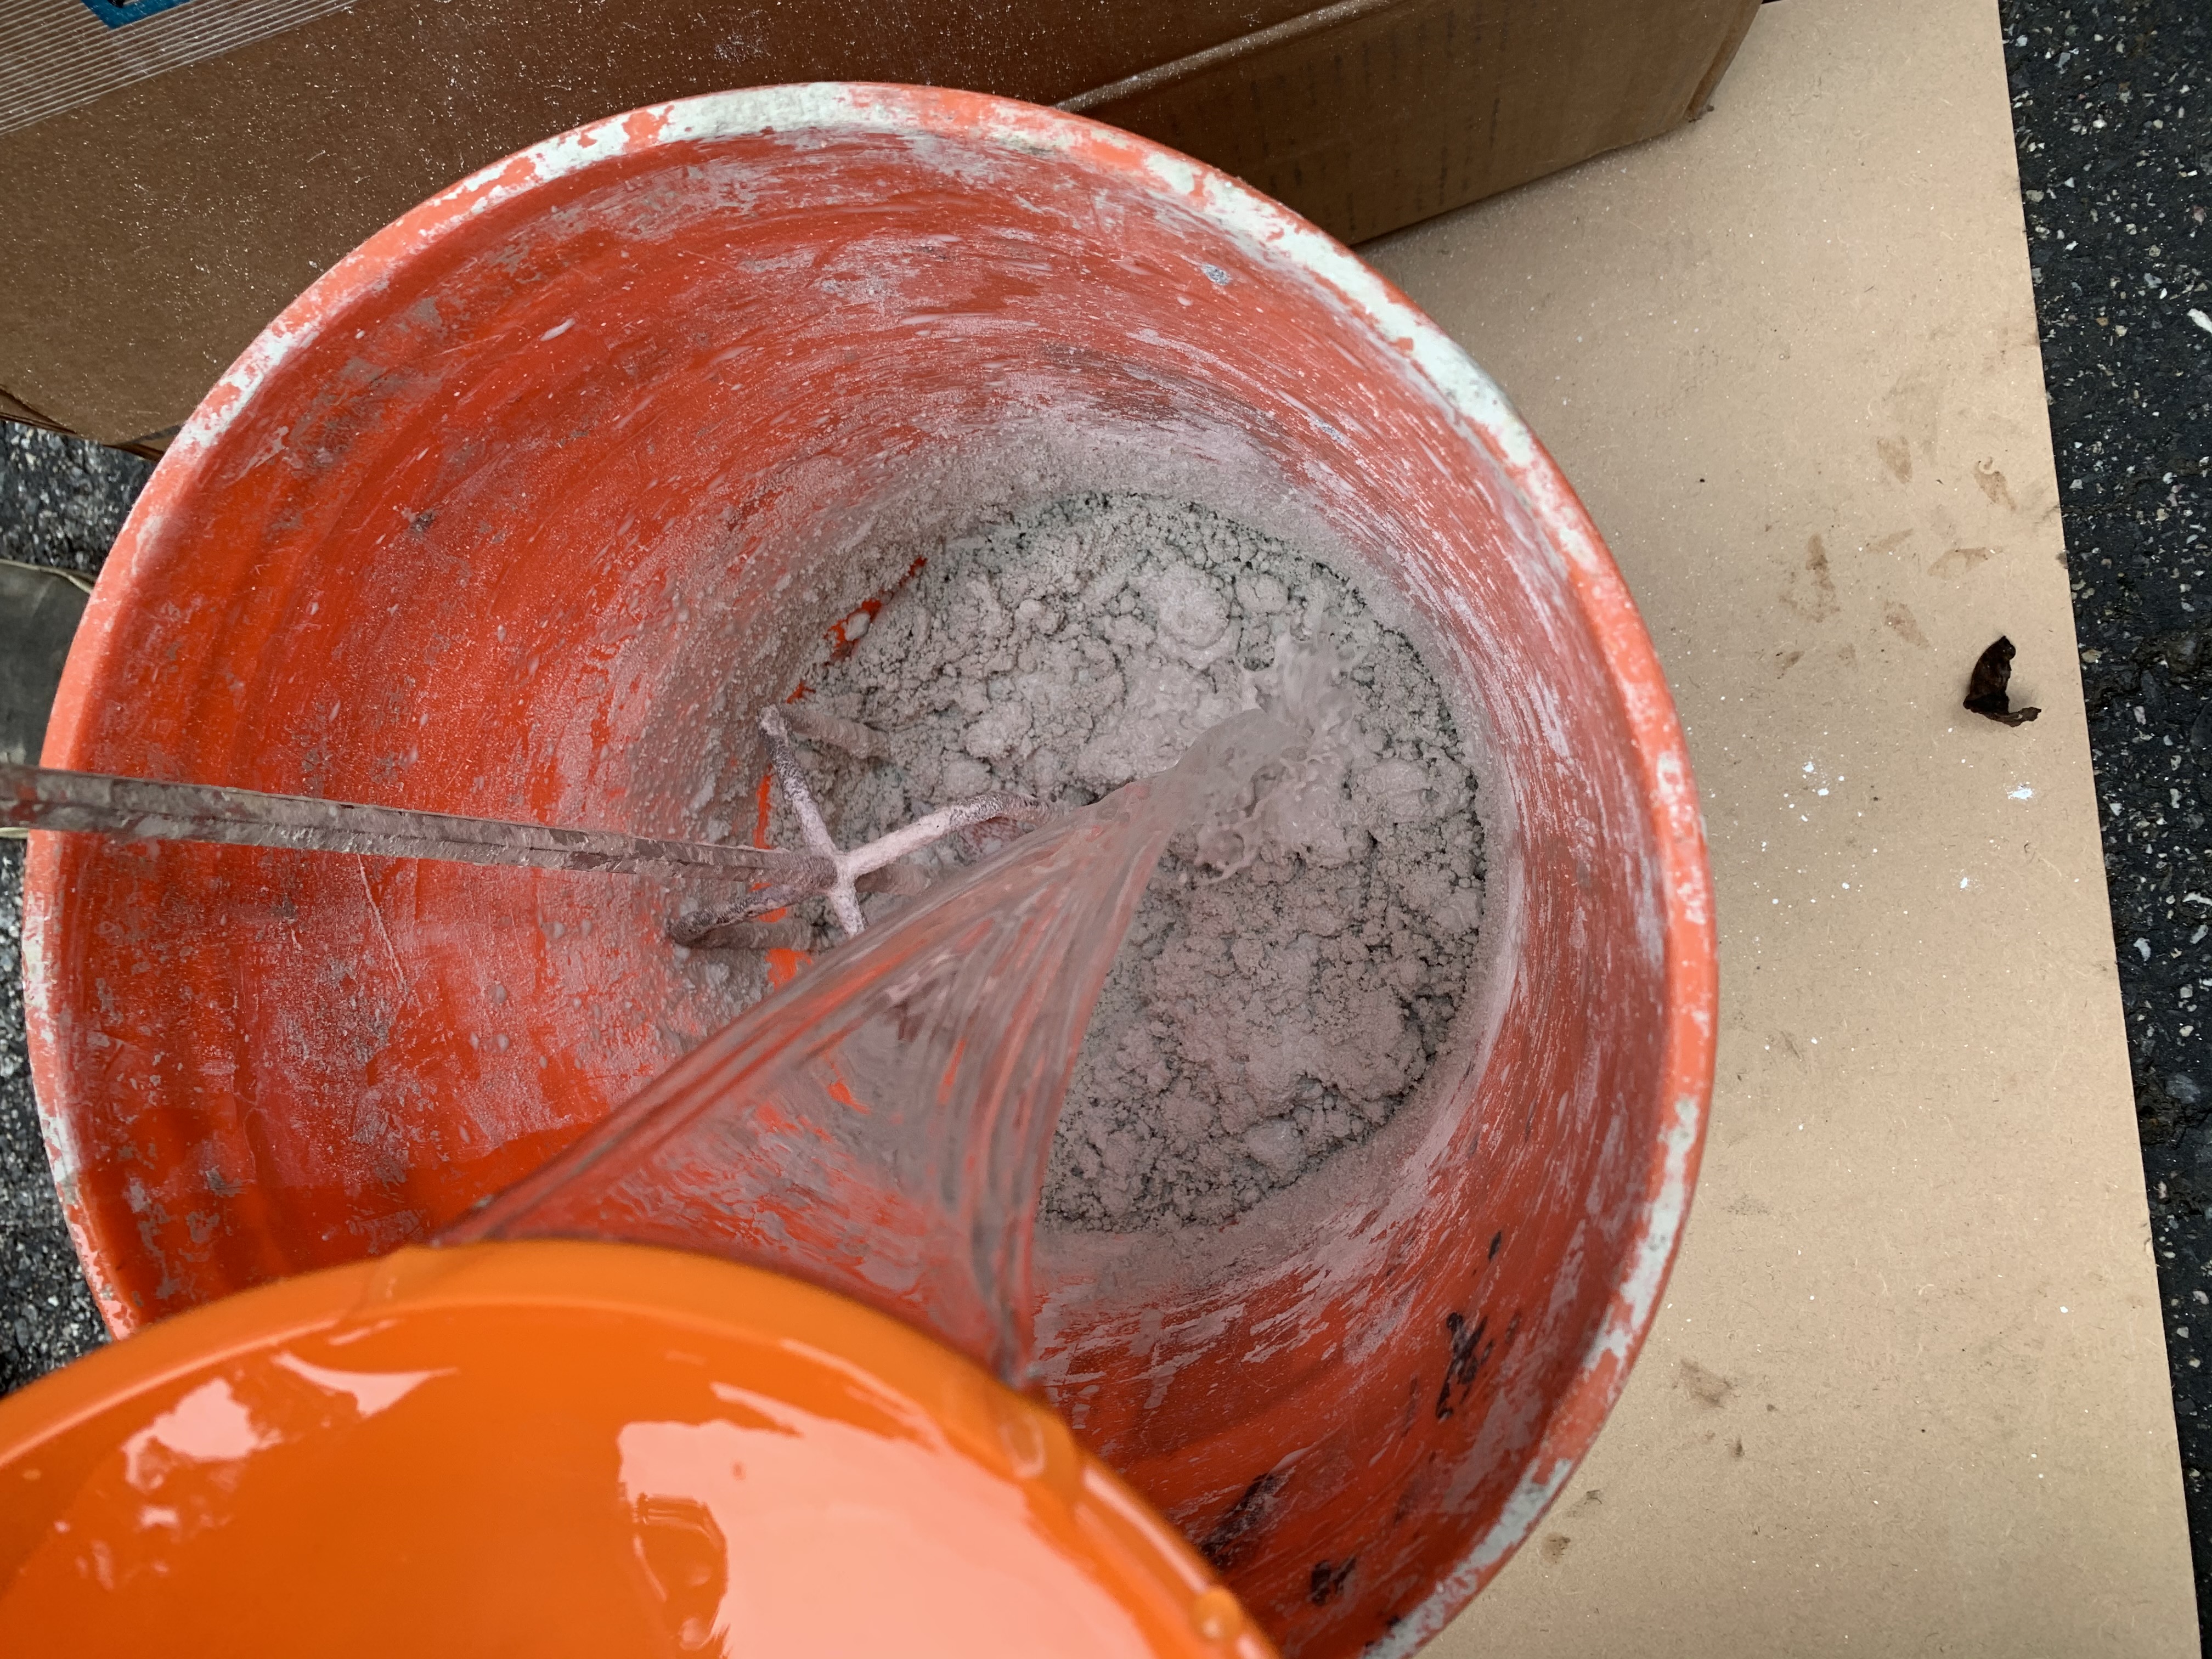
I suggest adding water slowly, that way you won’t end up having to add more concrete mix and have too much too use for your mold. I don’t have a perfect amount measured because I always use a different size mold, but have a second mold ready and worst case you have another candle.
You can mix by hand but if you have this extension for your drill, it makes it faster.
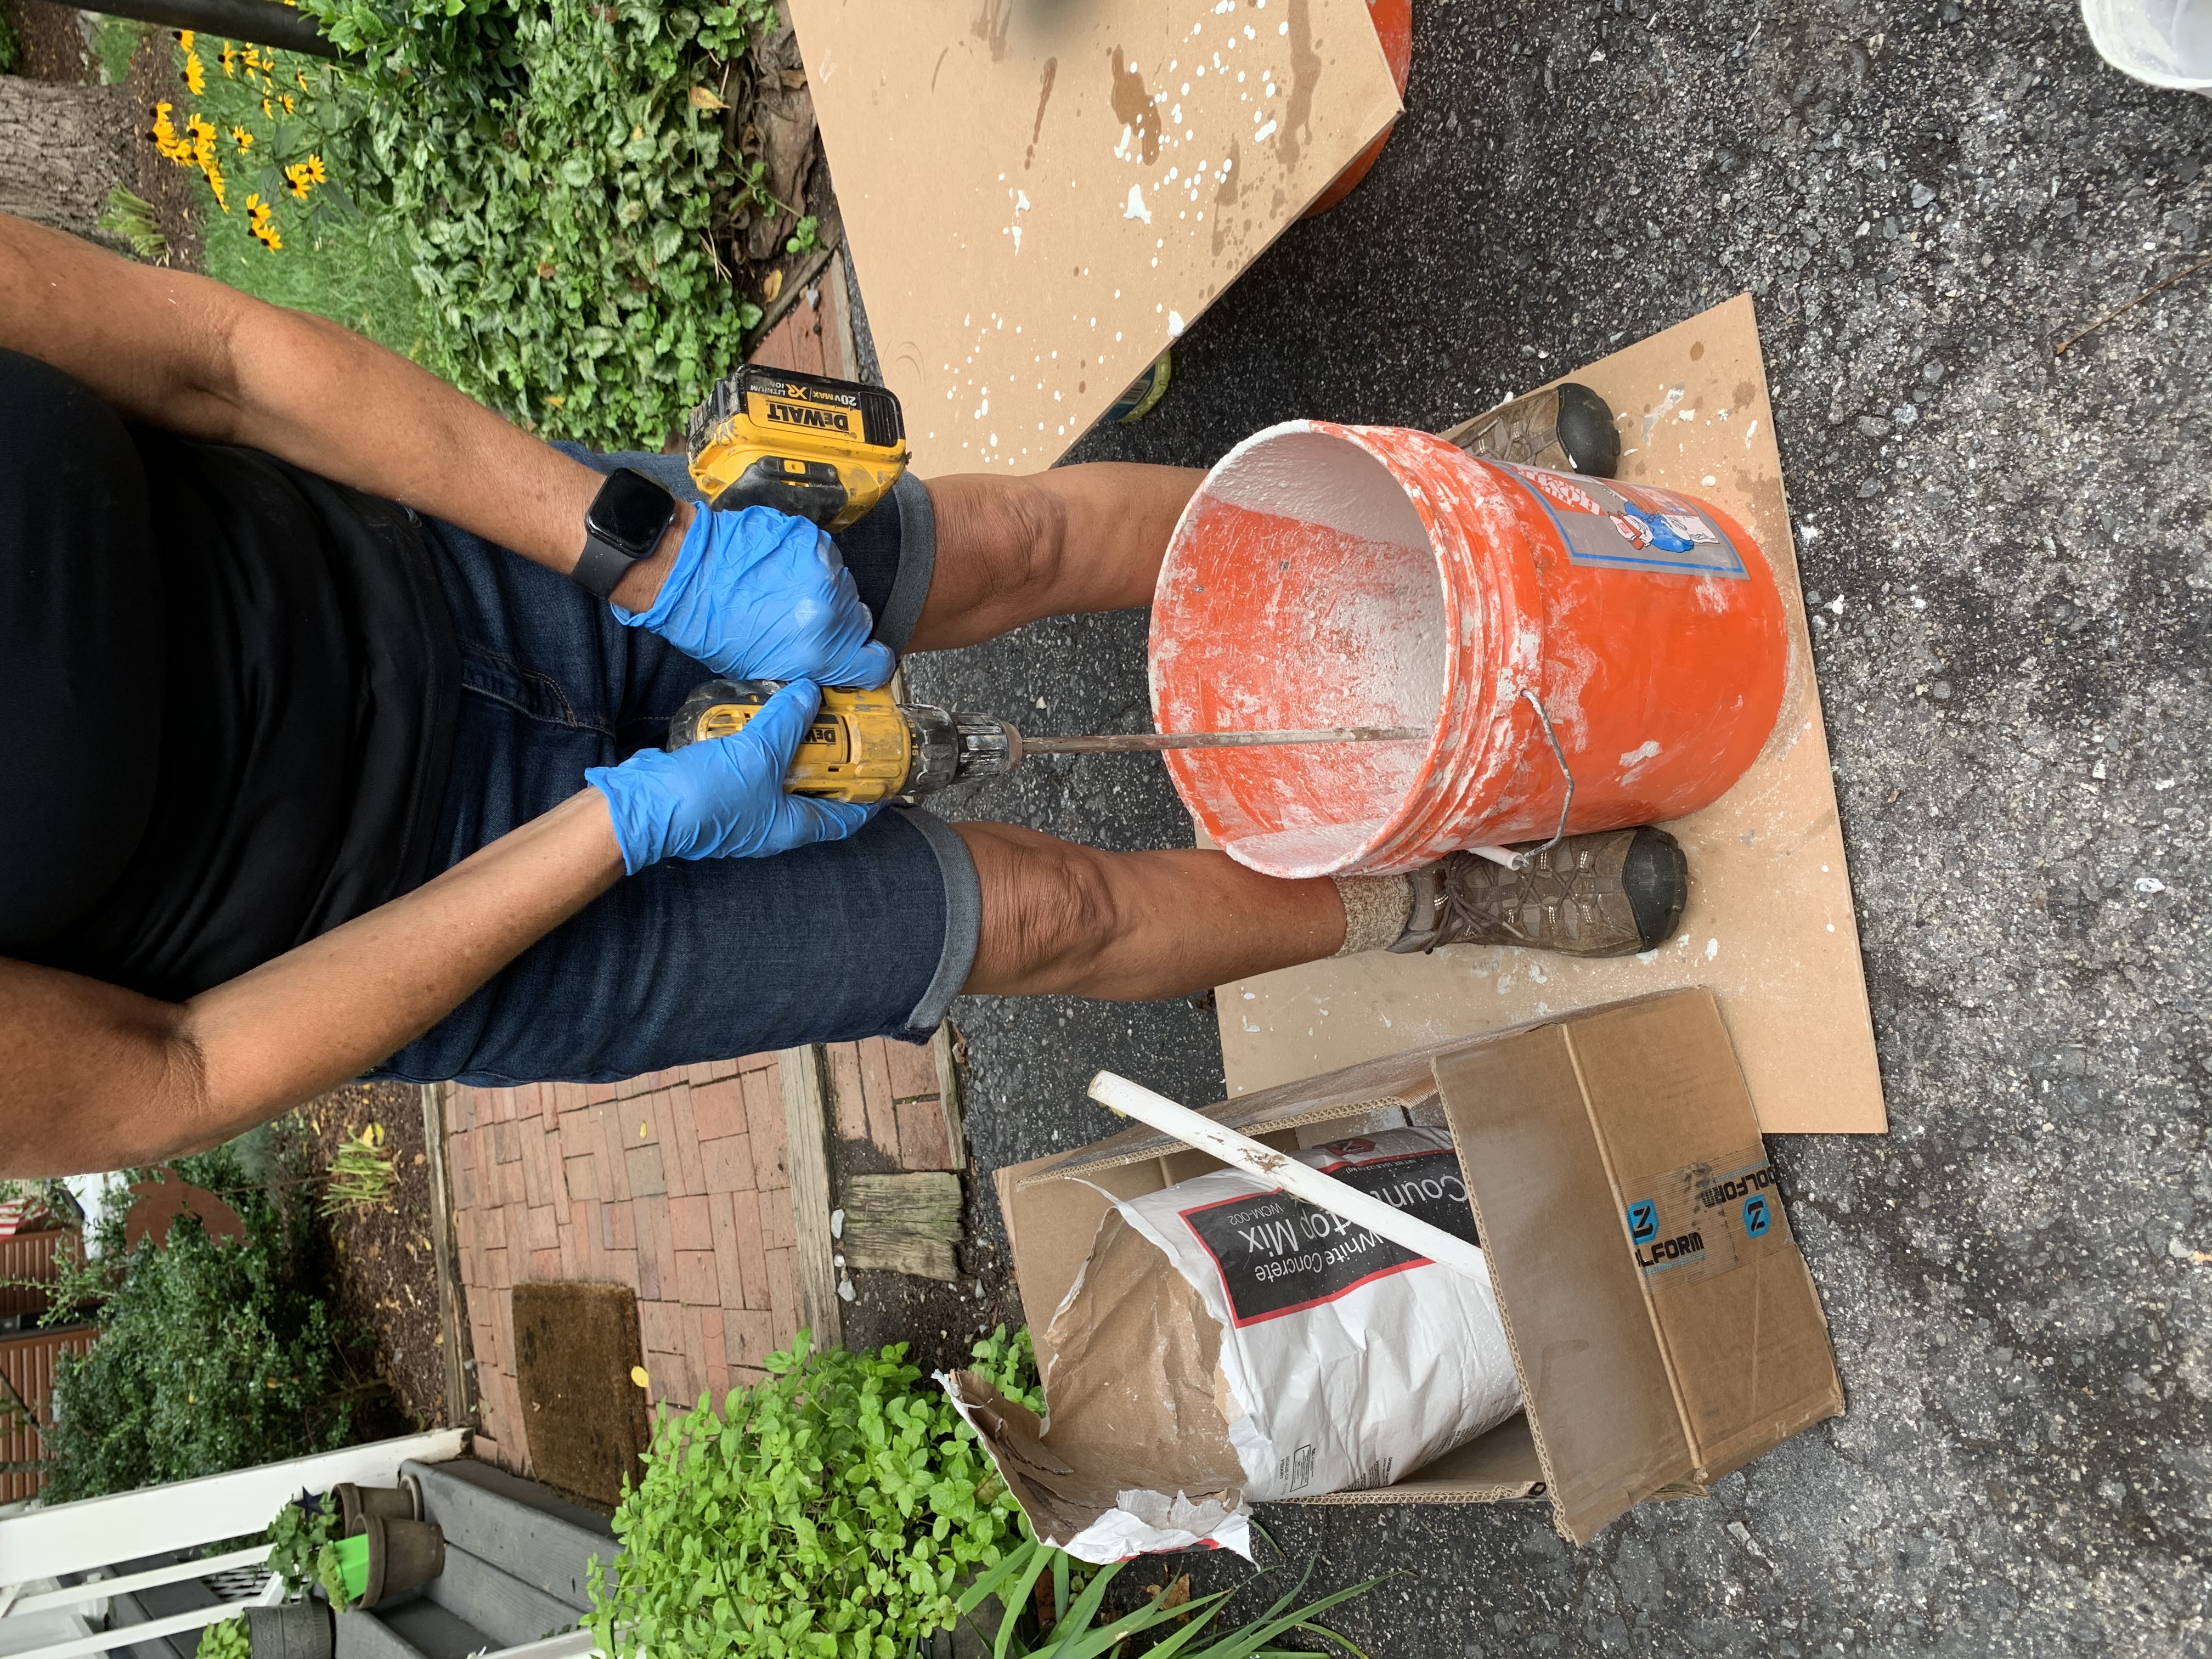
After it is mixed and you have a good consistency (like cake batter) then you are ready to pour it in your container.
Have both your mold and the bowl for the inside ready.
Table of Contents
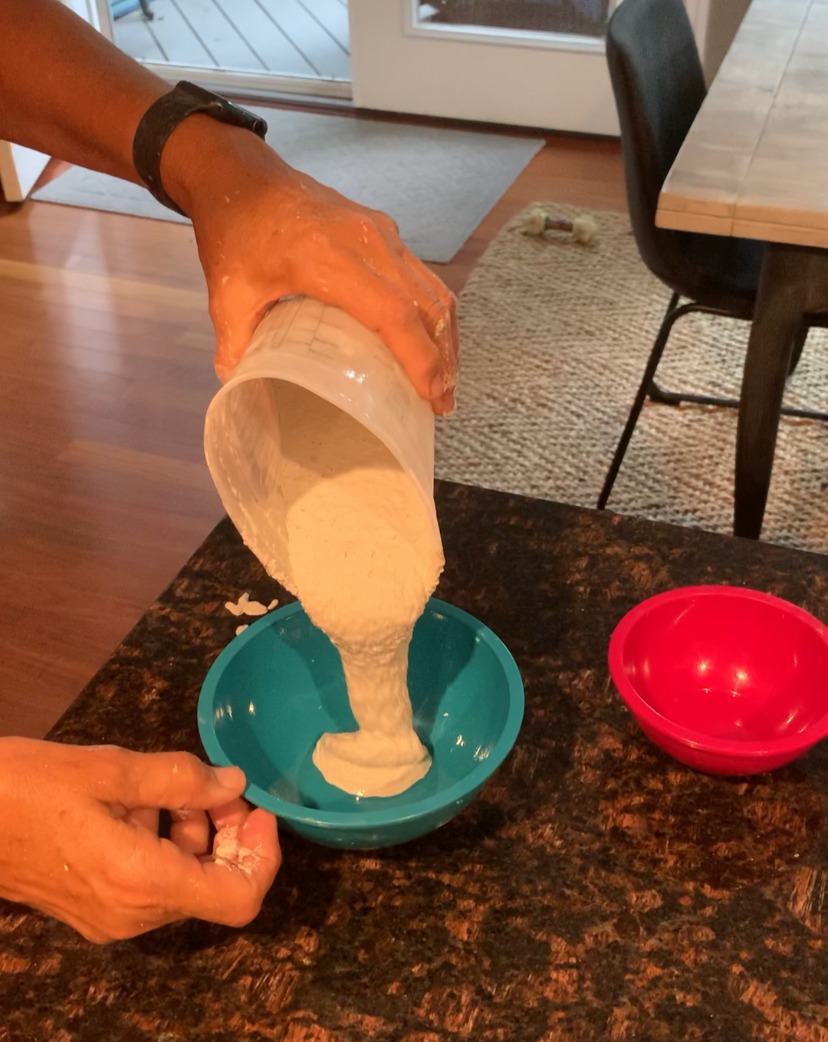
As soon as you pour the concrete in the mold (not quite to the top) place the other container inside and fill it with rocks or pebbles to hold it down. You want enough rocks to hold the top bowl until the the concrete reaches the edge of the bottom mold.
Make sure it rests on a level spot until it’s ready to be un molded. Next I would take a hammer or rubber mallet and tap on the sides of the bowl to let any bubbles raise. Not too hard, gently.
When it’s time to un mold, remove the rock and just turn over the bottom bowl and tap. It should release easily. Here’s a picture of the first two bowls I made. I used the smaller for the candle.
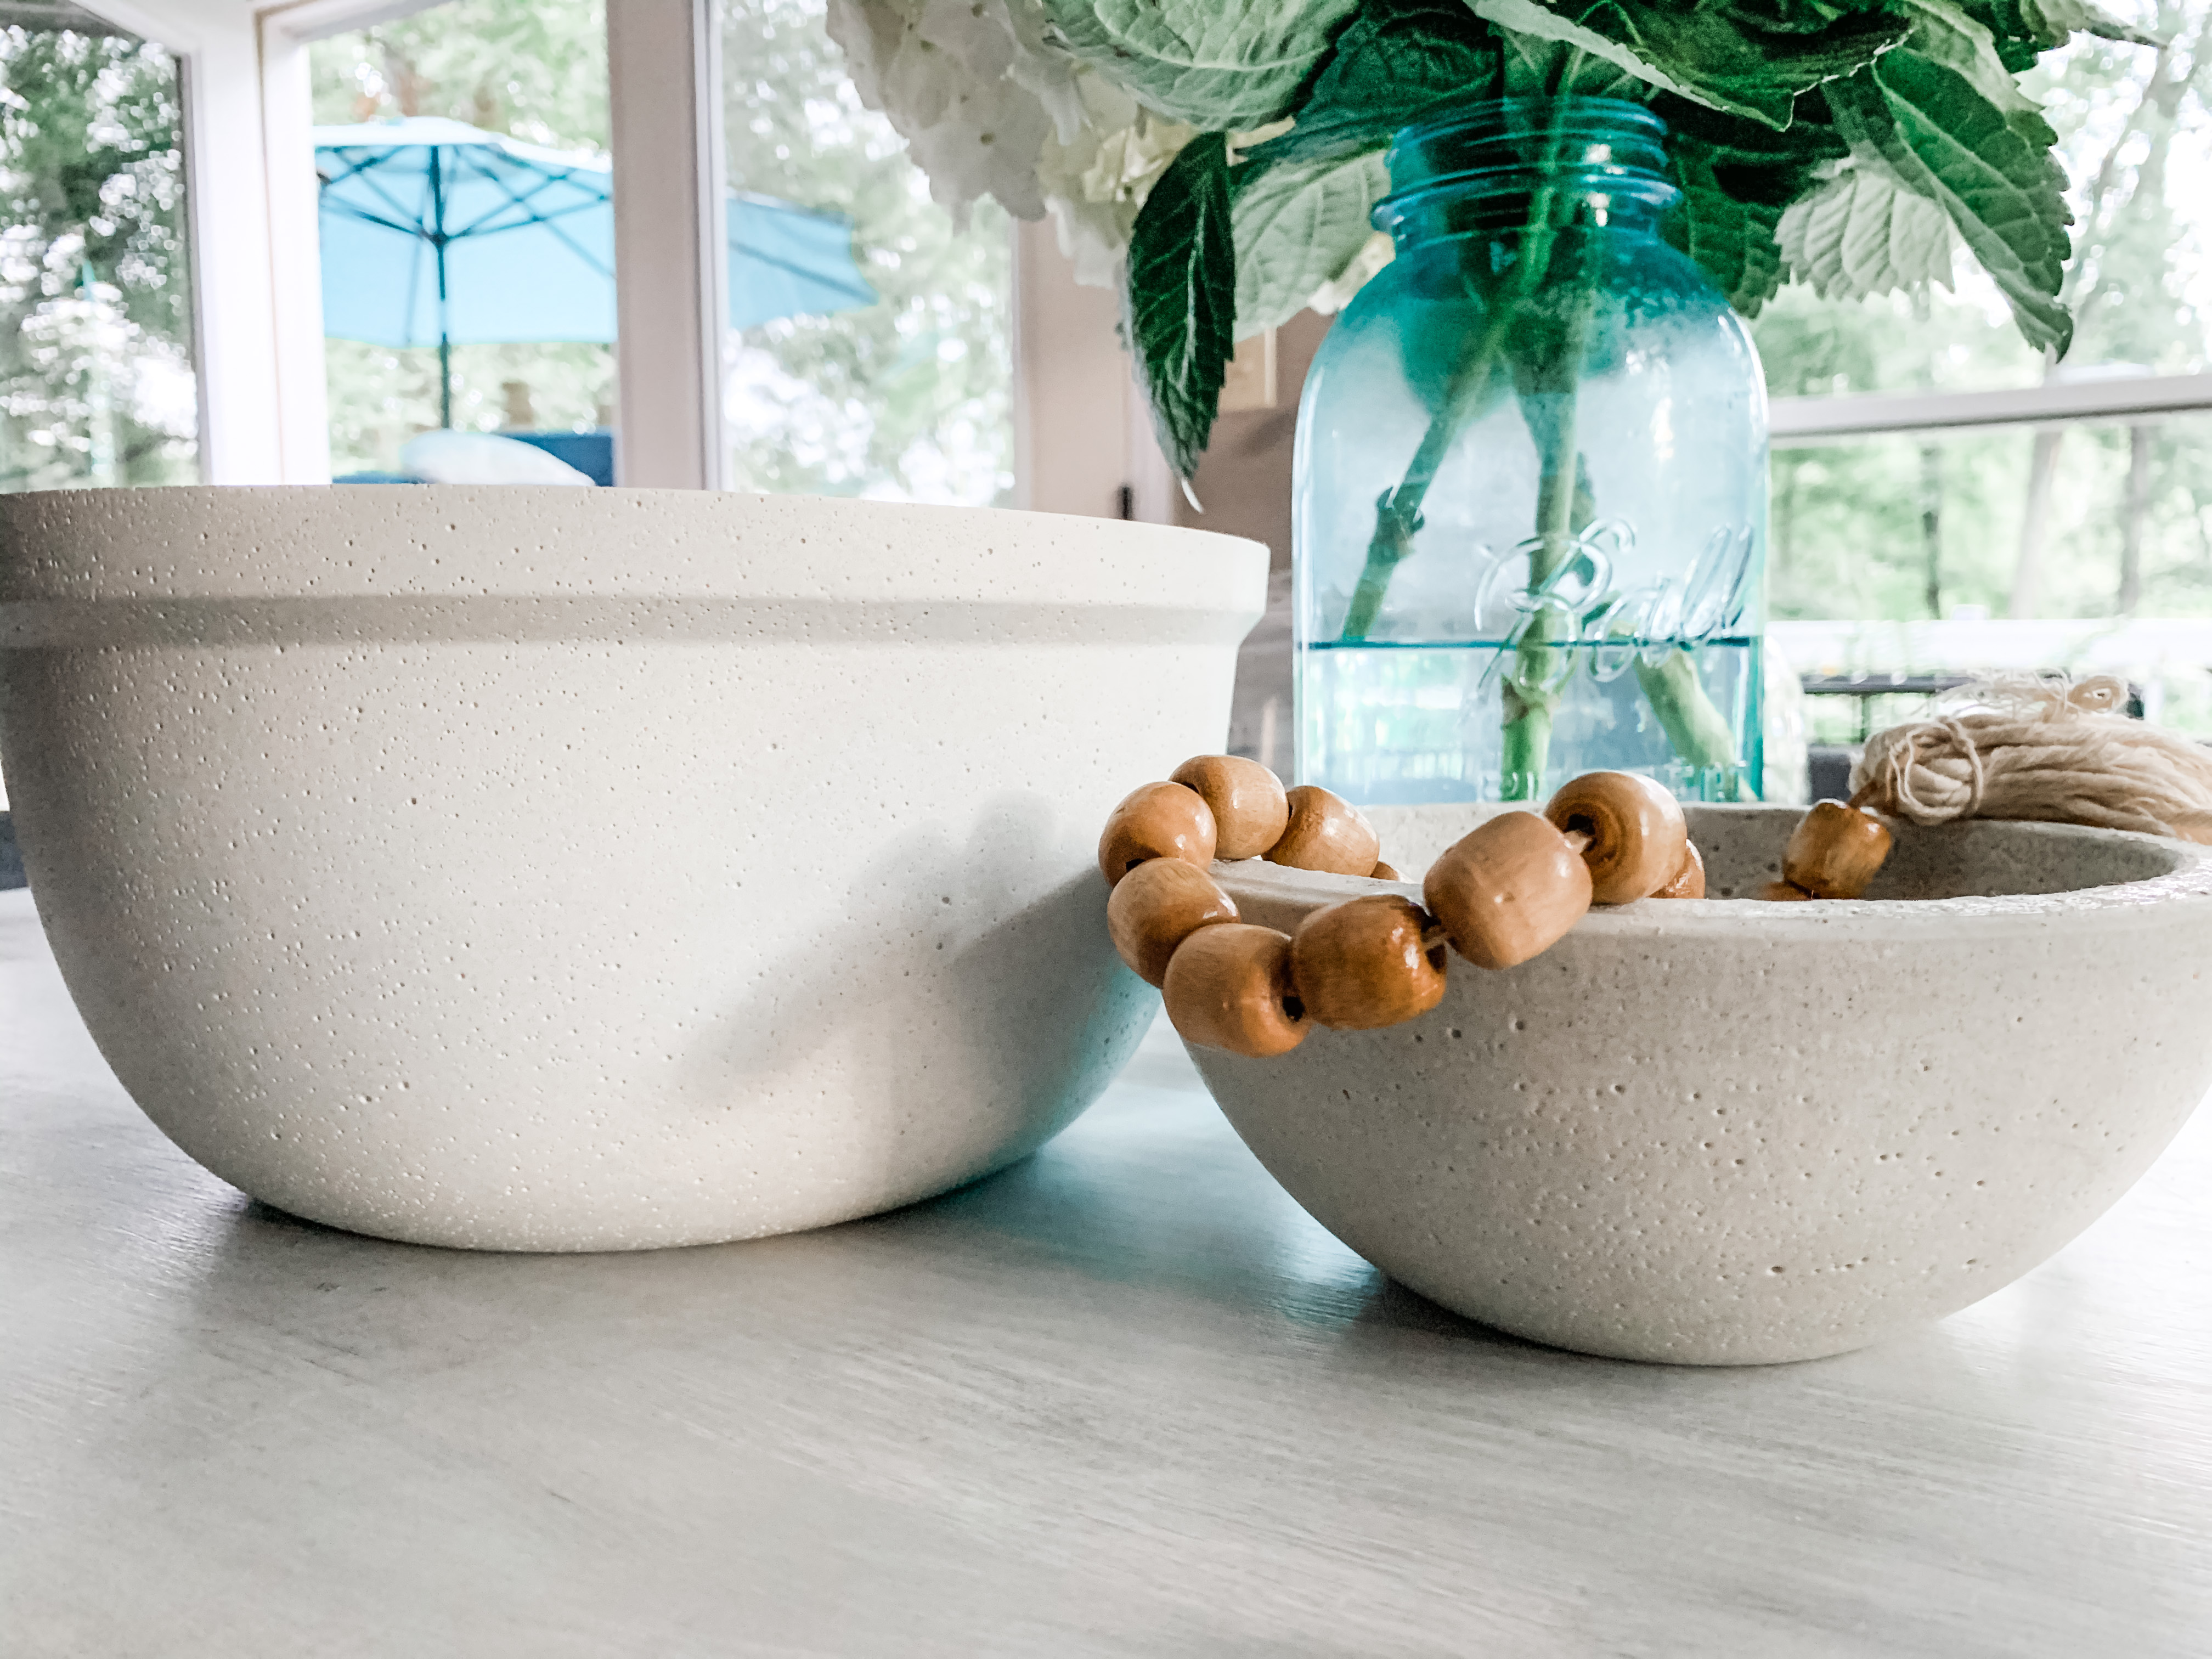
Now you have a beautiful bowl and are ready to move to the next step of candle making! Begin by adding your wick(s) to the bottom of the bowl. The amount choose depends on the size of the mold. I would attach with a glue gun so it stays put when you add the wax.
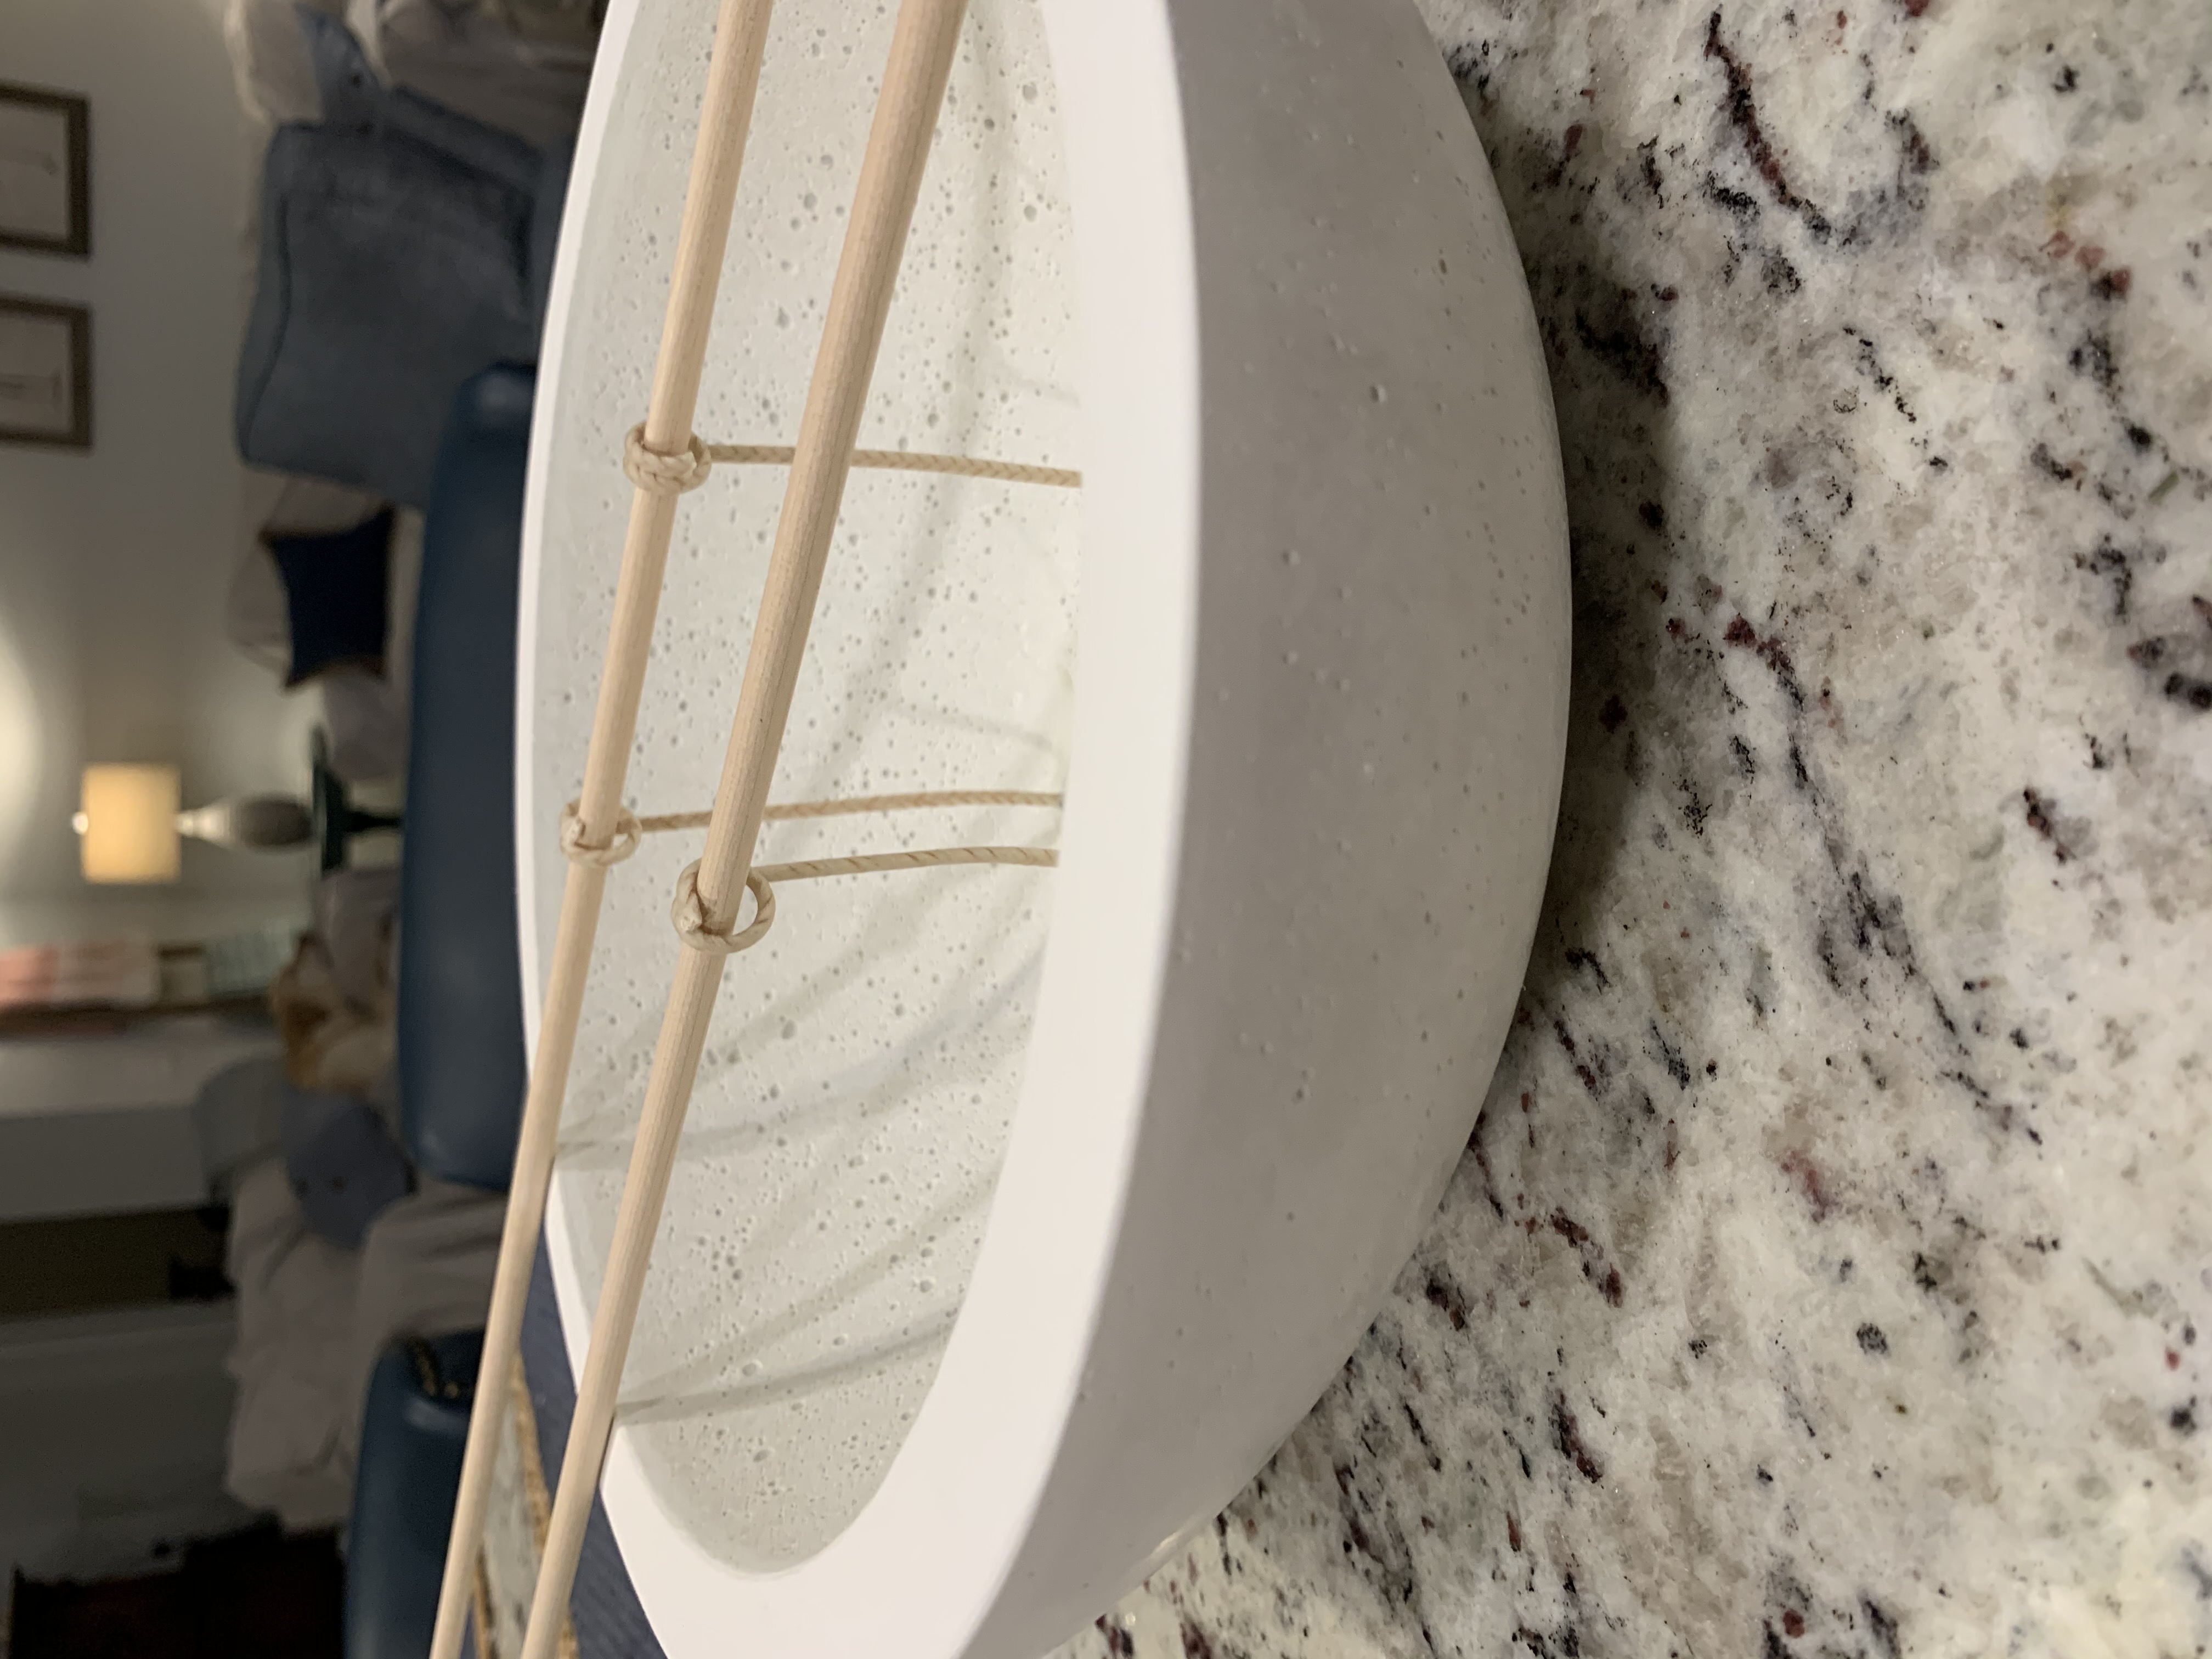
I suggest using skewers or pencils or something to hold the wicks in place as you add the melted wax.
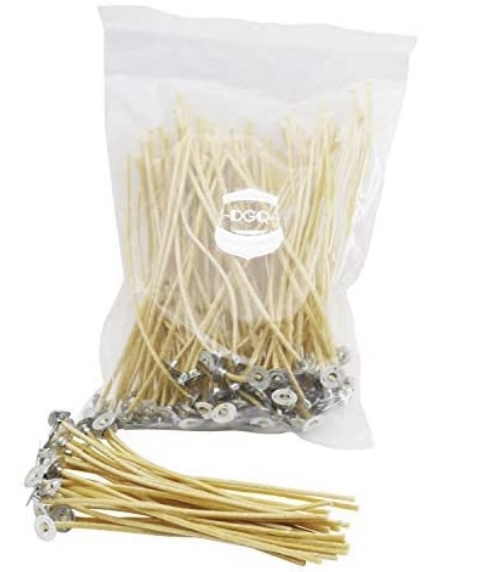
Waxed Wicks
I used soy wax from Amazon it burns cleaners and I also purchased my pure Citronella Oil from Amazon as well. I’ll add the links for your convenience.
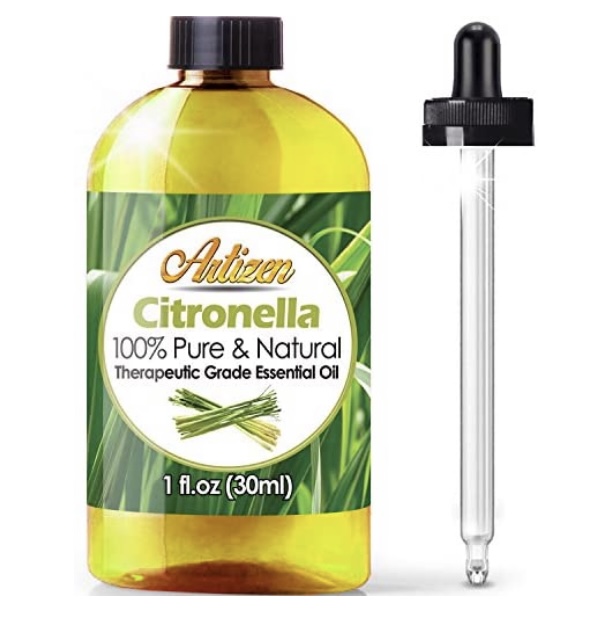
Citronella Essential Oil
If you are using soy wax flakes, you want to use twice the amount to fill your container, it will melt down considerably.
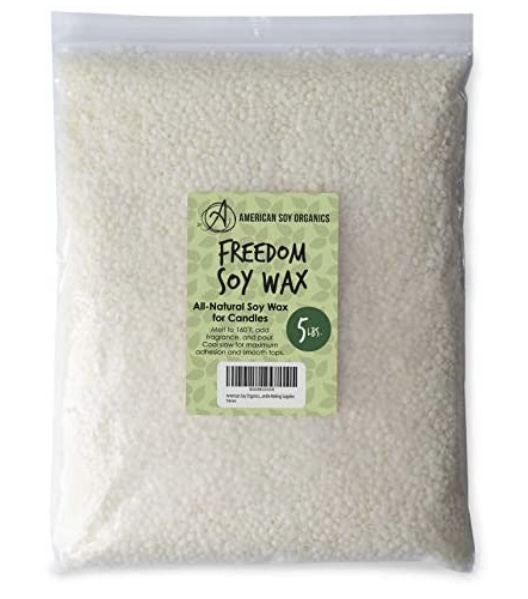
Soy Wax Flakes
Use a double boiler or a candle wax melting pot and be very careful when melting it. It does not take long to melt.

Pot to melt wax

Thermometer
I suggest using a thermometer to make sure the wax does not get too hot and that way you can measure the temperature and know exactly when it is cool enough to add the oil. The perfect temperature to add your scent is 185 degrees. To get the correct amount for your candle size, I recommend looking at the Candle Science website. They have lots of good information on the fine points of candle making. The size of the wick is important in relation to the container size and that affects pooling, which is when the candle melts in a tunnel not evenly spread around the container.
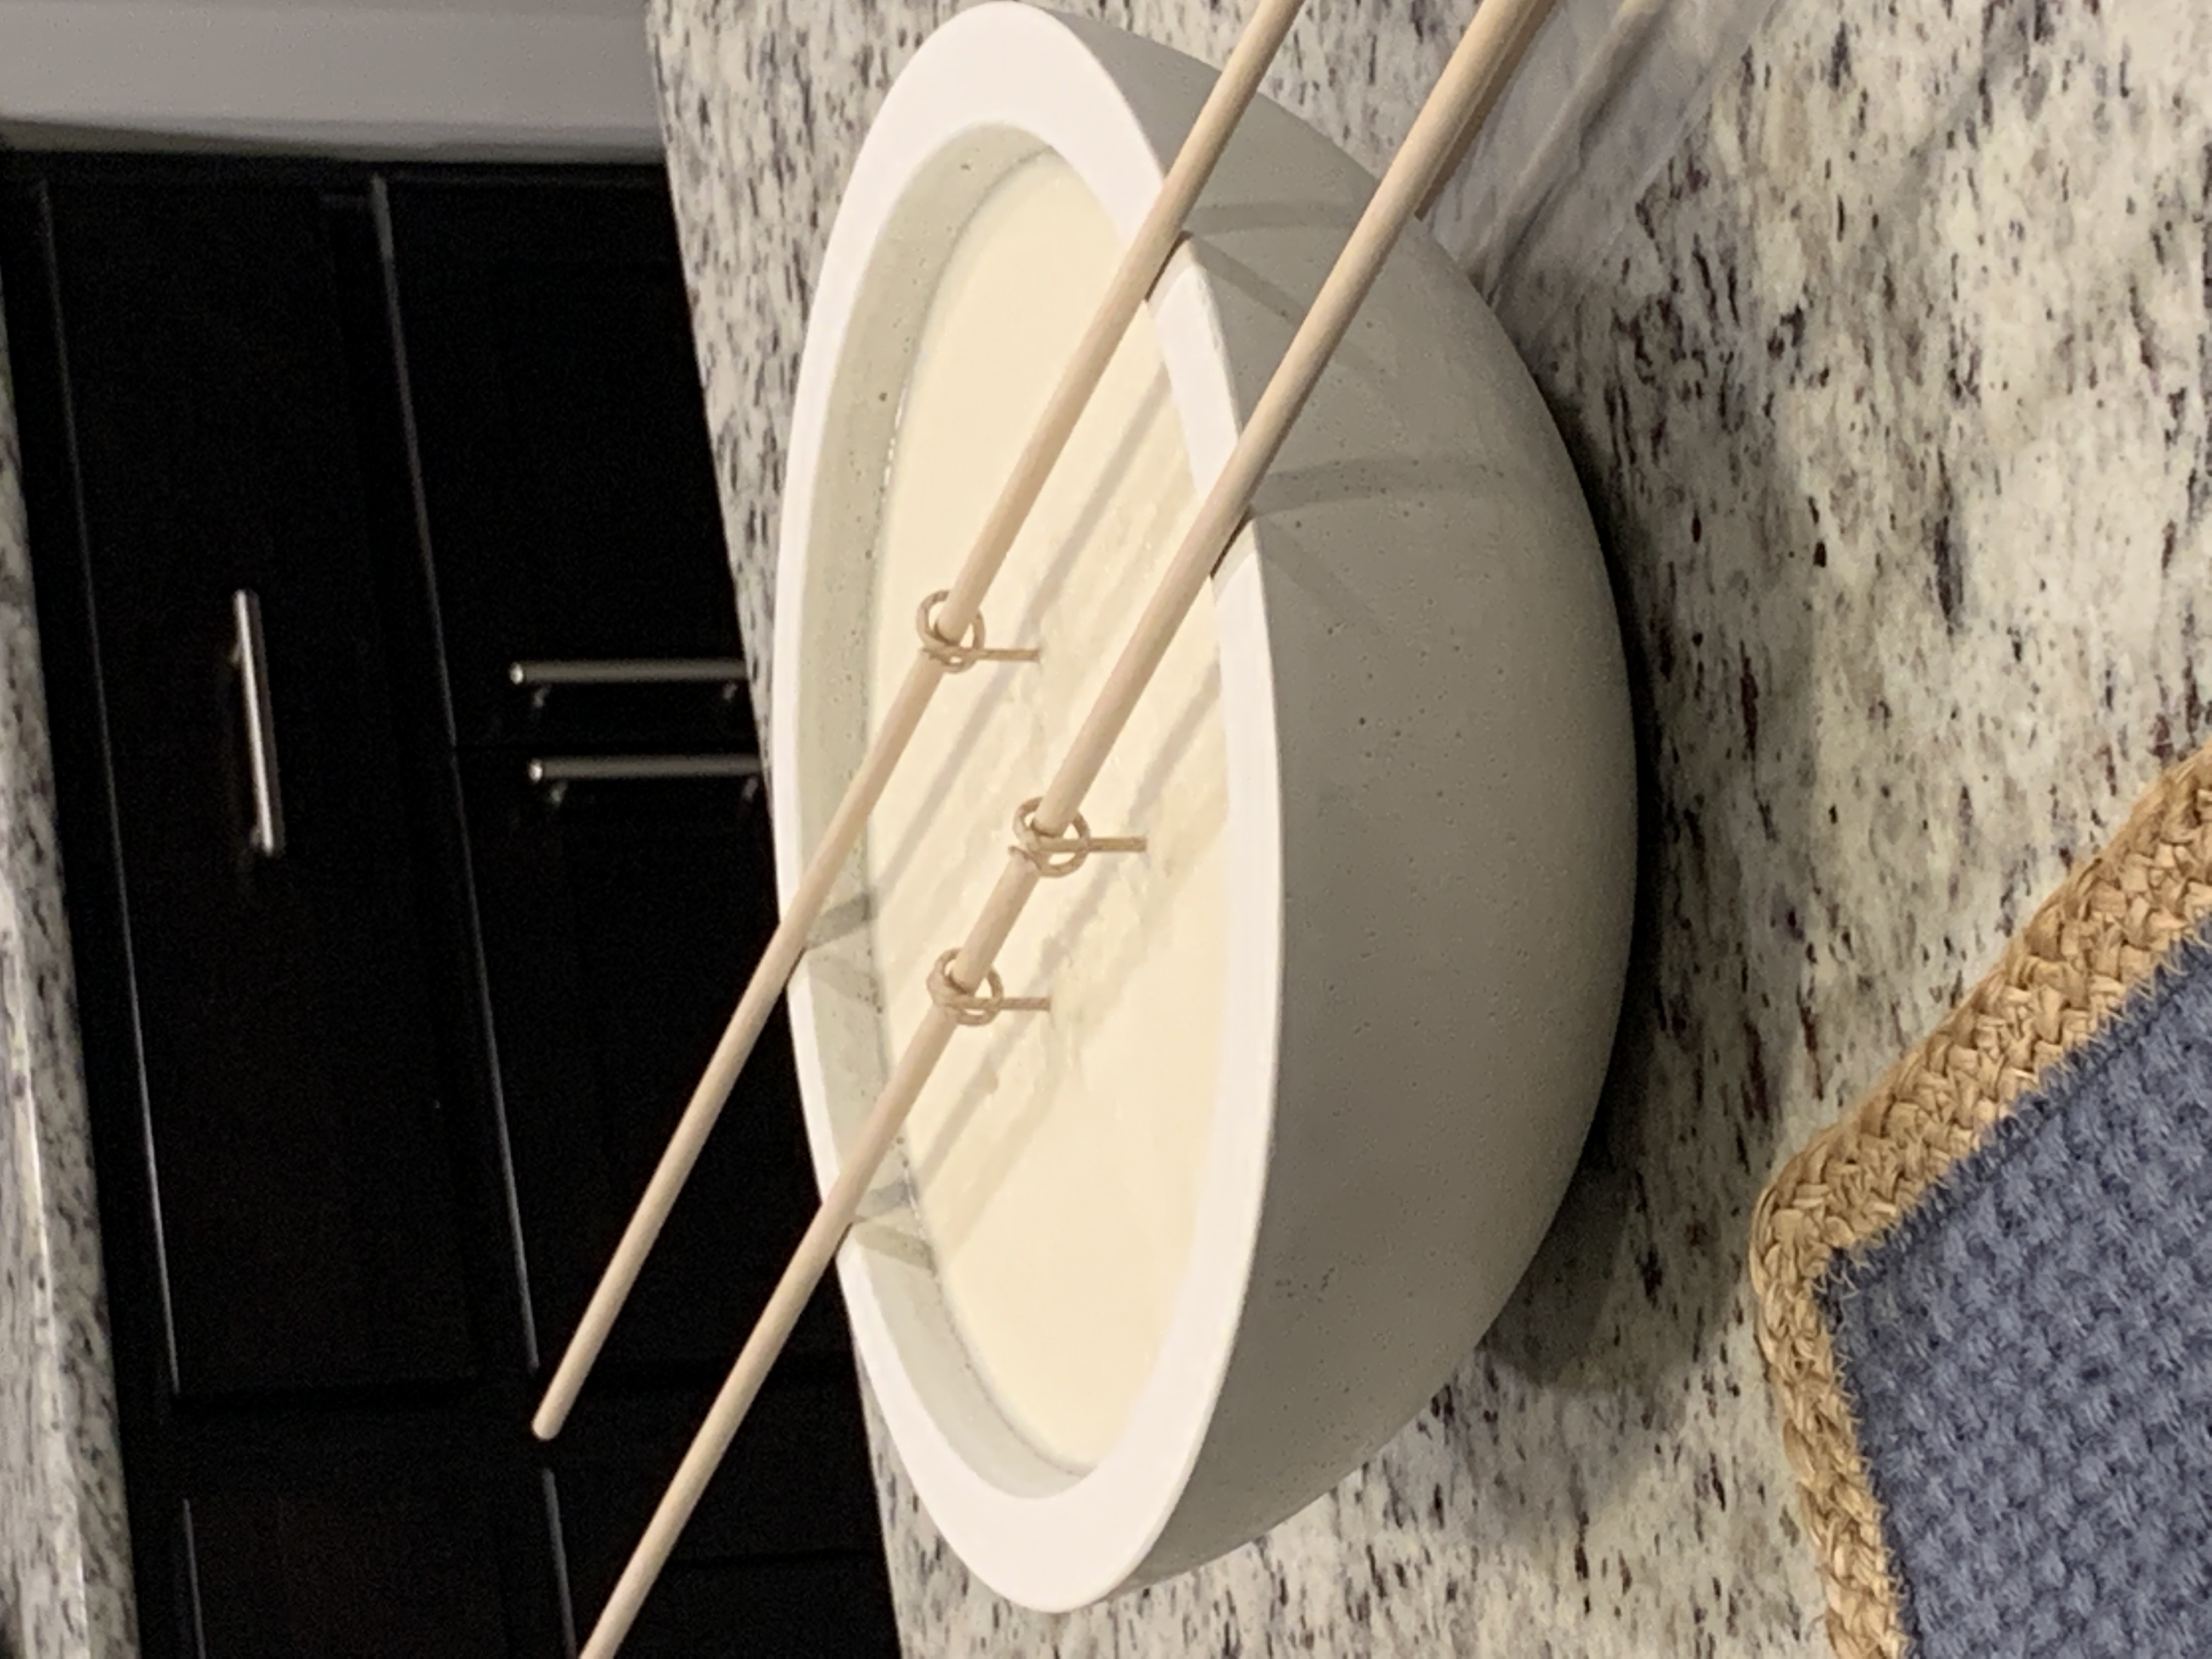
After you’ve added your fragrance, pour the wax in until you have the desired amount and again, keep flat and let it harden overnight. You can then remove the skewers, or pencils you held the wicks with. As hard as it may be, you will need to let the candle cure for at least 3 days and preferable 2 weeks. This affects the scent. The strength of a scent in our case citronella, is called Scent Throw. What you are most concerned about is Hot Throw, how strong the scent is when burning. These don’t take long to make at all and I learned the hard way how important it is to let it cure. Don’t be me 🙂
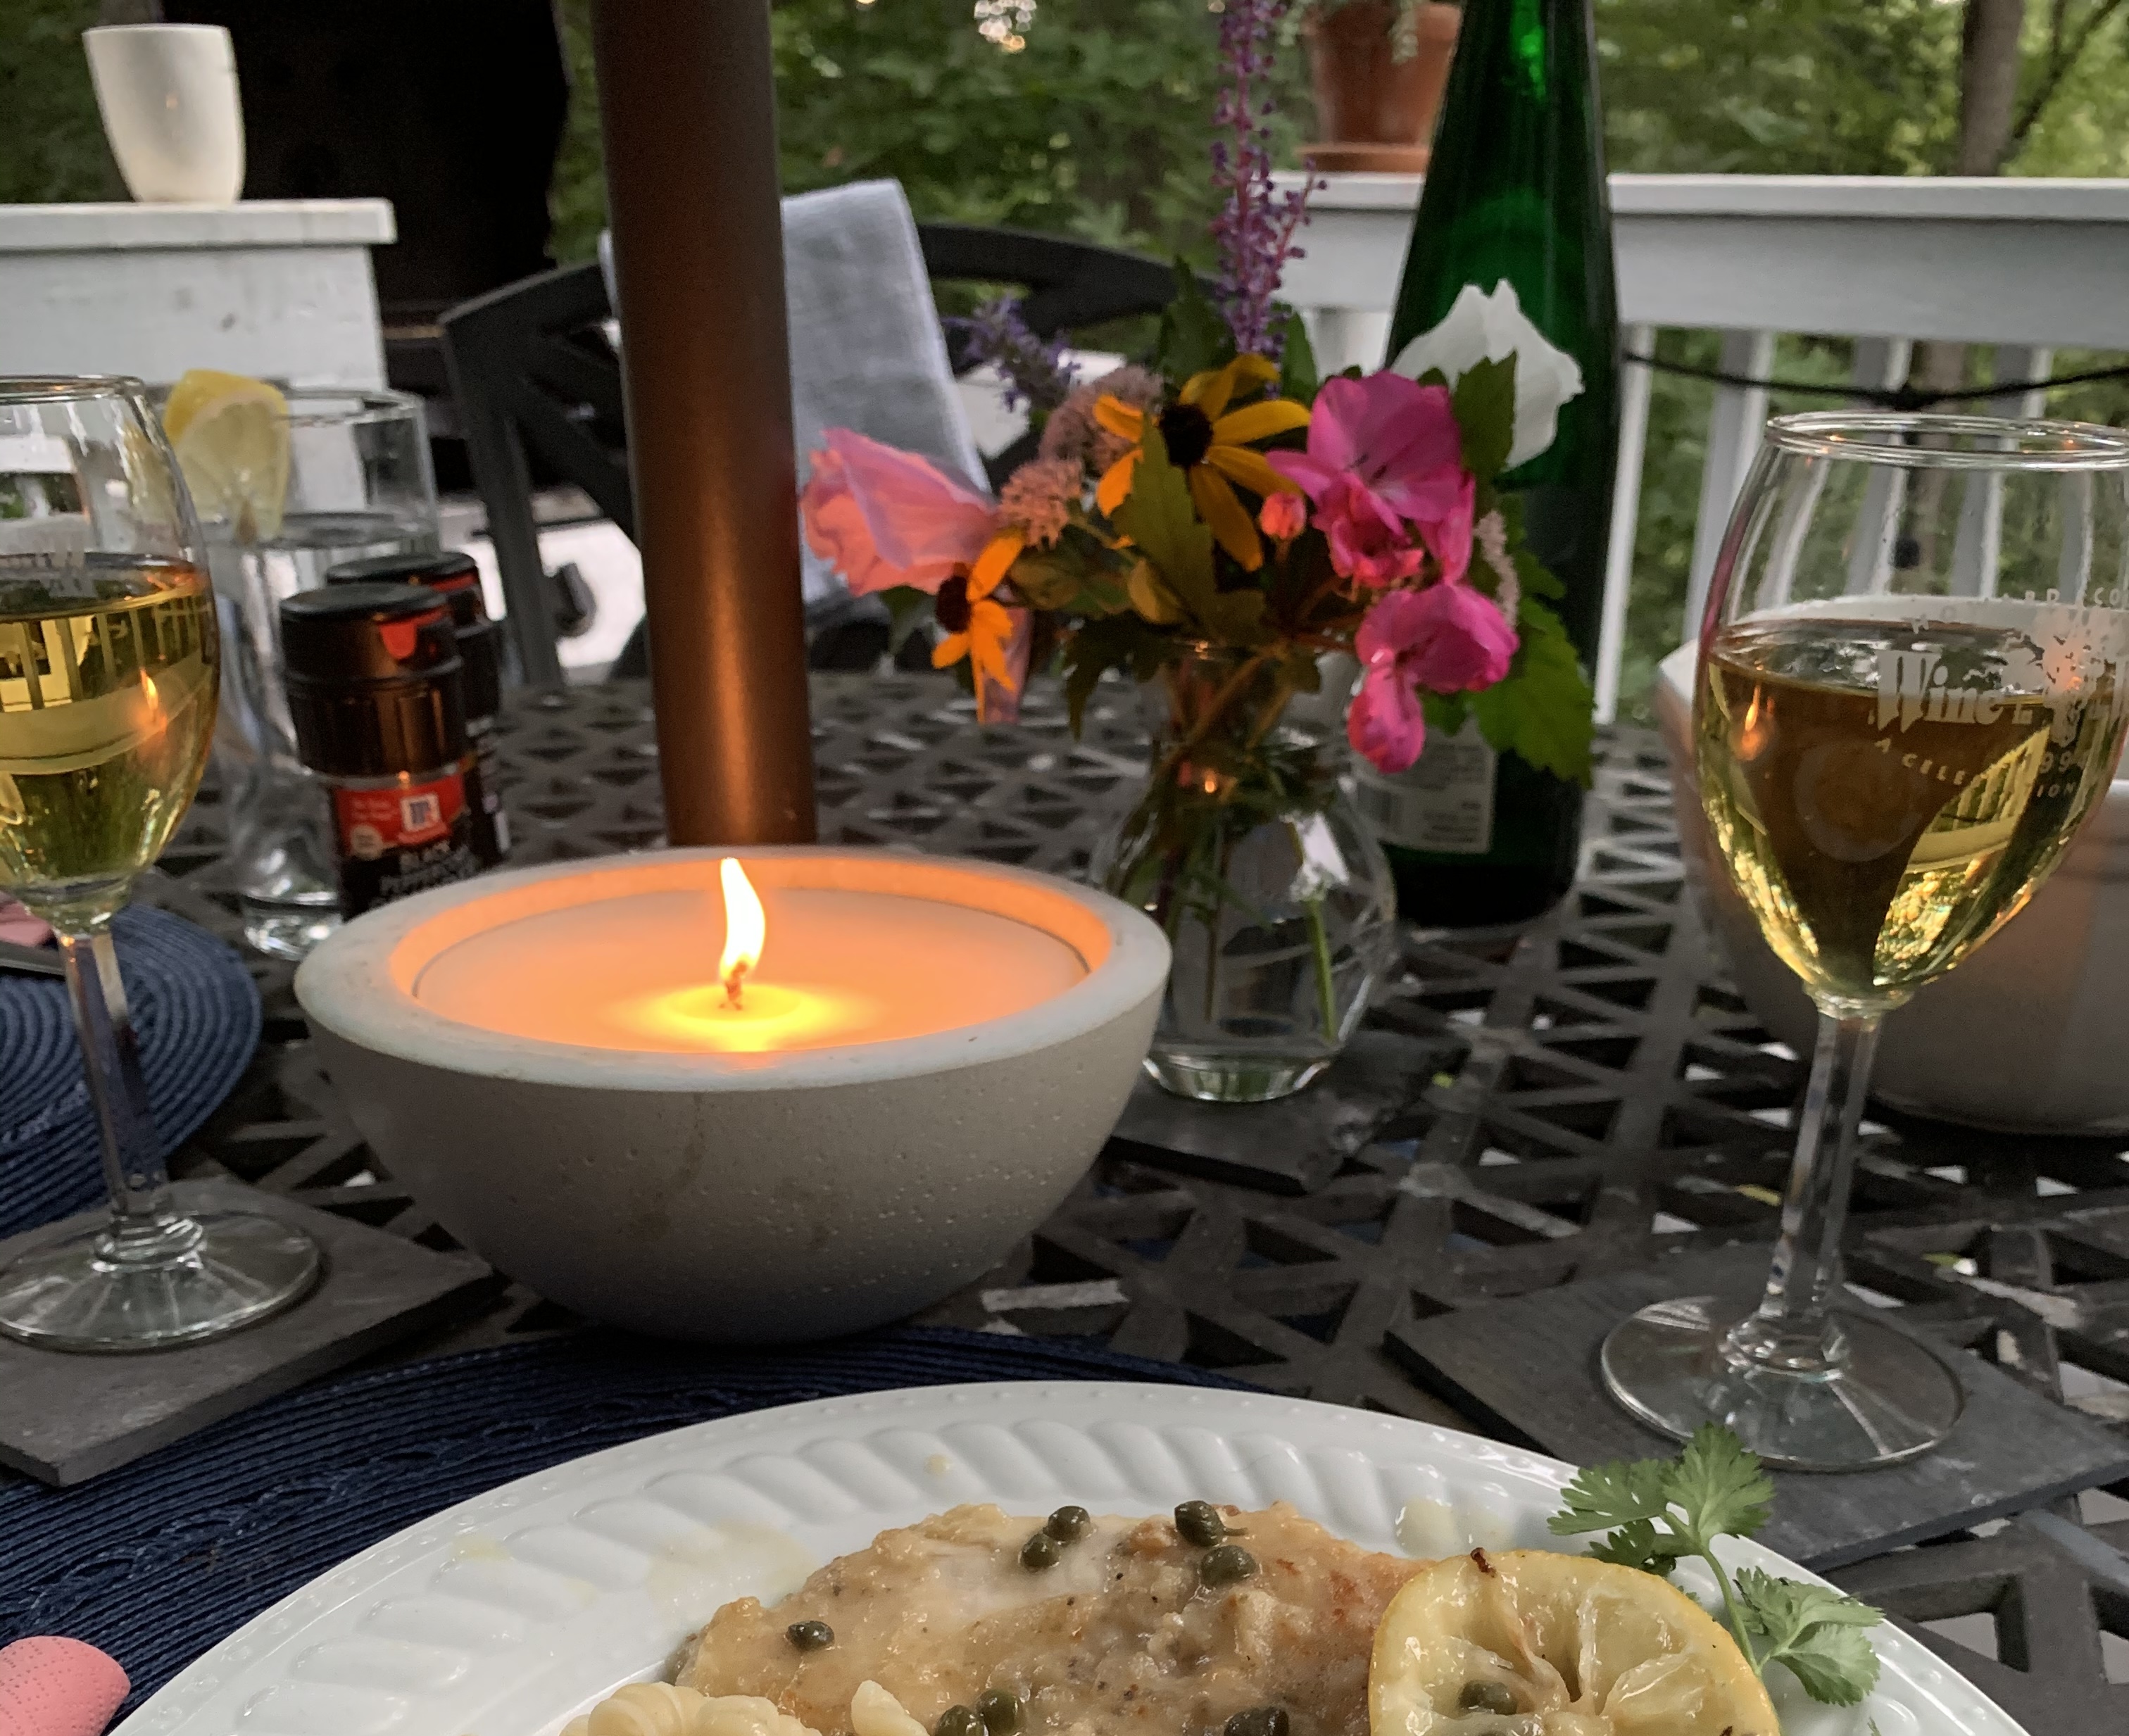
Aren’t they lovely? They would make a lovely hostess gift for any summer get togethers or you can just sprinkle them around your outdoor areas to keep those pesky bugs at bay.
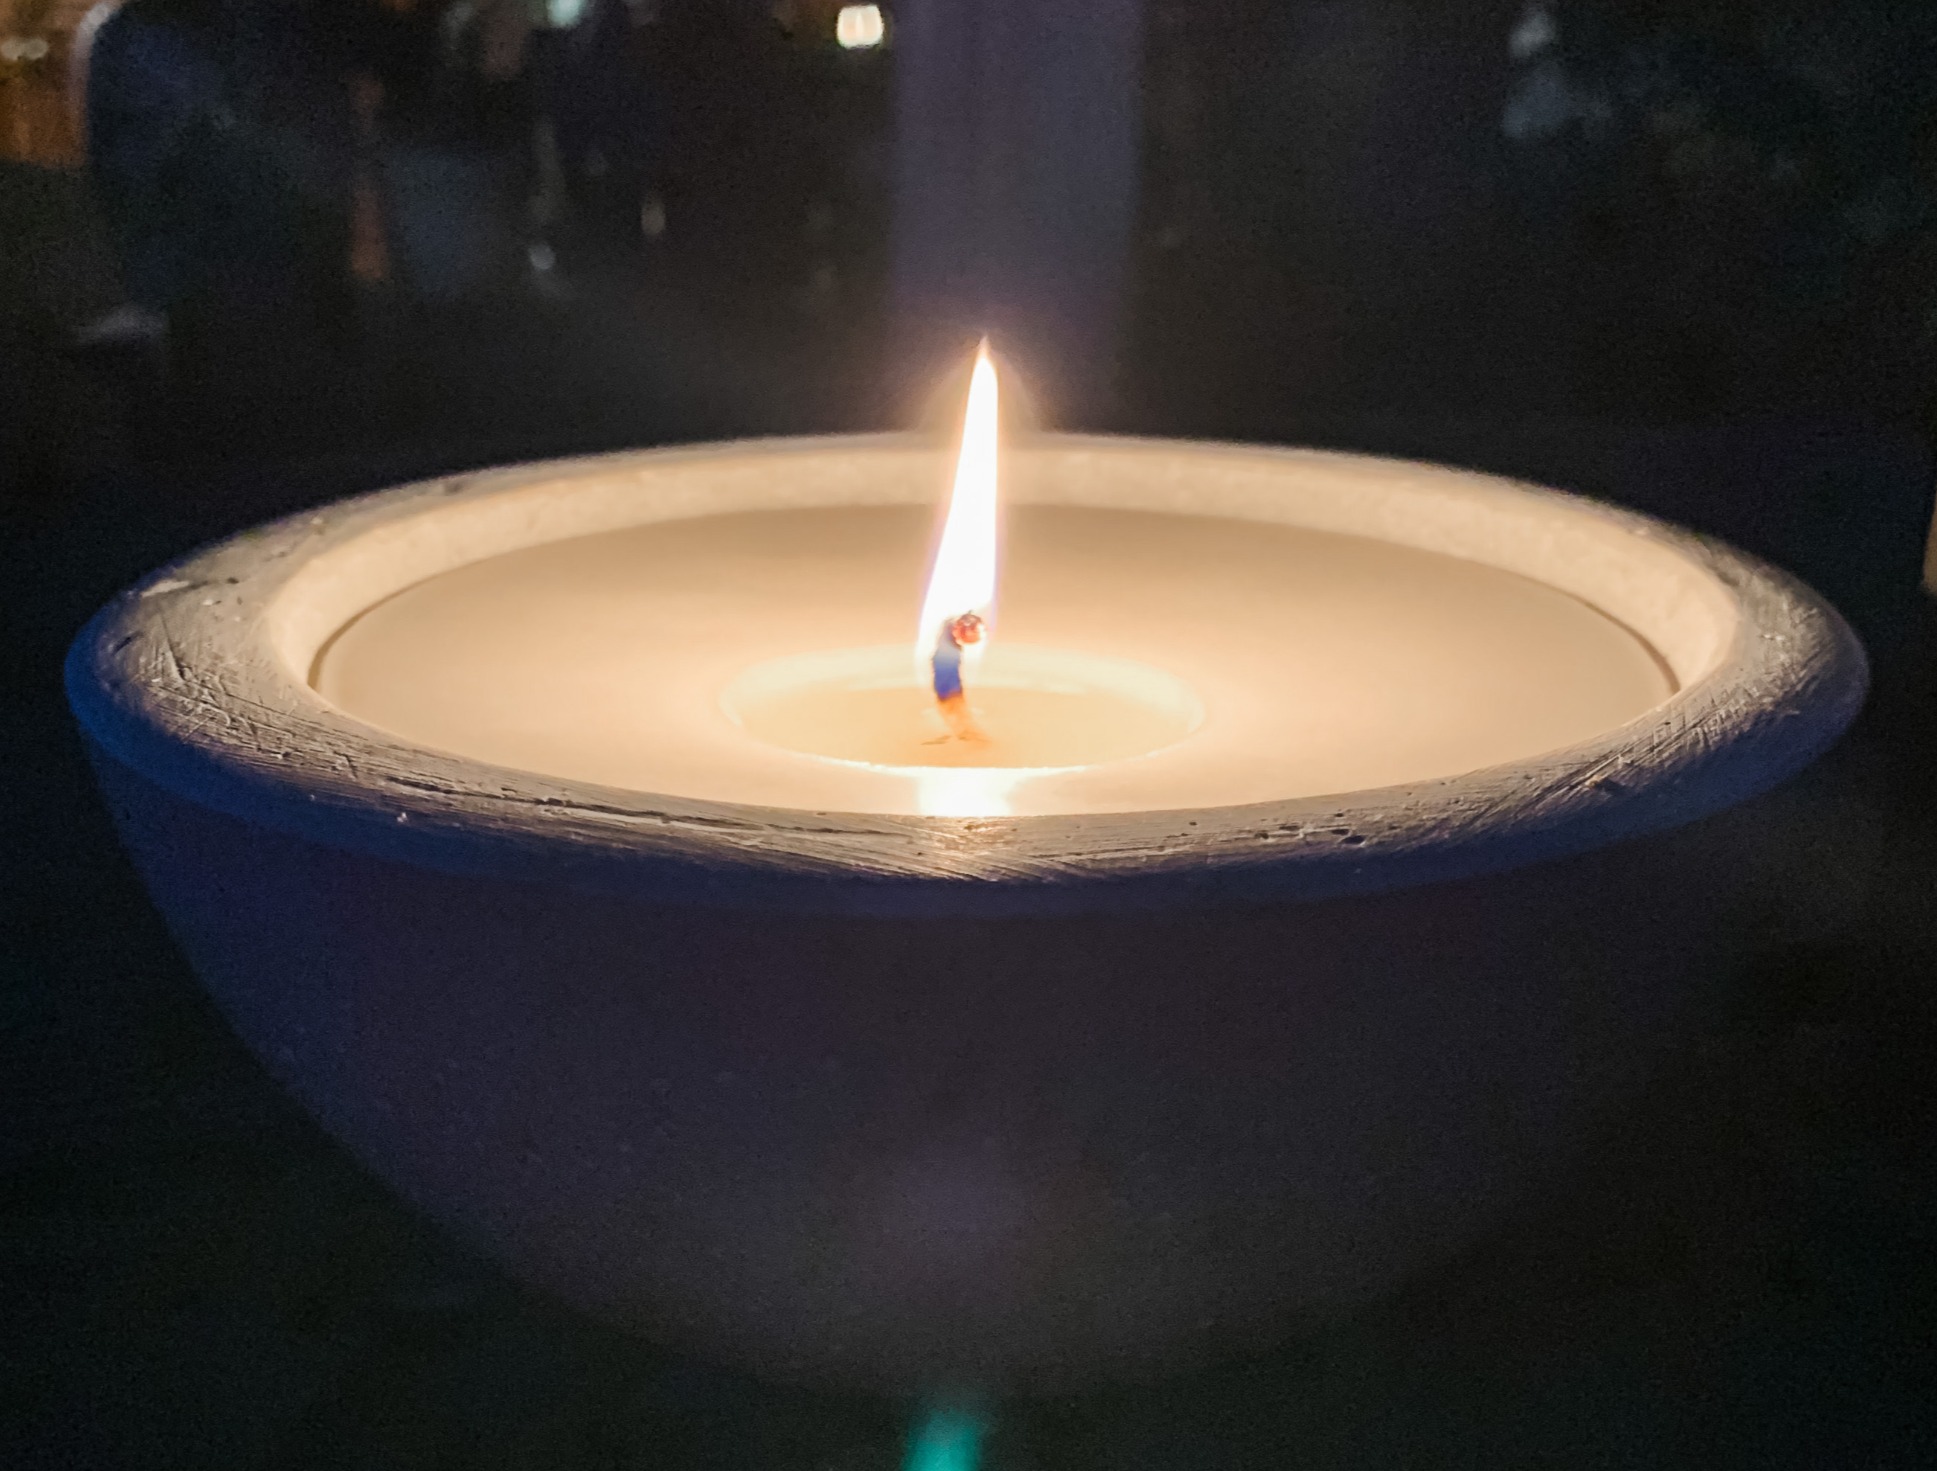
My love is making the concrete bowls, my need is the citronella candle. I will continue to practice with my wick size and making sure I measure my fragrance oils the way I do when I make cold process soap. There is a little learning curve but isn’t that what DIY is all about?
I hope you enjoyed this post, I enjoyed sharing it with you. If you liked it, please comment and share or consider subscribing to my blog. Thanks for coming along on my new blogging journey.
XO, Regina
This post contains affiliate links for your convenience.

Leave a Reply