Do you love a rustic look? I do. There are so many things you can create with wood other than burning in the fire place or fire pit. DIY’s can include plant hangers, outdoor seating and vignettes using wood.
We live in the woods so trees are always falling, limbs breaking and on occasion one or two need to be taken down. There is no shortage of black walnut trees in our area and try as I may, I’ve not come up with any great crafts using them.
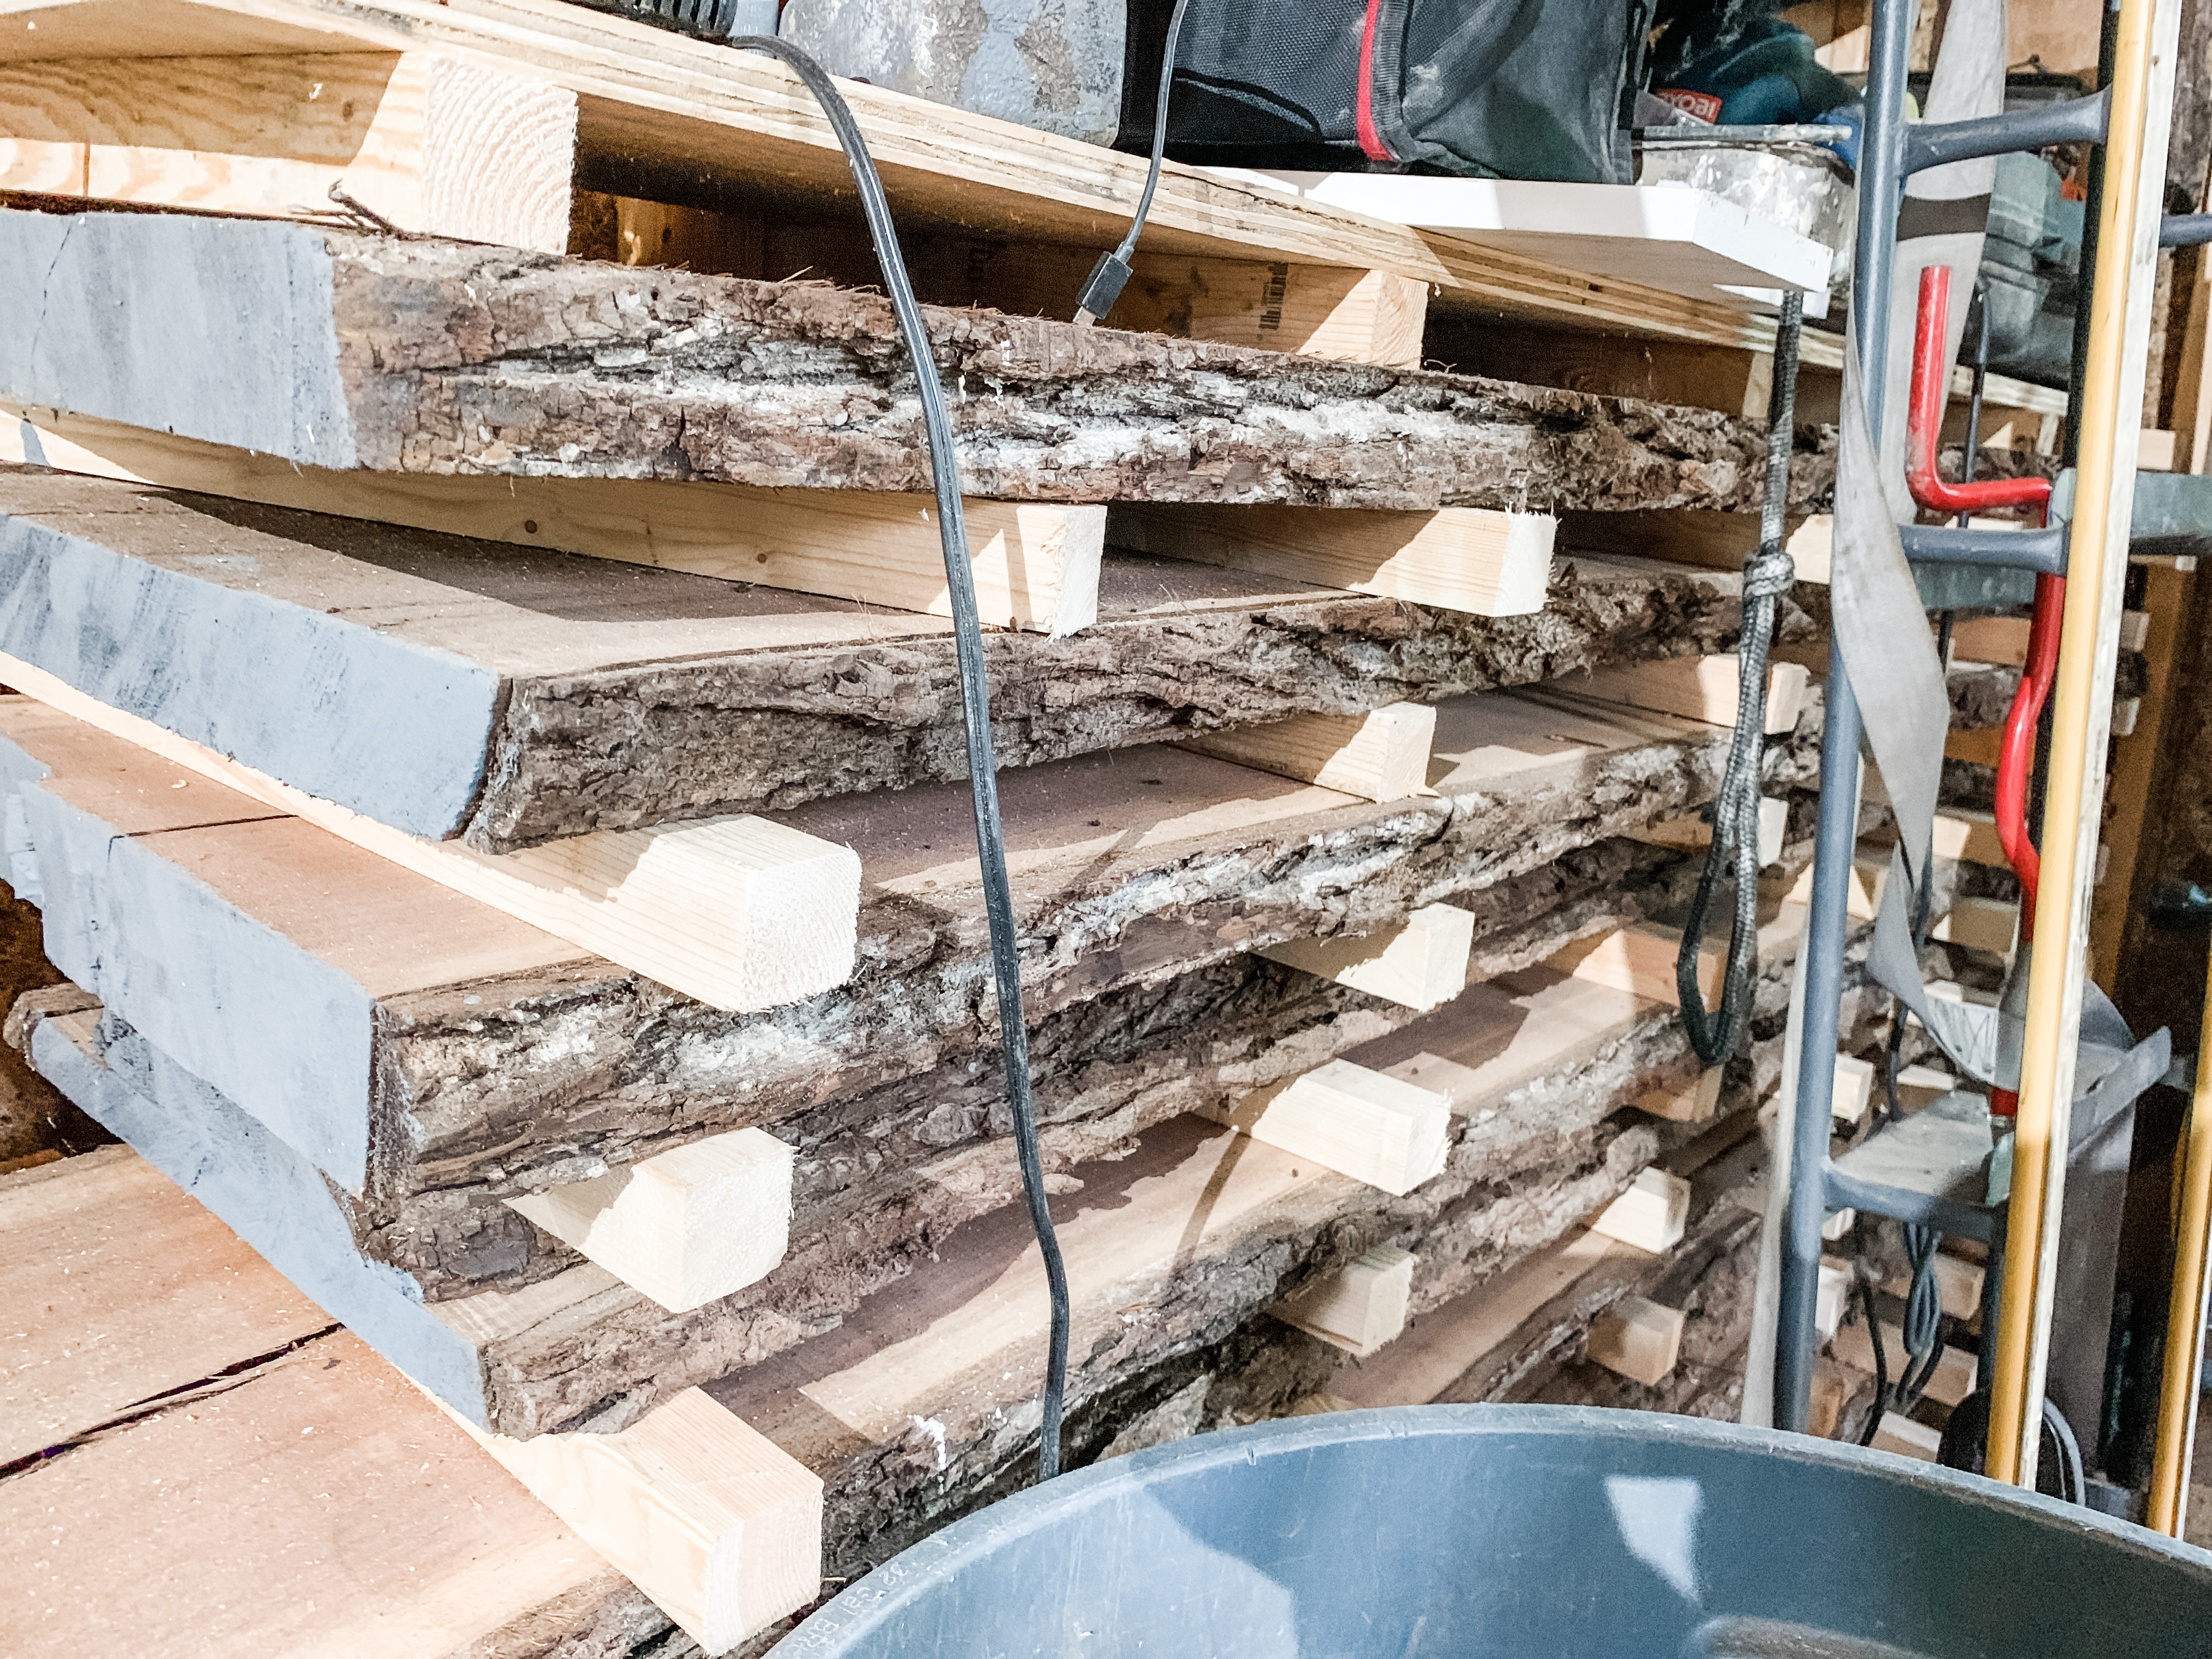
But the wood? Yes that is another story. I’ve managed to create 3 rustic DIY’s to share using wood from a downed tree. We also have a shed full of planks we had cut that are still drying waiting to turn into tables, desks and more.
While you can purchase wood slices at craft stores, the price of the ones in your yard can’t be beat. You just need a chainsaw (and a lesson). We have a large and smaller chain saw that make some of these rustic wood projects possible.
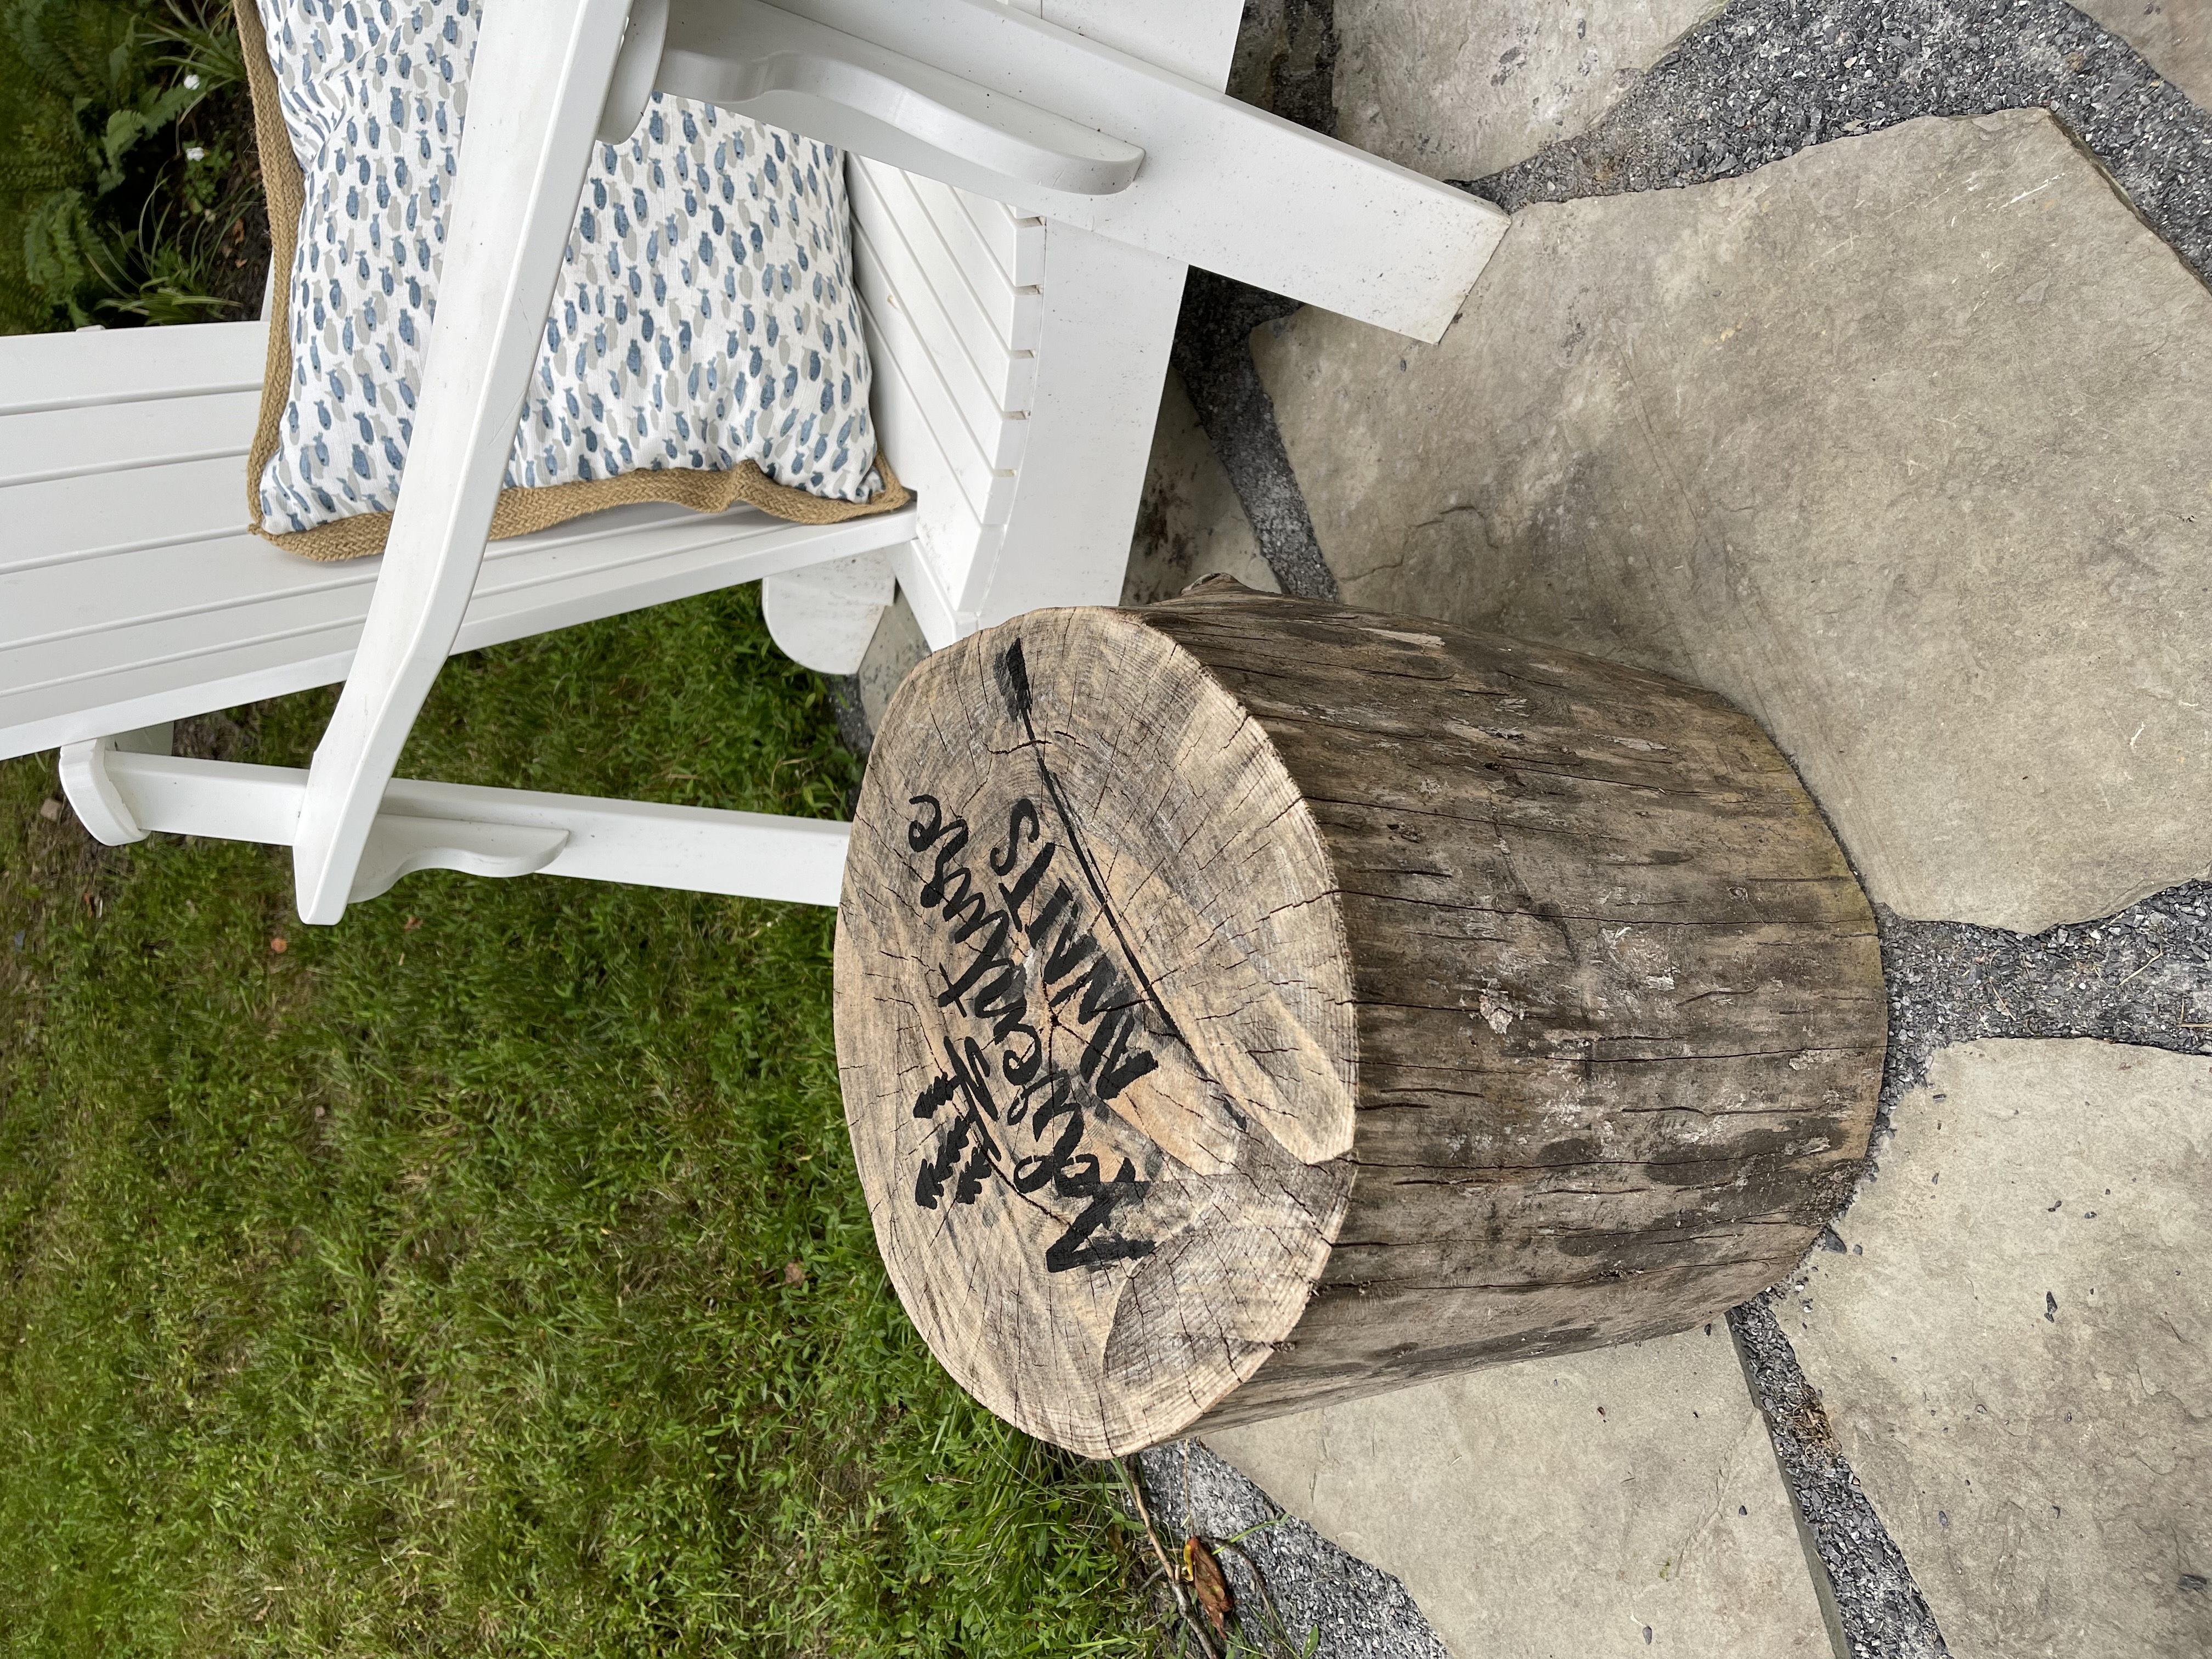
The first is the additional seating we now have at our fire pit. The sections of trunk make perfect tables and stools to add to our Adirondack chairs. I sanded the tops of the logs, they are not perfectly even but they work for seating and to place drinks and snacks.
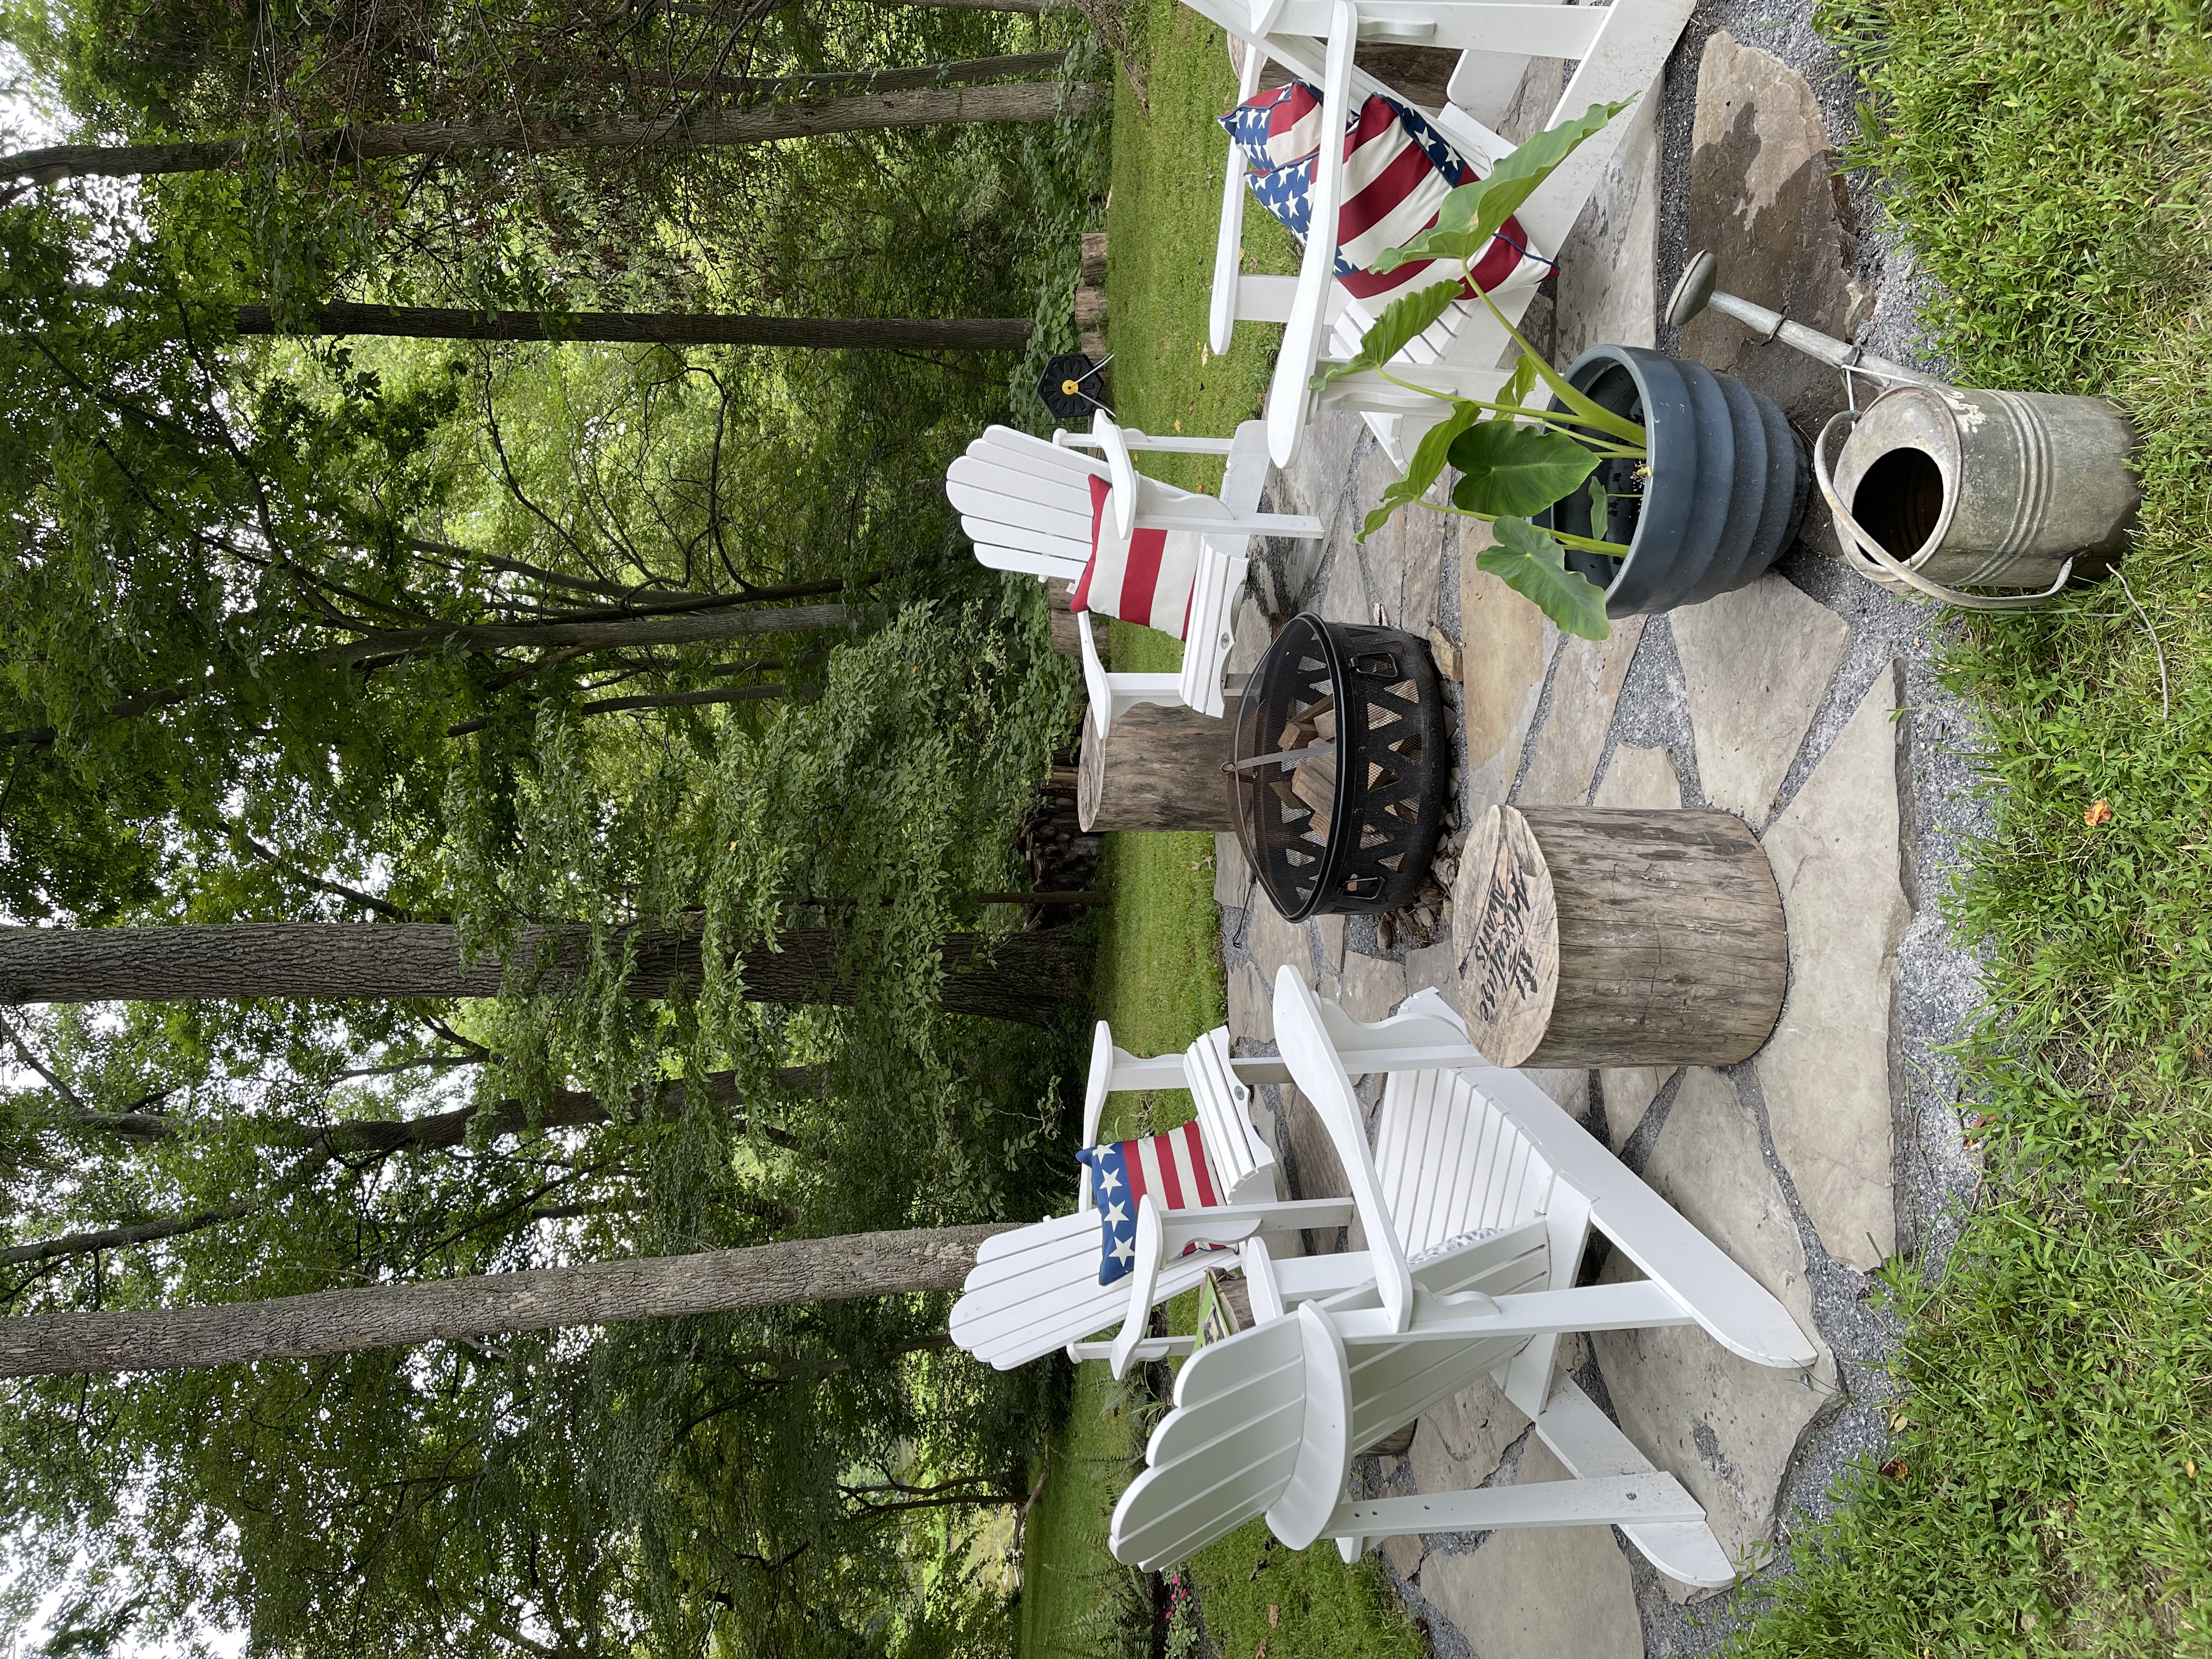
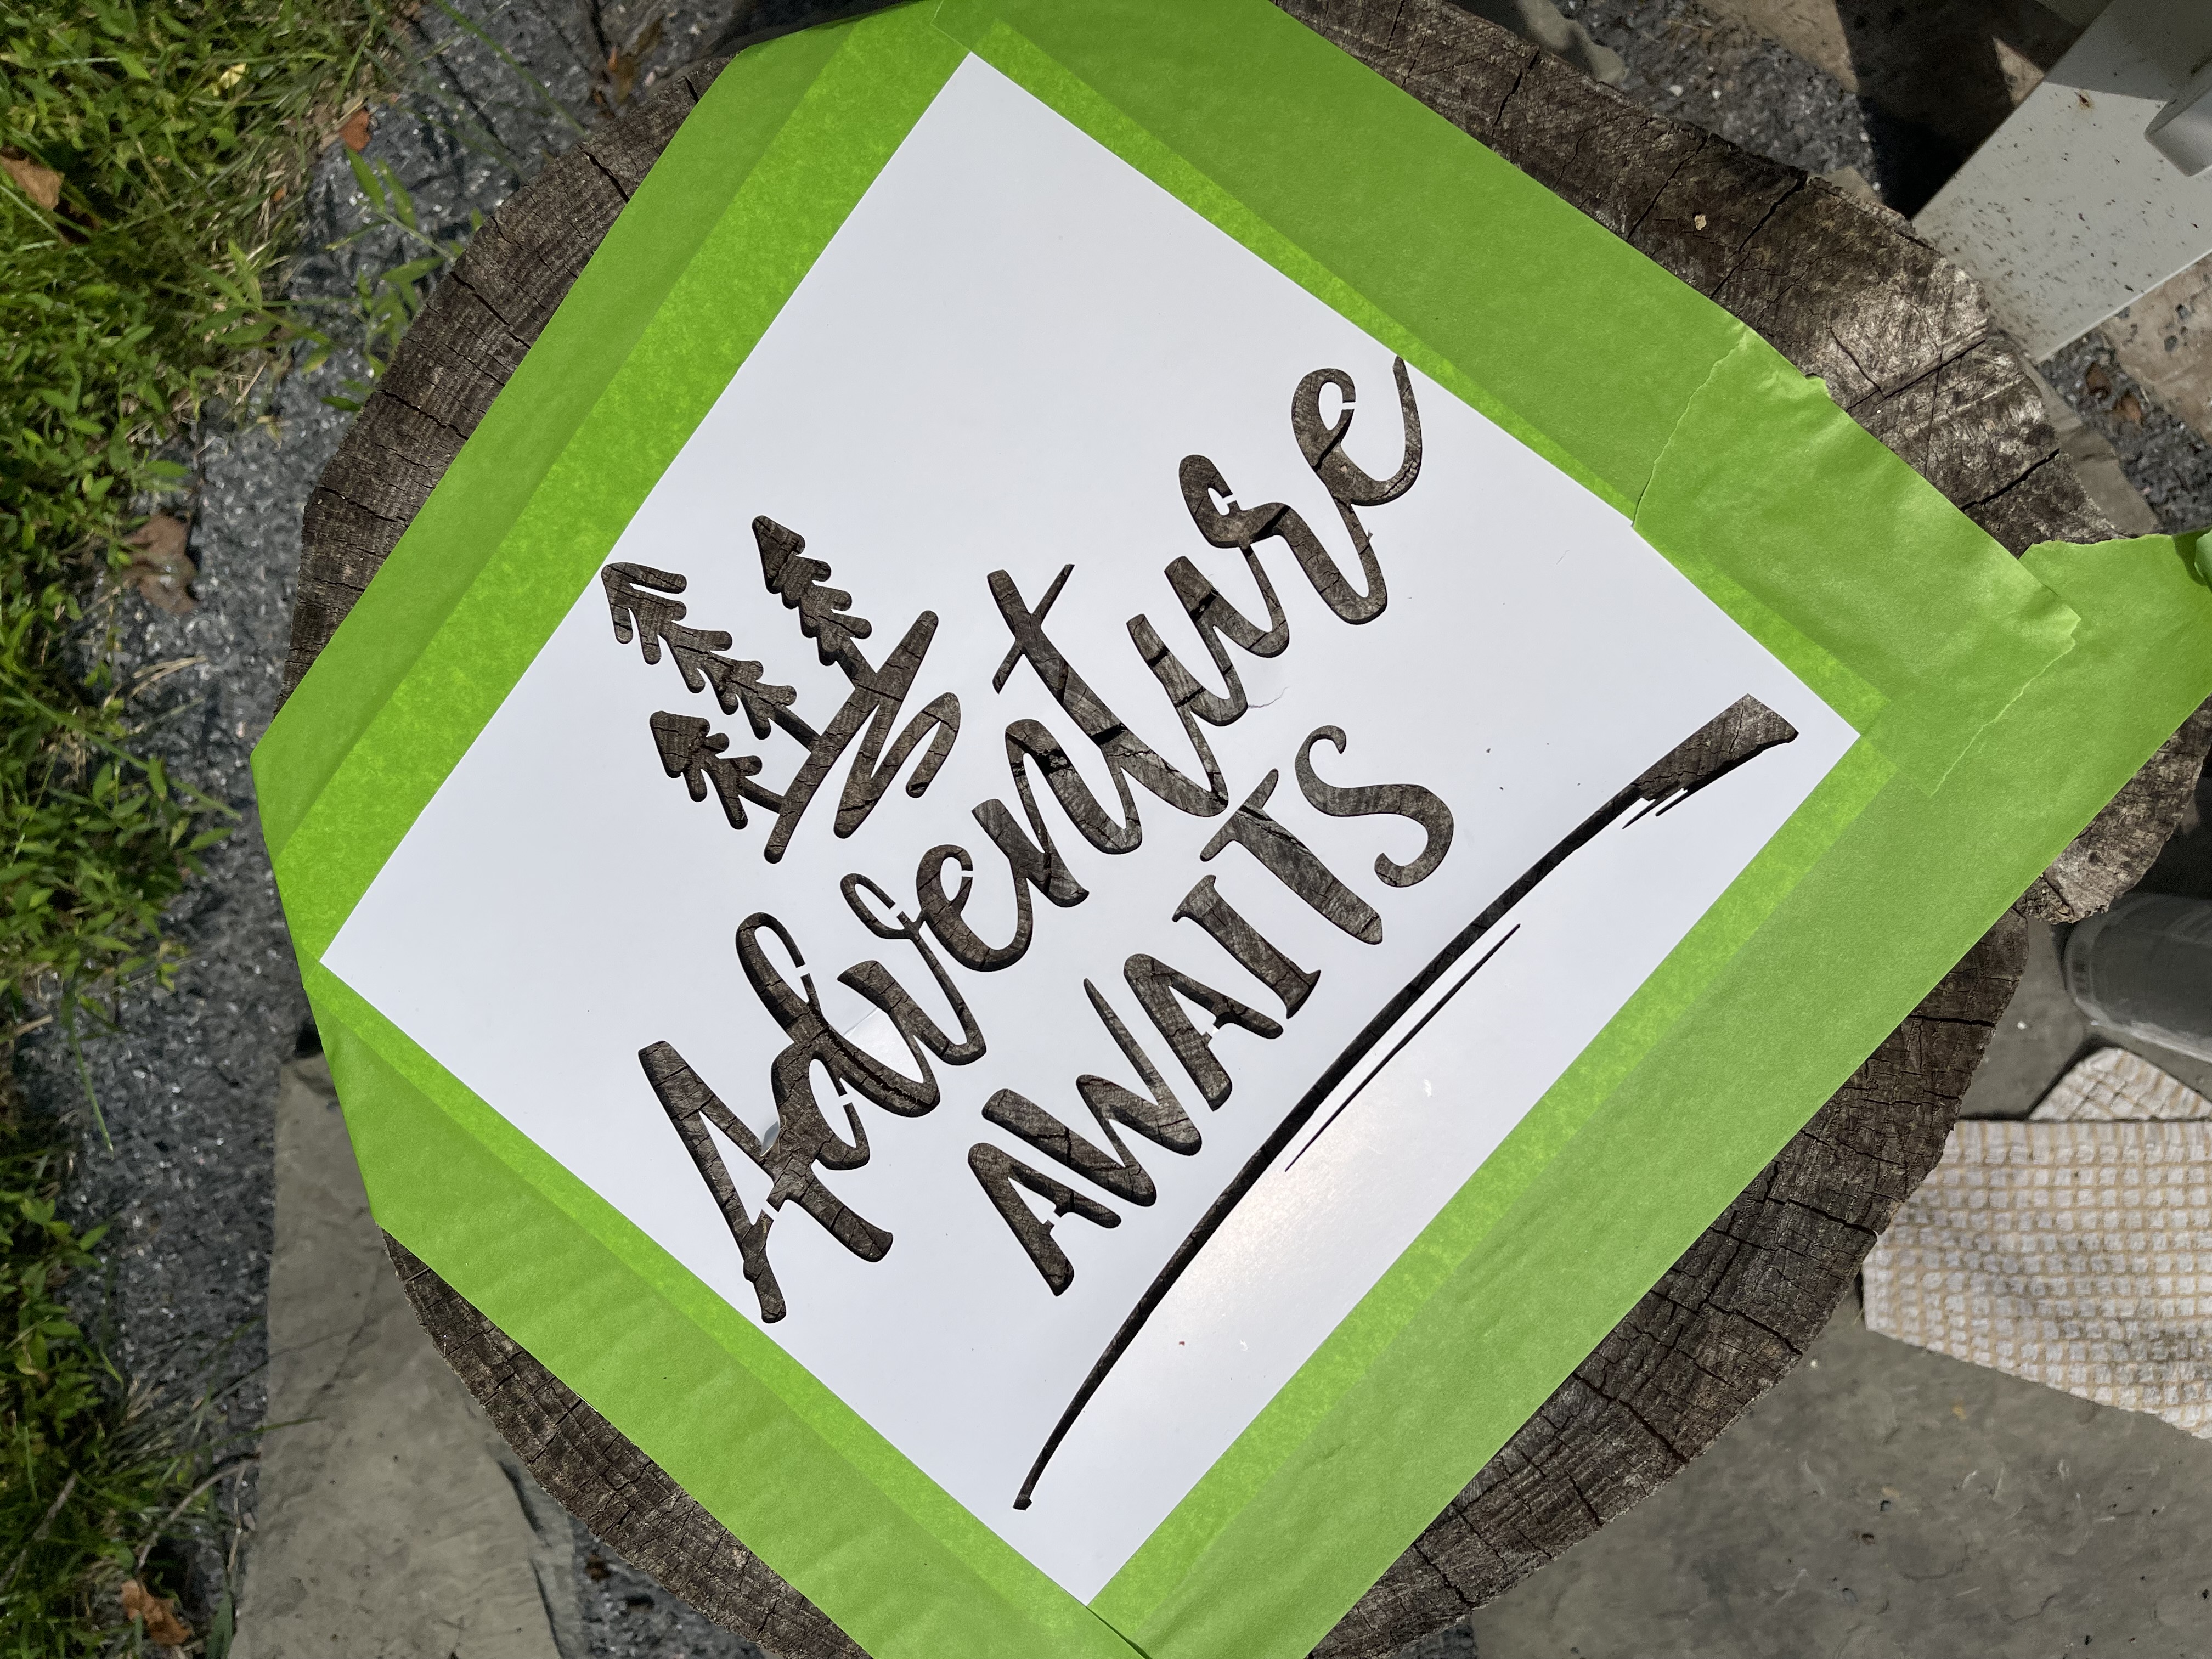
I picked a stencil and taped it down to the log using Frog Tape. Then using an outdoor paint I stenciled the design on.
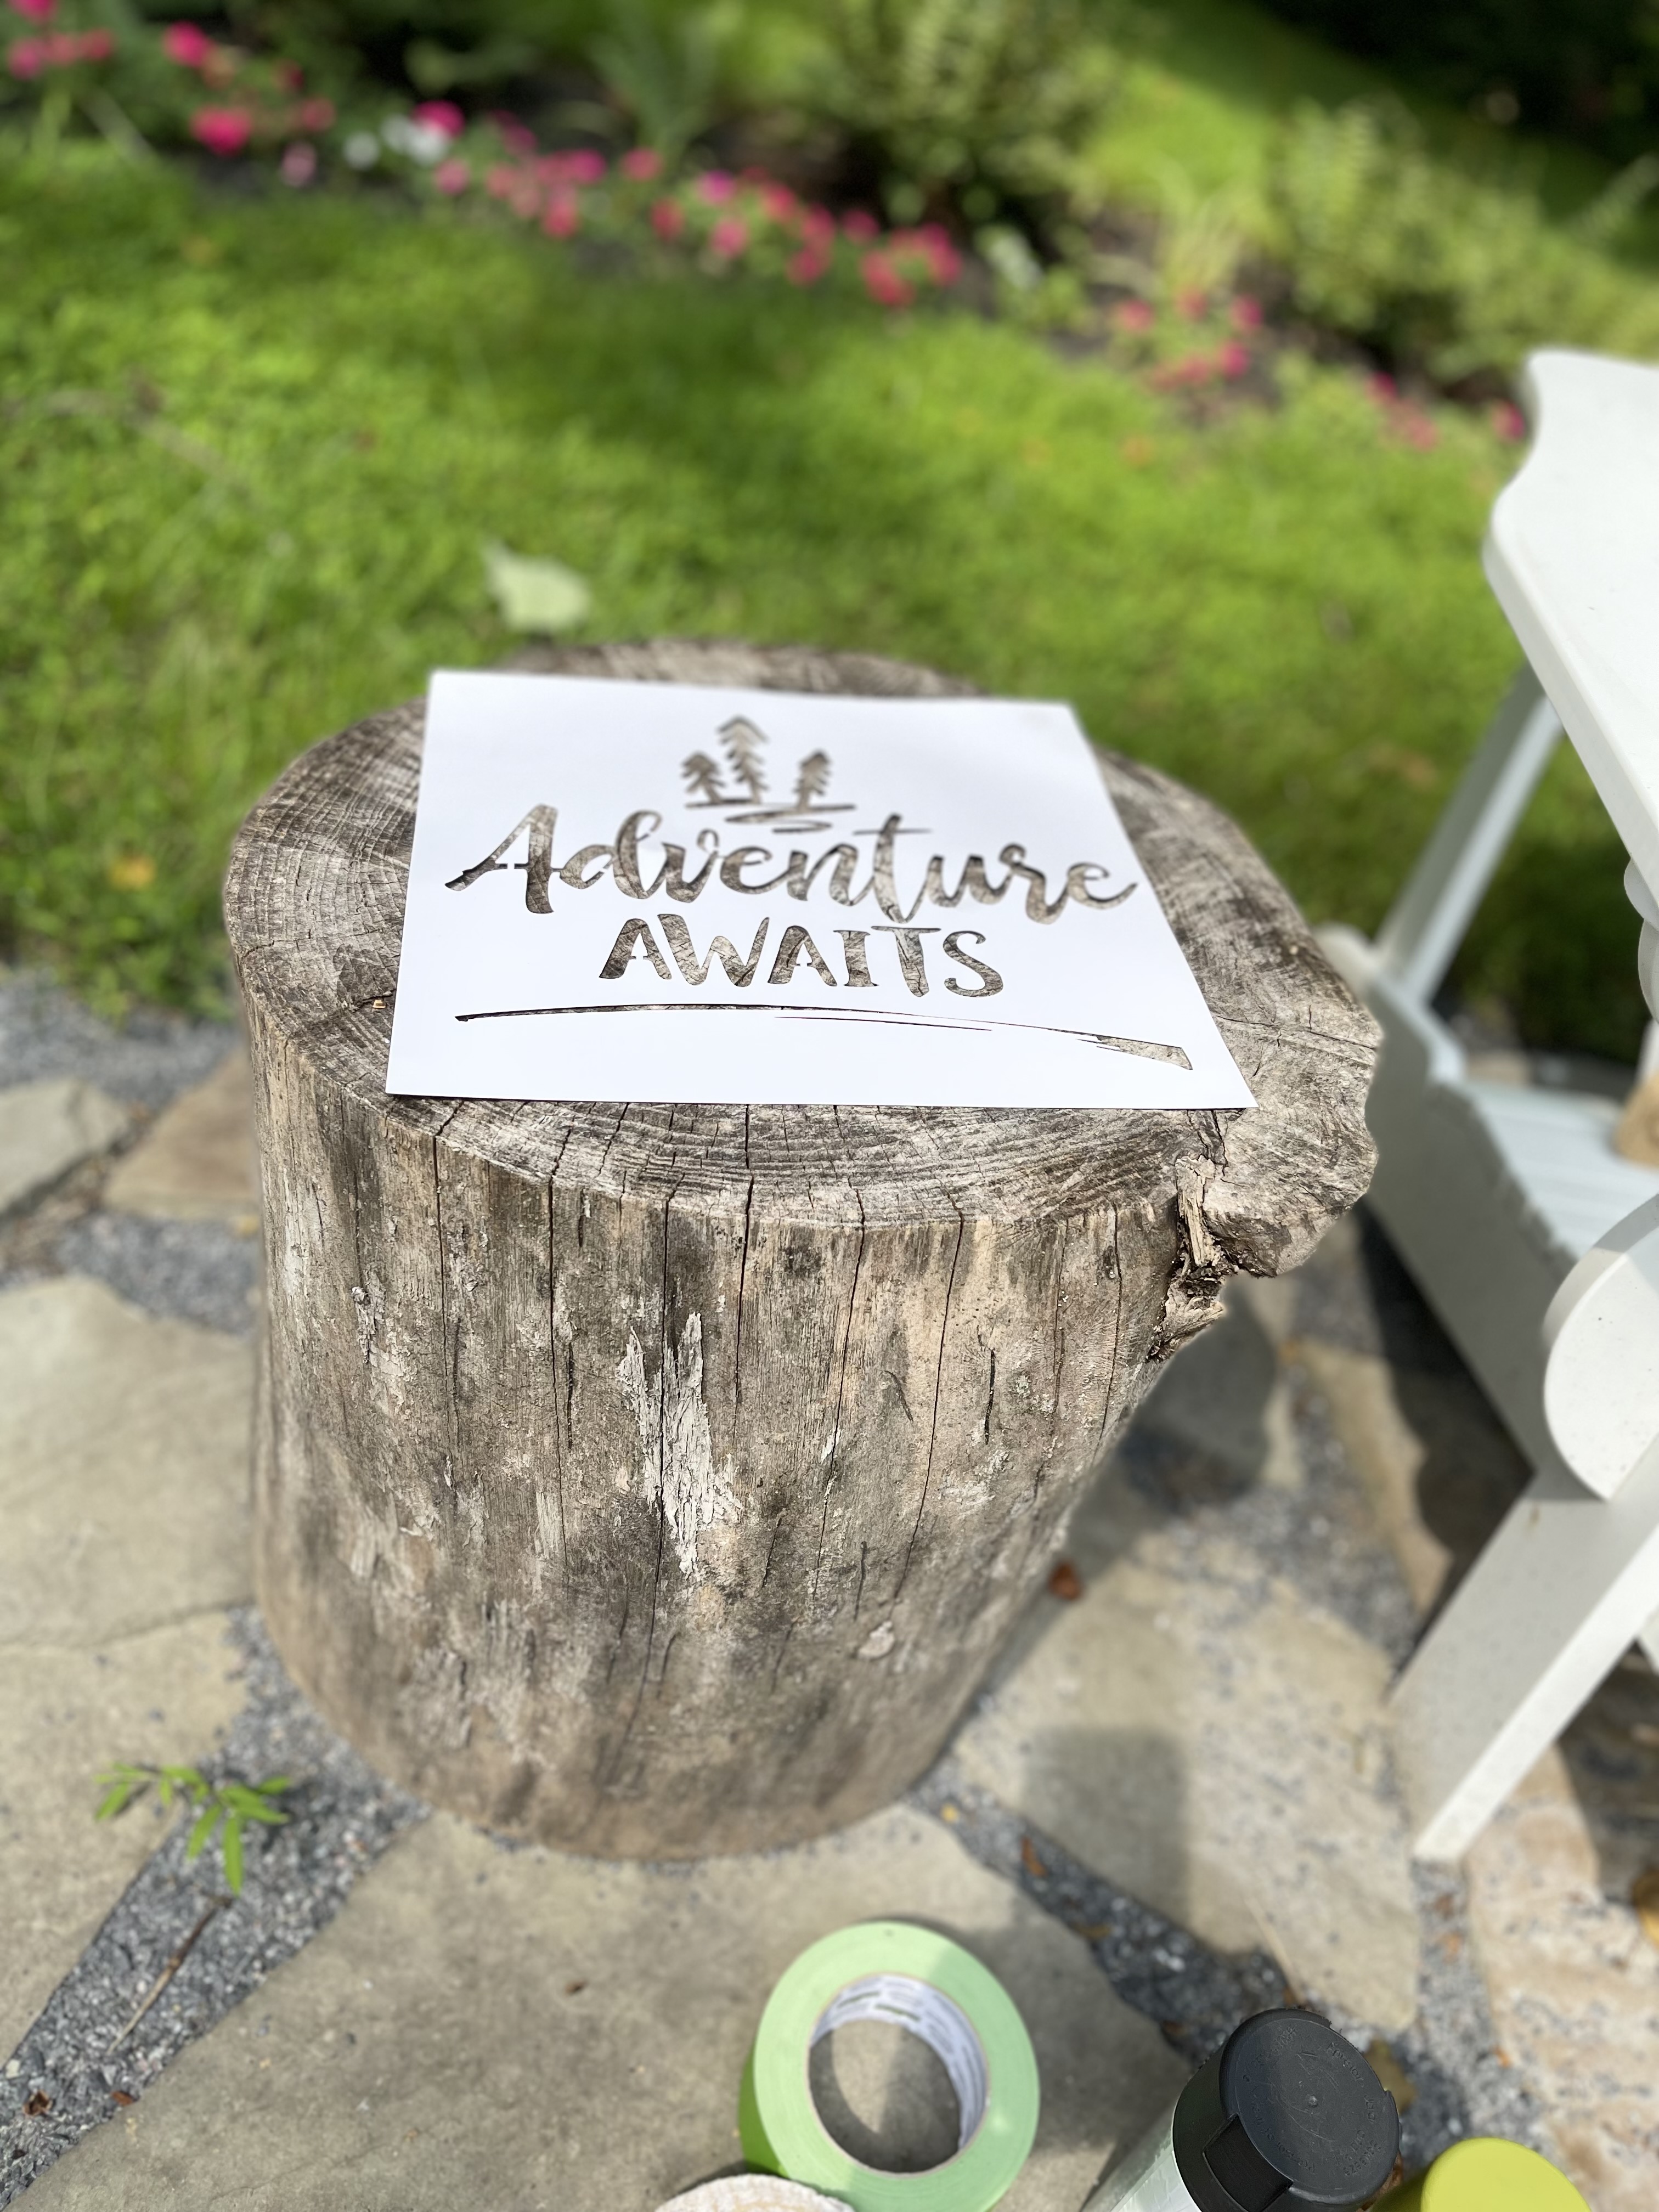
I used an outdoor acrylic paint in black.
It just gives the log a little more personality!
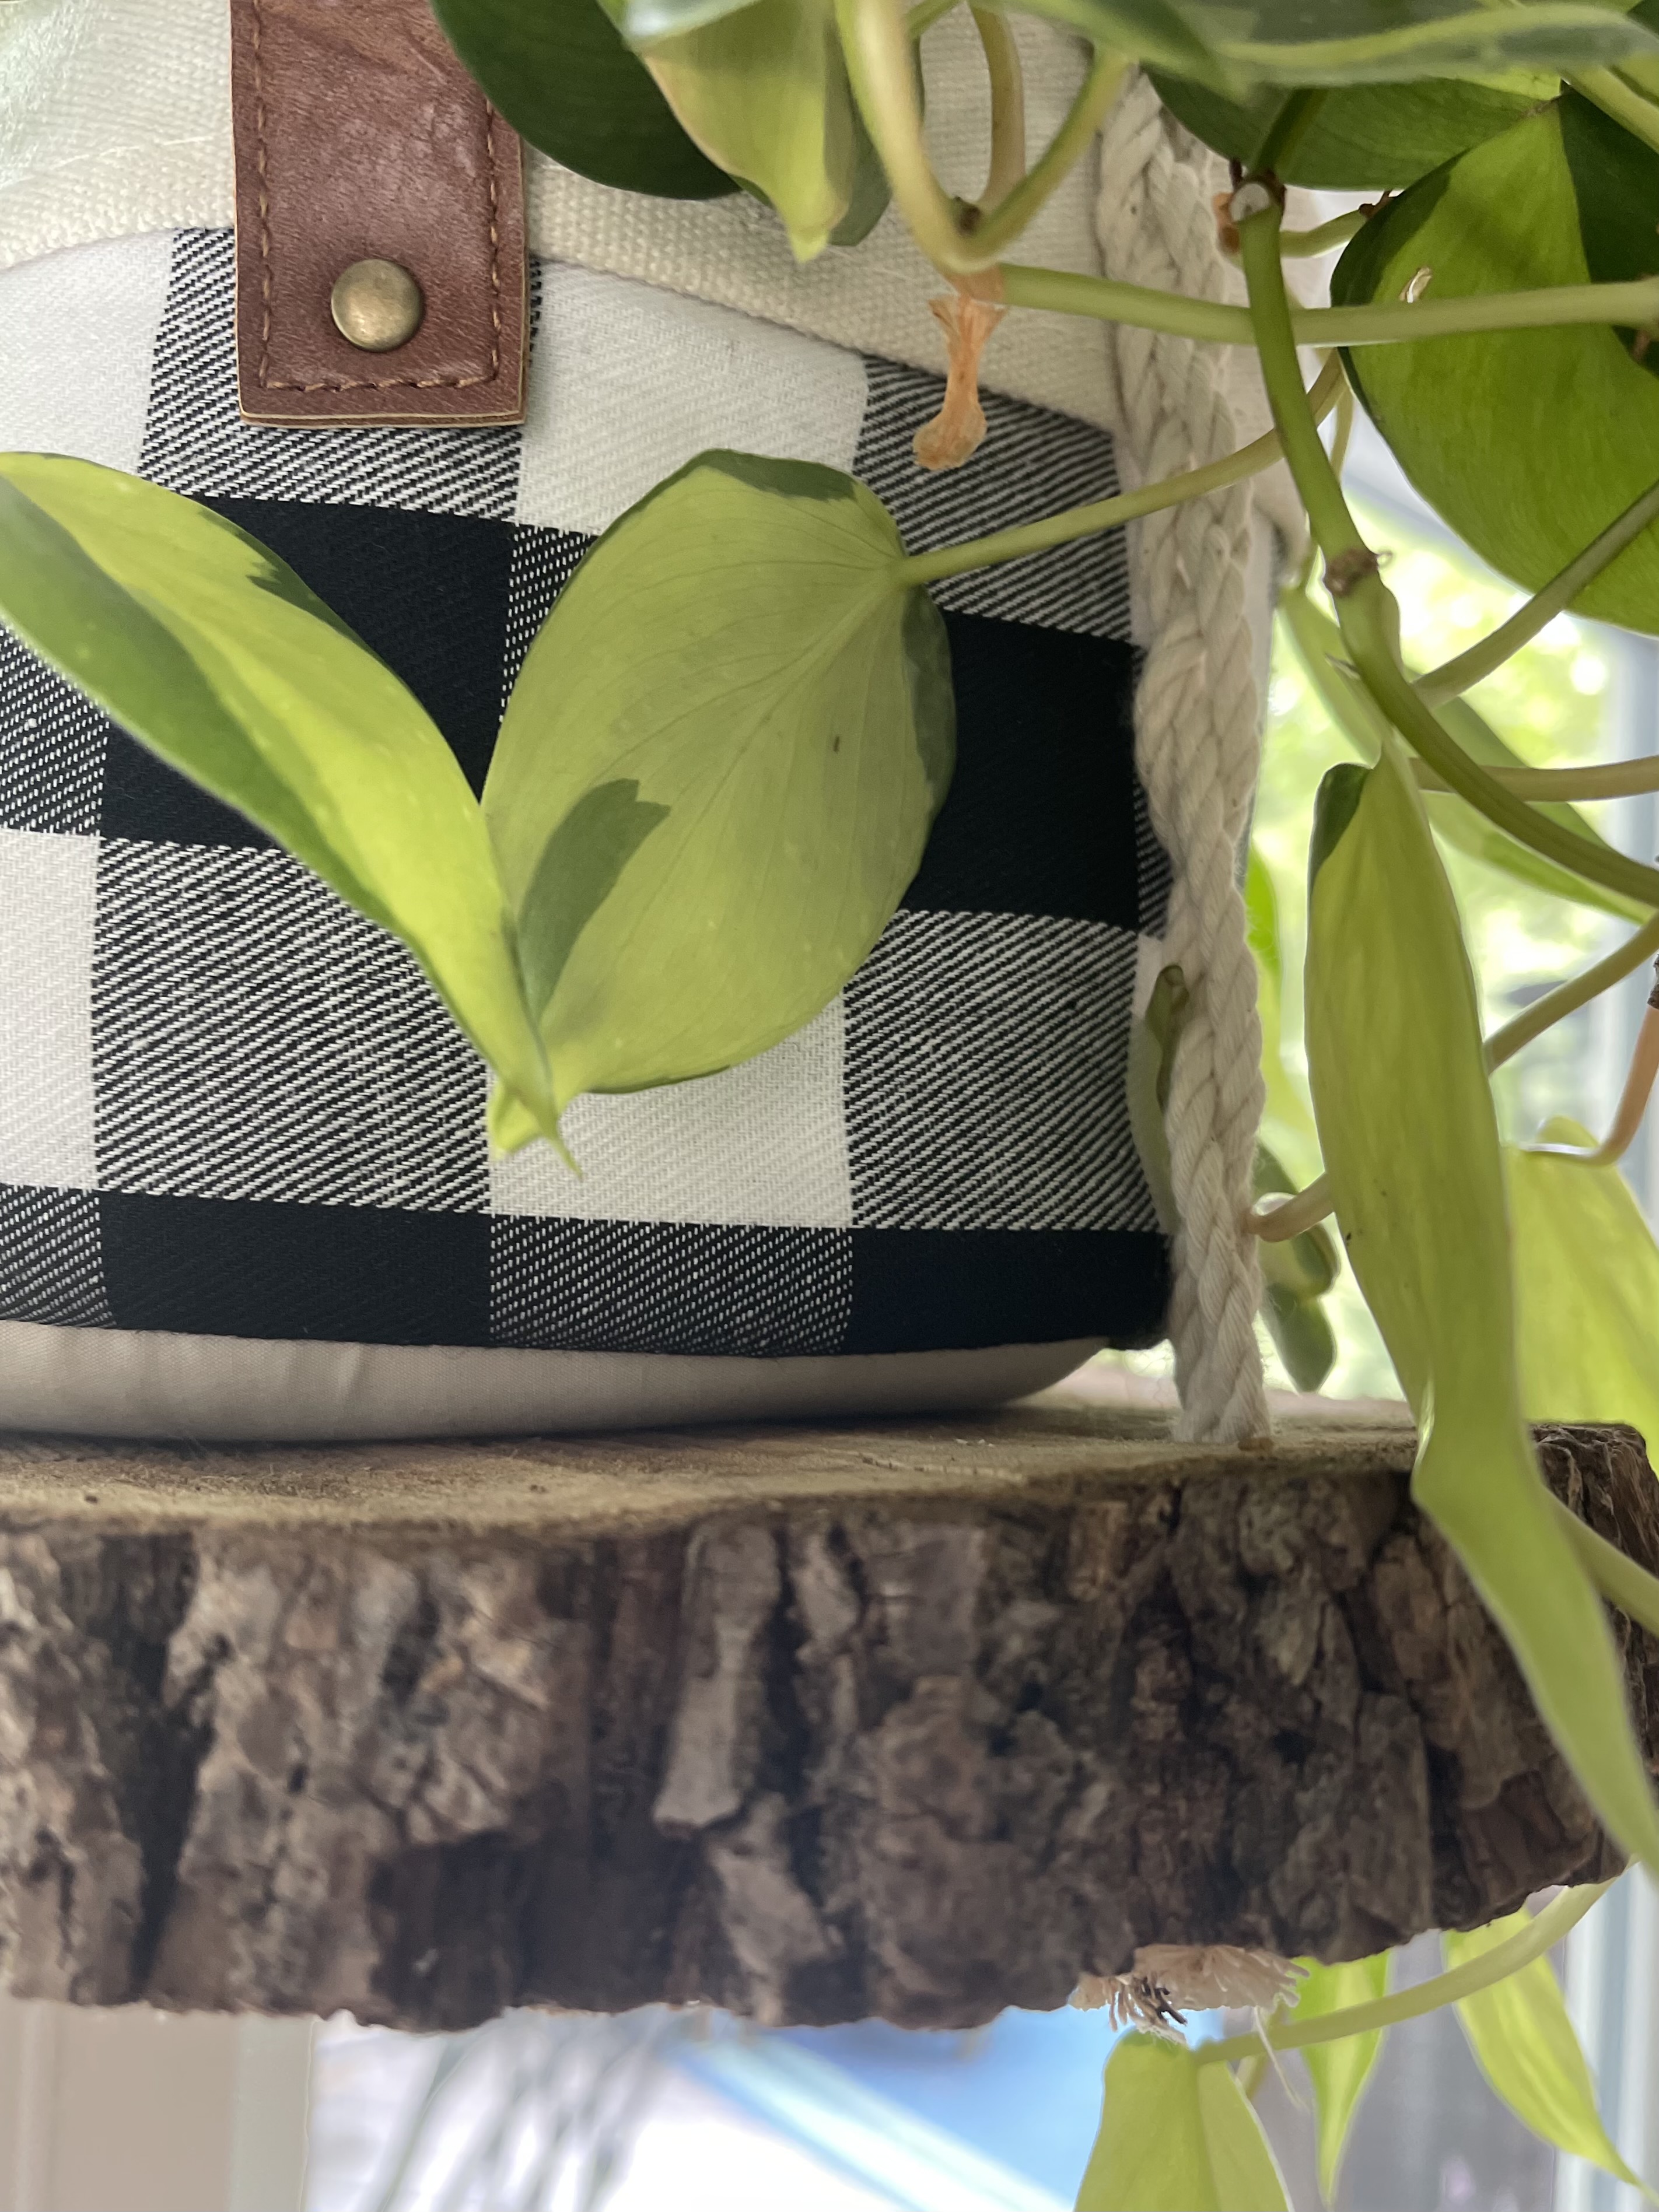
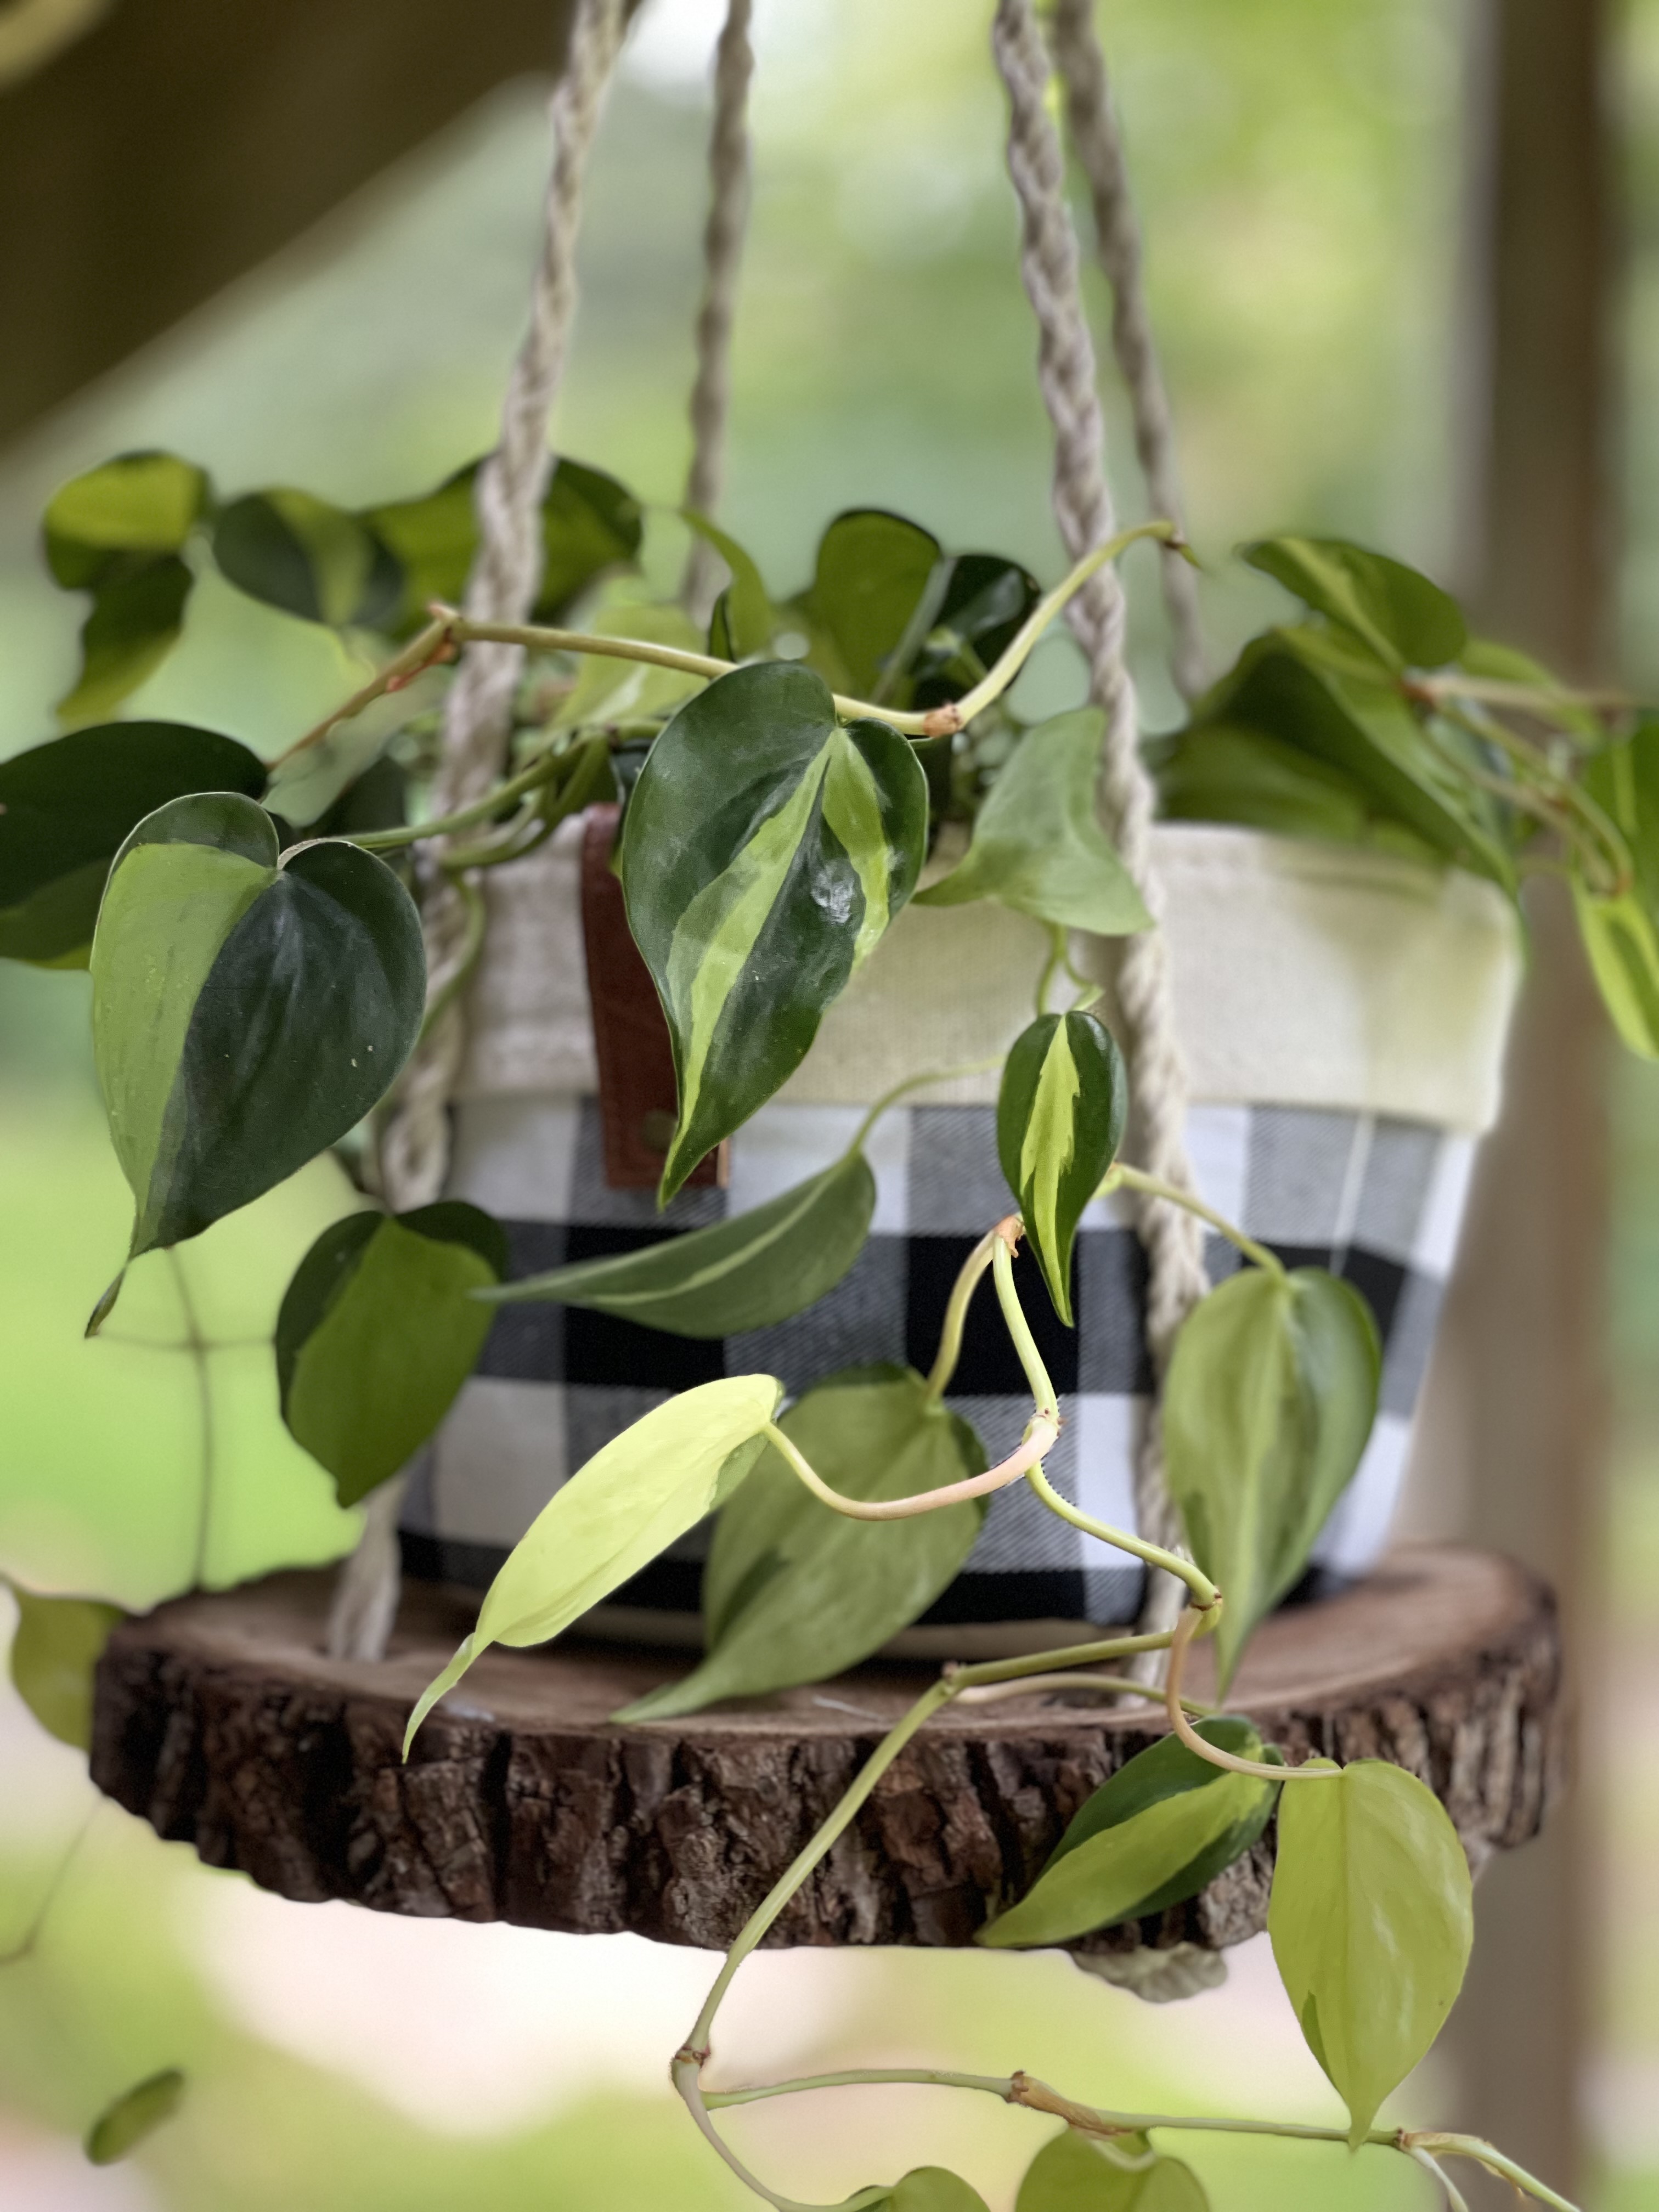
The second project I squeezed out of this downed tree was making a hanging plant holder. I have several slices of the wood and use them as chargers, for vignettes and now for plants!
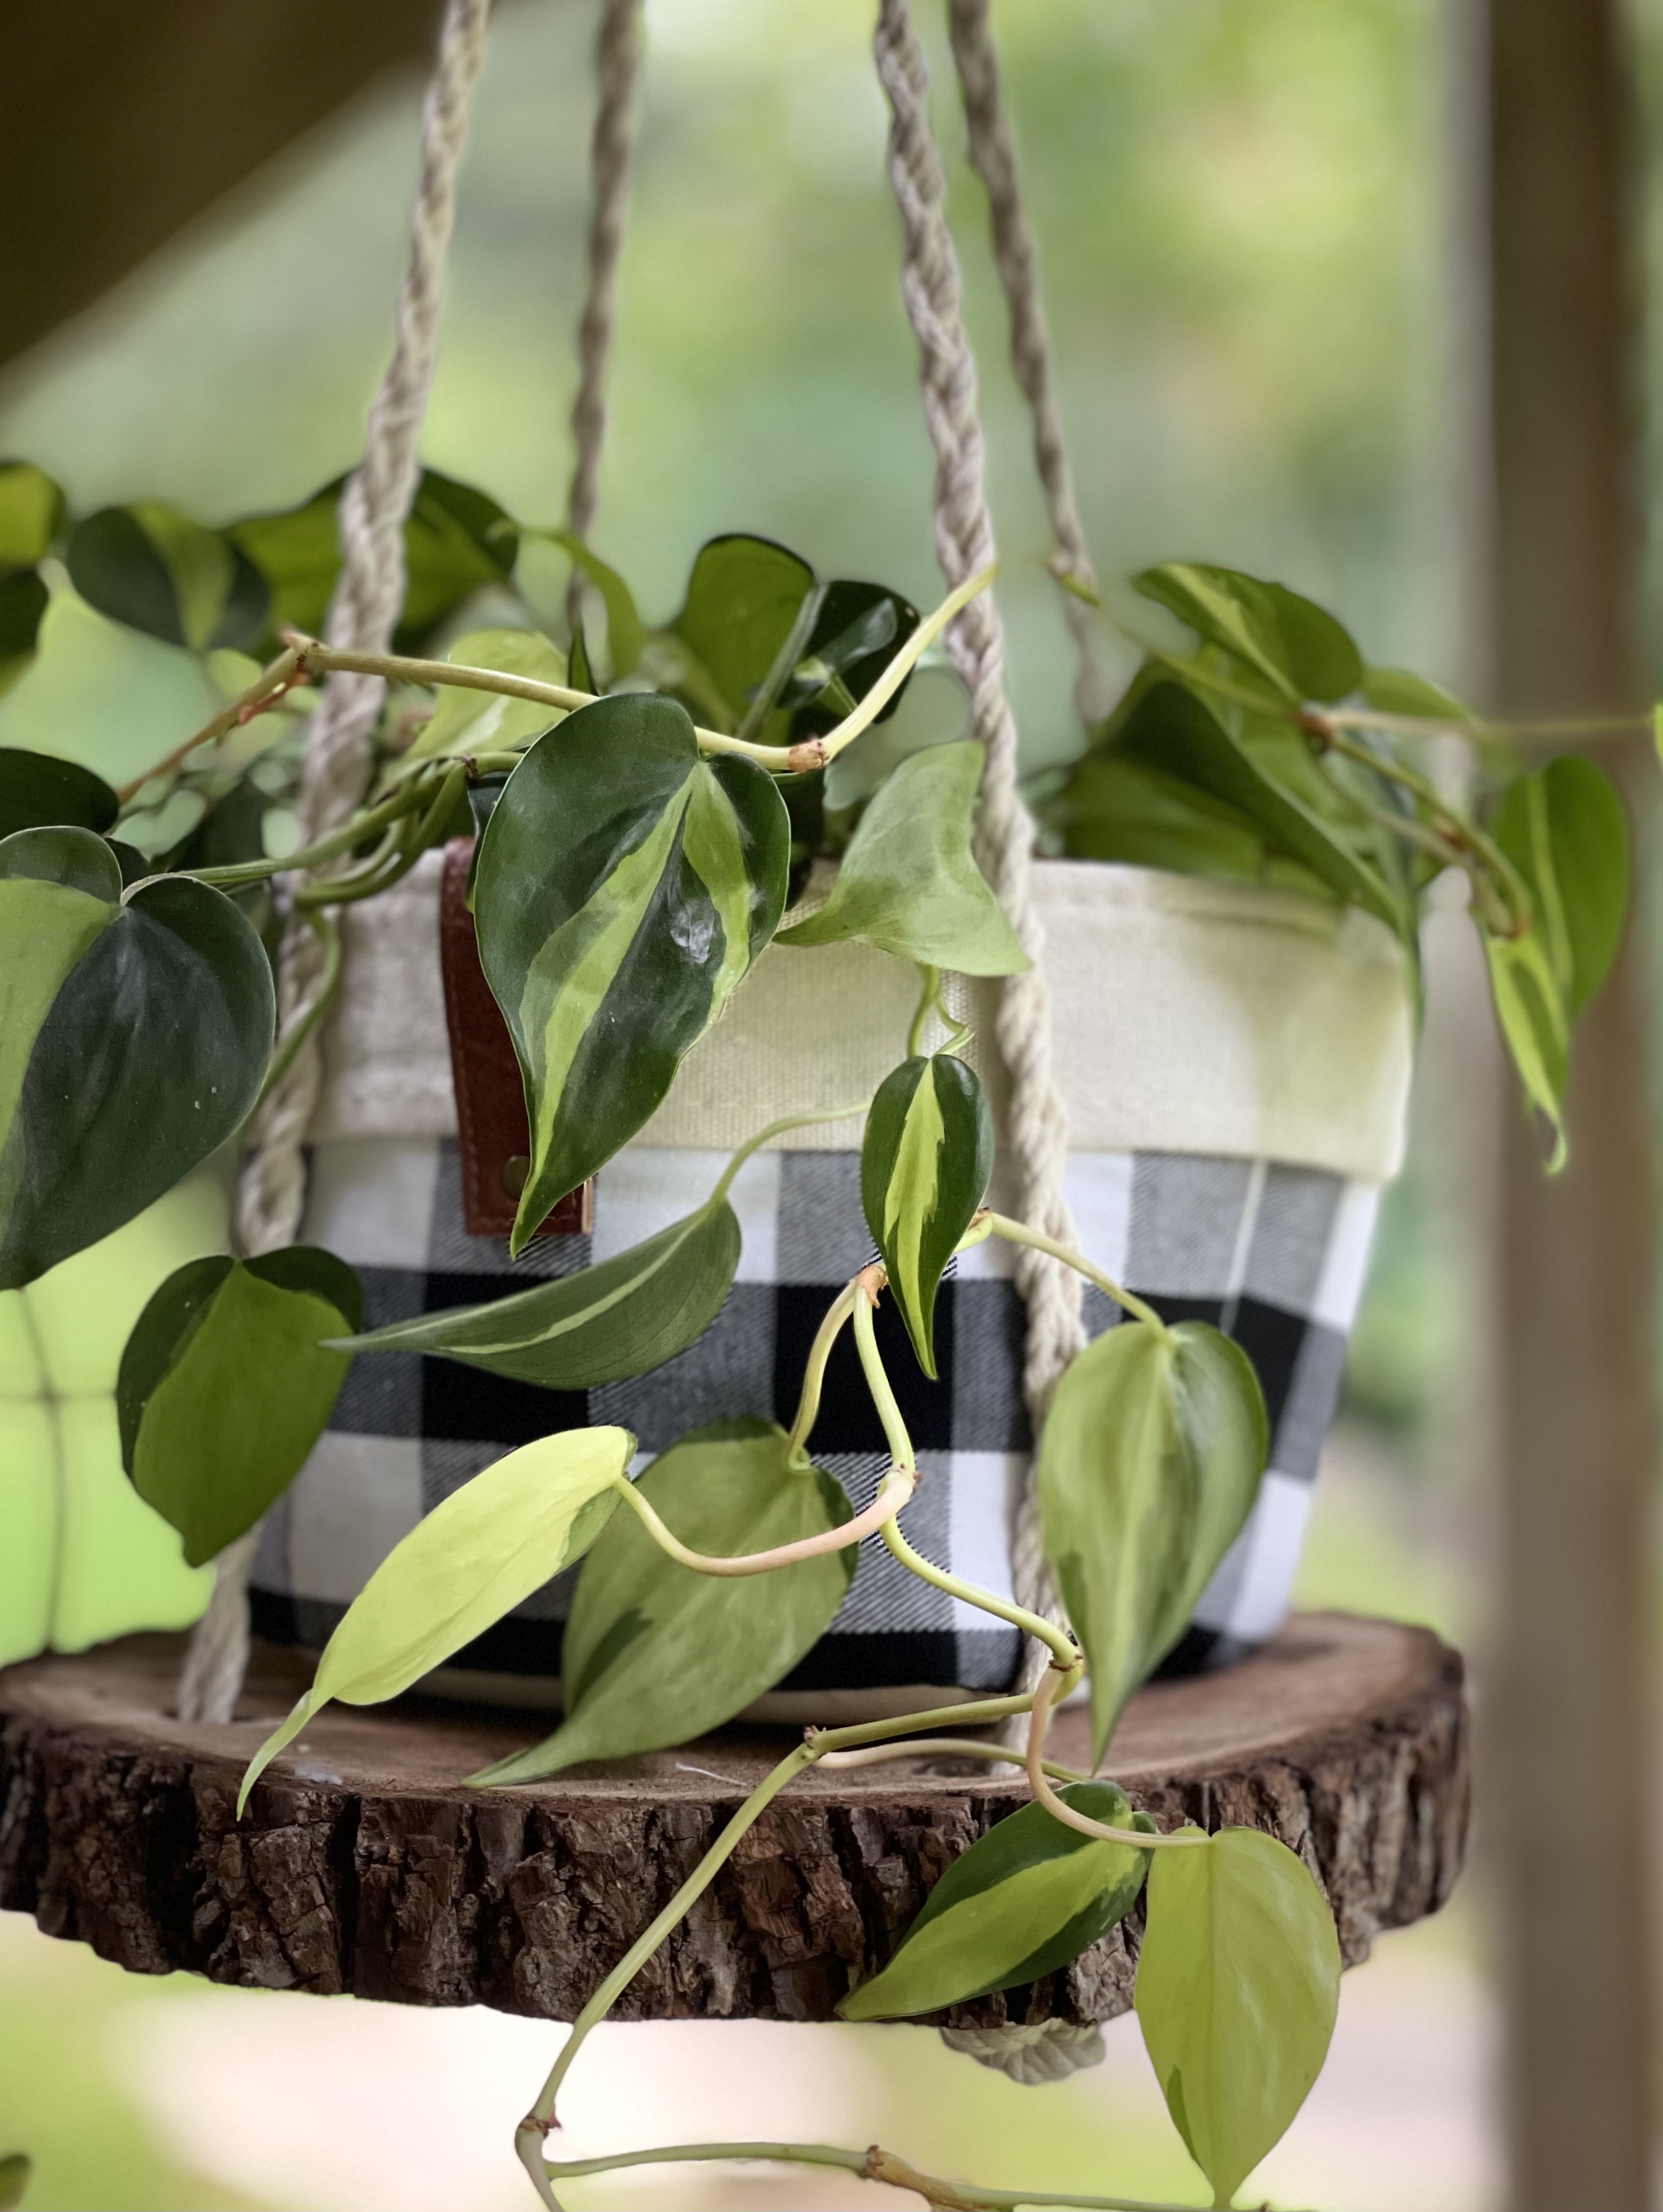
I began by putting holes in the wood with a very large bit and drill. Wearing my safety goggles.
Next I used twine that I had and folded it so it was 3 strings all about the same length. It was already cut so that’s why I folded it in 3.
I put it through the holes, tied a knot and then braided each one.
I burned the edges of the twine to keep them from fraying.
After braiding the twine, I needed a way to attach them at the top. I had a loop on each one. The video shows how I did it.
Next was to drill a hole through the large wooden bead so I could slide it over the wire.
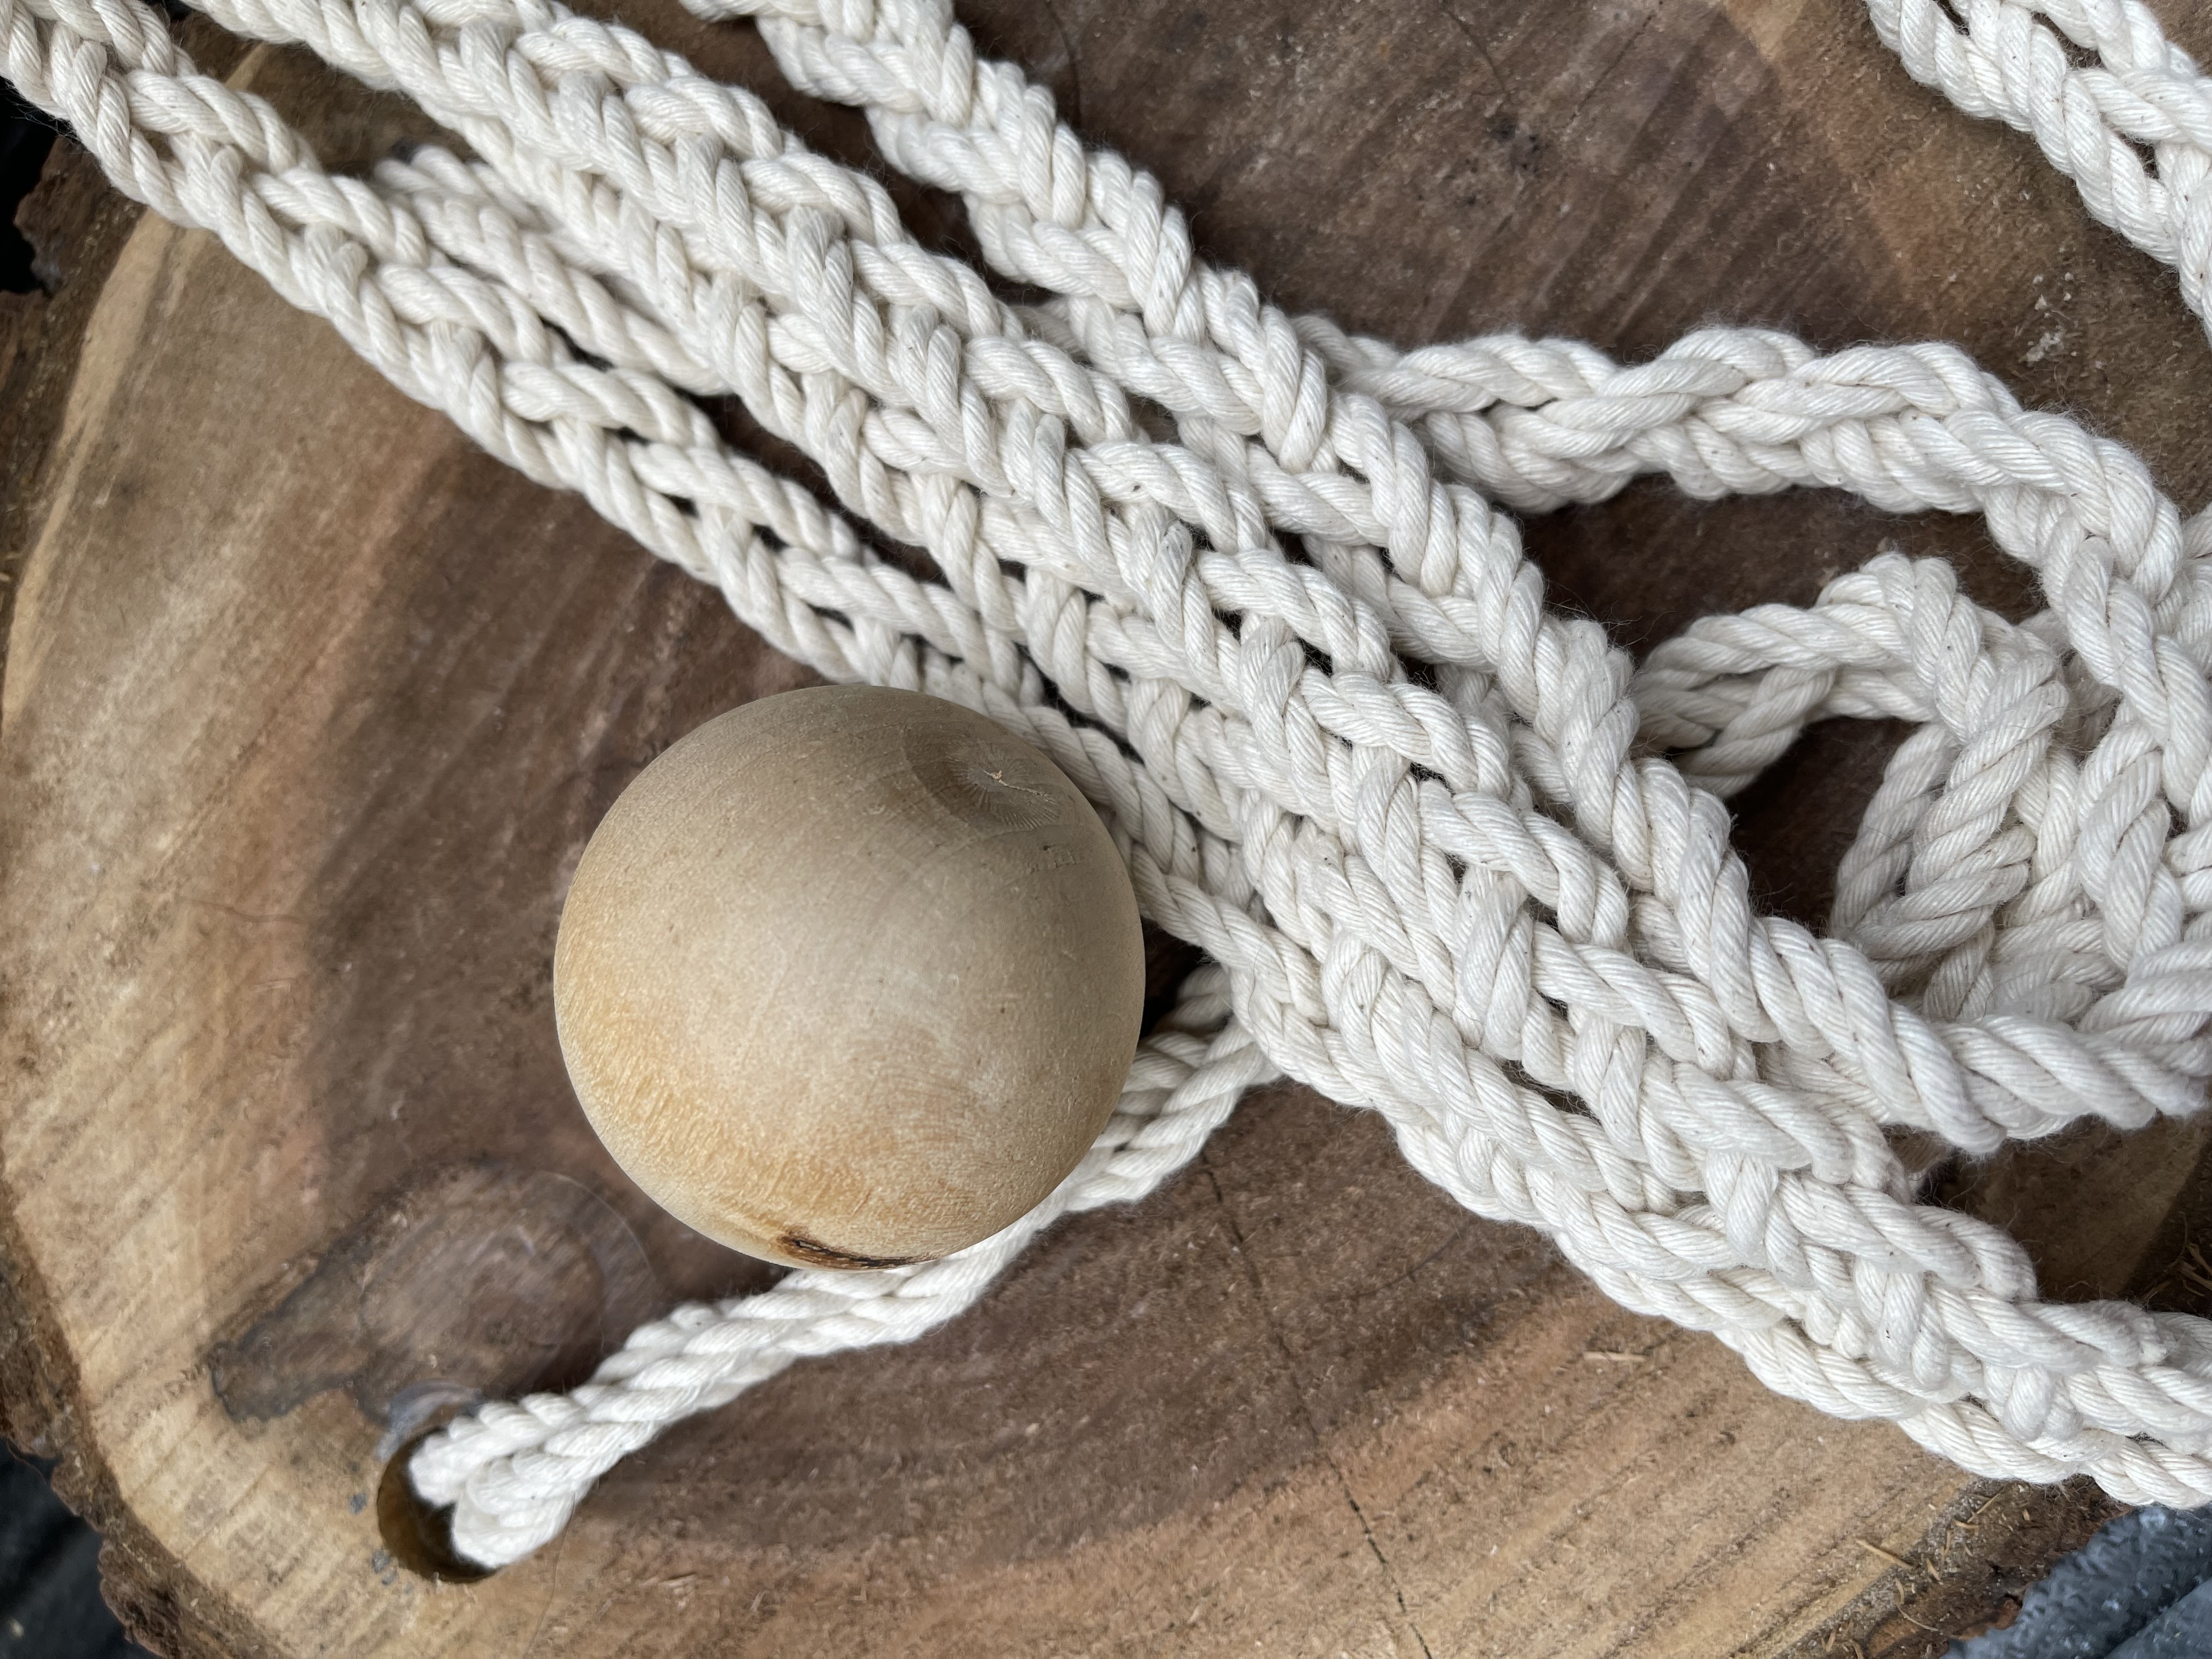
Below is the wire I needed to cover with the bead.
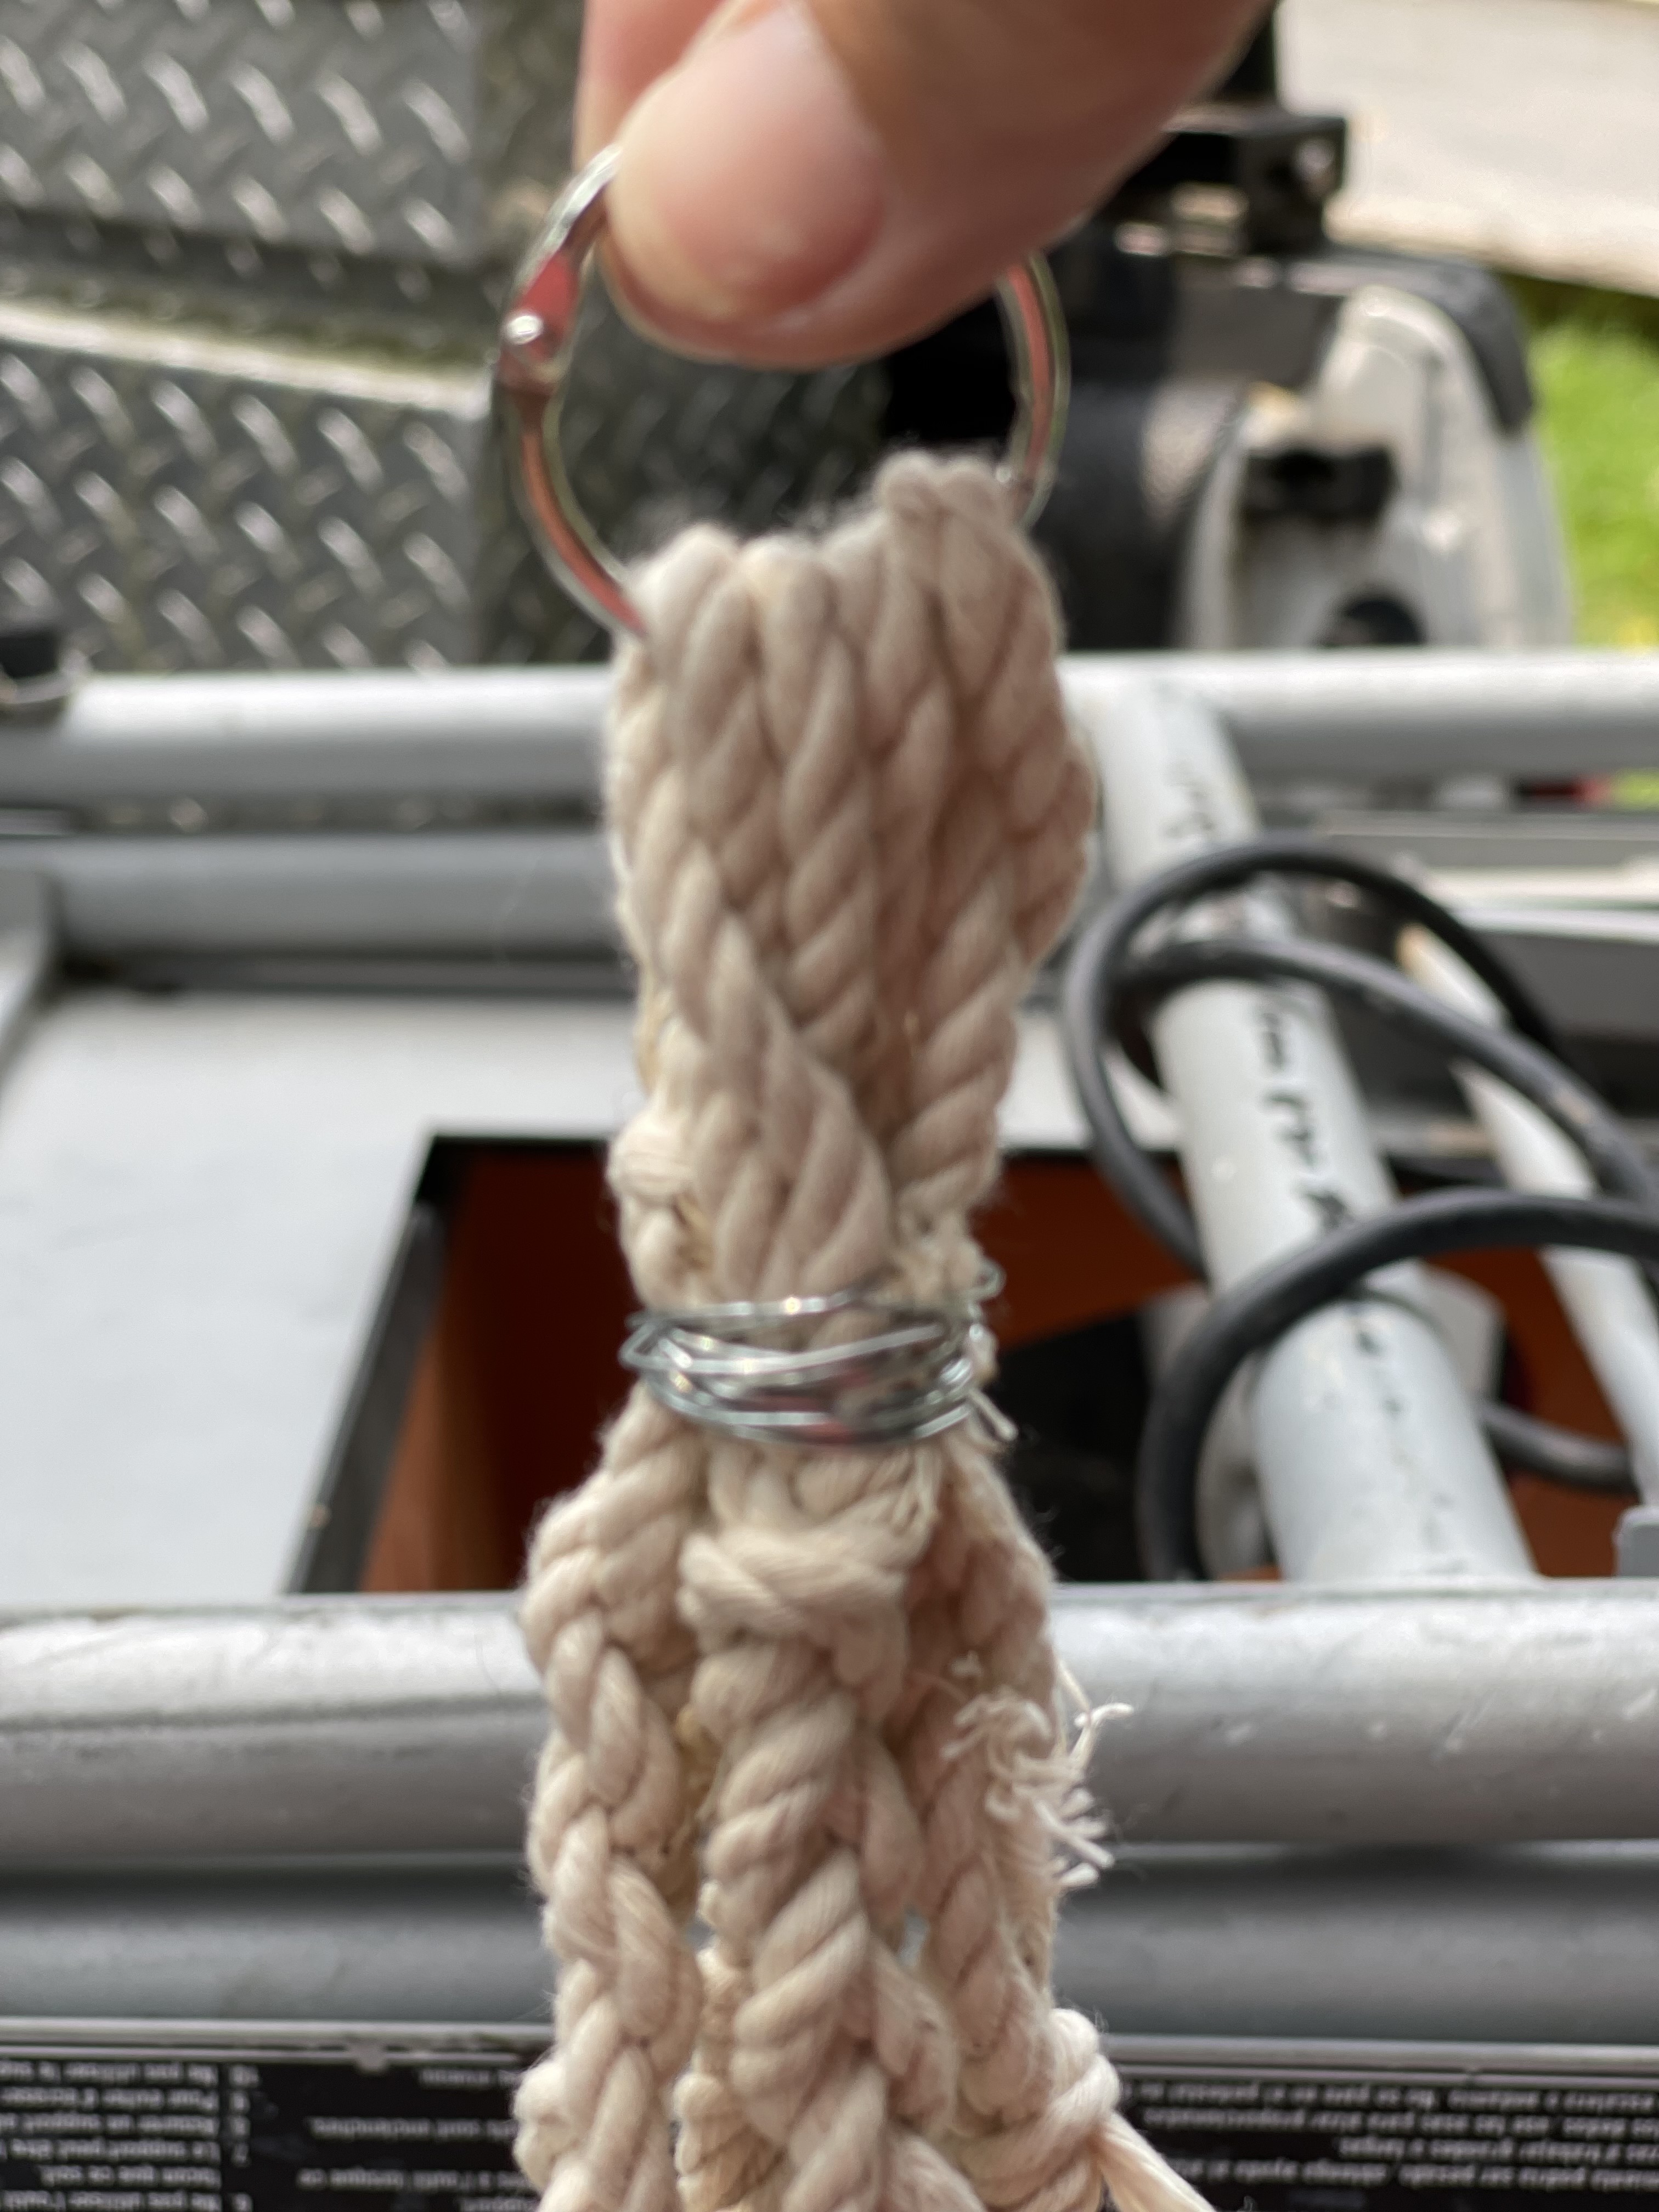
It slid down perfectly and now it was time to hang. This easy DIY didn’t cost a cent. I had the wood beads, the twine, wire, and the ring so this was a win for me!
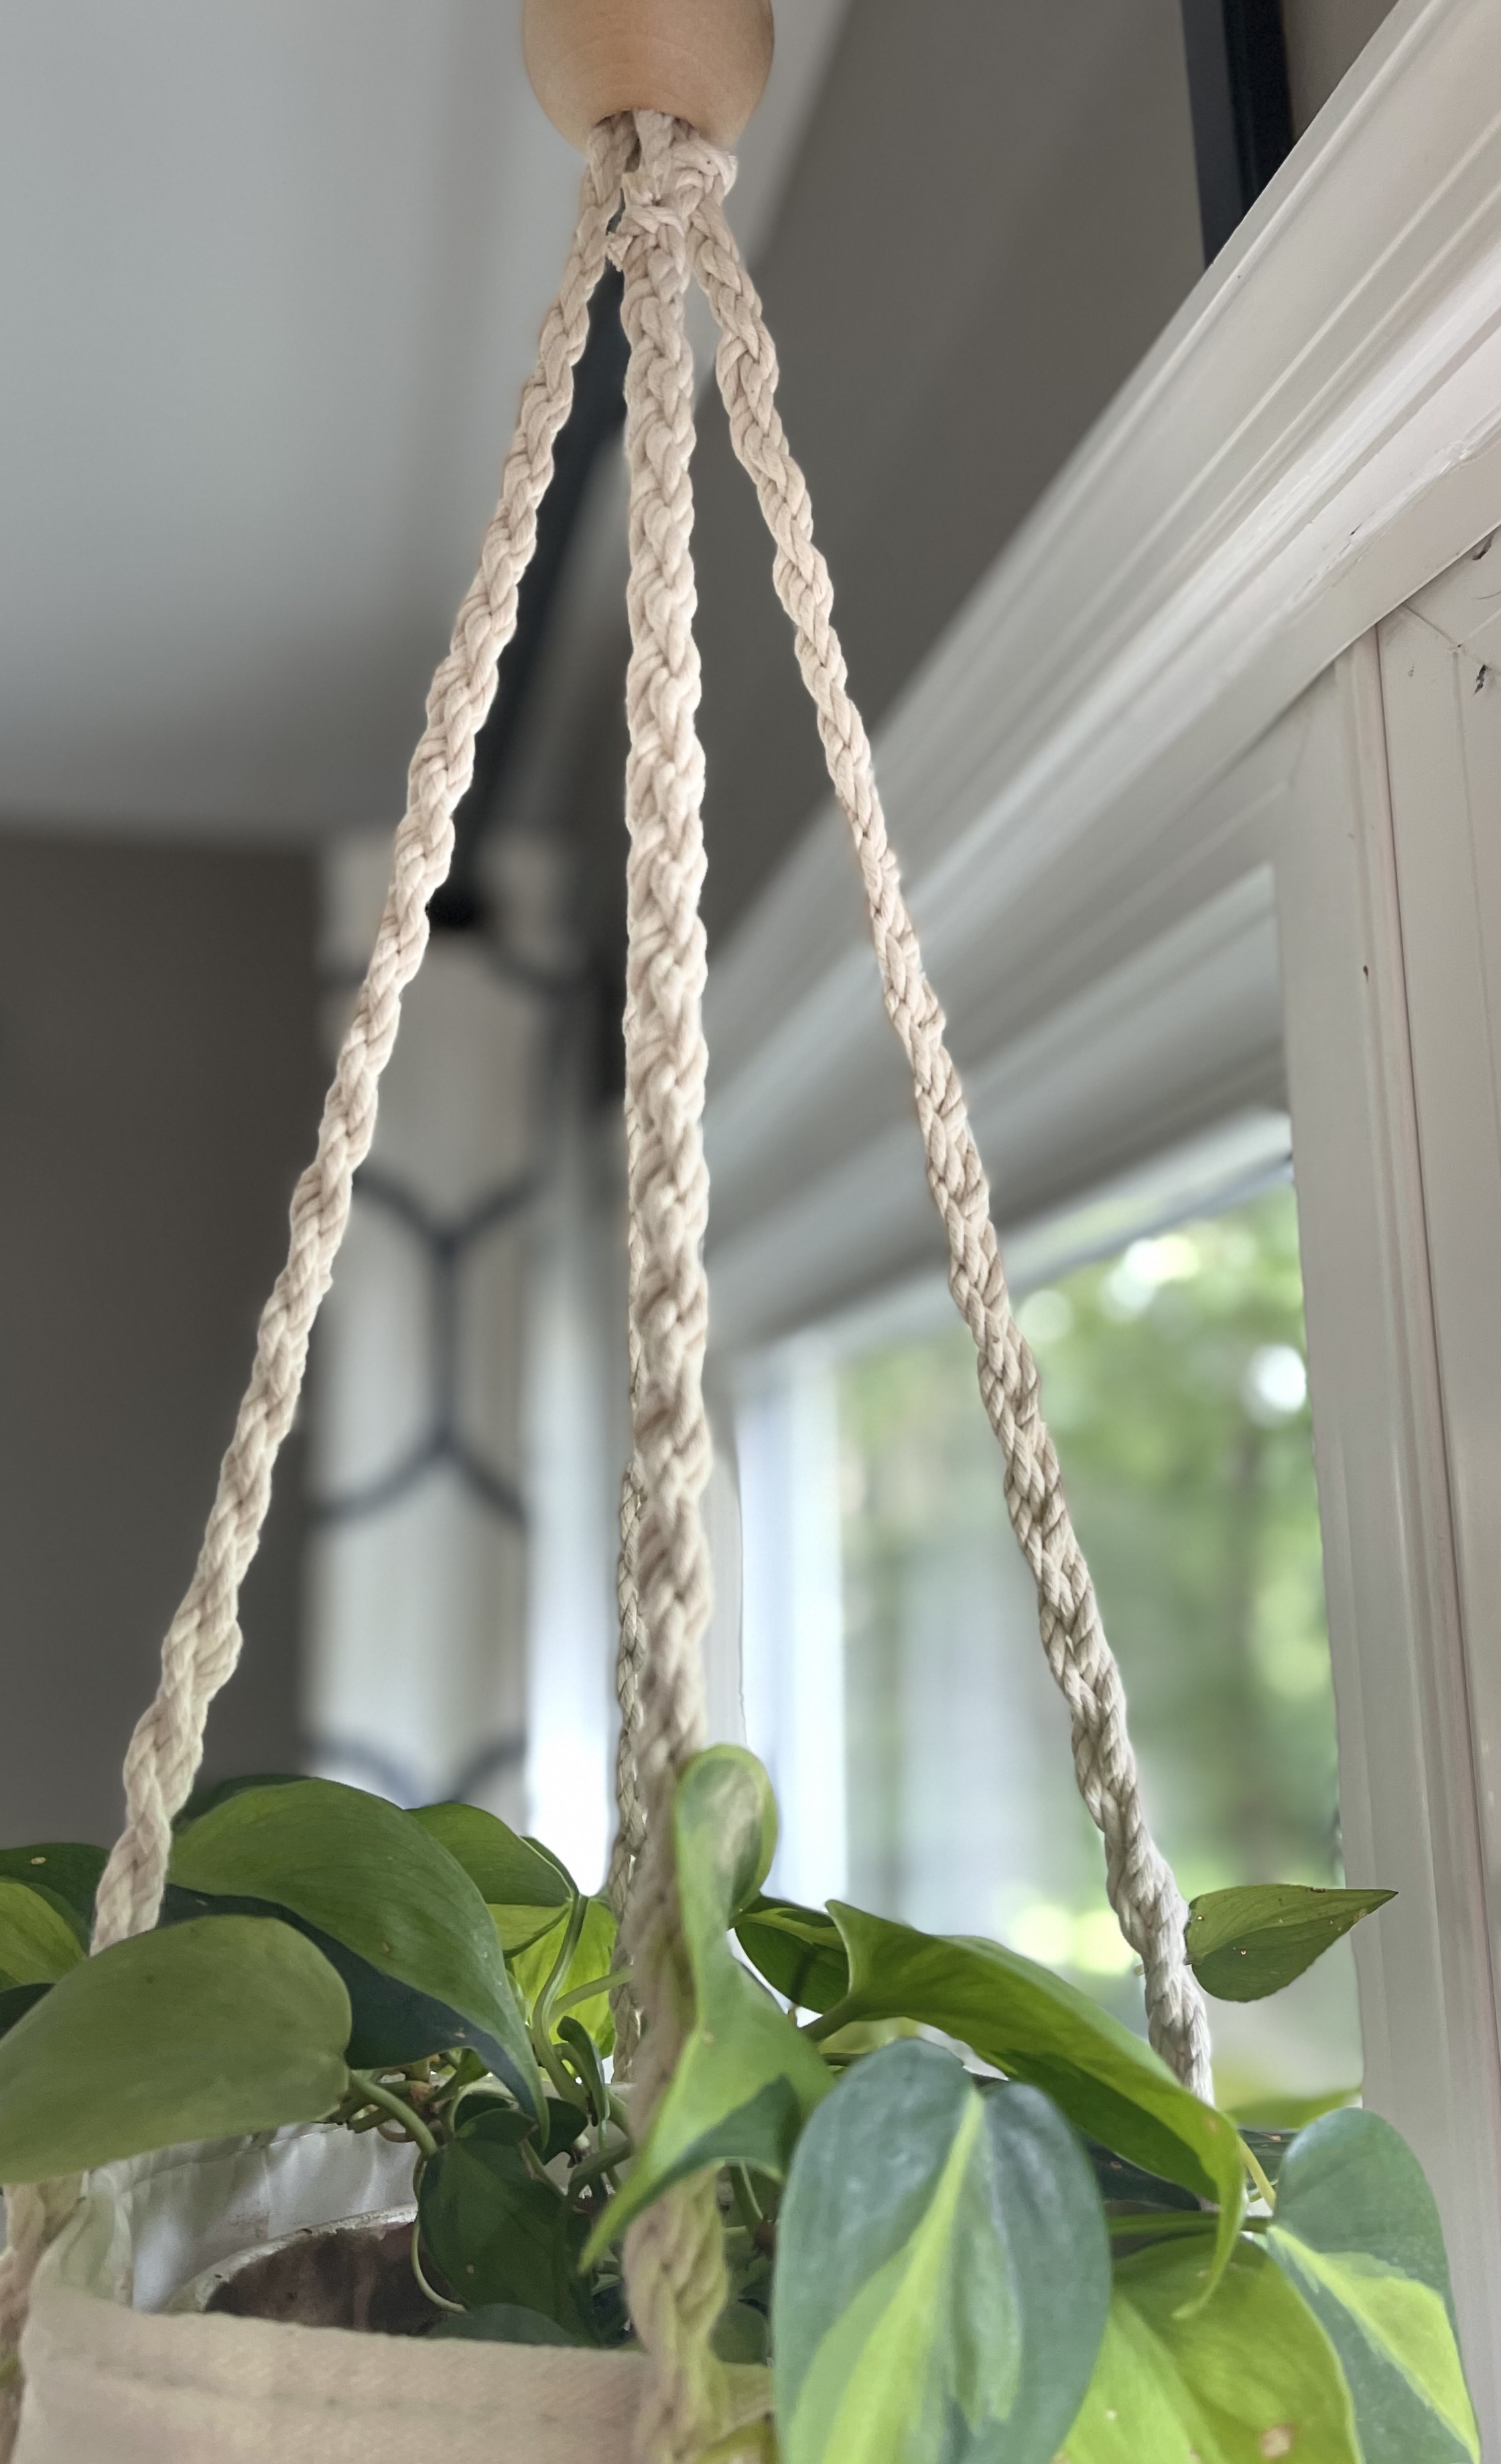
I decided to use a plant that I have in this buffalo check basket. I am warming up my space outside next to the hot tub so this is where it will go.
Another use for the wood slices are in vignettes. They are so versatile, so next time you take a tree down, or see a log on the side of the road…think twice! It can become so much more.

Here is a sneak peek of the wood waiting to be transformed in the shed. I see tables with hairpin legs and more!
Thanks for coming along to see what you can do with extra wood in addition to burning it in your fire pit.
If you enjoy what you see, subscribe to my blog and don’t miss a post or feel free to comment and share! That’s the only way I will grow – and I appreciate your support!
XO, Regina

Leave a Reply