My niece got married last weekend. It was a beautiful outdoor ceremony in a vineyard overlooking an amazing view. The sun was shining, and despite the July heat, a warm breeze floated over as guests watched the attendants get in place.
The very personal ceremony was officiated by a cousin of the bride. Just before the vows, a gorgeous blue butterfly appeared from behind the flower arch and fluttered across the crowd. I’m sure I wasn’t the only one who just knew it was the presence of loved ones who were no longer with us. You could hear birds chirping over the music, it was perfect.
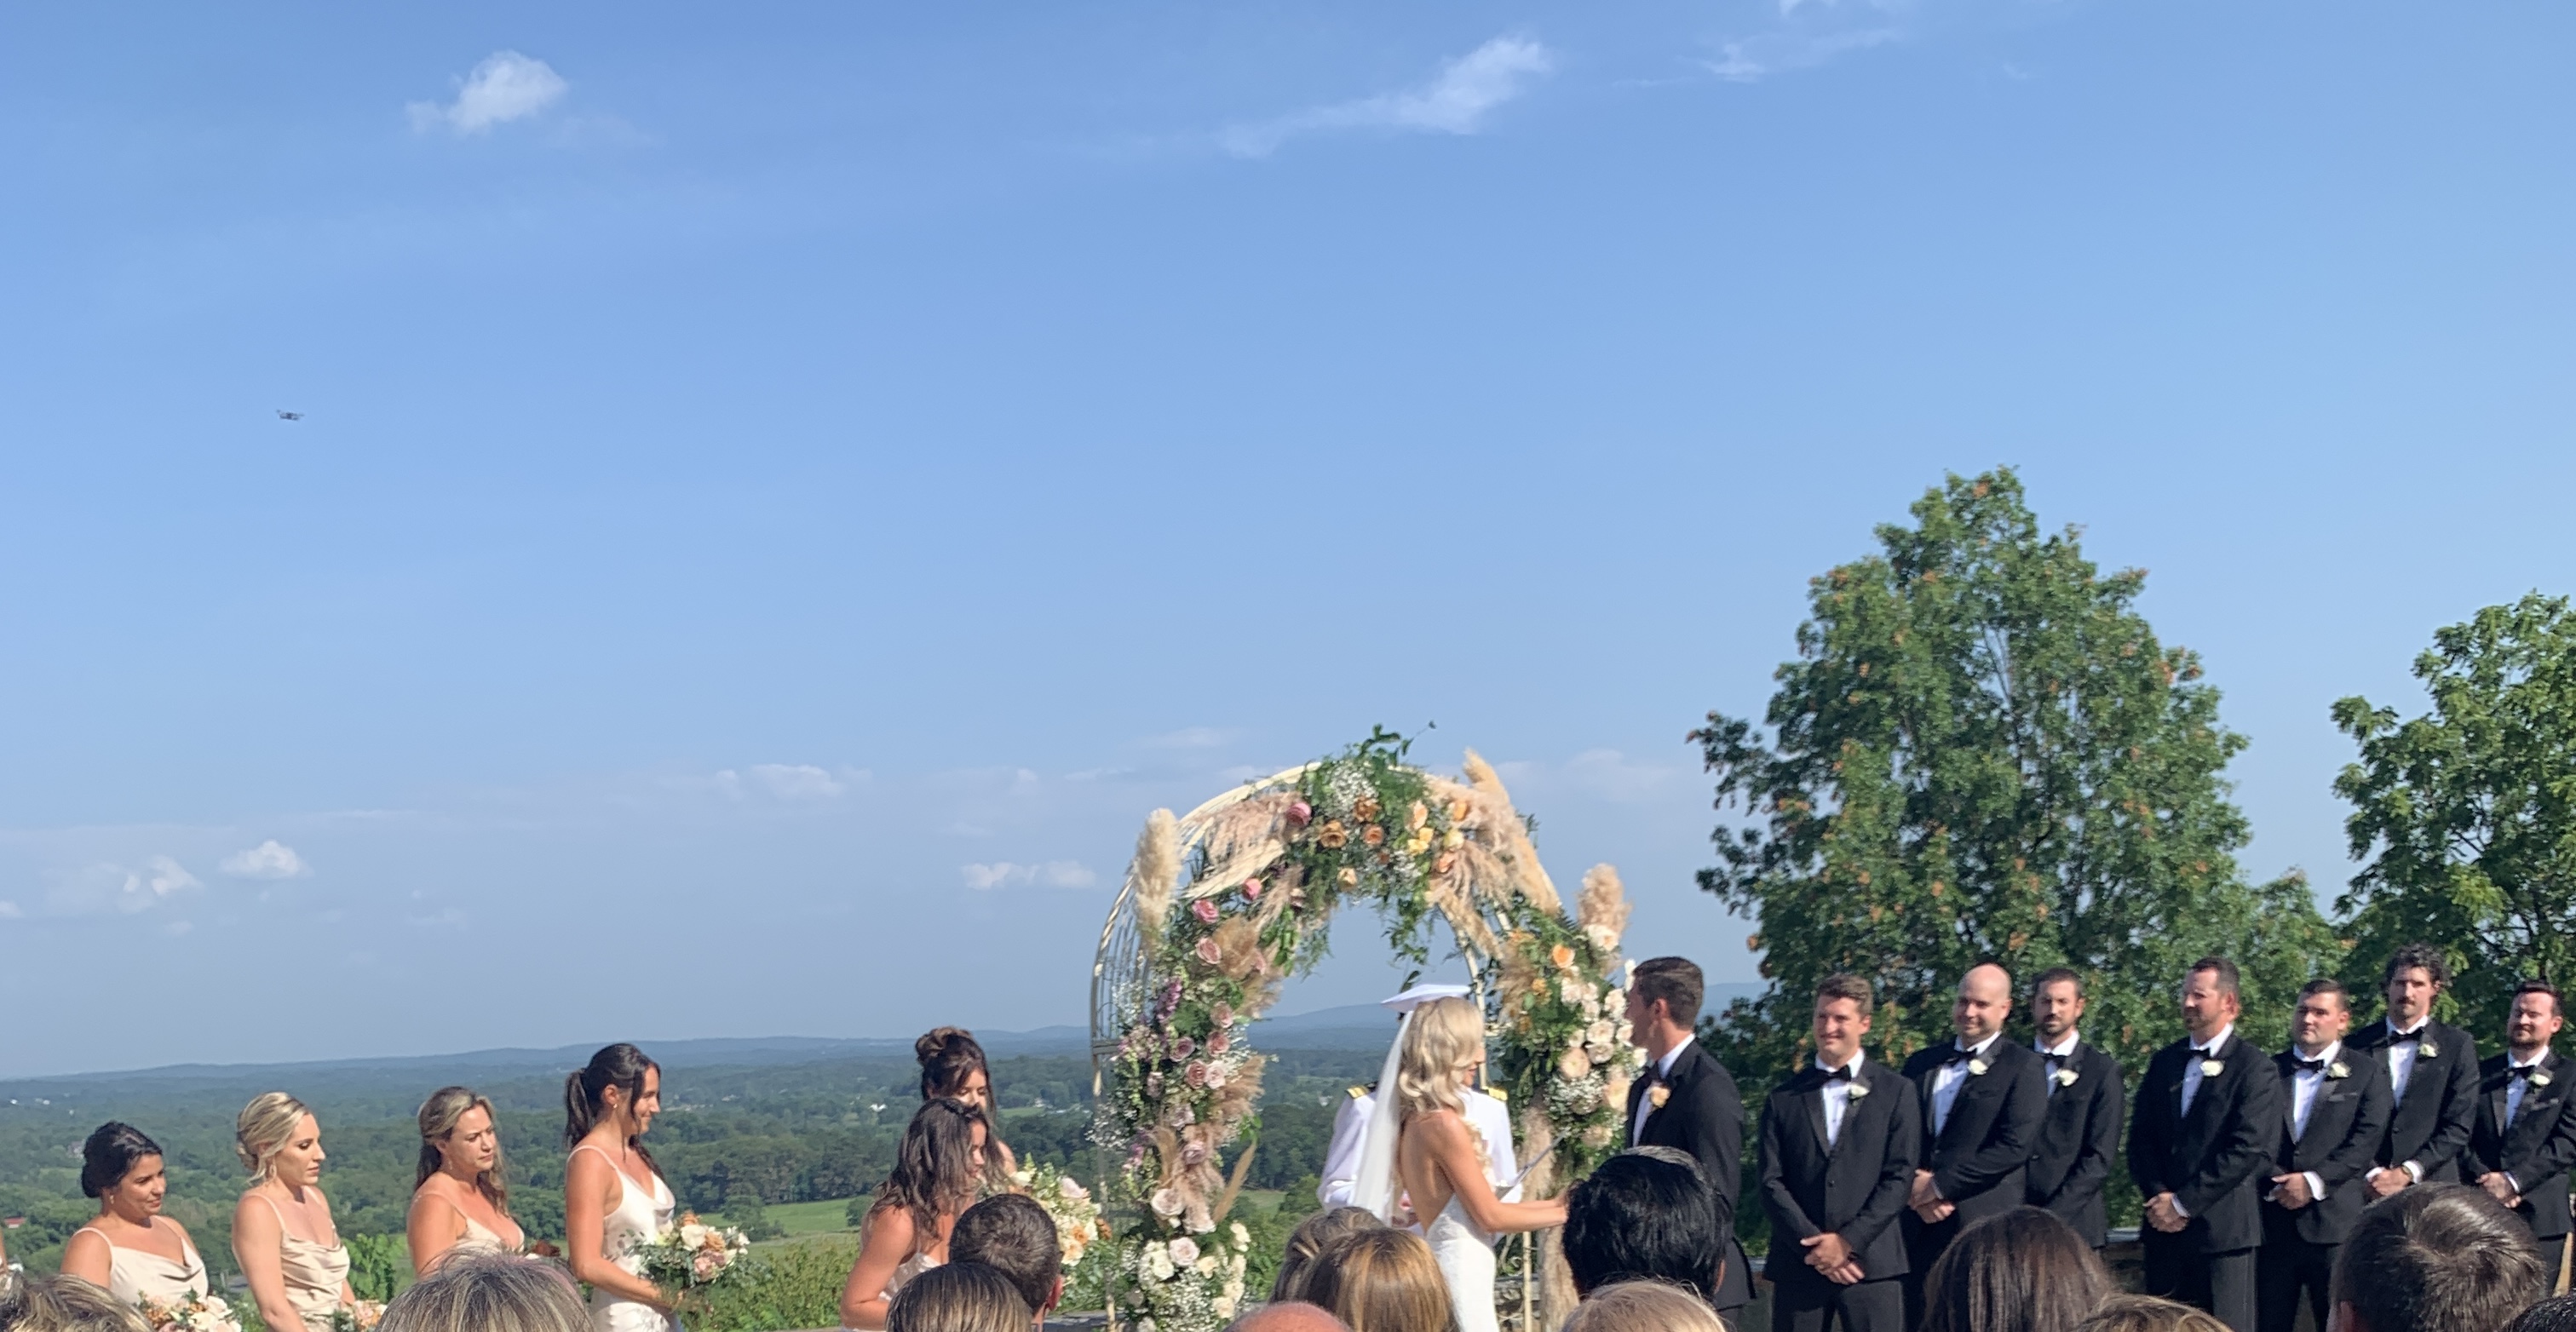
I’m sure it was everything she dreamed of.
Yes, wedding season is here – and many are welcoming out of town guests, here I’ll share how easy it is to make welcome bags for guests staying over. It’s not difficult and can save lots of $$$. Weddings if you’ve noticed are not cheap events!
Think: Favorite cookie? Favorite color? Favorite snack? It’s simple to personalize a gift bag yourself and save.
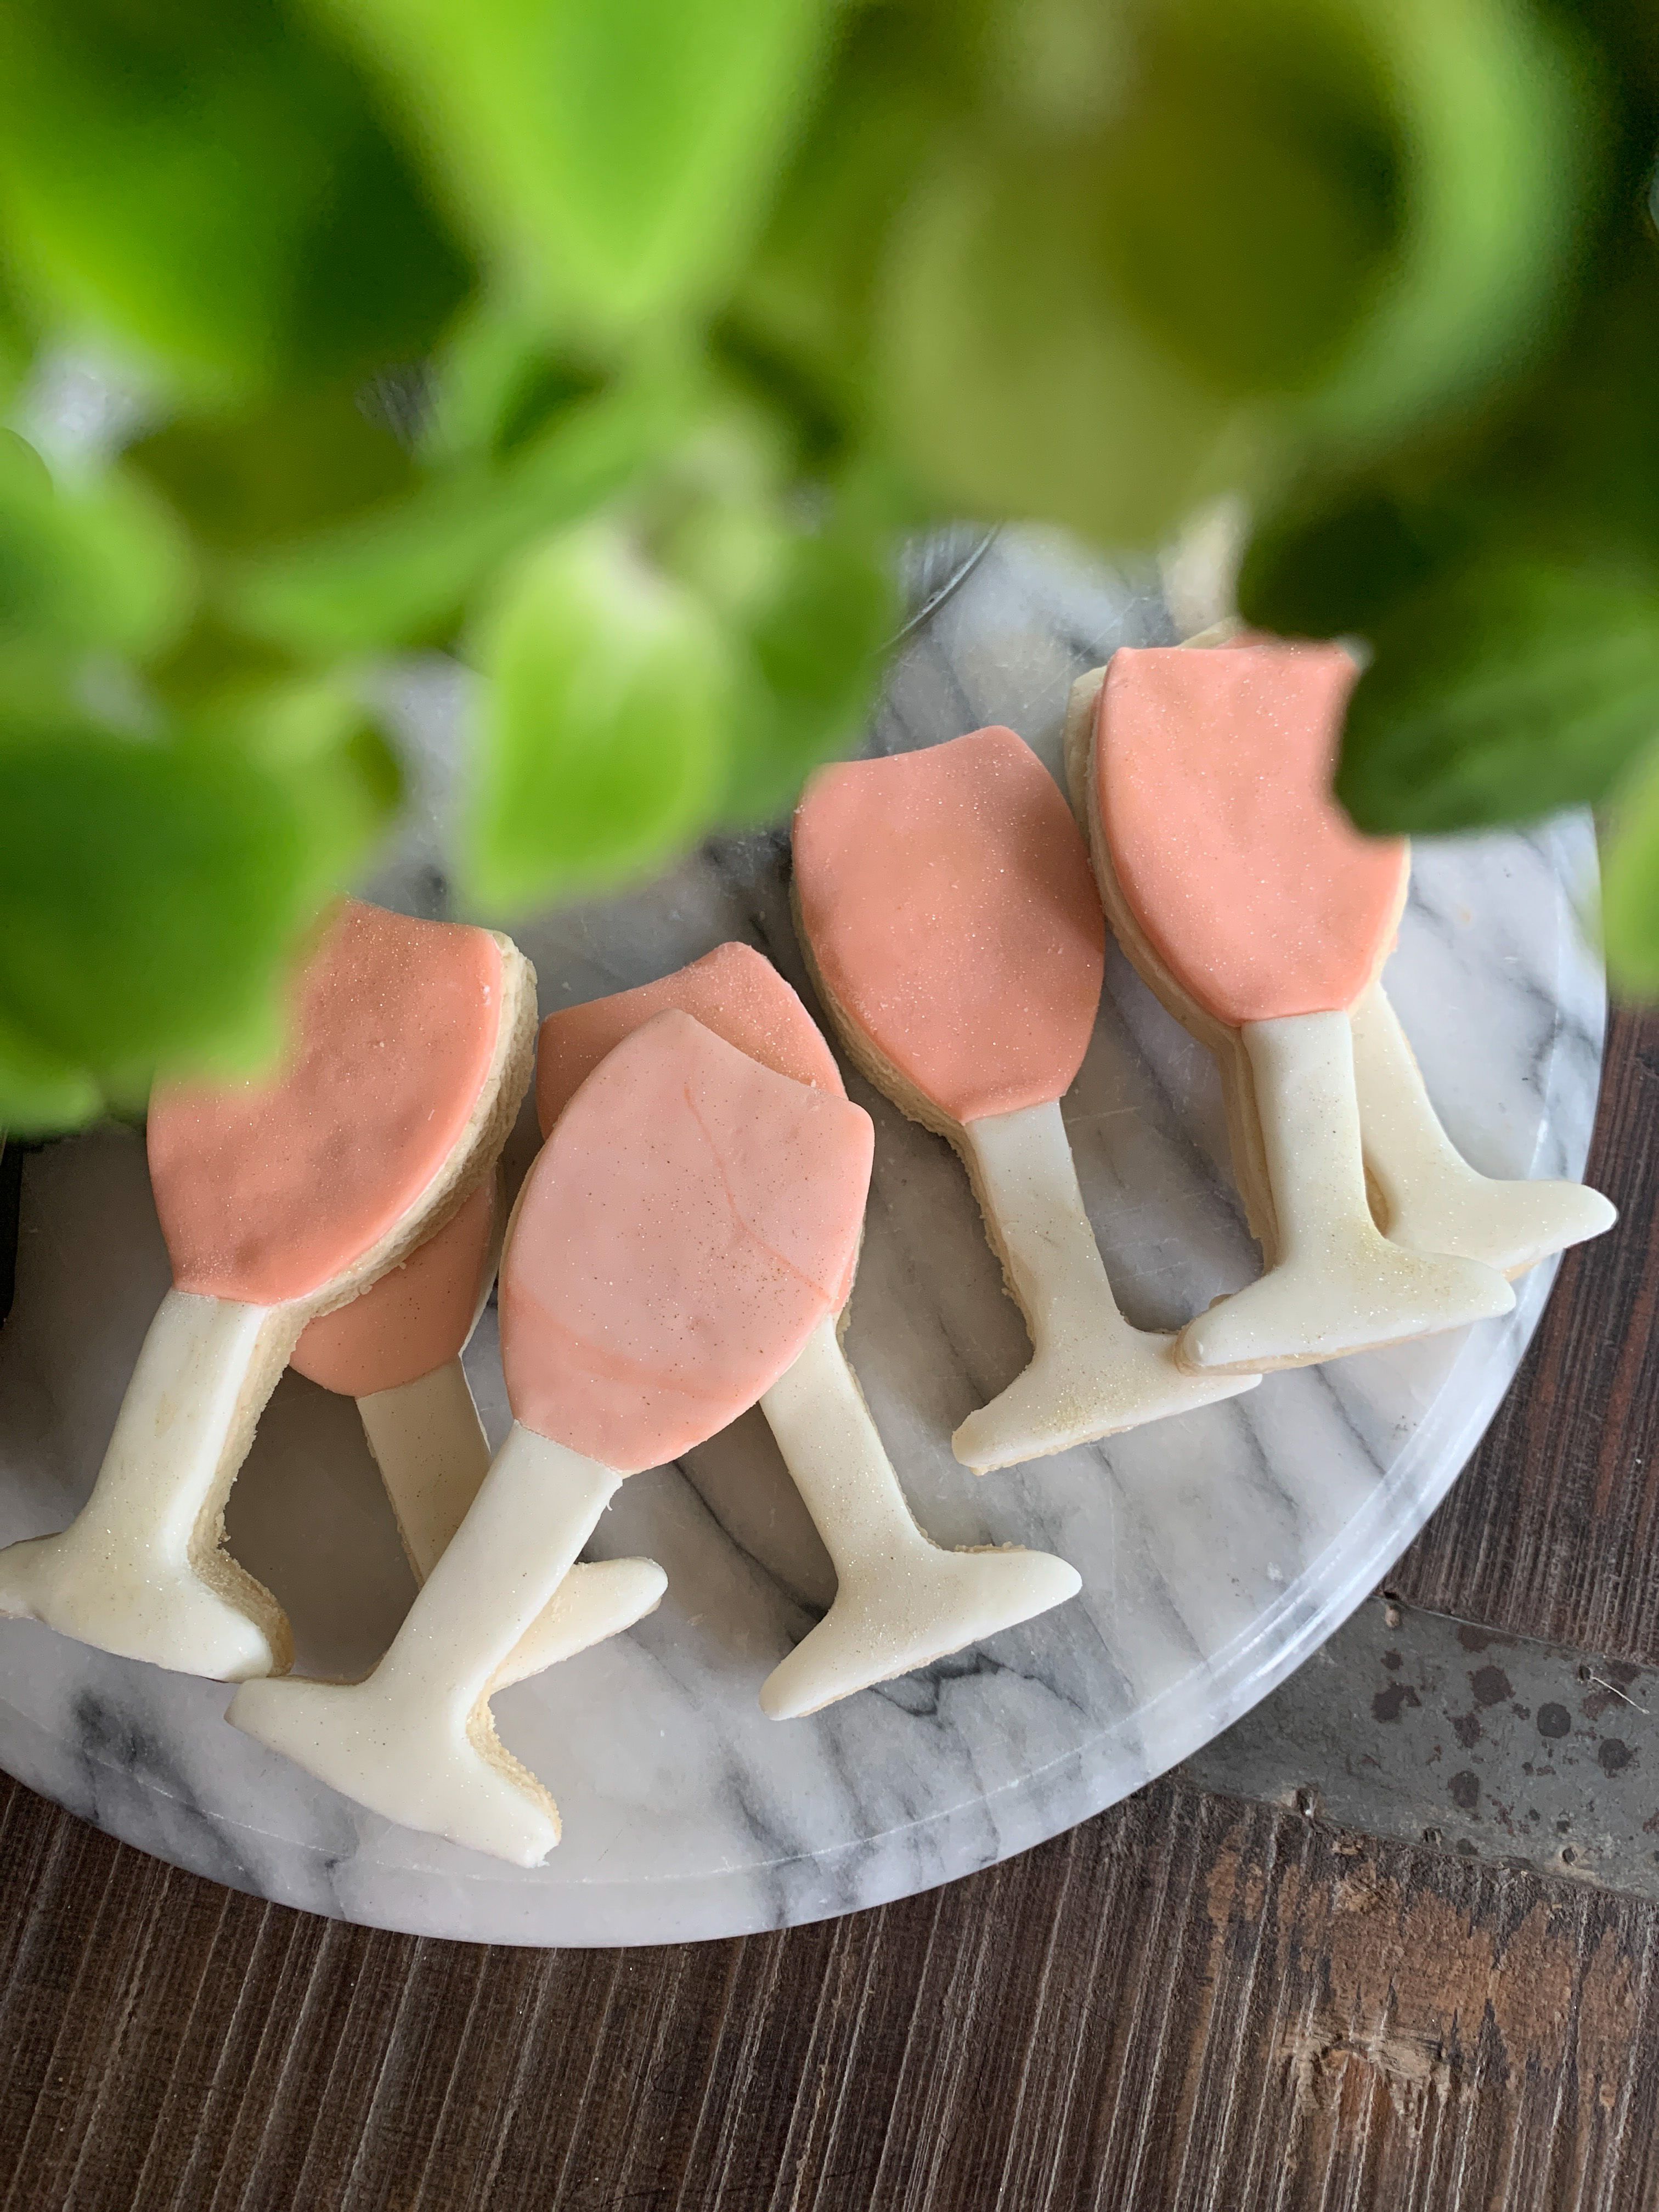
I offered to do this for my niece’s wedding. Since she was getting married at a vineyard, I immediately thought of a cookie shaped like a wine glass as the main ingredient to the Wedding Welcome Bags.
Note to self: Next time try stemless wineglass cookie cutters!
The contents of the bag changed with Covid. Initially there was going to be disposable masks, hand sanitizer and things that were a larger part of our lives just a few months back.
Since things had opened all up, those items were scratched from the list.
I chose a white paper bag with handles. A blank canvas that you could incorporate any color into. The colors of the wedding flowers were muted neutrals and I chose a blush ribbon to add to the handles.
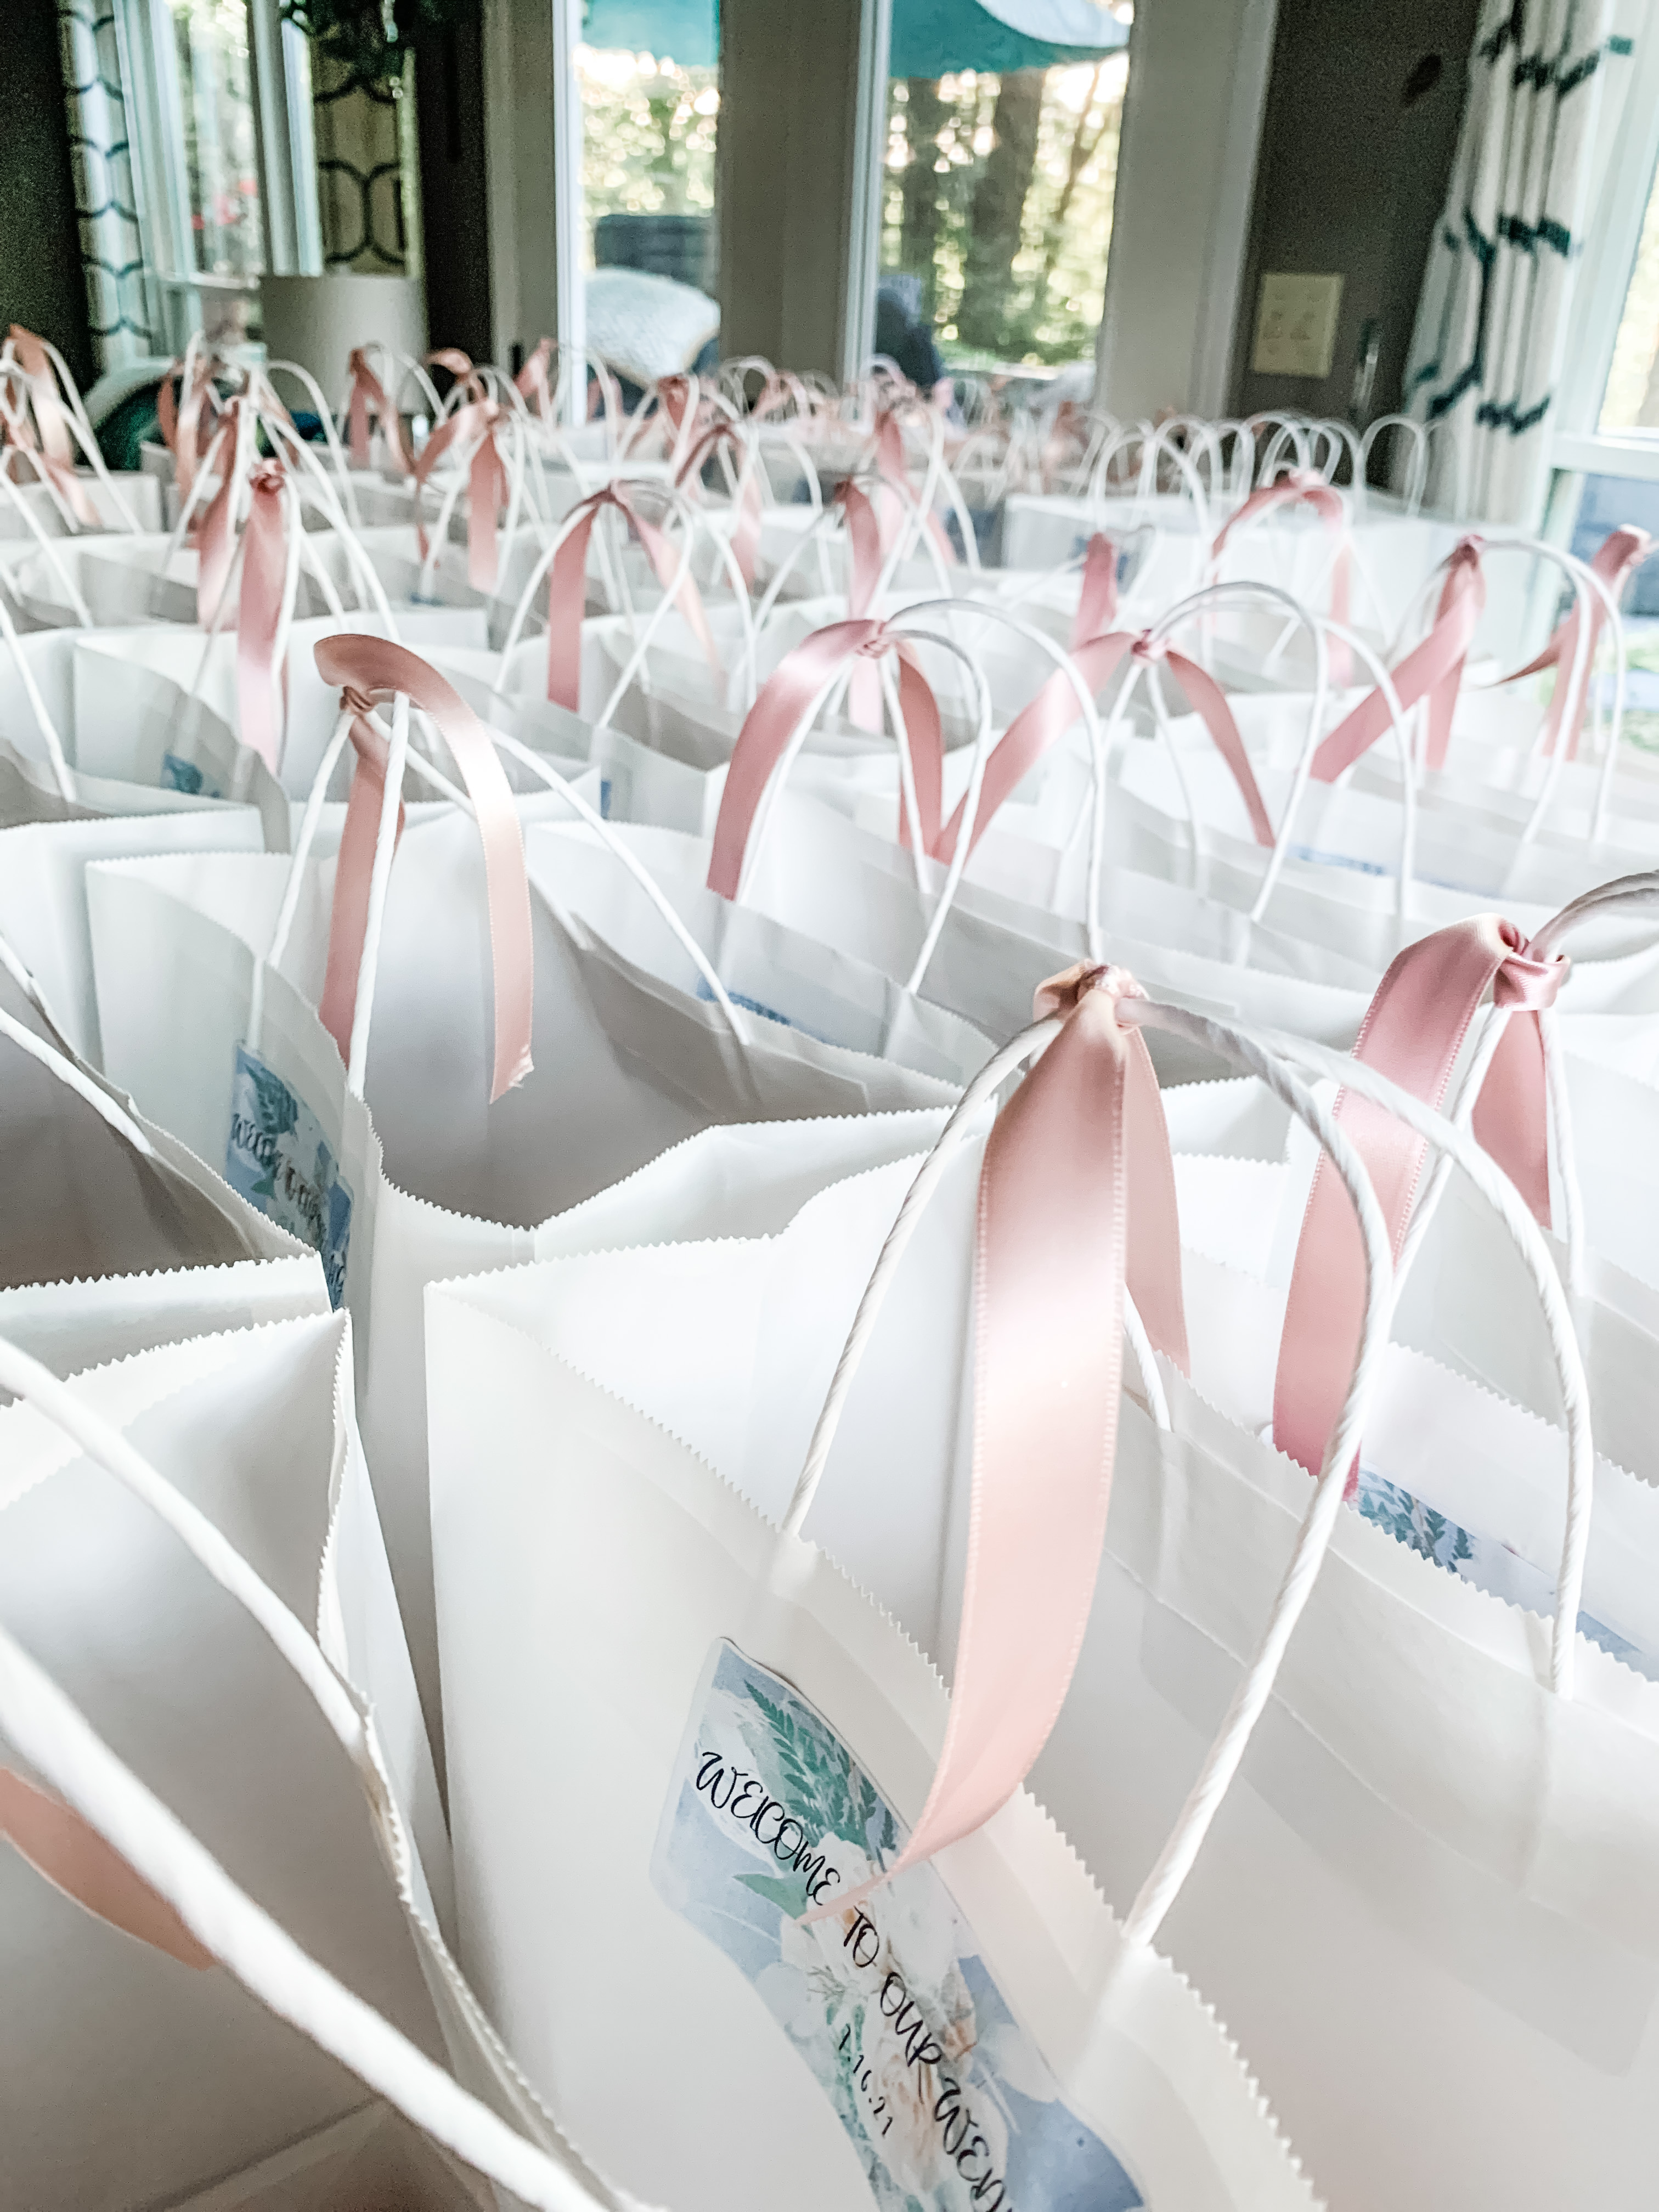
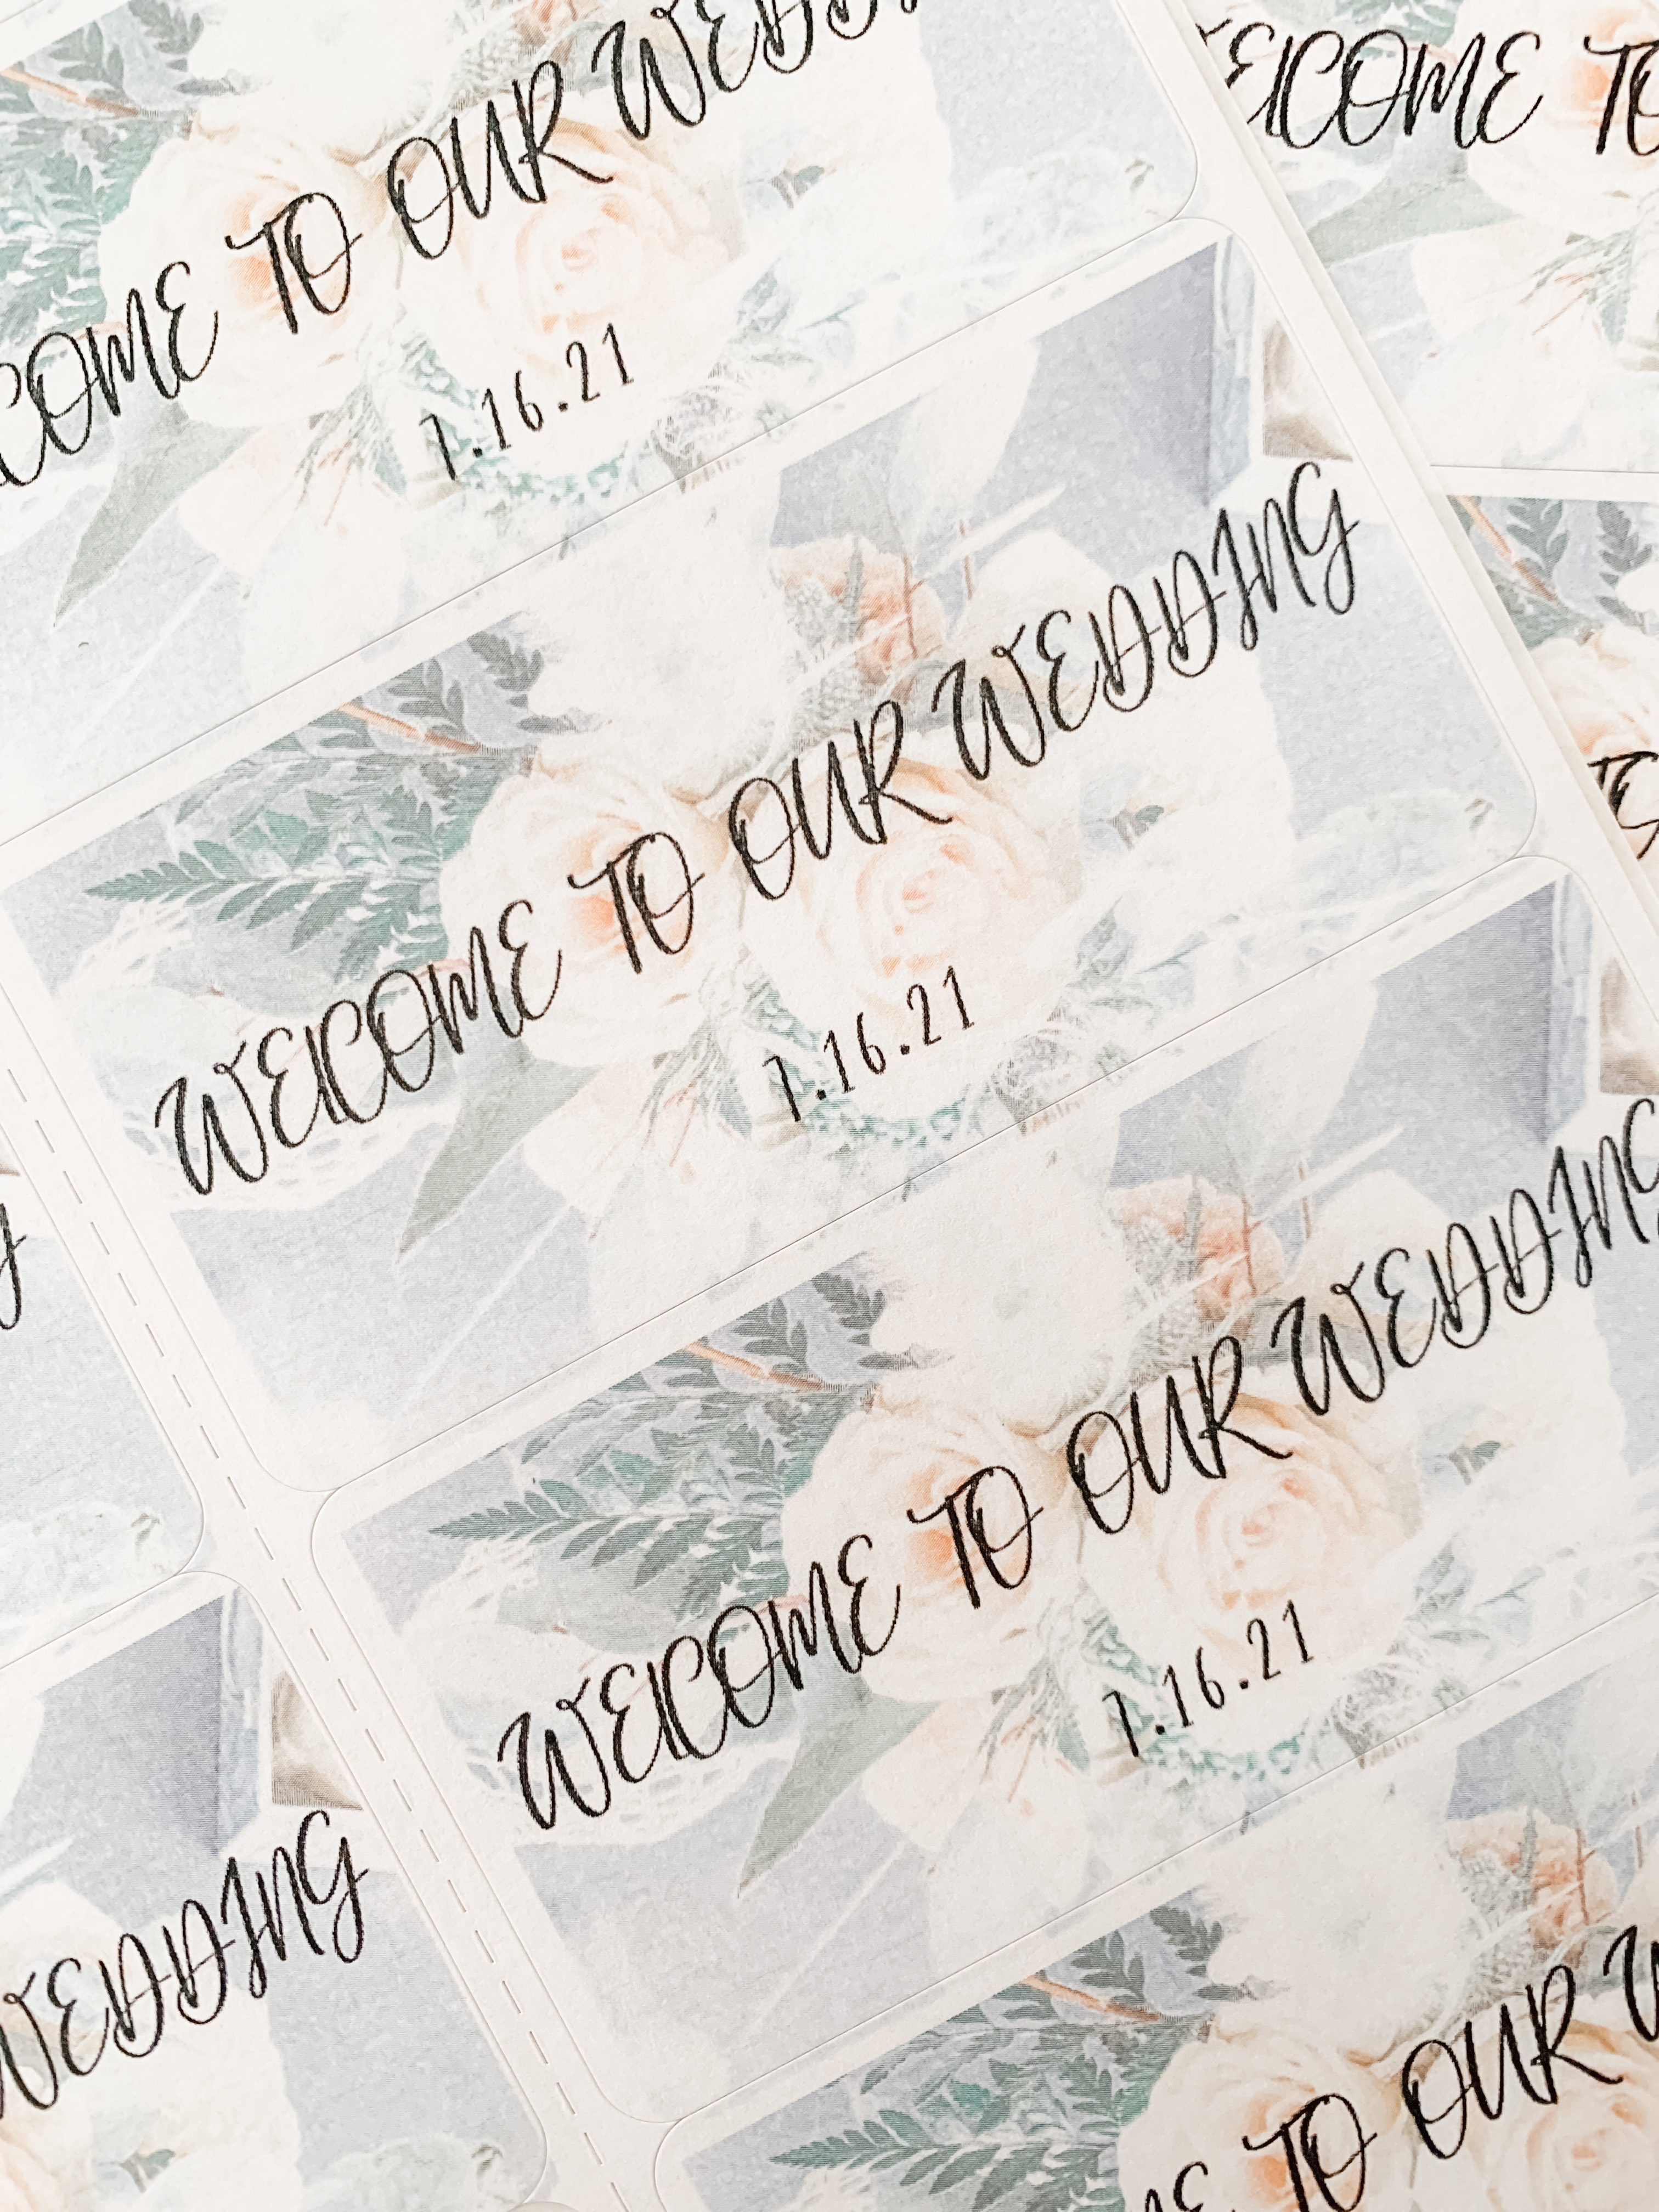
I used Avery 2×4 mailing labels to create a “Welcome to our Wedding” sticker for one side of the bags. Using a picture of flowers from the bridal shower.
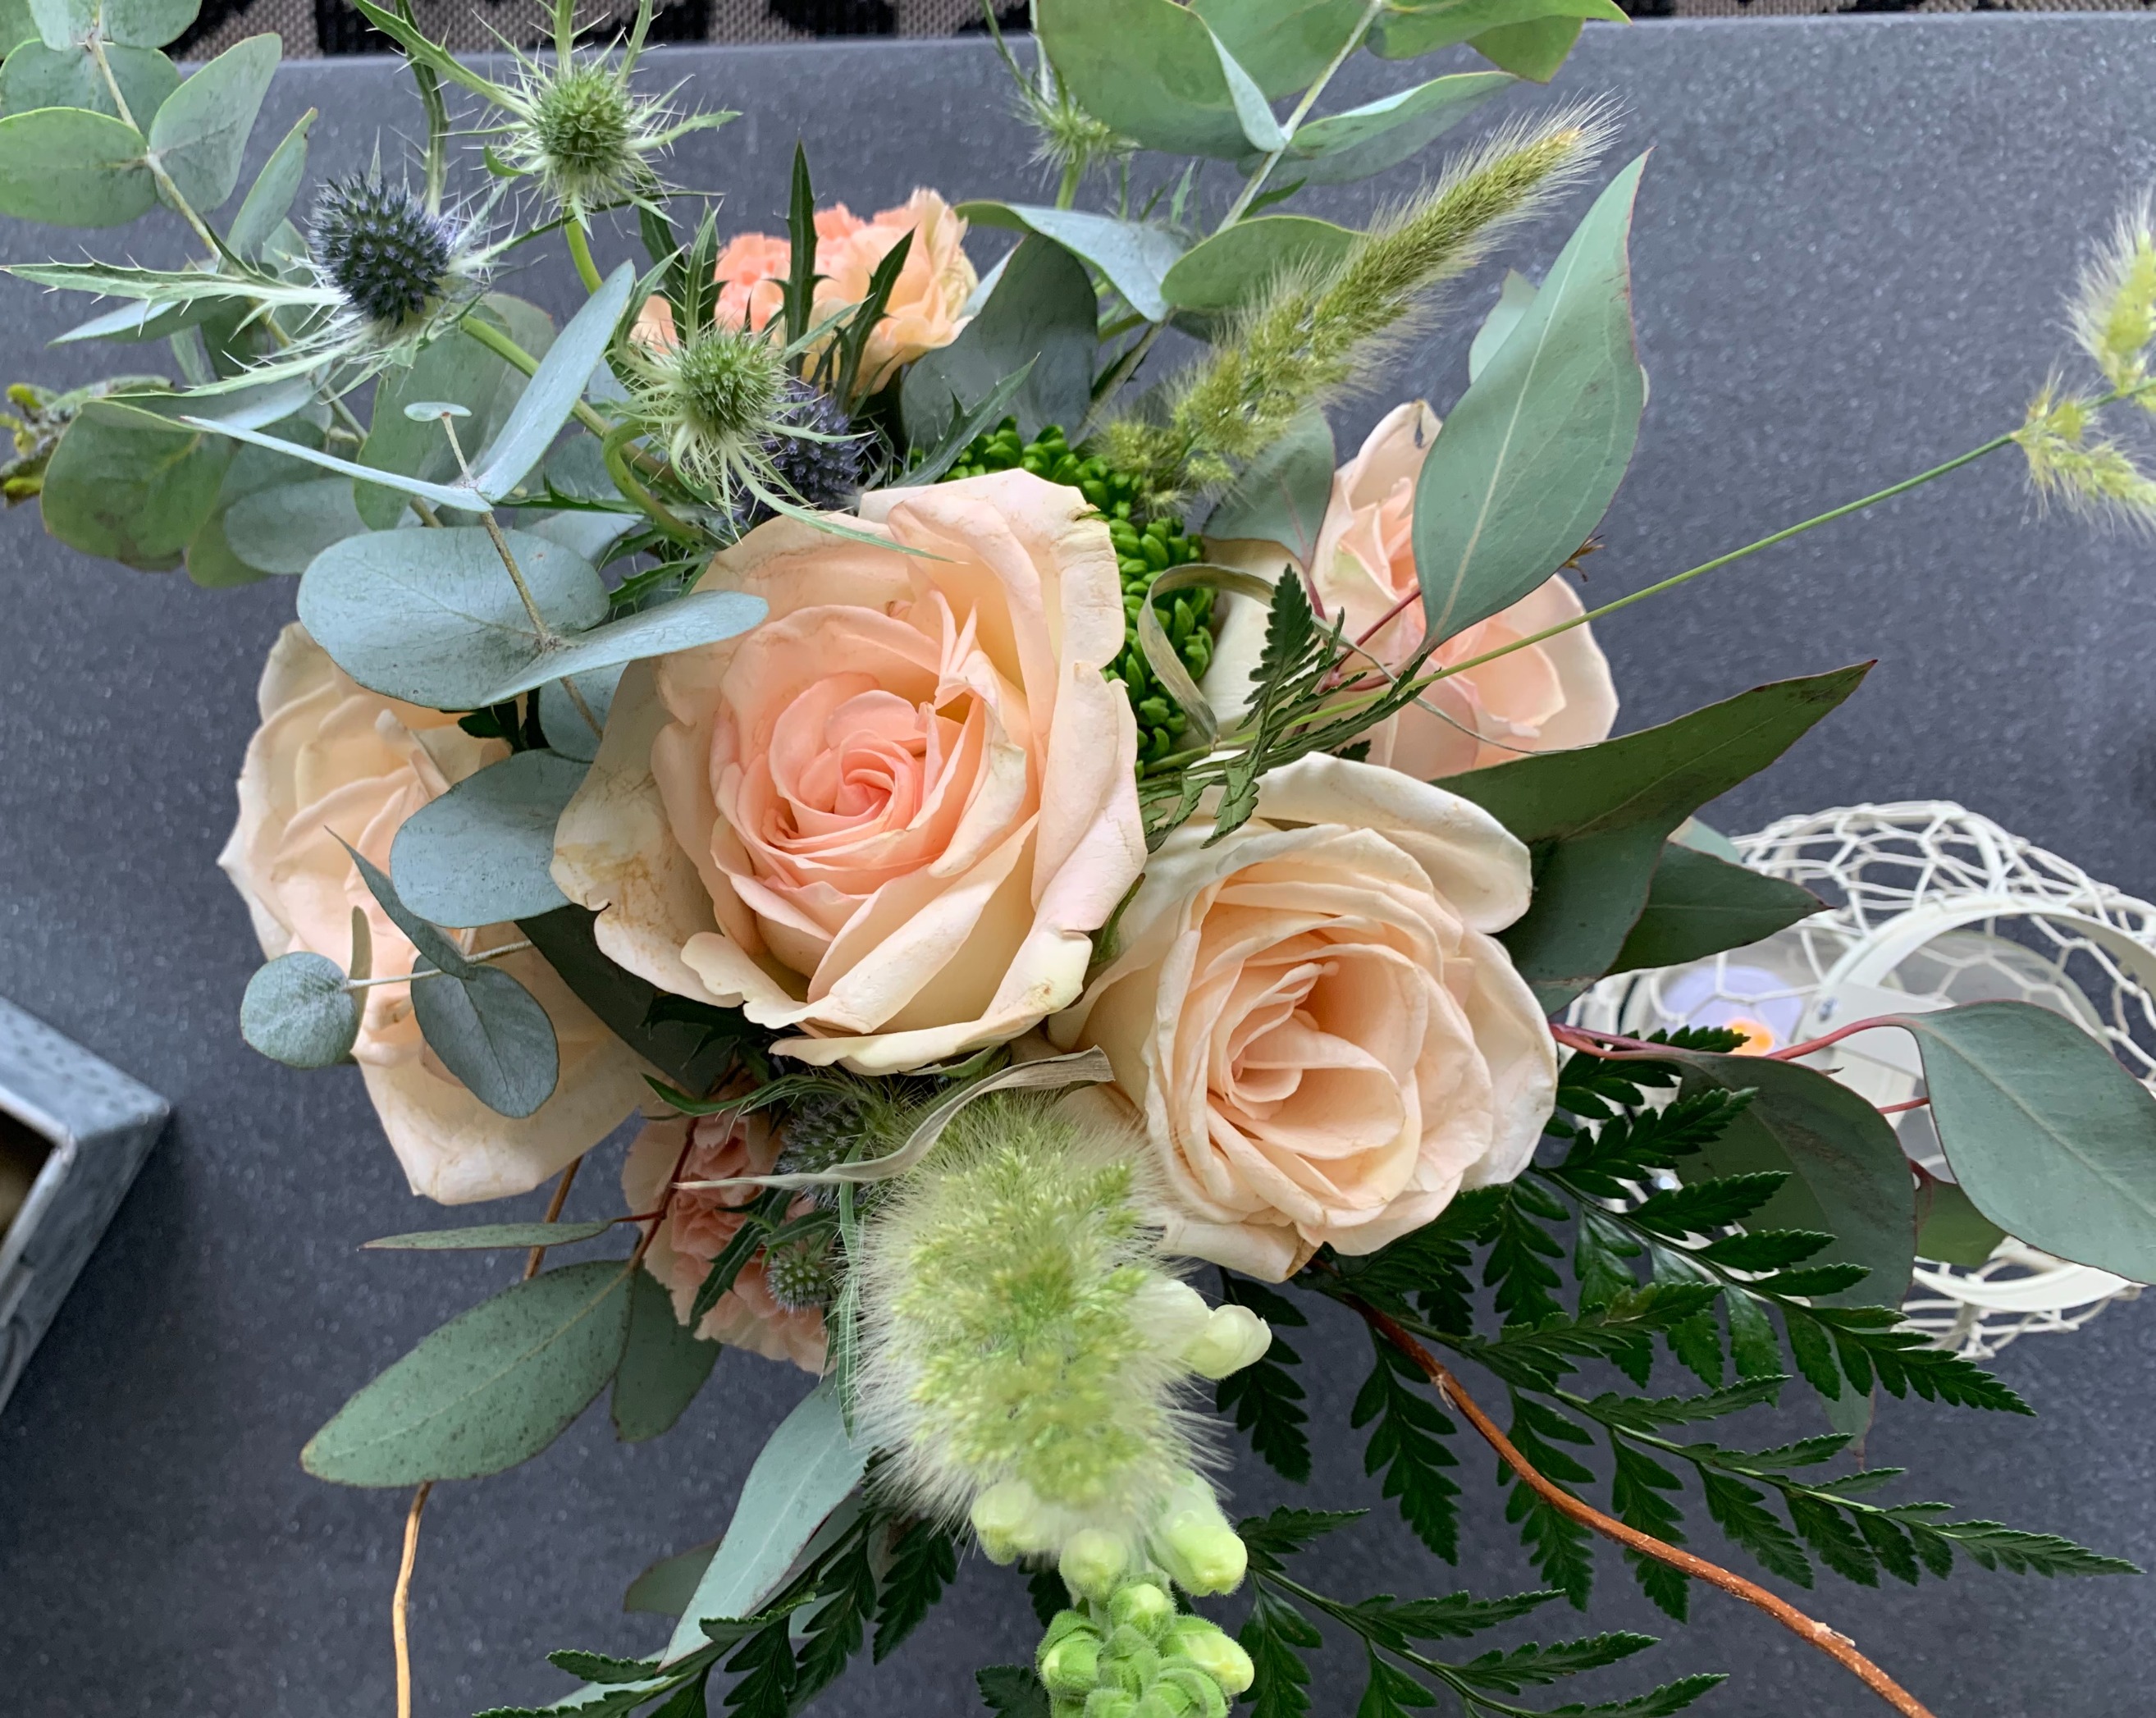
Above is a picture of the flowers from the shower I used.
I added text and was done!
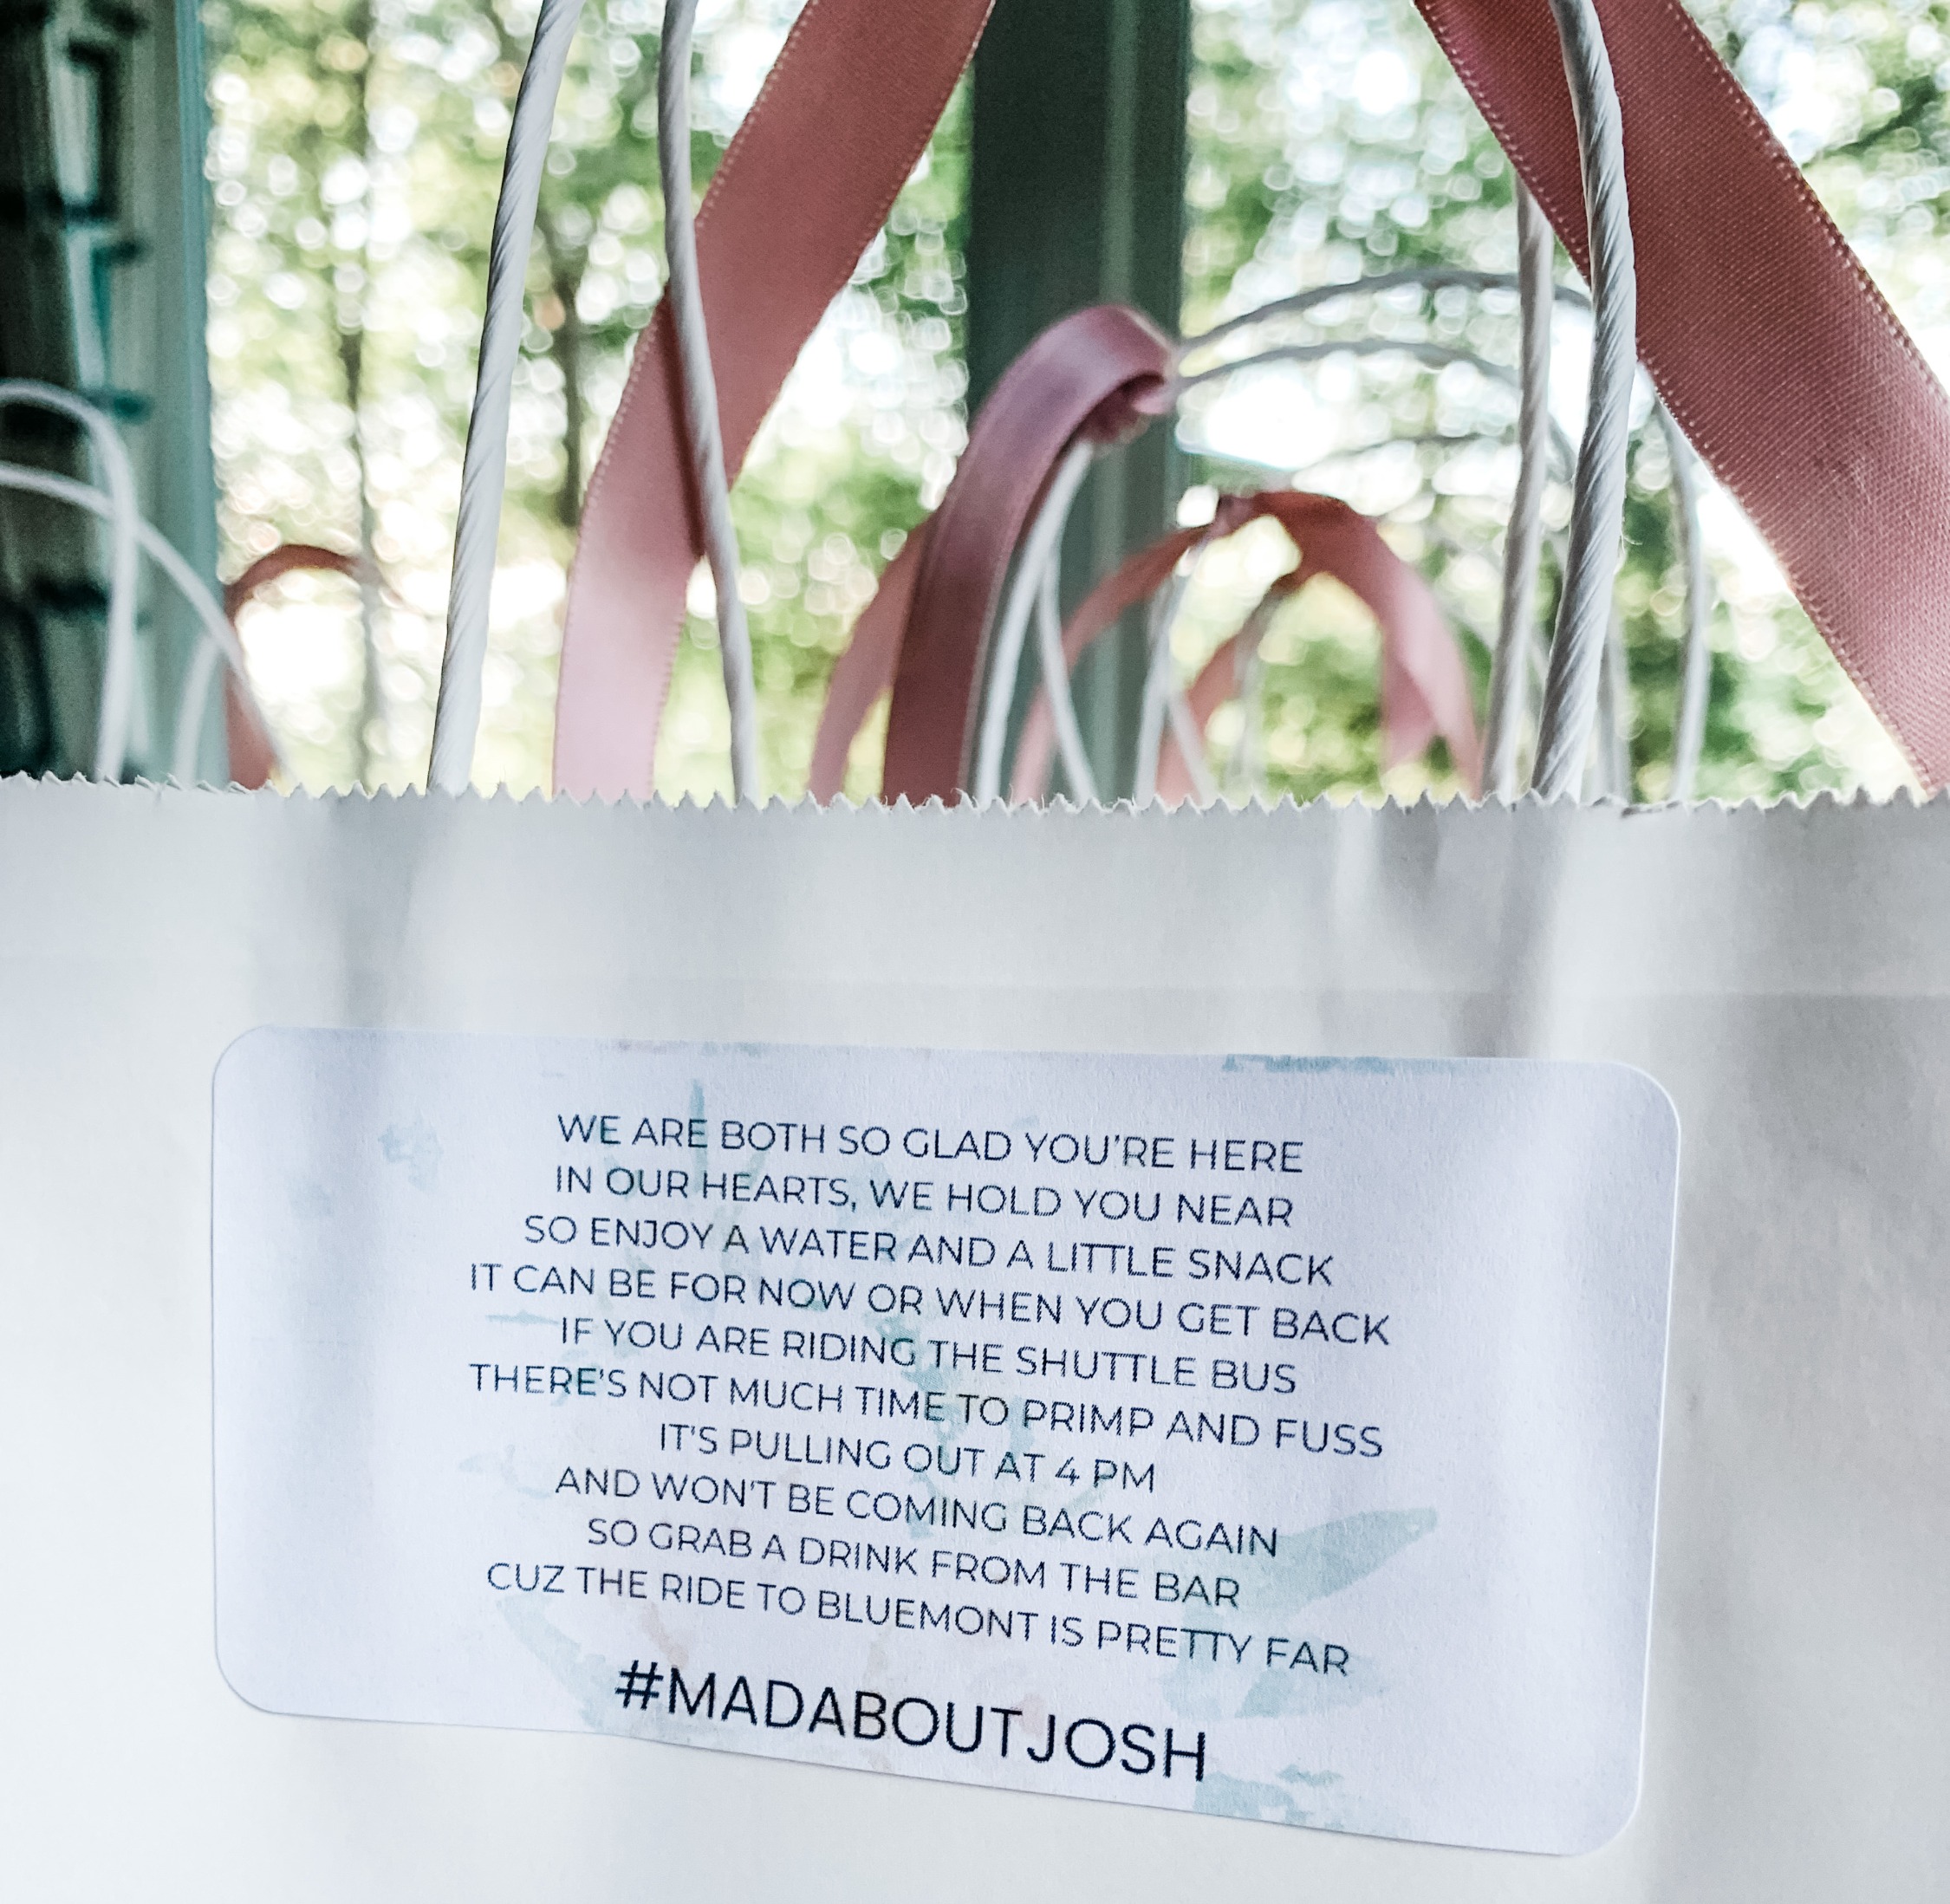
I love to write poems so I wrote a short welcome from the bride and groom and (with approval of course) added that to the other side of the bags.
I figured that something on the outside would have a better chance of being read. You could make it easier and type something on cardstock and toss in the bag too.
The contents included:
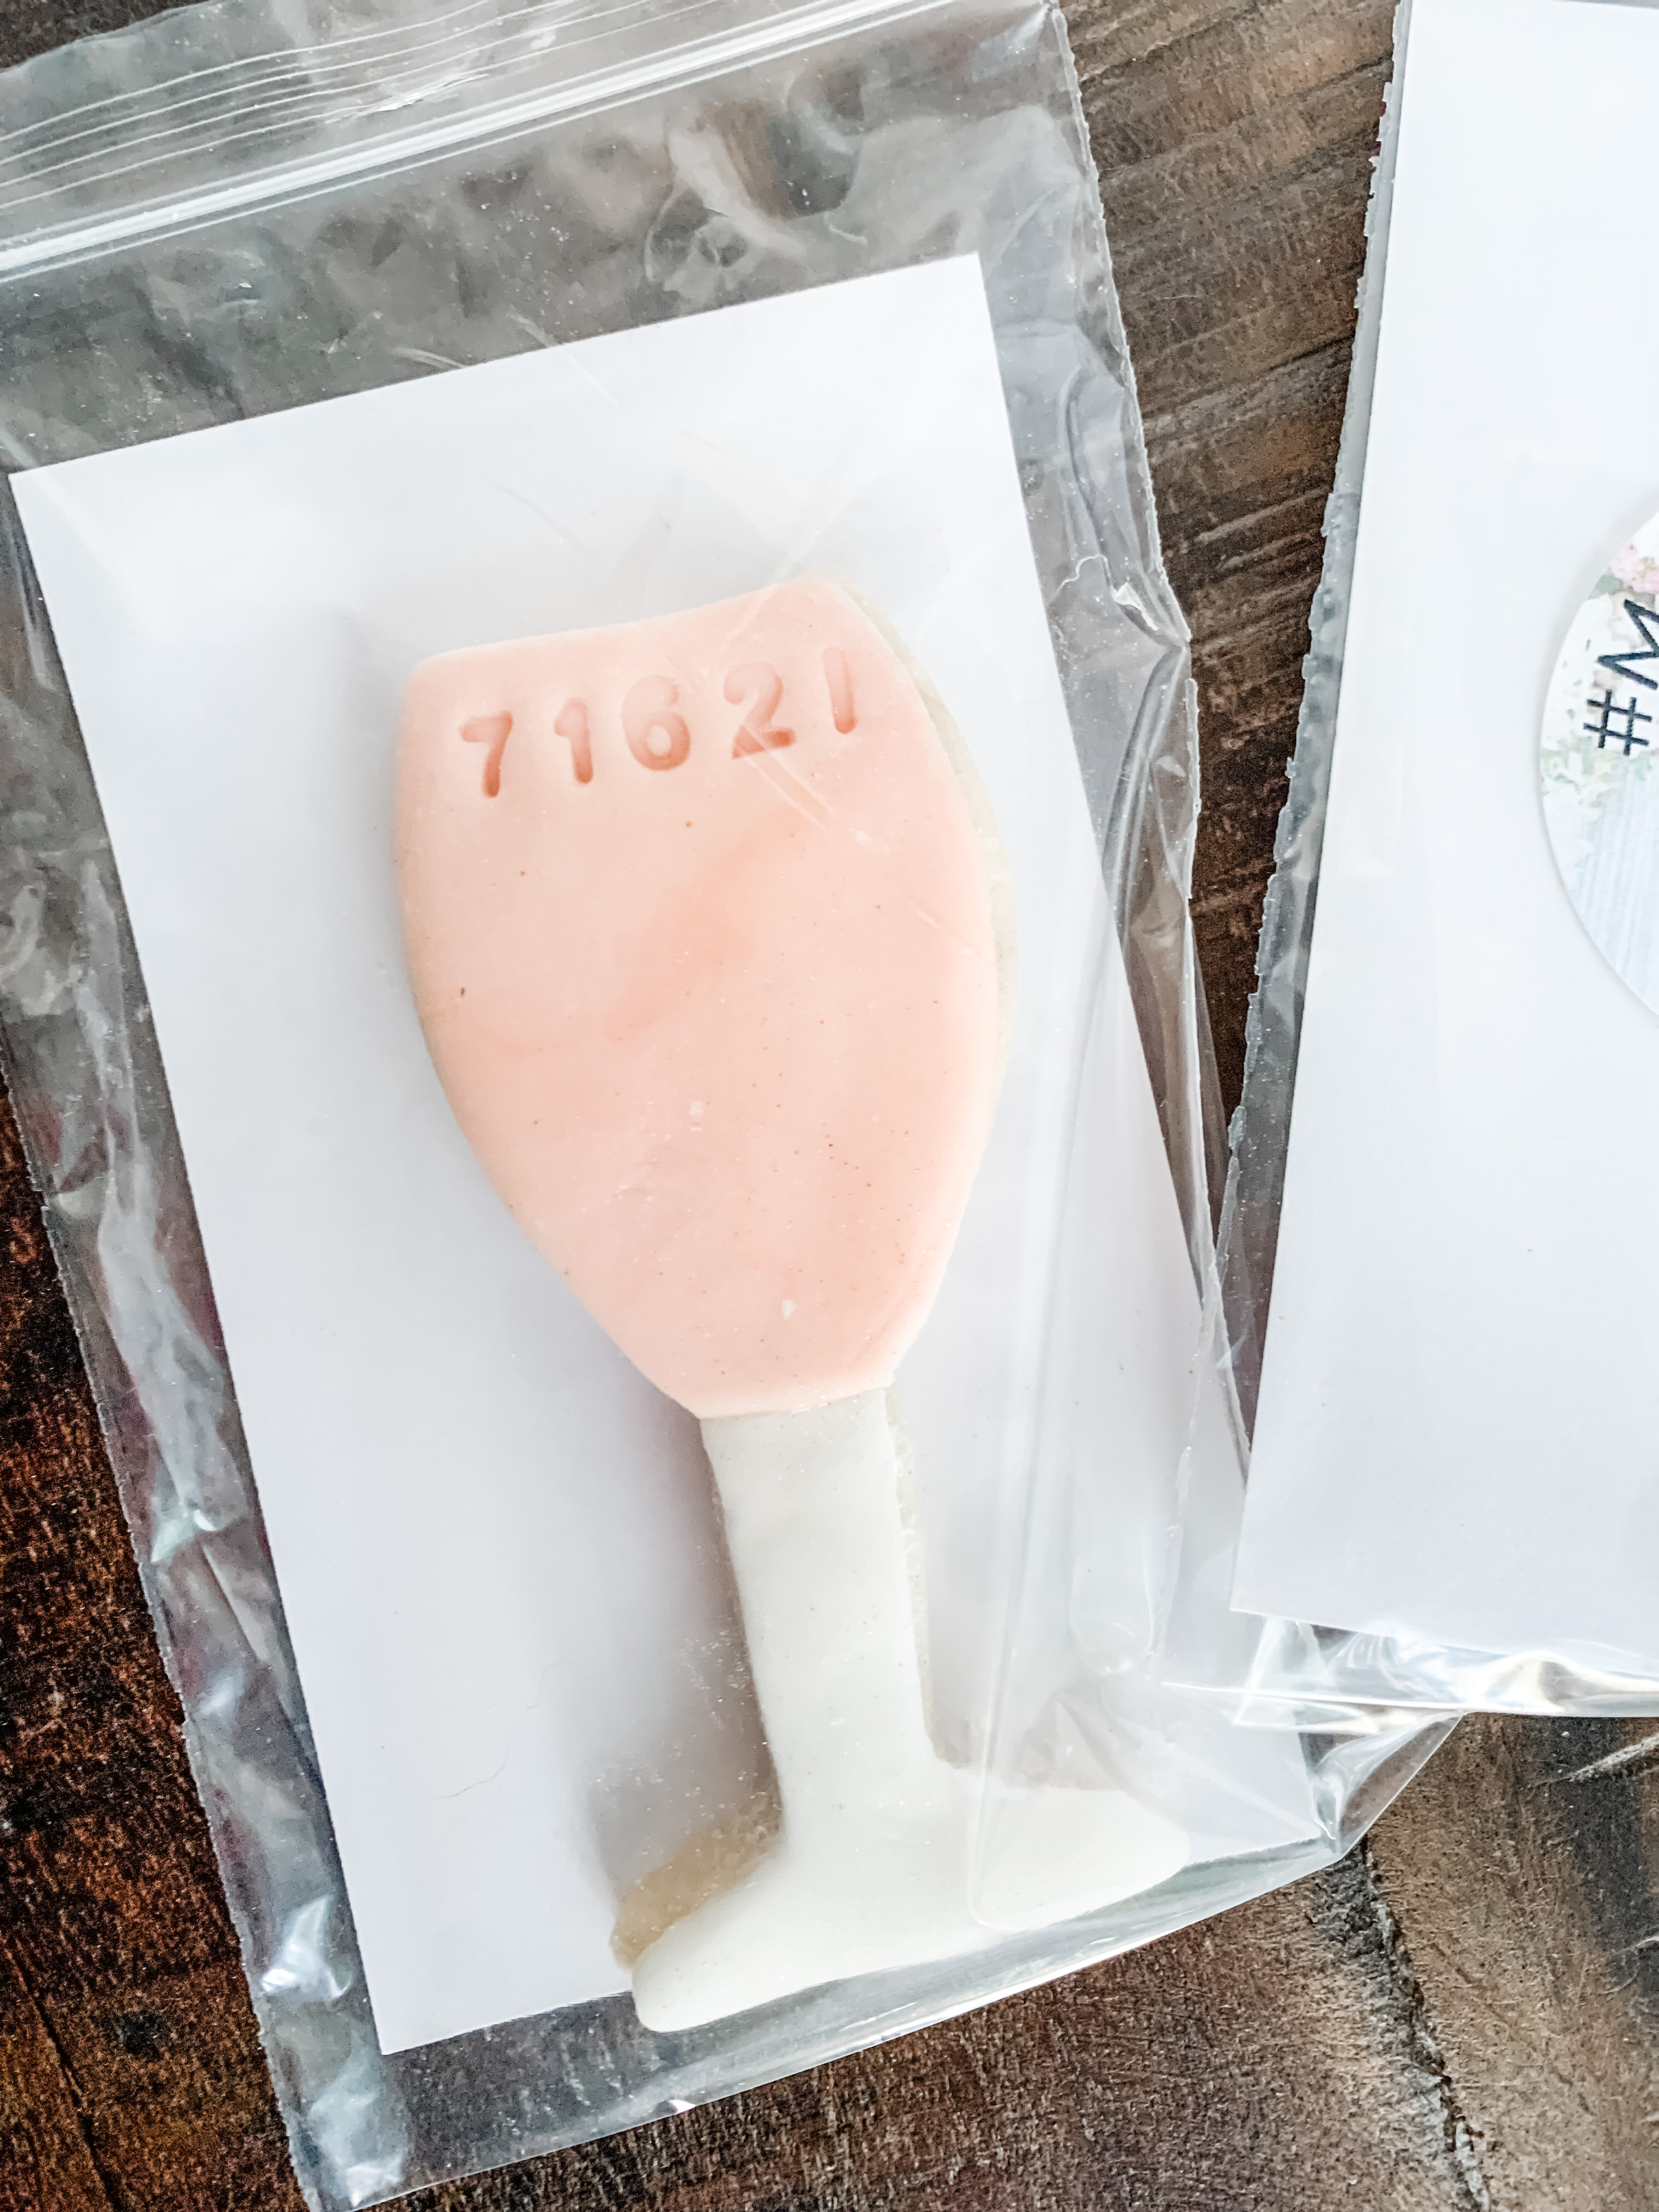
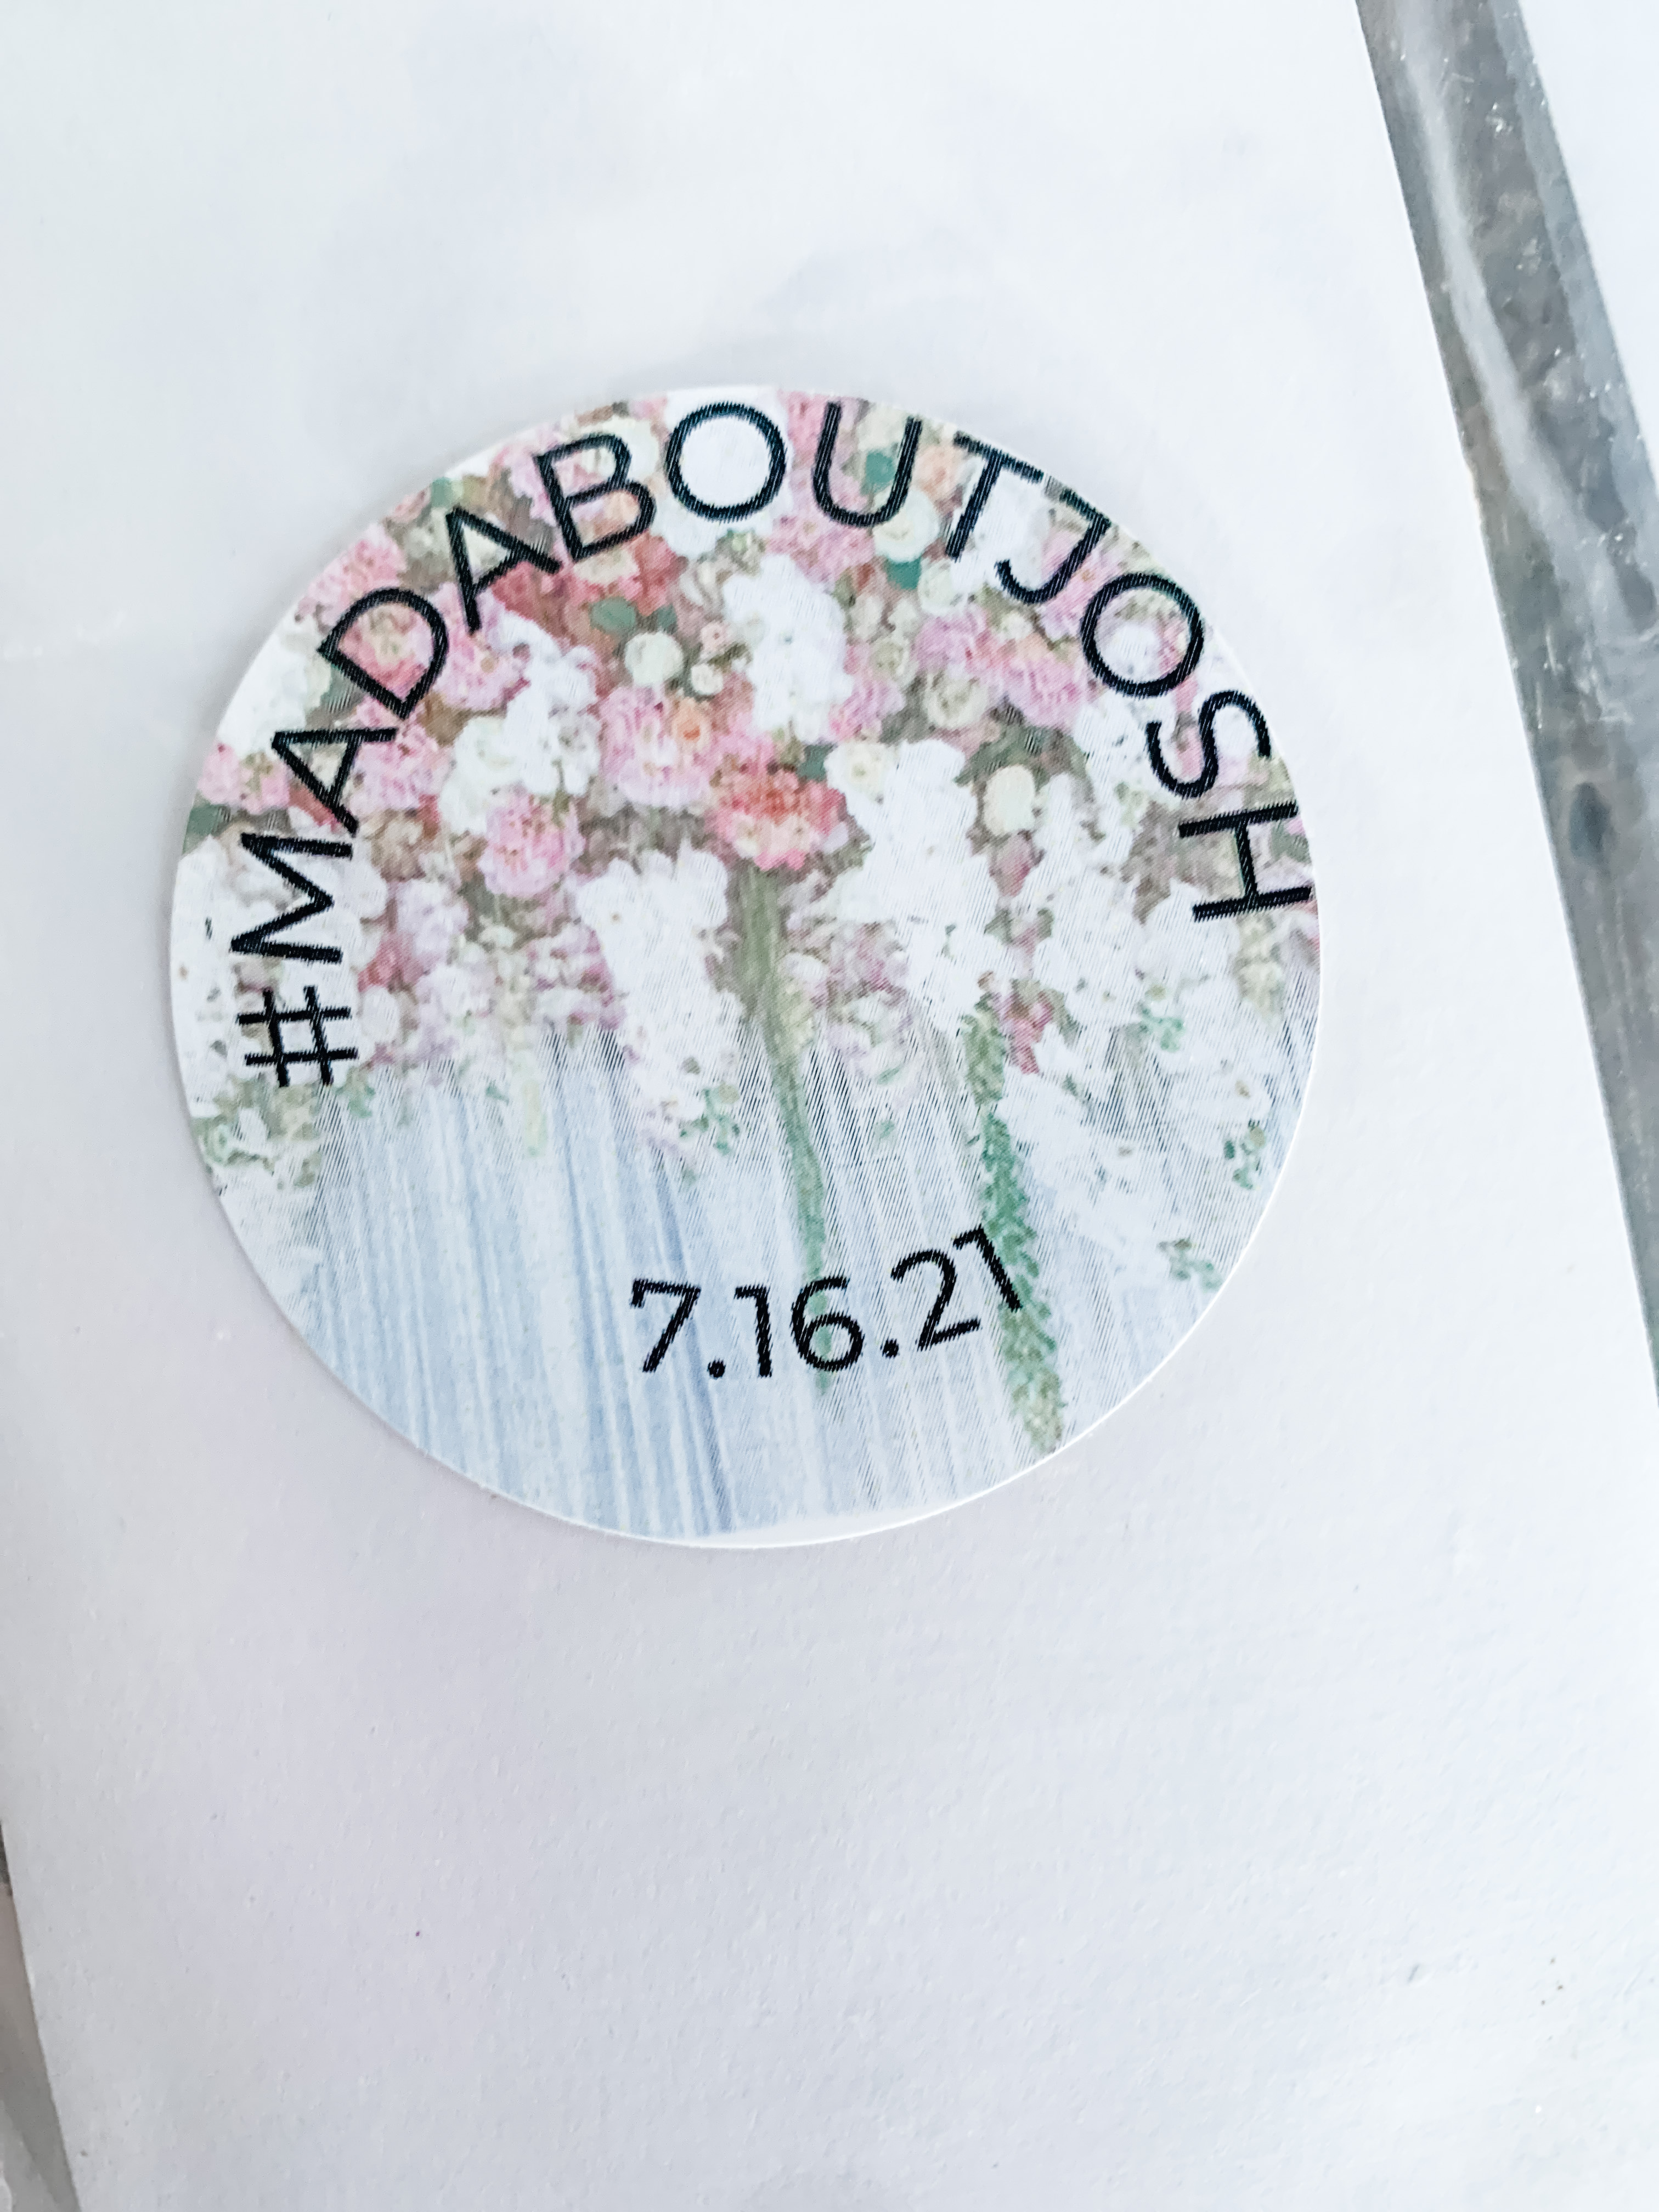
Individually wrapped wineglass cookies, stamped with the date and with a round sticker with the wedding hashtag.
Bags of CHEEZ IT’s (bride’s fave) and bags of Swedish Fish (groom’s fave)
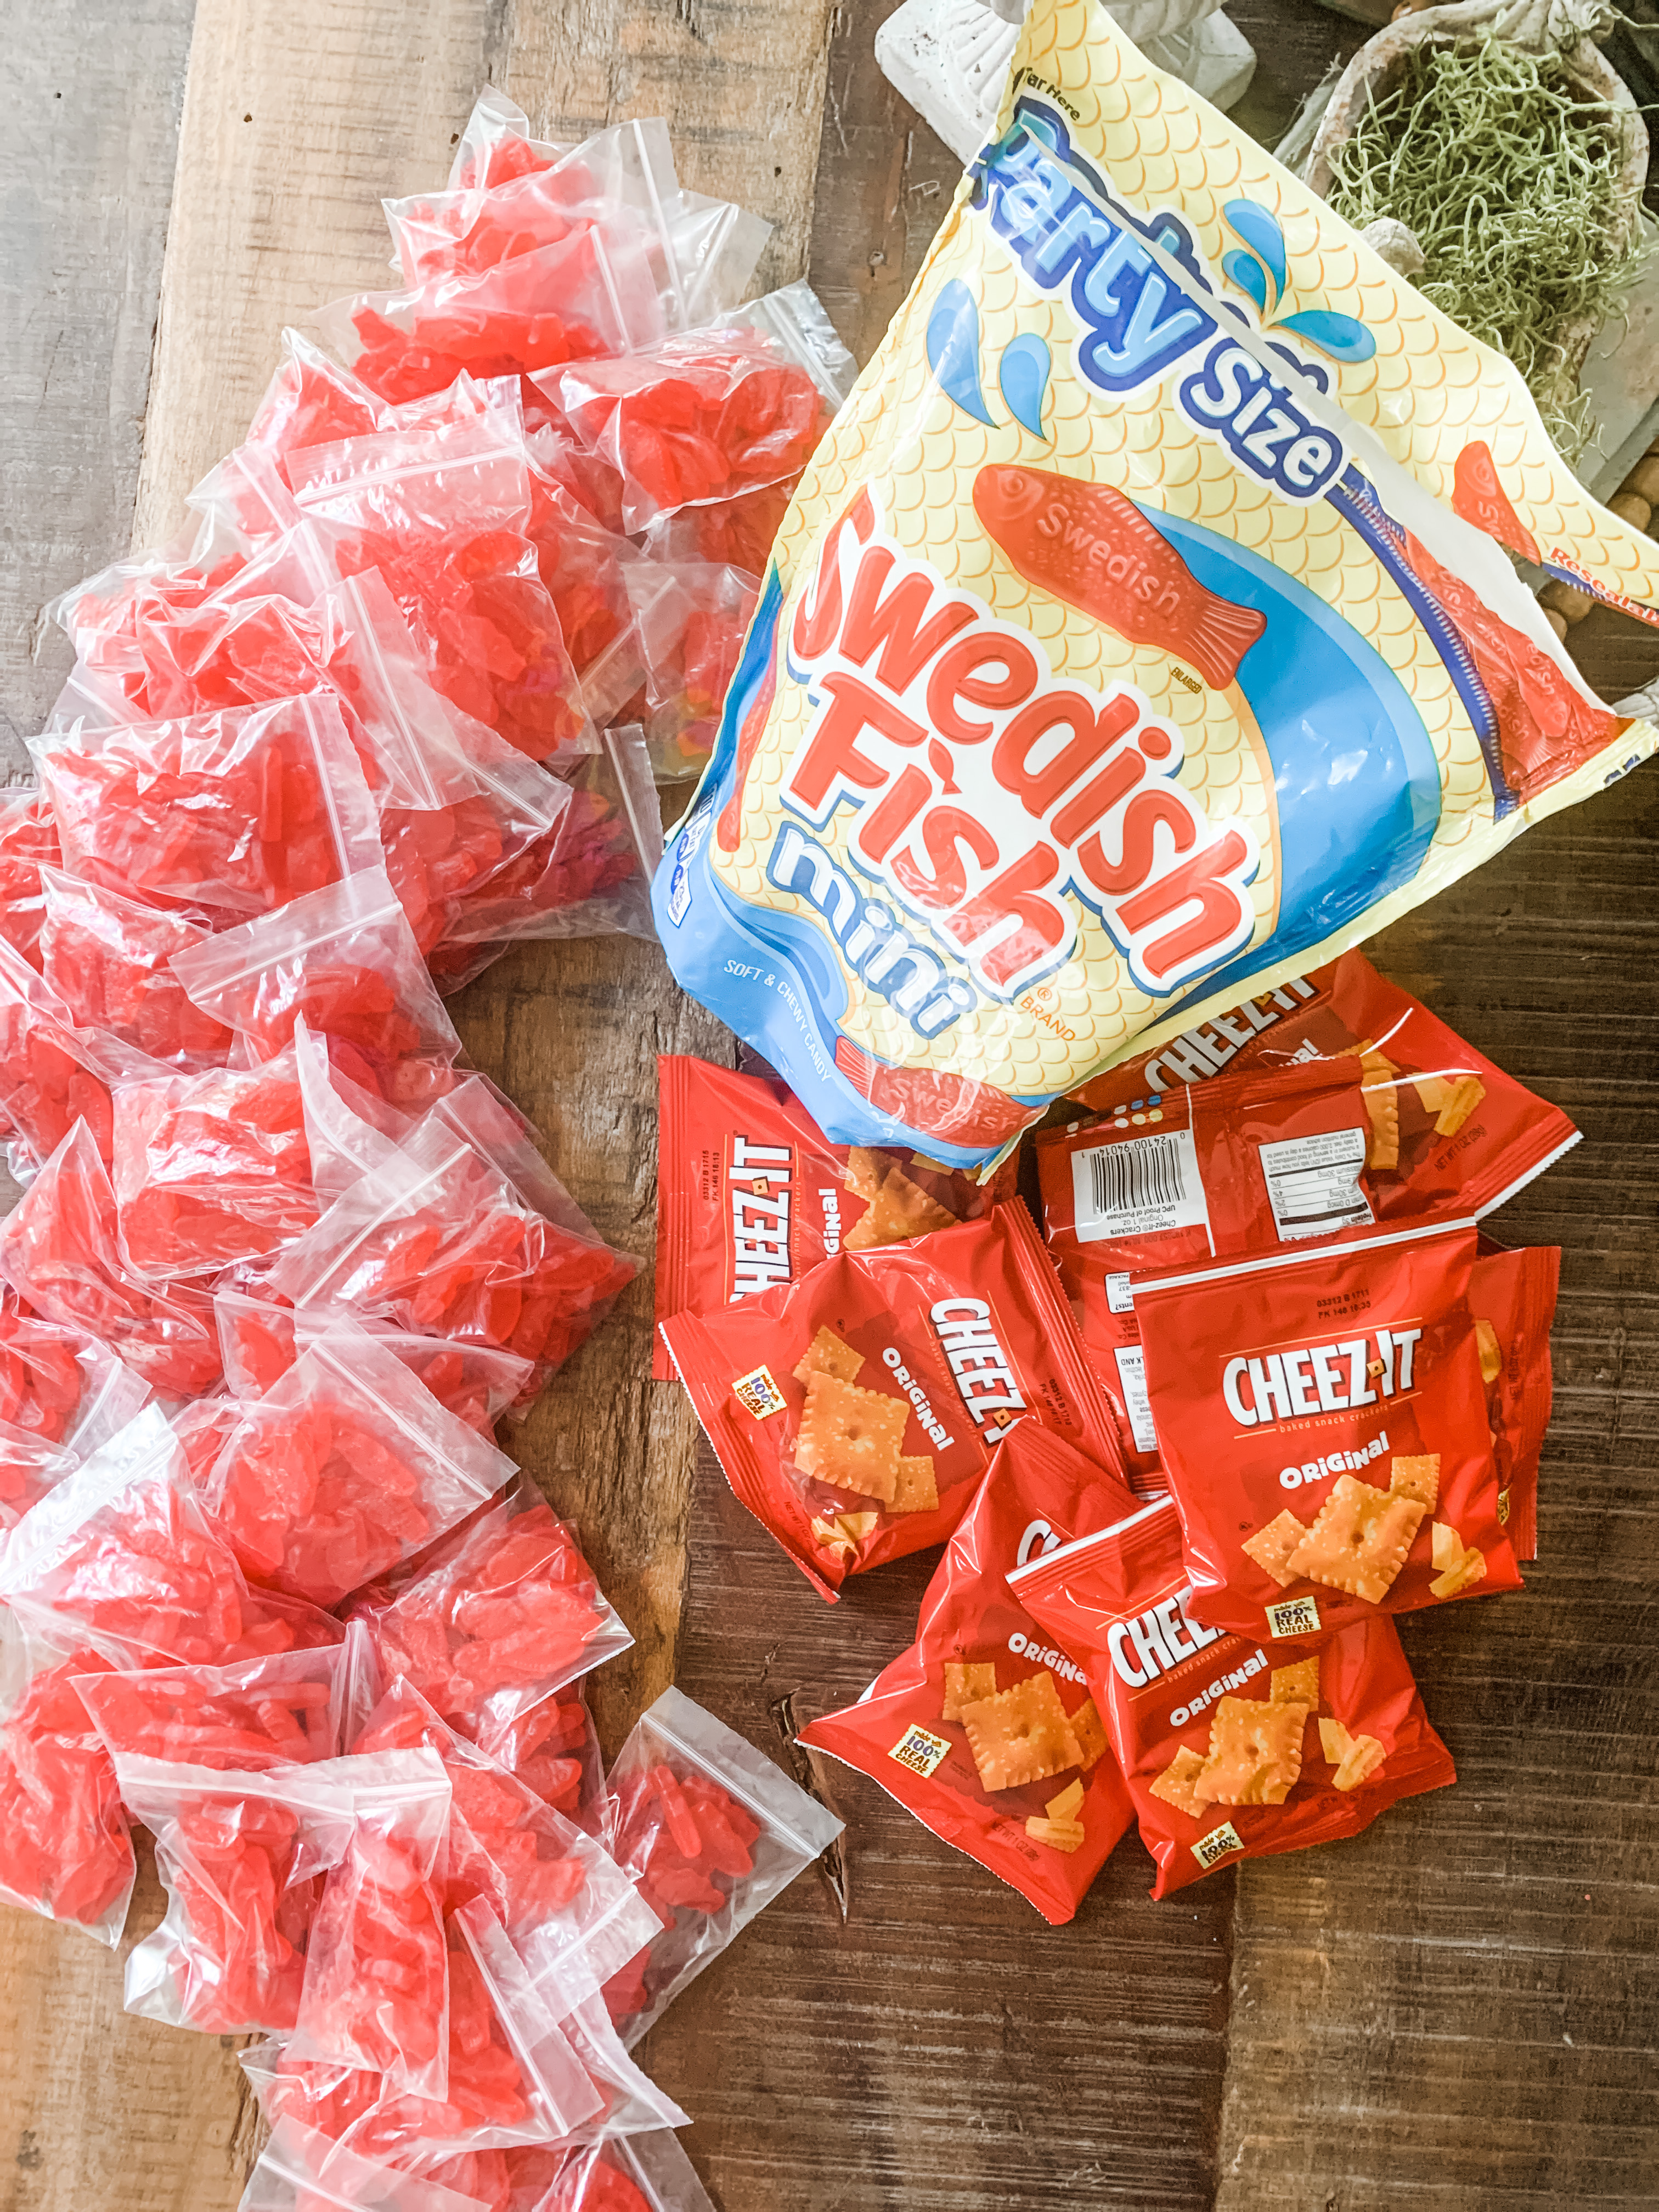
Also:
Peppermints
Multiple packs of Advil
Hershey Kisses
Goetze’s Caramel
Bottles of water
Small candy bars
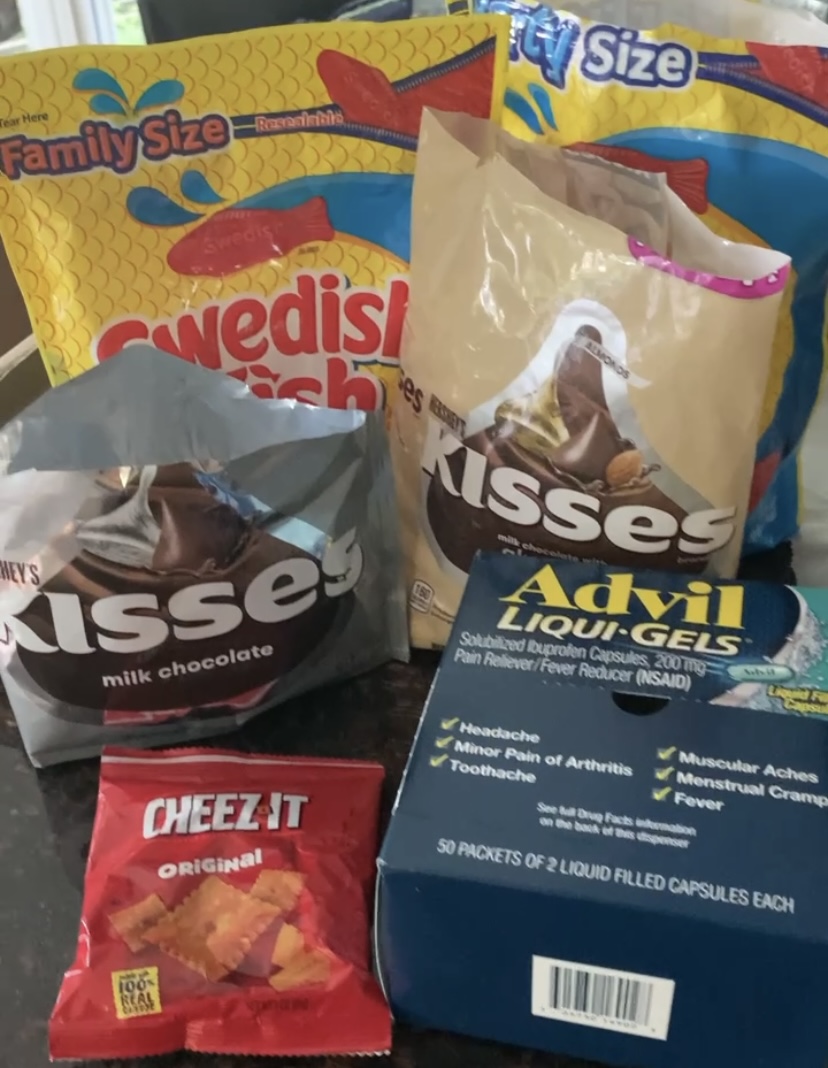
Just enough to munch on as a midnight snack or pre-wedding while getting ready or on the bus to the venue.
The cookies were the only part that was time consuming.
The rest was fast and painless.
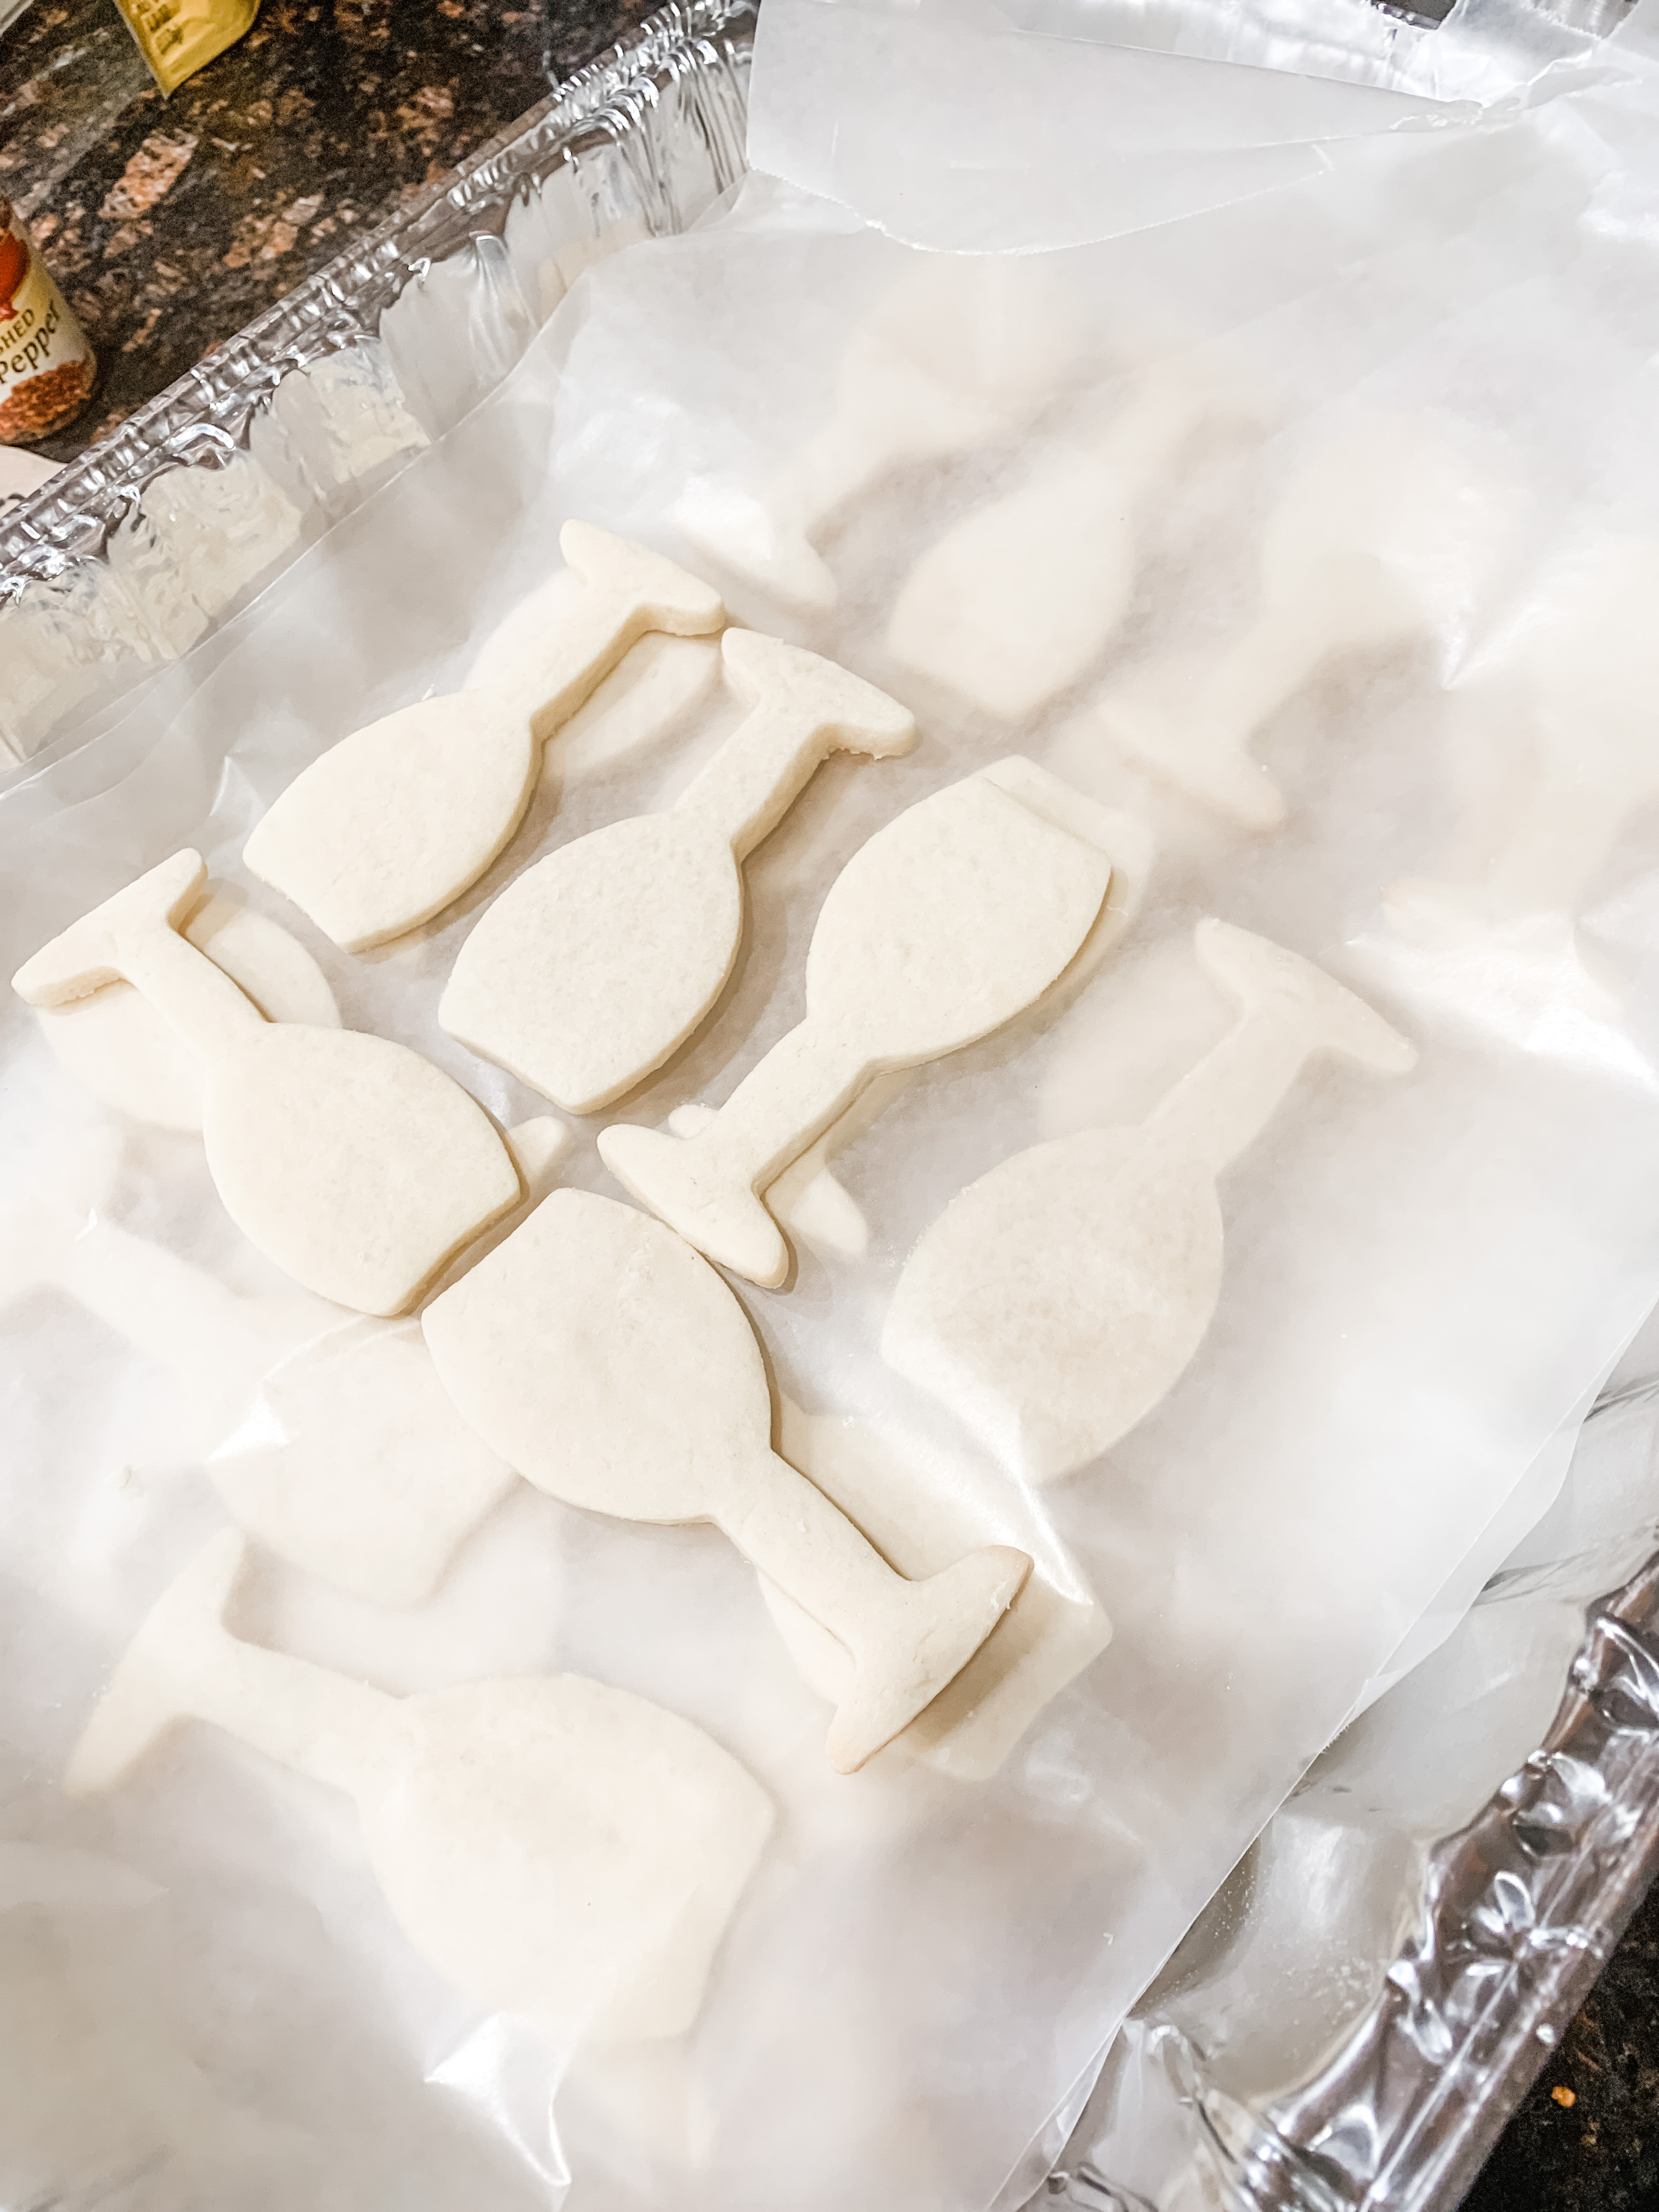
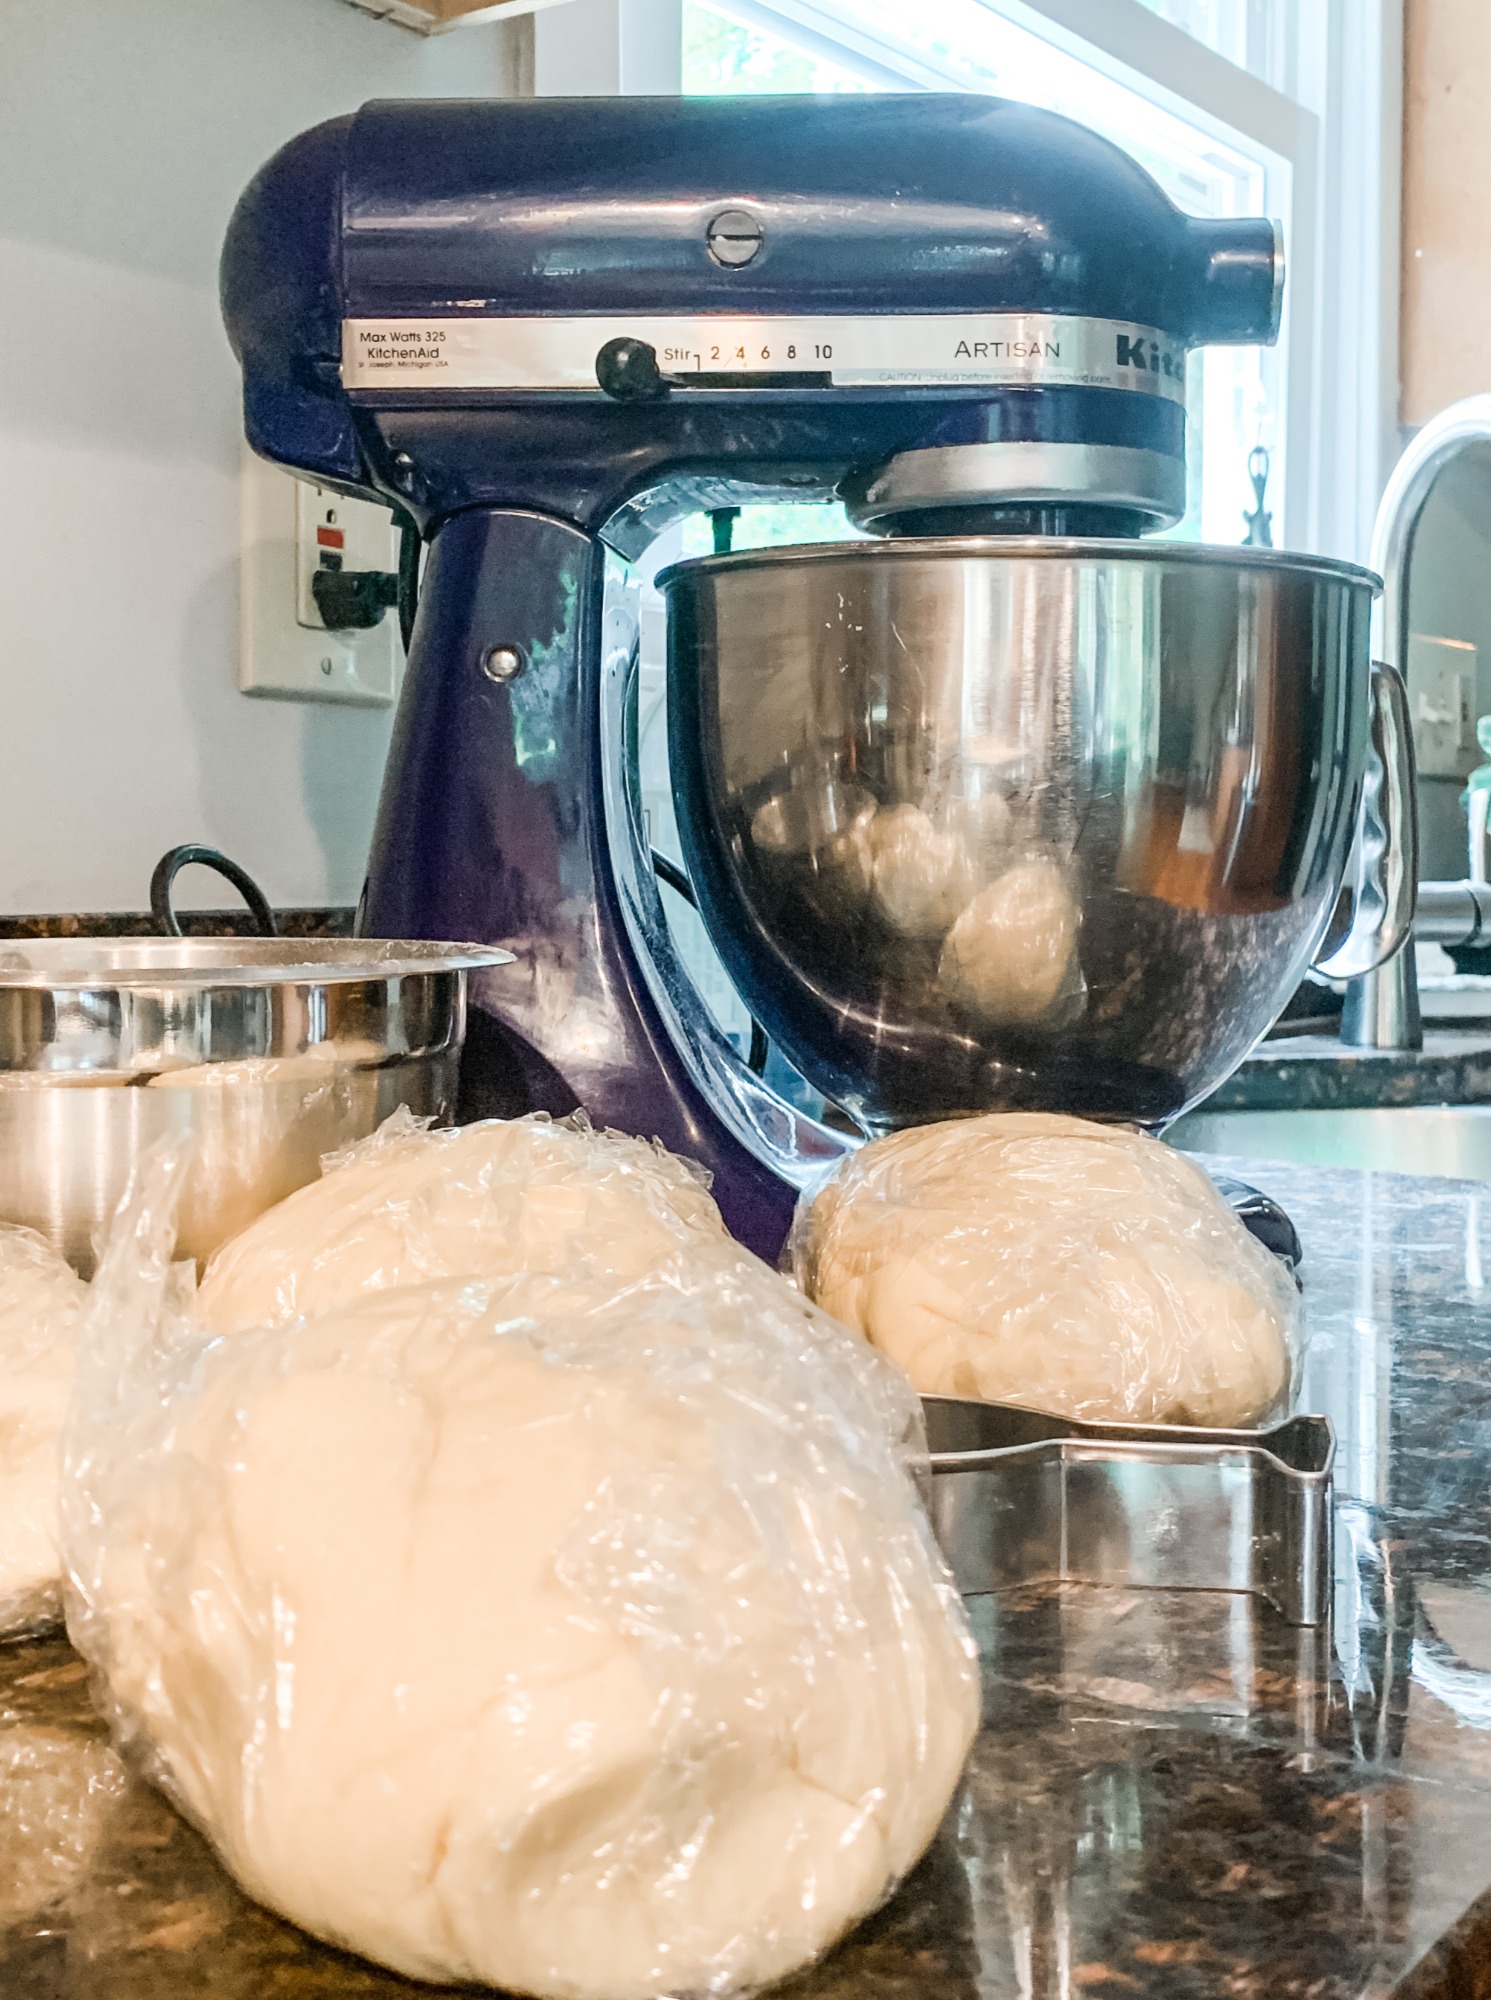
I made the cookies 2 weeks prior to the event and froze them in layers in containers with parchment between them.
I experimented with the thickness a bit and ended up with a fairly thick cookie for stability. Unfortunately I ate all the broken ones and could barely fit in the dress. Hazards of the job.
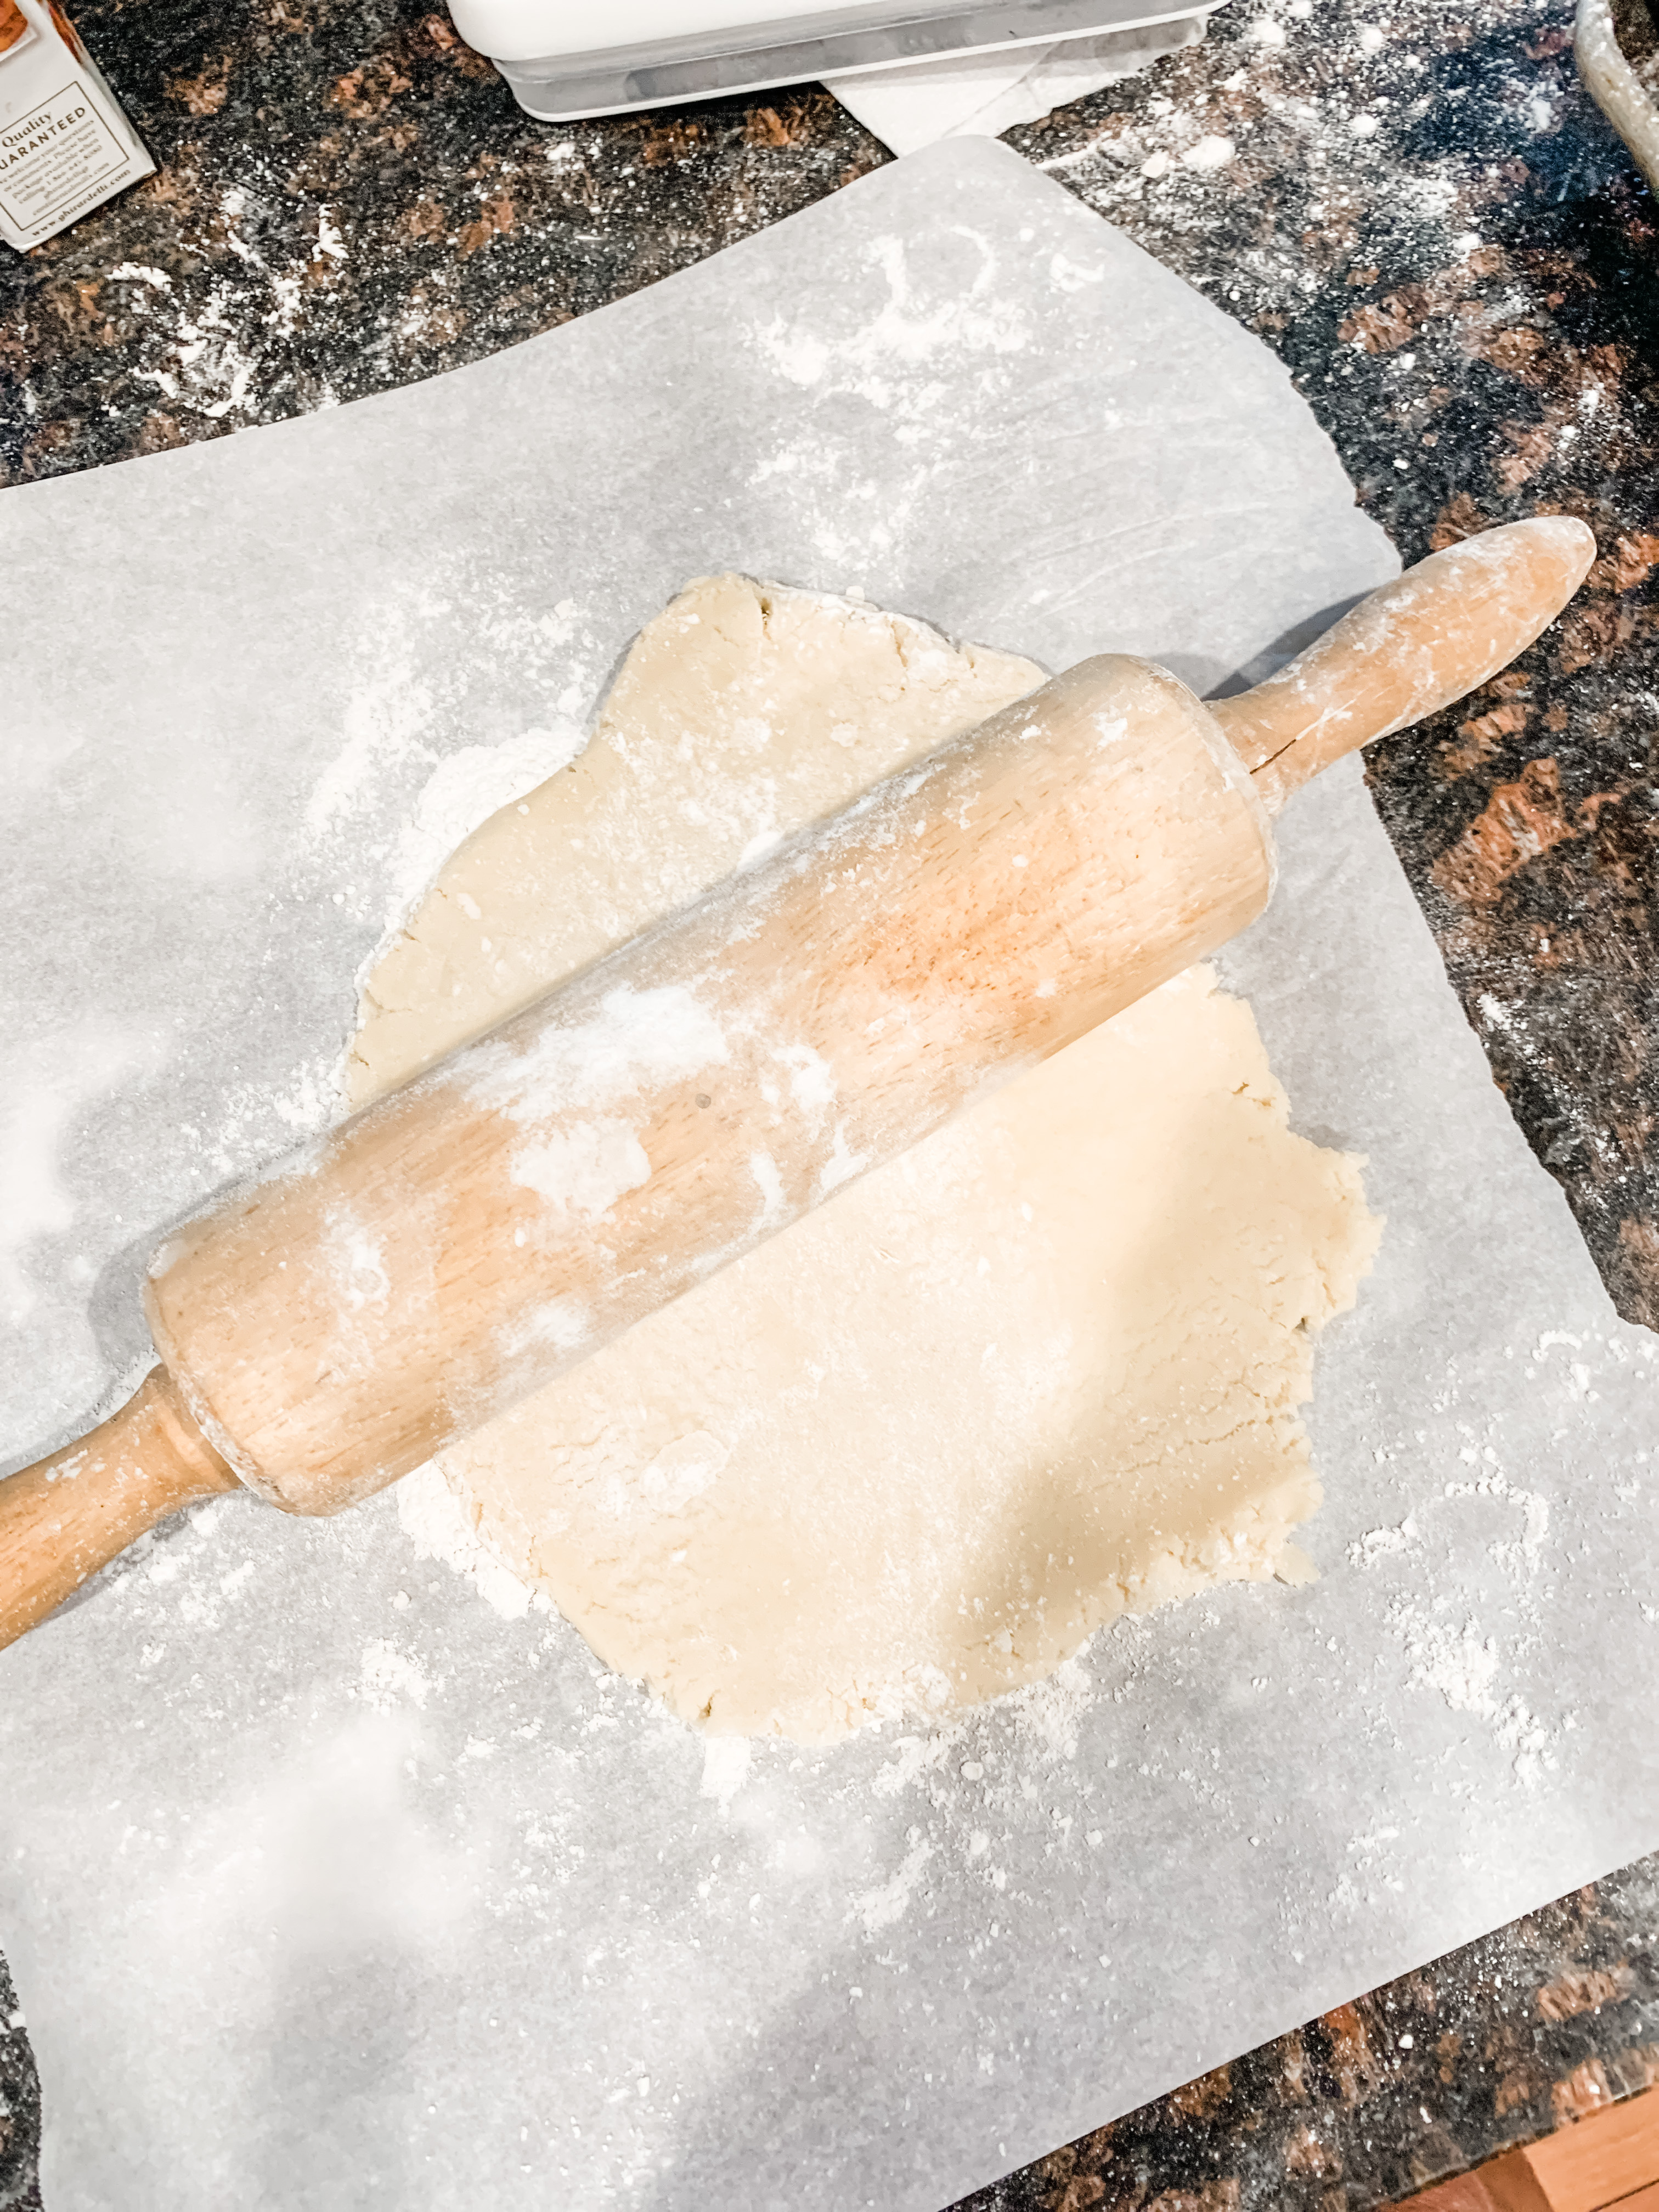
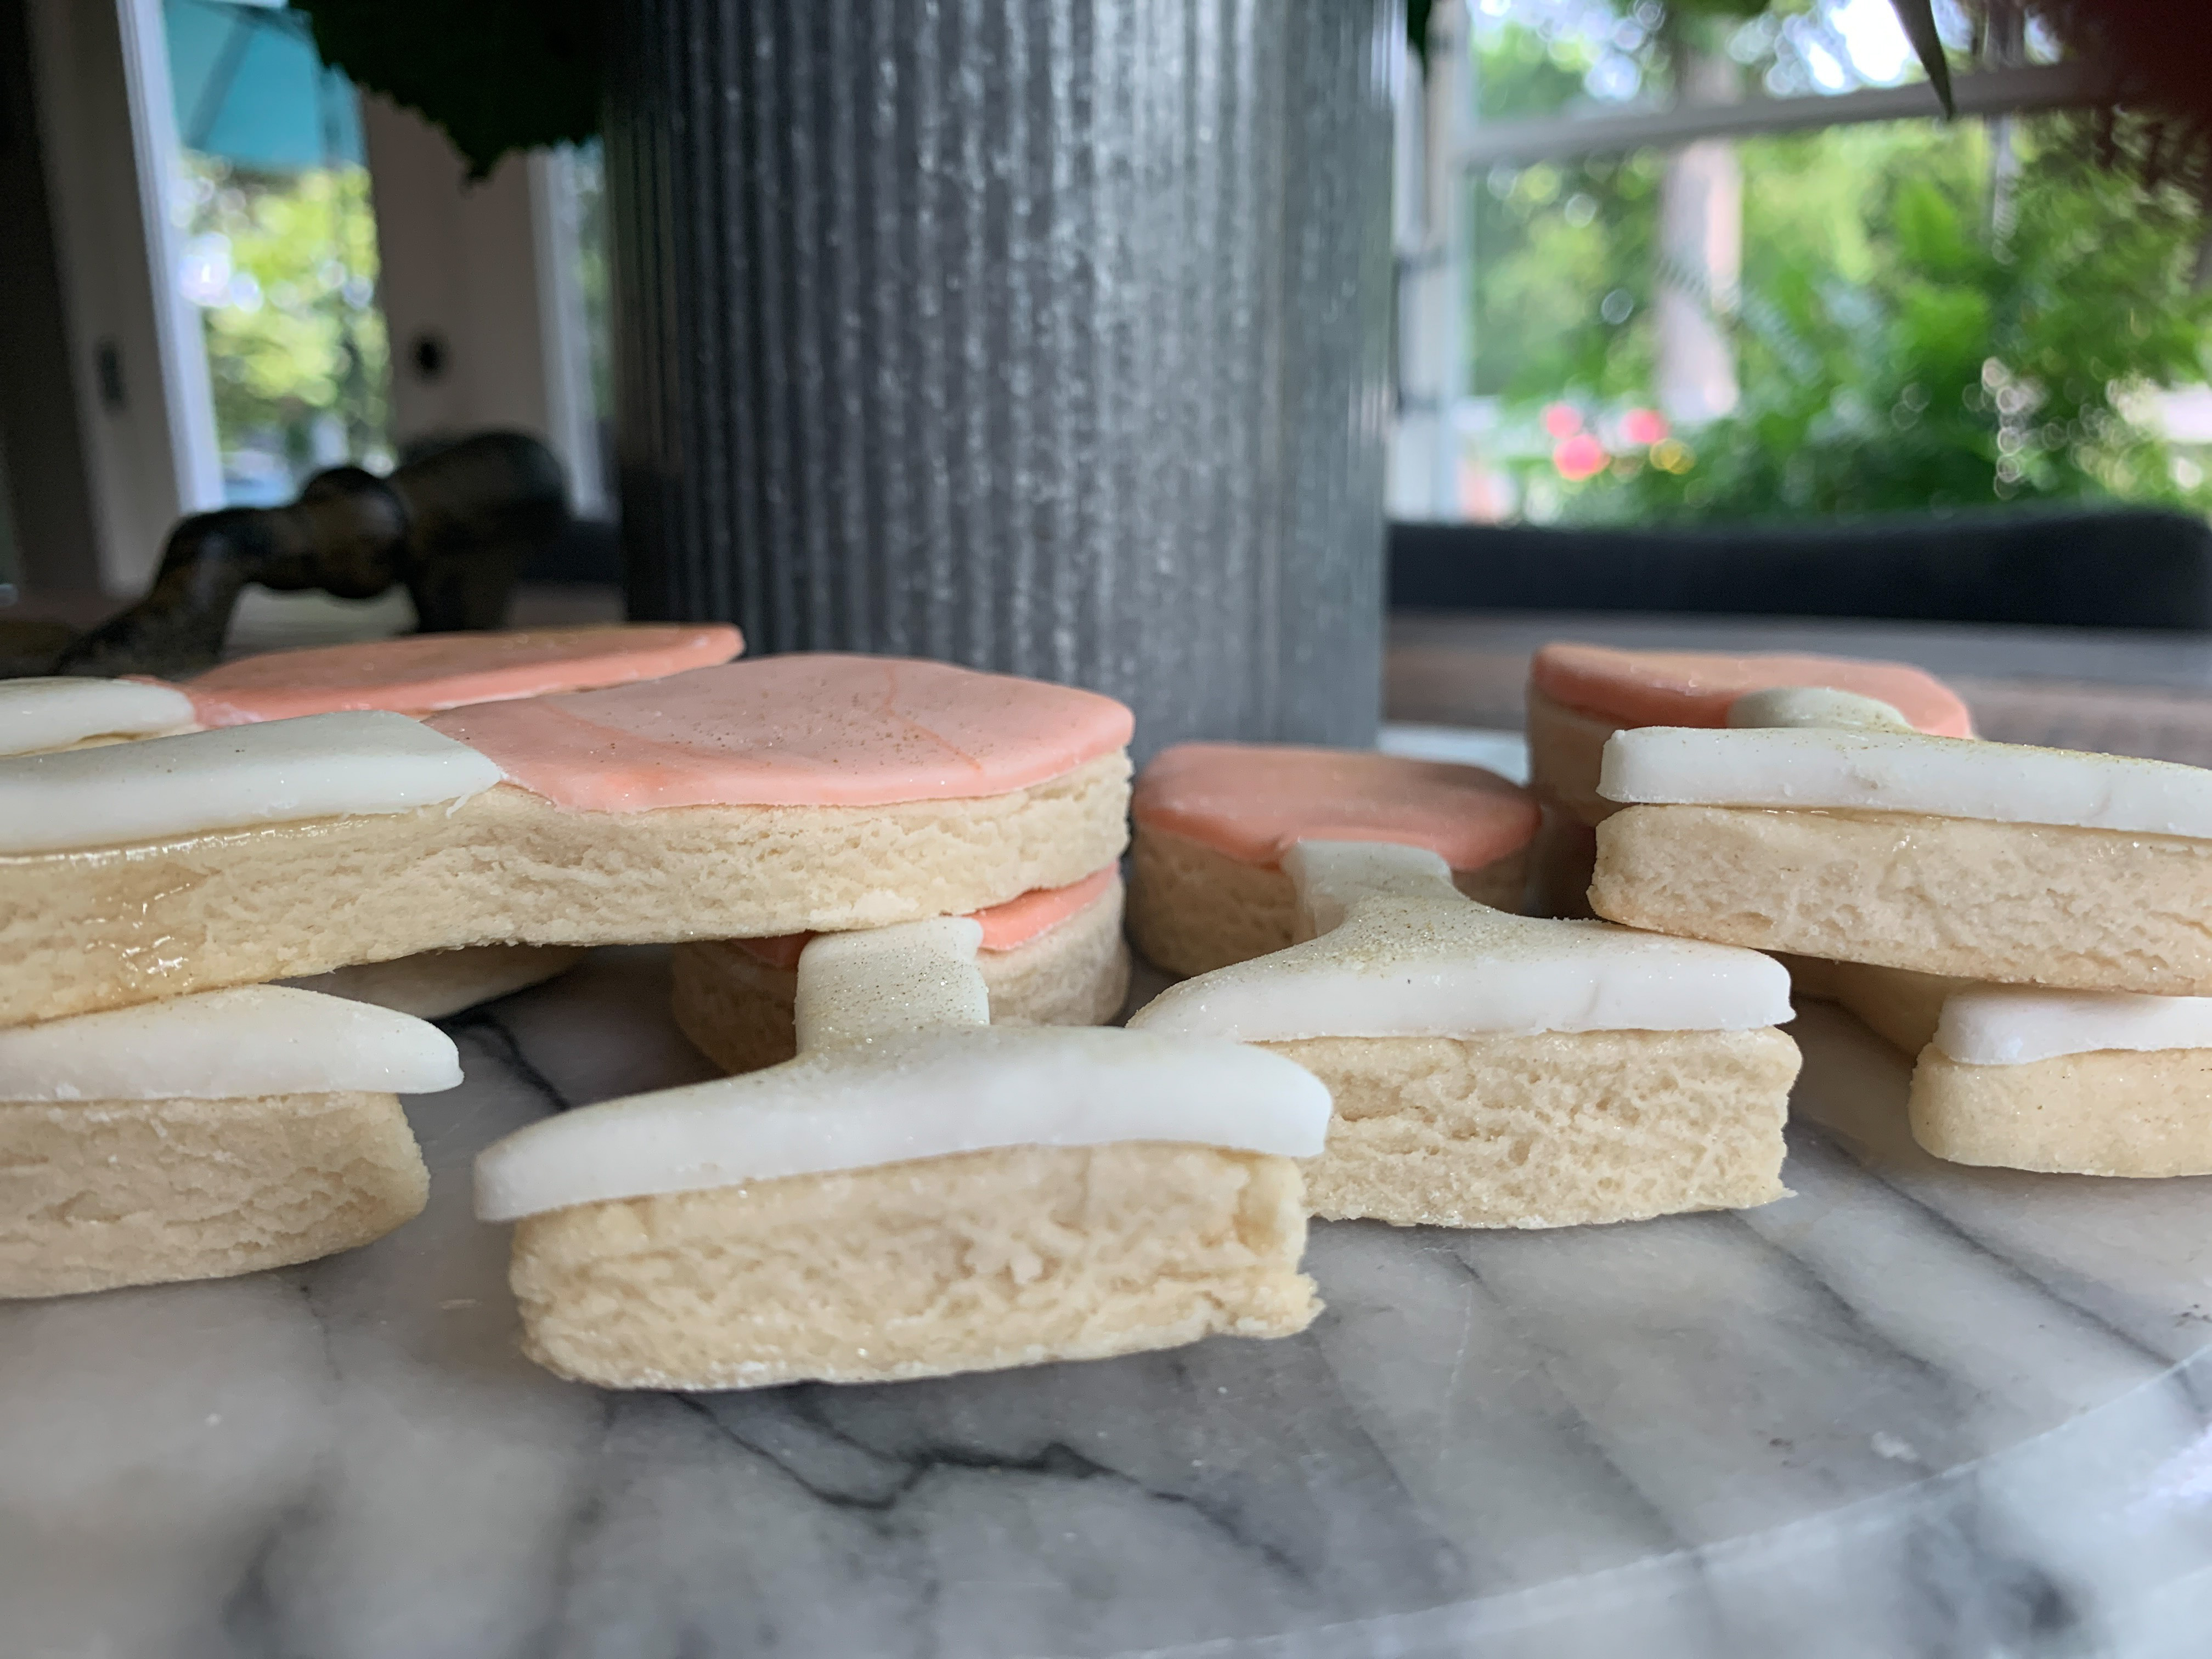
I made 12 dozen all together. I used a favorite sugar cookie recipe that includes vanilla and almond extract. I couldn’t have done it without this workhorse from Kitchen Aid.
I’m not that experienced with Royal Icing and was a bit nervous about the required drying time and packaging so I started doing some research and decided I wanted to cover the cookies with a thin layer of fondant.
My experience with fondant has been limited to making pumpkins for cupcakes for an event a few years back.
After a little more reading, I decided to make my own. I found a recipe for a Marshmallow Fondant and it had rave reviews….so I tried it – 4 days before the wedding! It called for 1-1lb bag of marshmallows, water, Crisco shortening, powdered sugar and coloring. That’s it!
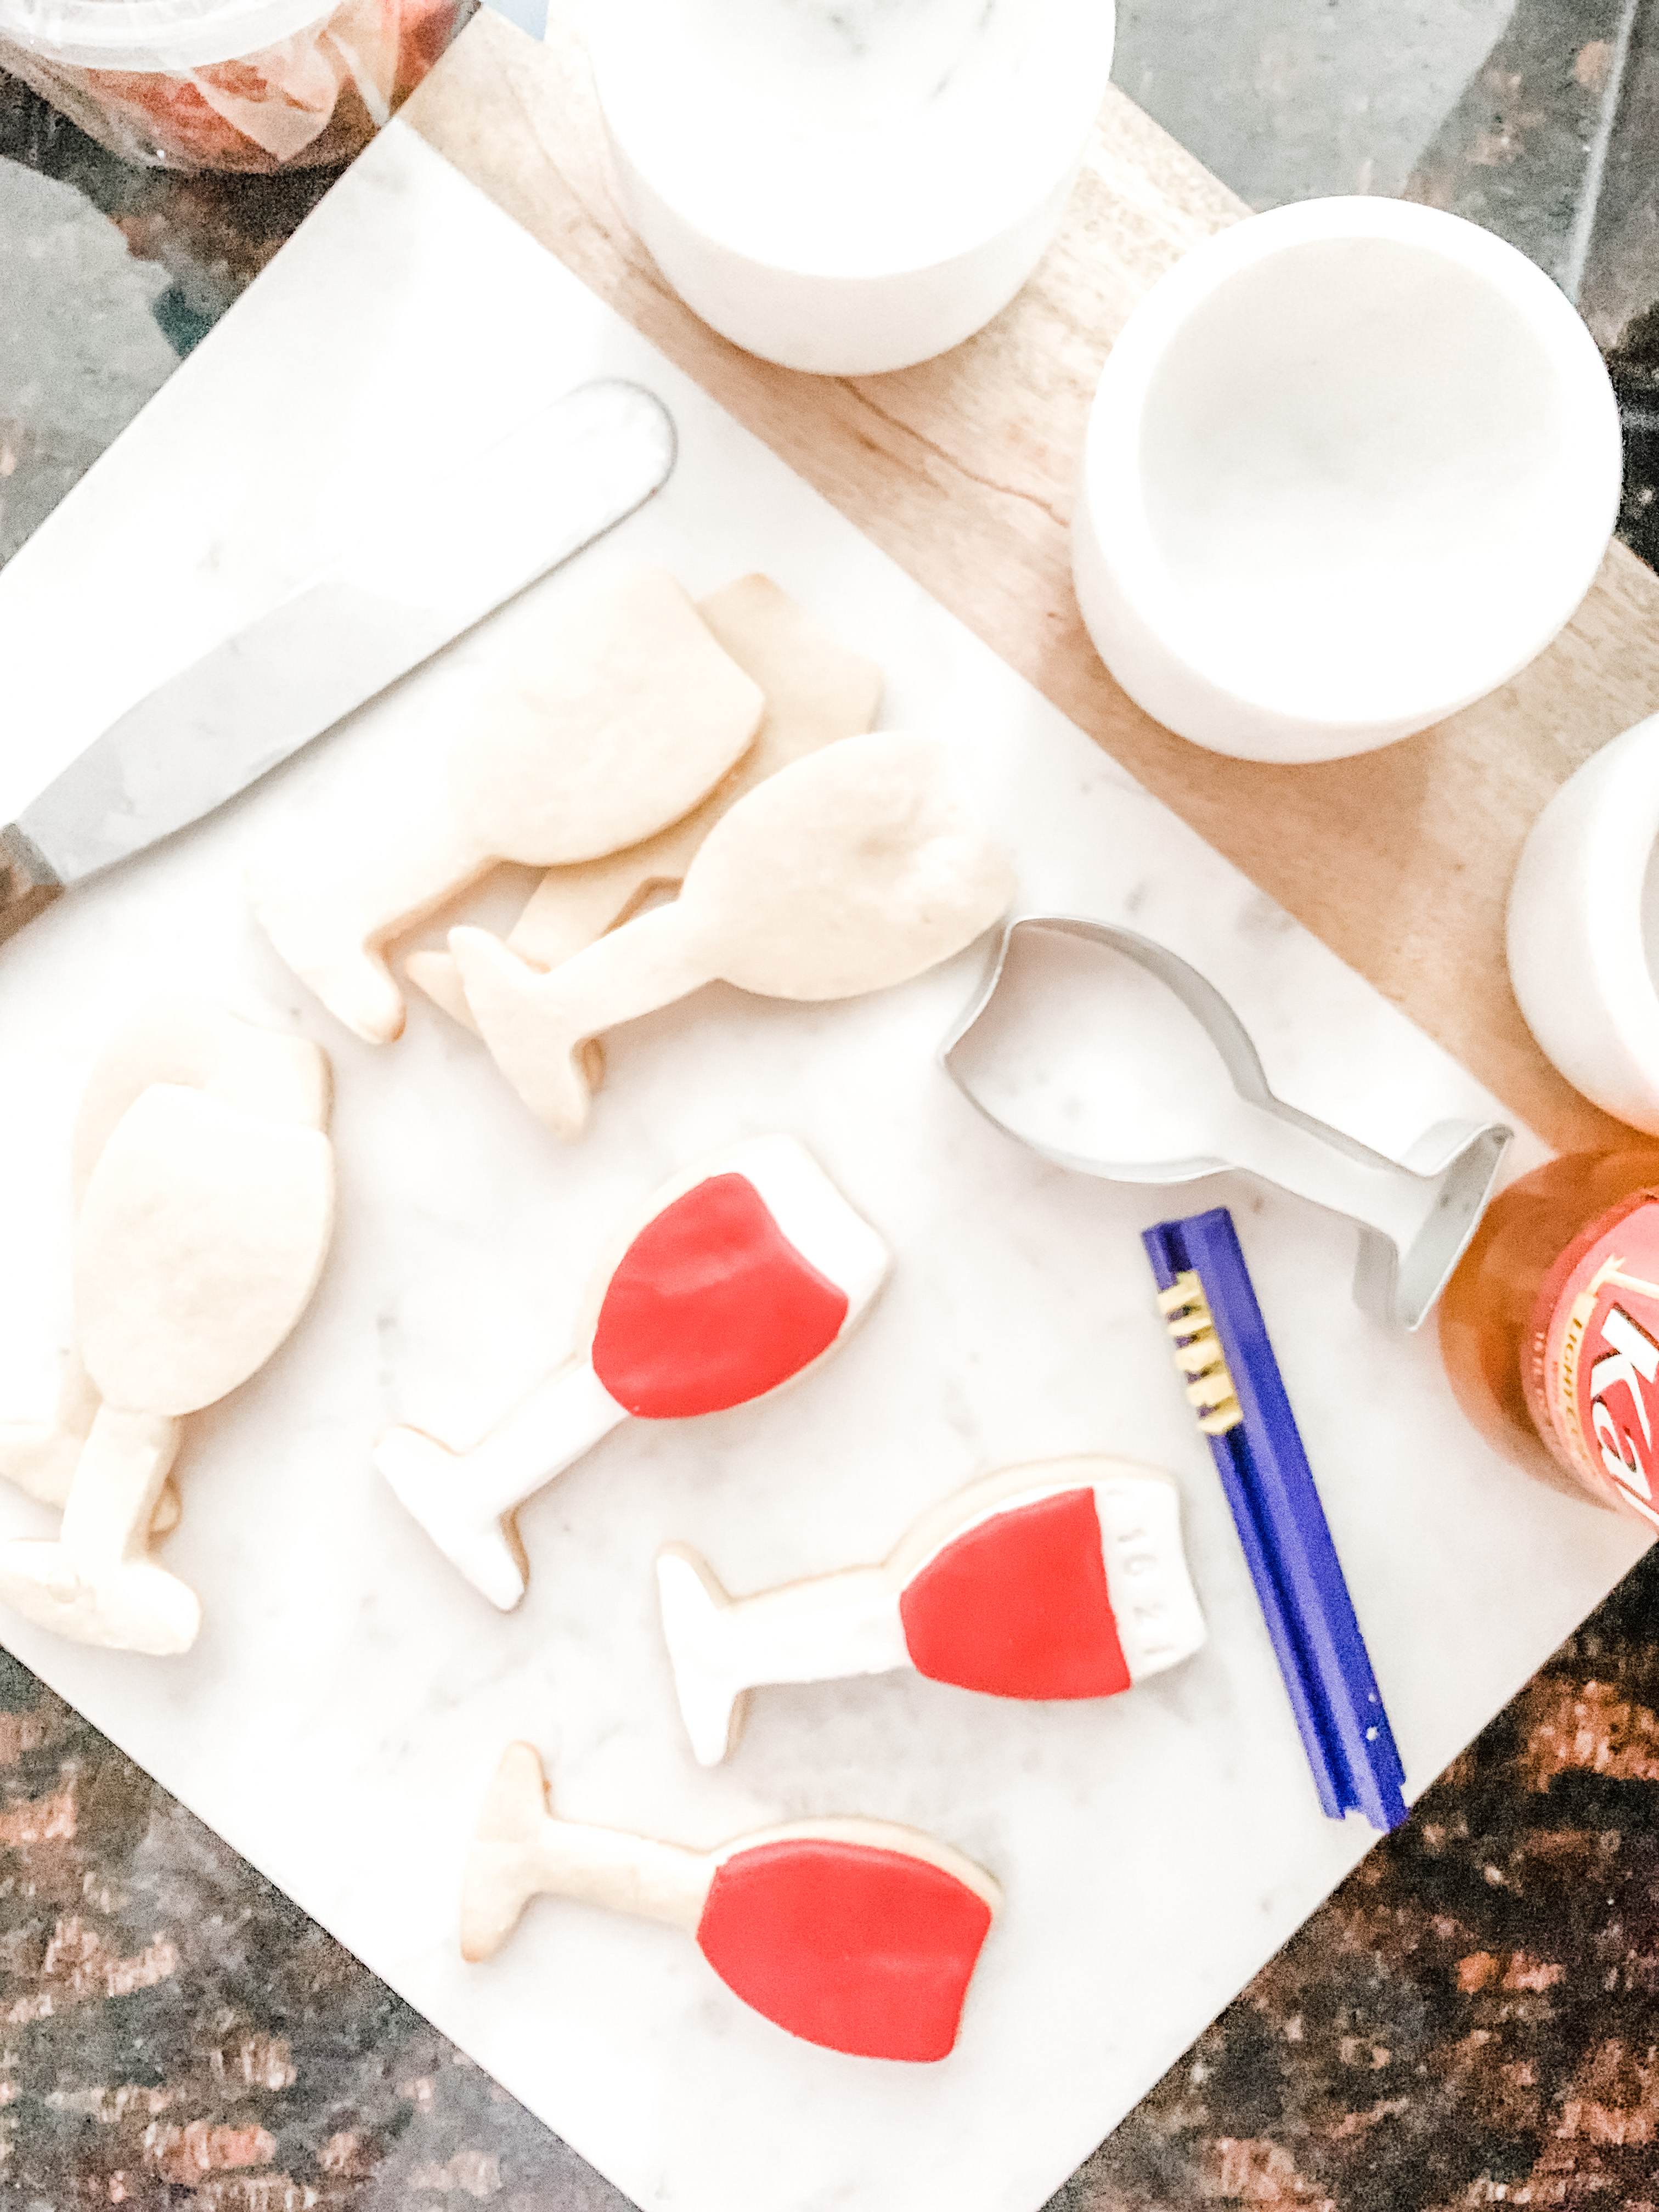
I worked on the color of the fondant until I was happy with the “wine” or “drink” color. I started with a red, then a pink then landed on this blush color. It was beautiful. I used Wilton “Copper” color (just a smidge).
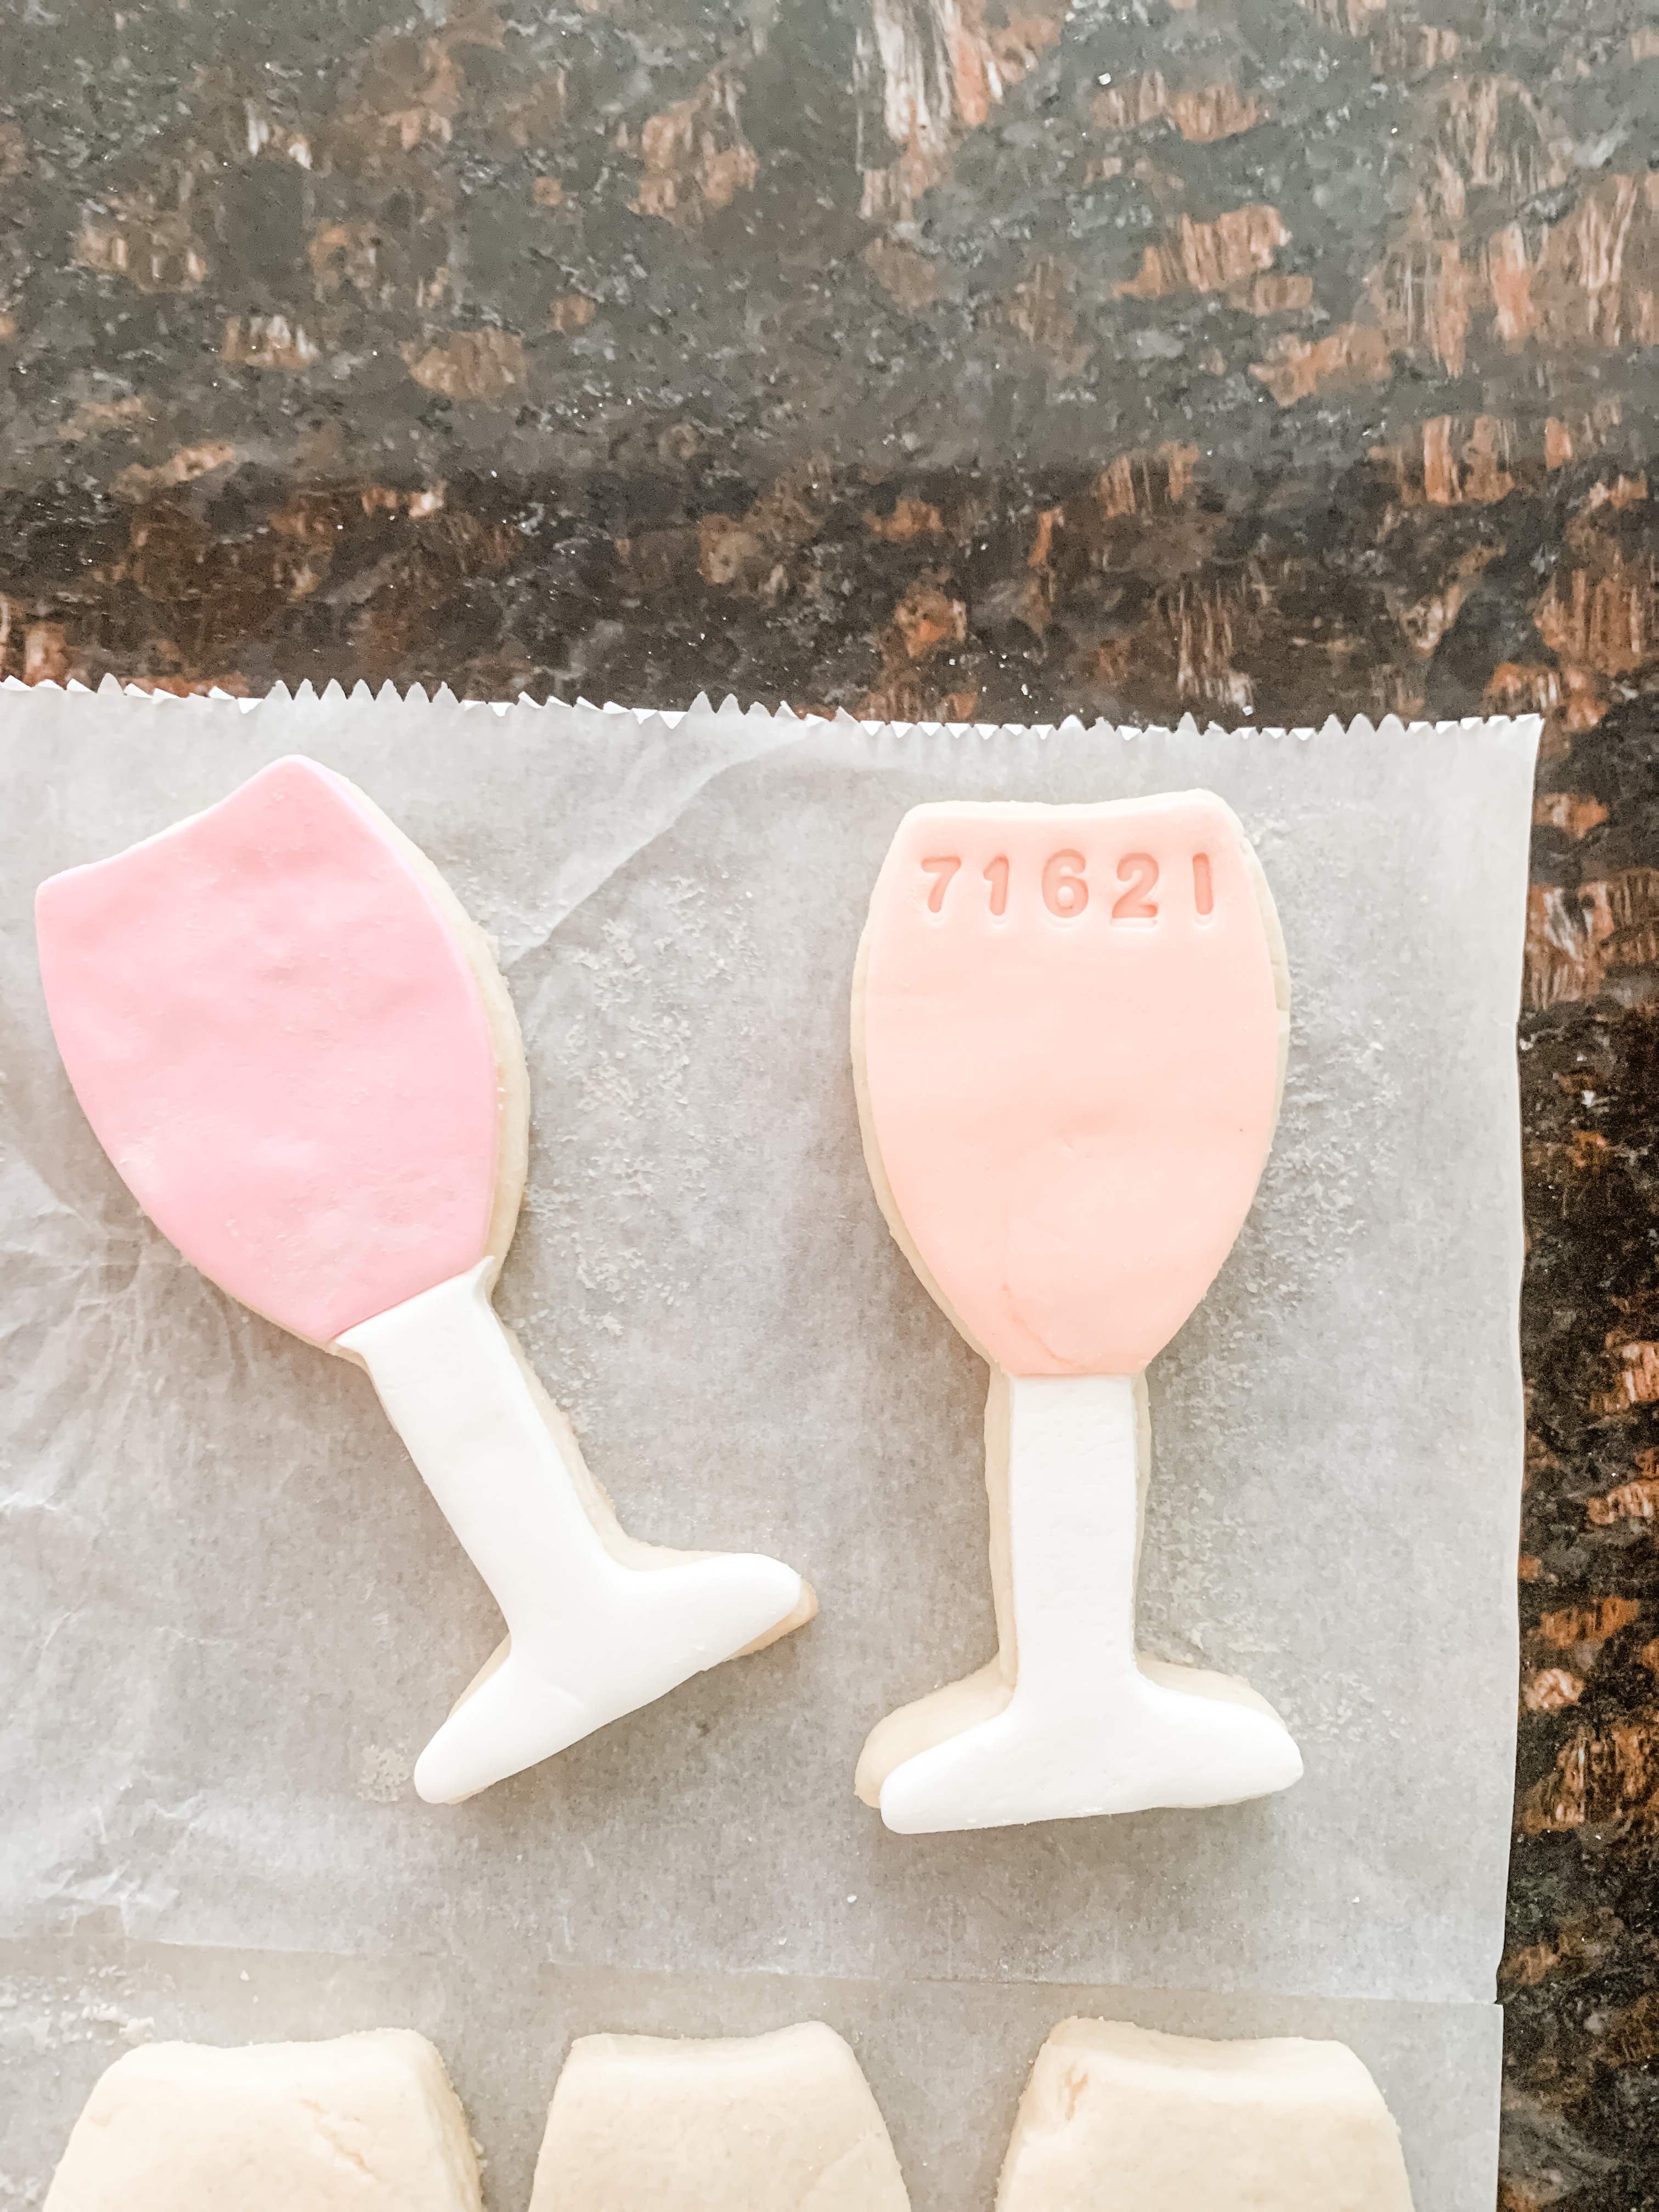
I used white fondant for the base of the glass, then the blush for the top, and stamped the cookies with the date of the wedding.
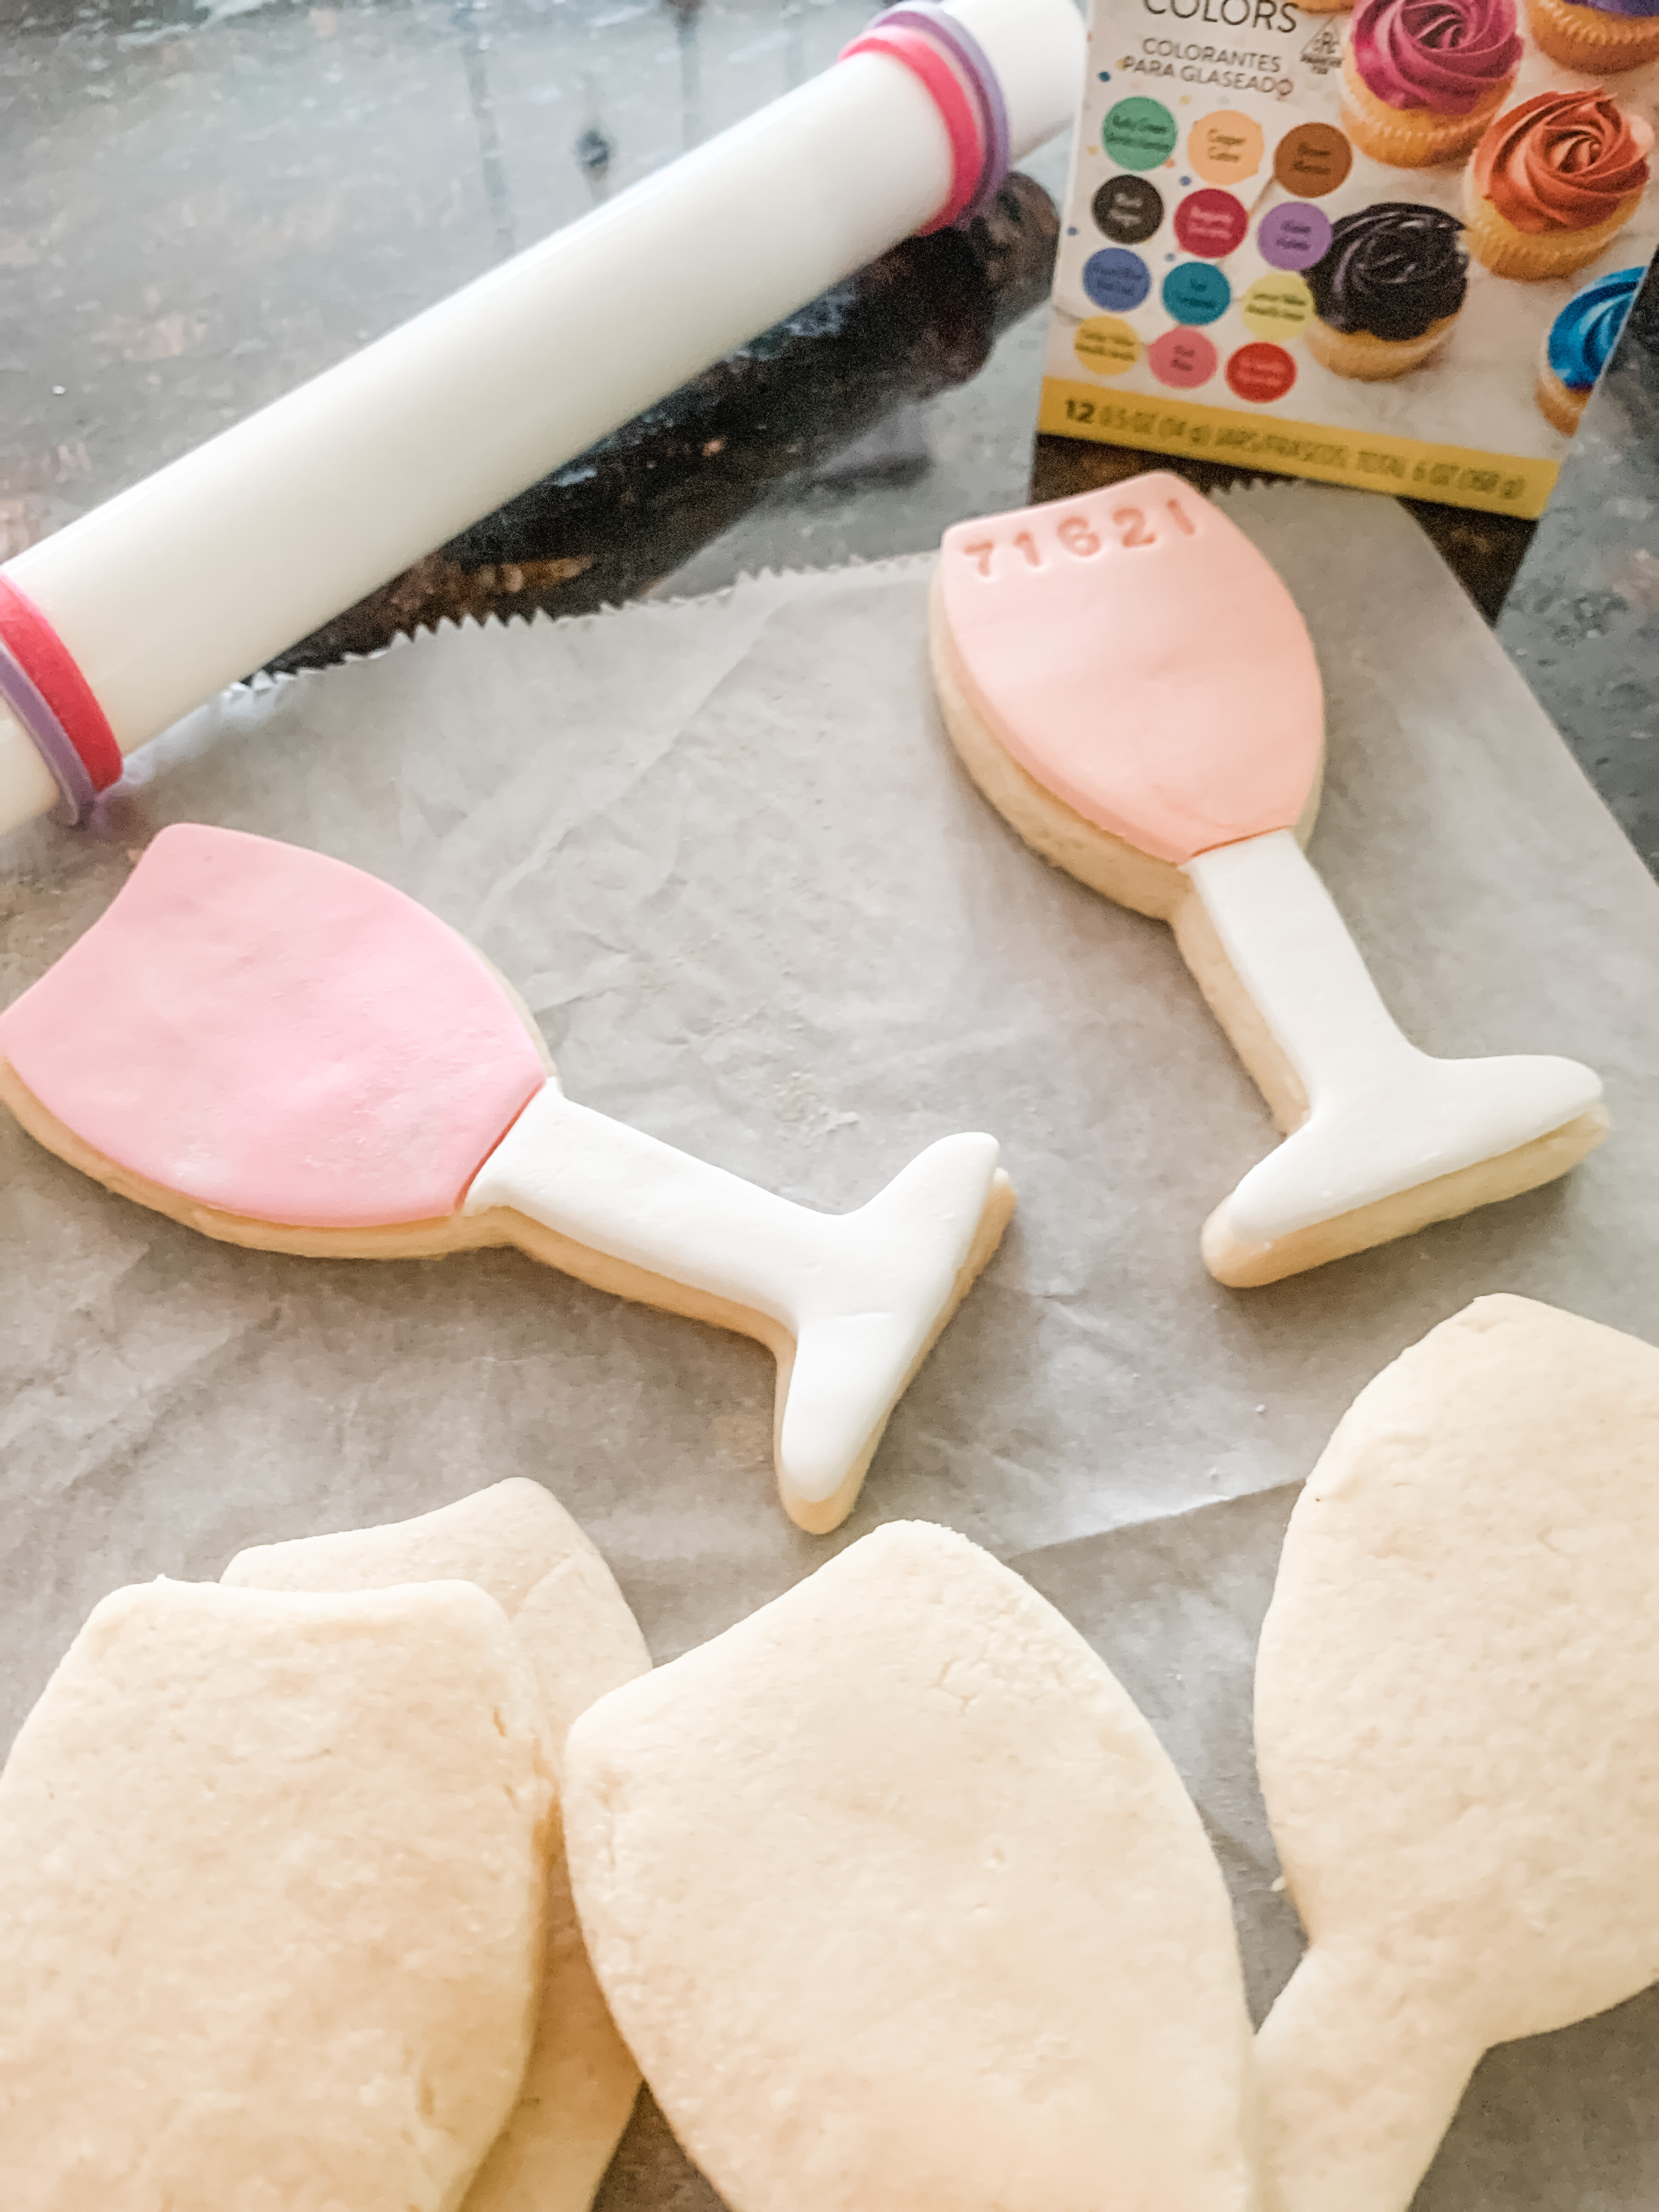
It was very easy to work with, pliable and didn’t tear or rip. I loved it. It was also delicious. Not too sweet.
To adhere the fondant to the cookie, I used a small brush and painted on corn syrup as adhesive. This was easy but took time. Now you know why you have to pay so much for custom cookies.
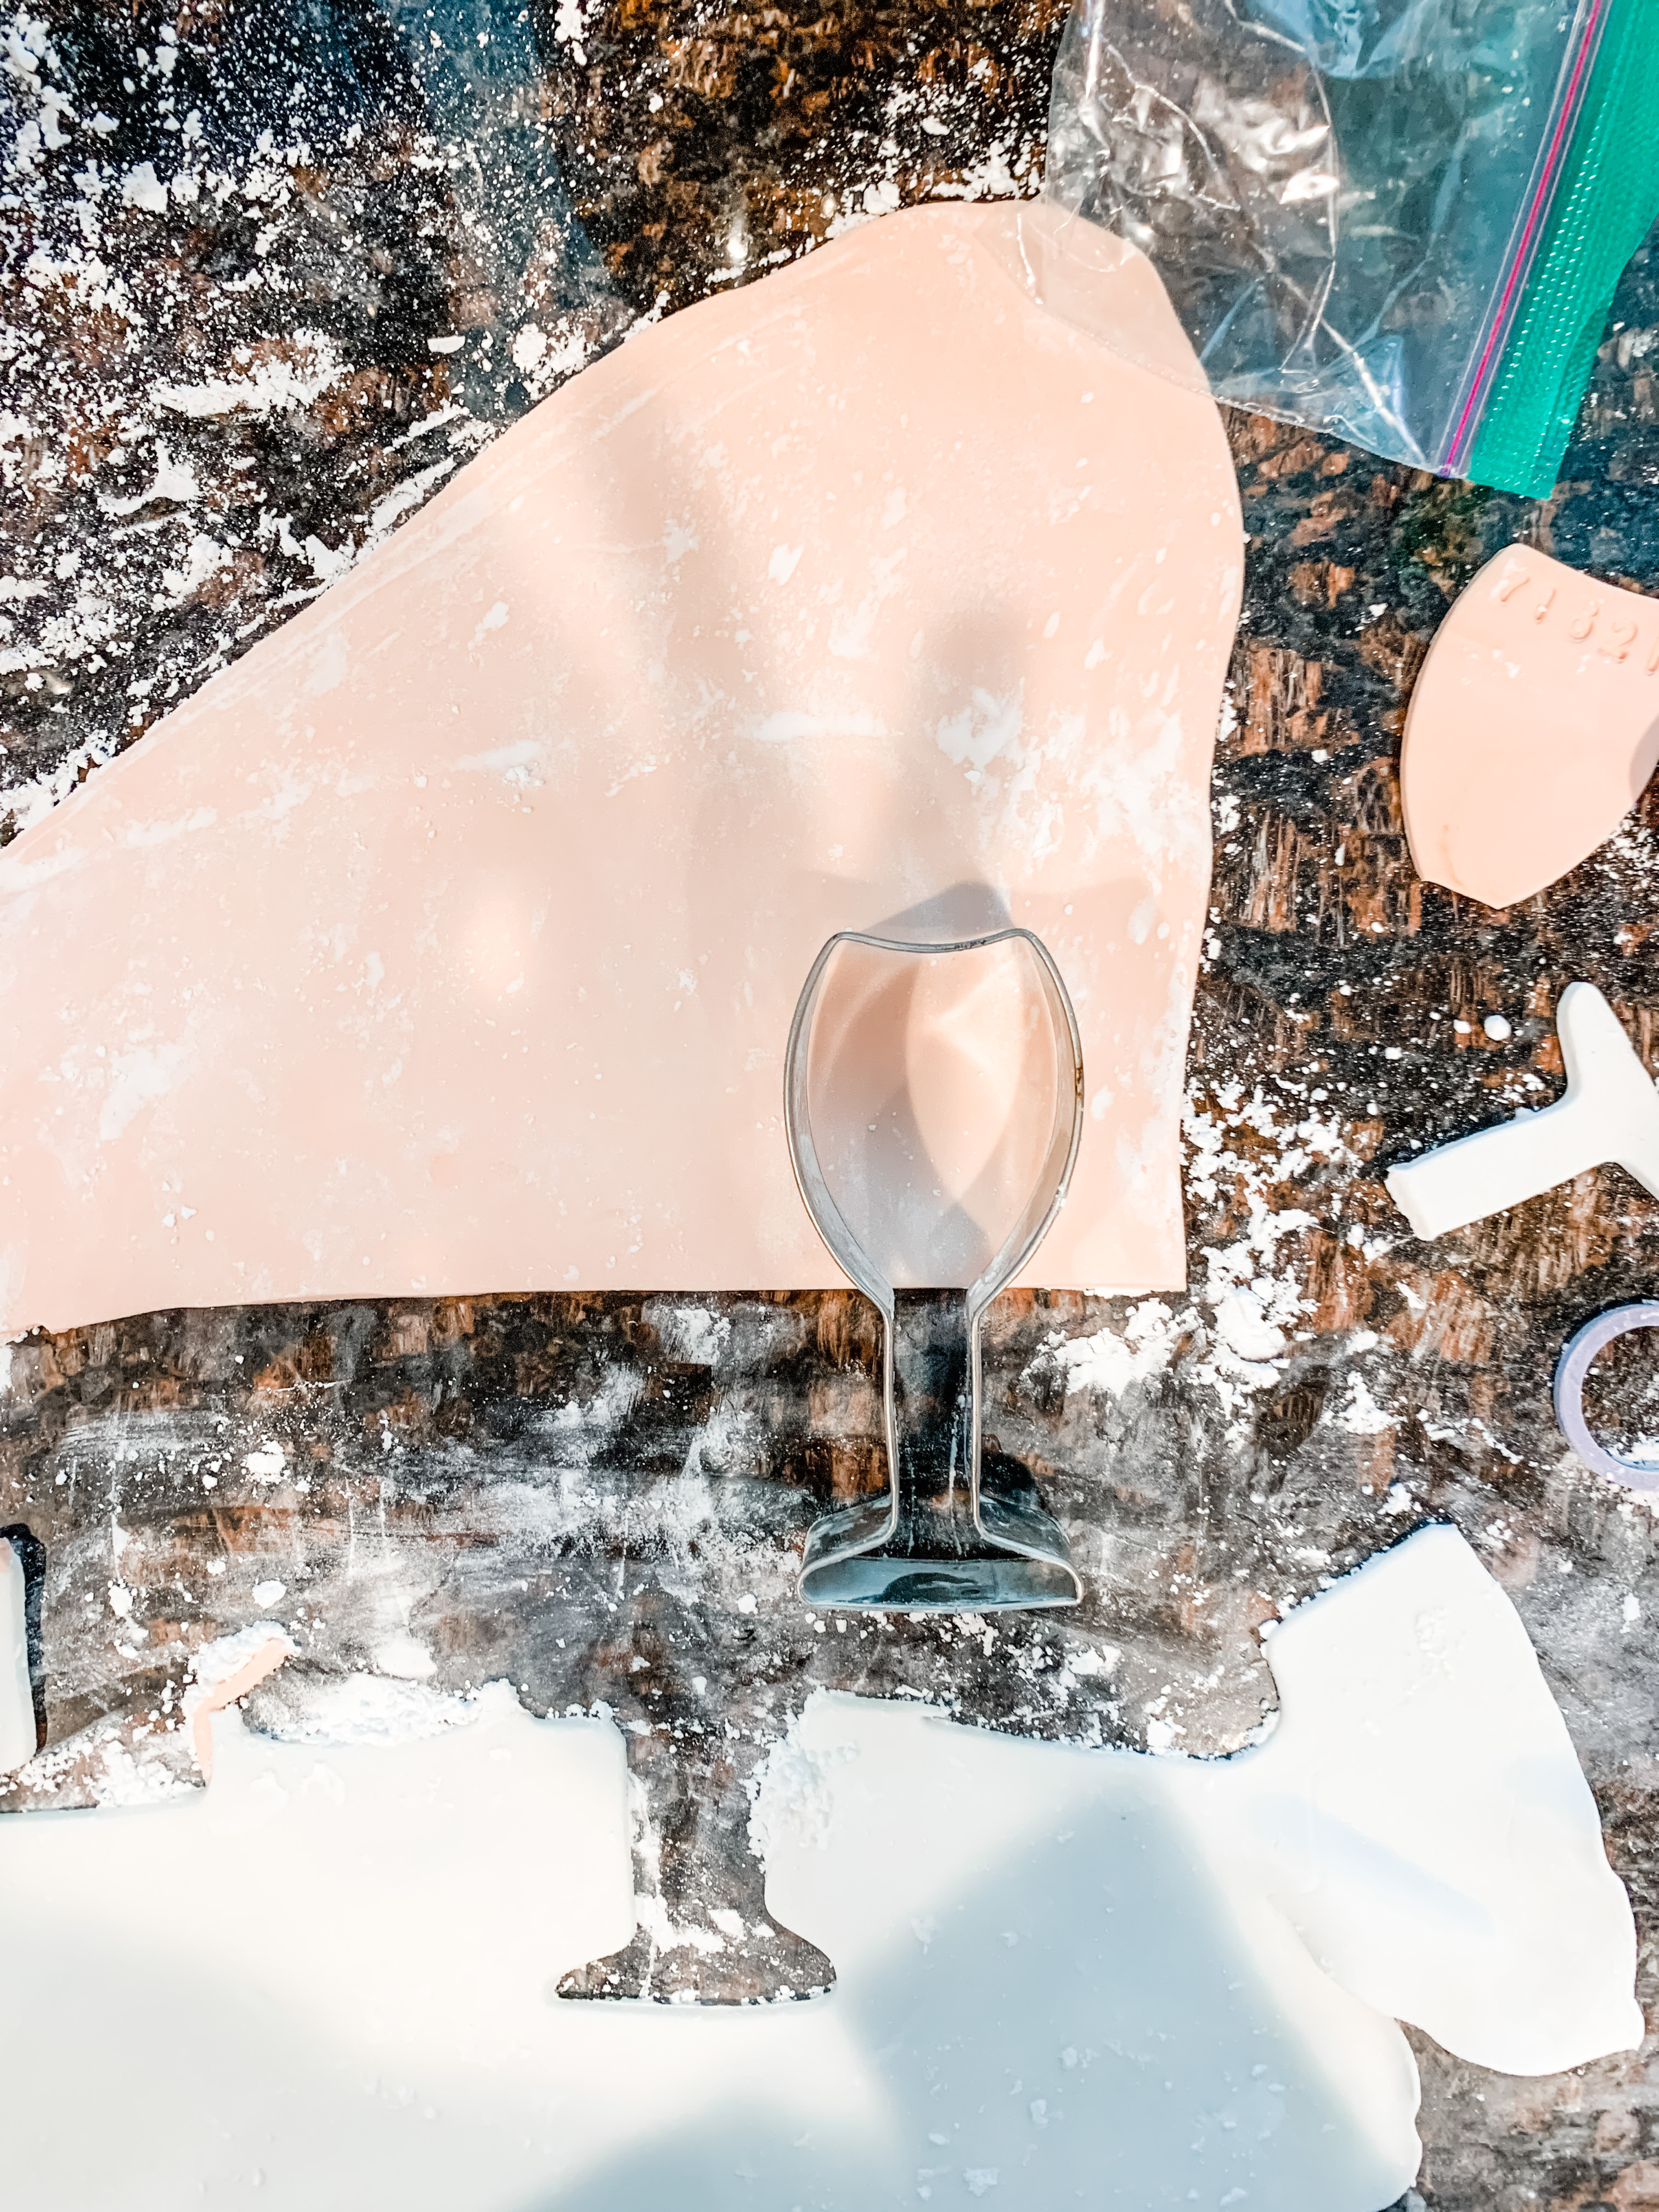
I finished them off by spraying them with edible gold glitter. It was just enough.
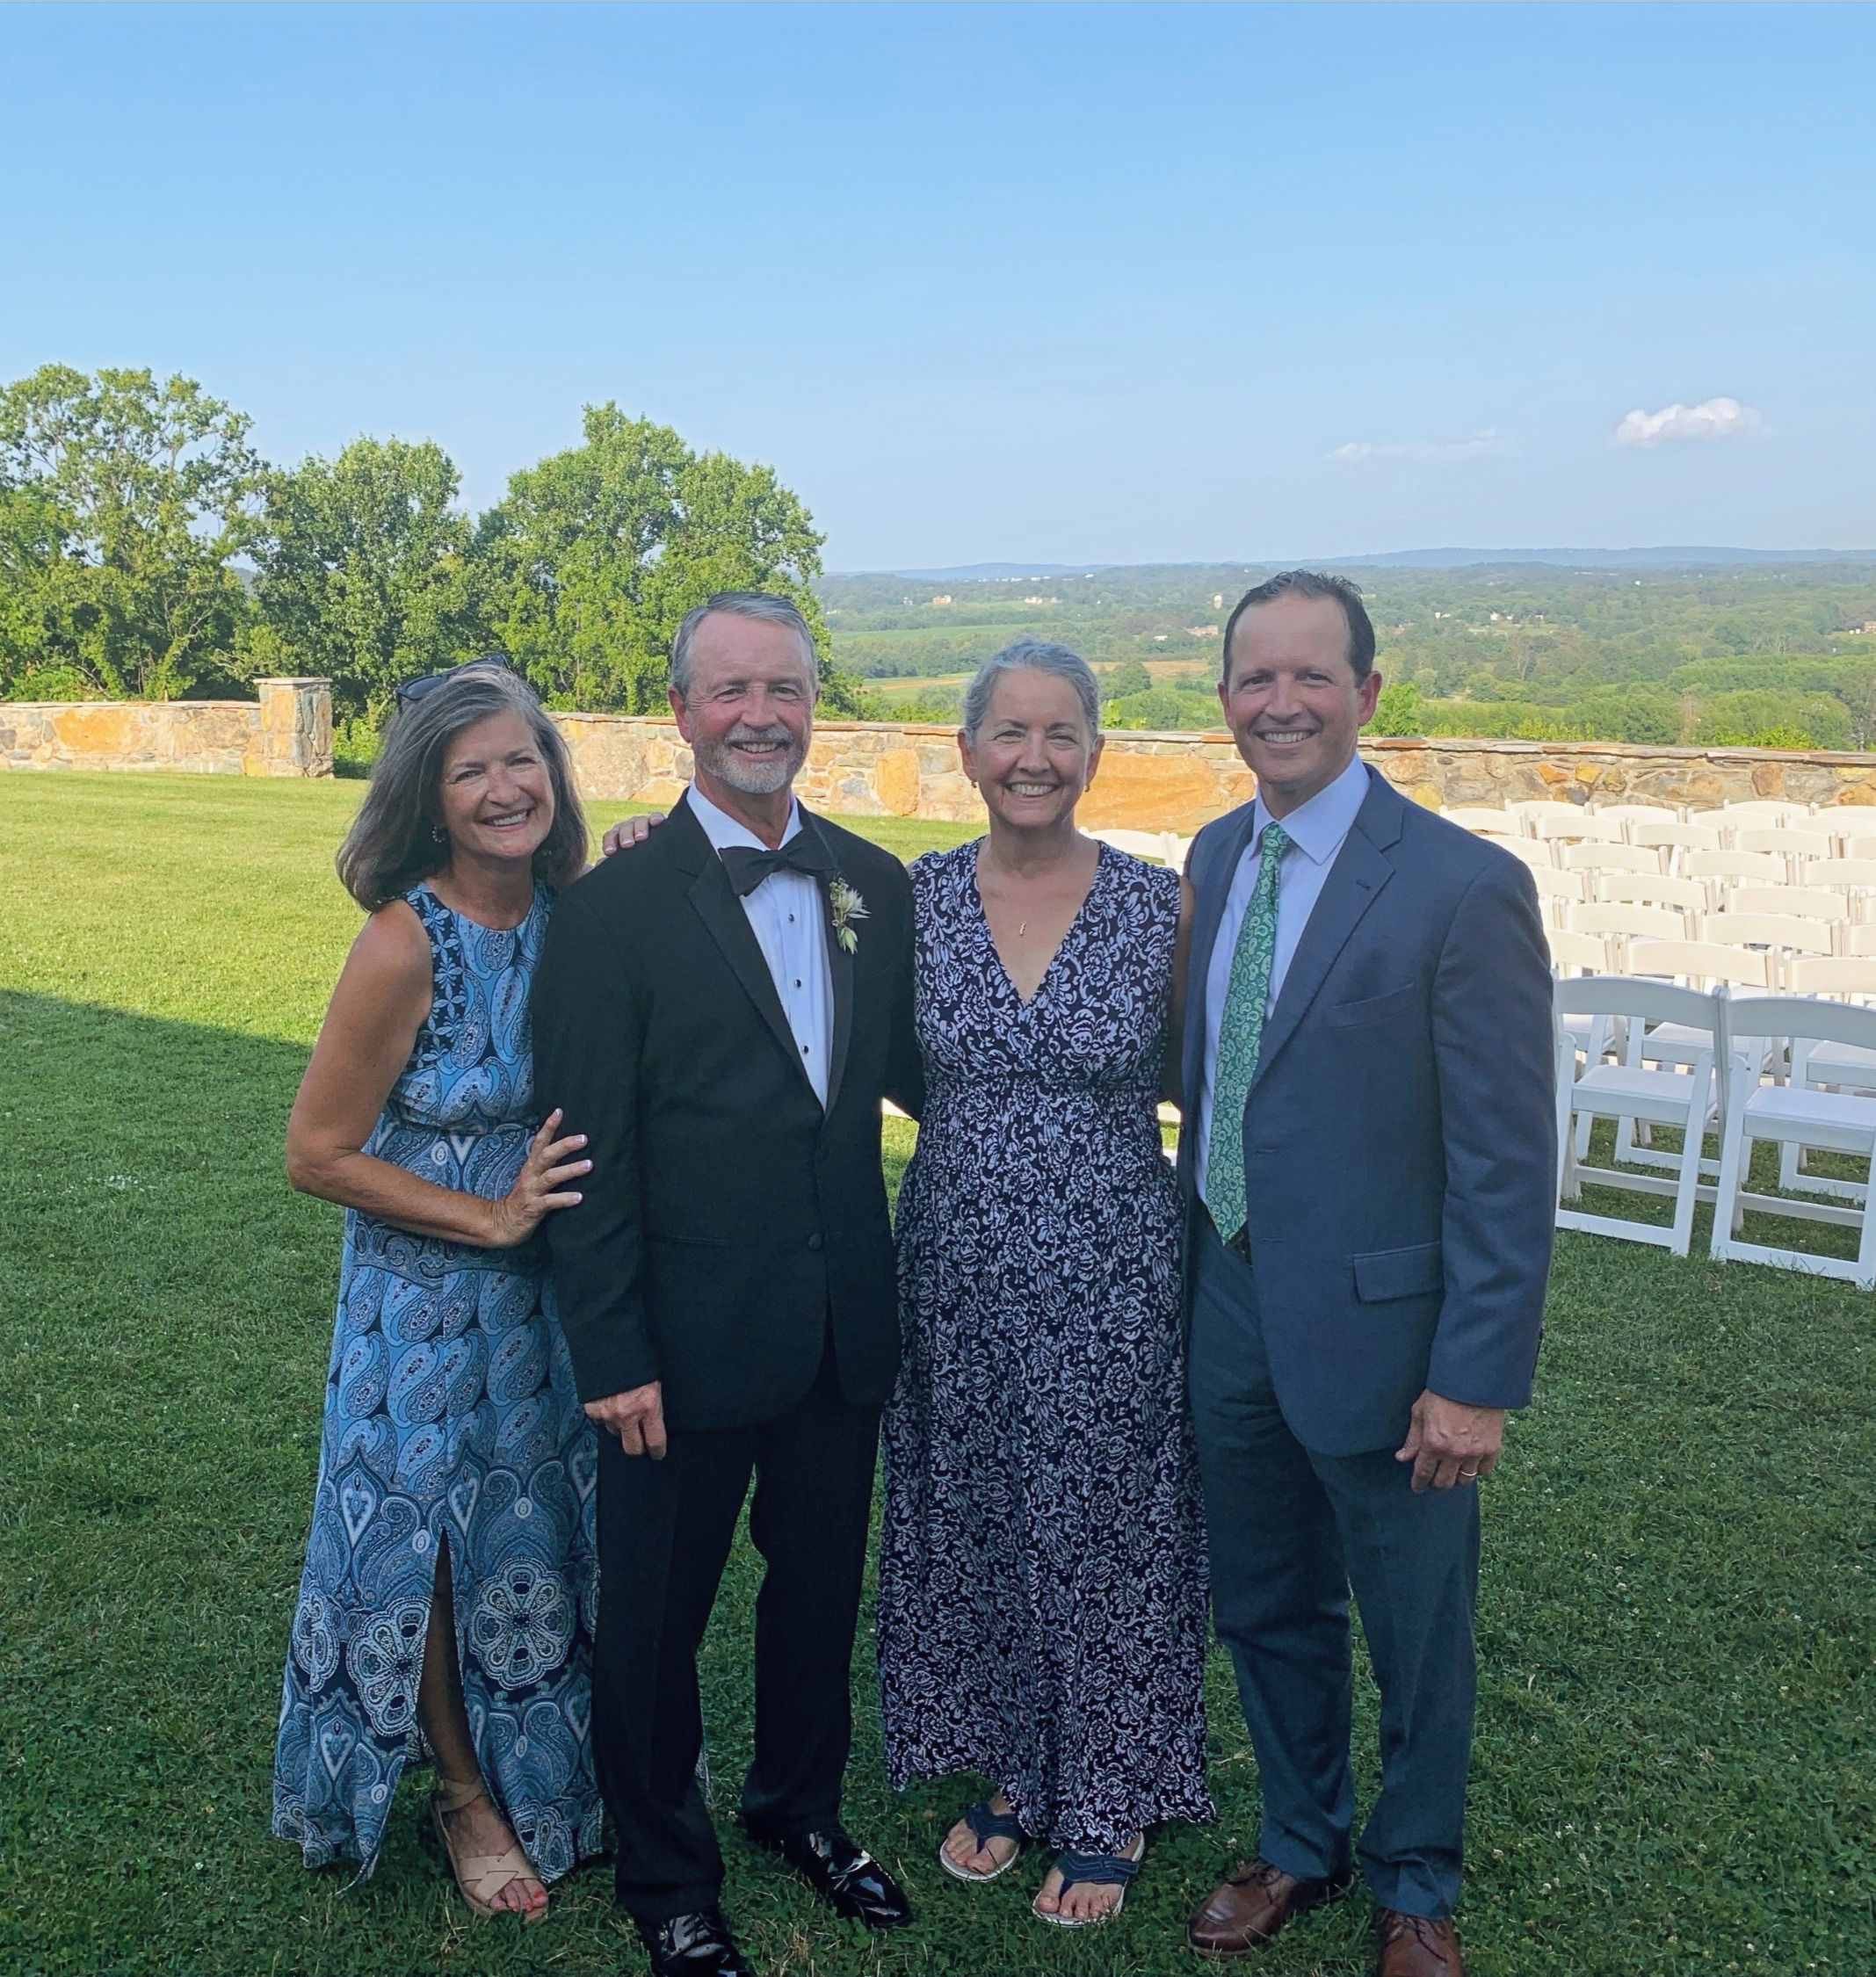
It was wonderful to be a part of the wedding in a small way. We were so fortunate to have a chance to reunite with family and we soaked up every minute. Below are my siblings and I.
One lives in NC, one in Texas and one in PA. See that vista?!
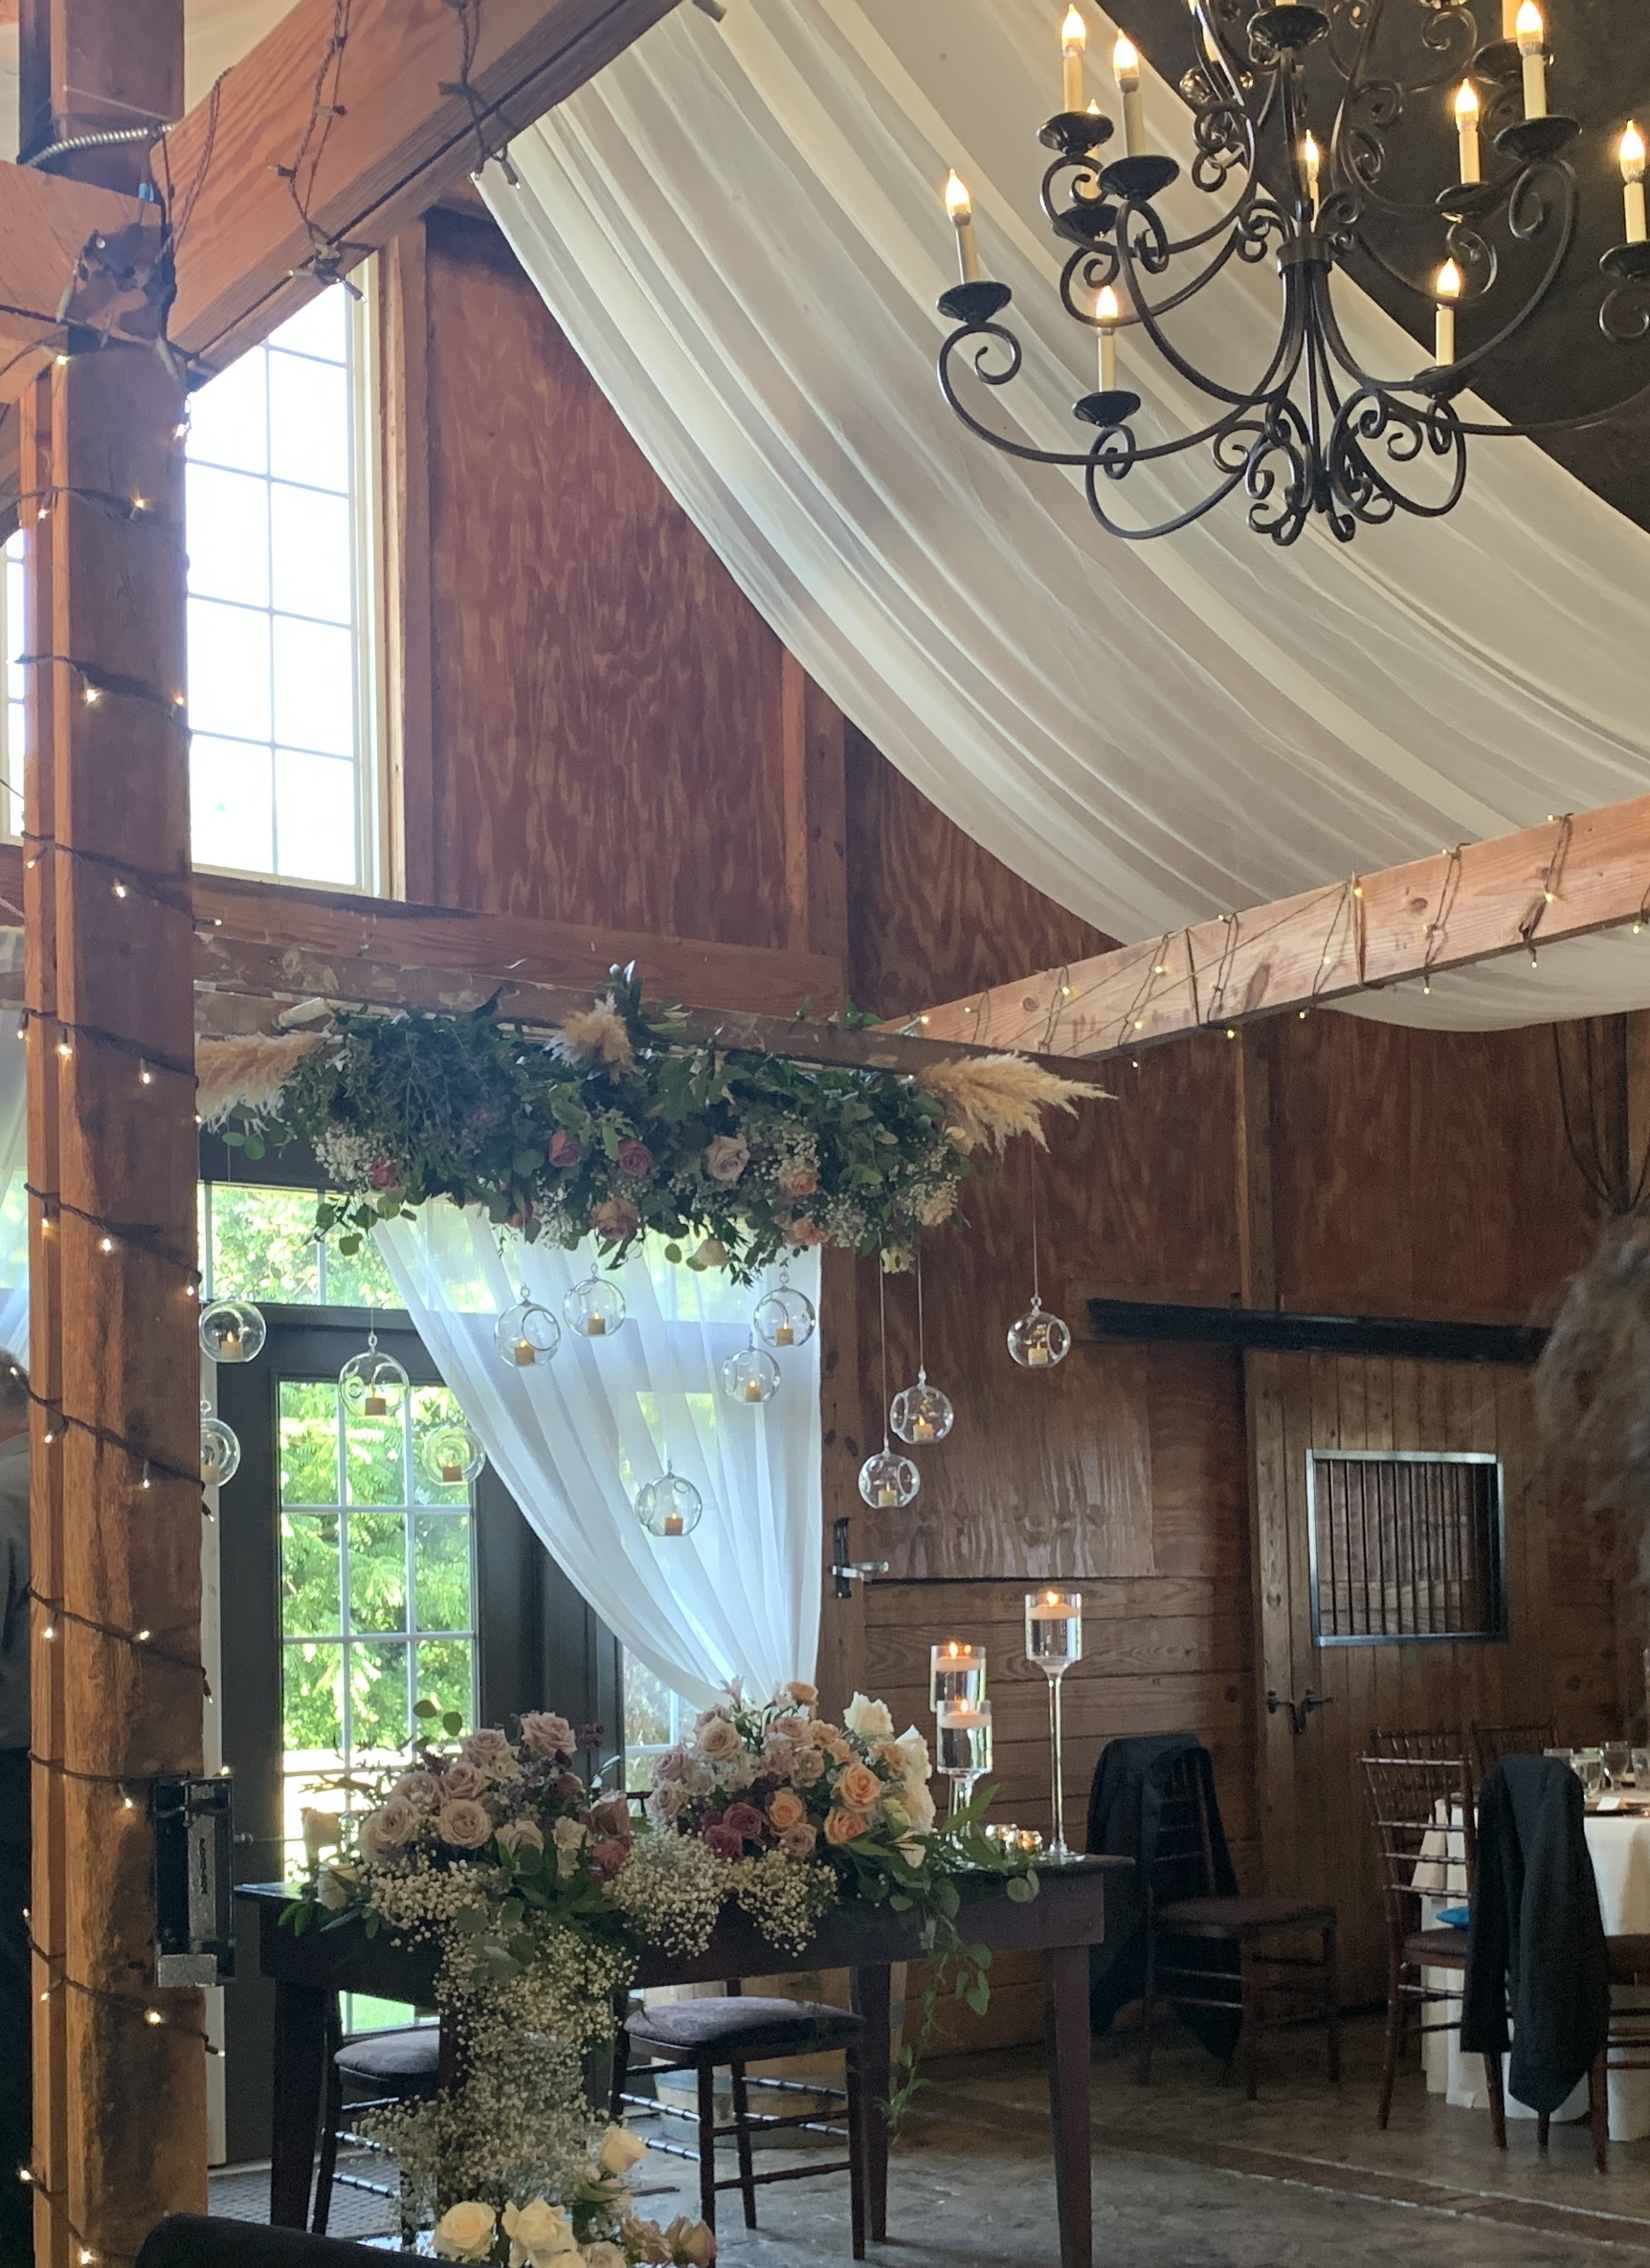
I didn’t have my phone out much but I snapped a few pictures of the gorgeous interior. Look at these flowers would you?
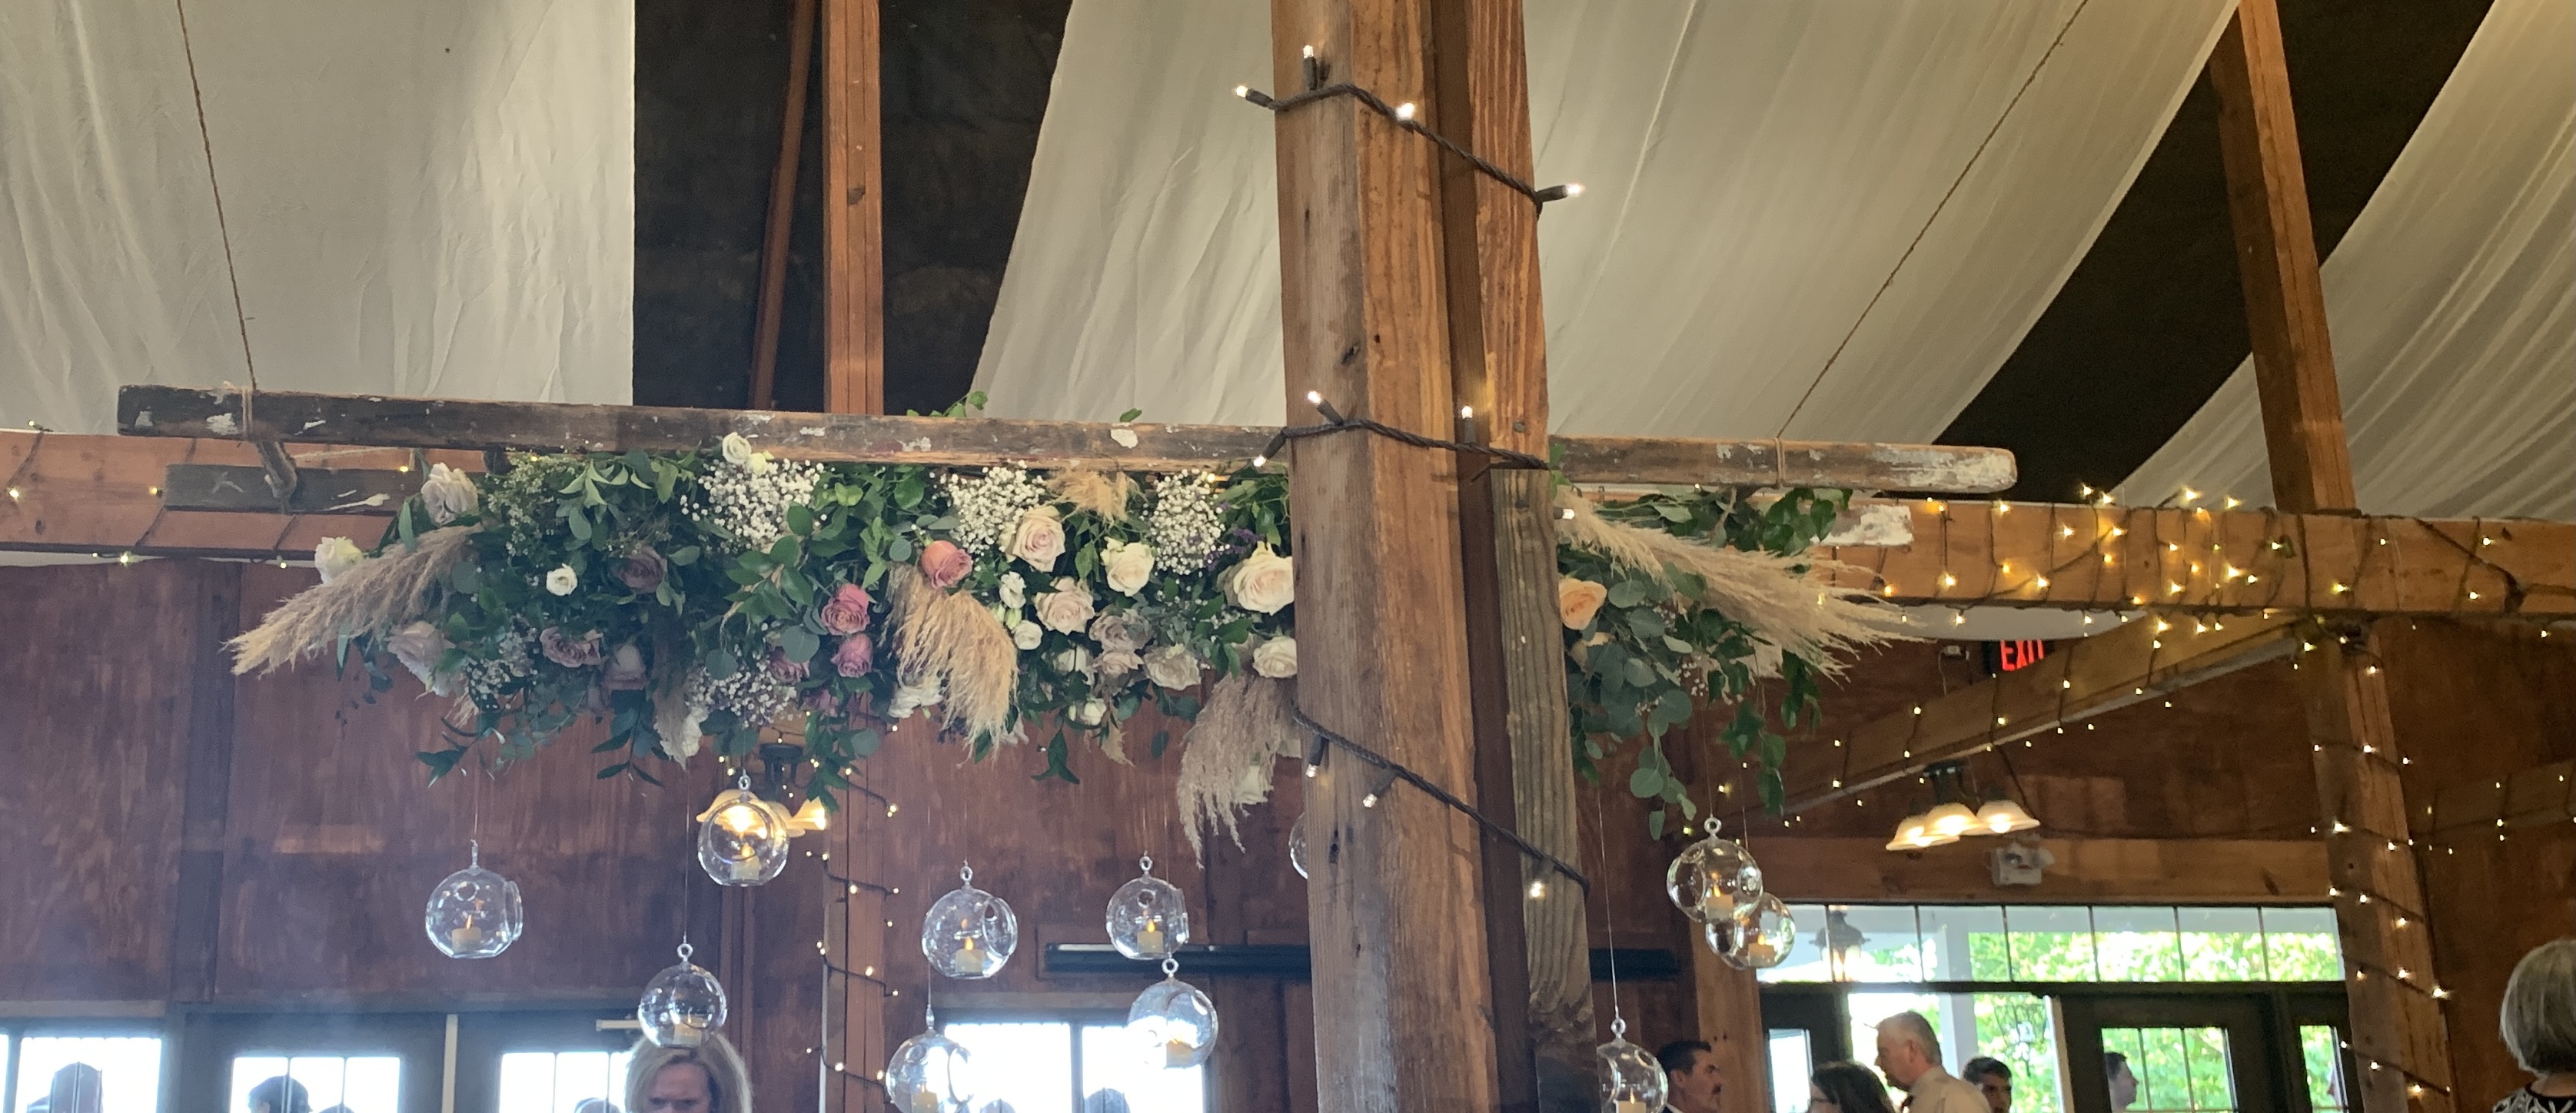
These were hanging from a ladder. Charming right?
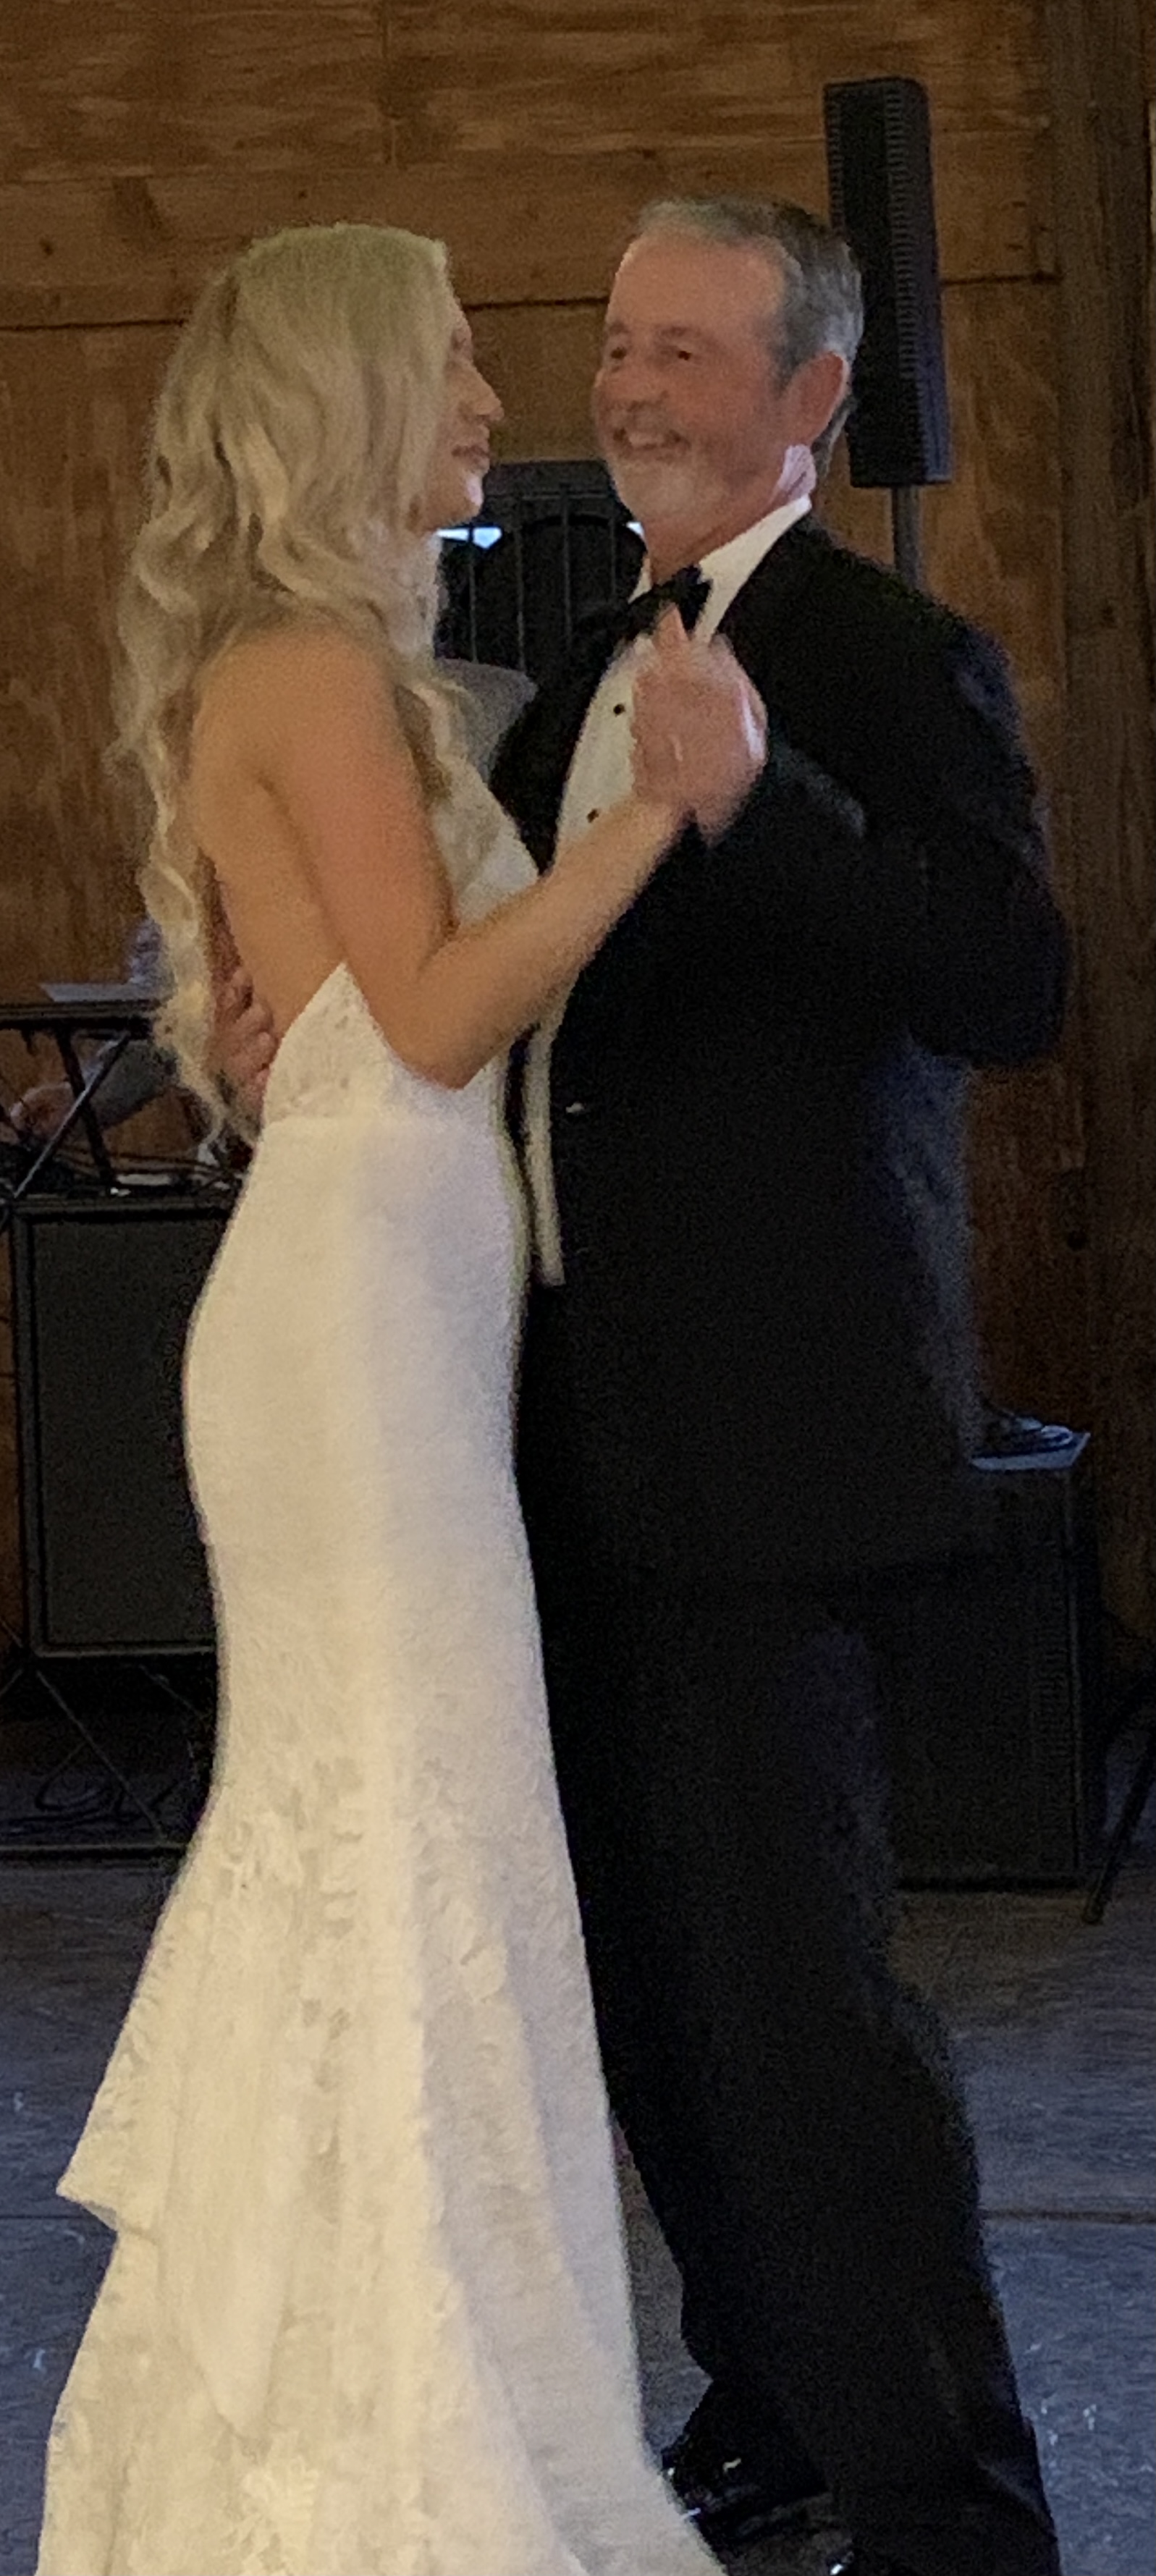
The bride and her dad.
For your convenience, I’ve added links below to items I used, the bags, fondant roller, cookie cutter, stamps, coloring and more.
Wilton Icing Coloring Copper
Ann Clark Wine Glass Cookie Cutter
The same concept could be used for more than a wedding, like a graduation, birthday event or family reunion. The key is to personalize to suit the individuals or event.
Thanks for stopping by my blog! It’s been a long time since I’ve posted. Between cookie making, a soccer tournament in Milwaukee and the wedding, I’ve been busy!
I get much joy from working on events and would be more than happy to discuss any events ideas you may have. It’s my love language!
XO, Regina
This post contains affiliate links for your convenience, if you order I receive a small commission at no additional cost to you.
Leave a Reply