Don’t you wish you could keep the beauty of flowers around all year? I know I’m not alone in absolutely loving flowers. I could look out the window or walk around my garden admiring my flowers every single day.
Did you ever save a rose or carnation from a corsage in high school or a bouquet from a special someone? We would press them into books, sometimes phone books. If you are like me, you may have forgotten and then by accident come across a faded bloom, but oh the memories.
I want to try silica gel, my mom used that for drying flowers when I was young. Preserving in another way is Flower Pounding. Have you ever heard of it? Sounds harsh that we would smash these beautiful blooms with a hammer but it creates a beautiful finished product. You can flower pound on paper or cloth. I’m doing both so you can see the results.
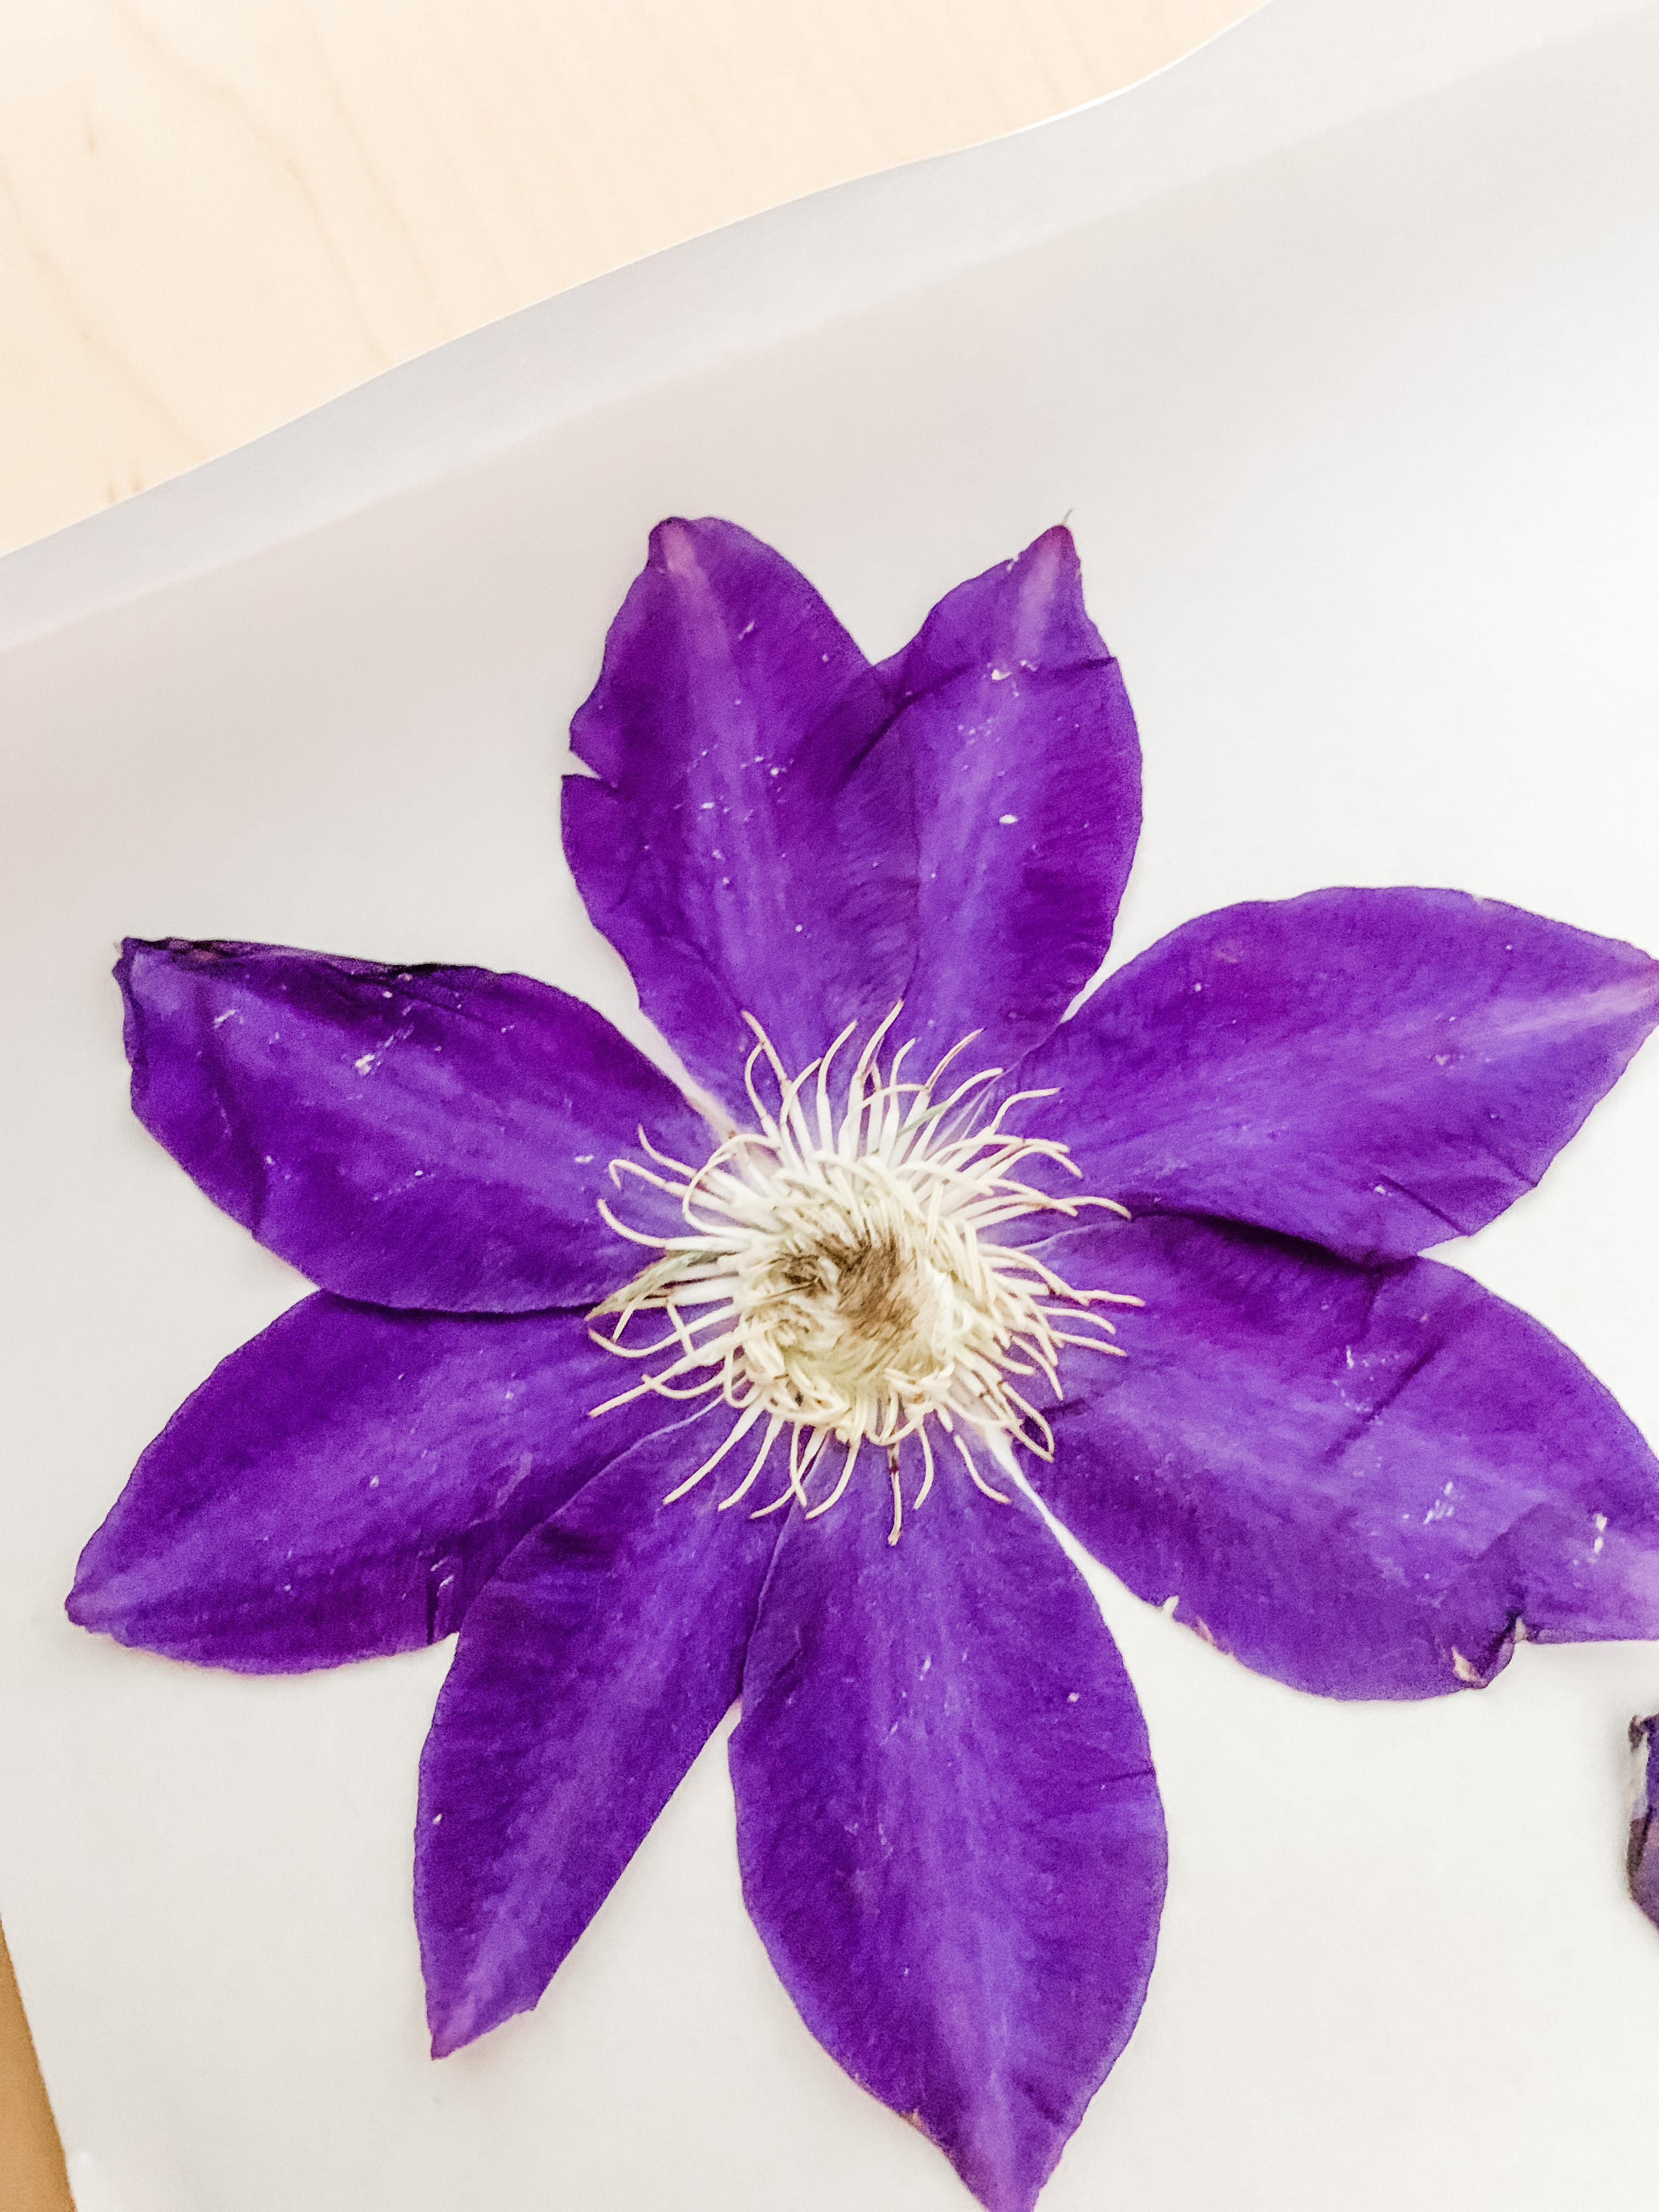
The first thing to do is pick your flowers. Some flowers lend themselves to this better than others. You can experiment and see what you like. Because most blooms aren’t flat, it helps to press them in a book with paper towels or parchment between the blooms and the pages. You don’t need to do this for long. Here is a clematis after a few hours in a book.
I decided to begin my flower pounding by making cards. I got out some watercolor paper that comes as a card with envelopes. I picked a few small blooms from my garden.
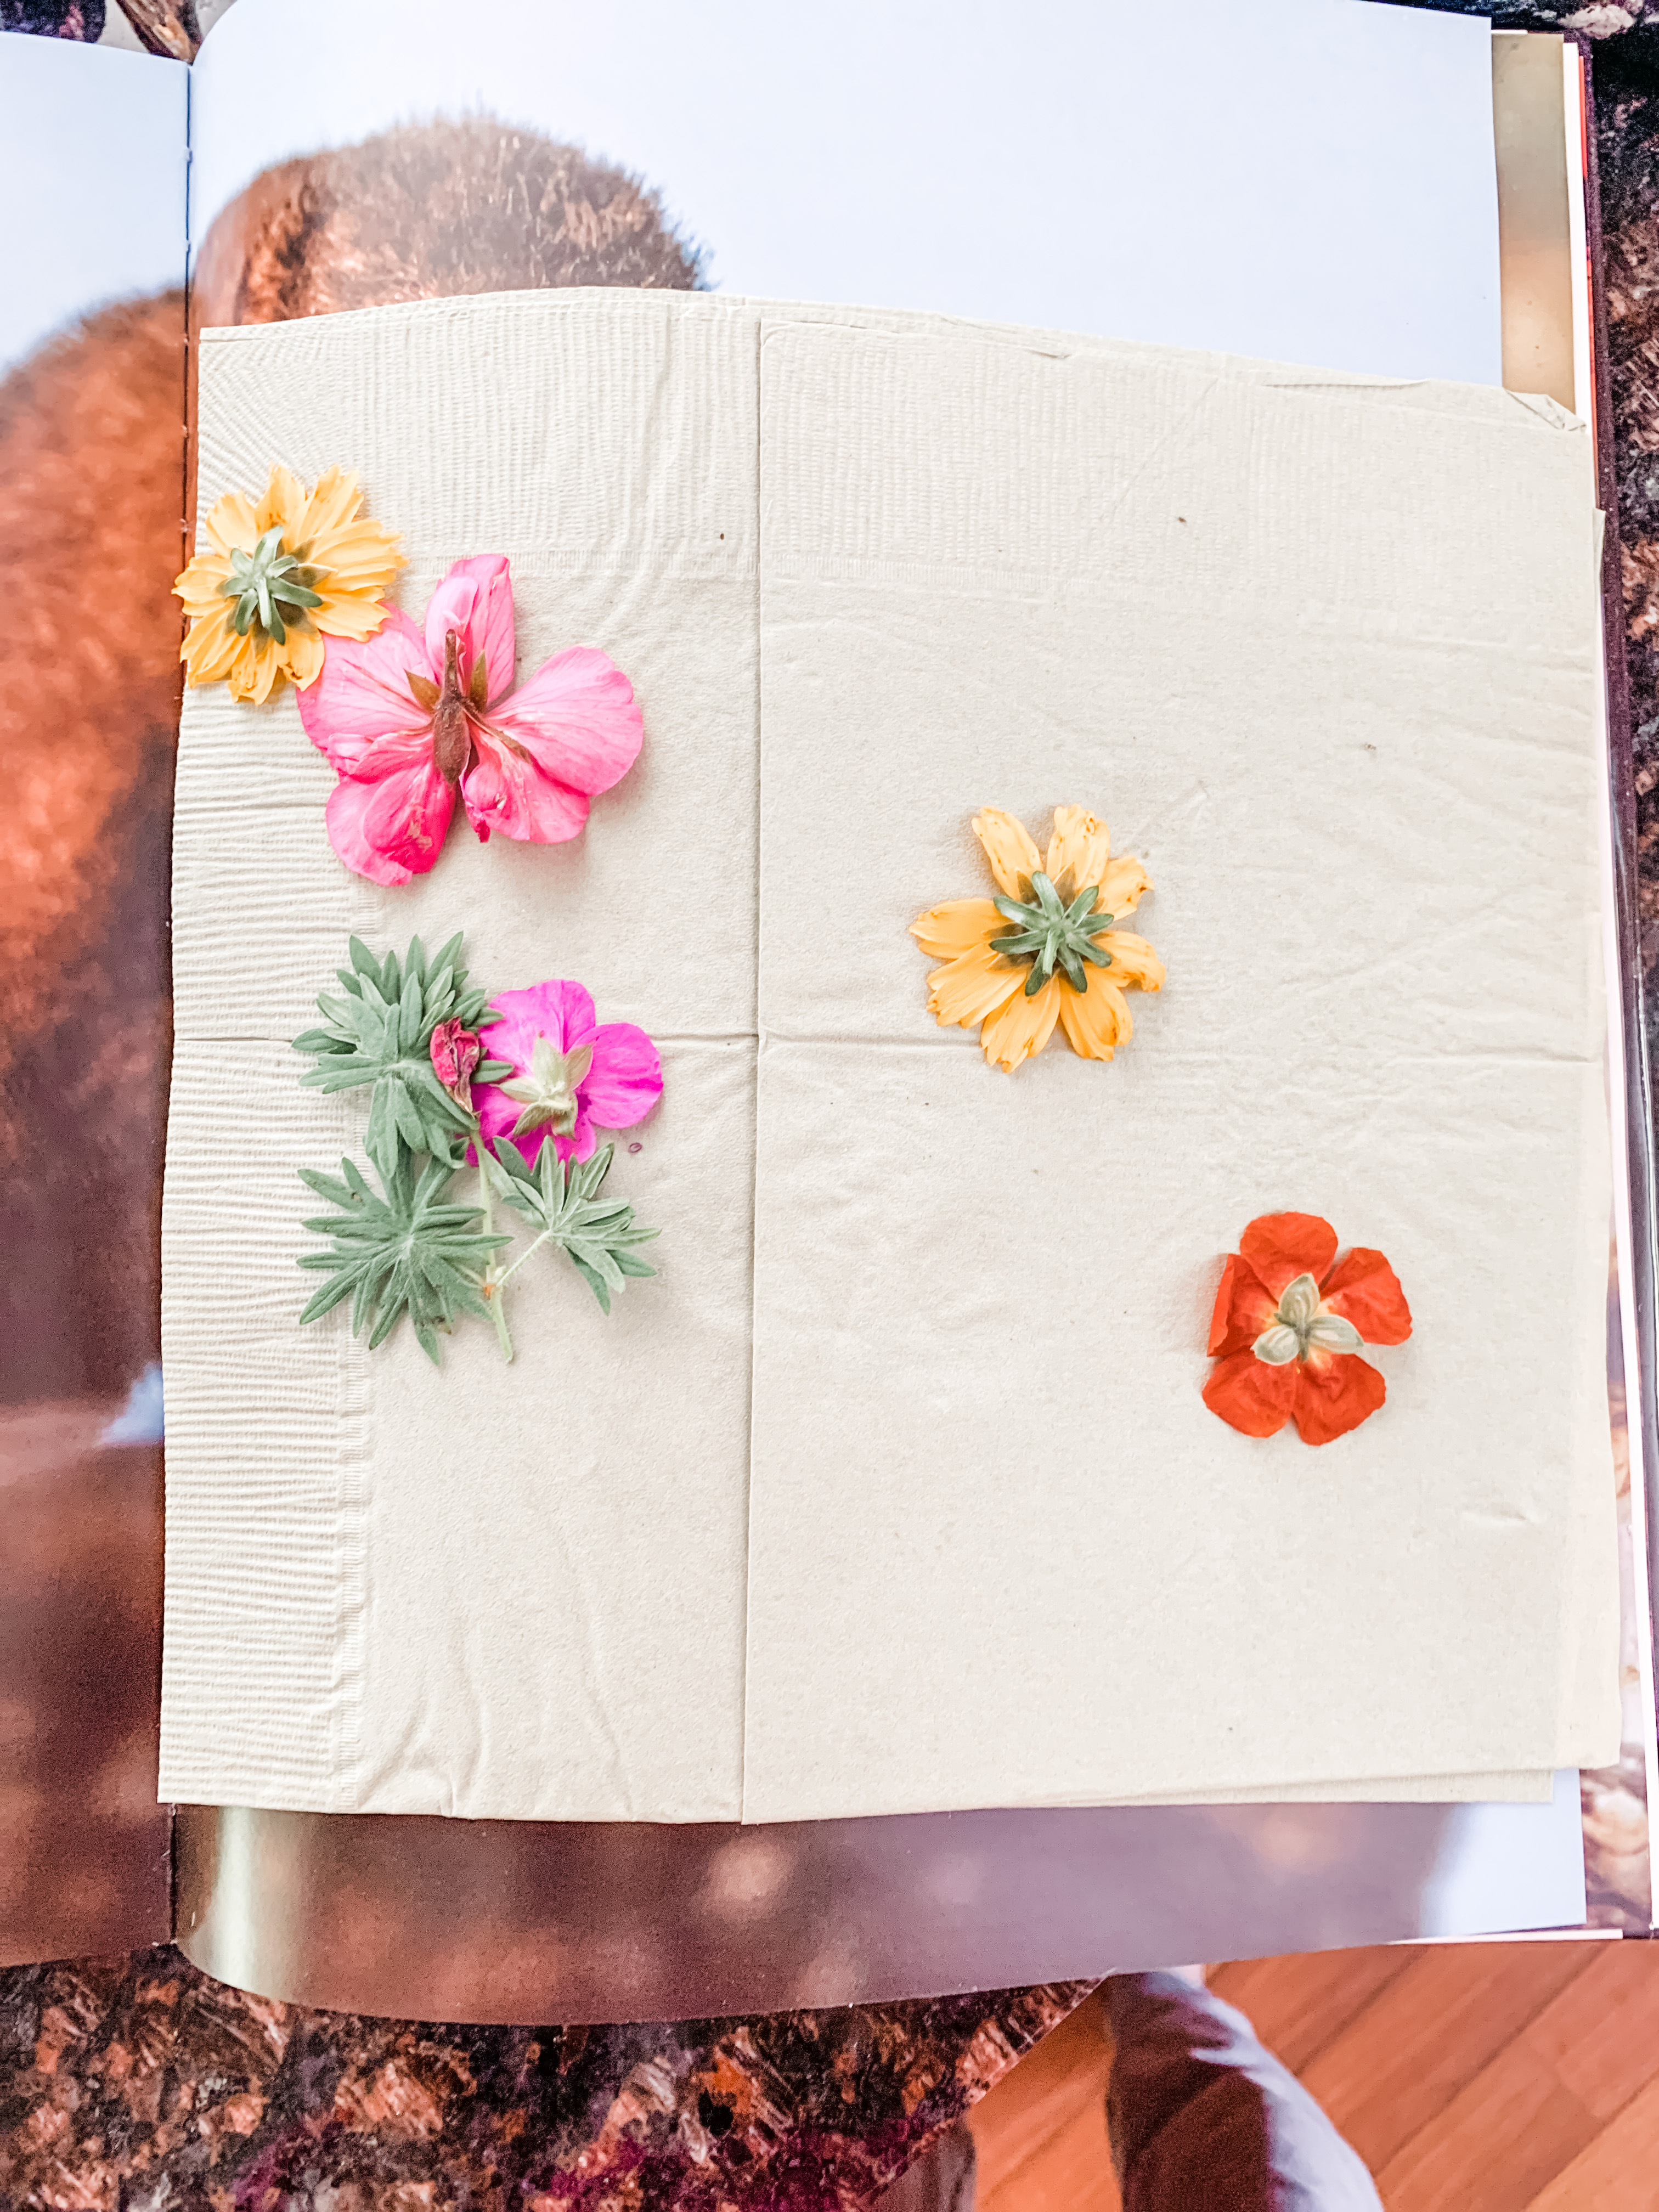
I flattened my blooms for a bit in a large book then took them out and placed them on my card. If there is a stem protruding that keeps it from laying flat, trim it before you place it in the book.
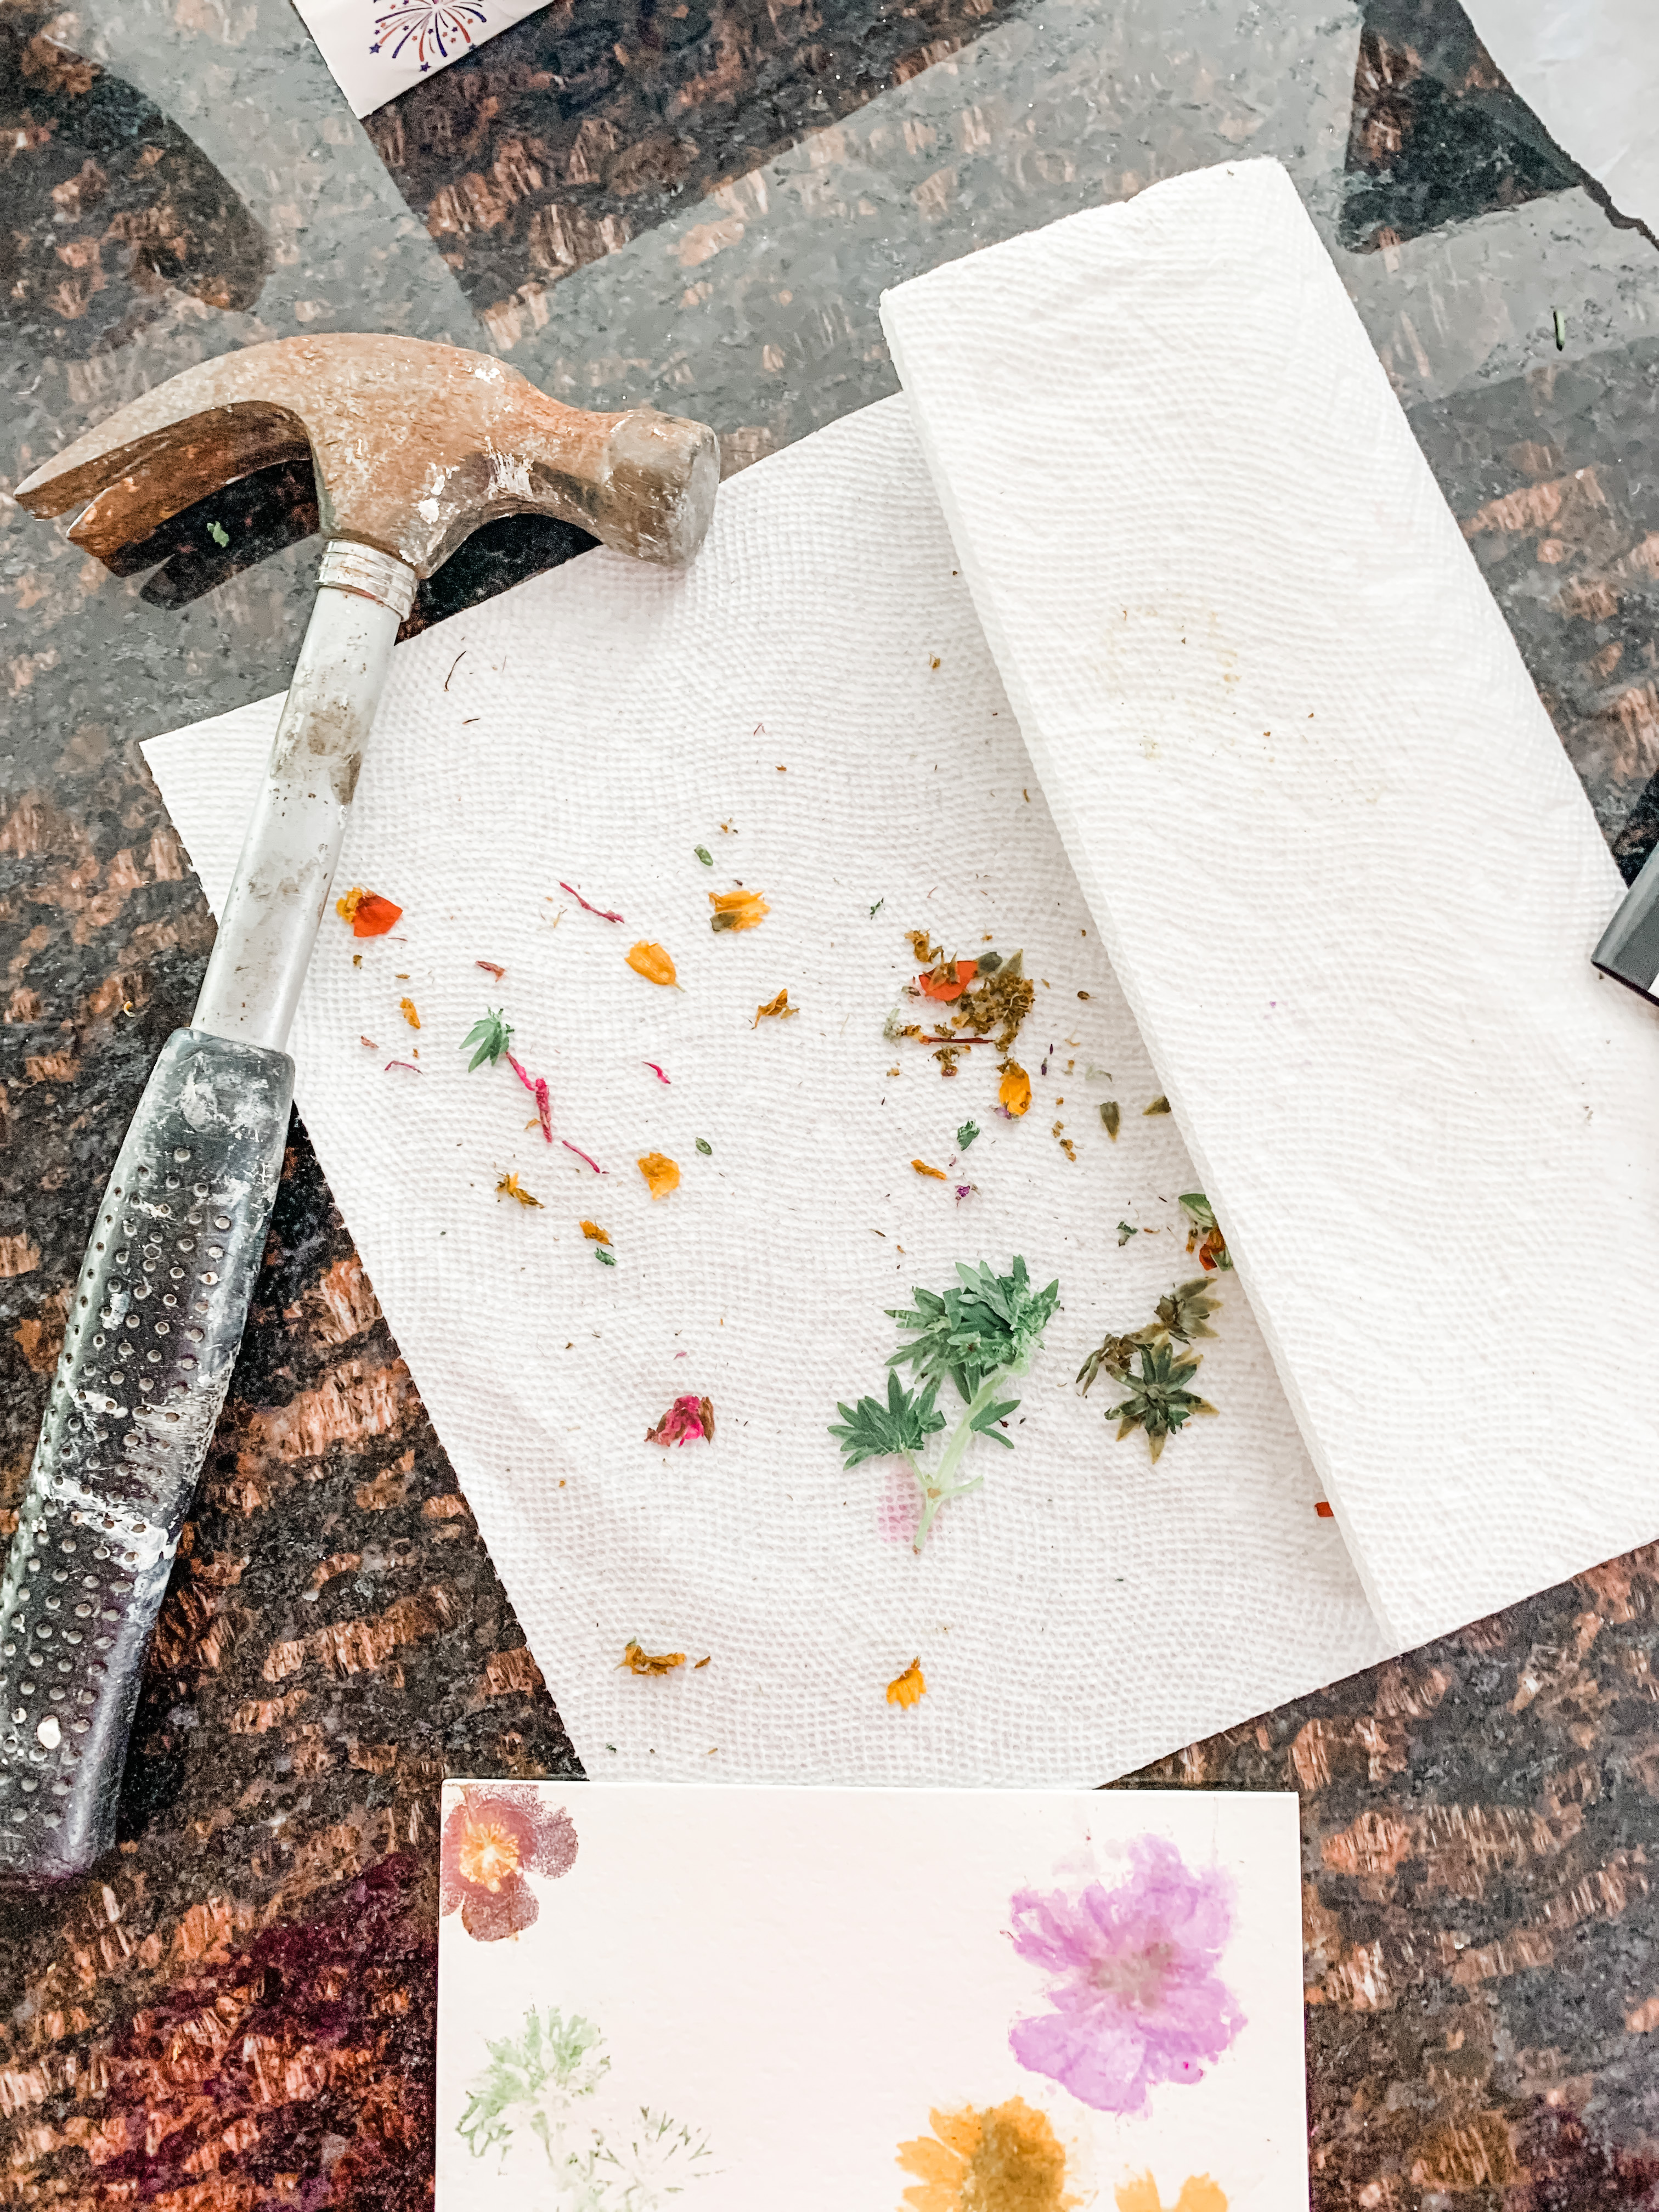
After arranging the flowers on my paper, I placed a paper towel on top and headed out front. Well actually the first one I did on the counter. Eek. It’s ok I got carried away and forgot to go out to the driveway.
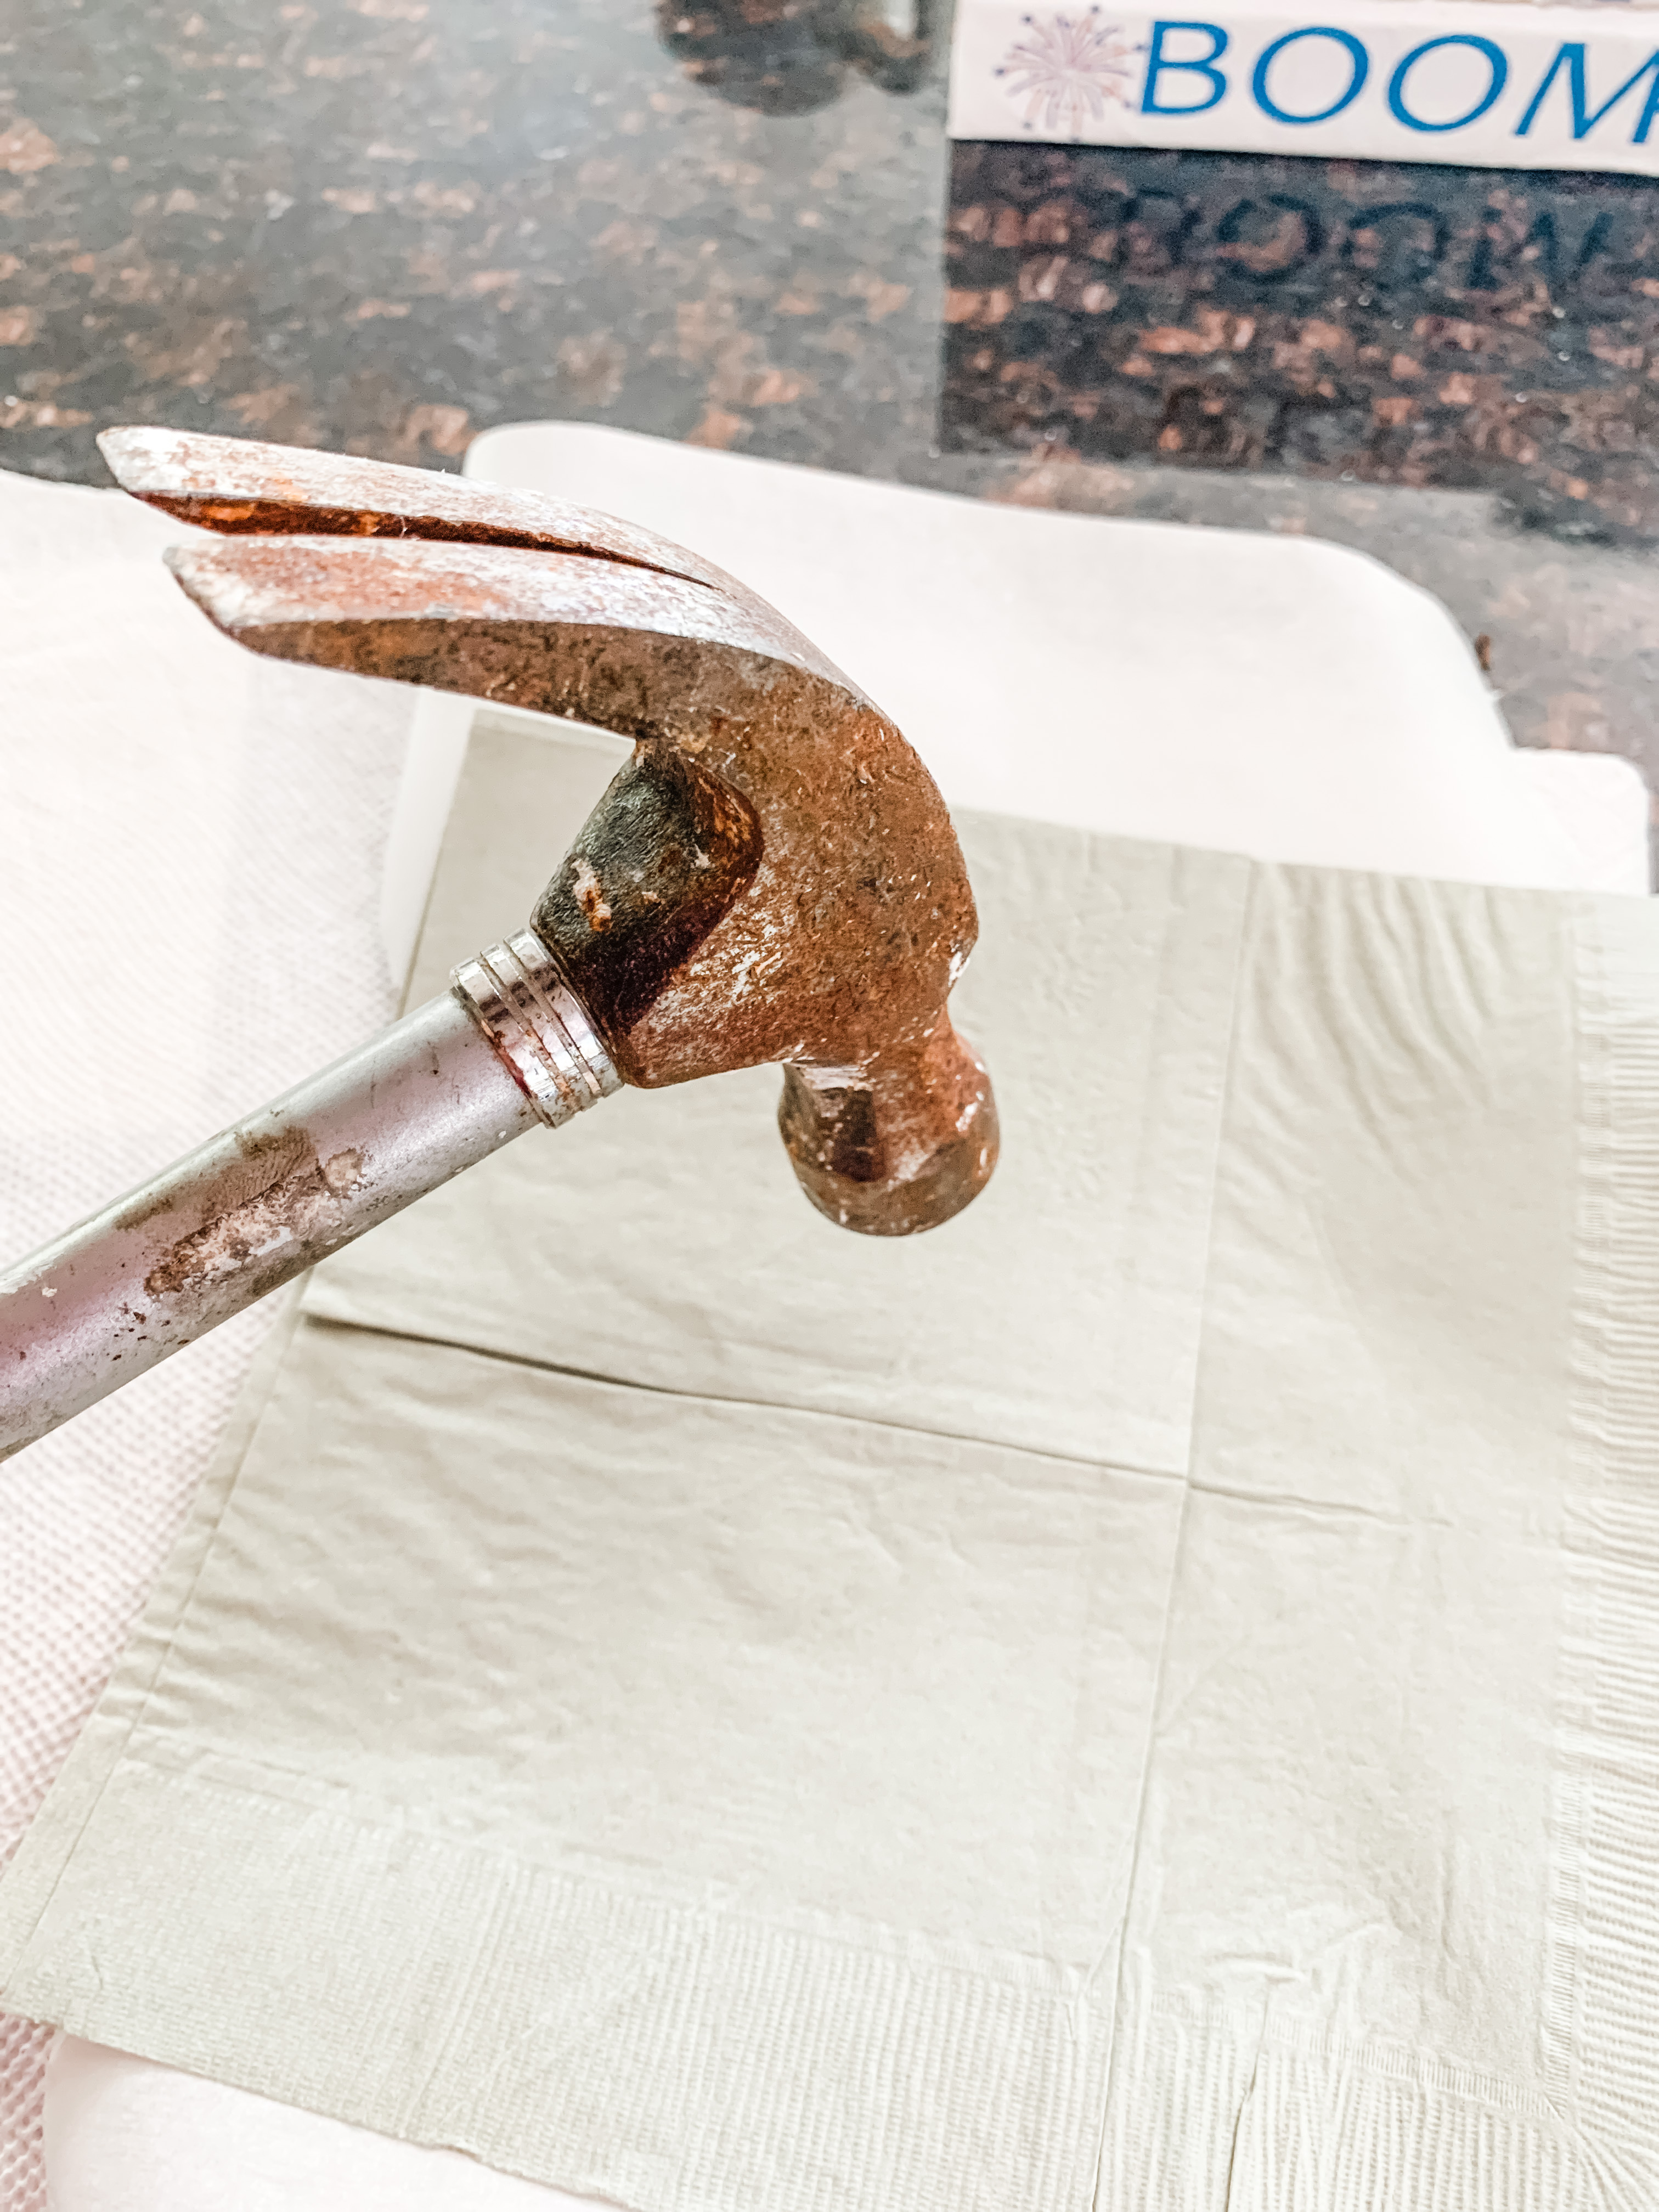
I found that when I placed the blooms face down, the color on the paper towel looked better than the watercolor paper. So I flipped the blooms upside down the next time and same thing, I still thought the paper towel looked better. Sorry that I didn’t keep a piece of paper towel to show you.
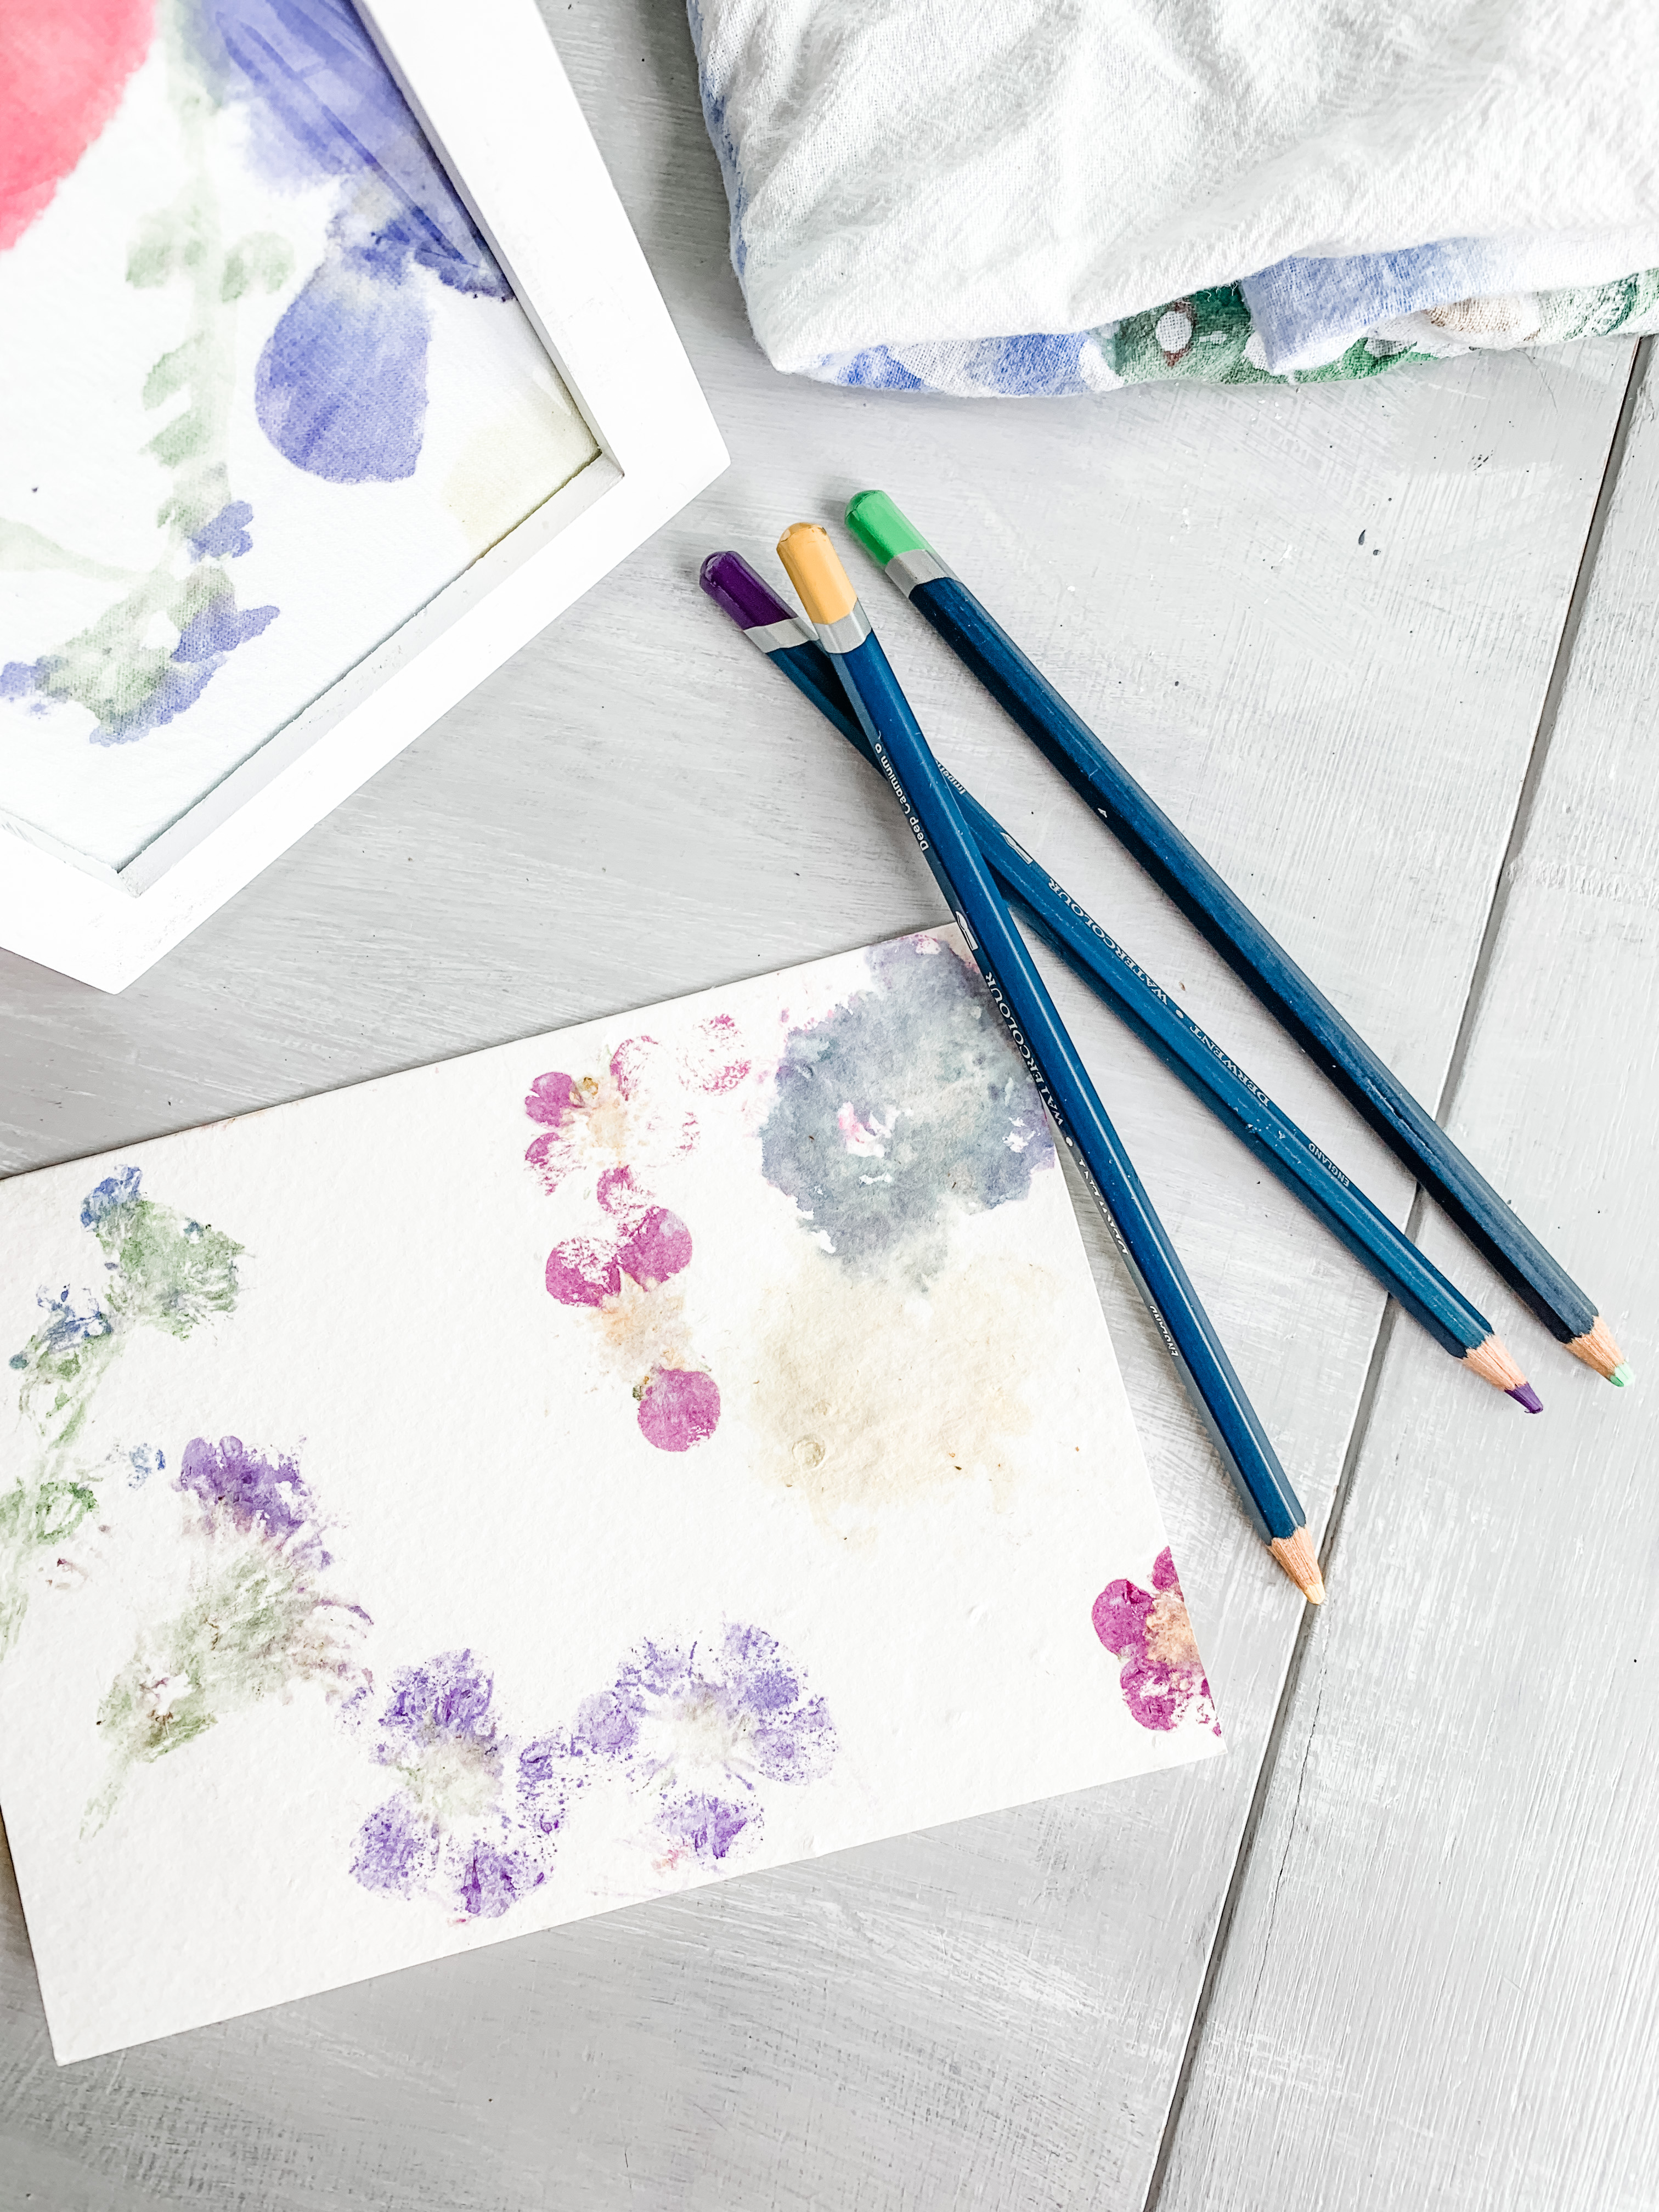
What do you think?
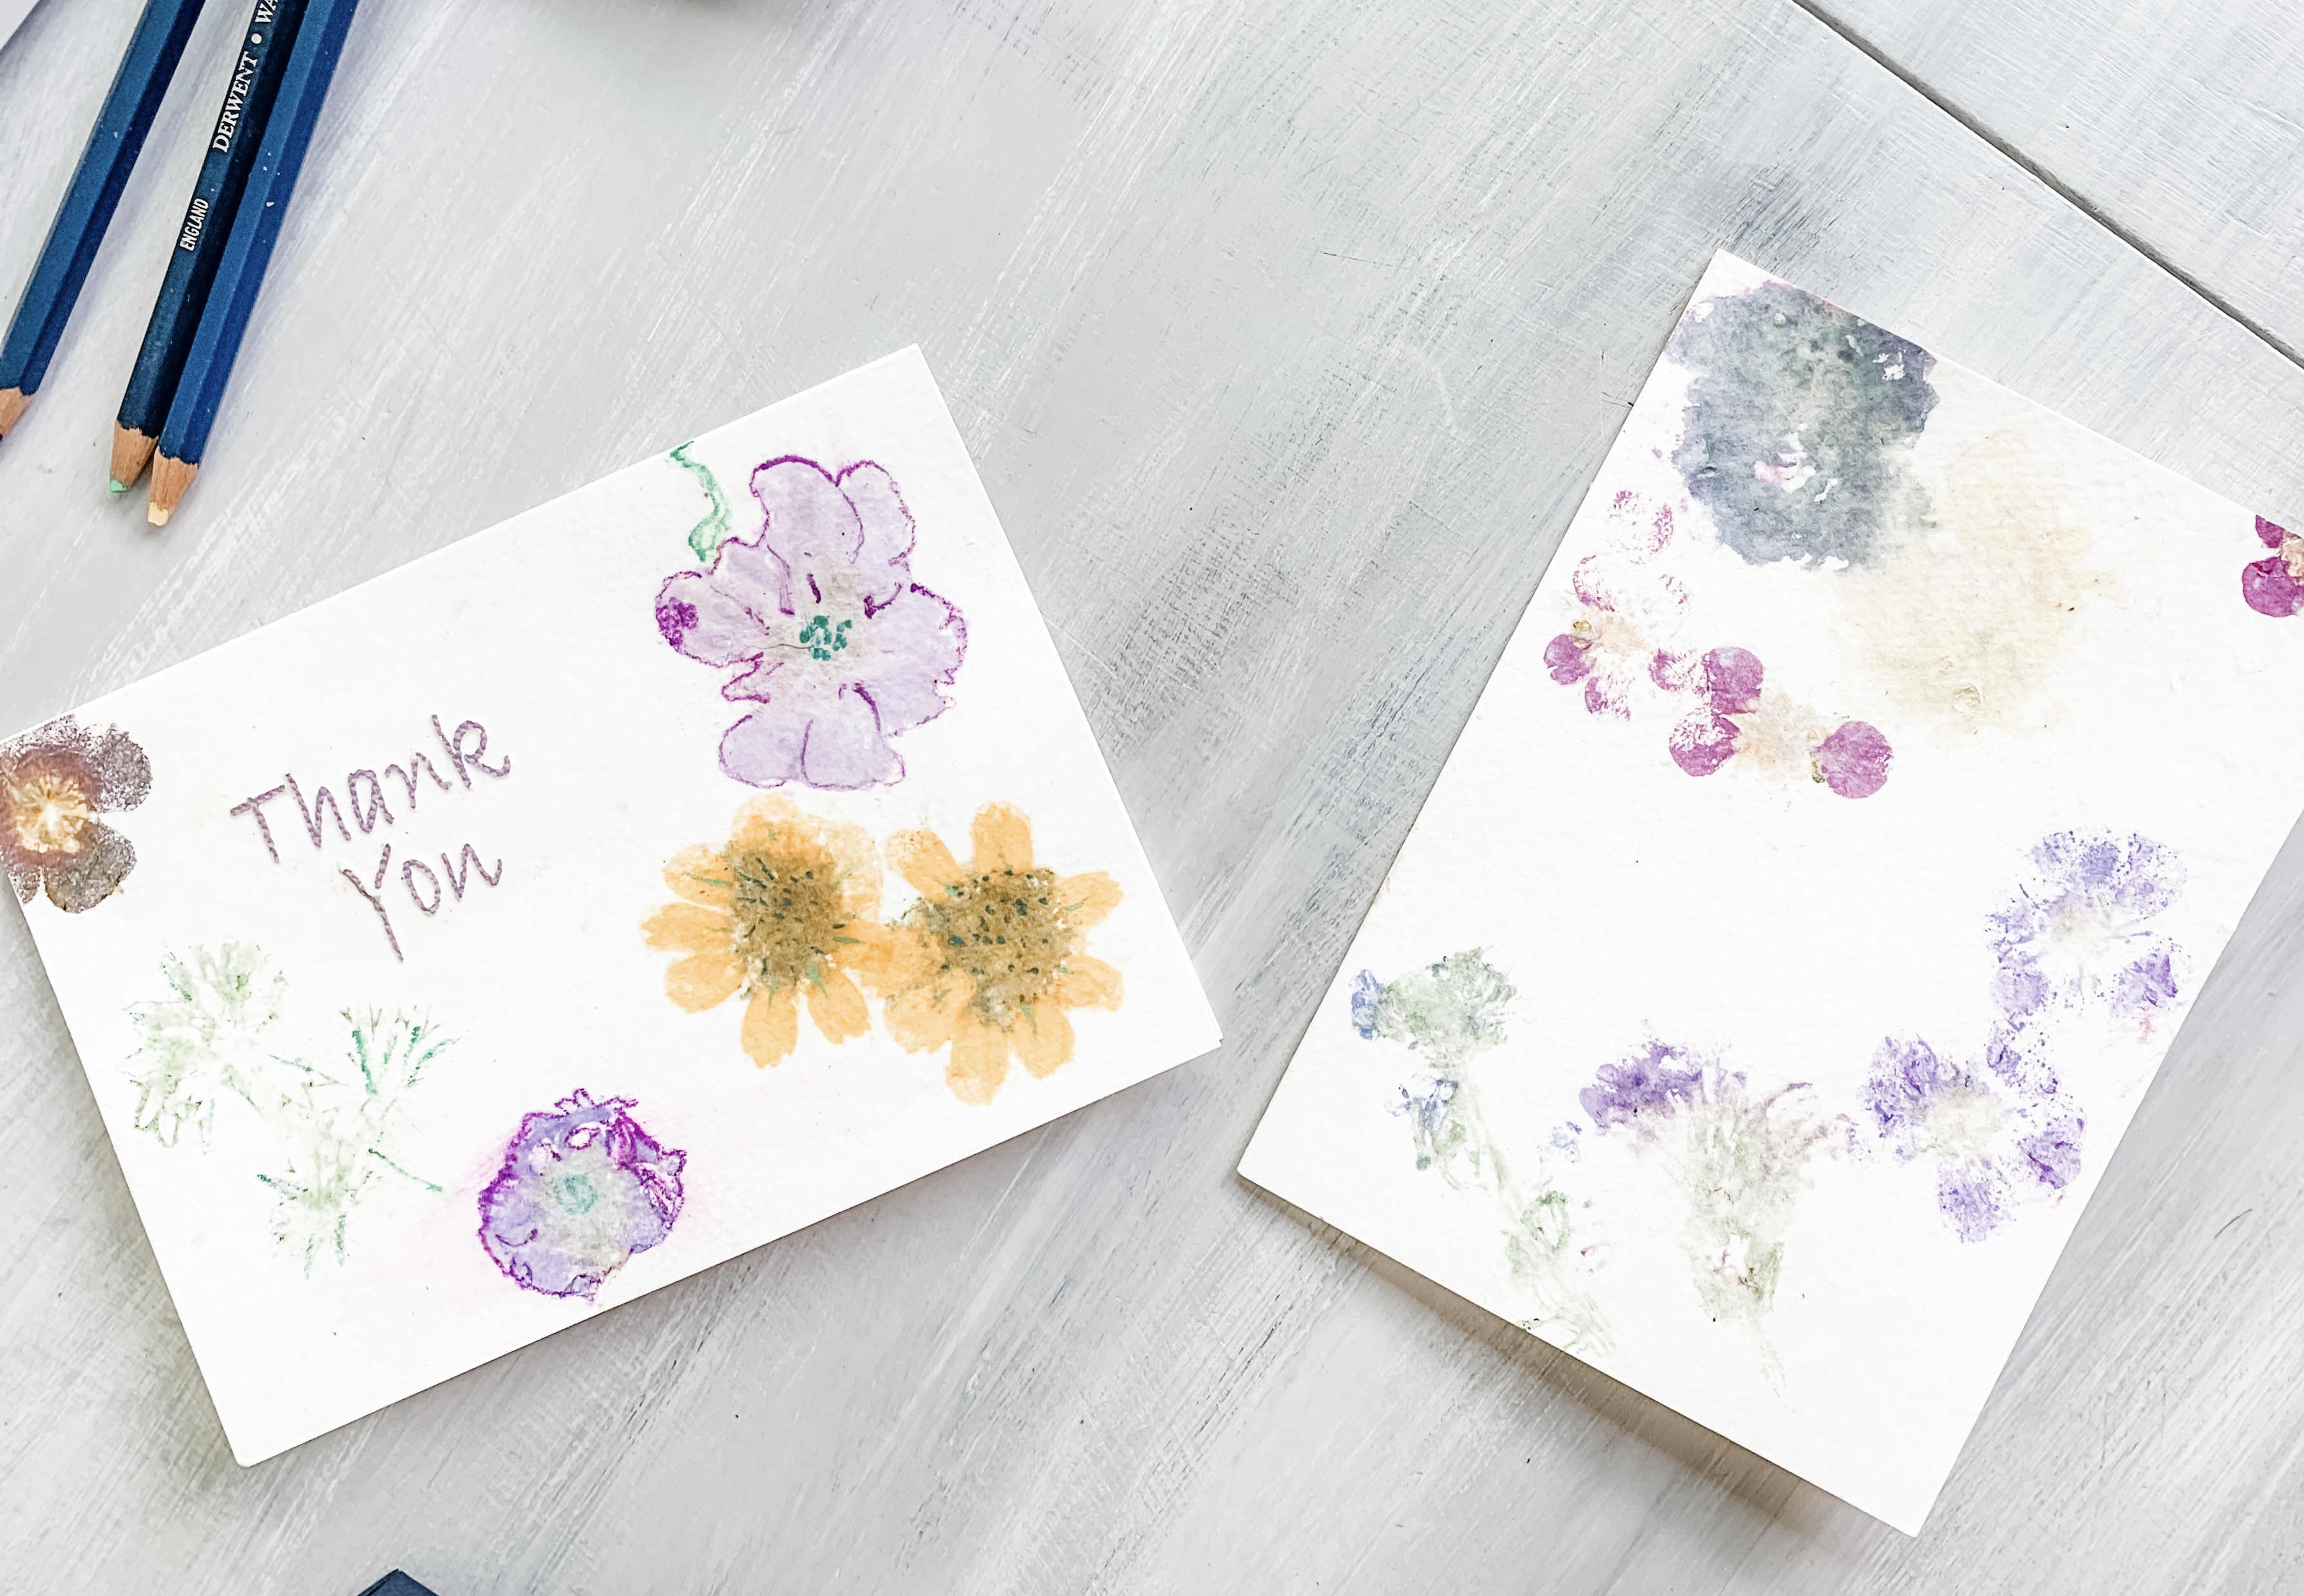
I took my watercolor pencils and touched one up a bit and then cut out “thank you” on my Cricut and attached it with Mod Podge. I prefer the one without the pencil. I’m showing you both, so you can see. The one on the right looks better to me.
Below is the Thank You card before the pencil.
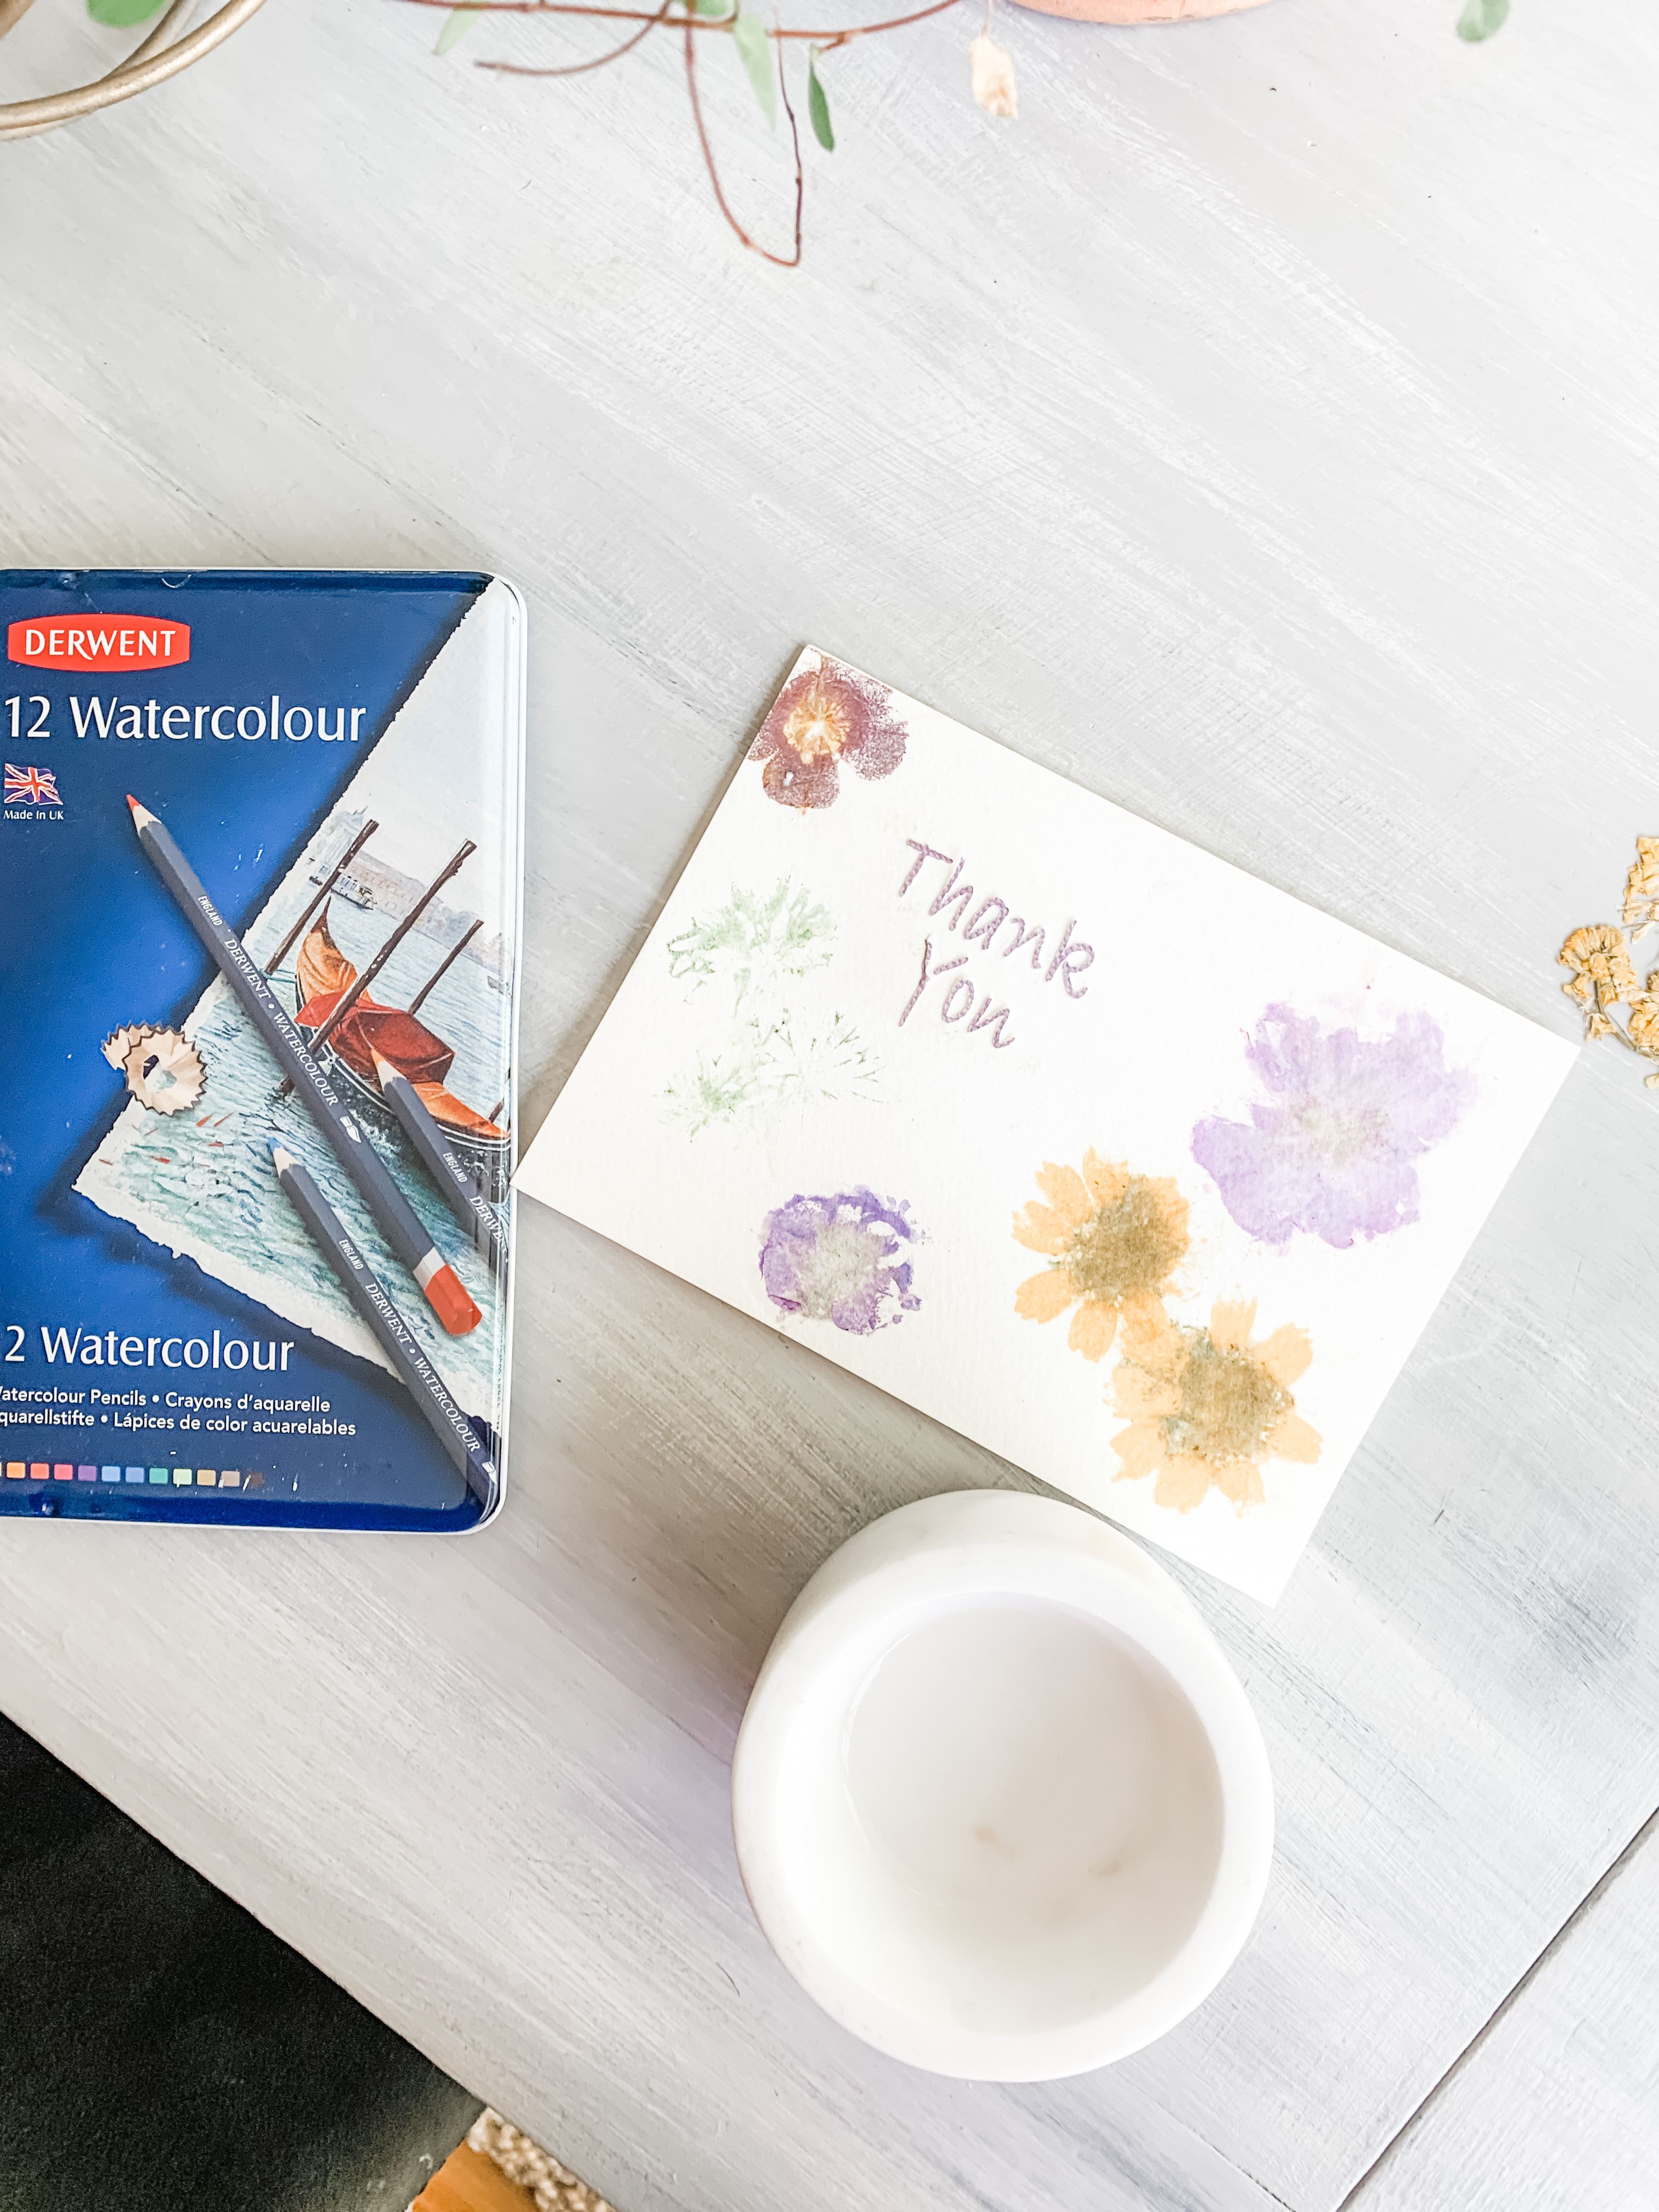
It’s unique and I’ll definitely use it but I was still troubled that the paper towels looked better.
Anyone in the market for DIY designed paper towels? Hmm, I didn’t think so.
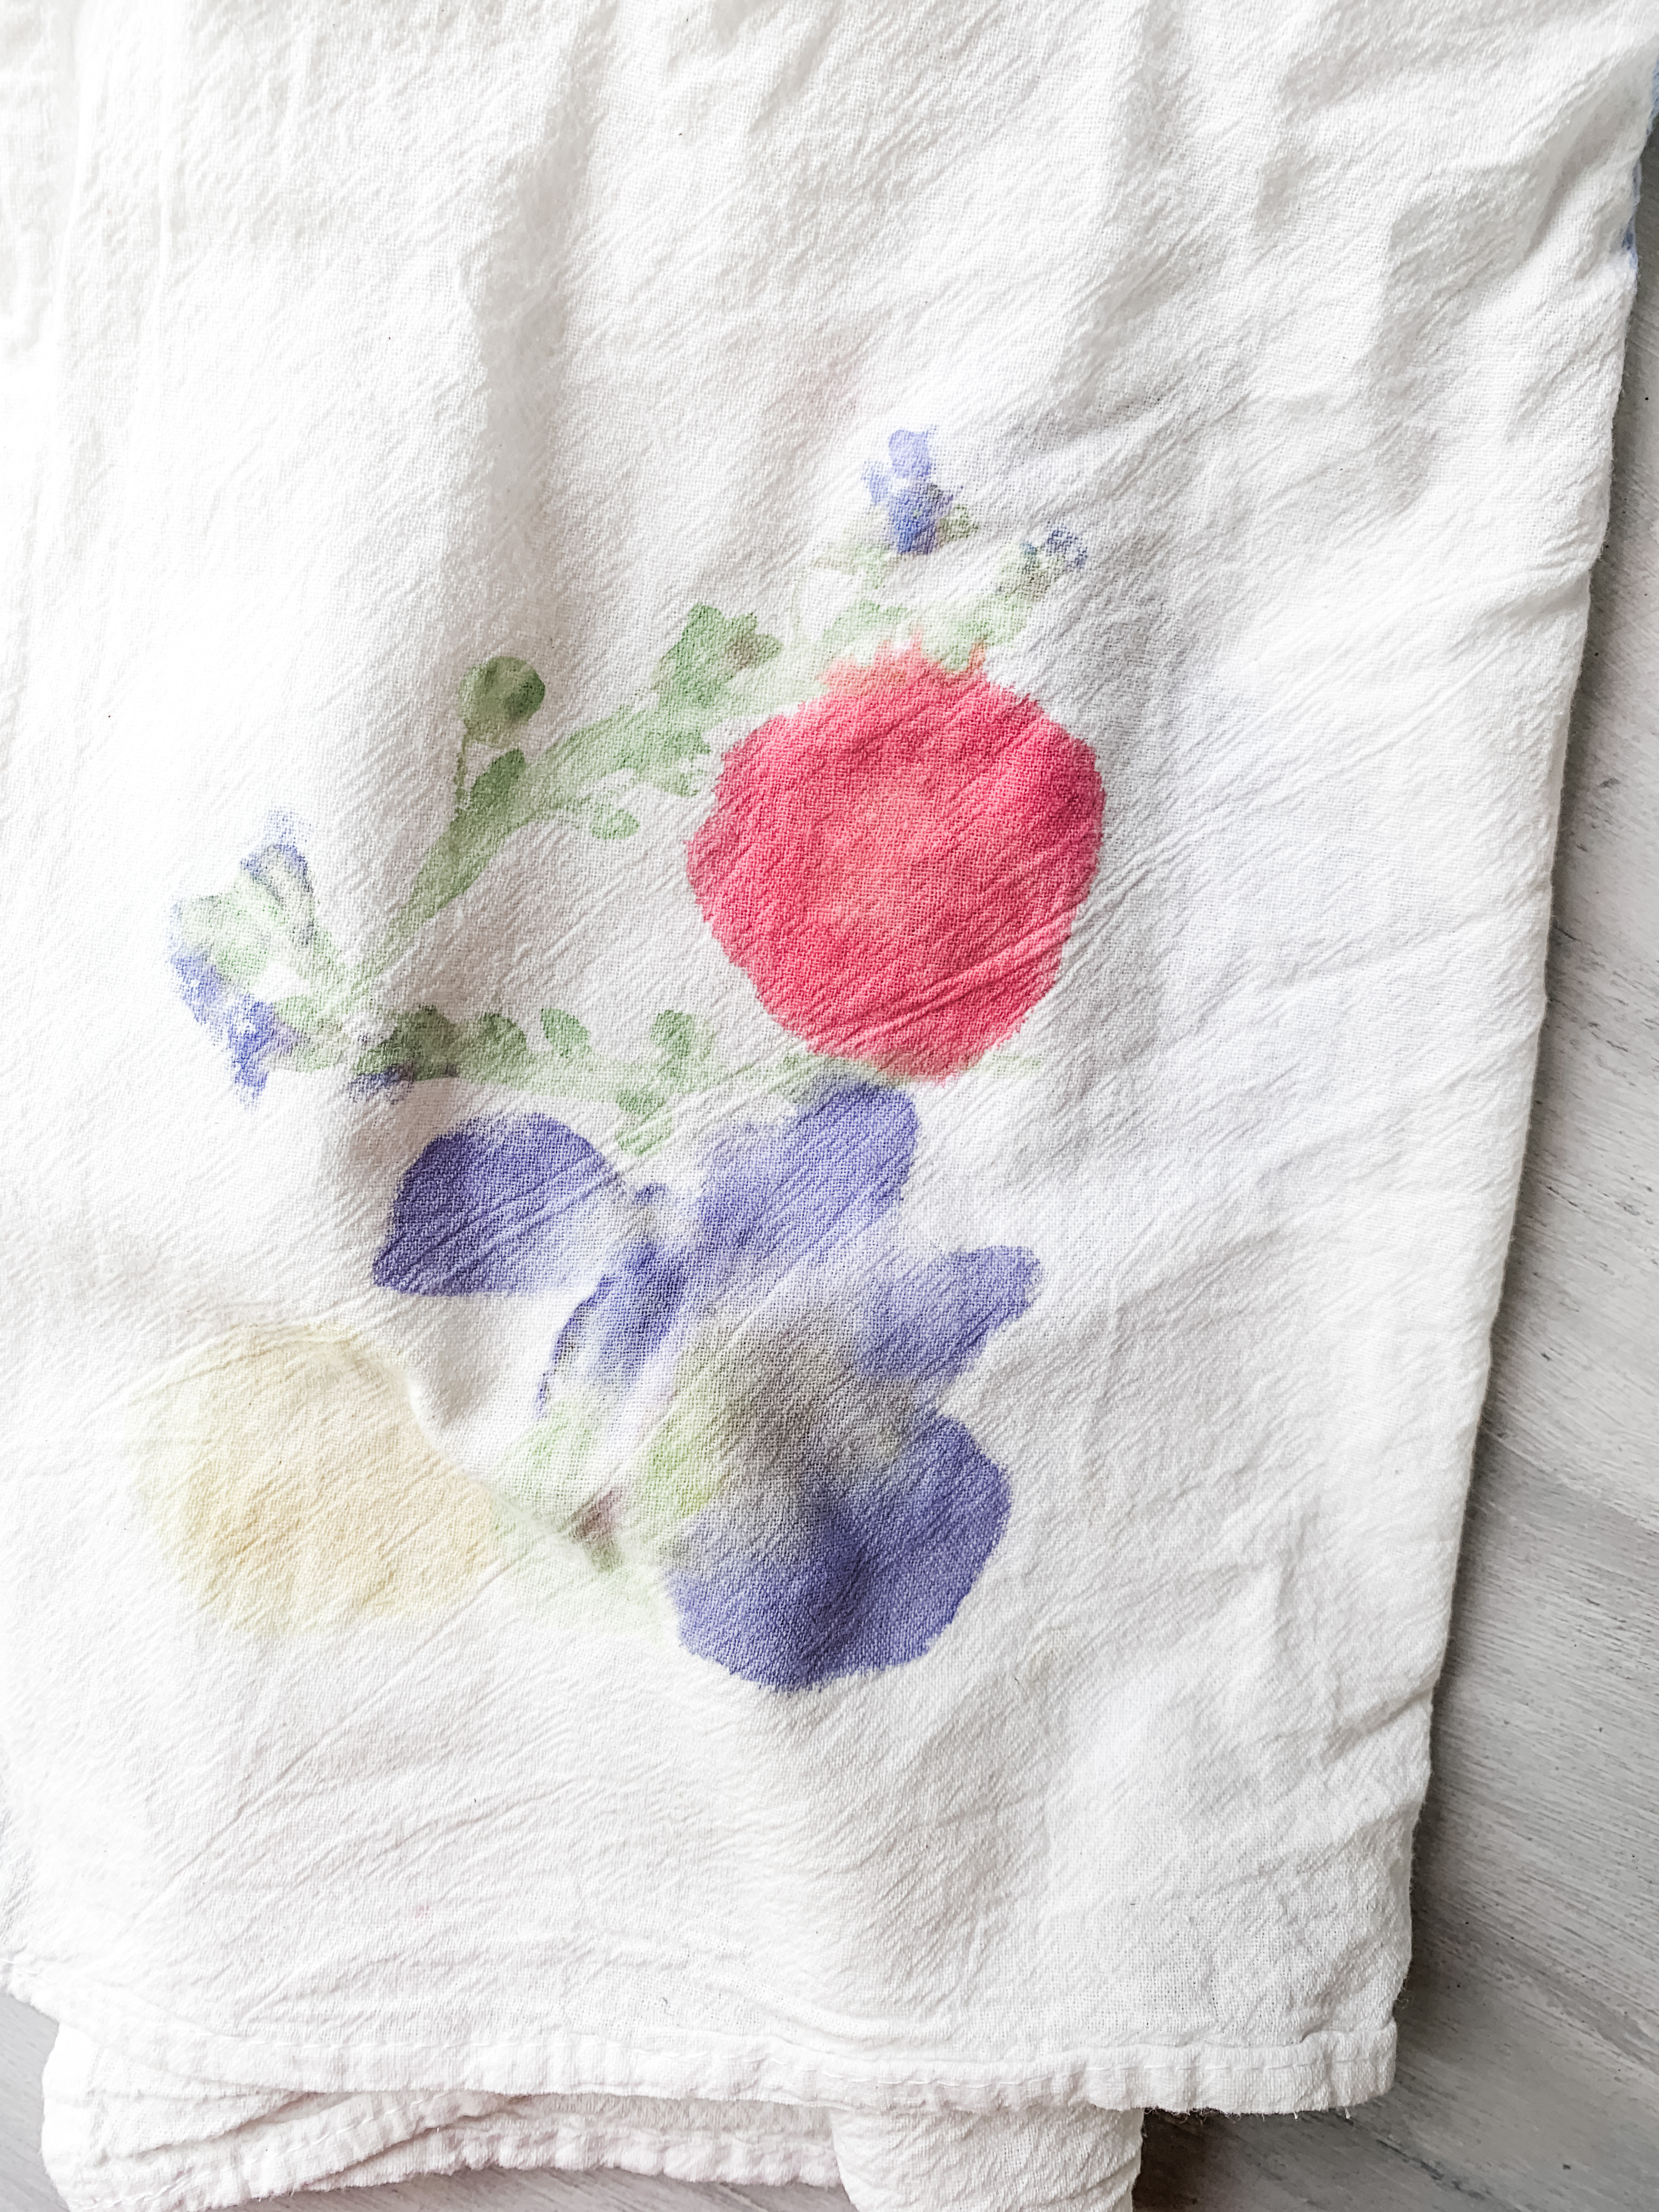
So on to a Flour sack kitchen towel. It didn’t matter whether I placed the bloom face up or down on the towel because I was folding the cloth in half over the flowers. There was no paper towel getting all the color this time! I placed a magazine on the towel and hammered that instead of directly on the towel.
Ok now I’m in love. Guess why? Both sides were colorful and beautiful. You could easily decorate a towel with matching sides.
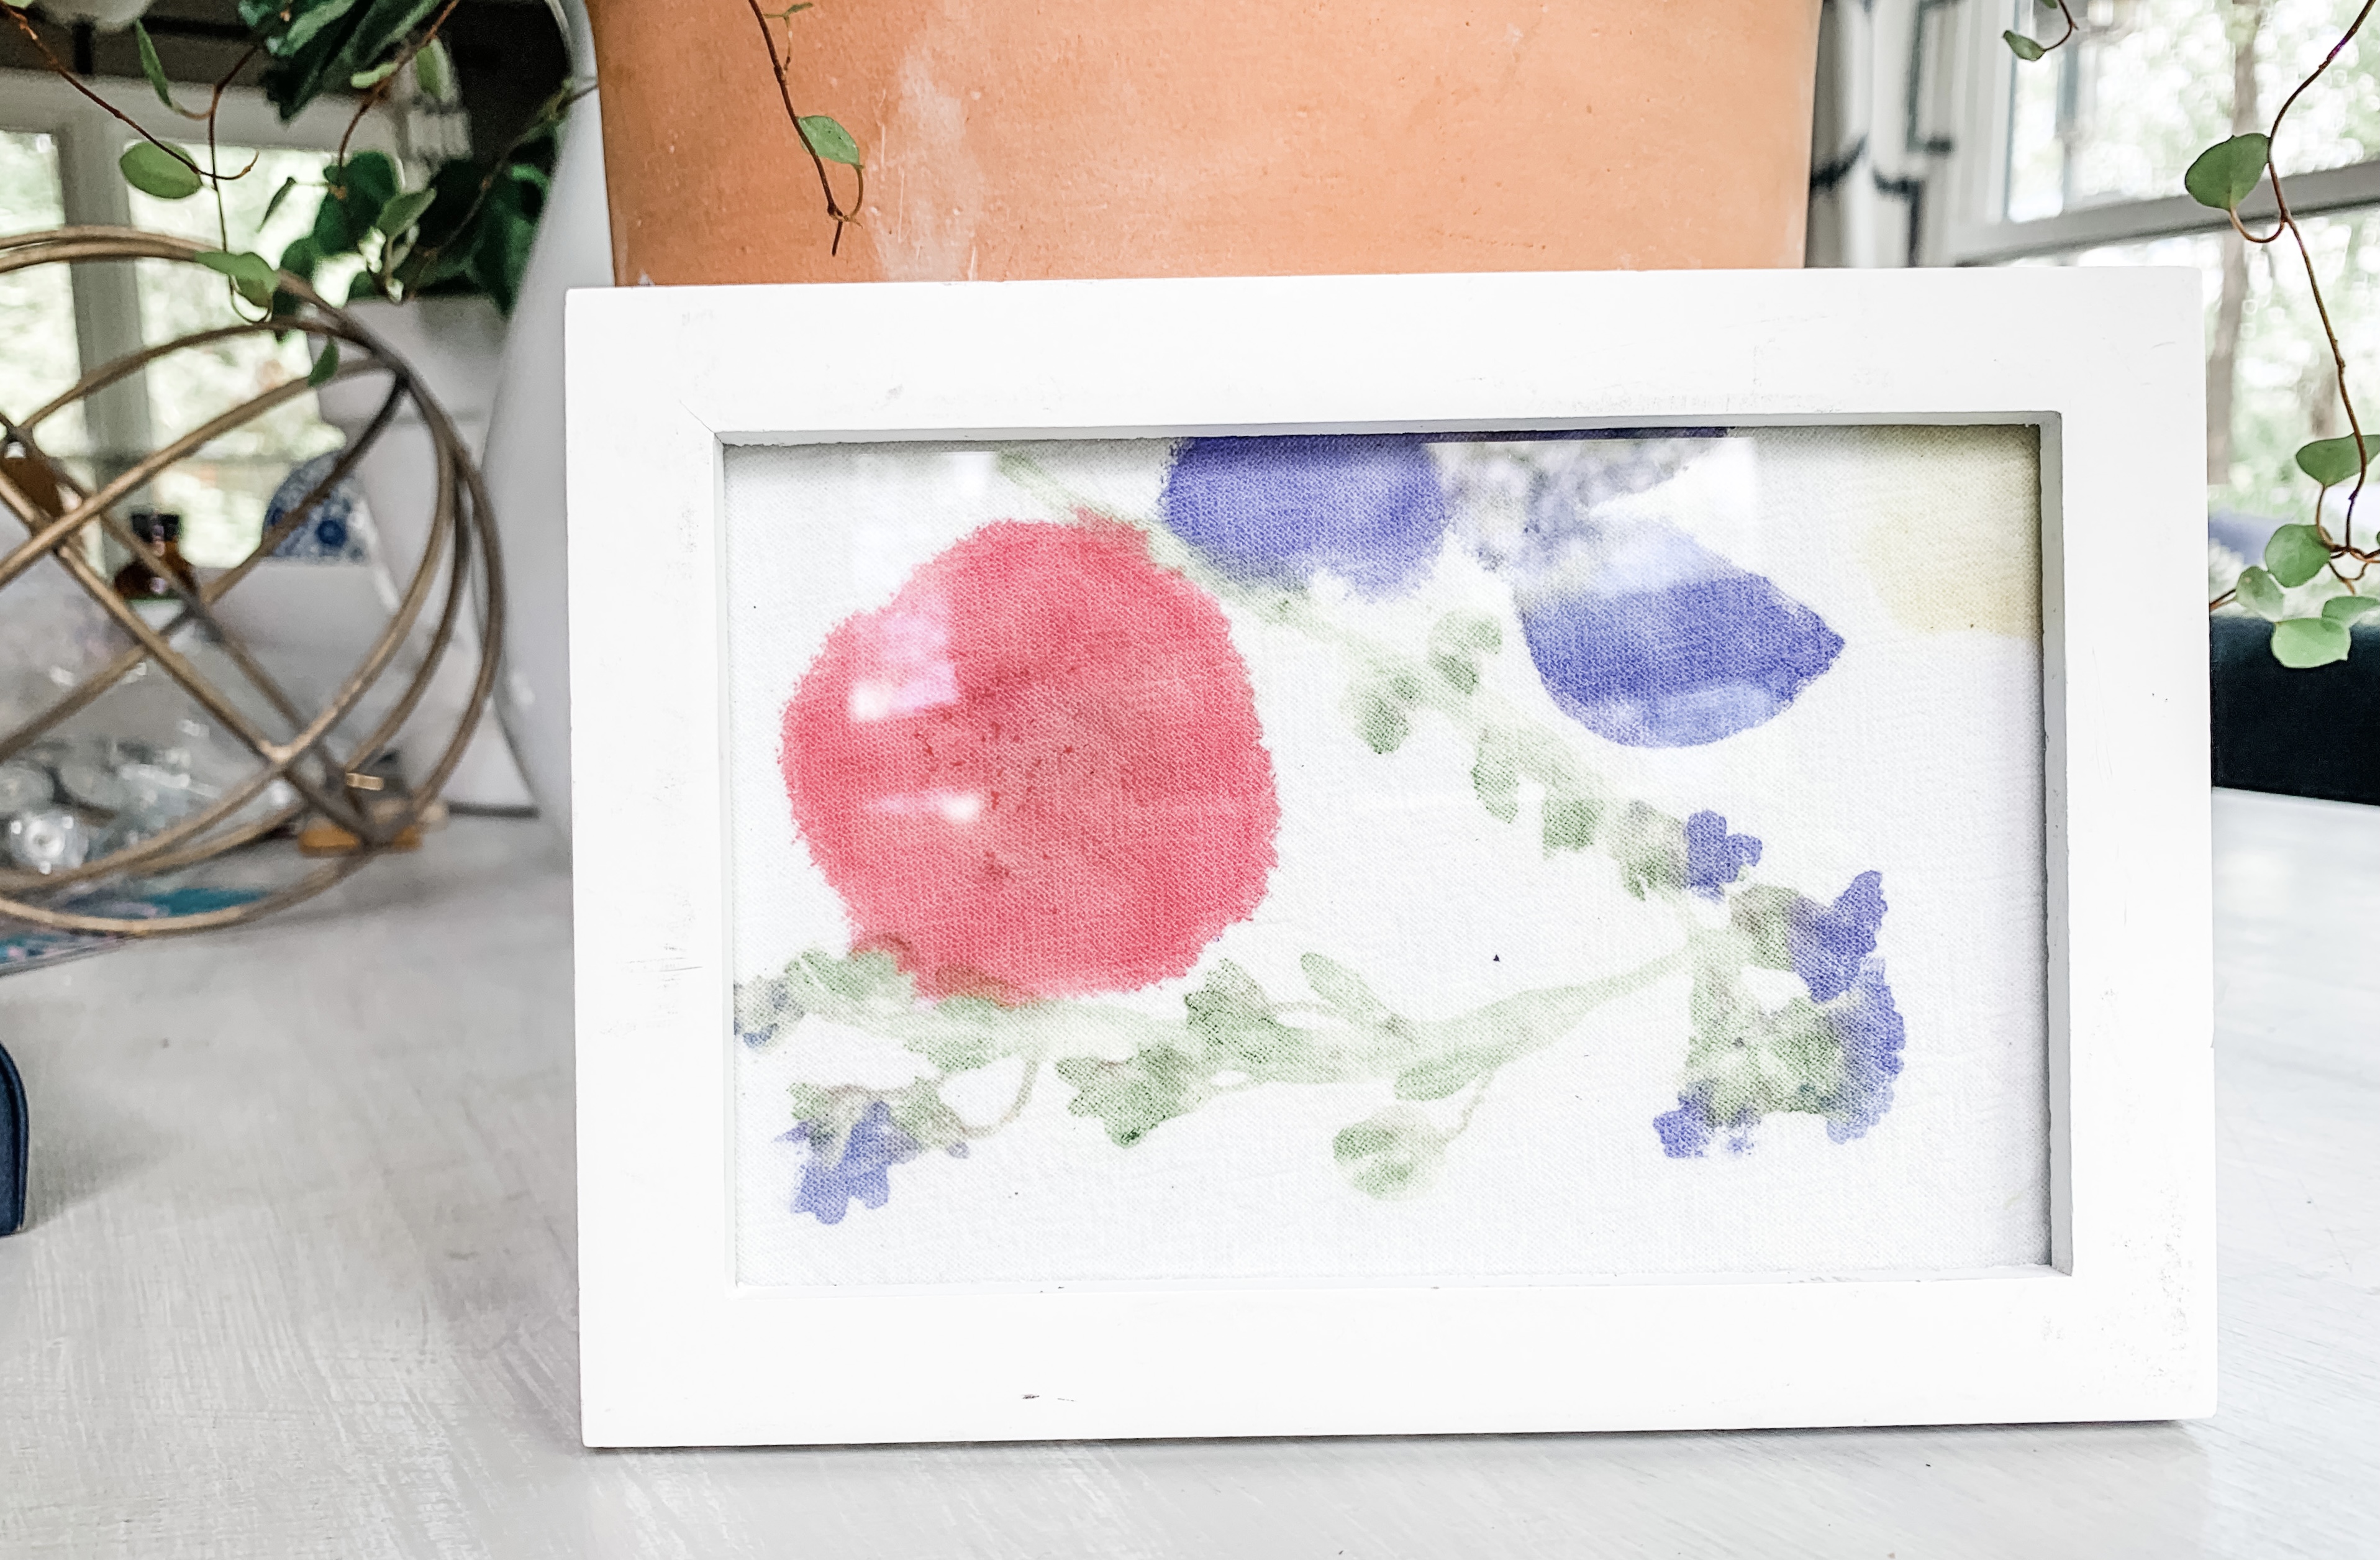
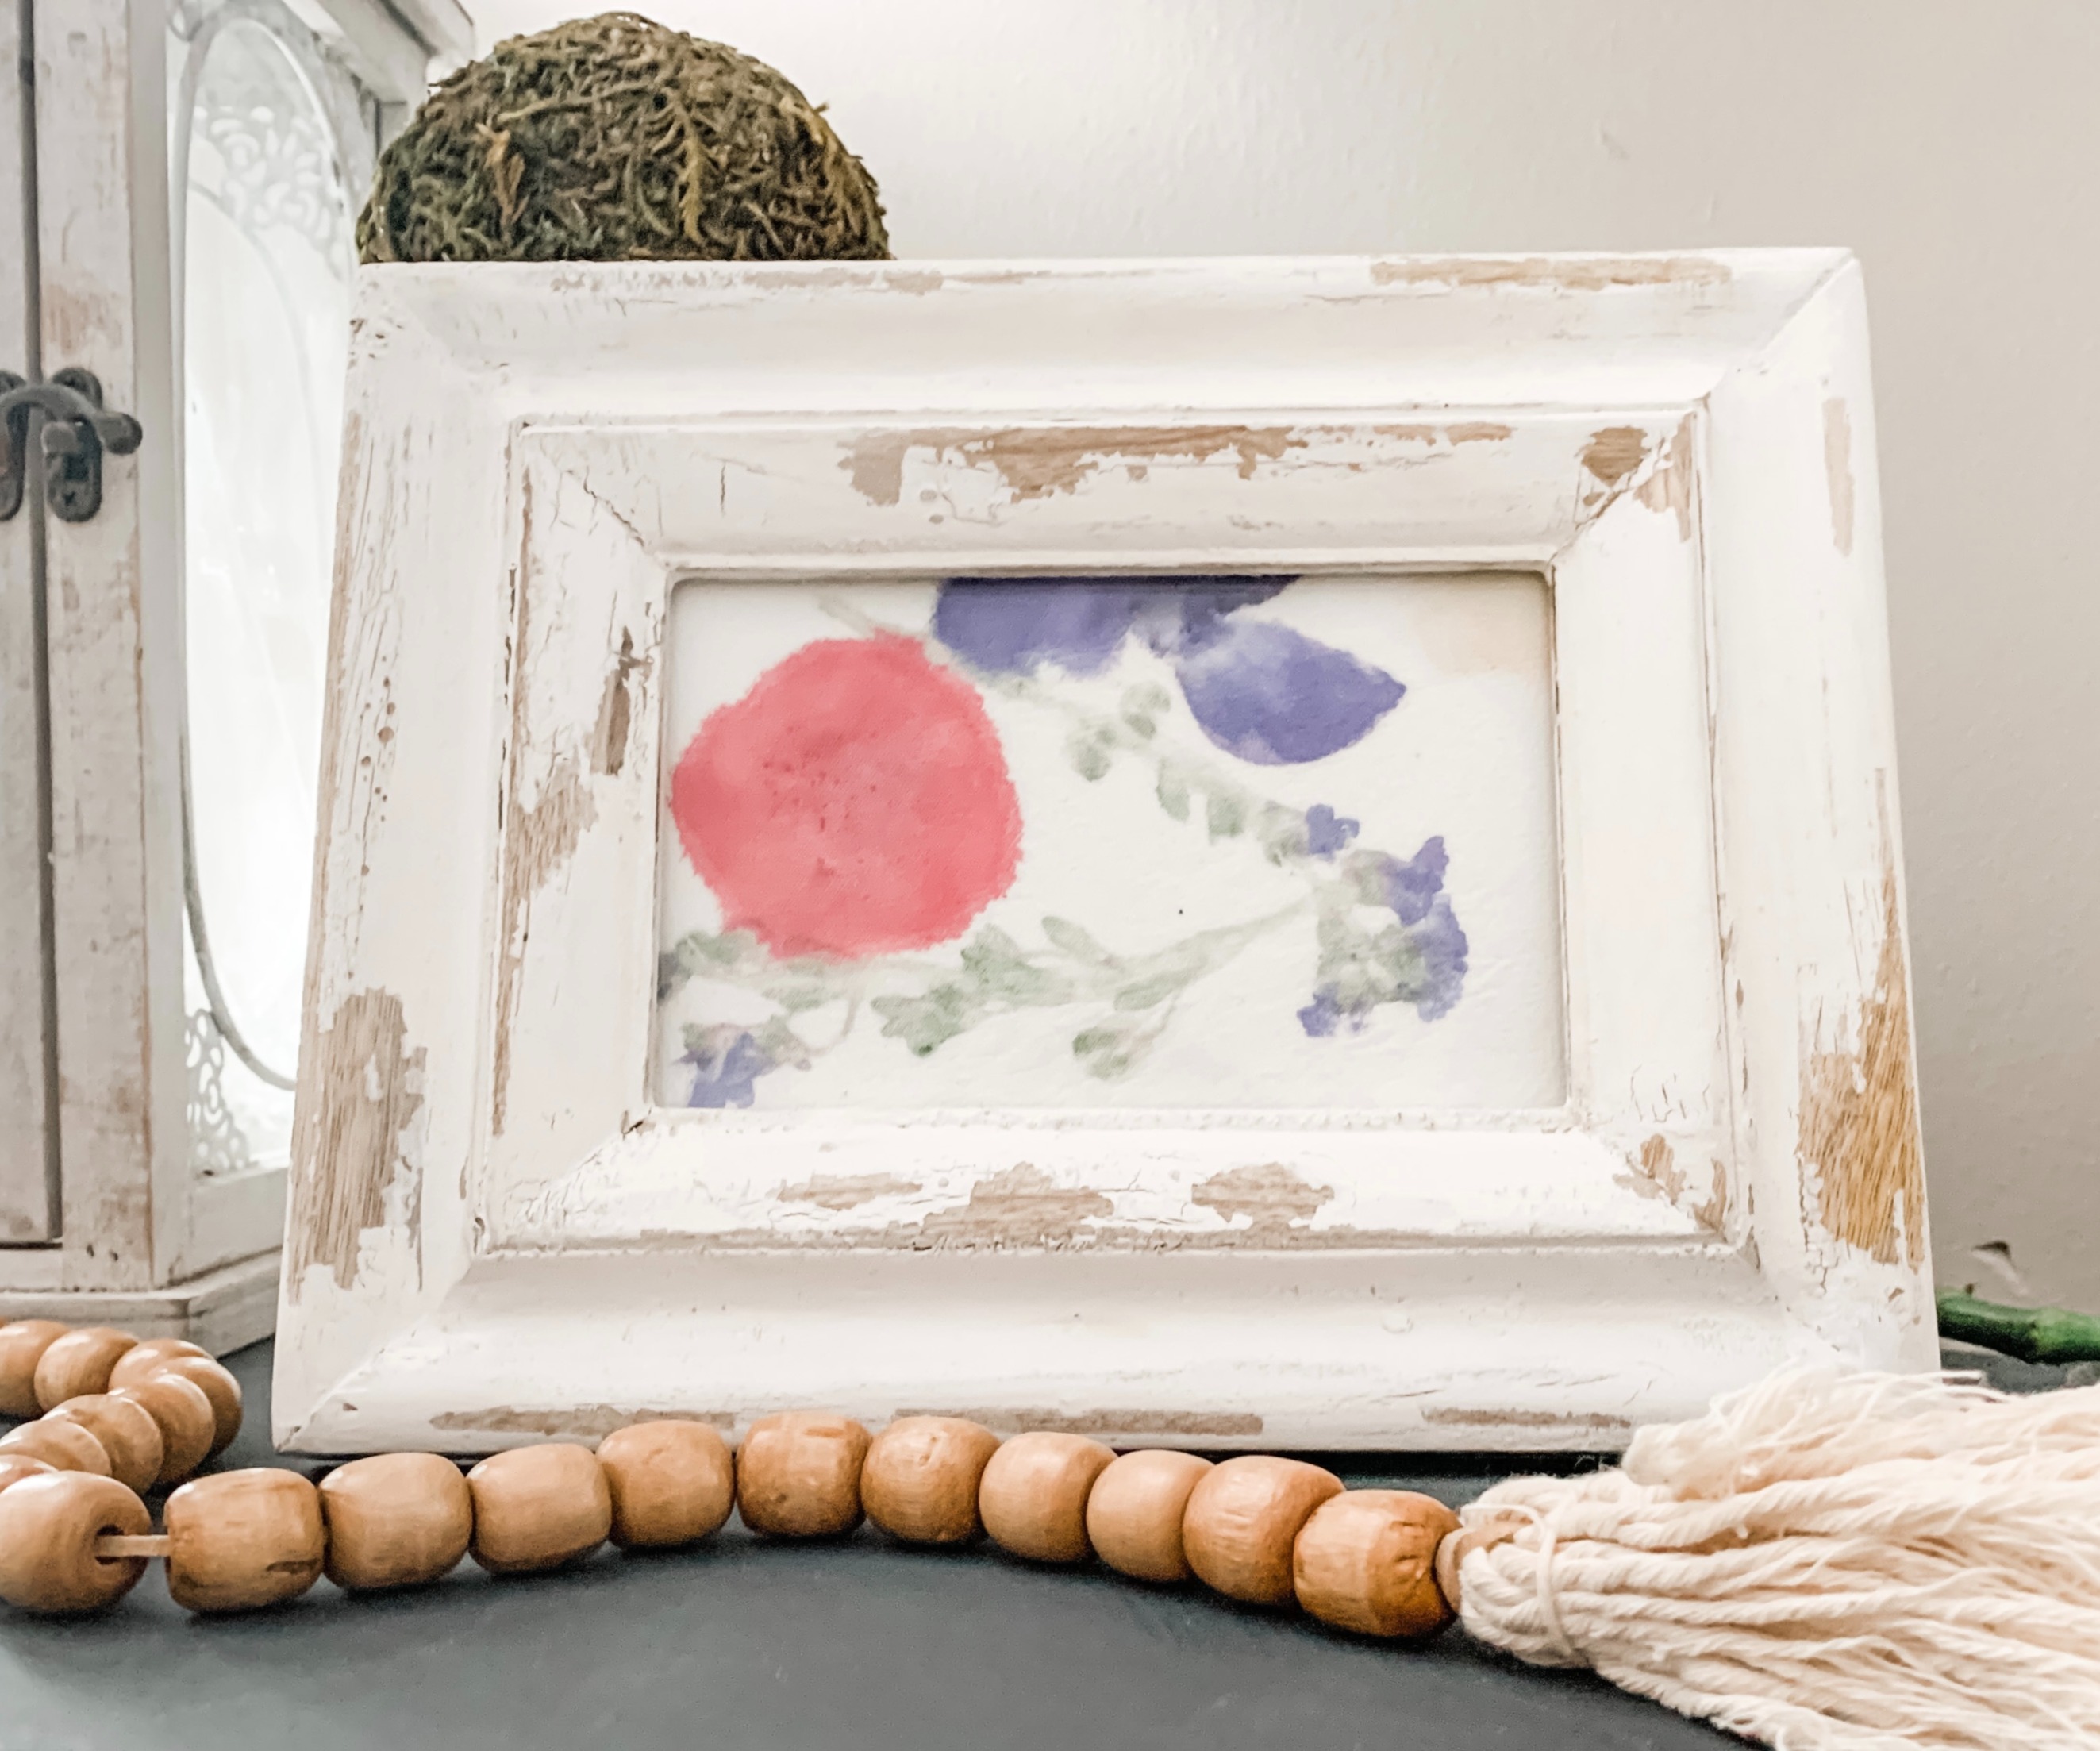
After it dried and I brushed off the pieces of blooms that were left, I set the color using a hot iron. I ironed it for just a few minutes. For inspiration purposes, I decided to sacrifice my towel and cut one design out and put it in a frame. I
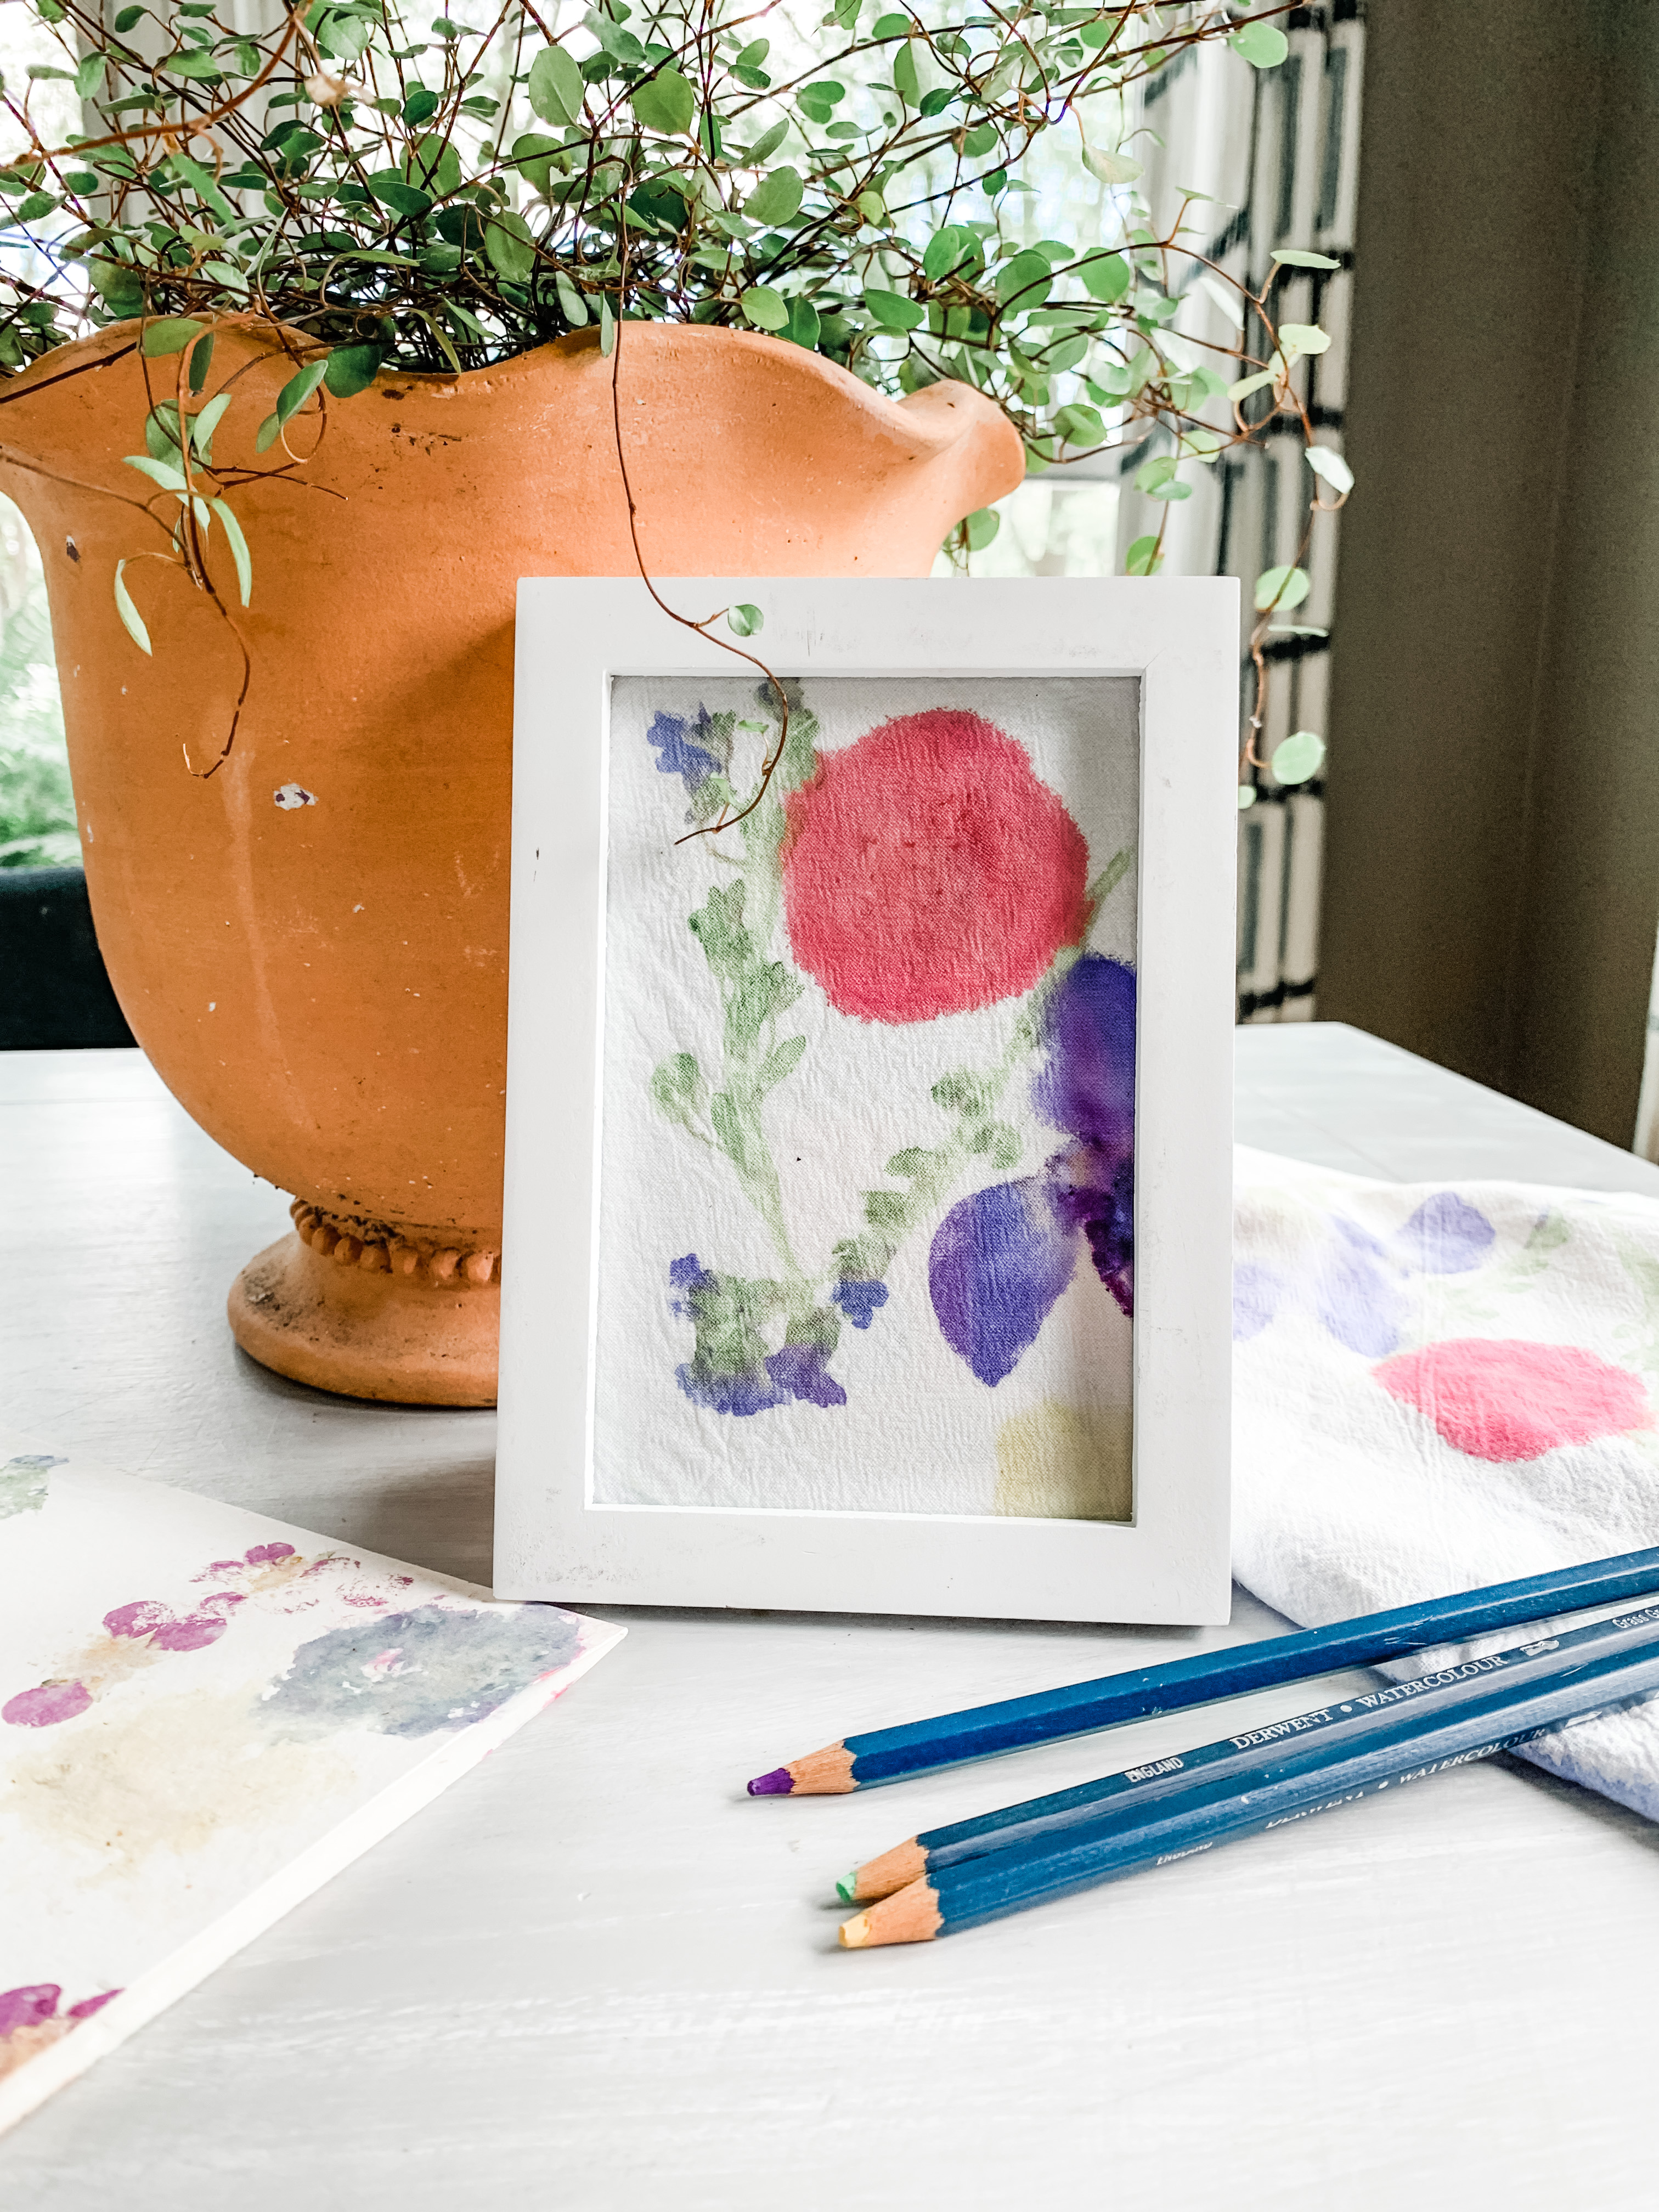
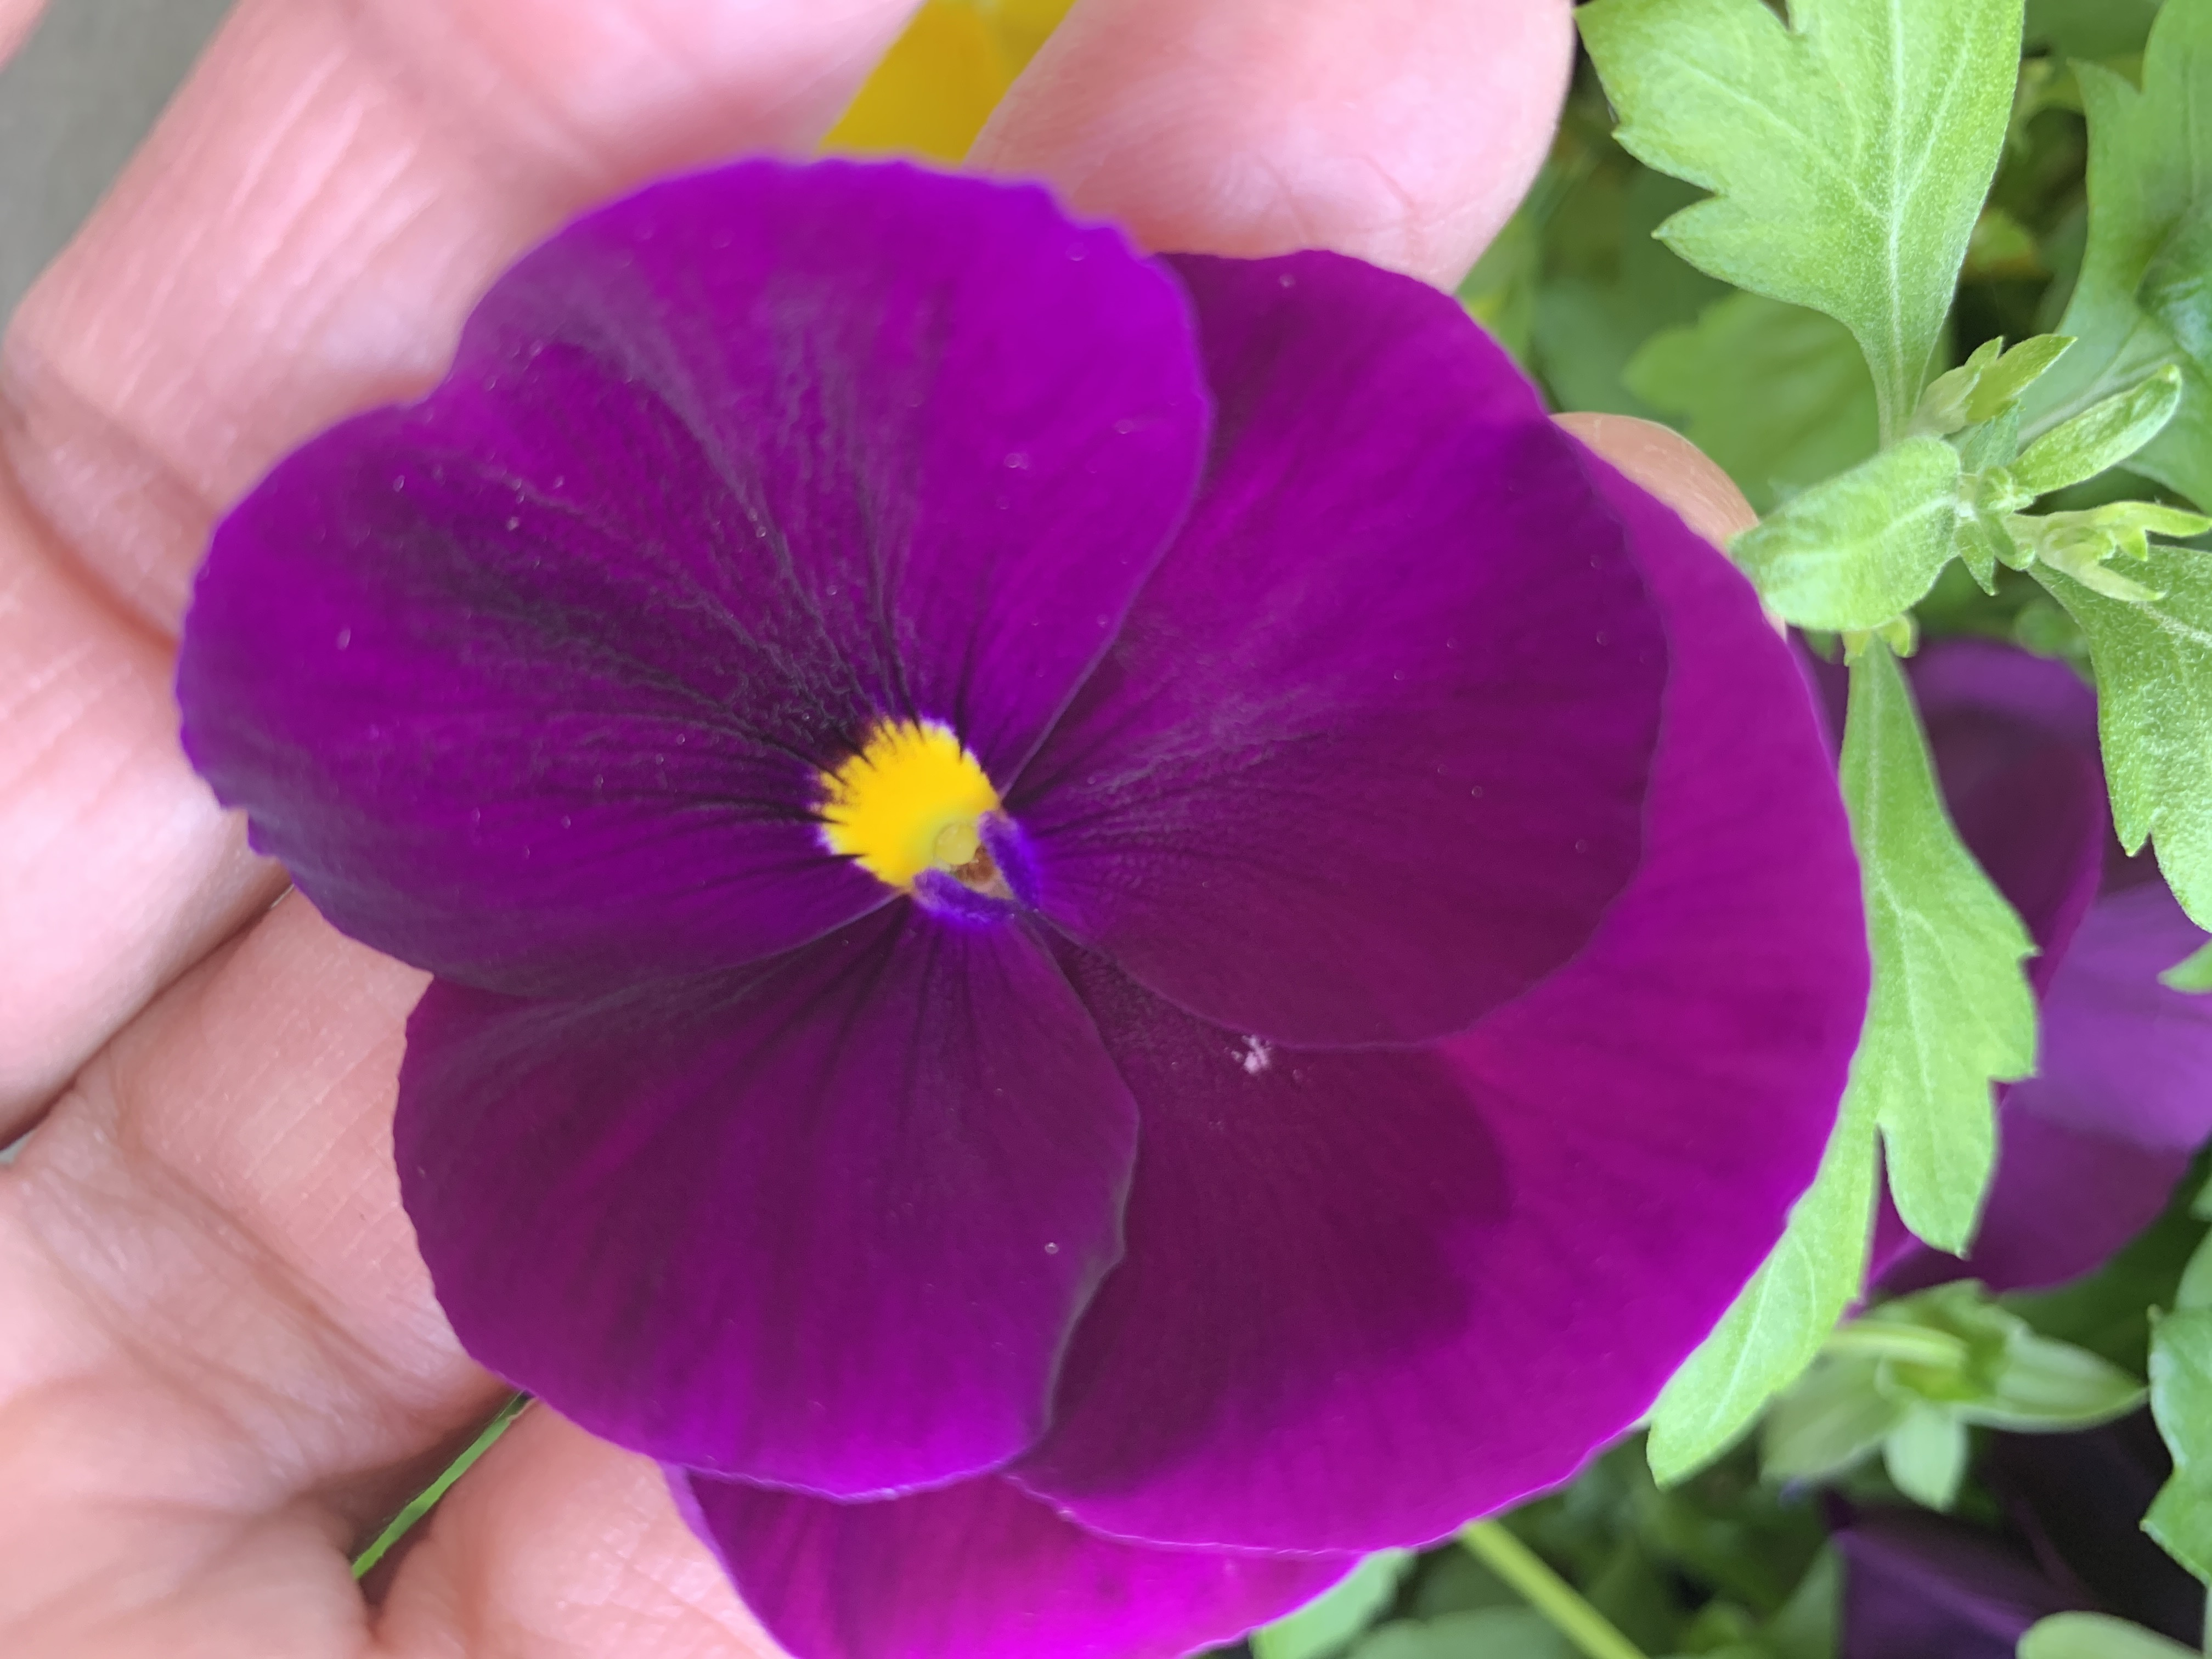
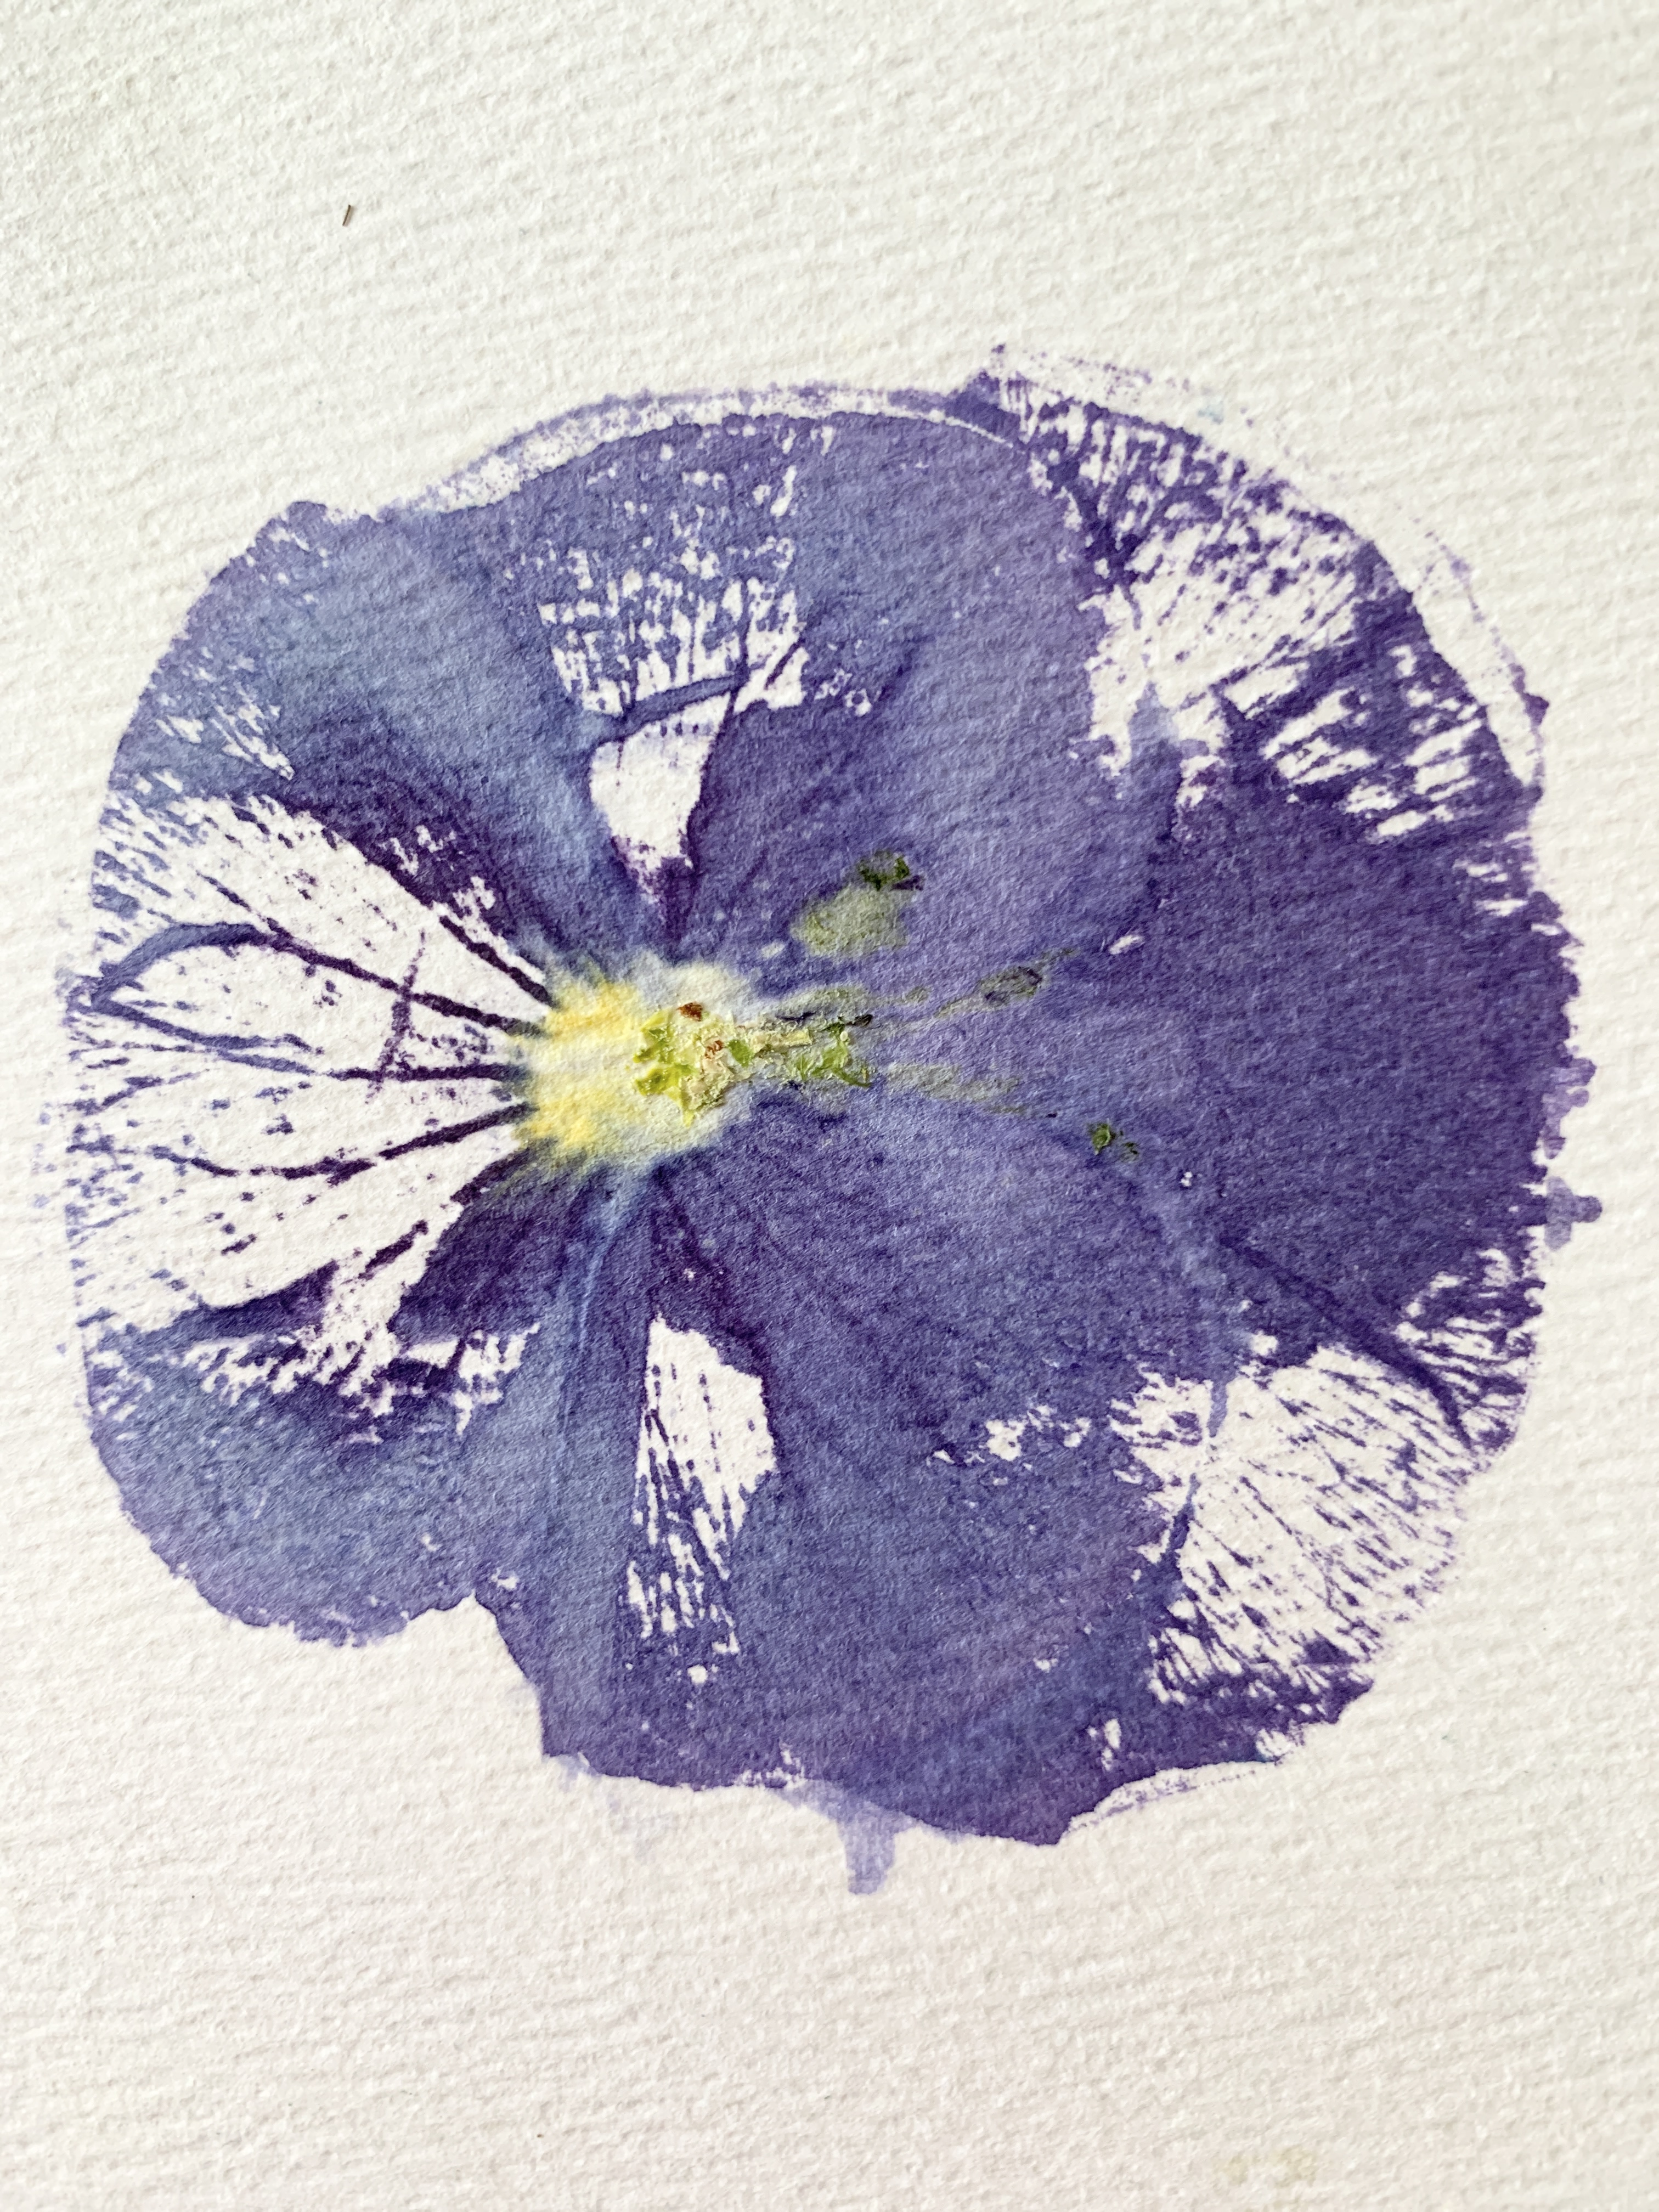
It’s a super easy, inexpensive project, certainly one that can done by little ones as long as they are supervised with the hammer. I used up a lot of blooms practicing…I think my favorite is the towel. I have another and I’ll do a design on that and not cut it up. The tiny flowers with the stems look delicate to me and you can tell what they are. I used iris, begonia, geranium, scented geranium, pansy, and coreopsis. Below is a pansy.
I’m teaching a class in a few weeks so this was much needed practice.
Both of these flowers below worked really well. They are tiny.
Let me know if you have ever tried this? I’m all about flowers and love to bring them indoors, even smashed with a hammer…
Thanks for stopping, if you enjoyed it, feel free to pass along to a friend.
Next up is finishing touches on decor for a baby shower. I can’t wait to show you how cute that is going to be!
Have a wonderful day!
XO, Regina
This post may contain affiliate links.


Leave a Reply