Do you love a sachet? This sachet is a hack from one I saw at Terrain, it’s easy and smells and looks amazing.
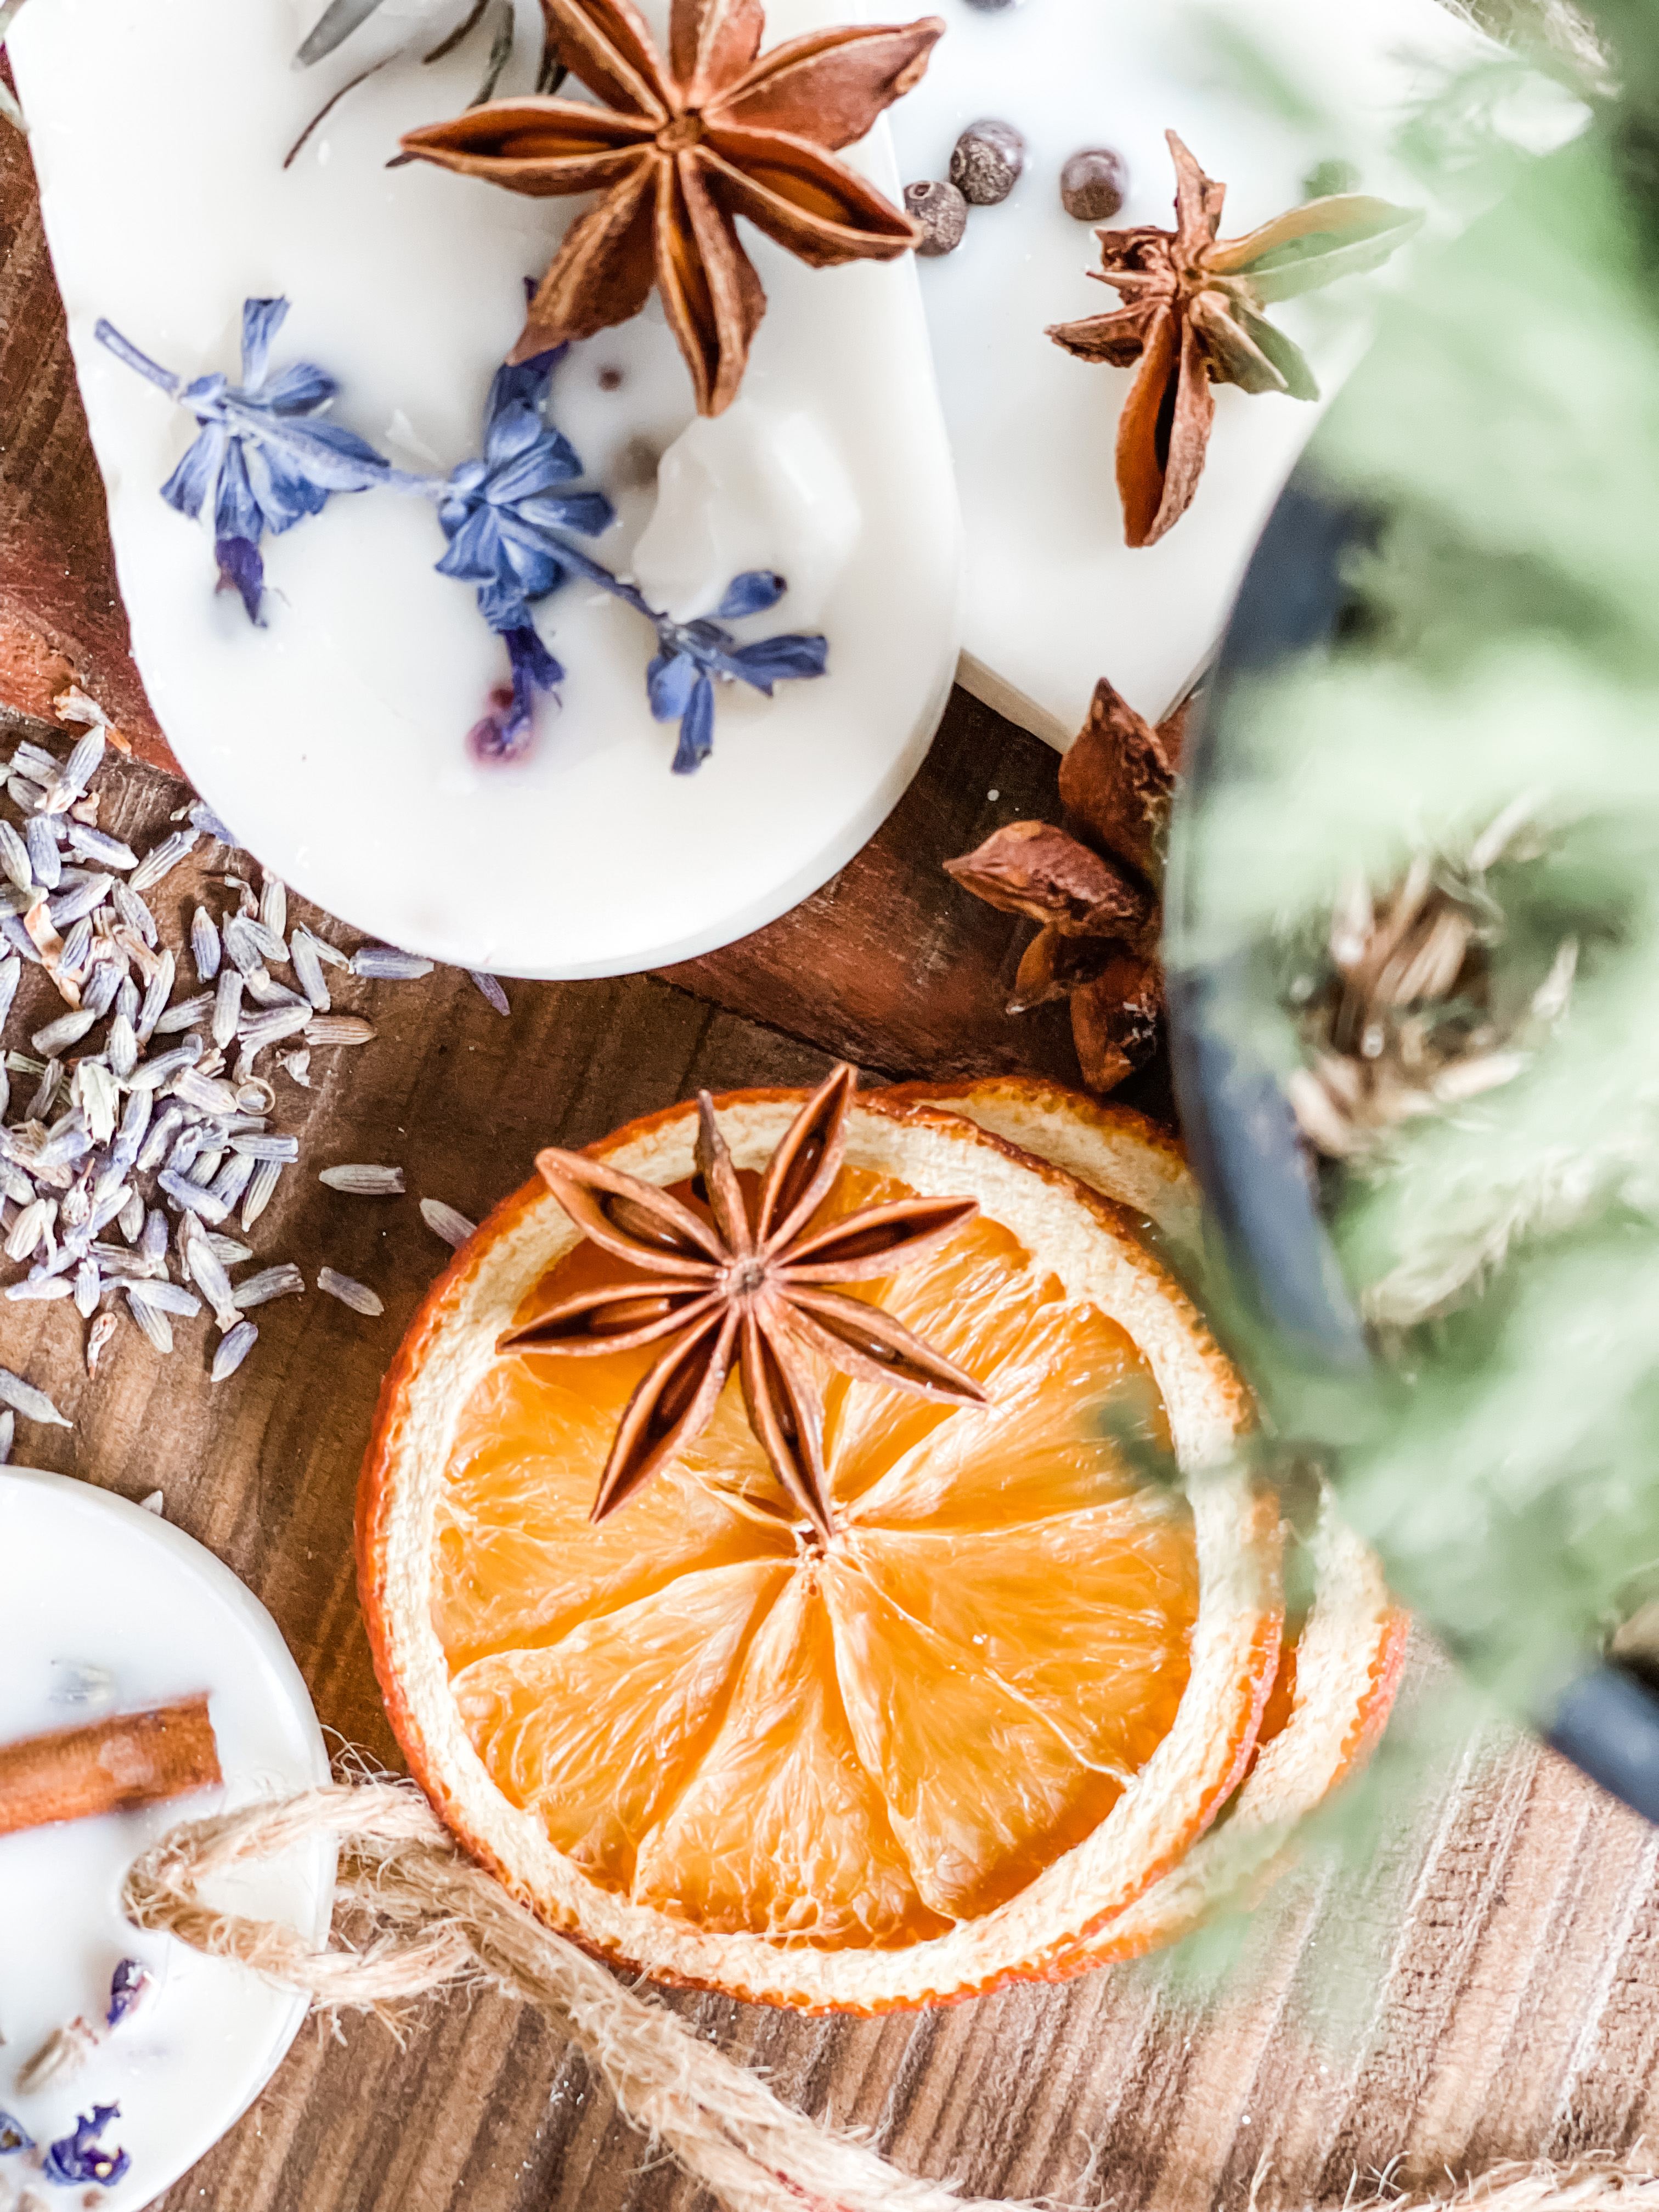
Hi friends! Thanks for visiting, I’m sharing one of my favorite fun and easy diys, creating wax sachets to give as gifts or attach to a gift. I spotted these at Terrain.
Table of Contents

Terrain is part of the Anthropologie group and it is an amazing place to visit. The plants, wreaths, and garden items they have are all beautiful and unique. I know of two in Pennsylvania and both have adorable cafes attached. They also carry housewares and more and are worth a day trip if you’ve never been.

I made these wax sachet’s for less than a dollar and they are every bit as cute as the ones you can buy for $28.
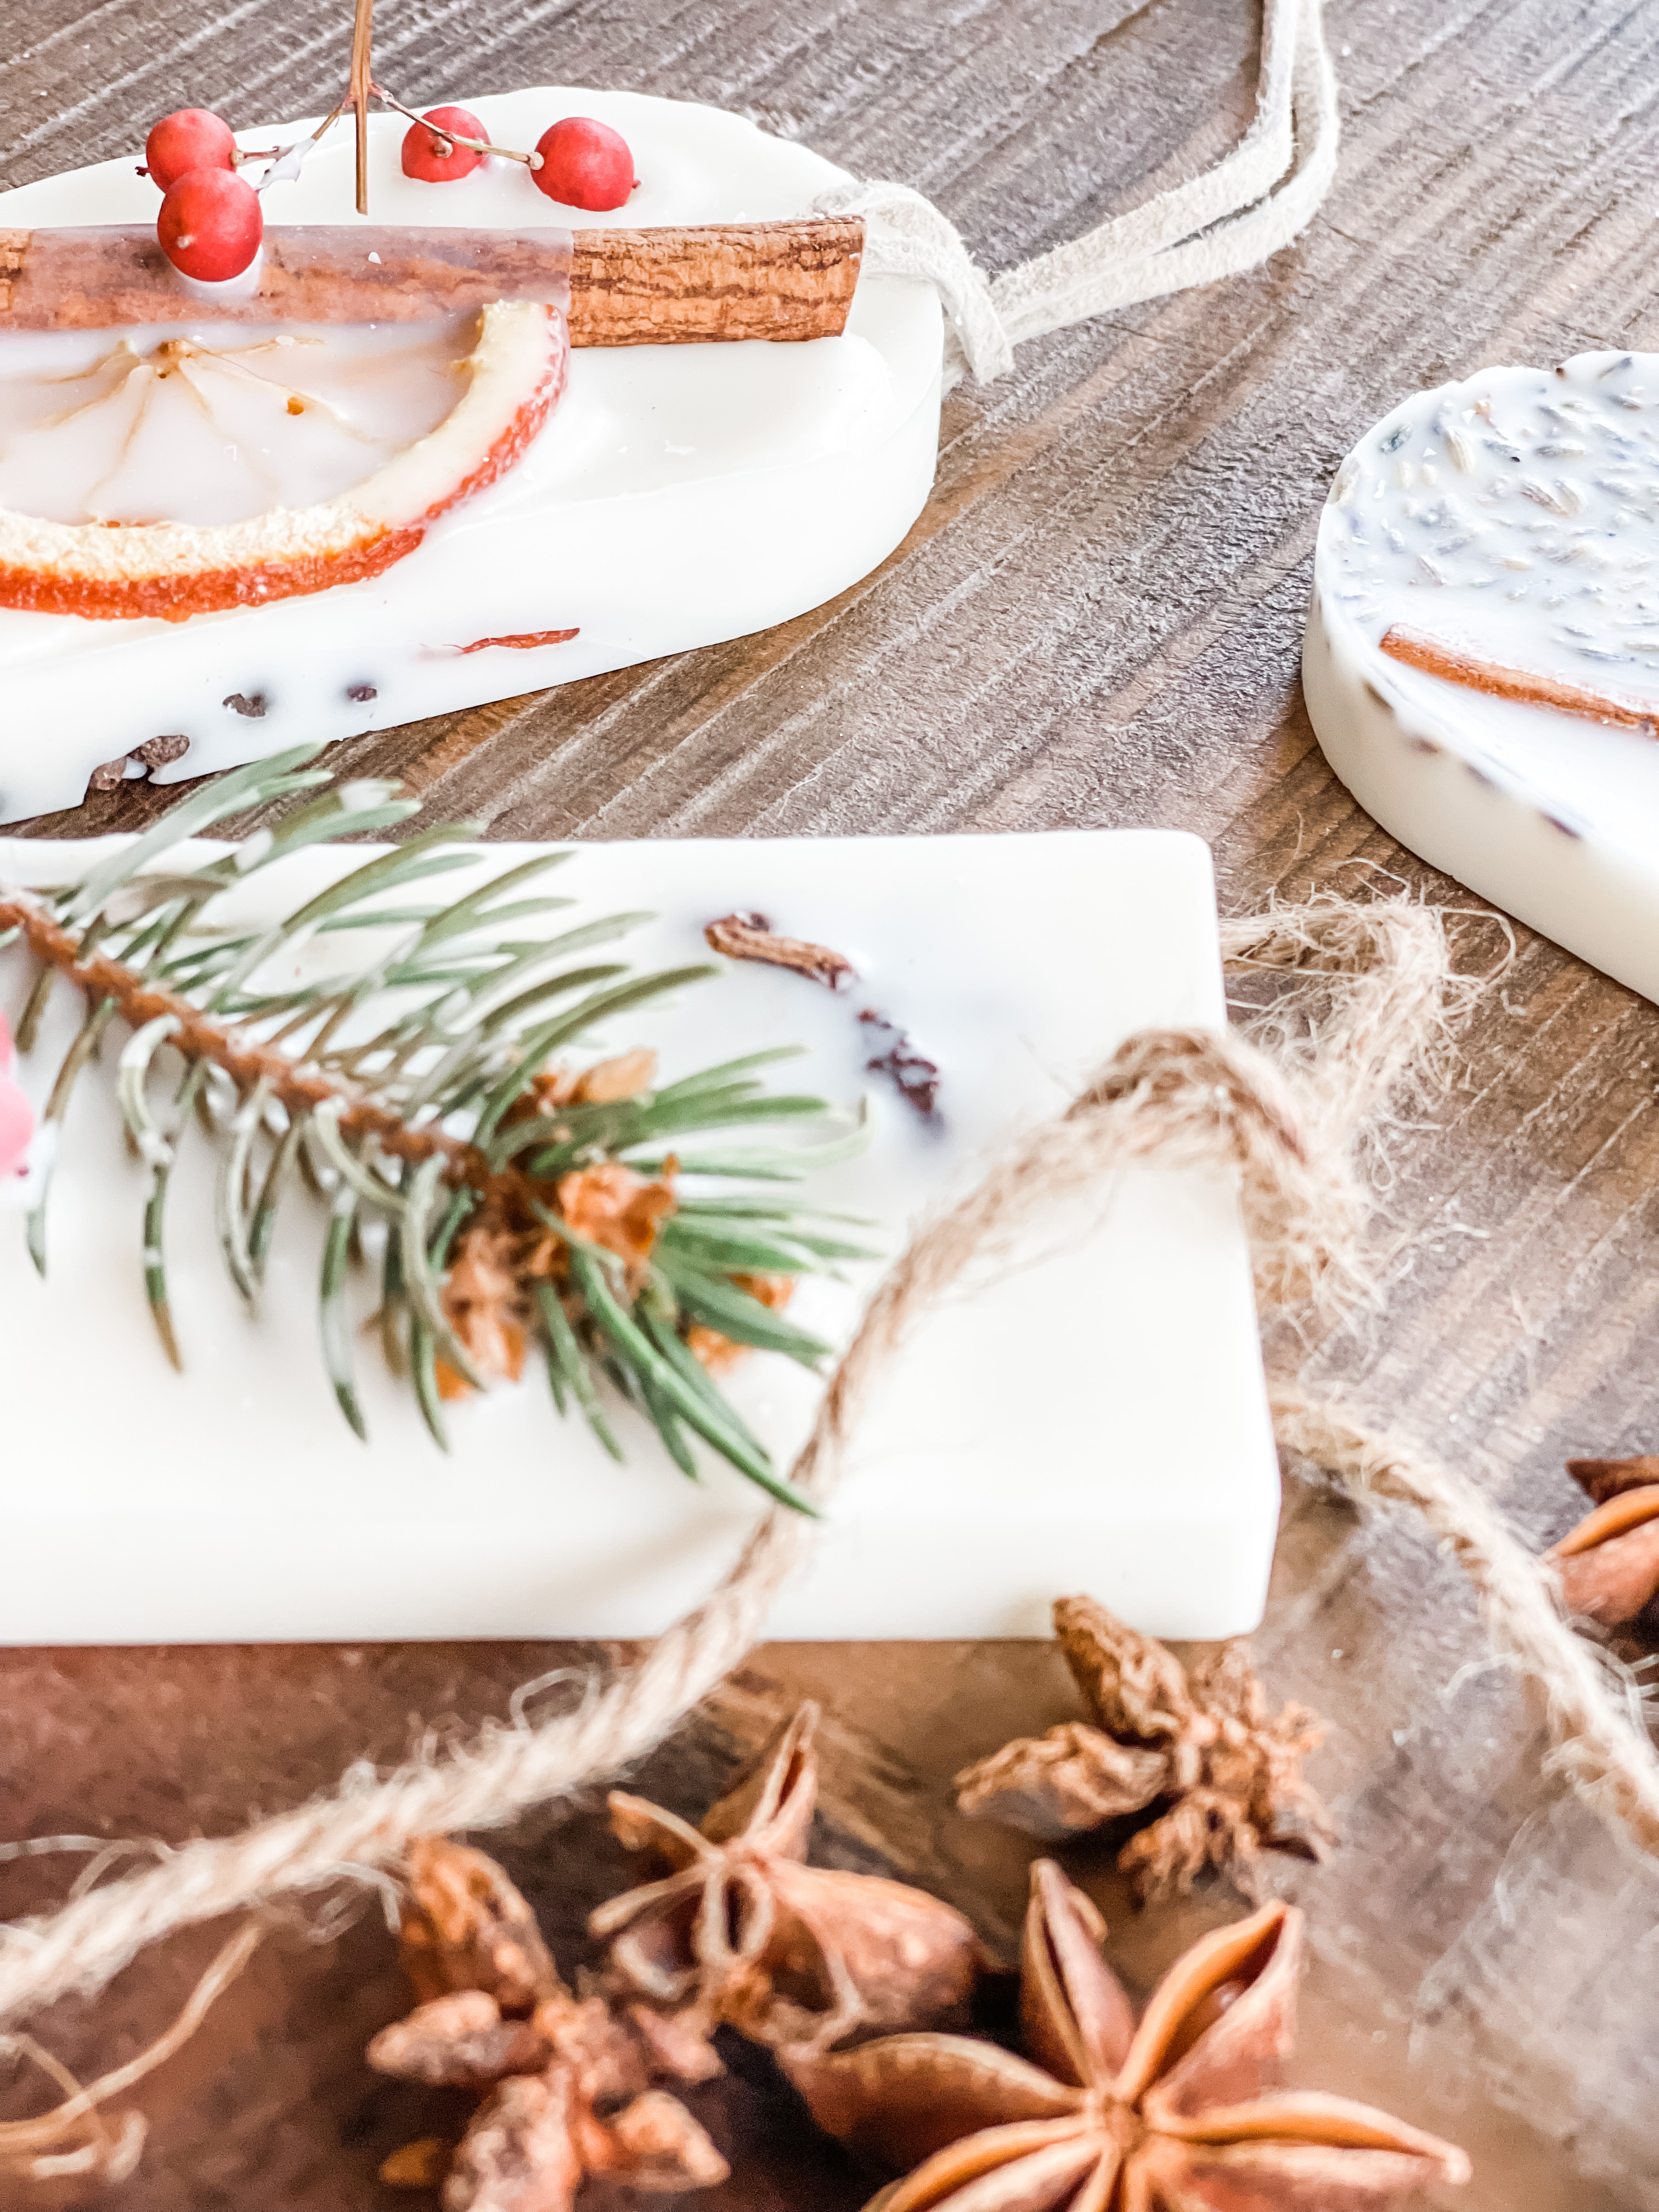
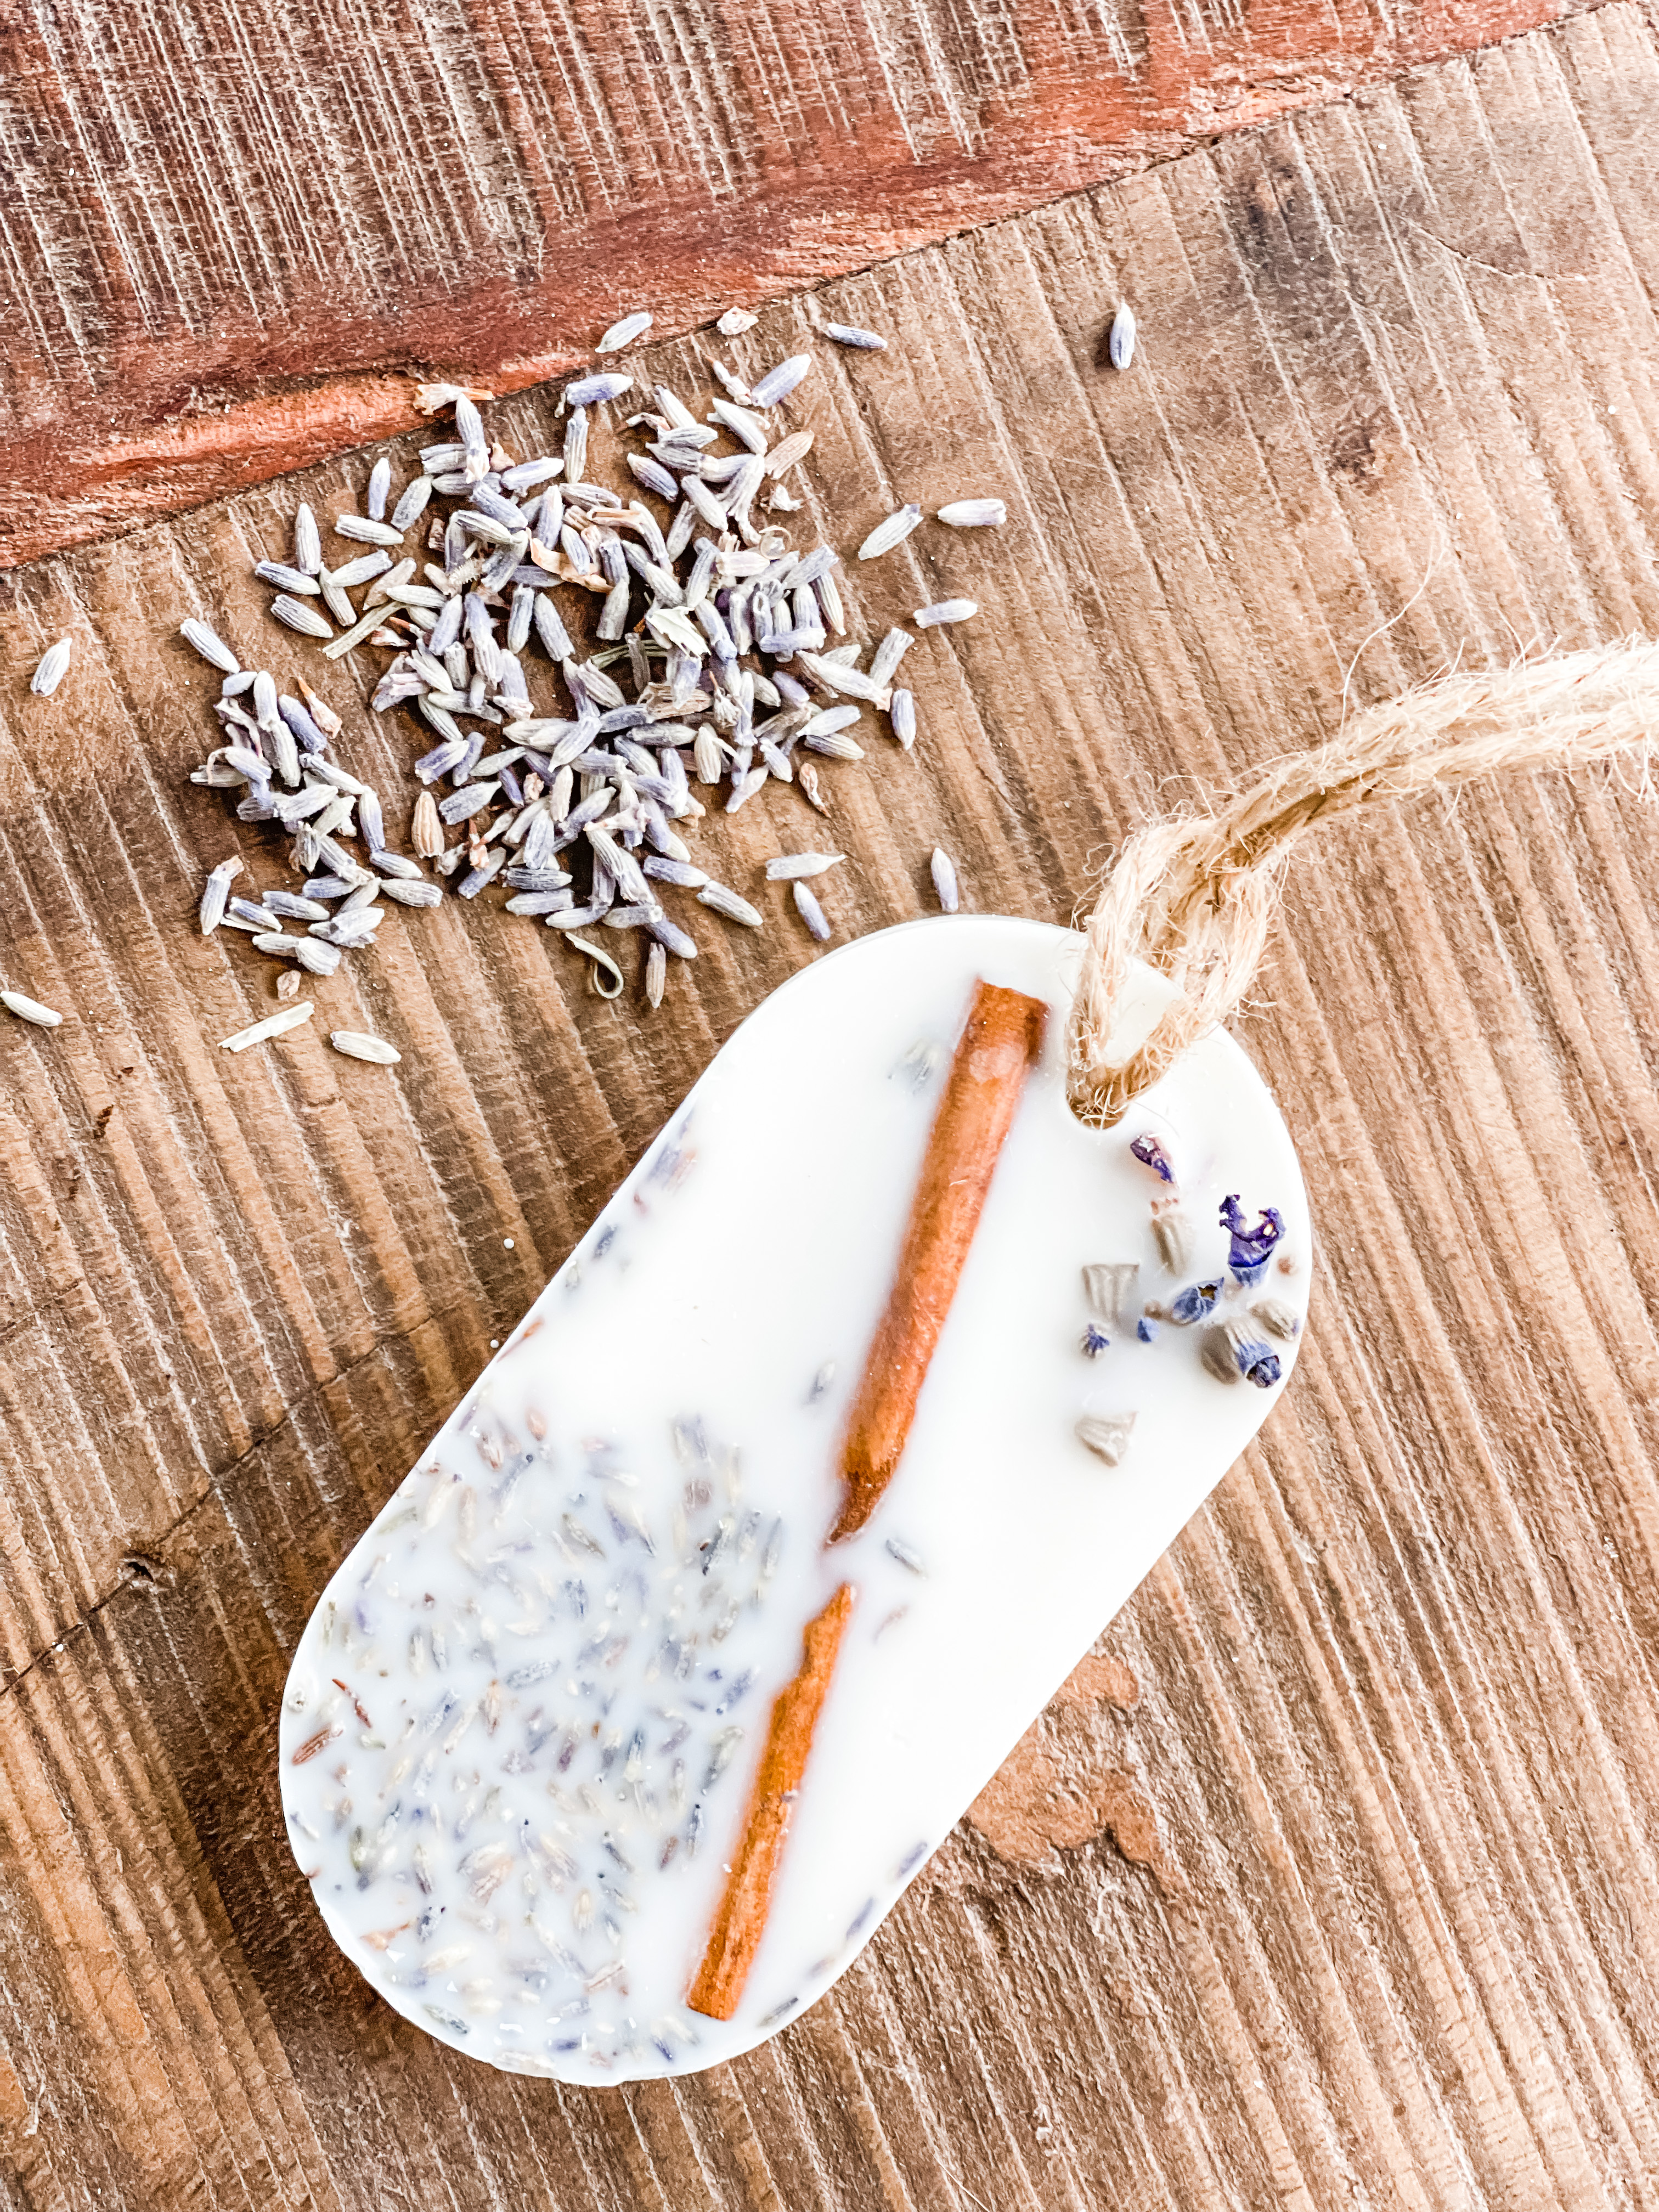
A fun little gift to use as a tag on a gift or tuck in with a present.

Watch for my post on Bags, Tags & Baked Goods – Oh My which includes ideas for unique tags, bags and wrapping and several blogger friends have shared their best handmade and baked gifts. To see clever ideas to wrap you will love check out this post.
Put these in drawers or in cupboards or the counter, they are lovely to look at and smell divine.
GATHER YOUR SUPPLIES
INGREDIENTS
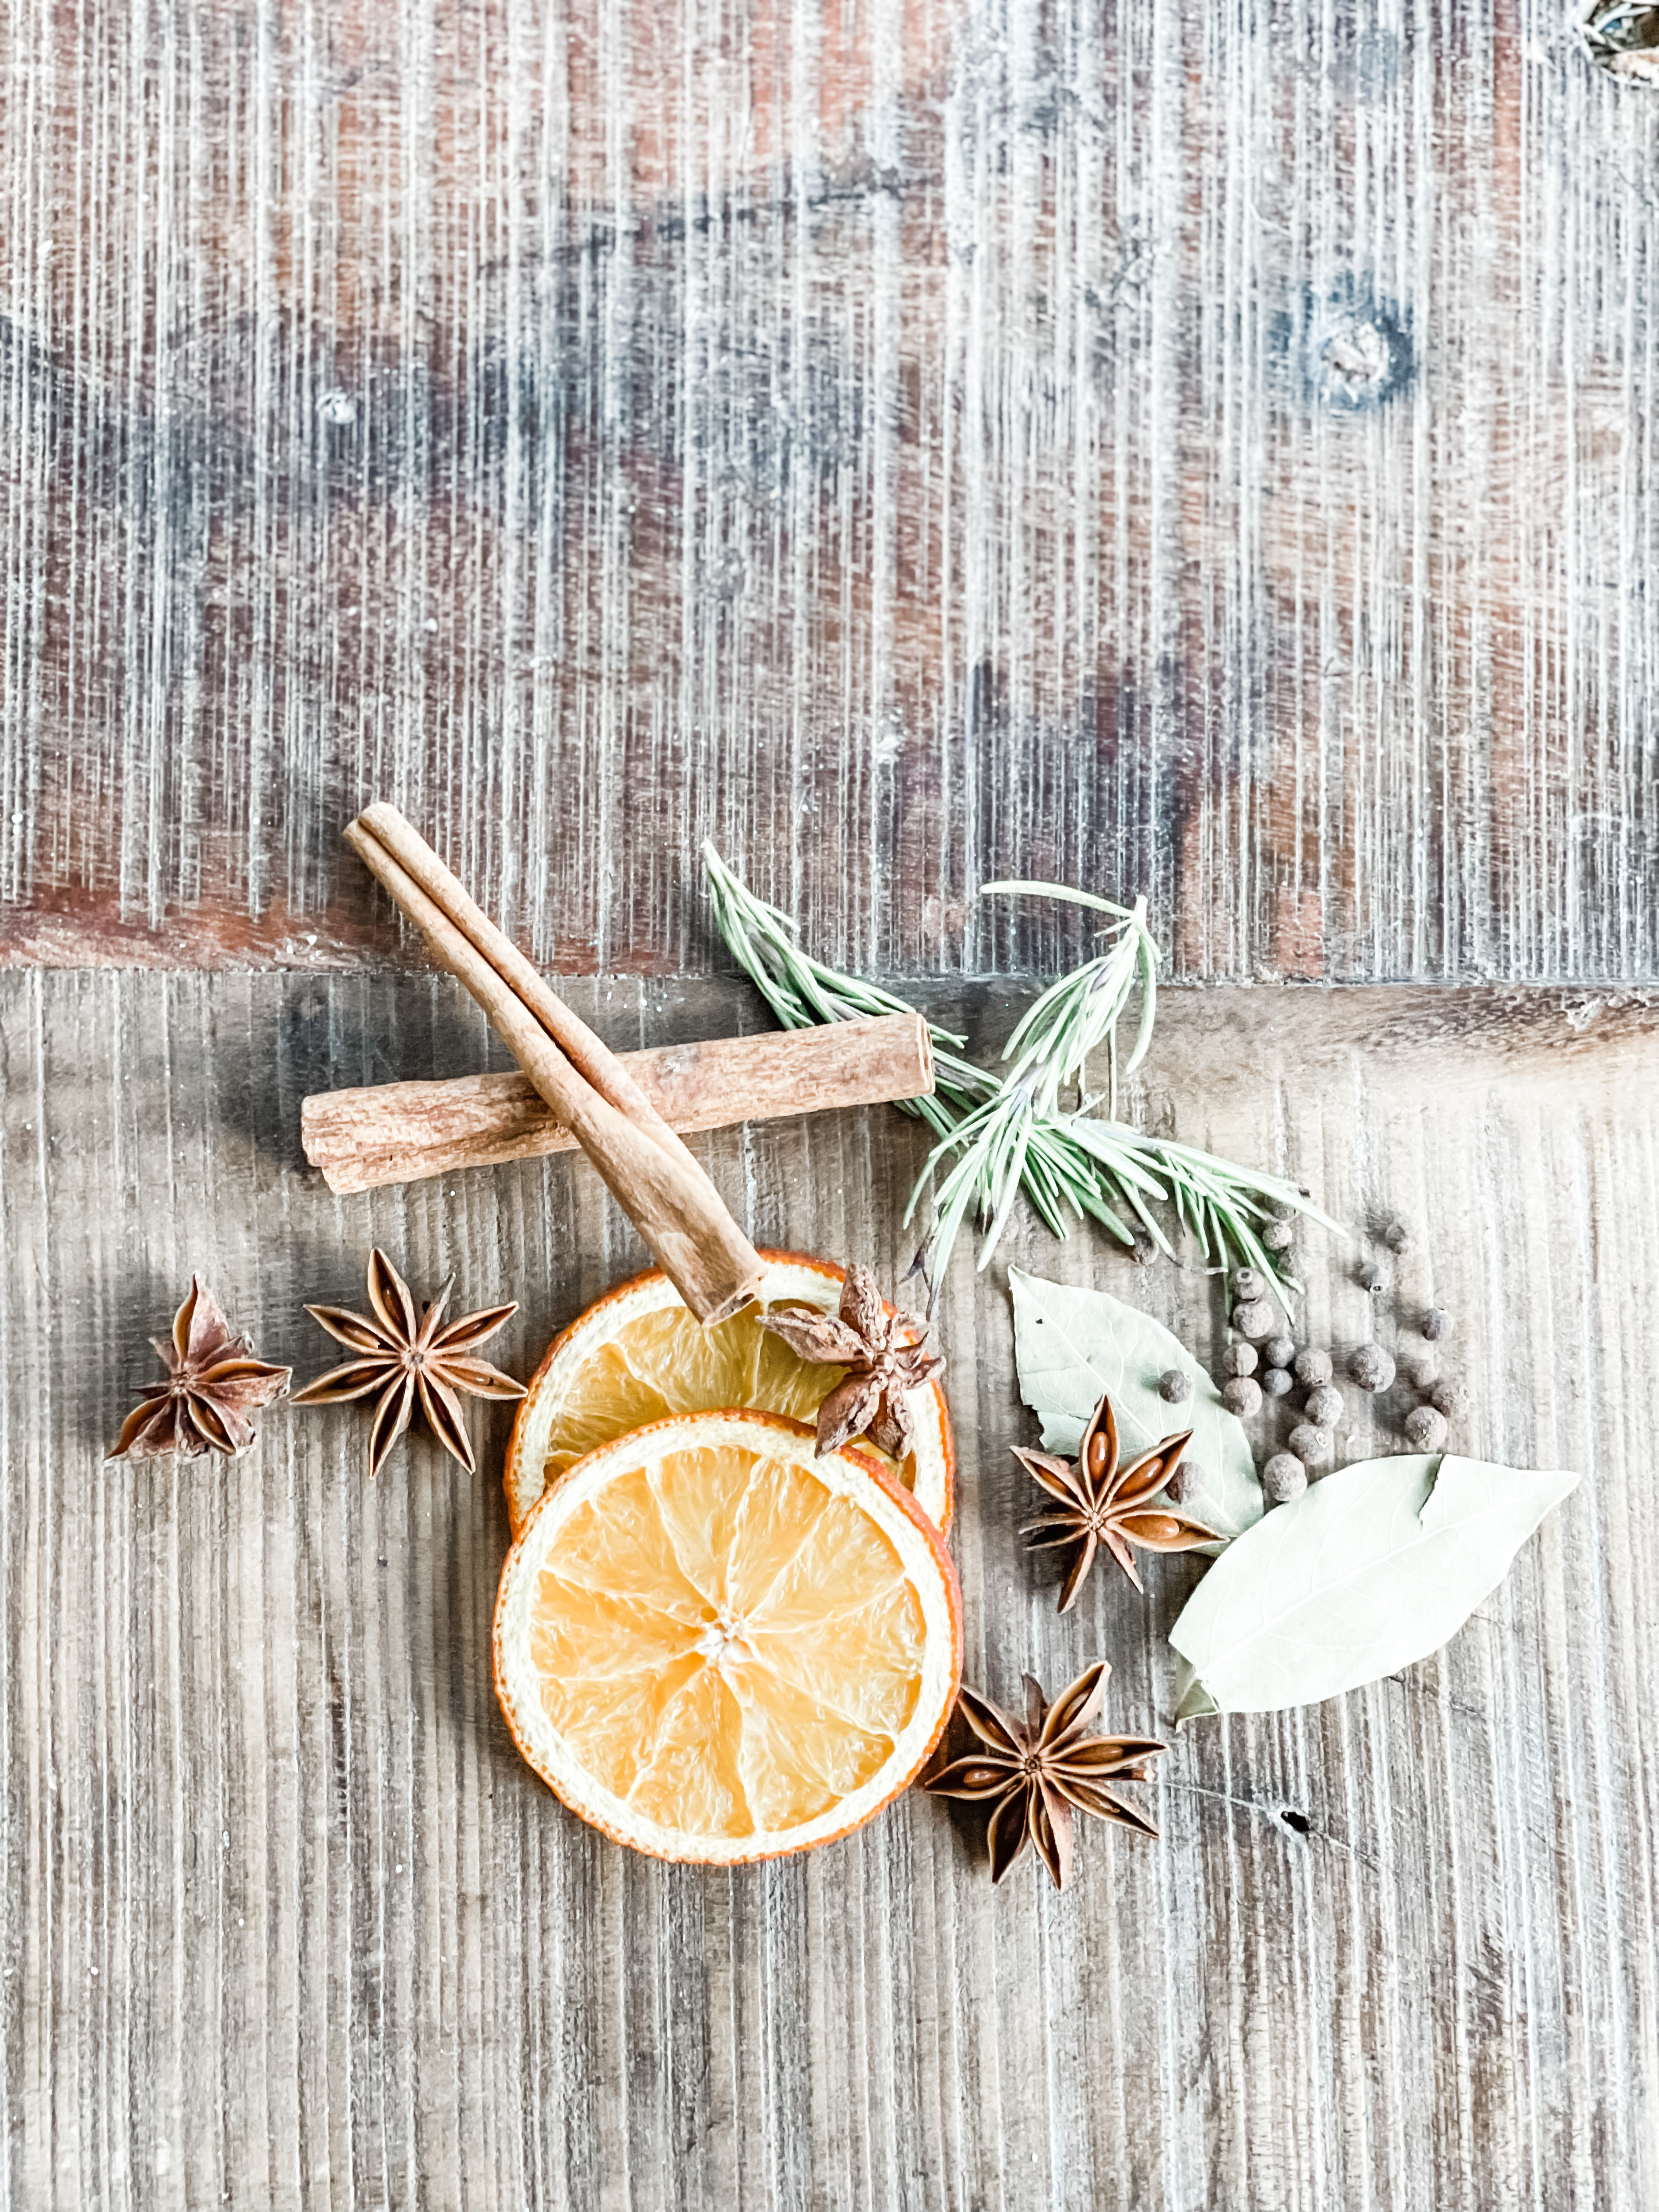
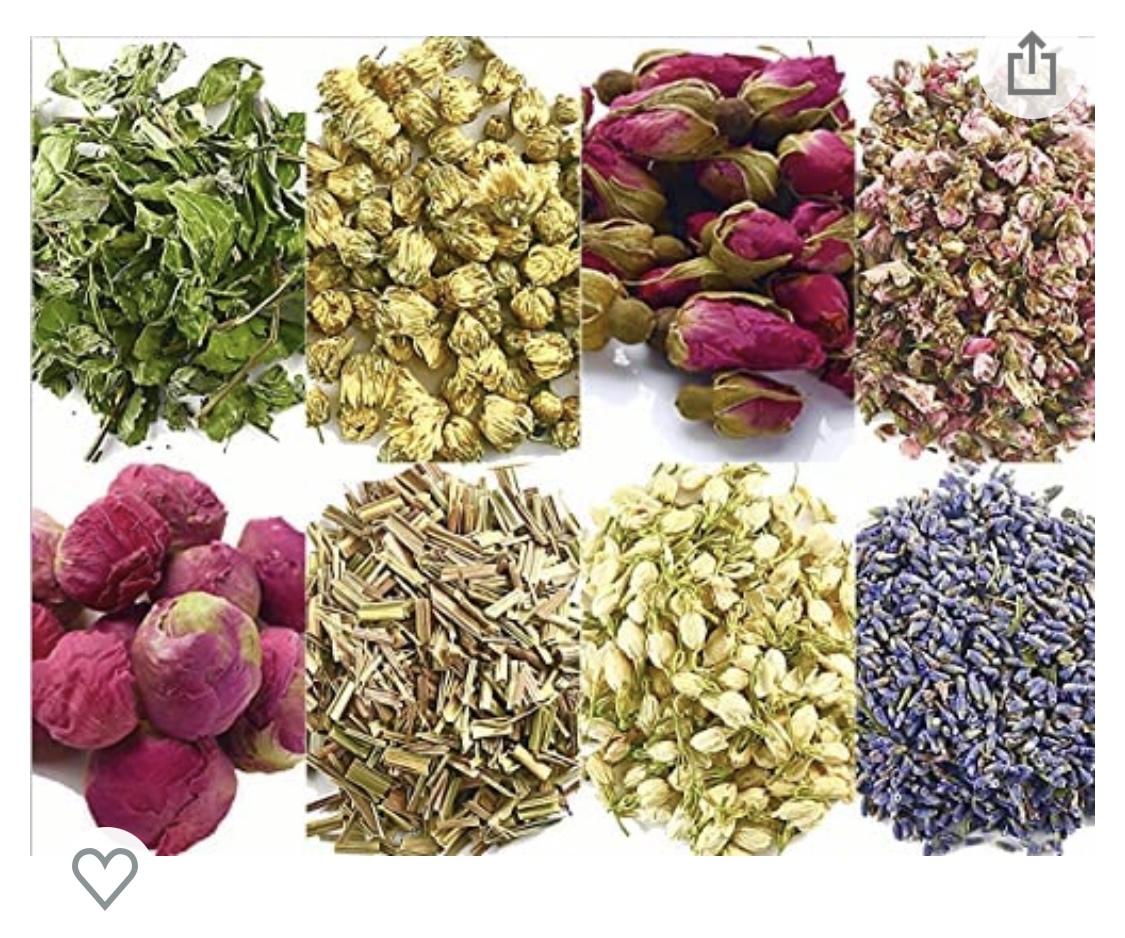
Let your imagination run wild. You can pull from nature or your spice cabinet or the grocery store to add unique components to your sachets.
Creating these for holiday gifts led me right to Star of Anise, it’s beautiful and smells wonderful.
Slice up oranges or lemons and place them in the oven at 175 for 2 hours. Remove them before they turn brown then add them to your sachets.
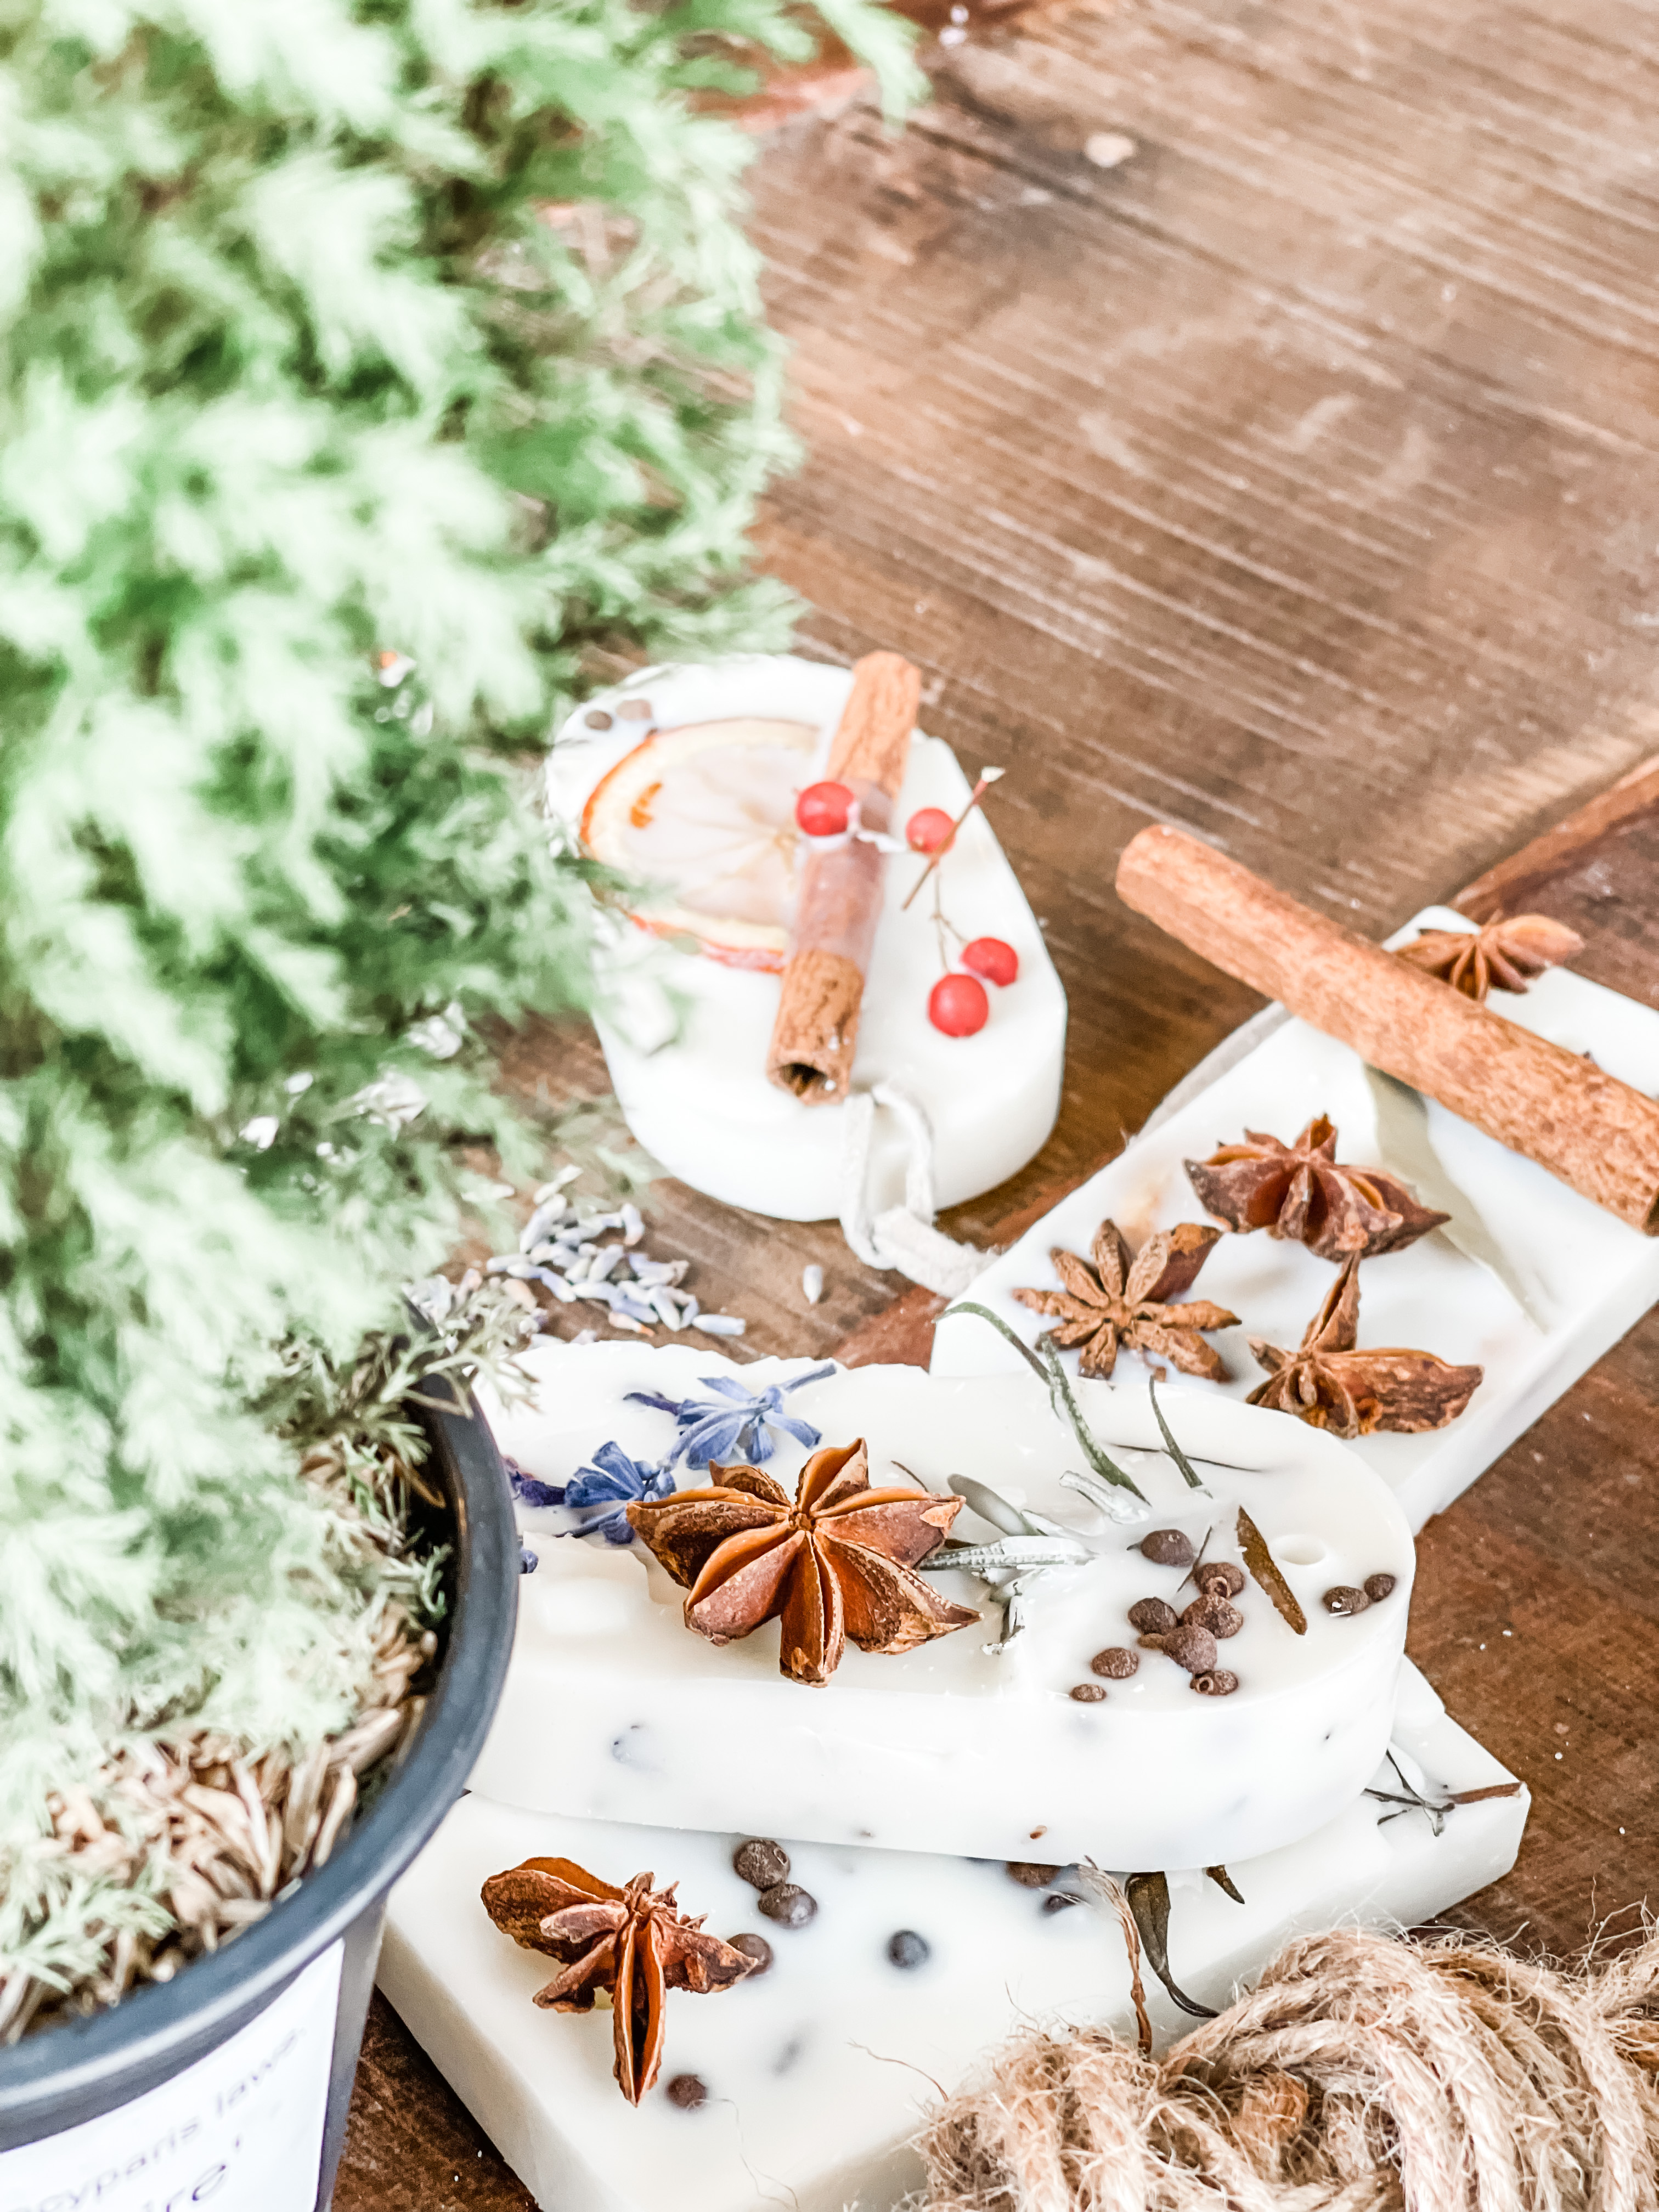
Berries from your walks, nutmeg, whole cloves, whole allspice, orange peel, bay leaves, lavender….holly leaves. All would make beautiful sachets.
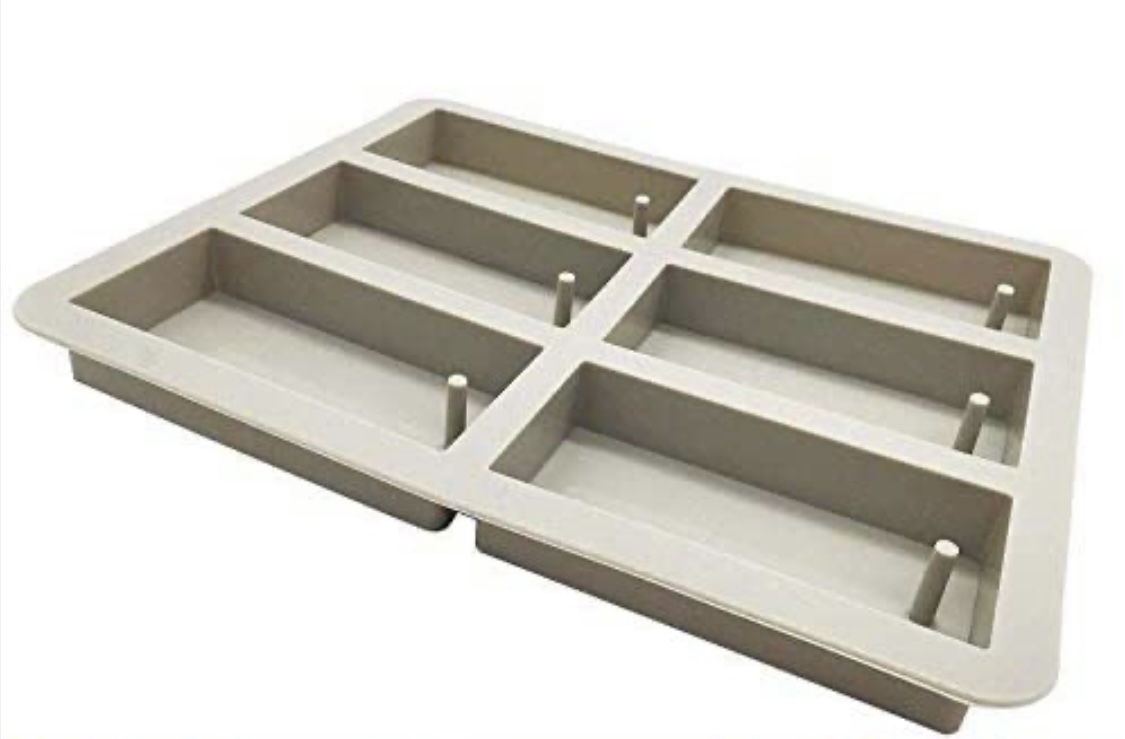
MOLDS
The molds can be purchased and are silicon.
You can use containers in any shape like individual cottage cheese containers like these, it’s a cute shape.
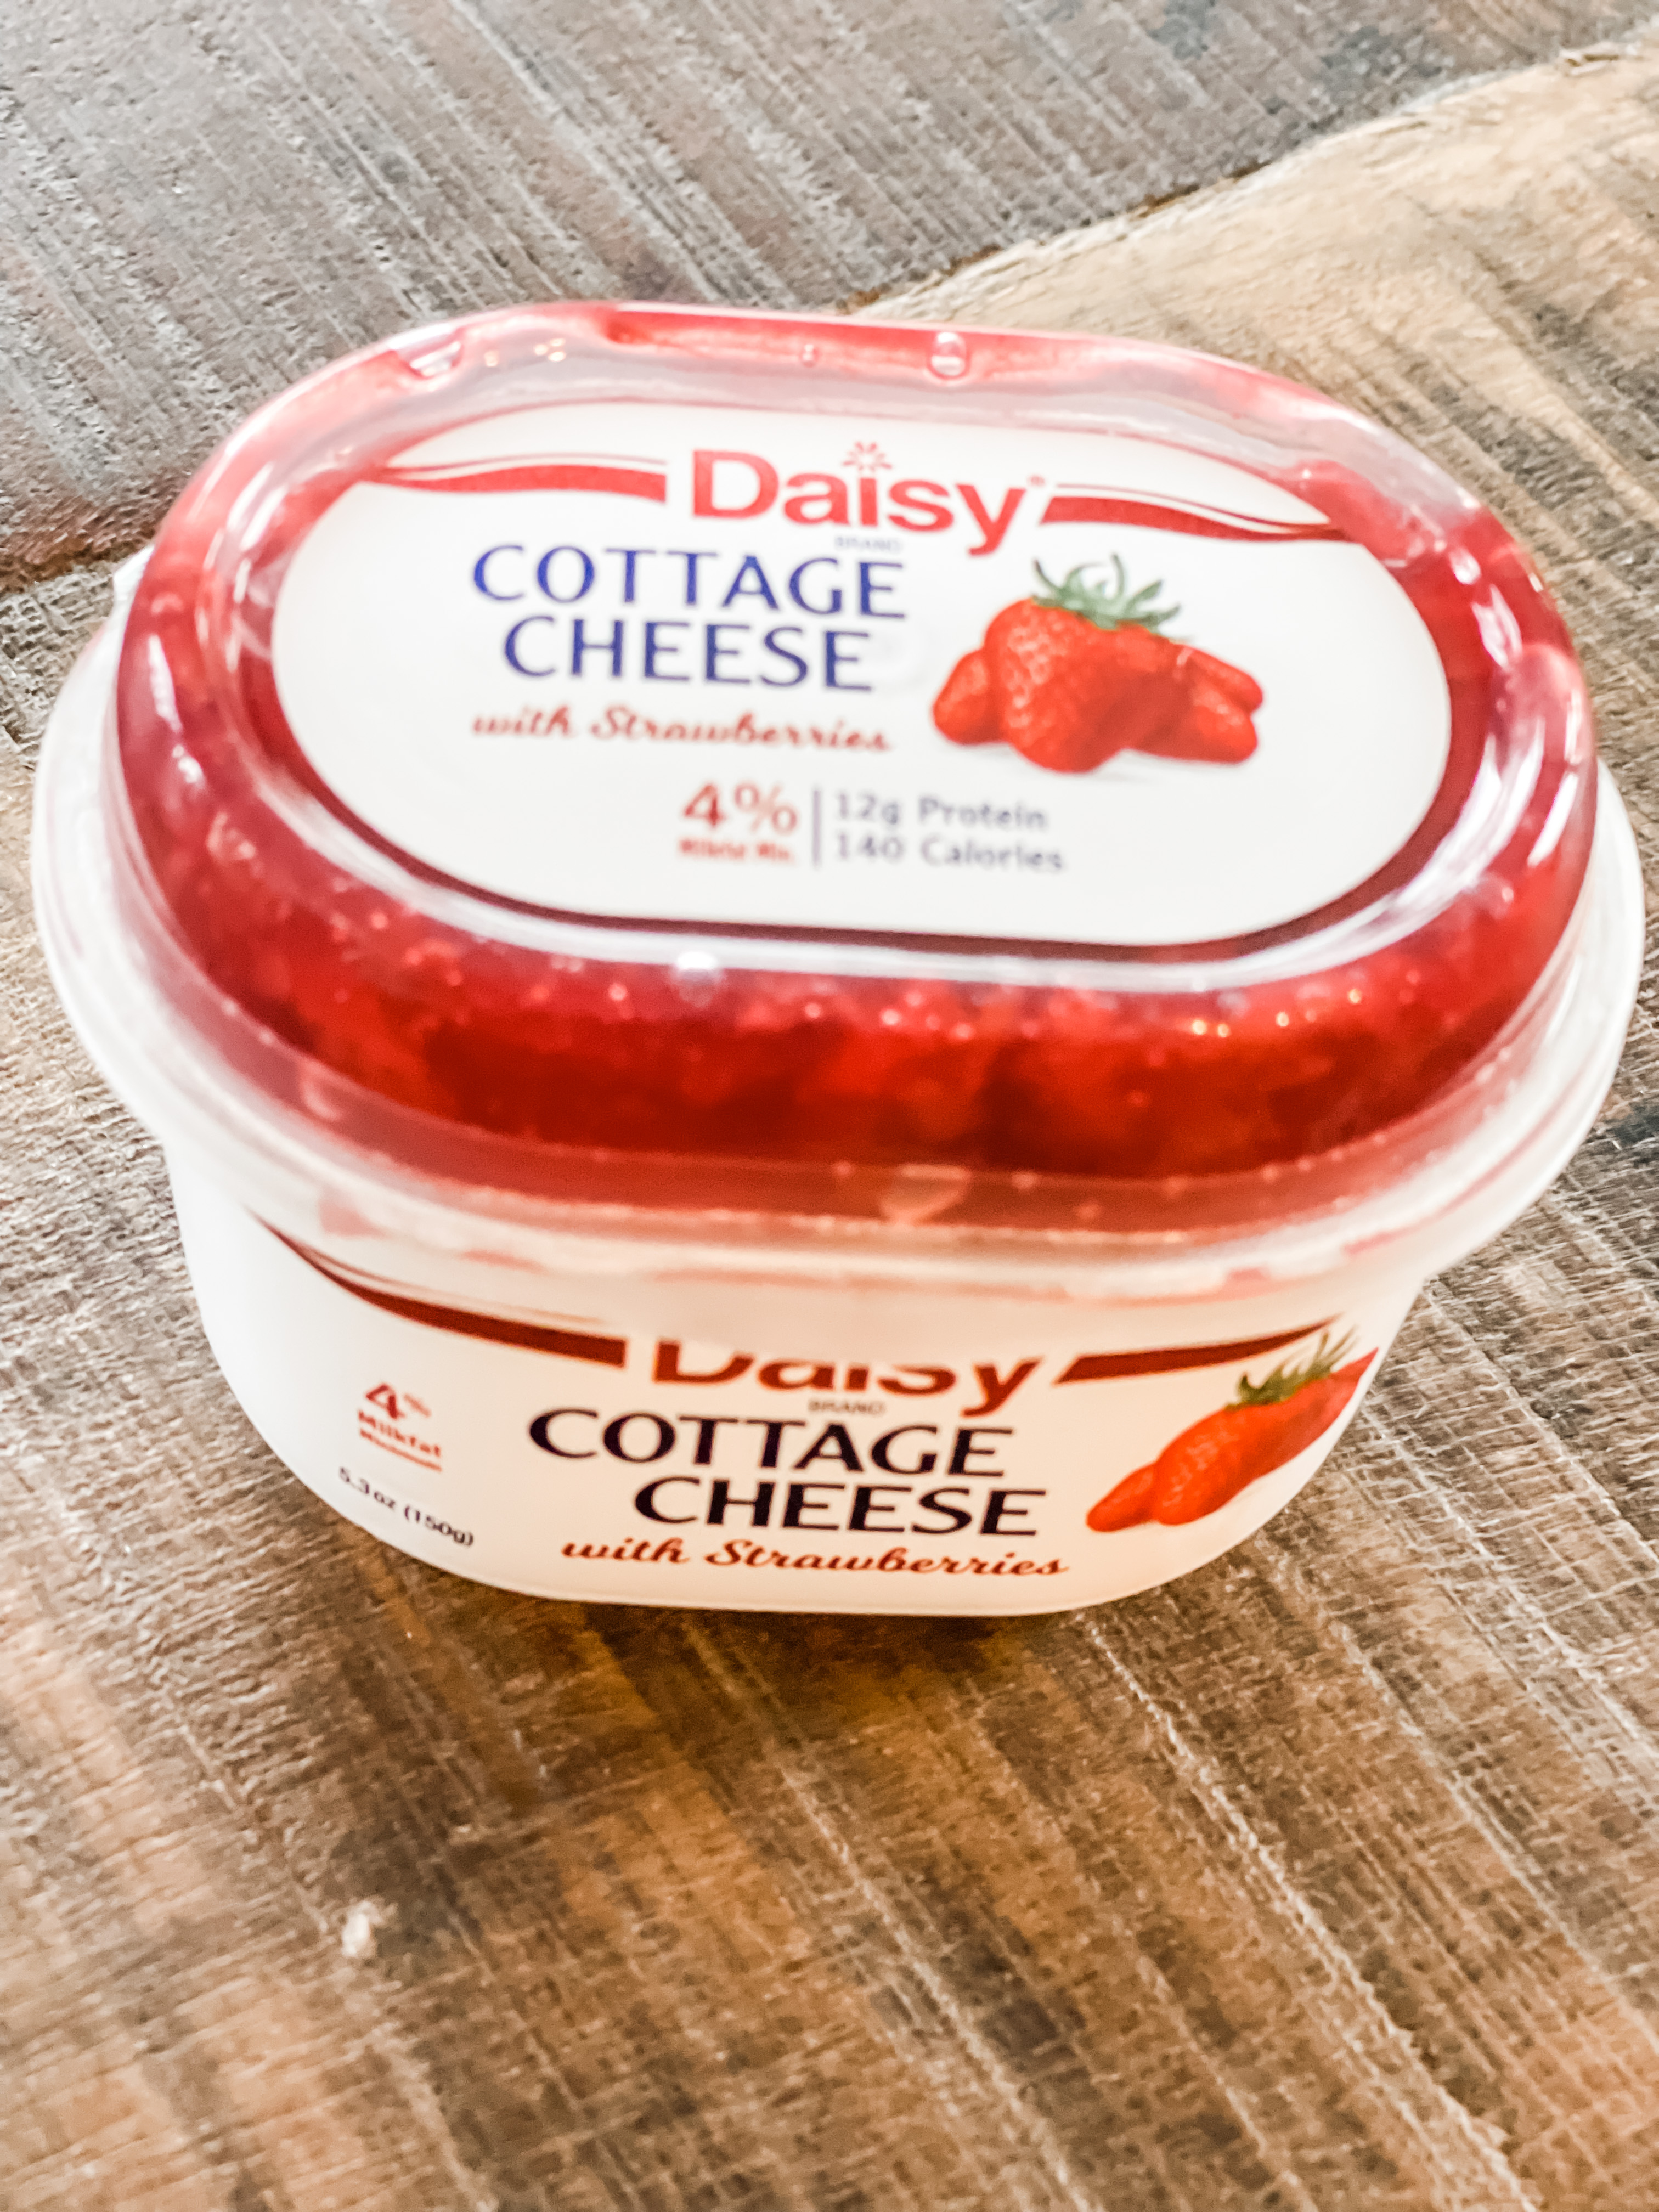
If using these, you would need to make your hole after the fact. This can be done by heating up a metal skewer and pressing through the sachet.
WAX
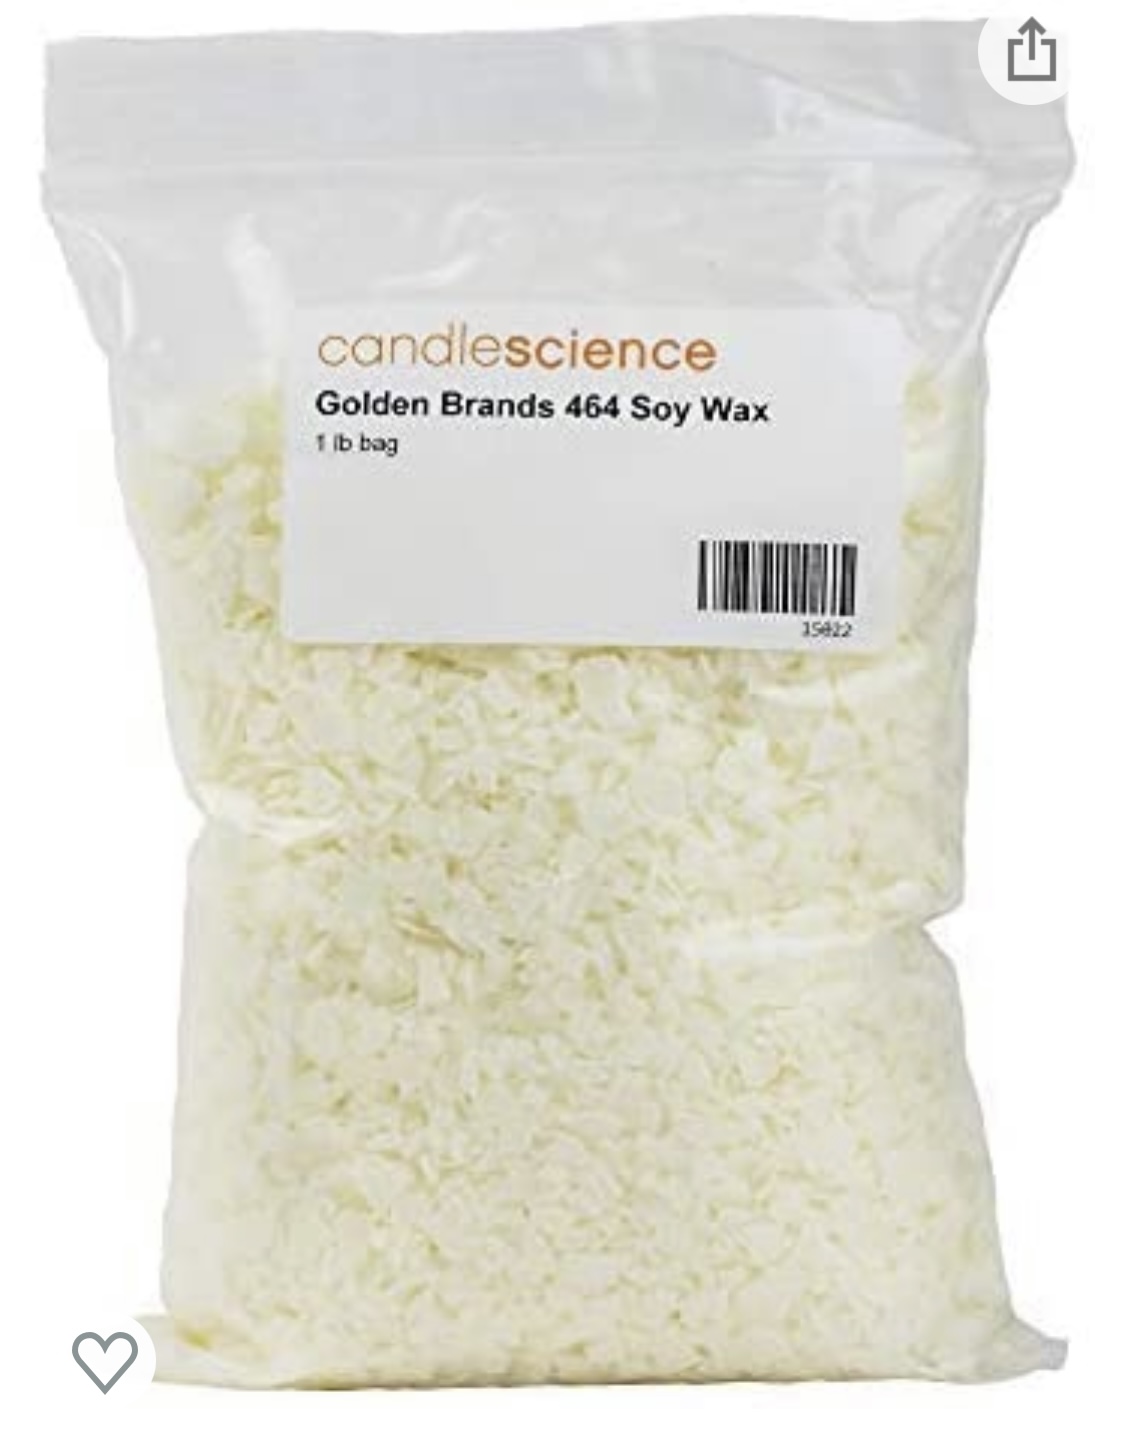
I use soy flakes, these are what I have on hand when I make candles because it burns cleaner. You could use paraffin or any other wax. Beeswax would be pretty but is less translucent so you would definitely want to have your items on top.
SCENTS
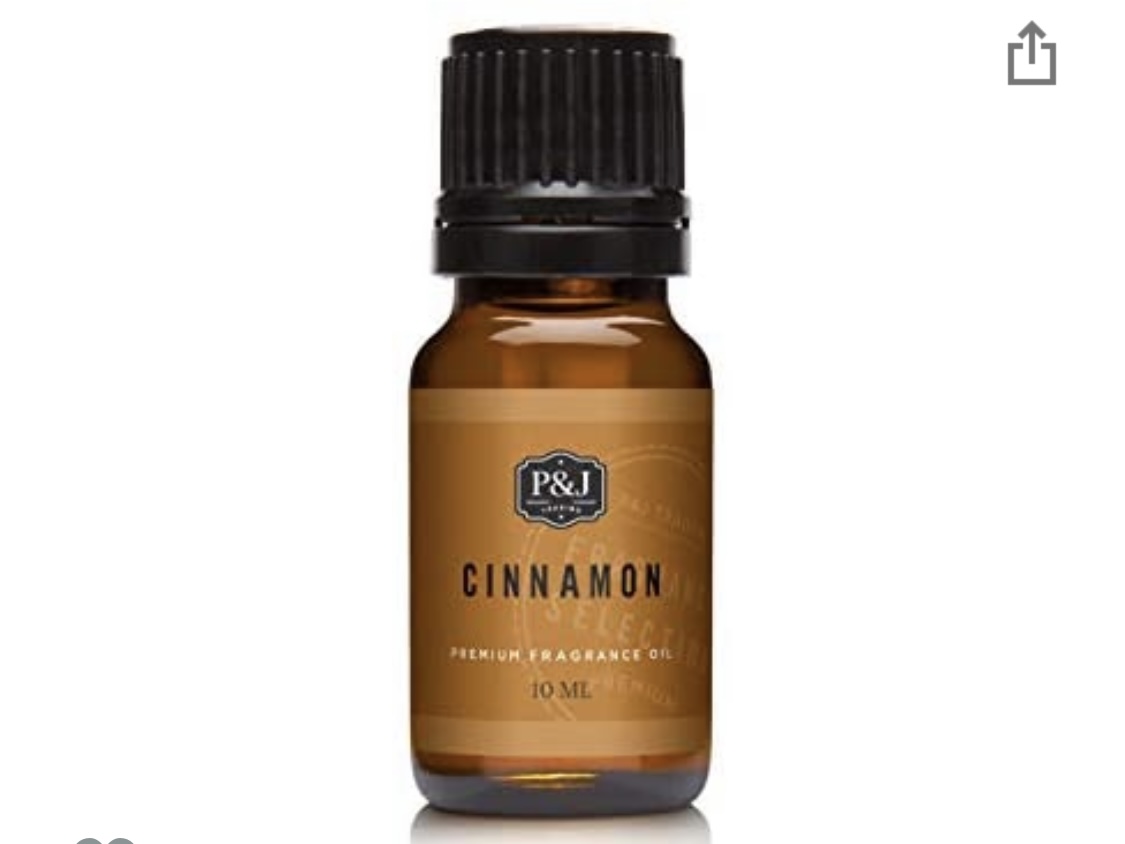
These are beautiful alone but adding scent takes them up a notch. For this batch I purchase peppermint oil scent, lavender and lemon grass and cinnamon. You can use candle scents or essential oils.
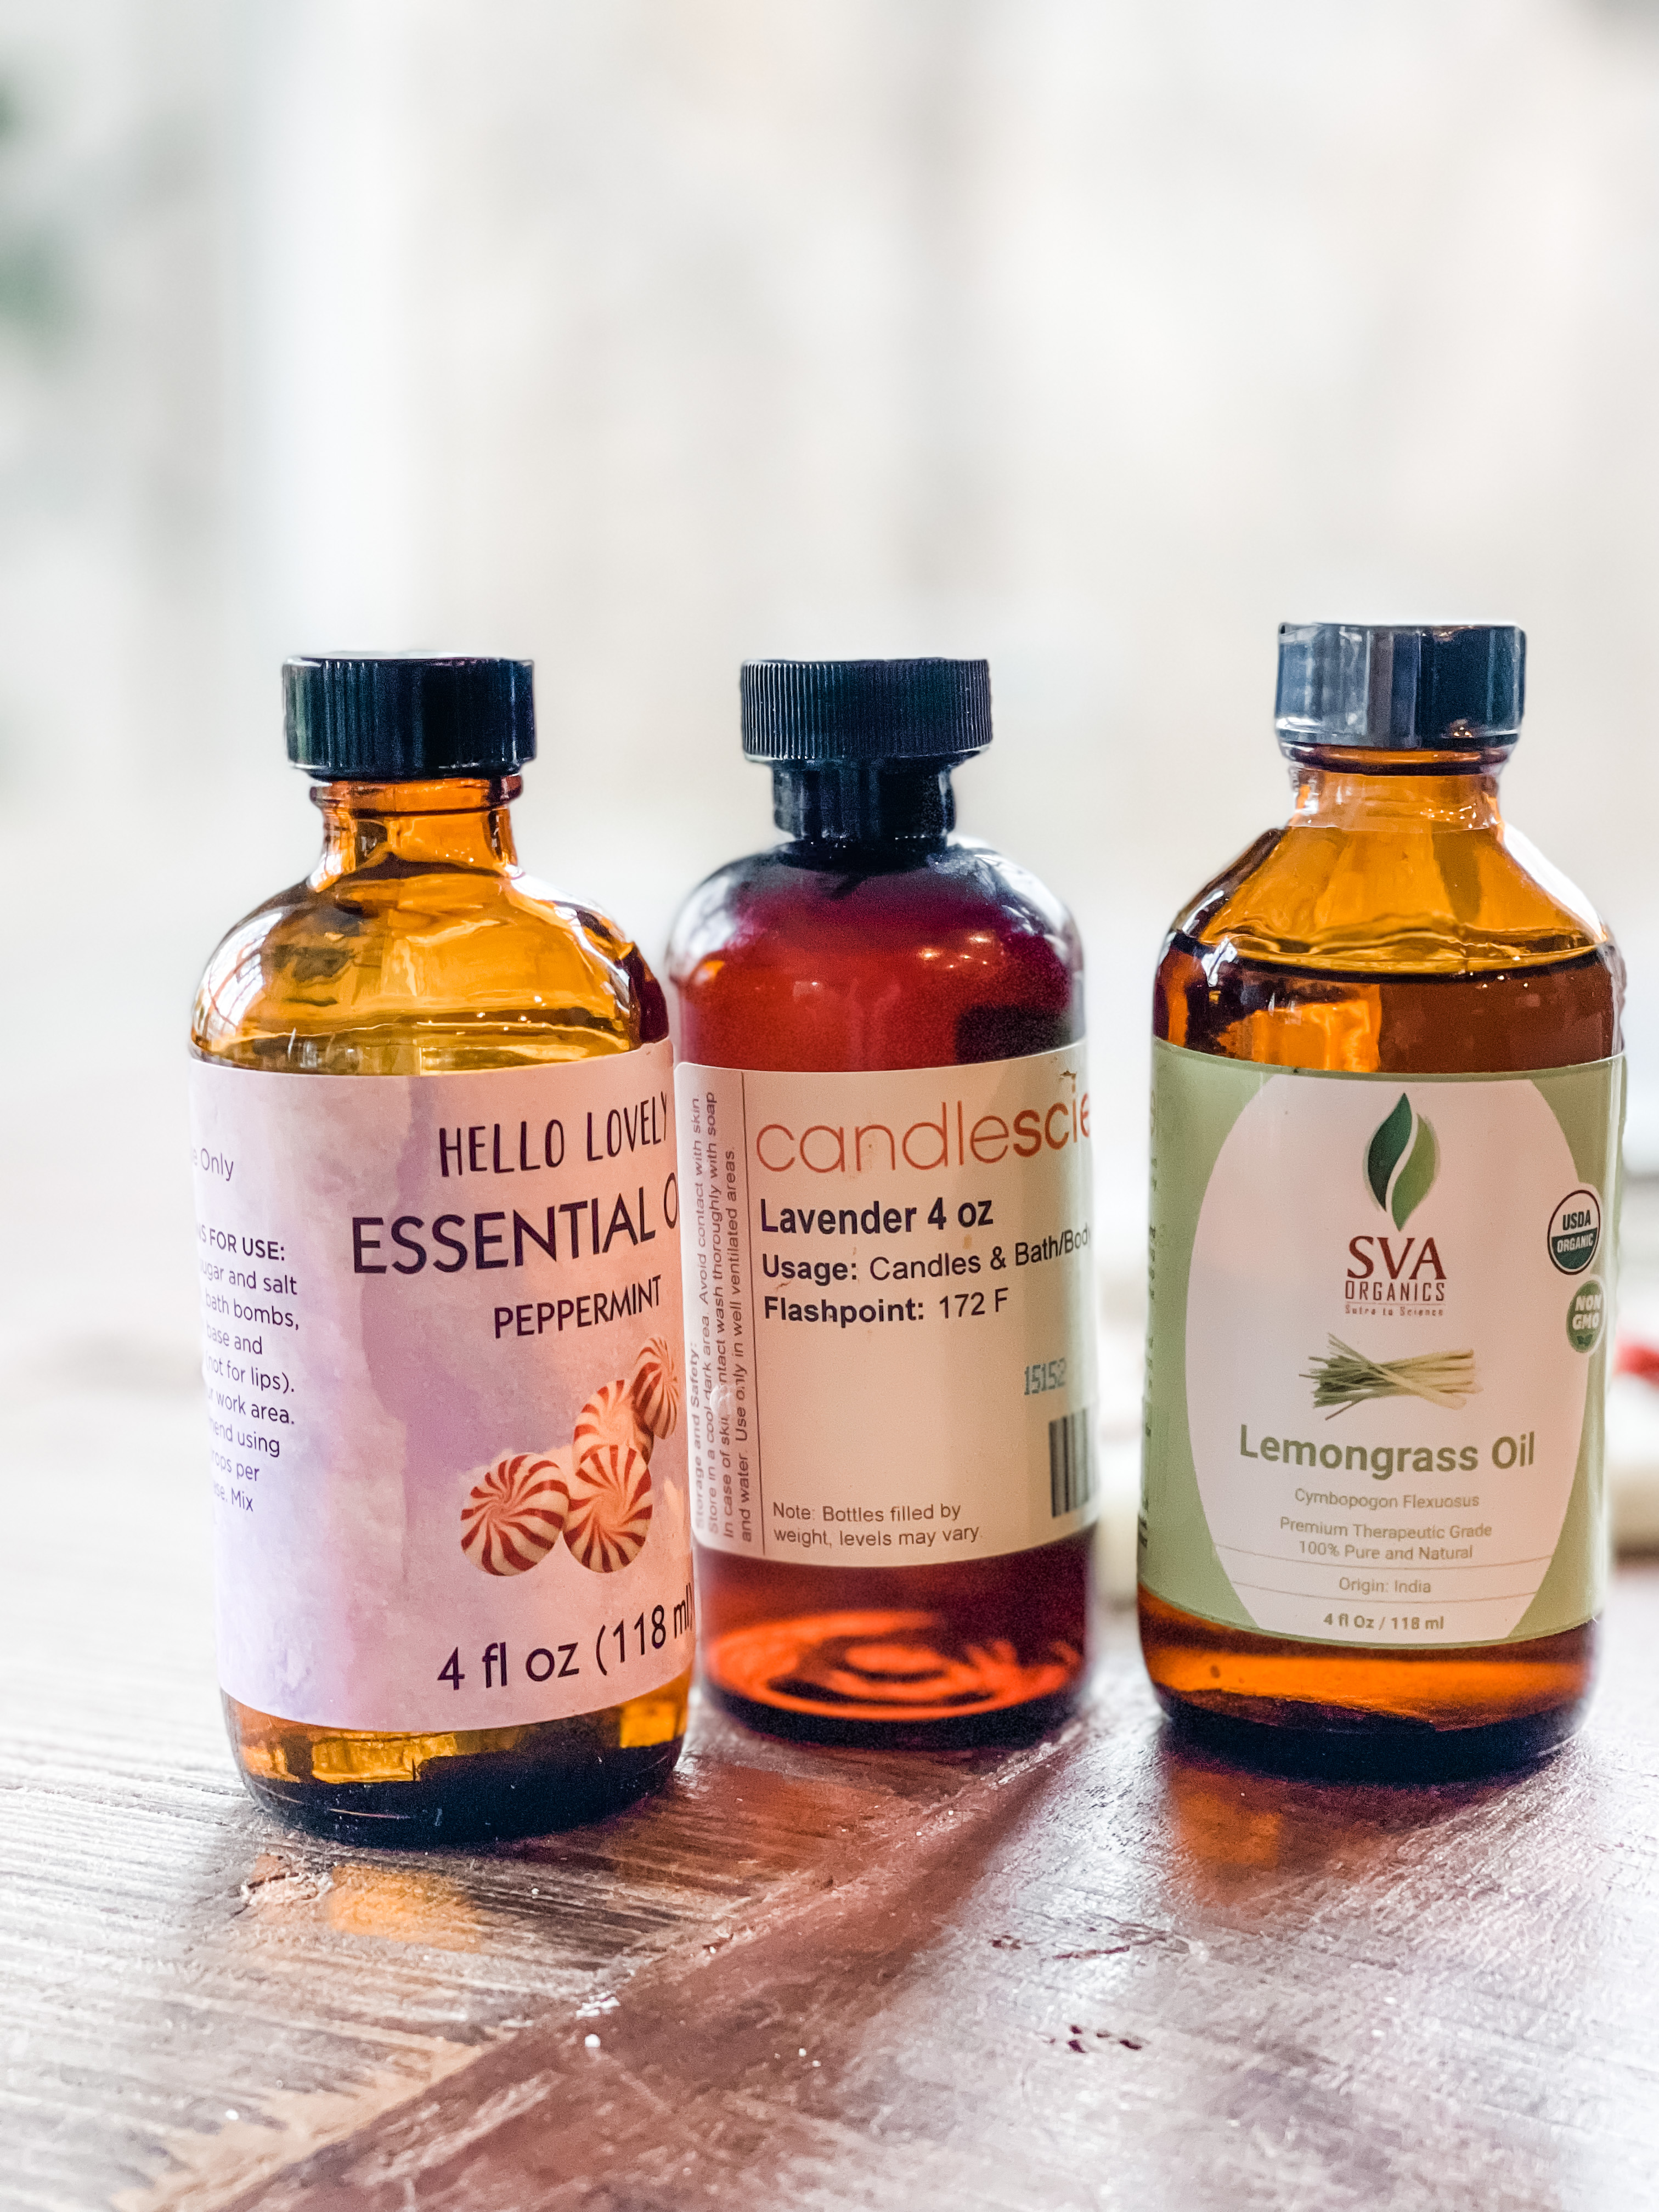
STEP ONE
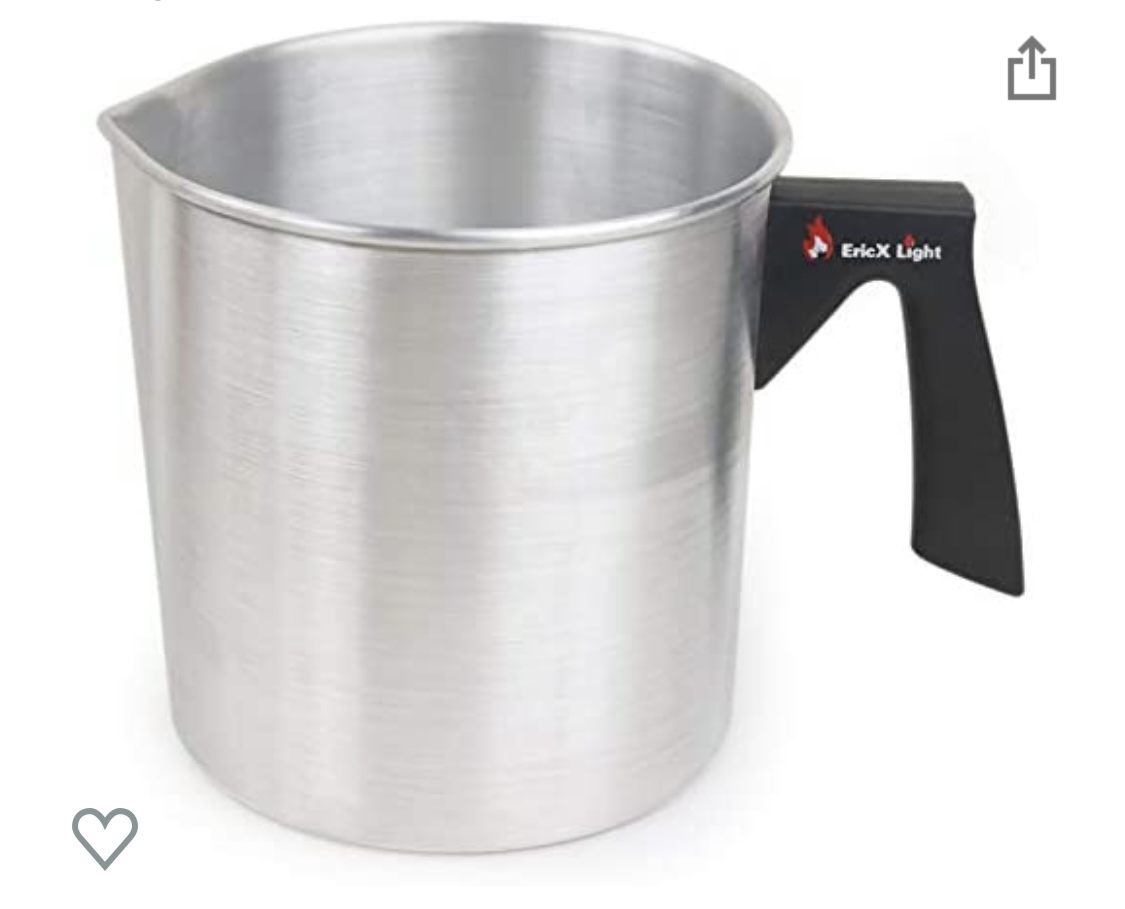
Get your mold and have all your ingredients ready. Melt your wax in a pitcher made especially for melting wax and place it in a pan of water to create a double boiler. If you have an old pot you don’t mind ruining you could use that also or find one at the thrift store.
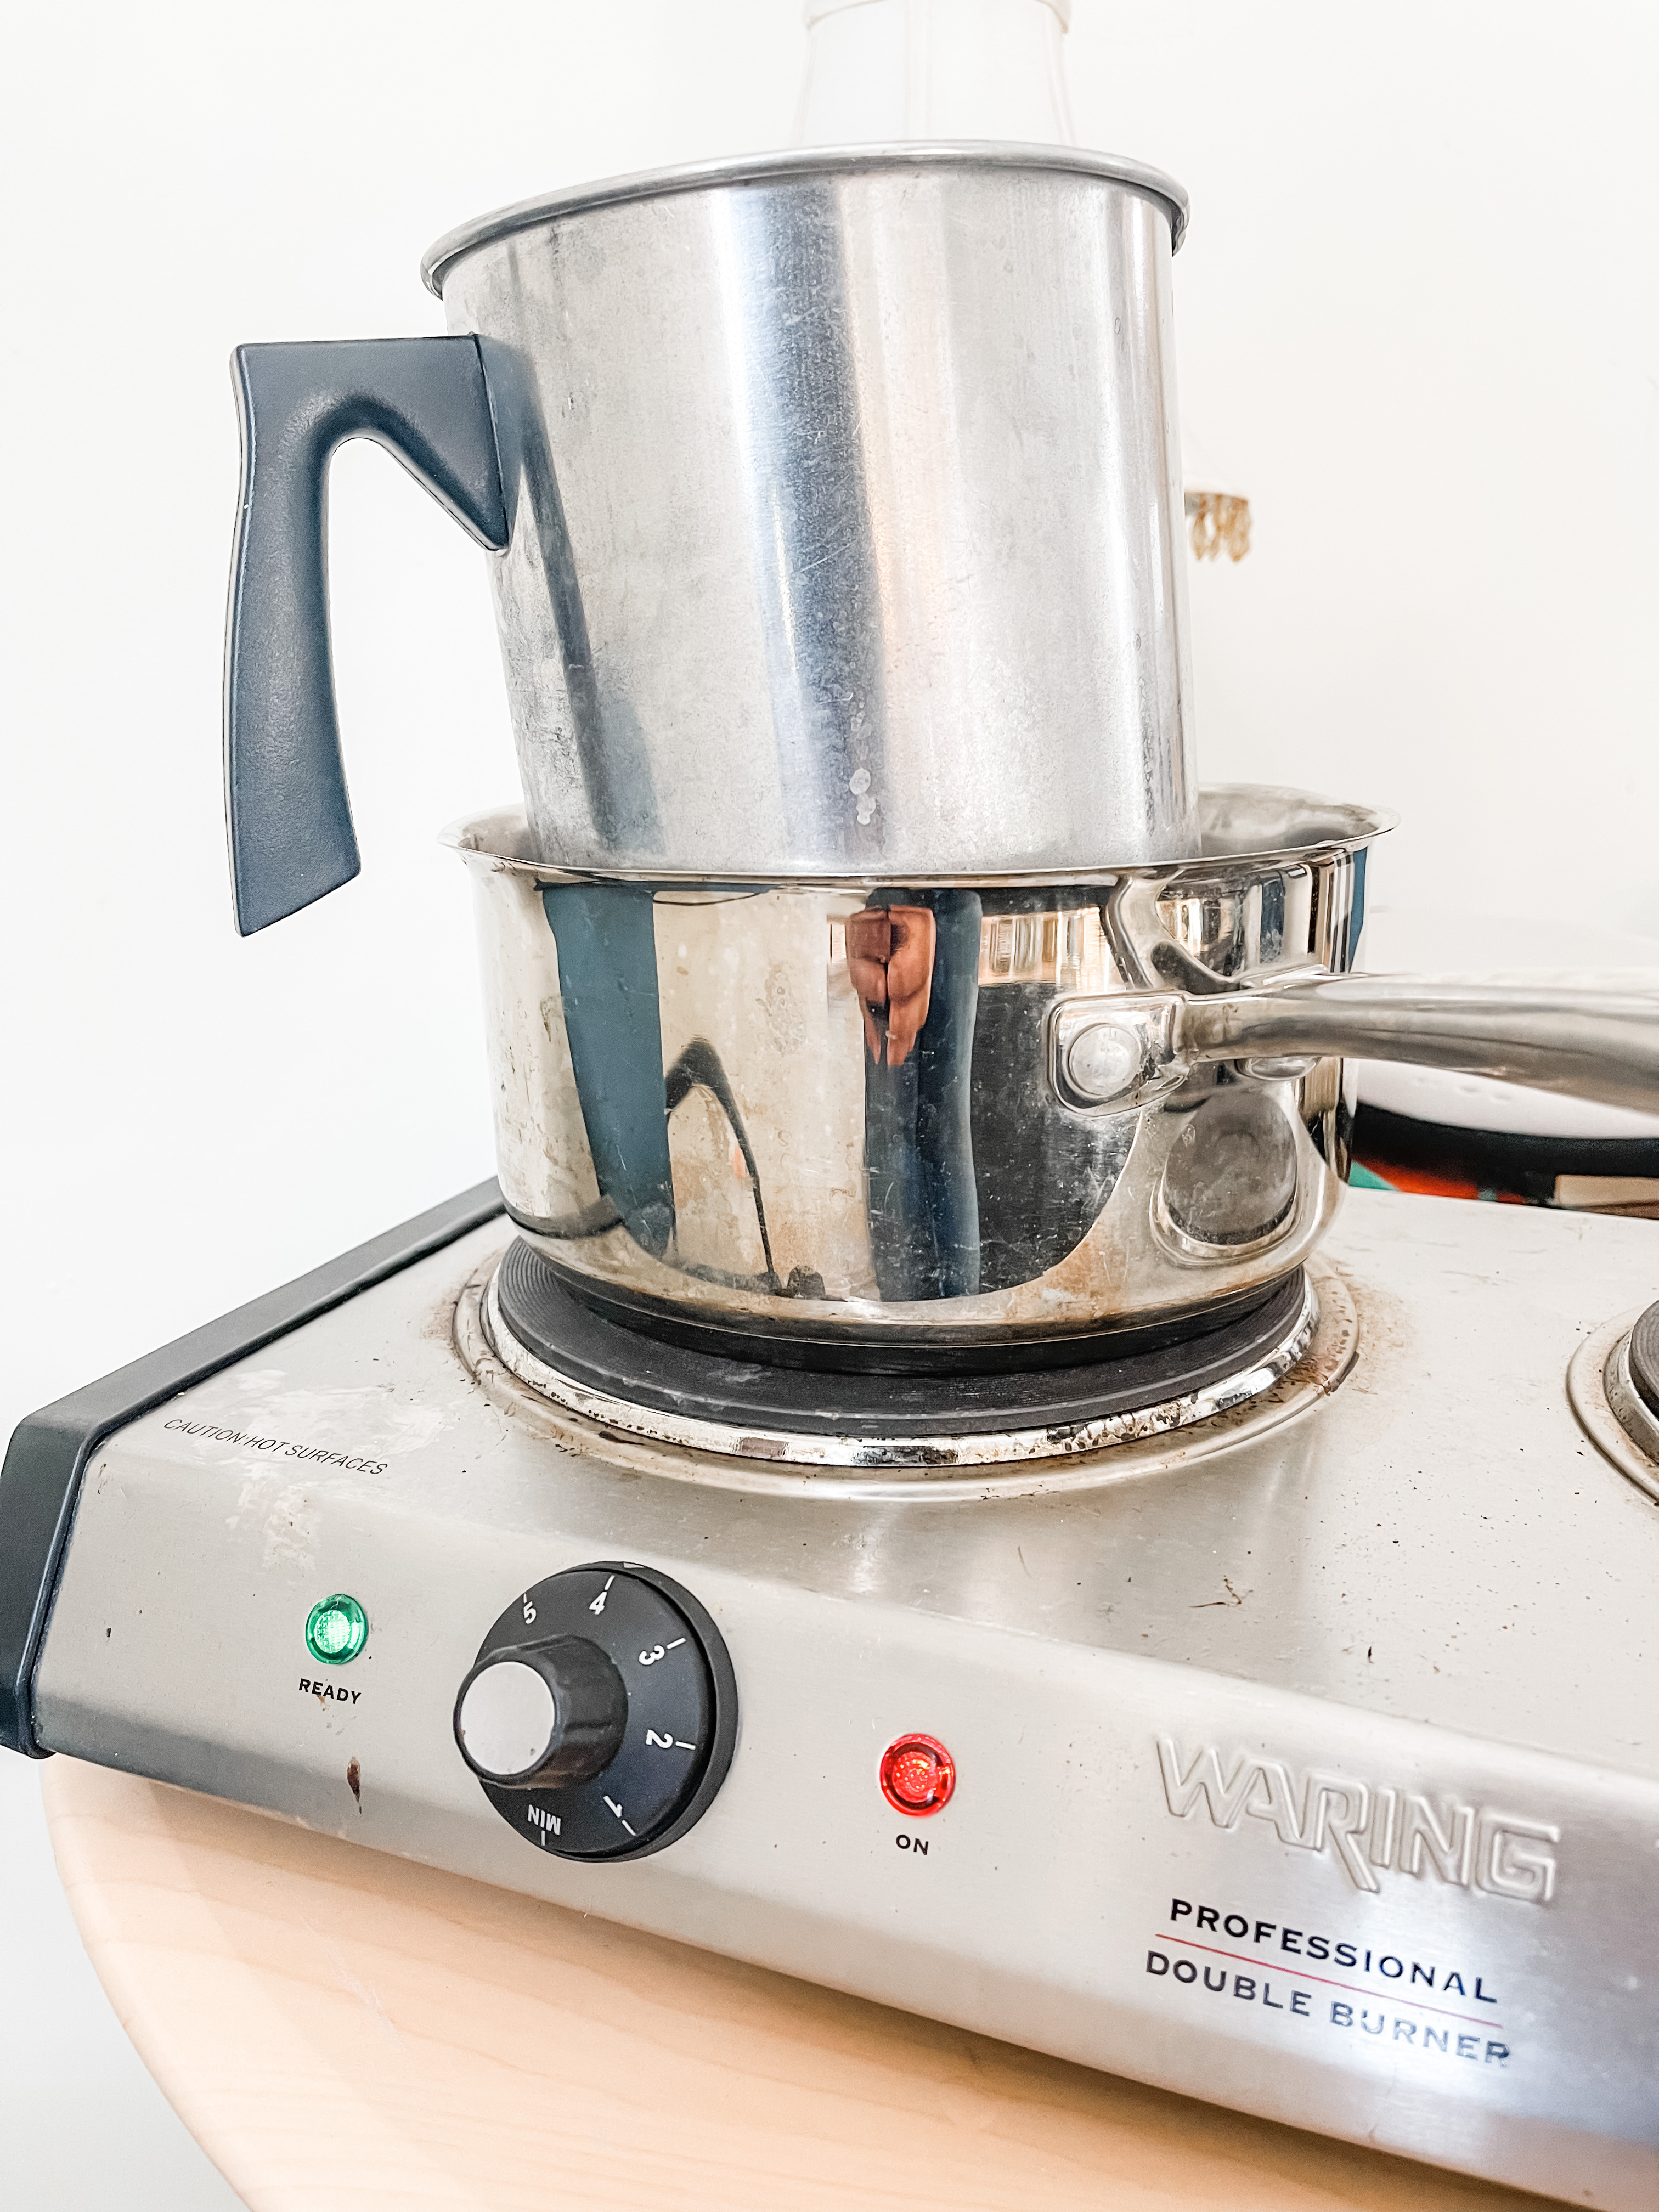
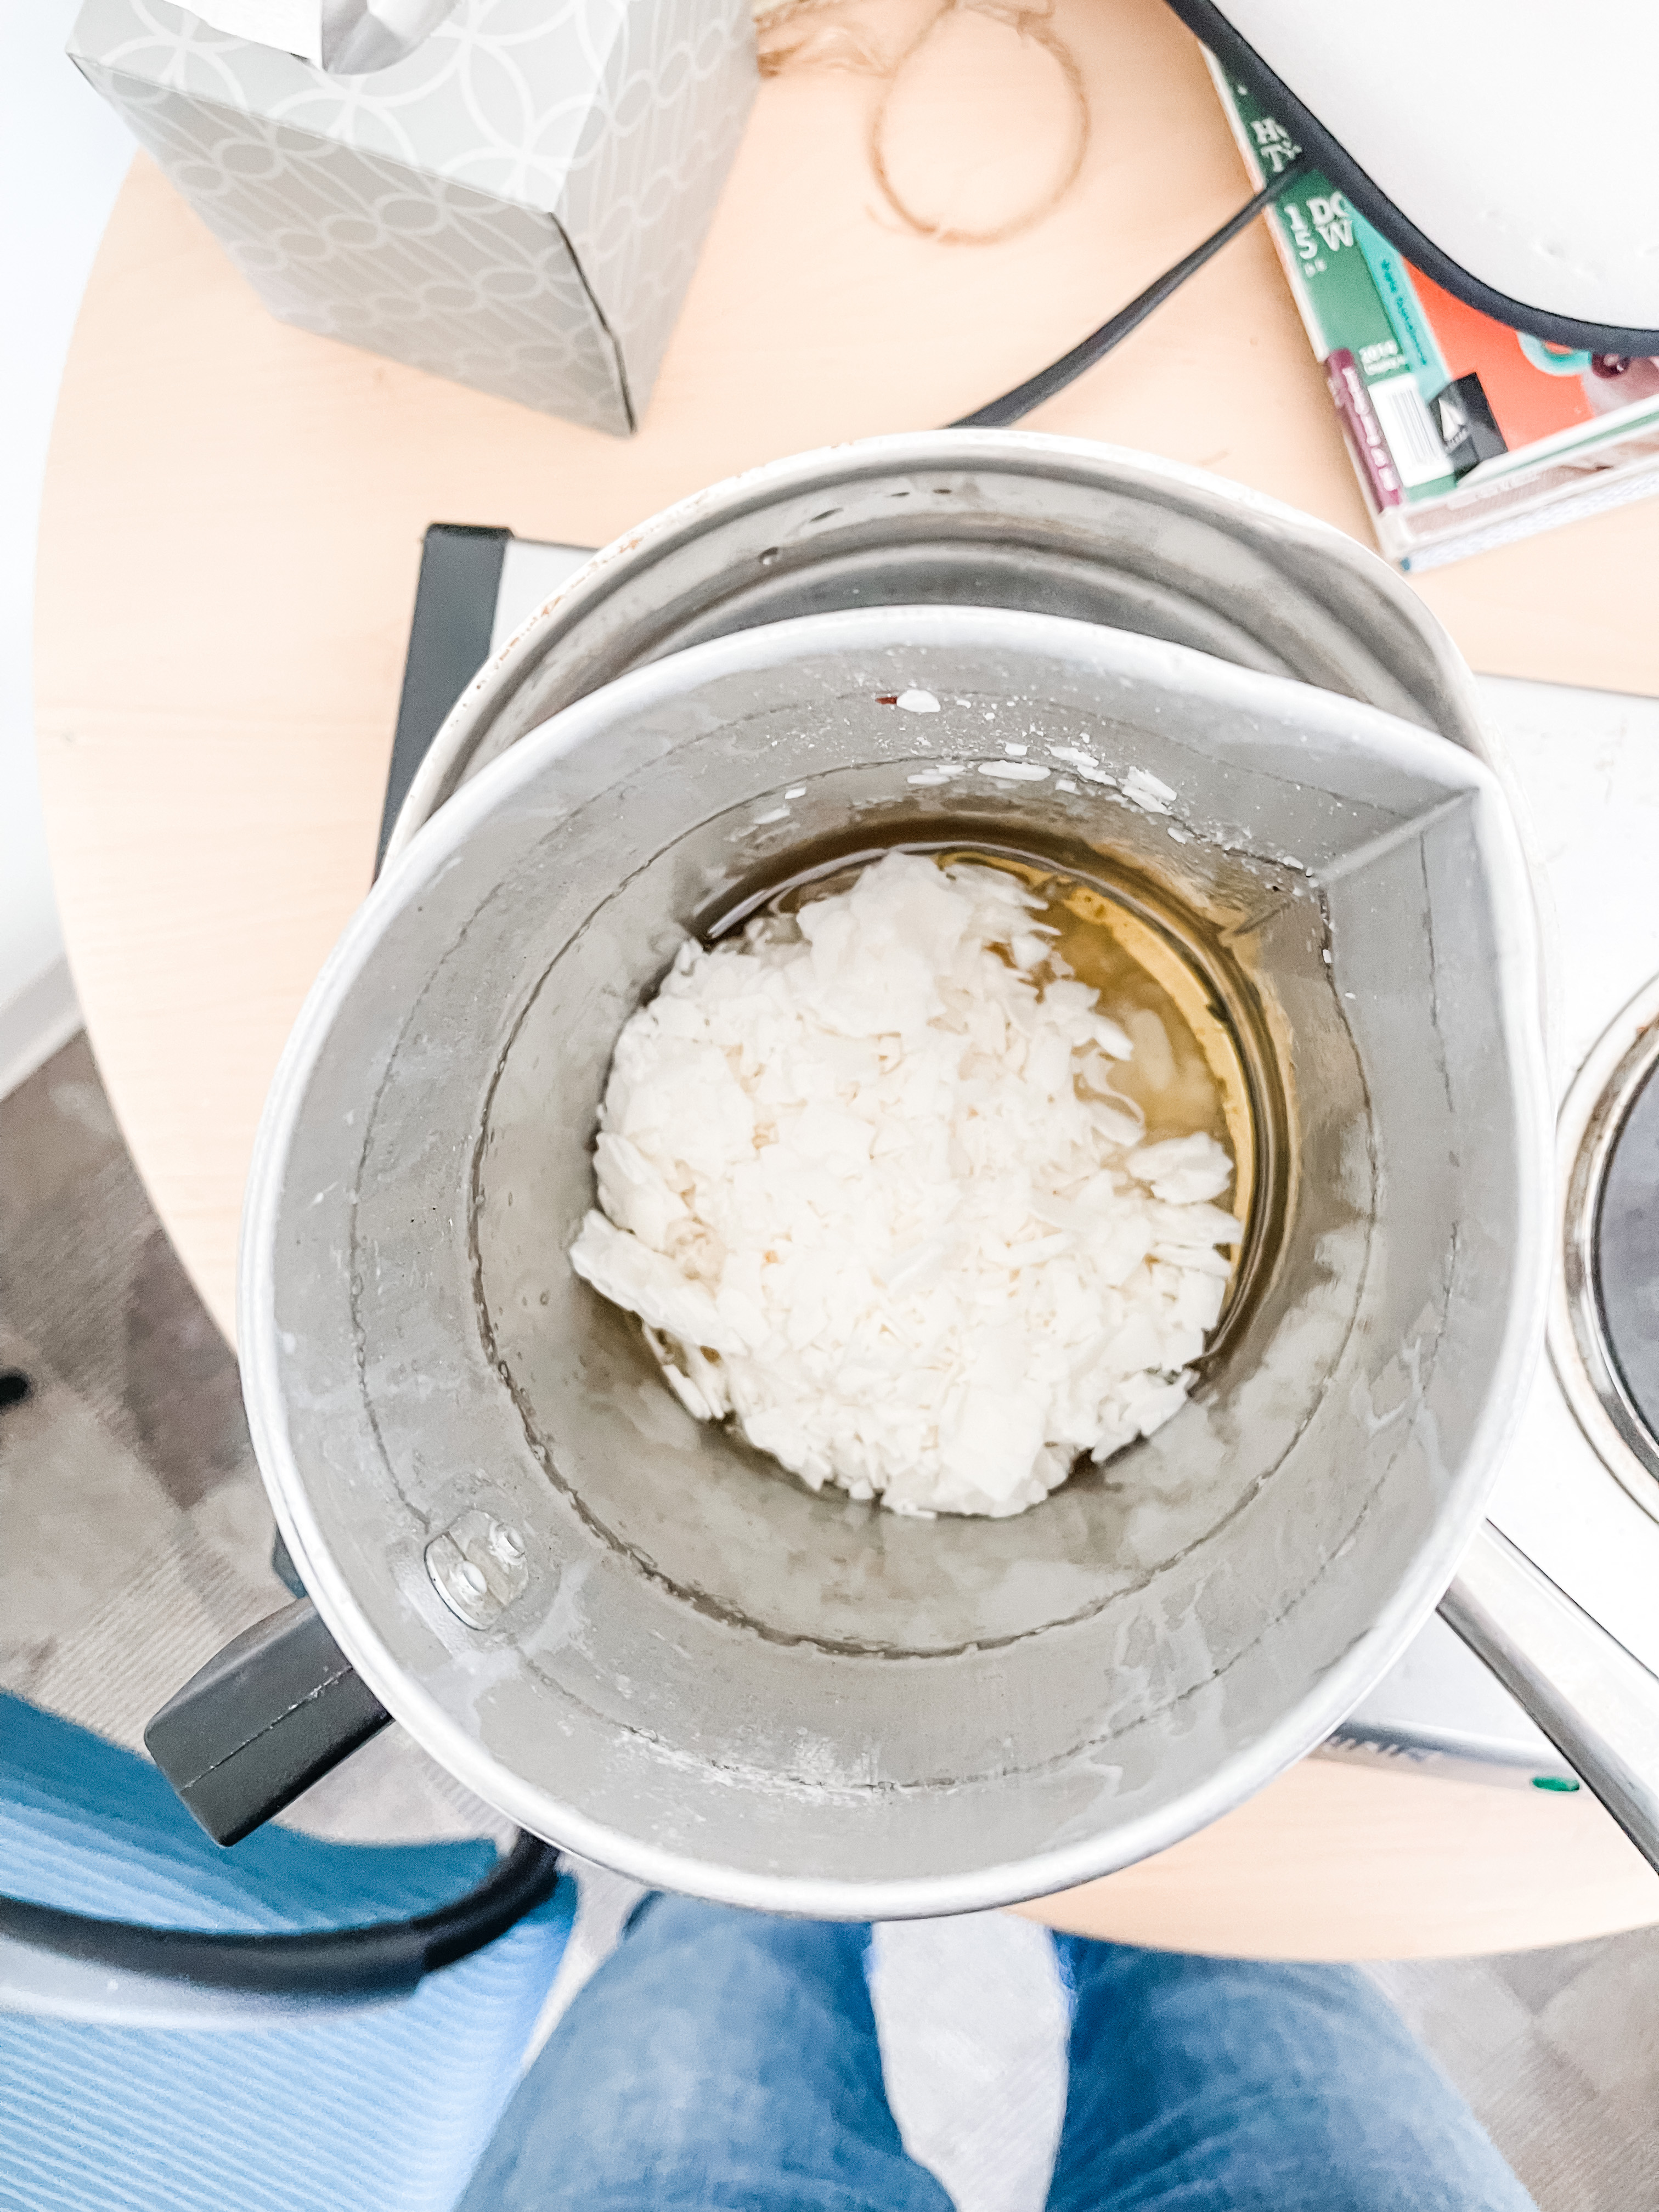
Because we are not making candles, the temperature for pouring isn’t a factor. I melt my wax, then pour it into a small container to add scent to it in batches. Sometimes I add scents that relate to the ingredients, but you don’t have to. There are so many to choose from. I used both essential oils and candle fragrances, ones I had on hand.
STEP TWO
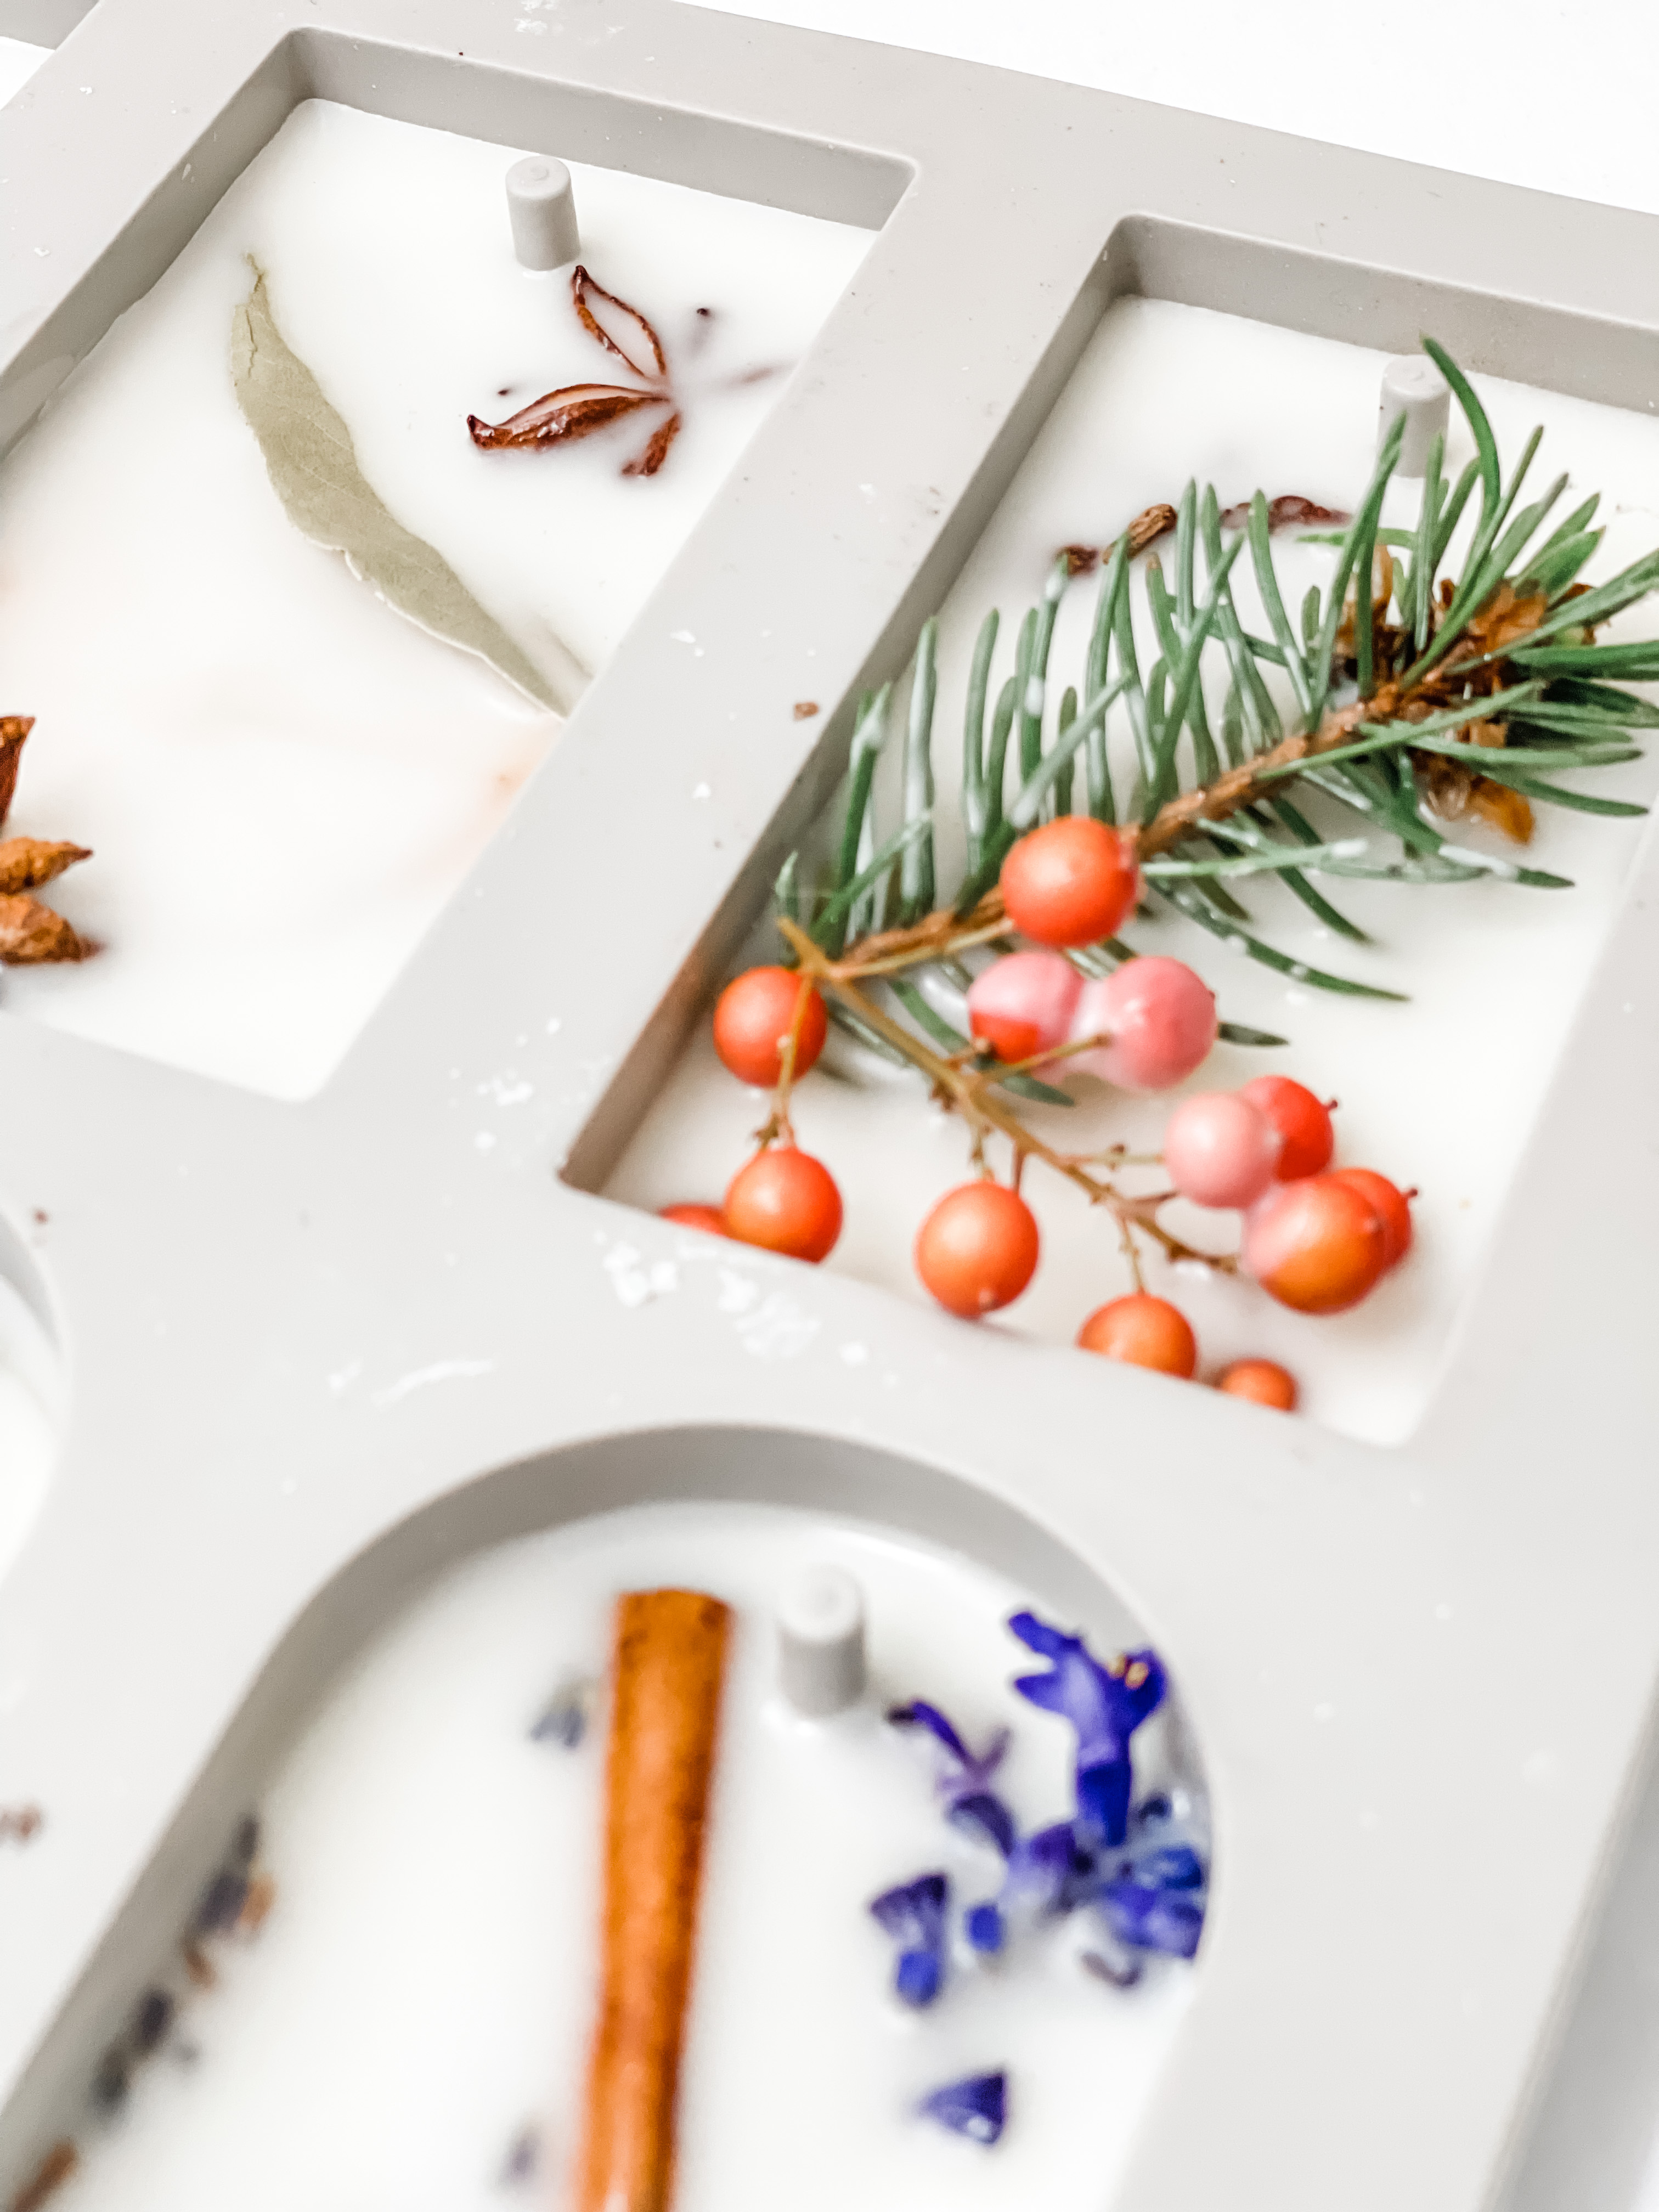
Pour a small amount of wax into your mold, just enough to cover the bottom. Then arrange your ingredients on top. Doing it this way will allow the ingredients to stay in place. As you can see below, I did not make these as thick as the mold allowed. I have made them larger in the past but I prefer them to be thinner, like the ones from Terrain.
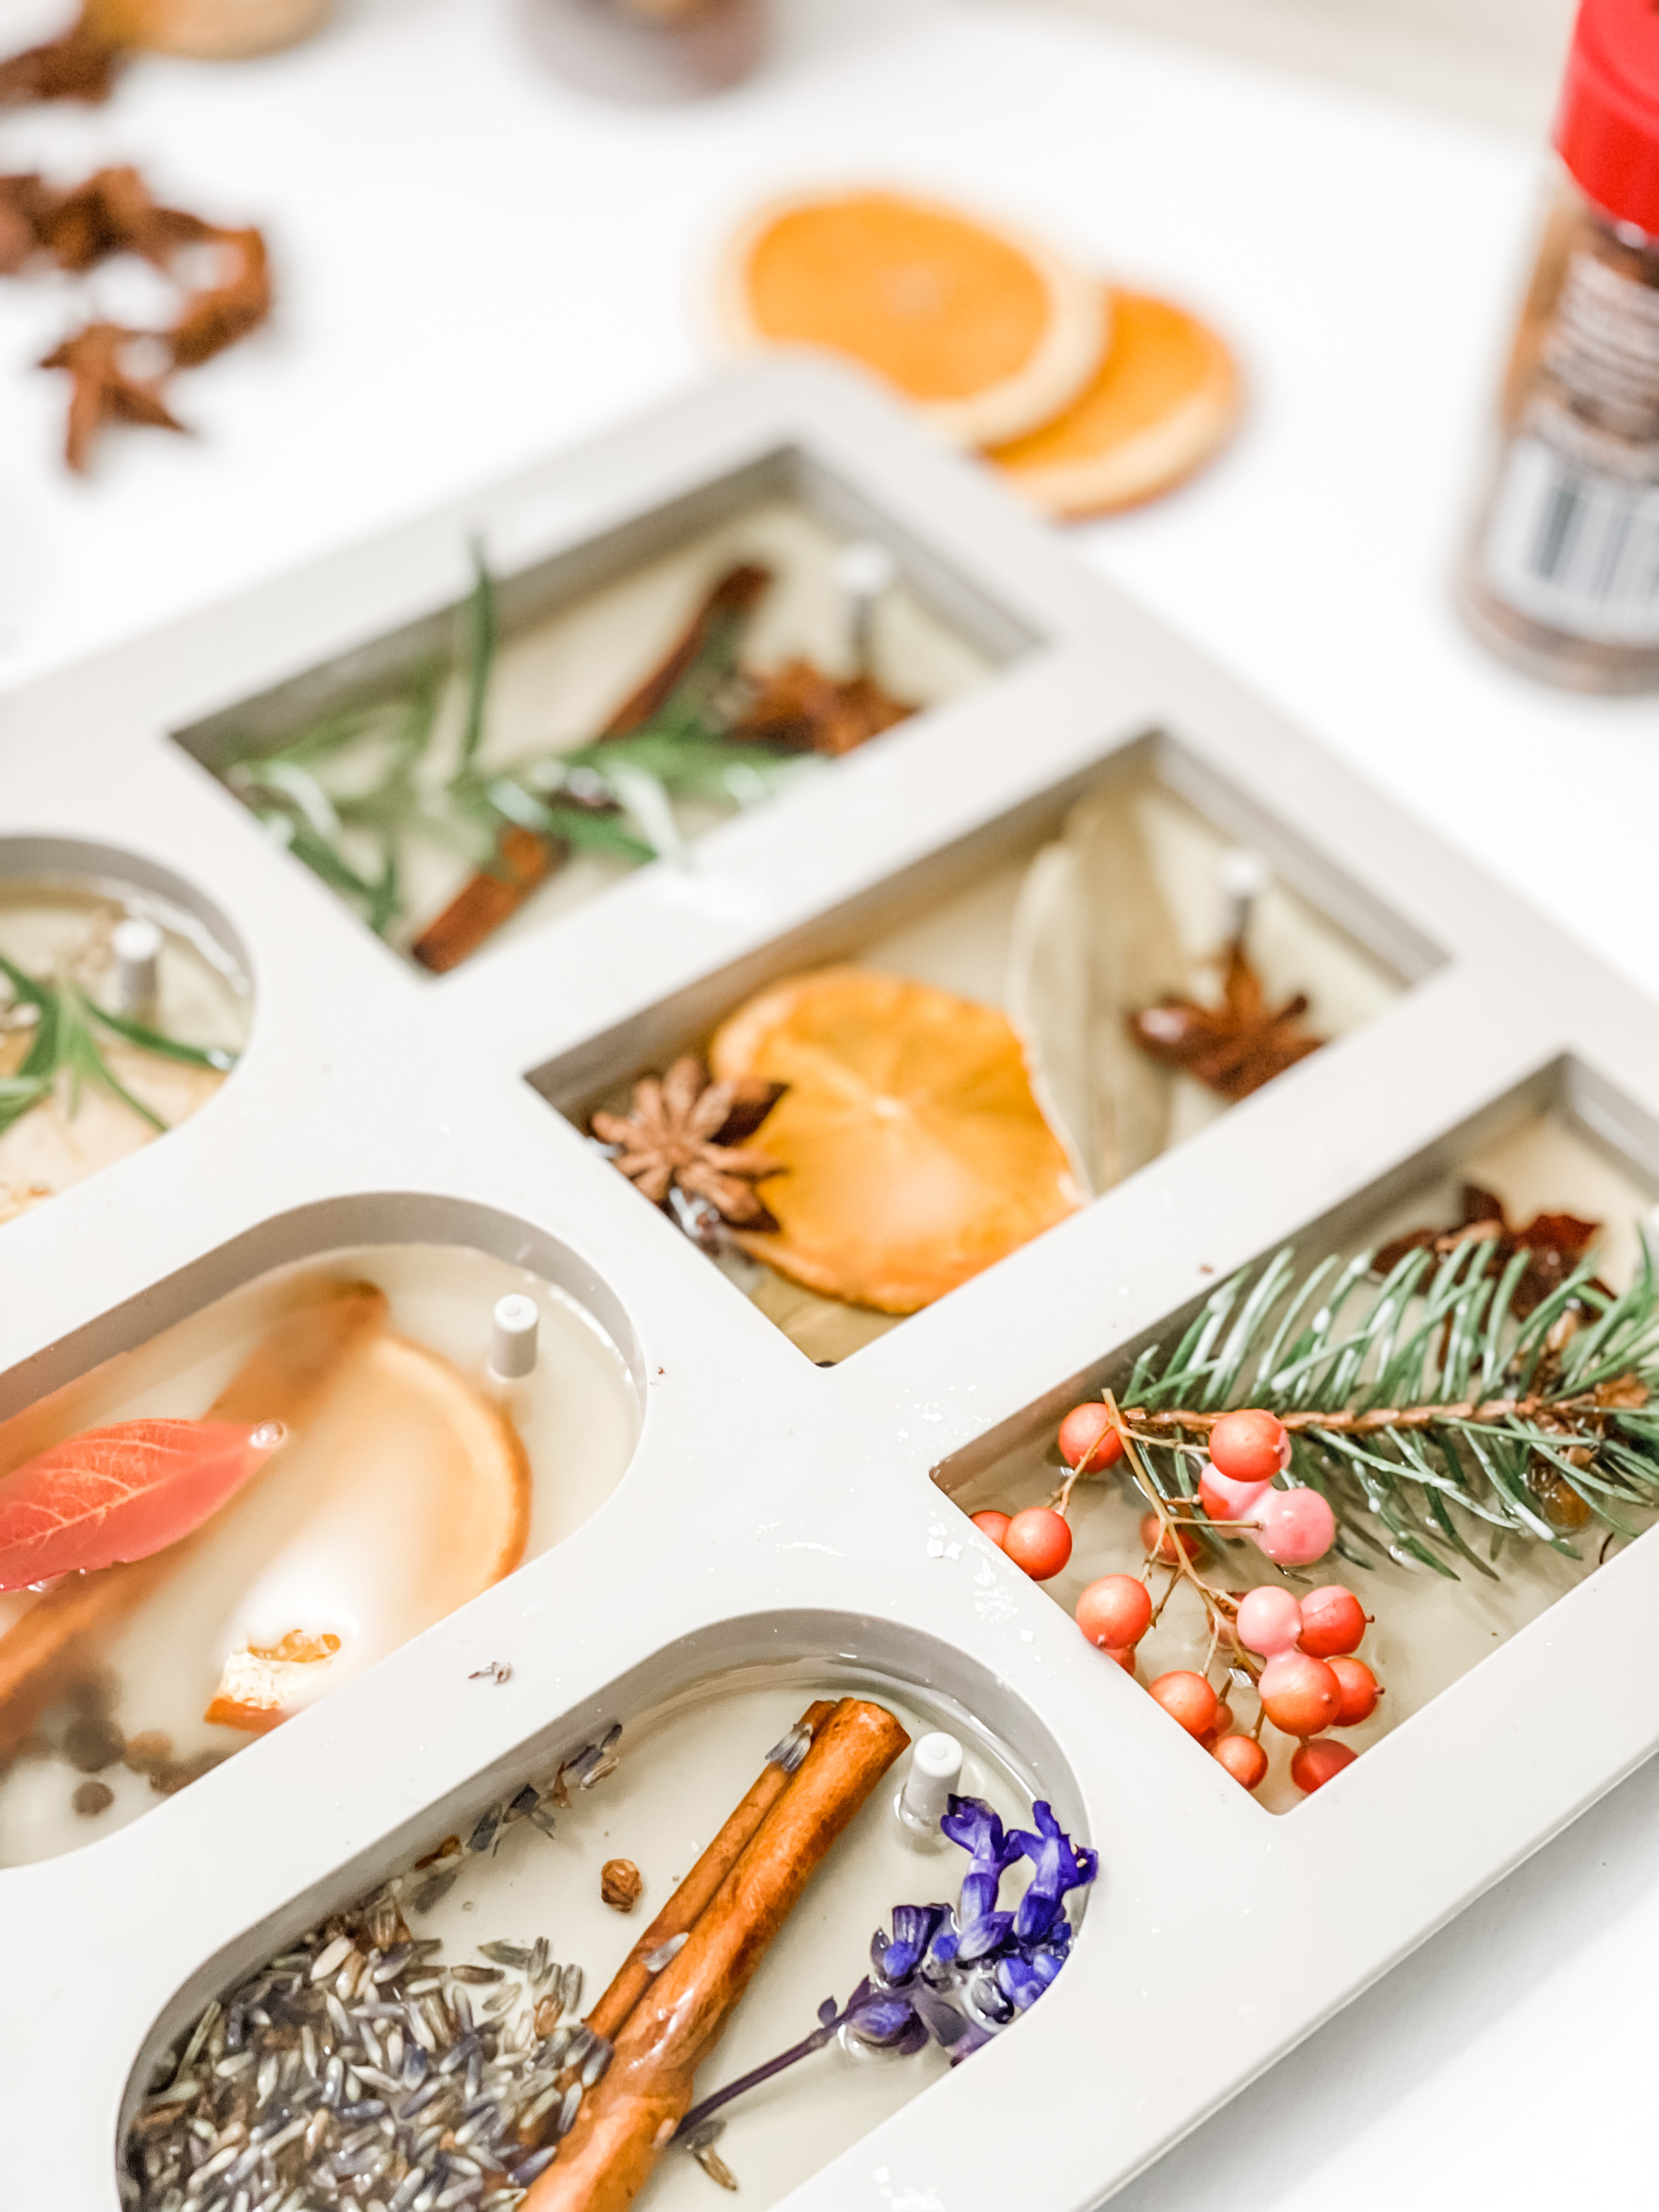
If you just put the spices and fruit in the mold and pour, it will all move around which is fine if you don’t have a need for a certain look. Then let it set a few minutes and add a little more wax to the mold. You want the items to be visible and just barely into the wax.
STEP THREE
Let the molds set up for about 30 minutes. If you are using the silicon molds, you can easily maneuver the sachets out. If you are using another plastic mold, be careful and gently tap on the bottom to release. You could also put the molds into the freezer for a few minutes then they will pop out easily.
STEP FOUR
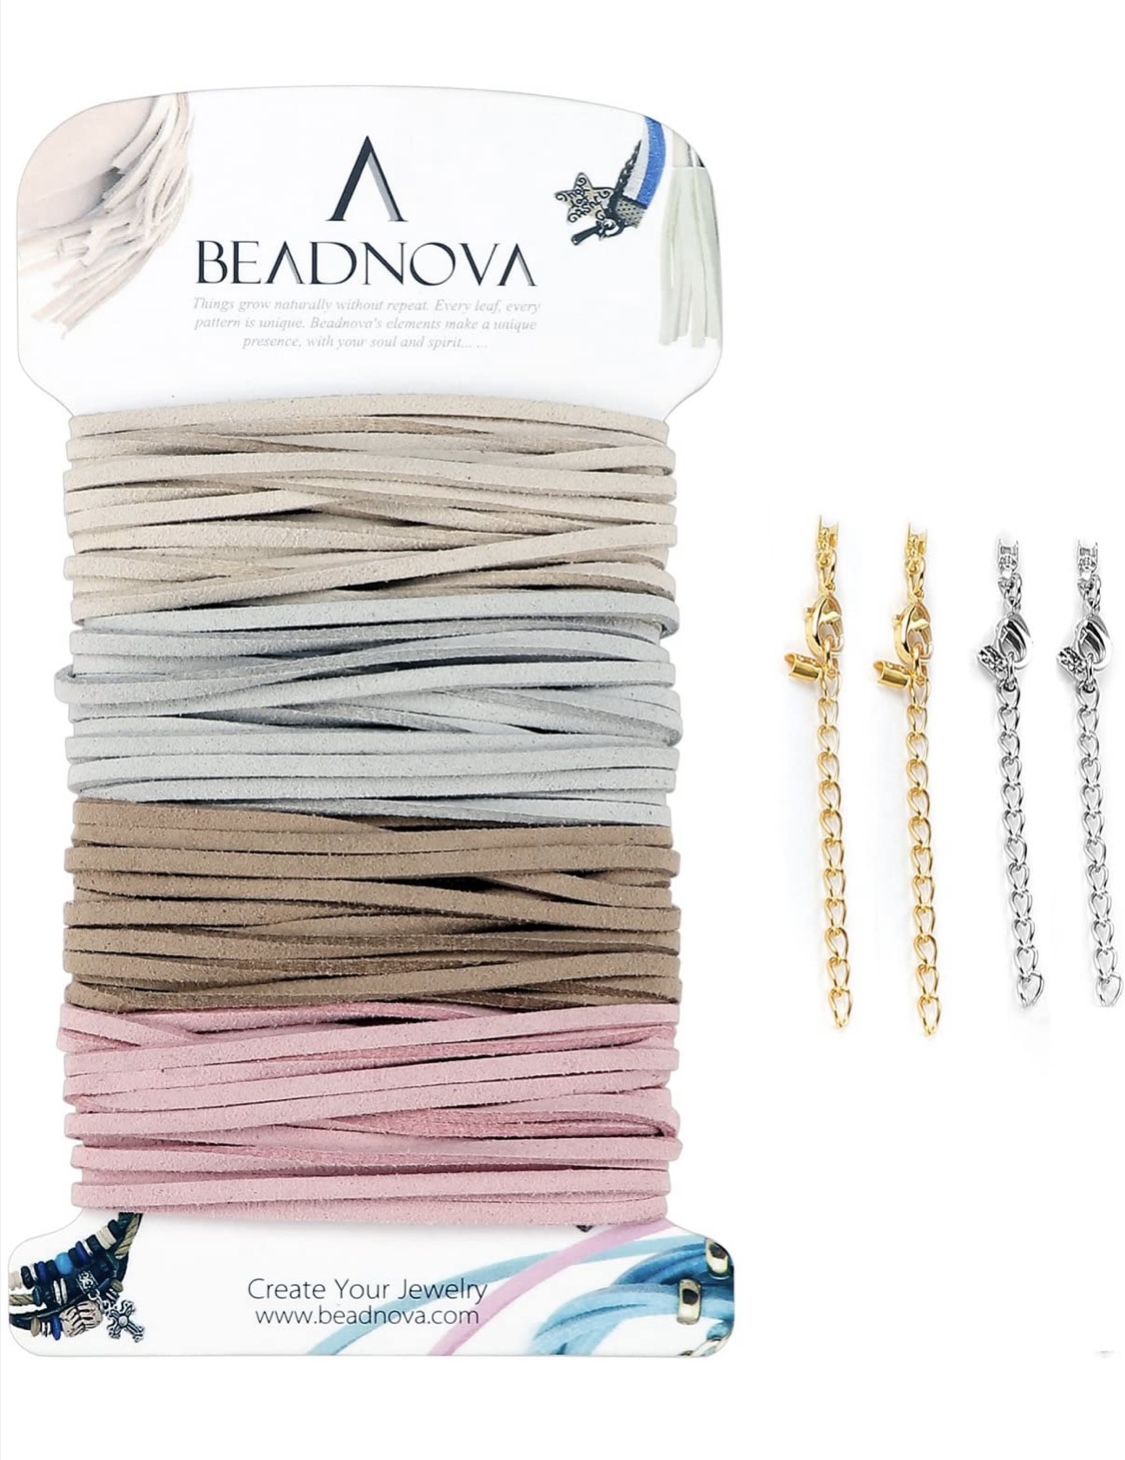
It’s time to add your twine, leather cord or ribbon to your sachets and tie them onto your packages. You could also wrap them up and give as an individual gift.
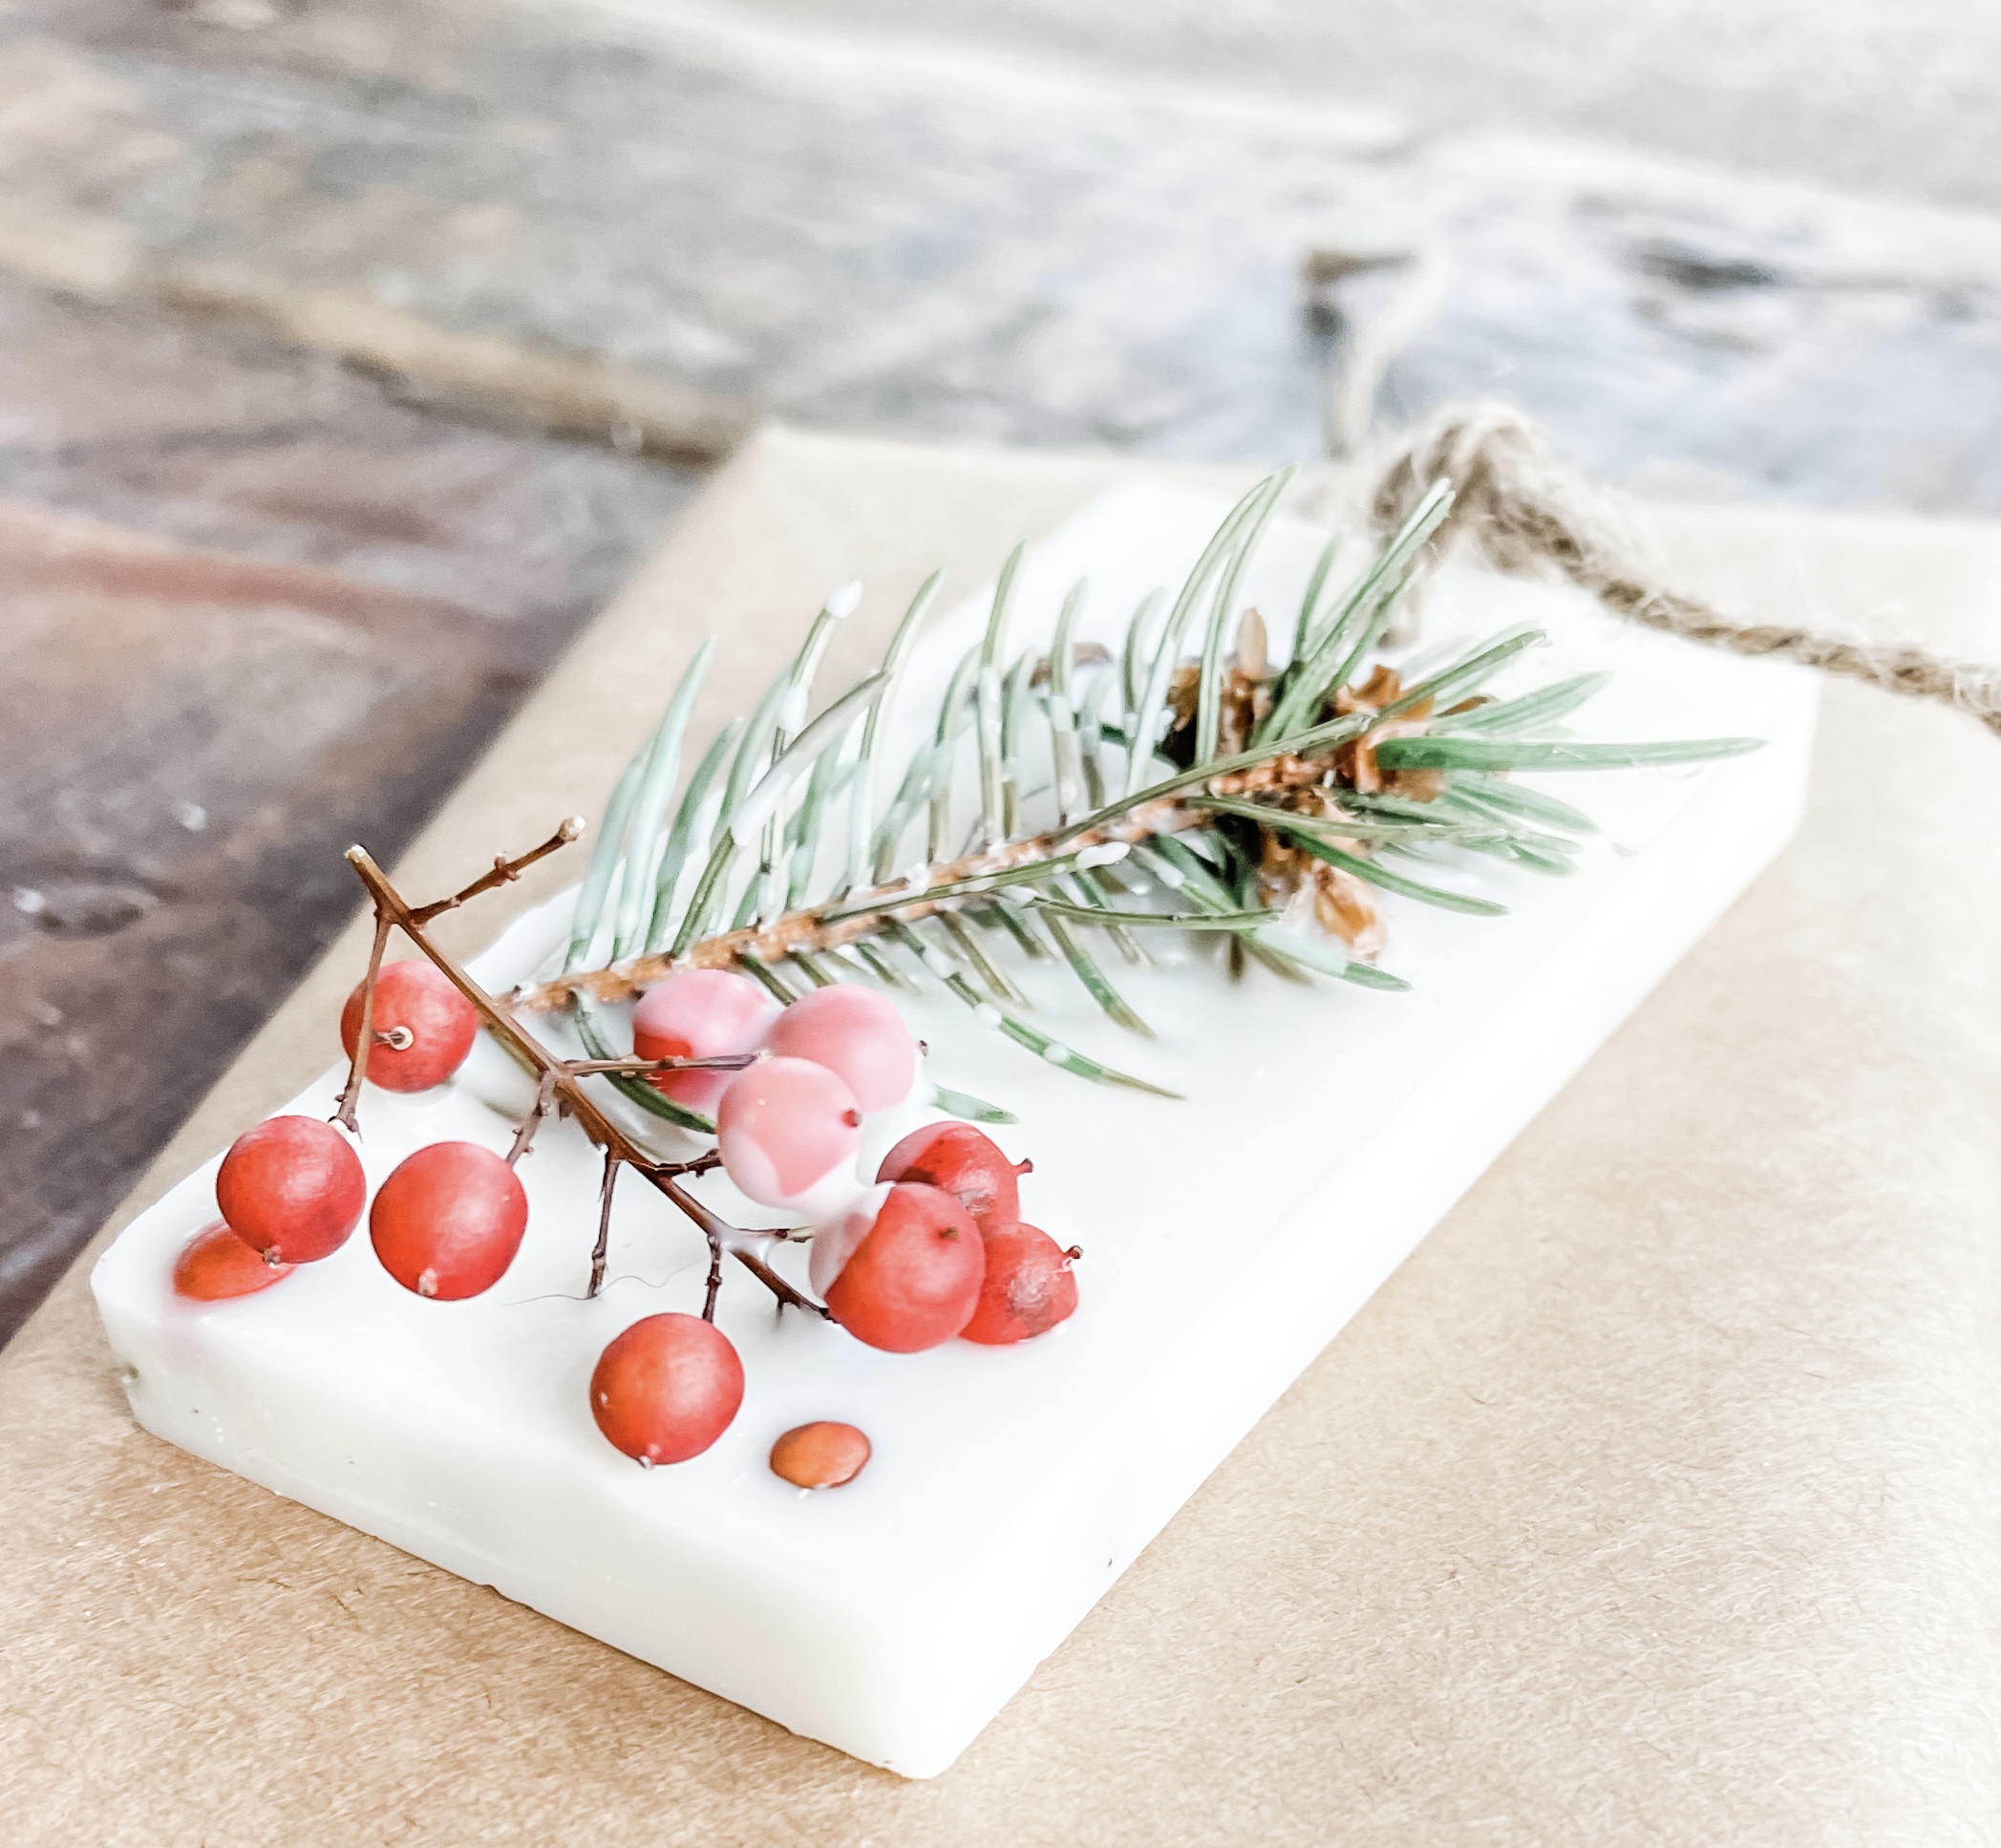
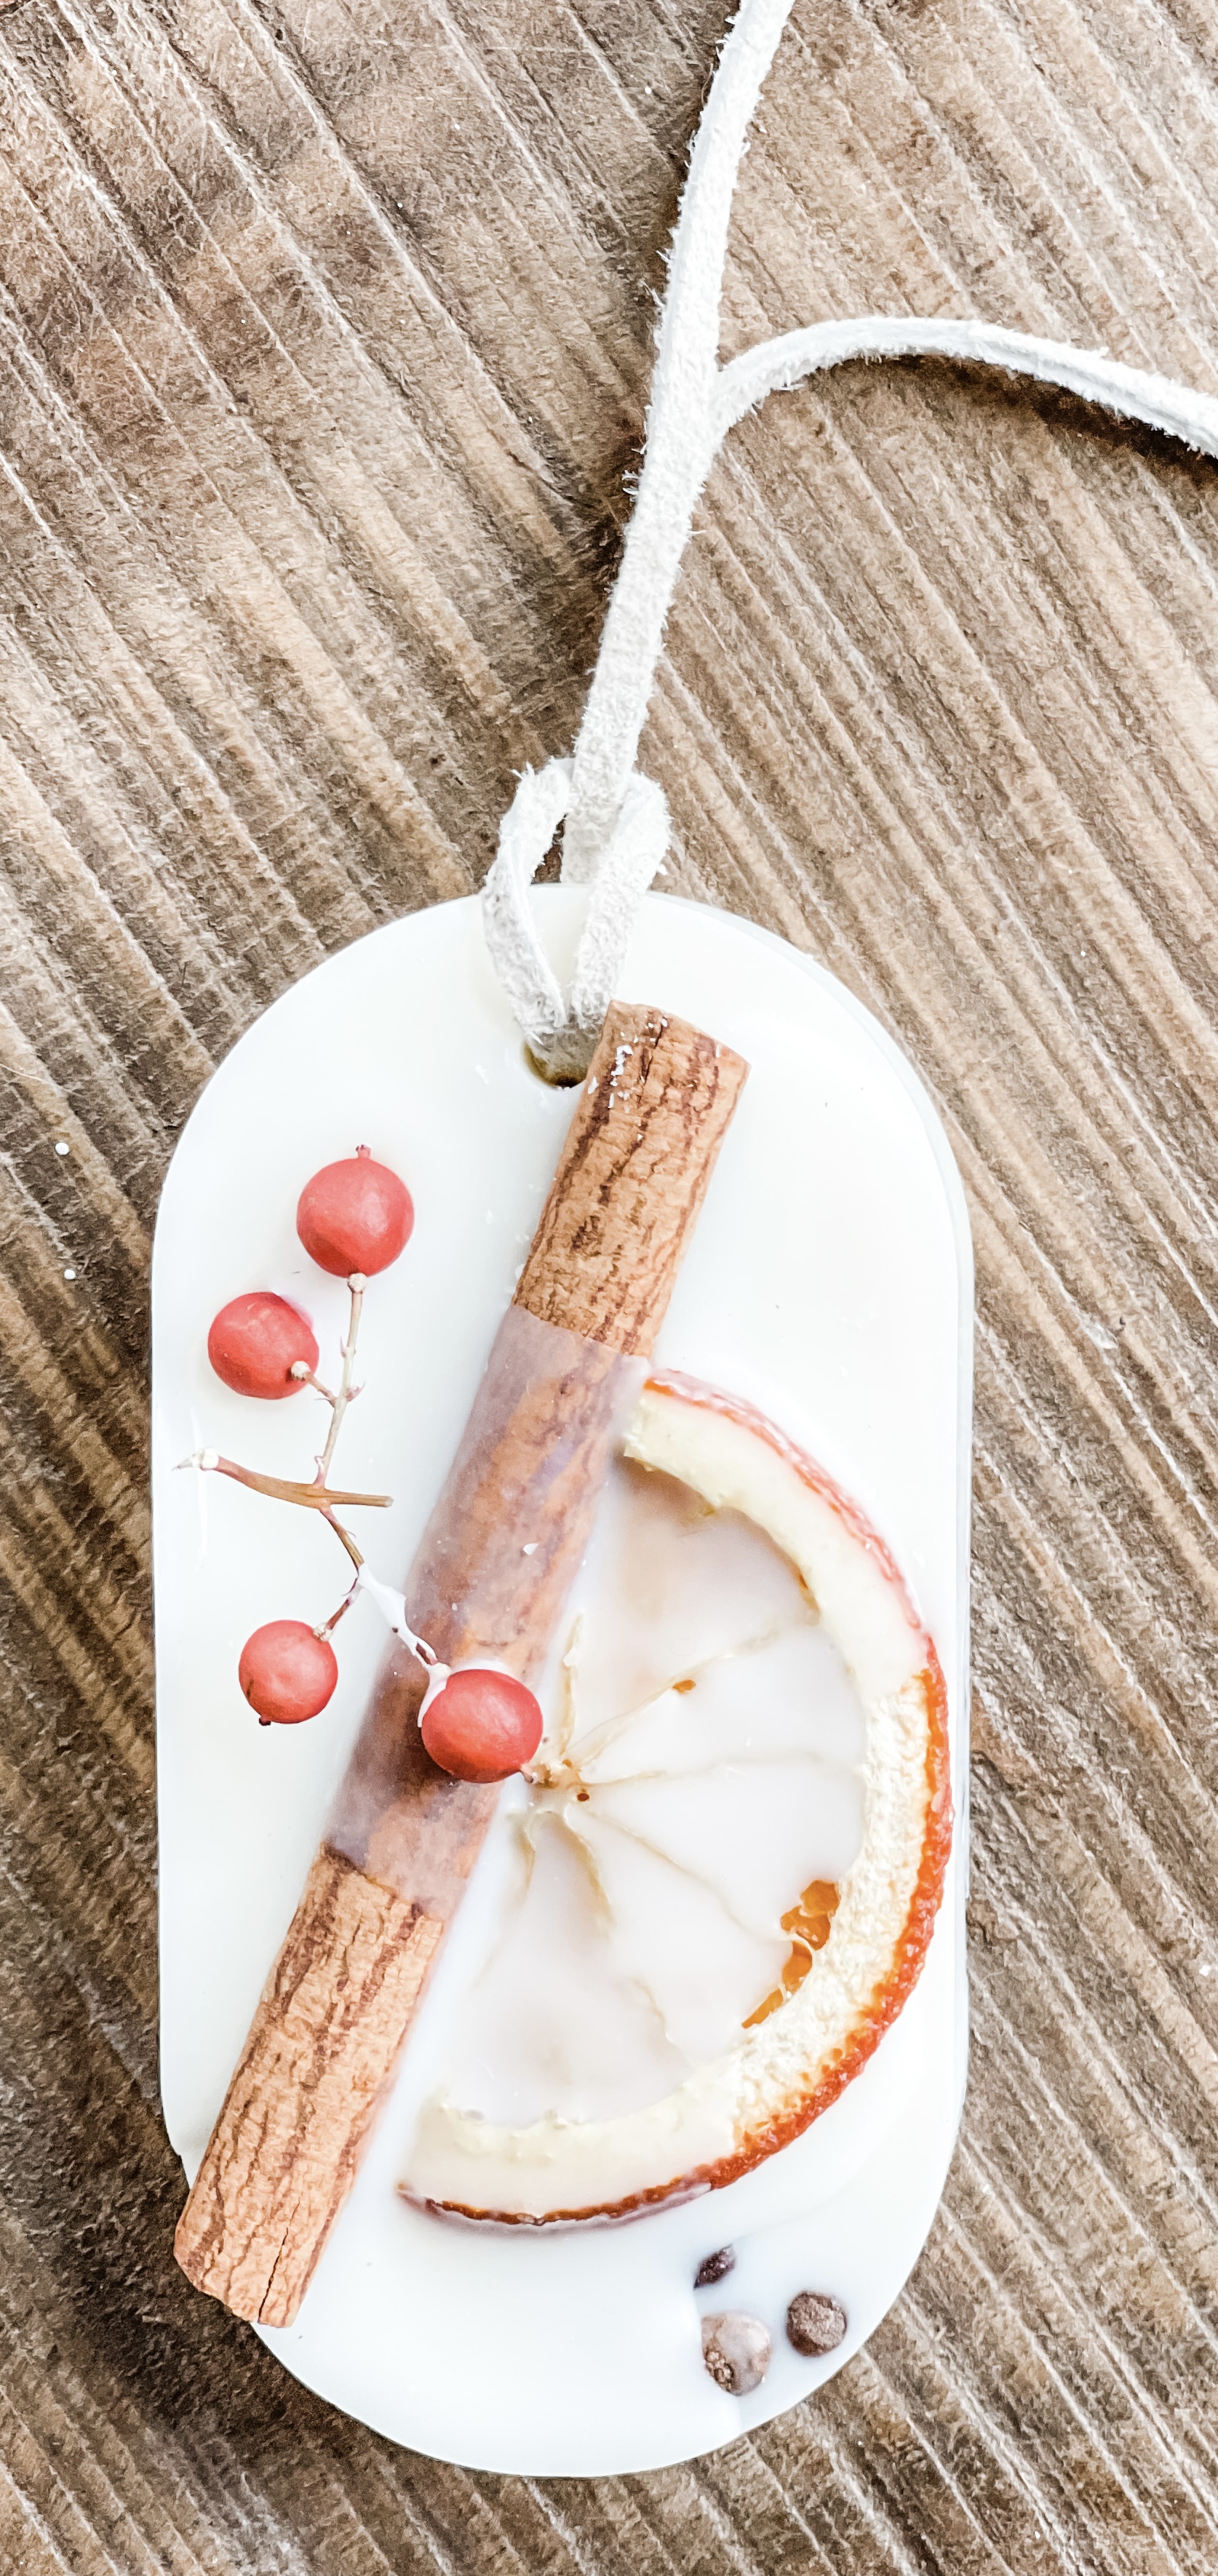
Scents like lavender and lemongrass would be perfect in a bedroom on a tray or wrapped in a drawer. Scents like cinnamon and clove would be perfect in a kitchen or dining area.
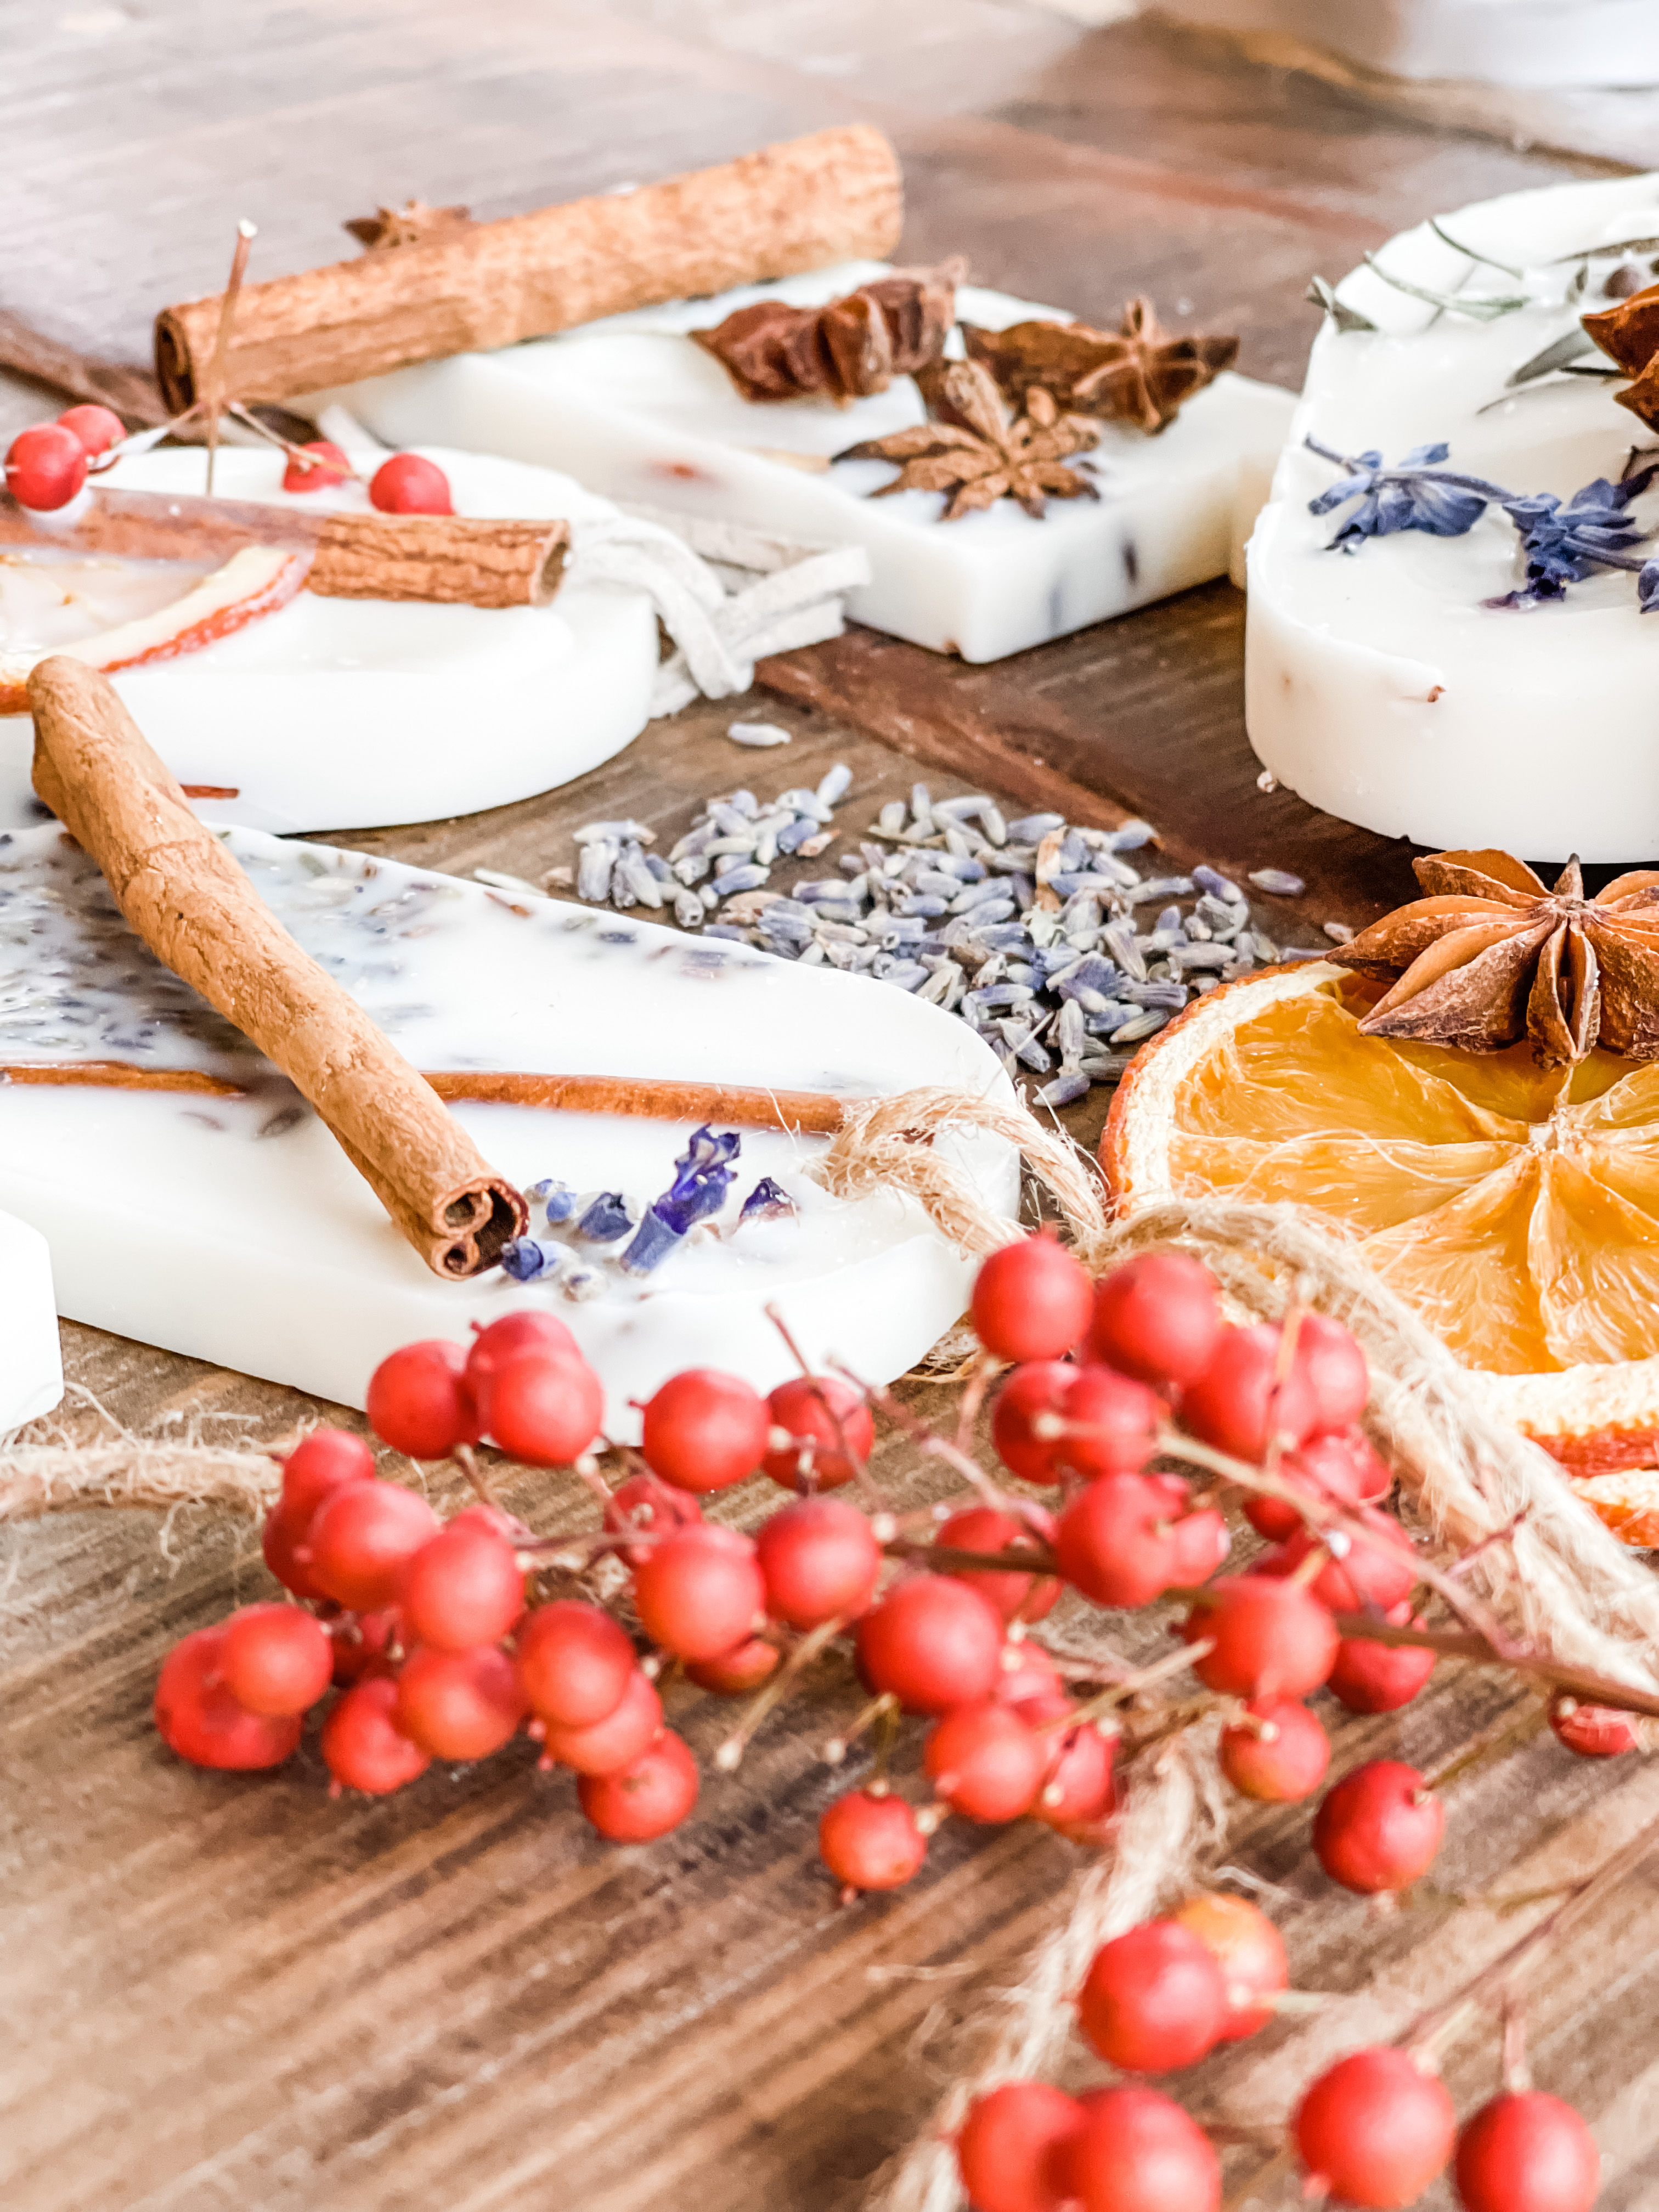
Keep these away from heat and if you are placing in a drawer, do not let them come in direct contact with fabric.
If you don’t have time to make your own – here is the link to the ones from Terrain.
WAX SACHET SUPPLIES
Below is a list of items I used with links for your convenience. If you are looking for a quick personalized handmade item – this is it. The supplies for this are inexpensive and will make you dozens of sachets.
WAX MELTING POT
CANDLE SCENTS – HOLIDAY COLLECTION

CANDLE SCENTS – CINNAMON
SOY WAX FLAKES

DRIED FLOWERS AND SPICES
LEATHER CORDING
SILICON MOLD

Thanks again for visiting my blog and I hope you are inspired to create a wax sachet for yourself.
If not, remember you can shop online at Terrain but trust me if you are on the east coast, a visit is in order.
Here are a few of my favorite finds from my recent visit to Terrain. Holiday heaven!
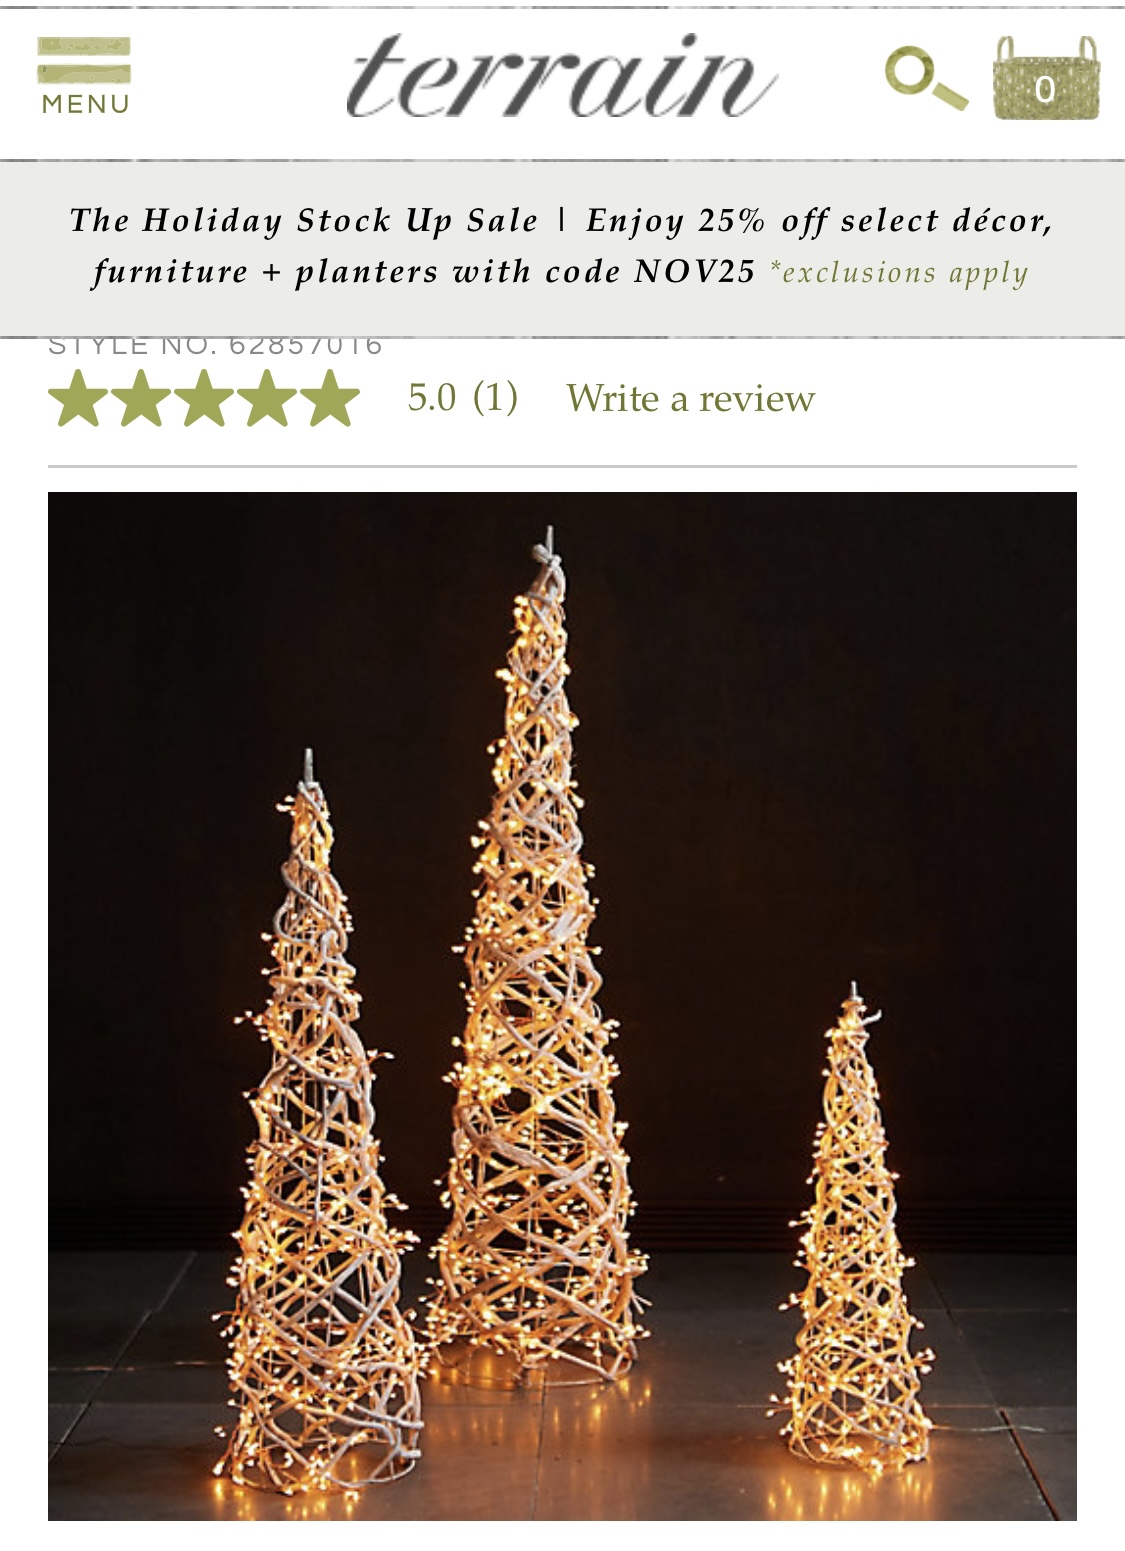
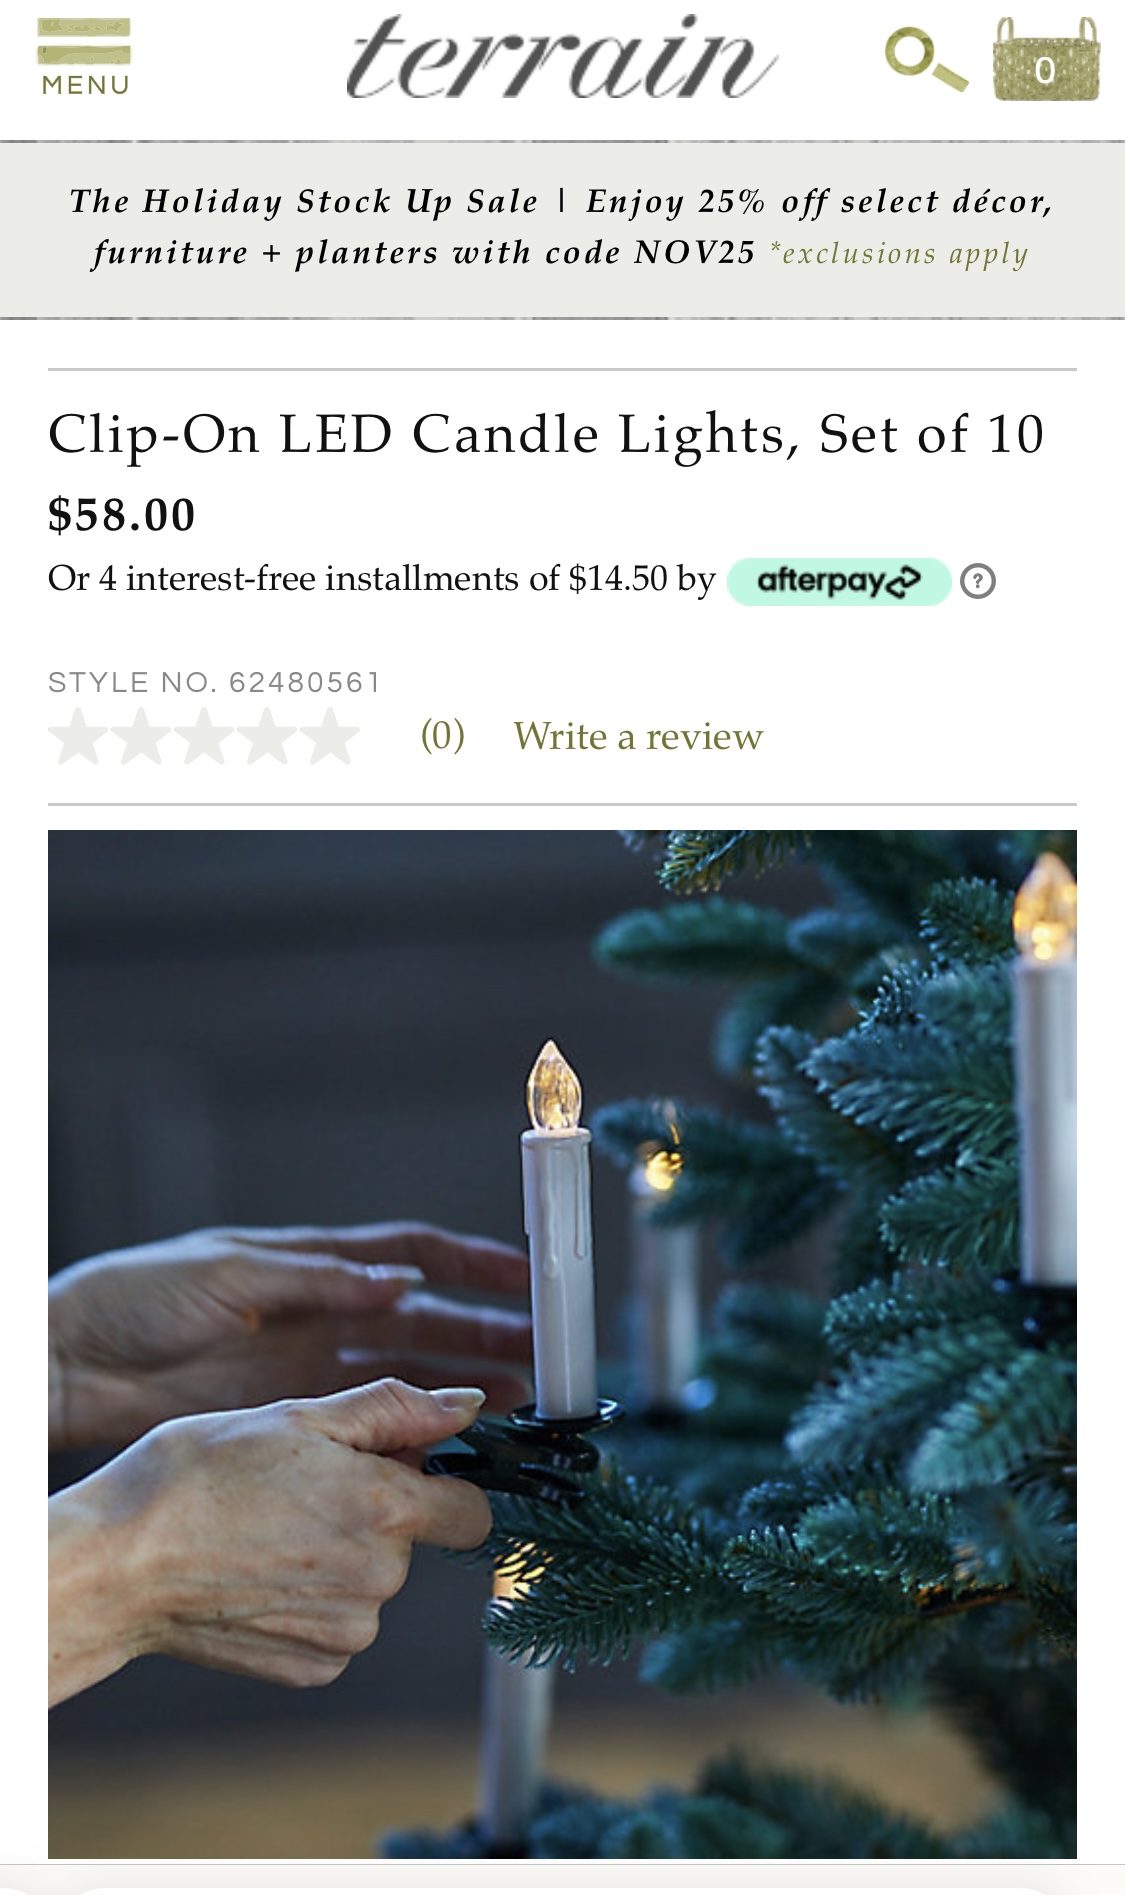
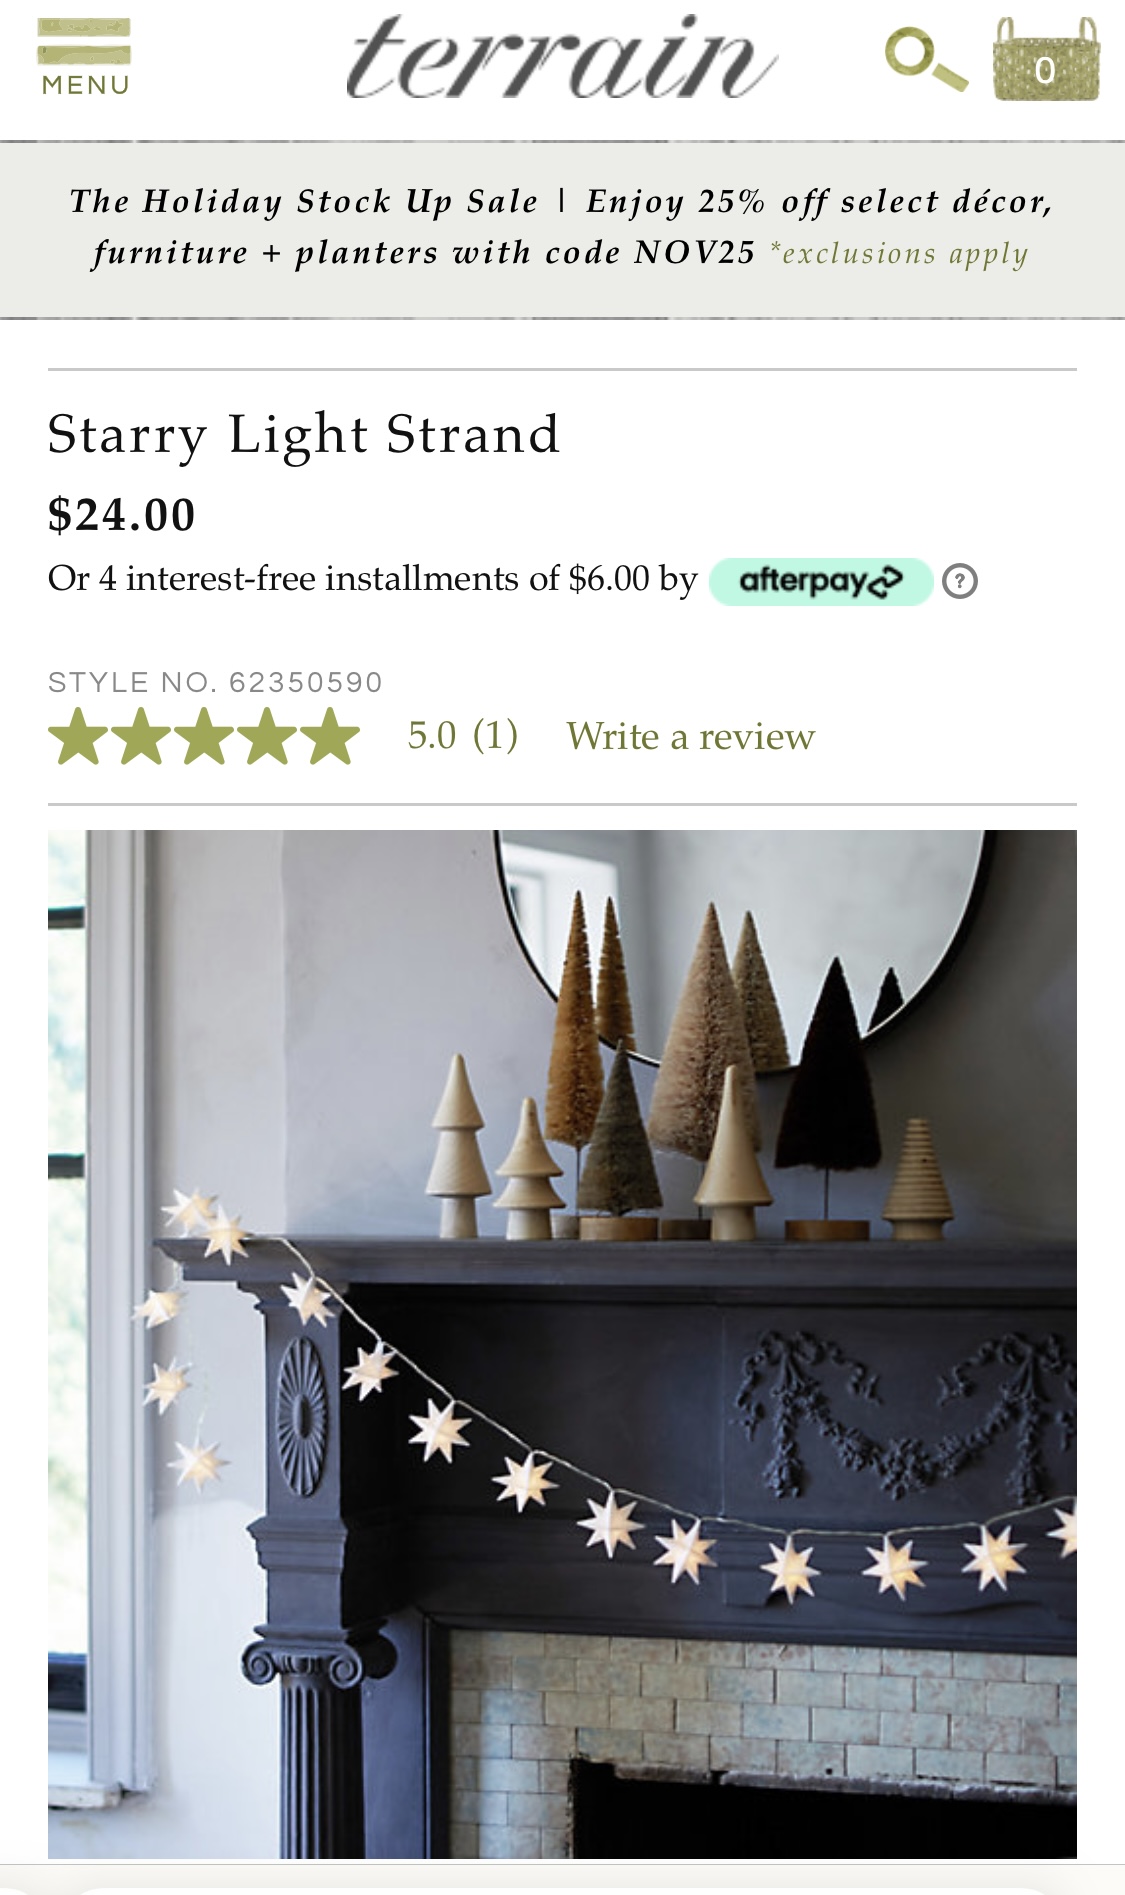
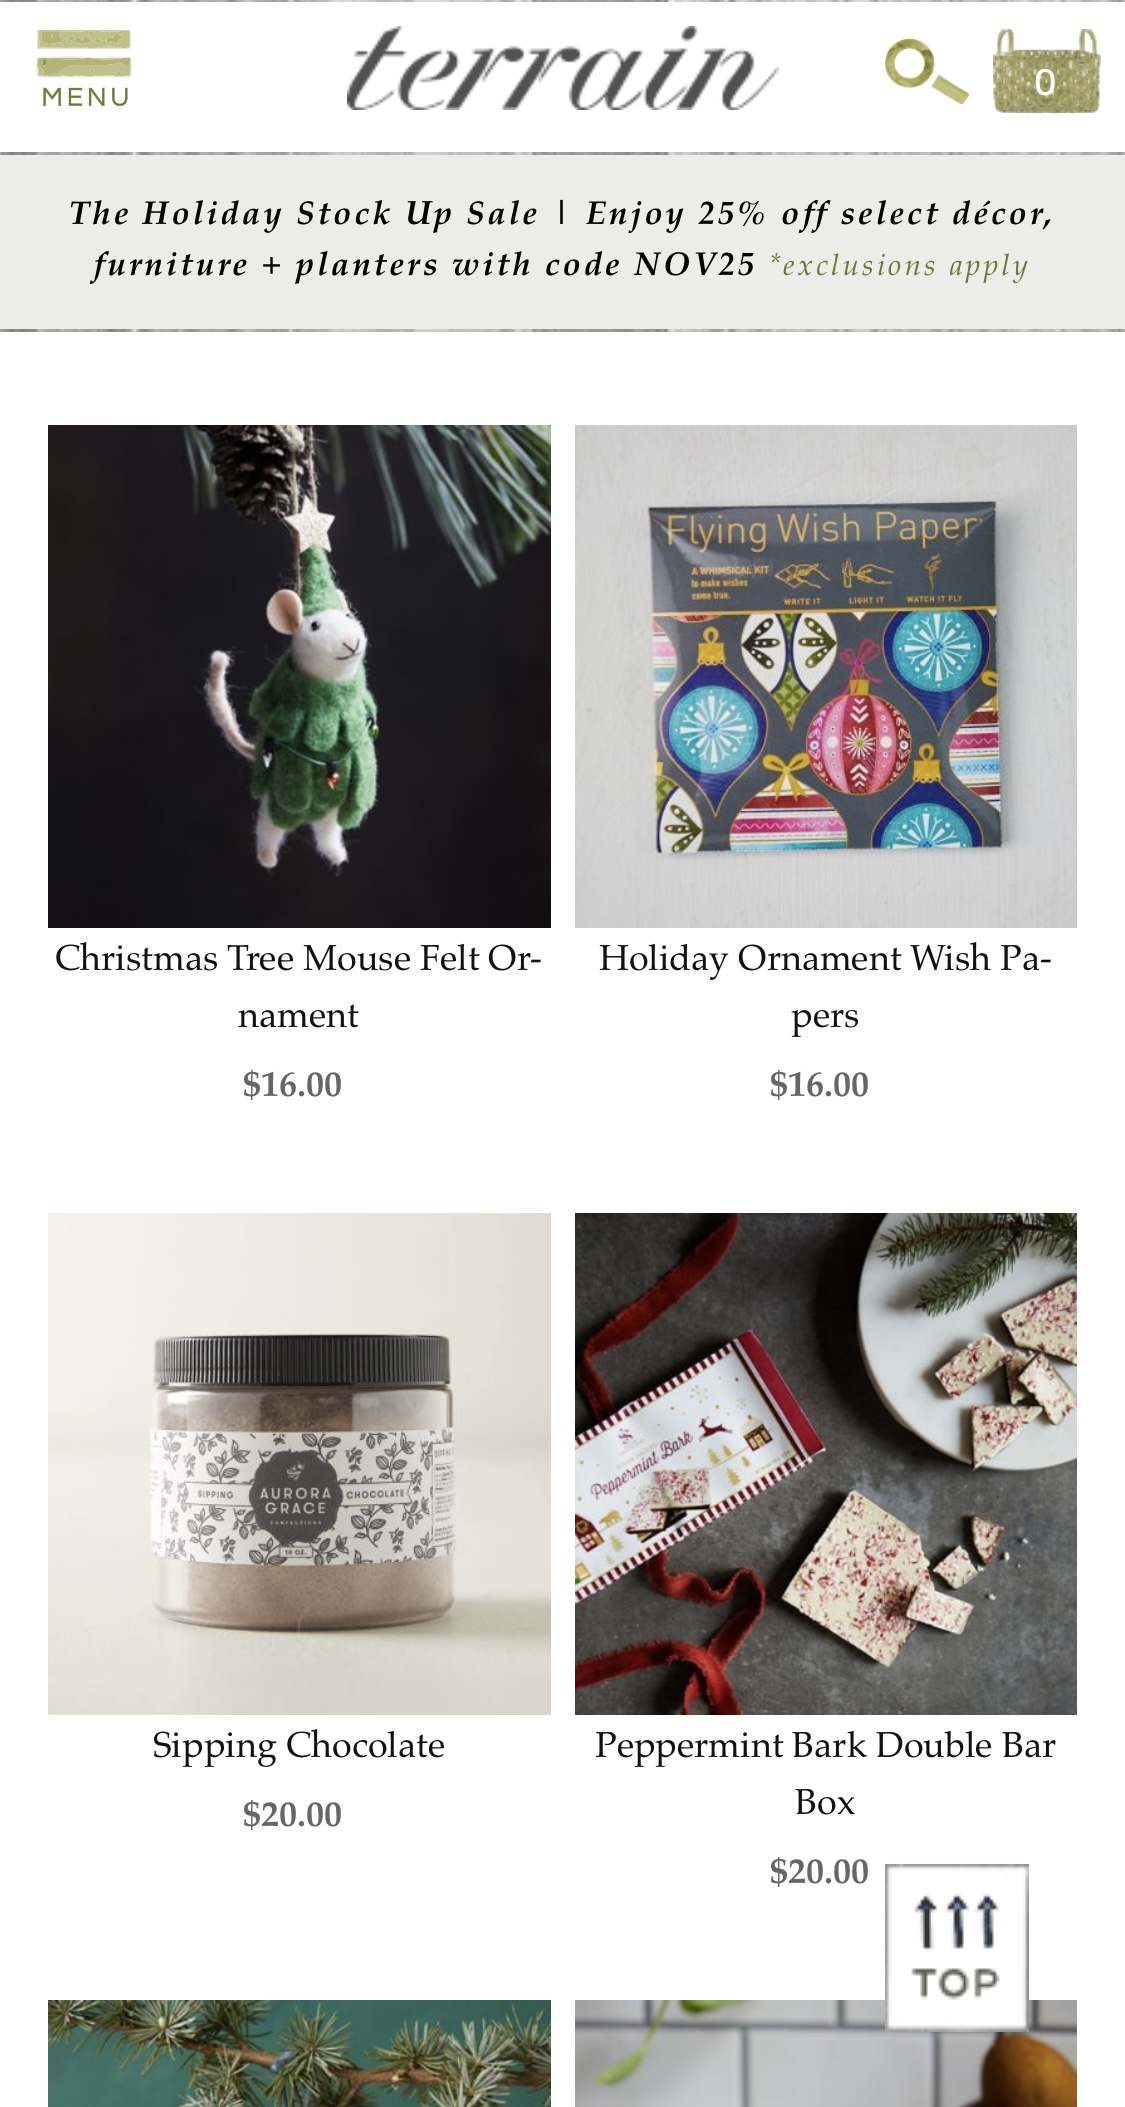
These are so fresh and fun and pretty!

Remember to subscribe to my blog so you get inspiration directly to your inbox each week!
XO, Regina
I have included affiliate links in this post. If you purchase from these posts I receive a small commission at no additional cost to you. Thank you for supporting my small business.
Leave a Reply