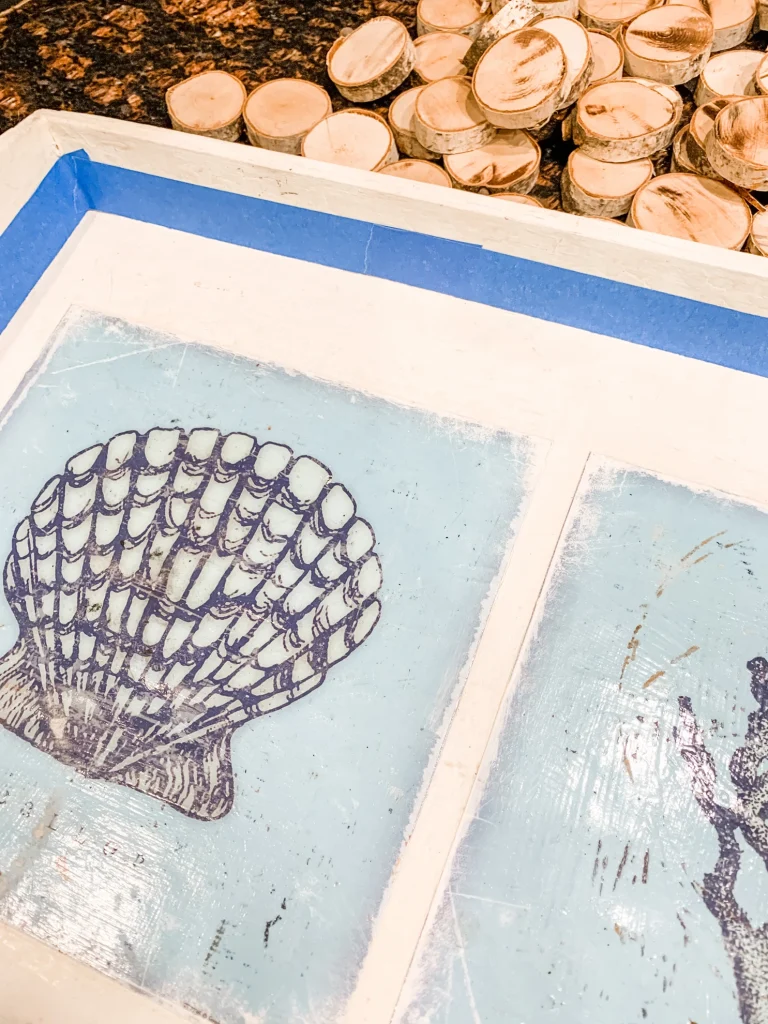
Yesterday I recycled an old DIY. I purchase a wooden tray from a thrift store many years ago. It was dark brown and outdated so I painted it, wrapped the handles with twine, and took two prints I had from an old picture and attached them with Mod Podge. It has gotten a lot of use. But since I moved here it has been tucked away.
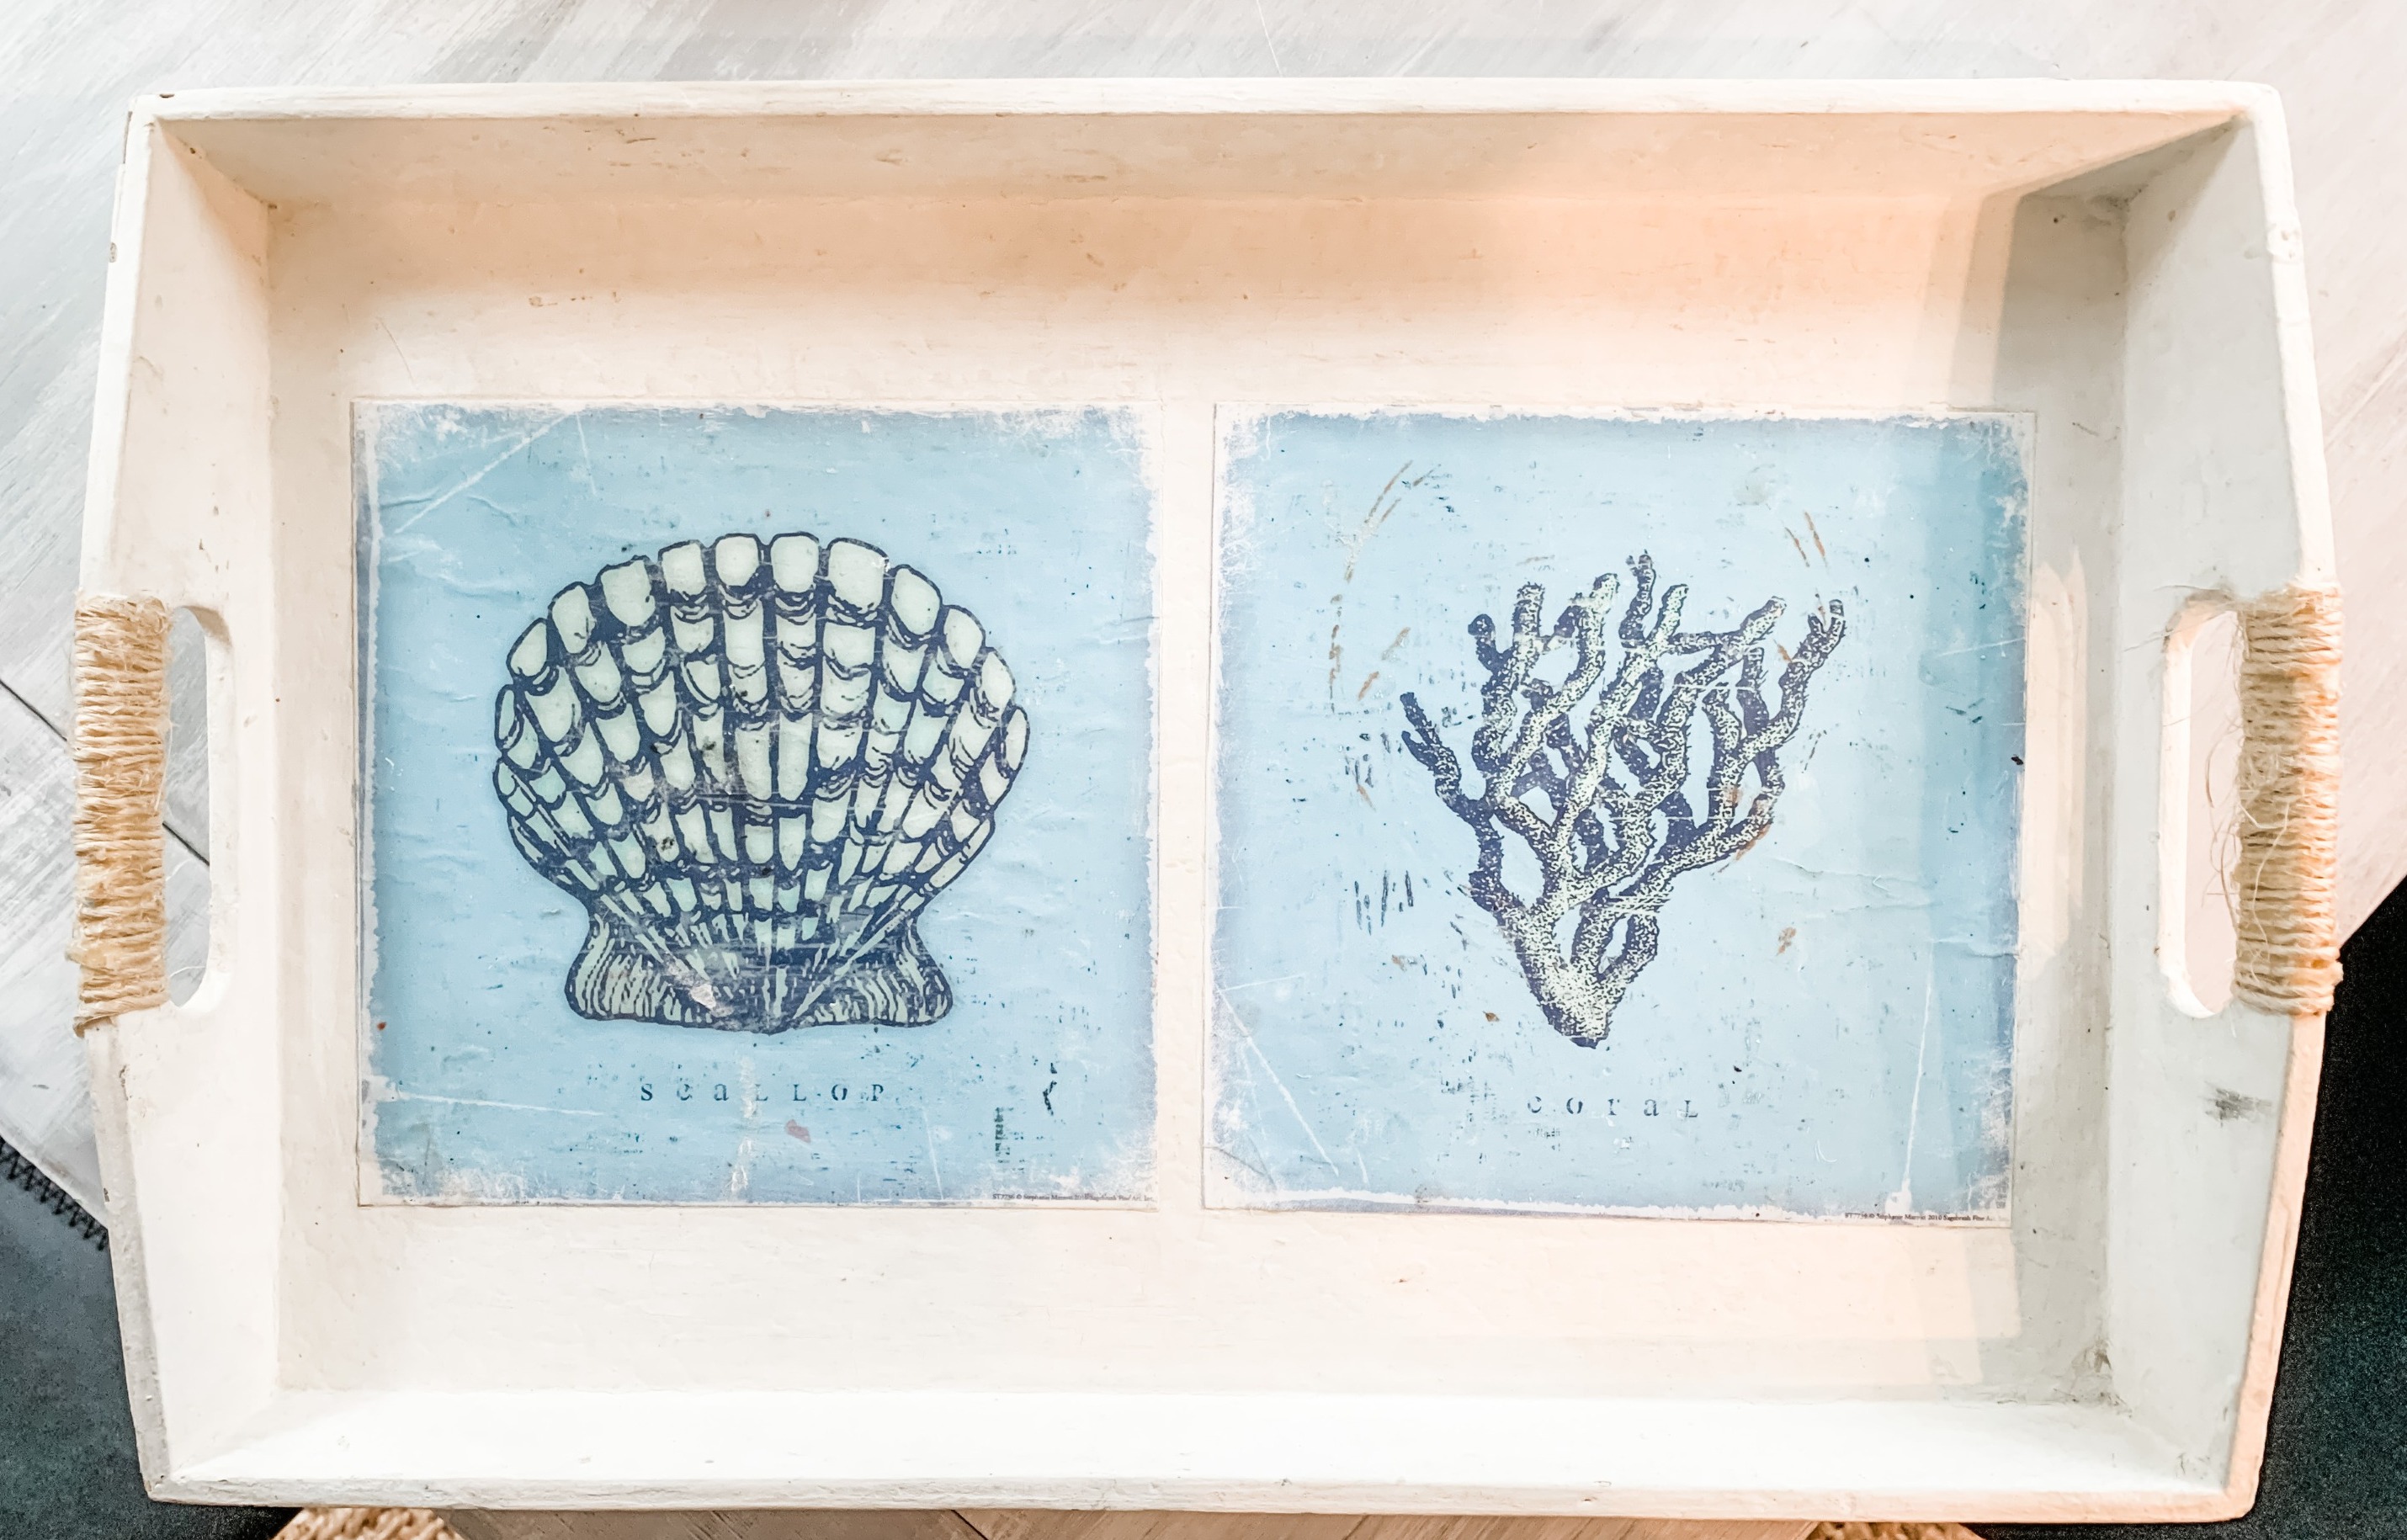
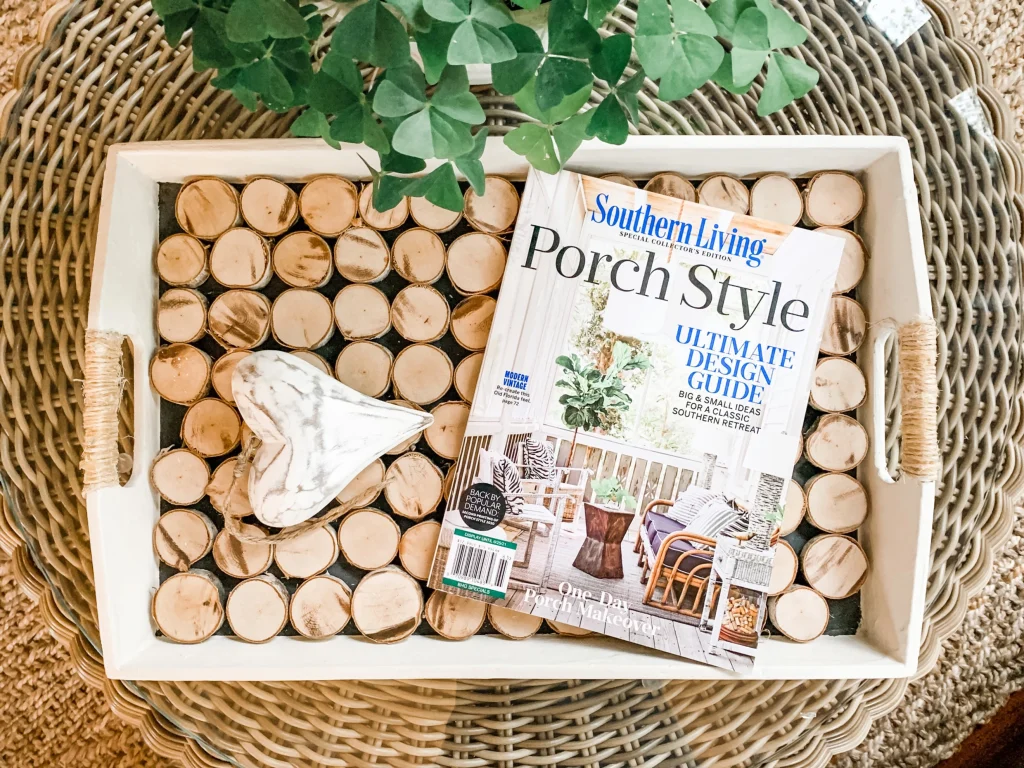
I was tempted to take it back to a thrift store, but decided to redo it. I do love to use trays to create vignettes on my dining and coffee tables, so why not update it.
Do you like natural elements in your home? I love adding ferns, natural woods and plants and living on a lake, it fits right in.
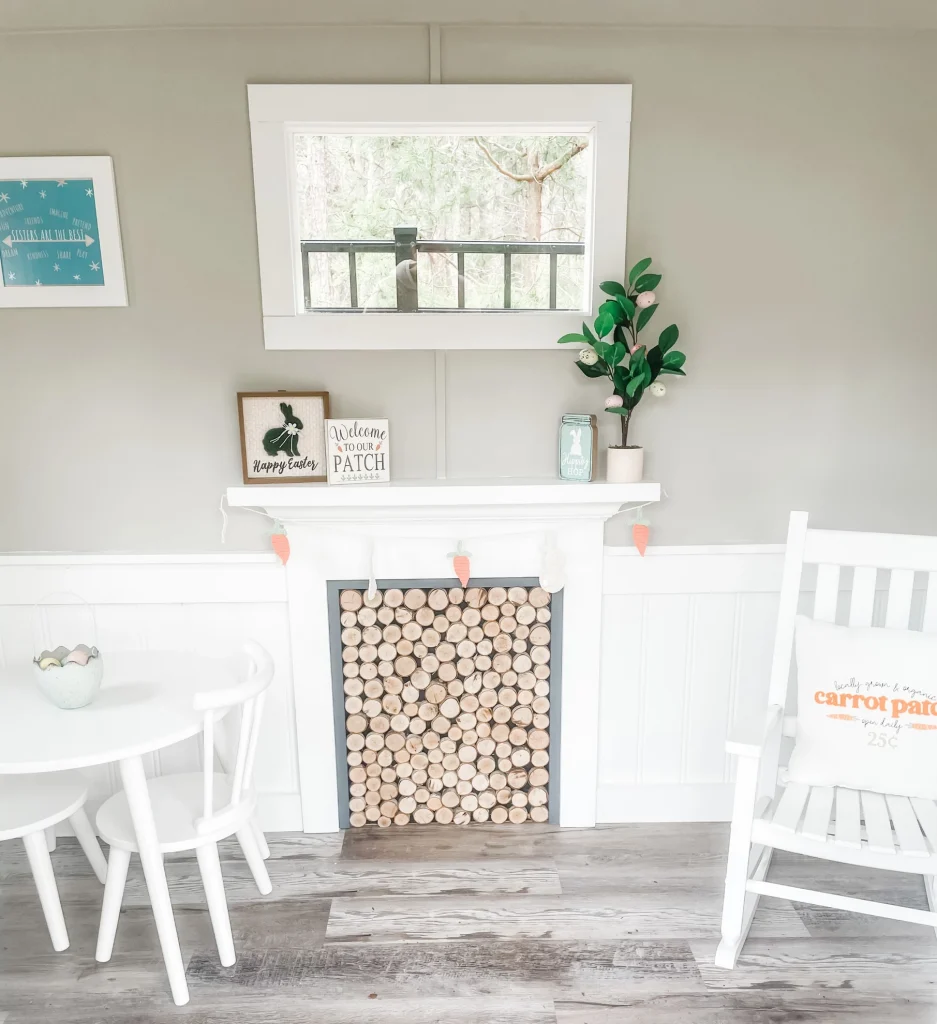
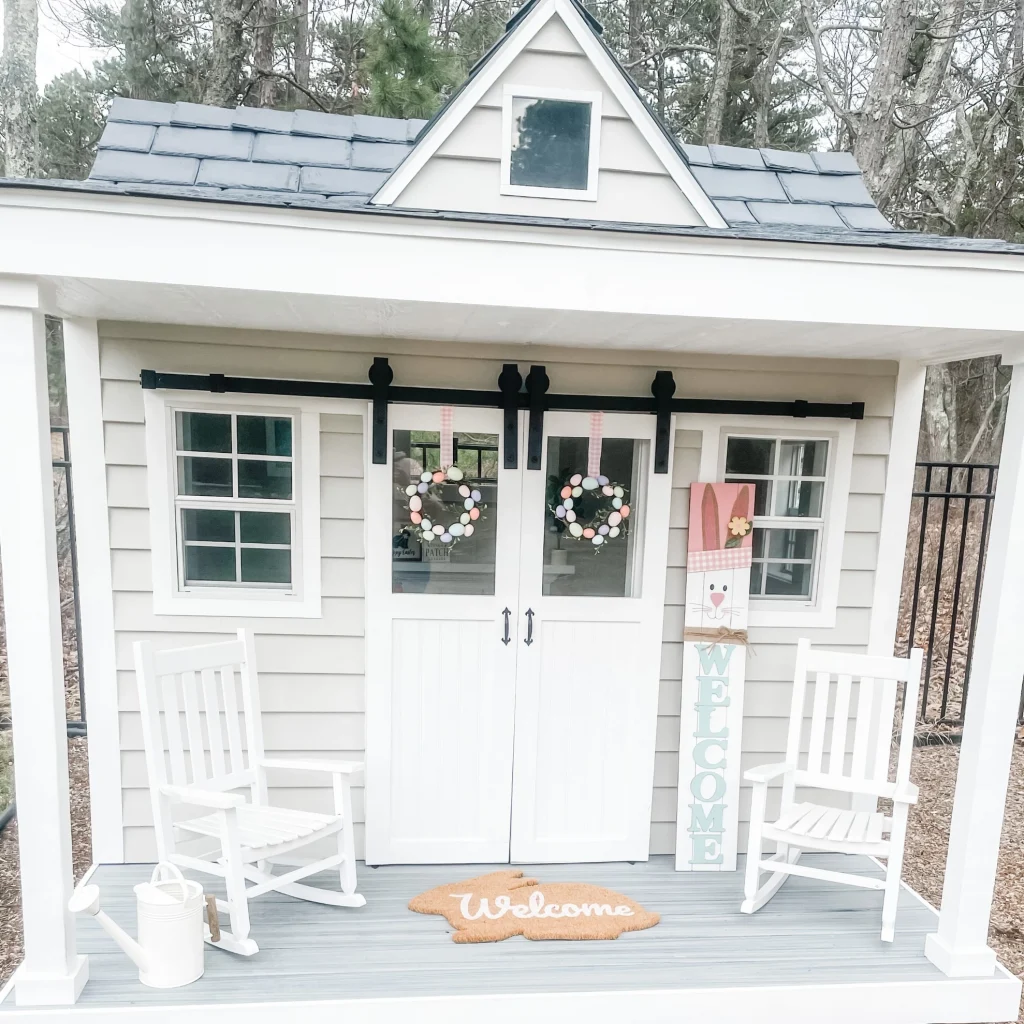
I had a large branch of birch leftover from our playhouse project before Christmas. I had used it to make the fireplace. It’s perfect to slice up for the tray bottom. You can find birch logs here.
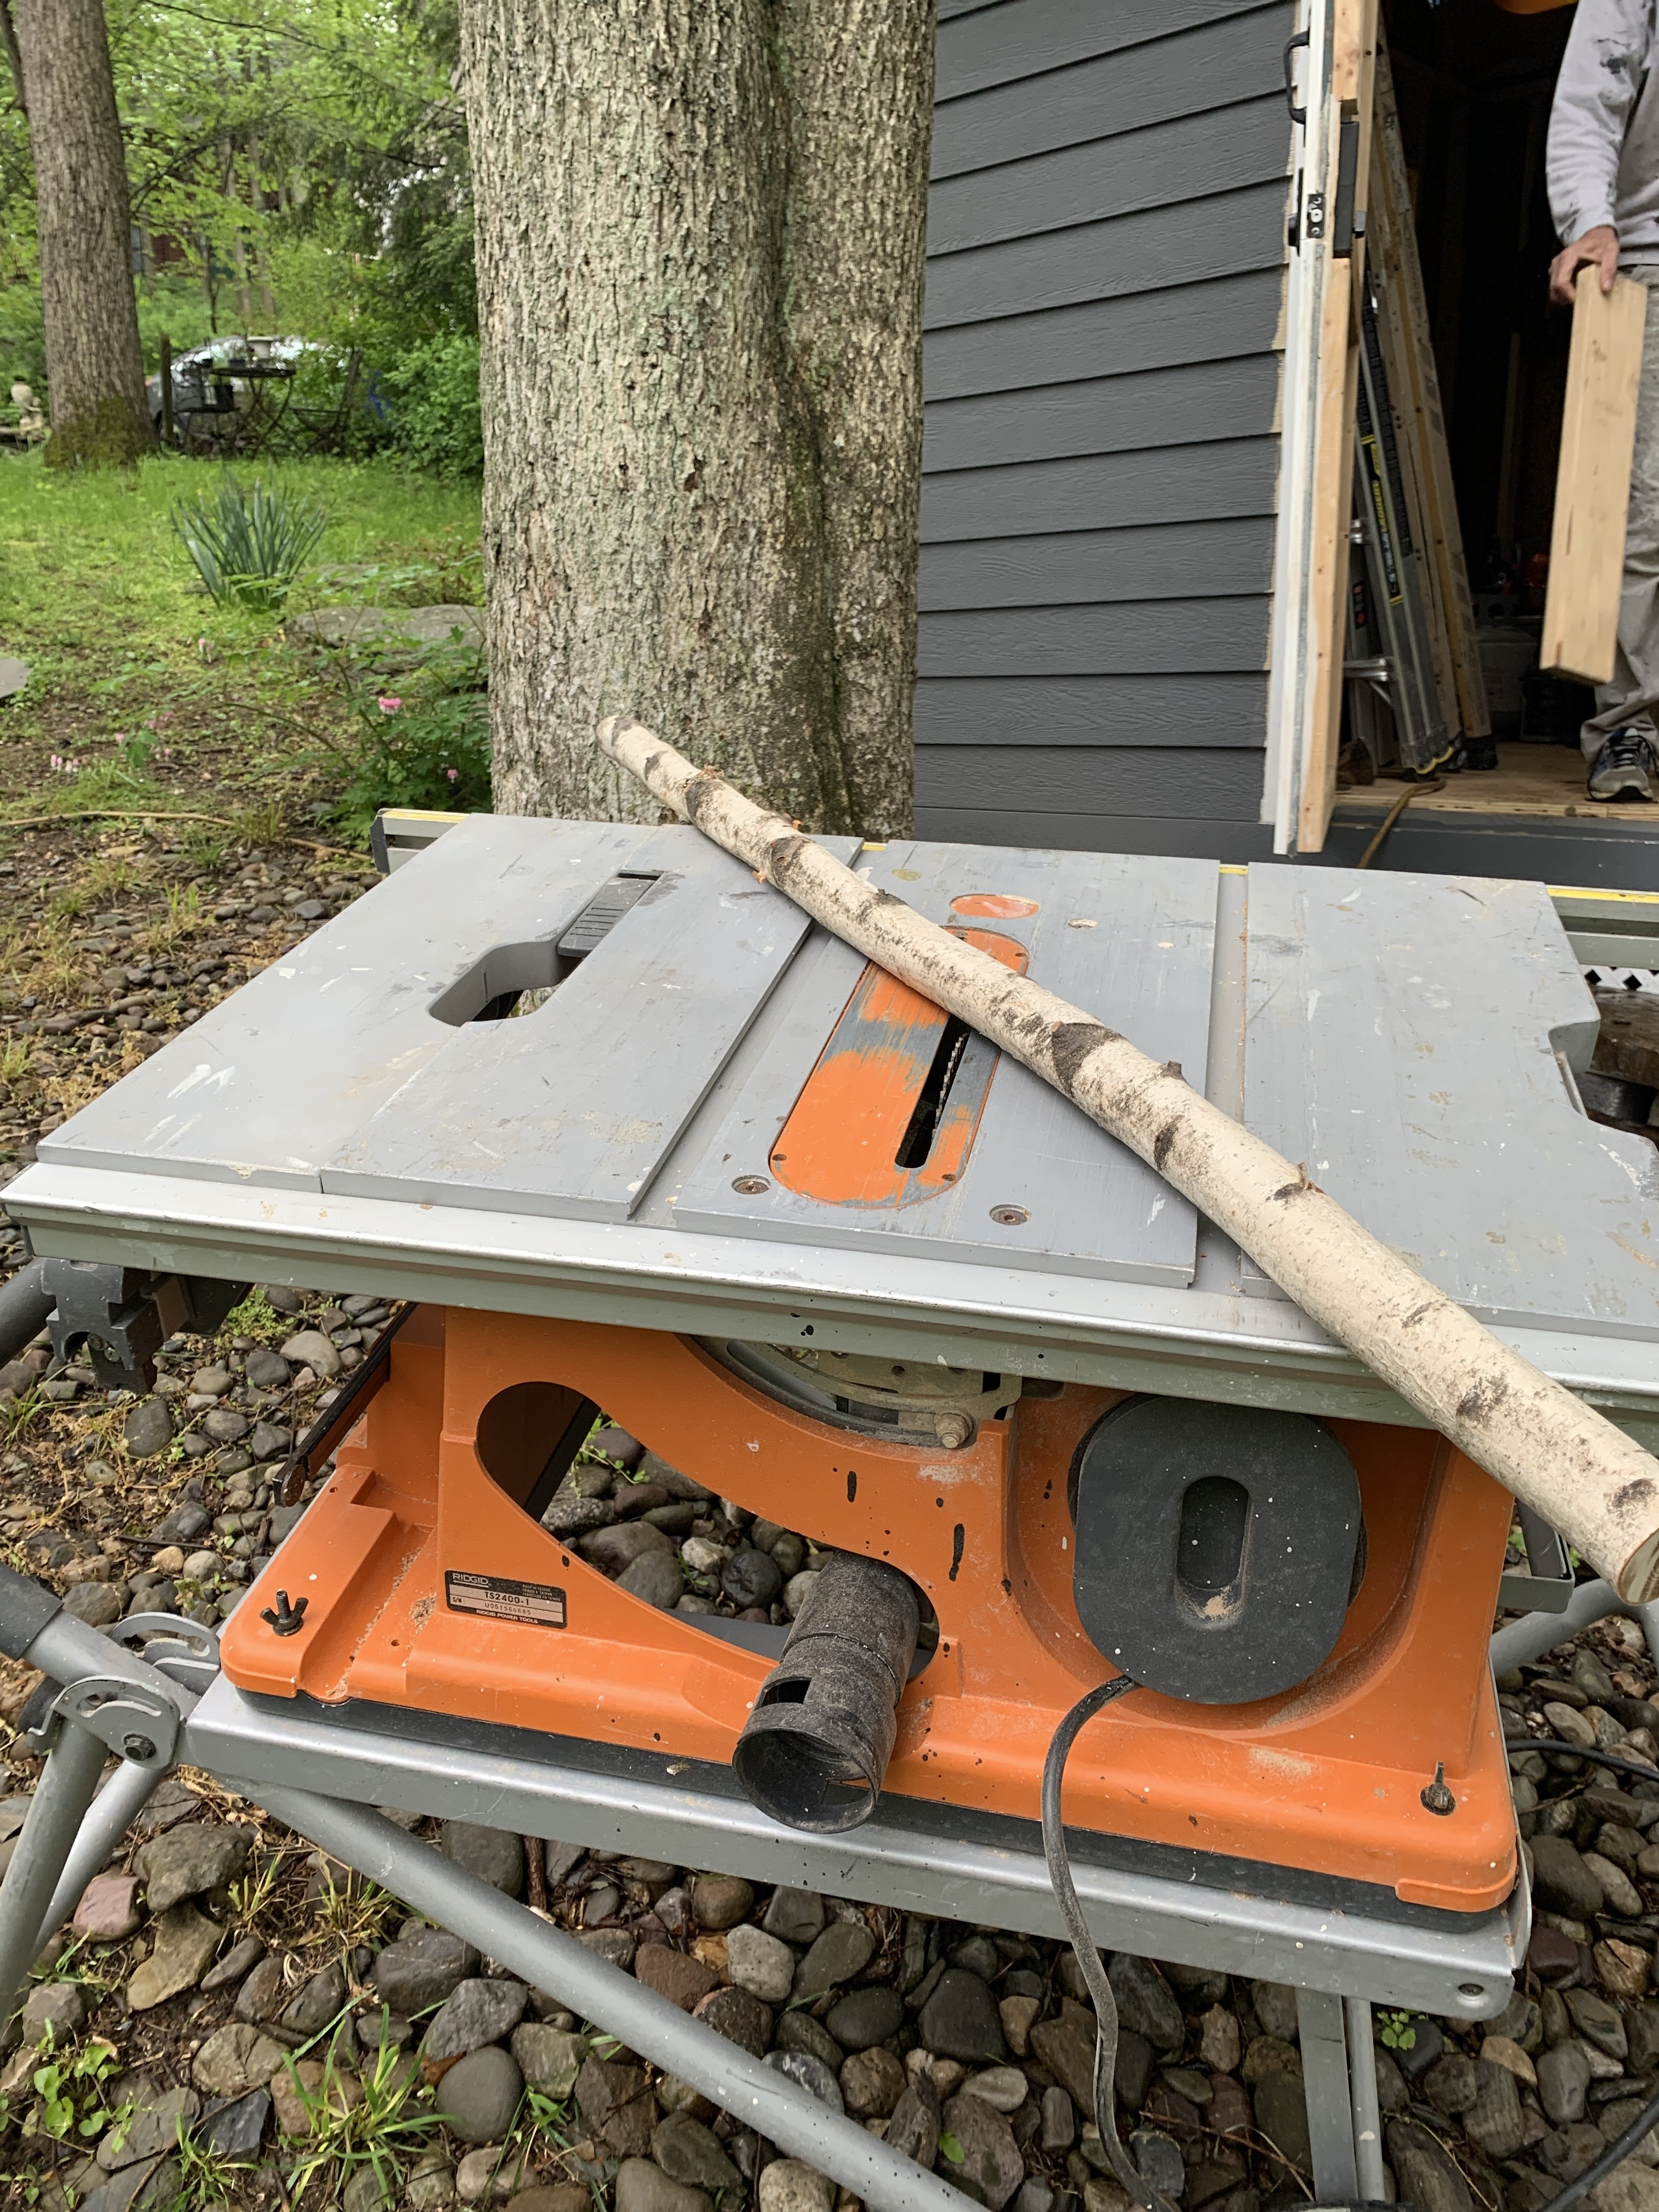
Side note, we were driving to Scranton, PA a few weeks back on I-81. There were so many downed birch trees on the side of the road, I mean hundreds. It was like driving by free furniture in a mini cooper, the speed limit was 70 and it just wasn’t safe to do but it pained me to drive past it all.
I used a table saw to cut the slices all the same width.
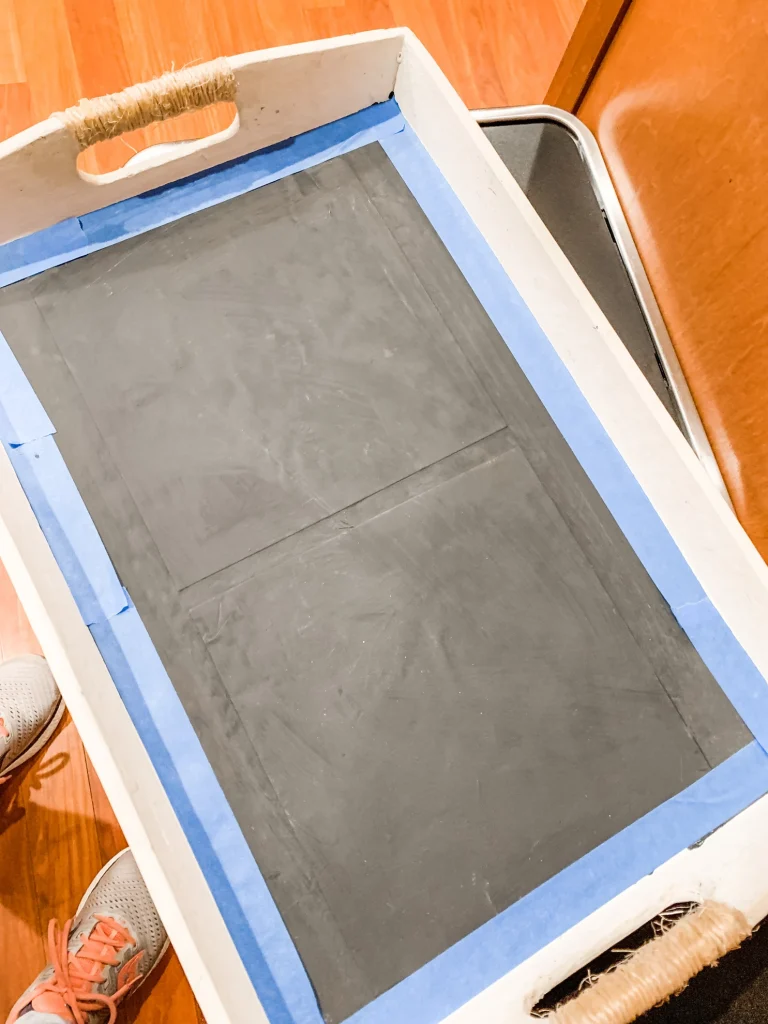
I began by wiping down the tray, then I taped off the sides so I could paint the bottom a dark charcoal color. I decided to keep the sides a light color so it was more versatile. I painted 2 coats of Rustoleum Chalk Paint in Charcoal.
This was a quick process.
Next was to touch up the sides in an off white (Raw Silk) by Fusion Mineral Paint. The only reason I used that is because I already had it. I thought white was too stark for this.
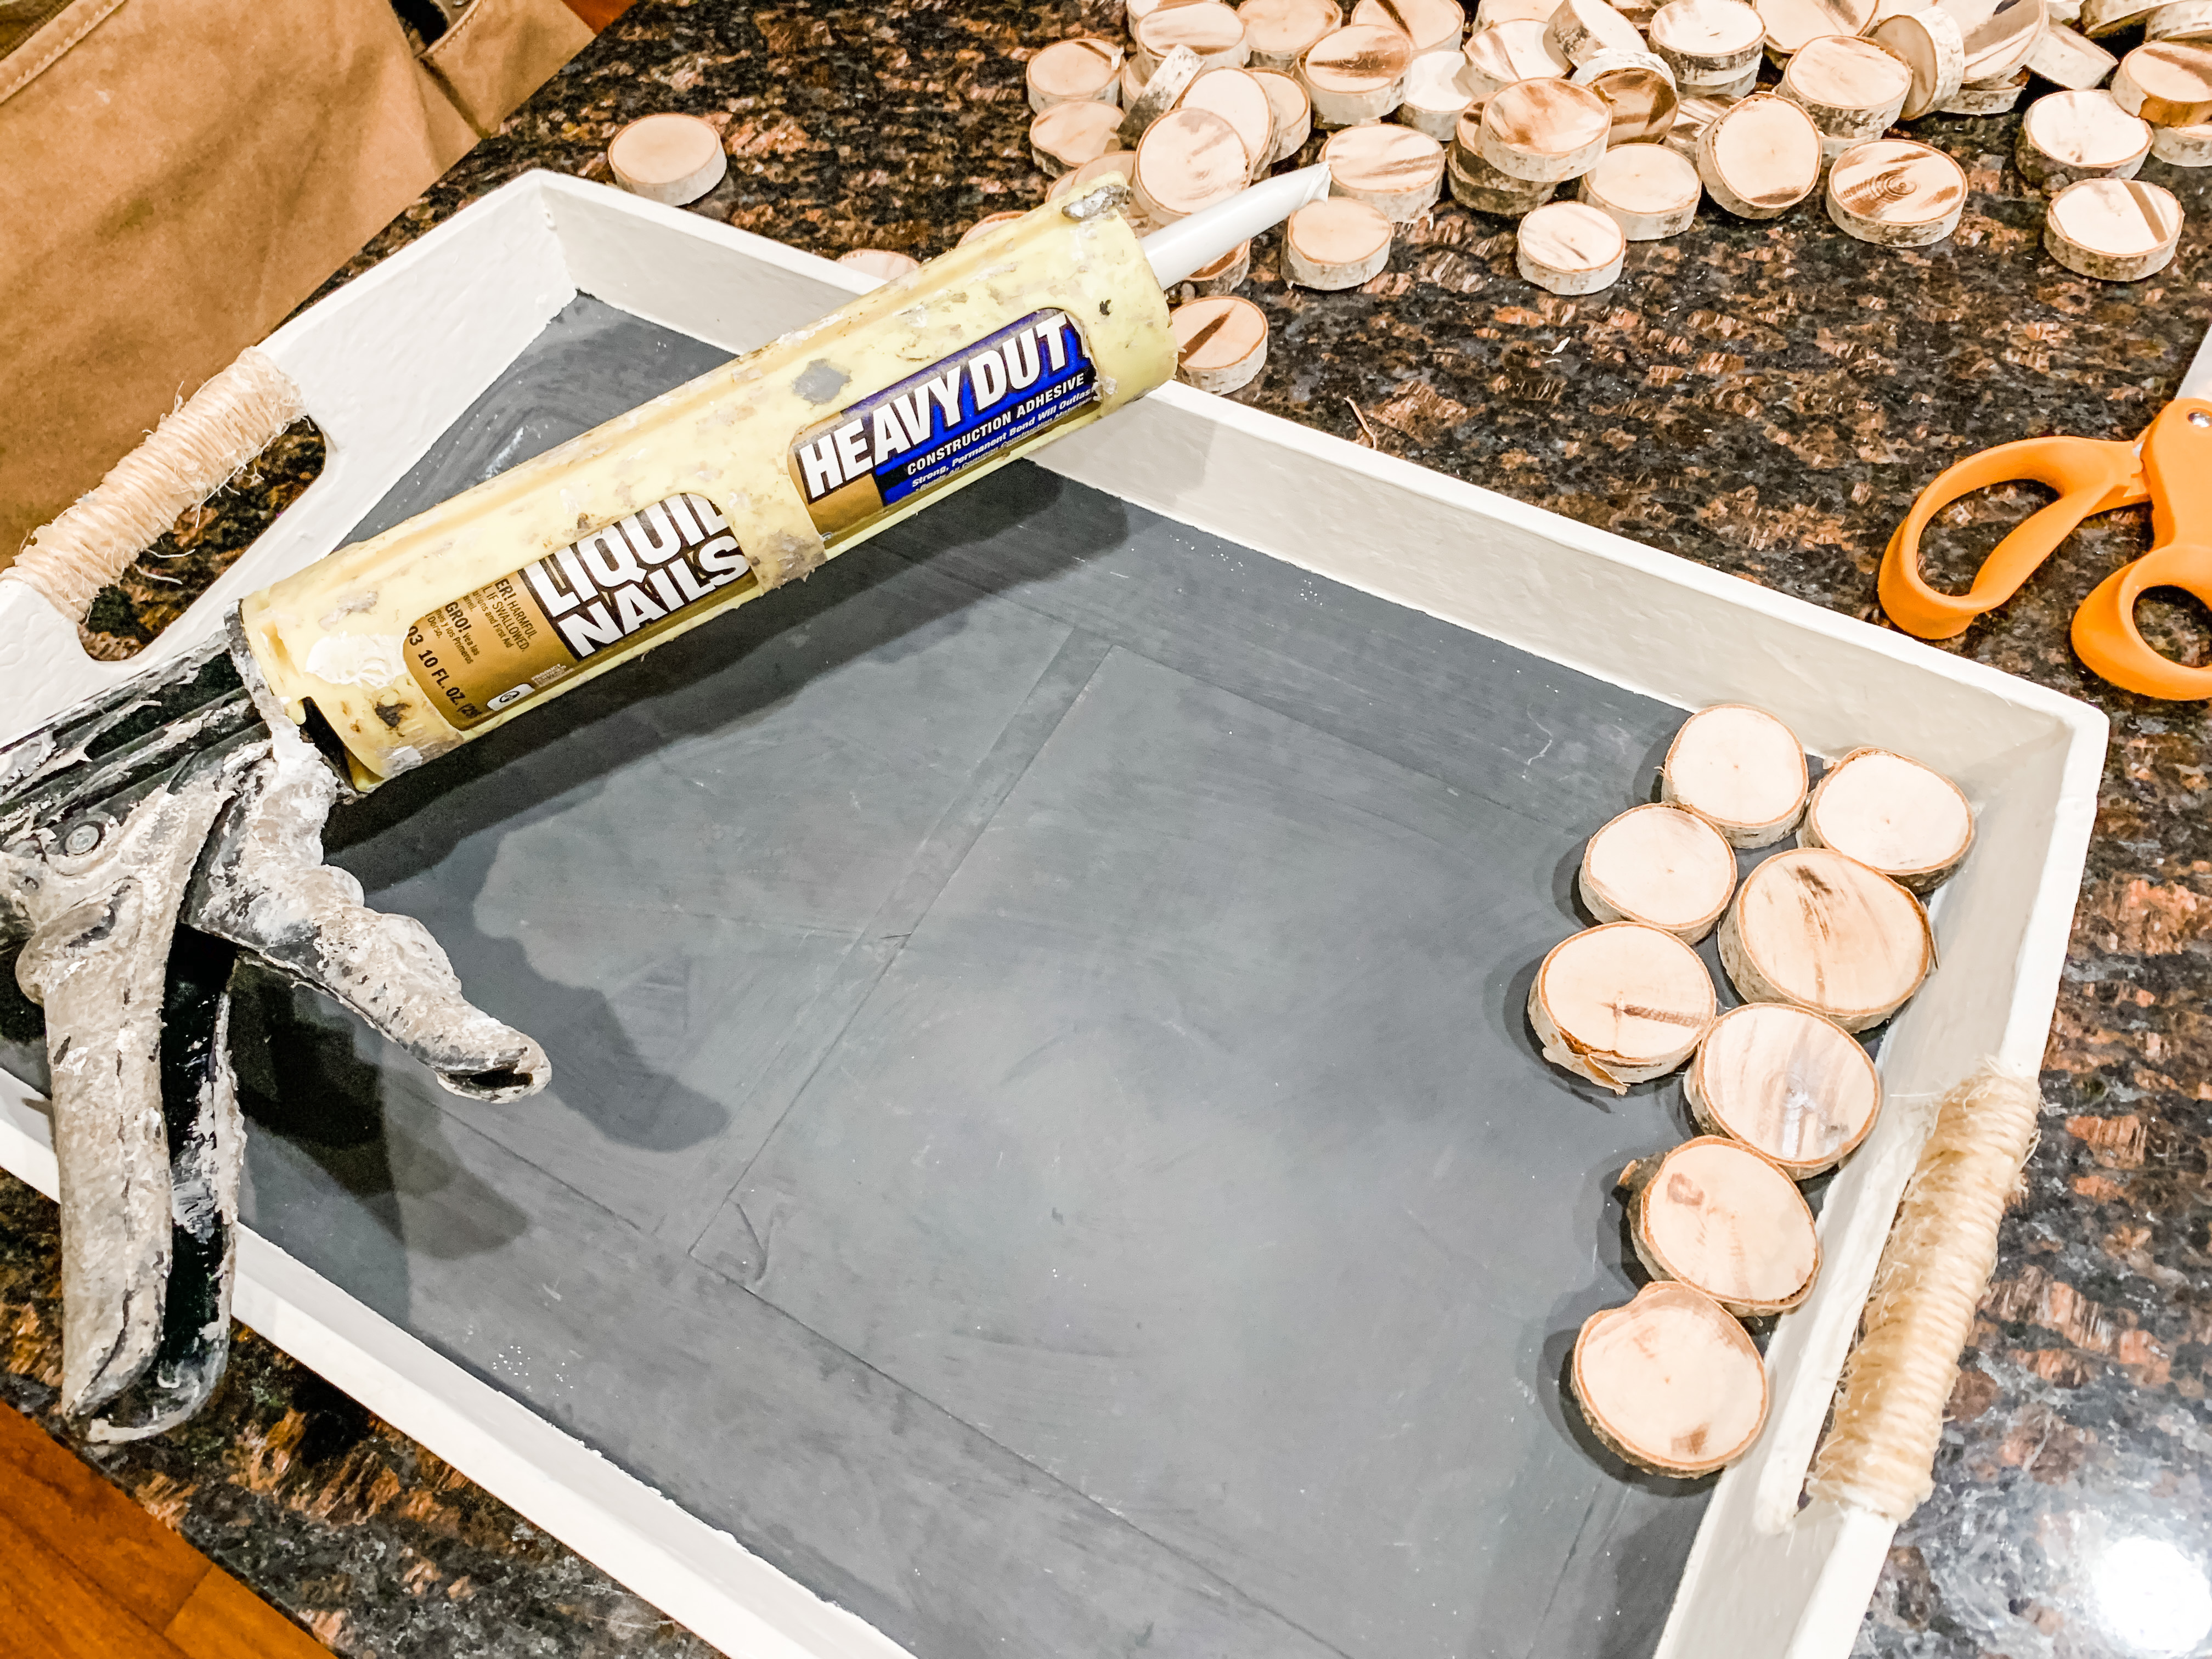
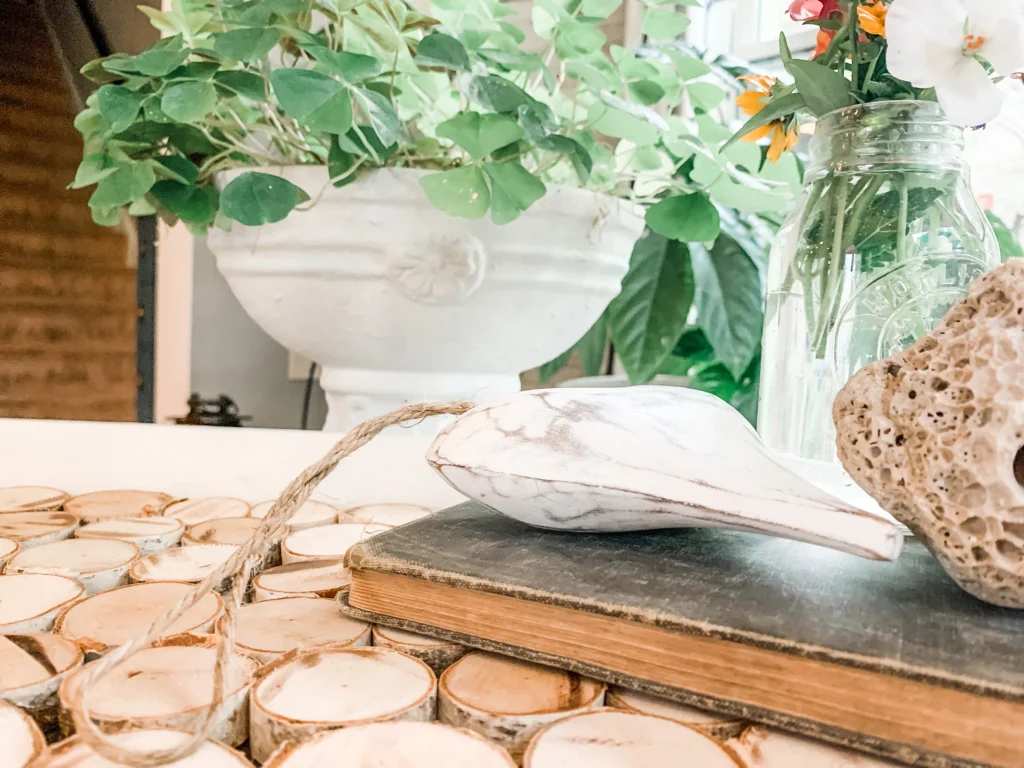
Then I began to glue the birch slices to the bottom. It reminded me of a game from when I was a child, Booby Trap, I don’t know why but it did. I used Liquid Nails to hold them in place. You could use wood glue or E-6000.
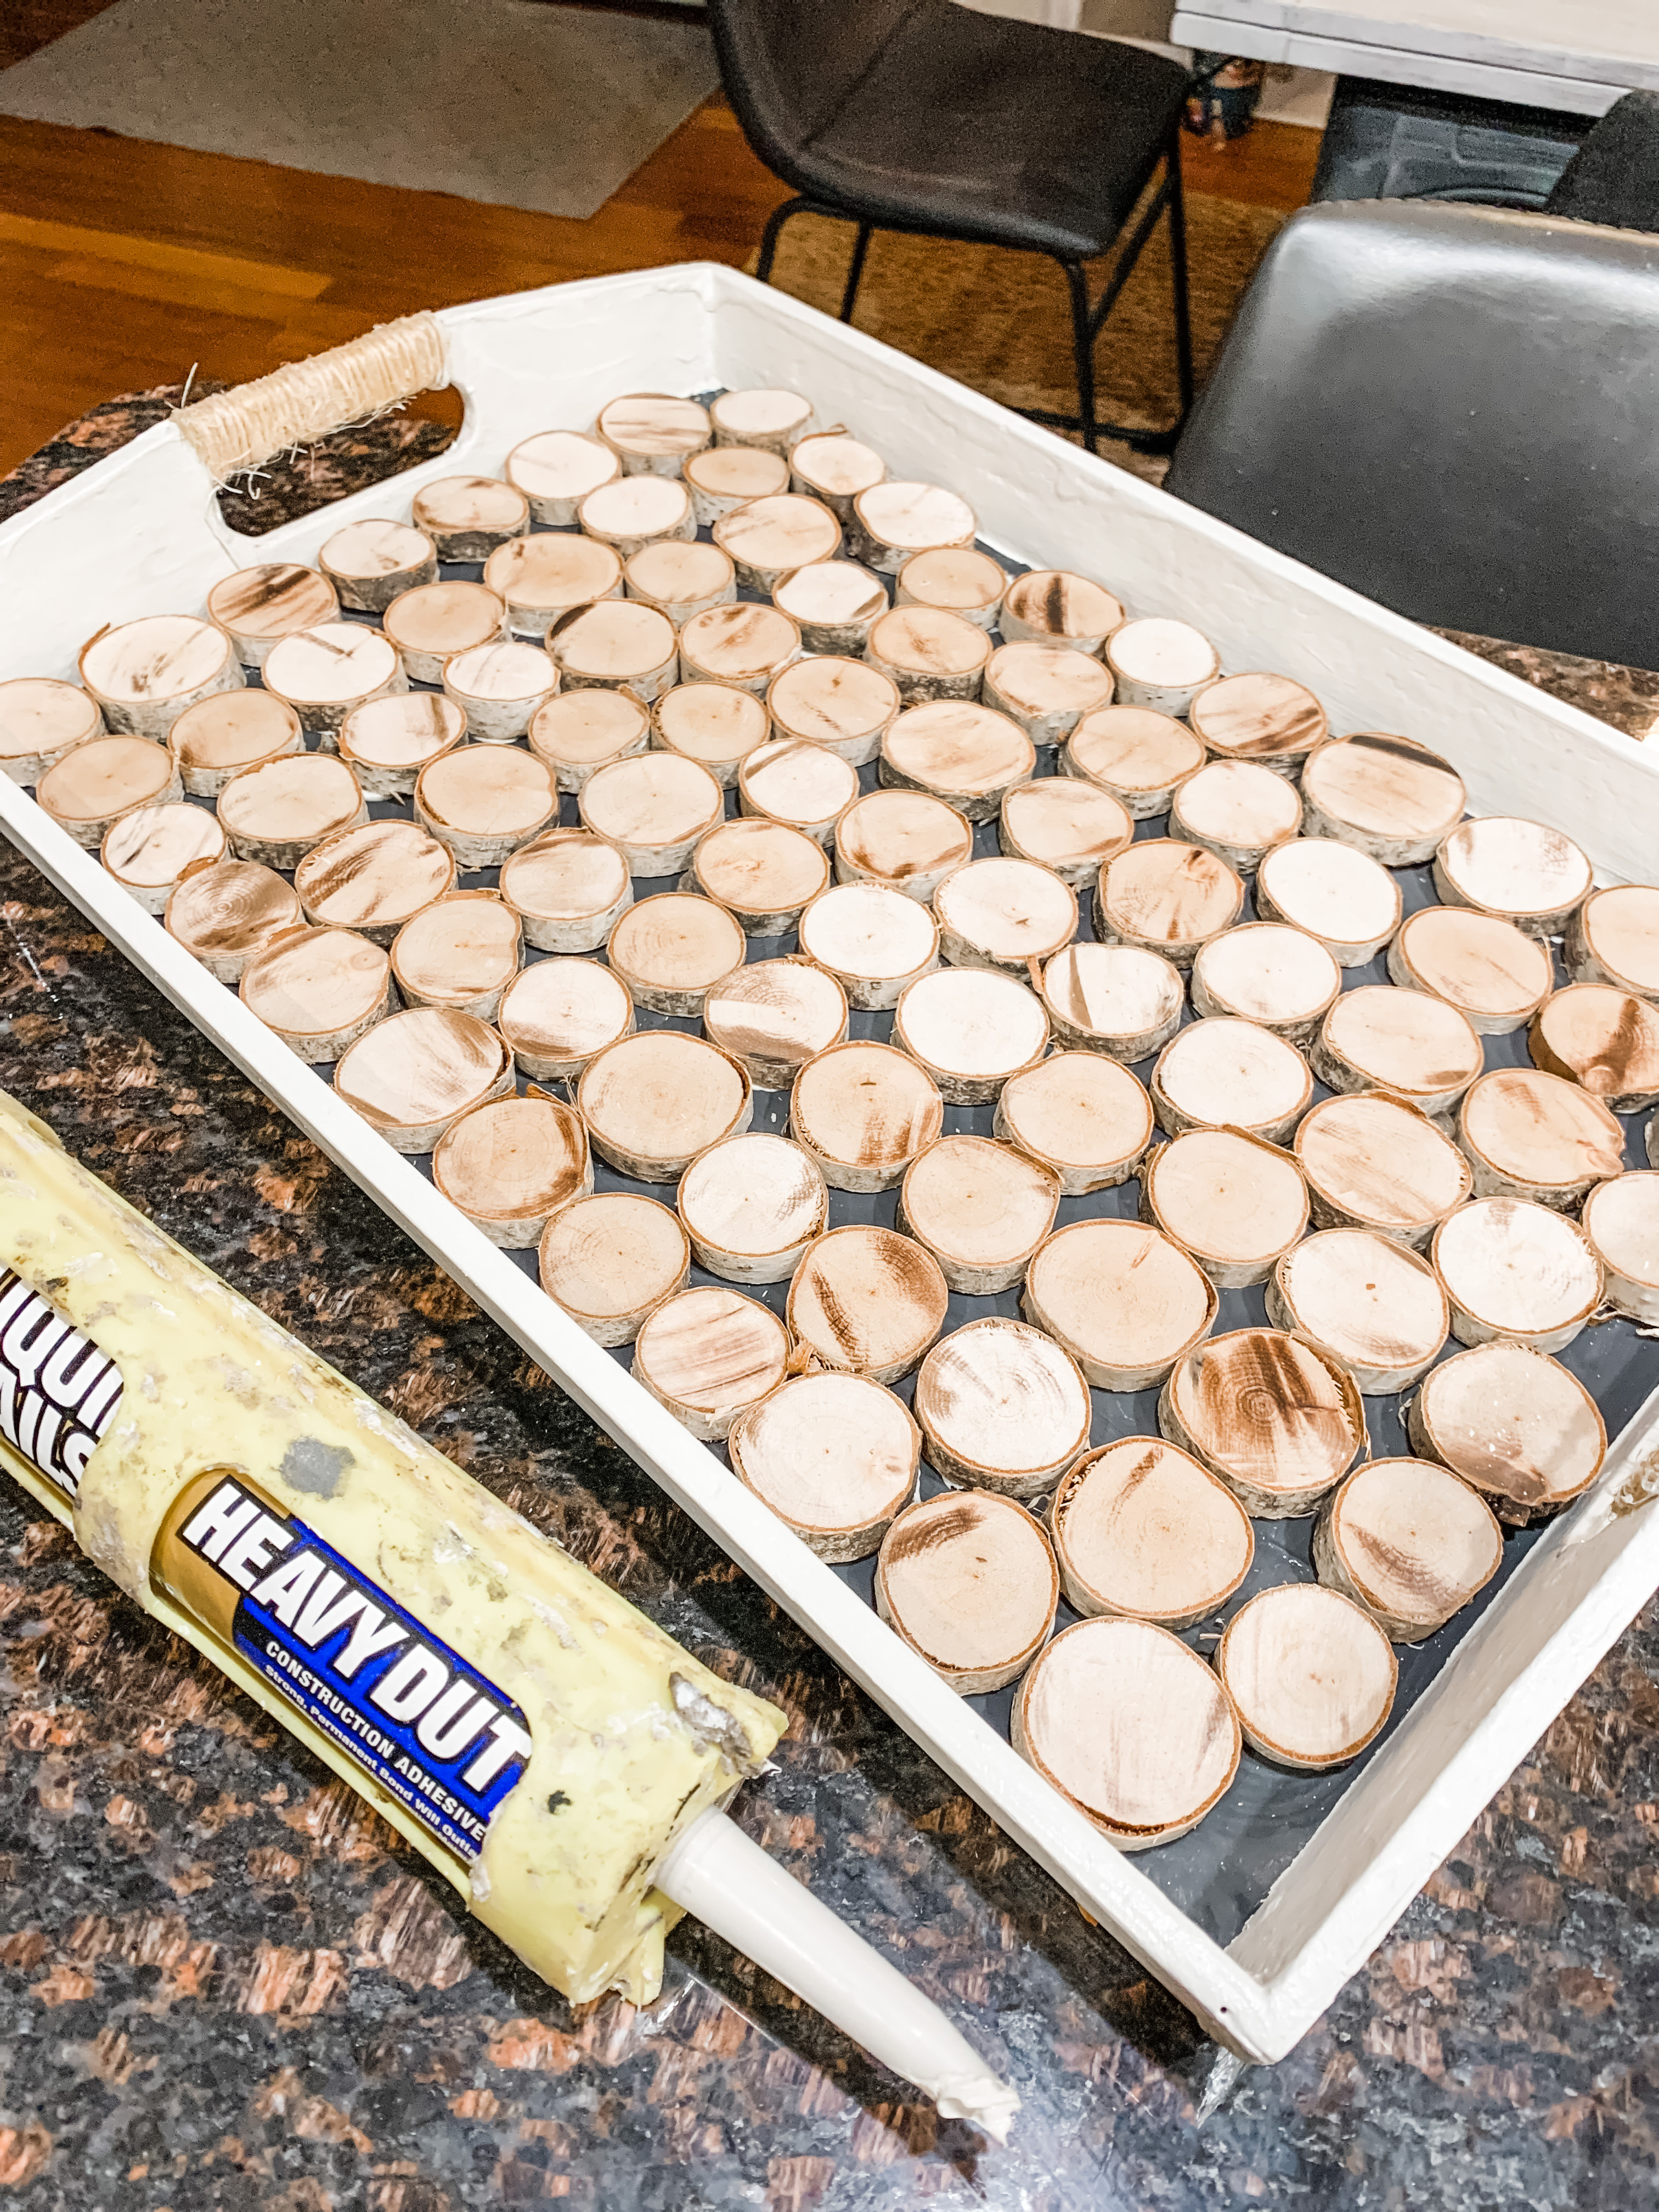
I’ve never used resin but I thought it might be fun to fill it in, but decided for this I wanted the natural look to remain. Maybe later. I did go back and touch up the charcoal color where you could see some of the Liquid Nails.
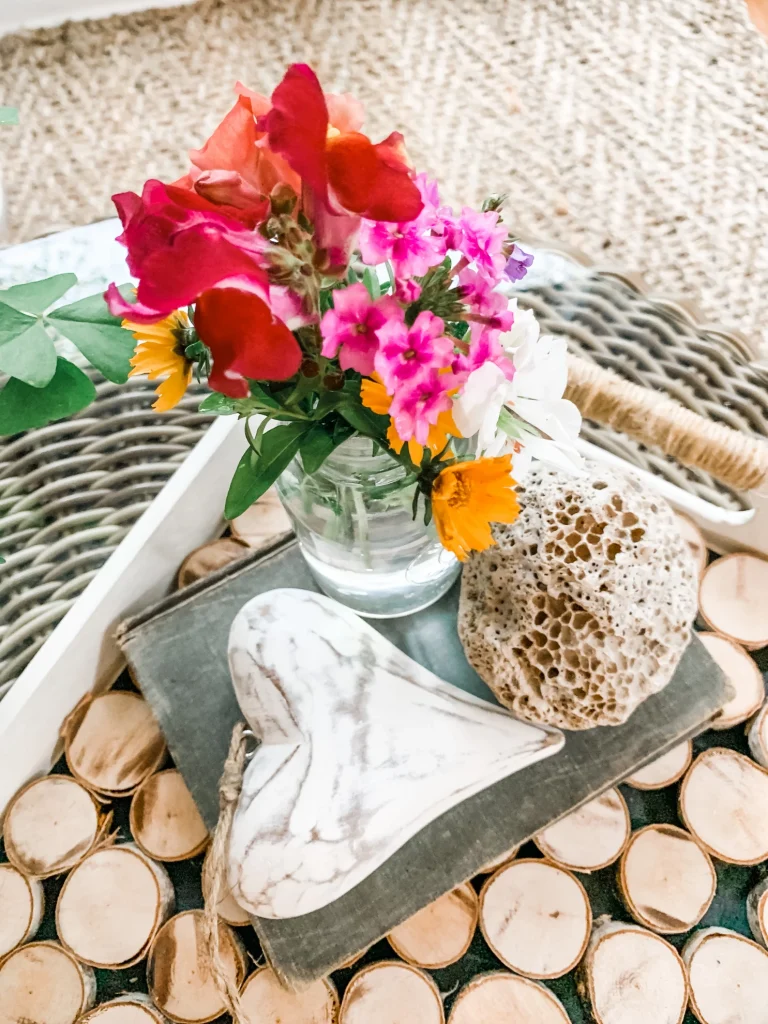
Now I have a totally different look that could be used on the deck, to deliver drinks to the fire pit or front porch.
Do you have an unused DIY that could use an update? Just use your imagination and things you have on hand and you can bring it new life!
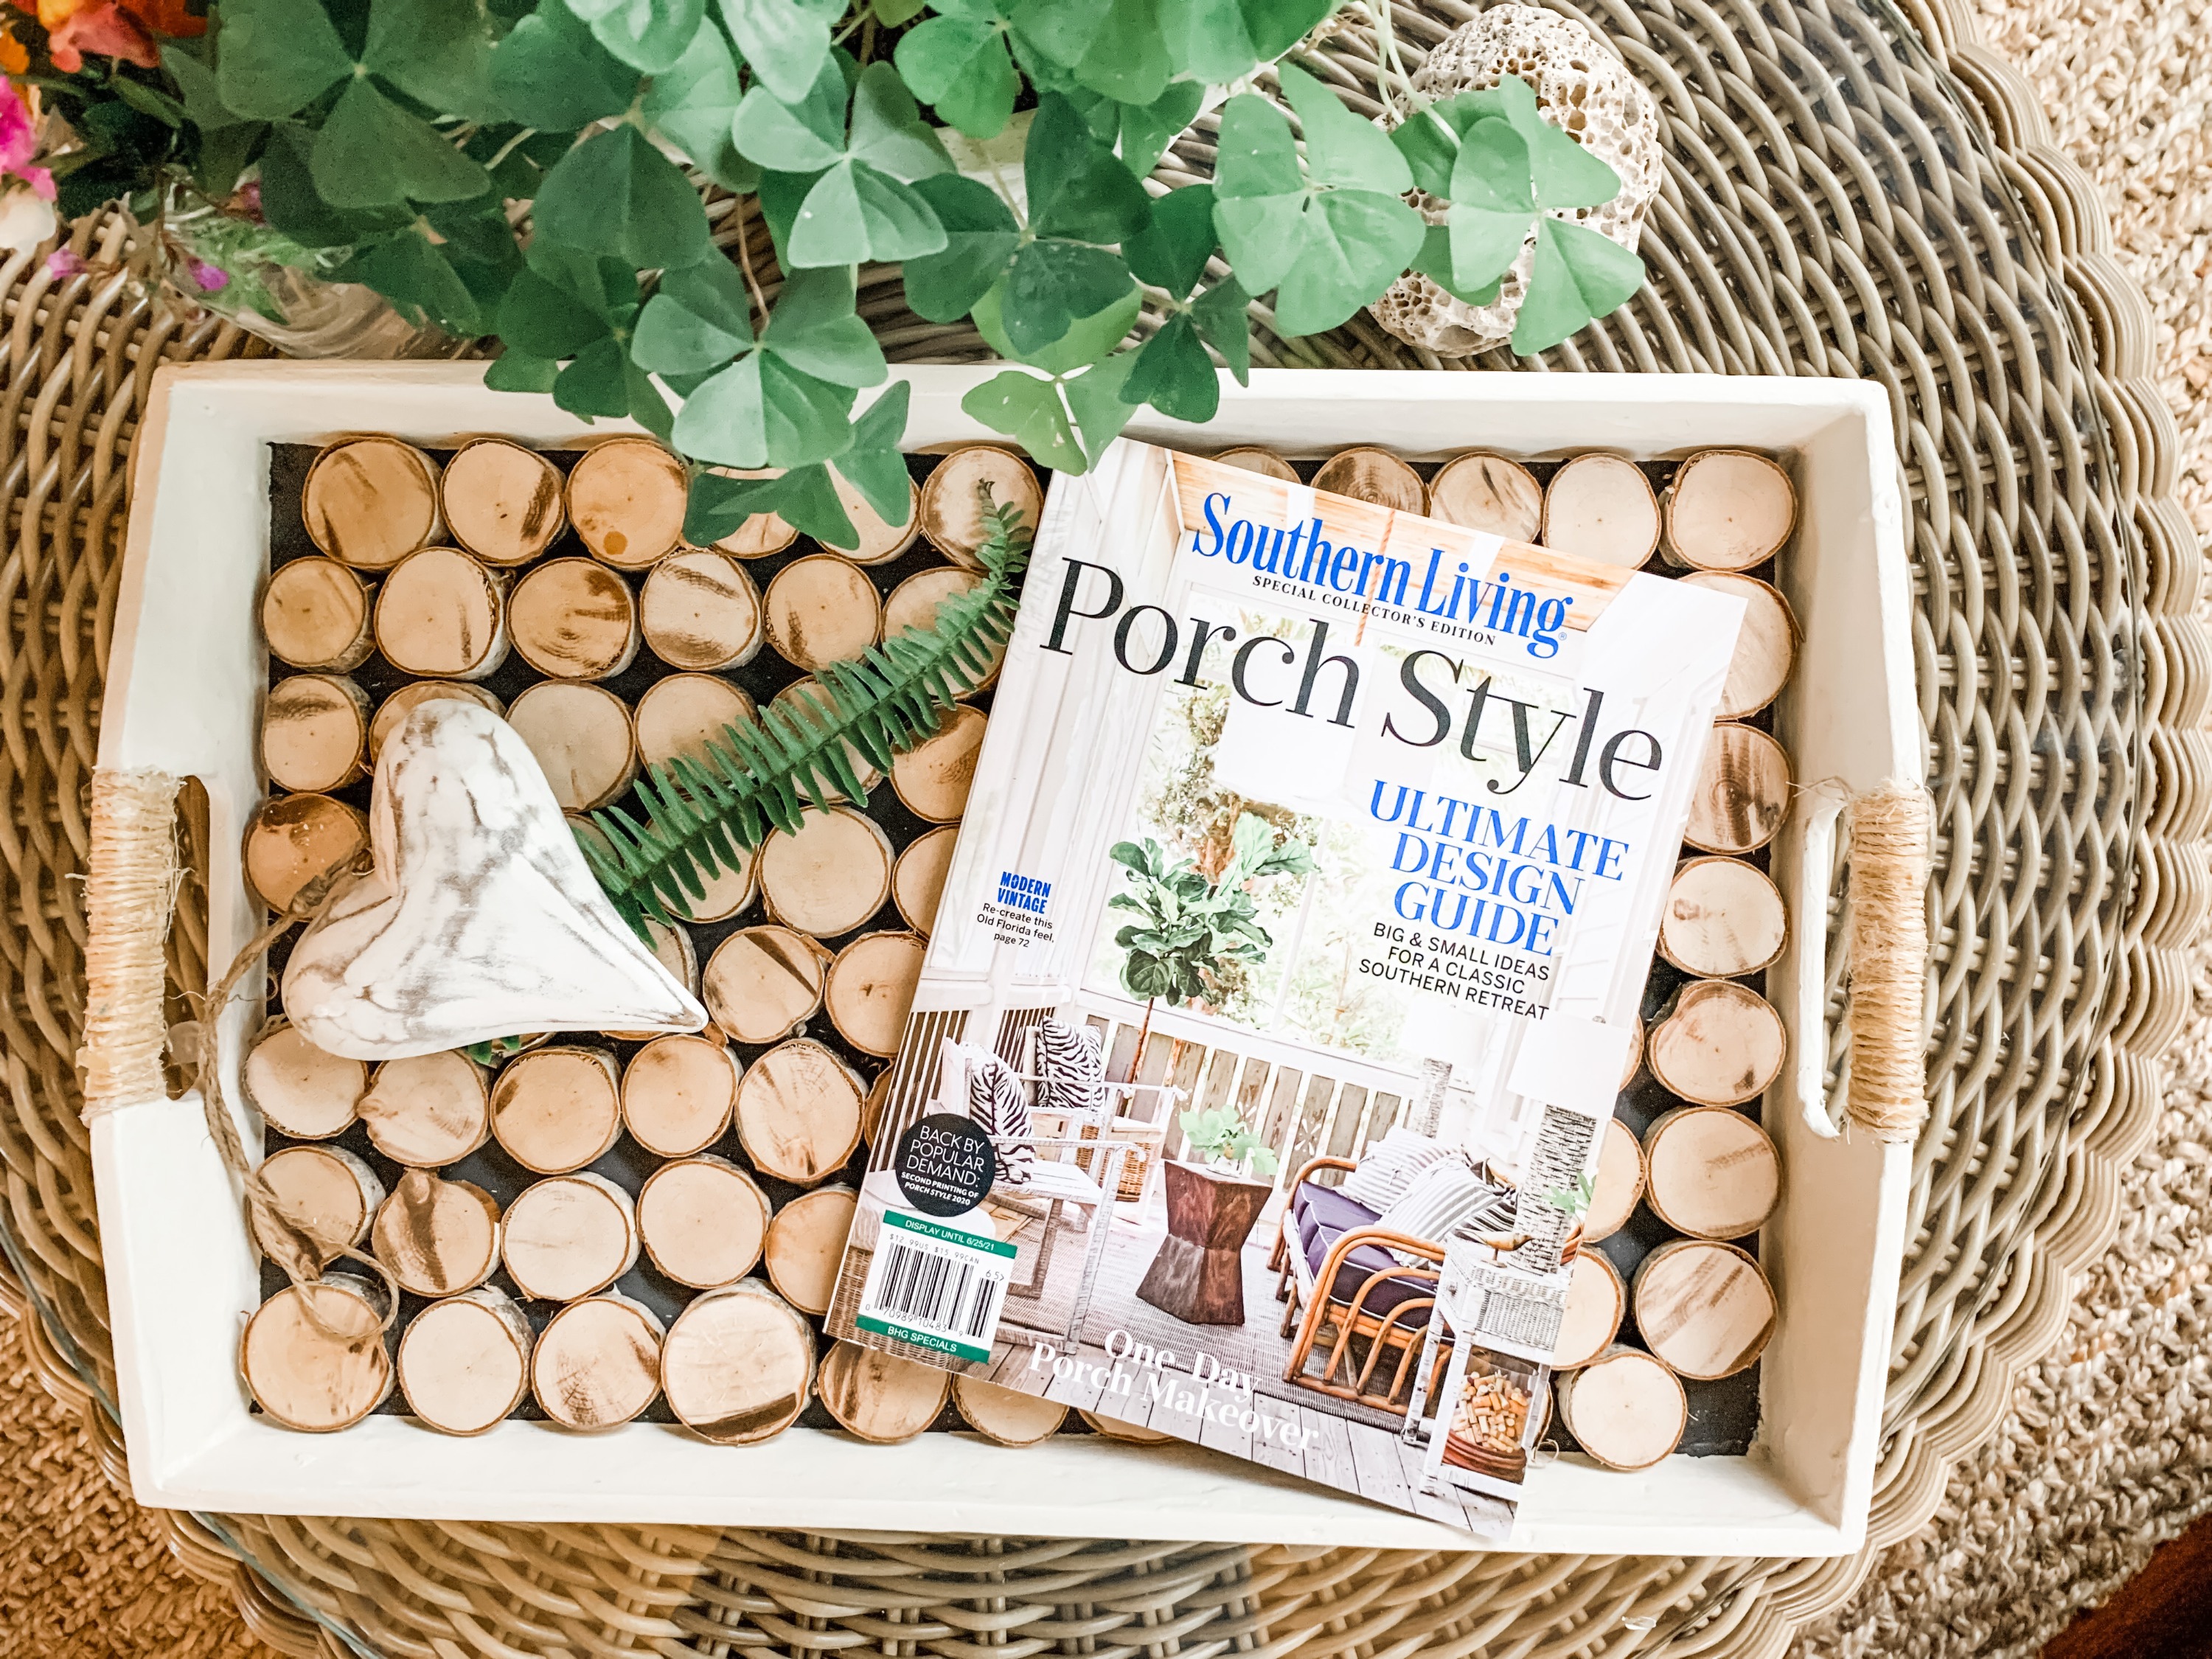
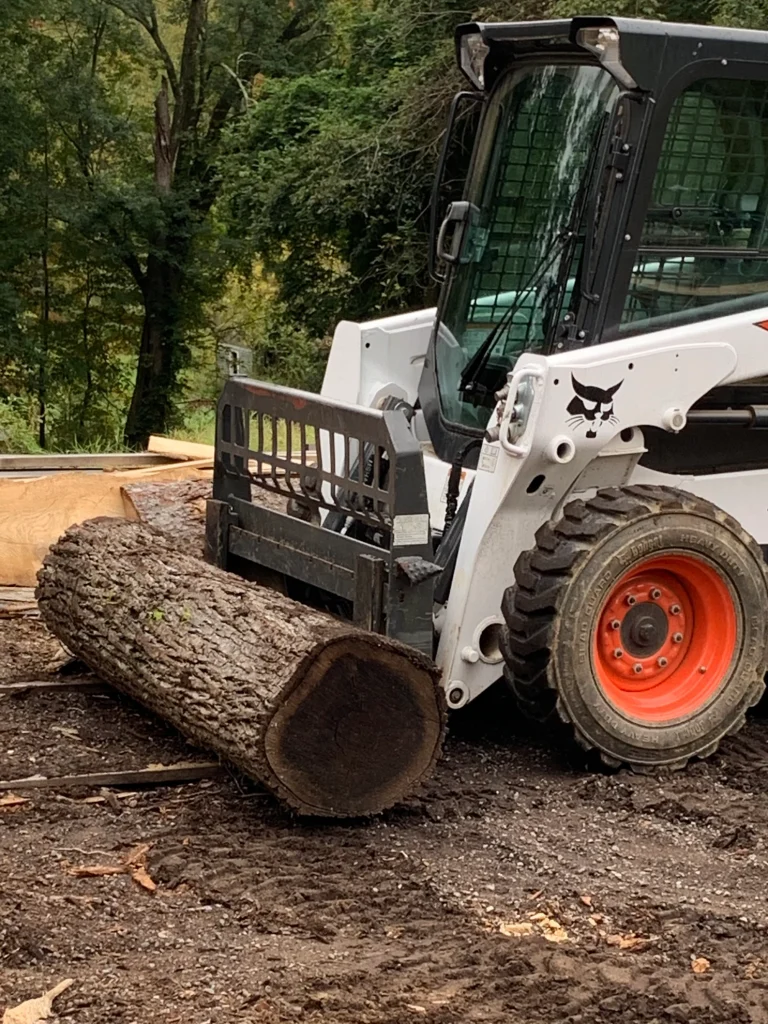
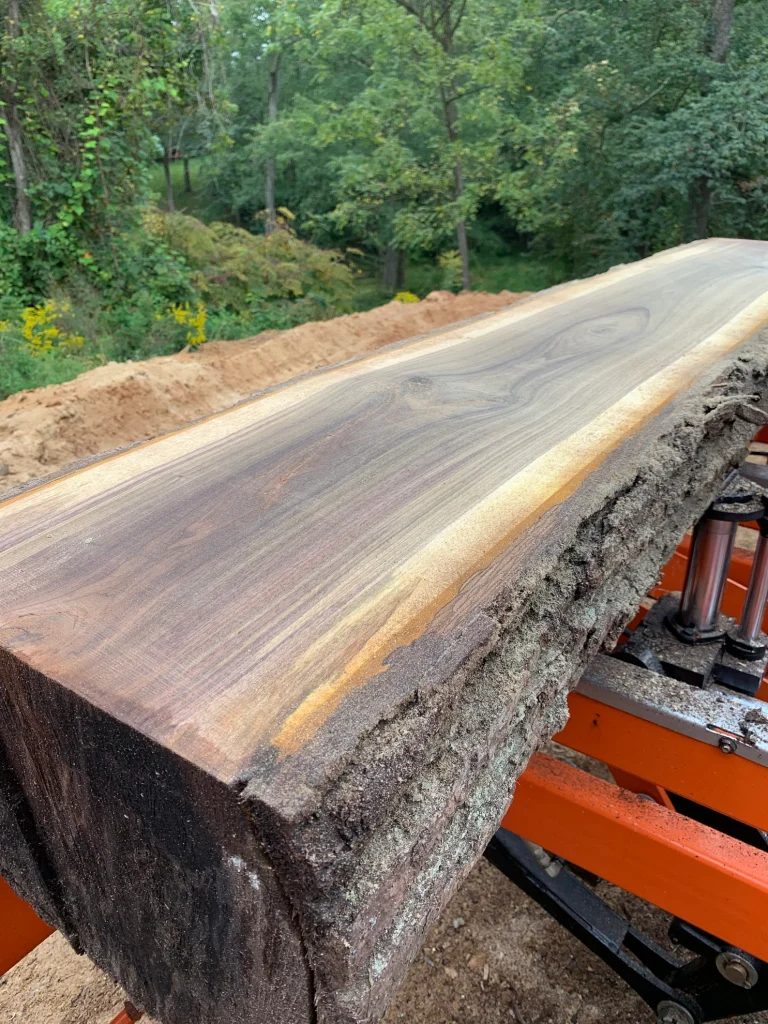
Stay tuned for more “wood” projects, from planters, to table runners, placemats, chargers, desk, sofa table, end table! We had to take down a few Black Walnut trees last year because they walnuts kept damaging our cars and shattering car windows.
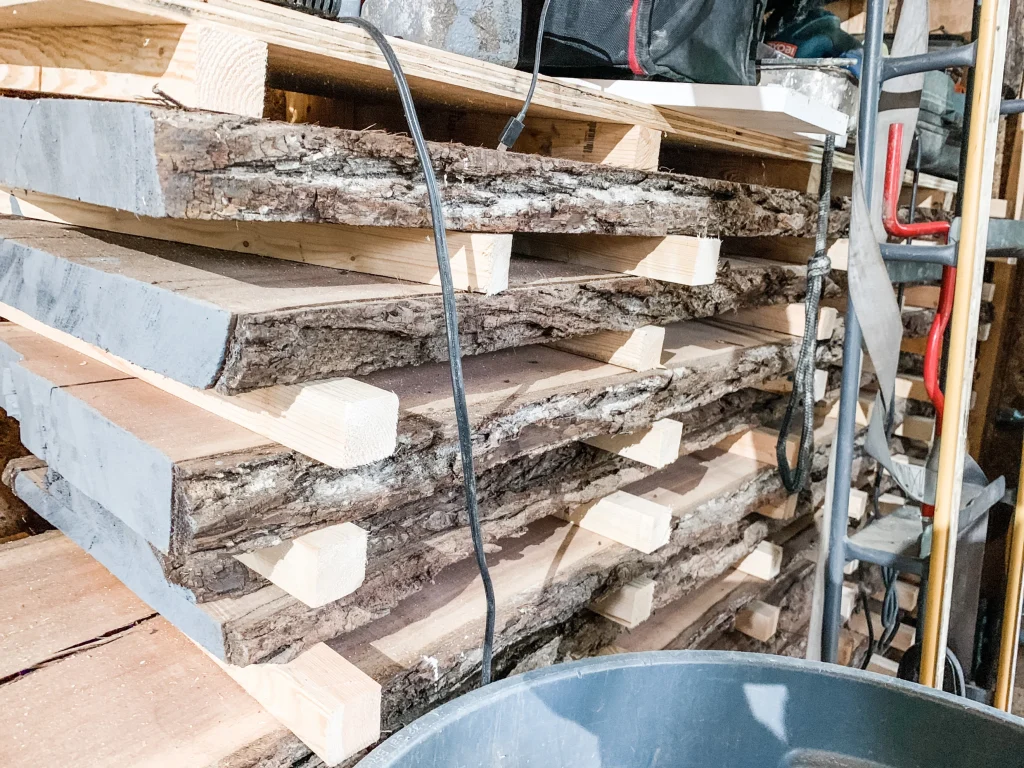
You know I couldn’t let the tree guys leave with all the wood – #Ihaveissues. Anyway, we had it cut and it’s almost dry enough to use for my zillion ideas.
Thanks for stopping by my blog. I so enjoy sharing projects and ideas and inspiration with you. If you enjoy what you see, please comment, share or subscribe today!

Before and…
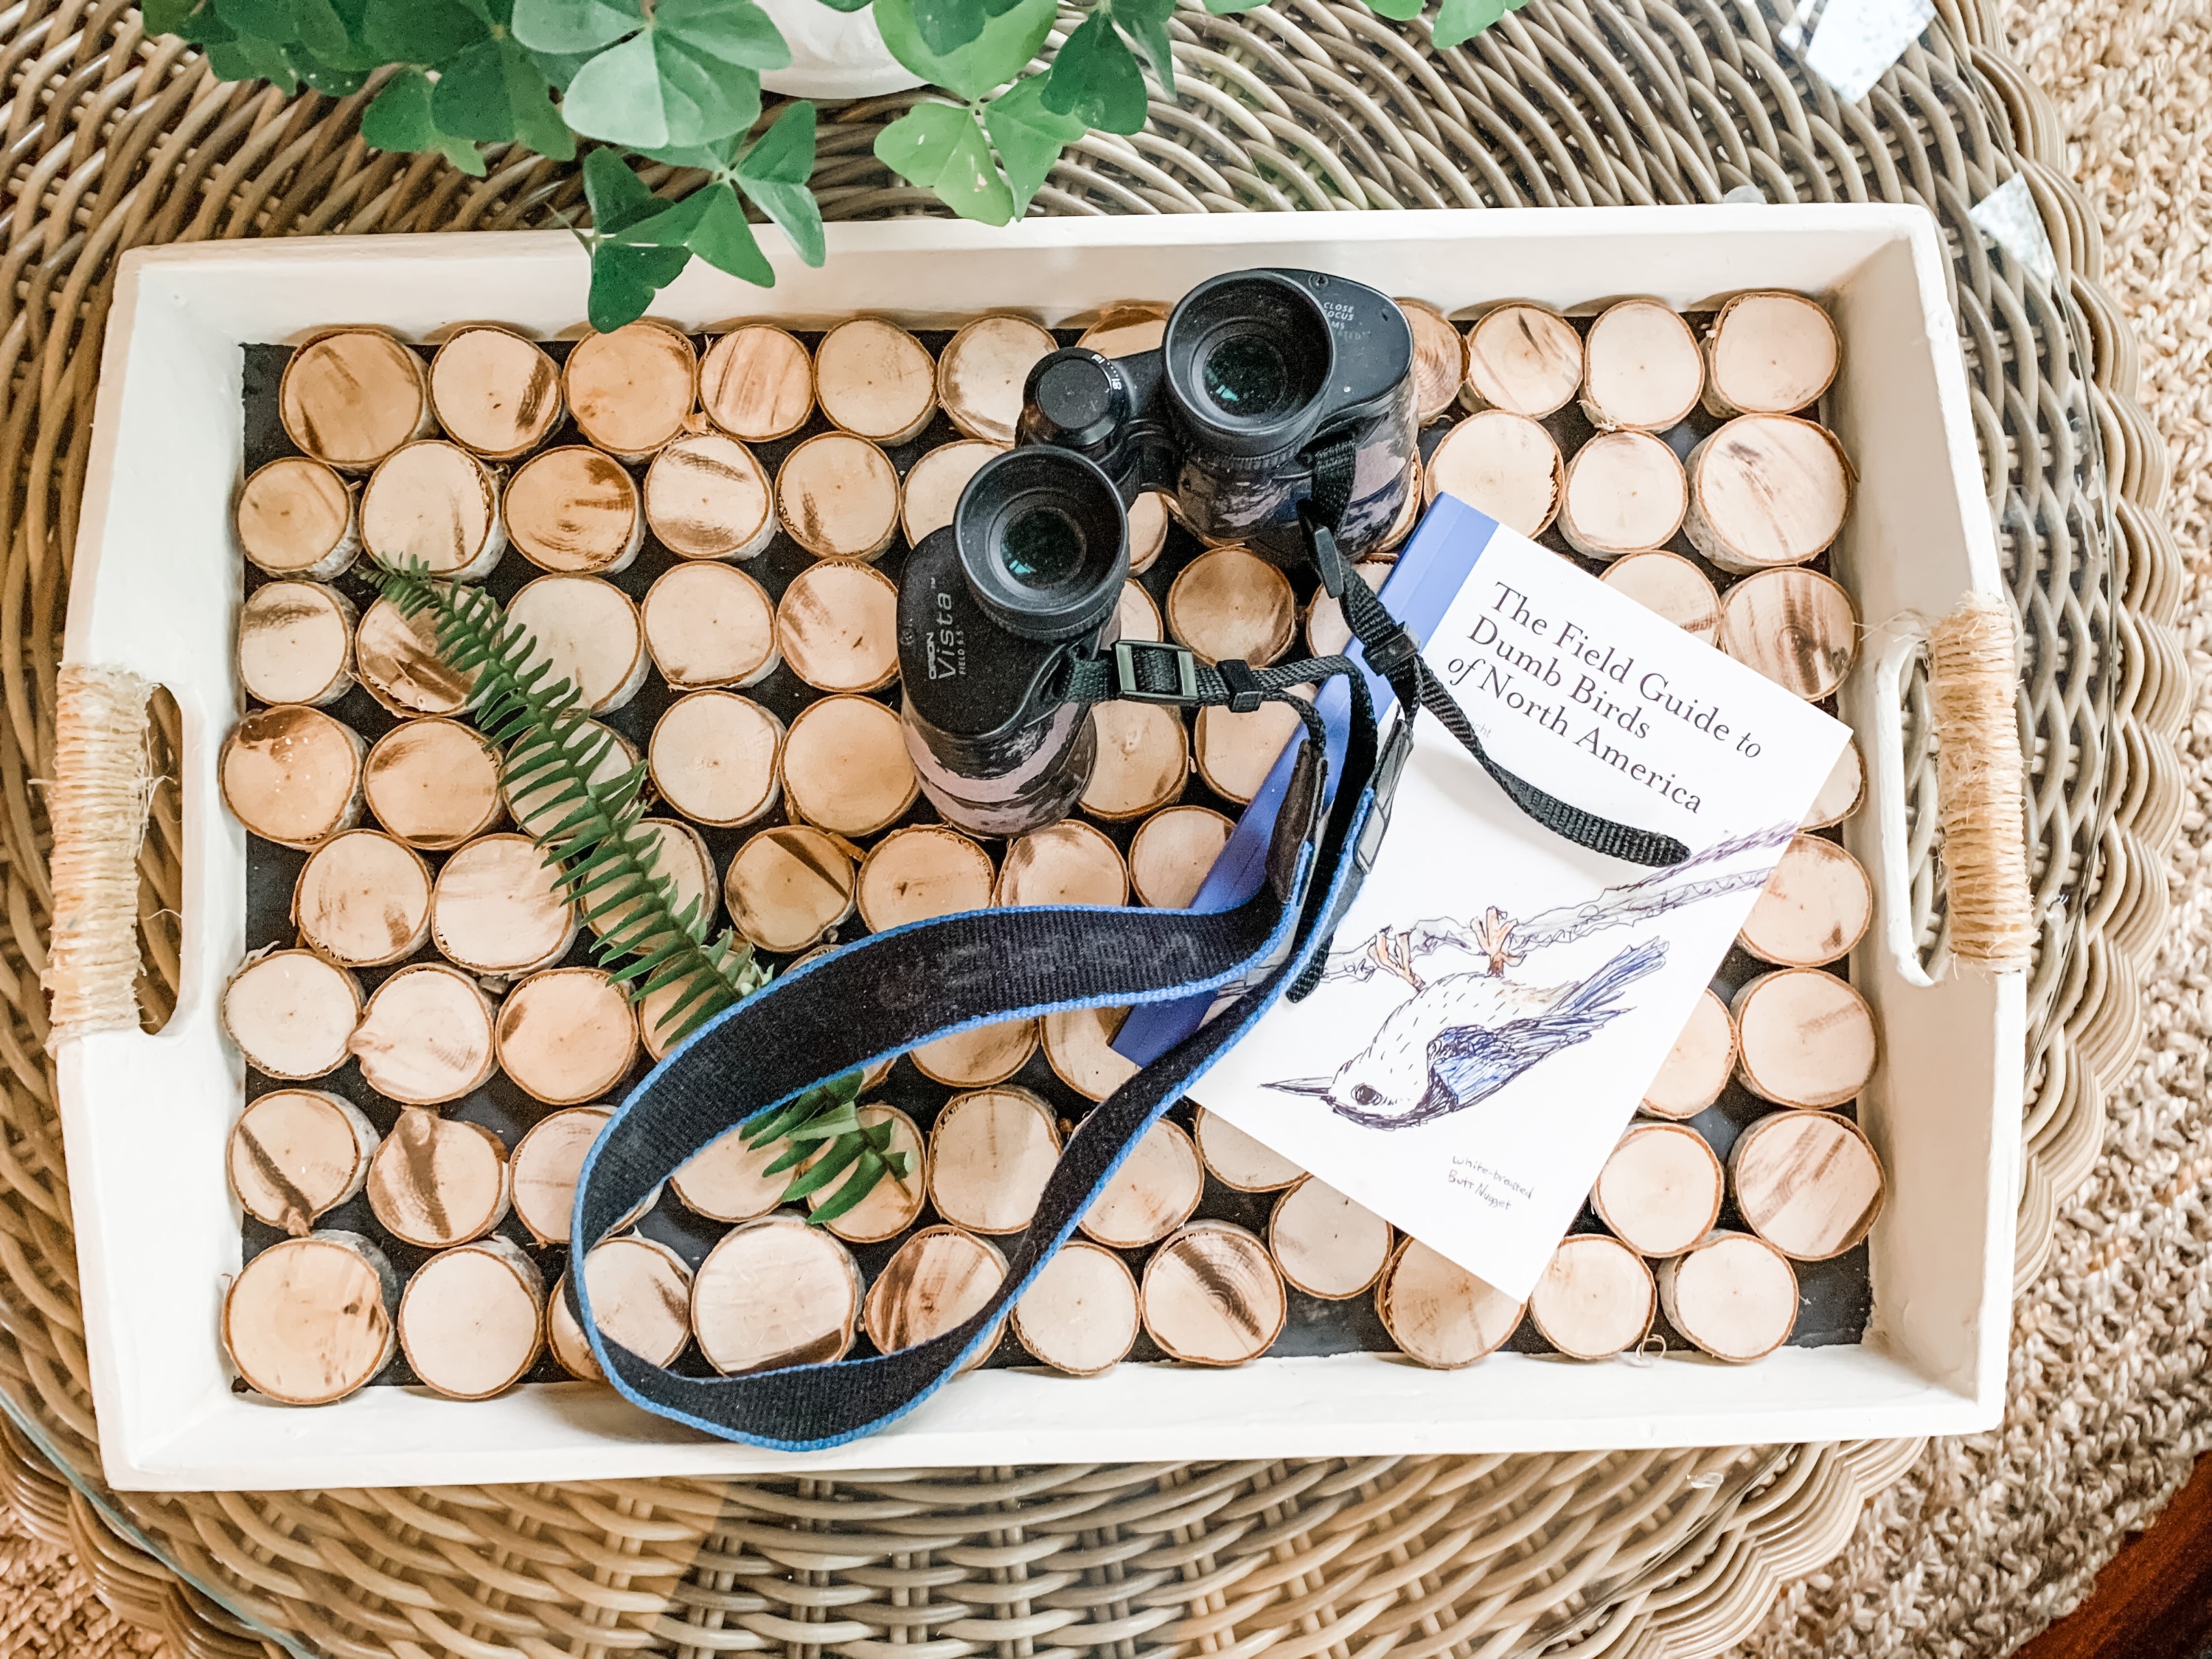
After.
Have a wonderful weekend, it’s a rainy Saturday morning here but there are plants to be planted so it’s a slicker and rain boots for me.
XO, Regina
This post contains affiliate links.

Leave a Reply