Here’s another DIY using leaves from your garden or yard. I love garden art and this is an inexpensive and easy way to create unique pieces for yourself or to give as a gift. It’s also a perfect way to hold onto those summer greens into the winter. So hurry and try this before all the leaves turn color and fall.
Table of Contents
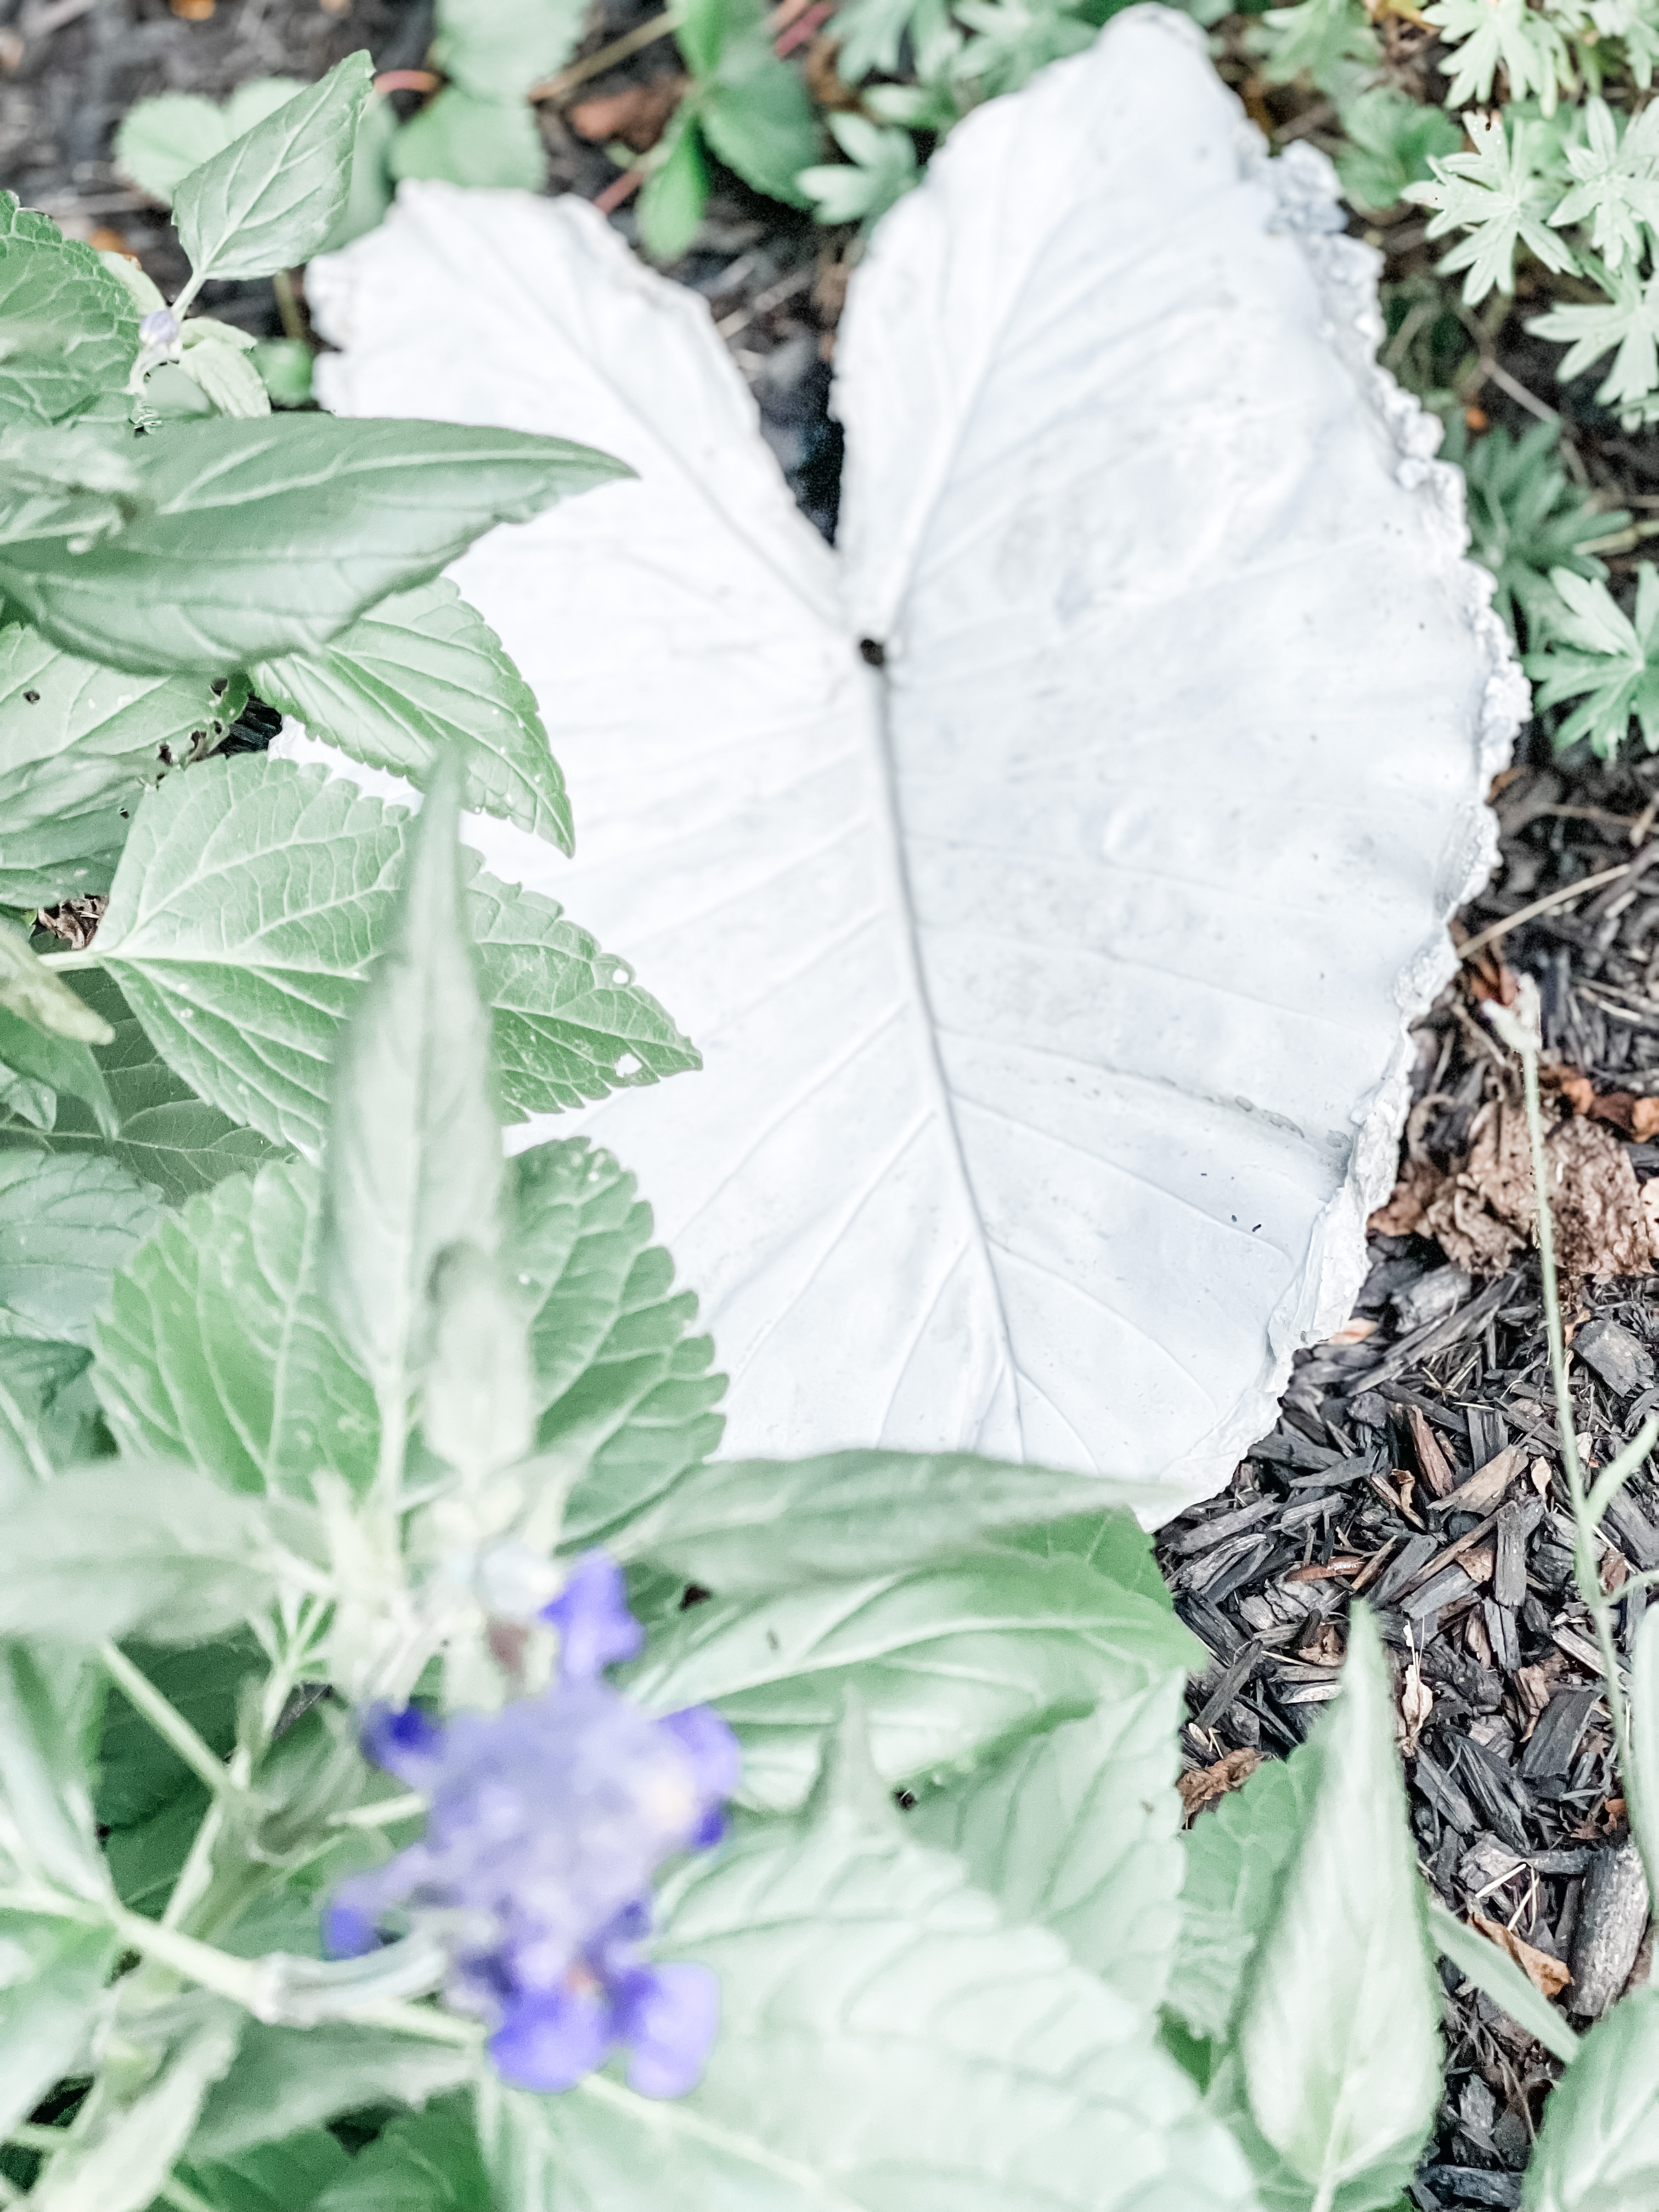
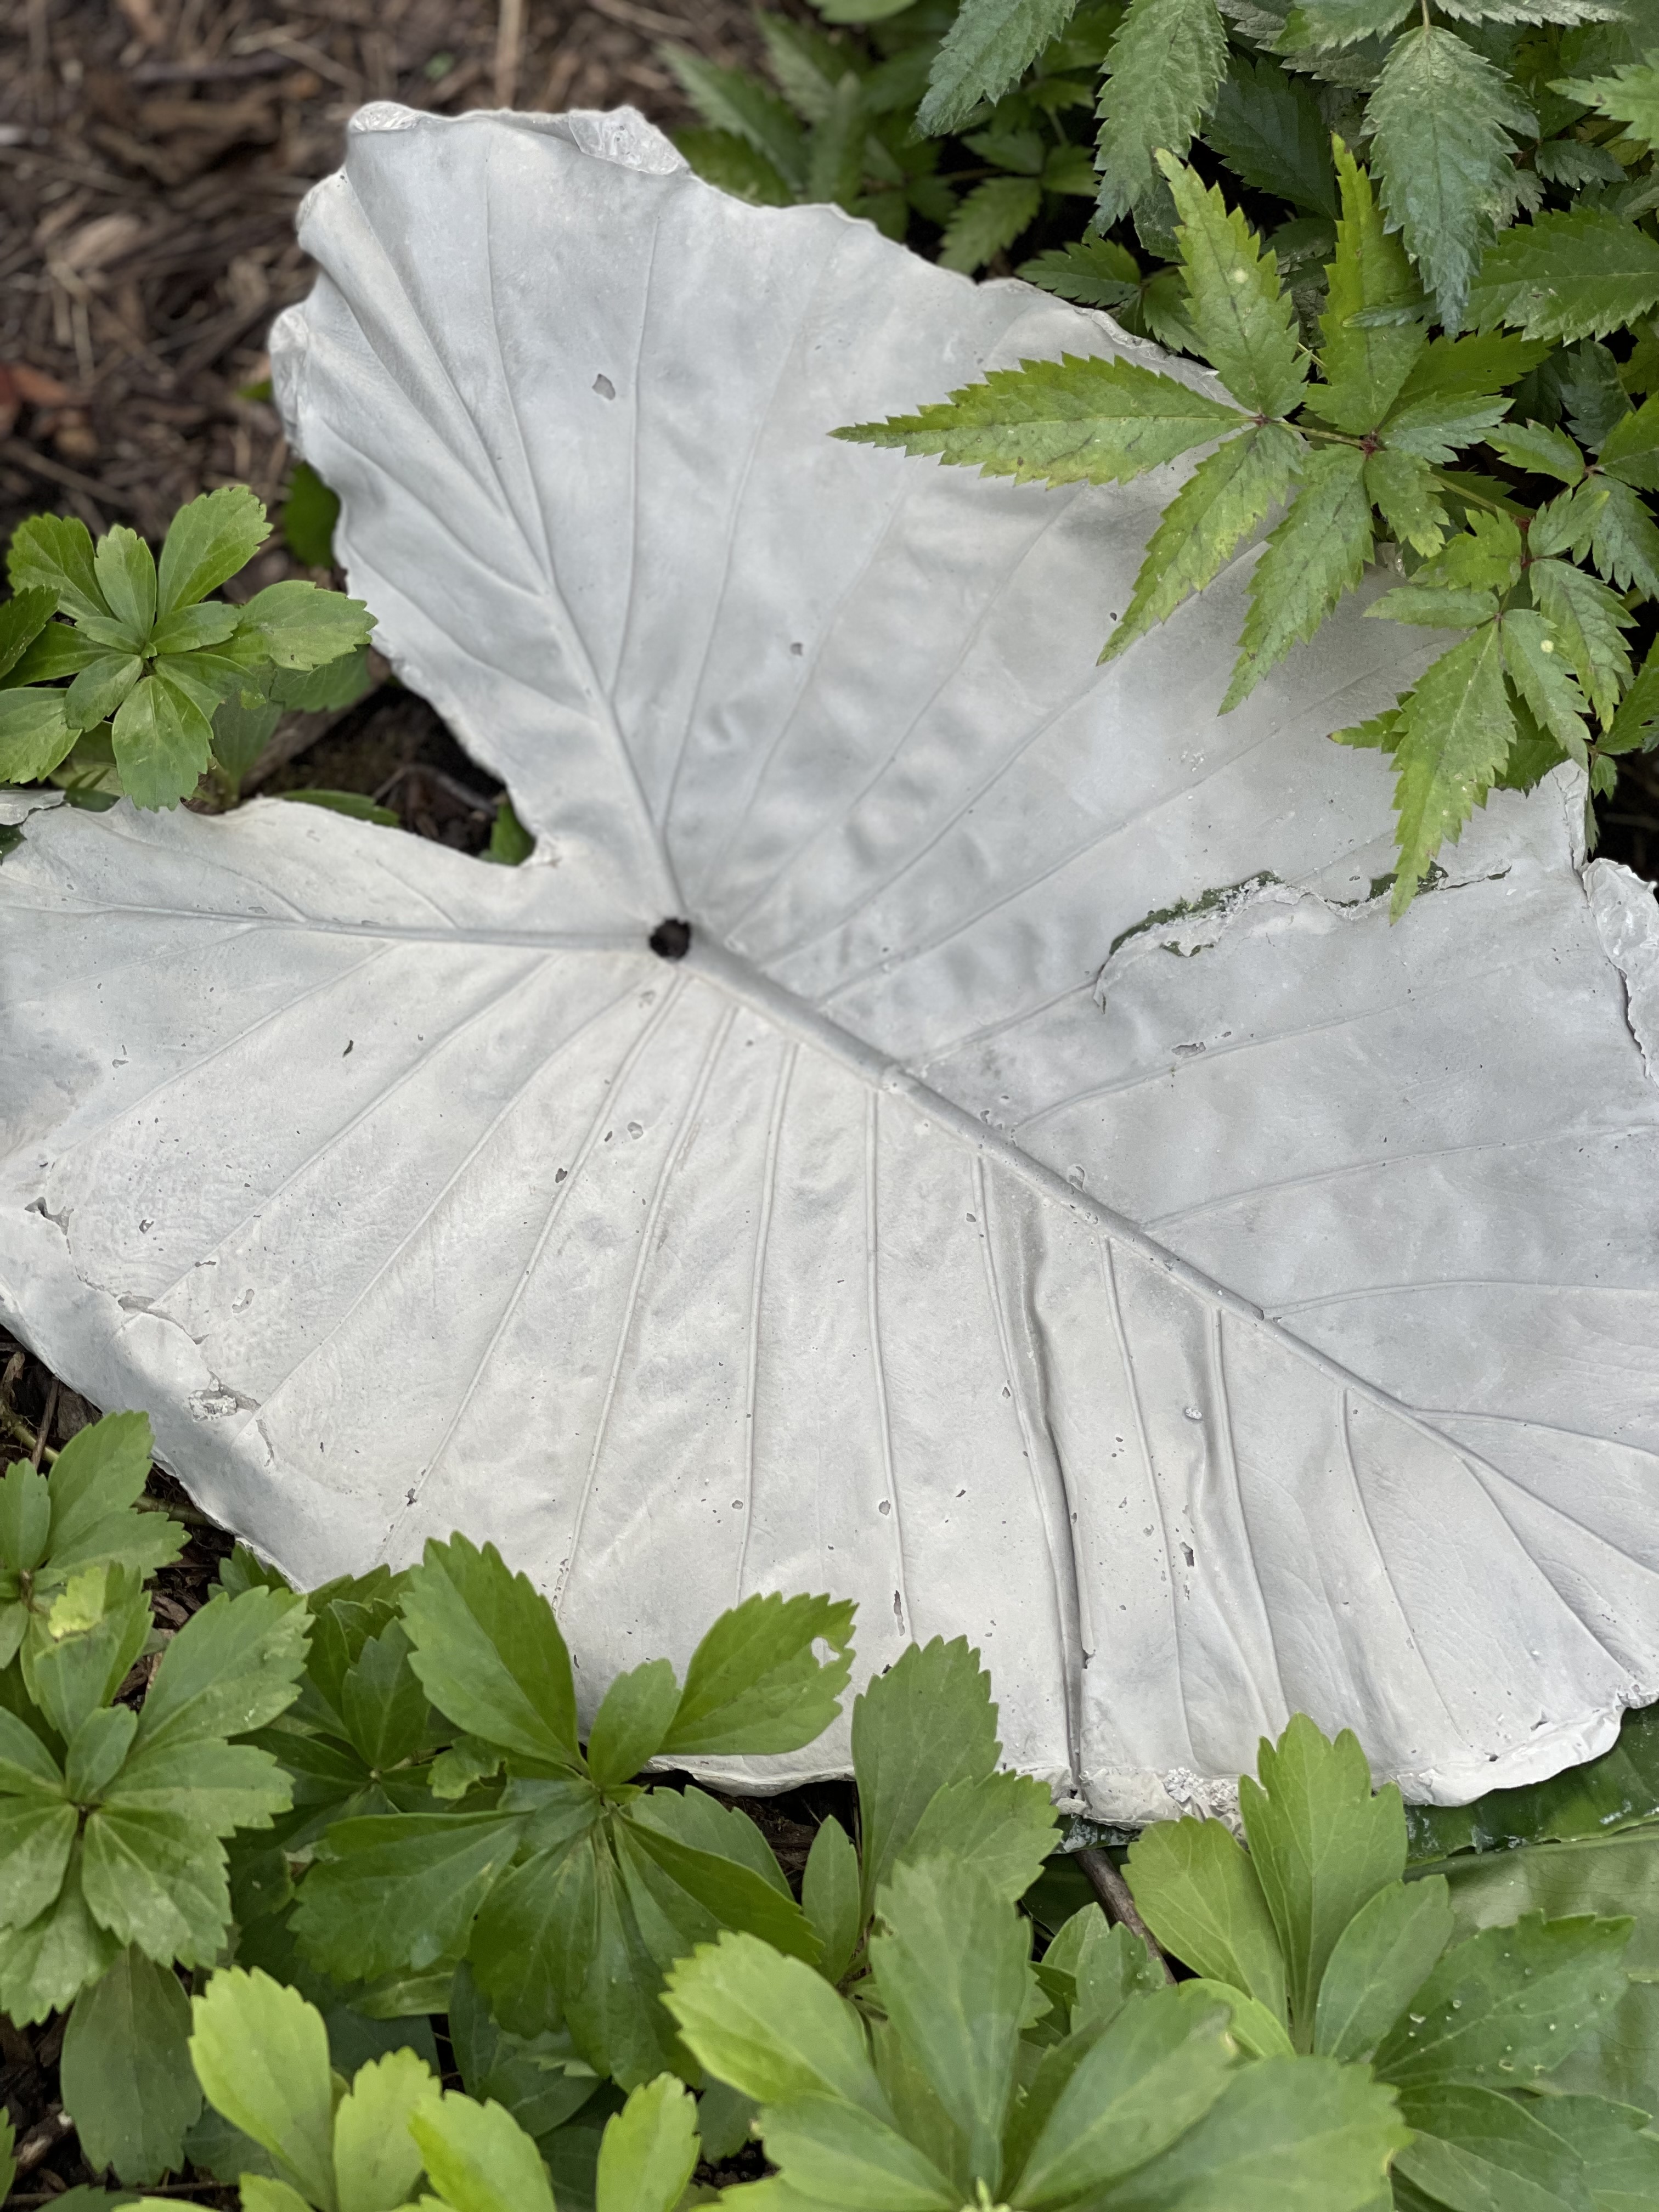
The cement leaves can be used as bird baths, at the base of a downspout, as a stepping stone, to plant succulents or simply to add a touch of whimsy to your garden.
You don’t have to use what’s in your yard, take a walk in the woods and see what you can find. I’m lucky to live in the woods and I found the biggest leaves to use!
The creativity comes in how you mold them. You could lay them fairly flat or on a mound so they are concave and could hold water (when sealed) or birdseed.
The process is pretty straightforward. I share the steps below.
WHAT YOU WILL NEED: (Link provided if in light blue)
Plastic Wrap (Grocery)
Leaf (Garden – Woods)
Small plastic container to mix concrete (I used a rubbermaid food container)
Water
Wooden paint stirrer (I used a long stick)
Piece of cardboard or scrap wood to spread the sand on
Rubber gloves
NOTE:
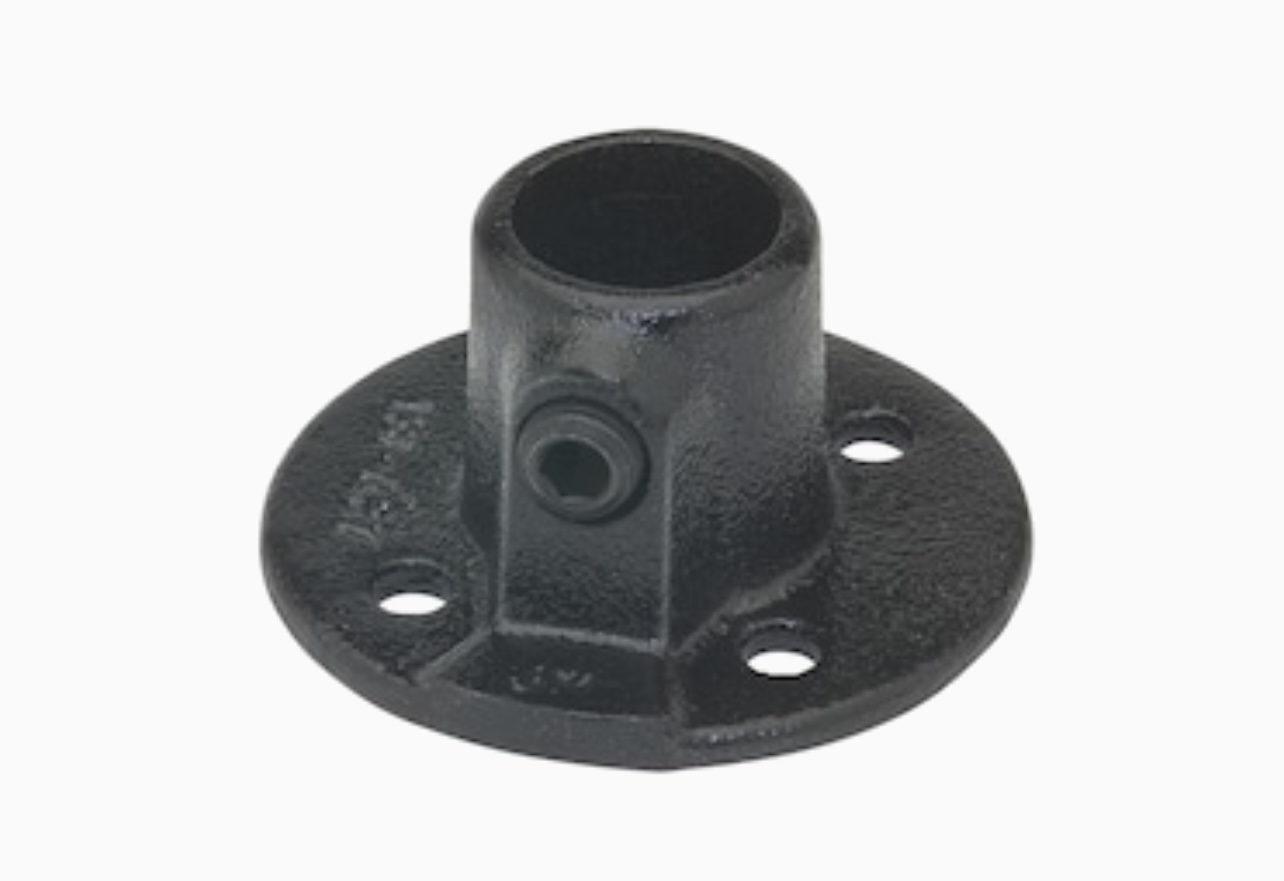
For a bird bath or feeder, add a small pipe fitting with a flange into the cement. Then when it’s dry you can attach to a small pipe so it’s elevated in your yard or garden.
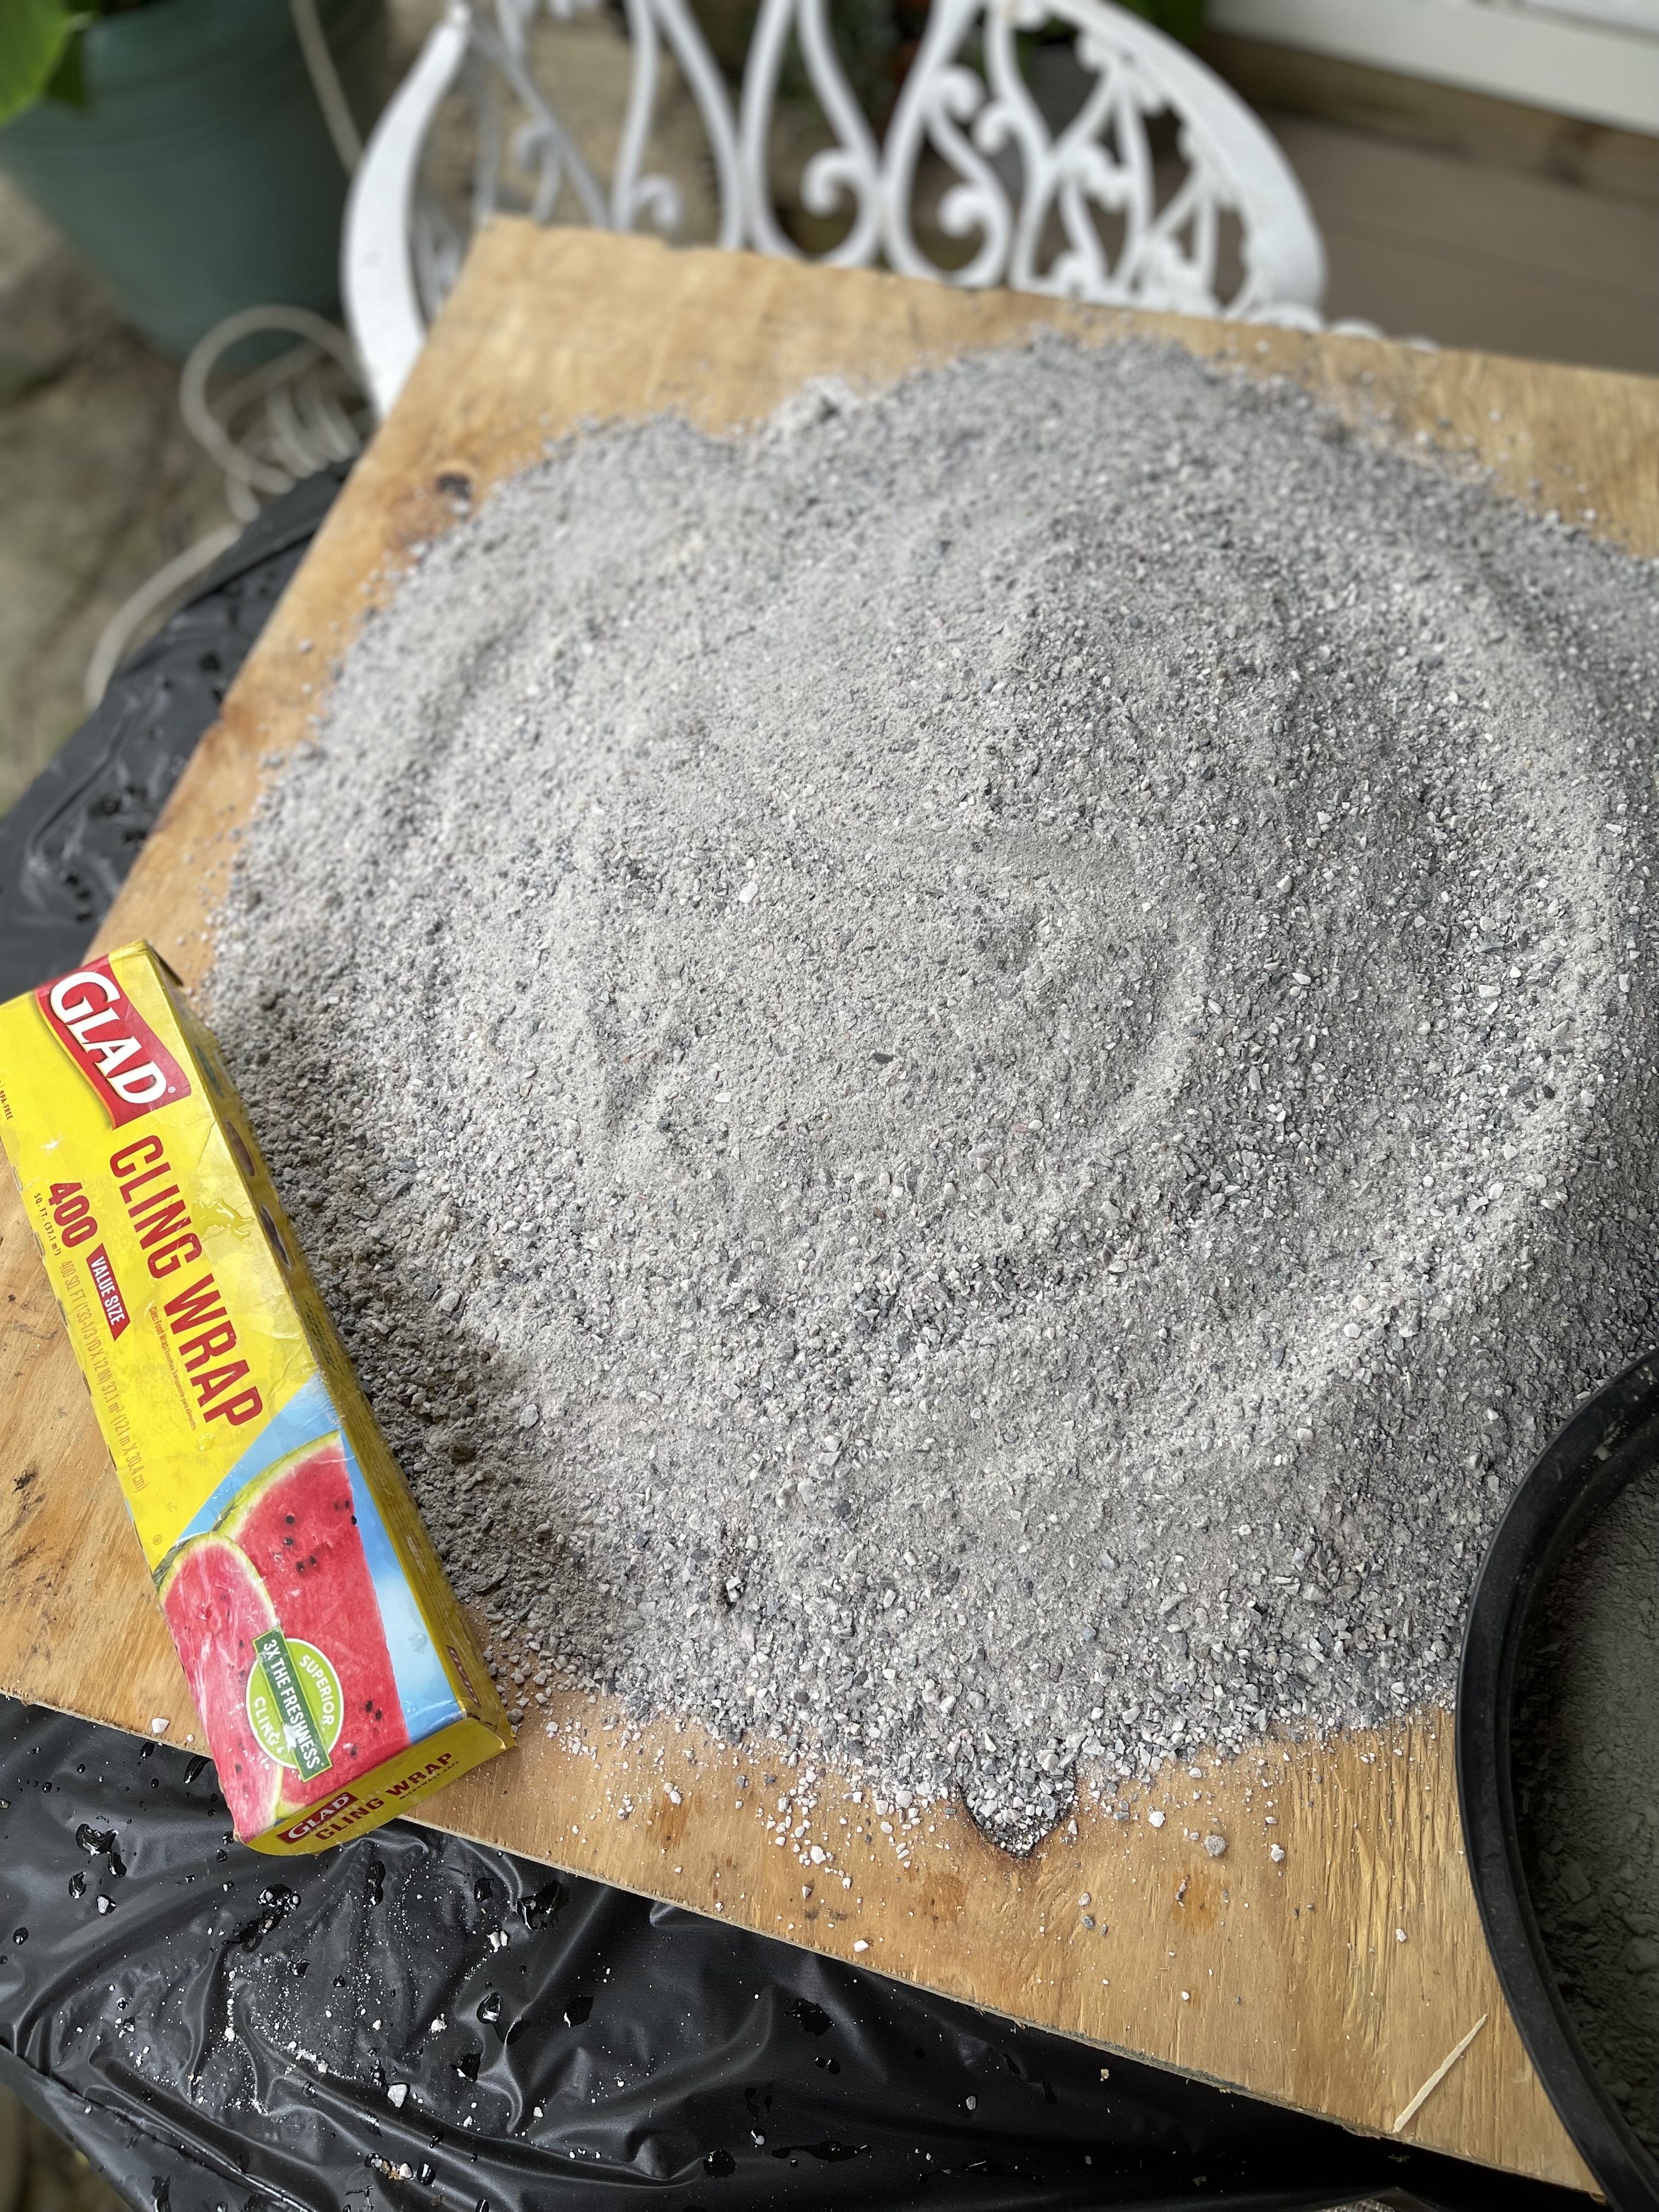
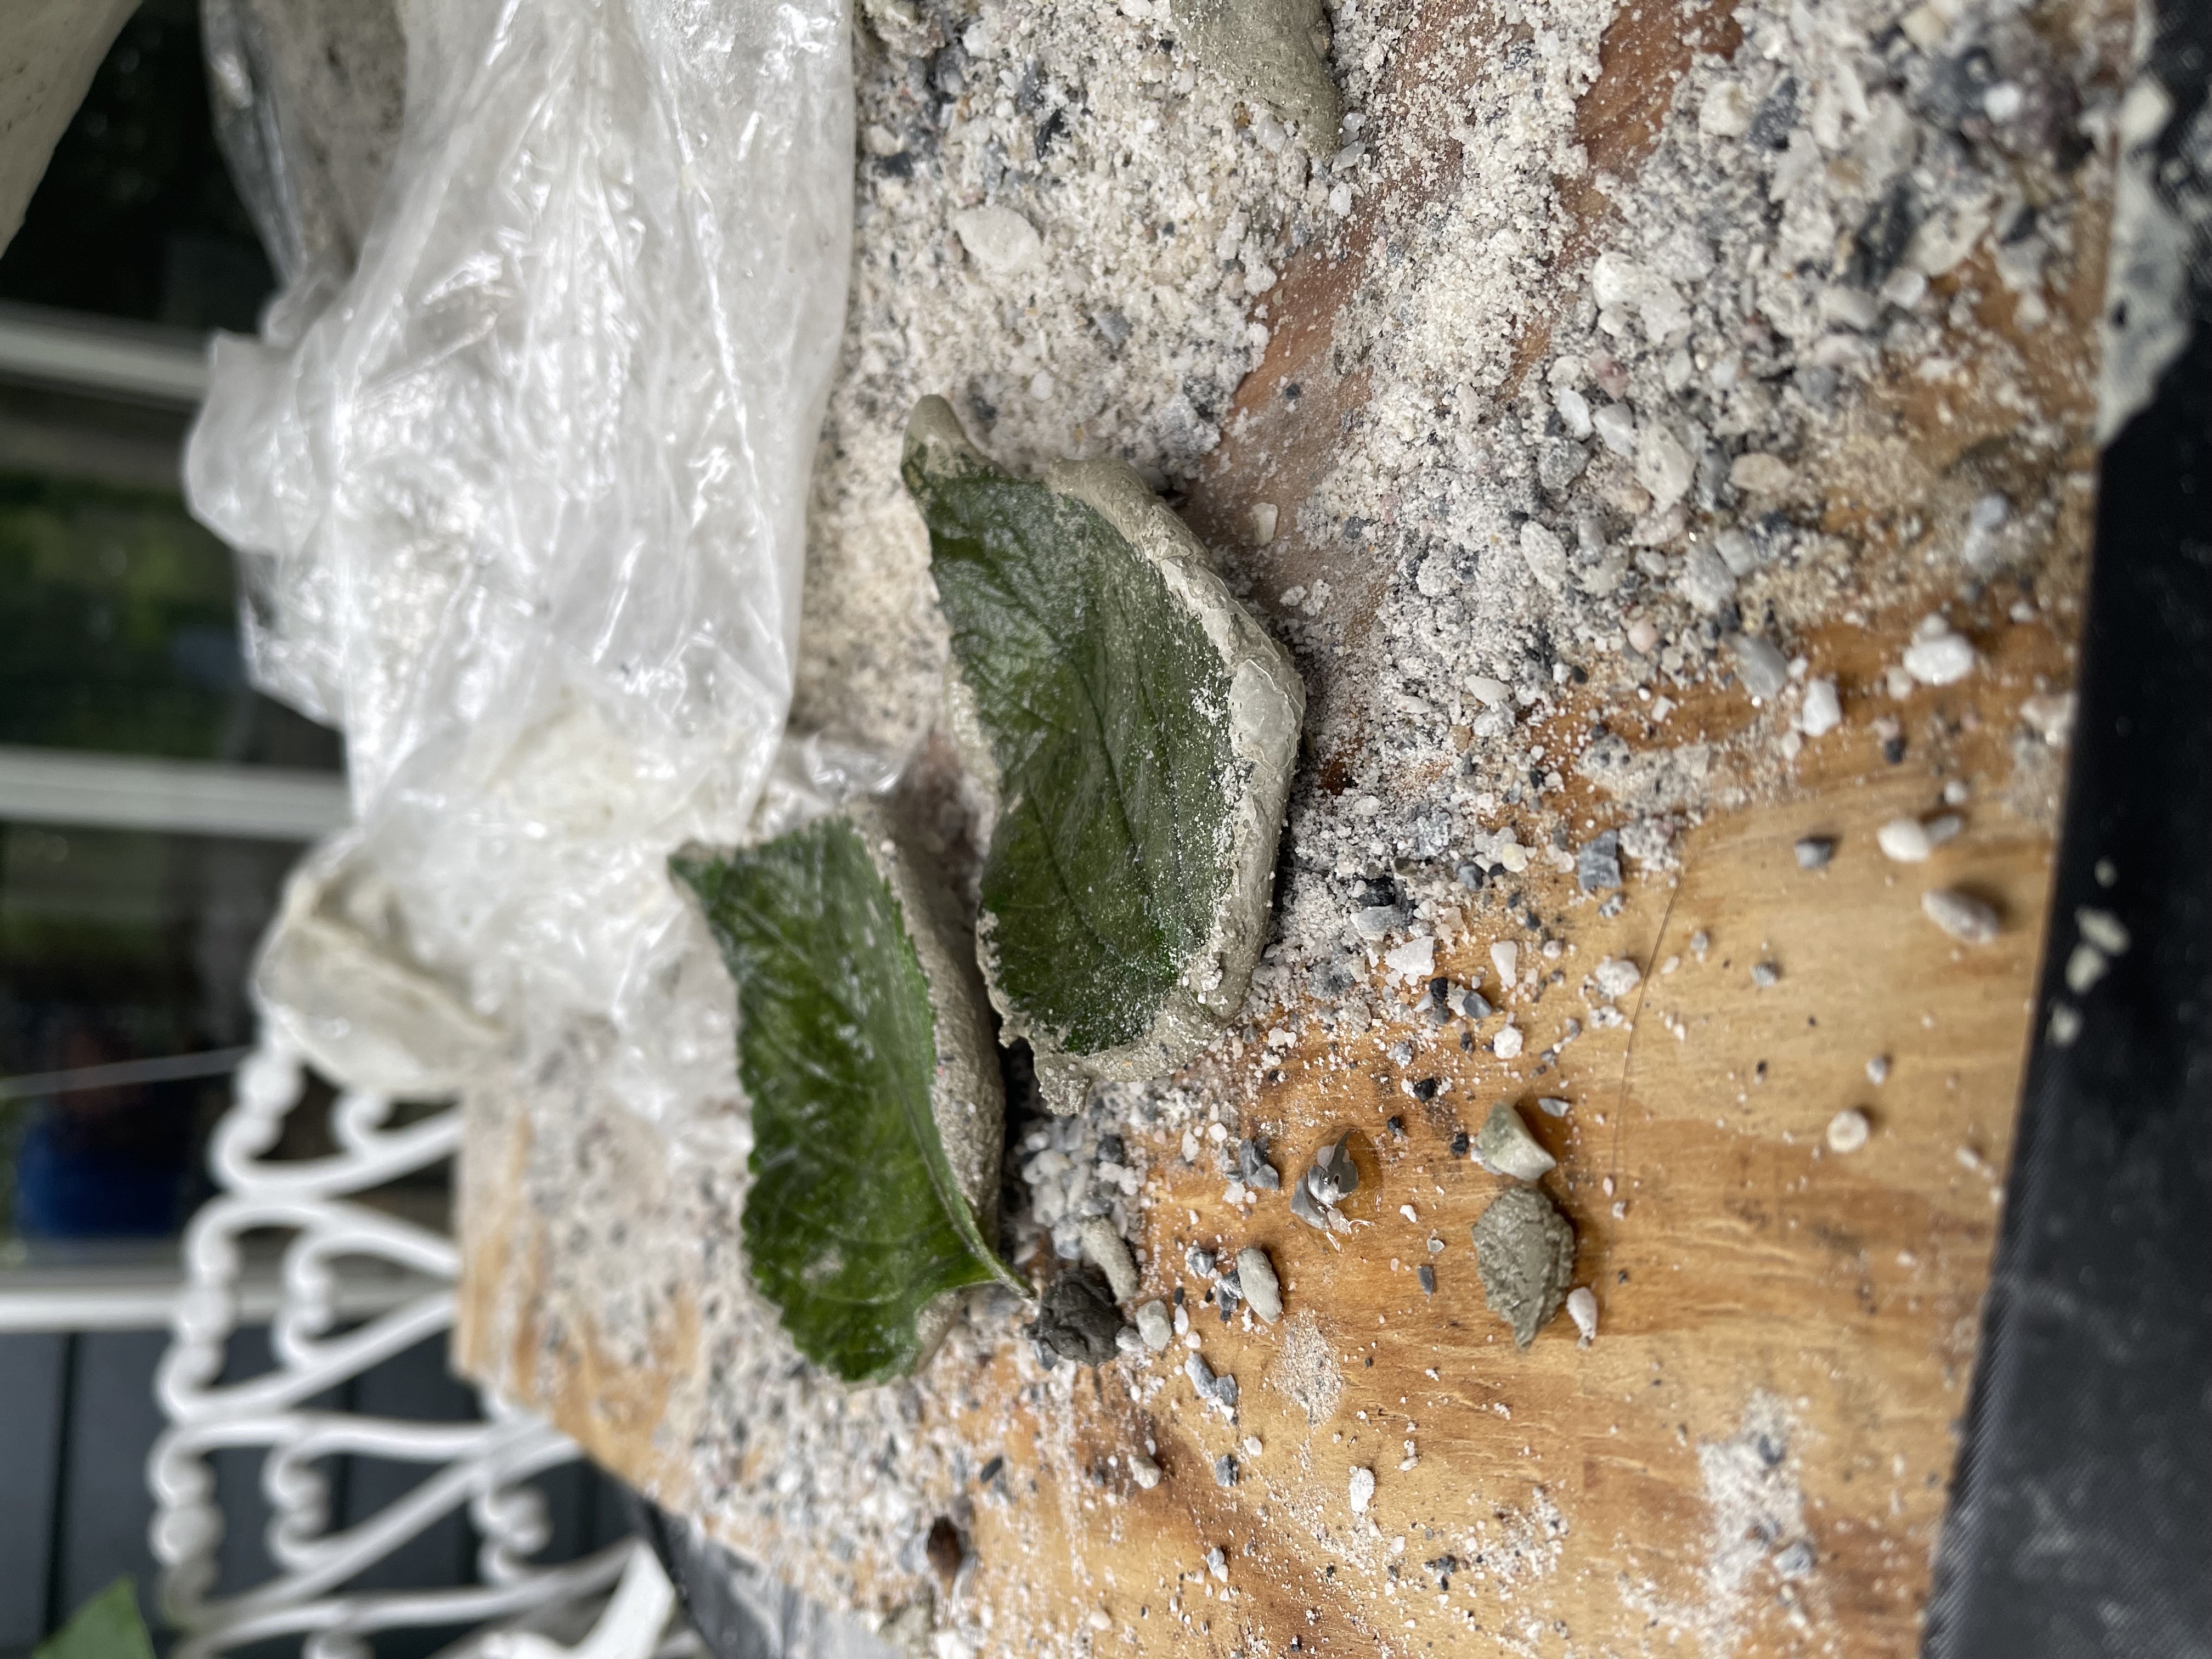
Pile the sand in the shape you like.
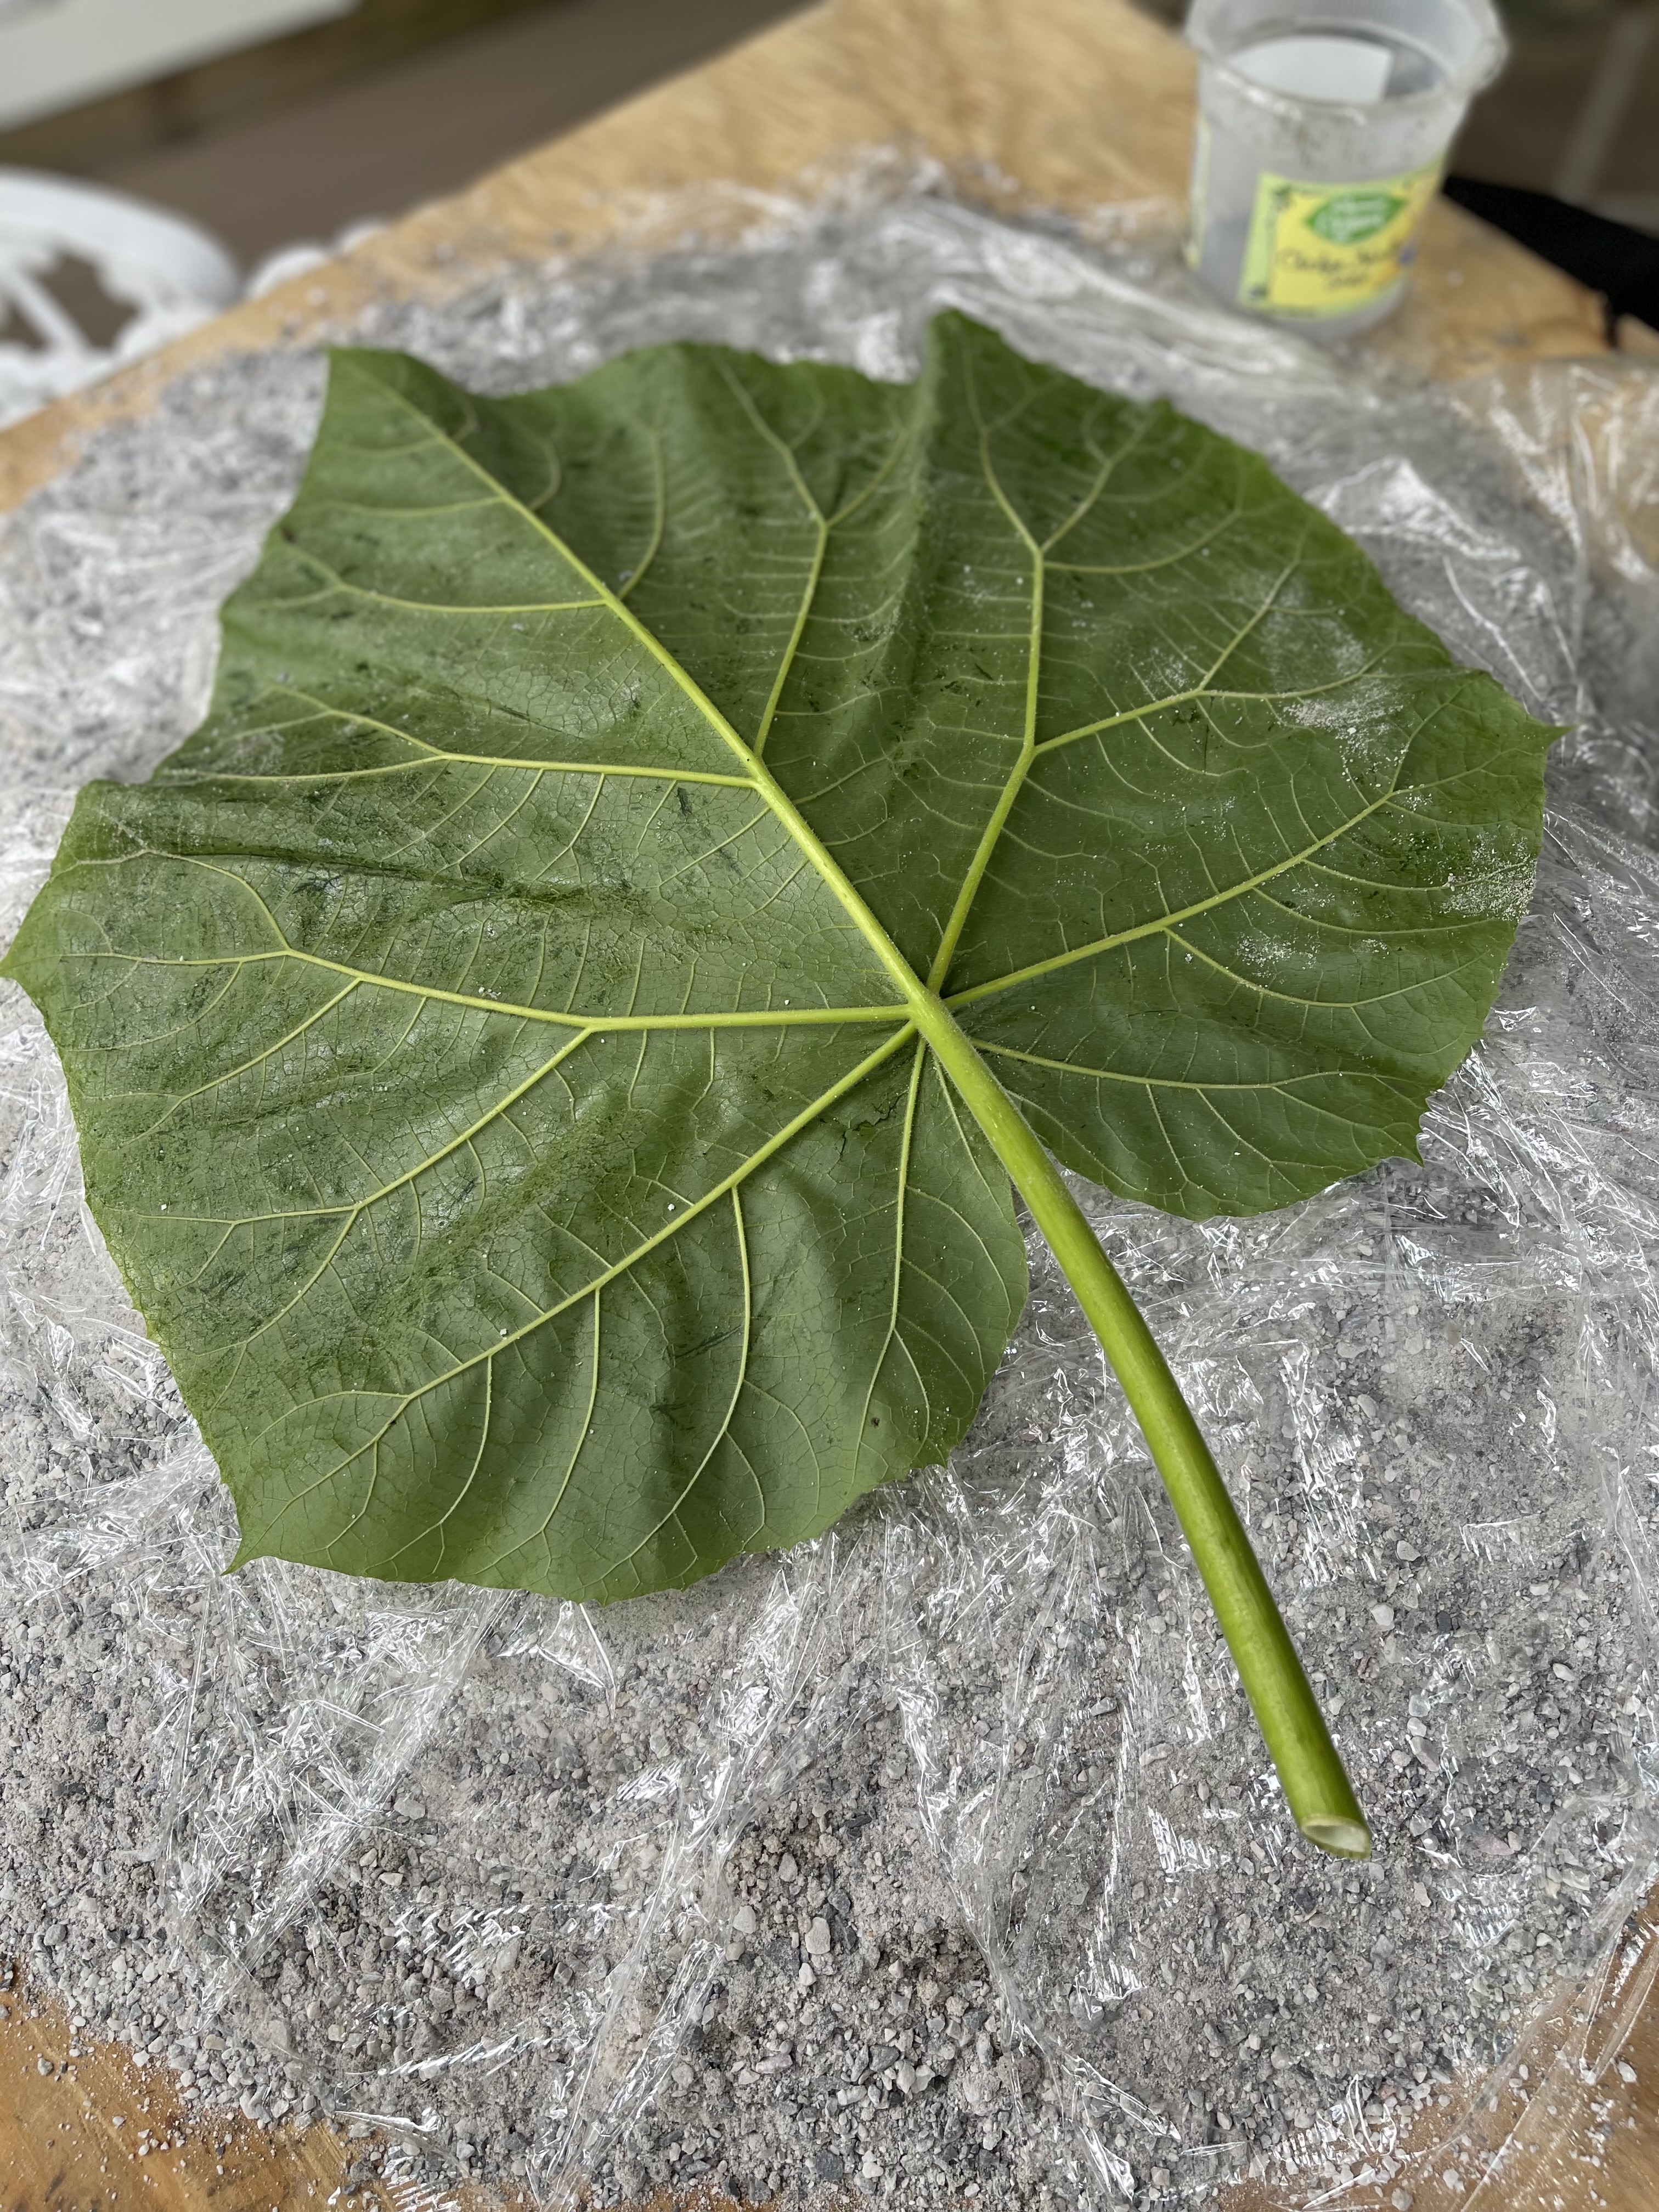
Cover with plastic wrap. Then place the leaf face down.
STEPS:
1. Lay out your cardboard
2. Pour sand onto the cardboard
3. Mold the sand (wet if necessary) to the shape you would like
4. Place plastic wrap over the sand where the leave will lay
5. Place leave face down on the plastic wrap
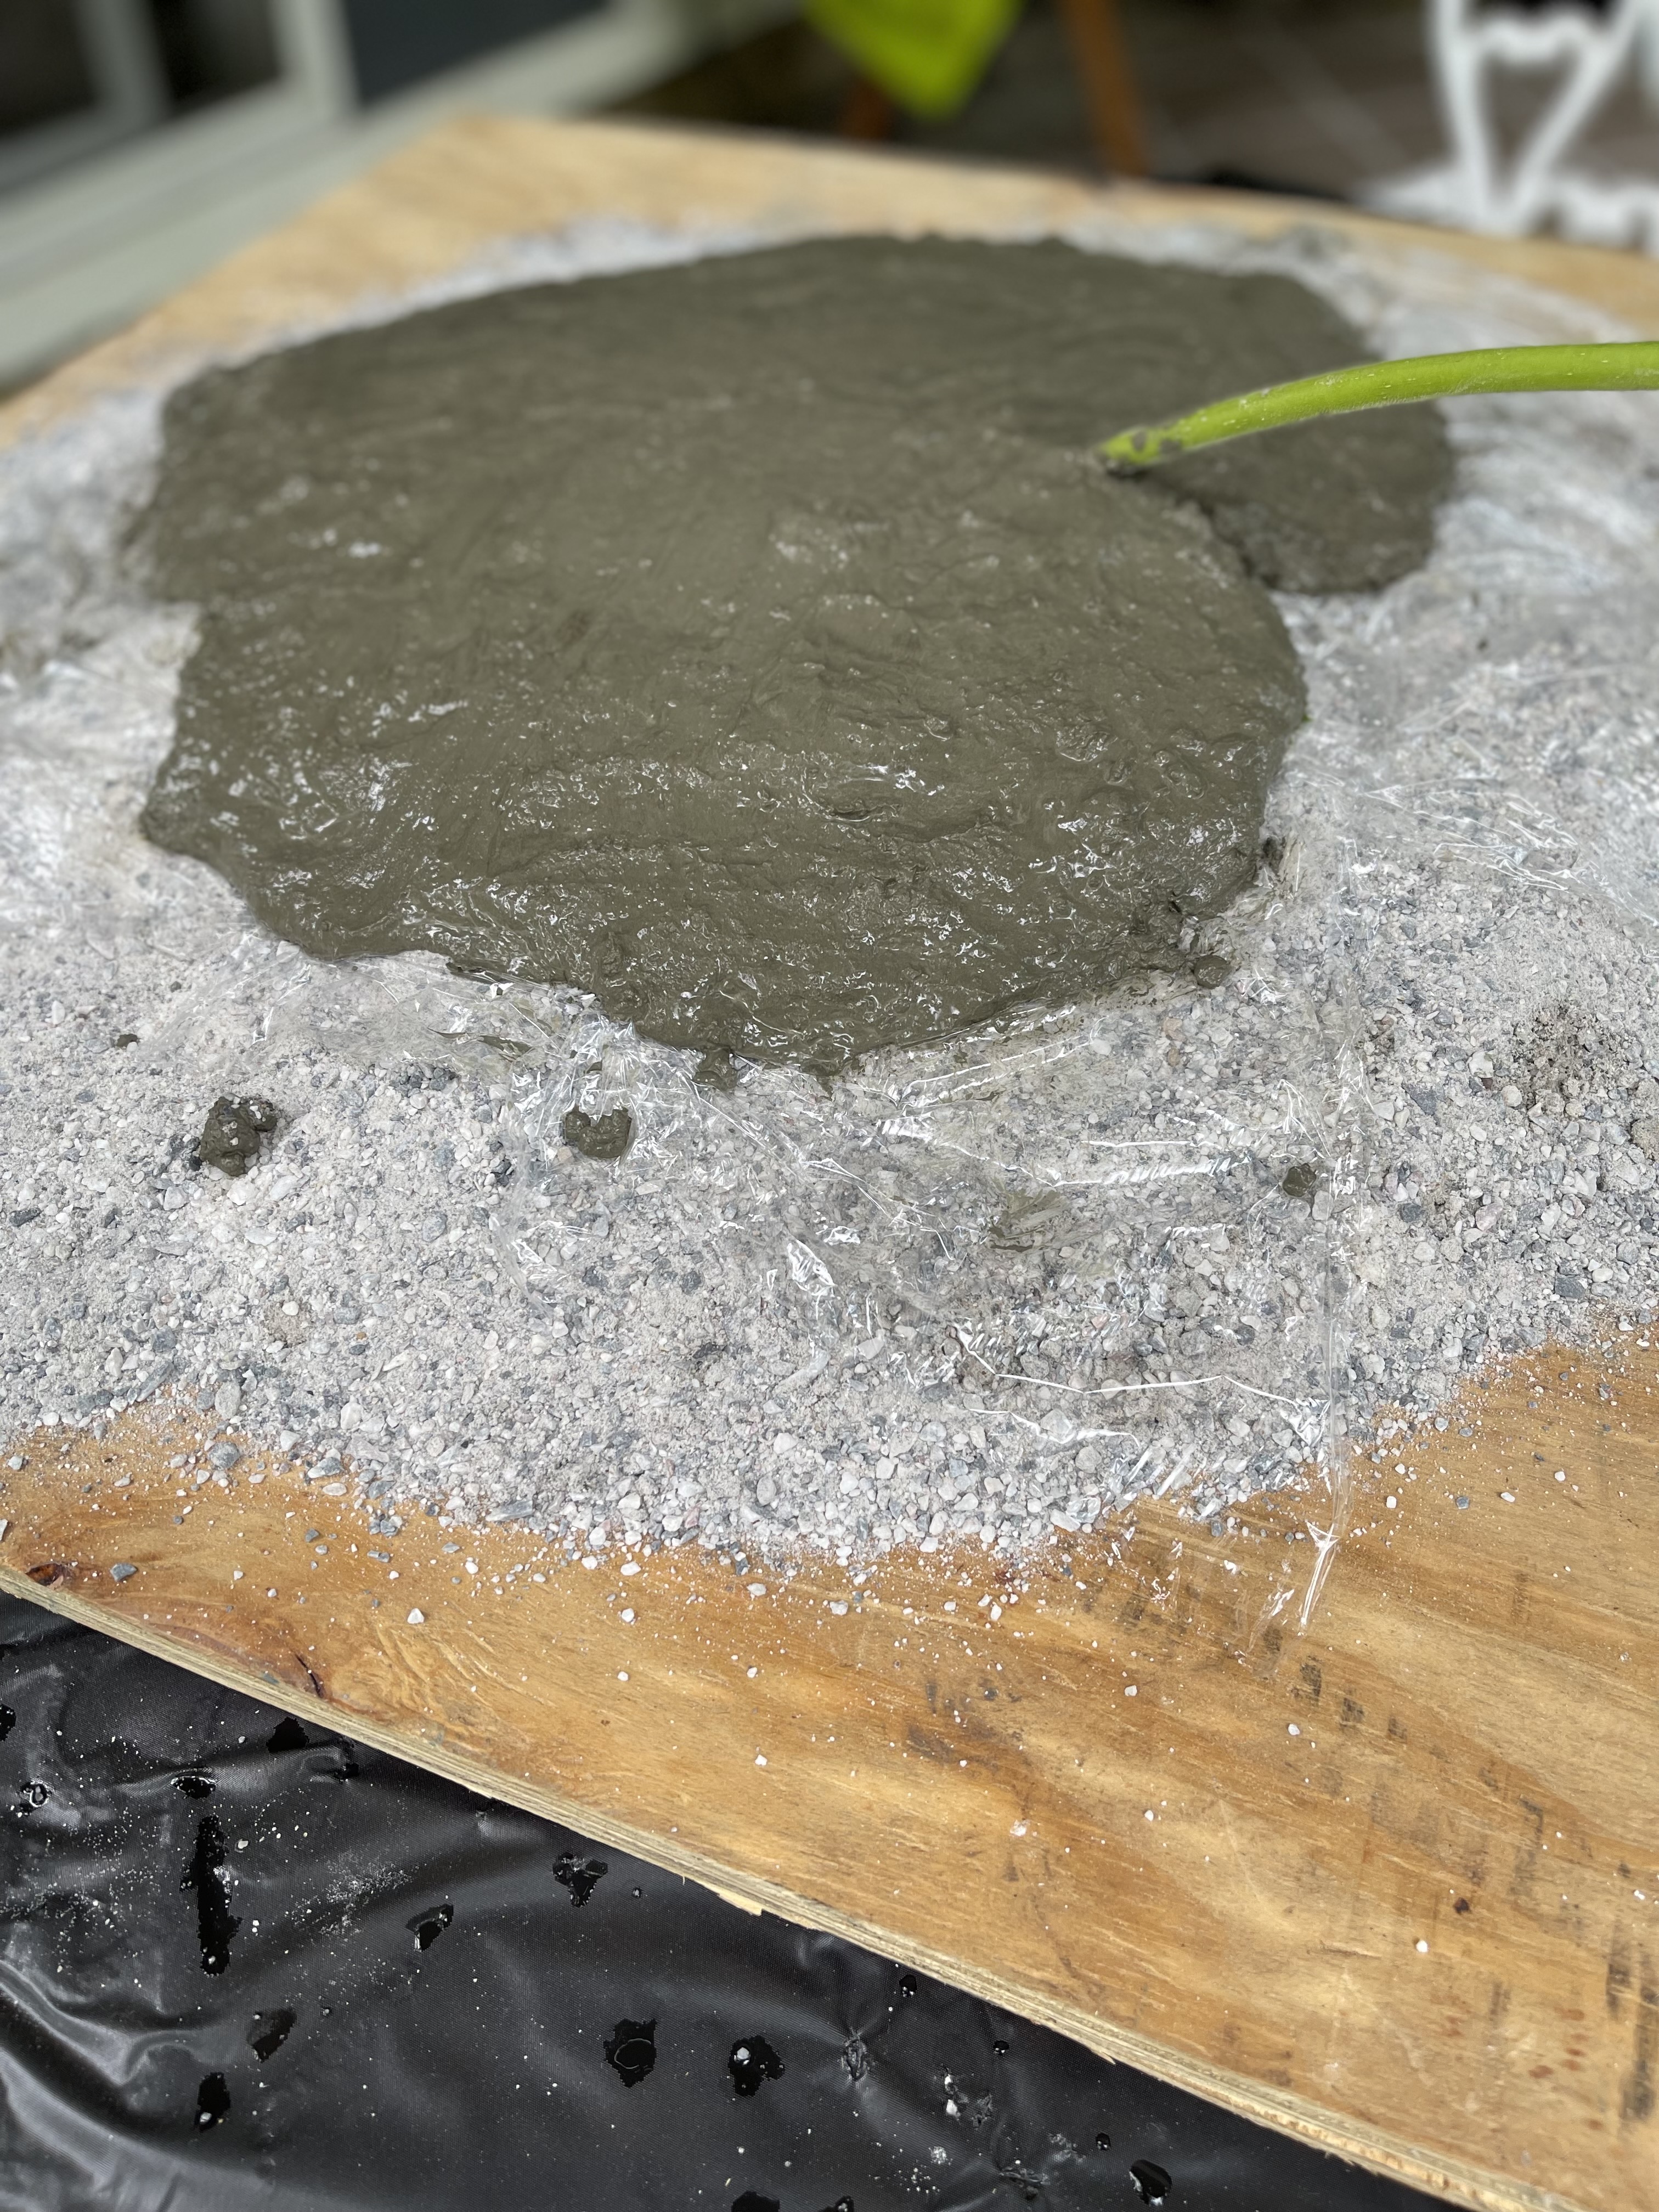
6. Mix a small amount of cement and water
7. You want the consistency of brownie mix or a little thicker
8. Begin to spread the cement with gloved hands onto leaf
9. If it is running off the leaf, take it off, and add more cement
10. Cover leaf completely, add additional if you feel it’s too thin
11. We your hands and smooth out the back of the cement on the leaf
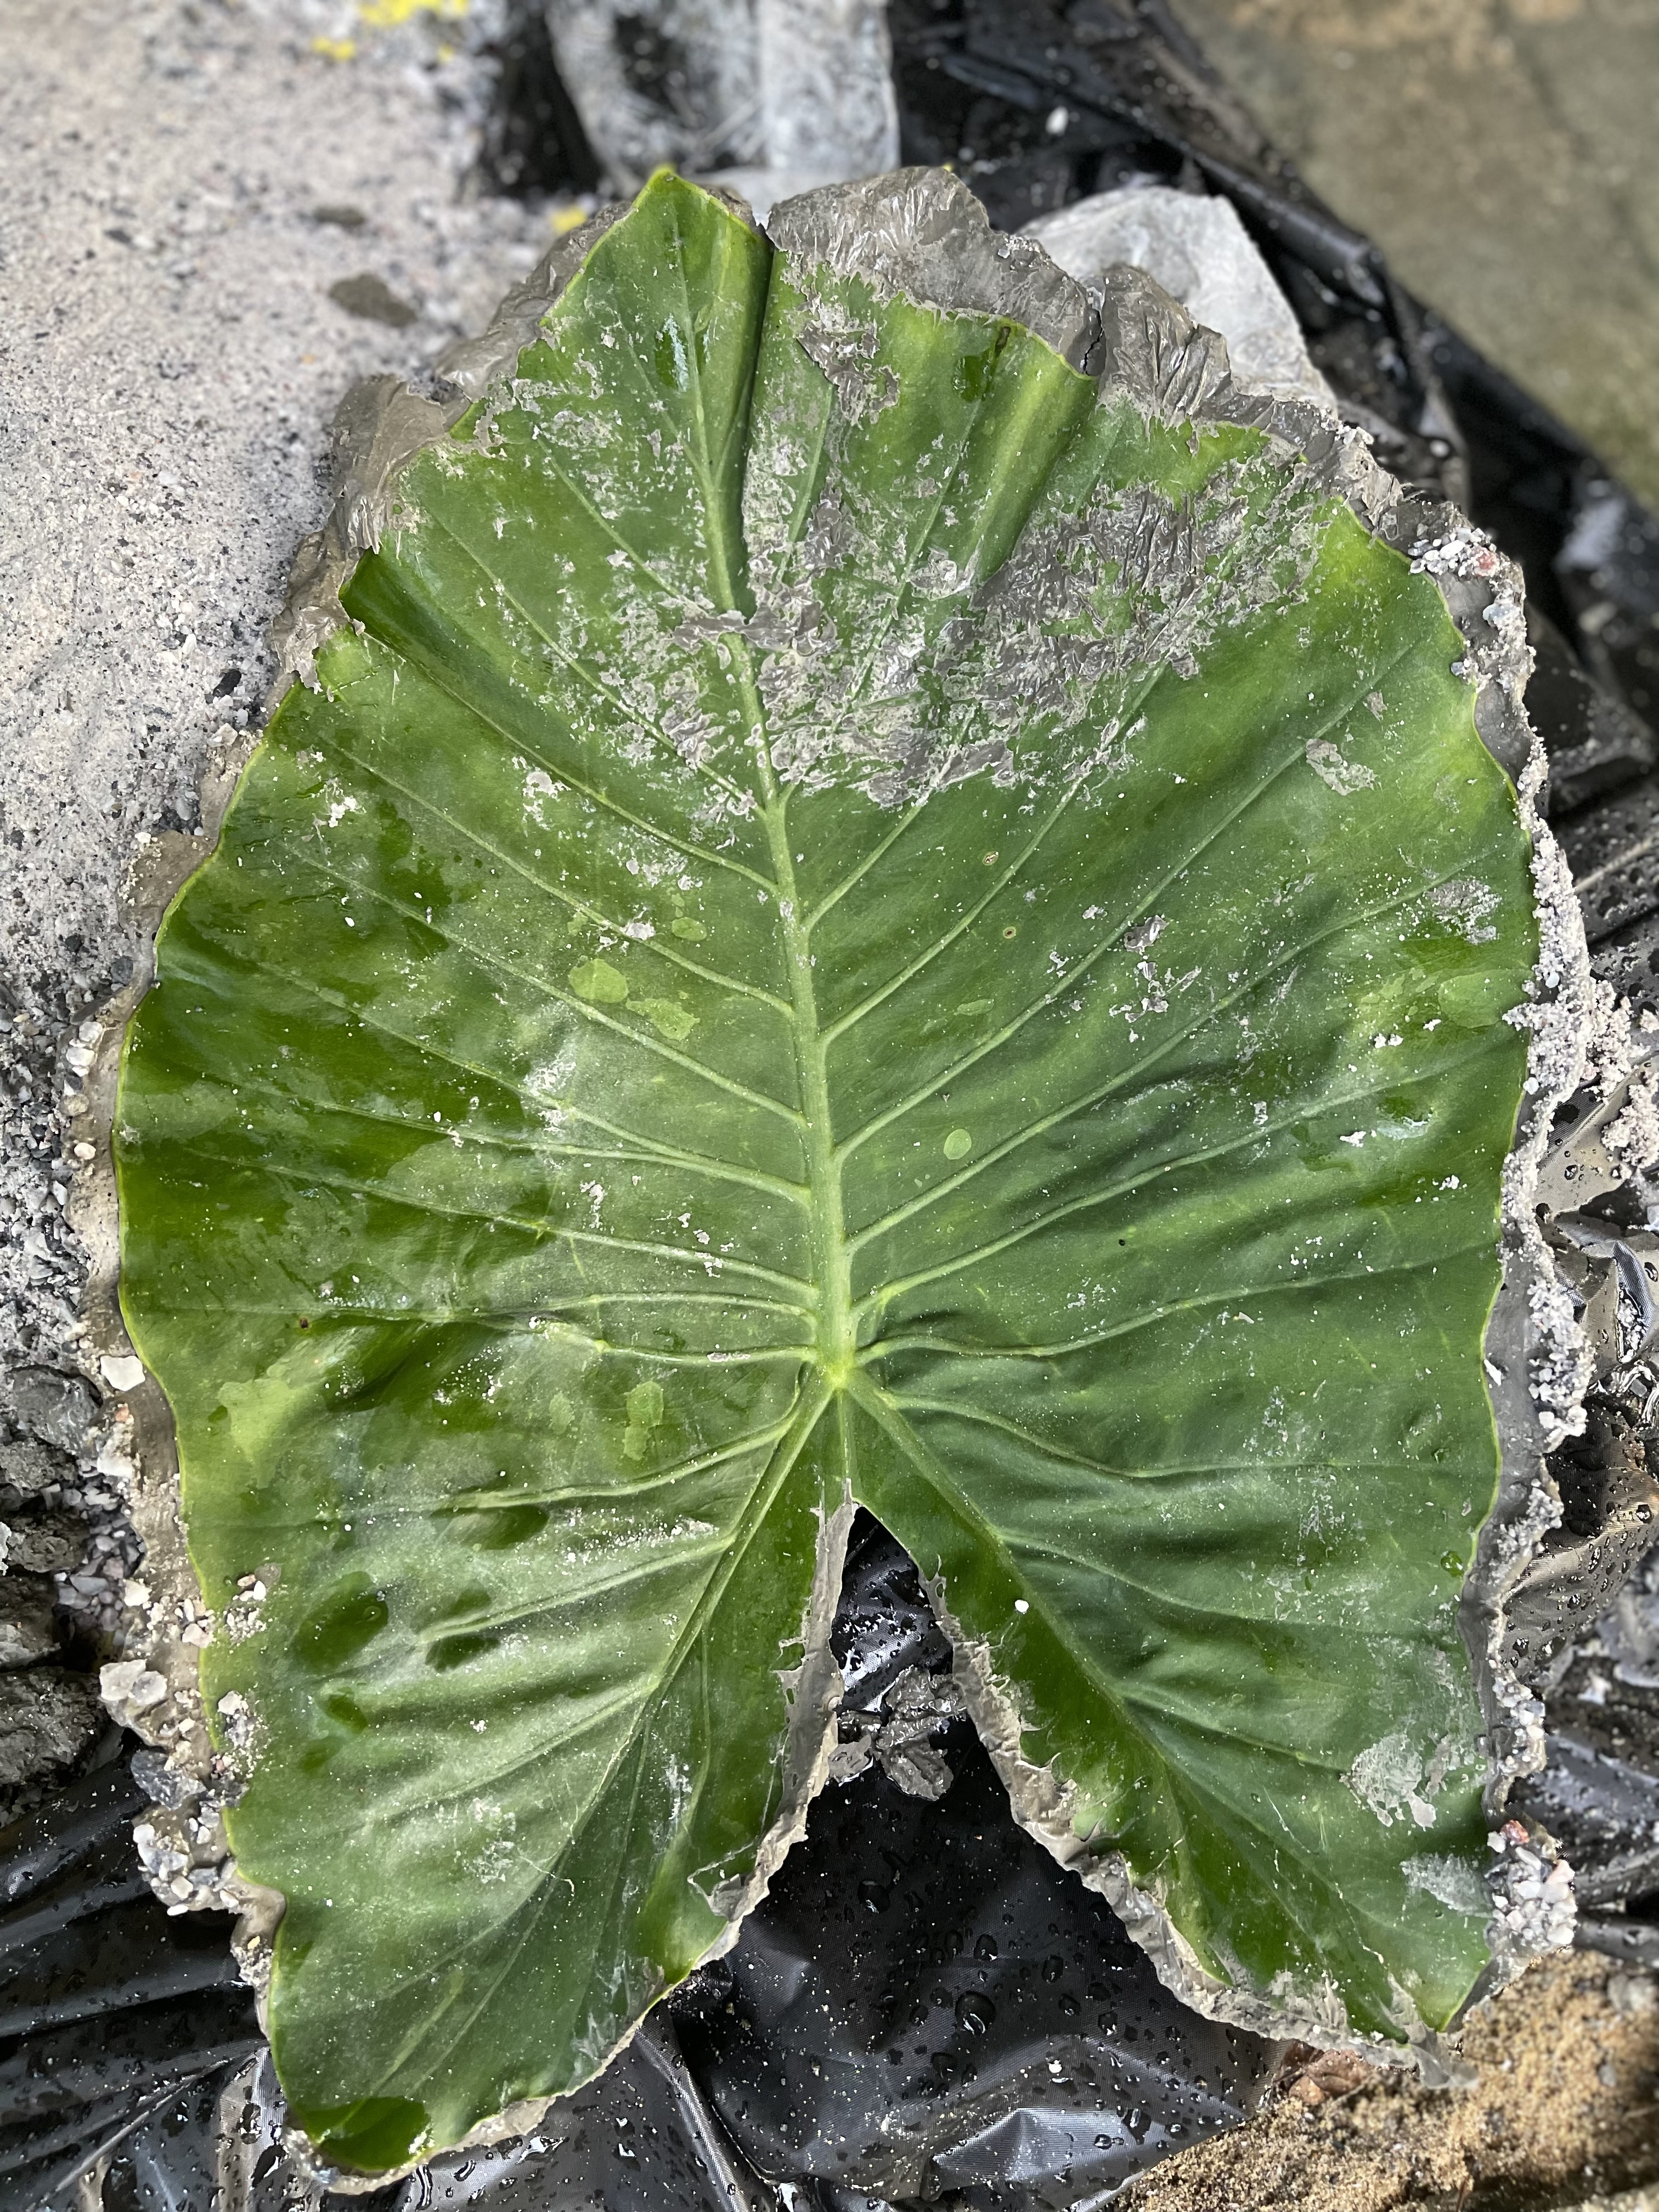
12. Wait 48 hours and peel the leaf from the cement. (Portland Cement = 48 hours). (Rapid Set Cement = 4 hours)
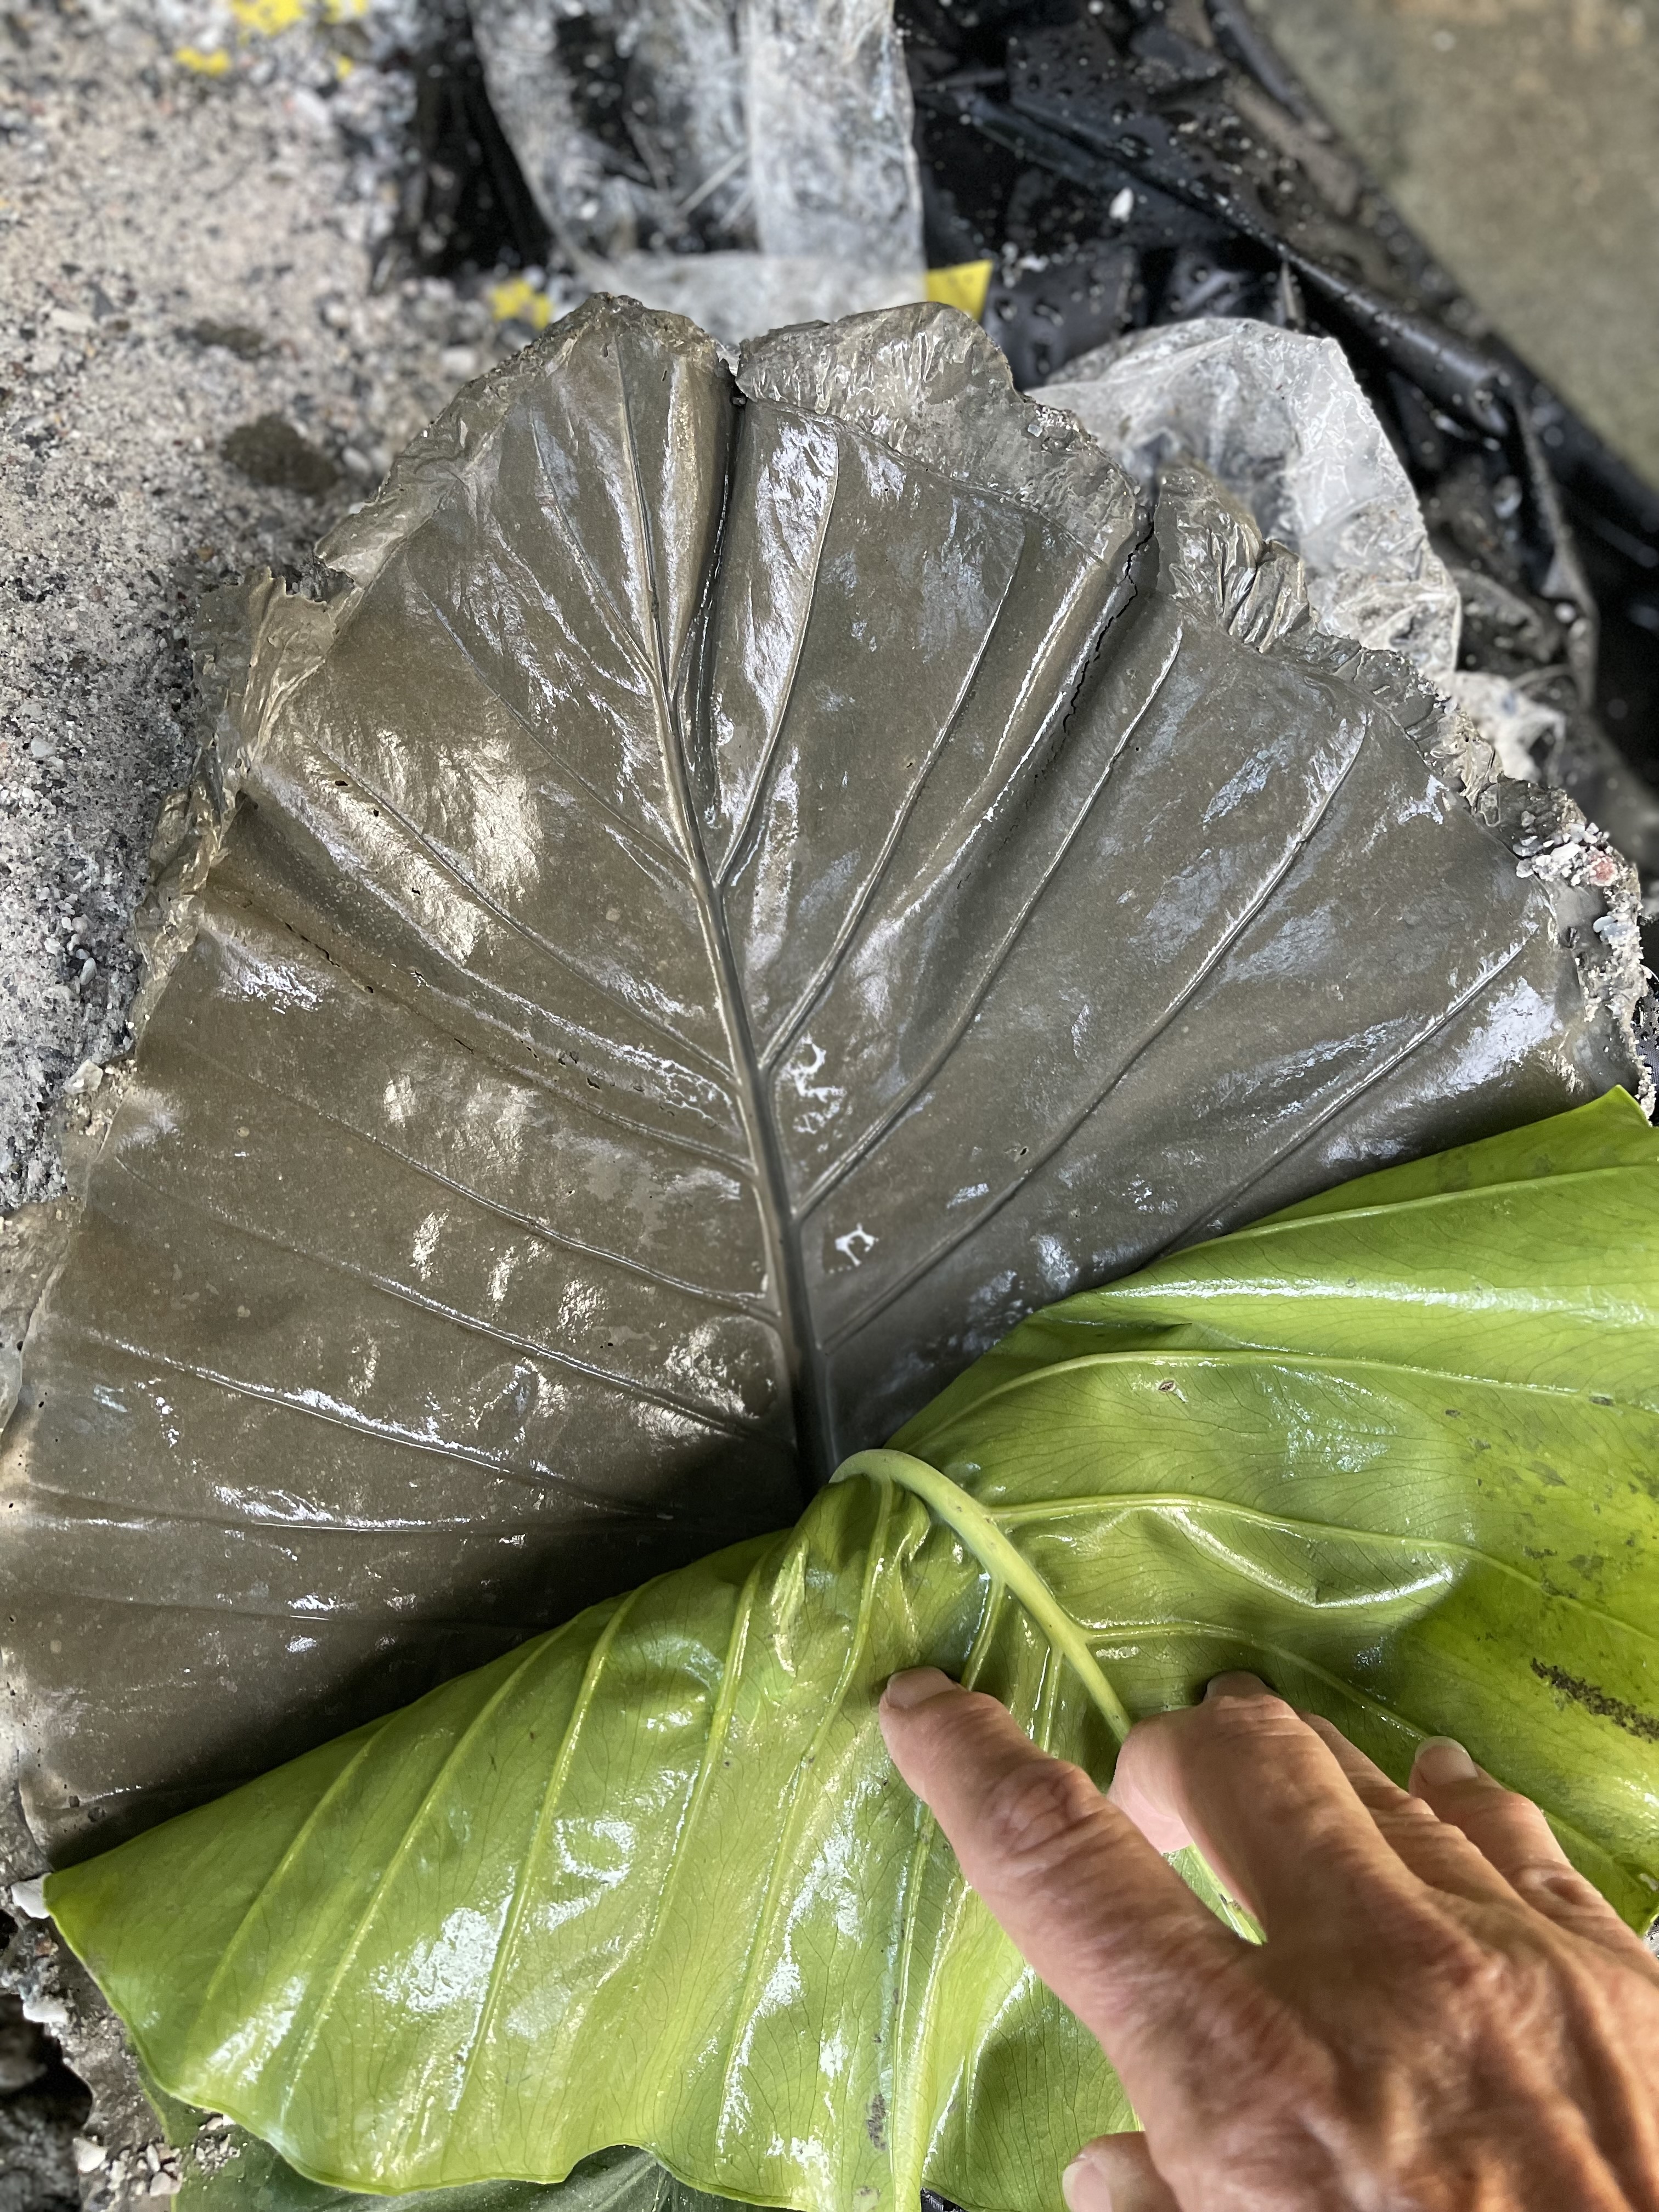
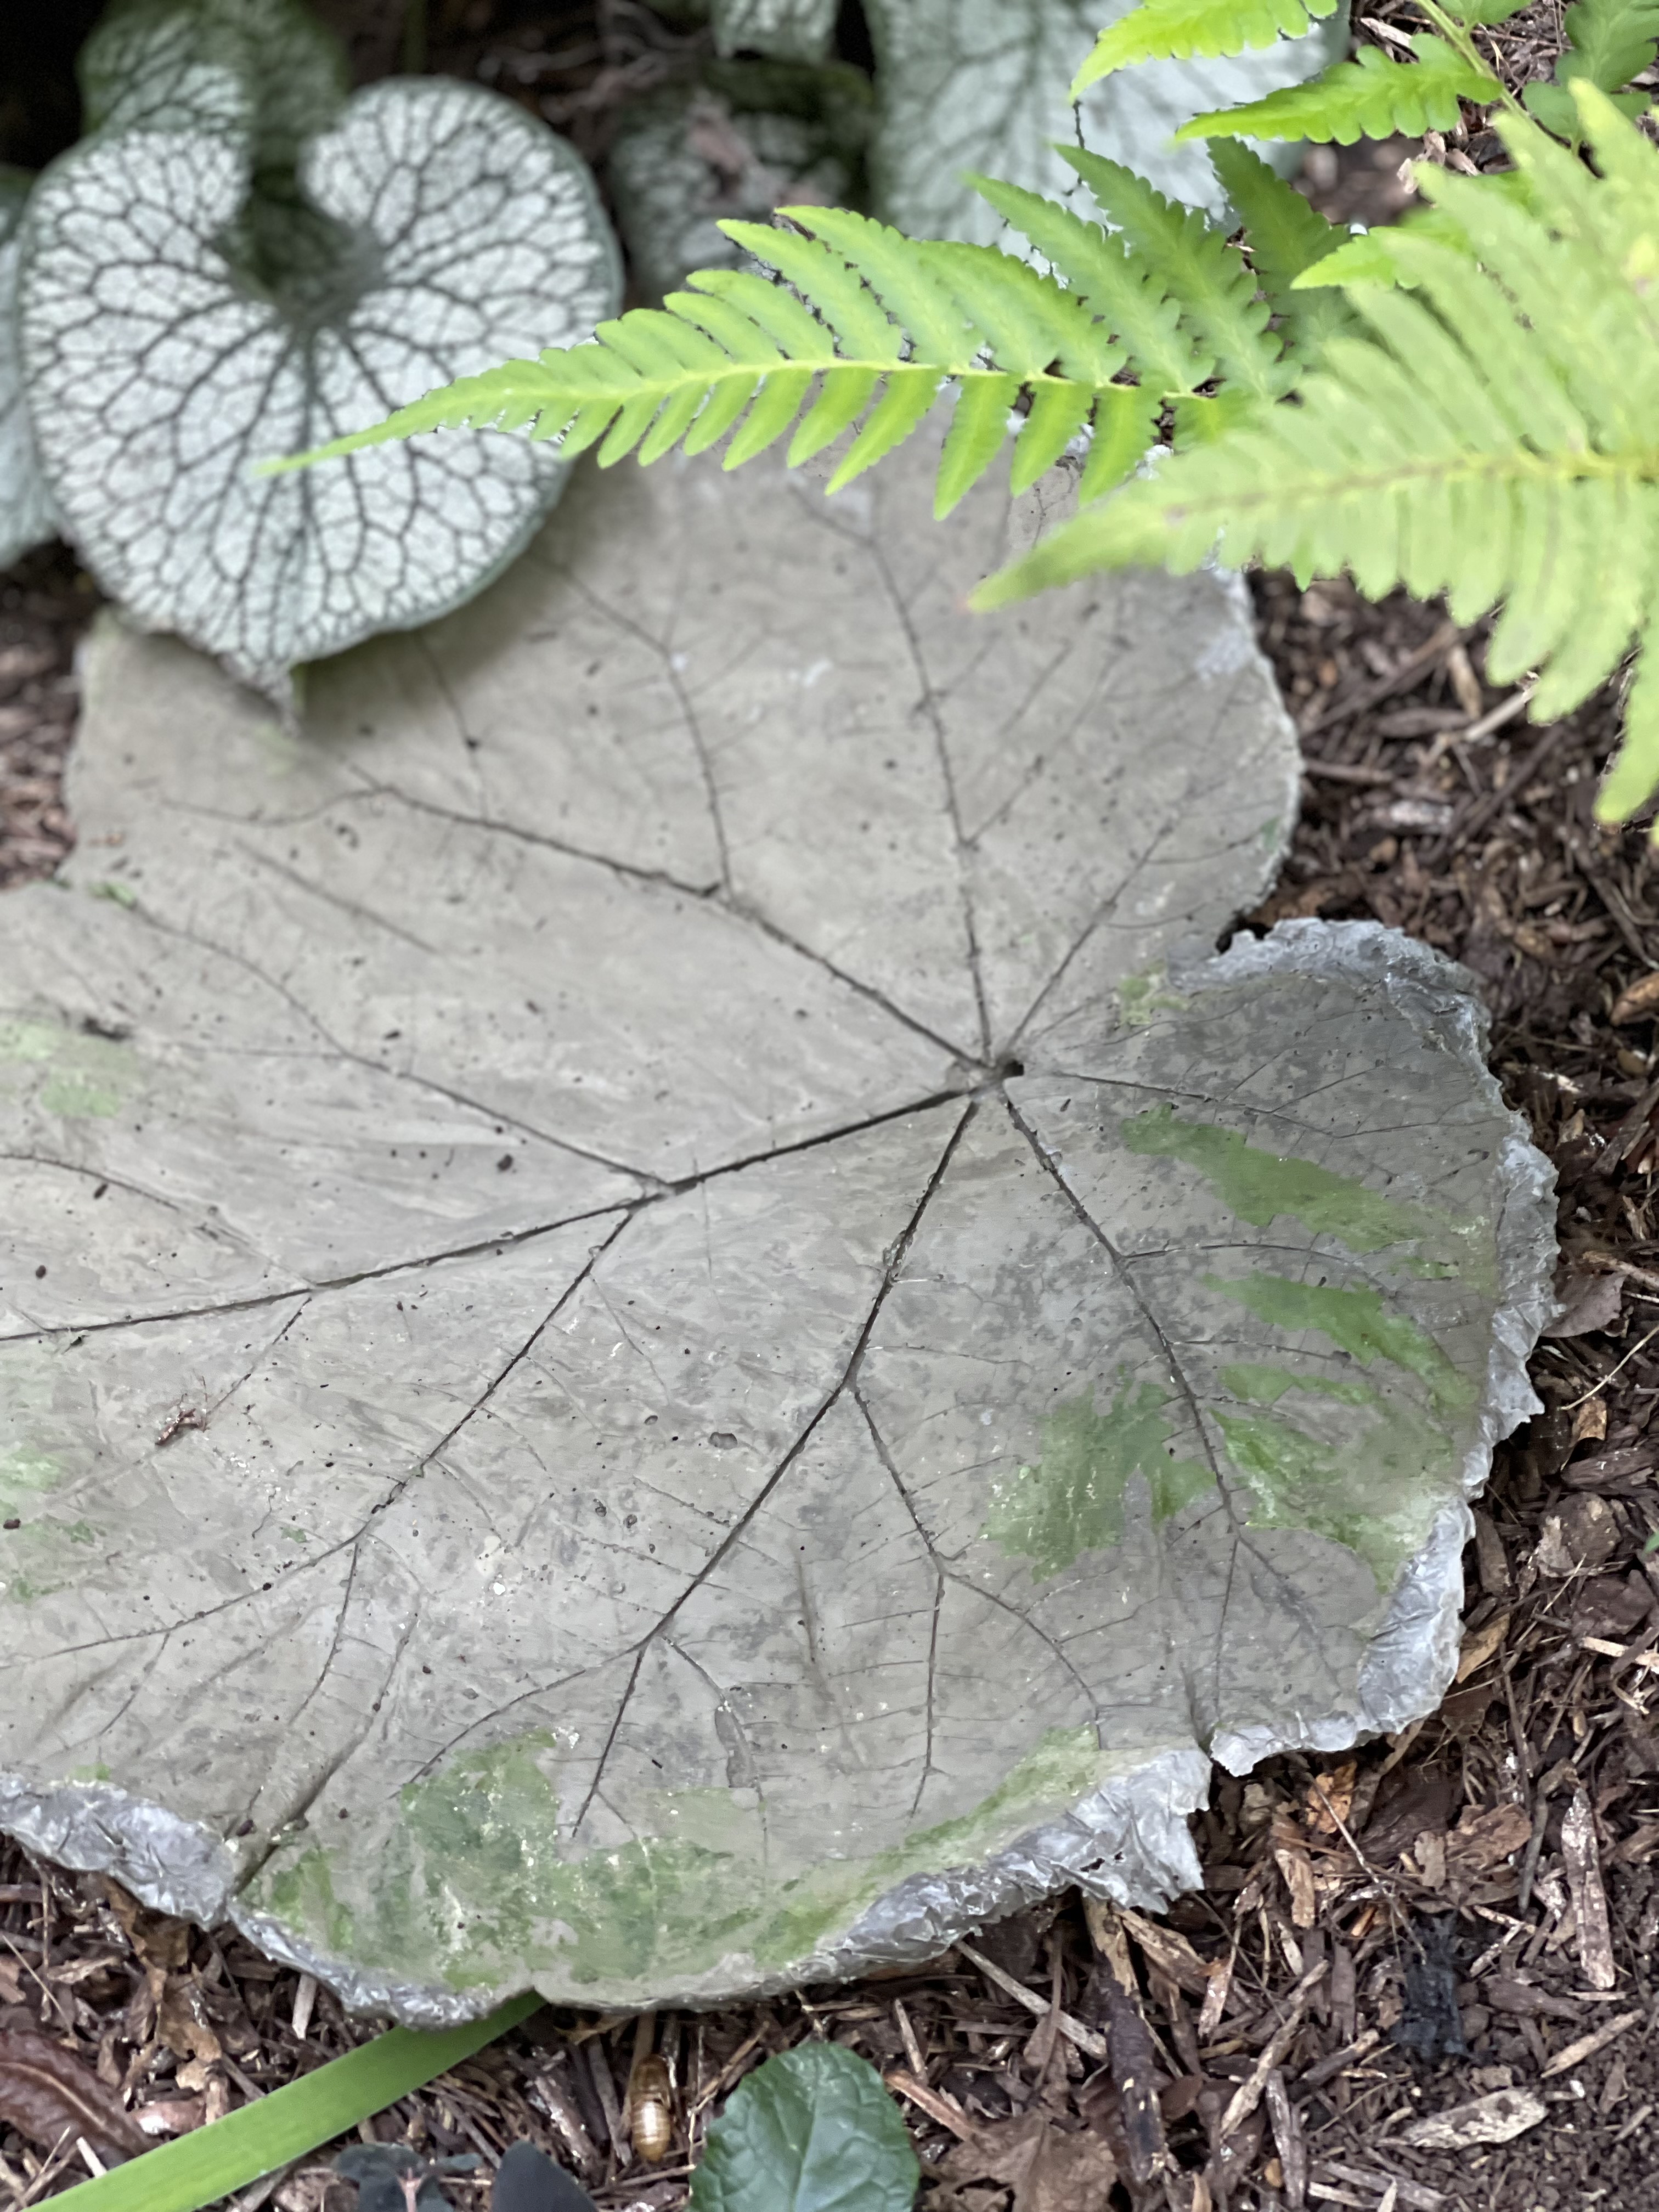
They came out super cute. I used two different types of cement. I preferred the second type. I like to try a few so I can let you know what works best.
The first was with Portland cement and the second was Rapid Set Cement All. This one dried in hours. Of course that’s my preference.
I was also able to smooth that concrete out even more. See?
I still need to polish the edges a bit then seal but just it’s great looking as is.
The smaller leaf above was from a plant I had in the ground last year and then put it in a pot over the winter, it survived and now is back out in it’s pot. It seemed ok sacrificing a few leaves for my project!
Remember the movie UP? Think SQUIRREL!!!
While I was making them my mind began to wander. I really do love working with concrete and my mind went towards fall and Thanksgiving.
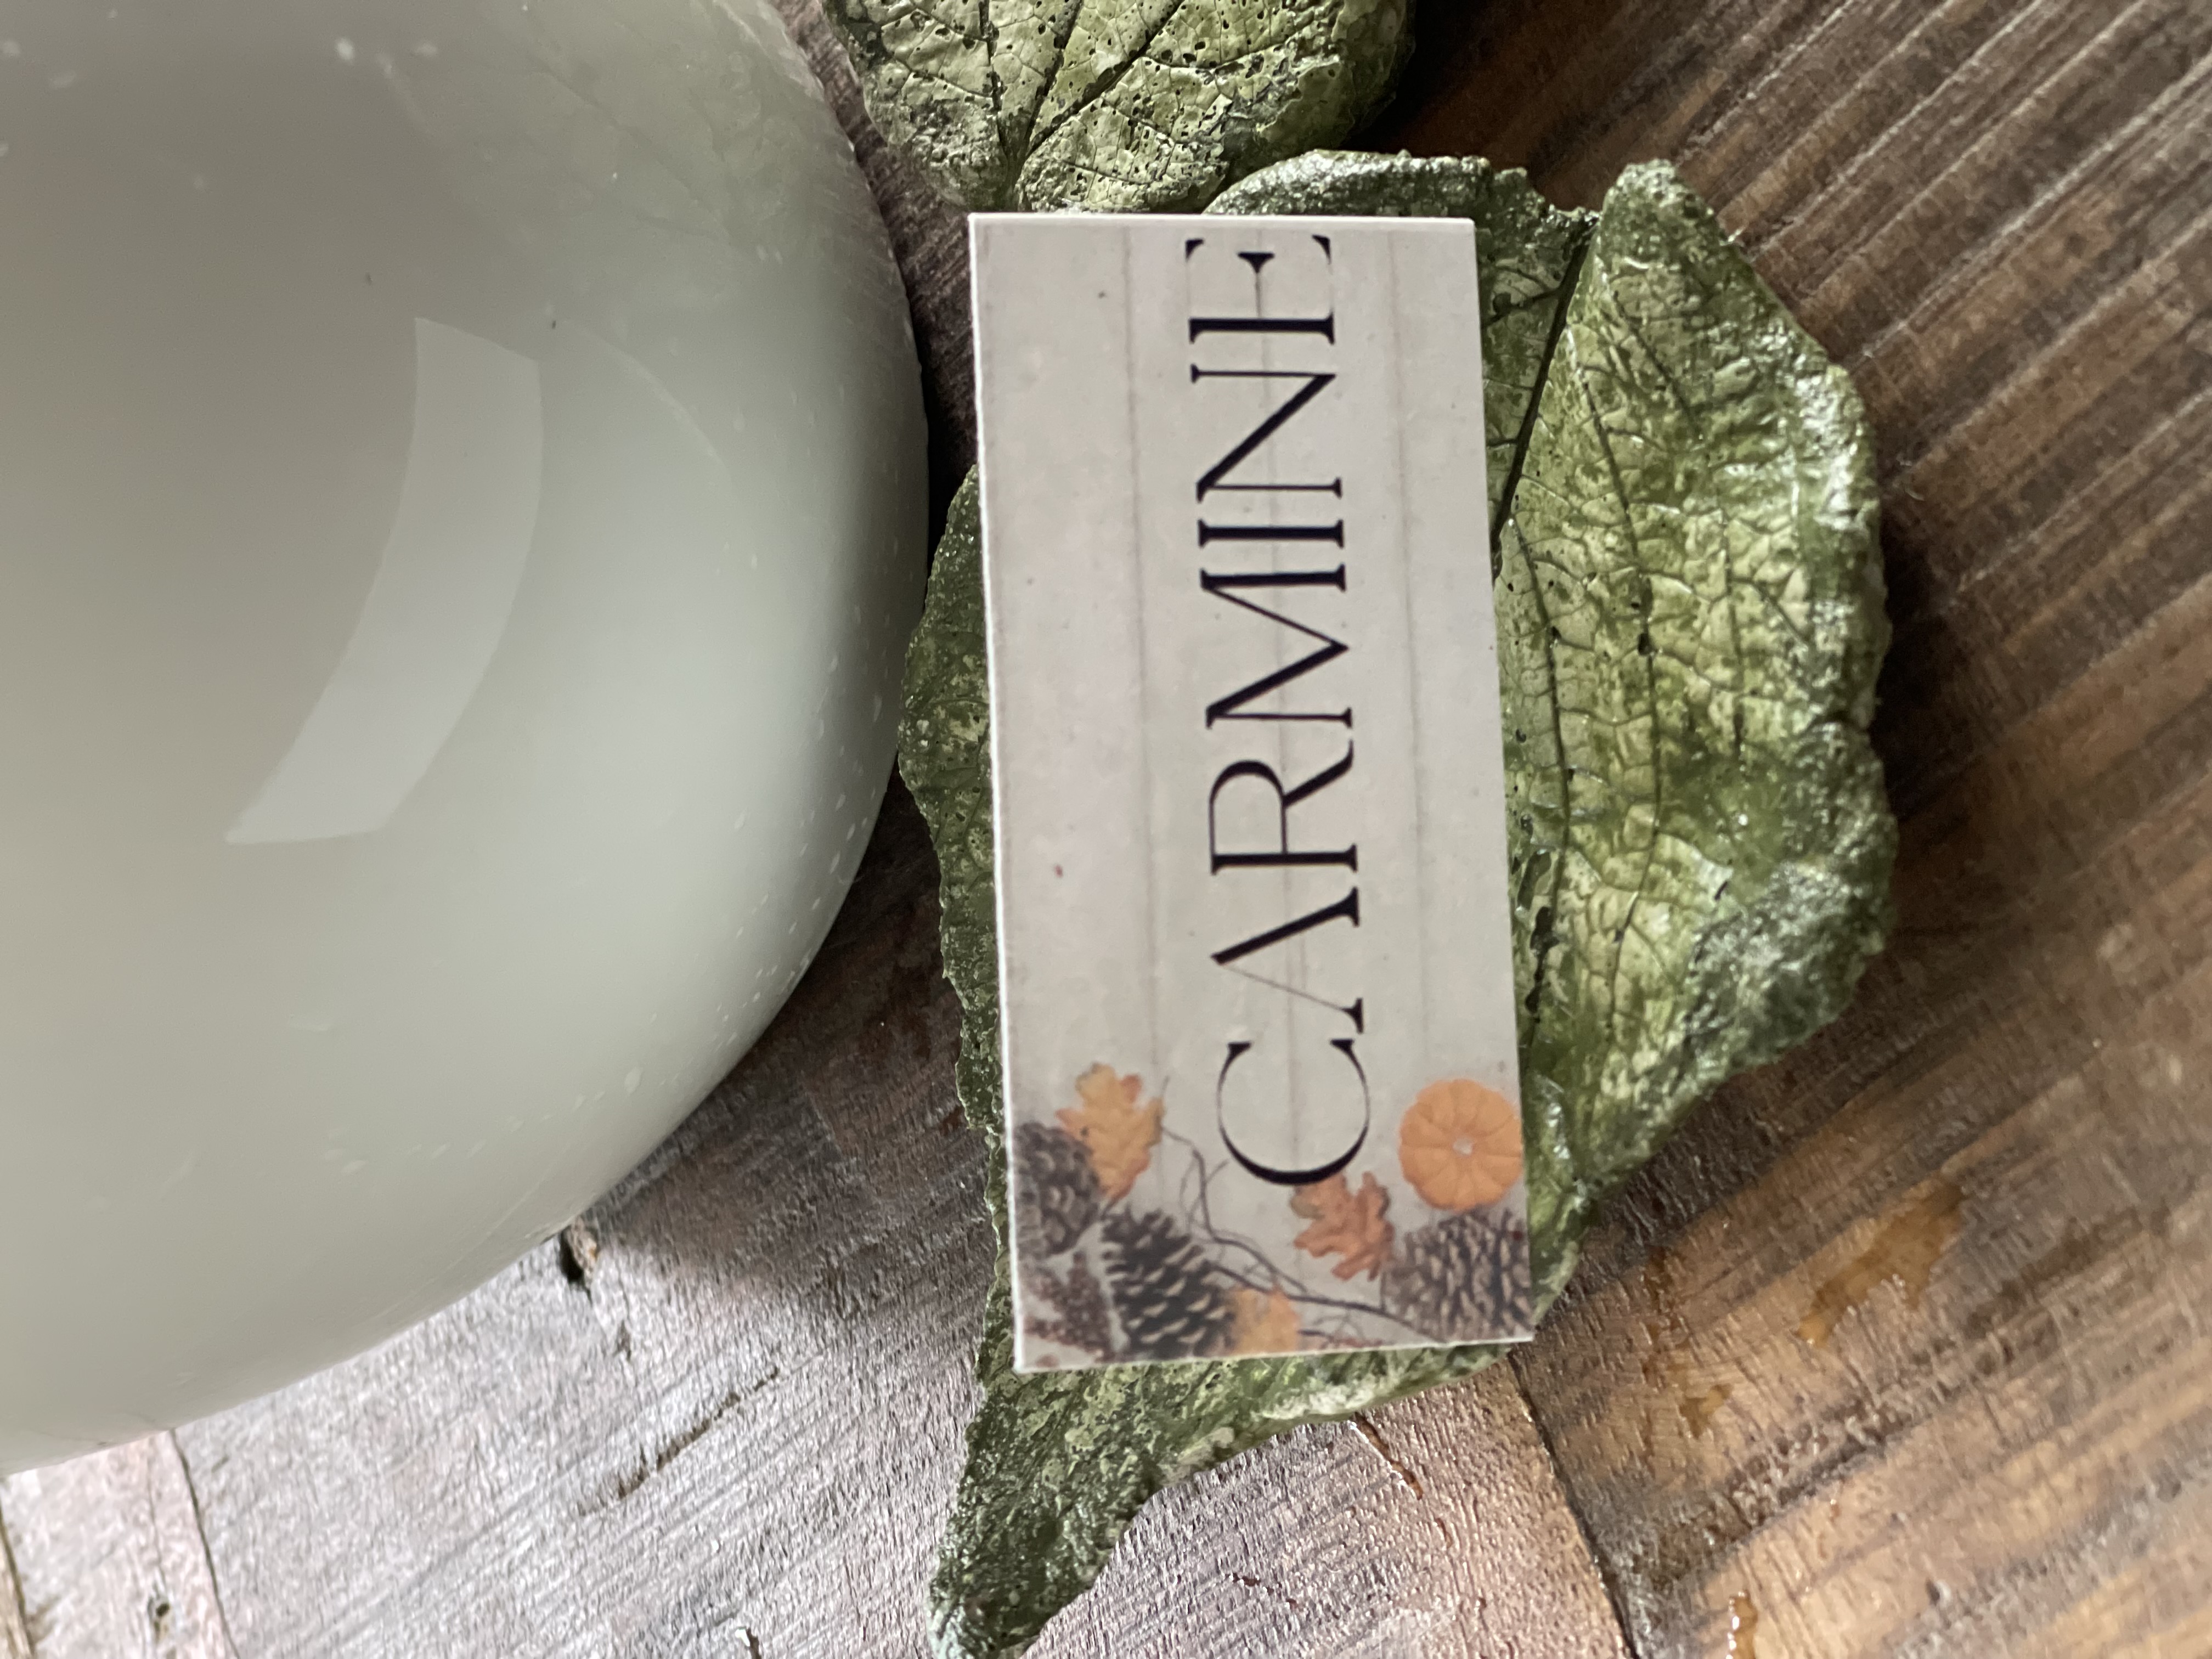
I decided to try using smaller leaves as a place holder for name cards at Thanksgiving or they could be used as part of a tablescape for any fall event.
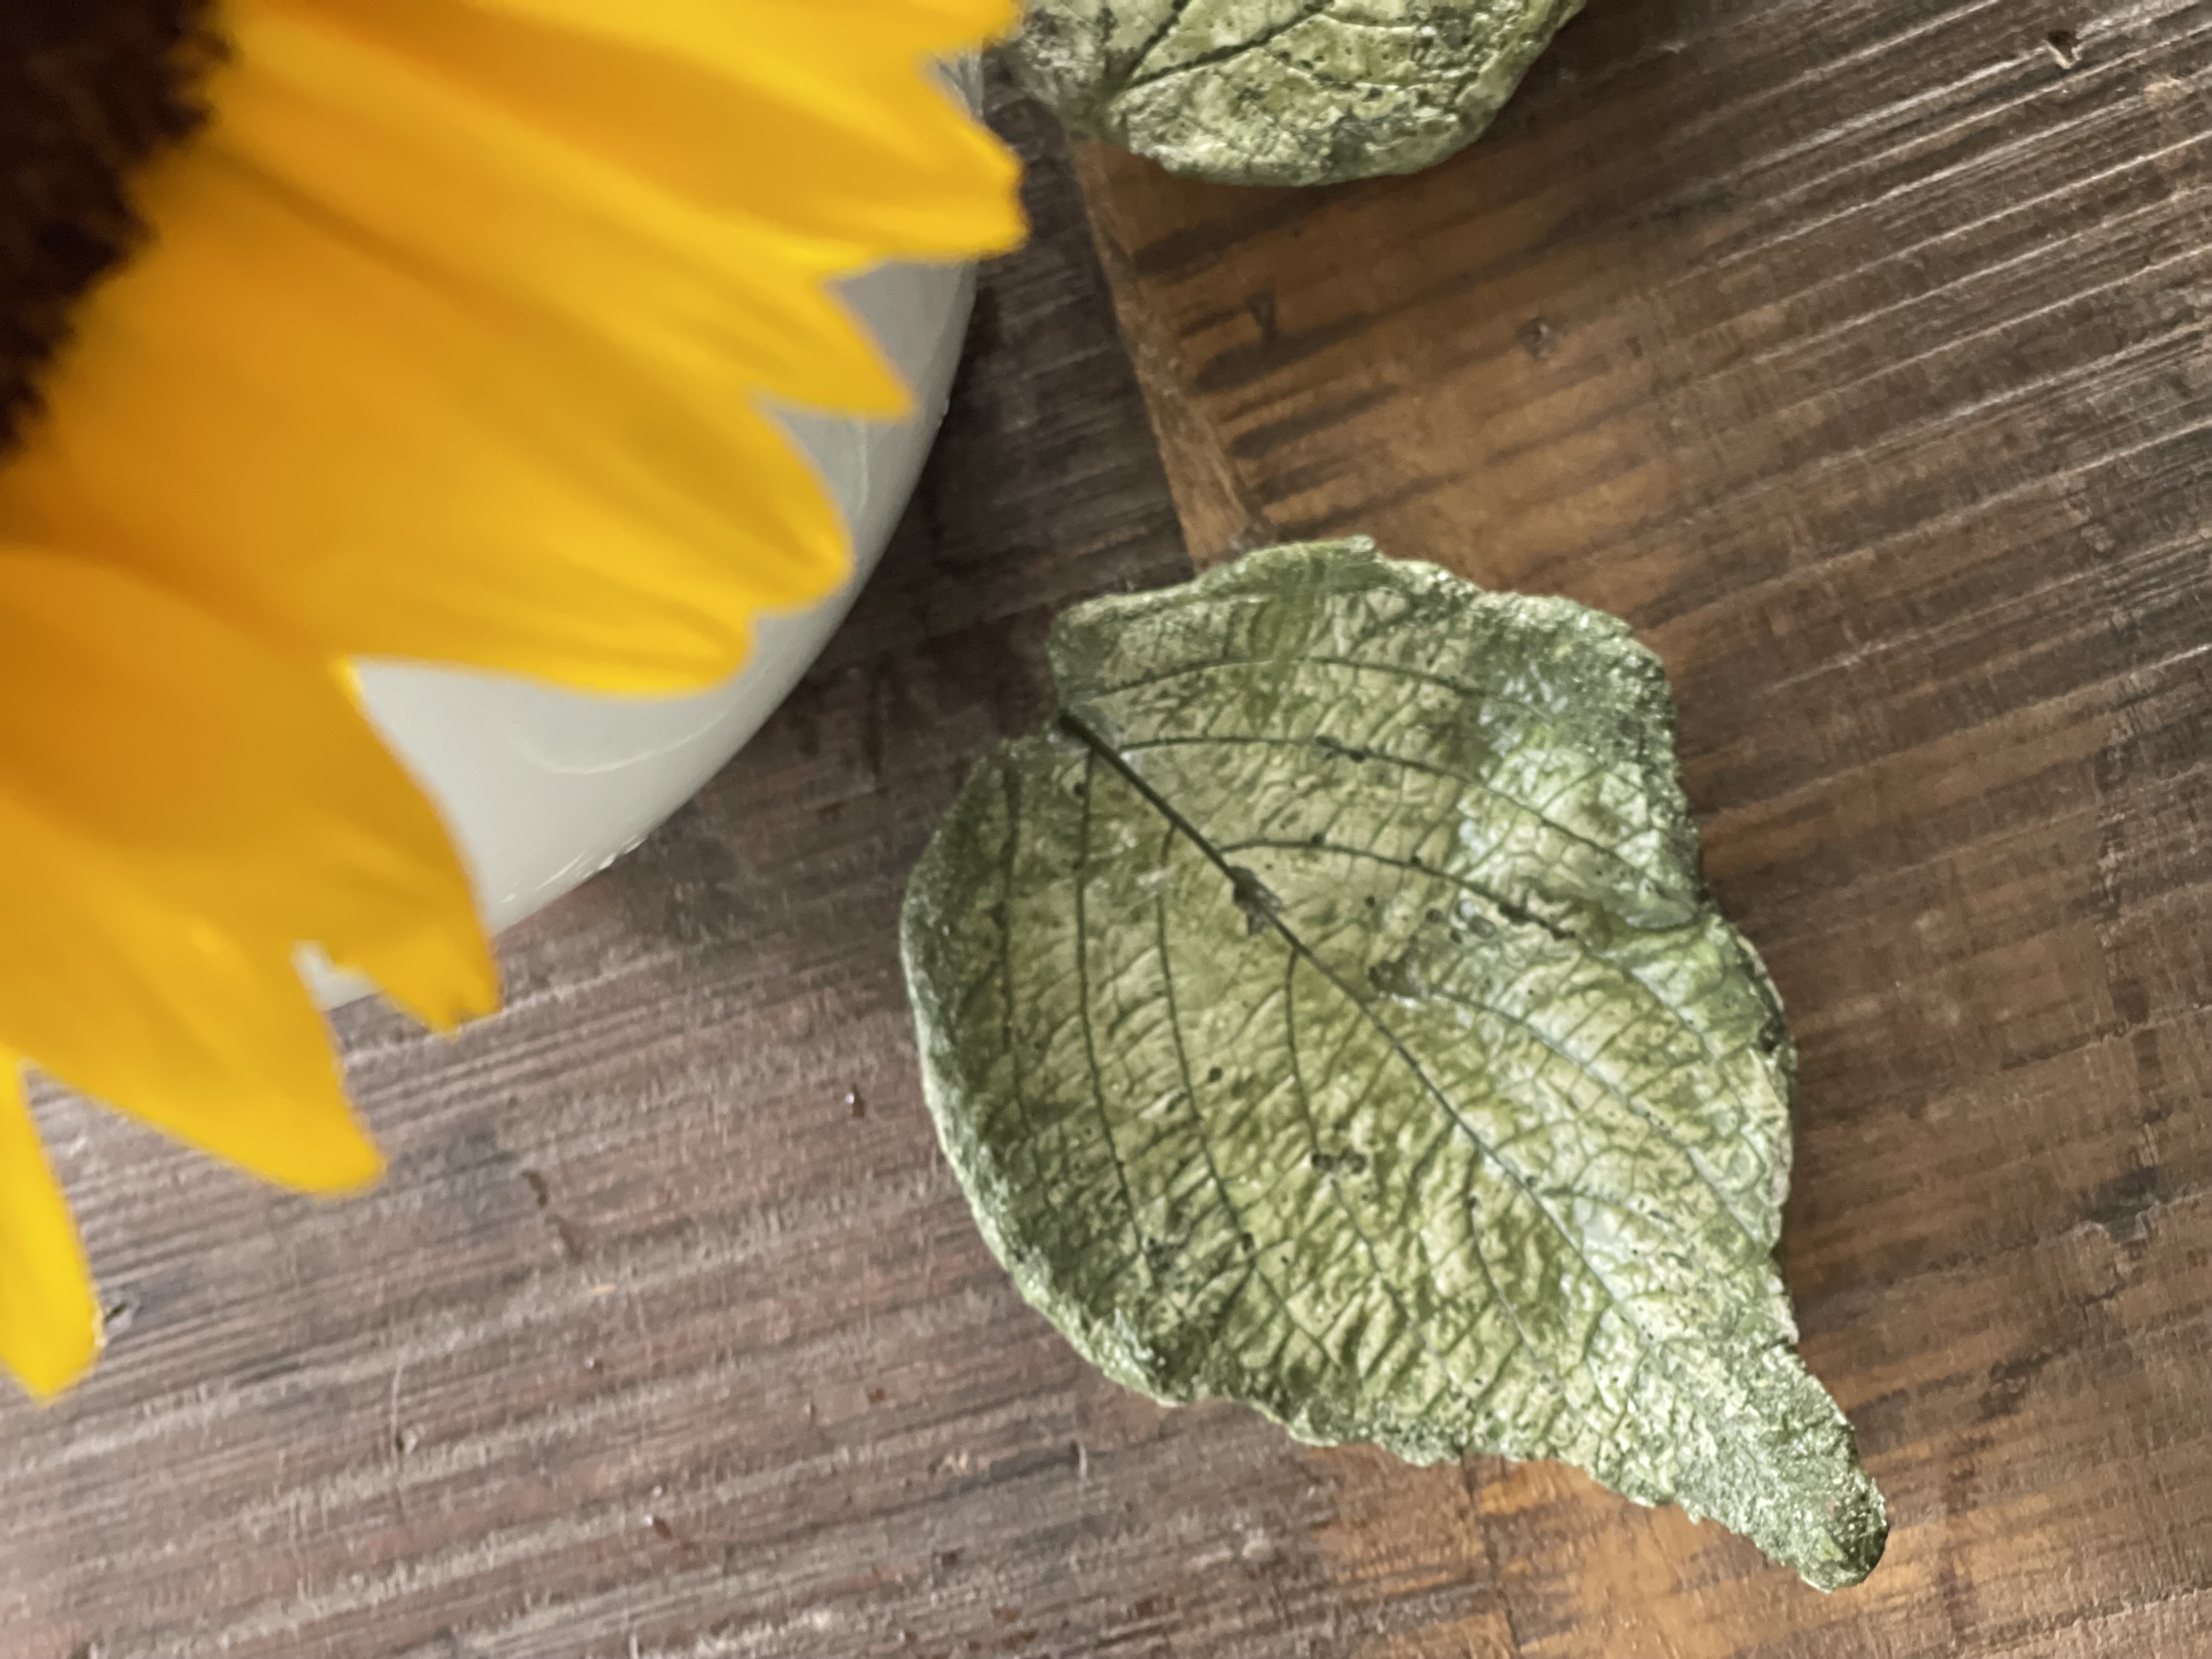
I was so excited how these turned out. I loved the look before I peeled the leaf off so I painted it after I took the leaf off and then covered with Mod Podge. Love it.
Of course after that I thought how fun to cover the small leaves and place a stick through the end and create concrete leaf tablecloth clips. Click here to see ones made from Oyster Shells.
I don’t know why I enjoy crafting with concrete so much but I certainly do. I look back and see there is a theme…Click here to see my DIY Concrete Stool
or here for my DIY Concrete Bowls…see what I mean?
Thanks so much for stopping by – I’ve included links to the products I used for your convenience. I definitely see more of these in my future. Soon I’ll be remaking cement pumpkins and I might have to add some cement leaves this time!
XO, Regina
This post contains affiliate links for your convenience. If you purchase from these links, I may receive a small commission at no extra cost to you. If you do, thanks for supporting my business!
Very interesting, will suggest this to my partner to see how this looks in our garden