Hi friends! Guess what? I am loving air dry clay. Is it for kids? Maybe.
But spring means bunnies so let’s go!
I first used this clay for name tags for a Thanksgiving dinner and as holiday ornaments for an event at work.
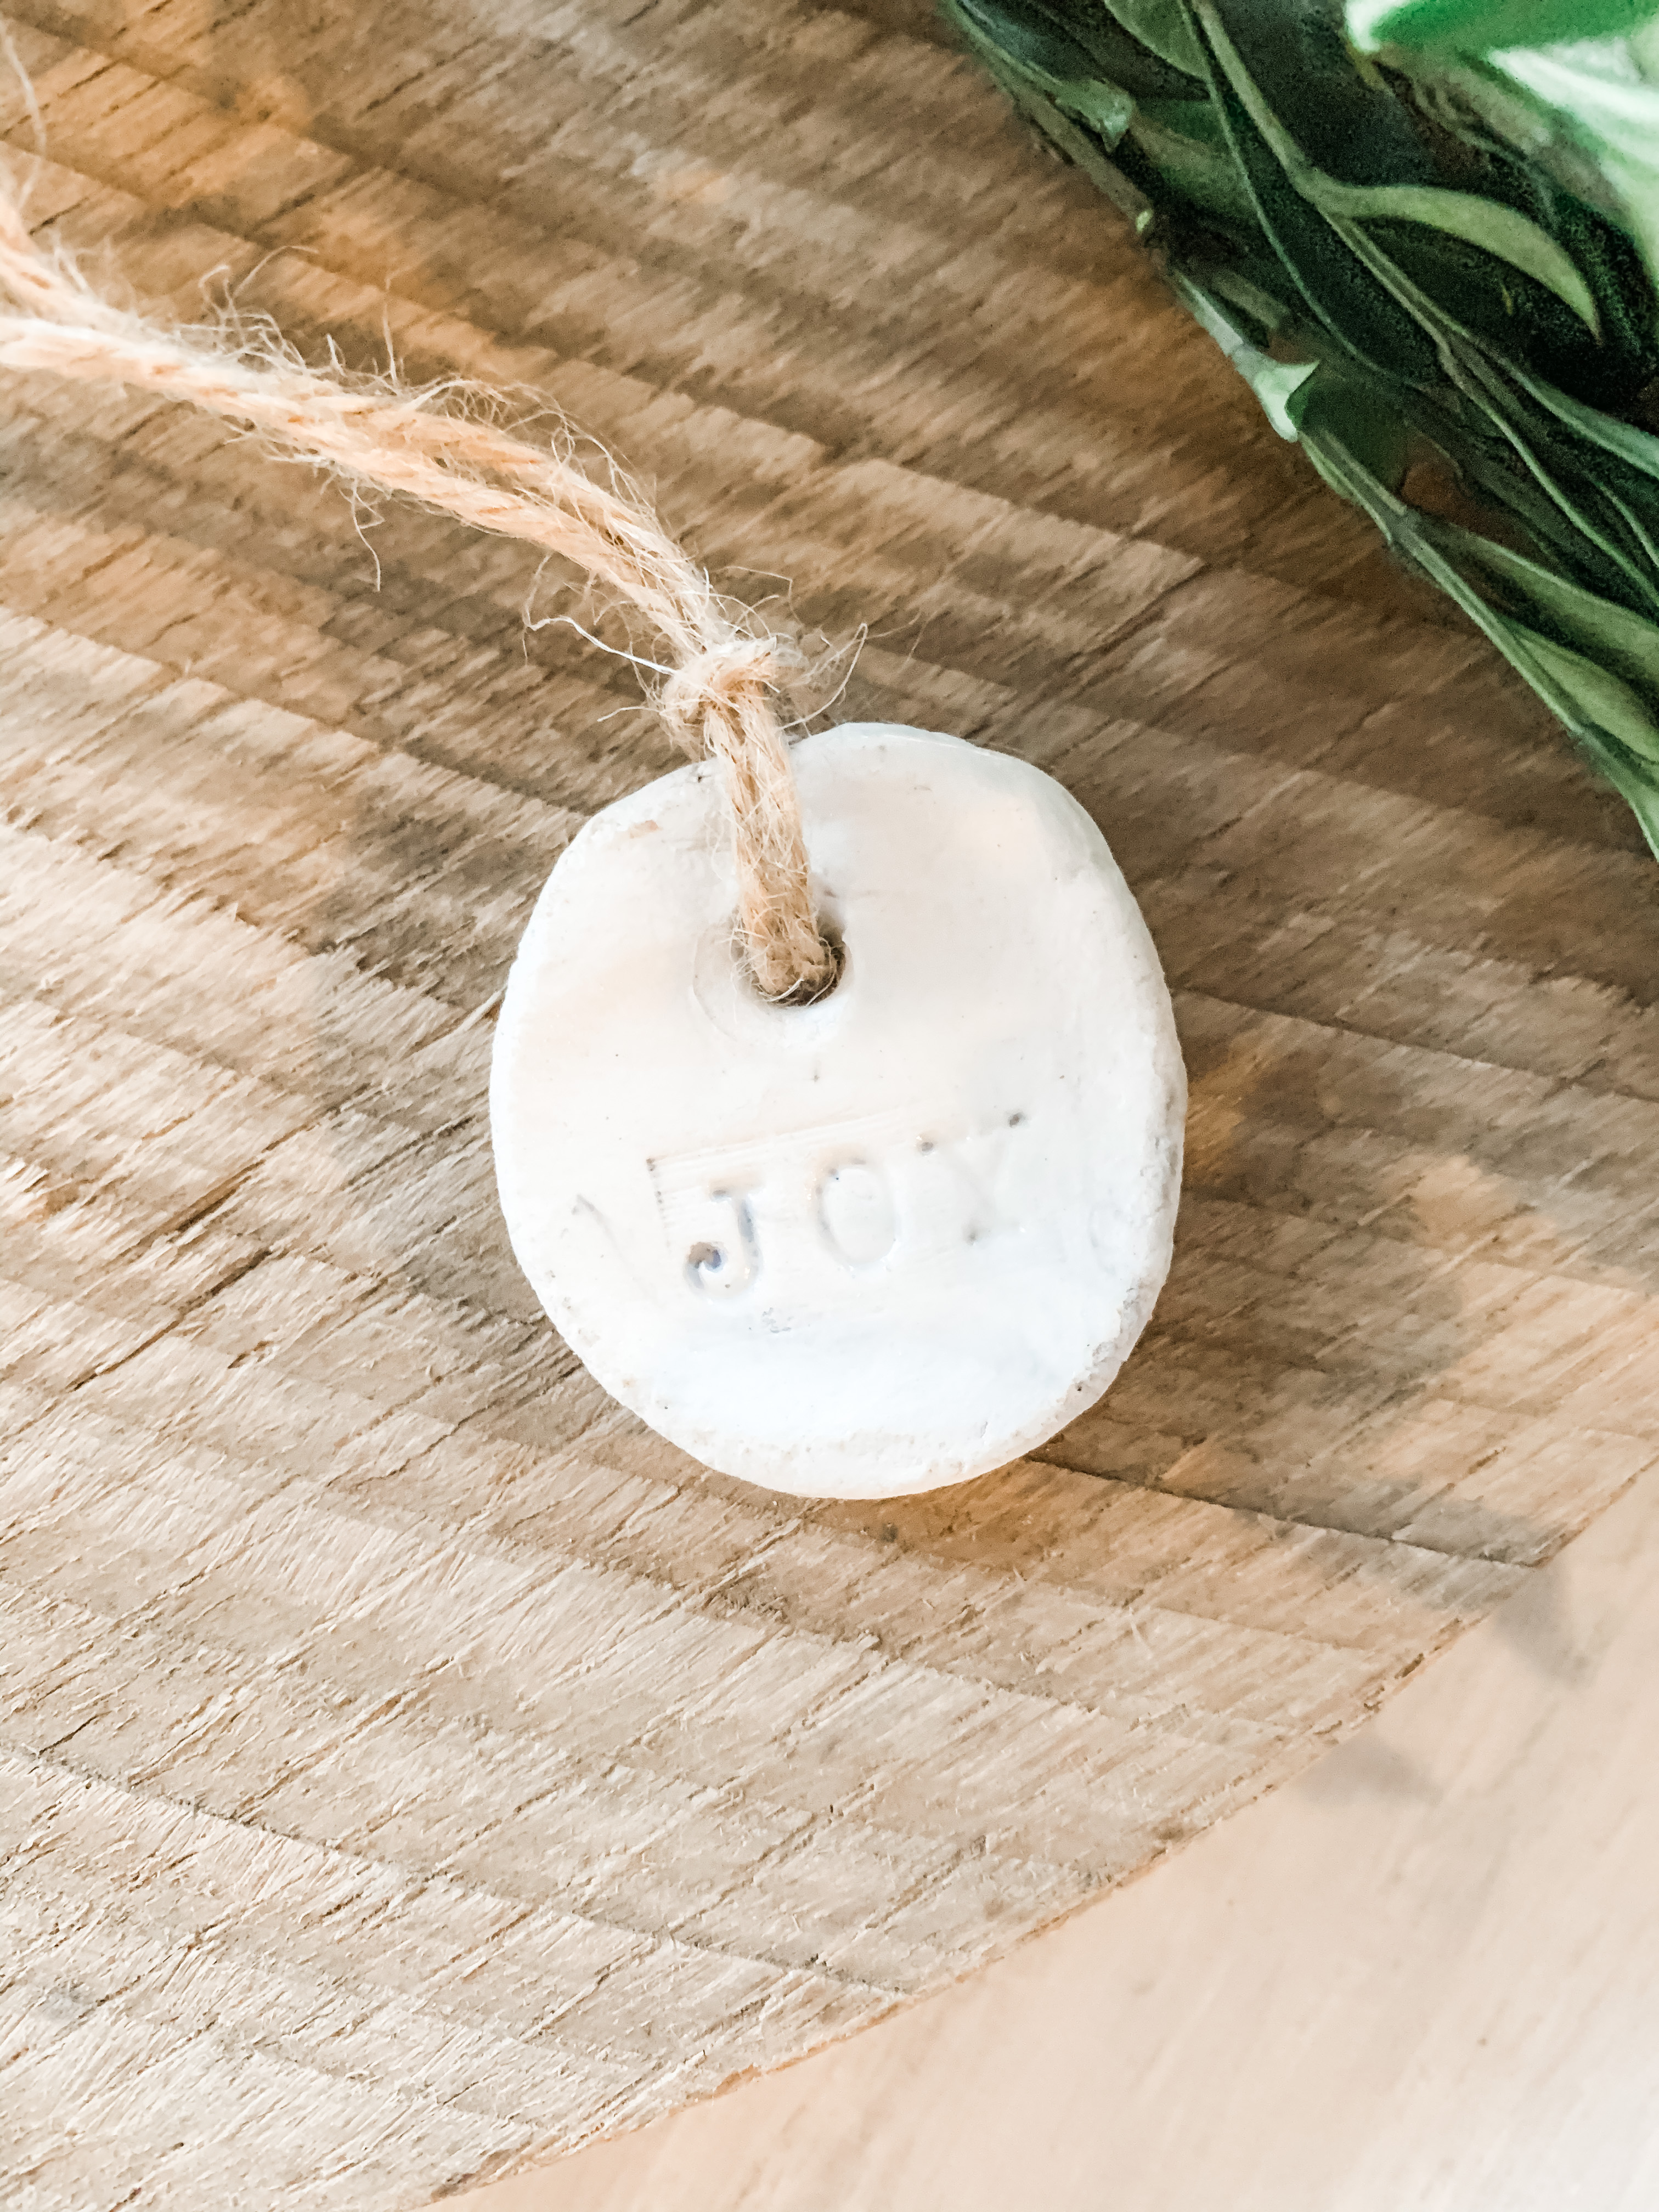
Easy to use, a package goes a very long way, as in I’ve never finished one yet.
The type I use is DAS air dry clay.
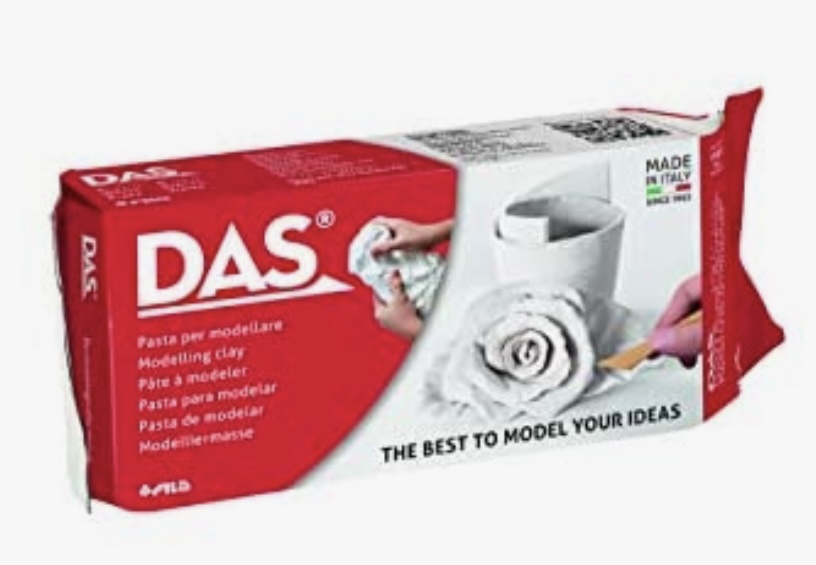
The best part is you can hand mold it into a shape, press into a mold or use a cookie cutter.
Make sure to wrap your clay up tightly but if for some reason you don’t (don’t ask how I know) there is a method to bring it back to life, it’s written on the package.
It’s versatile enough that you can paint it, you can Mod Podge it and even sand it smooth if needed.
Leaving it naturally white works for me and my decor.
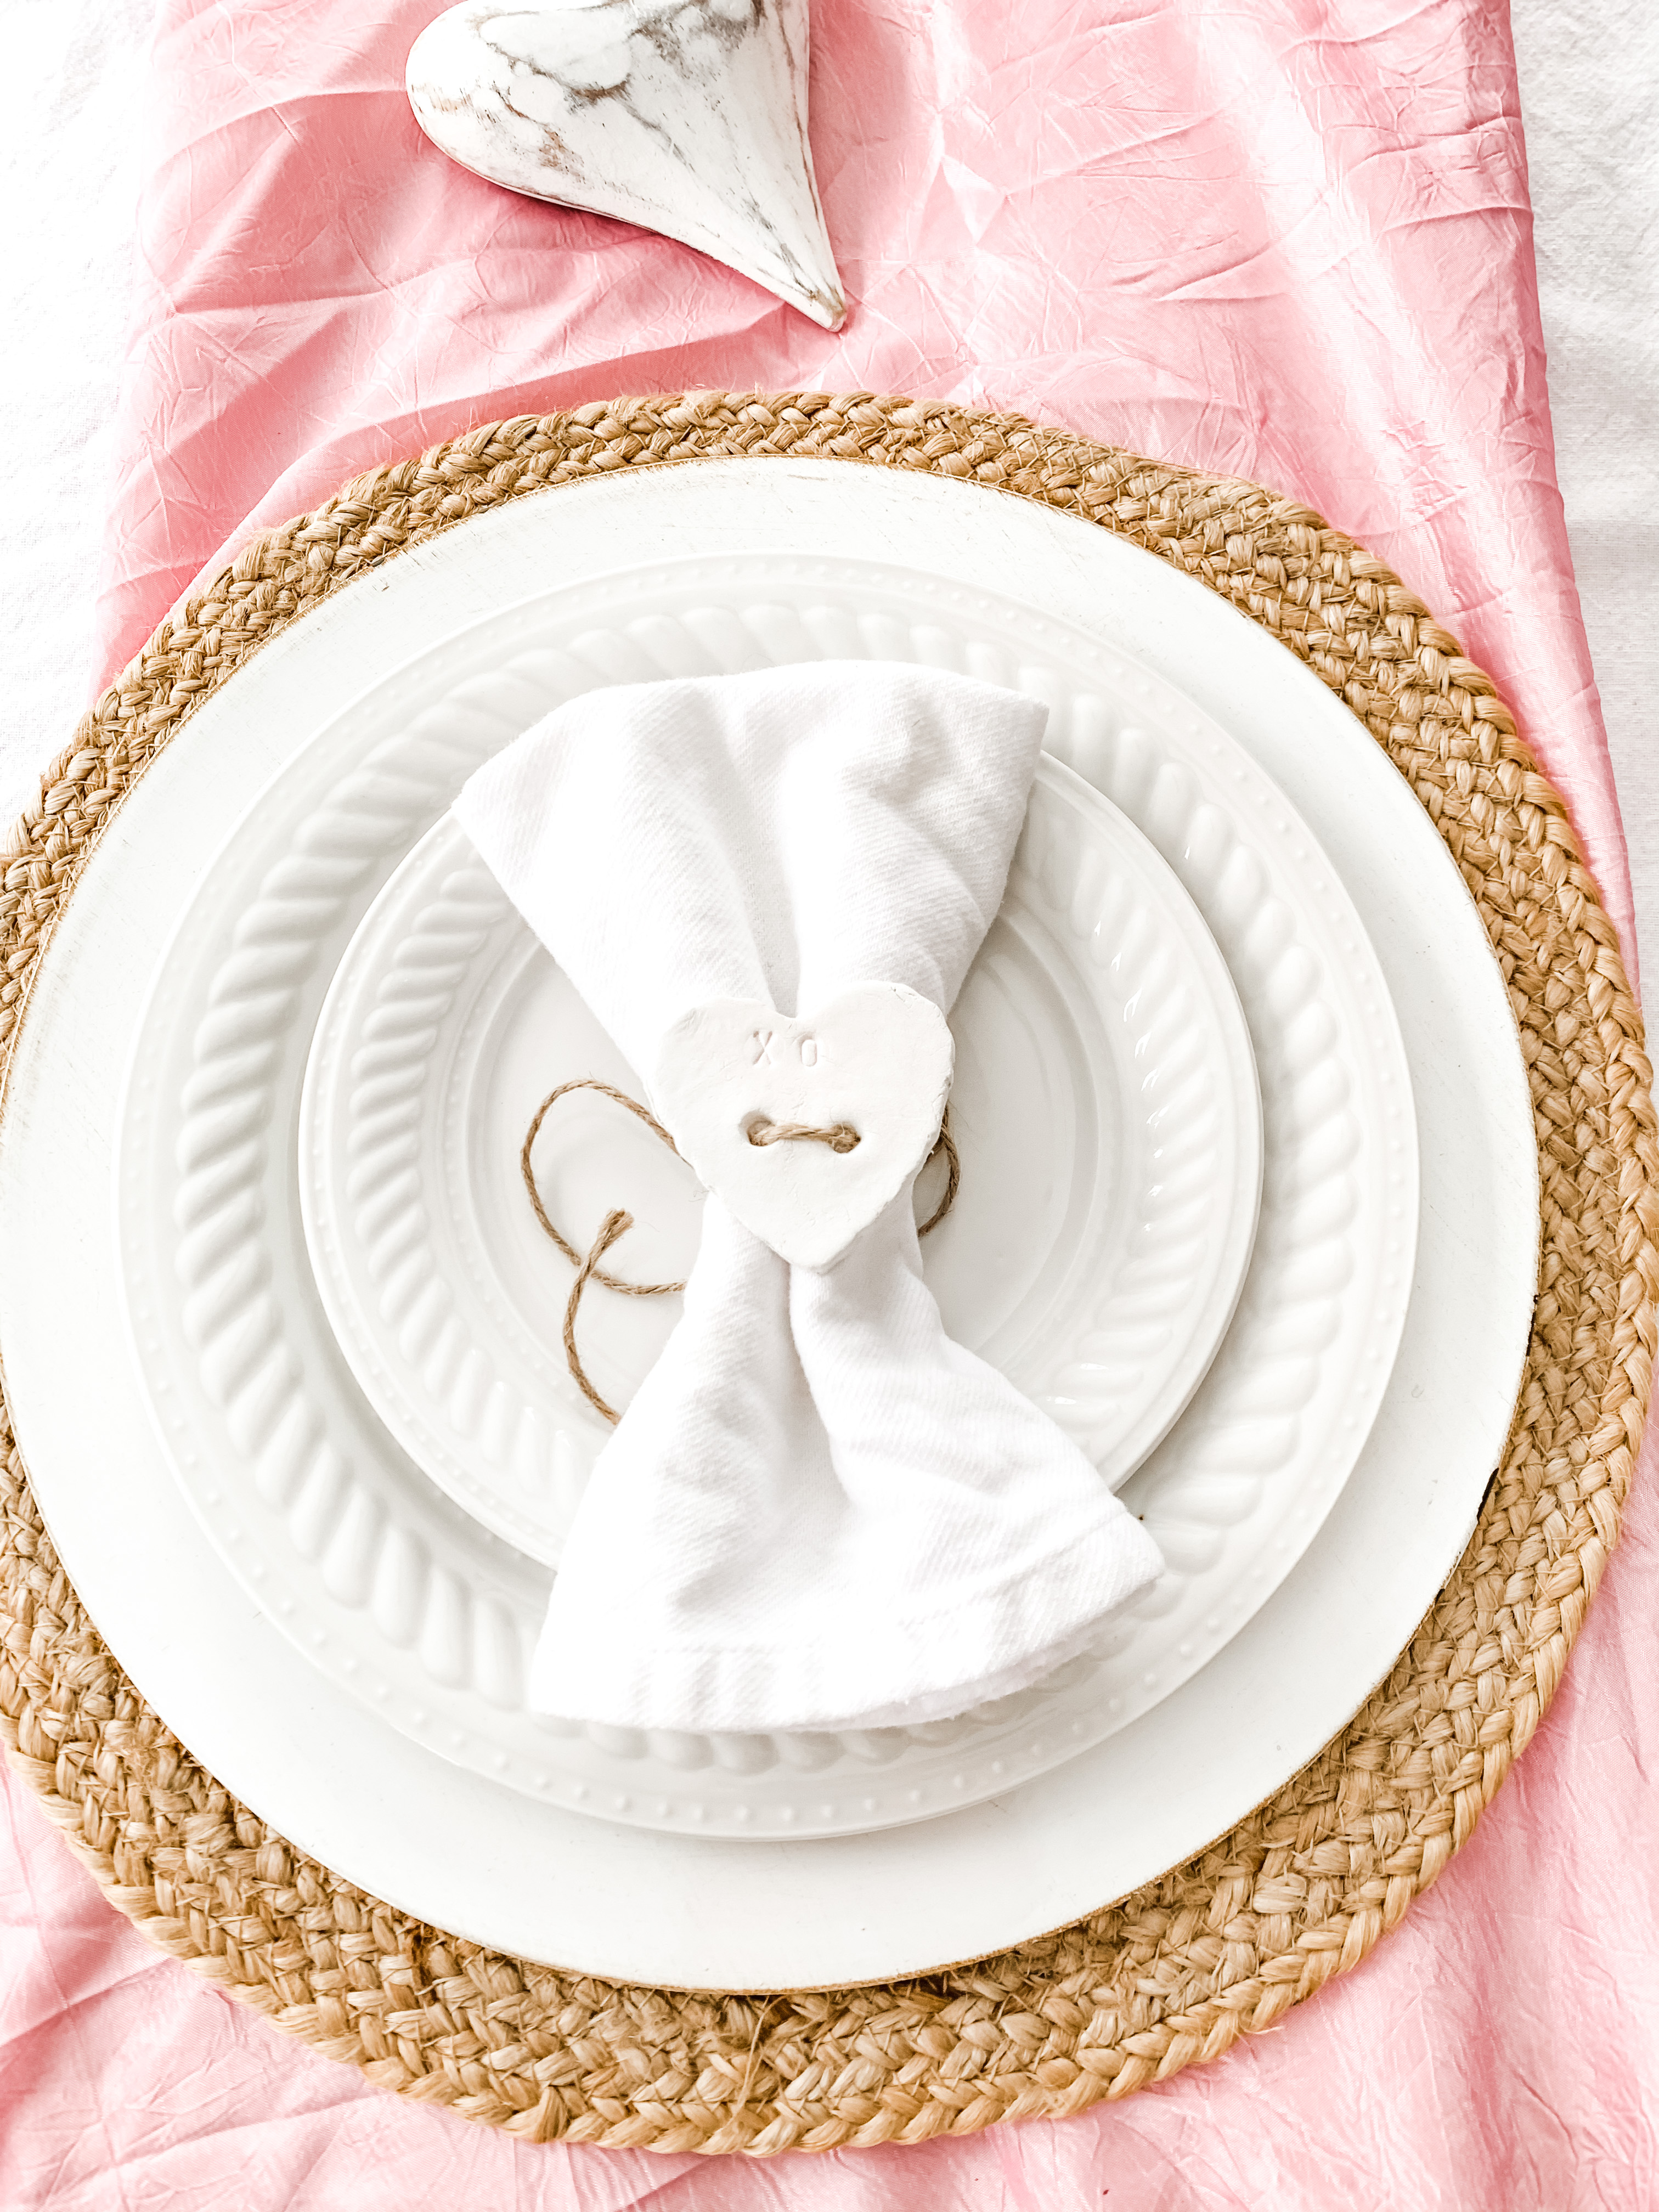
I made these really cute heart cut outs for my Valentine tablescape.
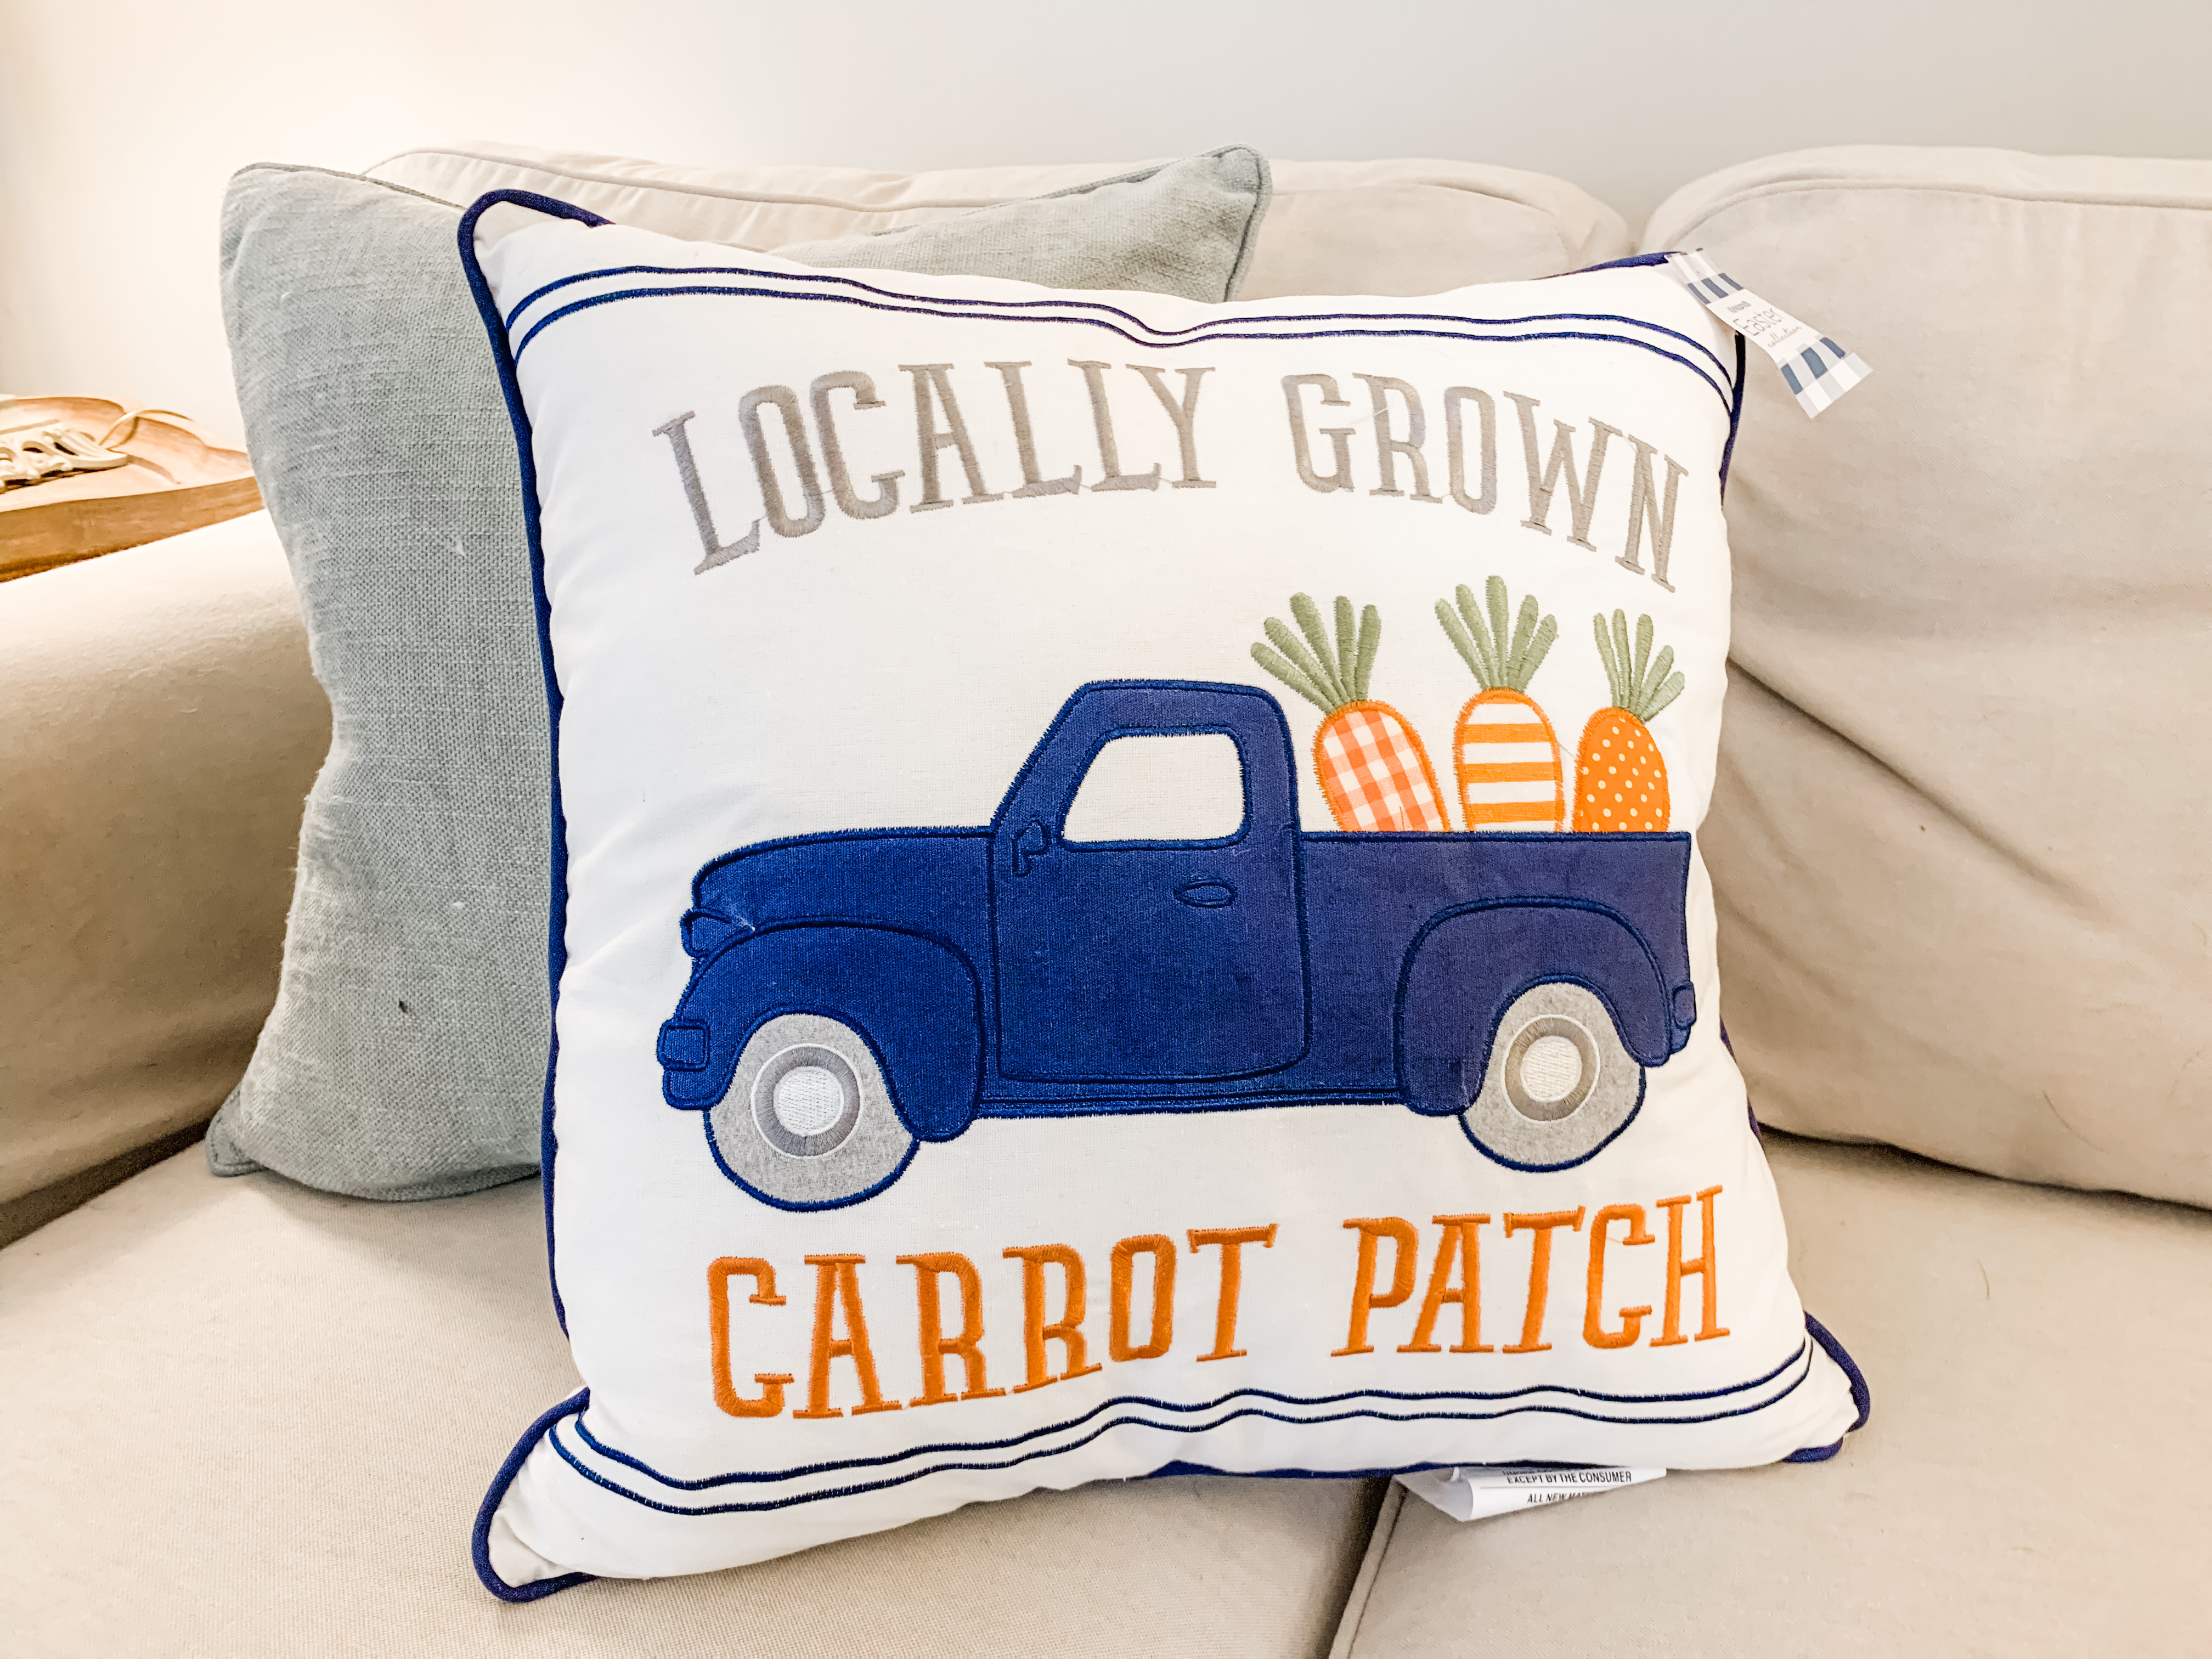
My project inspiration came from my throw pillow problem, you love throw pillows too right? Please nod. I might have already bought one new one on sale at Kirklands, but in all fairness, it’s going on the porch. You could find a similar one here.
My house is a blue gray and I refuse to put a pillow out, no matter the season if it doesn’t have blue in it. Am I the only one like that?
The green pillow is the one I’m going to garnish.
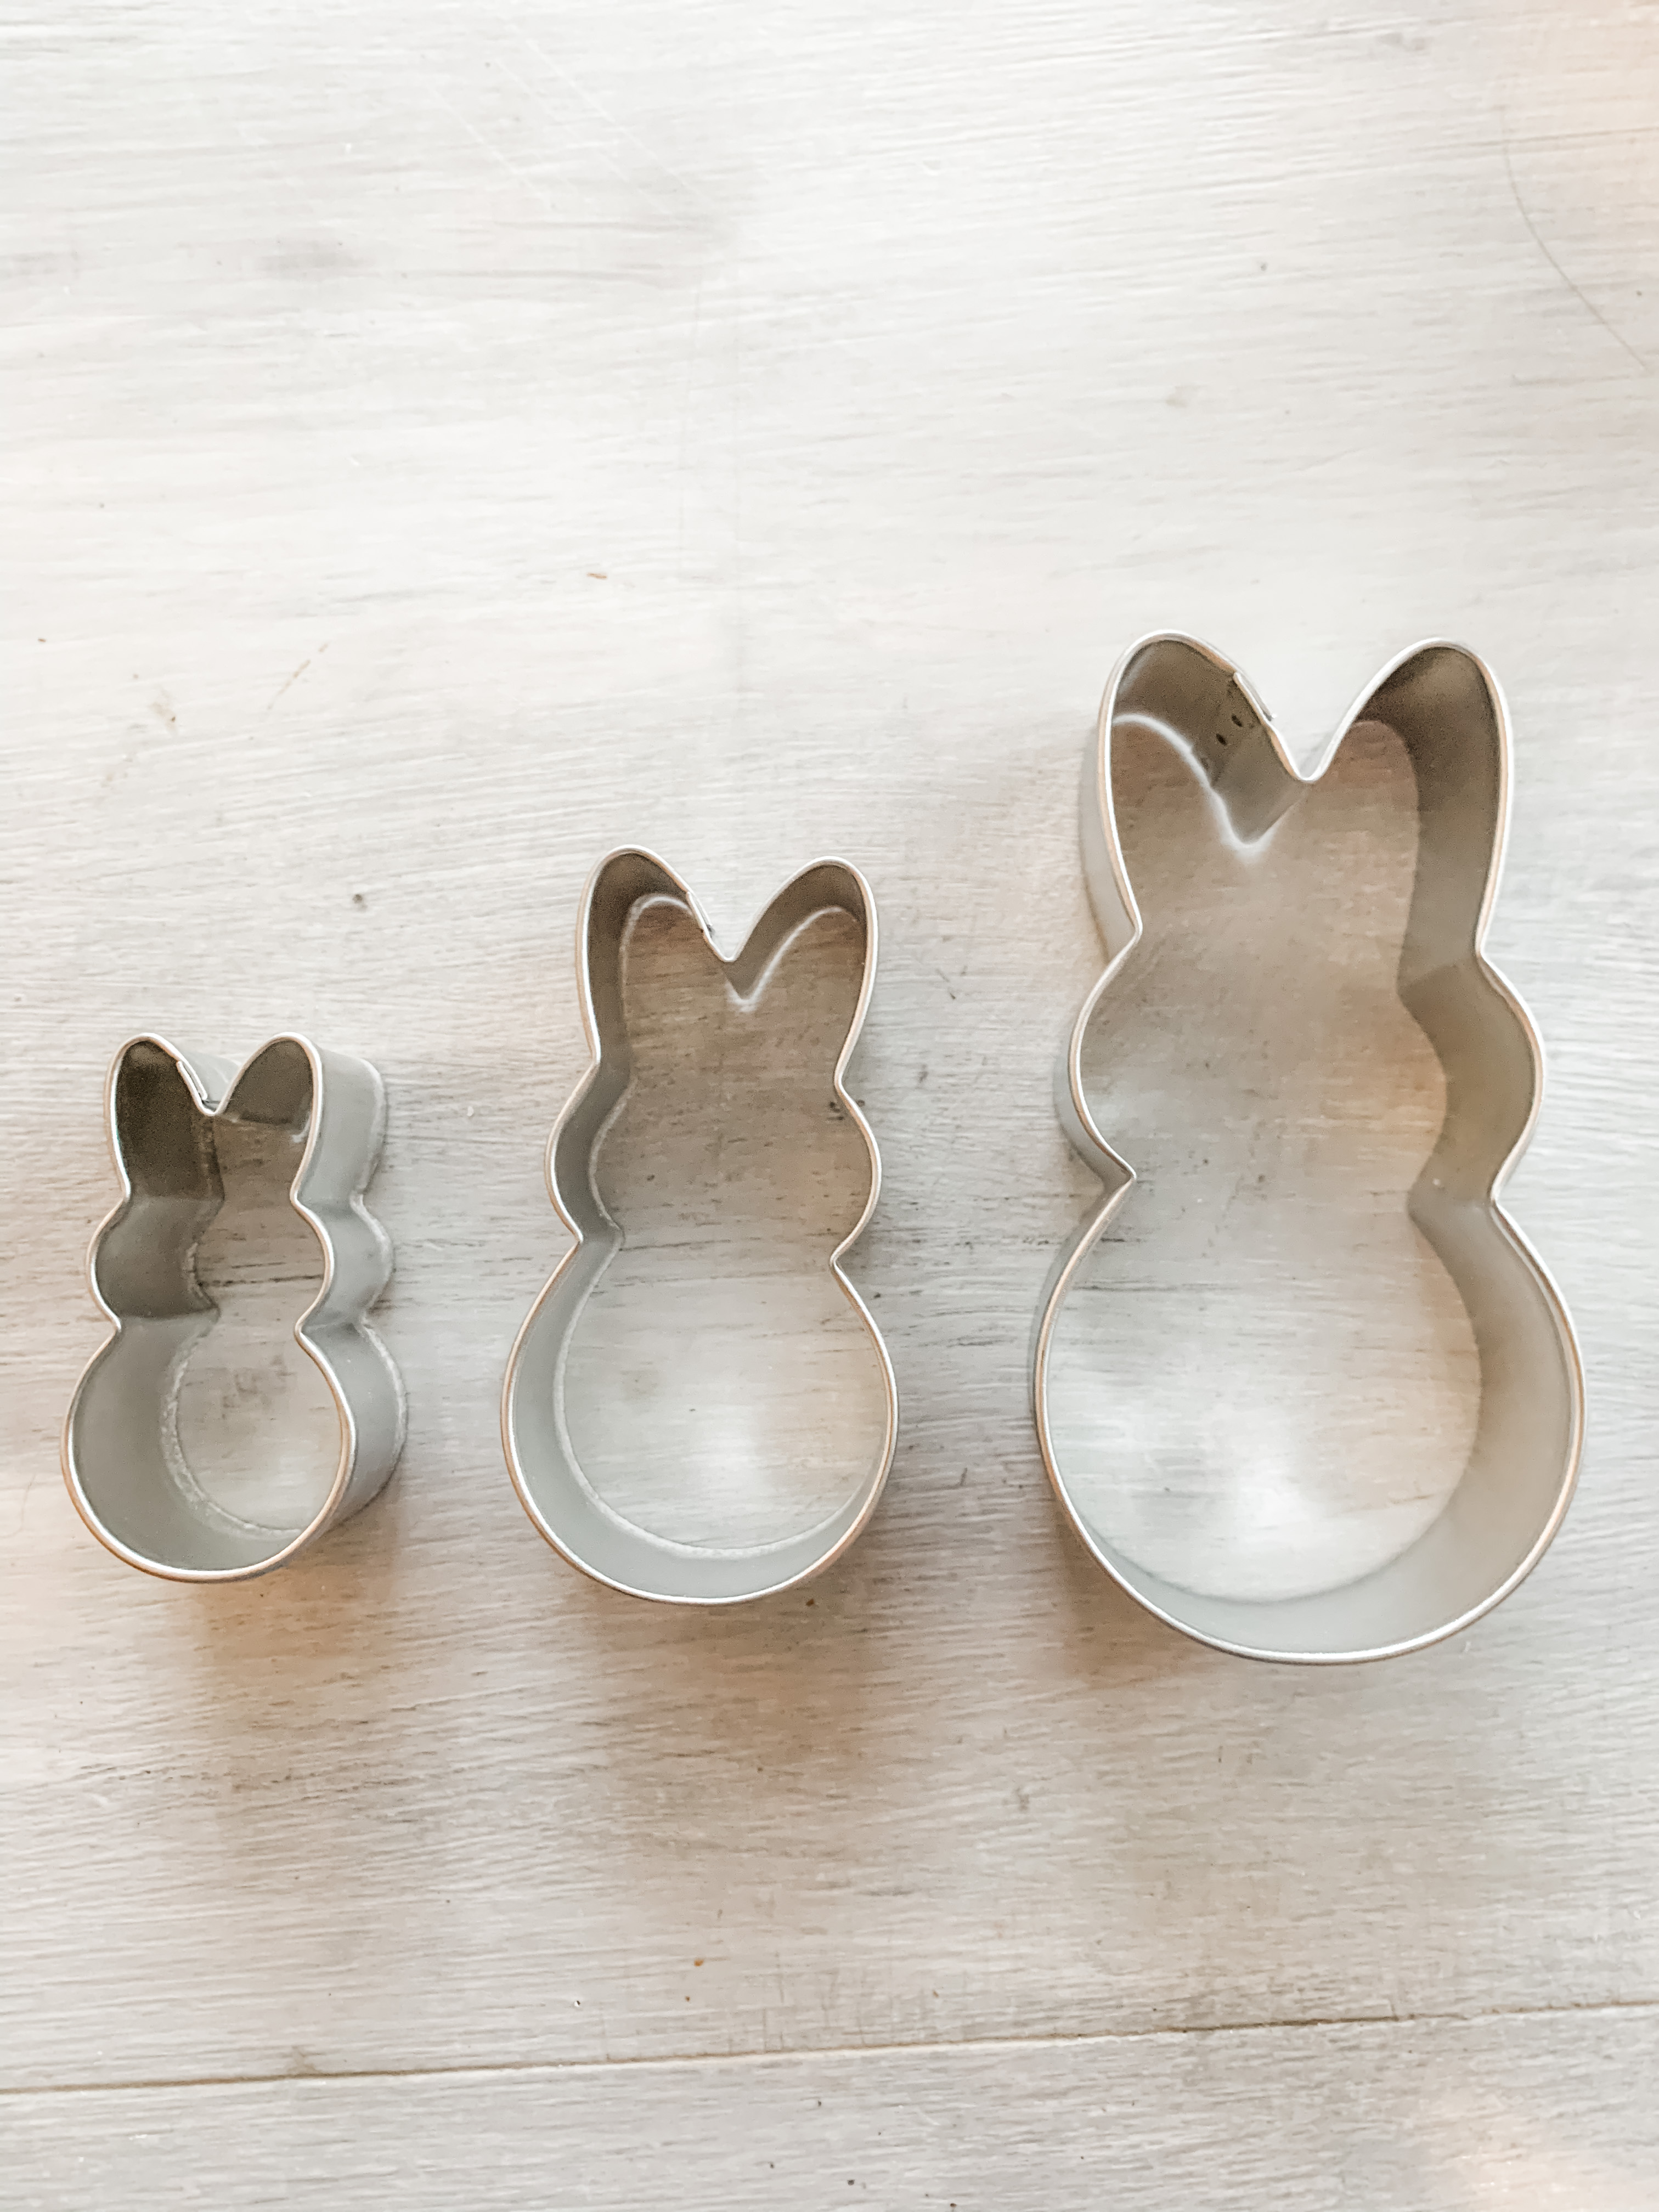
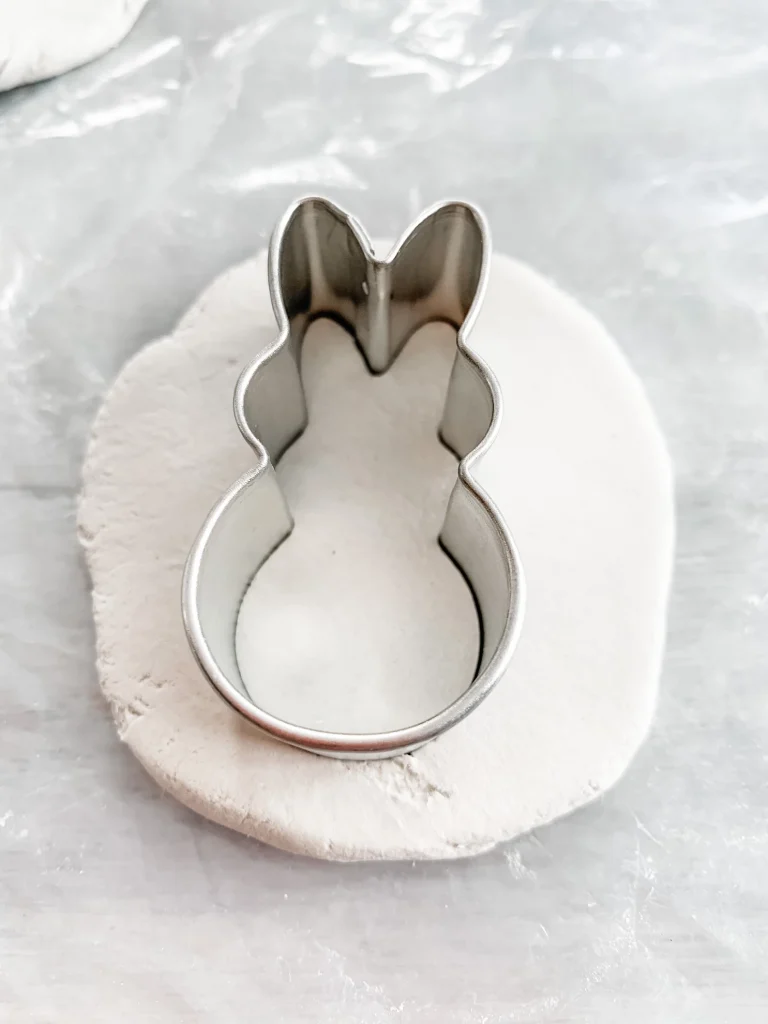
I decided to make clay bunny buttons using these adorable (3 sizes) cookie cutters. I used the middle size.
My bunny love goes way back, I stenciled a running bunny on my mailbox in the mid 80’s.
In Maryland we have a place – Savage Mill.
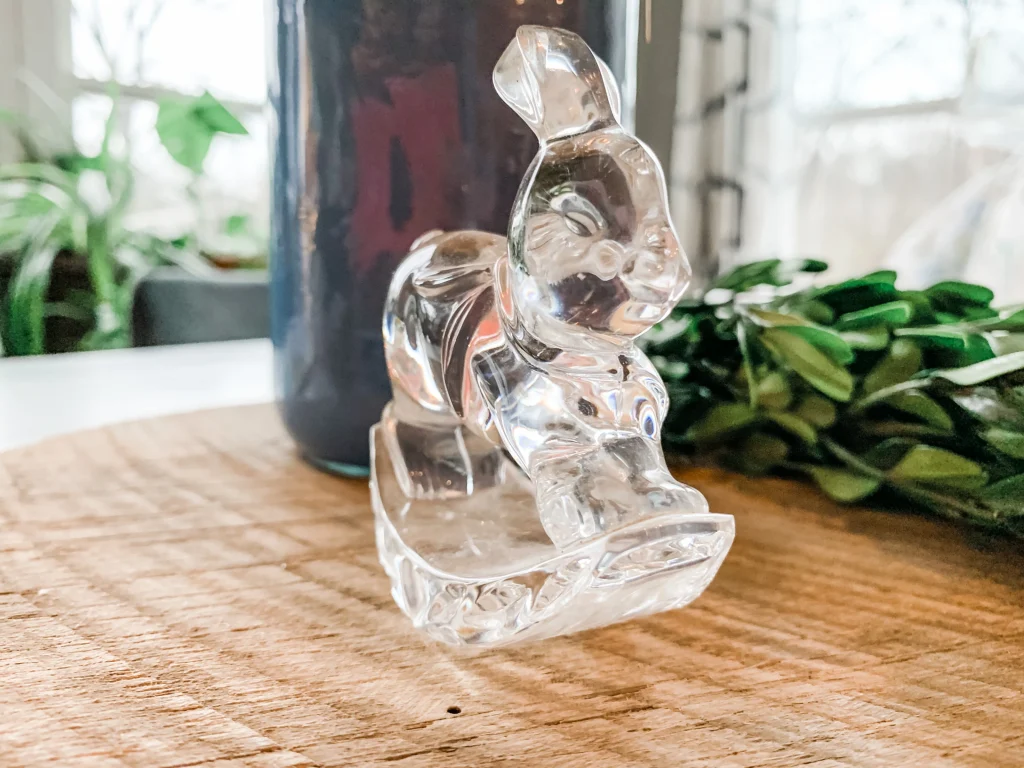
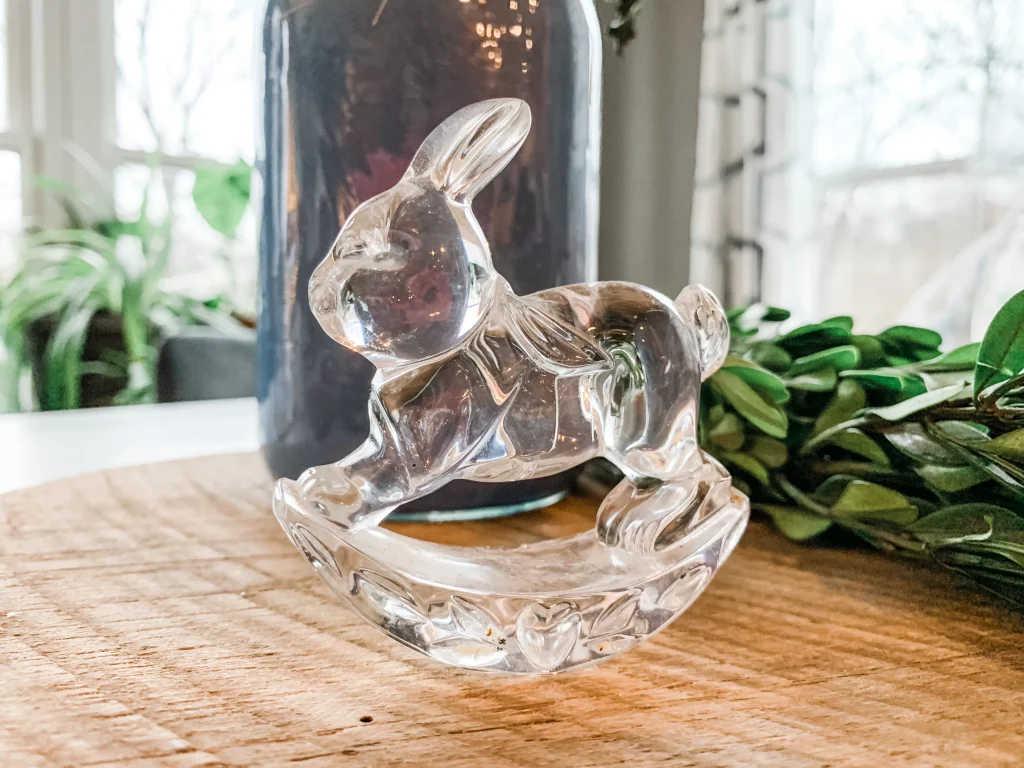
Decades ago, there was a store that had a “Rocking Rabbit”.
It was a beautifully carved wooden ornate rabbit on a rocker, like a rocking horse, but cuter.
It was stunning. I think it was between $600 – $800.
I asked for it for Christmas. Amazingly I did not get it.
A few years later, my mom surprised me with my very own Rocking Rabbit.
Is he adorable or what?
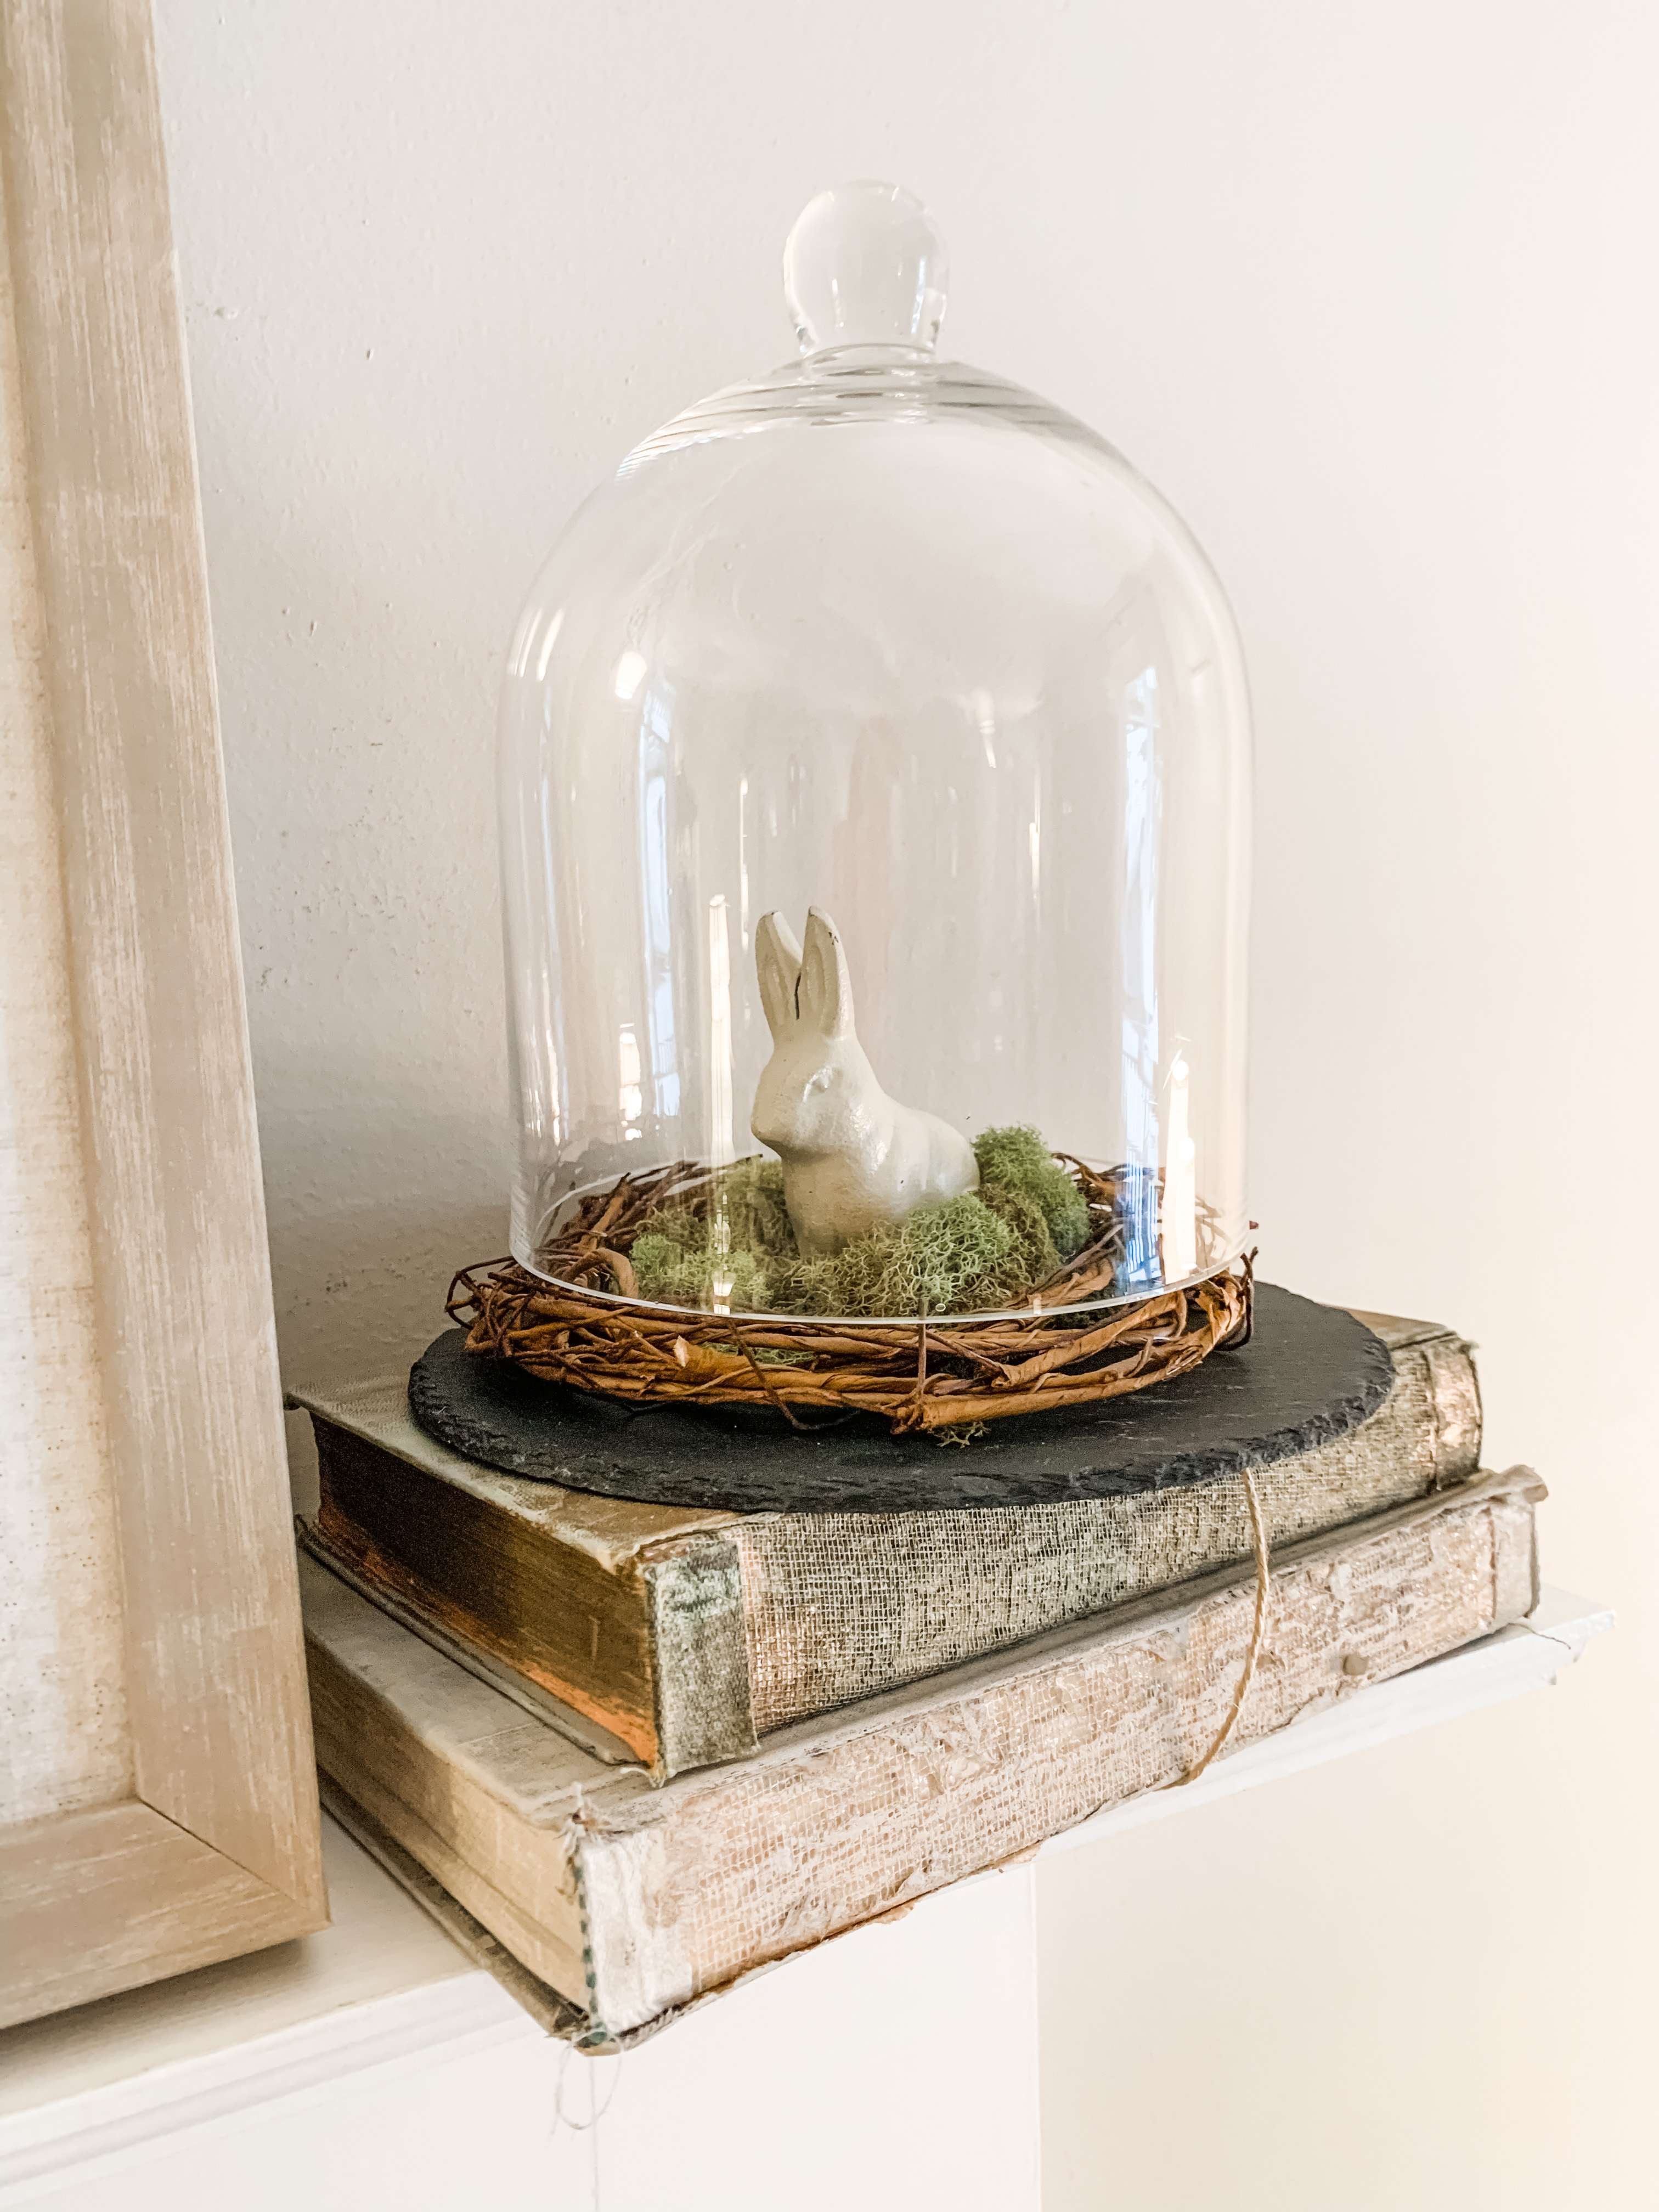
Mostly my bunny decor comes out in the spring and Easter. To say during that time we are in bunny overload is putting it mildly. But bunnies and old books, how can you not love them?
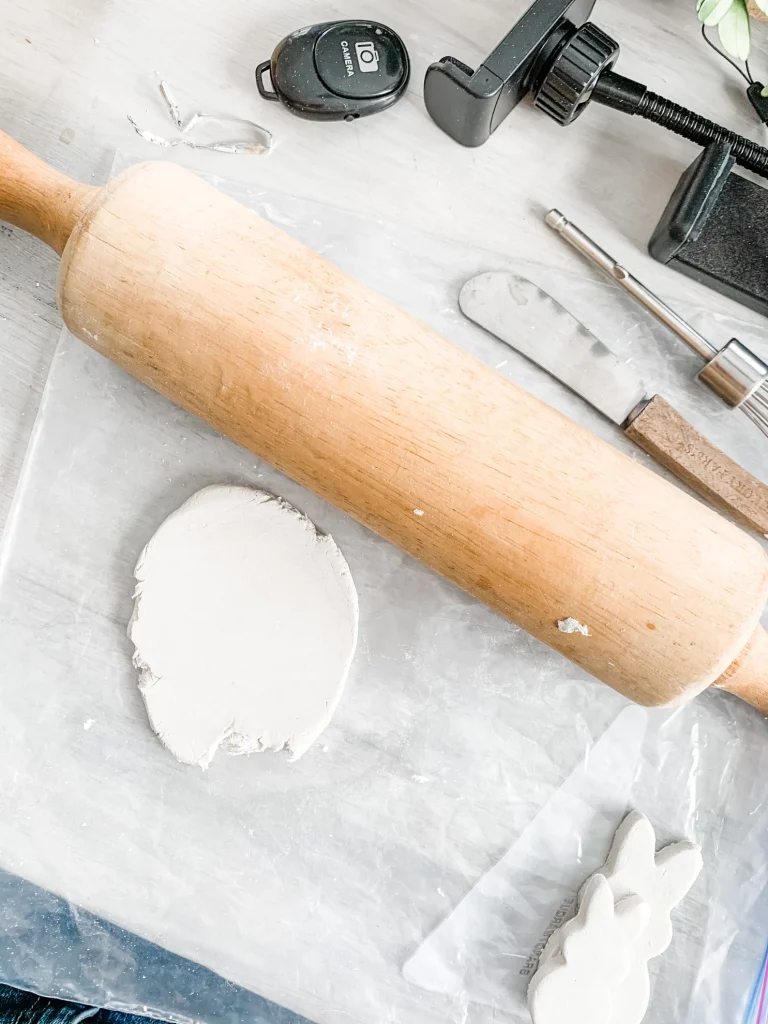
Back to the project, I began by rolling out the clay flat.
The thickness is personal preference, it is very strong when dry.
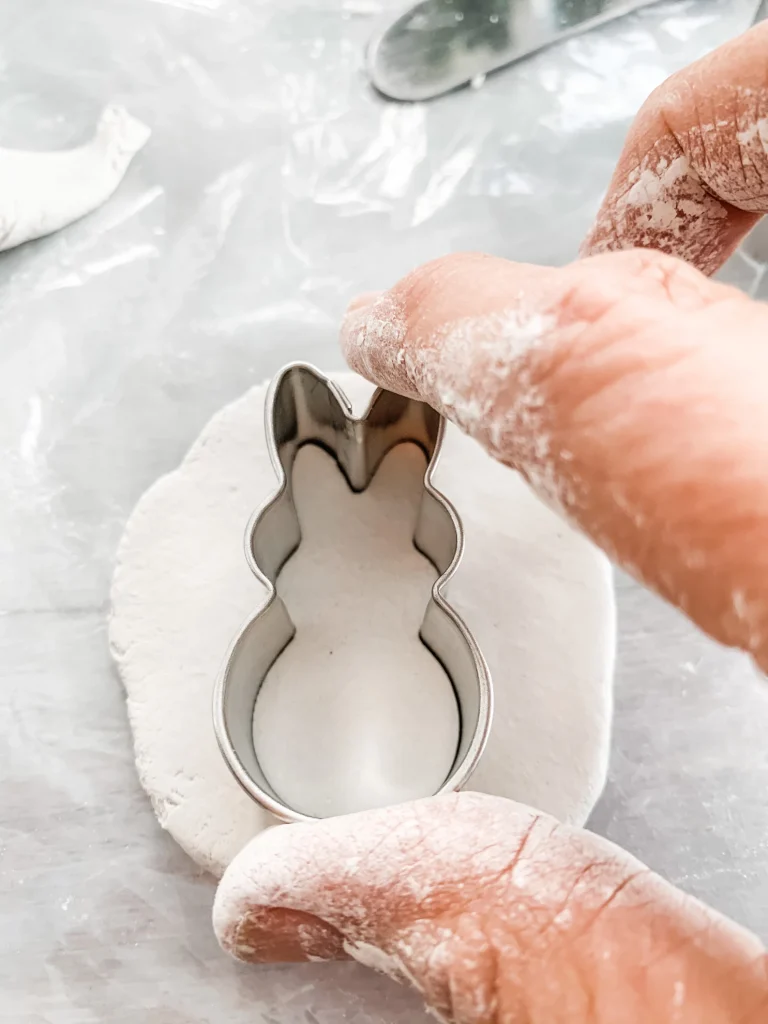
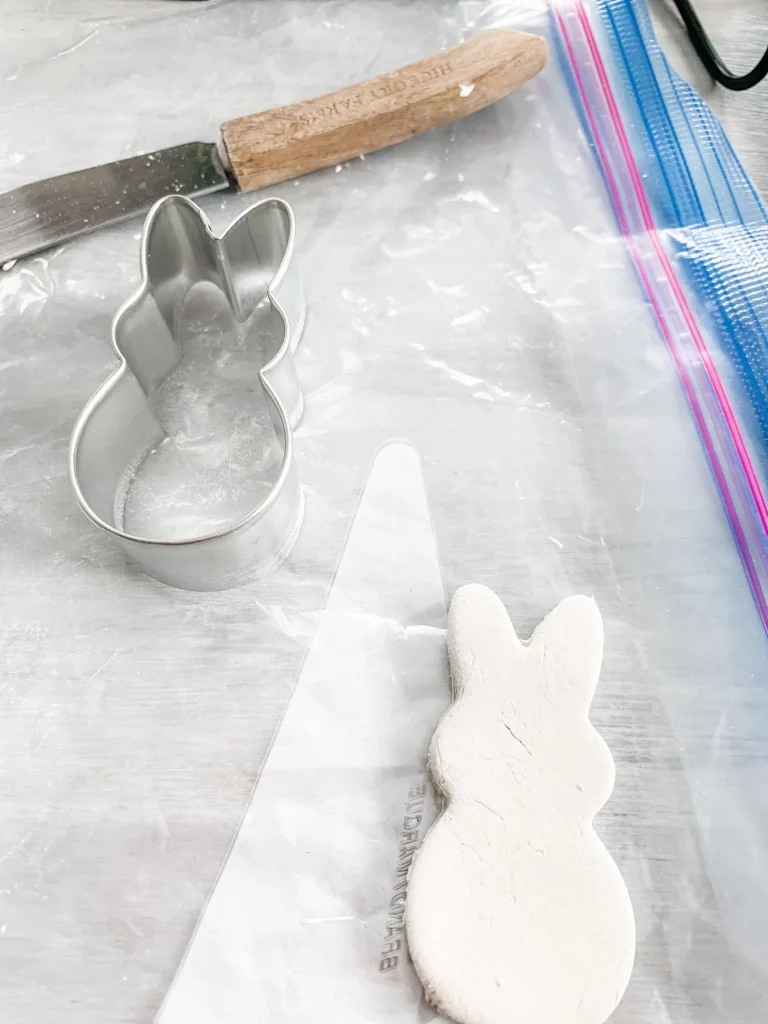
I cut a few bunnies out and used a skewer to poke two holes one on top of the other.
These were for the button holes.
I let them dry – it helps to flip them over a few times to get them to dry faster.
Then I painted them with a matte ” target=”_blank” rel=”noopener”>Mod Podge.
I also made a few with holes where eyes would be and used them for napkin rings.
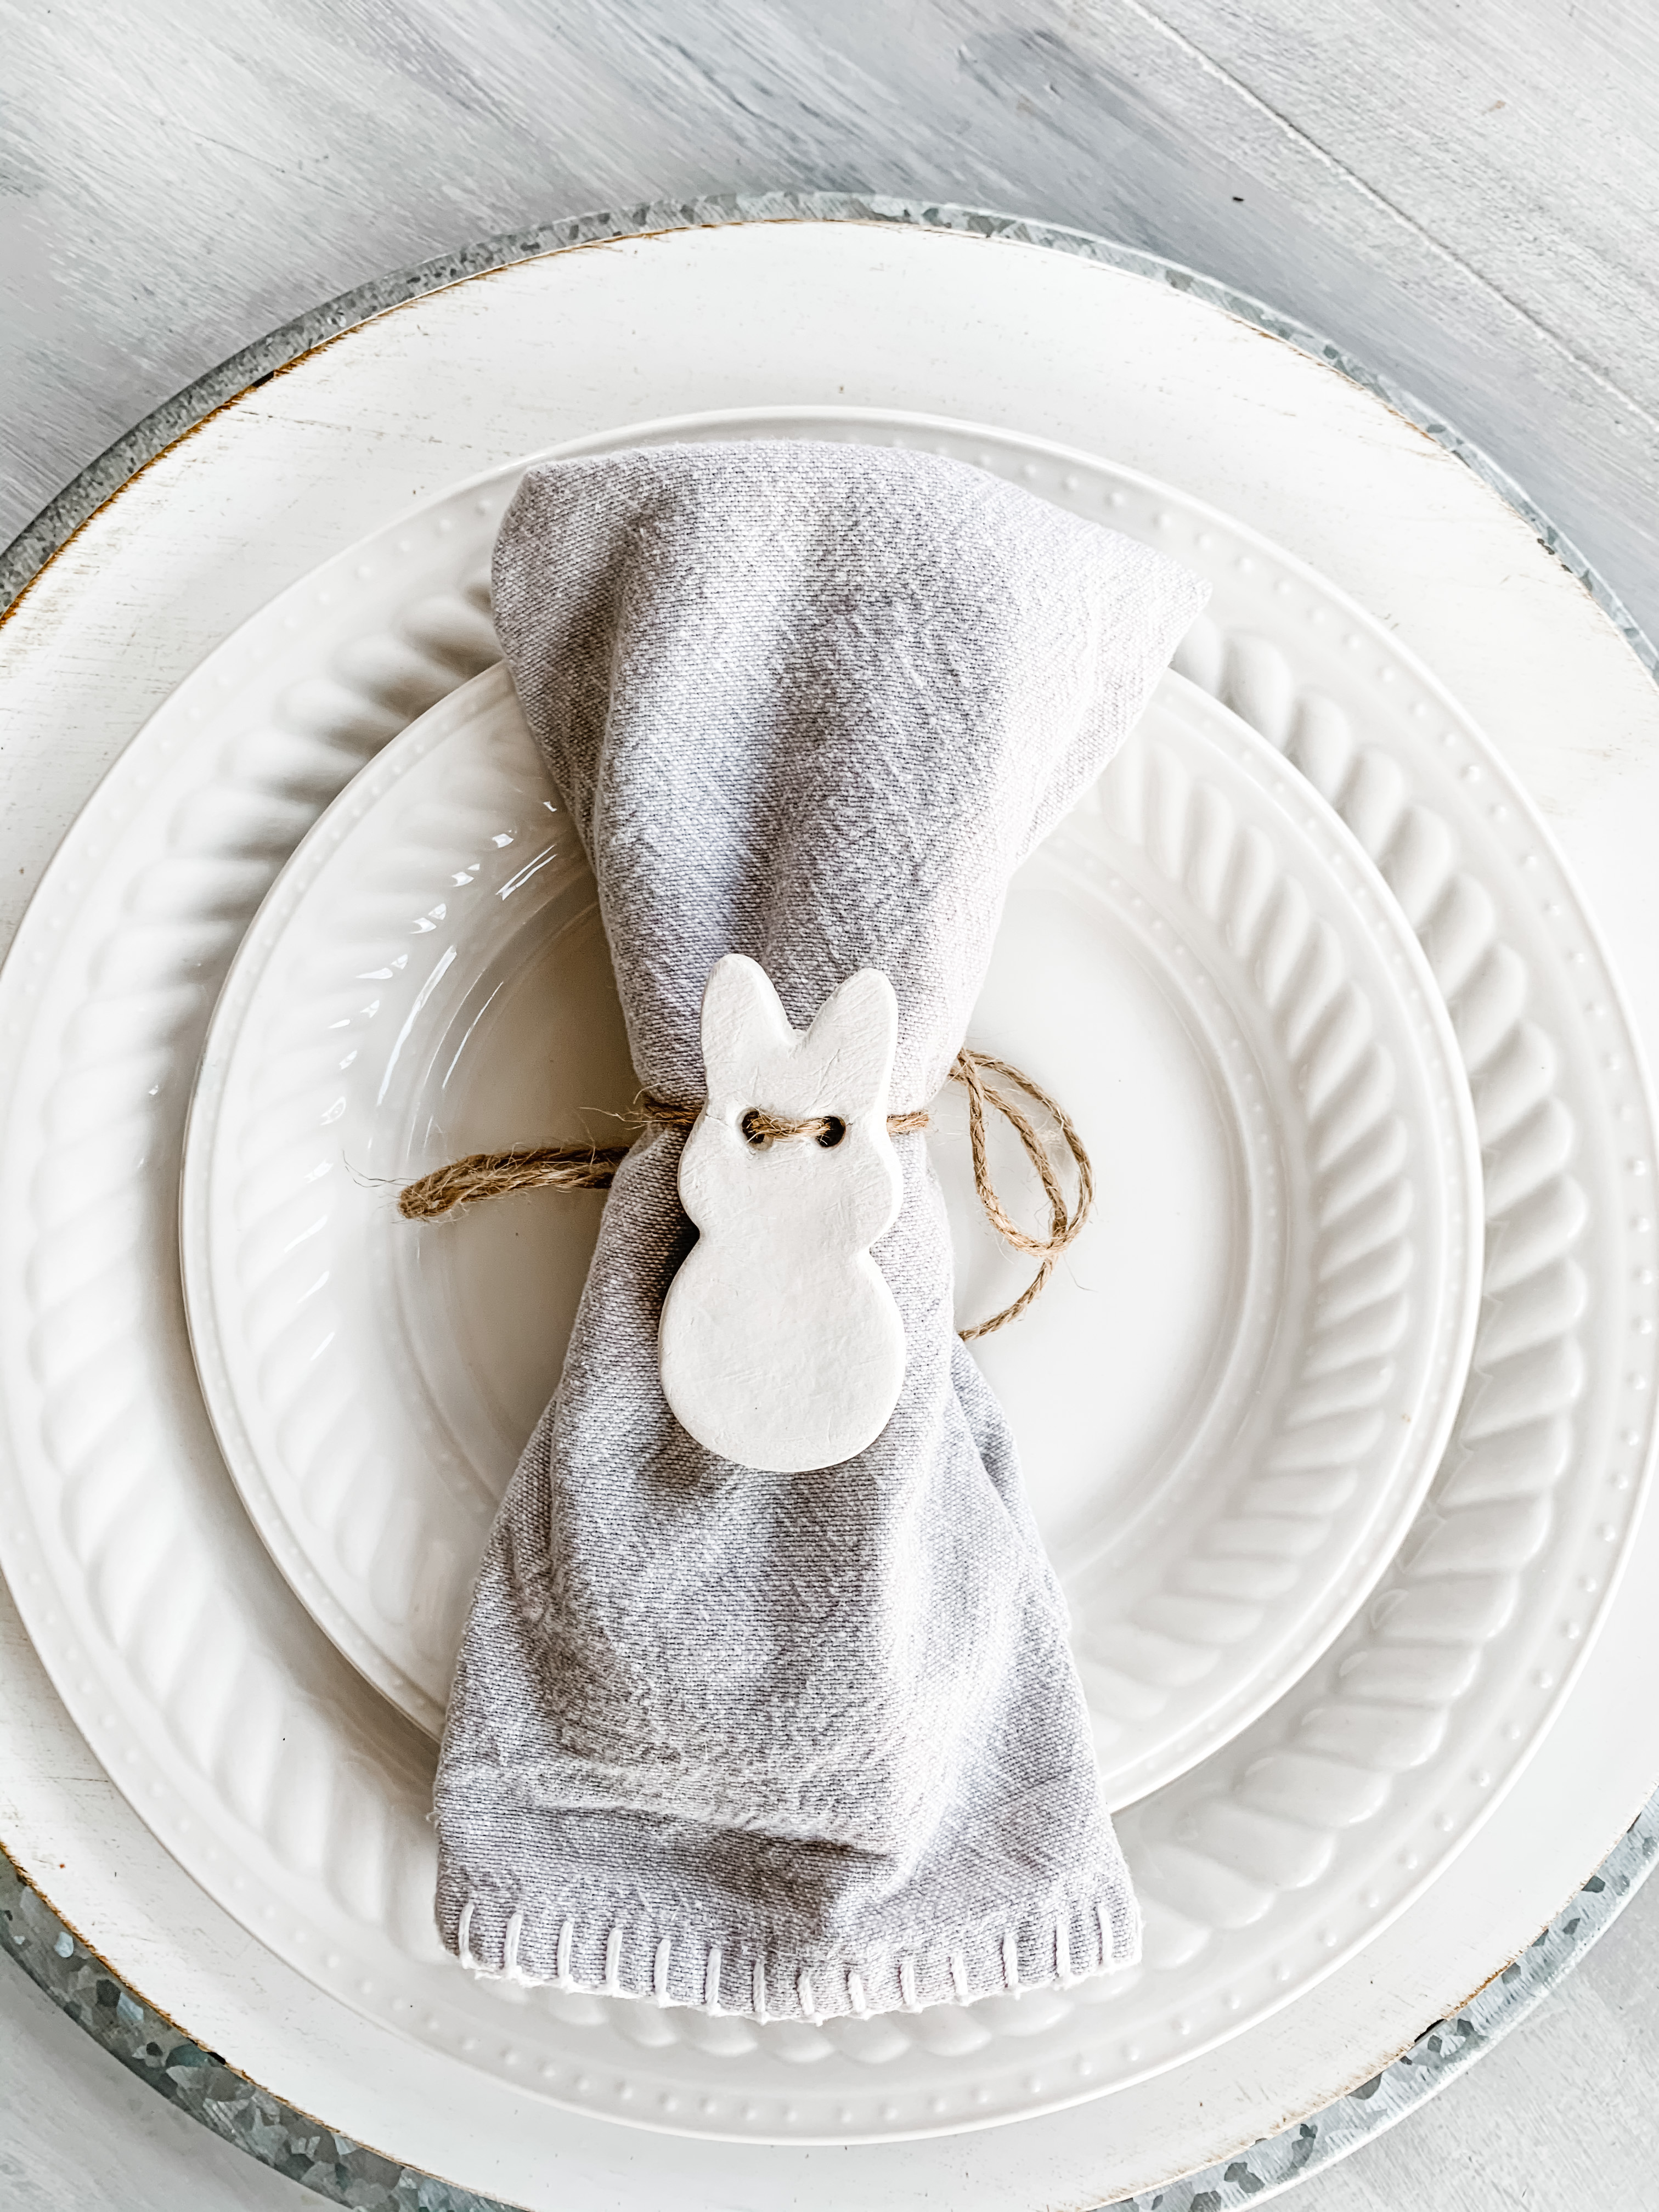
Napkins rings check – now on to sew the buttons to the pillow.
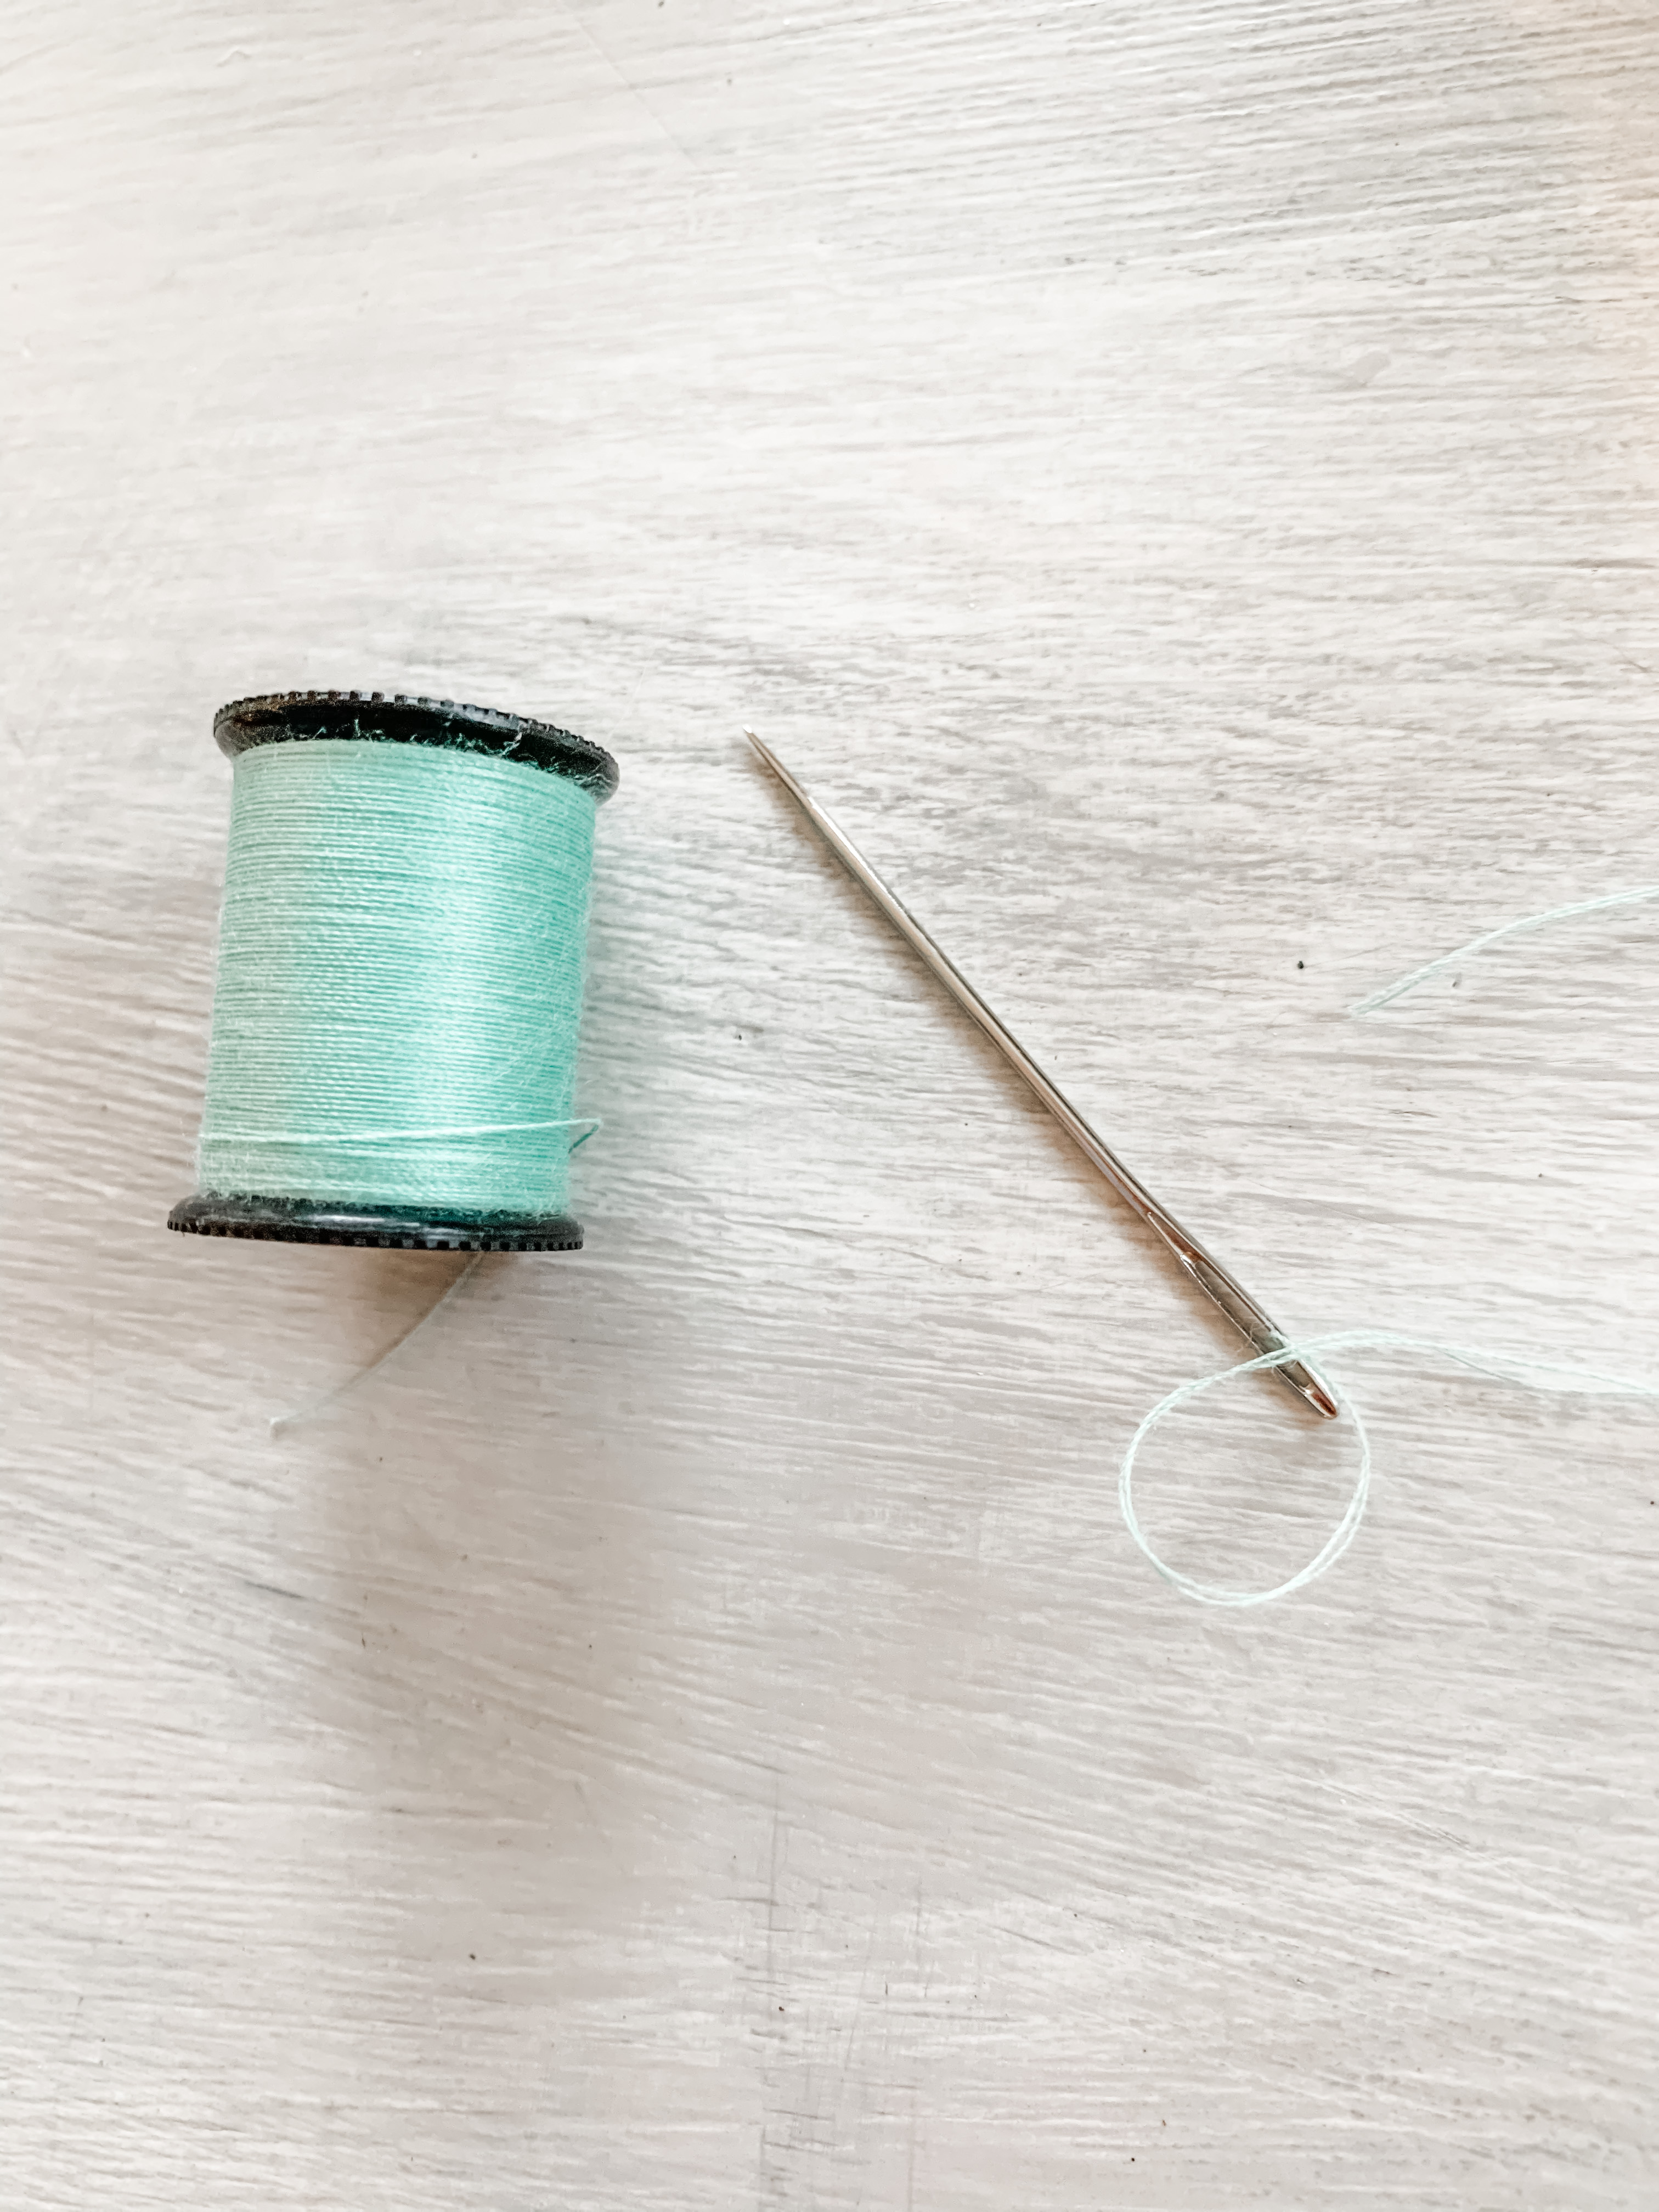
I only made enough for one pillow because I wasn’t sure how they would look.
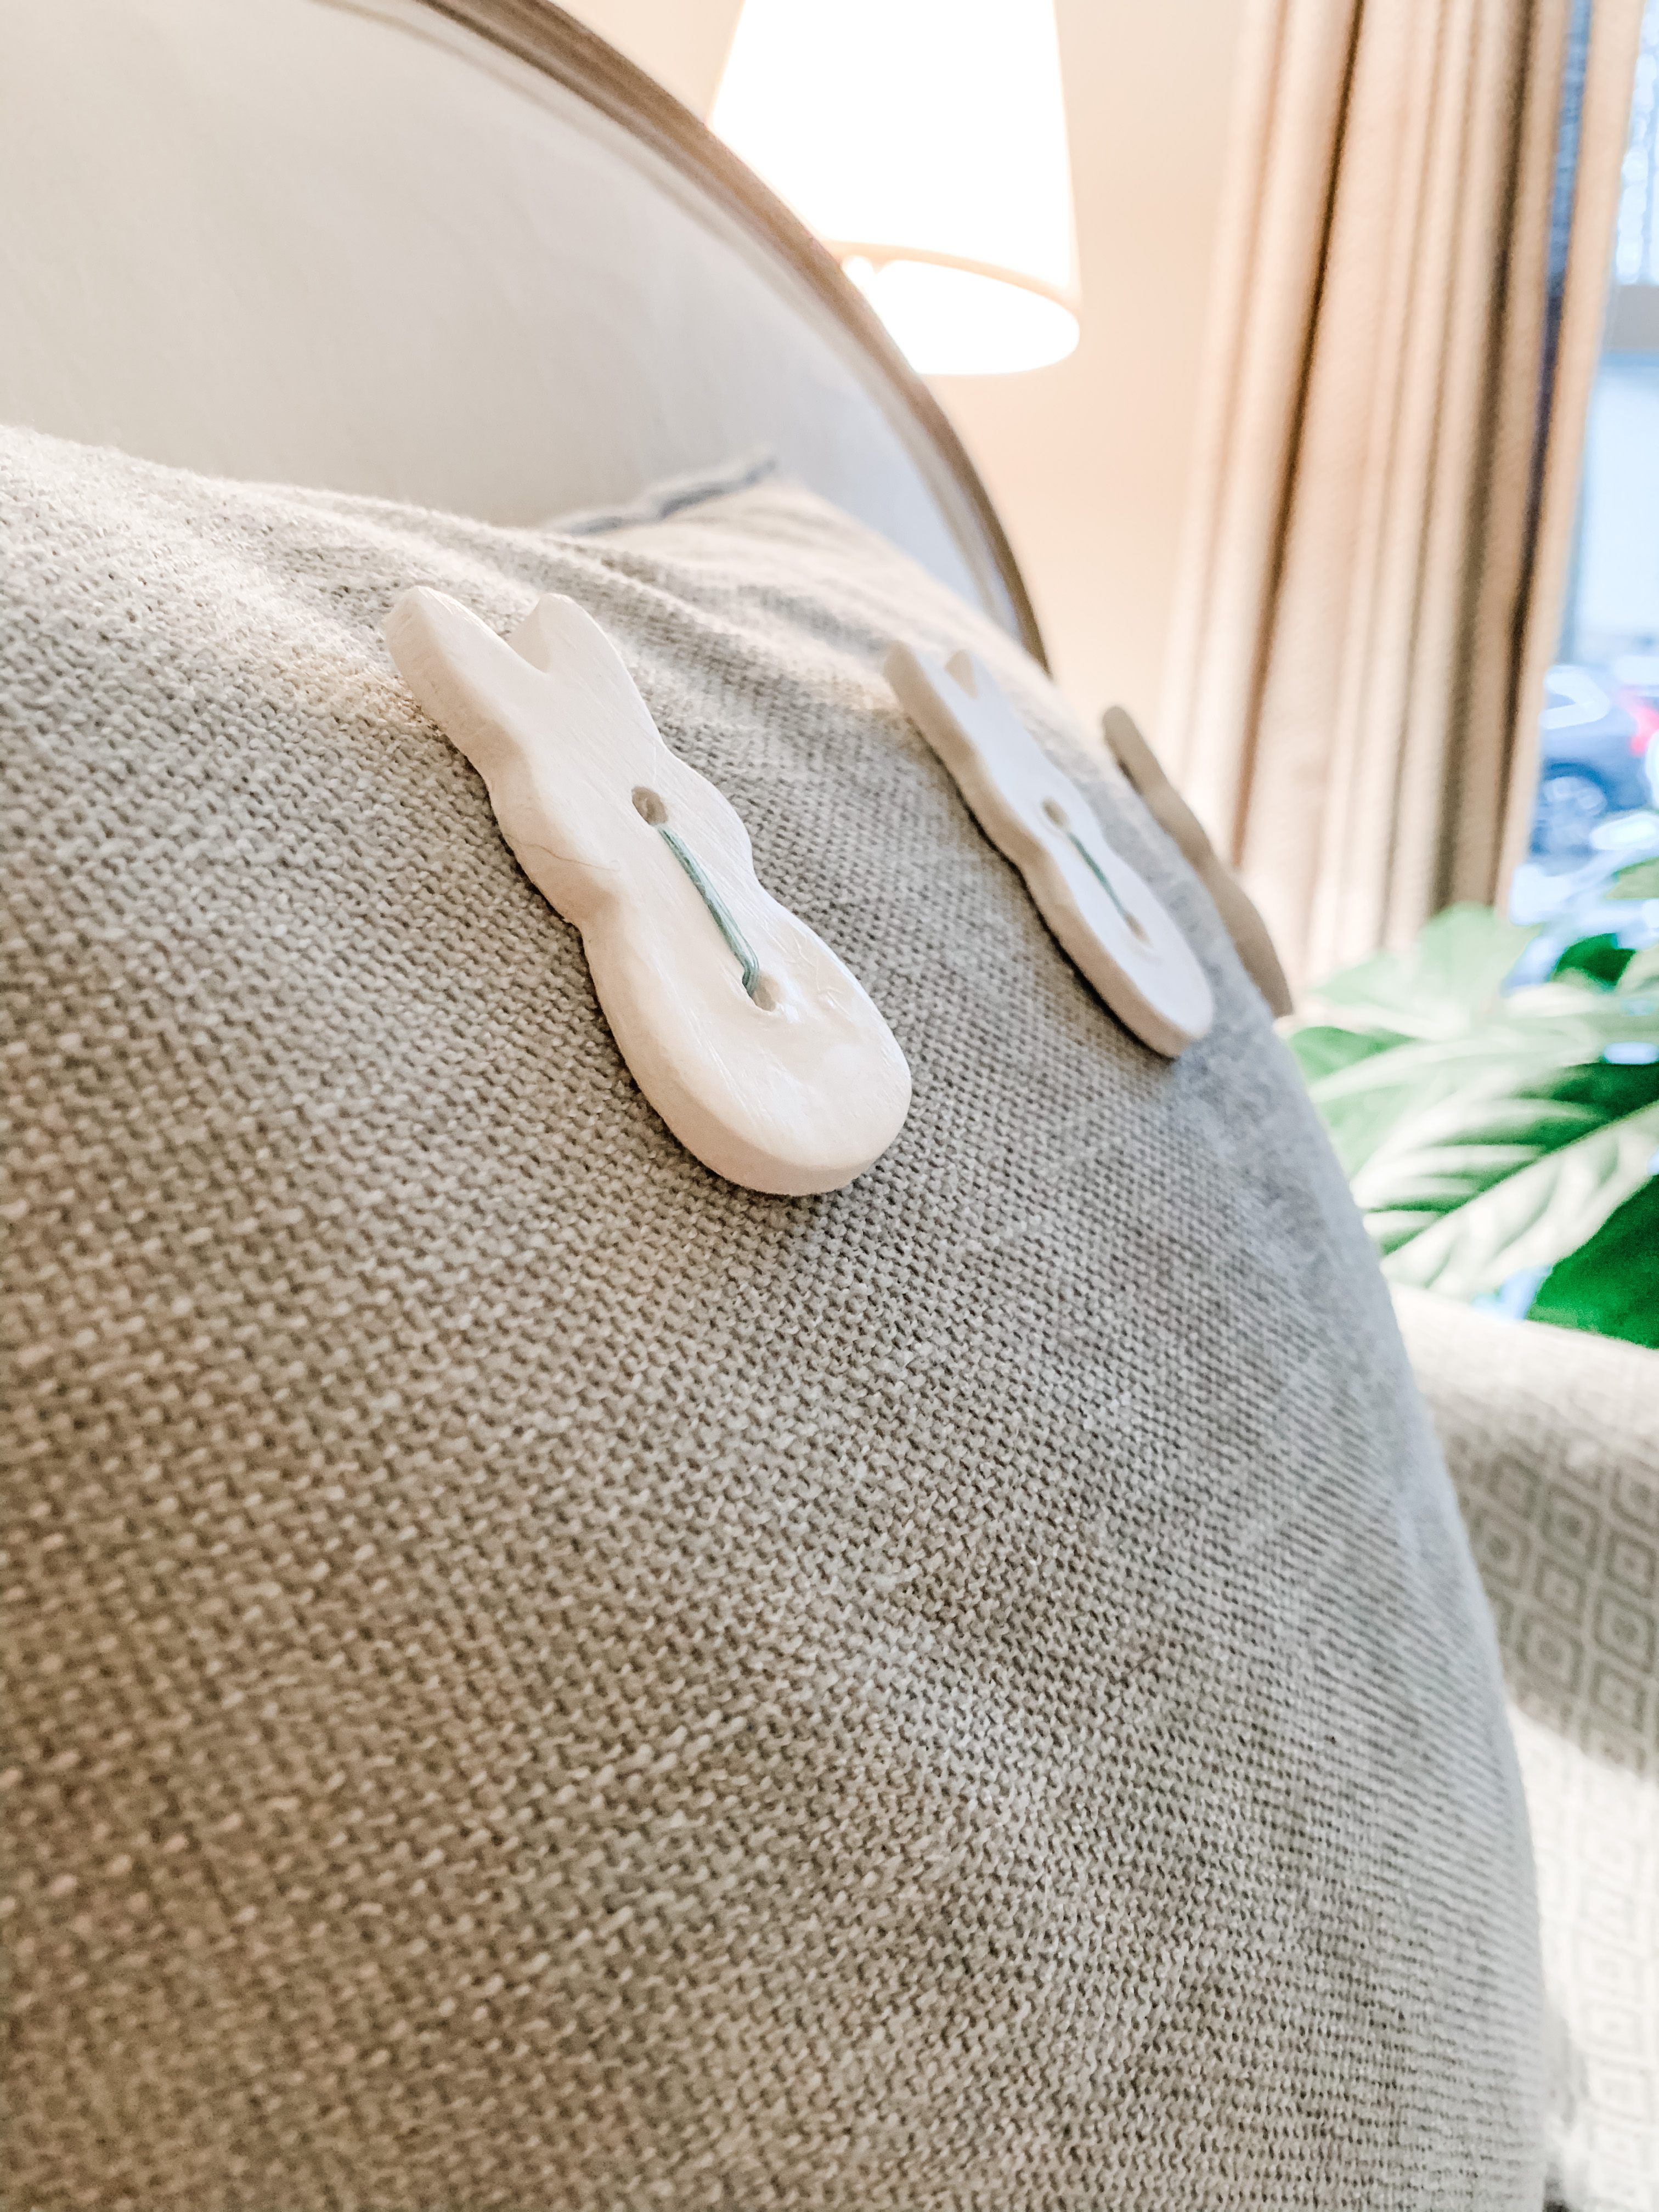
I think they are pretty cute – what do you think?
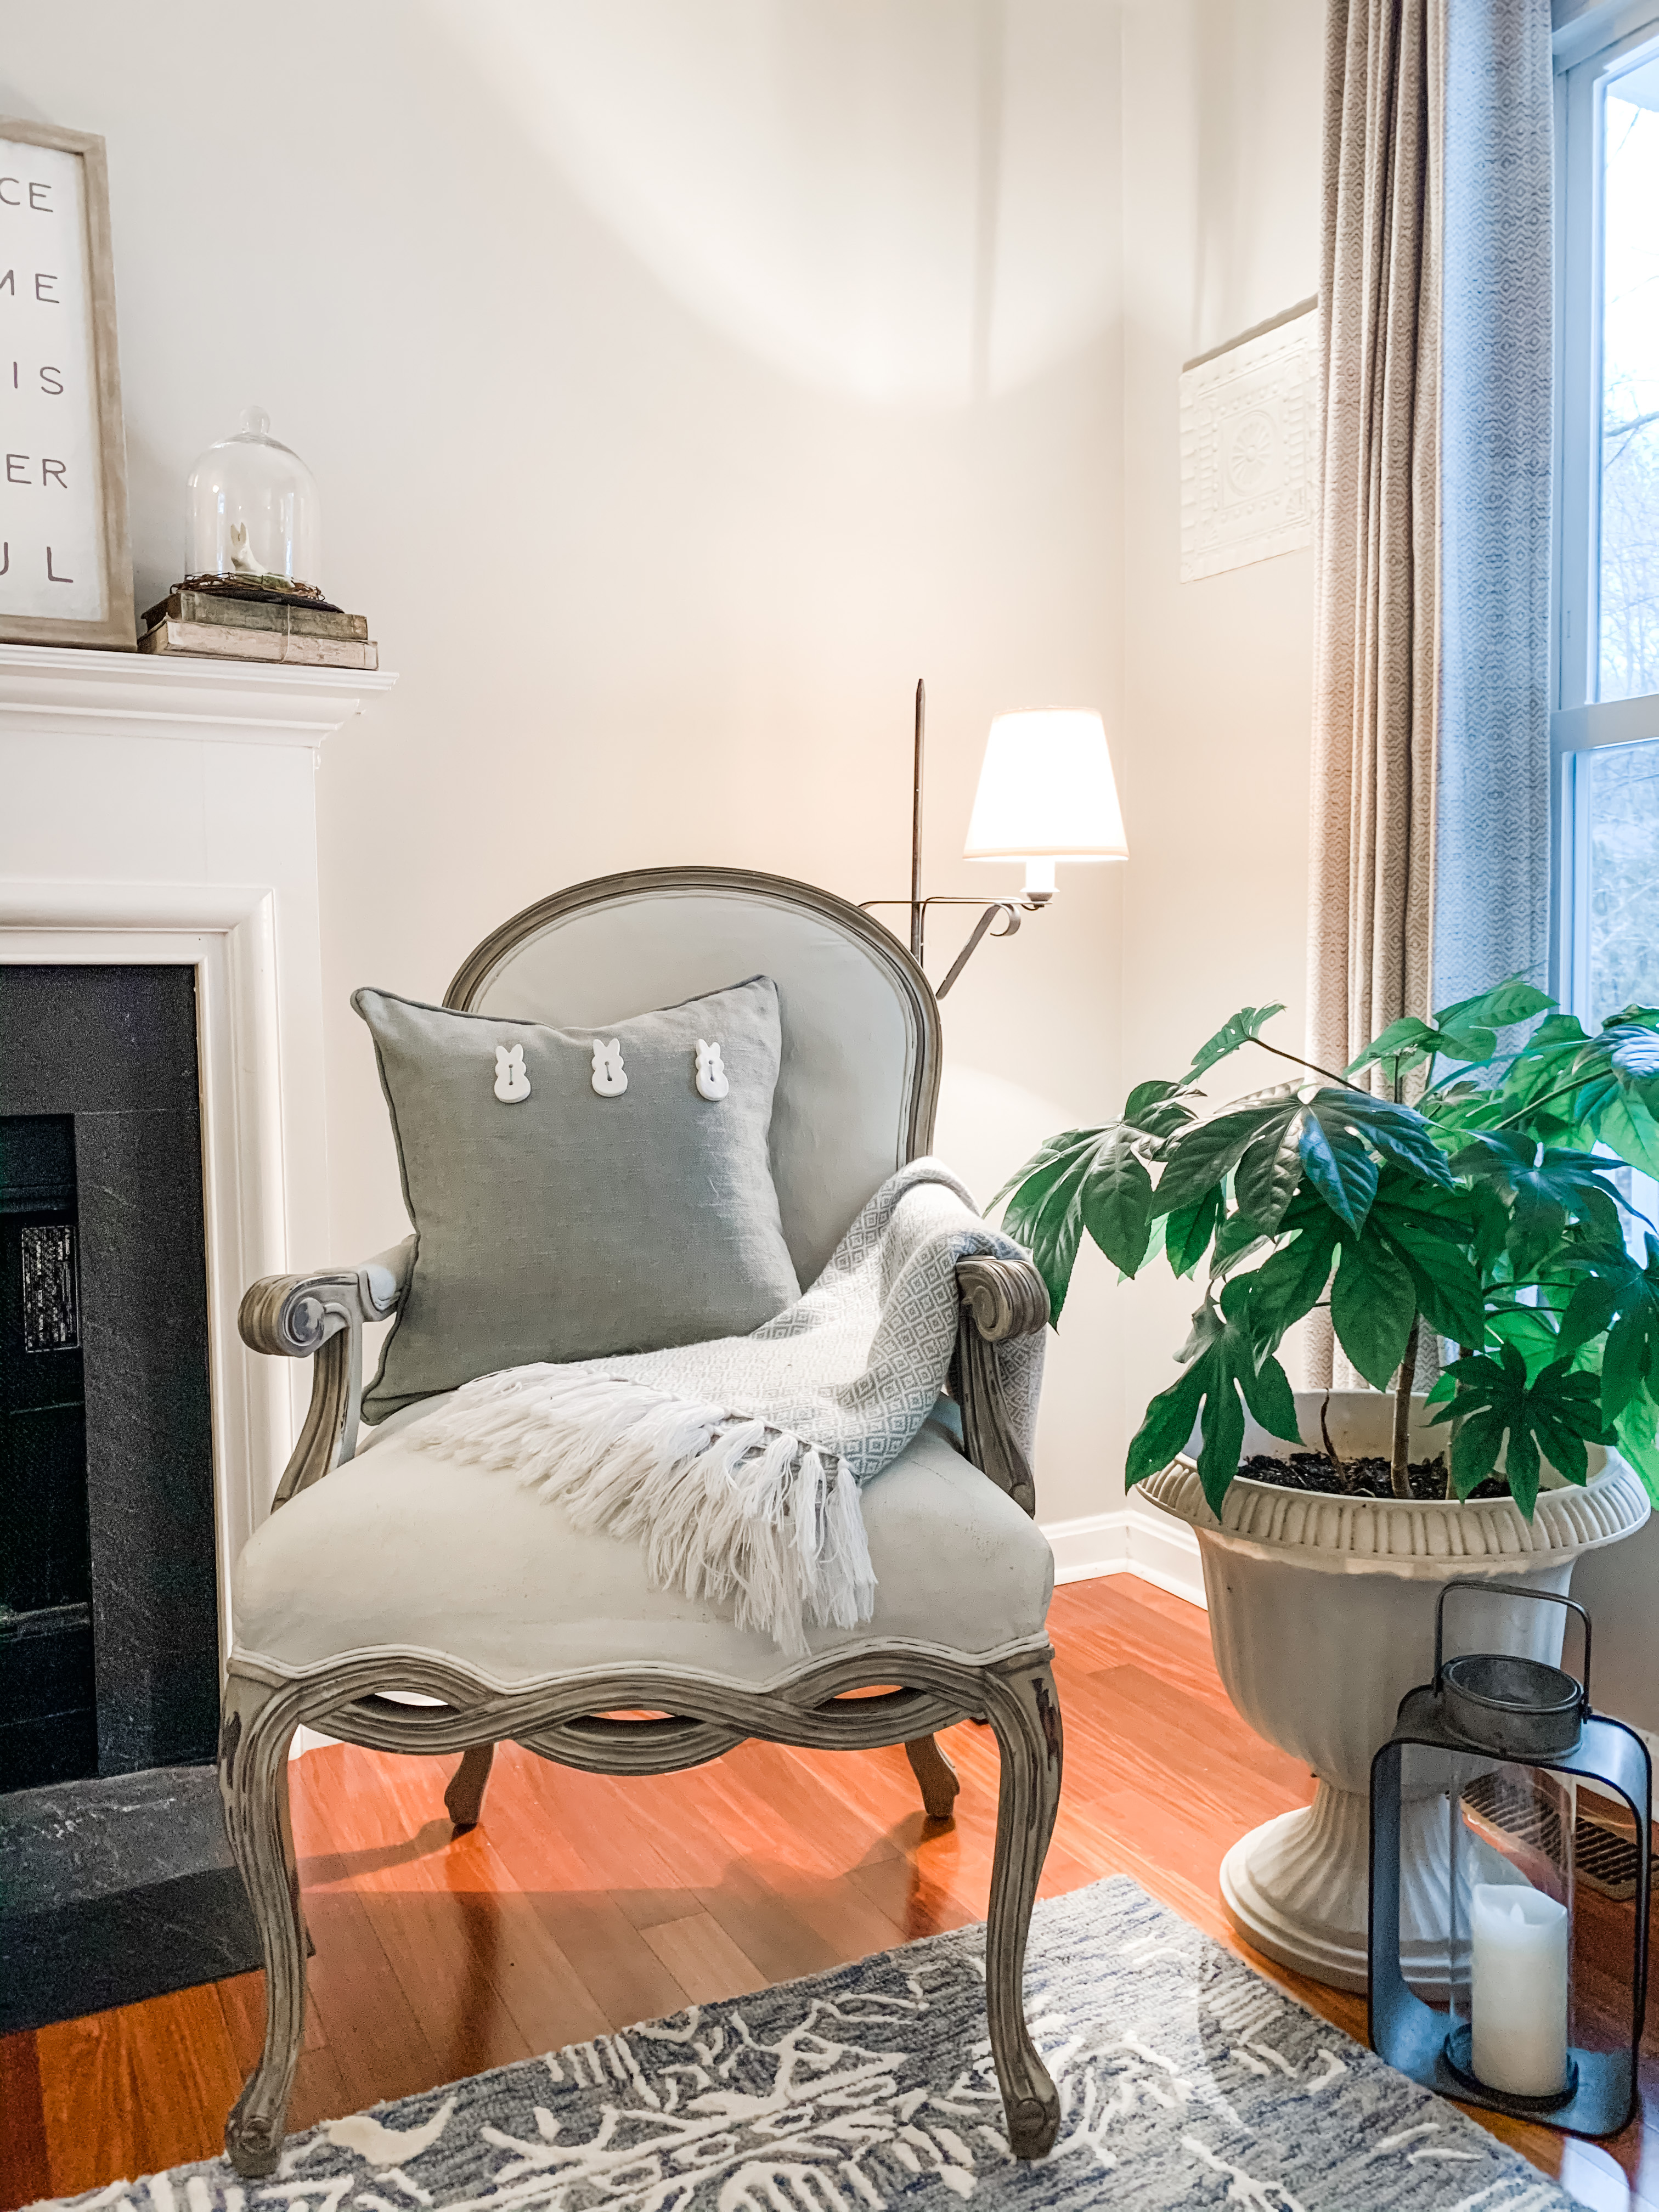
Maybe I could enhance a bit with some additional stitching or some other embellishments…any ideas? Please share.
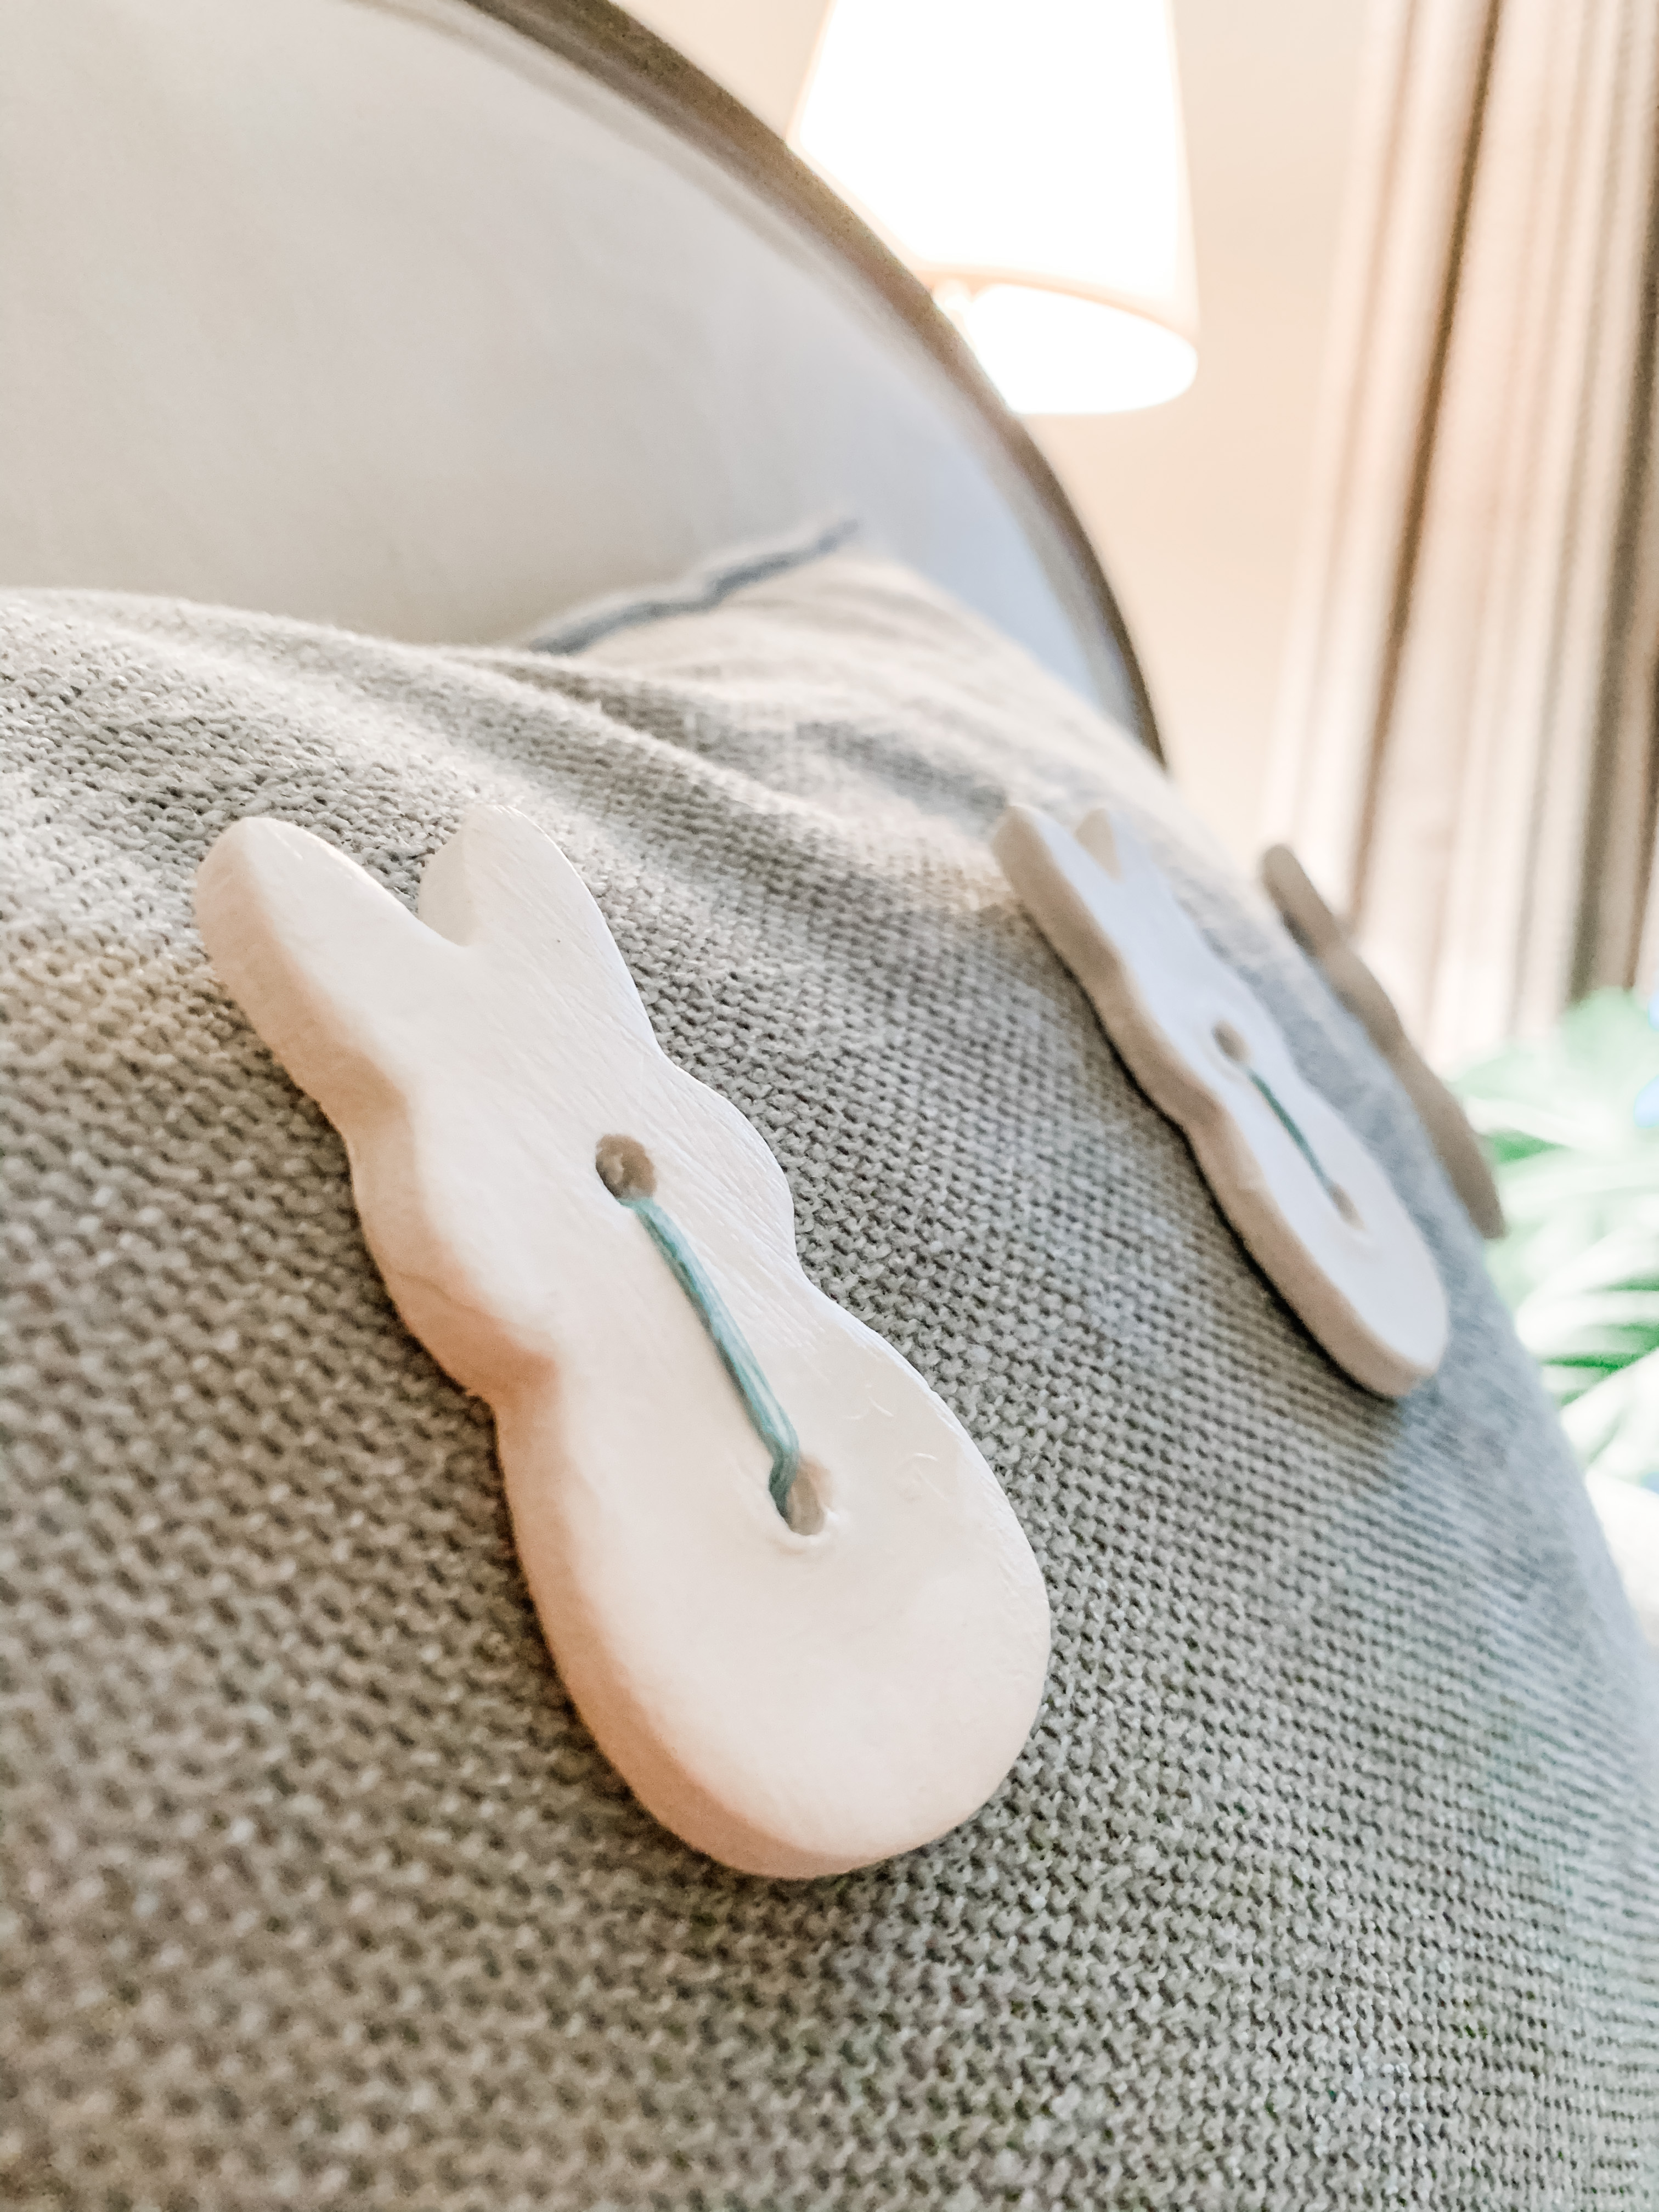
But for the price you can’t beat it, I already had the clay and I could just cut the buttons off and the pillow can be used plain again after spring.
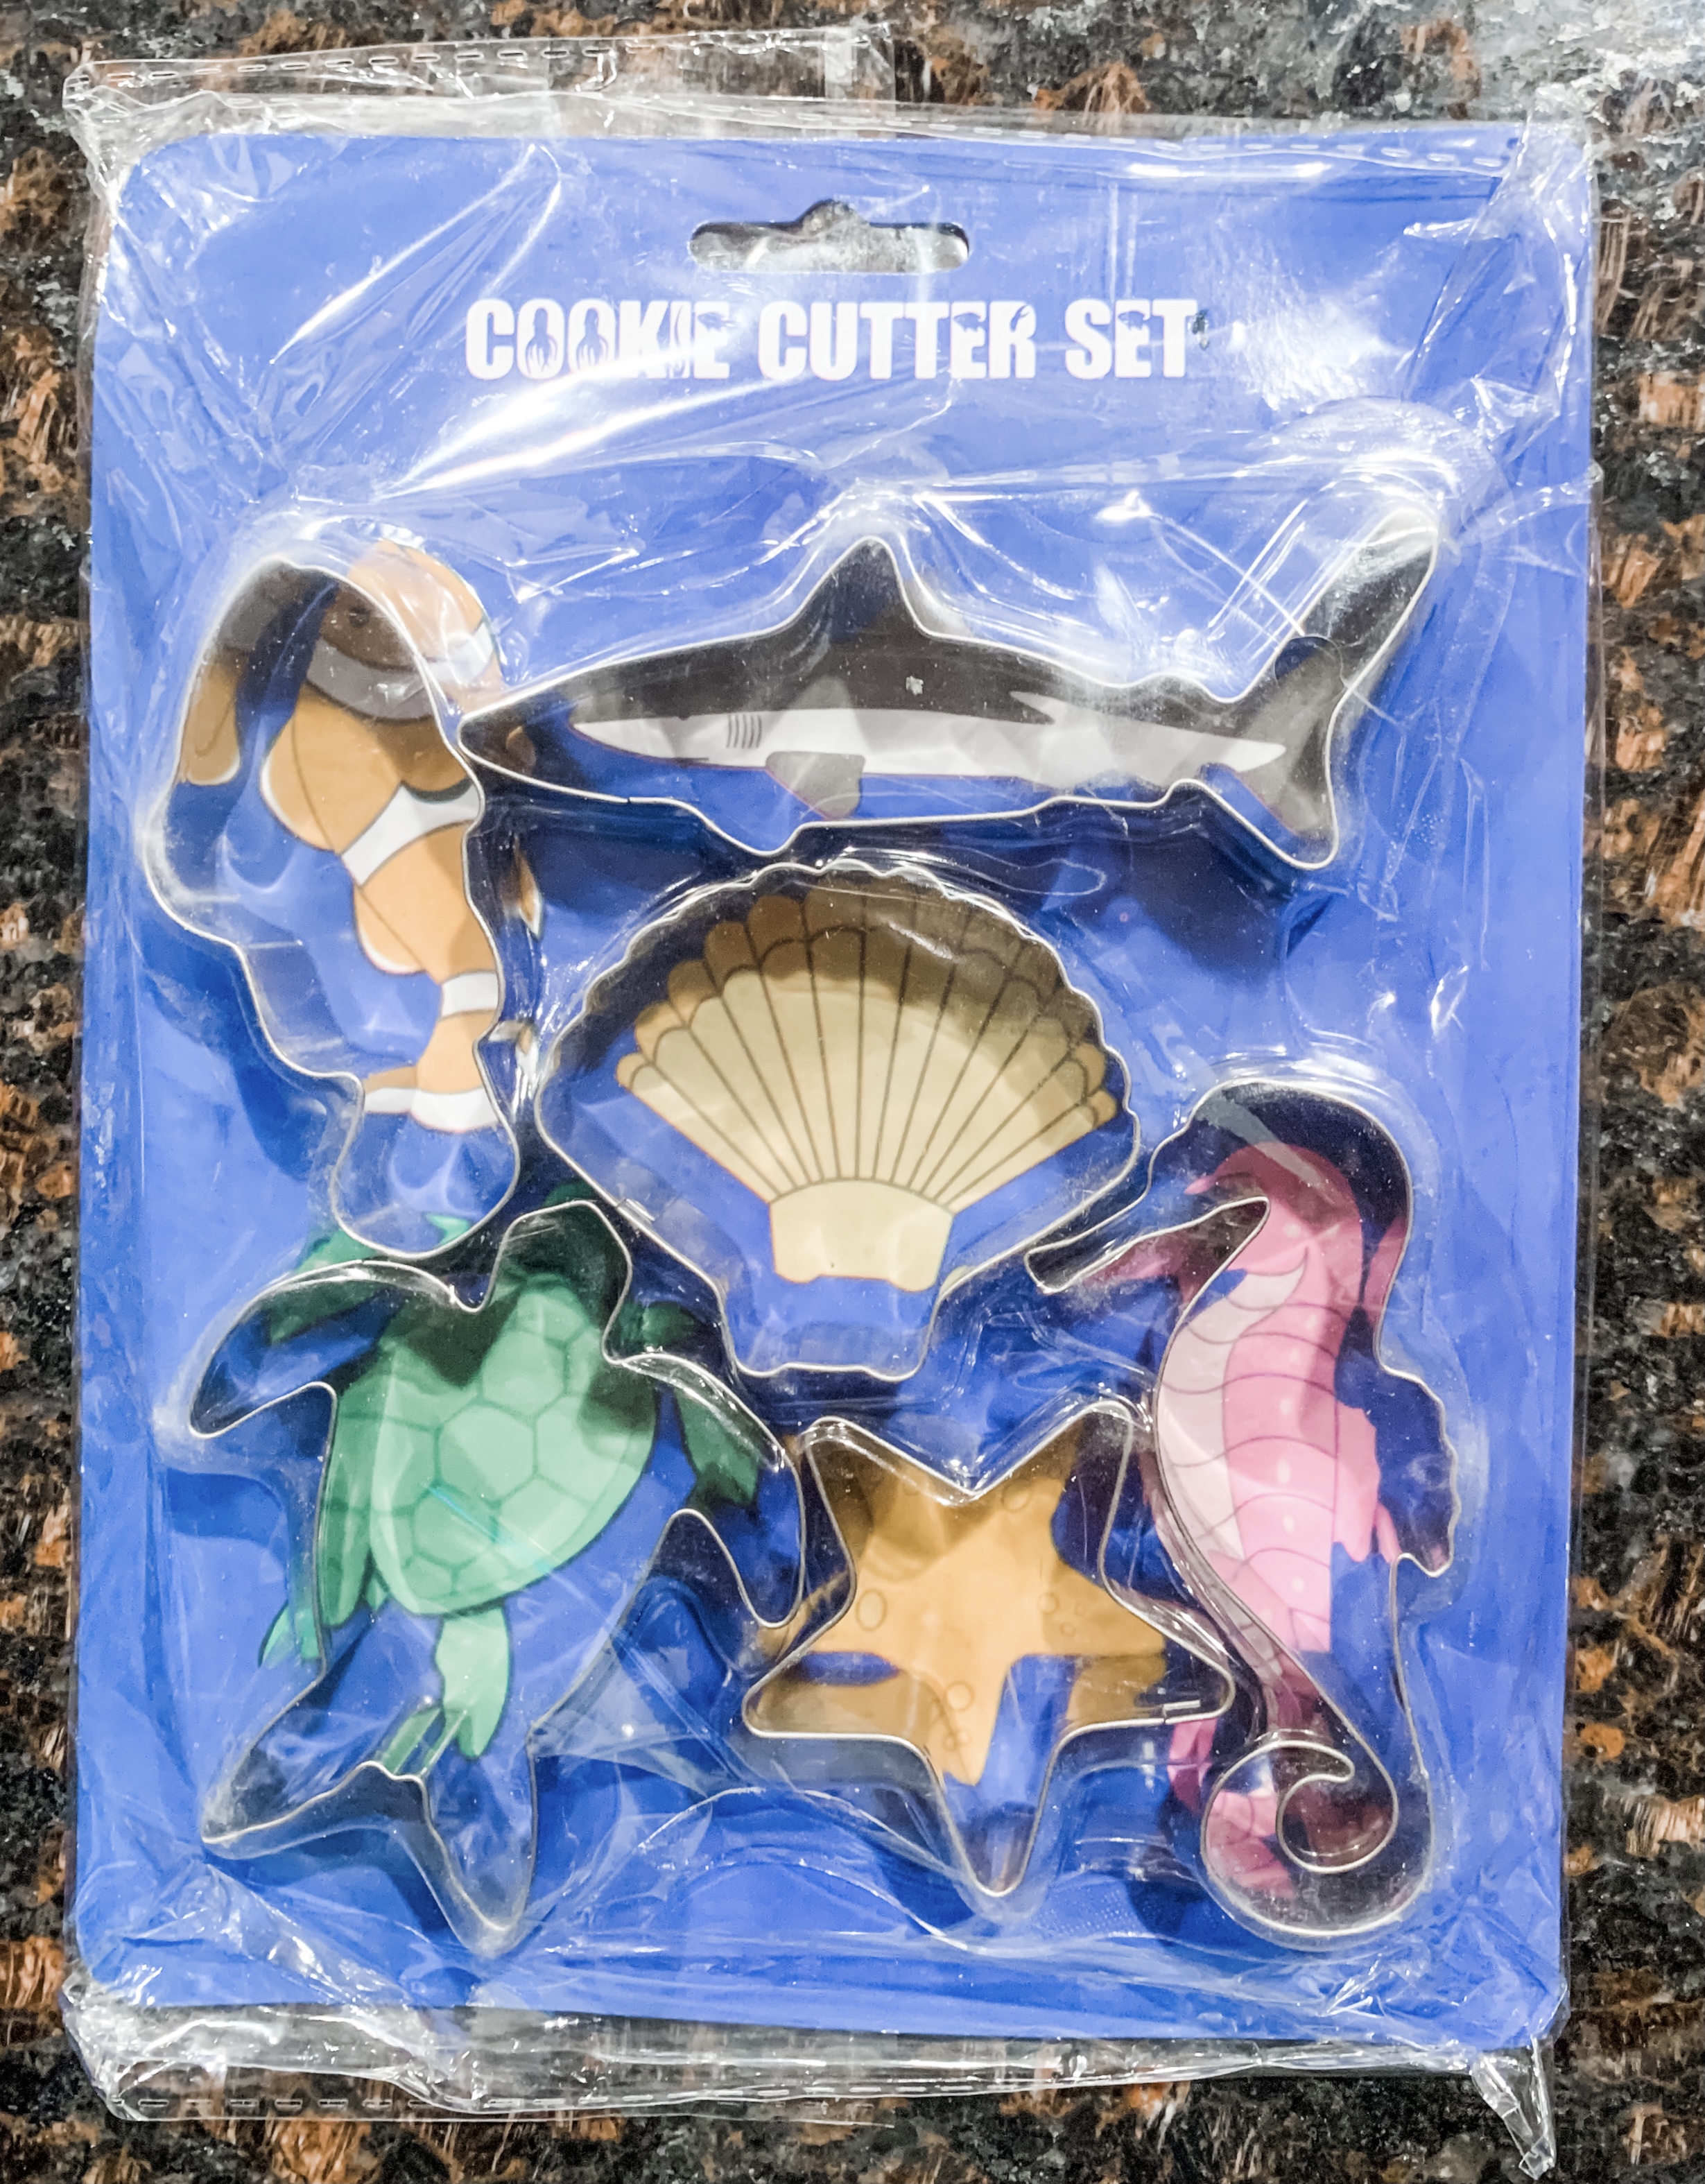
What do you think? I know for me it made my mind start to spin about other options. I just purchased these adorable mini cookie cutters. I am imagining white shells – green sea turtle! So many possibilities! Think barrette for your hair, attached to a clay pot then painted!
I plan to decorate more pillows using the DAS clay and Sculpey. Here is one I made using the Sculpey.
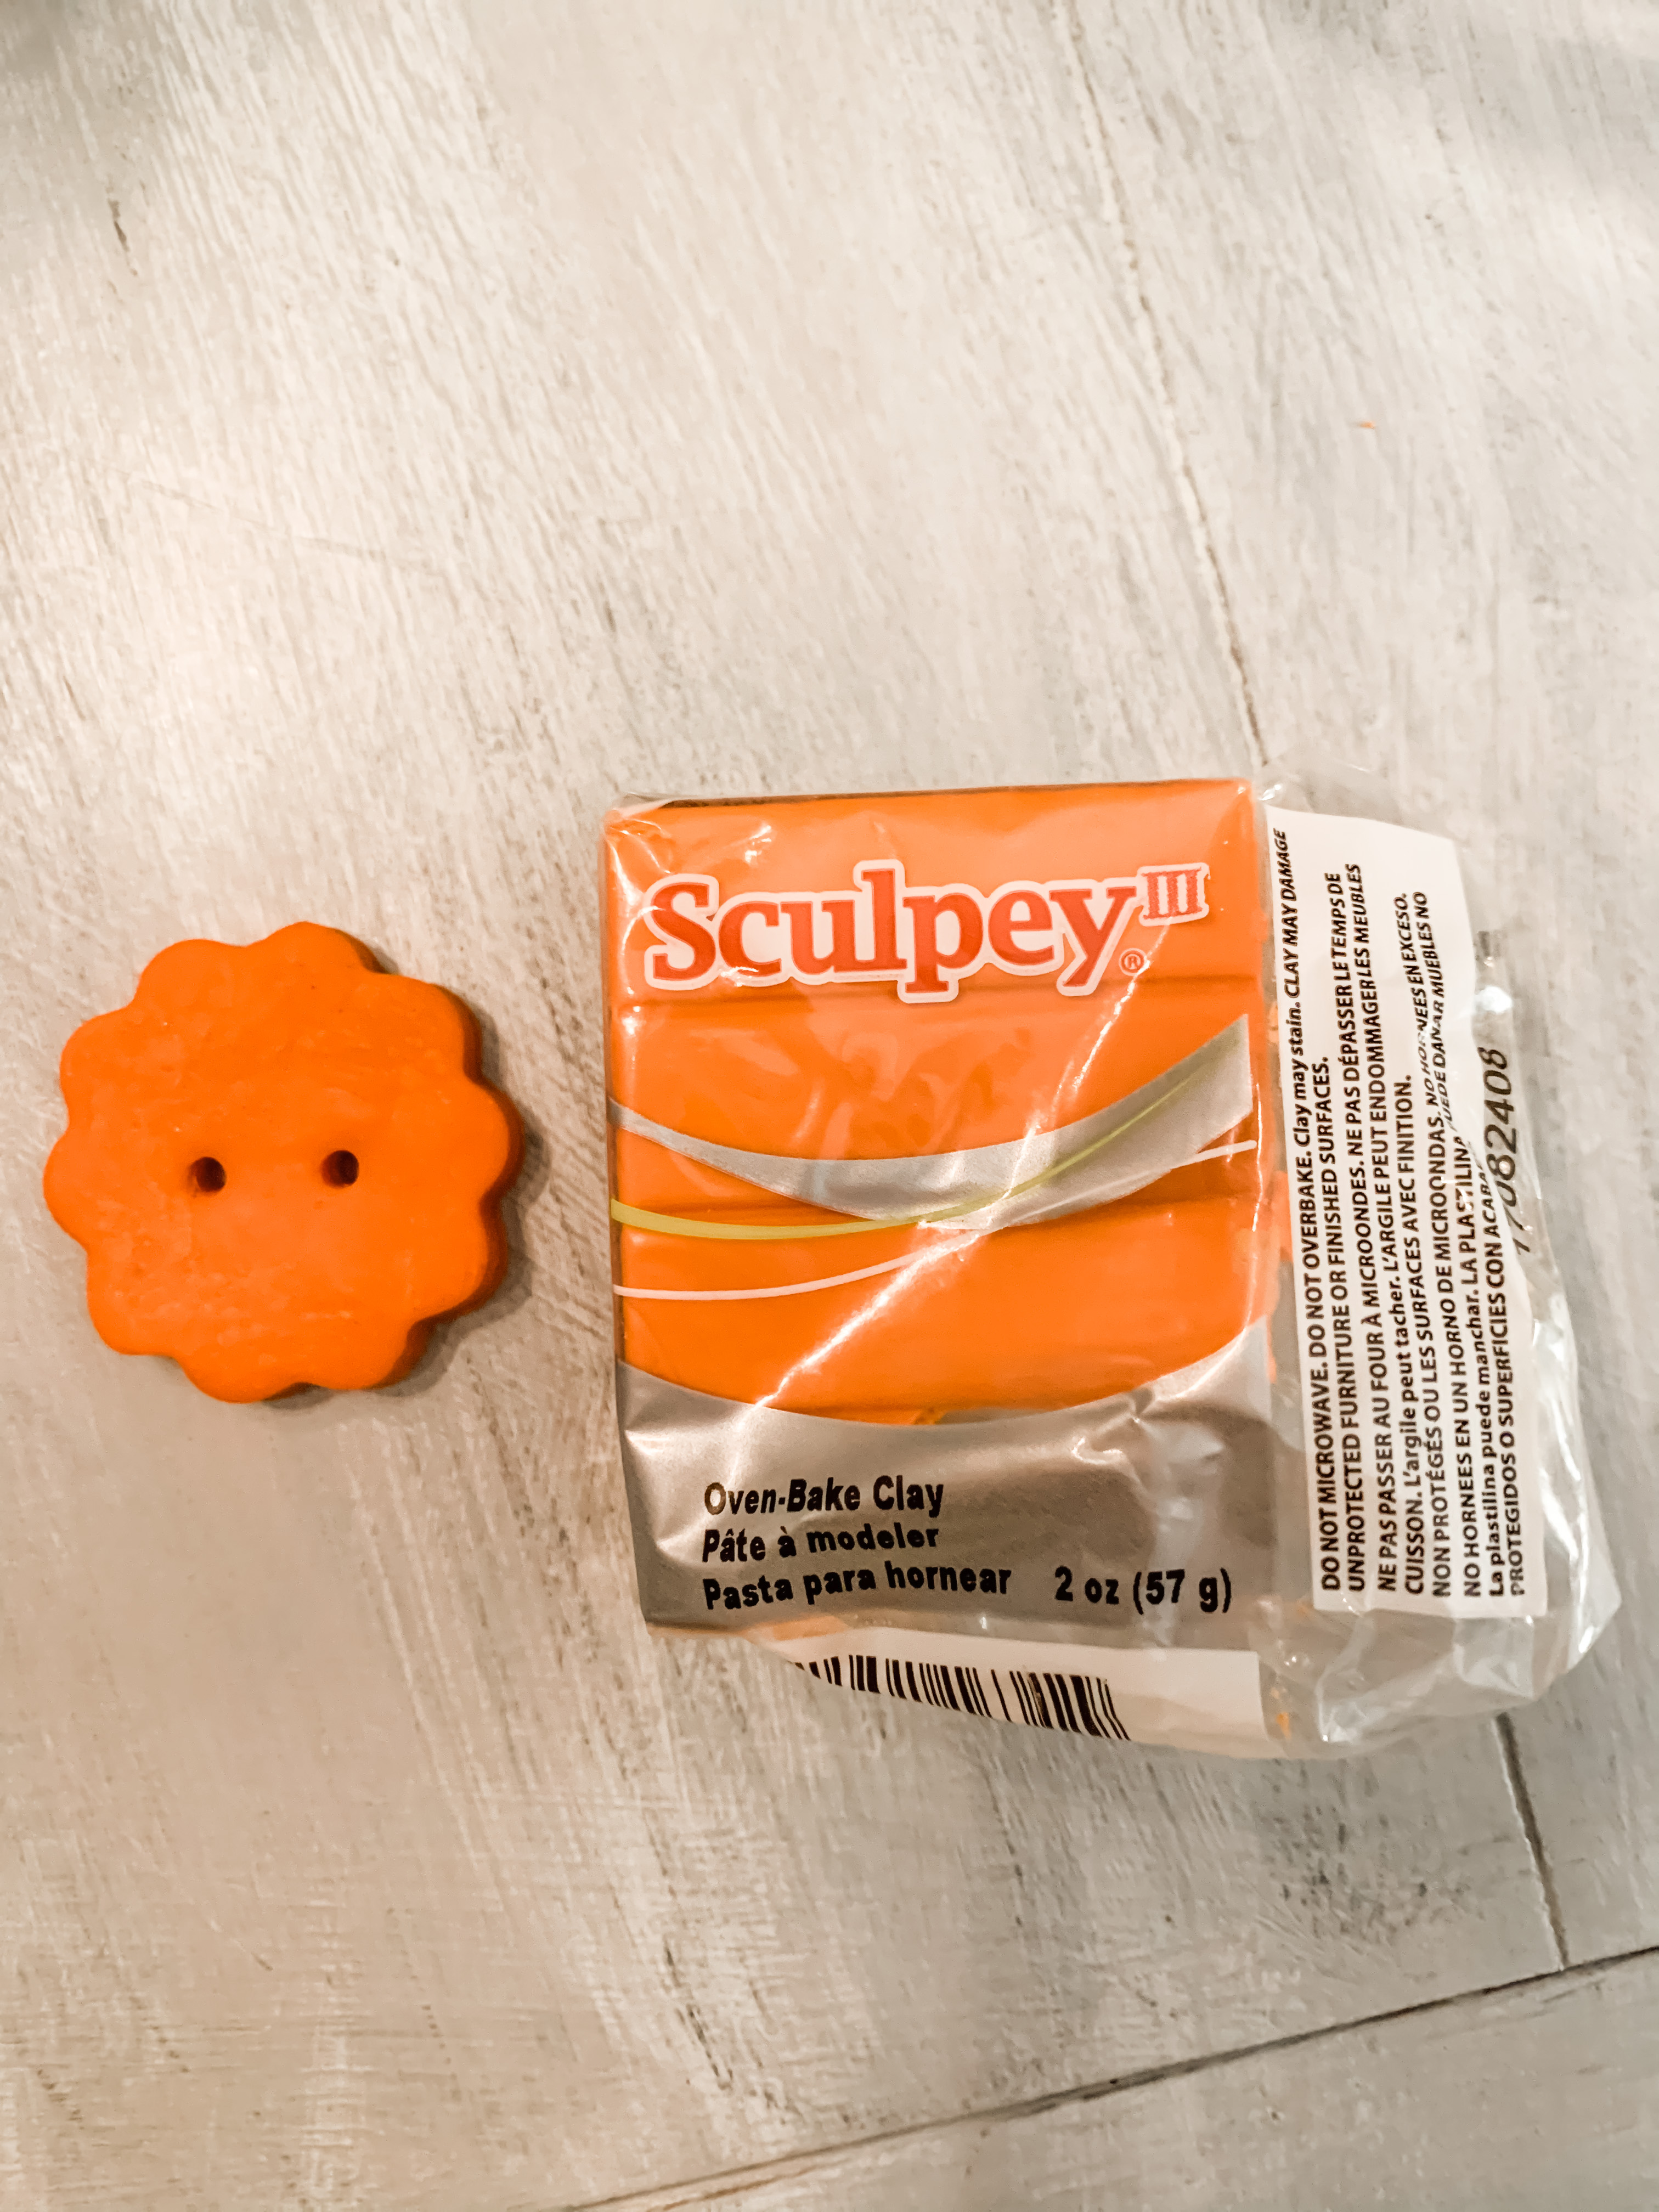
I have gotten so many requests for these. I have a limited number of Bunny Buttons to sell. They are $9.97 for 3.
If you’d like the Sea Turtle or Shell – they will be available soon for April delivery.
Visit my shop to order or send me an email if you have any questions at [email protected]
Thank you so very much for stopping by my blog, if you don’t want to miss more ideas and inspiration to DIY – consider subscribing.
XO Regina
This post may contain affiliate links. I would receive a small commission on products purchased with no additional cost to you.
Leave a Reply