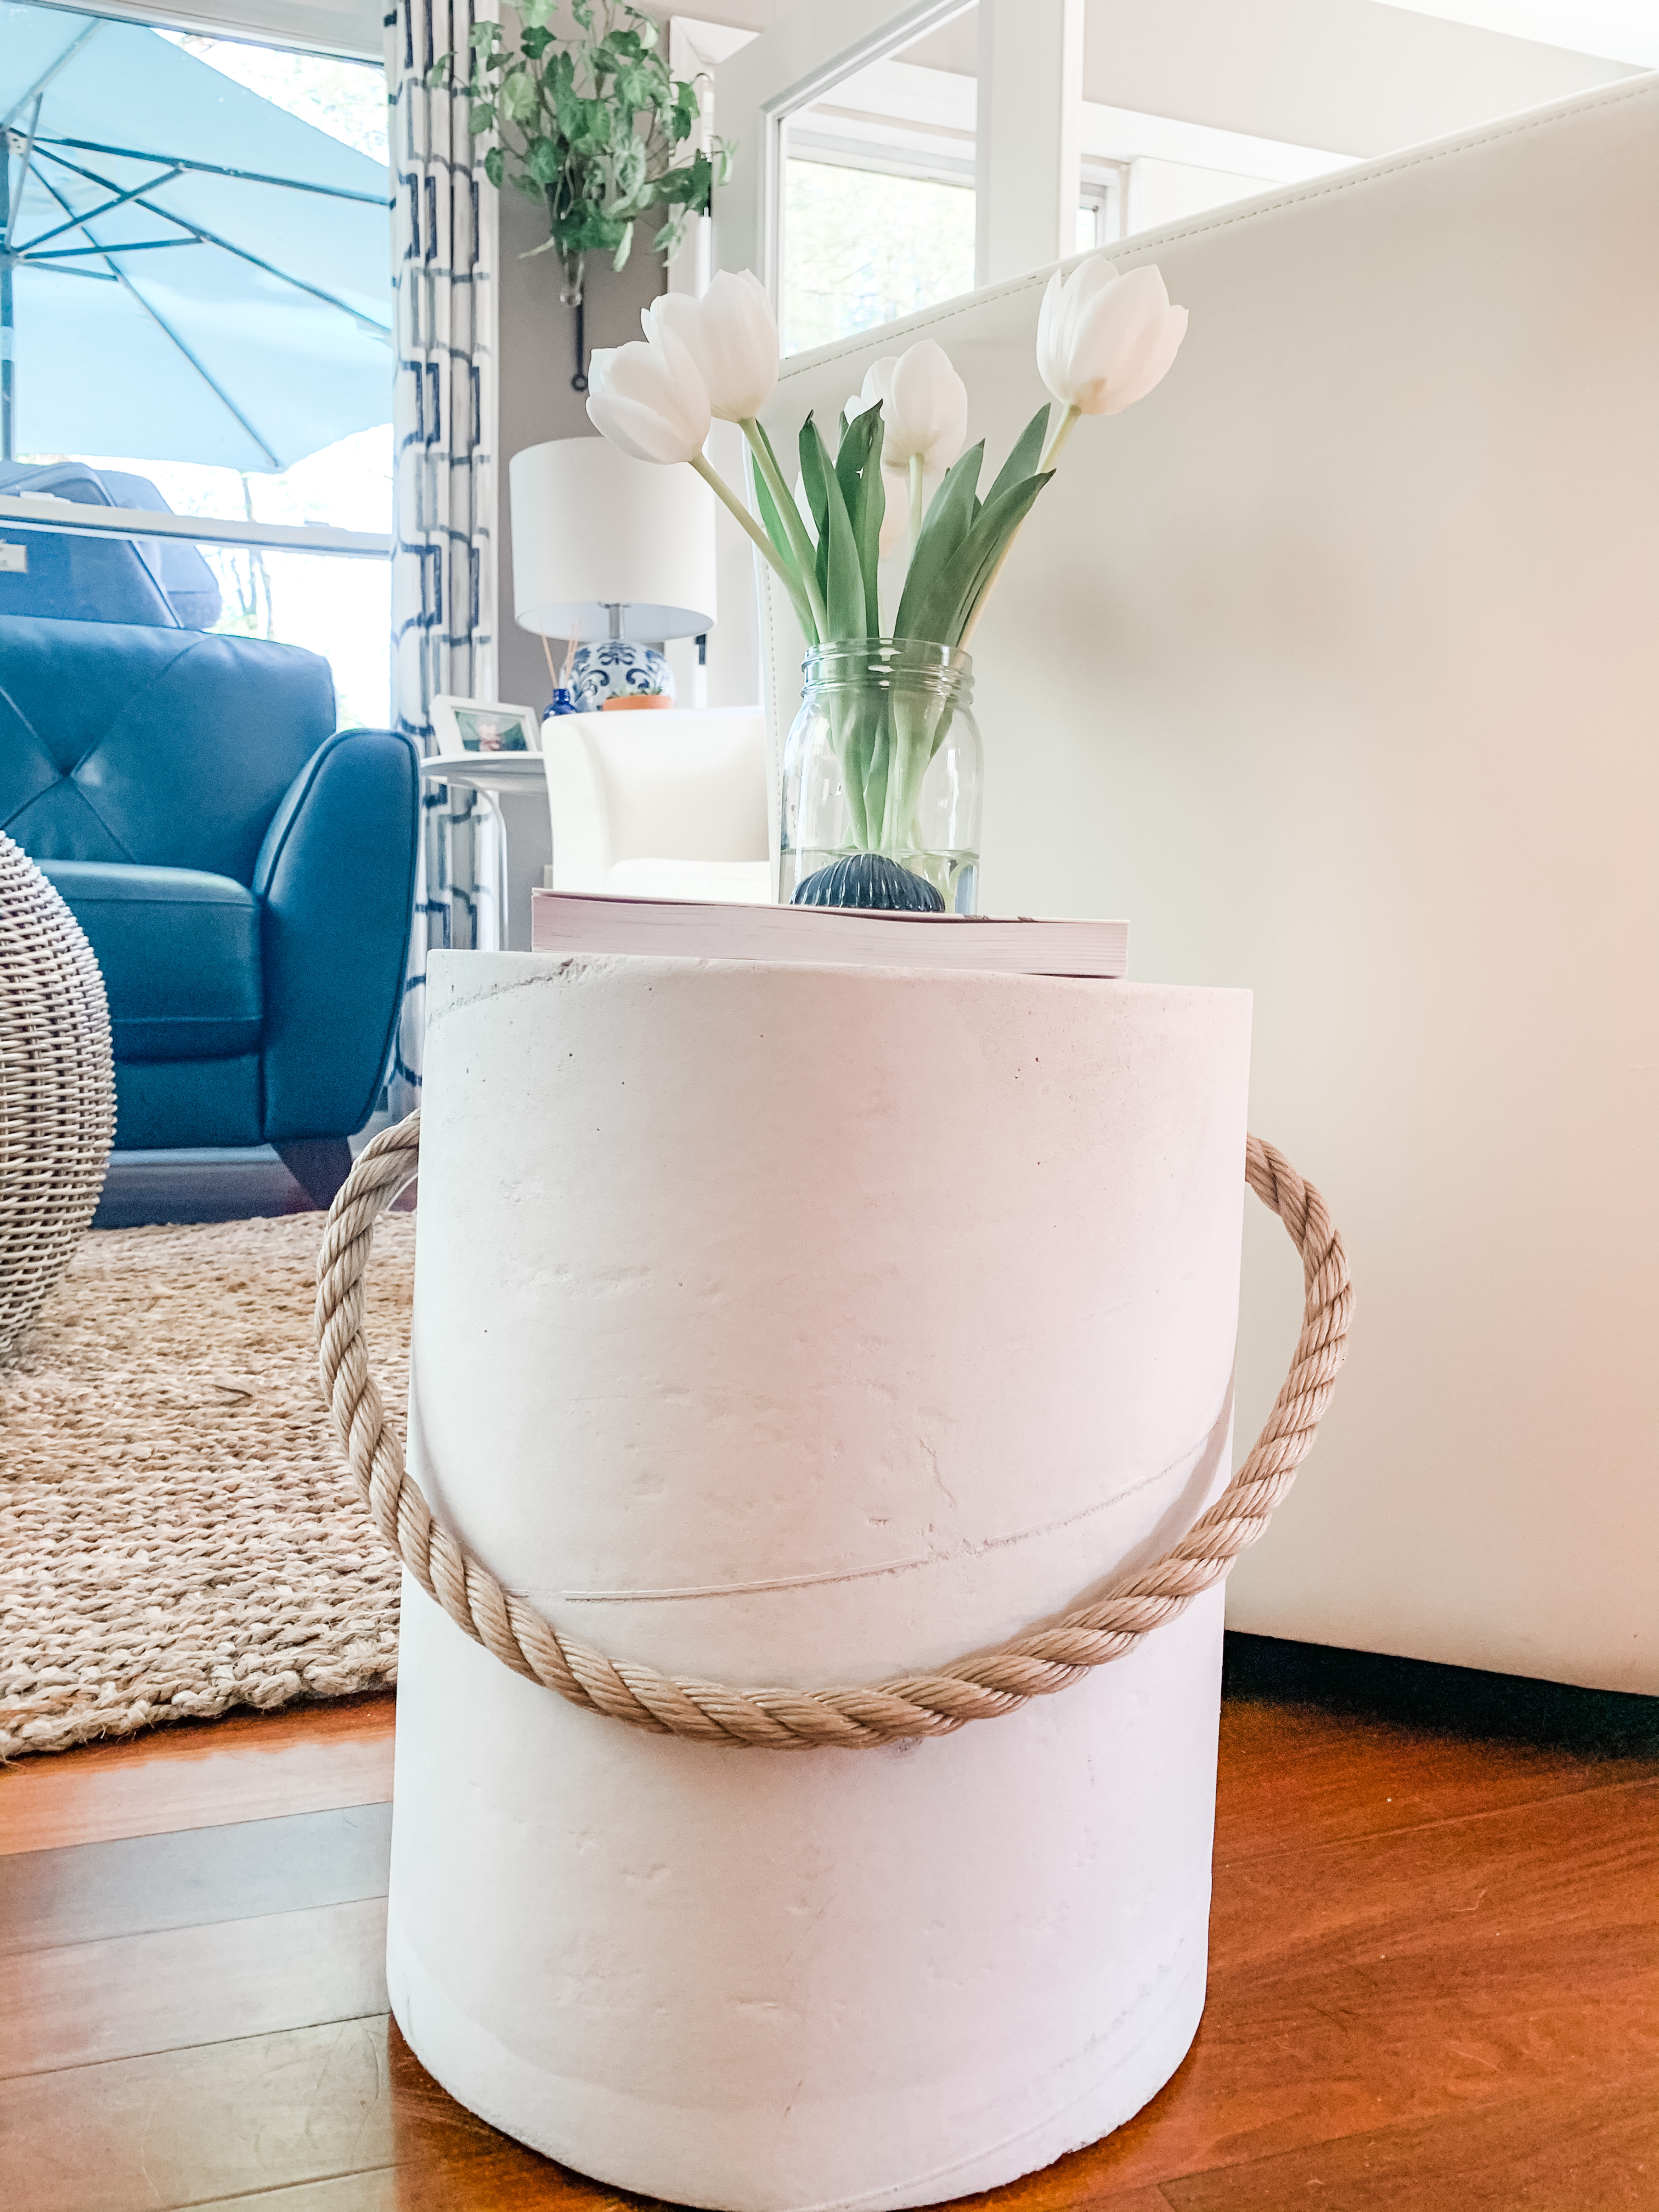
Do you love concrete things? I do and I’m sharing a Concrete Stool DIY that is a hack on Terrain’s concrete stool.
Hi friends! Happy Spring! It is patio, deck and fire pit season – time to think about uncovering the deck furniture and washing down the Adirondack chairs. This time of year I always feel like a little refresh for my outdoor spaces.
I spotted these at Terrain and loved them, but not the $228 price tag. So I’m going to show you how I made my own. This was my first attempt and I learned some lessons, but I’m super excited about making more!
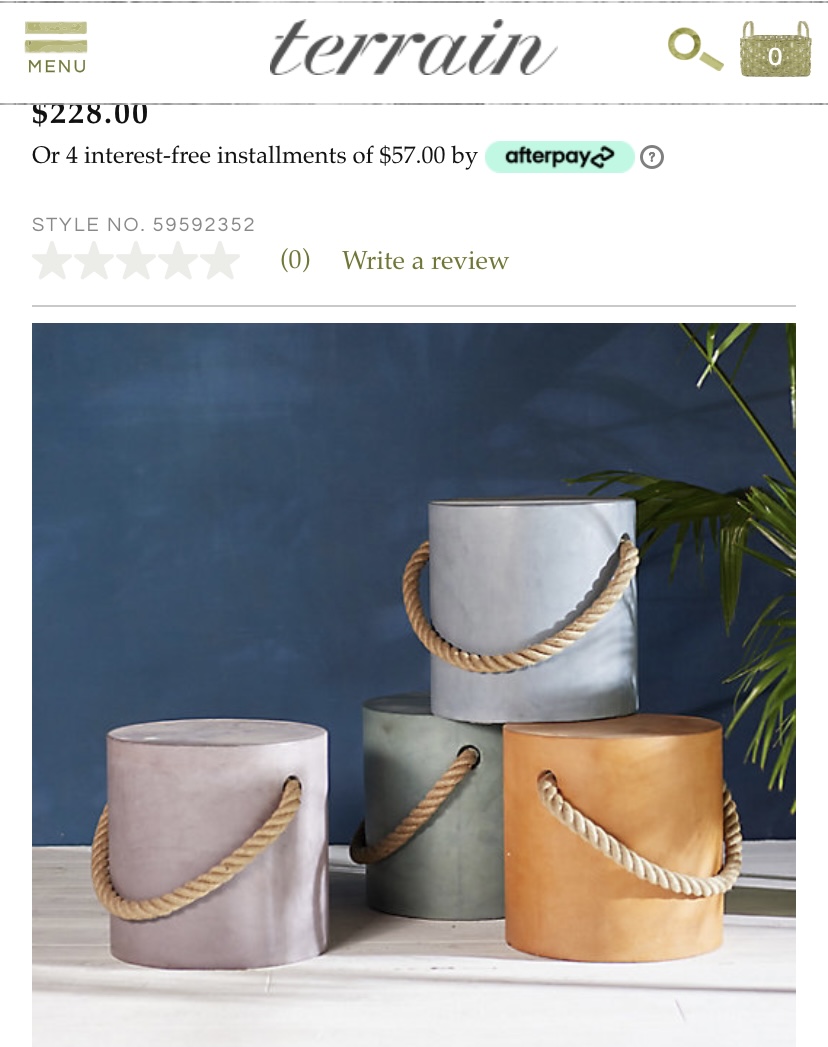
Are they not the cutest? I love the colors, the size is 15.75 x 15.75 The blues and greens work perfect for my outside spaces.
My first challenge was to find something to use as mold. Most things around the house are tapered and that wouldn’t look the same. Think 5 gallon tubs from Home Depot and Lowe’s, kitty litter containers, wastebaskets, I hunted all throughout the house, garage and the shed. Nothing.
Lucky for me Carmine suggested the concrete footing tubes at Home Depot. Who knew?!
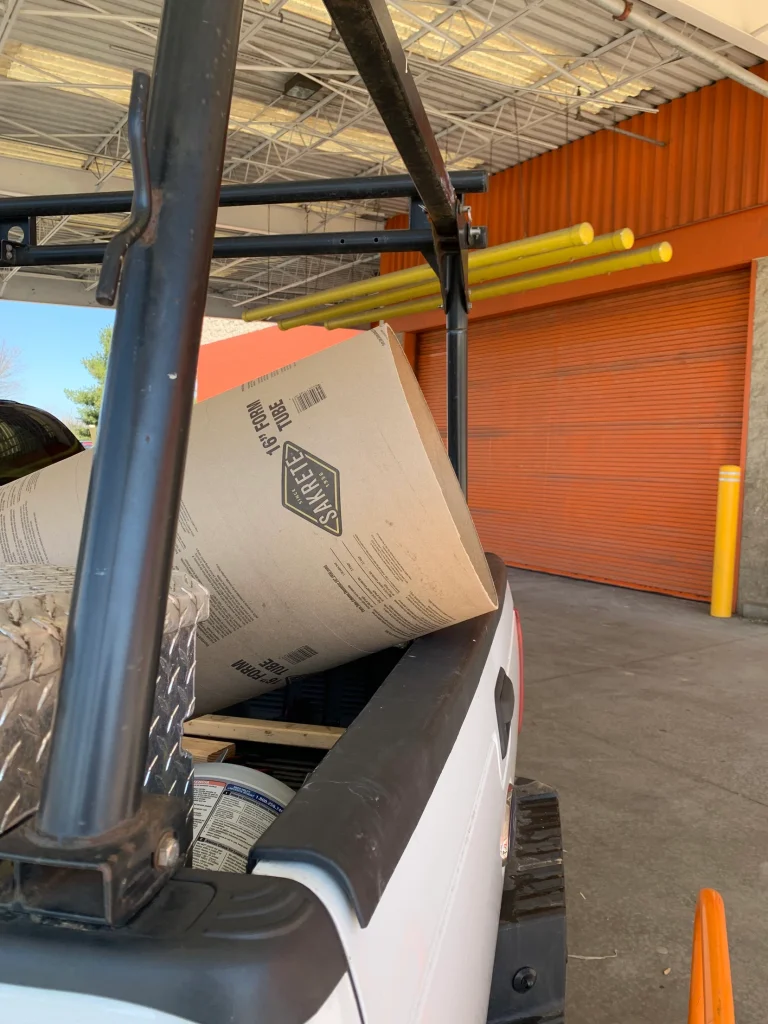
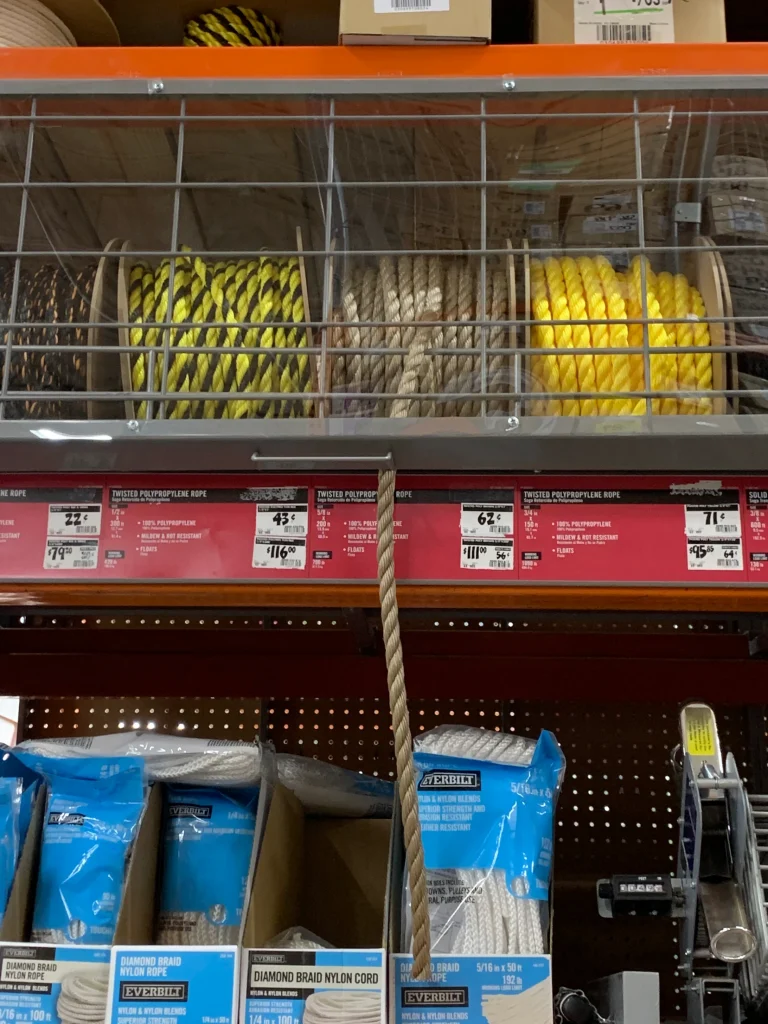
I bought two sizes, 12 inch round and 16 inch. Starting with the smaller 12 inch size since it was my first time (less concrete) and purchased rope by the foot.
Next was to decide on the concrete. I used the Zform countertop concrete for my white concrete bowls, it’s very white and fine so I decided to use that for my first attempt. I used 2 whole bags of it. But it’s smooth and takes color well.
You can find colorants at Lowe’s and Home Depot too but I tried chalk paint. It worked fine.
I got my large dowel rod from Walmart to make the hole for the rope.
Steps
1. Gather all supplies.
2. Measure the form/tube 16 inches down from top, then mark with a sharpie.
3. Cut down the tube/form. I used a circular saw and followed the sharpie.
4. Mark where you want the dowel rods and cut the holes. I used a drill and large bit.
5. Cut the dowel rod so it sticks out on both sides
6. Cut some scraps of wood from 2×4’s to create a frame.
7. Attach the boards to a piece of wood or hard cardboard.
8. Attach boards to the base and sides.
9. Run a bead of silicone on the bottom of tube (mold) and place on base.
10. Attach boards on the top, make sure they are snug to hold down tube tightly agains the base.
11. Grease the dowel rod, I used vaseline liberally.
12. Get two 5 gallon buckets and fill one with water, we used 2 gallons to start.
13. Add paint if you want color. I used 3/4 of the quart by the end, using a blue Kilz chalk paint.
14. Add concrete and mix, adding water or concrete until you have the consistency of cake batter.
15. Pour into the mold.
16. Let it sit 24 hours.
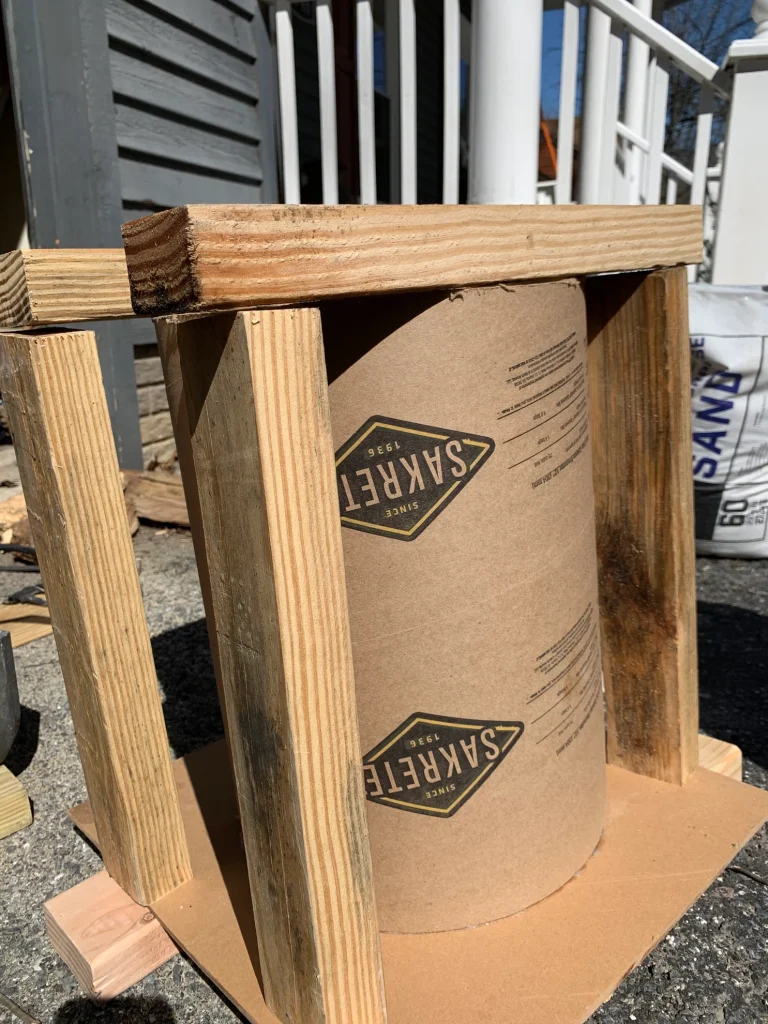
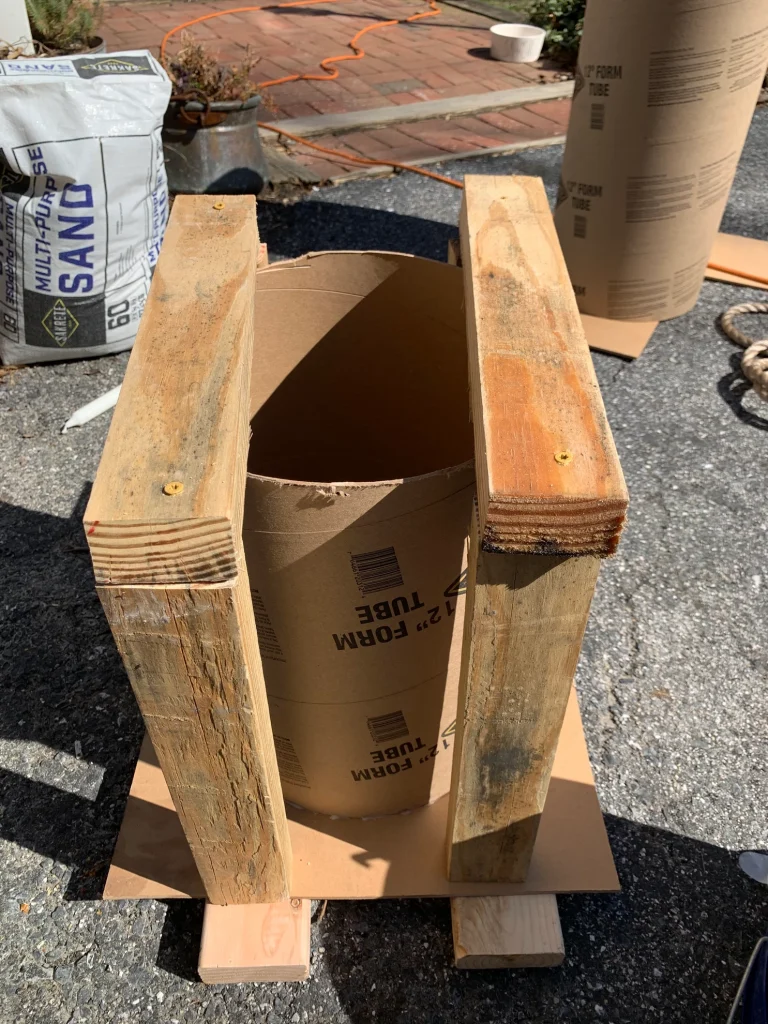
You don’t have to make a frame, it was Carmine’s idea. I think the silicone was enough to secure the tube to the base but…Here I am drilling holes for the rope.
Below putting the silicone around the rim to hold to base.
Me mixing….messy.
Our first pour – we had to mix more (2 bags) to fill the mold / form.
Can you tell we stuck our fingers in it like a million times 🙂
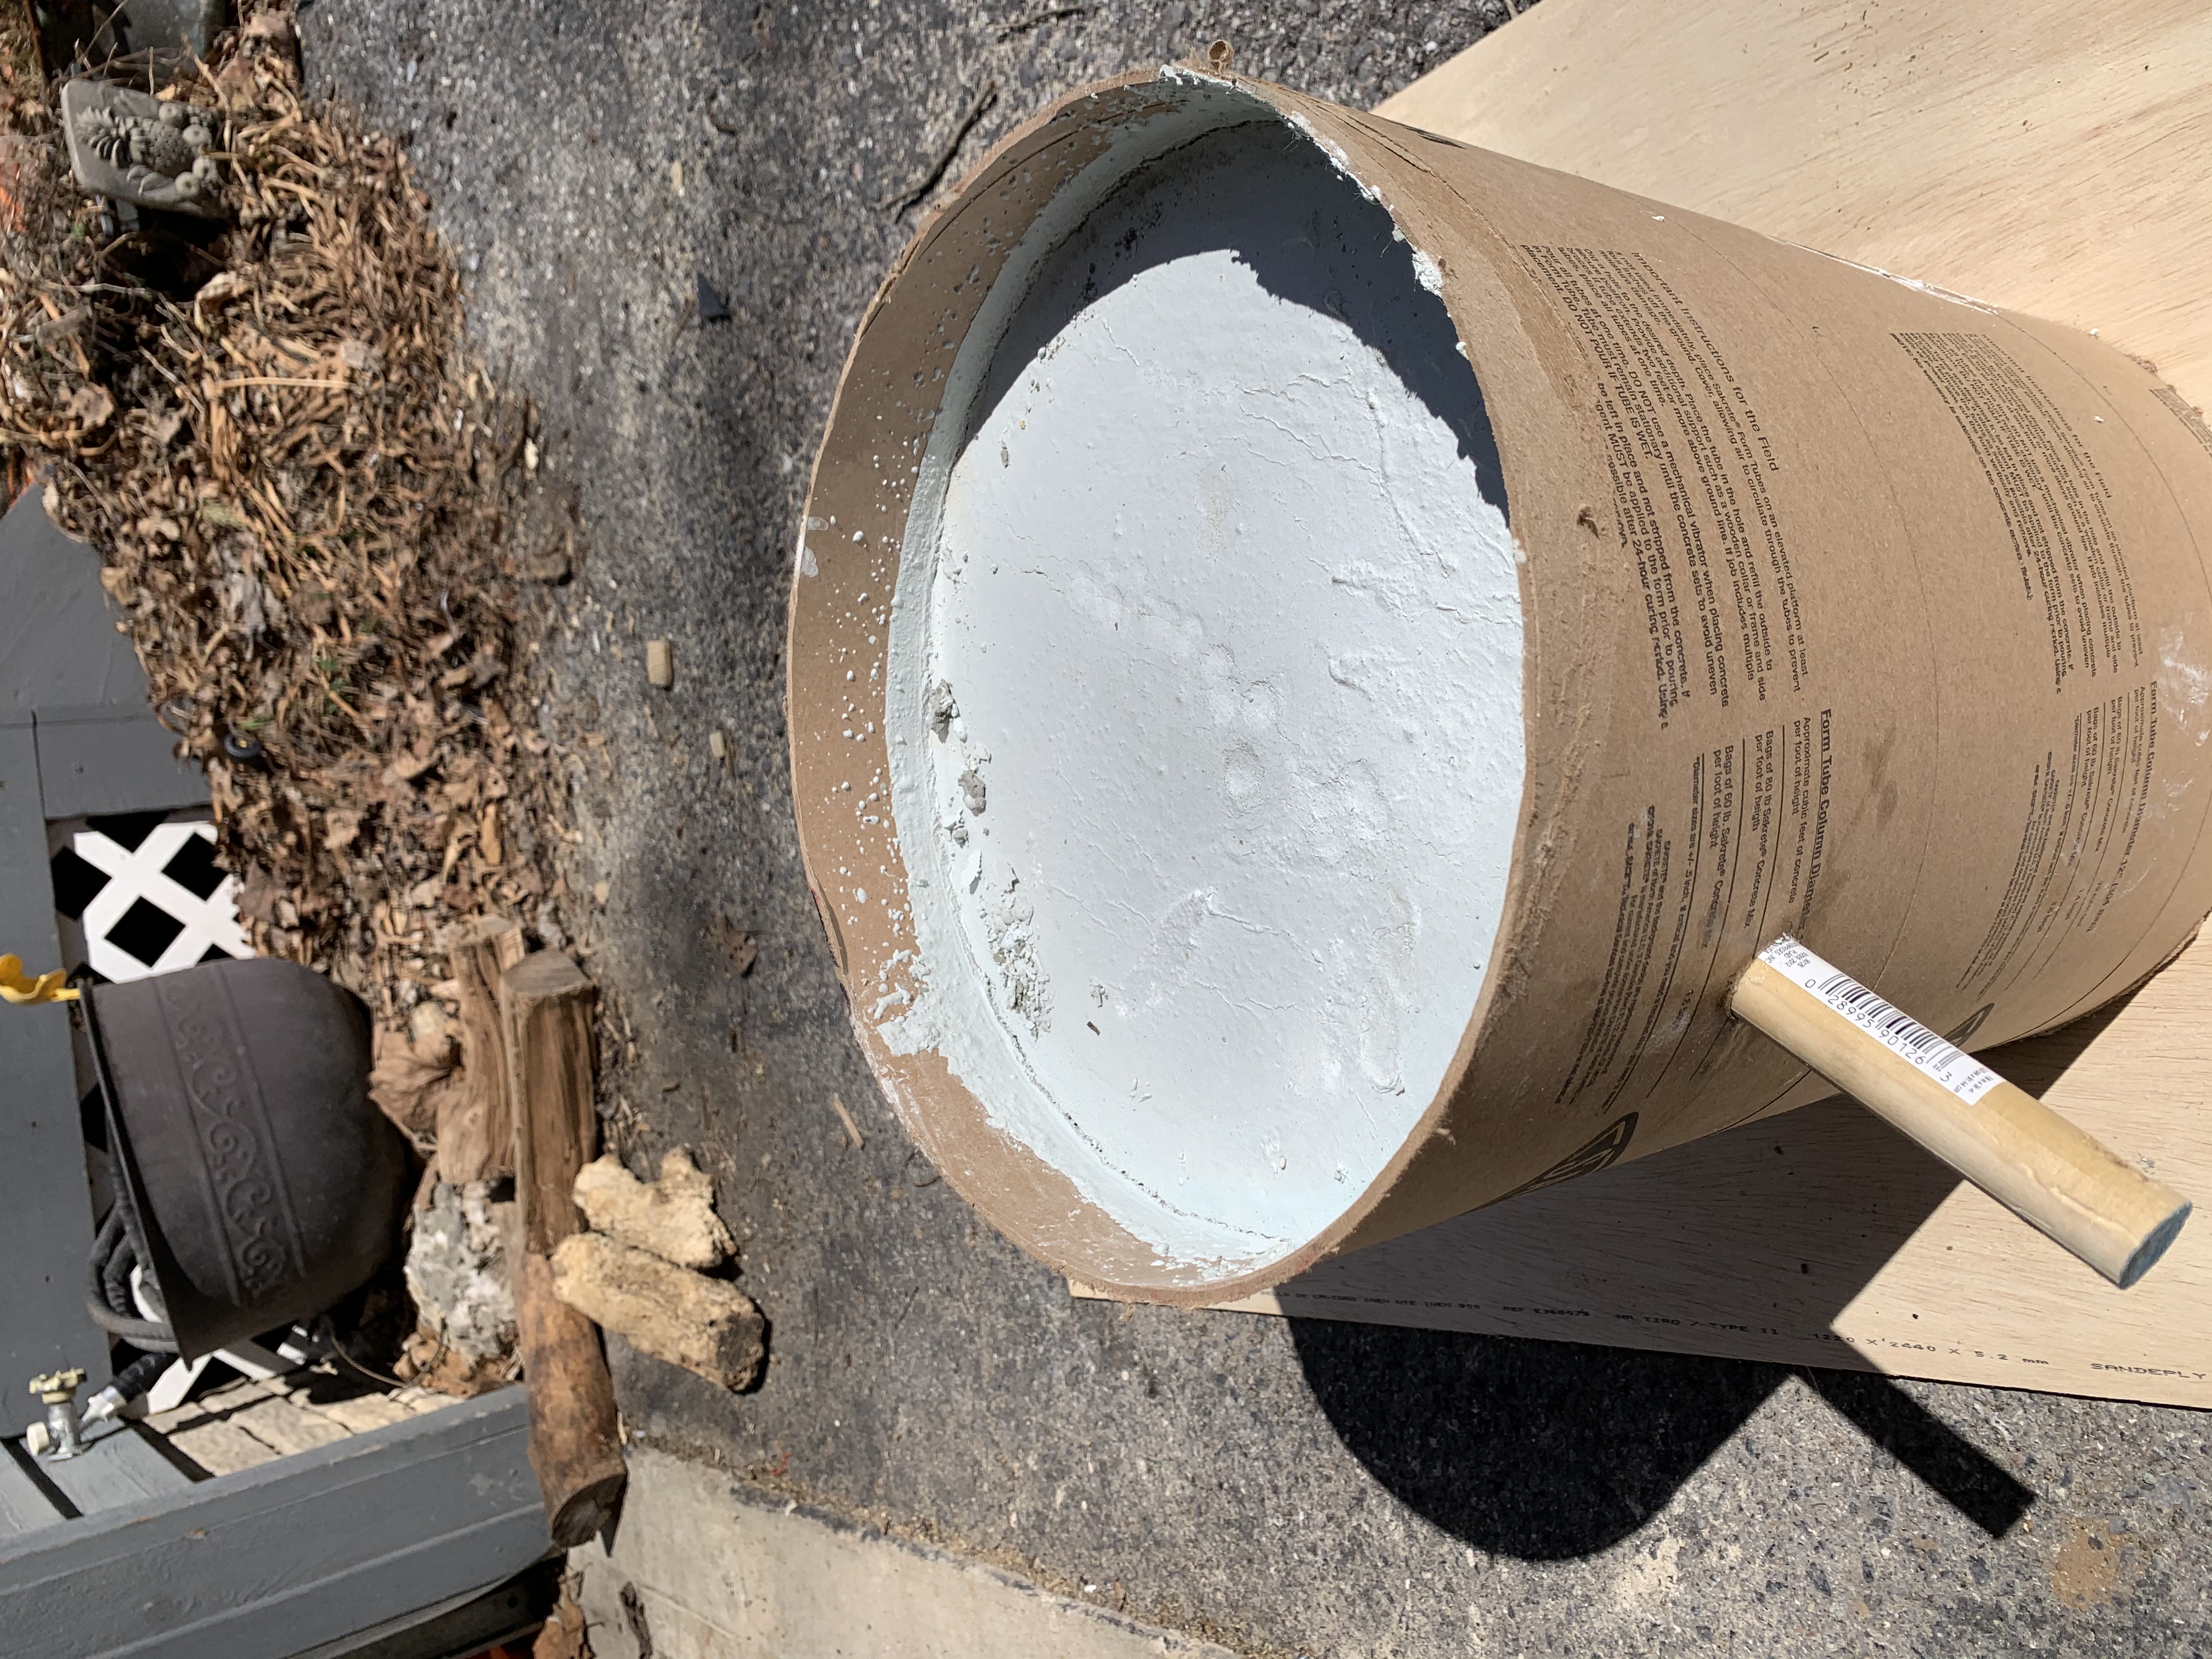
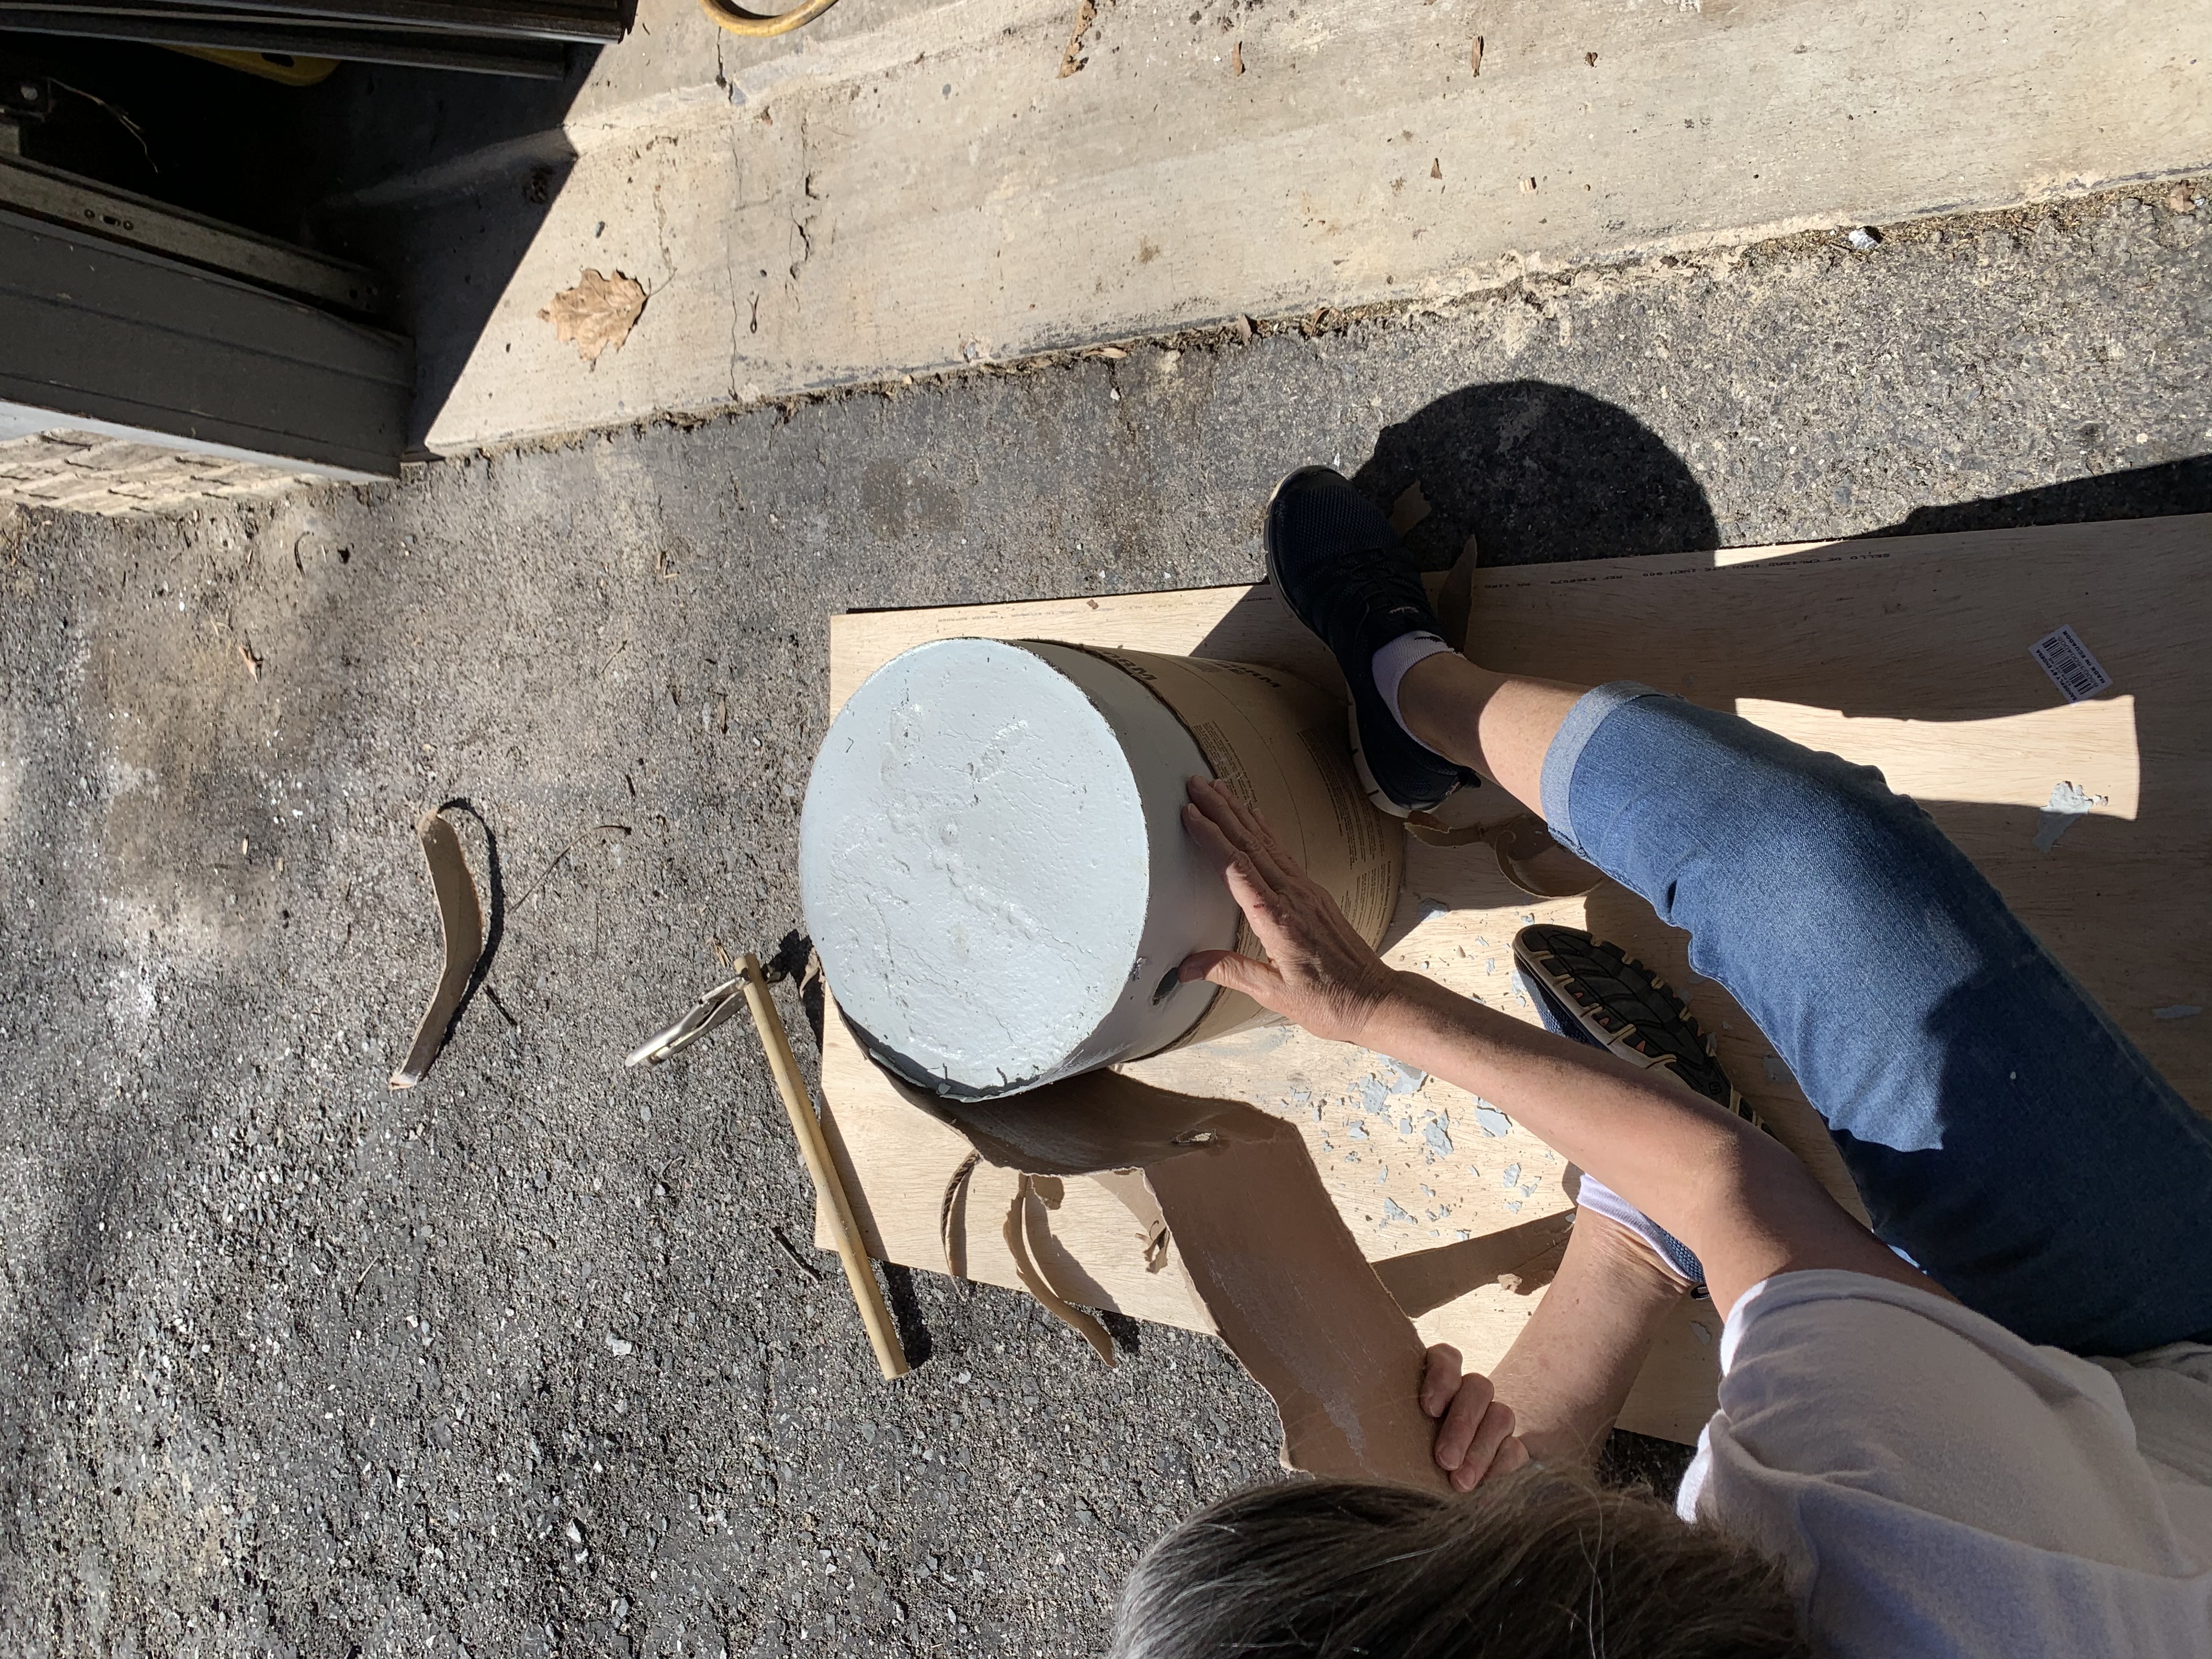
I un-molded it after about 23 hours, I was so excited. I’m super happy with how it turned out for the first time.
Because of the mold / form, you have lines on the outside.
I could sand them or maybe use something to line the inside that is thicker than a kraft paper – maybe next time.
I’m going to use a sealant for them. I haven’t decided if they are going on the deck or around the fire pit.
They are heavy so I won’t be moving them all around like I normally do with furniture.
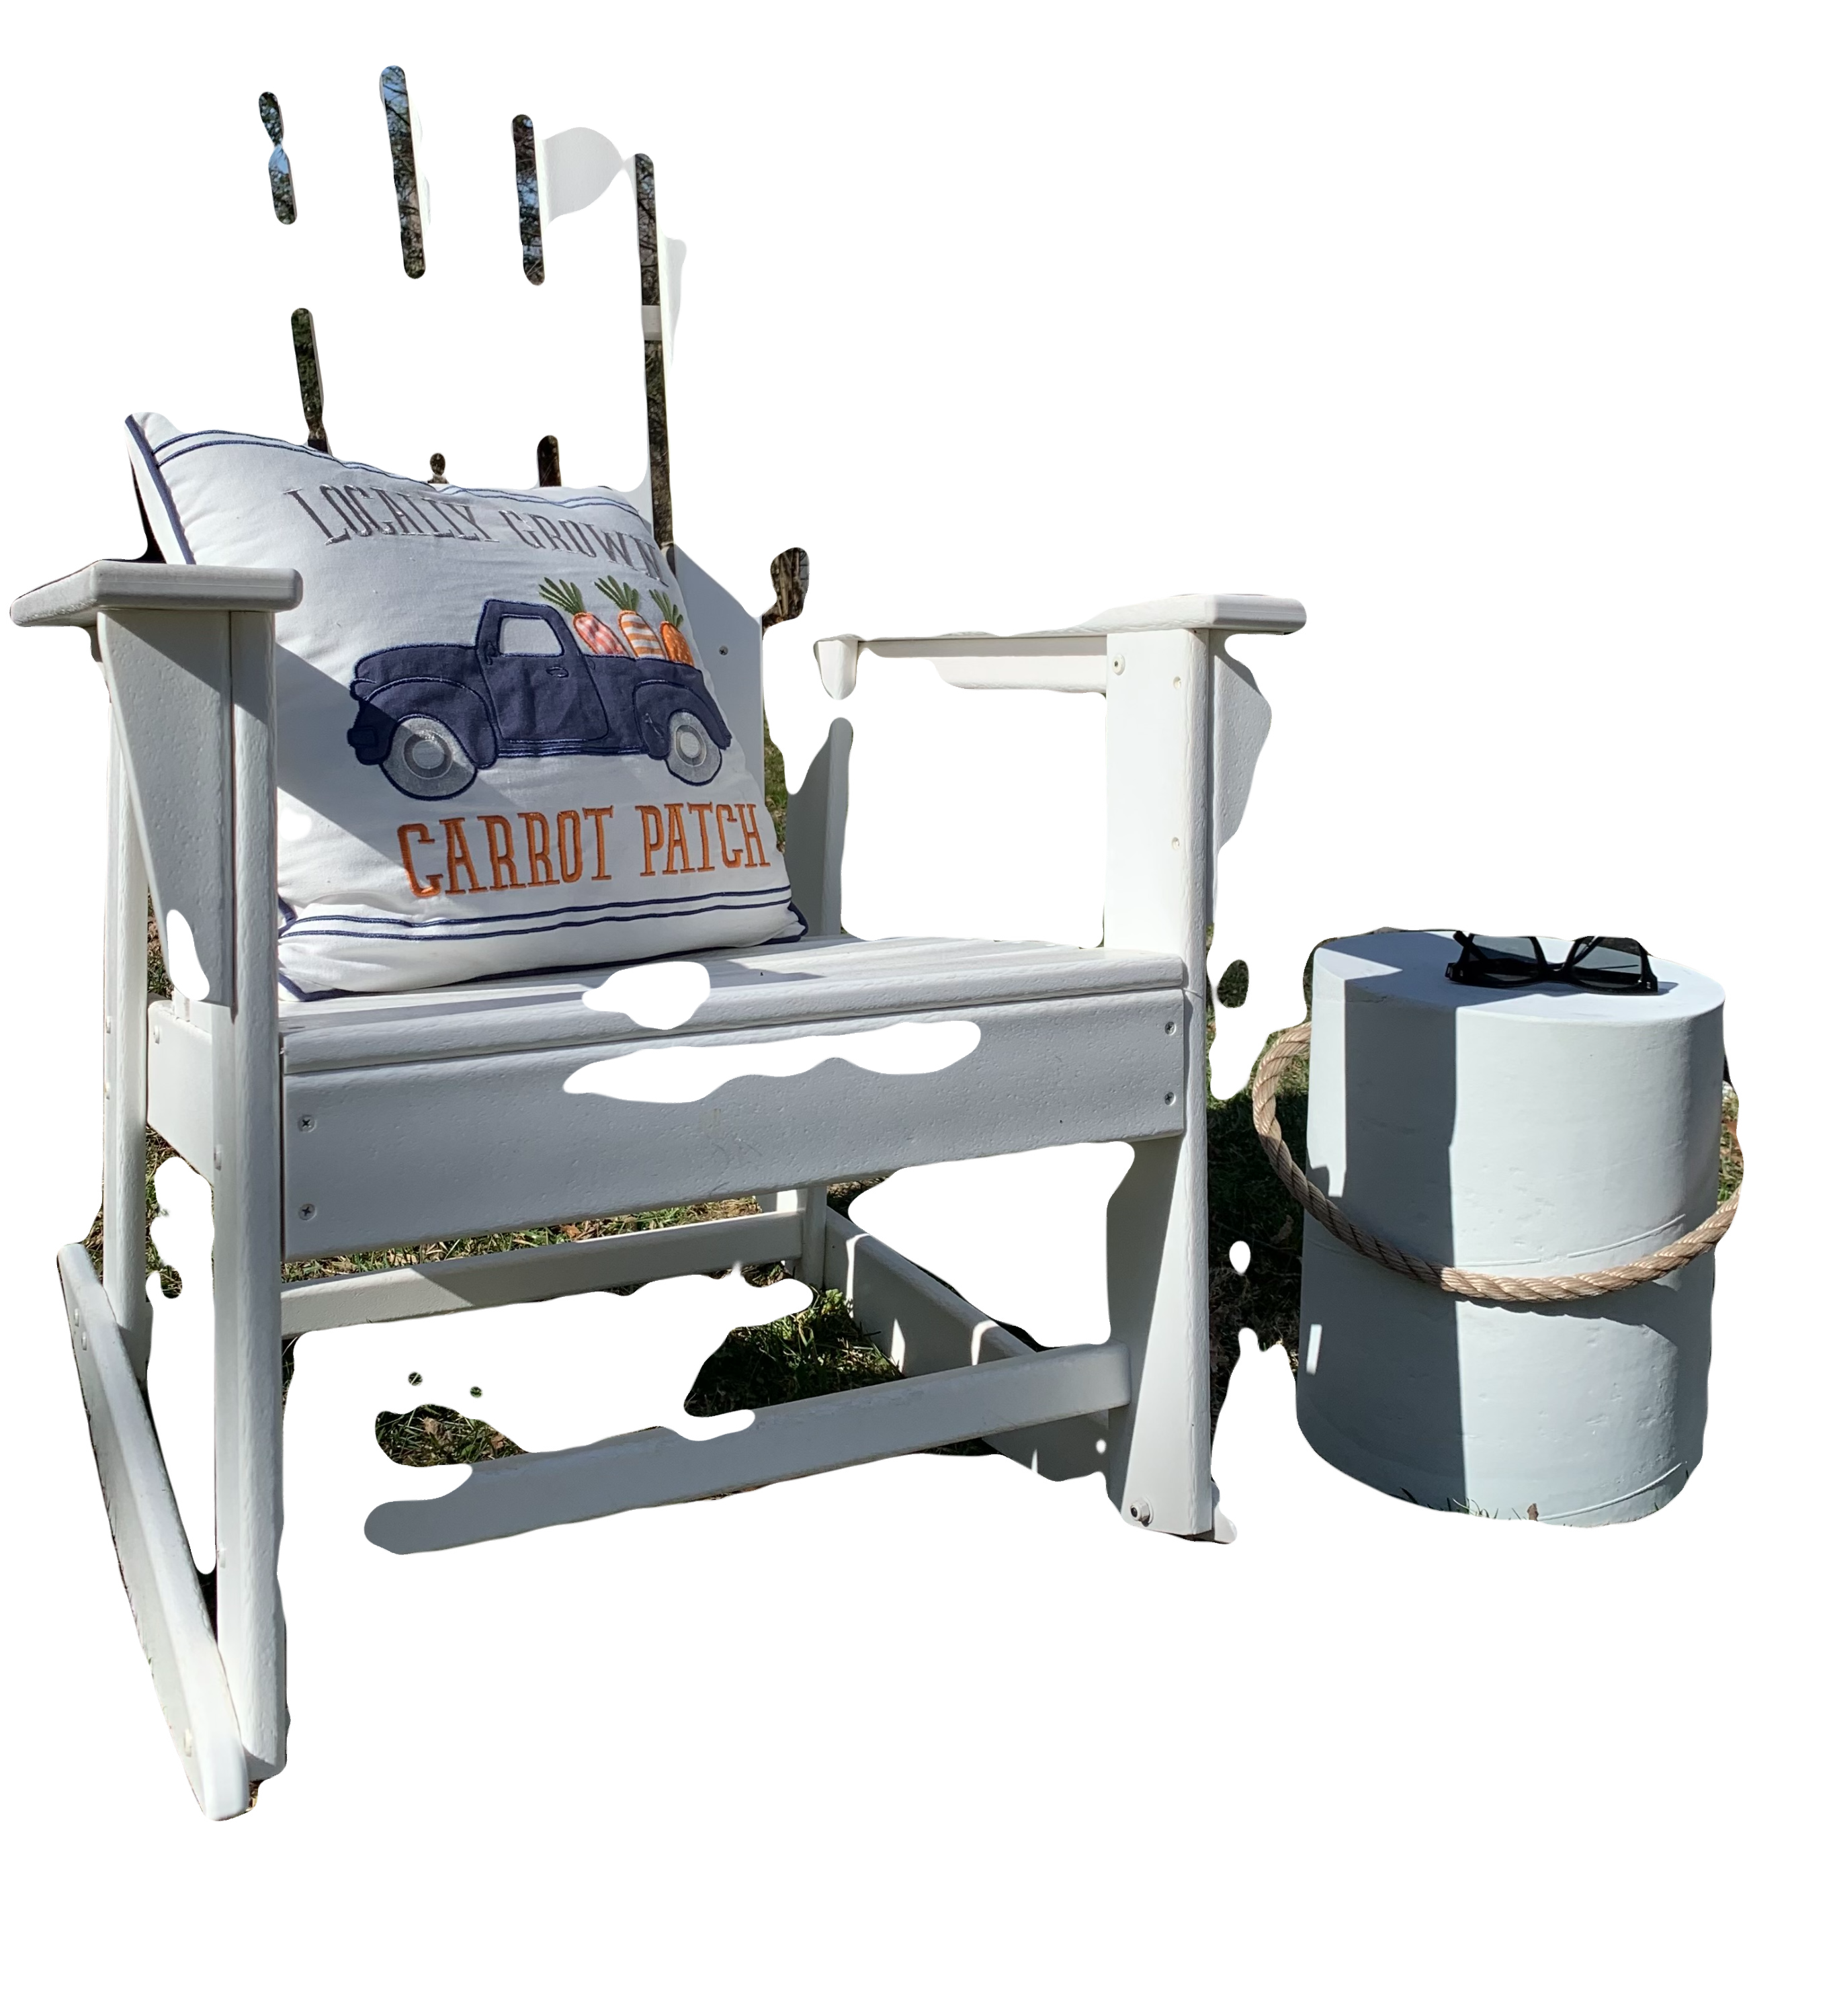
I really like them, I think my next one will be green. If you enjoyed reading about this project, consider subscribing to my blog so you don’t miss a post.
If you decide to try these – let me know and feel free to reach out with any questions. Oh, I almost forgot. I’m going to list below what it cost me.
Supplies:
Form$11.57 – it can be cut and used 3x so $3.85 each.
Concrete – 2 bags @ $35 each, (50lbs)
Dowel – $1.62
Kilz Chalk Paint in Juniper Blue $19.99
Rope – 3 feet at $.62 a foot. $1.86
You can also use another less expensive concrete. Like a Quickcrete and use a powder coloring. The mix will be little more rough but I’m going to try that also because it cuts the cost in less than 1/2.
The colorants are also less than $10 each, at Home Depot or Lowe’s. I’d just ask a staff person at a hardware store for recommendations on concrete when you tell them what you are making.
Total $97.32 – or let’s say less than $100
Had on hand: Wood scraps, tools, silicone.
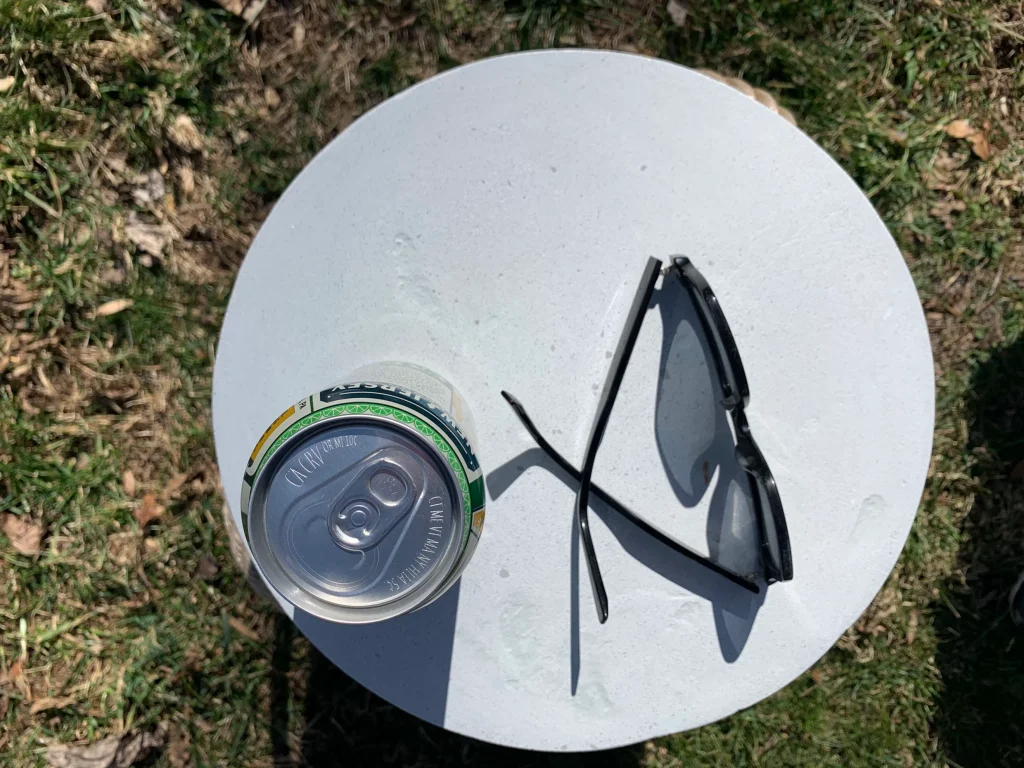
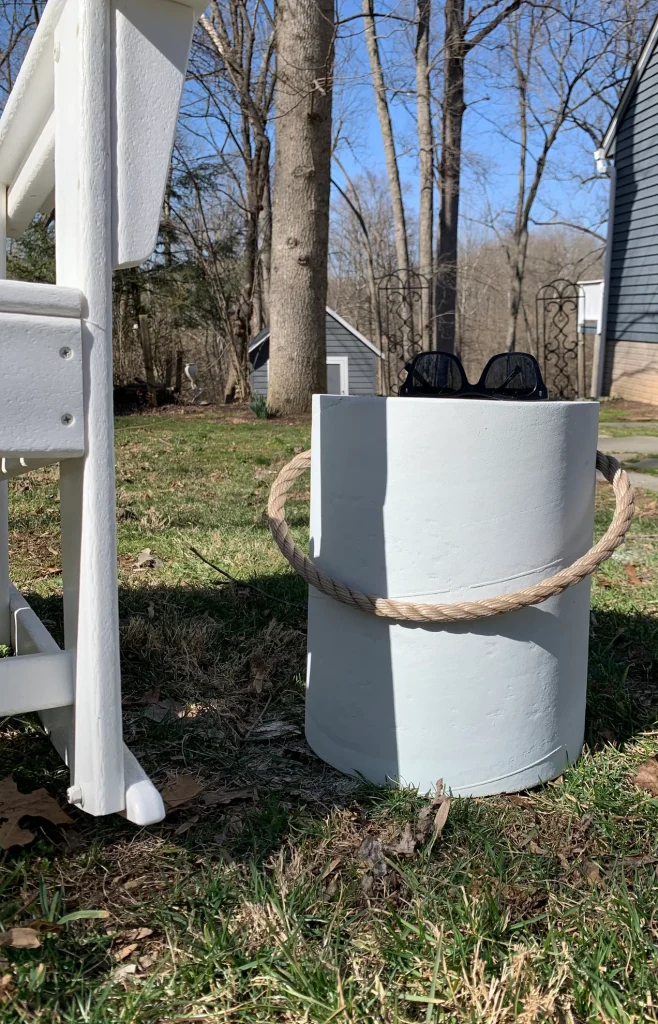
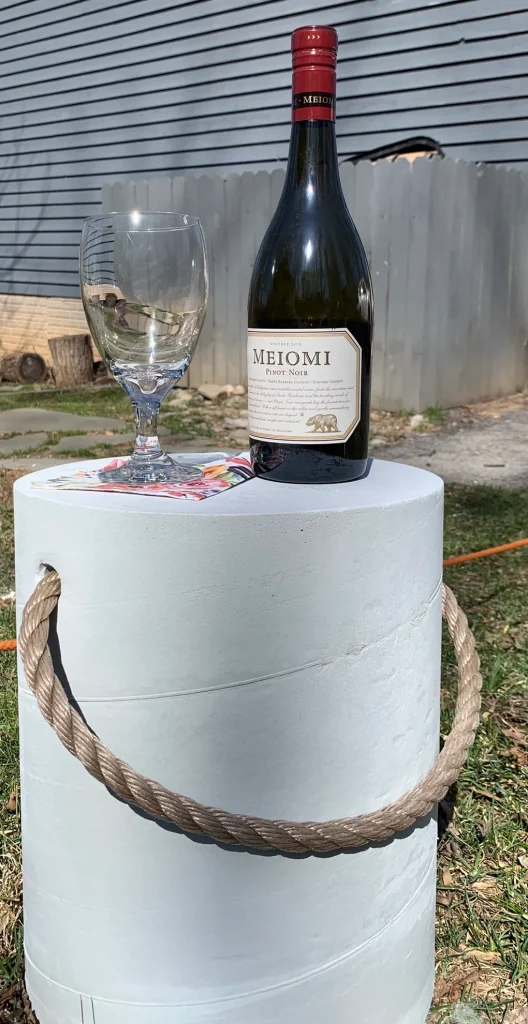
Sorry this was so long, there were several steps and I wanted to make it easy to follow. I’m glad you got to see the process of this Concrete Stool DIY.
To see more projects I’ve made with concrete – click here and here.
If you’ve made it this far – thank you! Stay tuned for more DIY’s Home Decor and Event Inspiration and more. XO. Regina
This post may contain affiliate links, which may result in a small commission to me at no additional cost to you.

Great tutorial; thank you, Regina. I need one of those for our patio, and I’m wondering if you add some perlite or vermiculite to the mix if it would make it a little lighter. I just know I’m going to want to move her around all the time.
how did you attached the rope, plse? I didn’t see anything in your post about the rope.
thank you kindly!