Hi, if you’ve followed me at all, you know I have an affinity for throw pillows. I love to change them with the season, the wind…you get it.
I remember seeing a post on IG a few years back that was a throw pillow lovers dream. It was a huge closet all organized with throw pillows by color, season, material. Oh my gosh. I have no extra closet space and I’d actually be embarrassed to do that so I need other ideas.
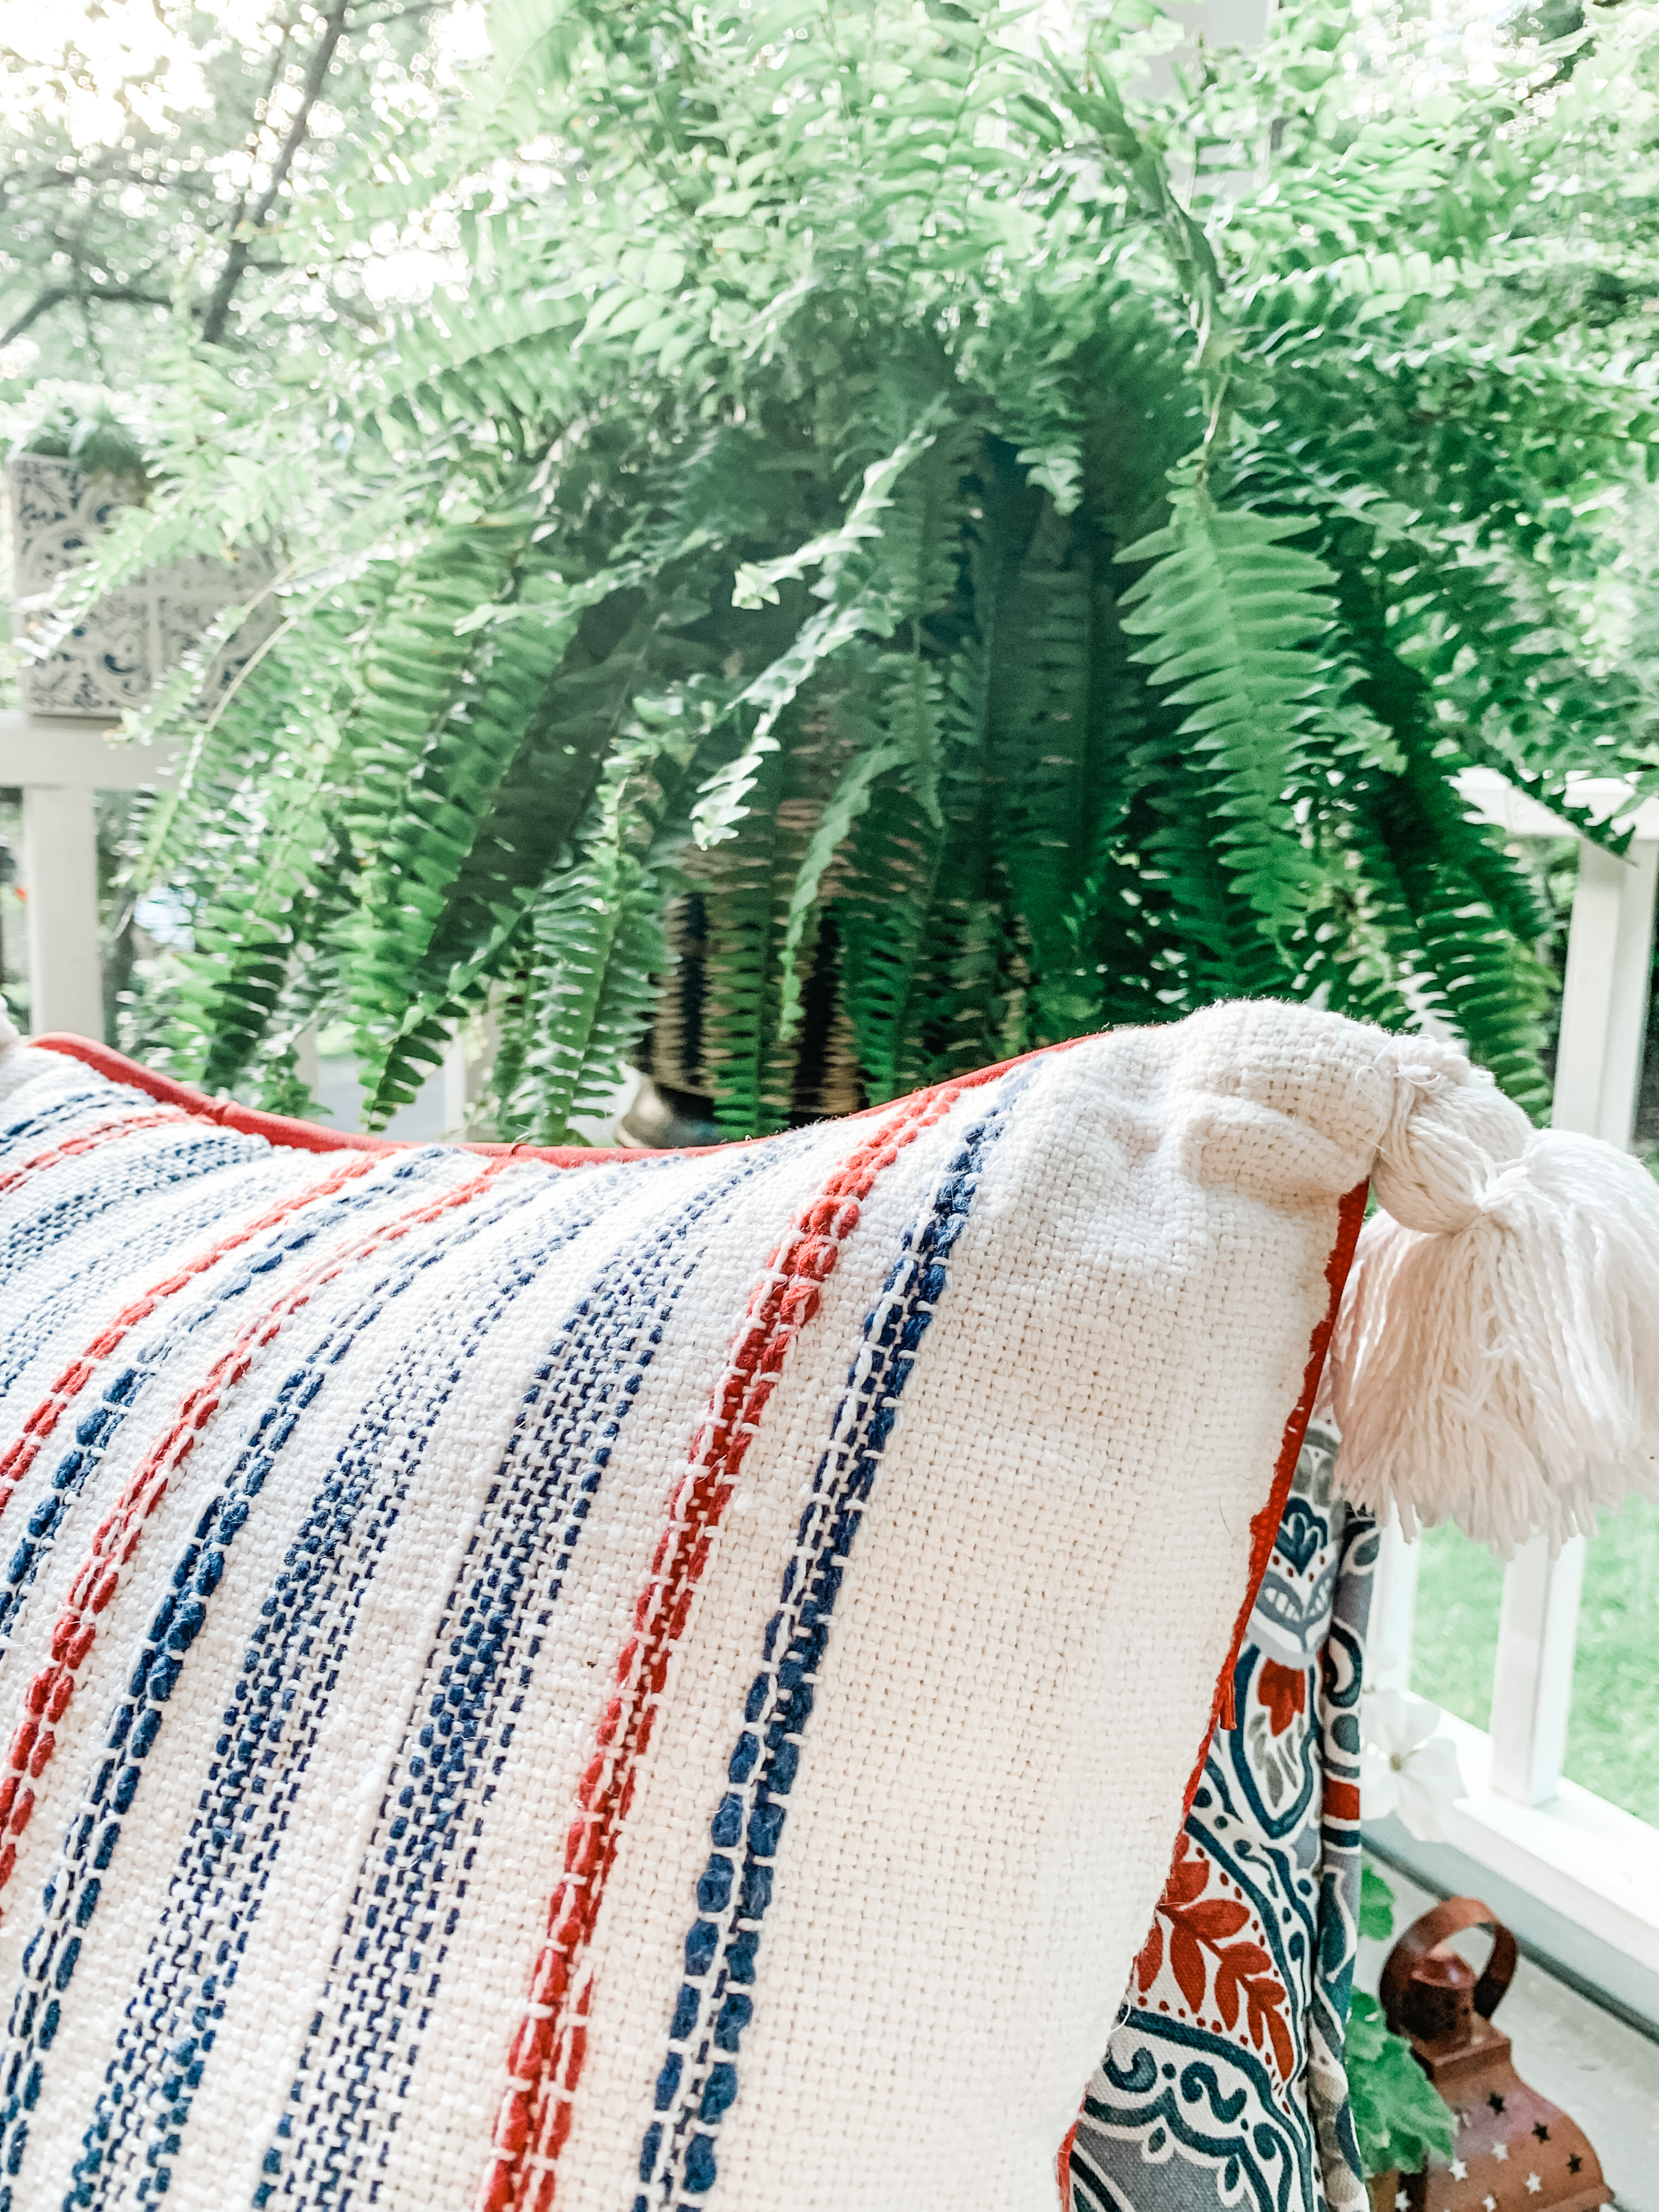
I have begun creating pillow covers so that works to keep down the number of pillows, but I can’t keep myself from peaking at the new pillows when I stroll through HomeGoods or Marshall’s.
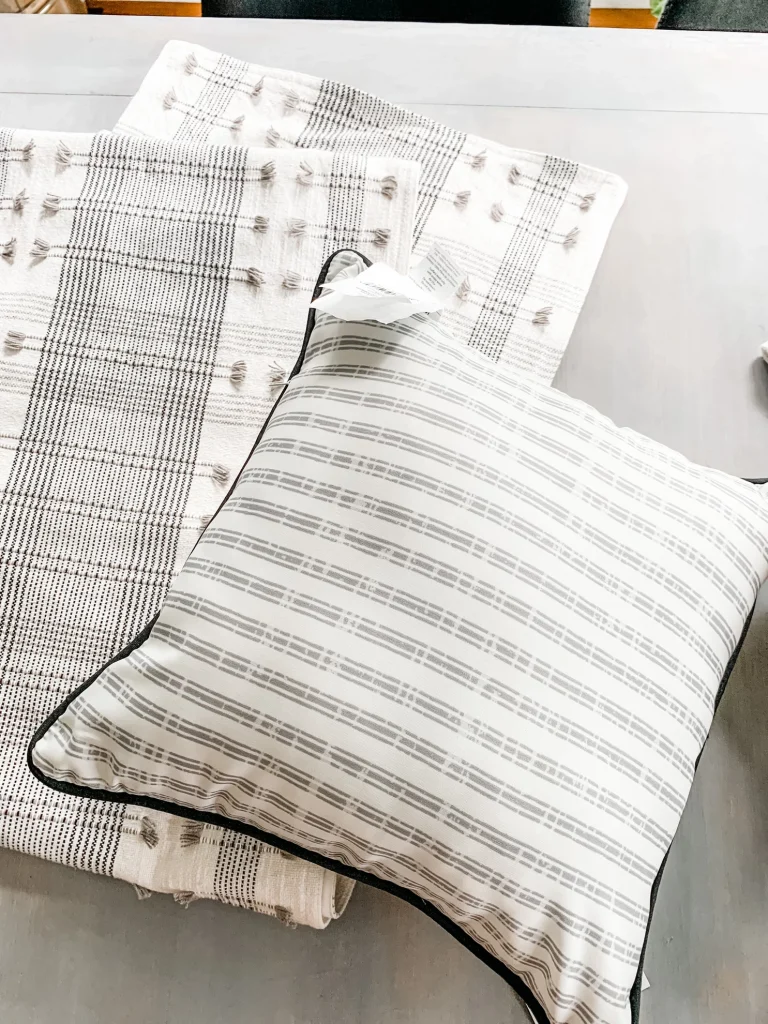
A few months back I was in HomeGoods and saw this beautiful table runner.
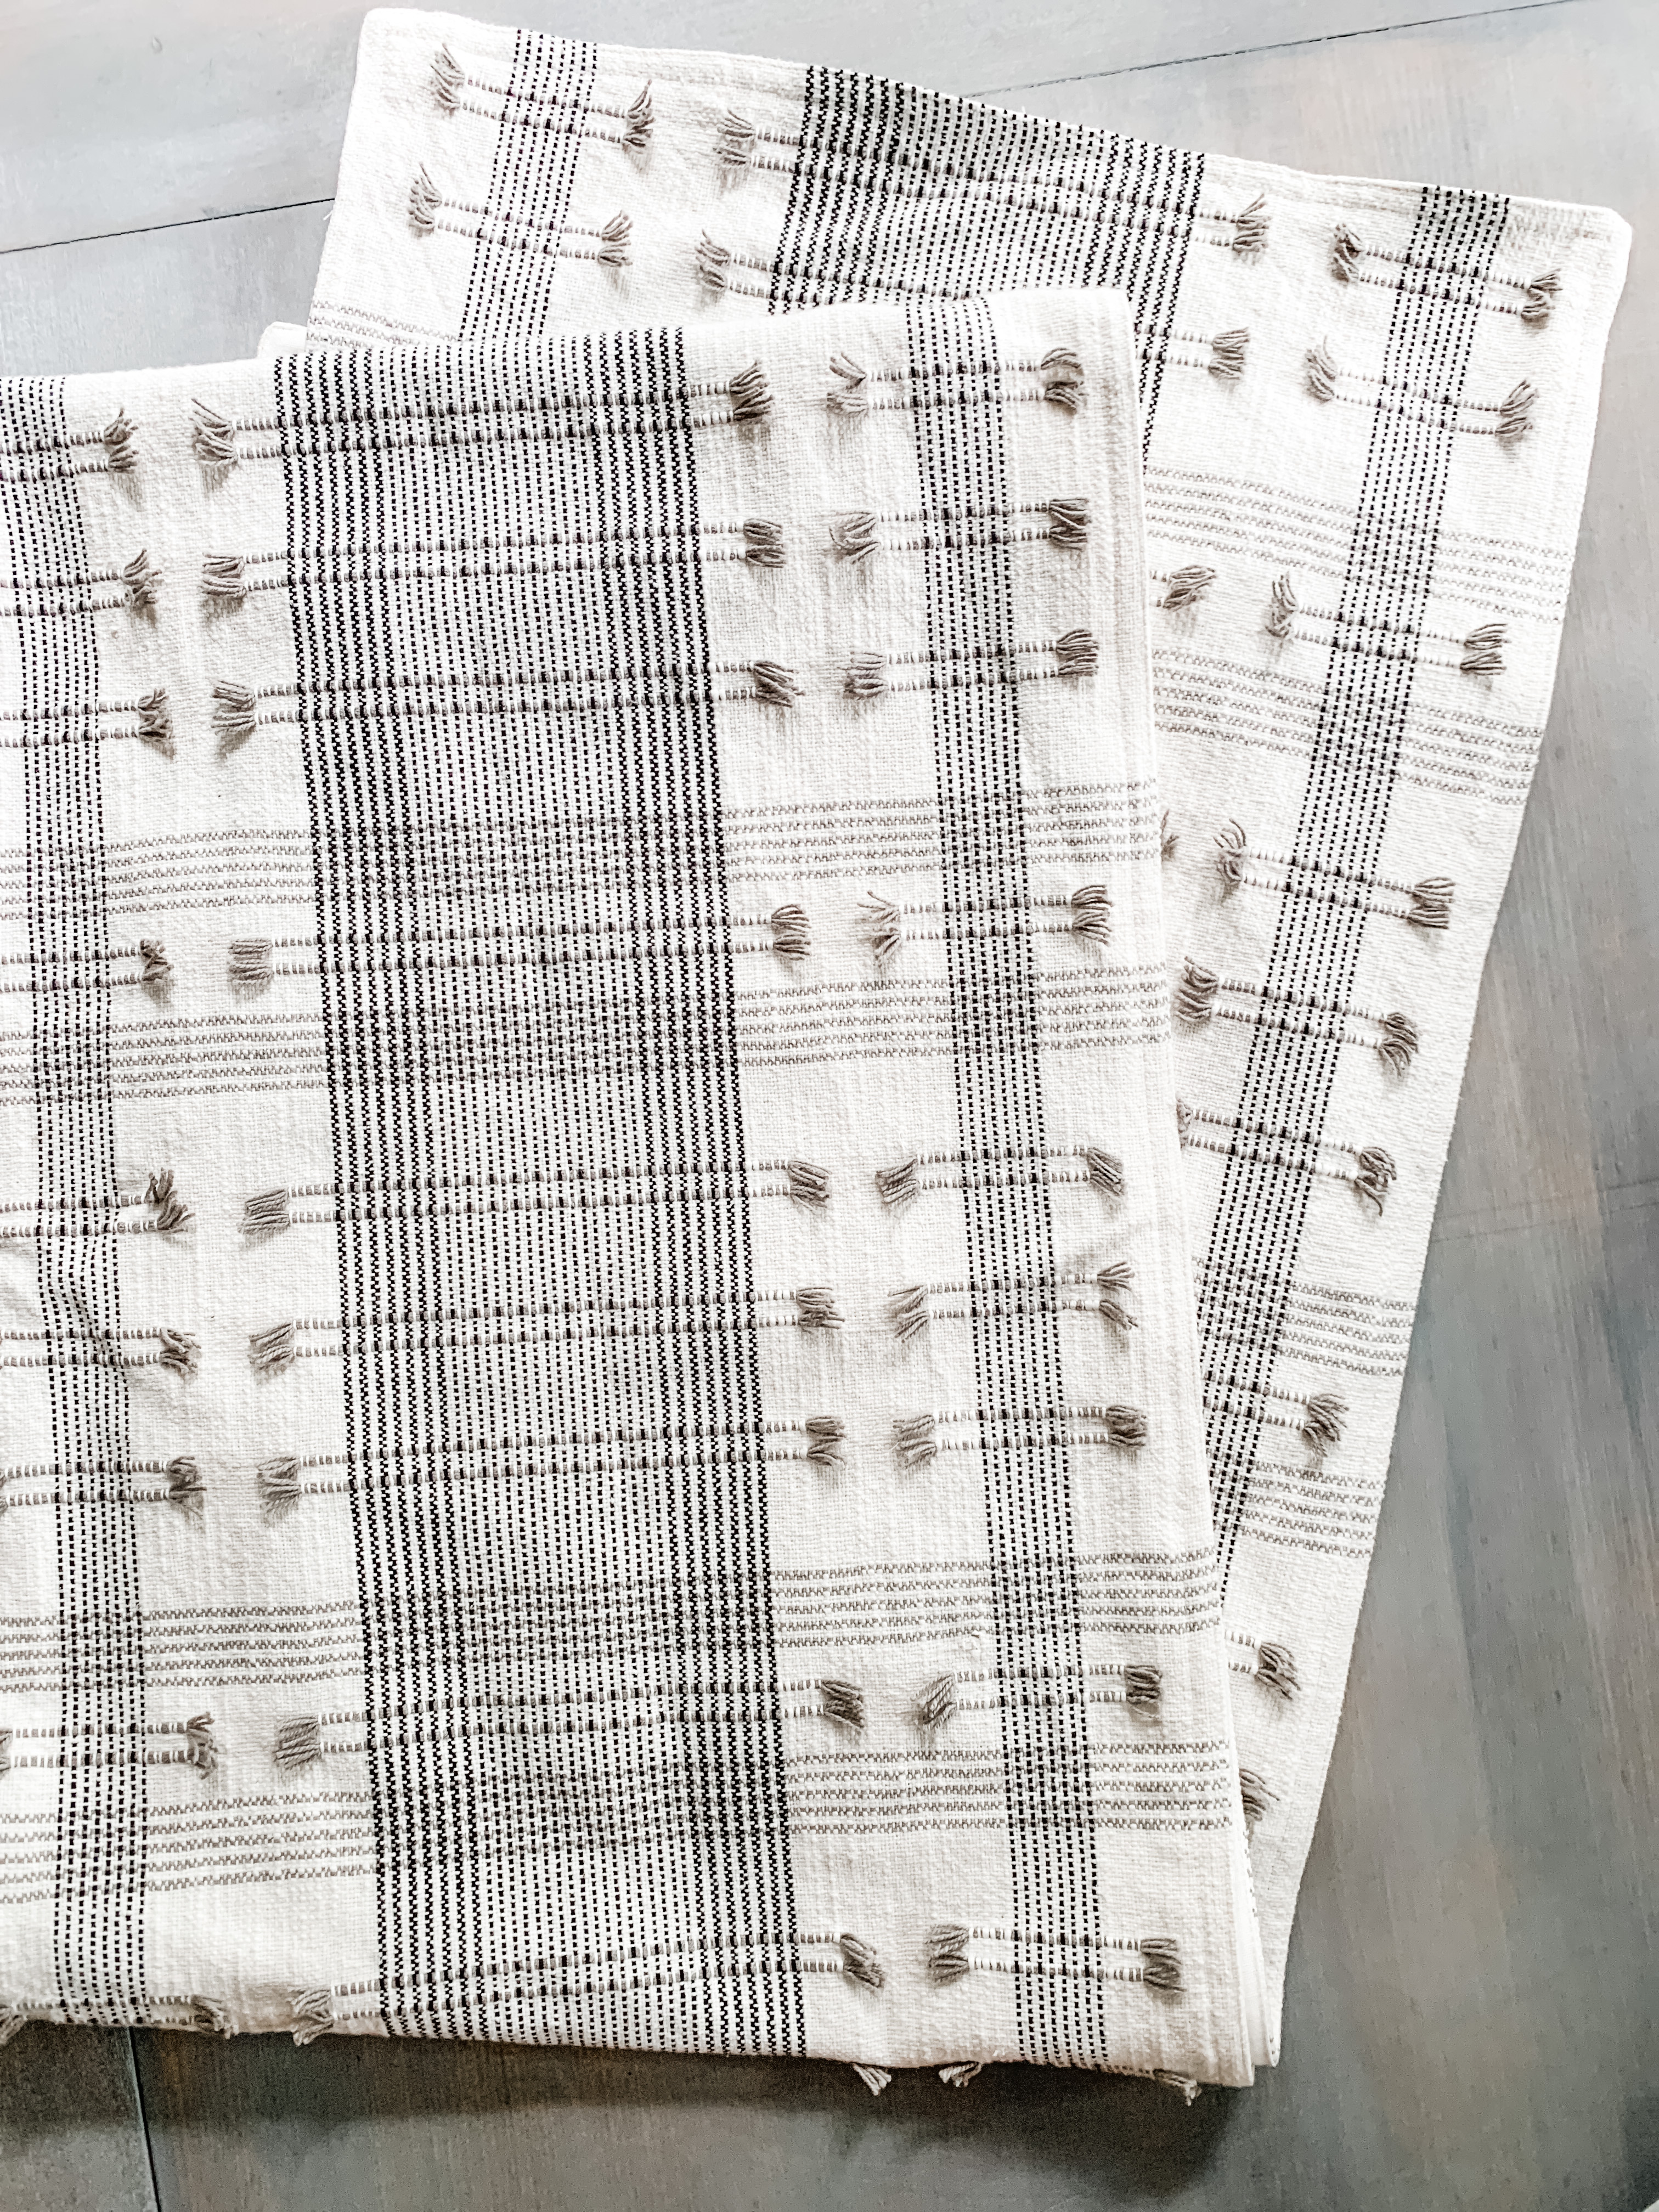
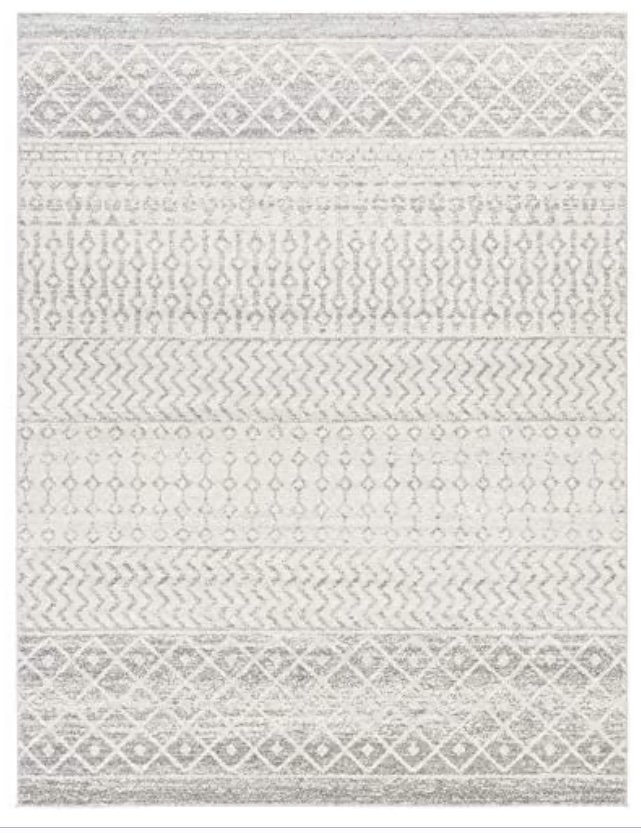
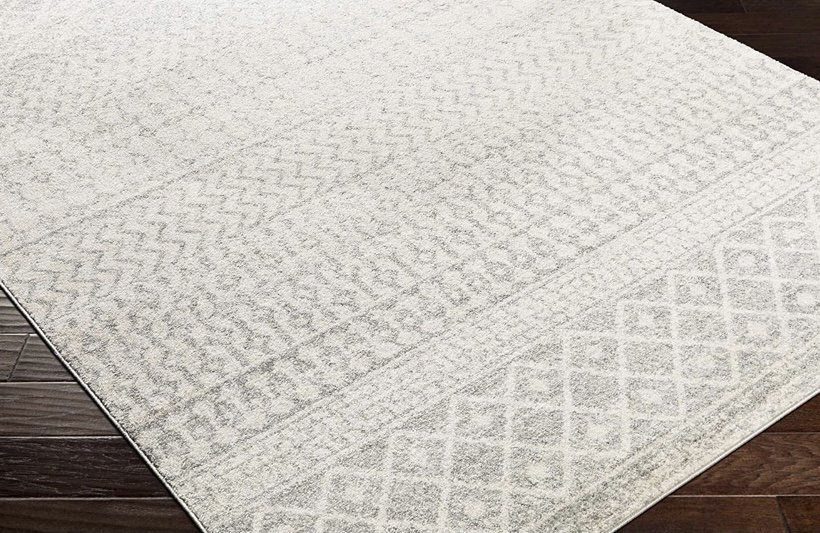
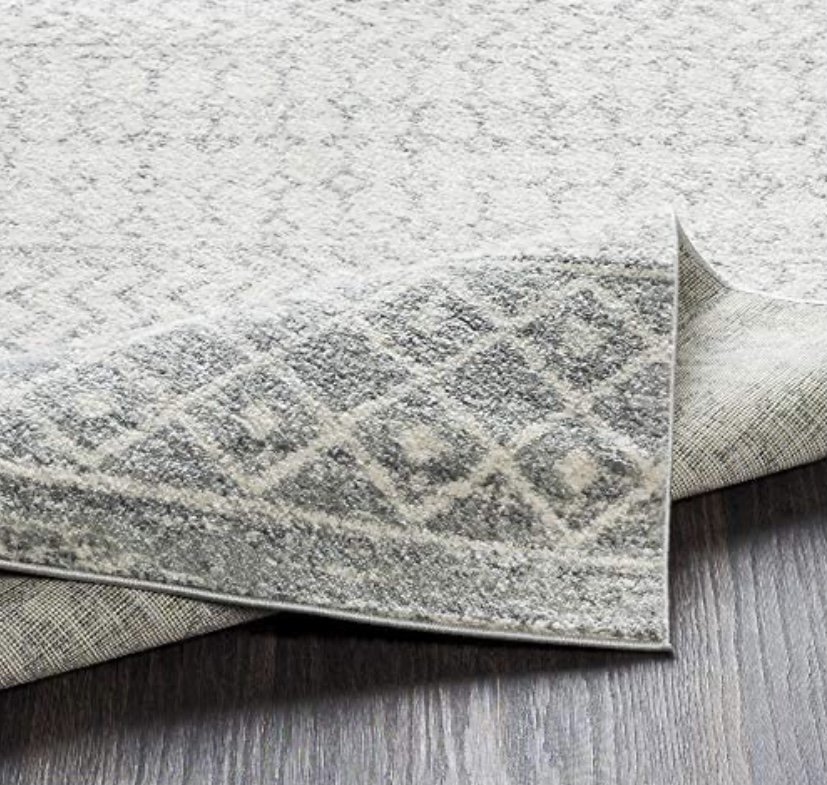
The grey and white and cream and was perfect for my sofa, rug and color scheme of my living room. Here is the rug, I am so happy with it. It’s probably the fourth rug in three years in my living room. You can find the link here.
My sofa and chairs are cream and I have natural wood, charcoals and white in my decor.
It was only $14.99 and I began to think, why couldn’t I make throw pillow covers from this? It can’t be that difficult and no one else is going to have my pillows.
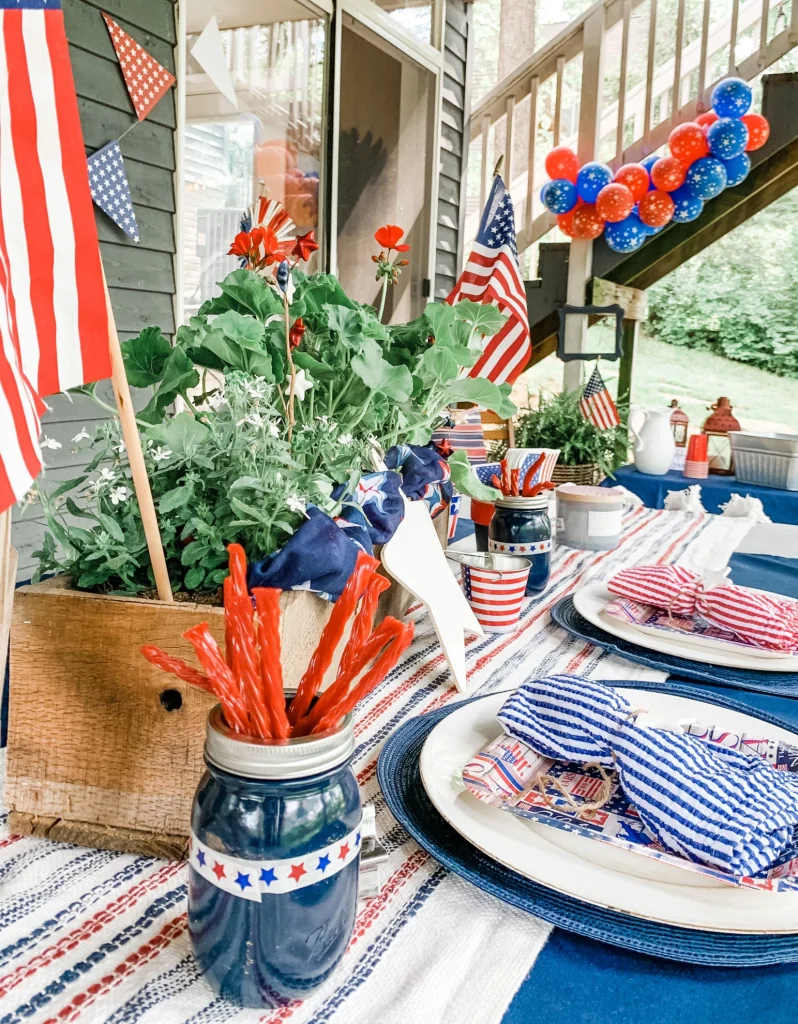
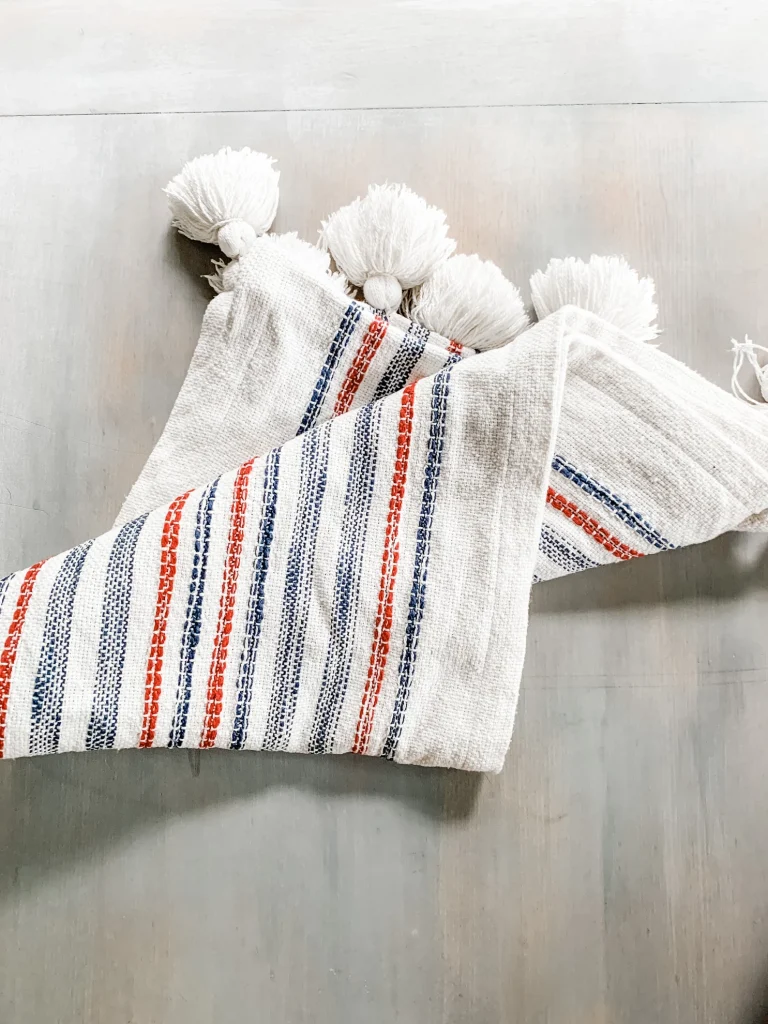
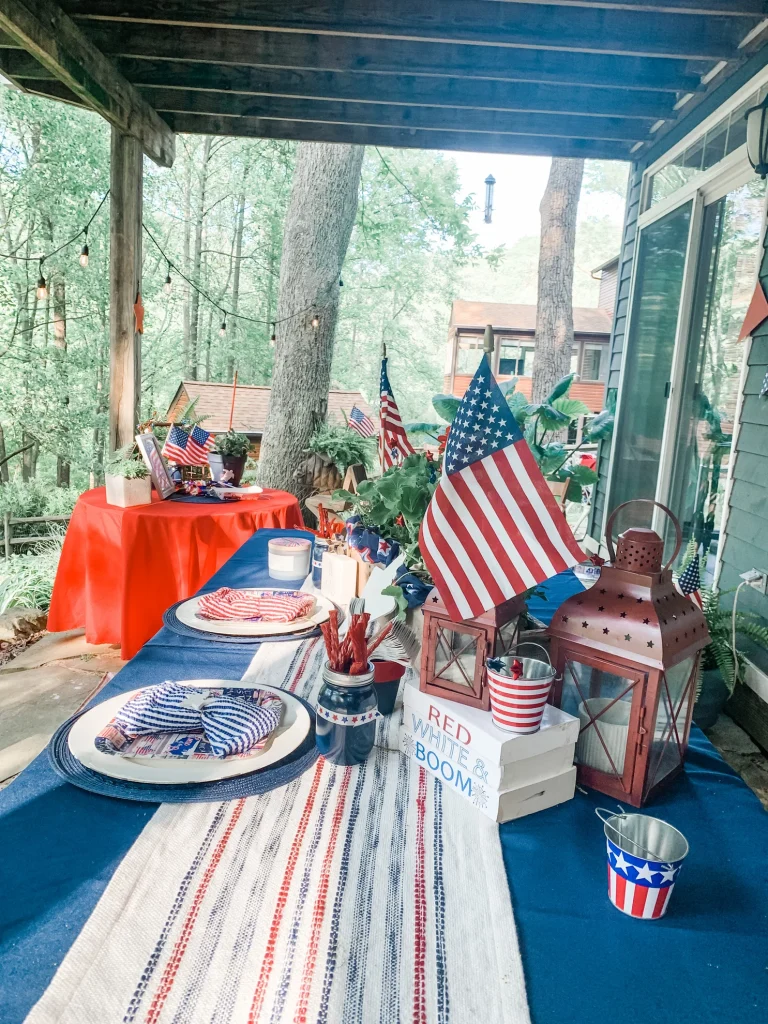
Fast forward a few months and I came across a beautiful runner that I used for my patriotic tablescape. You can see that post here.
I decided to use it and make a few pillows from it too, although I still hadn’t done the first one yet. It was $14.99 too, and I could cover 3-4 pillows with it.
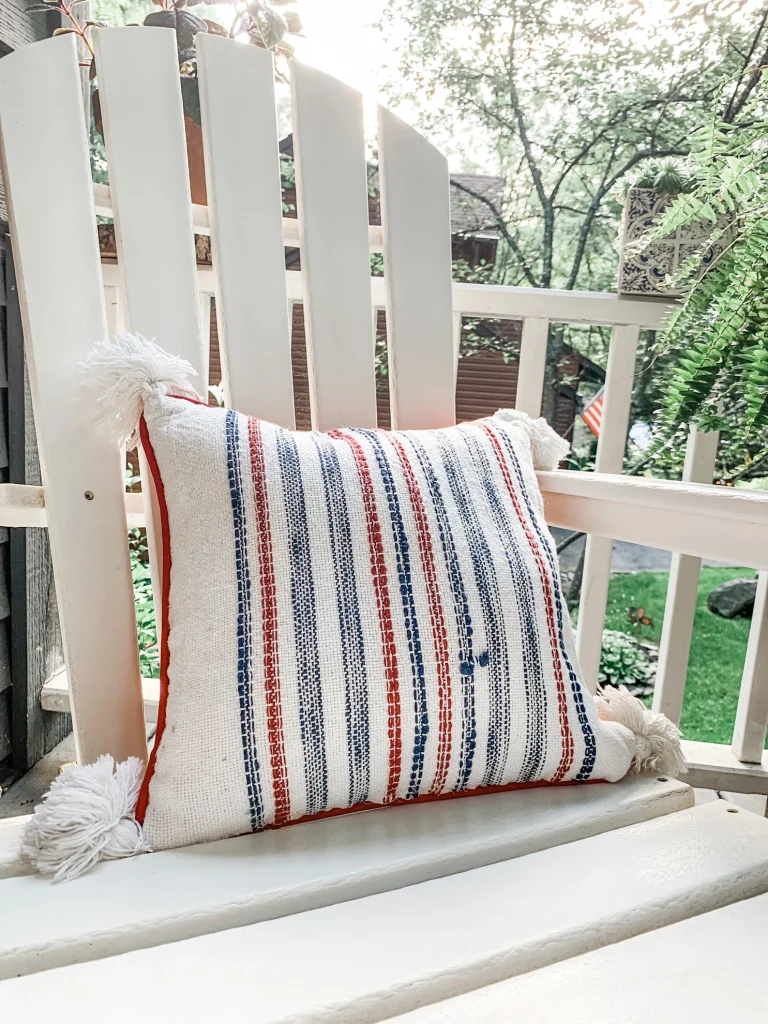
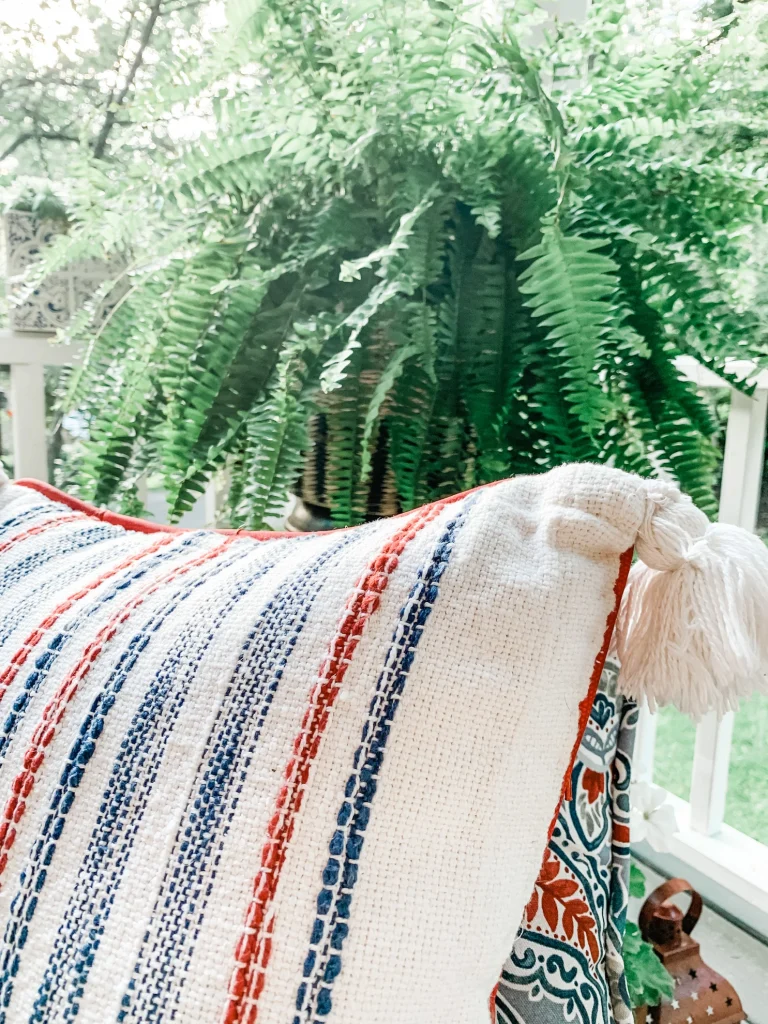
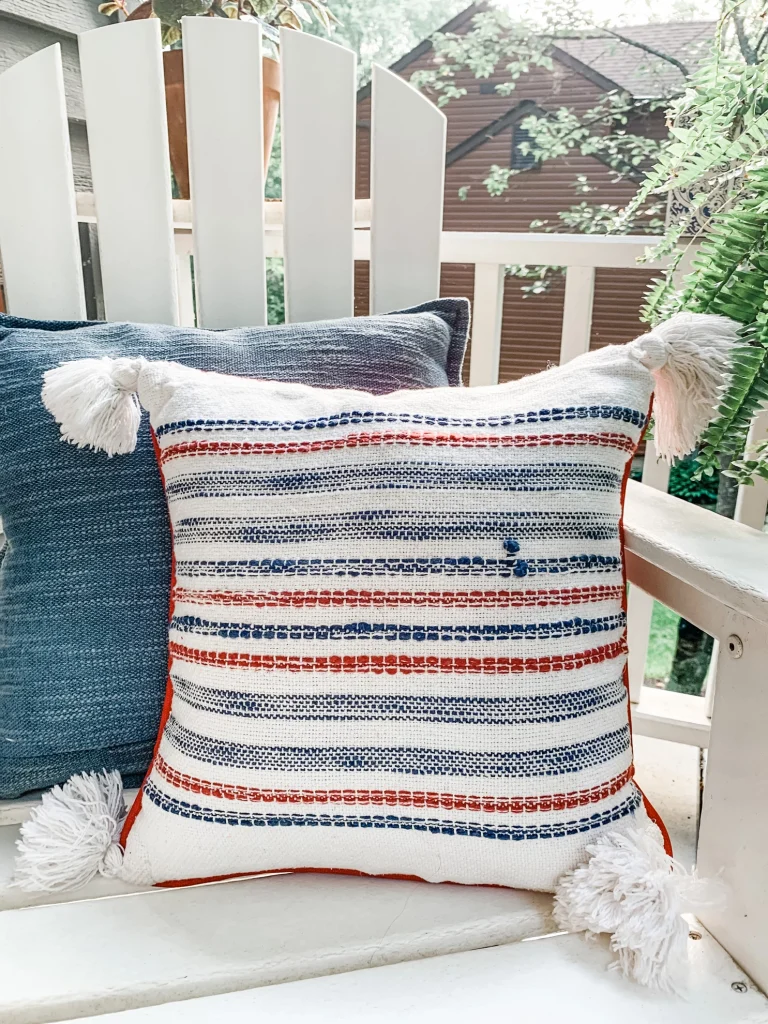
How can I do that with one table runner you ask? Keep reading! This one in particular had 4 tassels on each end, do the math. That’s two pillows that can now have 4 tassels, one on each corner.
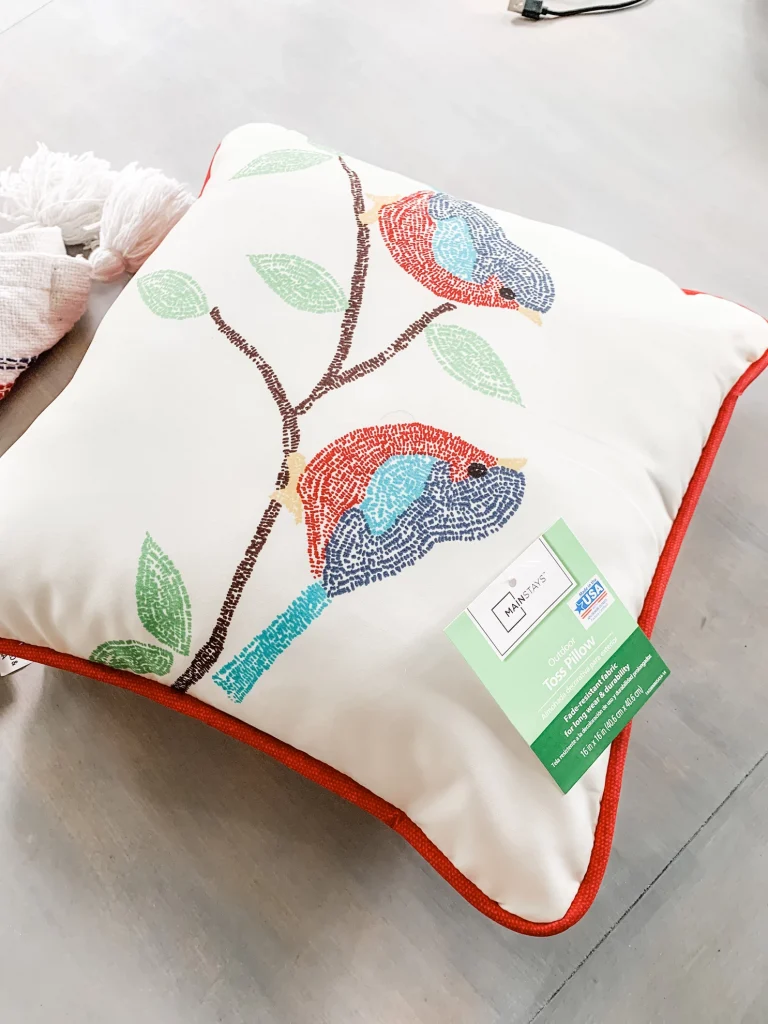
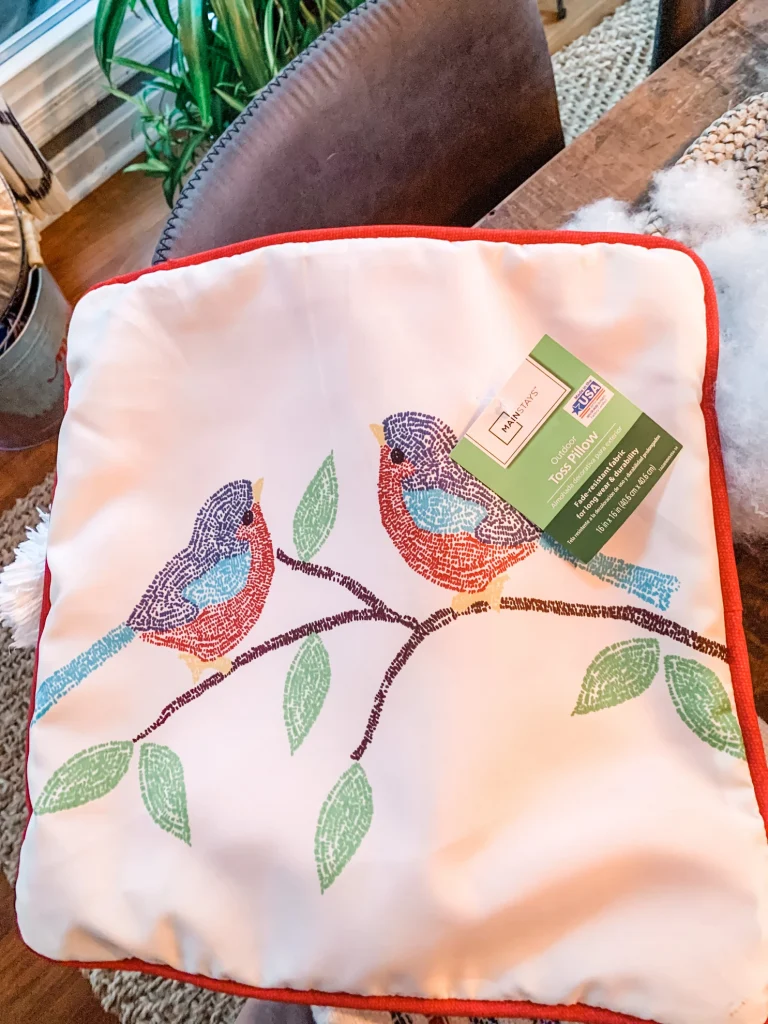
I headed to Walmart to pick up some inexpensive pillows to use, I found some with the same color red as my runner on the back and then ones with grey and white to match the other table cover.
First I took the stuffing out of the pillow, then trimmed the tassels from the runner and then began hand sewing the table runner onto the pillow cover.
I have mentioned before that I find hand stitching to be relaxing. I sat out on the deck and stitched it on 3 sides.
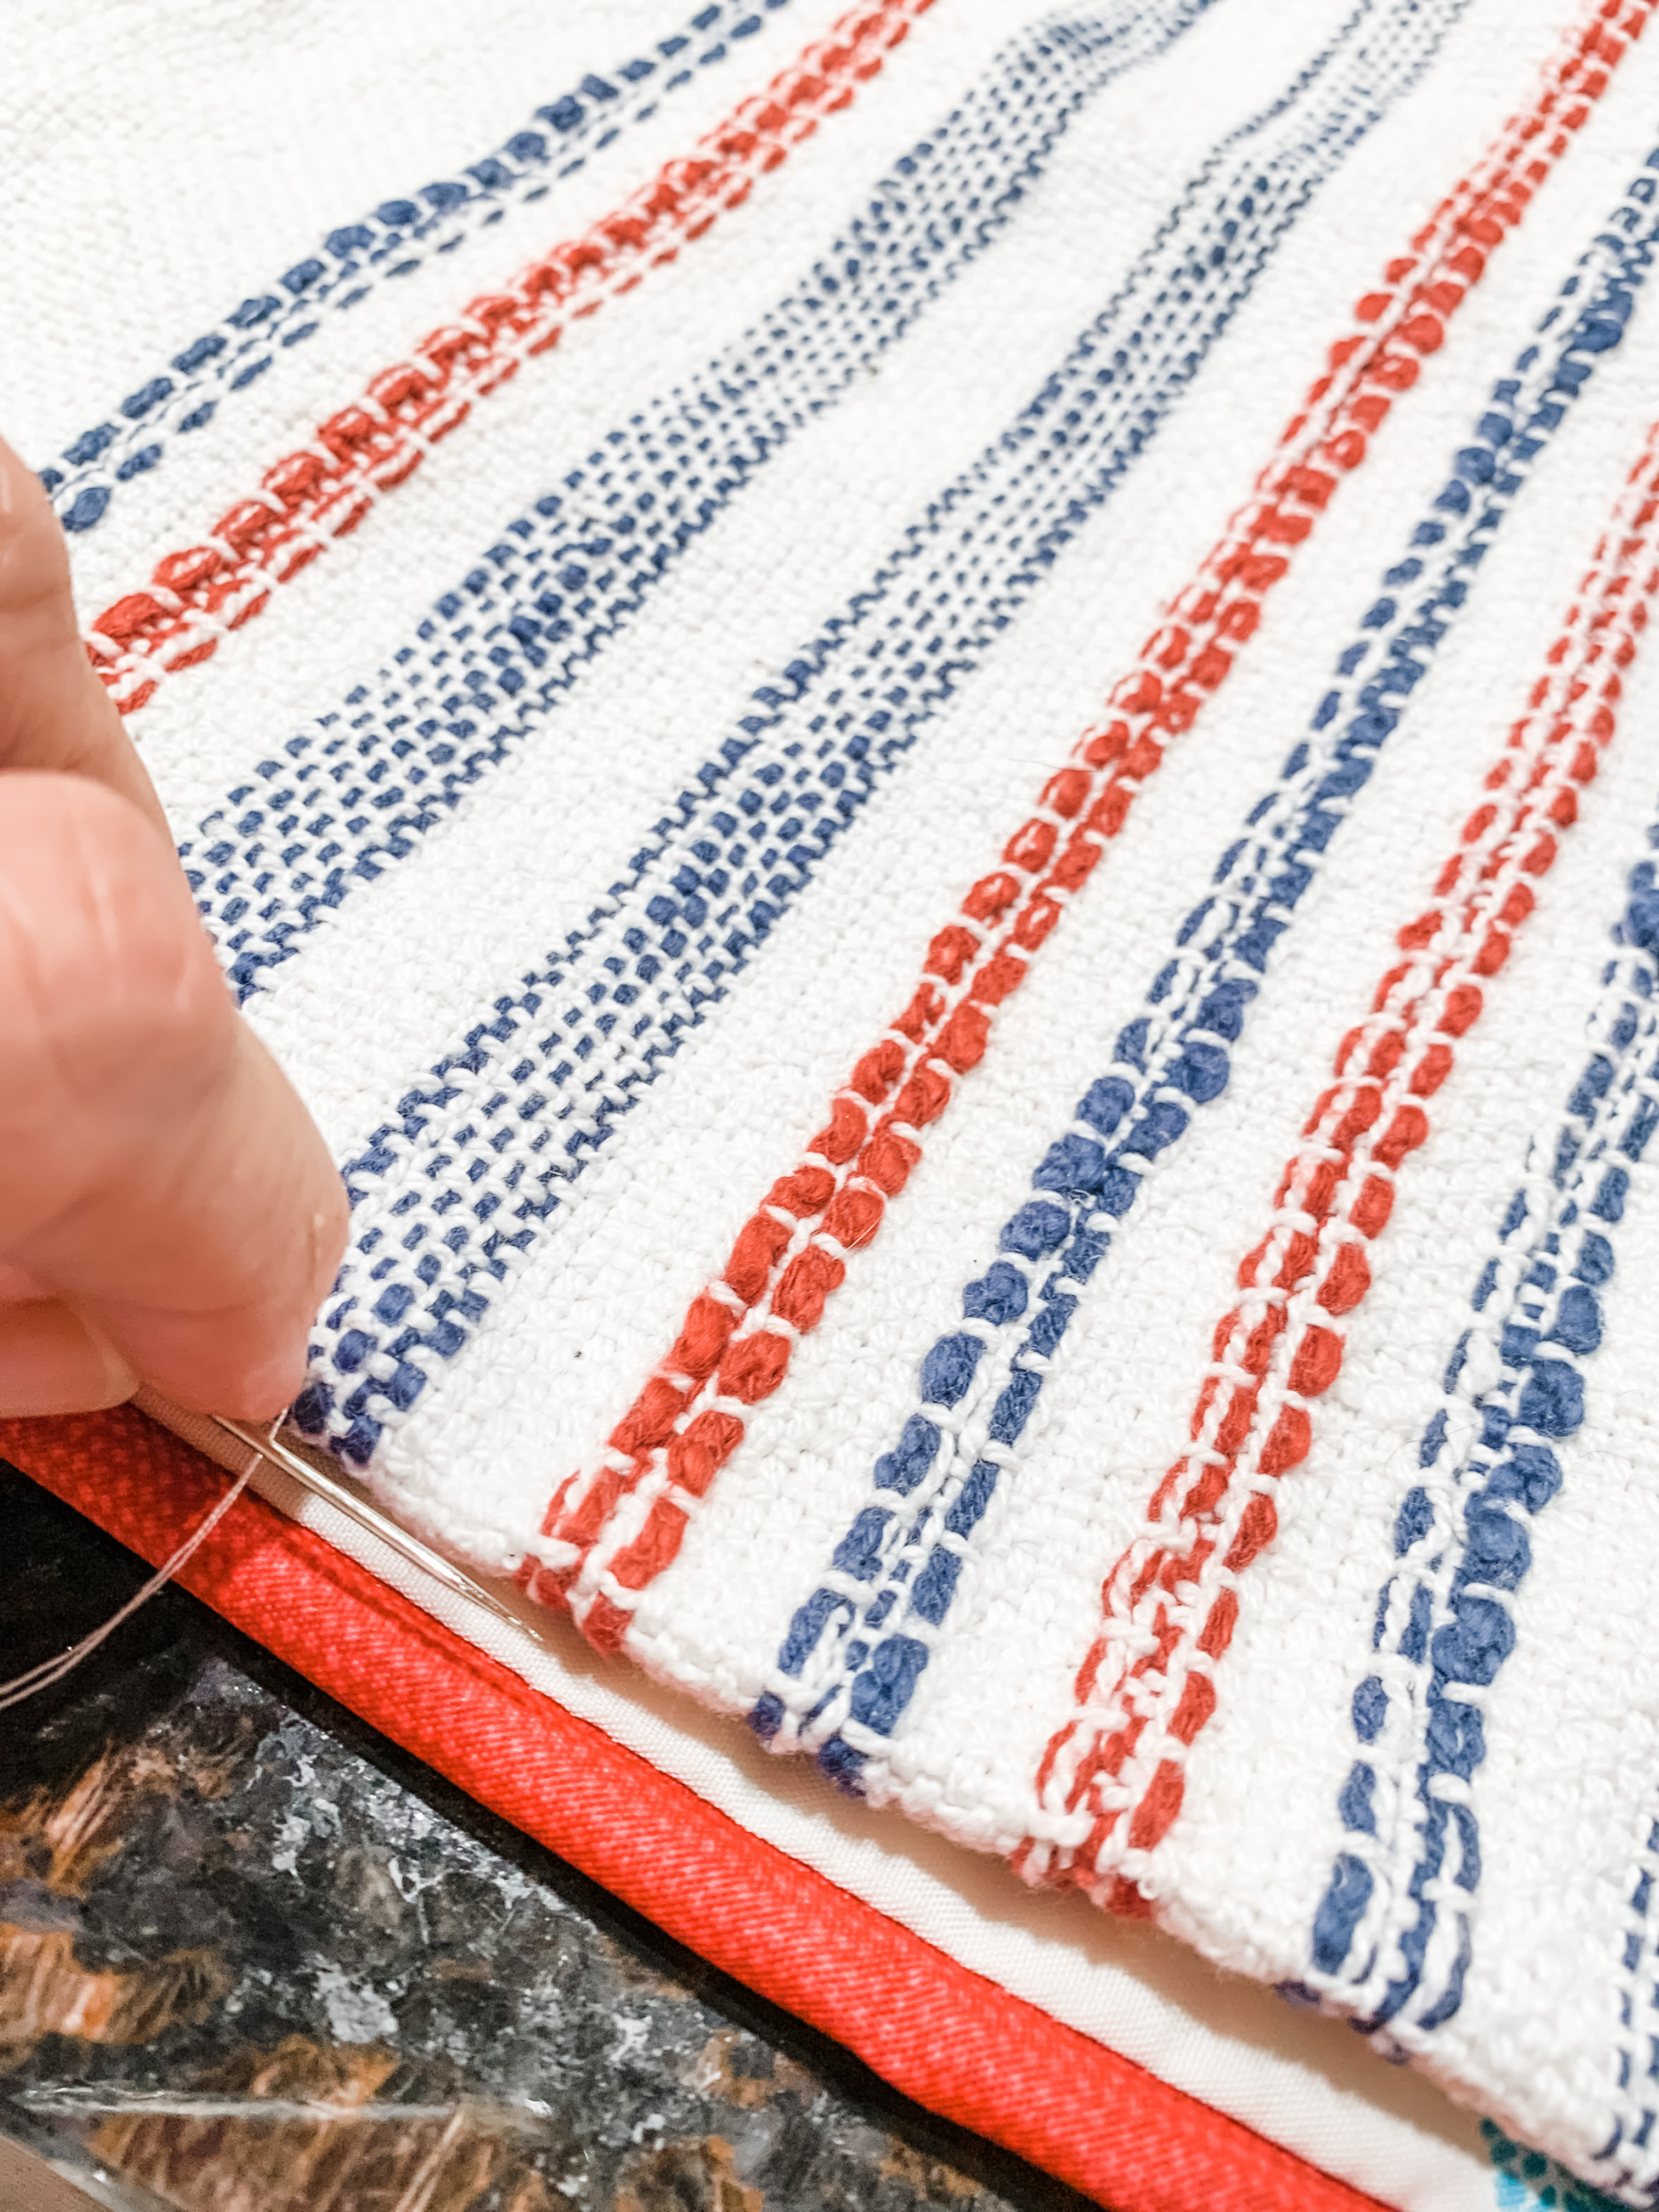
The next thing I did was cut the the runner giving myself enough material to turn it under and stitch the fourth side. Then I added the tassels.
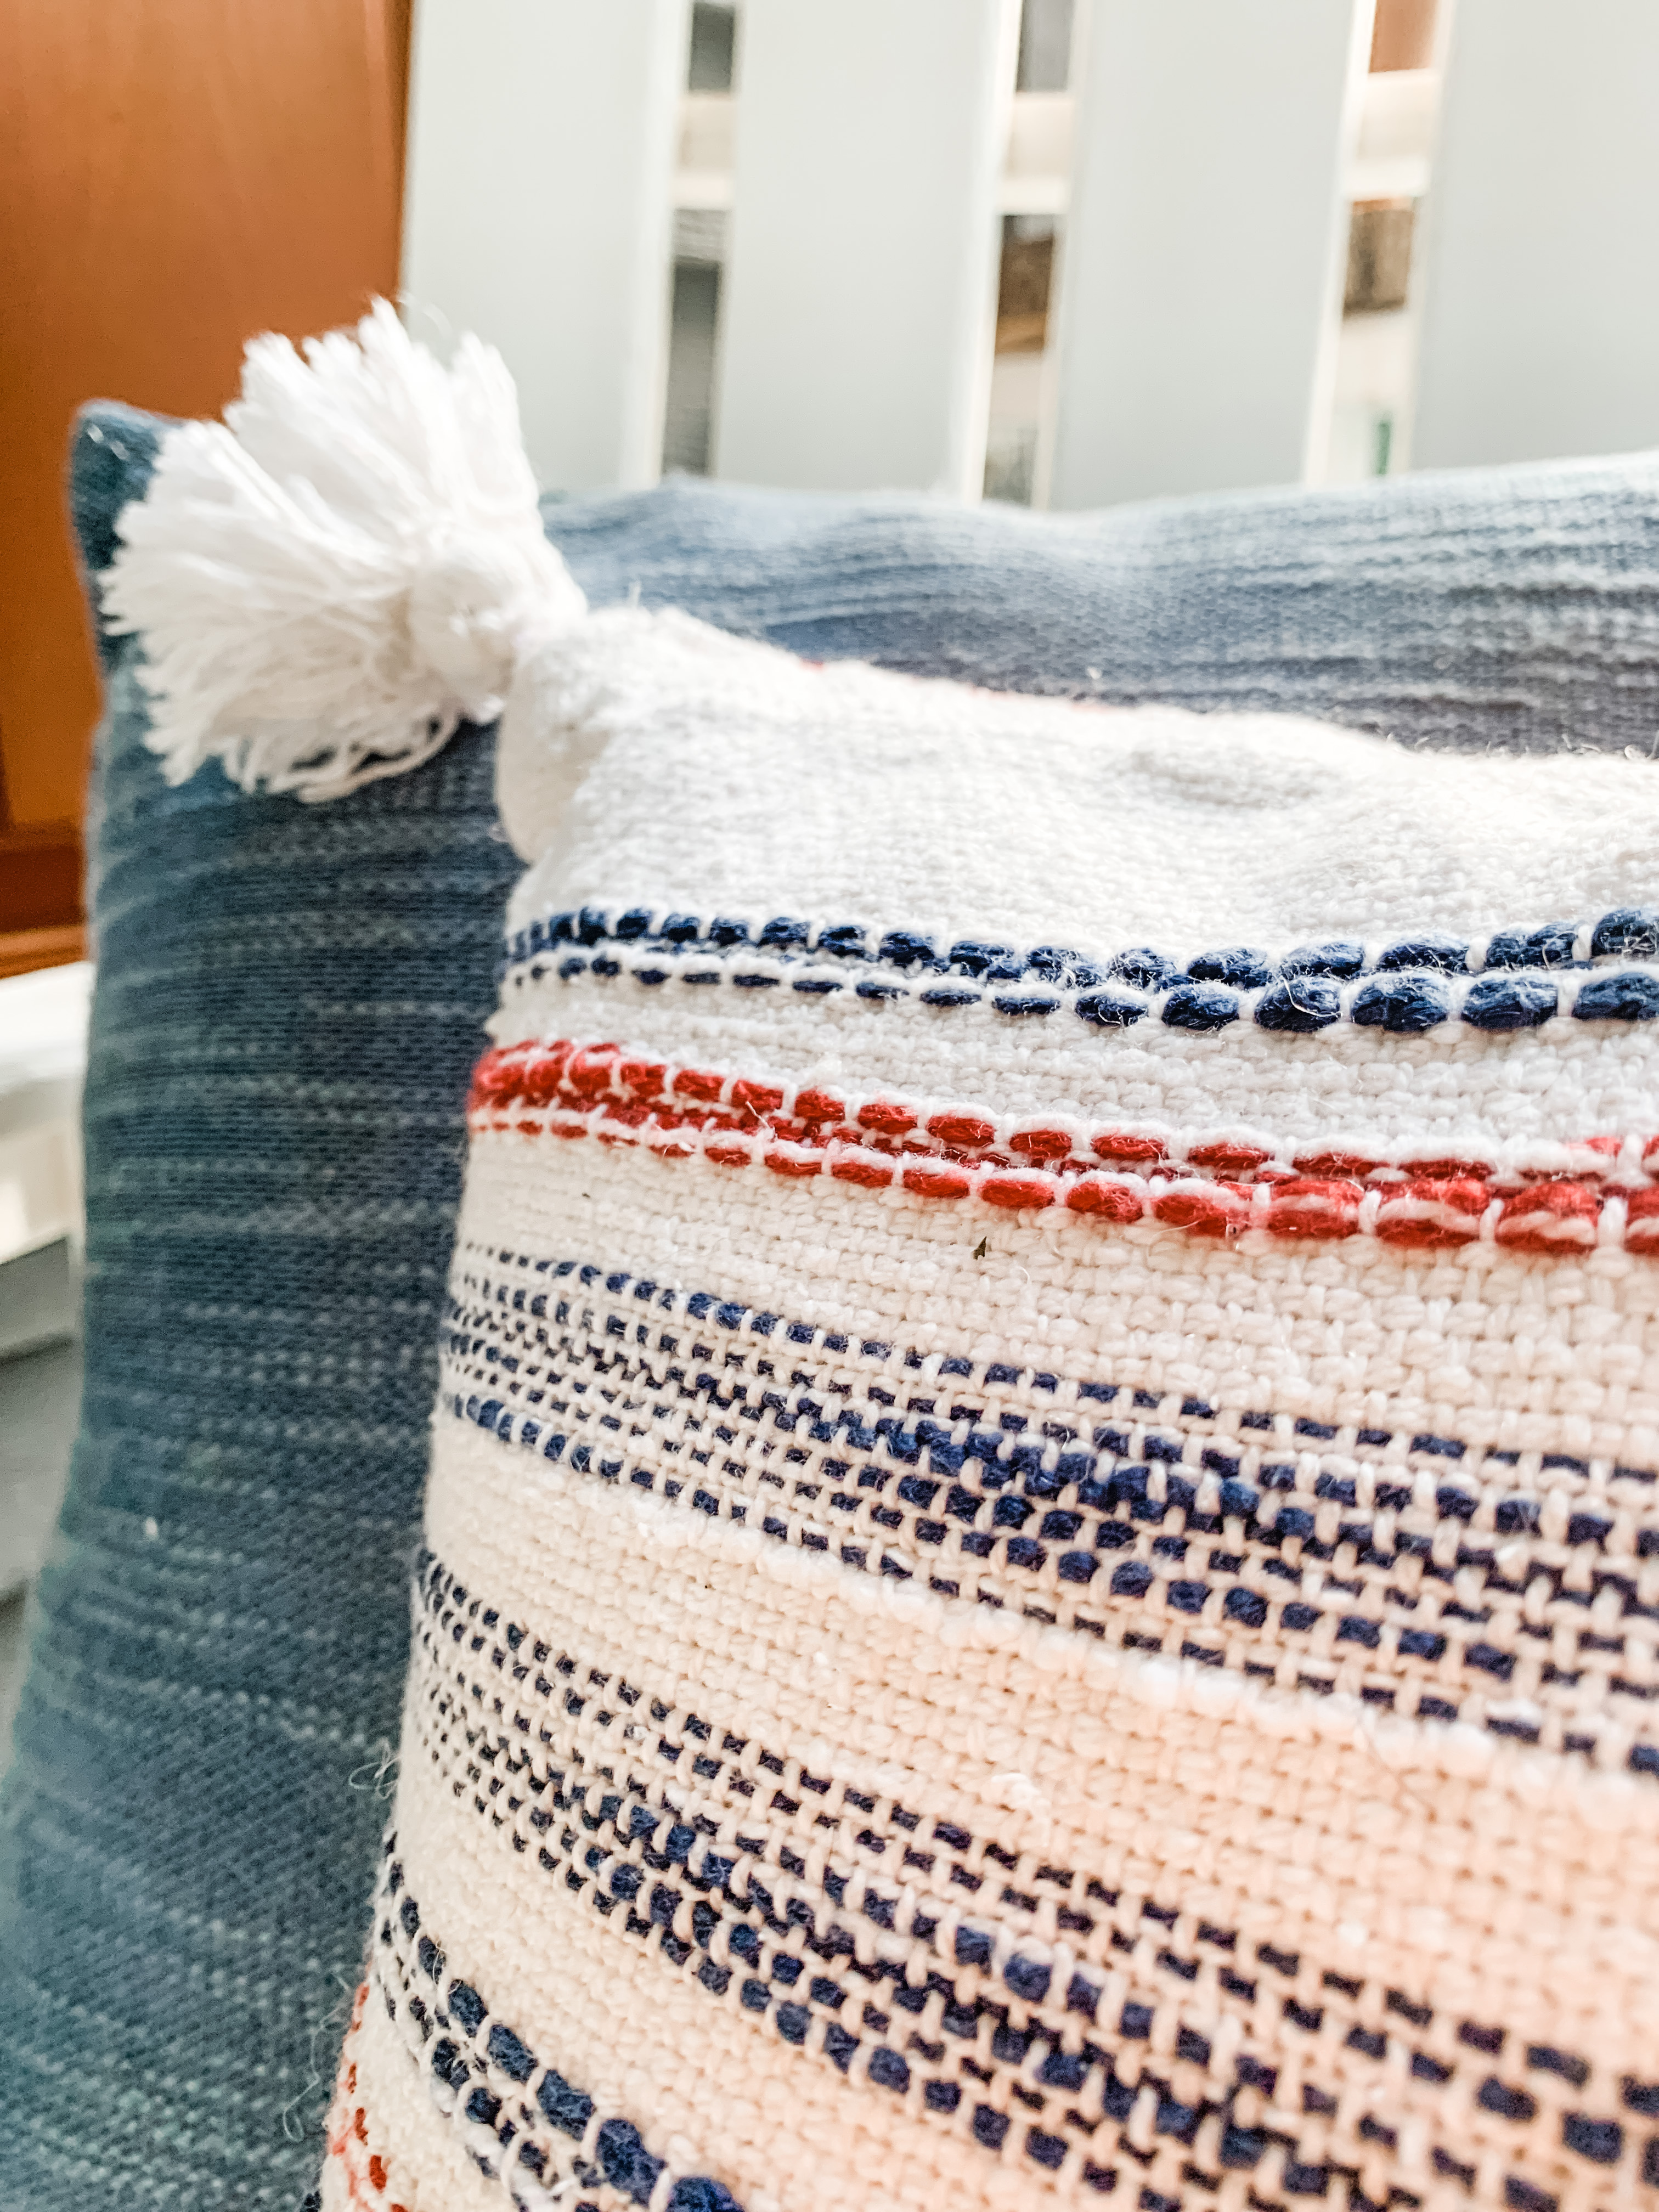
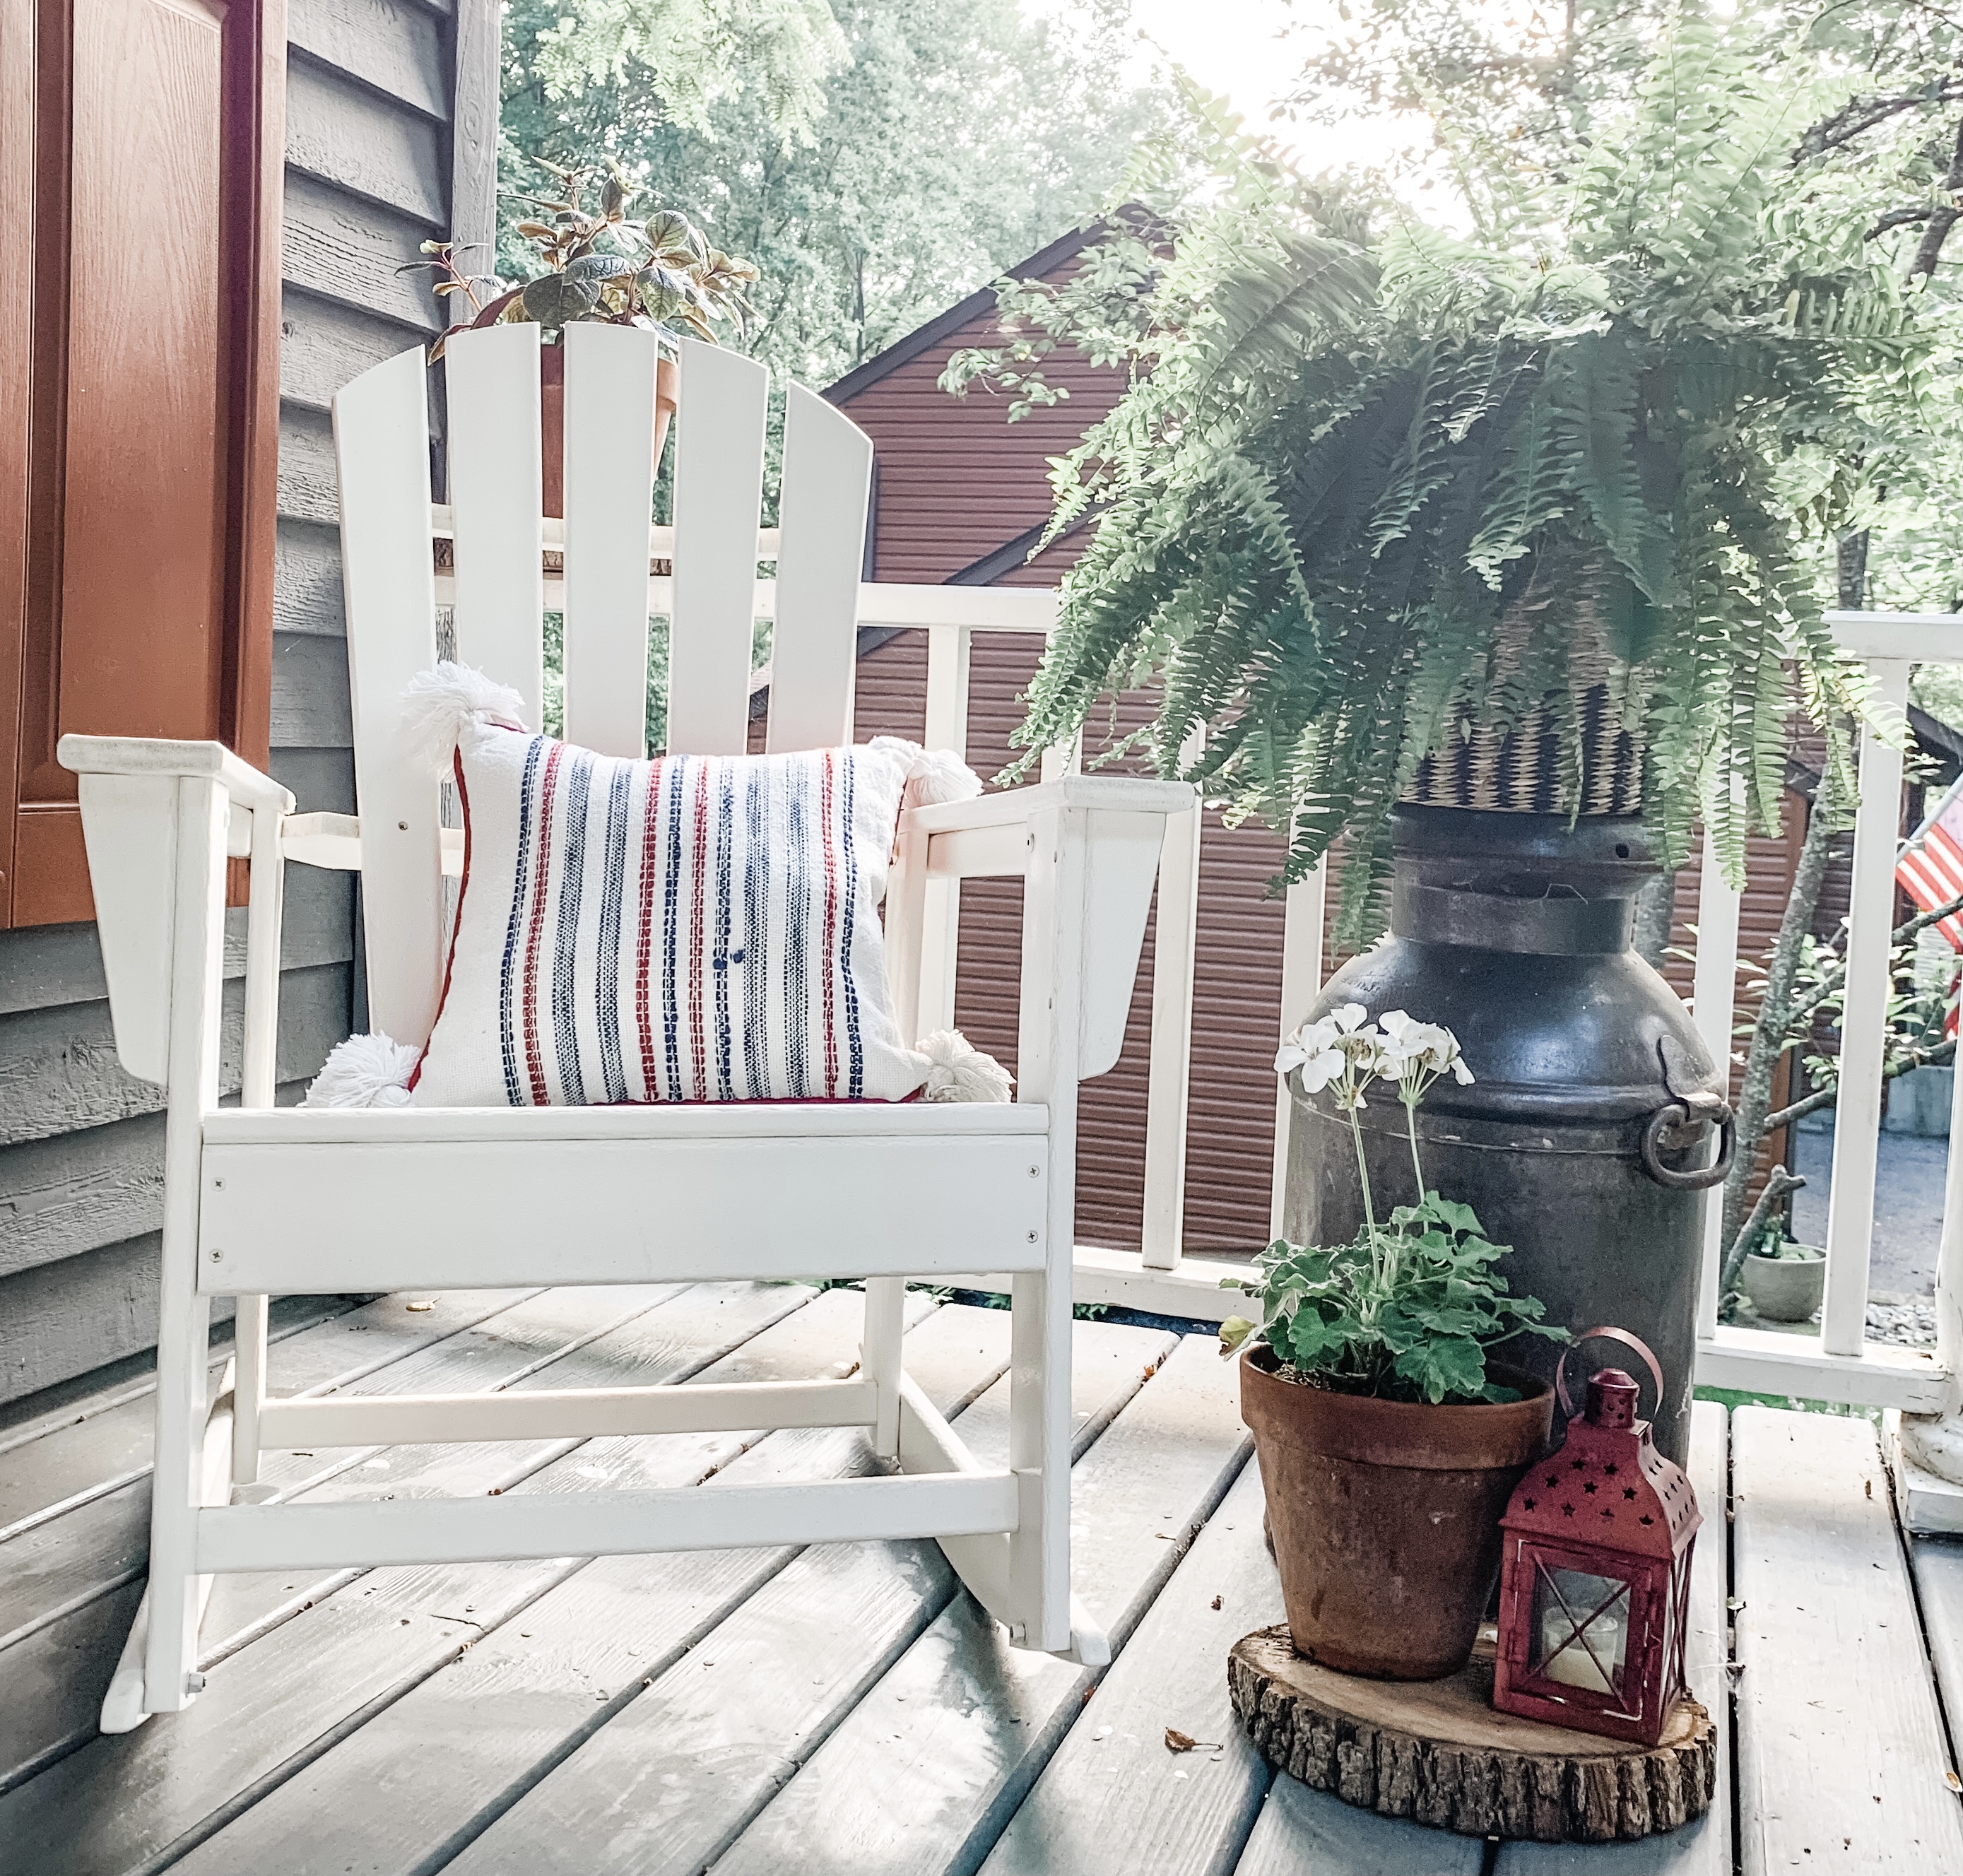
I’m happy with how it turned out. It just gives you more affordable options for pillows. Of course you could use a pillow you have that you are not crazy about and cover the entire thing. Then you could do it on the sewing machine. I liked this way because I still can see the piping of the pillow I covered.
What do you think?
I finished it just in time for the July 4th. But remember my house is blue with reddish shutters so it will work all the time out on the porch.
Now to to the one for the living room!
Supplies:
Inexpensive pillow (Think Walmart)
Table runner (Think HomeGoods or Marshall’s)
Needle and thread
Yarn if you want to make your own tassels – This will live outside because I could see the tassels being appealing to Dempsey.
Yarn if you want to make your own tassels – This will live outside because I could see the tassels being appealing to Dempsey.
I hope you enjoyed the DIY Pillow Hack. If you did, please comment or share, this is how I will grow my blog. Thanks in advance!
XO, Regina


Leave a Reply