Do you get excited creating menus for your gatherings and events? Do you like using vintage items in your decor or tablescapes?
If you answered yes (in your head) this is a post for you.
Even if you buy ready made items for a meal, you can still elevate your event by creating a printed version of a menu and place in an old frame or the one I’m sharing today.
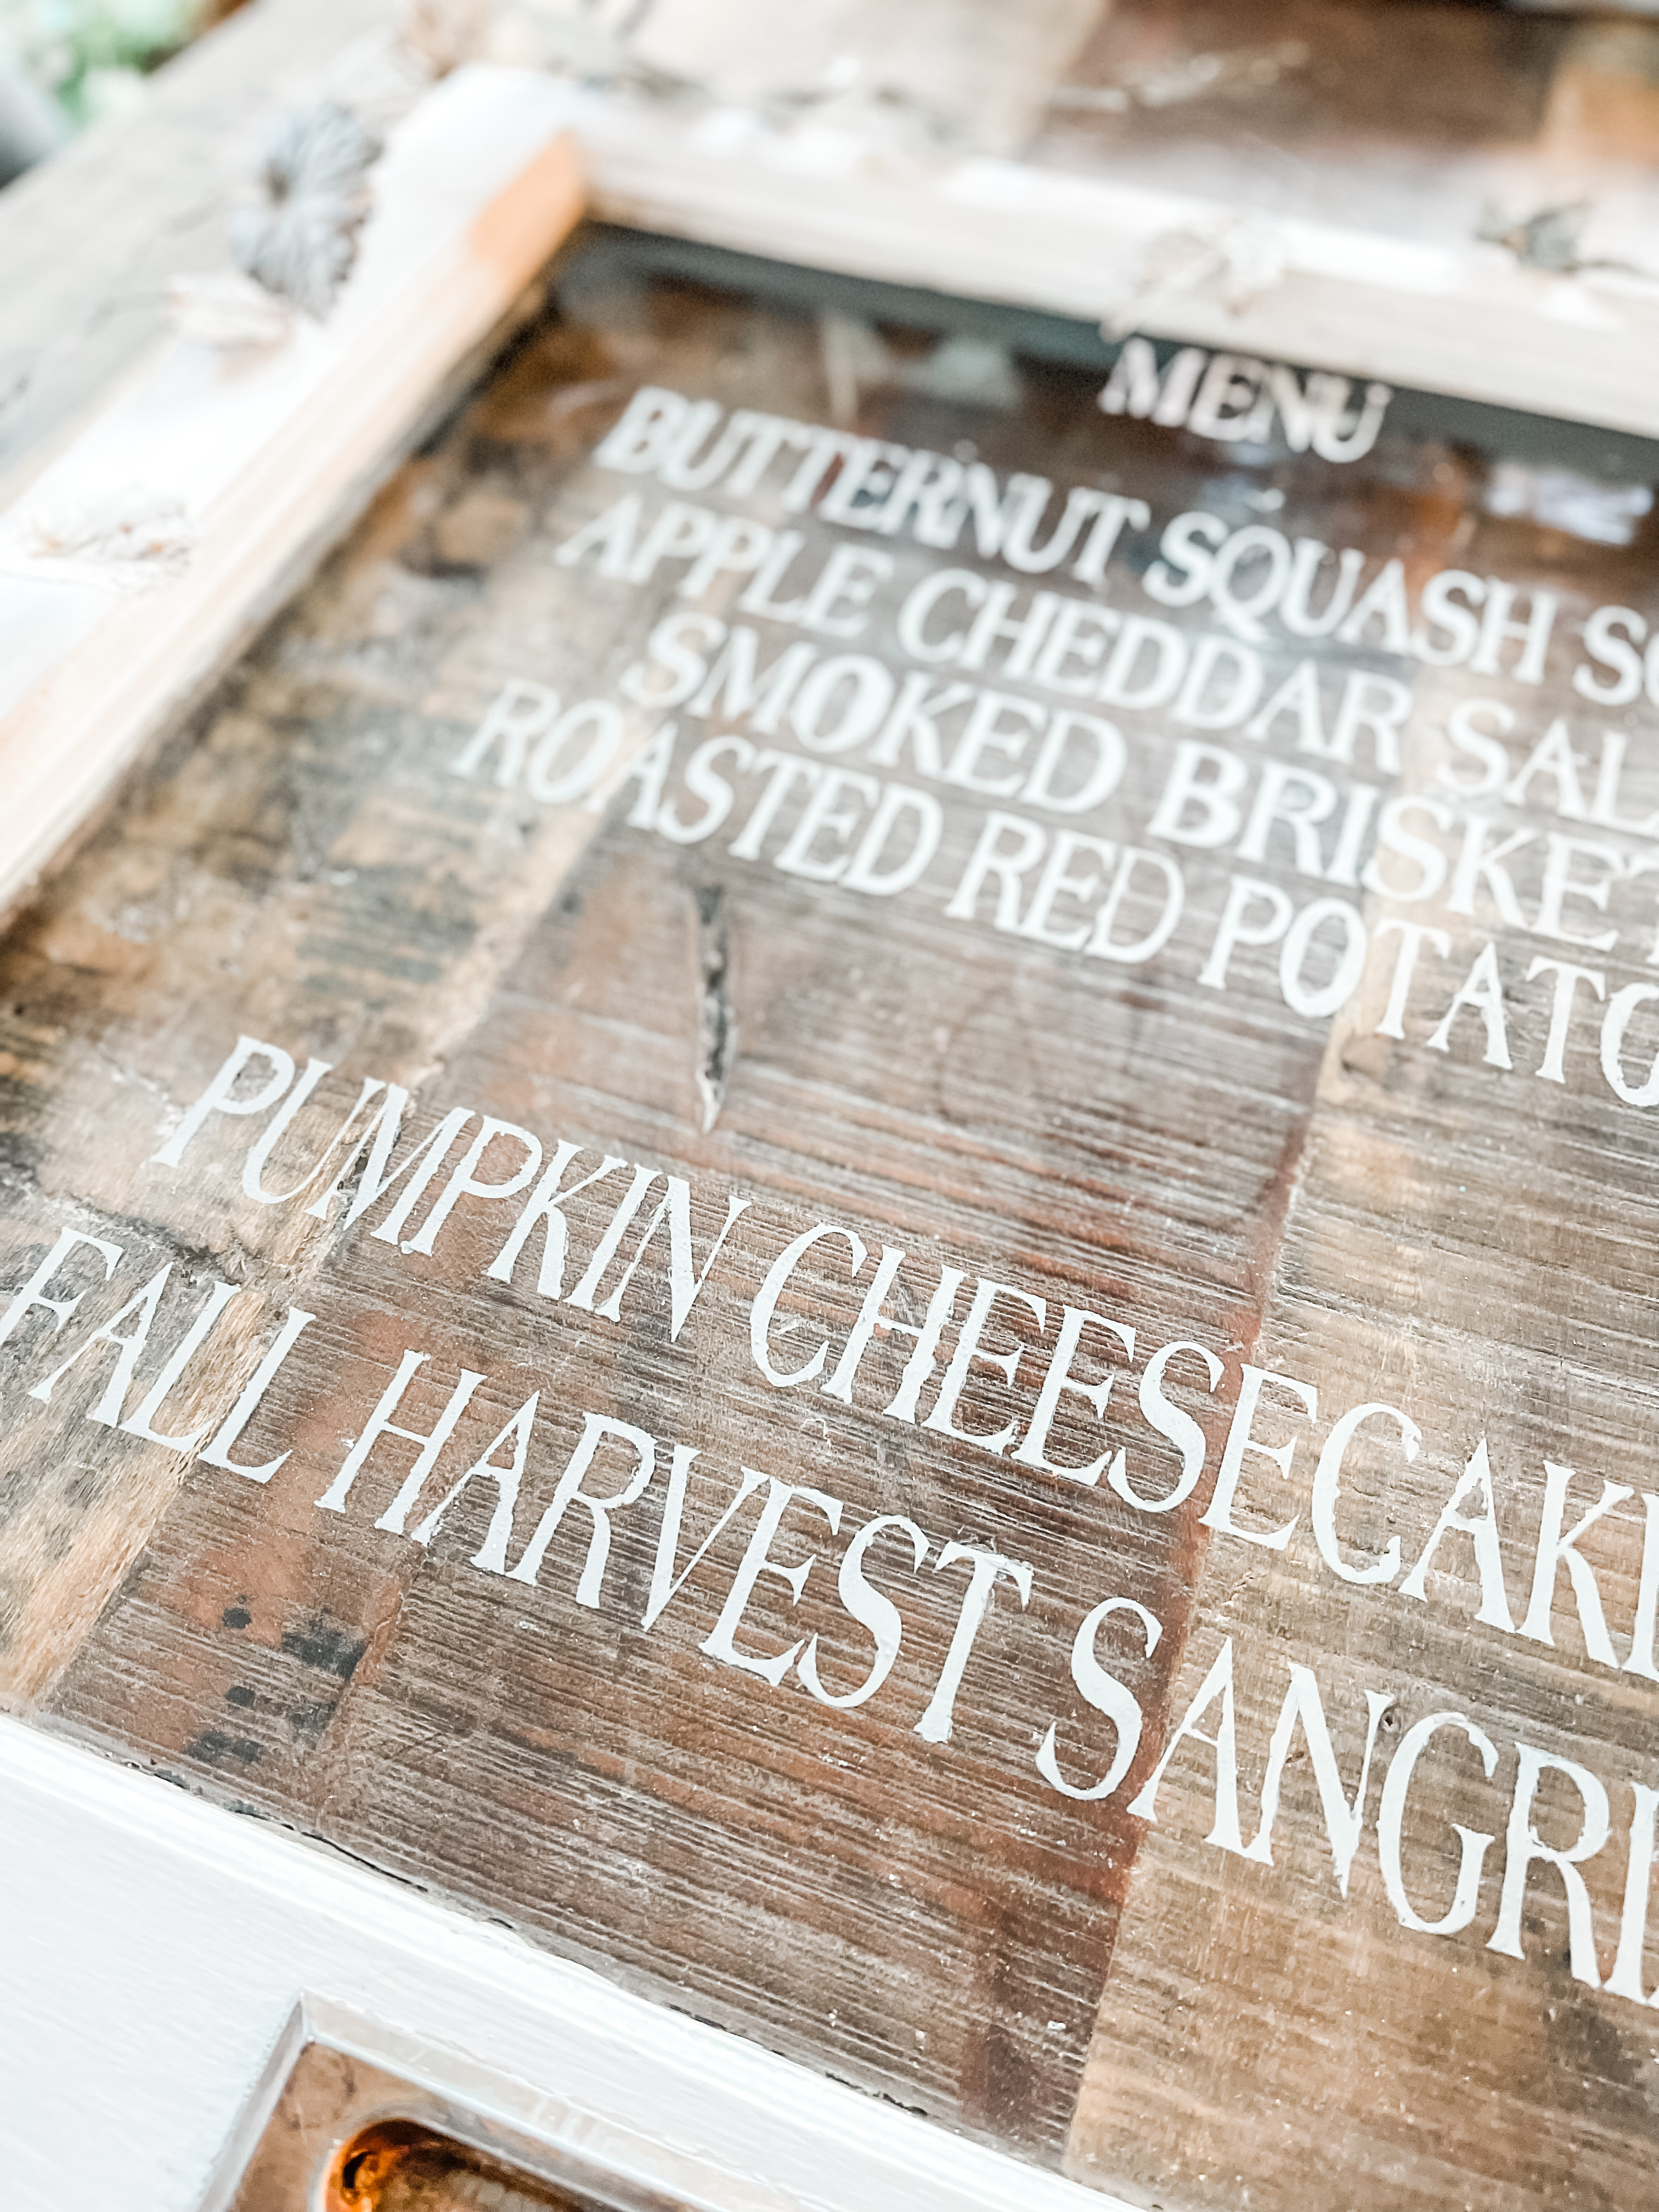
It’s the little touches at events whether it be a luncheon, brunch, dinner for four or a larger gathering around the holidays.
A way to show you care and want them to feel special is to take time to do the little things.
For my menus, normally I print them and place them in frames or on a stand. I create signs or labels at a buffet or sideboard. It gives me a chance to be creative and gives everyone else a chance to know what they are eating.
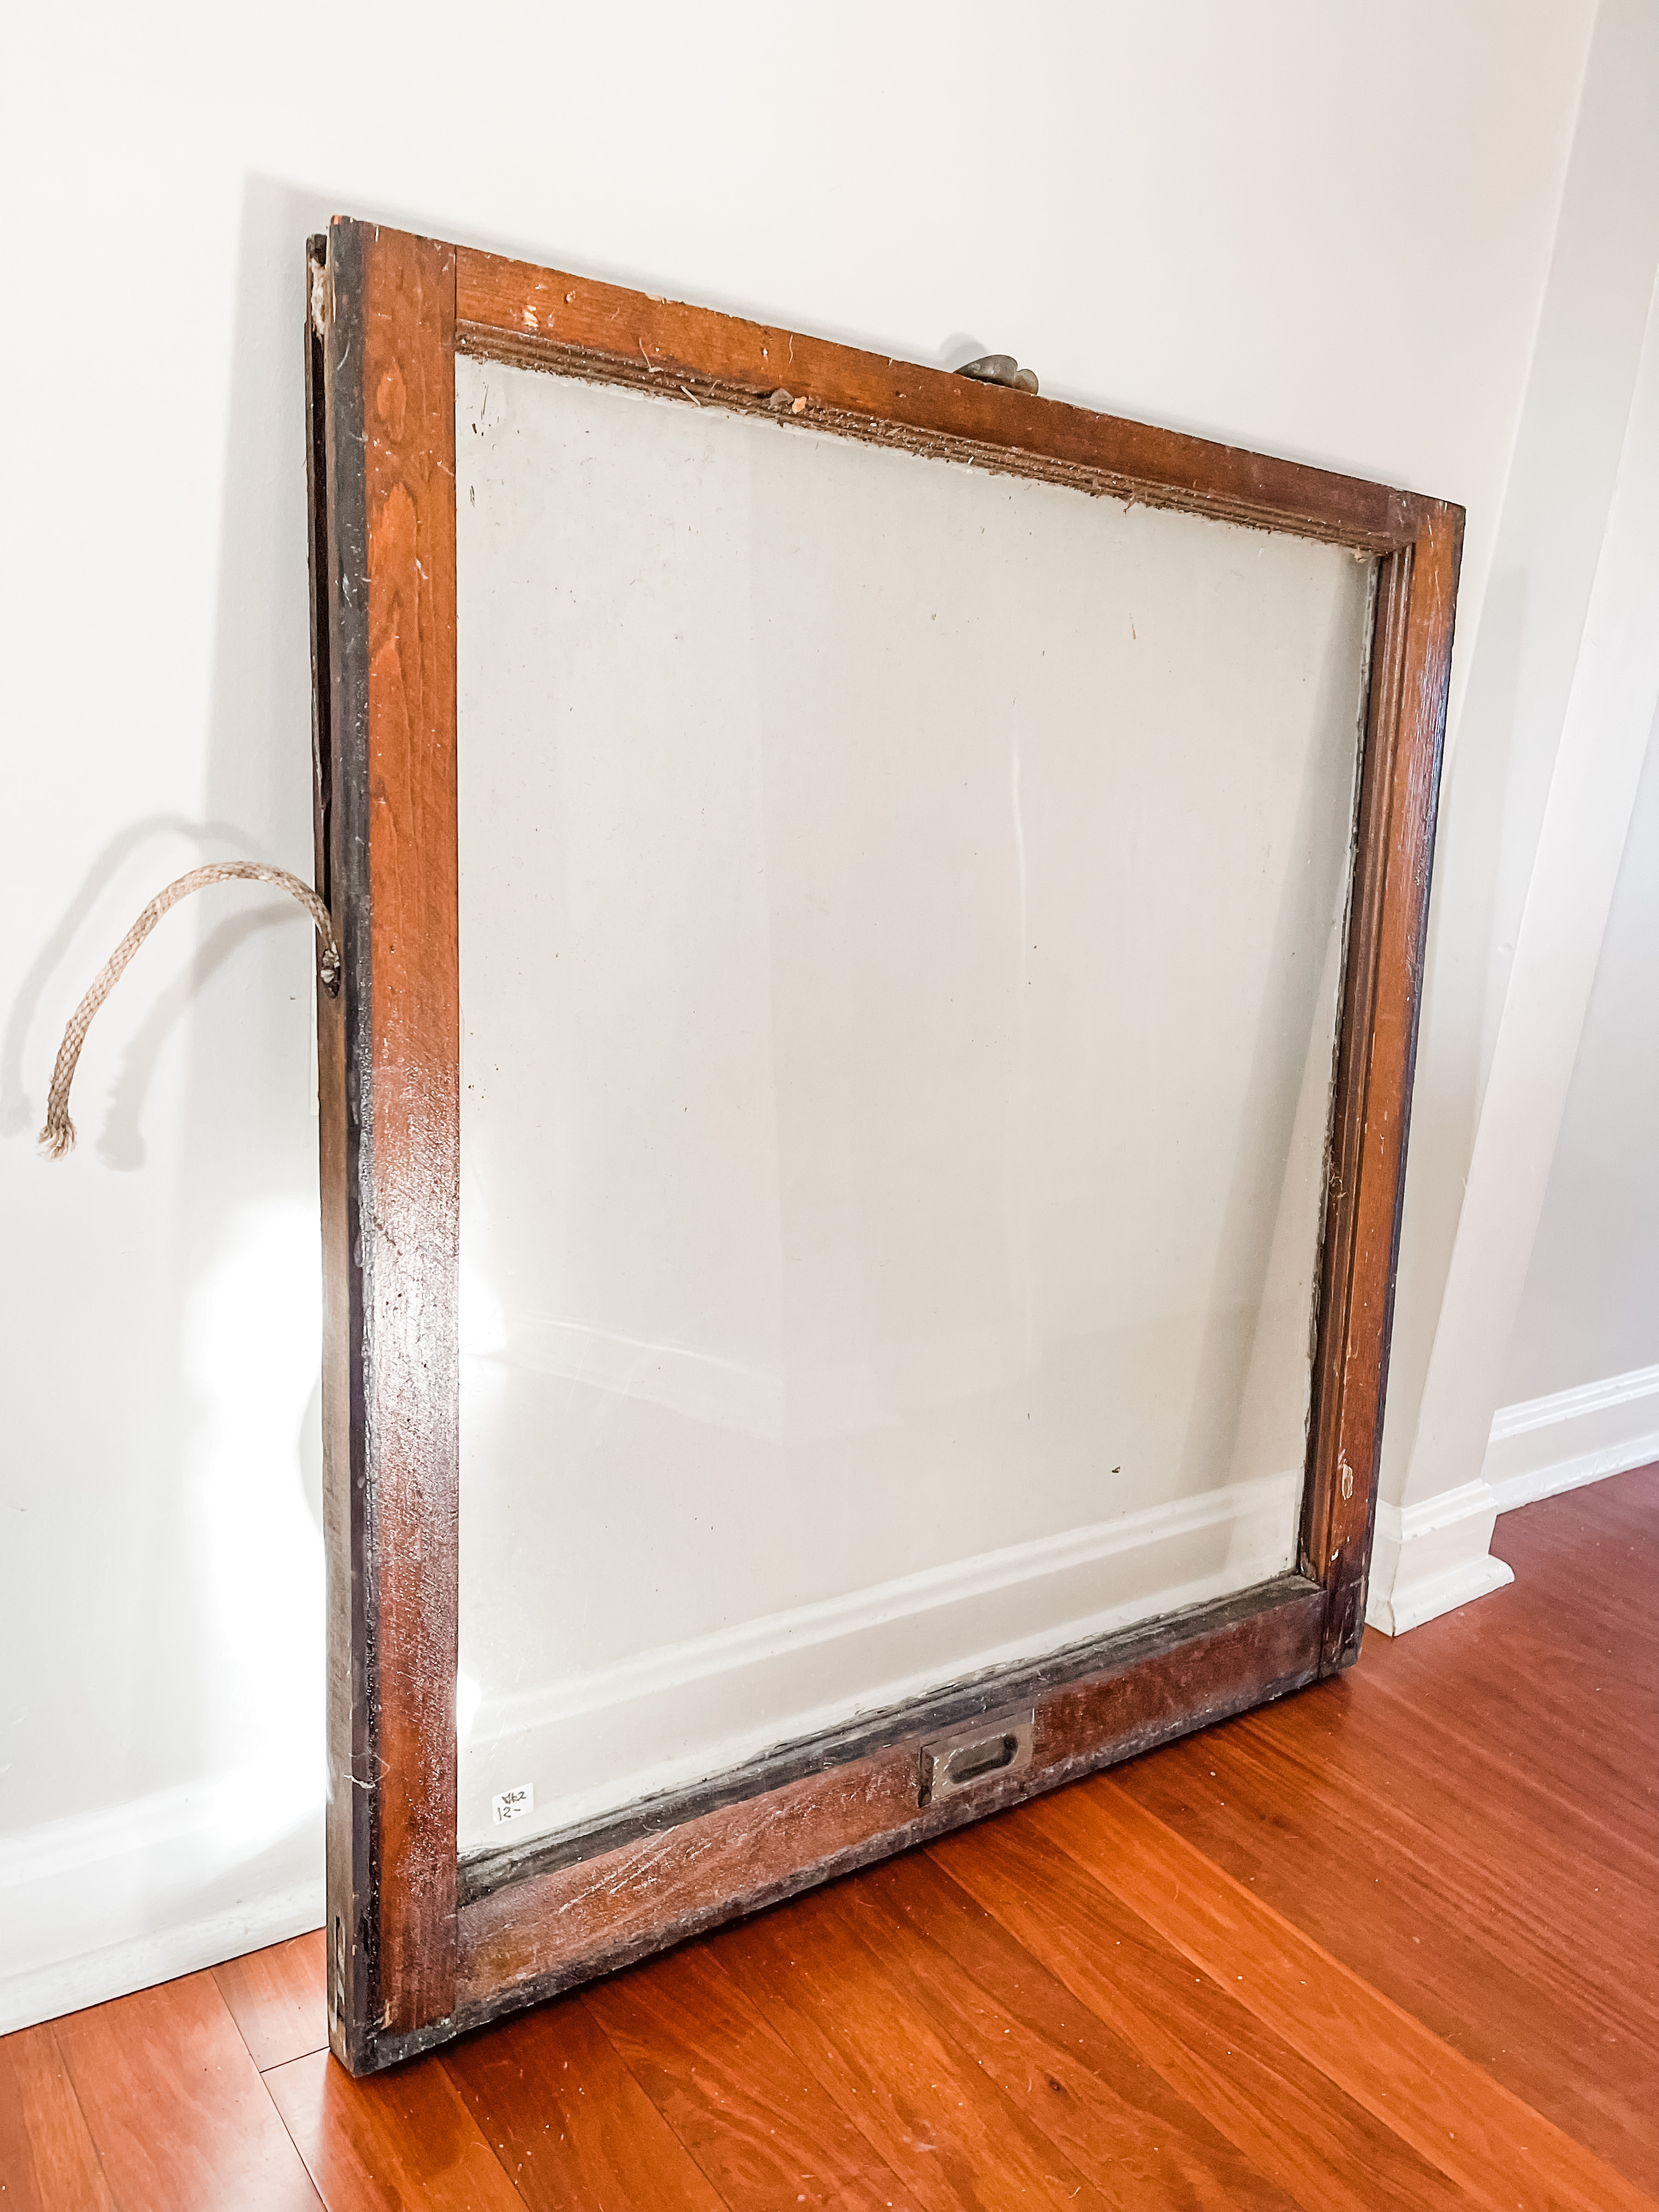
I found two vintage windows at Garden Gatherings, a shop at the Old Lucketts store in Leesburg, Virginia a few months ago. I have a thing for old windows and shutters. If you love vintage – and plants you need to head there.
(not sponsored – just love it there!)
I have them in several rooms in my home. I love that they are unique, no one else will have the same chippy or rustic decor in their home.
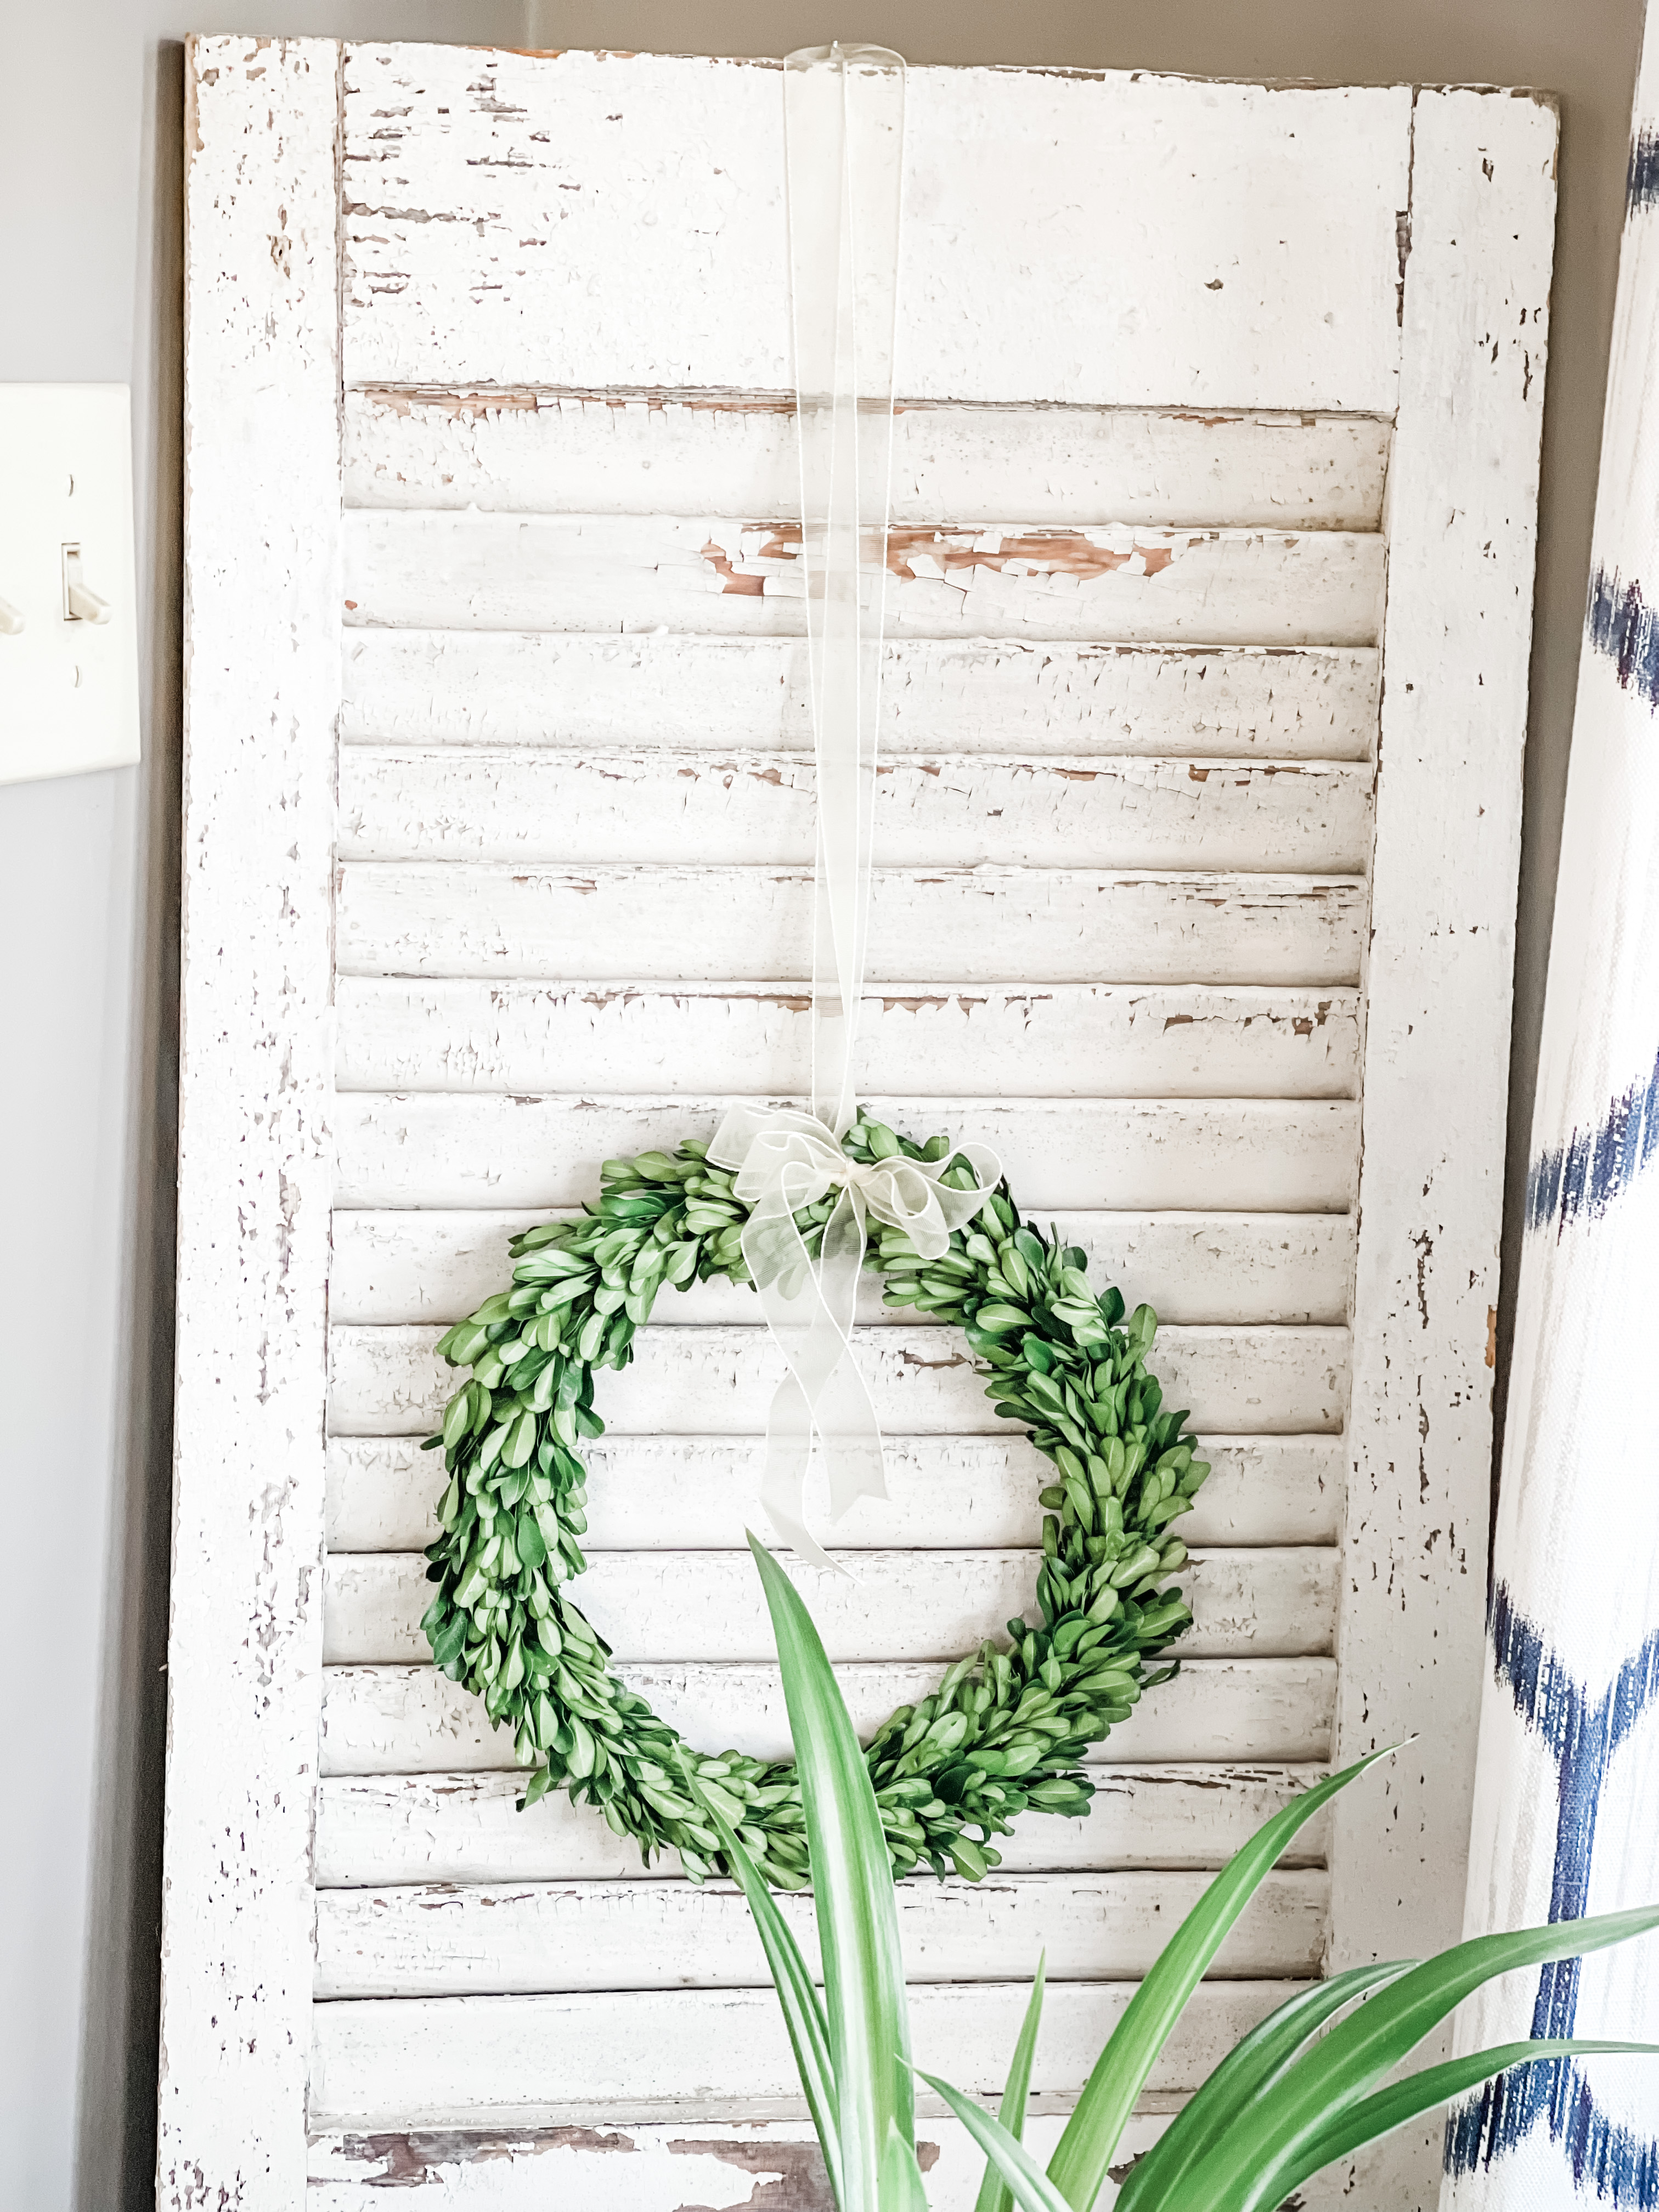
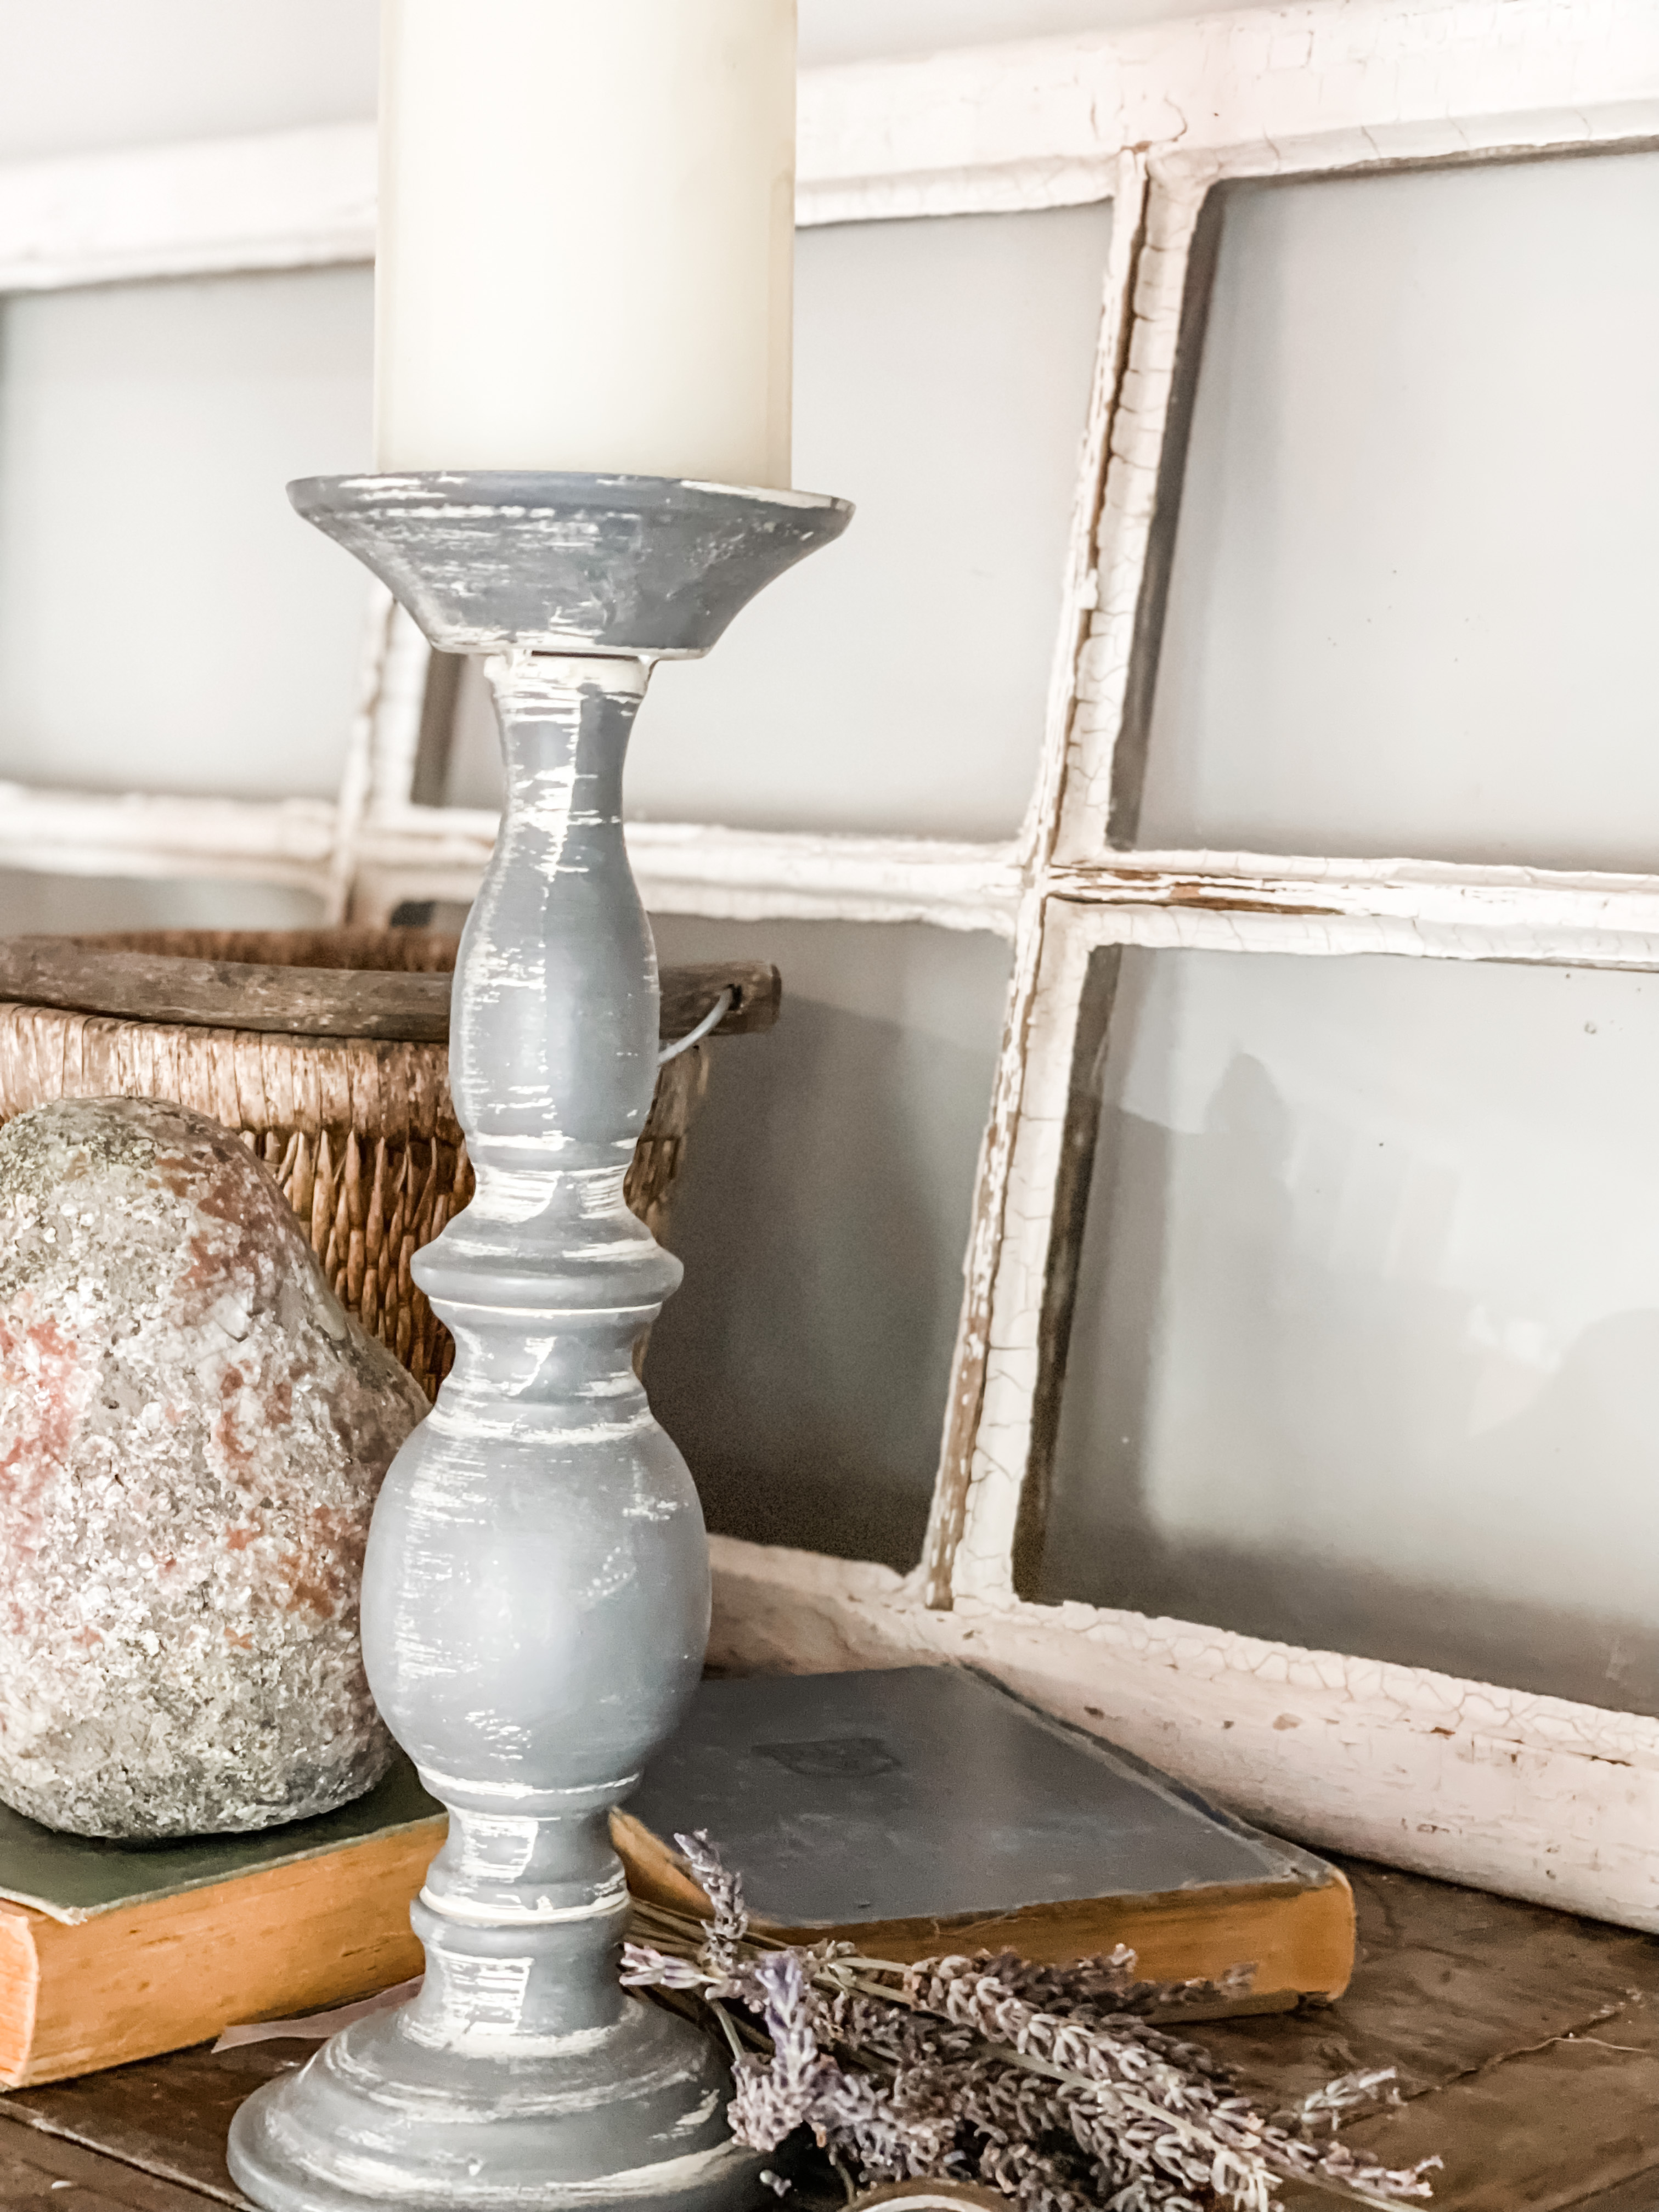
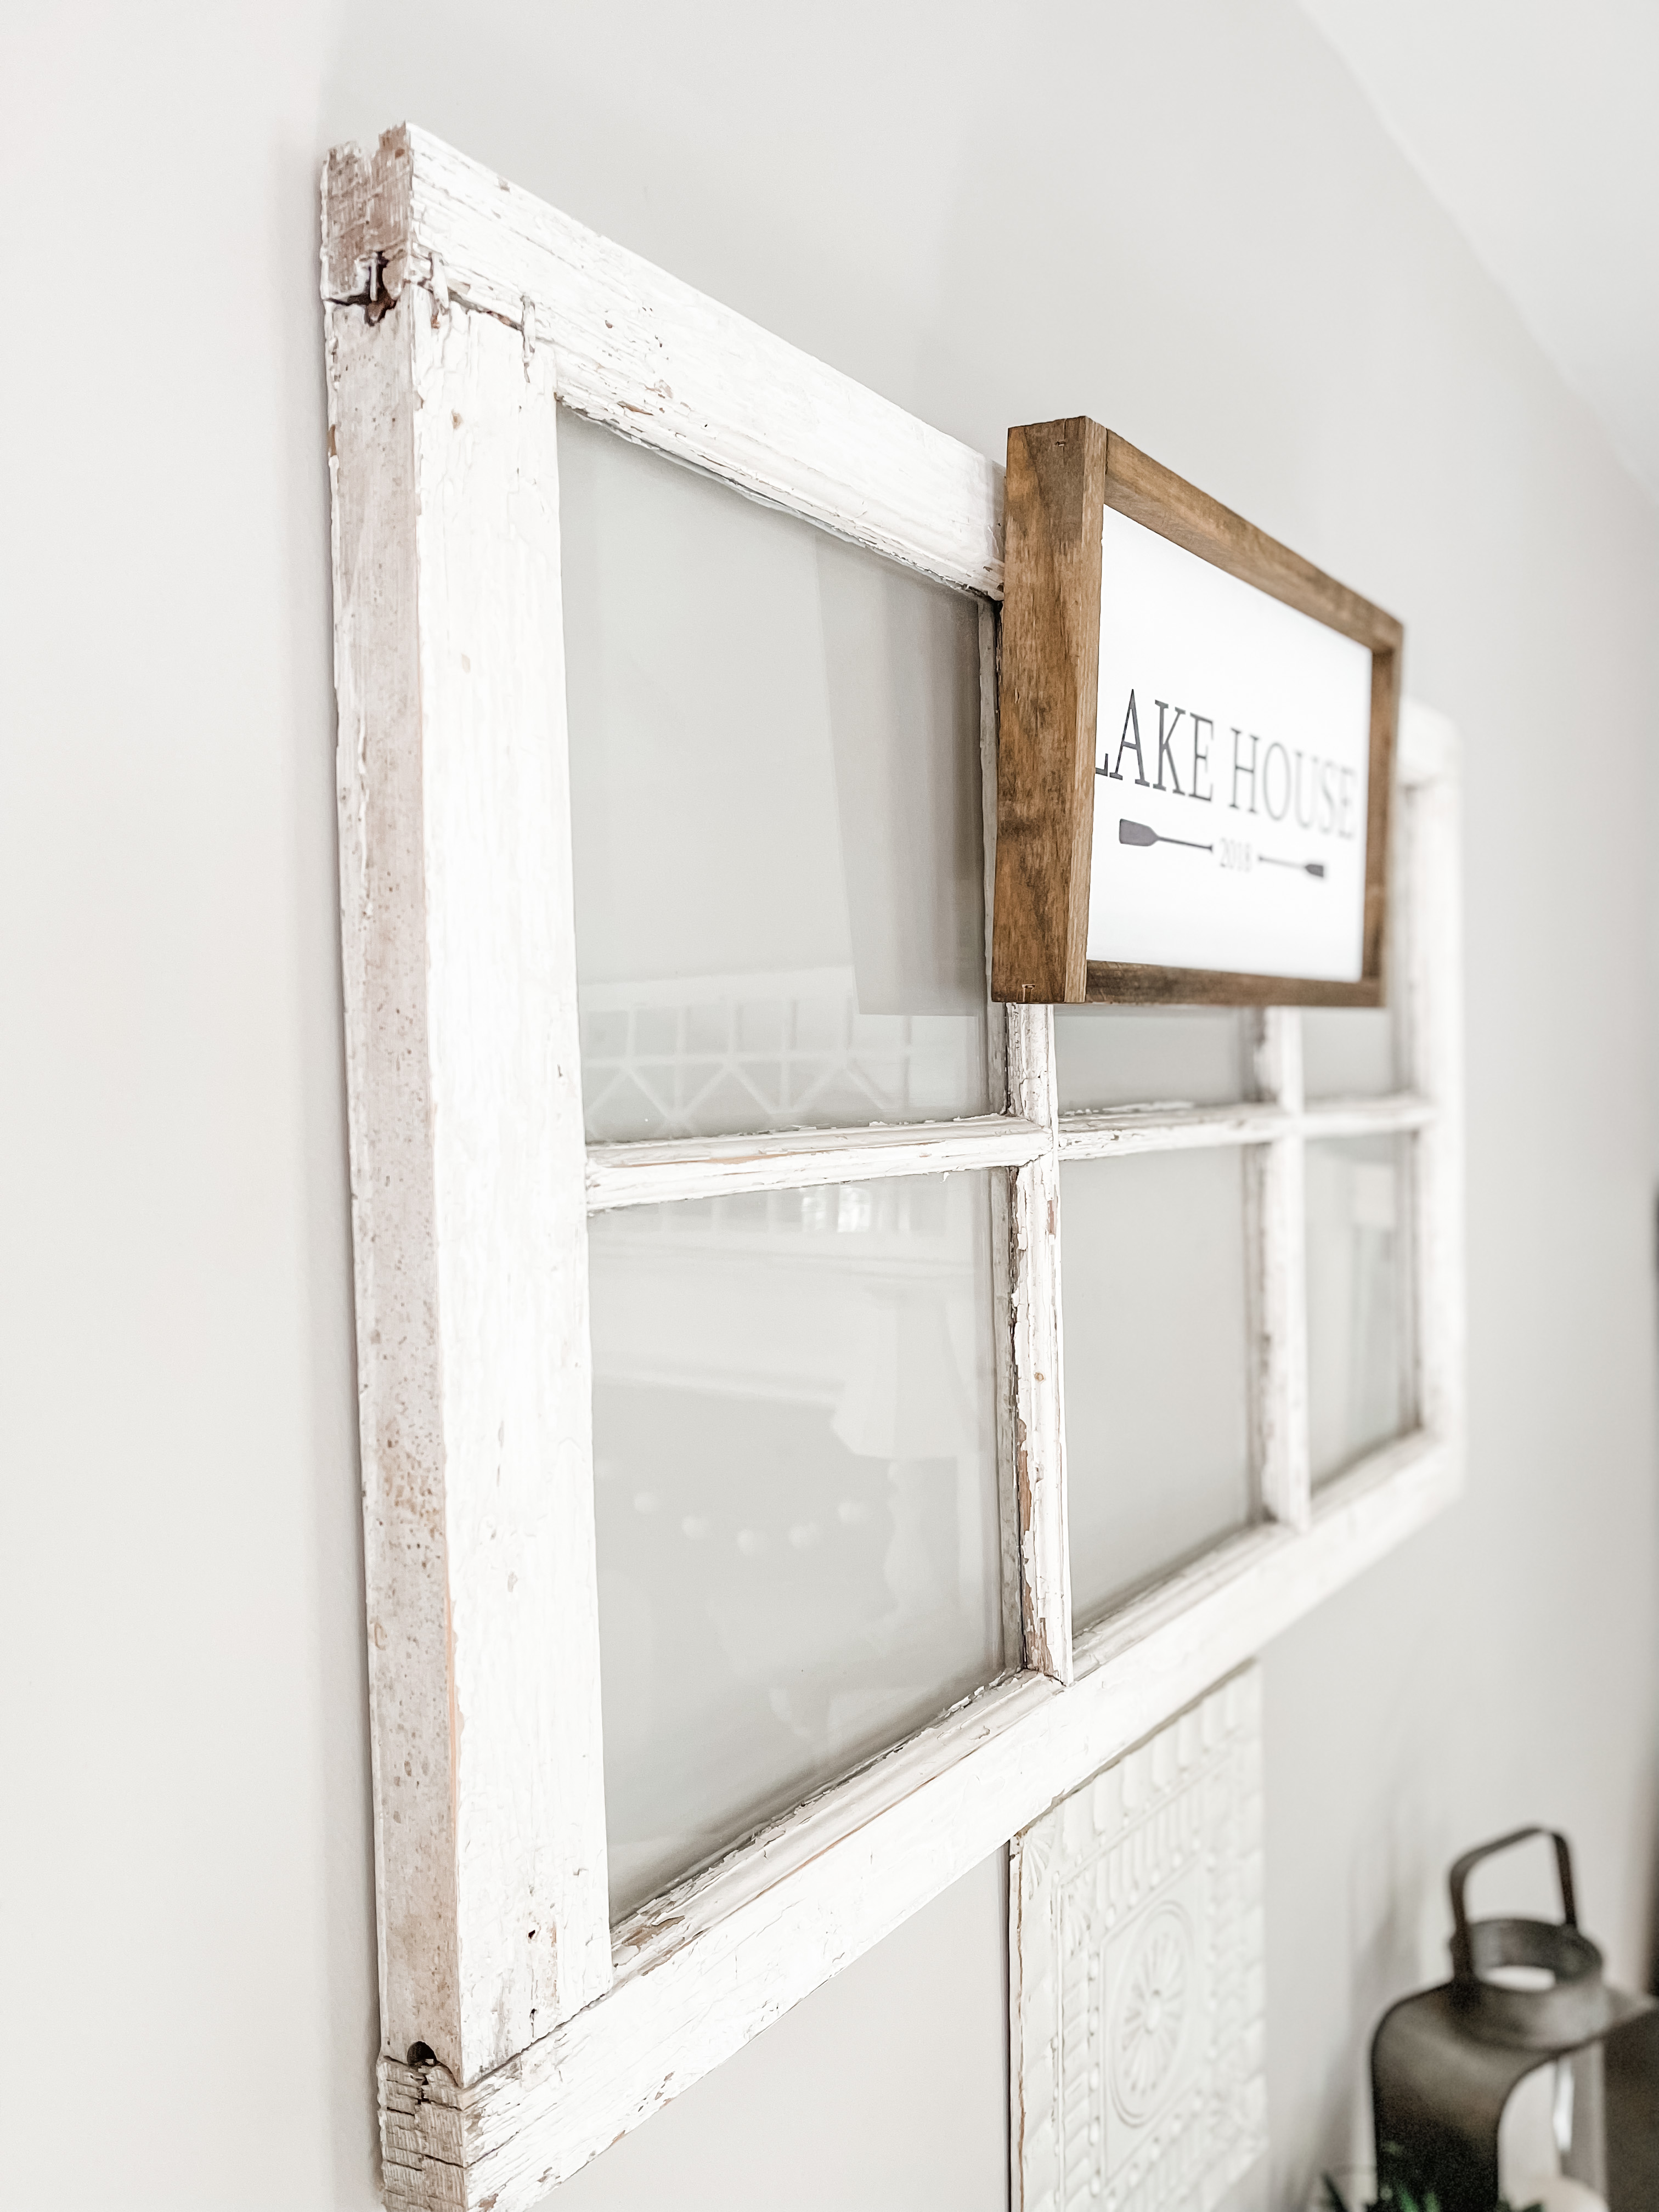
Just think about their story, what home they were made for, who looked out those windows or pulled those shutters closed during a storm.
Today I’m sharing how I created a menu using one of my vintage windows for a fall gathering. It would also be perfect for Thanksgiving or Christmas.

The good news about sharing is that I’ve already done it and I can share tips with you in case you want to give it a try. I’ve not learned the cursive hand lettering technique you see, so this was my next best idea.
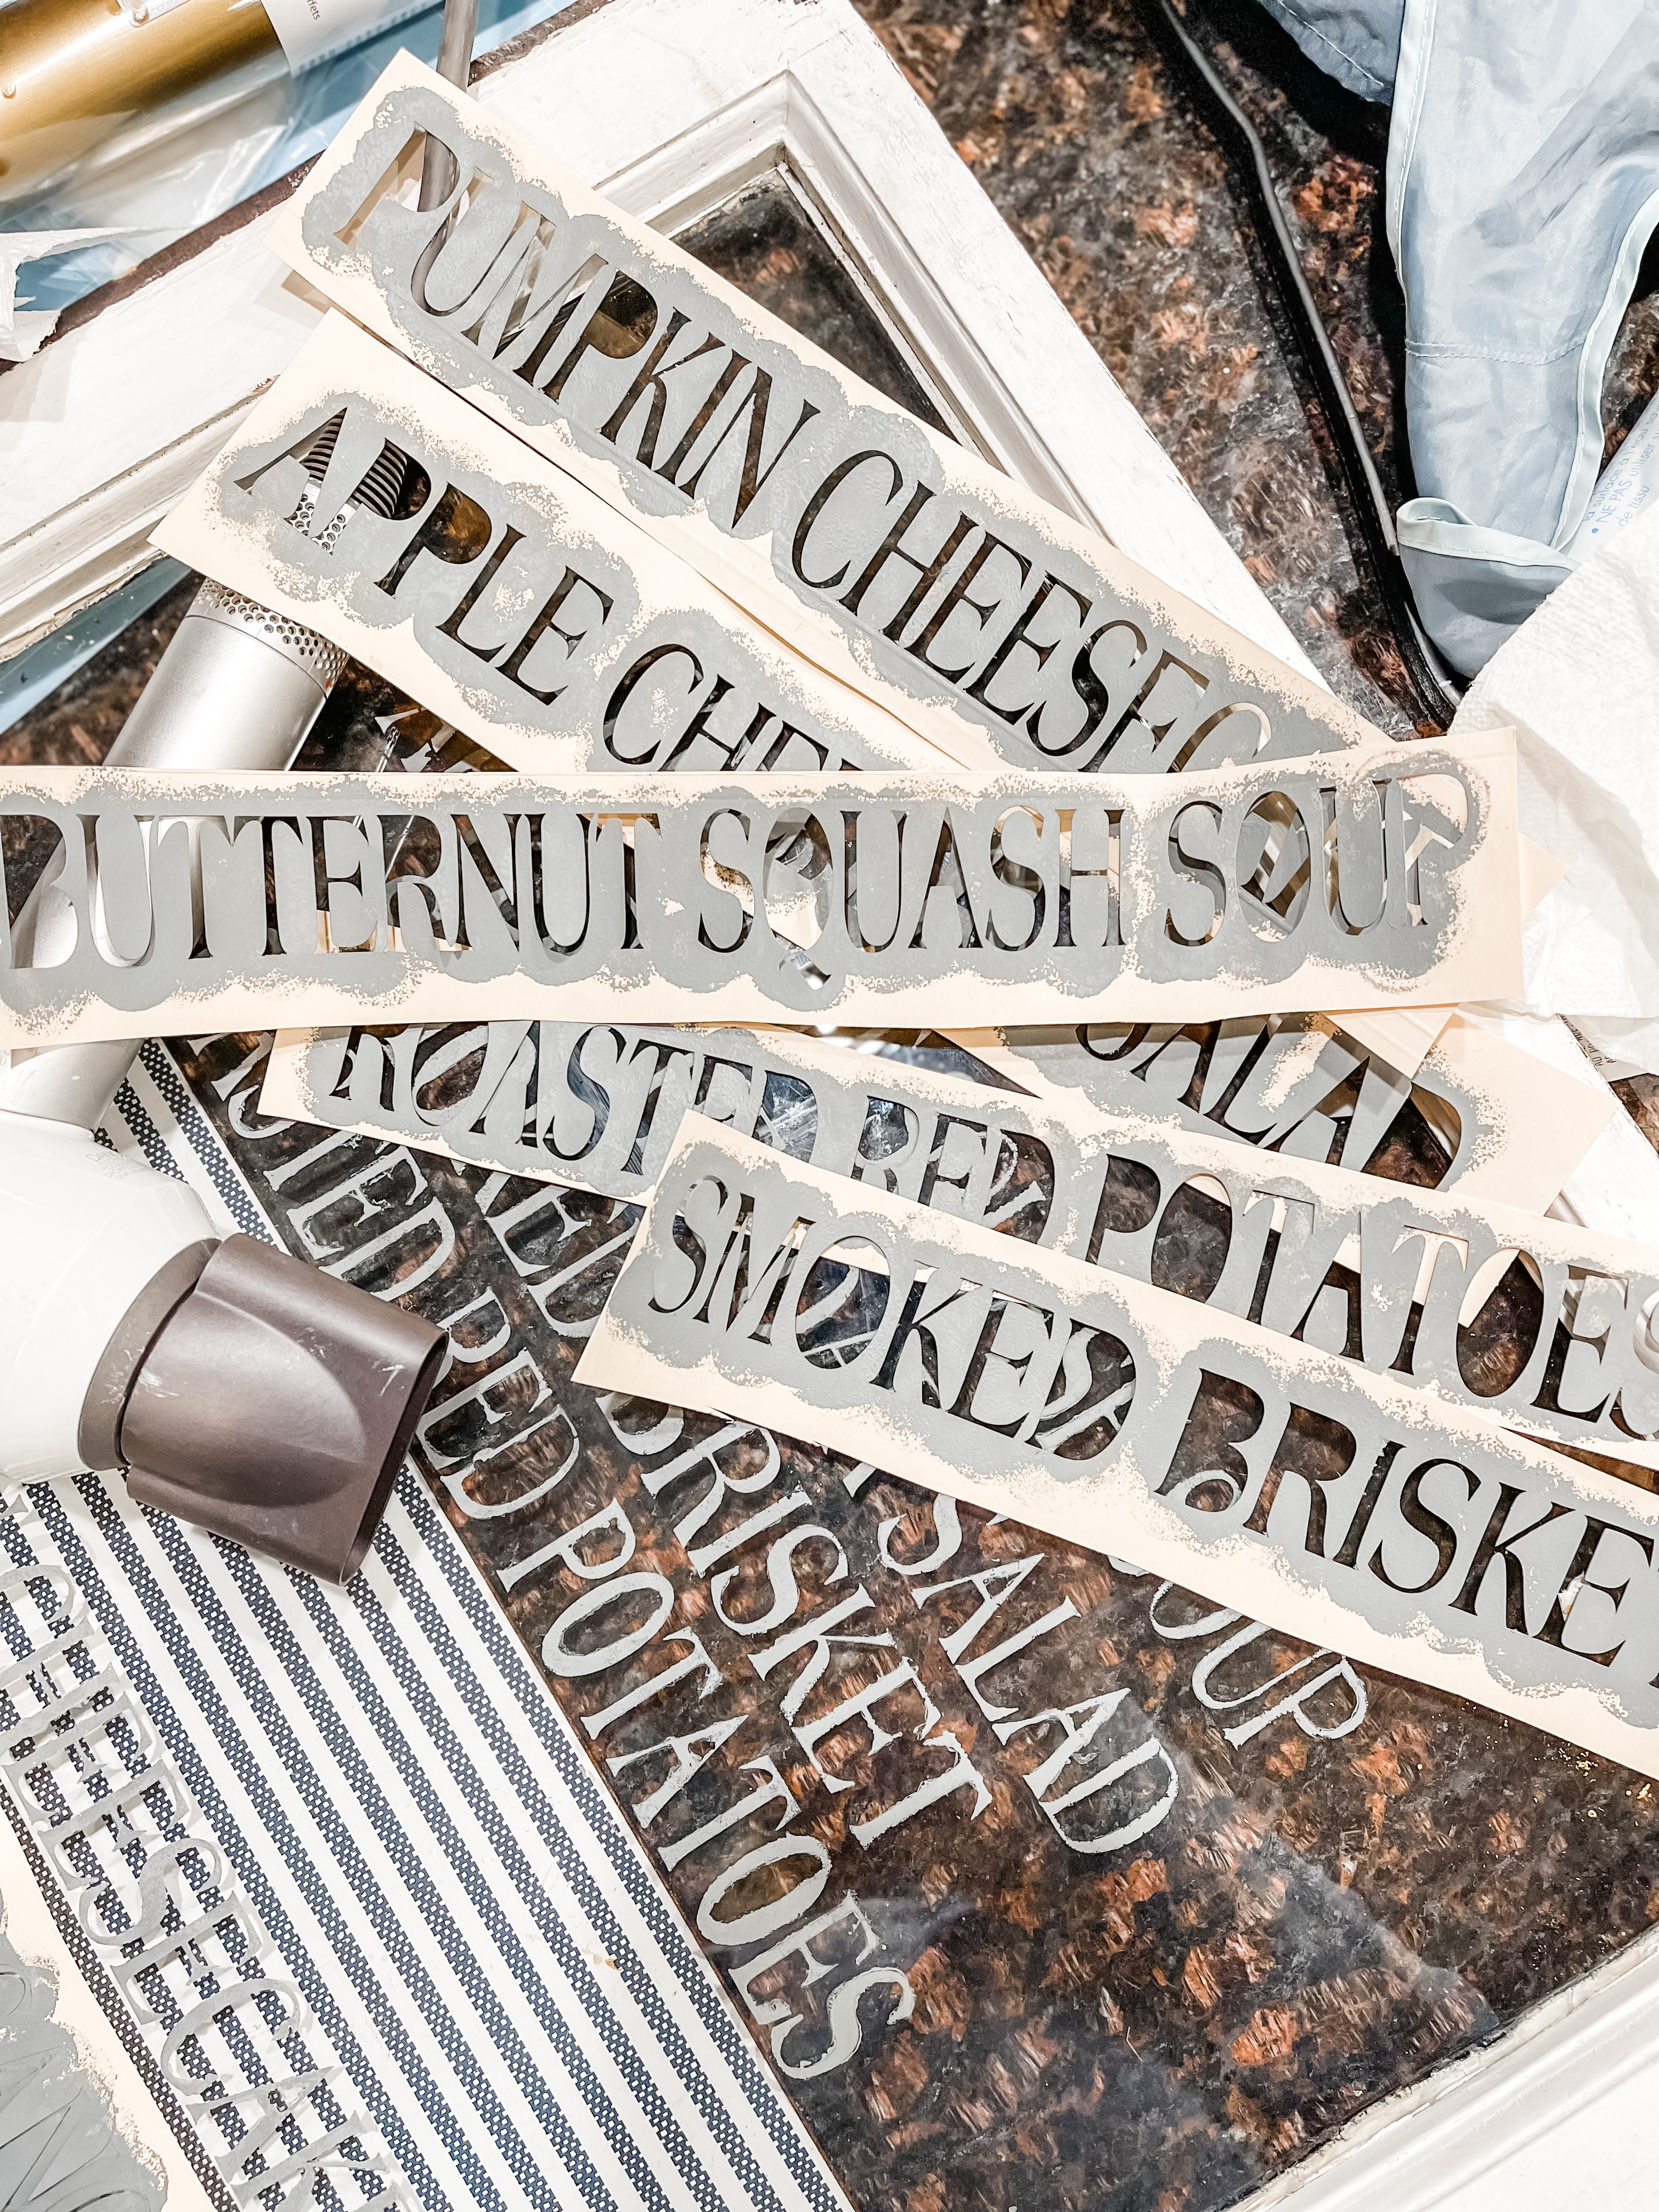
I used the Cricut Maker to create a stencil out of vinyl. I was going to weed it (pull the letters from the vinyl) and use the outline of the letters to paint. That didn’t work. Then I created a stencil out of contact paper, don’t ask, I don’t know what I was thinking. The problem was not so much my method but my font.
When I finally got the stencil made from a manilla folder, I painted it and realized the letters were so thin that it was impossible to see the paint.
Let’s just say I have scraped more paint off of this window with a razor blade than you can imagine.
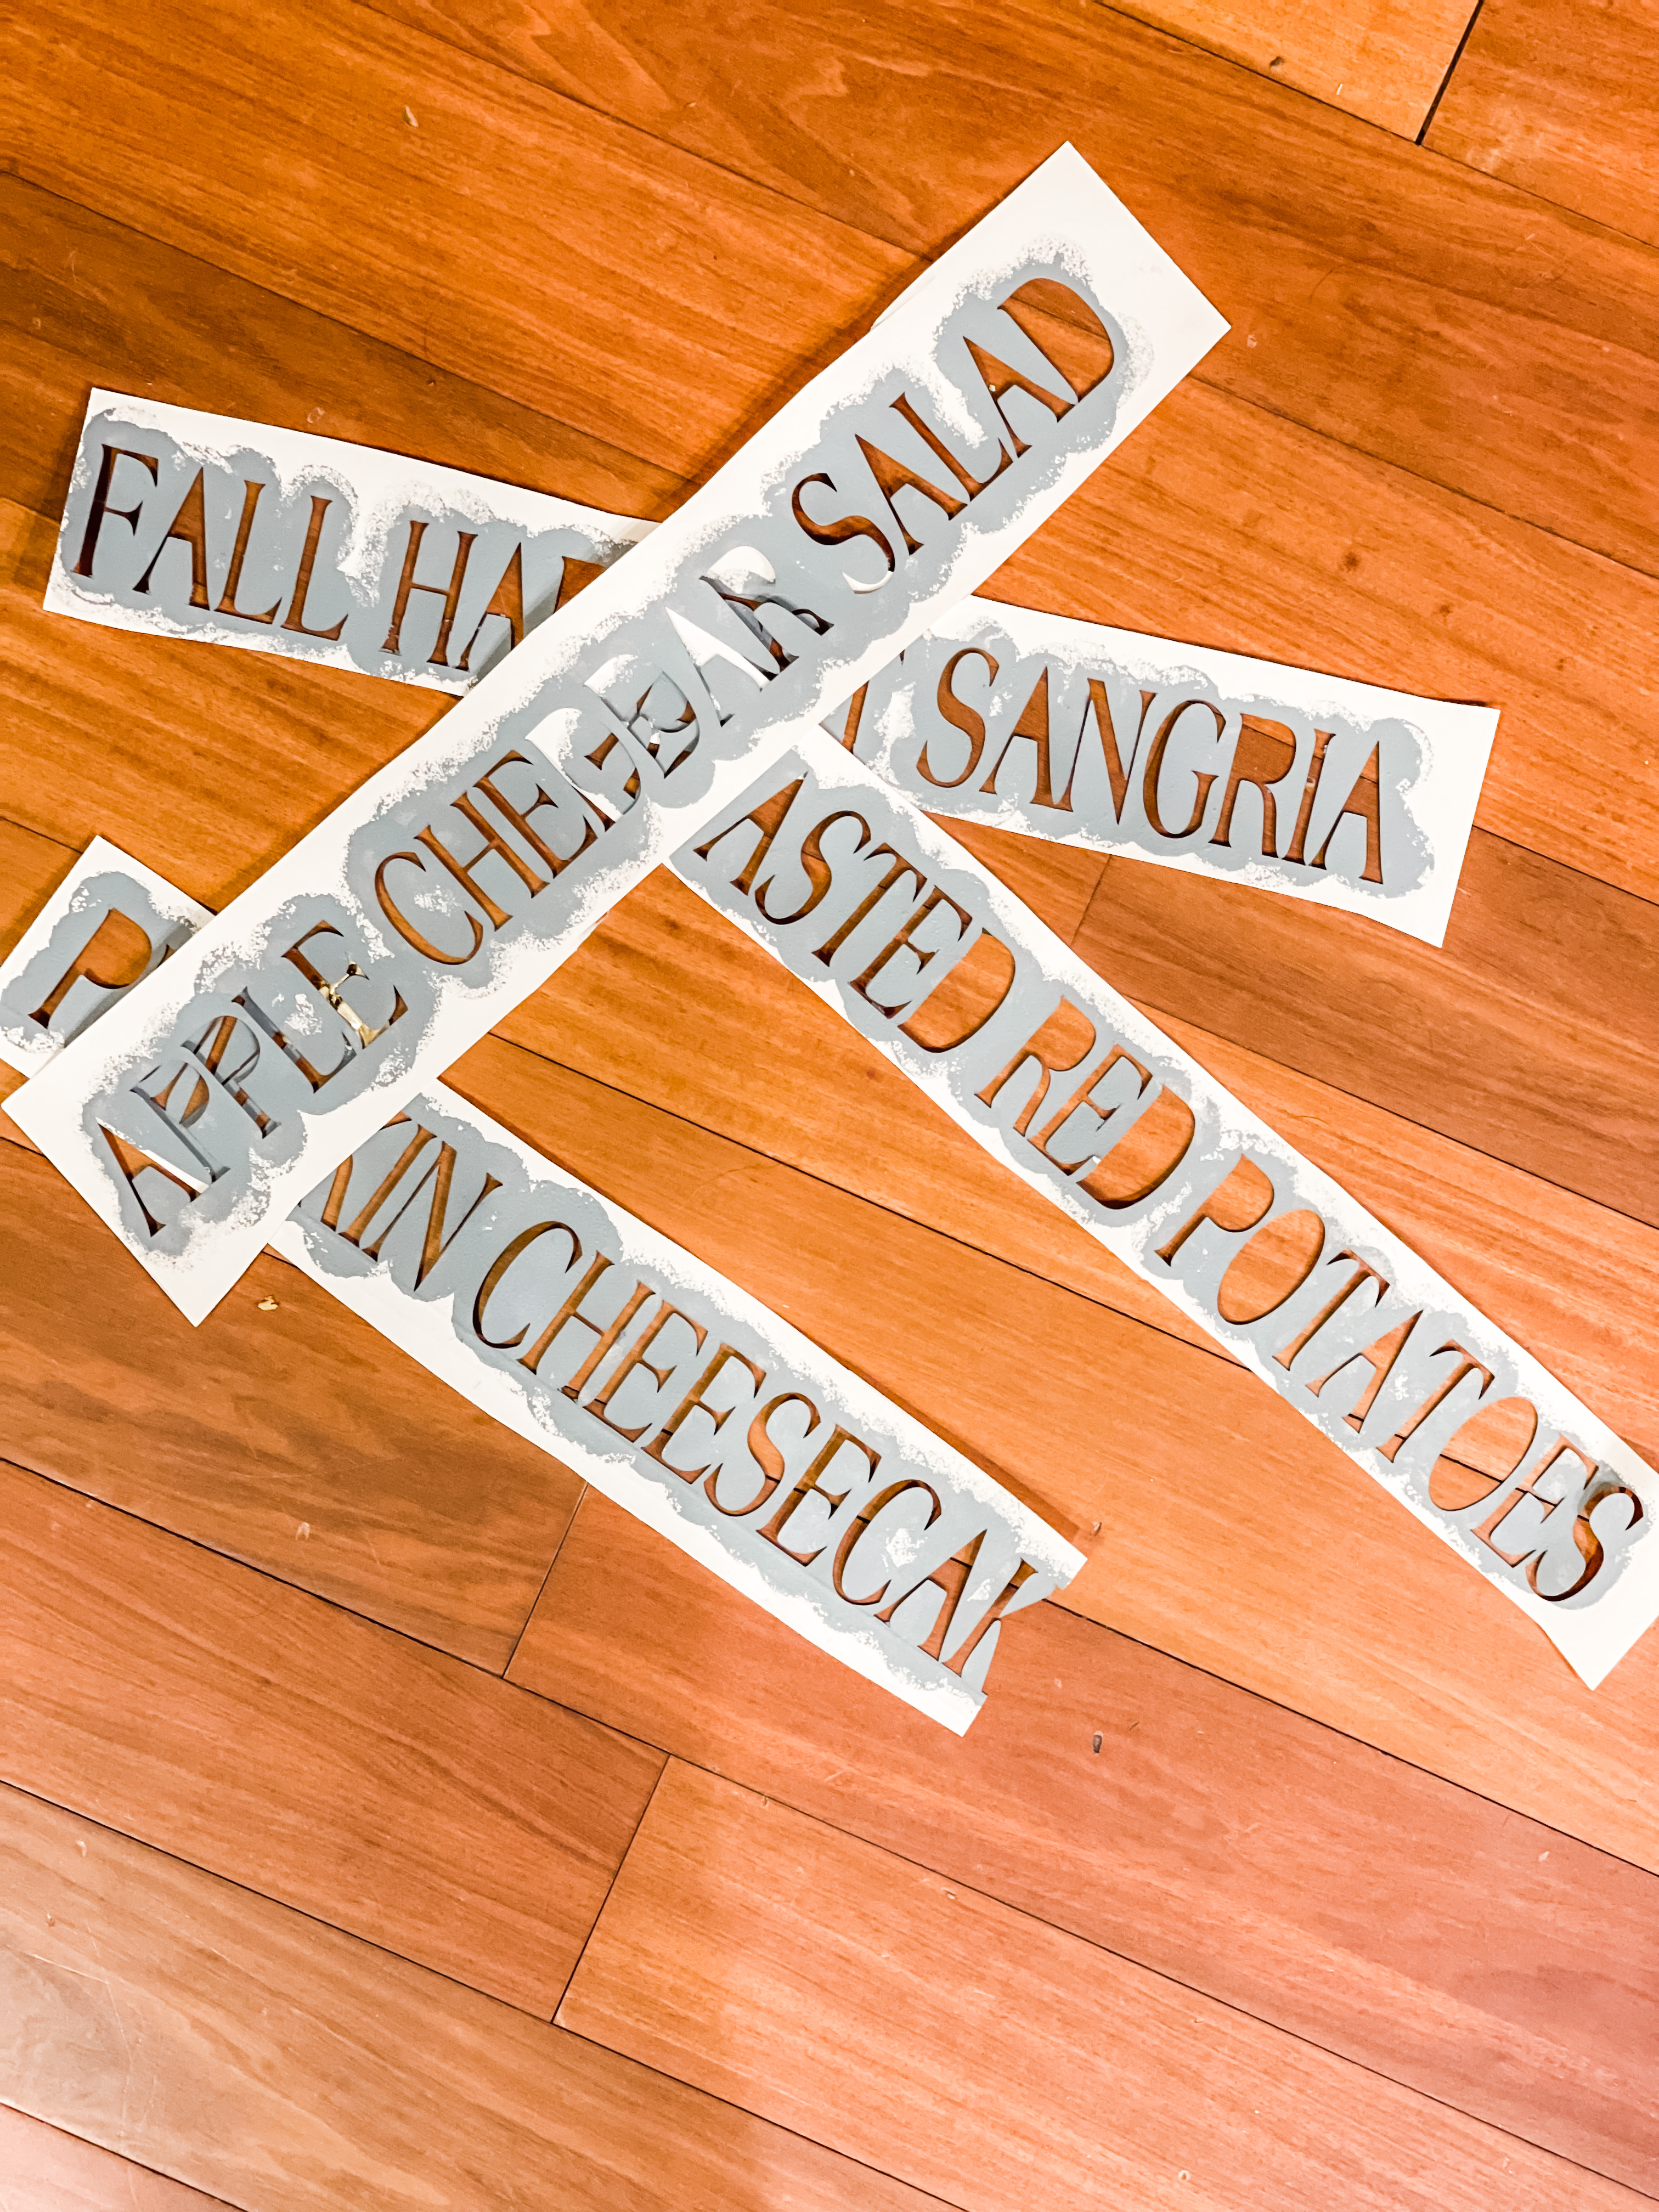
I thought this would be an quick and easy DIY and it was, after the first two tries. Don’t they say the third time is a charm?
What did I do? I bolded the letters, increased the height and width and printed them vertically on a larger mat but still used manilla file folders as my stencils. Boom.
You could create the menu in vinyl on the Cricut and placed that on the window but with a vintage window, I wanted to hand paint it so it looked a little old and worn.
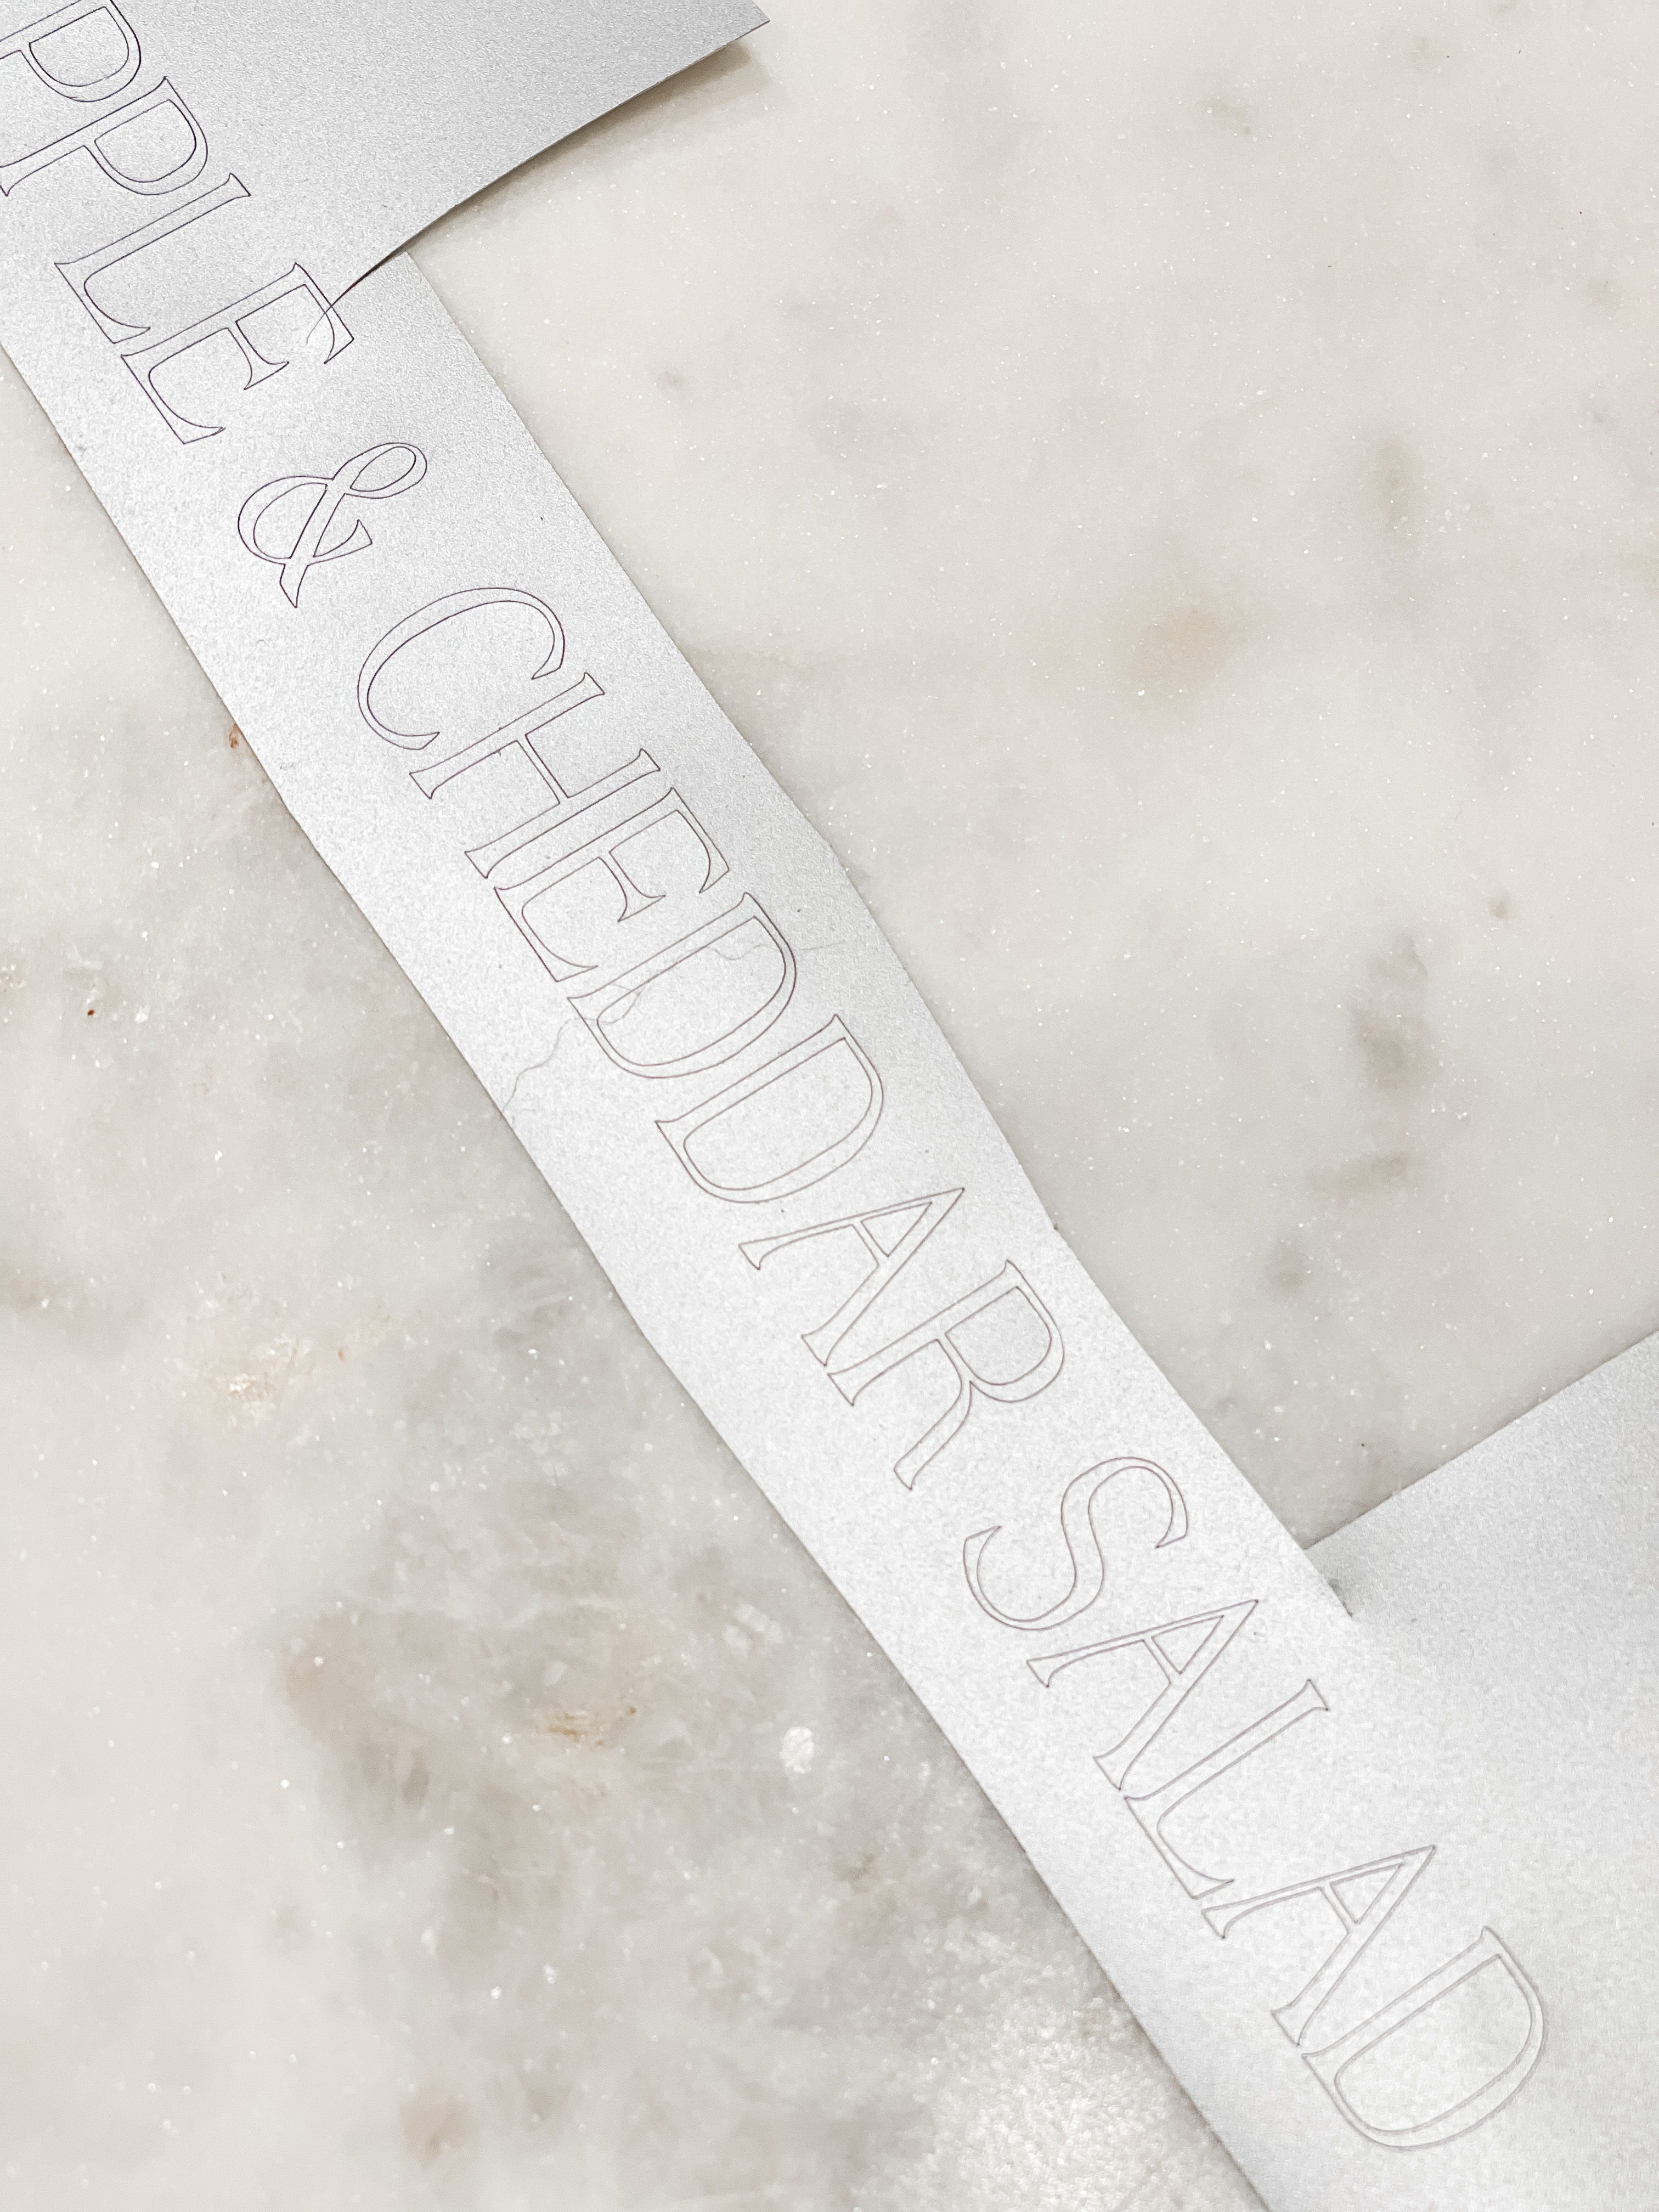
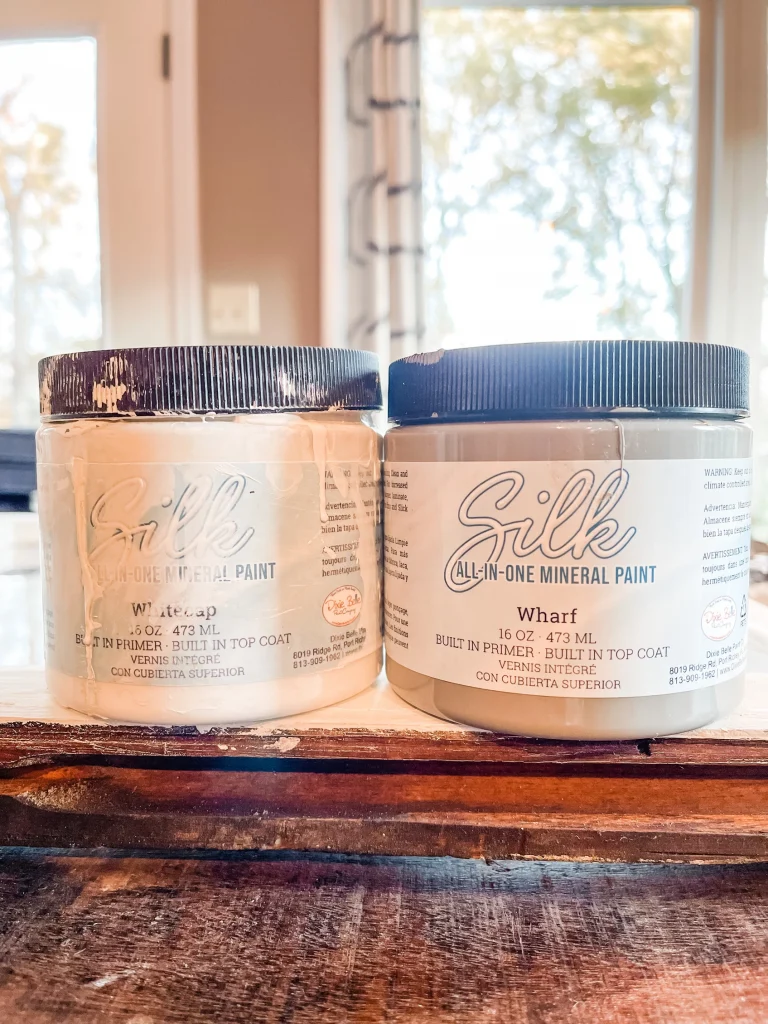
Plus I wanted to use my new Dixie Belle paint in Wharf that I had not used before. Hard to tell which one I hadn’t used right?

It is part of the All in One Silk Mineral line in a soft grey. It’s beautiful and perfect for the look I wanted.
The paint on the wooden part of the window was white on one side and black on the other, I wanted to use the white (front) side. There was some black paint on the edges of the front so that needed to be painted, plus it was pretty dirty because it lived outside.
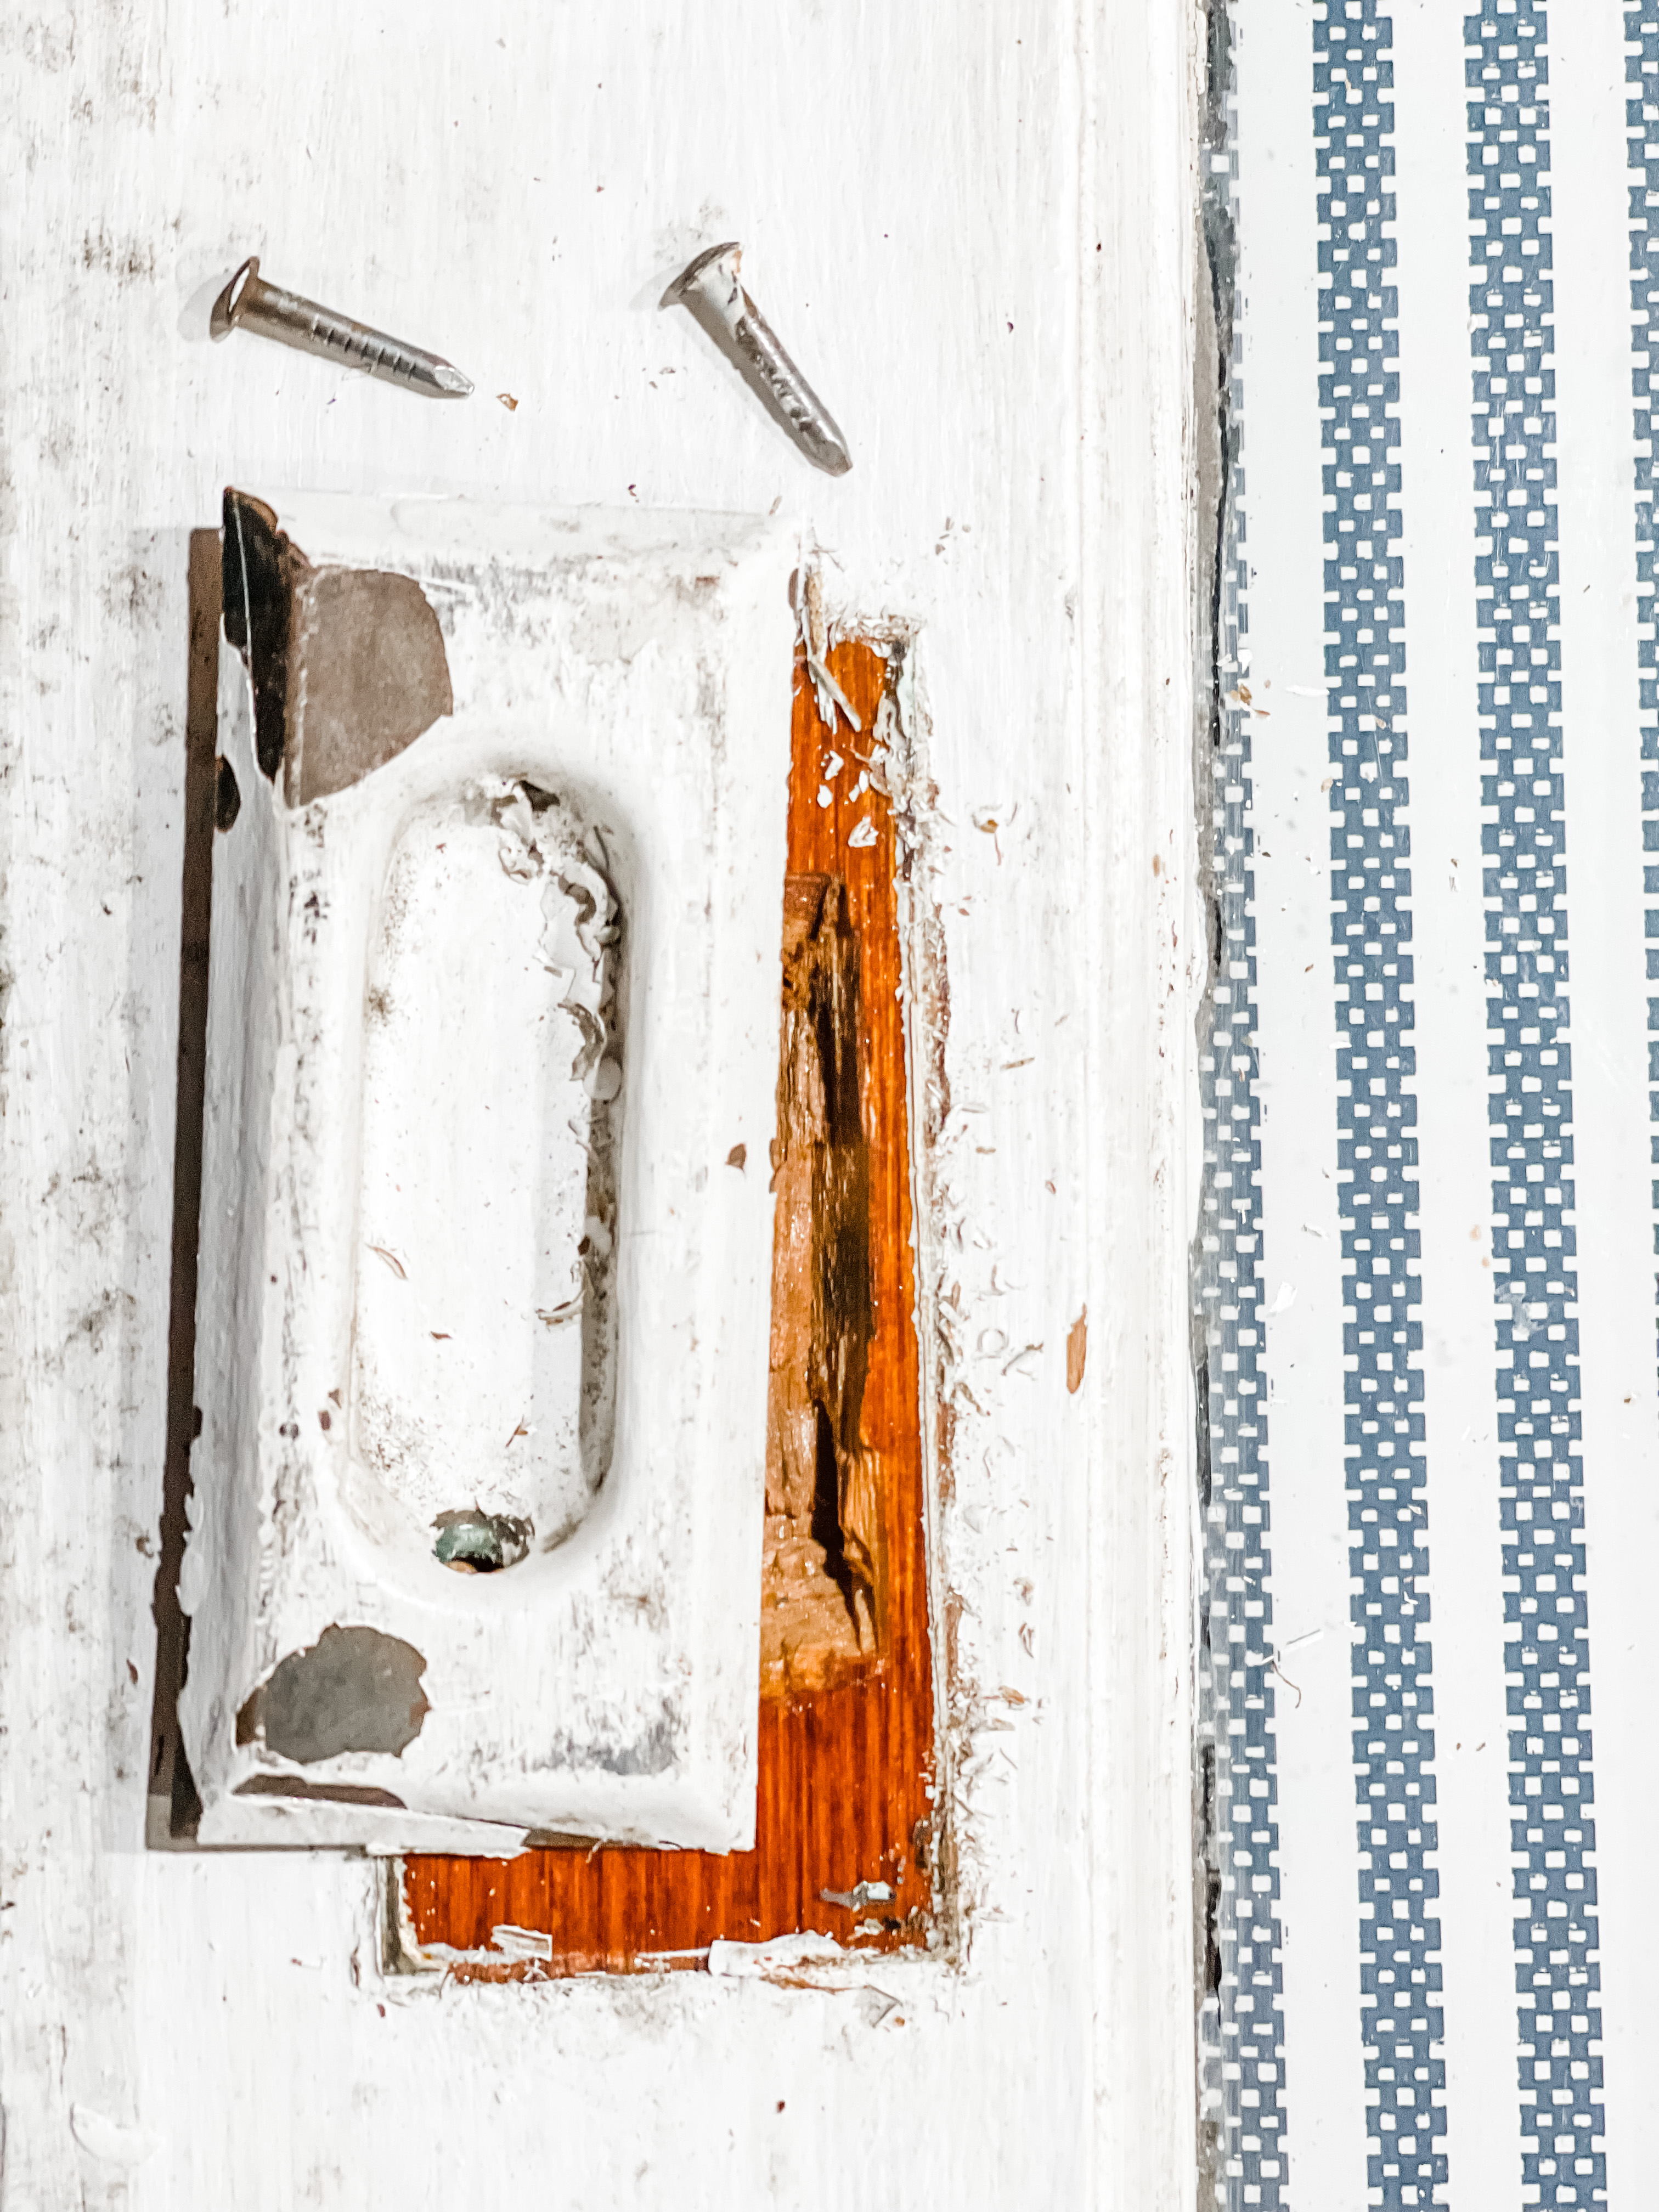
The way you open these vintage windows is with a recessed window sash lift, typically in brass. This one was covered in paint.
Ok, were you impressed that I knew the name of this? That’s part of the fun of blogging, I get to learn and share correct terms for things that I didn’t know. My description would have been little indented spot with brass thingy in it.
Here’s what was involved:
STEP ONE
I removed the lift.It required a little help from a box cutter around the edges of it and removing two nails holding it in.
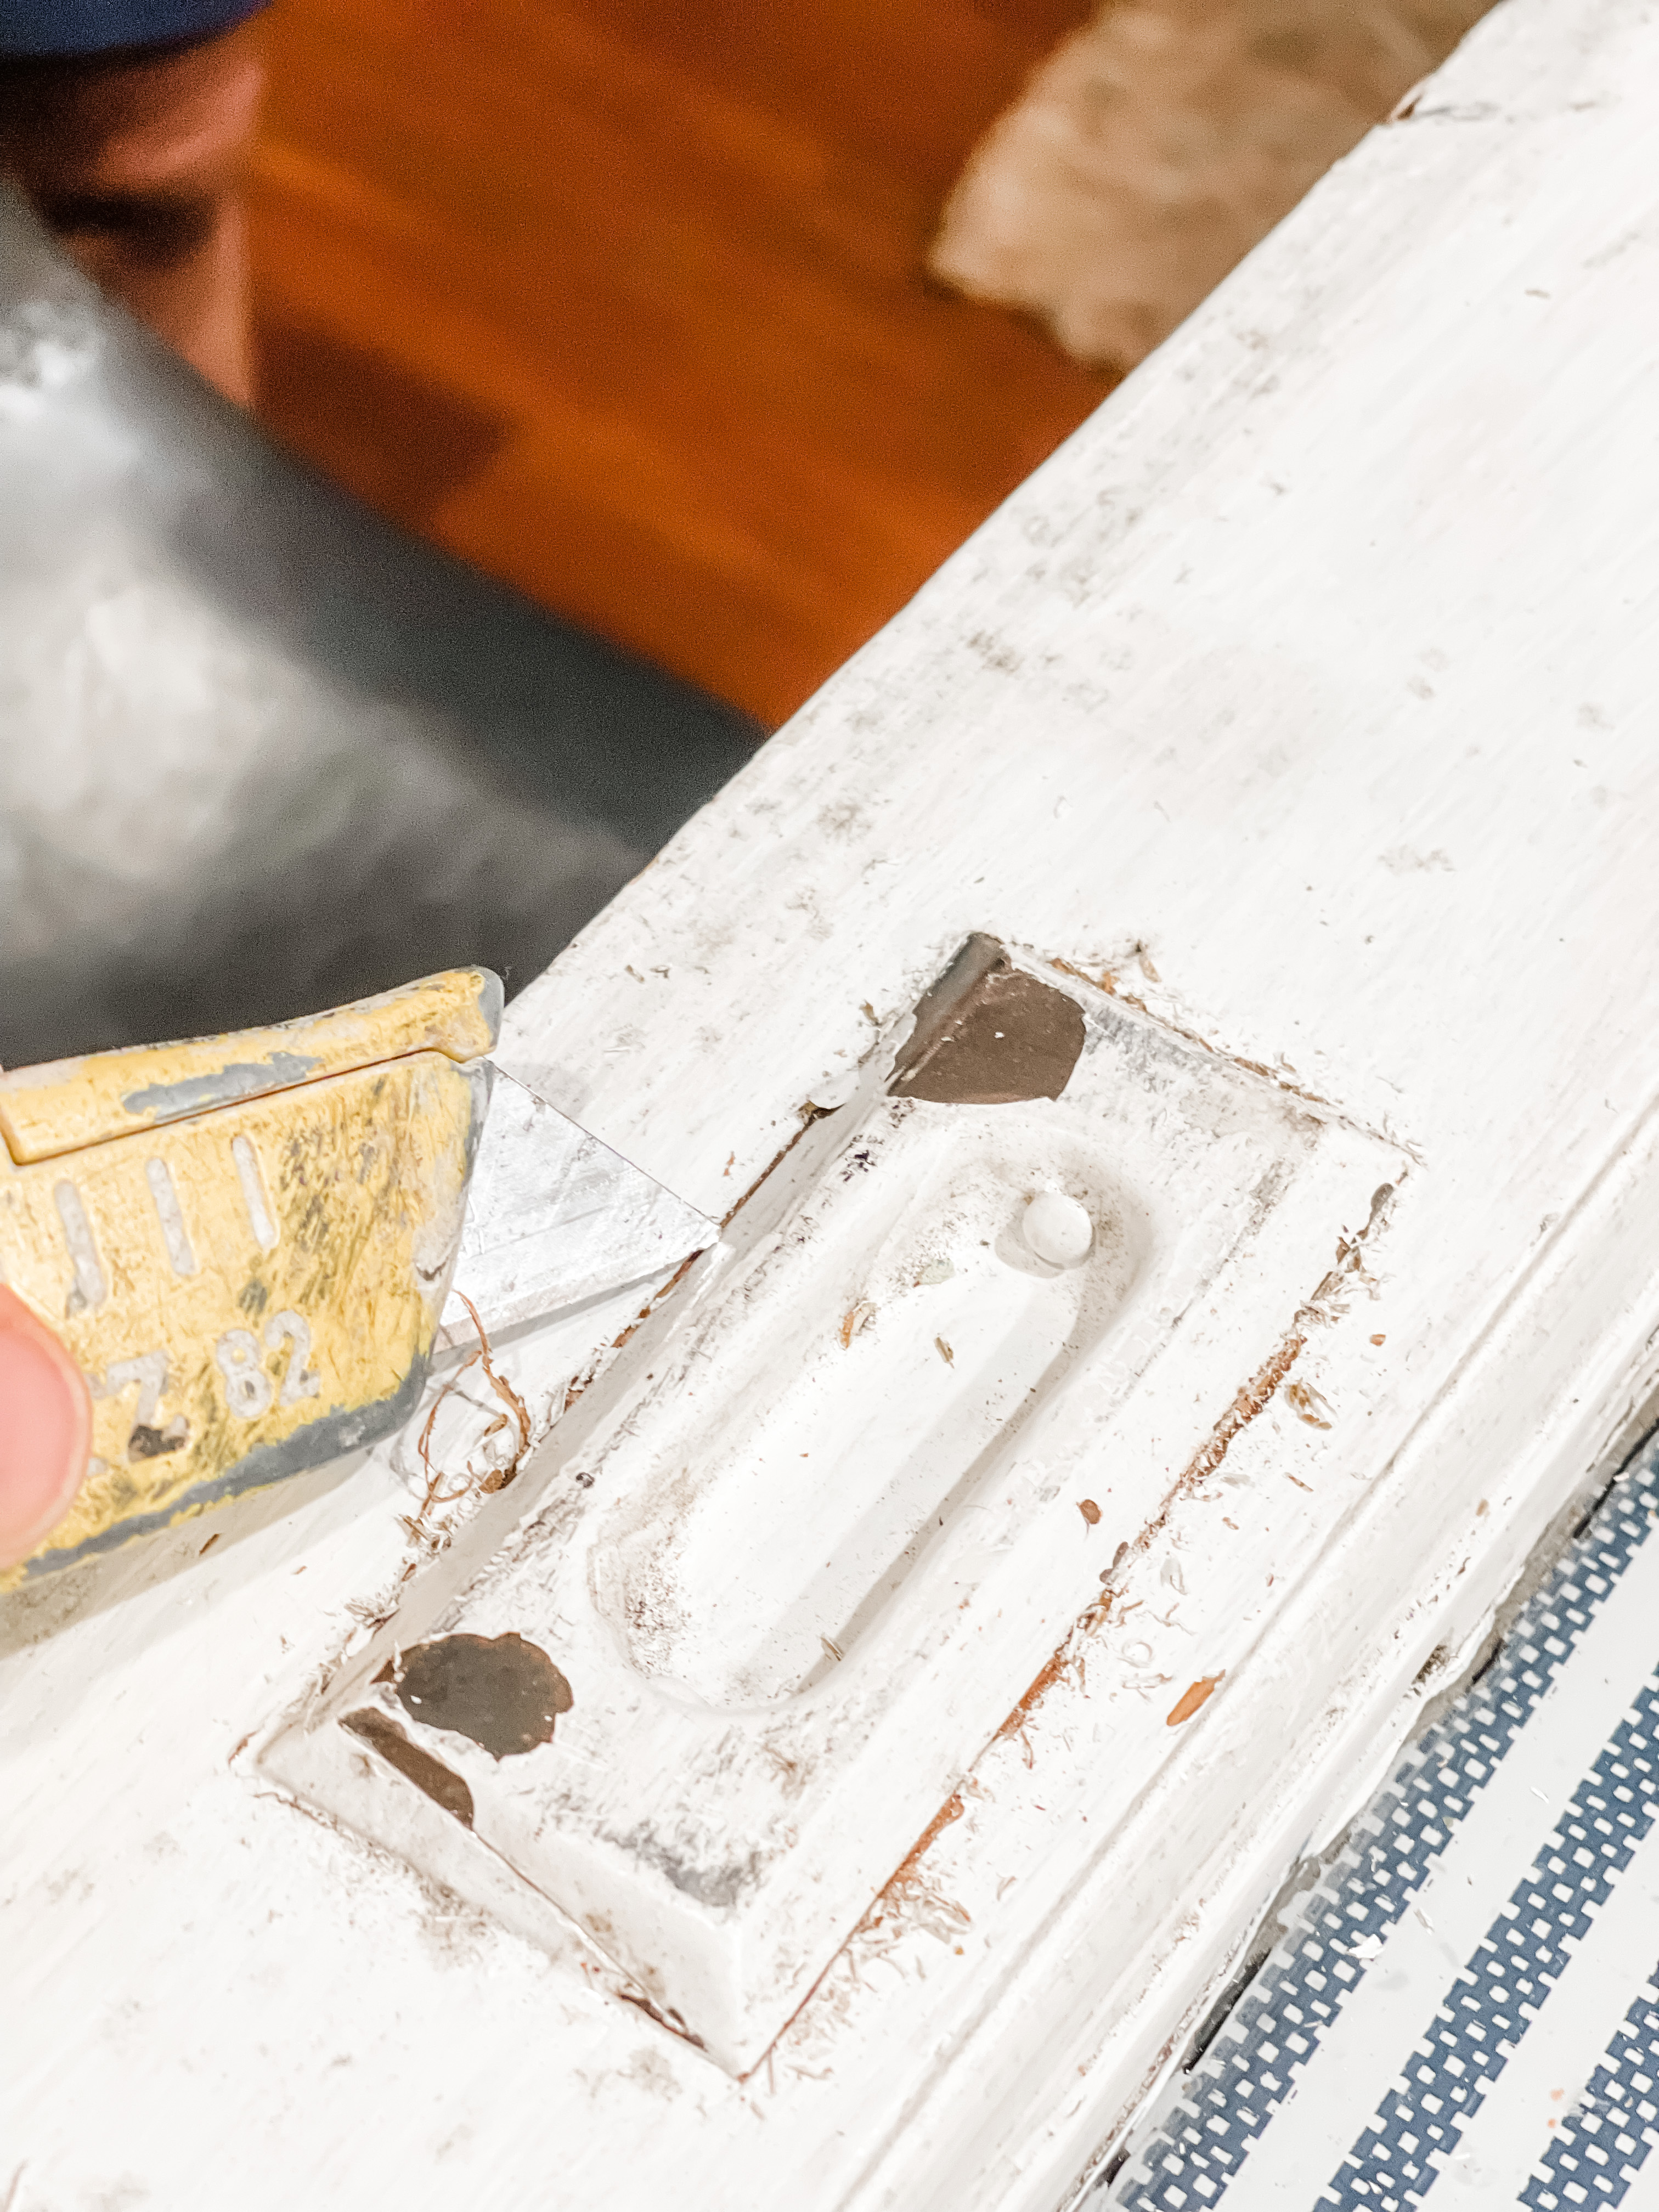
STEP TWO
Next I boiled it in water to remove the paint and placed it in a 50/50 solution of white vinegar and baking soda to clean it up.


STEP THREE
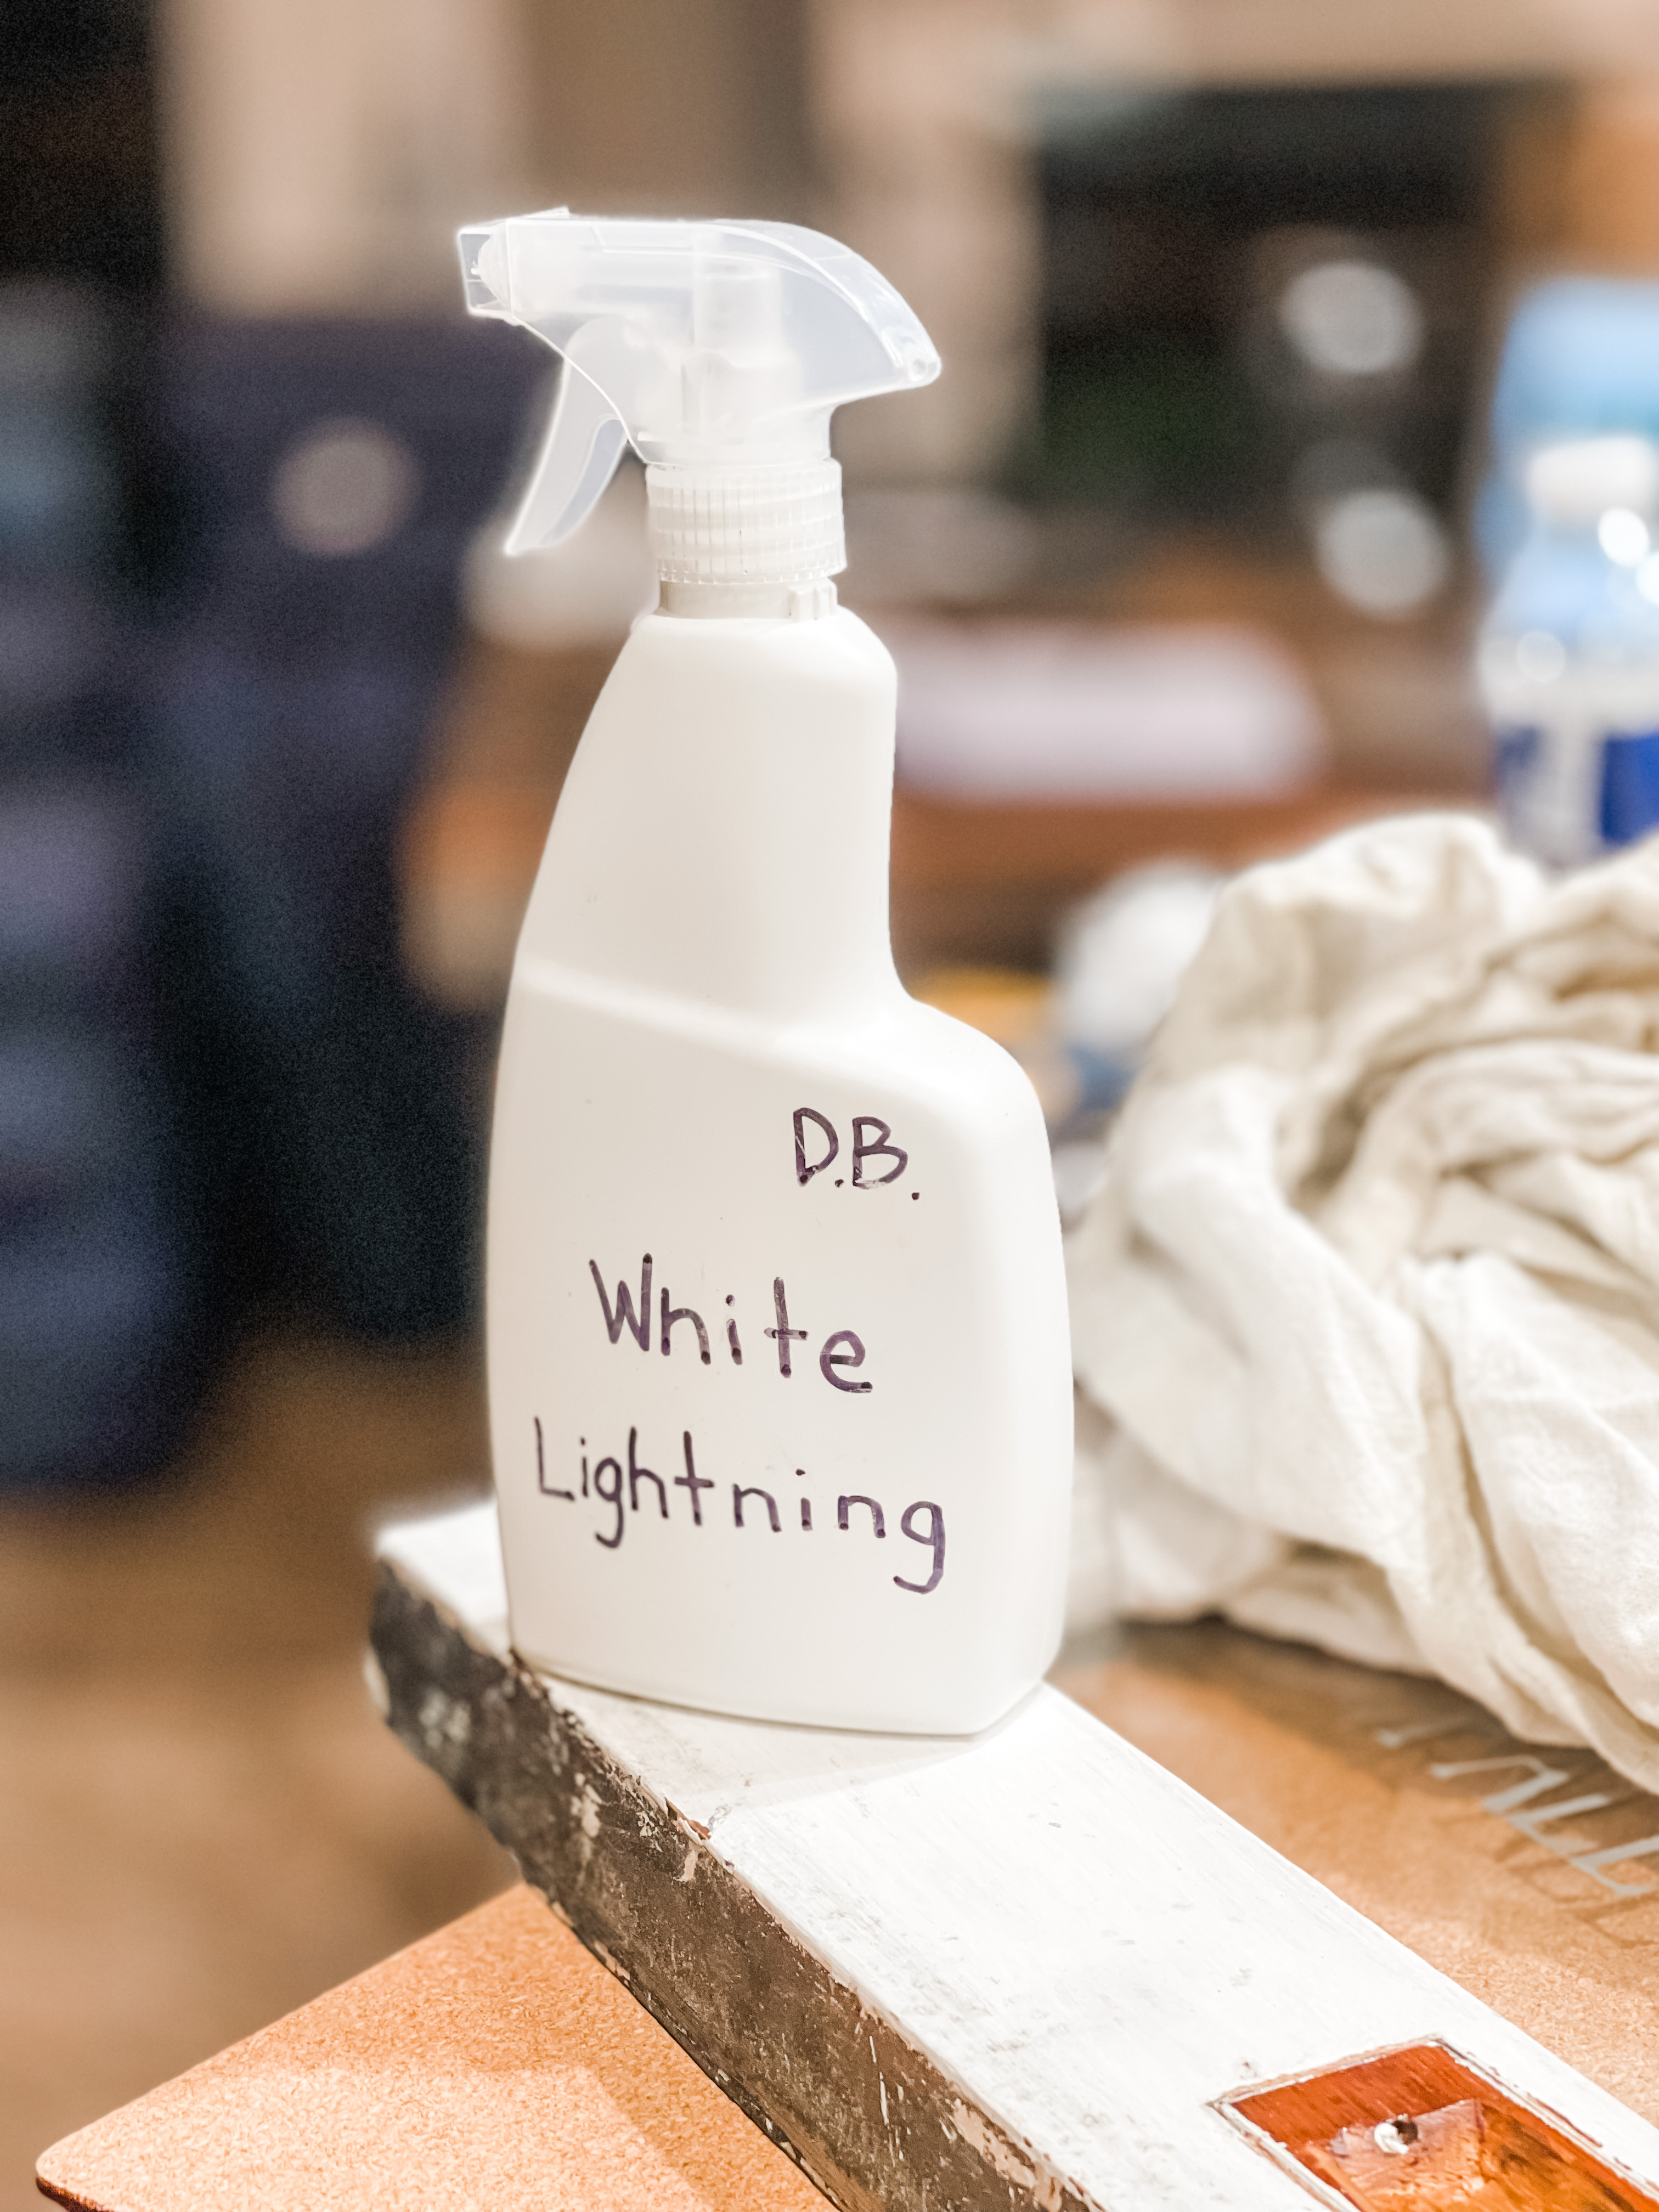
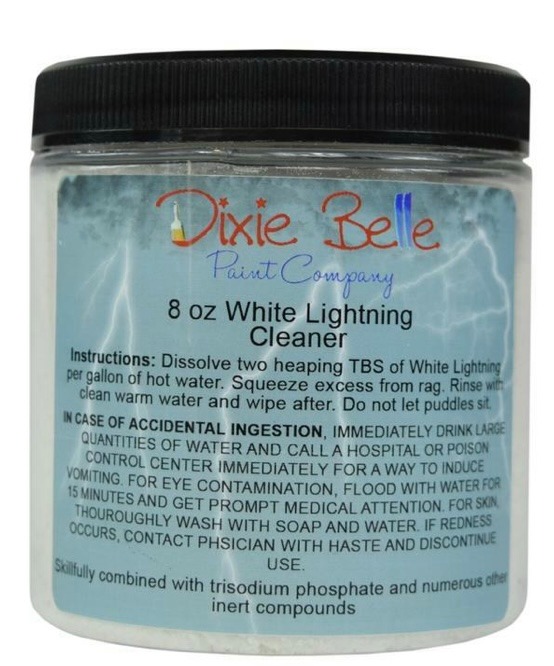
While the lift was off, I used White Lightning cleaner by Dixie Belle in my spray bottle to clean the wooden parts of the window. Yuck they were filthy.
This is perfect for anytime you are getting ready to paint furniture or just want to give it a good clean.
STEP FOUR
After it was clean and dry, I painted the front only with White Cap, another All in One Silk Mineral paint, a bright white that matched the existing color perfectly. The top of the window looked really weathered and I left that be.
STEP FIVE
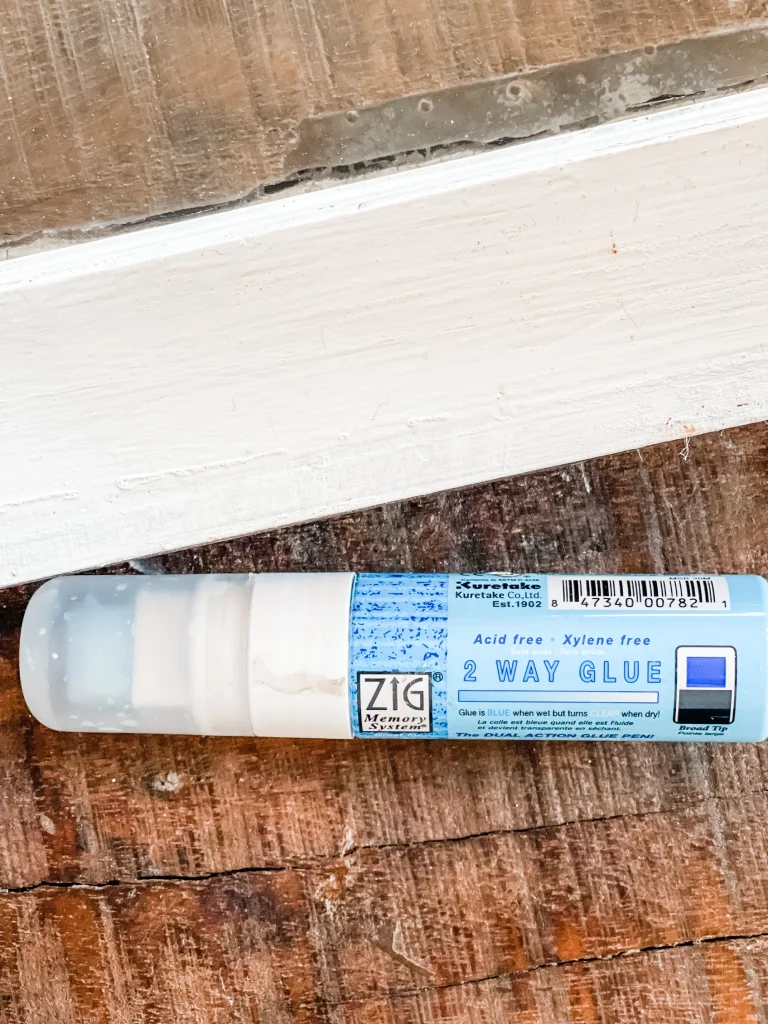
I placed adhesive to the back of each stencil, I had already cut them apart by menu item.
A friend showed me this glue, it’s versatile in that when you apply wet it’s permanent and when you let it dry then adhere it, it can be repositioned.

Then I placed the stencil on the window where I wanted it.
Next I added a drop of the adhesive to the centers of the letters that needed to be filled in like the B’s, R’s, P’s and O’s.
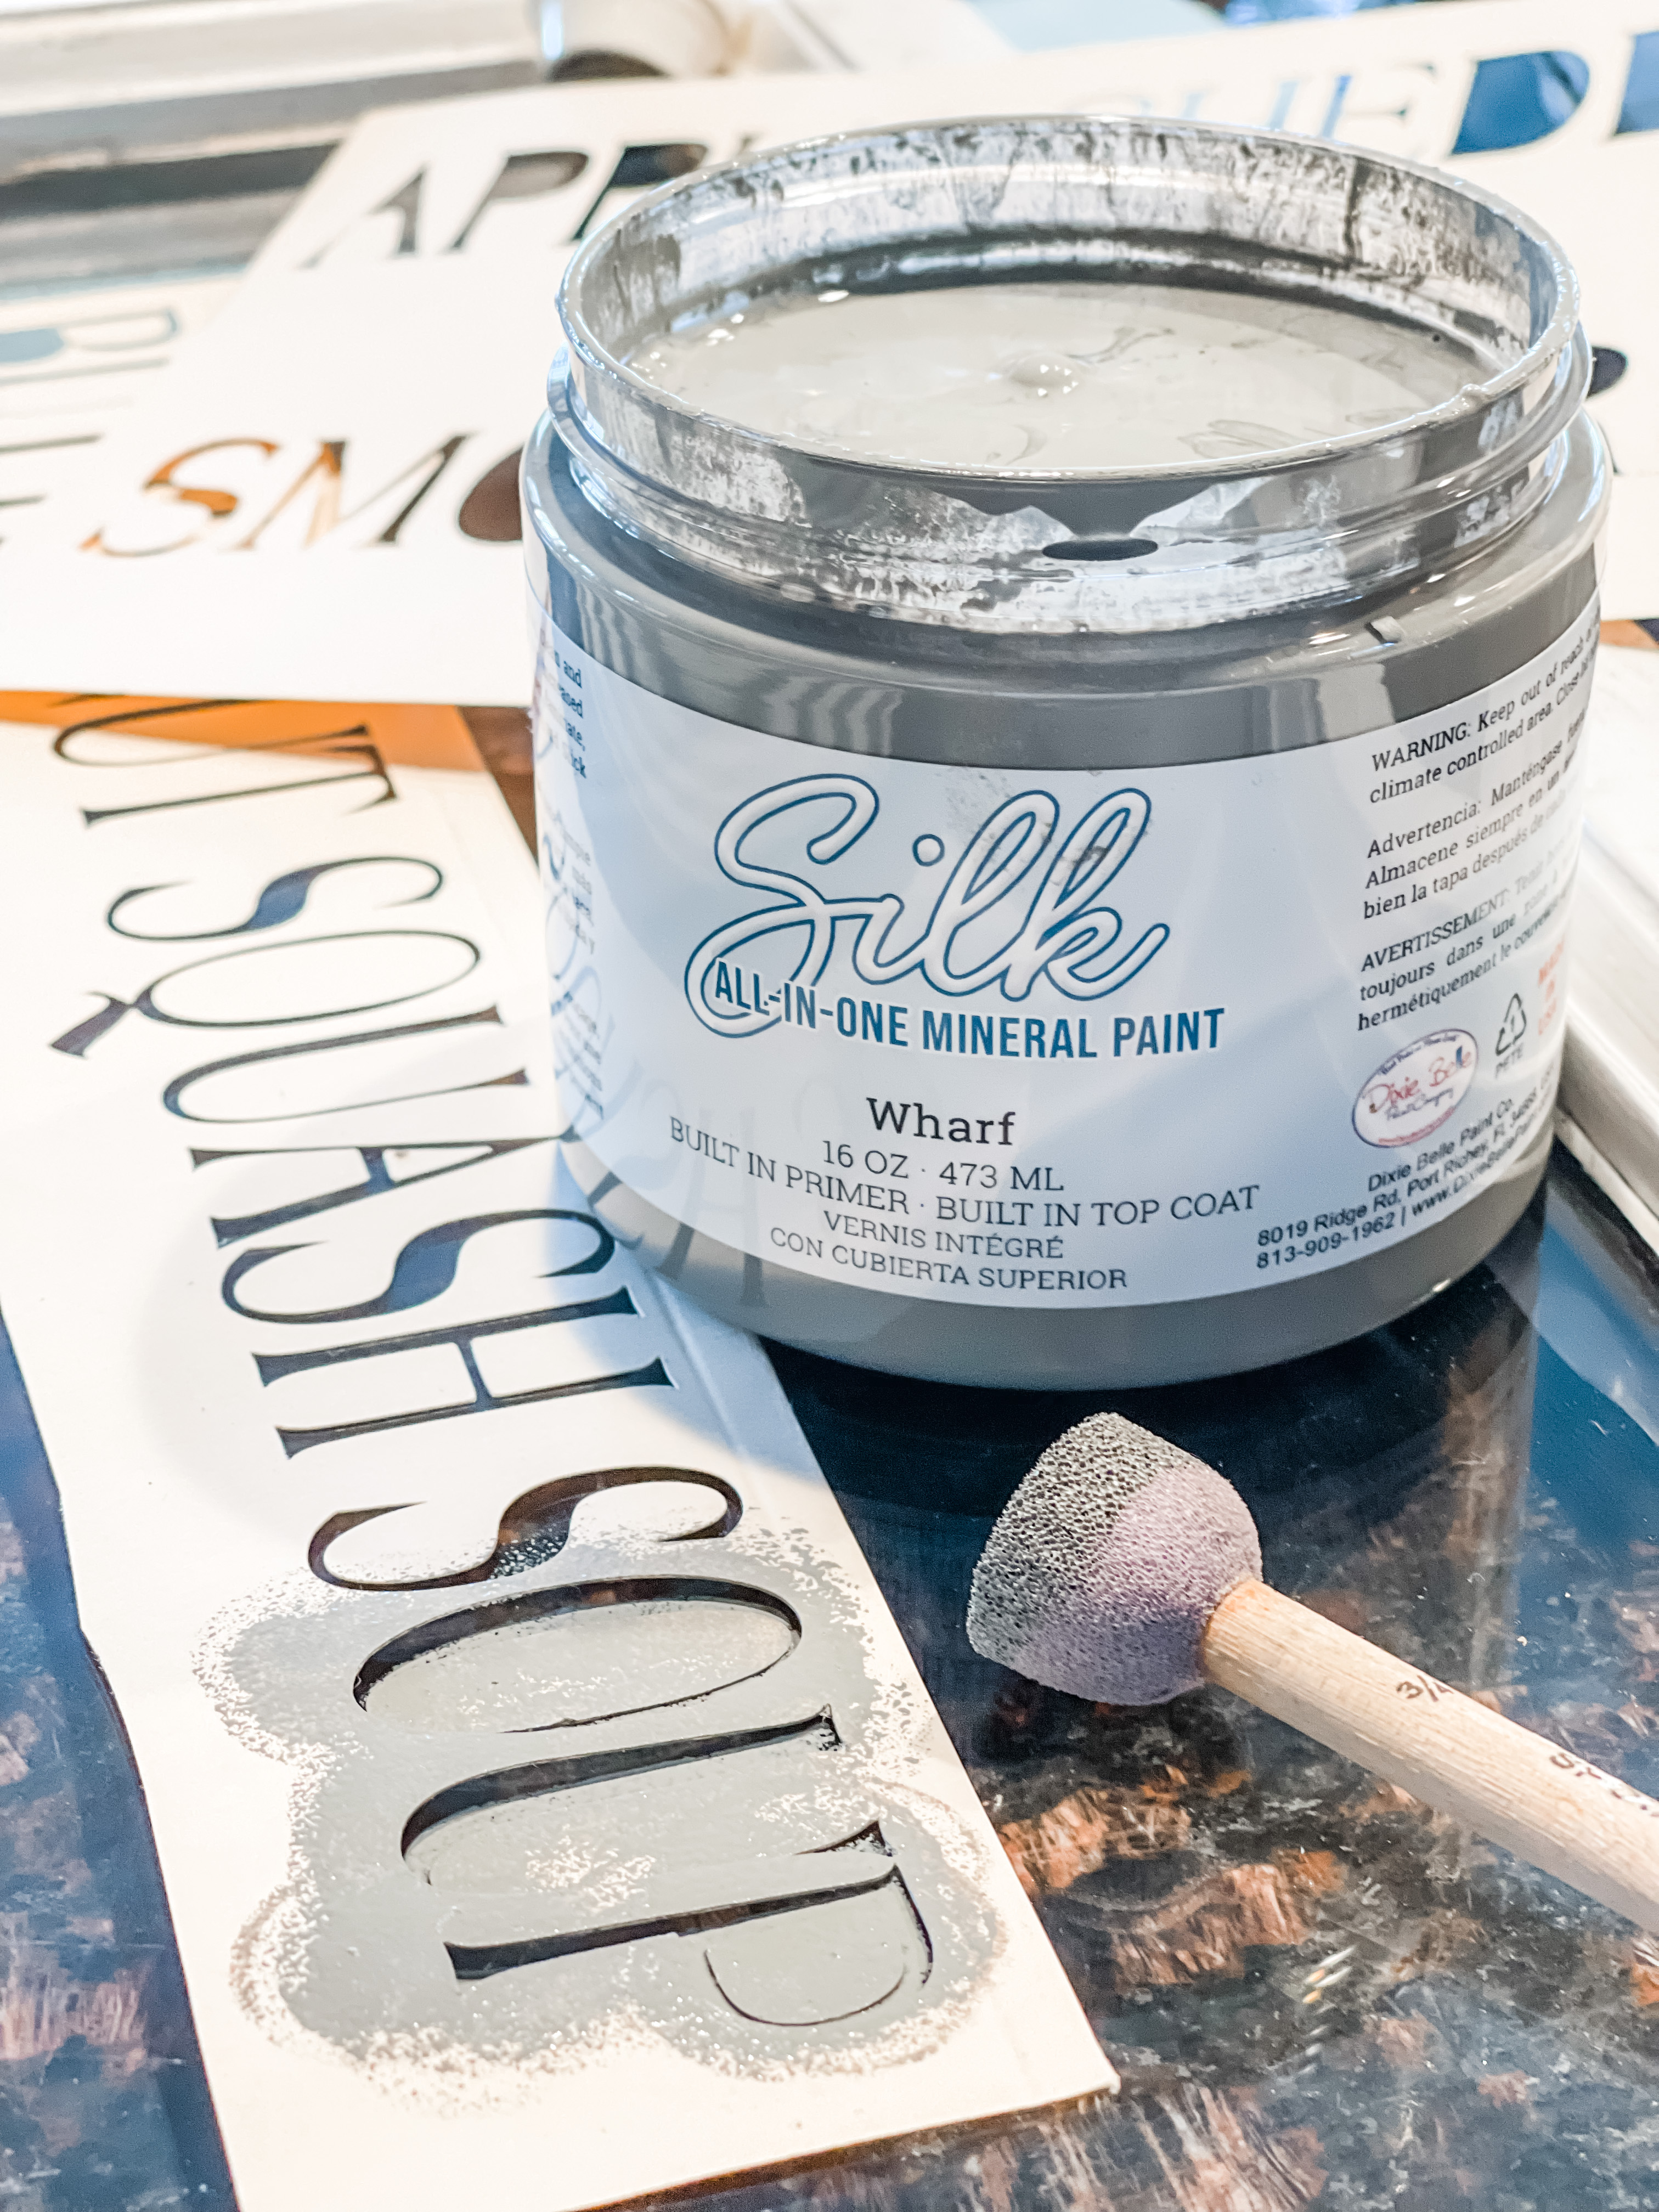
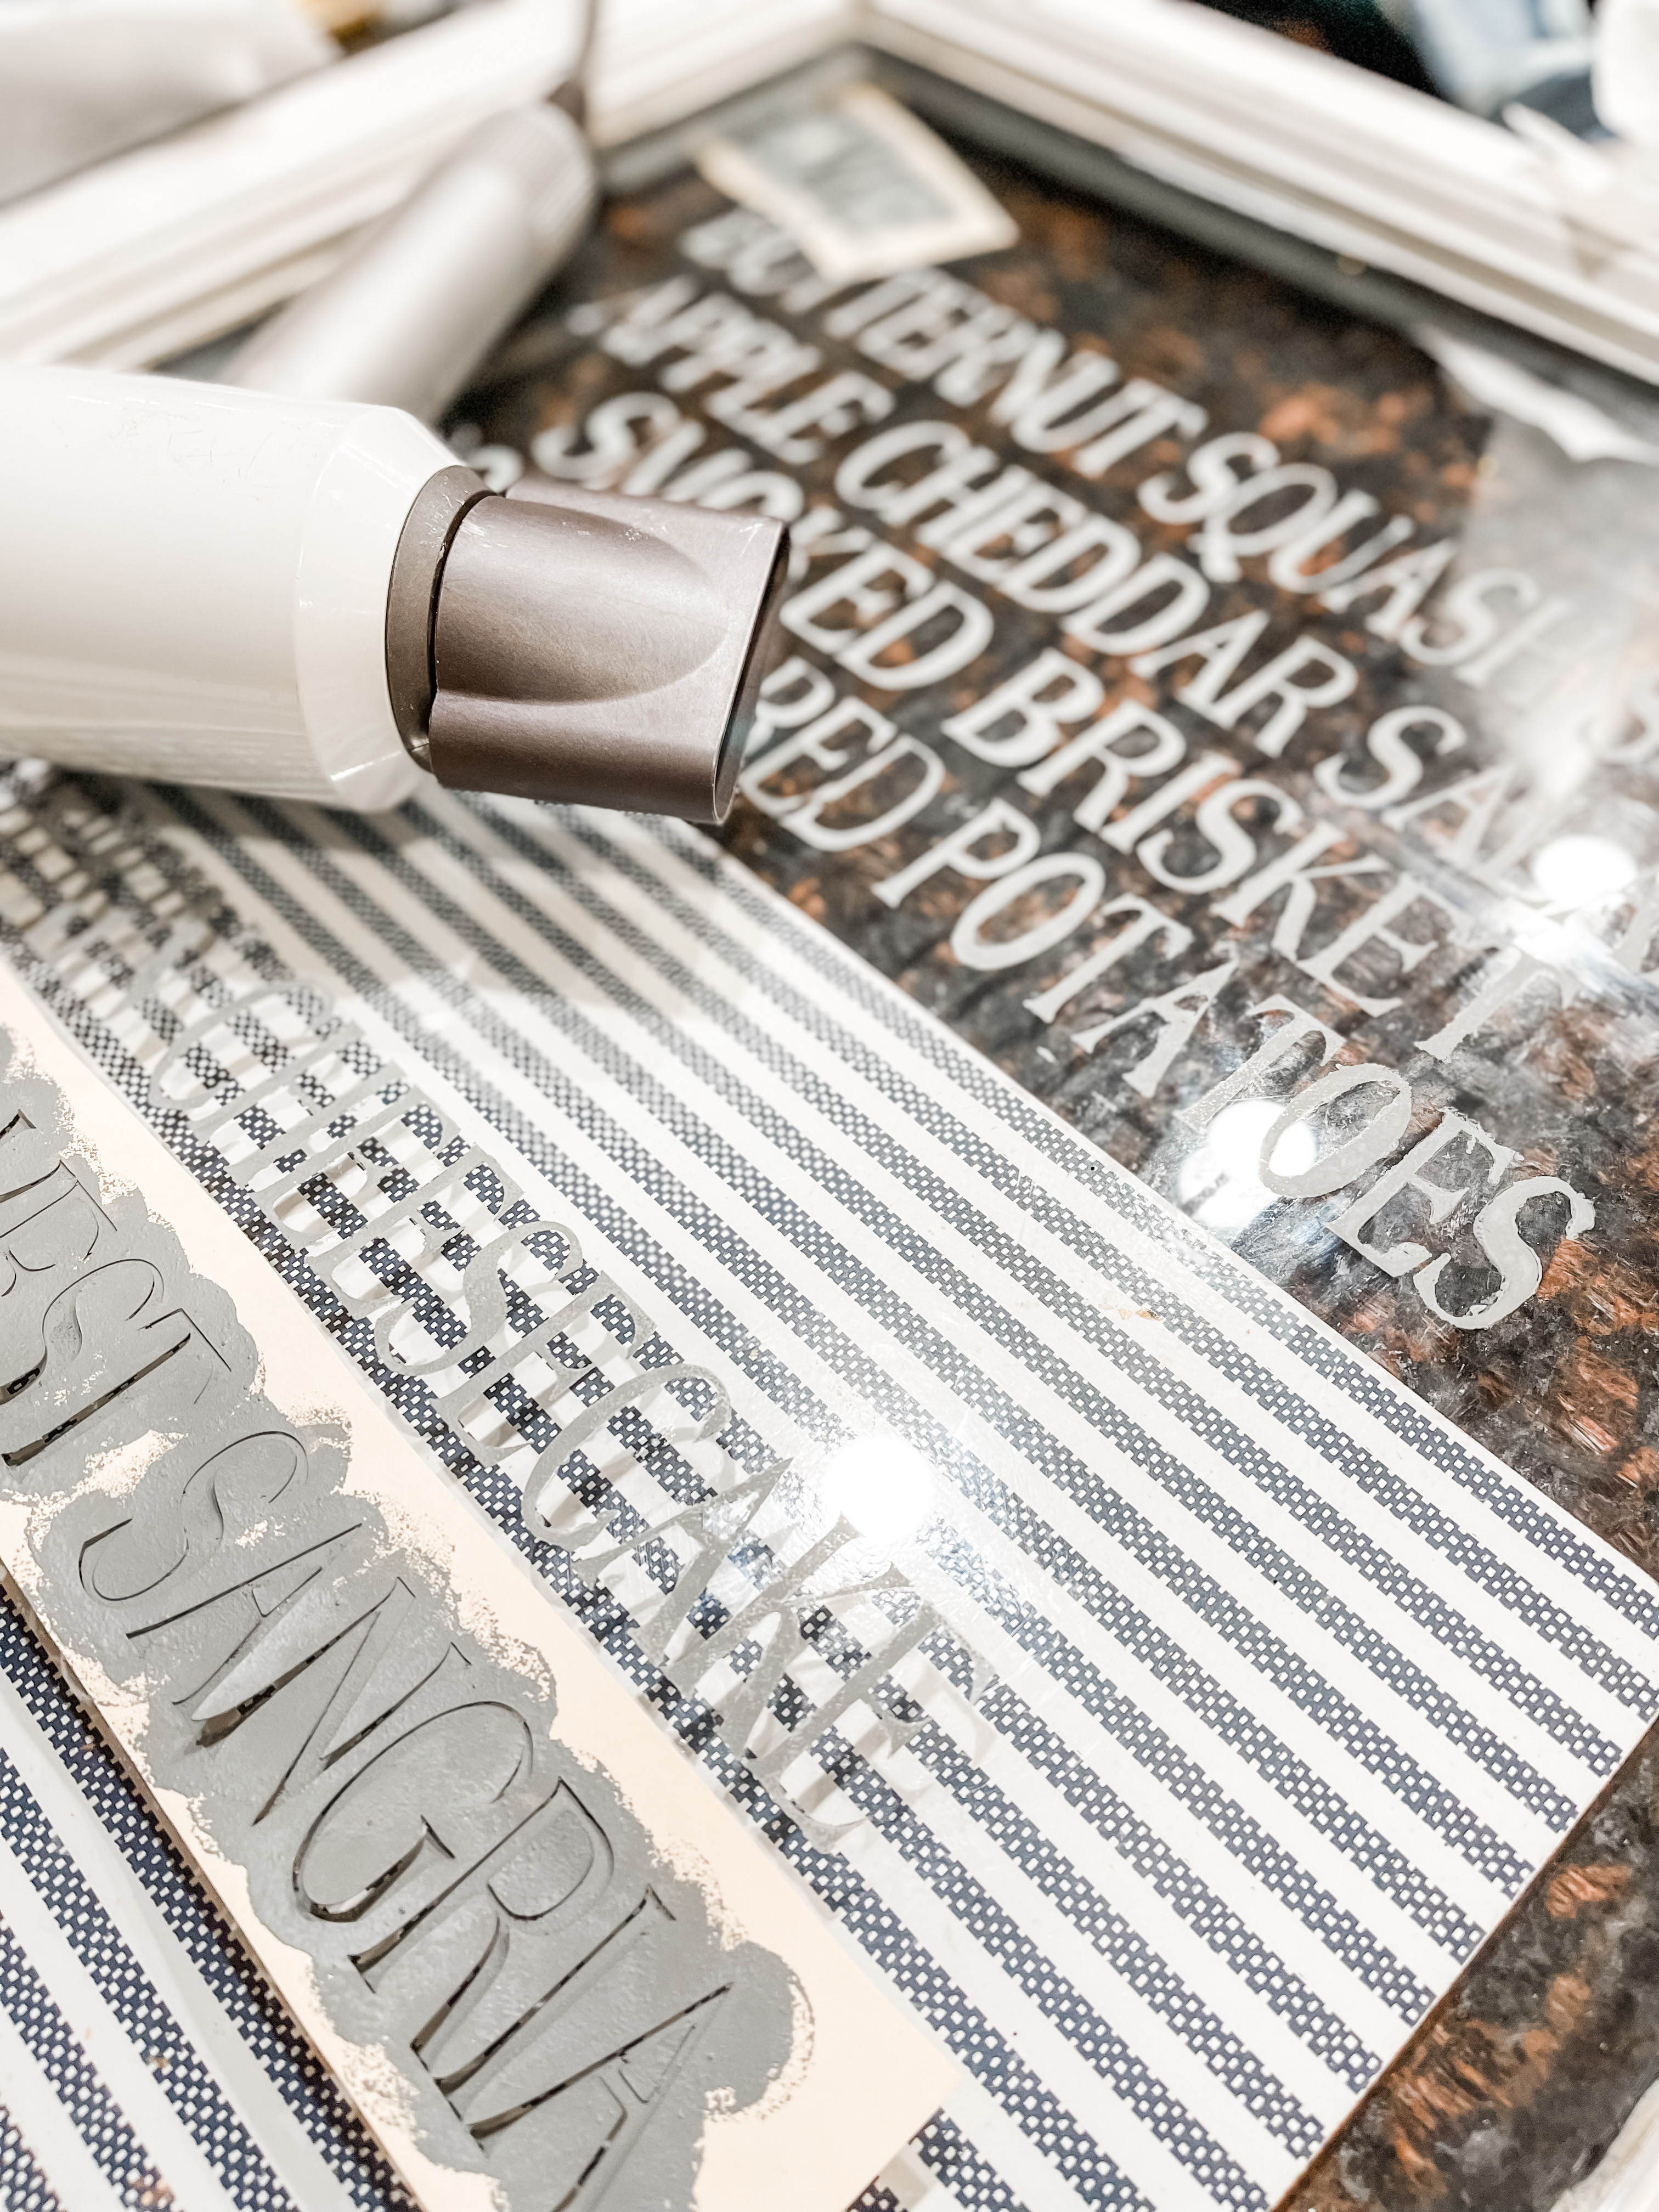
Using a foam stenciling brush I dipped it into my paint, then dabbed it 2-3 times on a paper towel to remove the excess.
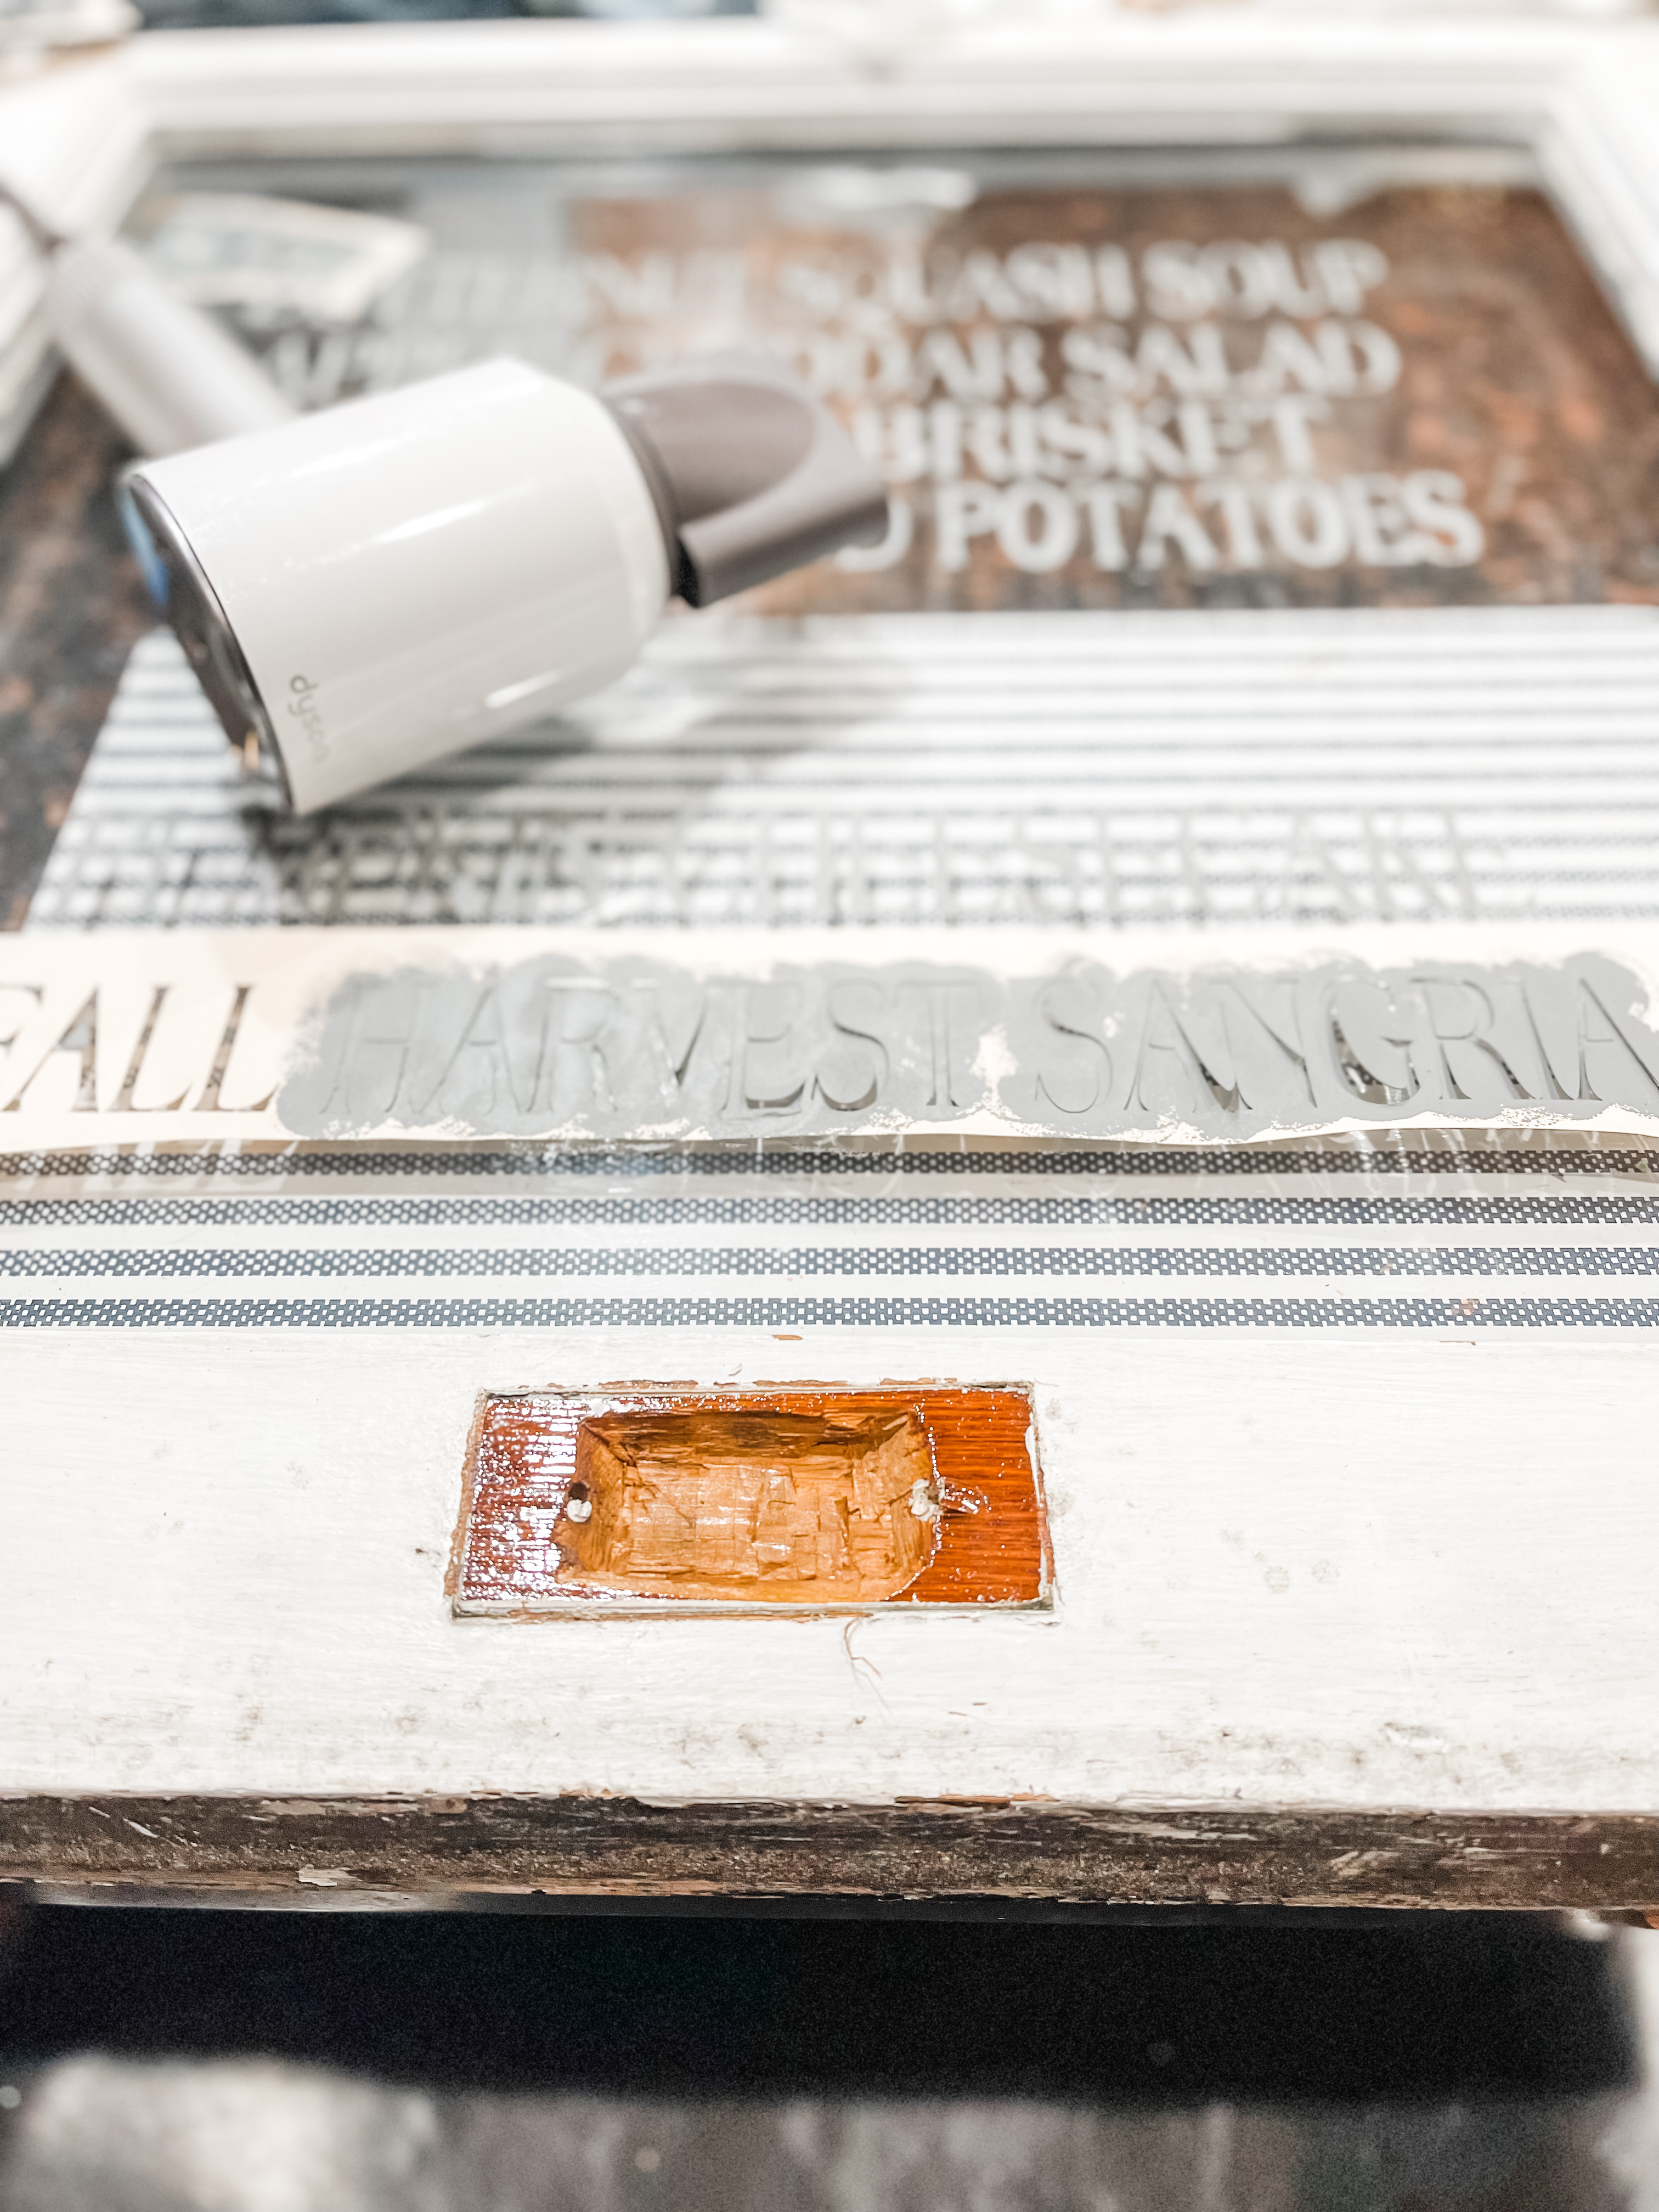
I began on my first stencil and removed it. I realized that it worked best if I held my hair dryer in one hand and stenciled with the other, drying as I go.

That made the paint dry quickly, didn’t give it time to bleed under the stencil and allowed me to remove the stencil and move along to the next line.
STEP SIX
I did a little clean up with a tiny brush and more of the paint and used a cotton swab dipped in alcohol to clean up some edges.
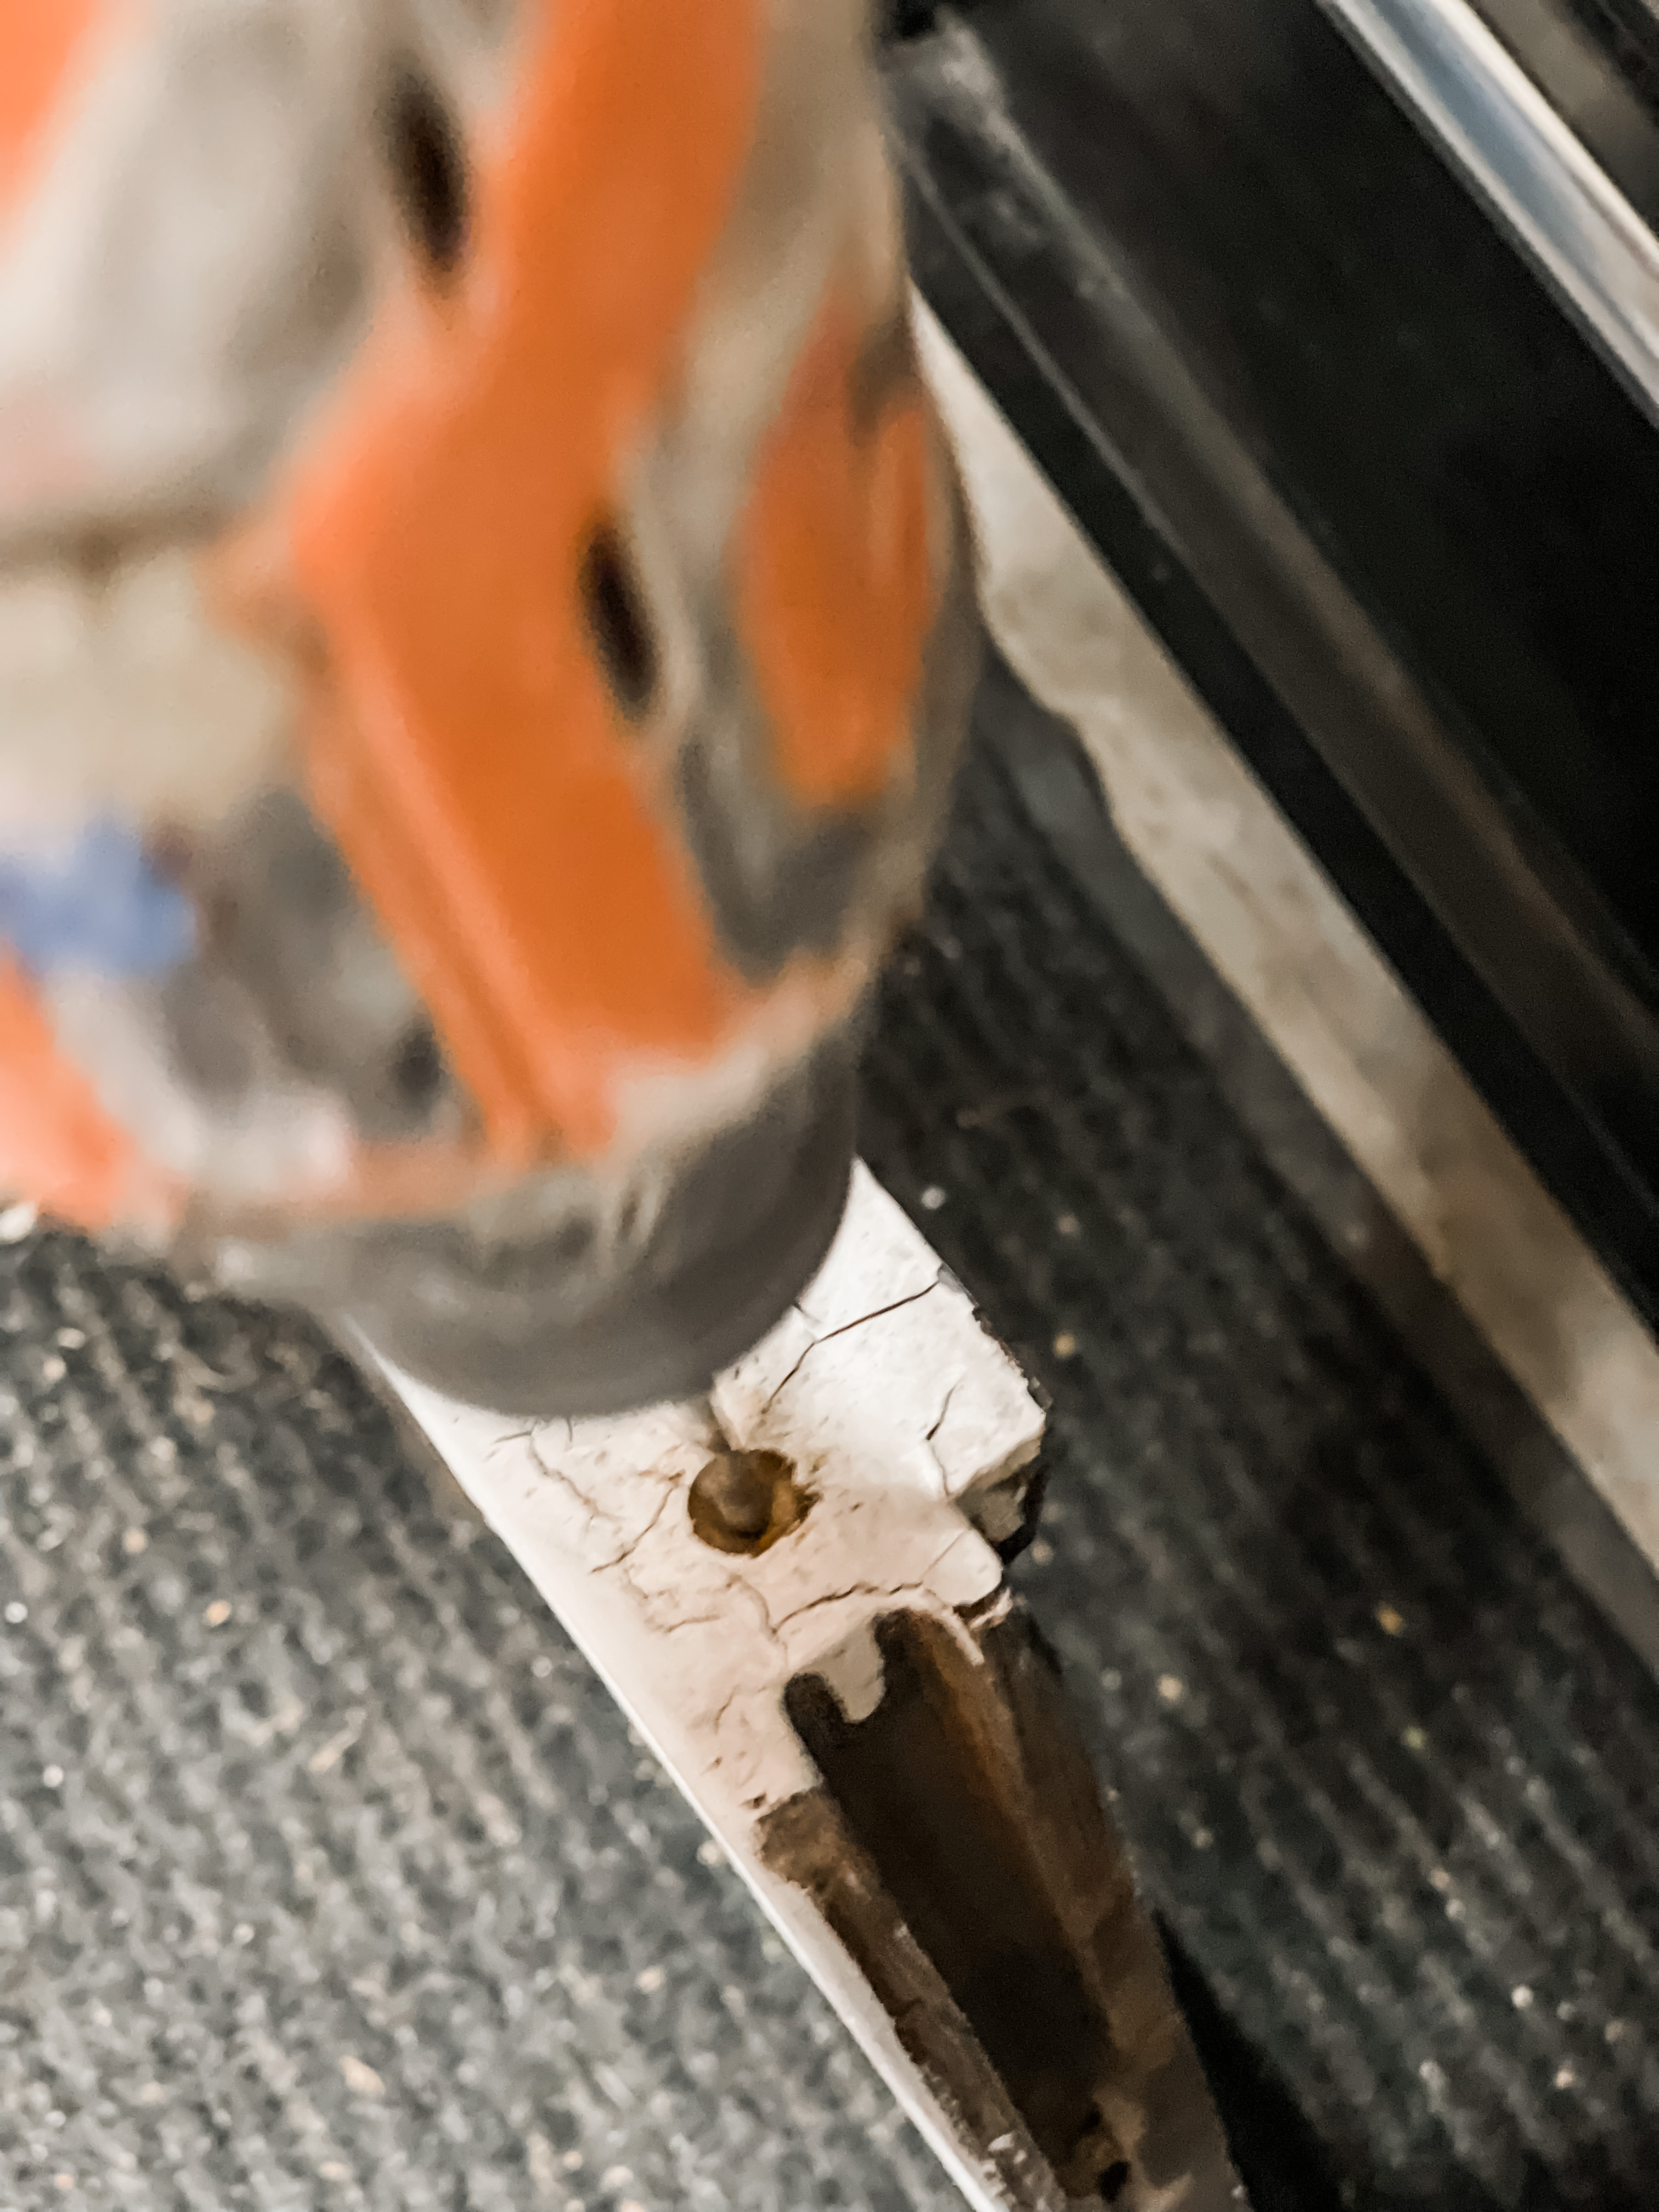
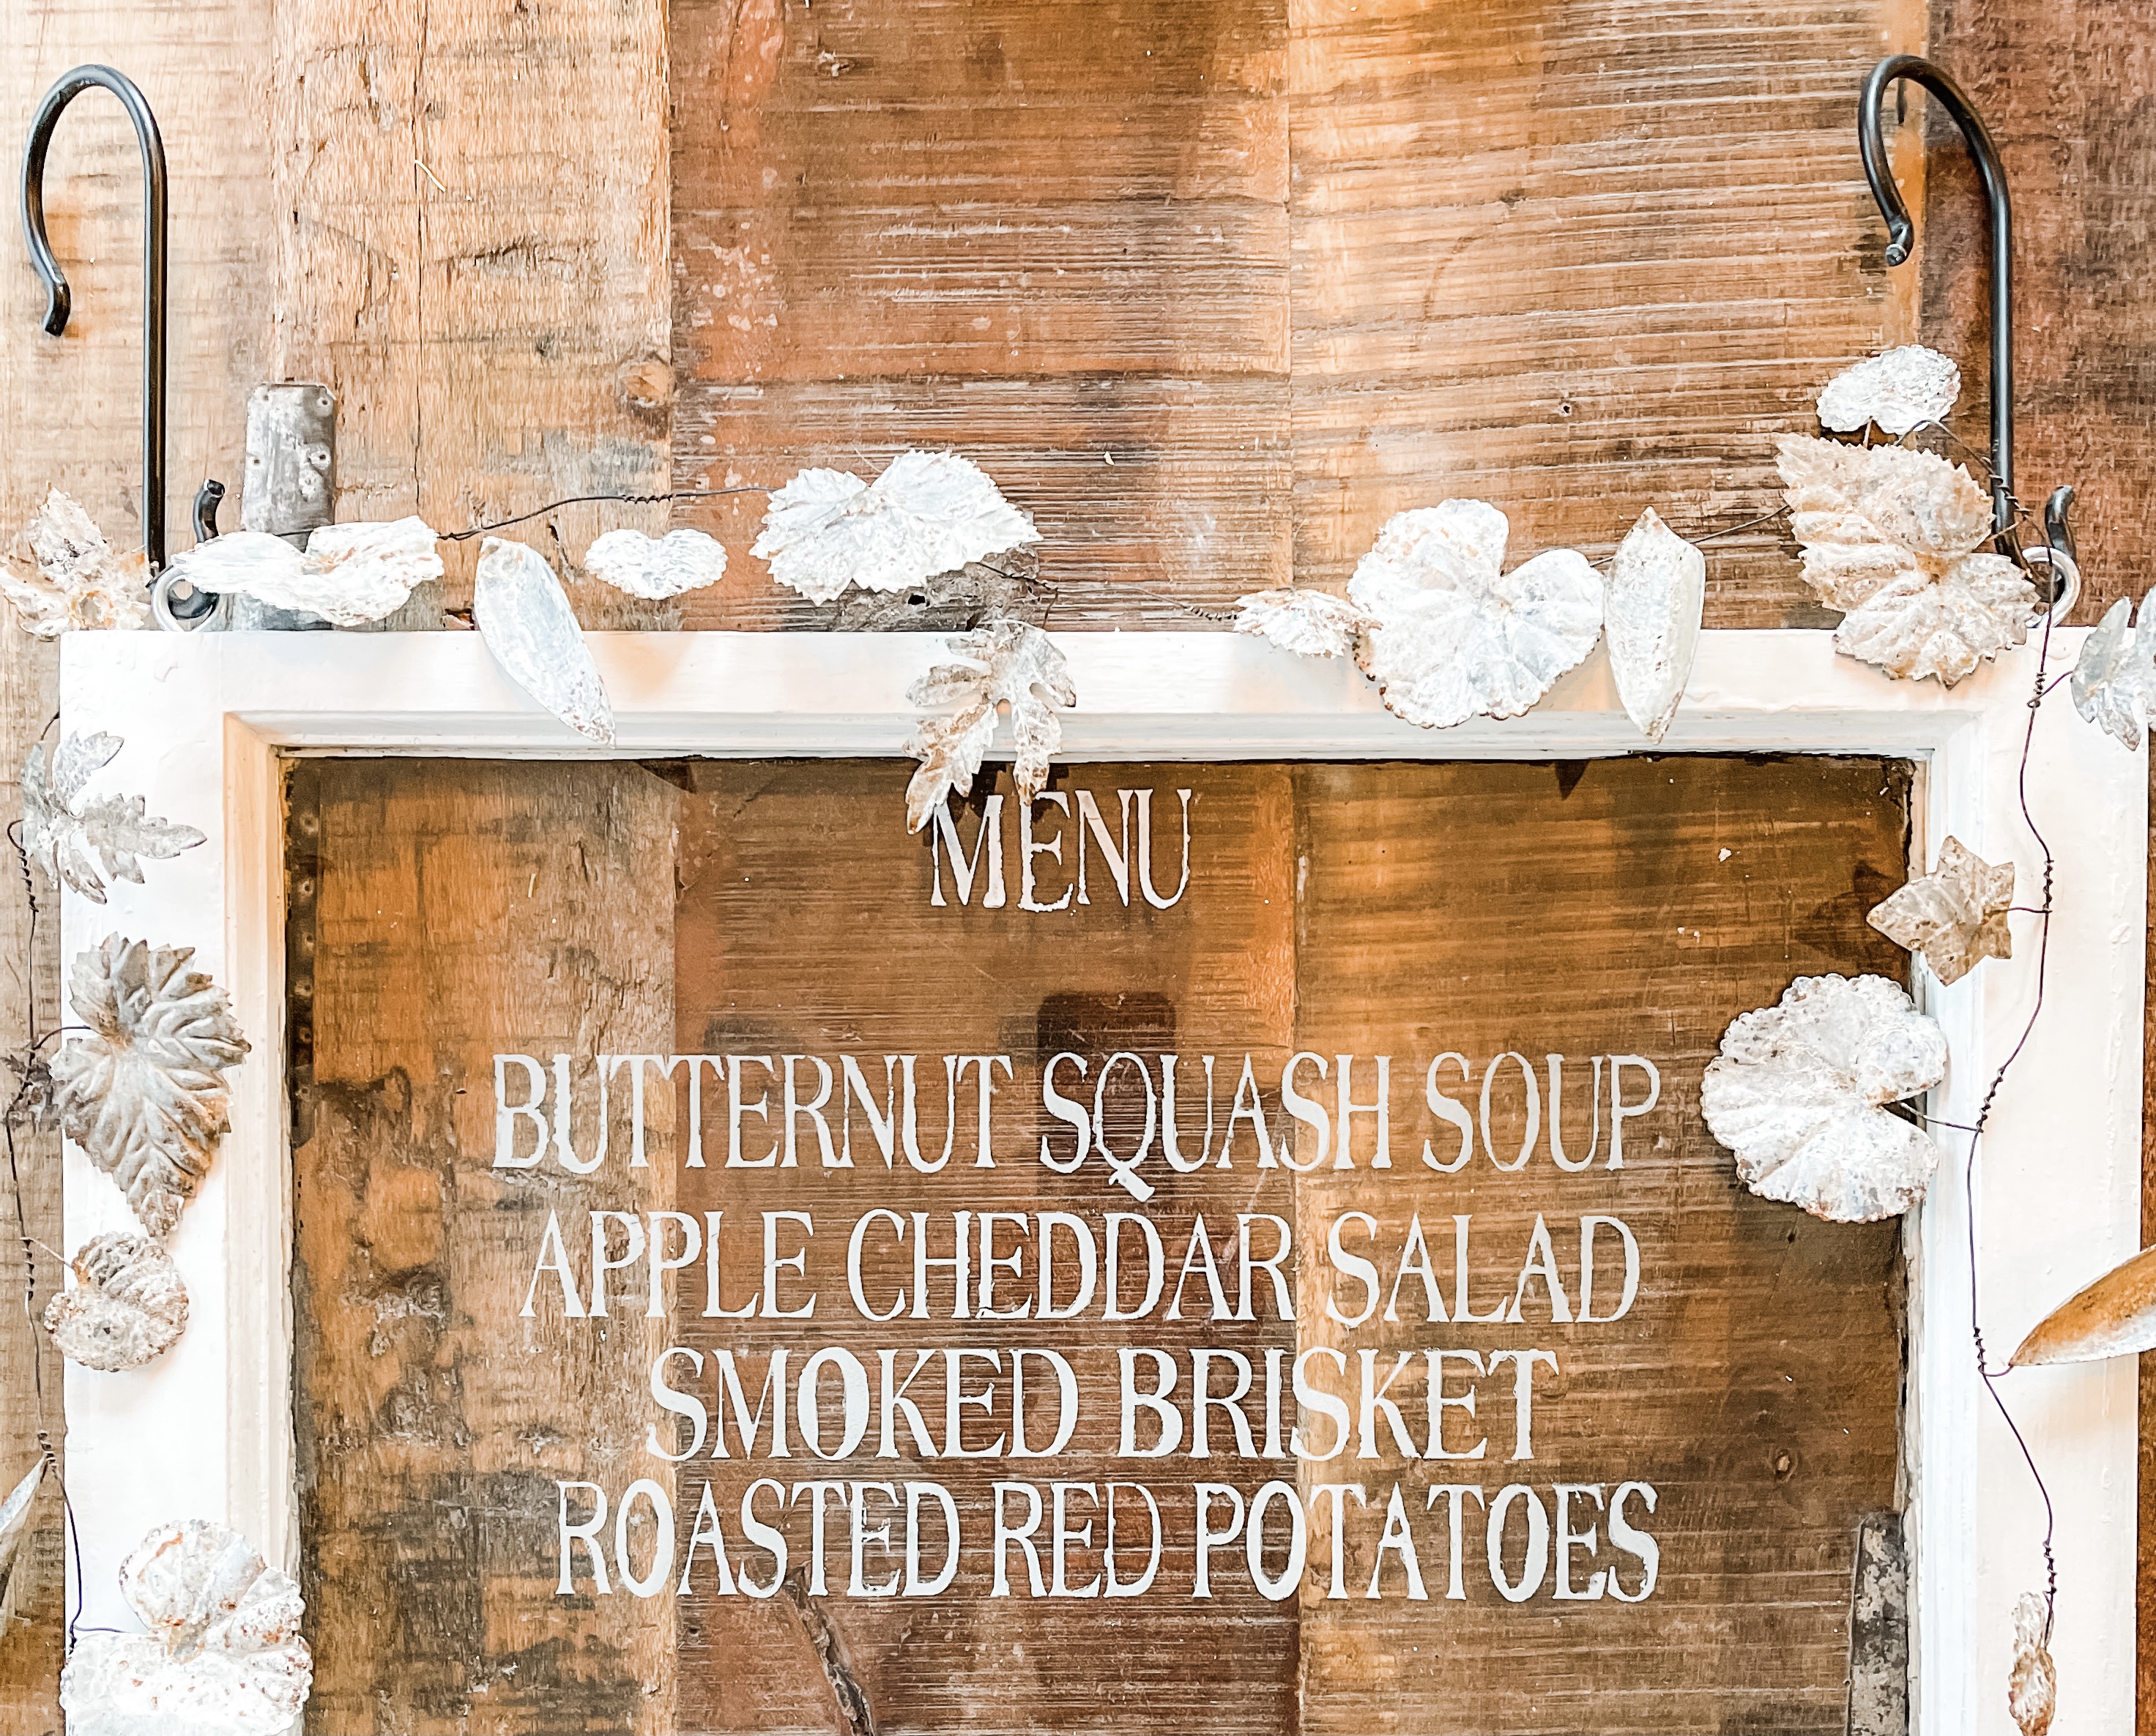
The last thing I did was to pre-drill two holes on top so I could add two eye hooks to hang it.
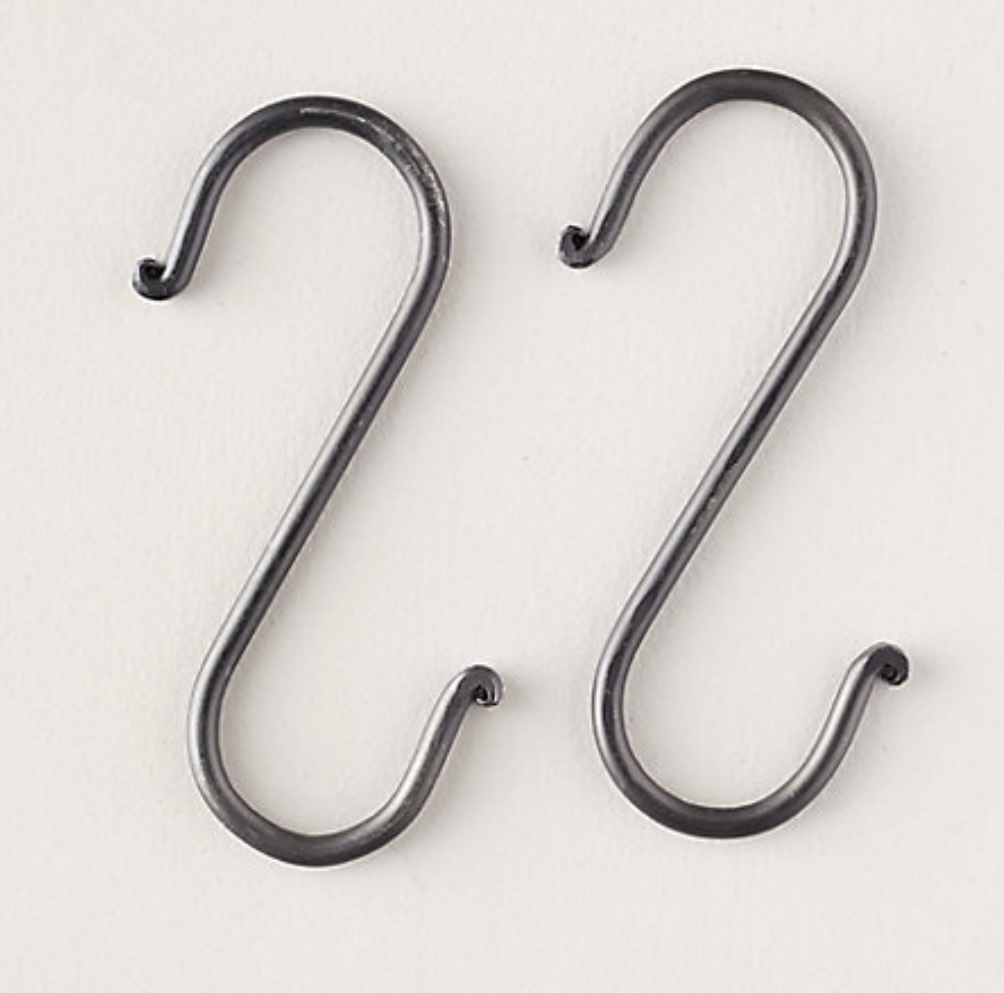
I used two wrought iron hooks to hang it.
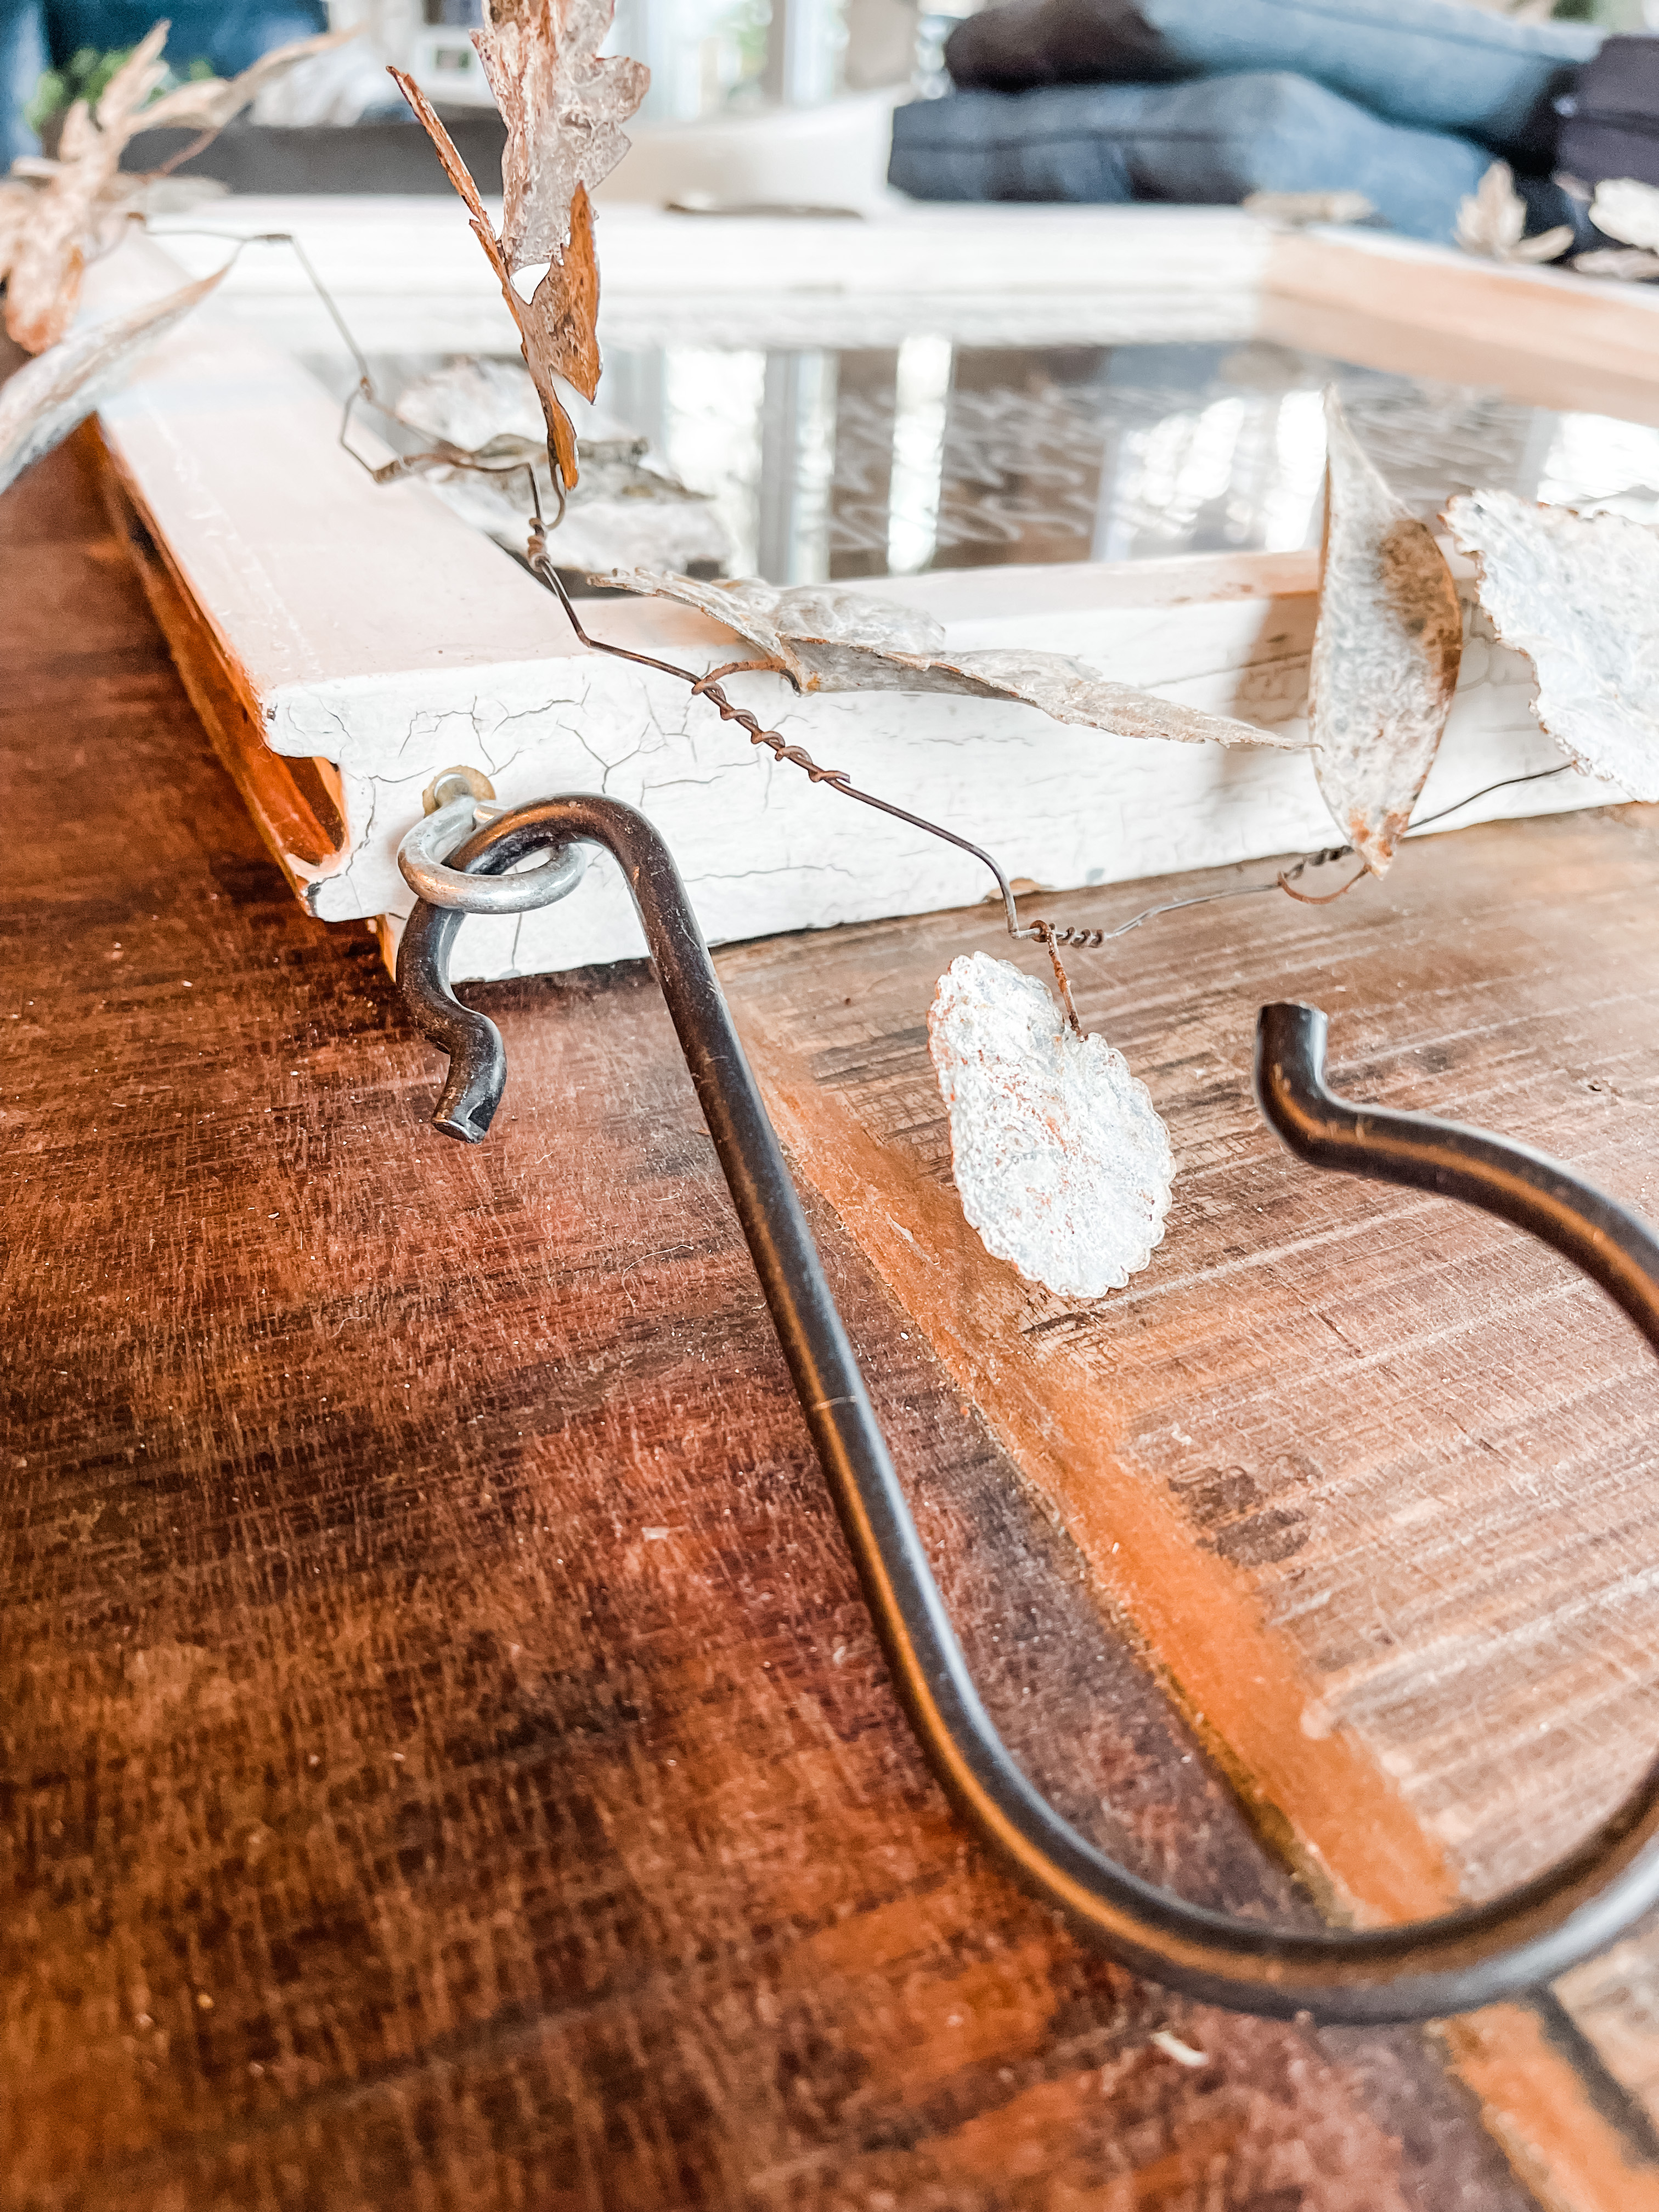
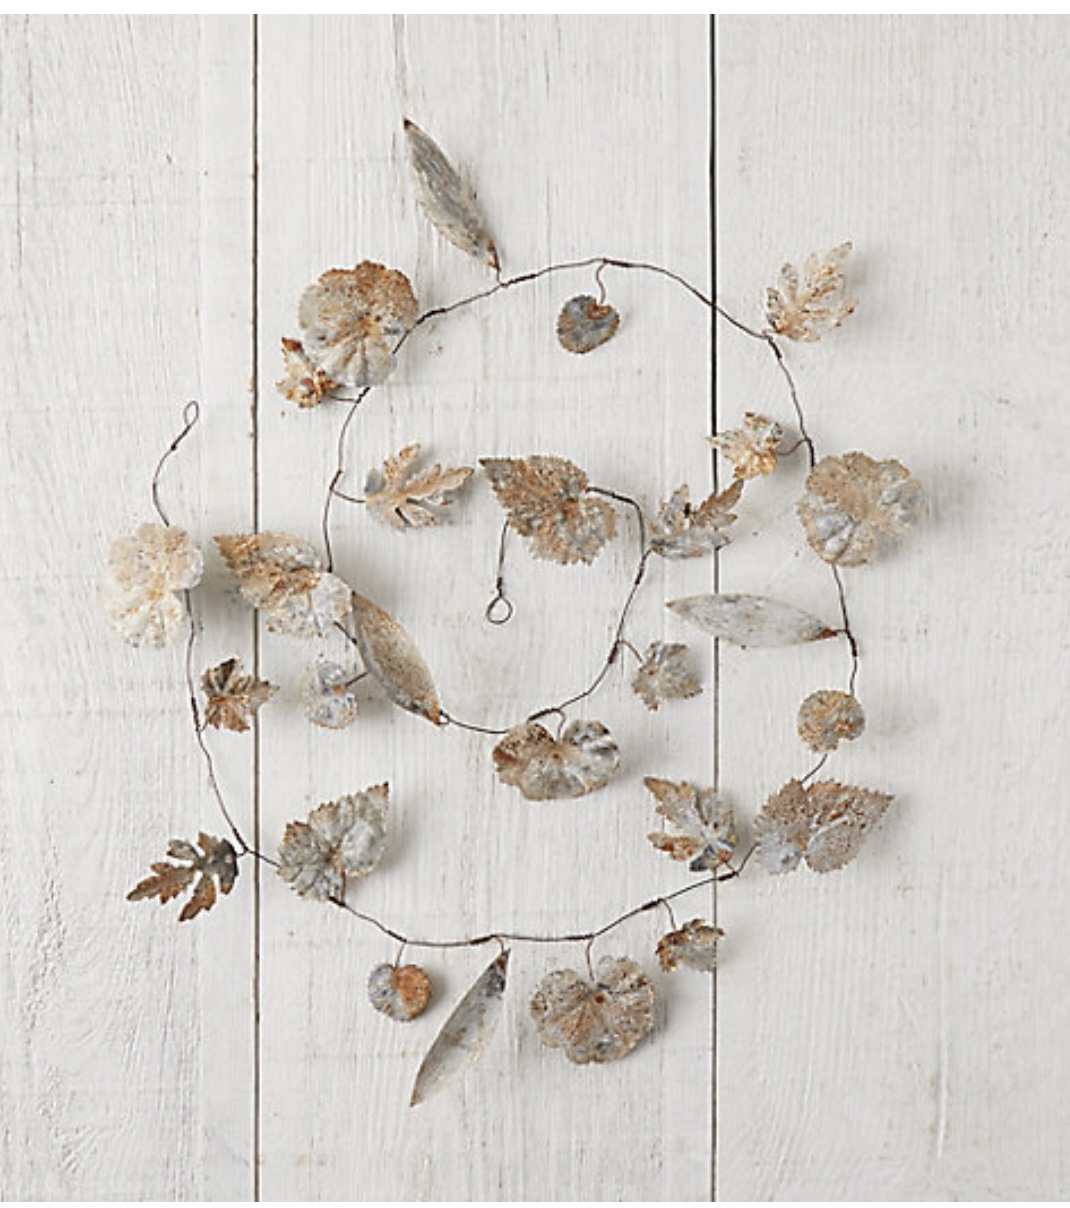
Then I added a rustic metal leaf garland to add a little pop.
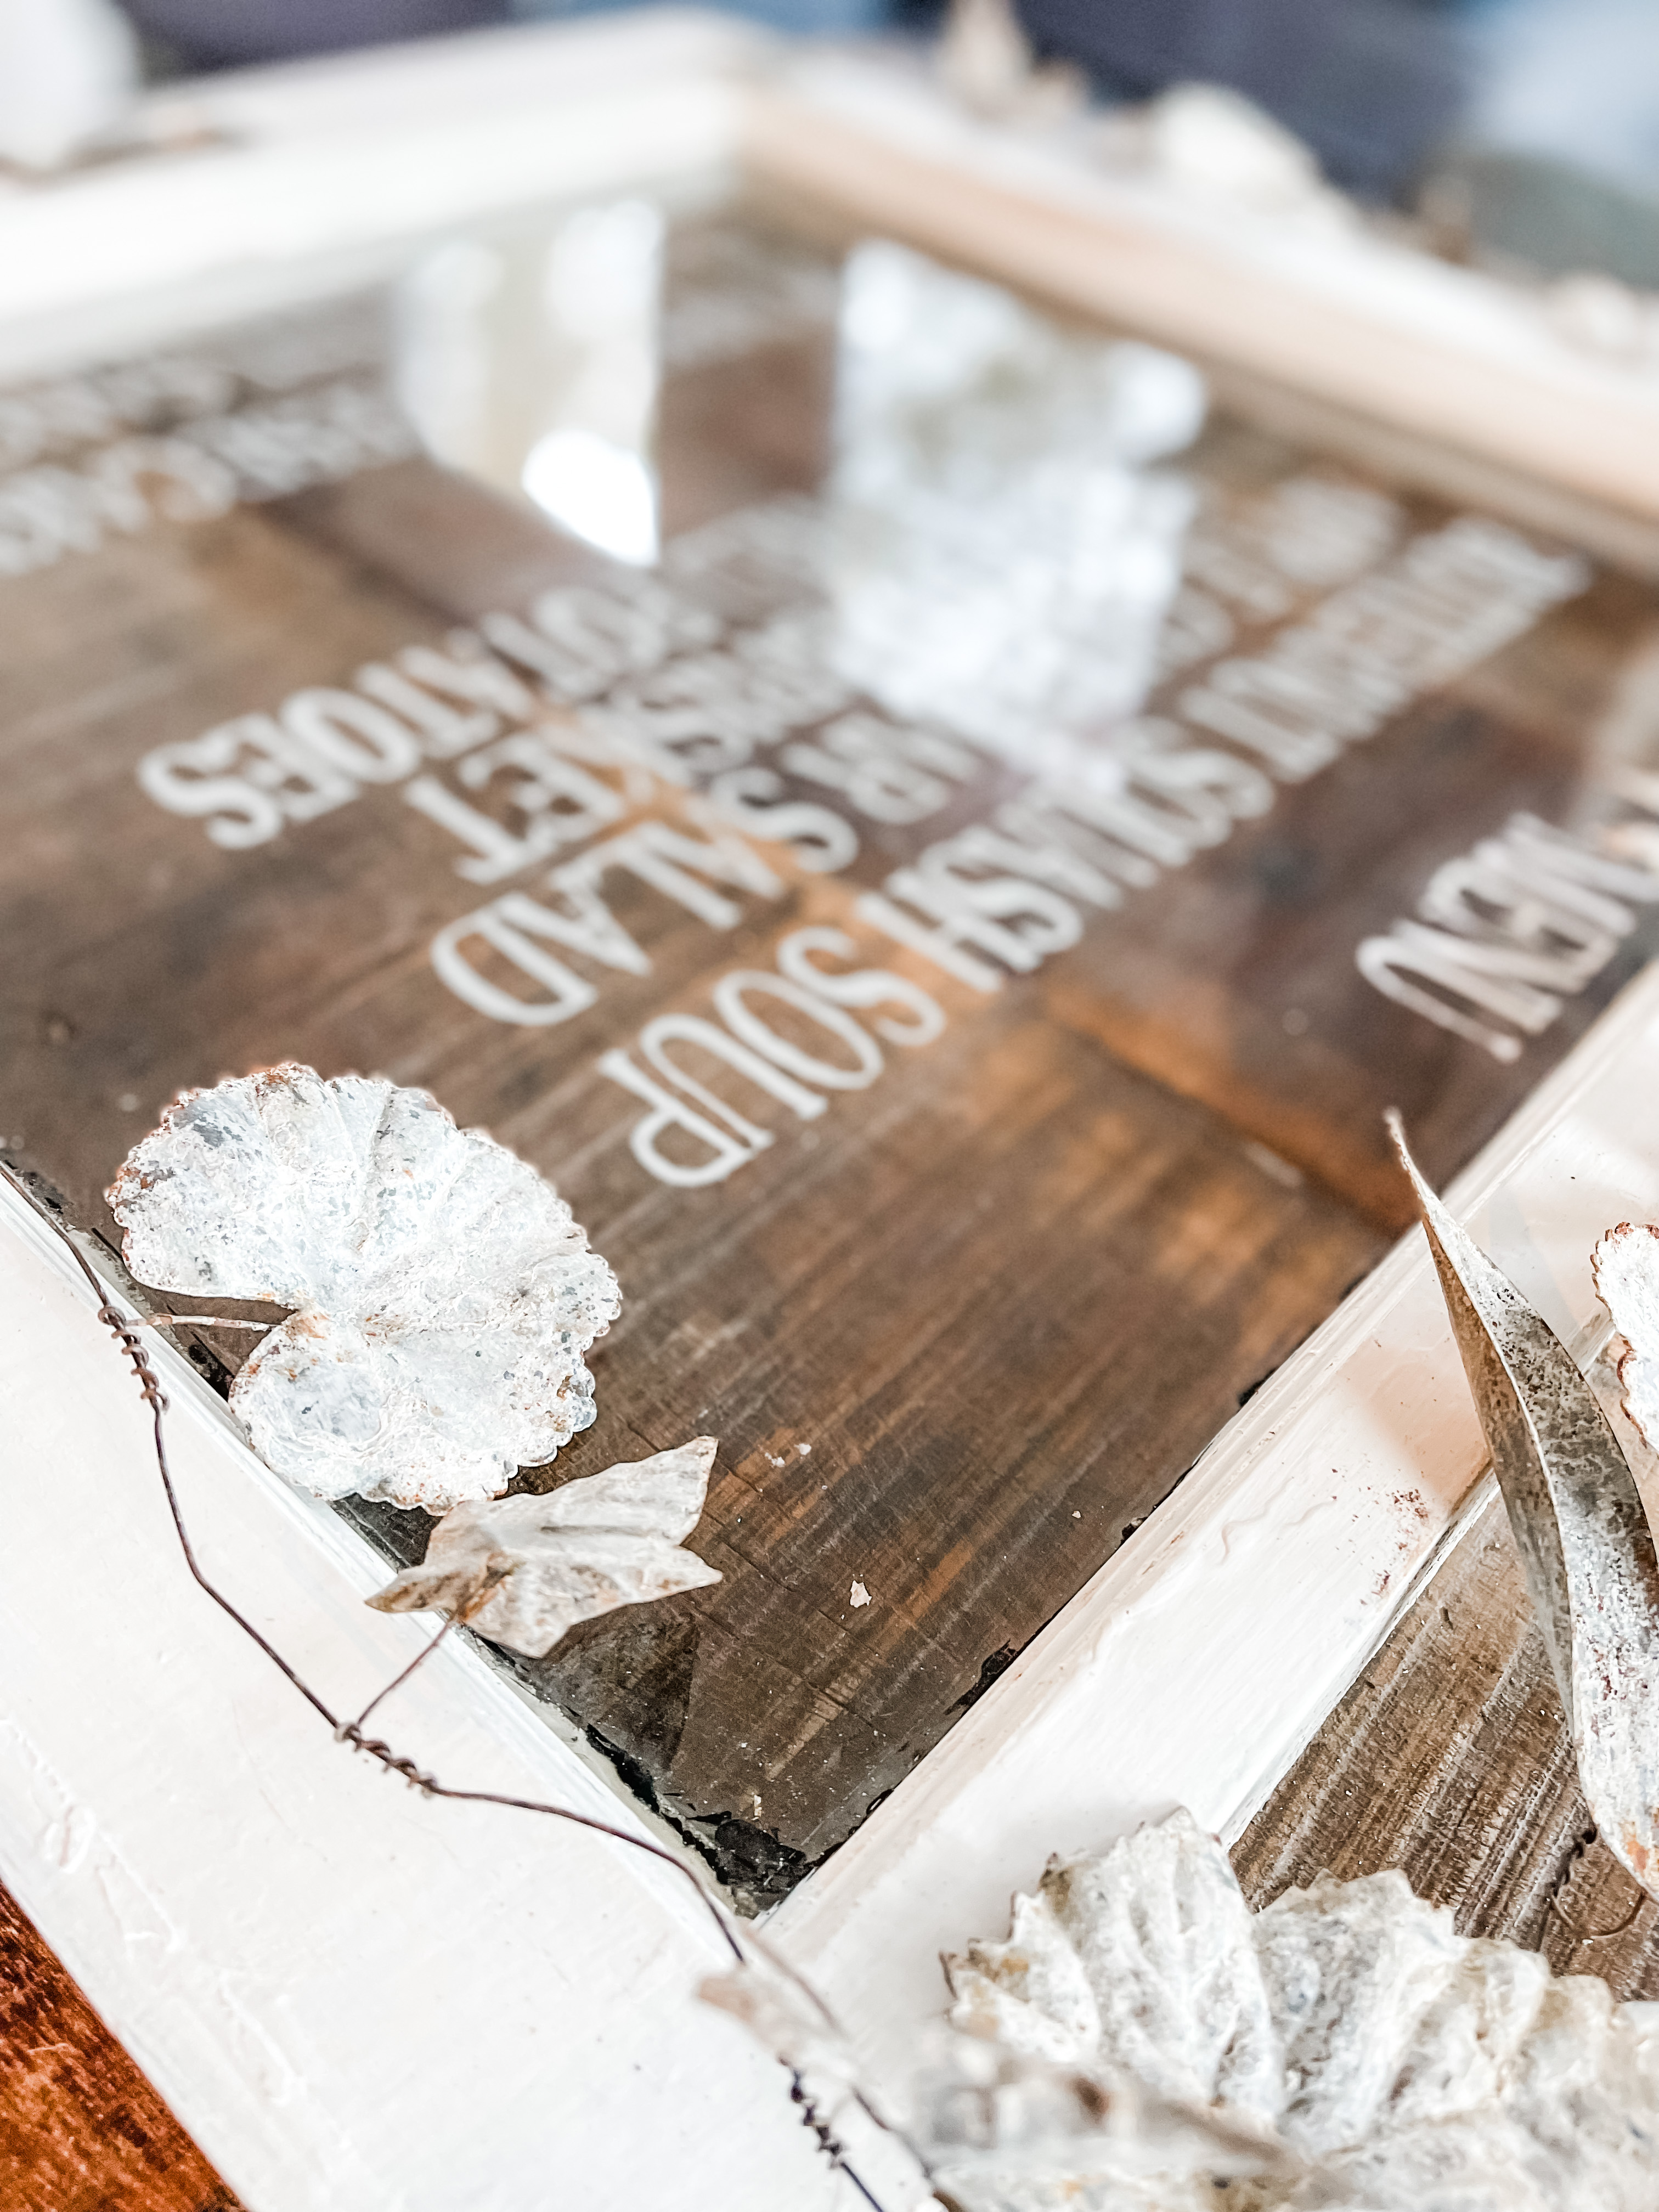
I’m really happy with how this turned out. A attractive and unique way to display information whether it be a menu, agenda or a welcome message.
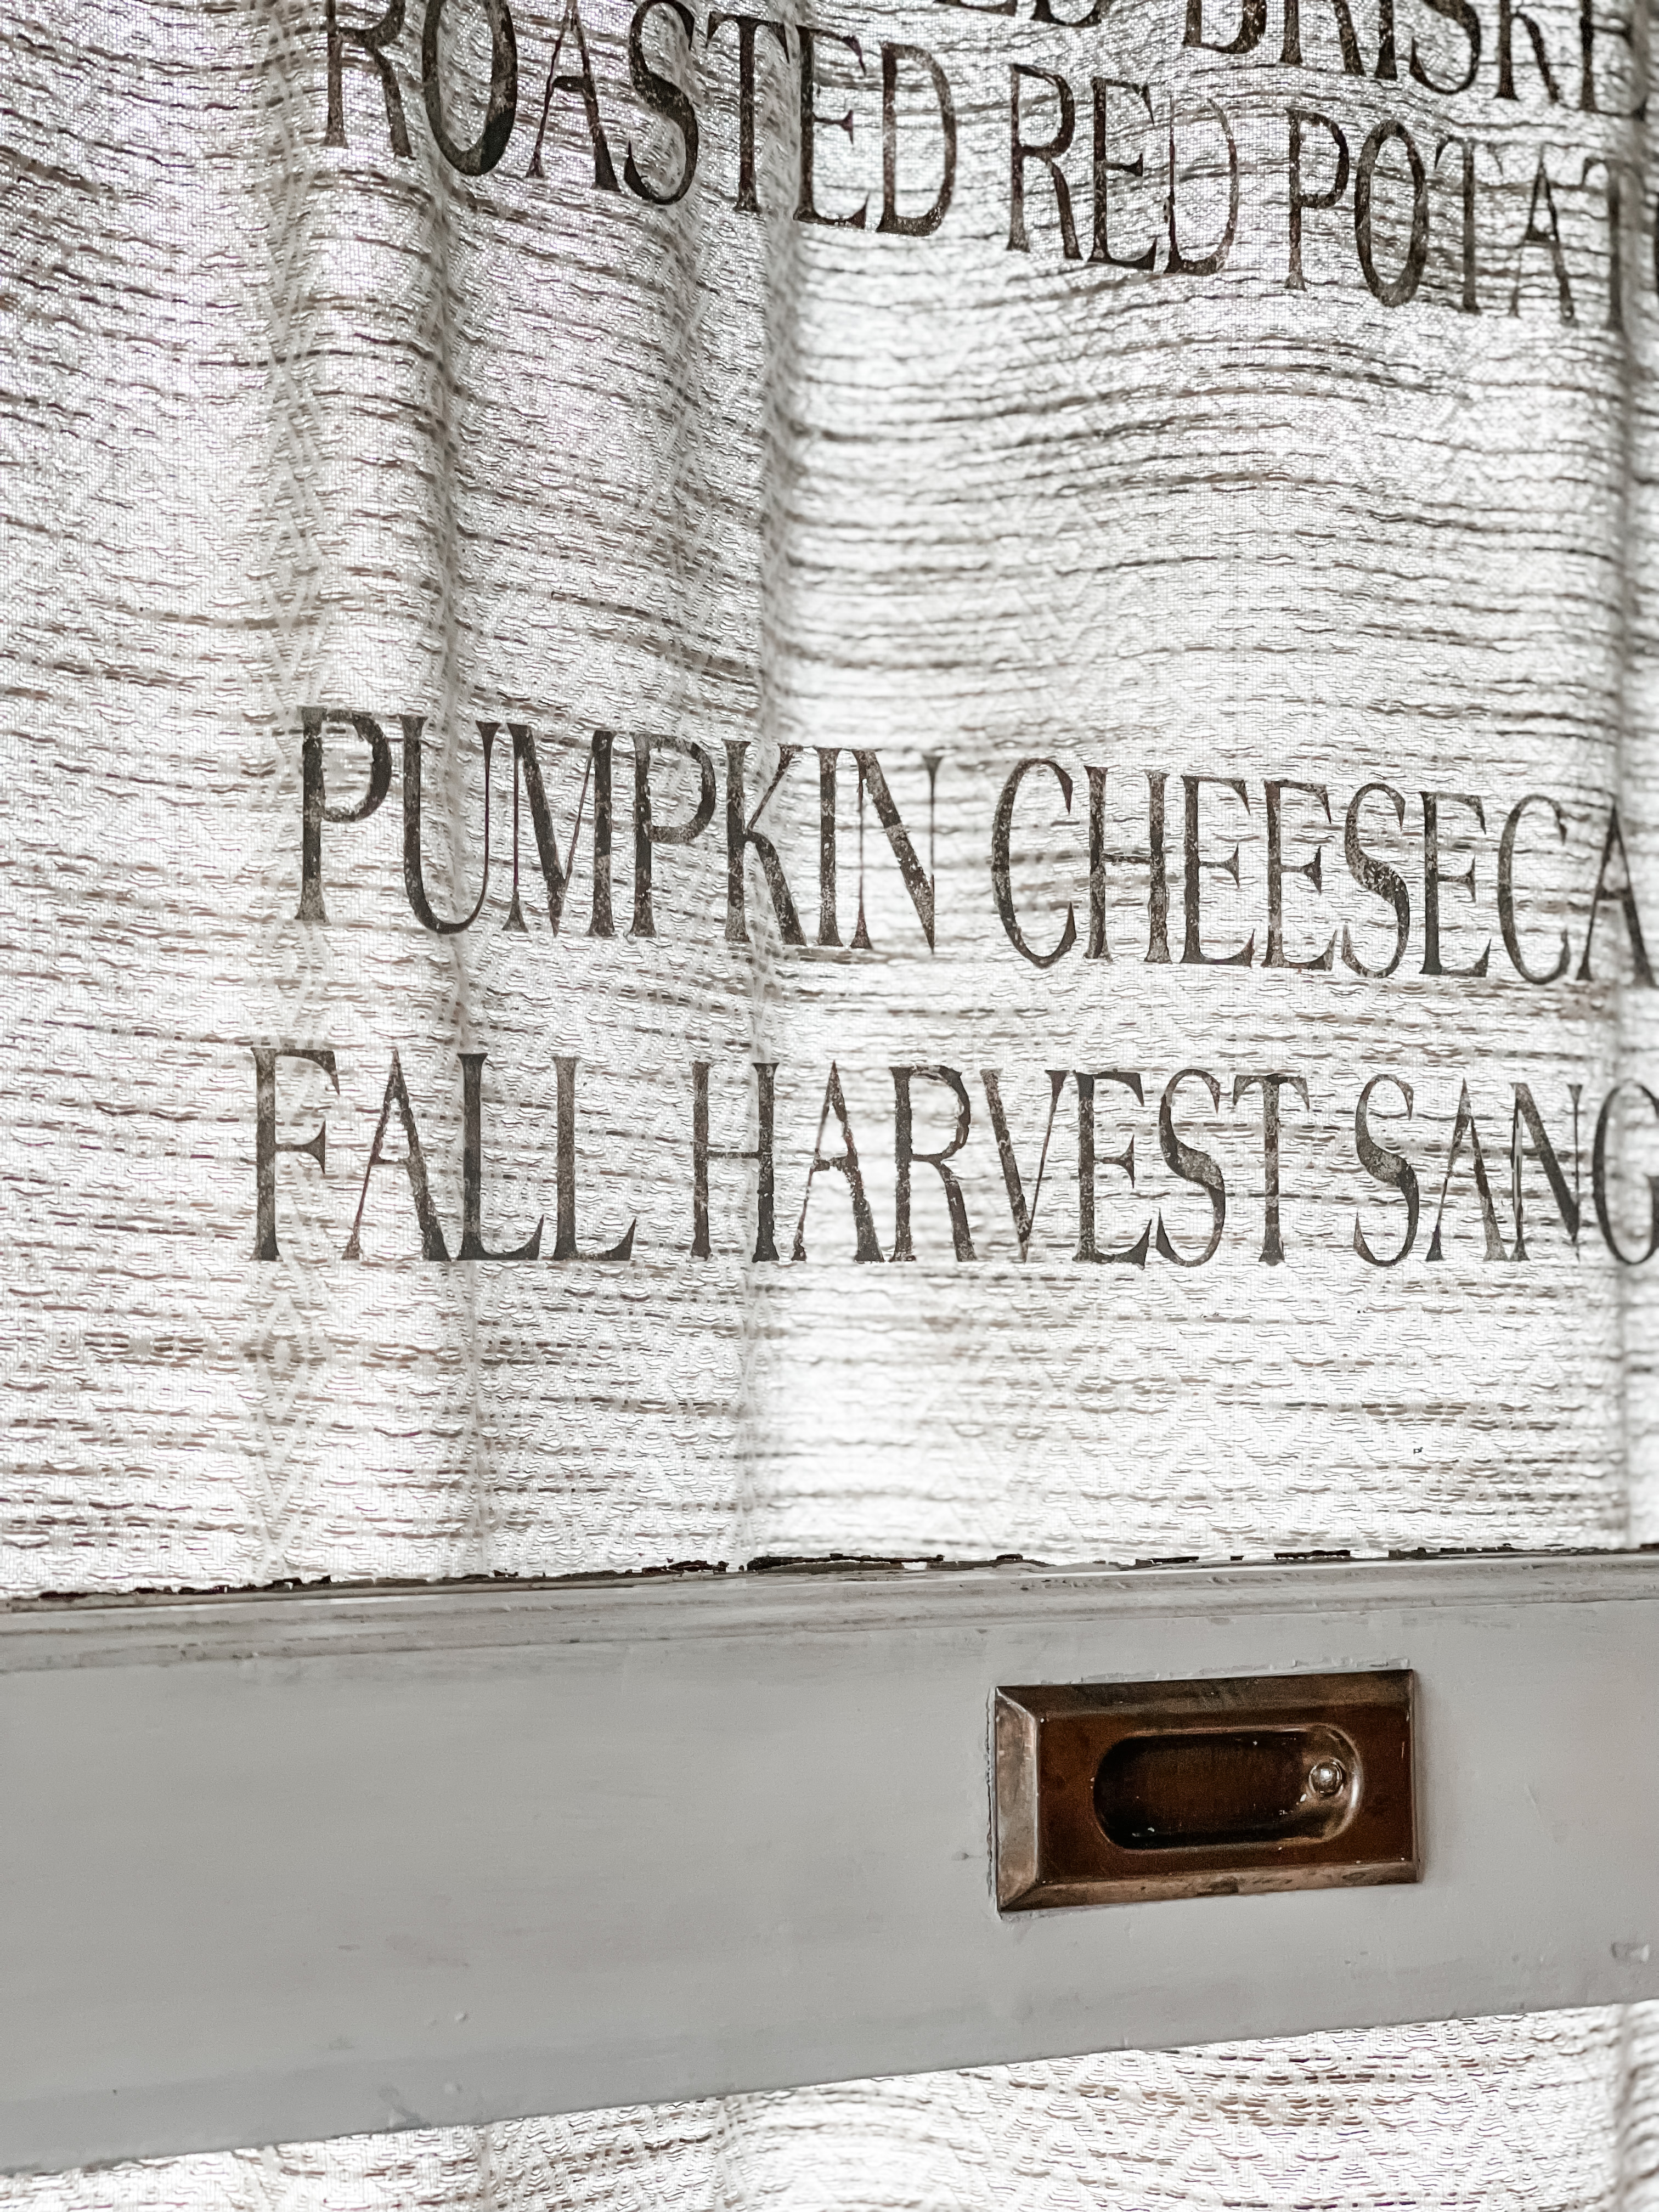
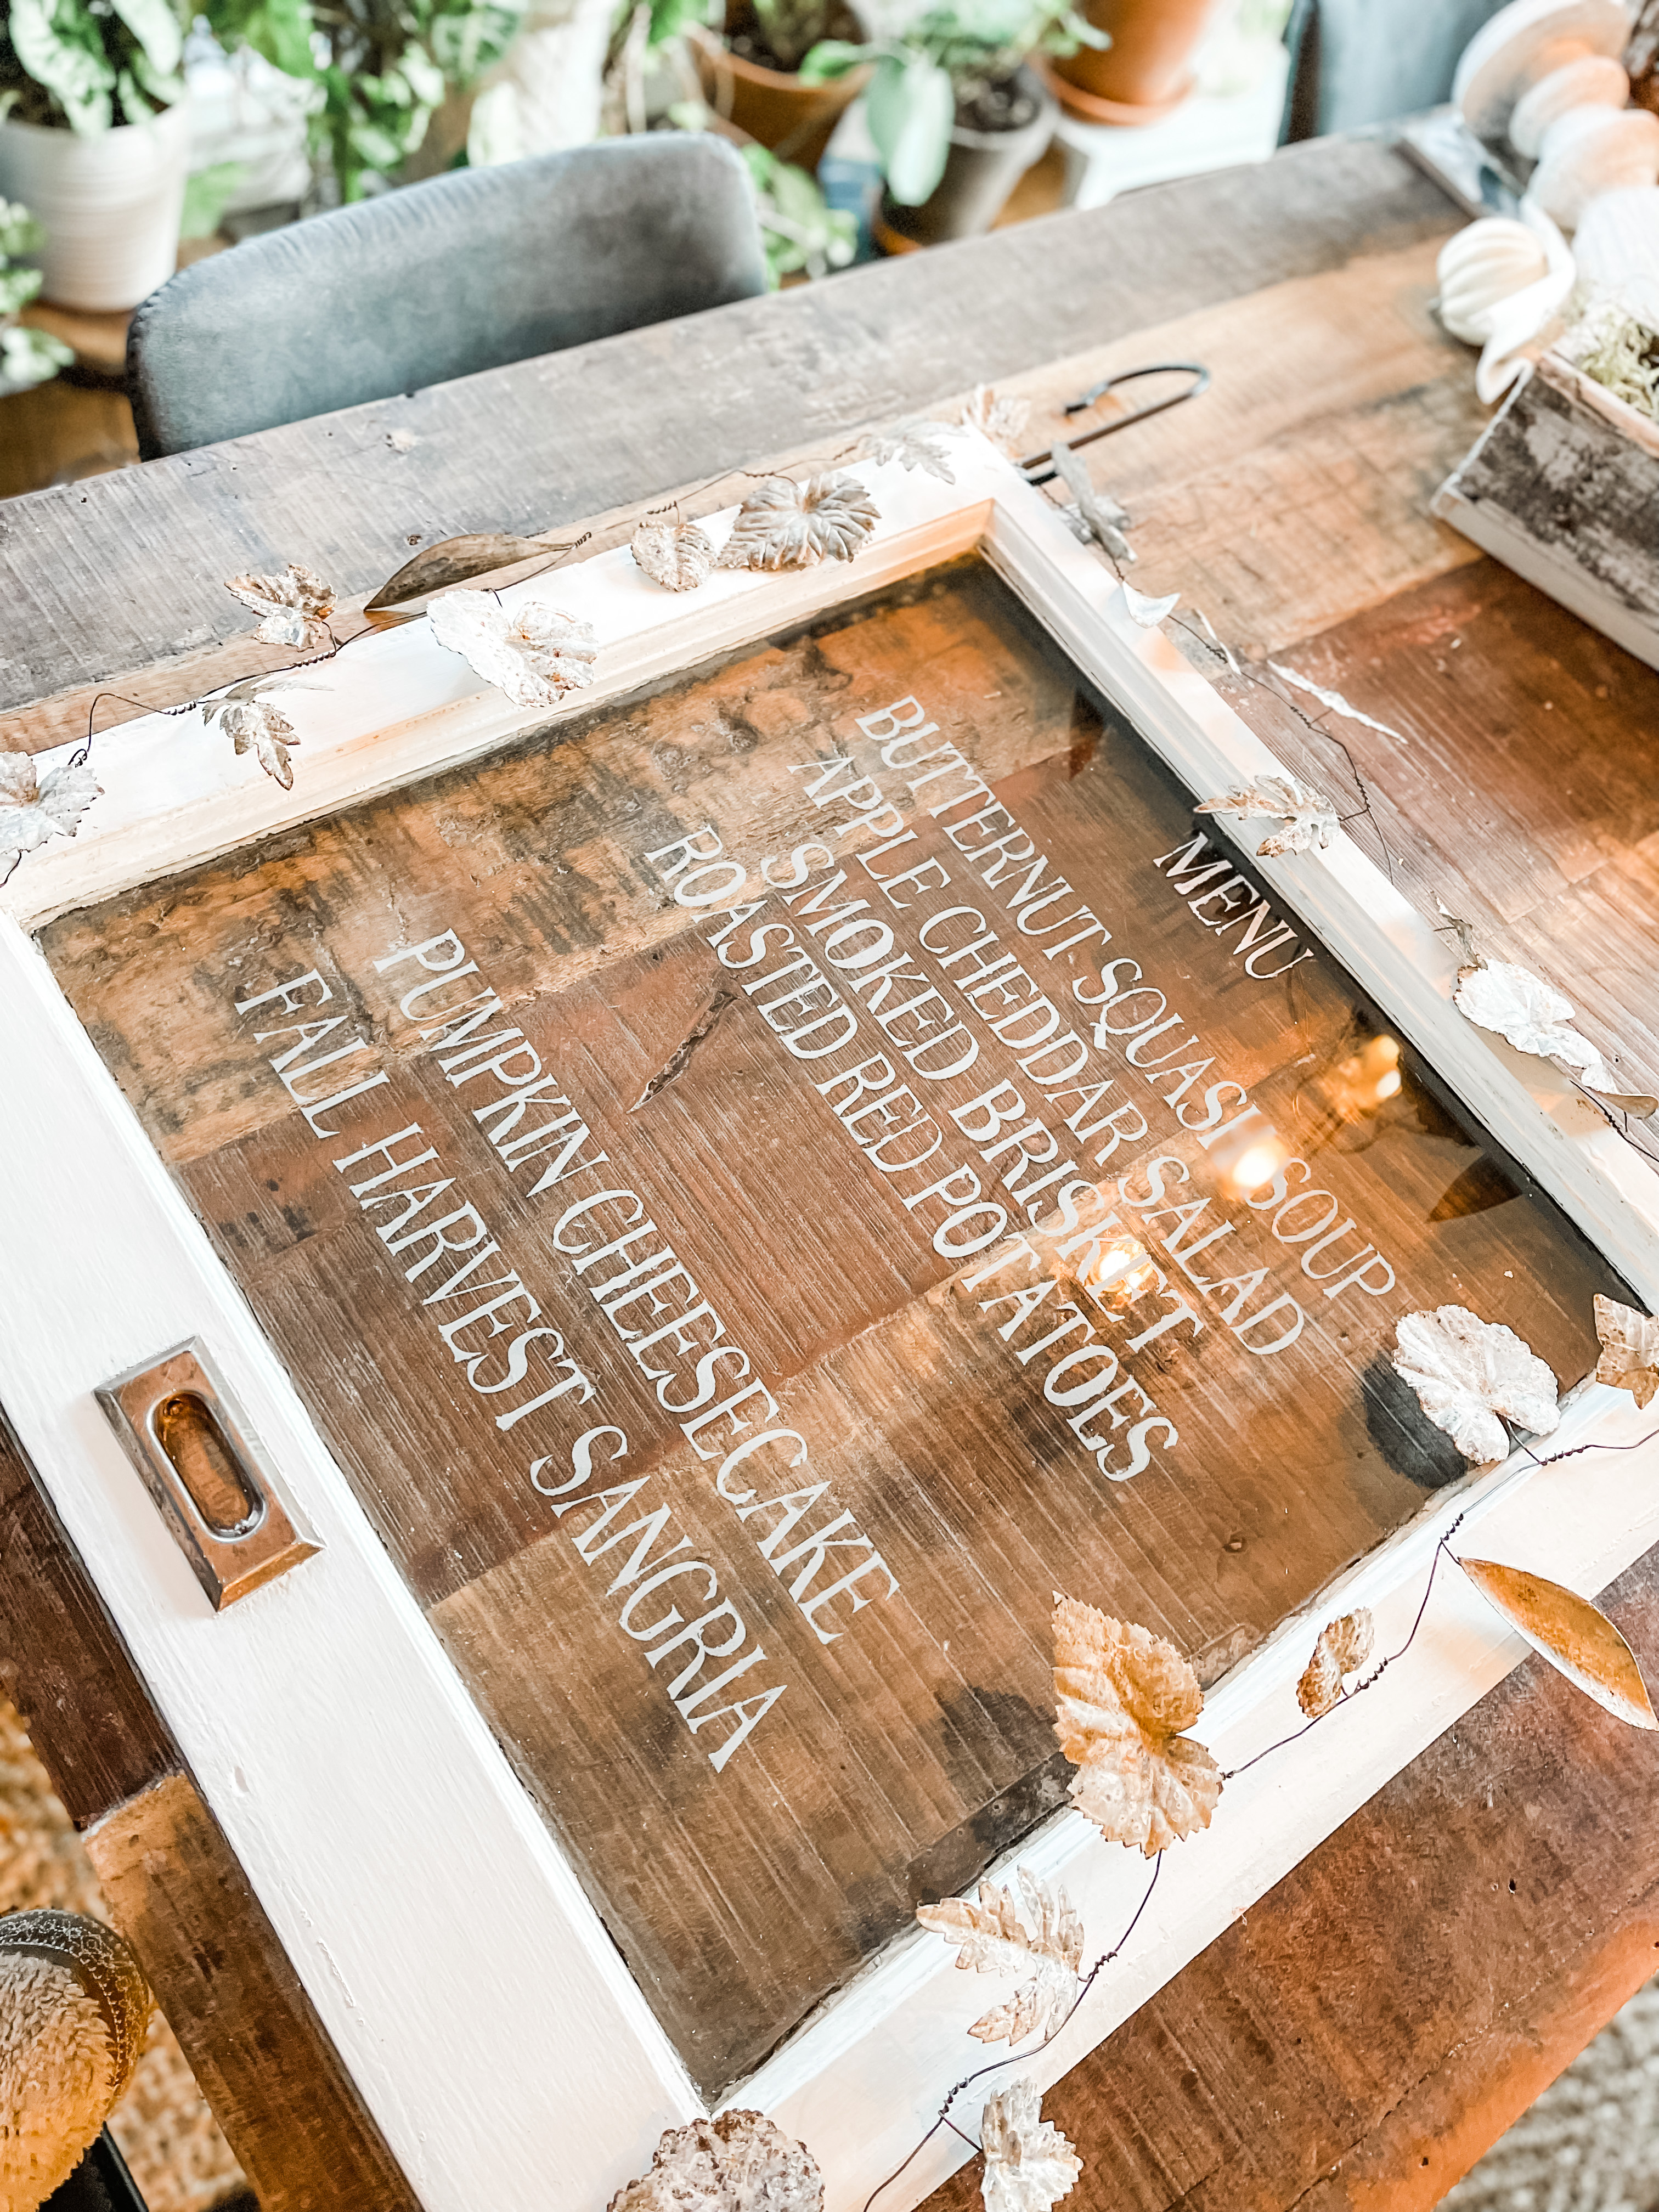
The best part of this is that you can wash the paint off or scrape it with a razor blade and re-use the window for your next event.
Matter of fact, I’m sure you will see this again. I’m thinking a lovely saying at Christmas time?
It would be great to use to as an announcement or welcome for a party or shower.
Thanks for joining me on my journey to create, repurpose and inspire.
If you enjoy what you read, please subscribe to my email list so the posts come right to your inbox!
I welcome comments as this is a way to show engagement which also helps me grow my little business. Coming in the next few weeks is my new website…I promise! I think you will love the look.

XO, Regina
Below is a list of products used in this post with links for your convenience.

This post contains affiliate links. I may receive a small commission at no extra cost to you when you order from these links. Thank you for supporting my small business!

Disclaimer: This is a sponsored post but the experiences and opinions are my own.

Leave a Reply