Do you have a piece that needs a refresh?
See how I used paint to update a DIY concrete table into a blue beauty.
I made this side table / stool last year. I had seen a similar one online at Terrain – one of my favorite stores.
Being my first one, I learned lots. Matter of fact, apparently I can’t get enough. I recently made this one that I saw at a VRBO and needed. Click here to see that one.
I’ve ordered more supplies and am going to make my second one and will make some changes.
To see the post with all the directions click here.
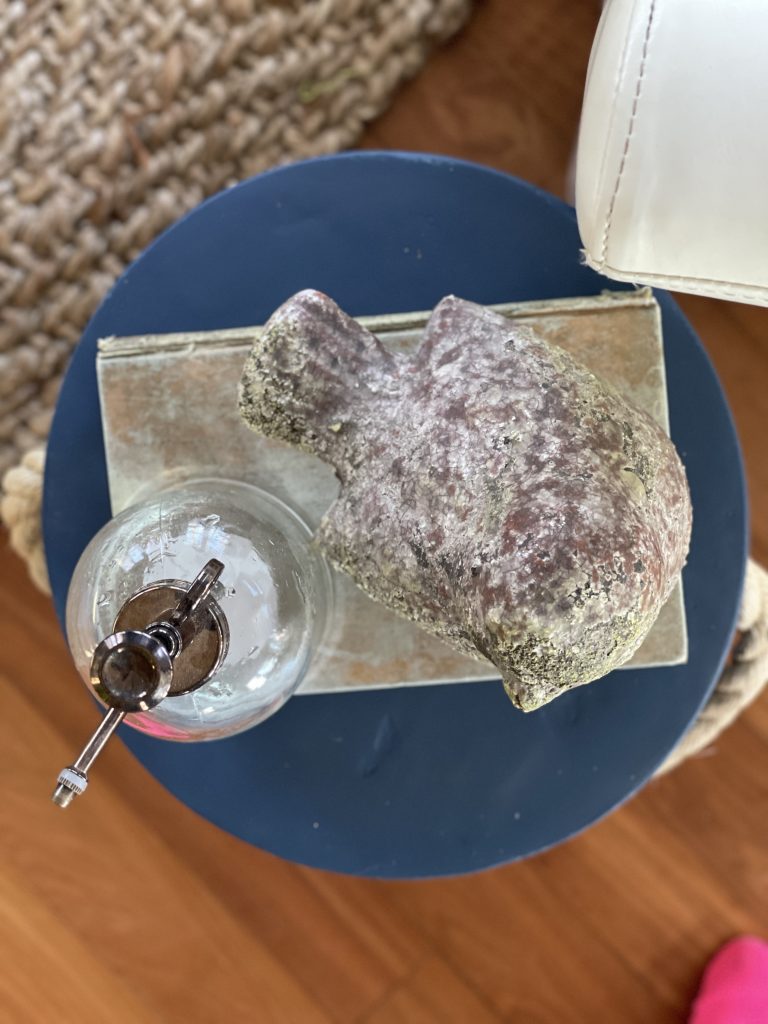
In the meantime, I wanted to update this one and keep it in my sitting area.
I wanted it close to my sofa color so I mixed two colors and am so happy with how it turned out.
Table of Contents
PREPPING THE CONCRETE TABLE
Because I didn’t want the paint to soak into the table, I used a primer called BOSS from Dixie Belle and gave it a coat all over using a brush.
When I made this last year I added blue paint to the concrete mix. It gave it a very light blue color.
You can see that here.
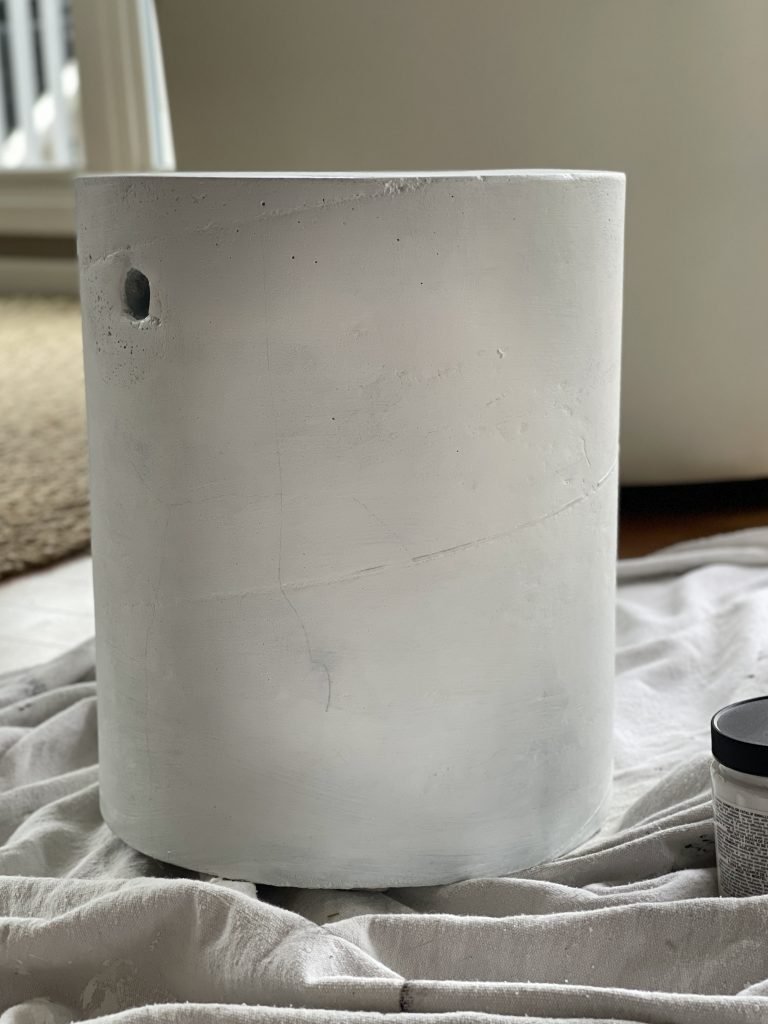
You probably can’t really tell the difference but trust me it was a light light blue and is now a greyish white.
When the BOSS dried, I began mixing my paint colors together to come up with this shade.
PAINTING THE CONCRETE TABLE
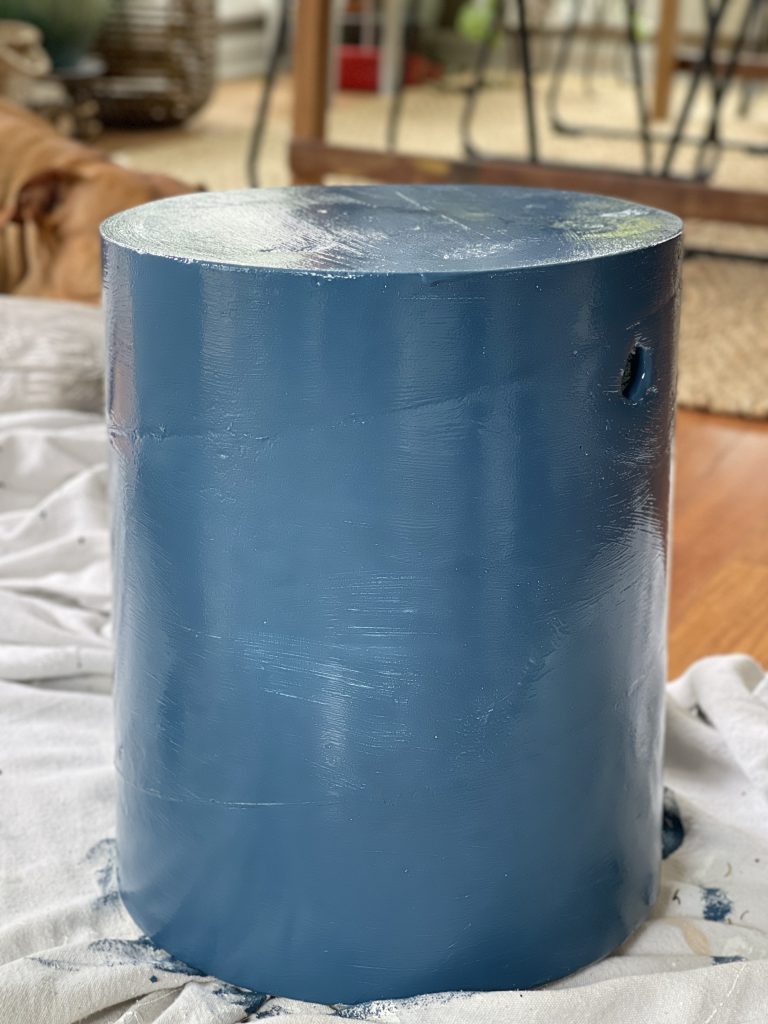
Next I painted one coat and it look amazing!
I mixed two colors of Dixie Belle Silk Mineral Paint together, adding a 50/50 mix of Nautical and Mirage. The color Mirage, is part of the new Dessert Collection.
How pretty is the new color?
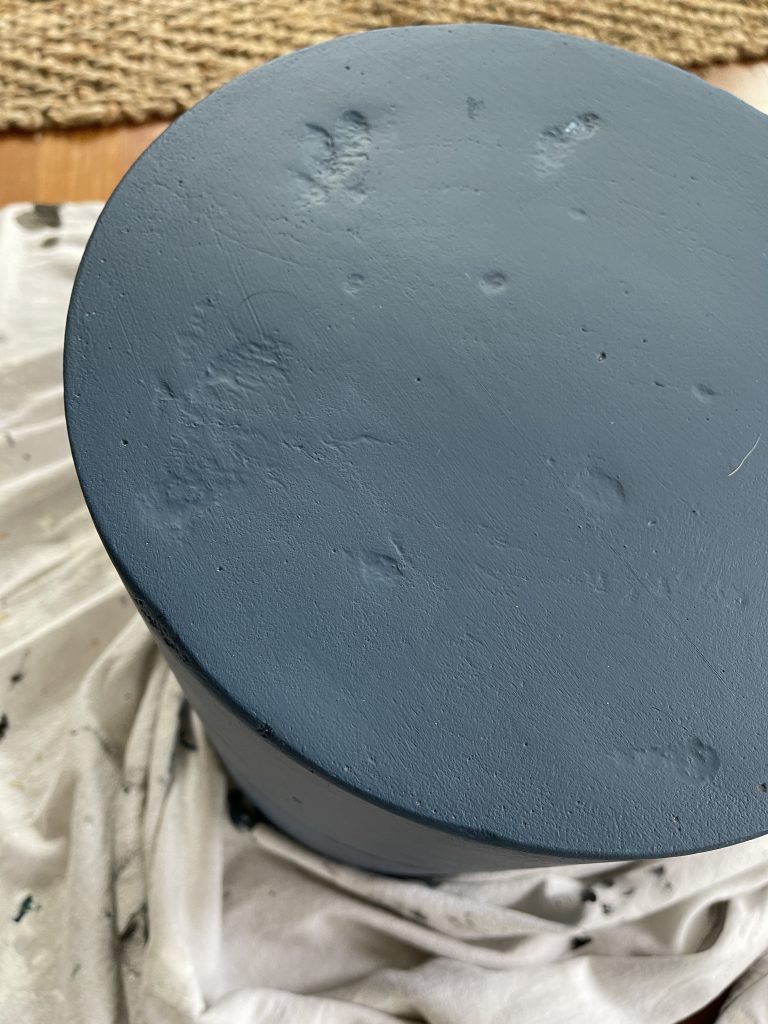
The only problem was the imperfections on the top were more obvious to me. So….
REPAIRING THE CONCRETE TABLE
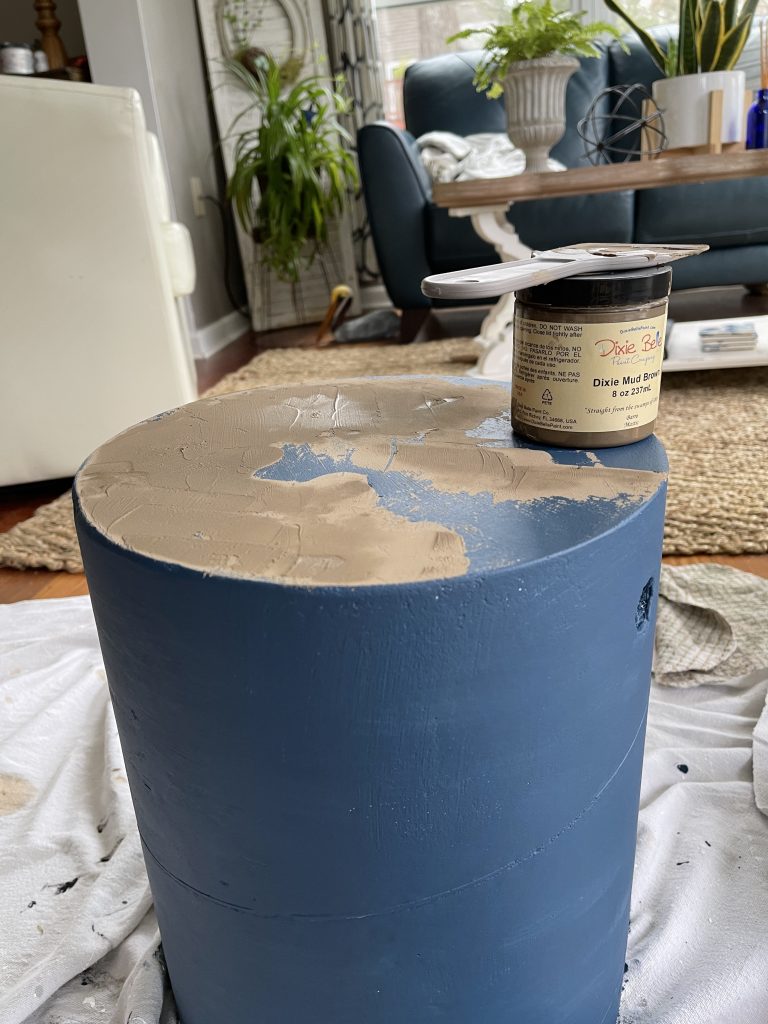
Not loving the dents and dimples, I decided to fill them in. How do you fill in dents on concrete? Maybe what I used for every other crack, dent and scratch these days. I grabbed my MUD out of the fridge and spread it on top of the imperfections and then let it dry. The mud comes in black, brown and white. I only have brown right now.
If I had not painted the table, I wouldn’t have been able to make these repairs. So I already knew I’d be painting the next one I make.
When it was completely dry, I lightly sanded the top with a sanding sponge.
It smoothed it out and looked so much better.
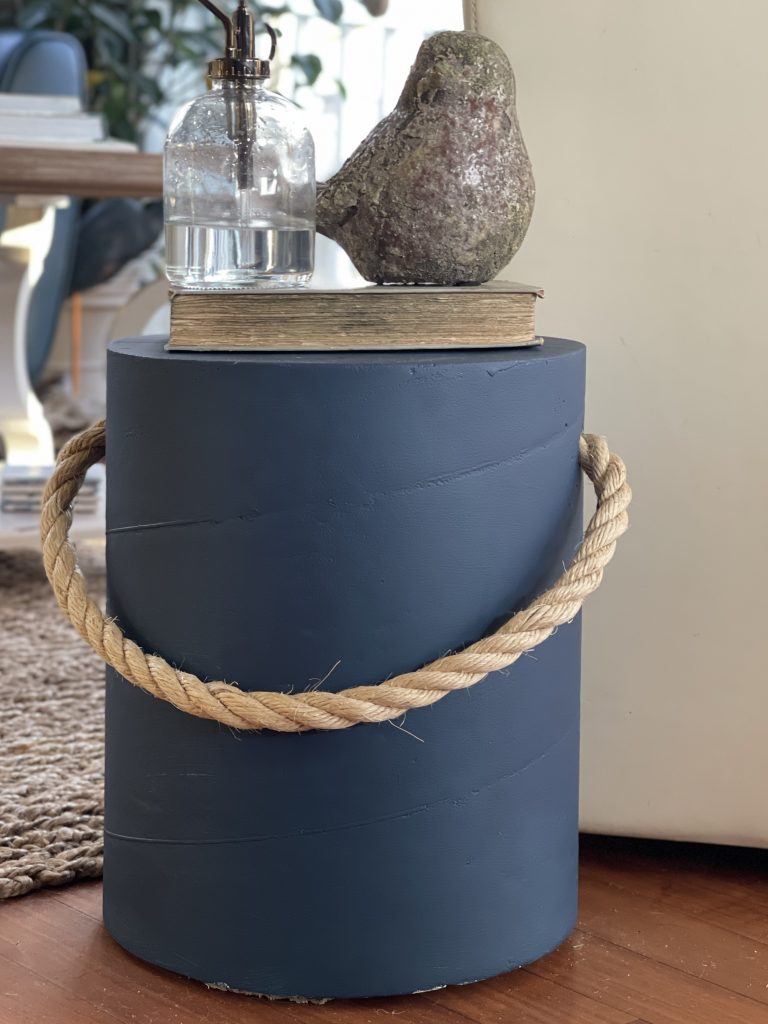
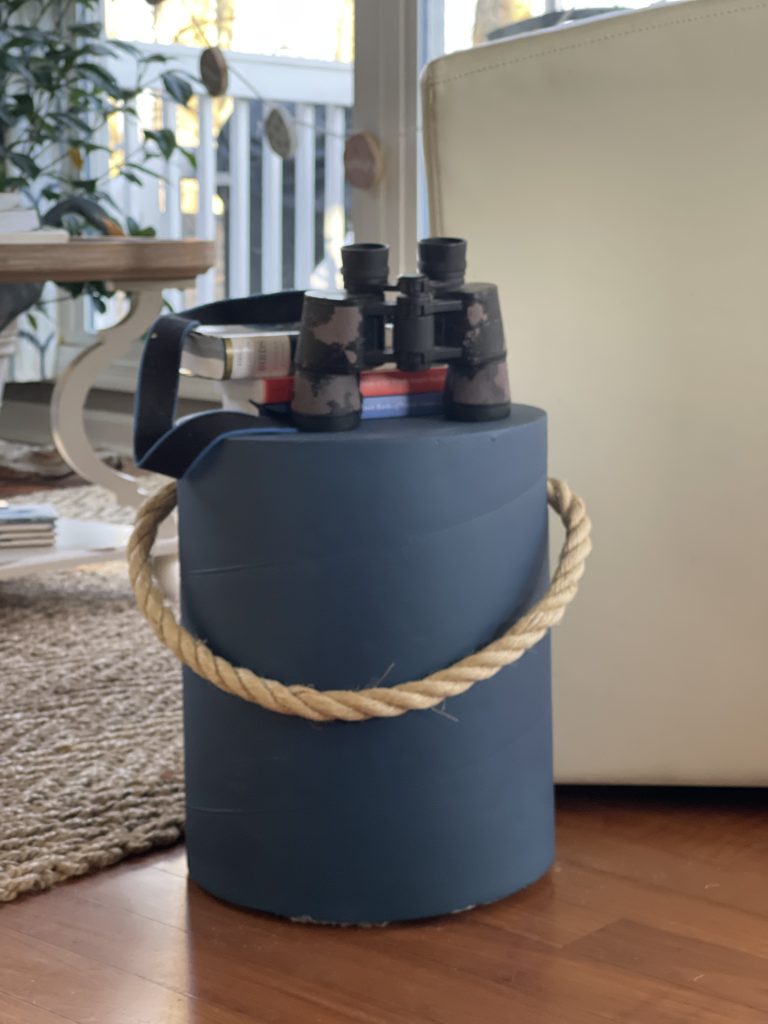
Next I repainted the top with the blue color and here it is now.
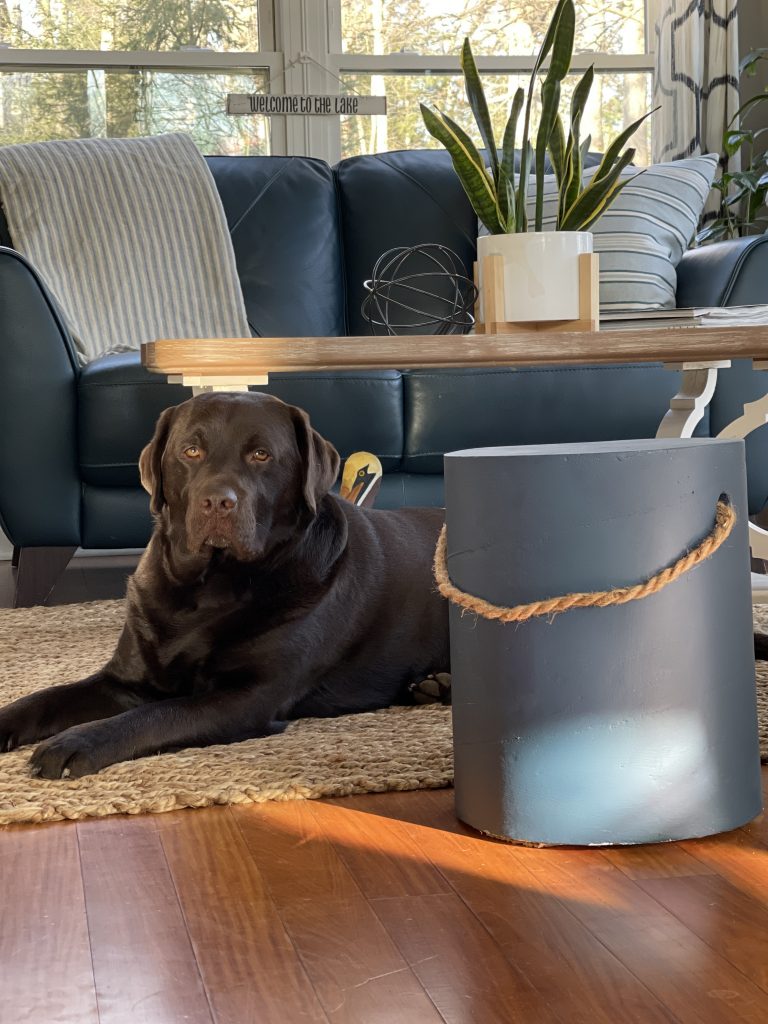
I added this rope because it’s all I had. The thick rope that was in it before, apparently looked like a very appealing tug of war toy to Dempsey.
This was not thick enough and didn’t look as substantial as I wanted so here it is after I picked up more rope.
THOUGHTS ON THE CONCRETE TABLE REFRESH
Sharing here what I will do differently on the next stool. This is sort of funny but not really. If you look at my post from when I created it, you will see the breakdown of supplies and materials. I used a large amount of concrete because I didn’t know any better and I made the table solid.
Yes it takes two people or one very strong one to move it. The good news is, it never gets knocked over when the dogs are playing.
Next time I will use the same concrete tube form for the outside but I will fill it with a little bit of concrete and then put in a plastic bucket to take up the space so it doesn’t weigh so much.
The last time we visited Terrain in PA., I spotted the stool in person and it was hollow. Hello, I could save a ton of money on concrete. This now would go from being almost $100 to make to about $45 dollars. Definitely a bargain.
The next thing I would do is add feet to the bottom to elevate it from the floor a bit. I could use the felt pads for again, but if it is being used outside, they would get wet and fall off.
Also, for the next one I will buy a sealer so I can put it outside and it will last. I have some older metal tables on my deck that were my mom’s, they have begun to rust, so I need new ones. What a great way to add a pop of color. I can’t wait.
Stay tuned for an updated concrete side table post where you can see my second stool with a hollow core.
If you want the basics and follow the first one click here.
Thanks so much for stopping by. It’s so easy and fun to update most anything including concrete with paint, I hope you give it a shot if you have anything around the house that needs a refresh.
I do love working with concrete and look forward to a summer full of more creating now that I know how great it looks painted.
XO, Regina

This post contains affiliate links for your convenience. I receive a small commission if you purchase from these links at no additional cost to you. Thank you for supporting my small business.
This concrete table refresh came out amazing. great job!
Meagan – thanks so much! Yes I’m really happy with it! Thanks for stopping by 🙂
Meagan – thanks for coming by! I’m glad you like it. I’m in love with it.
Dempsey is so cute! I love the way the table turned out; it looks great!
It’s so awesome in that blue. Dempsey doesn’t look thrilled, but I think you did a great job! I really liked the original with its imperfections, but love it even more in blue. You can do plastic planter pots from Walmart- a smaller one inside a bigger one to make concrete planters — and then bring them here. Happy Spring!
HaHa – That’s Dempsey’s normal look. I love the new color – makes me eager to make some more for the deck to match the rung! Hugs
Loving the color! Great transformation, it feels more cozy.
This turned out great and love the color. Great tips too. Dempsey is handsome.
REgina, this little table is perfect indoors and out. Have a wonderful weekend.