Do you need more storage for your home or craft supplies?
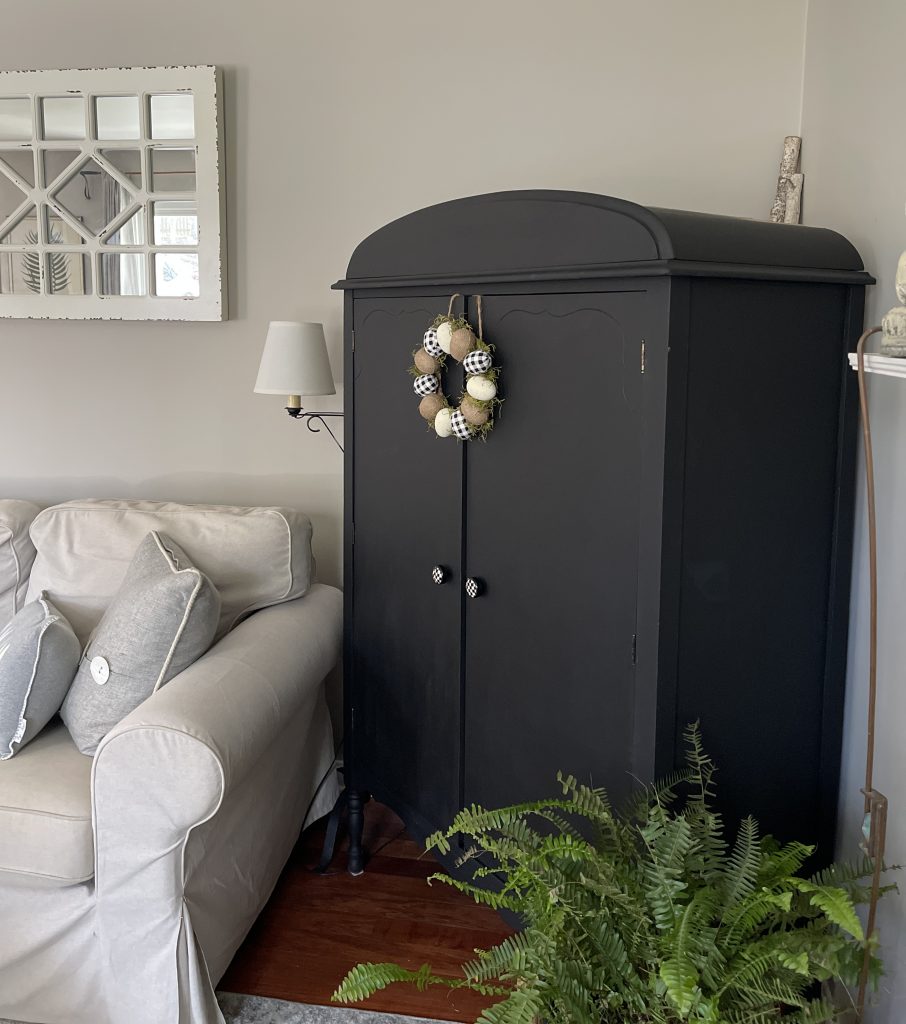
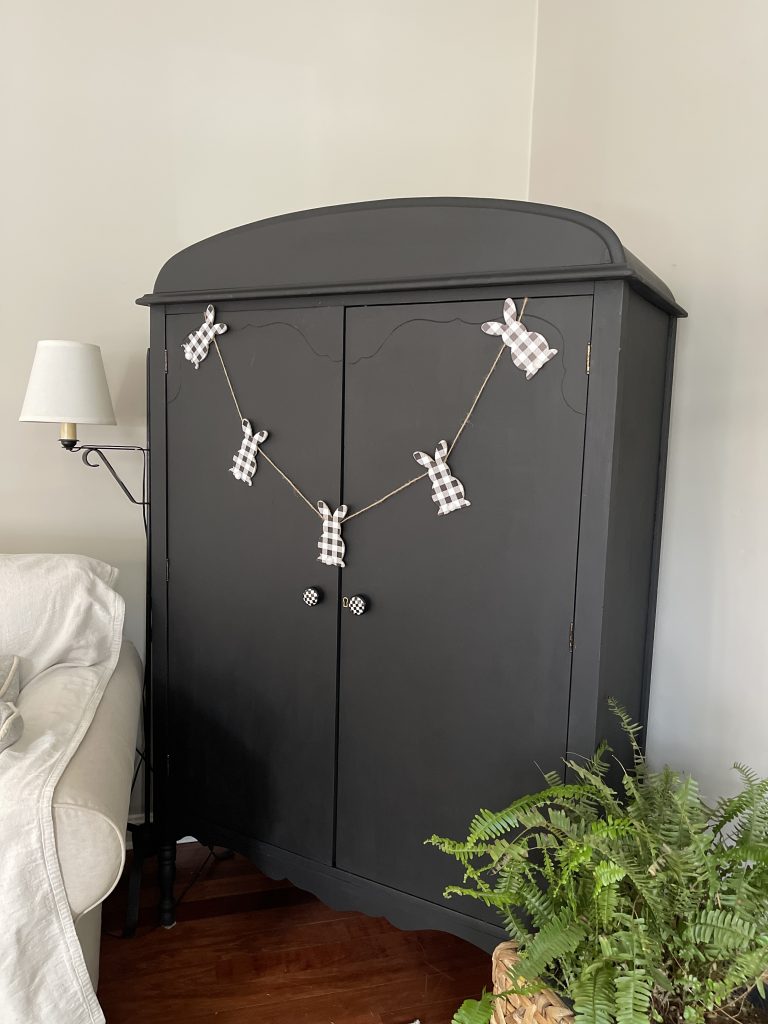
I transformed this thrifted vintage wardrobe into the perfect storage solution.
I found this at Goodwill. It was $75. It has wheels and was in sort of rough shape.
There were no shelves, the top was splitting and the veneer was separating.
The knobs were bent up, and there were scratches and gouges on the front.
Here is the before.
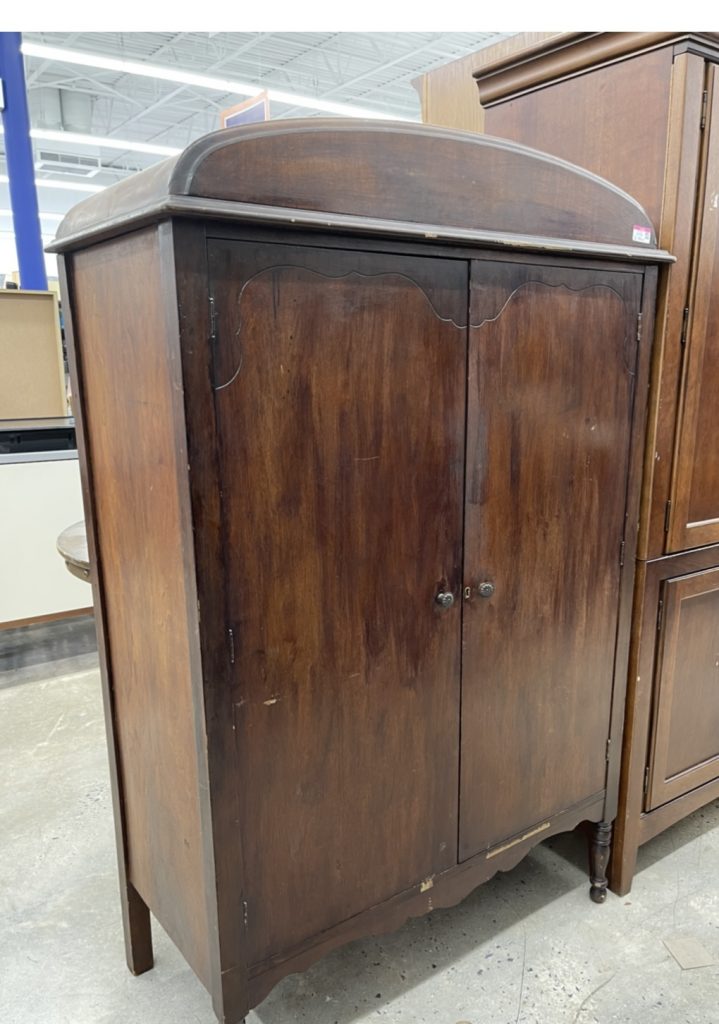
I fell in love immediately. There were several votes for keeping it the way it was and I was tempted but it needed filler and wood glue and I was not confident I could keep the same look.
Black was my color of choice and I decided to keep it in my living room. Click here to see another beautiful piece I painted black.
Table of Contents
THE MAKEOVER BEGINS
CLEANING
Cleaning is always the first step for your piece of furniture.
To begin I vacuumed the inside and completely dusted before I began cleaning.
I used White Lightning by Dixie Belle. Mixed with water and put in a spray bottle, it does a great job of removing any grease and grime.
Spray it on and wipe it off, you can do this more than once depending on the condition of your piece.
PREPPING
The wood is very dark so a primer was needed on the inside. Fortunately there was no musty or funky odors, but I was afraid the dark would bleed through the light colored paint I chose.
BOSS is a product that serves as a primer, prevents bleed through and blocks odors.
Also by Dixie Belle, it works really well. I had used it on my hutch I found on the side of the road and it blocked the odor completely.
It gets brushed on and you can add additional coats if needed. I did two coats of BOSS in white on the inside.
I did not add BOSS to the outside because I was using a dark color, and wasn’t concerned about bleed through.
REPAIRING
There were scratches and gouges on the front, and the veneer on the top was split in places and peeling away from the base.
Using Dixie Belle Mud in brown, I repaired the top where the veneer was splitting or missing.
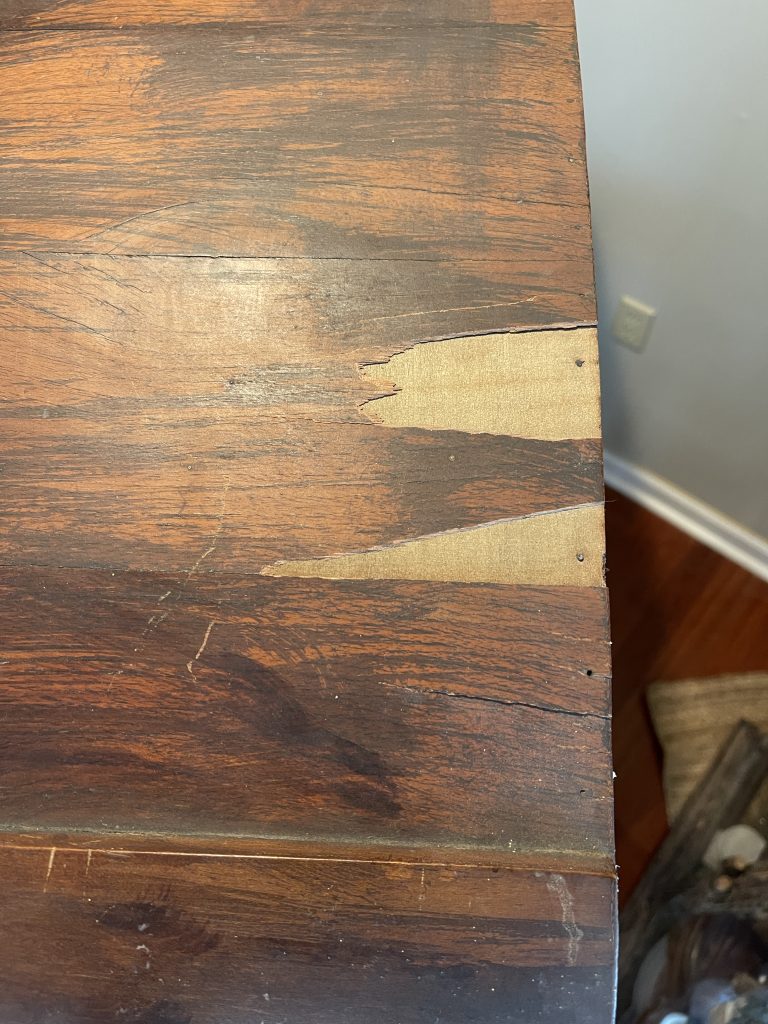
Super easy to use, Dixie Belle Mud can fill holes, fix veneer, fill scratches and you can even create raised stencils with it. I spread it on, let it dry, and sand, sometimes I add another coat if needed. I actually used it to patch holes in our walls after I removed something.
PAINTING
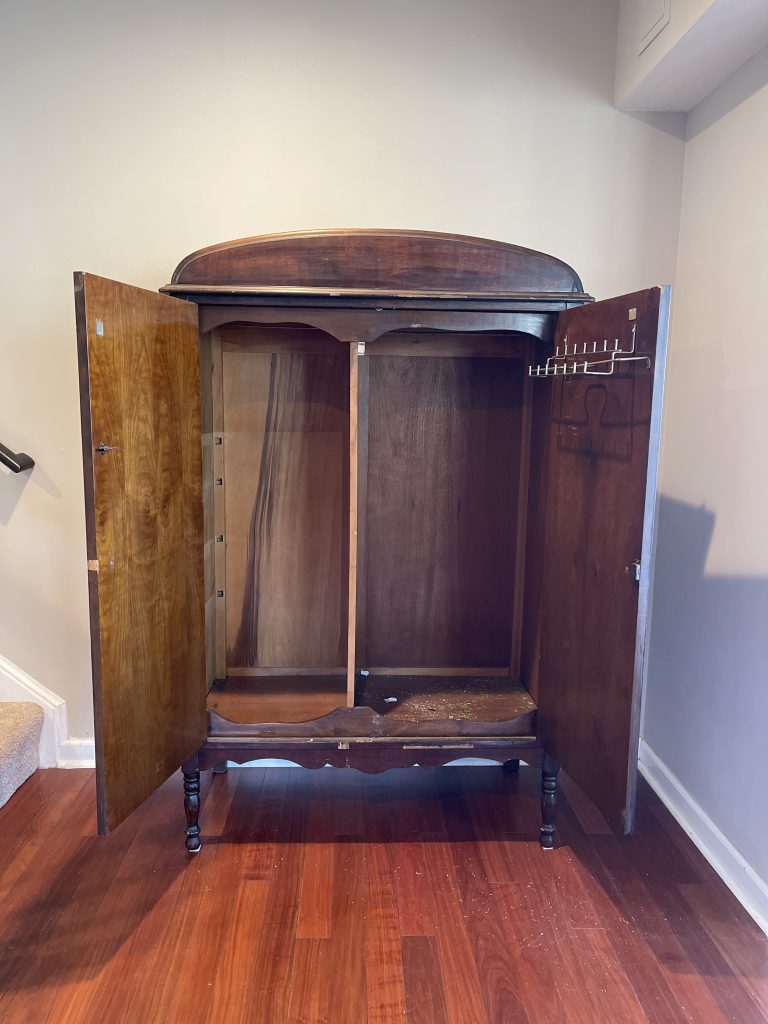
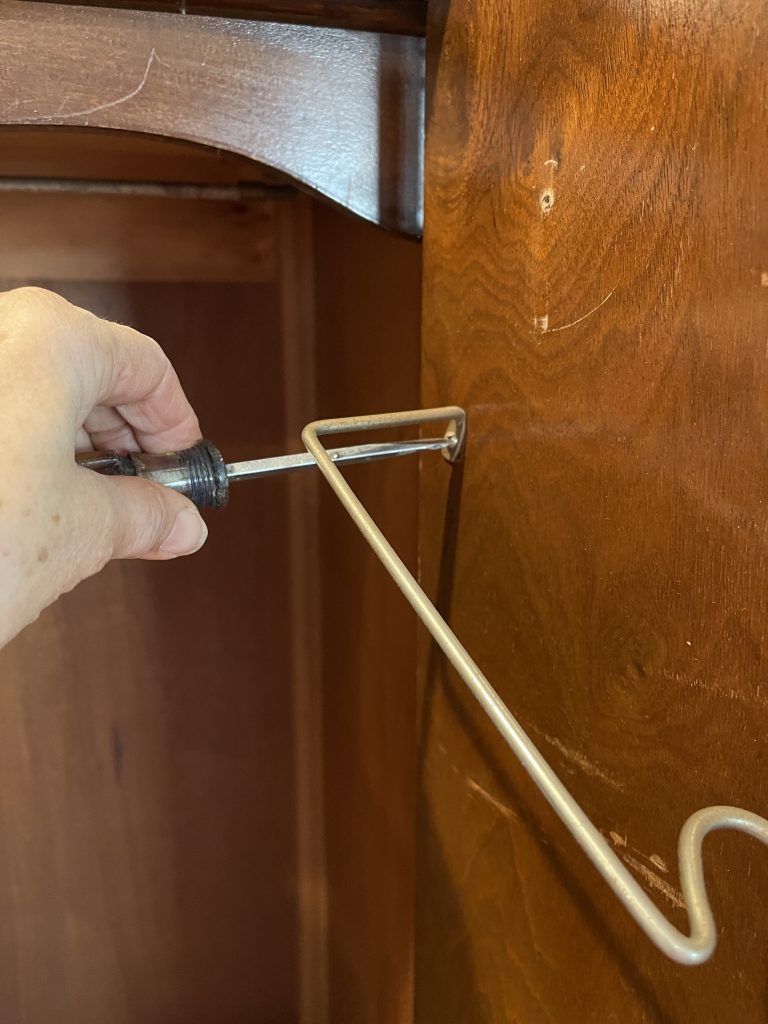
Before painting I removed the hinges and took the doors off. I removed the knobs and set them aside for another project. I also removed a hanger that was attached inside the door.
Using Dixie Belle Chalk Mineral Paint in Fluff, I painted the inside of the cabinet. Because I had two coats of BOSS, it only needed one coat of Fluff.
For the outside I used one of my favorite colors which is Caviar Chalk Mineral Paint.
When using the chalk paint I use the Continuous Mister Bottle to keep it spreading smoothly.
You can see me doing that below.
After I painted, I wanted to do a little something on the inside.
Using a stencil, I painted with Wharf which is a pretty grey color. I stenciled on the sides and back on both parts of the wardrobe.
Then I lightly painted them again with more fluff so you could just barely see them. It adds a nice touch to the inside.

ENHANCING
As cute as the wardrobe was as is, it was not really functional. There were rods at the top of both sides and holes where shelves used to be on the left side.
We had some leftover plywood in the shed, so I measured the width and cut a two pieces to fit. I decided for starters, I would make two shelves, this decision was easy because that’s all the plywood we had on hand.
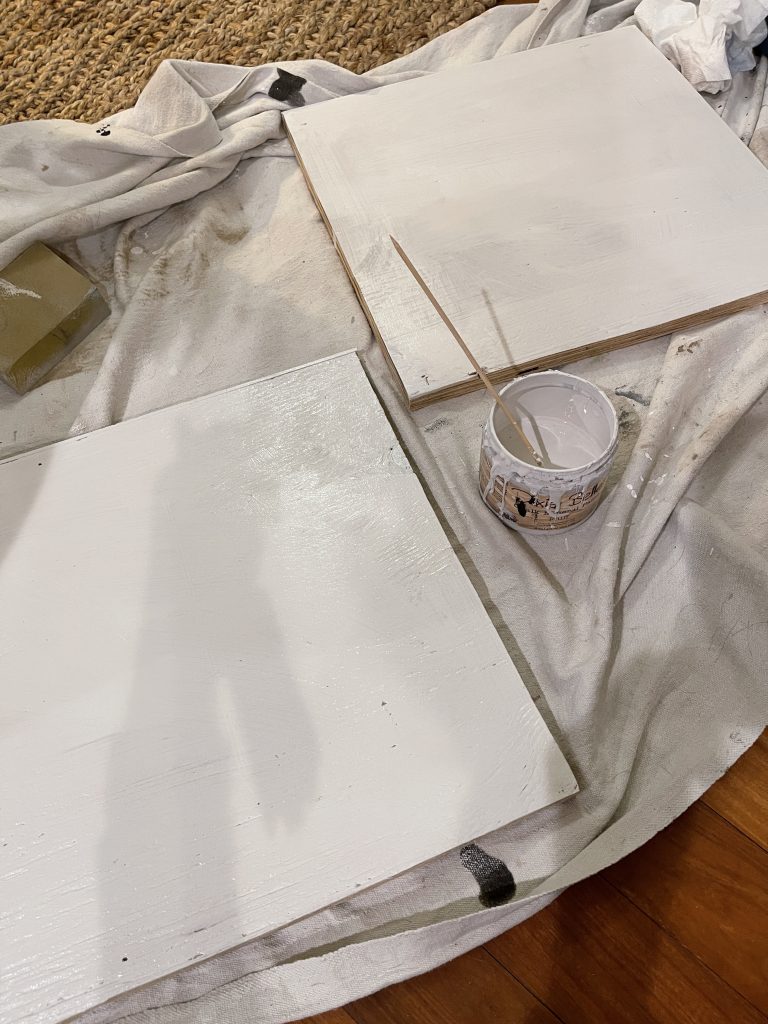
After they were cut, I painted them Fluff, the color I used on the interior.
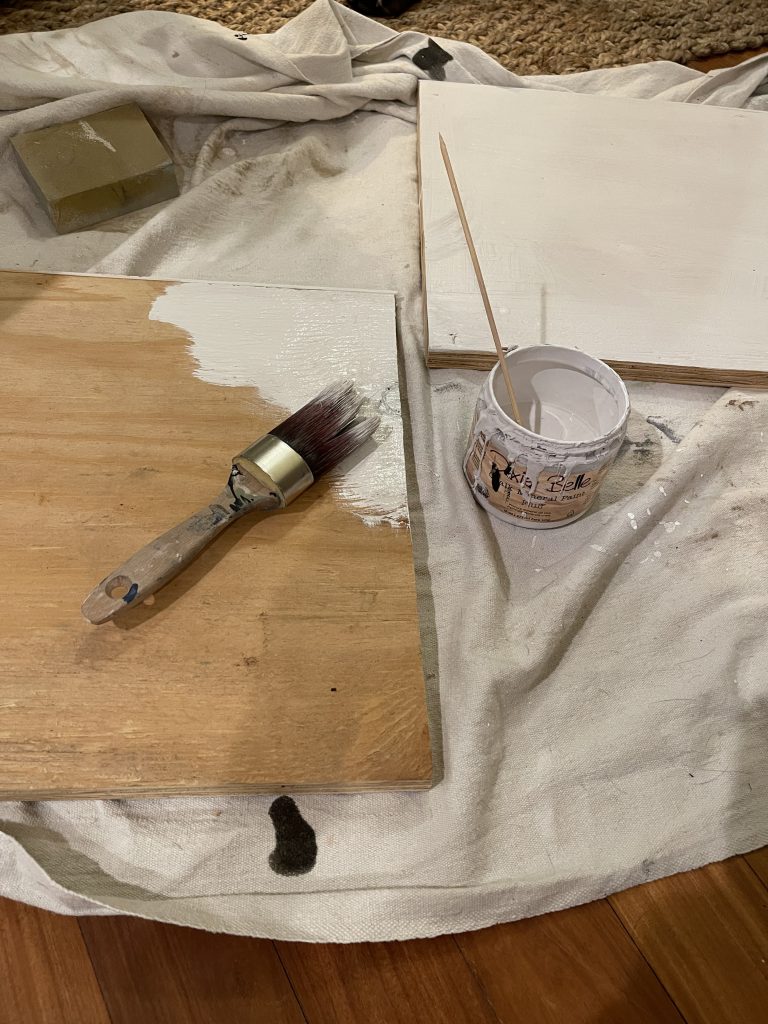
I’m trying to not spend any more money on this so using what was on hand was key.
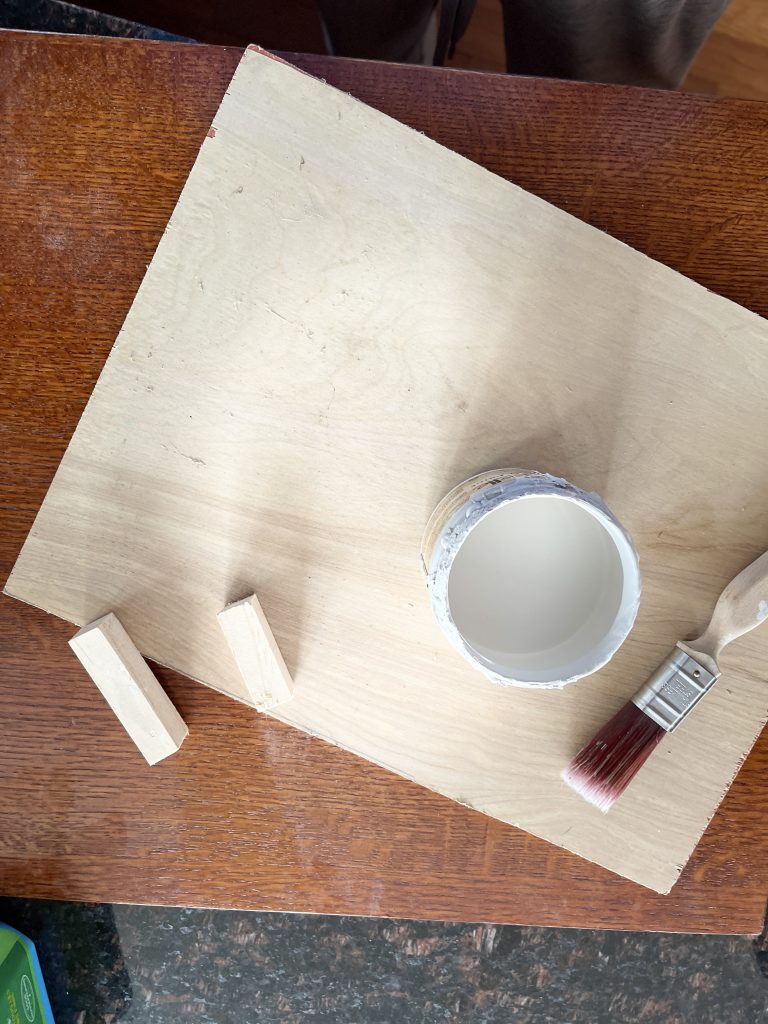
There were plenty of choices of scraps in the scrap bucket (trash can) and they were the perfect size to fit into the hole from the previous shelf.
Using a few pieces of the thin wood and Liquid Nails I attached them to the inside walls. I also used my RYOBI brad nailer and popped a few in from the inside out to add additional support.
So now the shelves just laid on top of the supports and the wardrobe became functional.
HOW TO USE THE VINTAGE WARDROBE
If you are like me, you dream of mud rooms and entry ways with a spot for everything. We don’t have that.
Matter of fact, we enter the house directly into the living room. That’s the same spot we enter with wet and muddy dogs from dog walks.
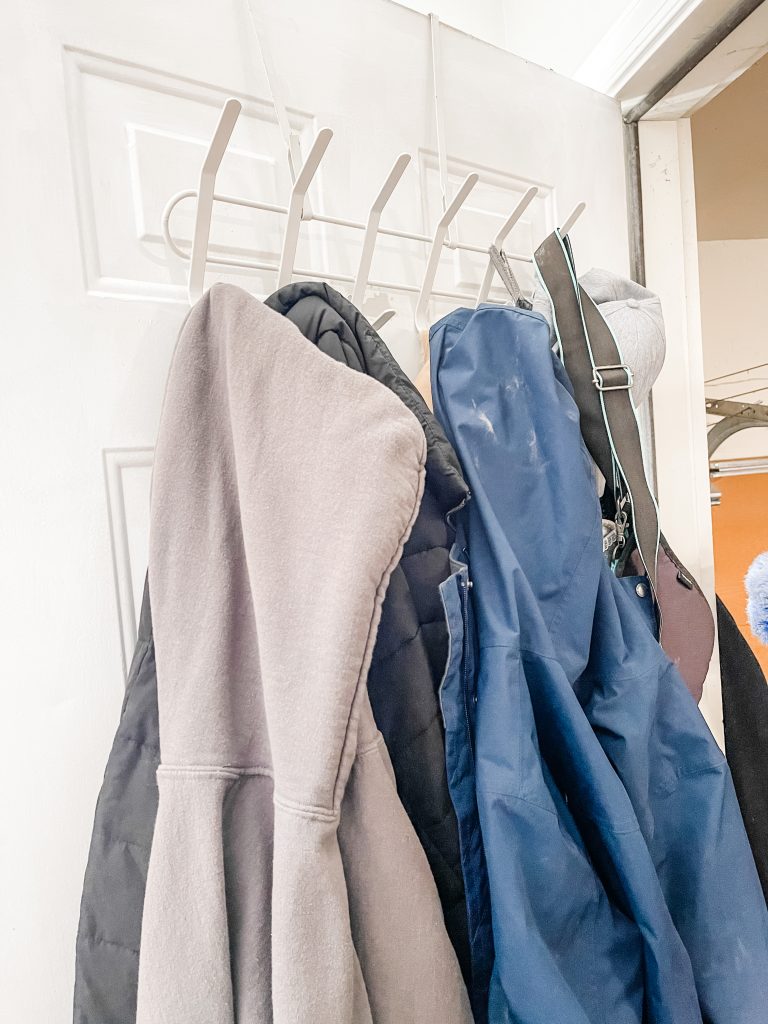
A big fan of hooks and such, I have this lovely (not) metal hanger on the back of the door to our garage. This door is just inside the front door to the left.
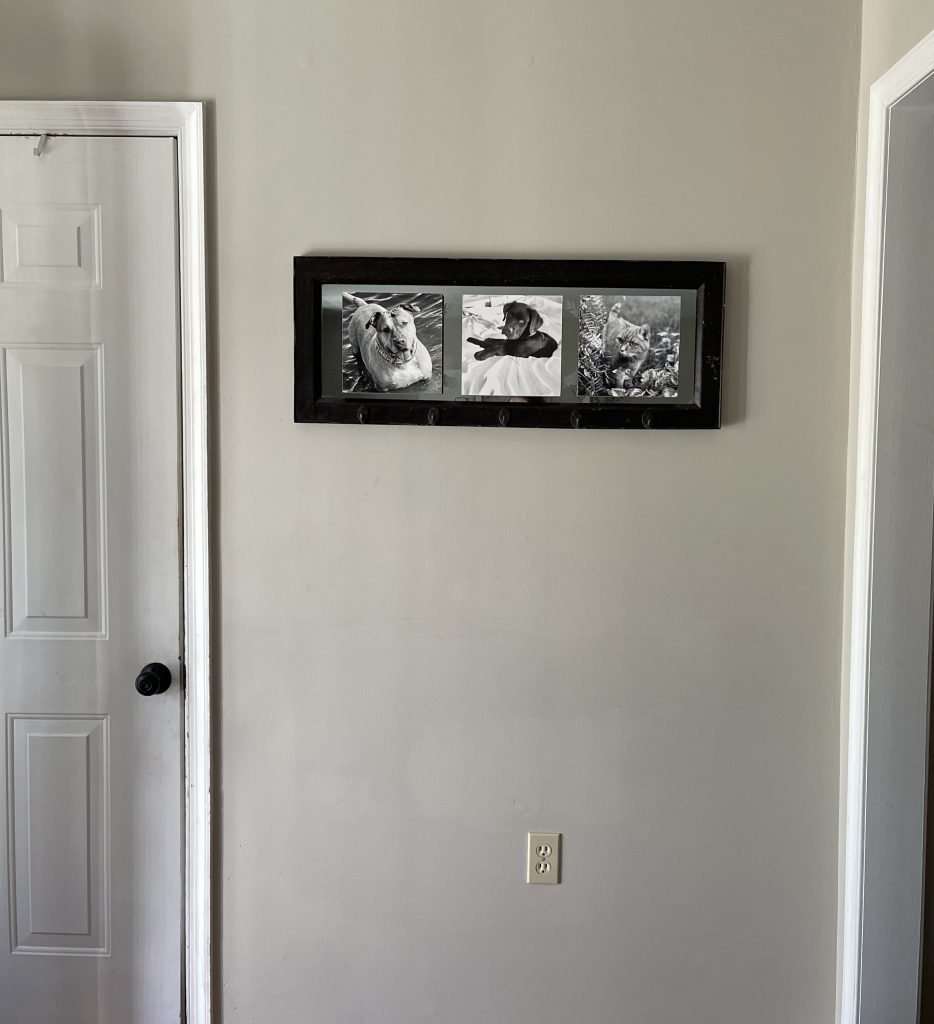
I had a wooden mirror with hooks on the wall next to the garage door and I did use that to hang everything that didn’t fit on the garage door hook. Honestly not the best look. Plus if someone came over, there was no where for their coat or jacket.
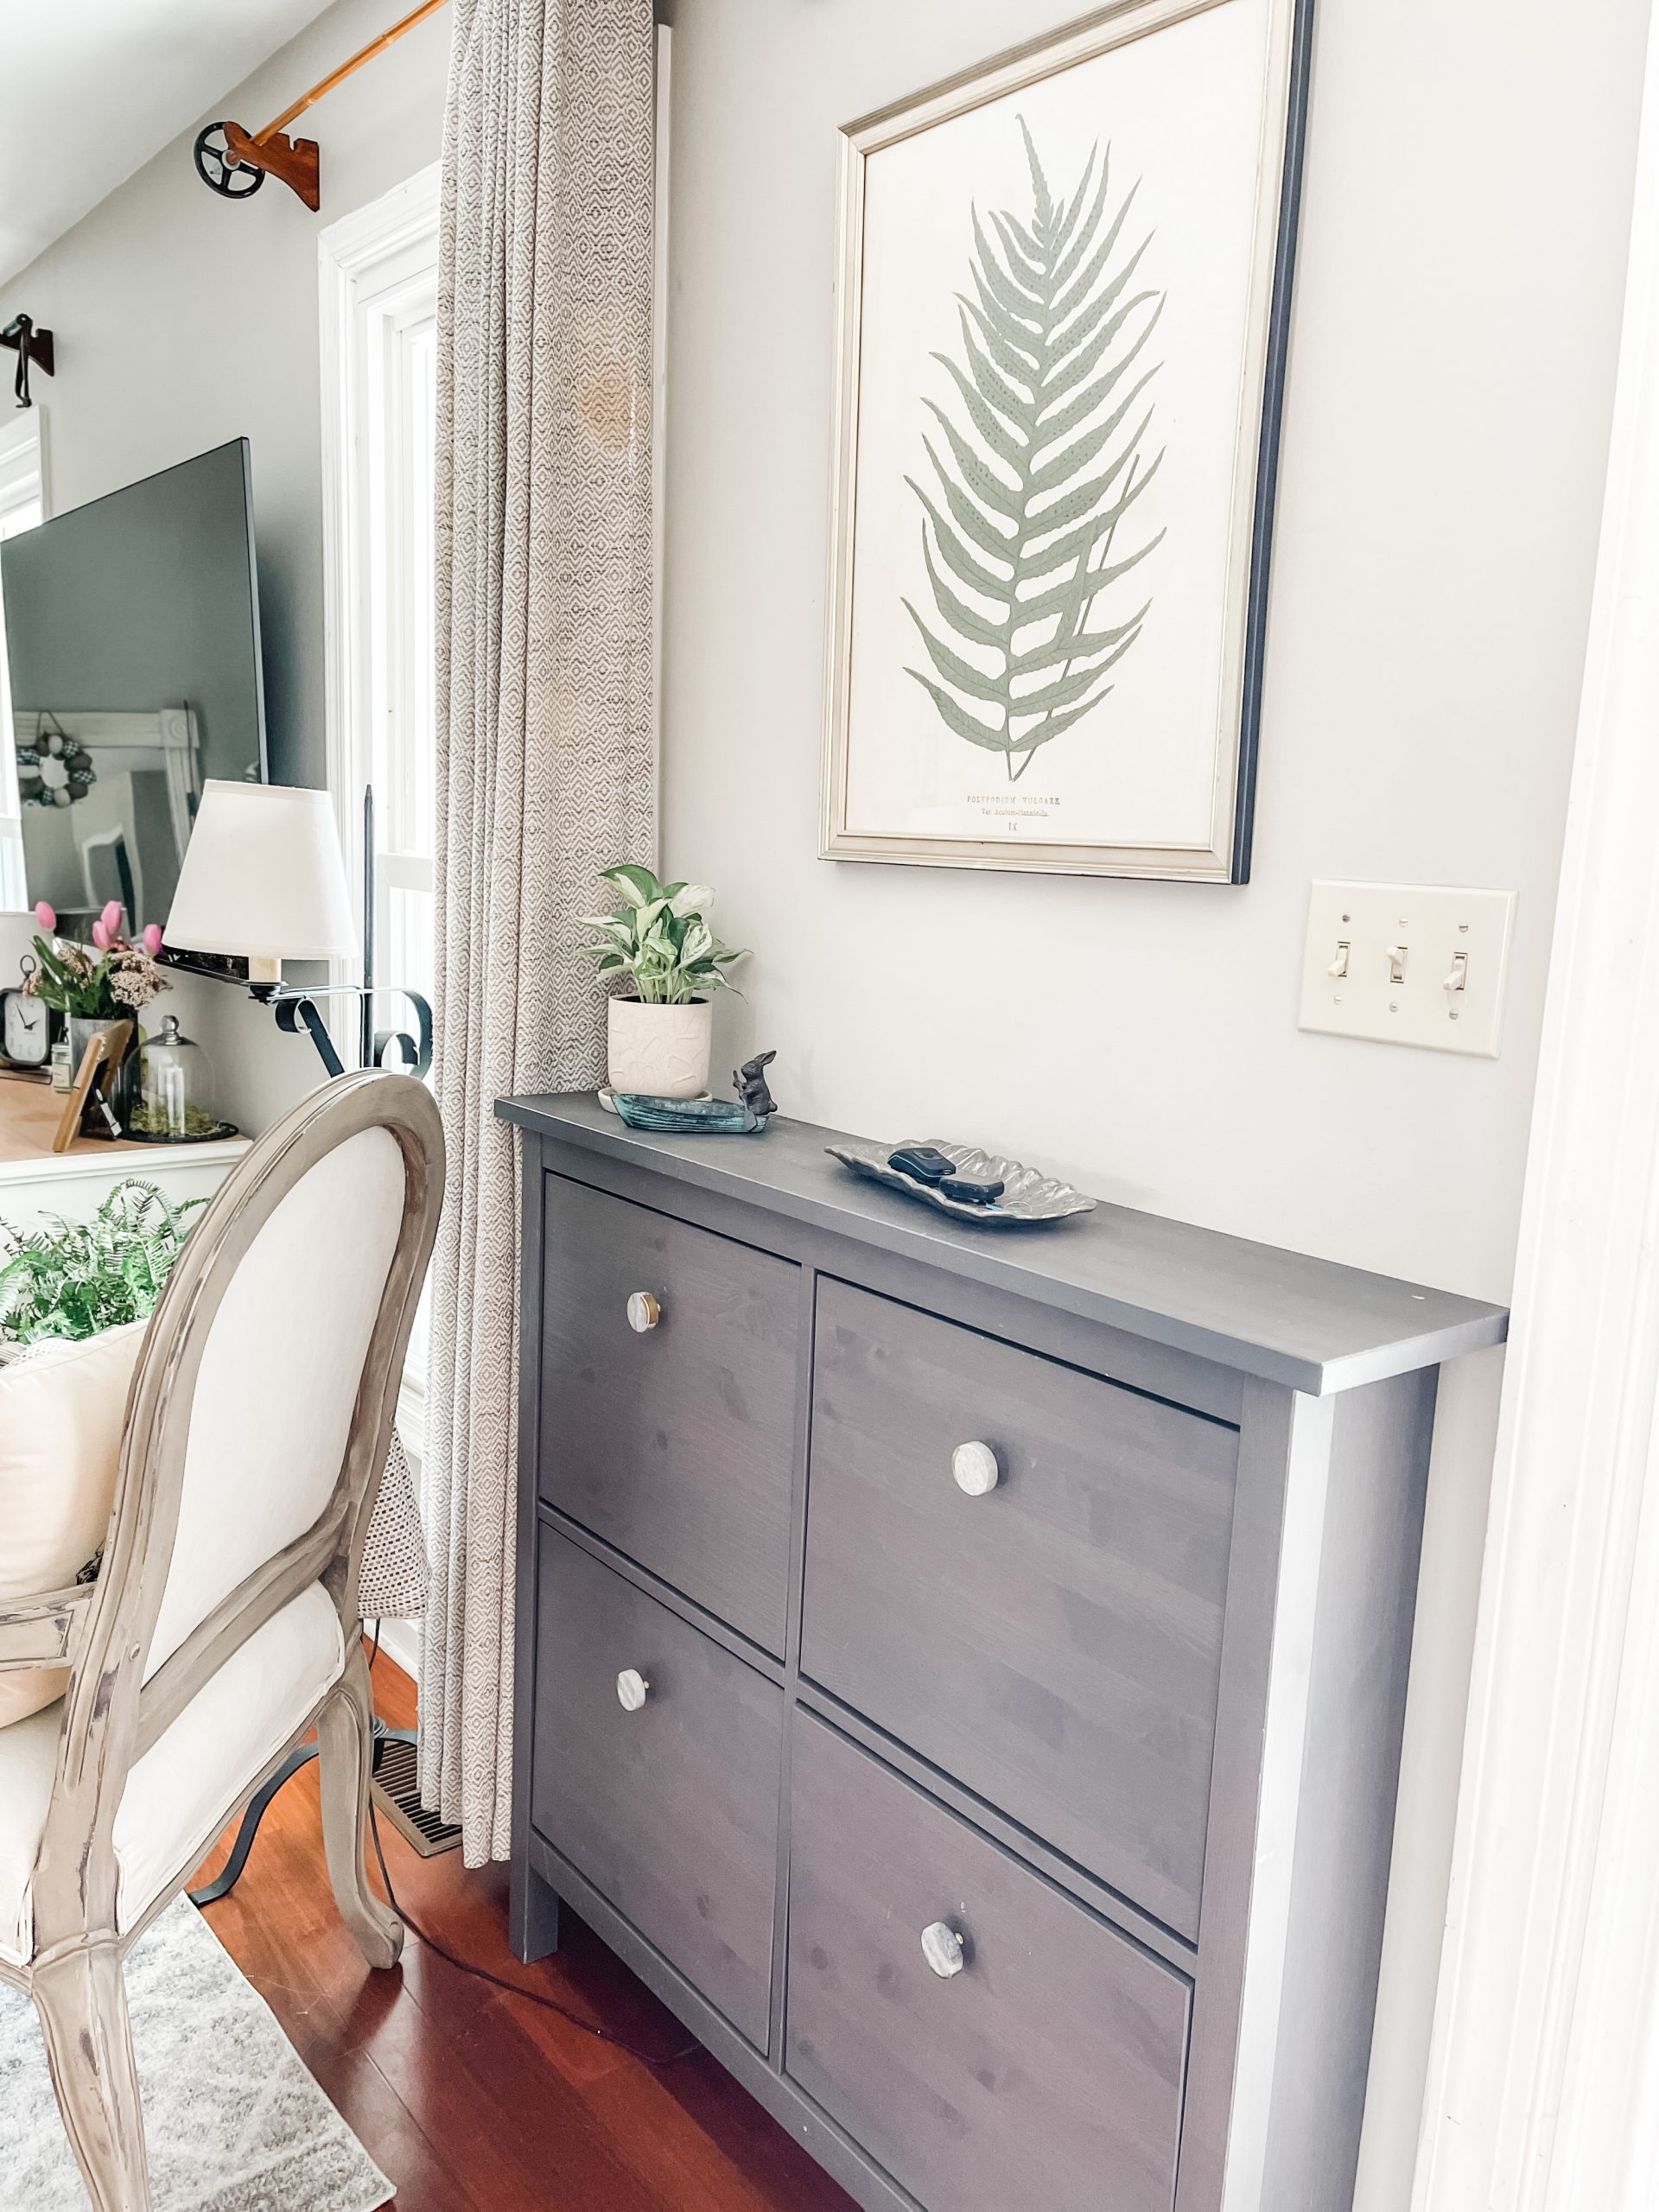
Initially I was going to use this for more dishes, chargers, and table setting items. After I put in the shelves and moved it to it’s fourth spot in the living room, I thought maybe I’d use it for coats and leashes and take that shelf off the door to the garage.
Ok, so it sticks out a little bit but if we don’t gain 40 lbs each, we could still fit down the basement door.
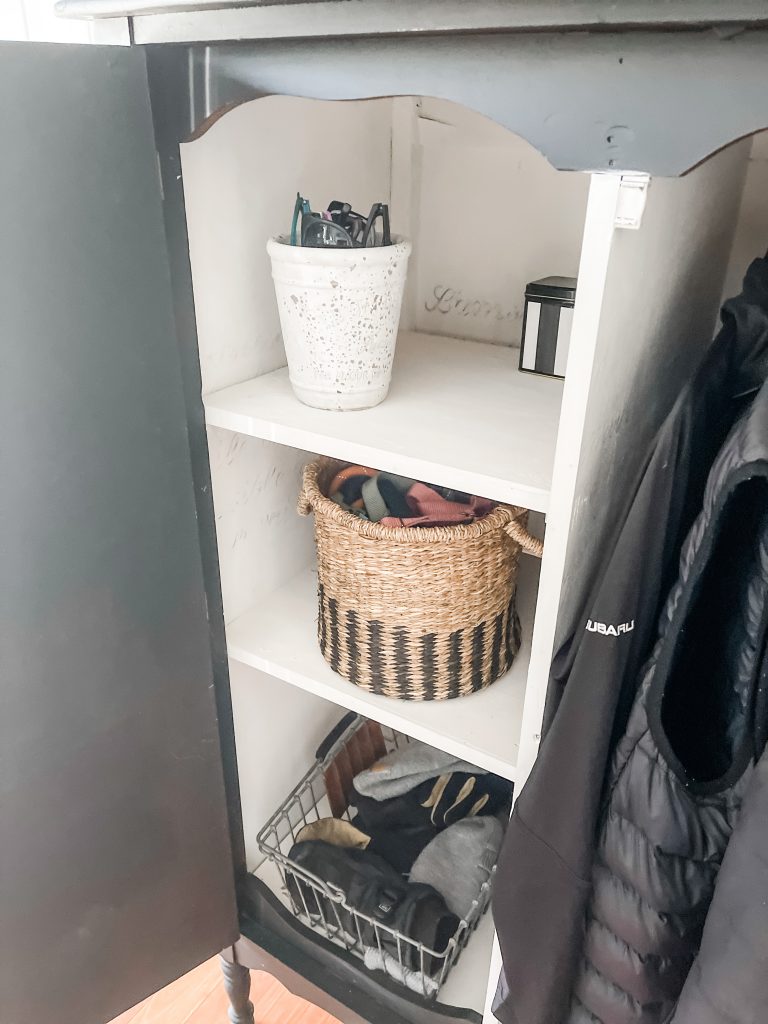
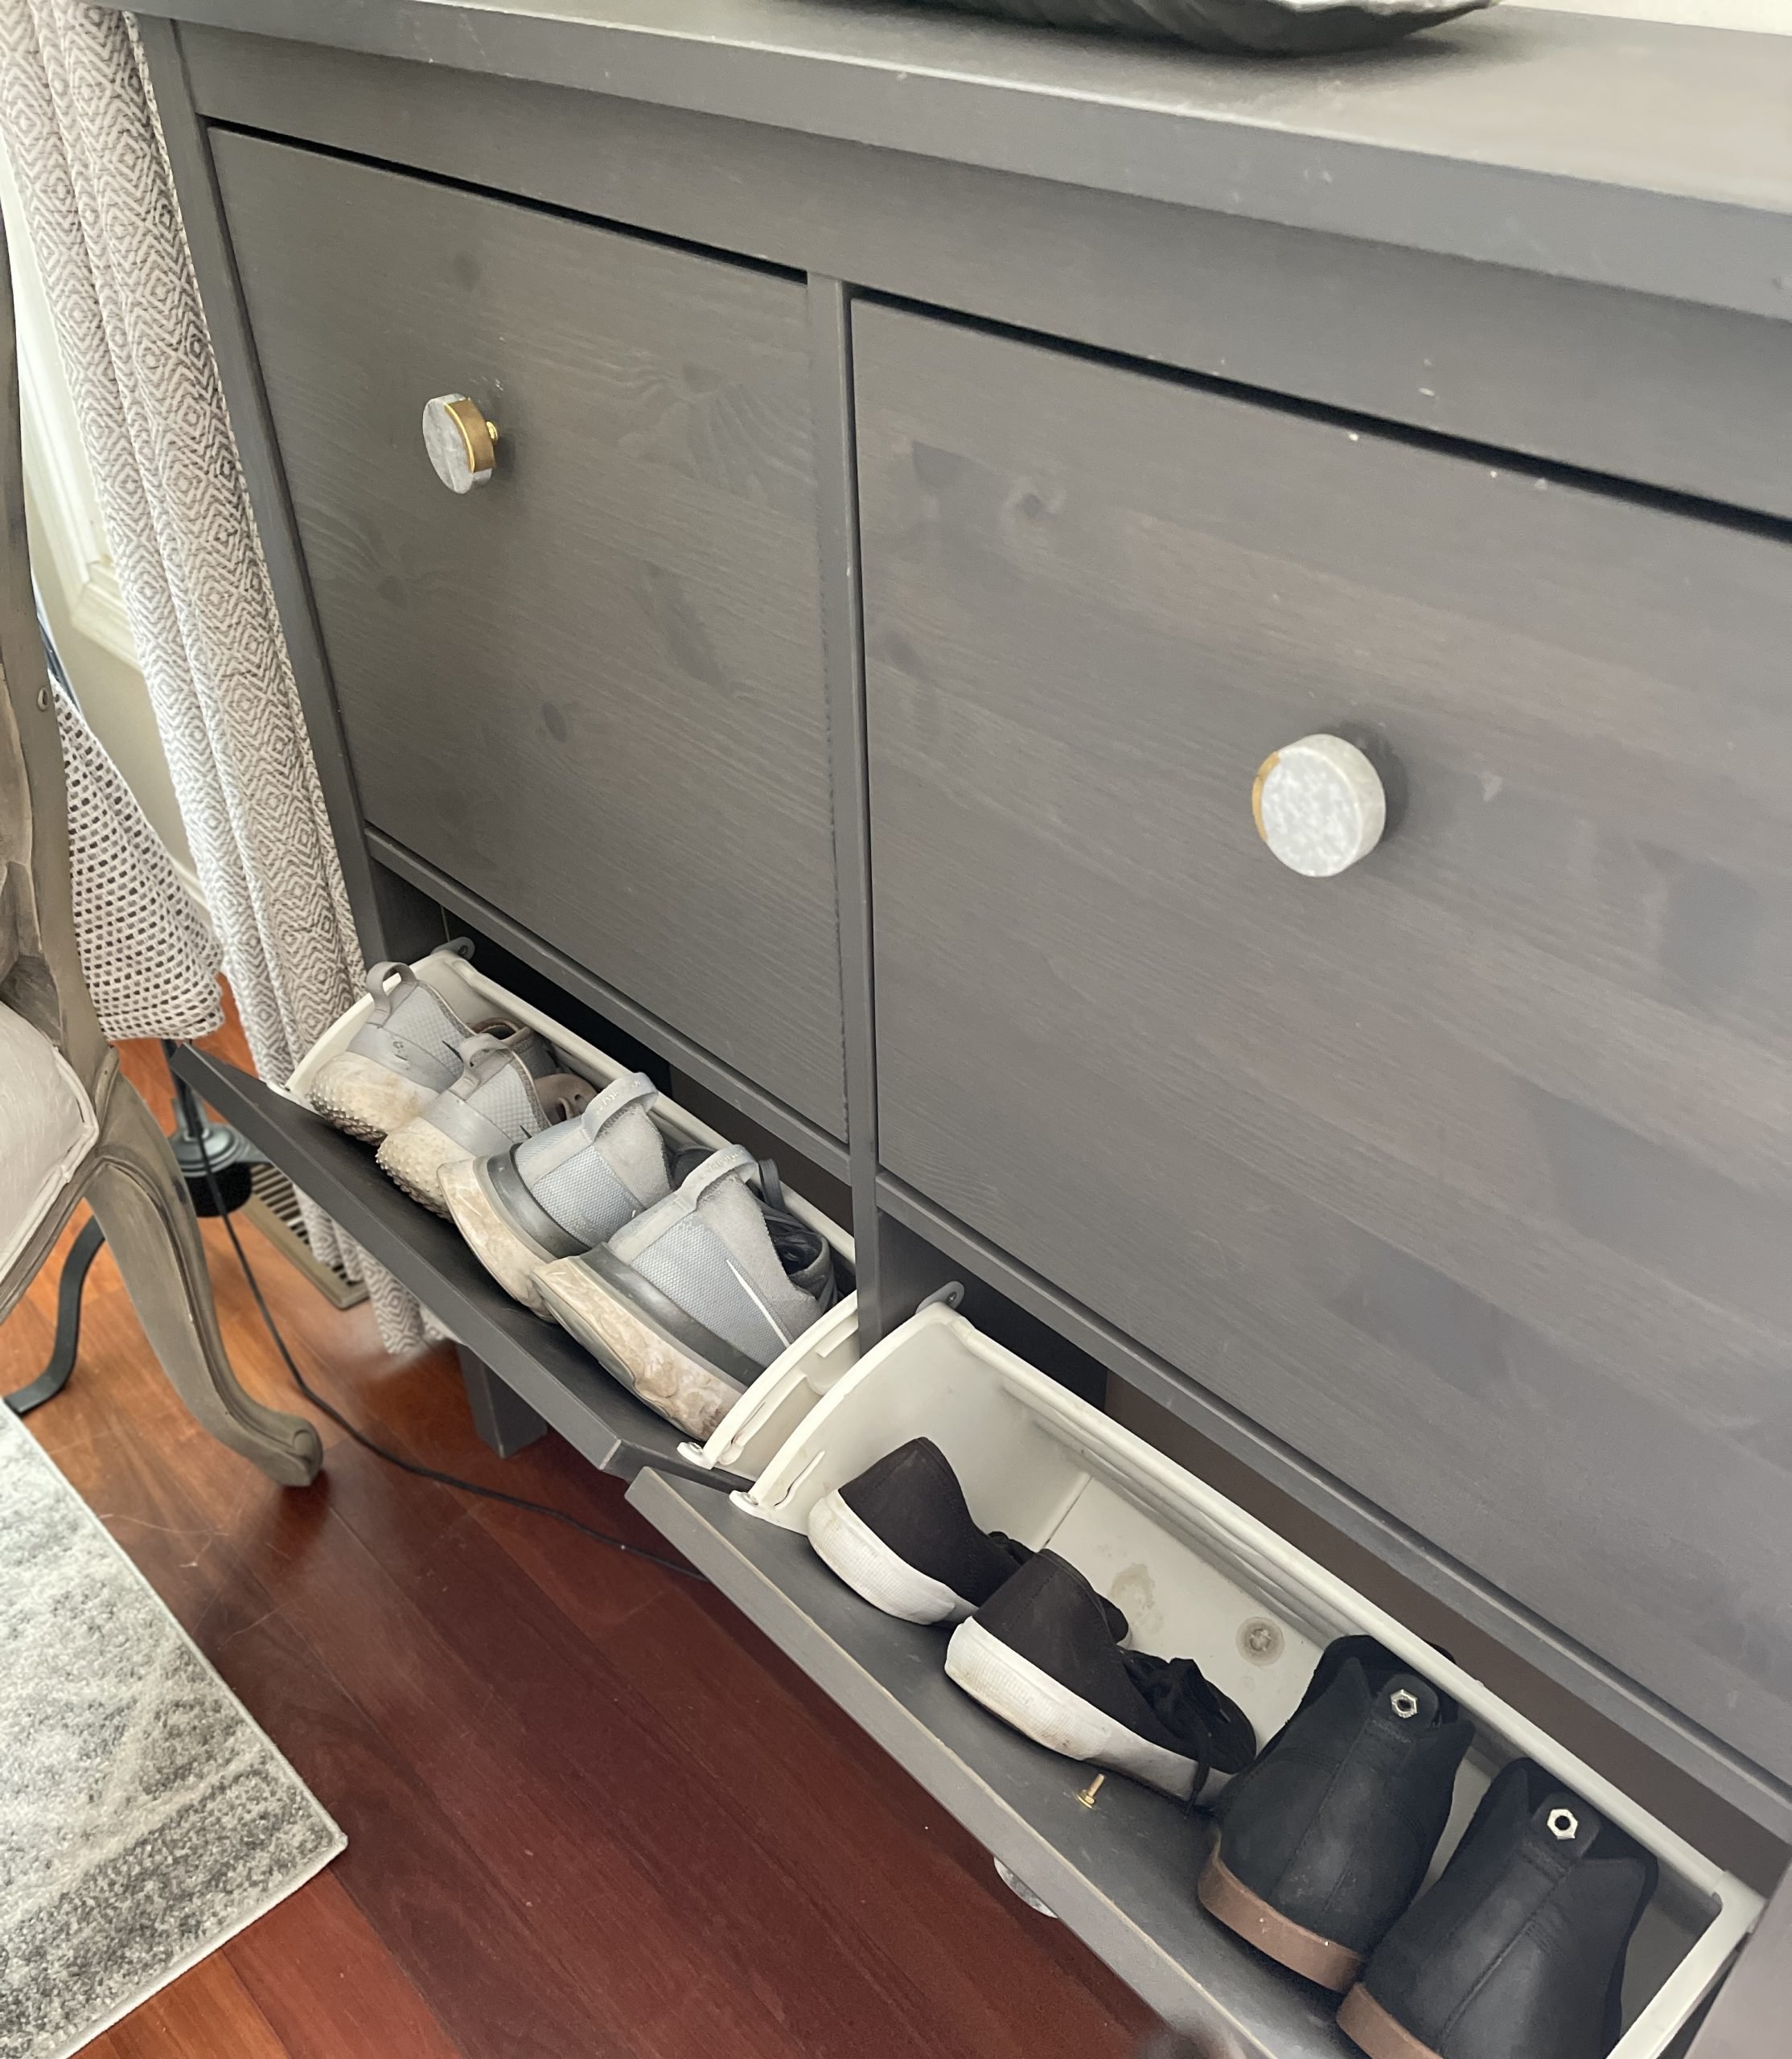
This allowed me to use the shoe storage I have, just for shoes and not for leashes, poop bags and hats and gloves.
NOT LEASH STORAGE
IN FULL TRANSPARENCY
This might be a good time to add that none of Carmine’s coats or jackets are on those hooks. He walks upstairs to get his coat every single time he goes out.
Call me lazy but I like to think of it as a good use of my time to have things I need to walk out the door on the same floor. I digress.
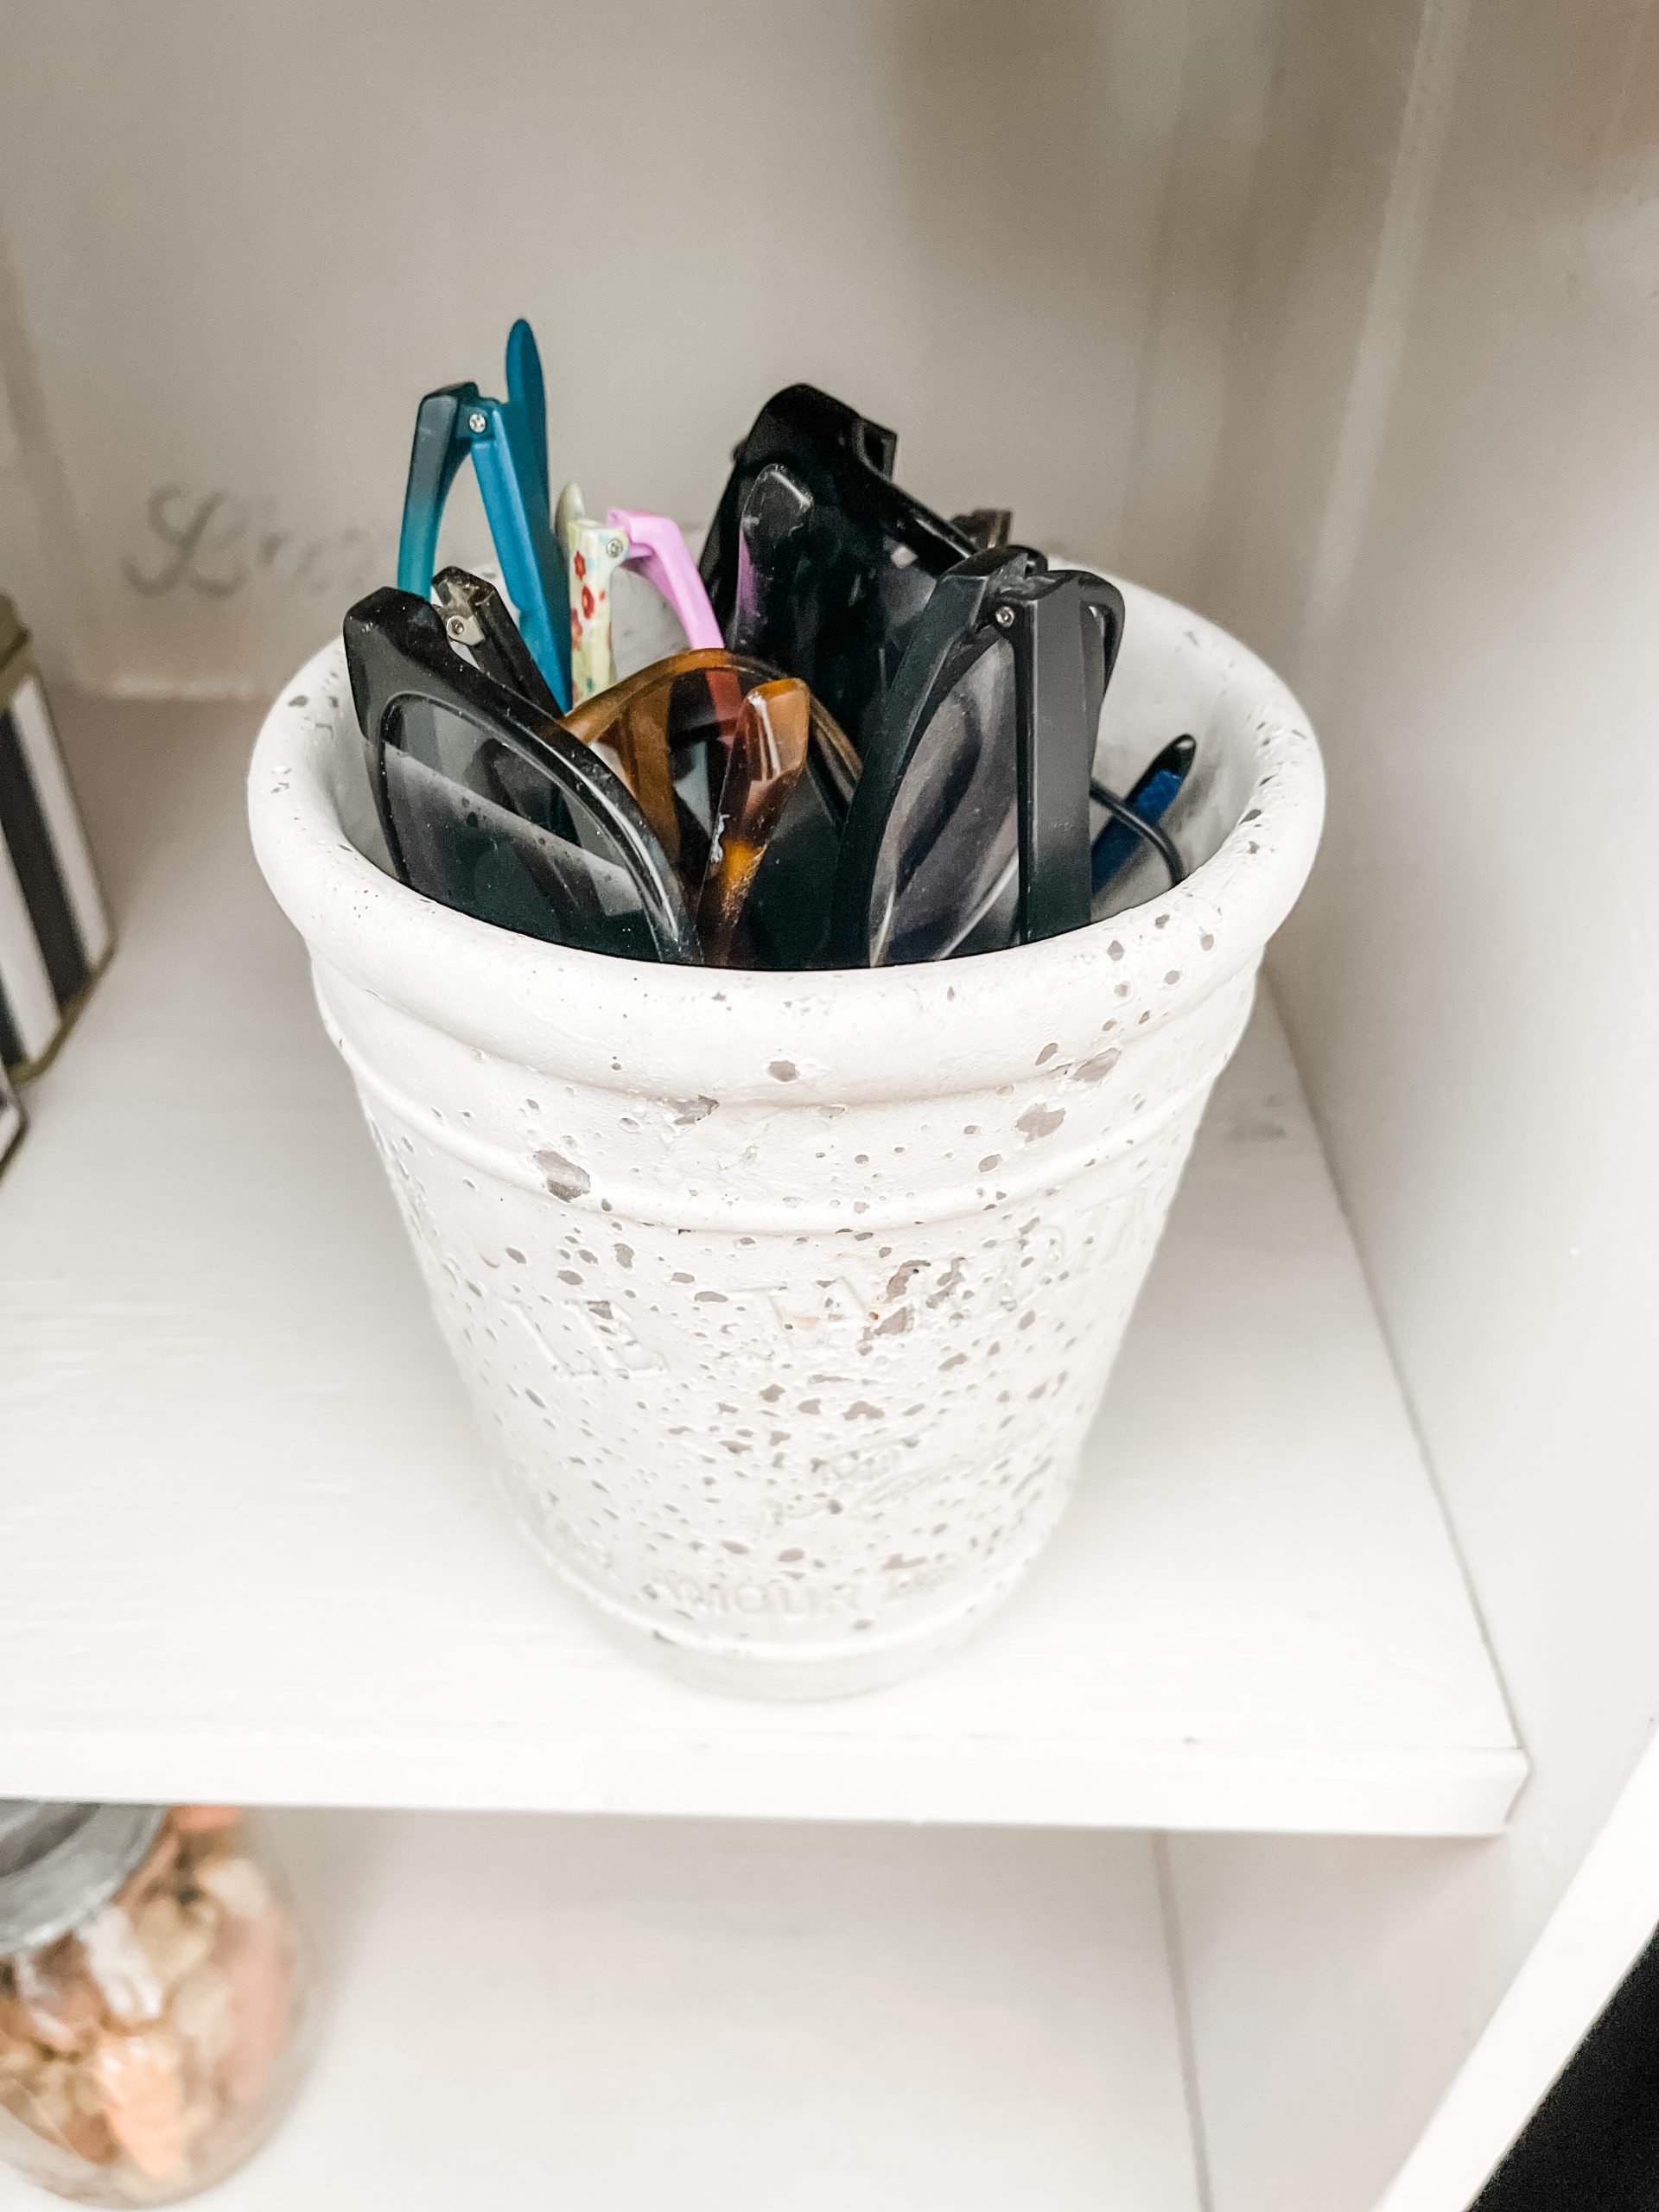
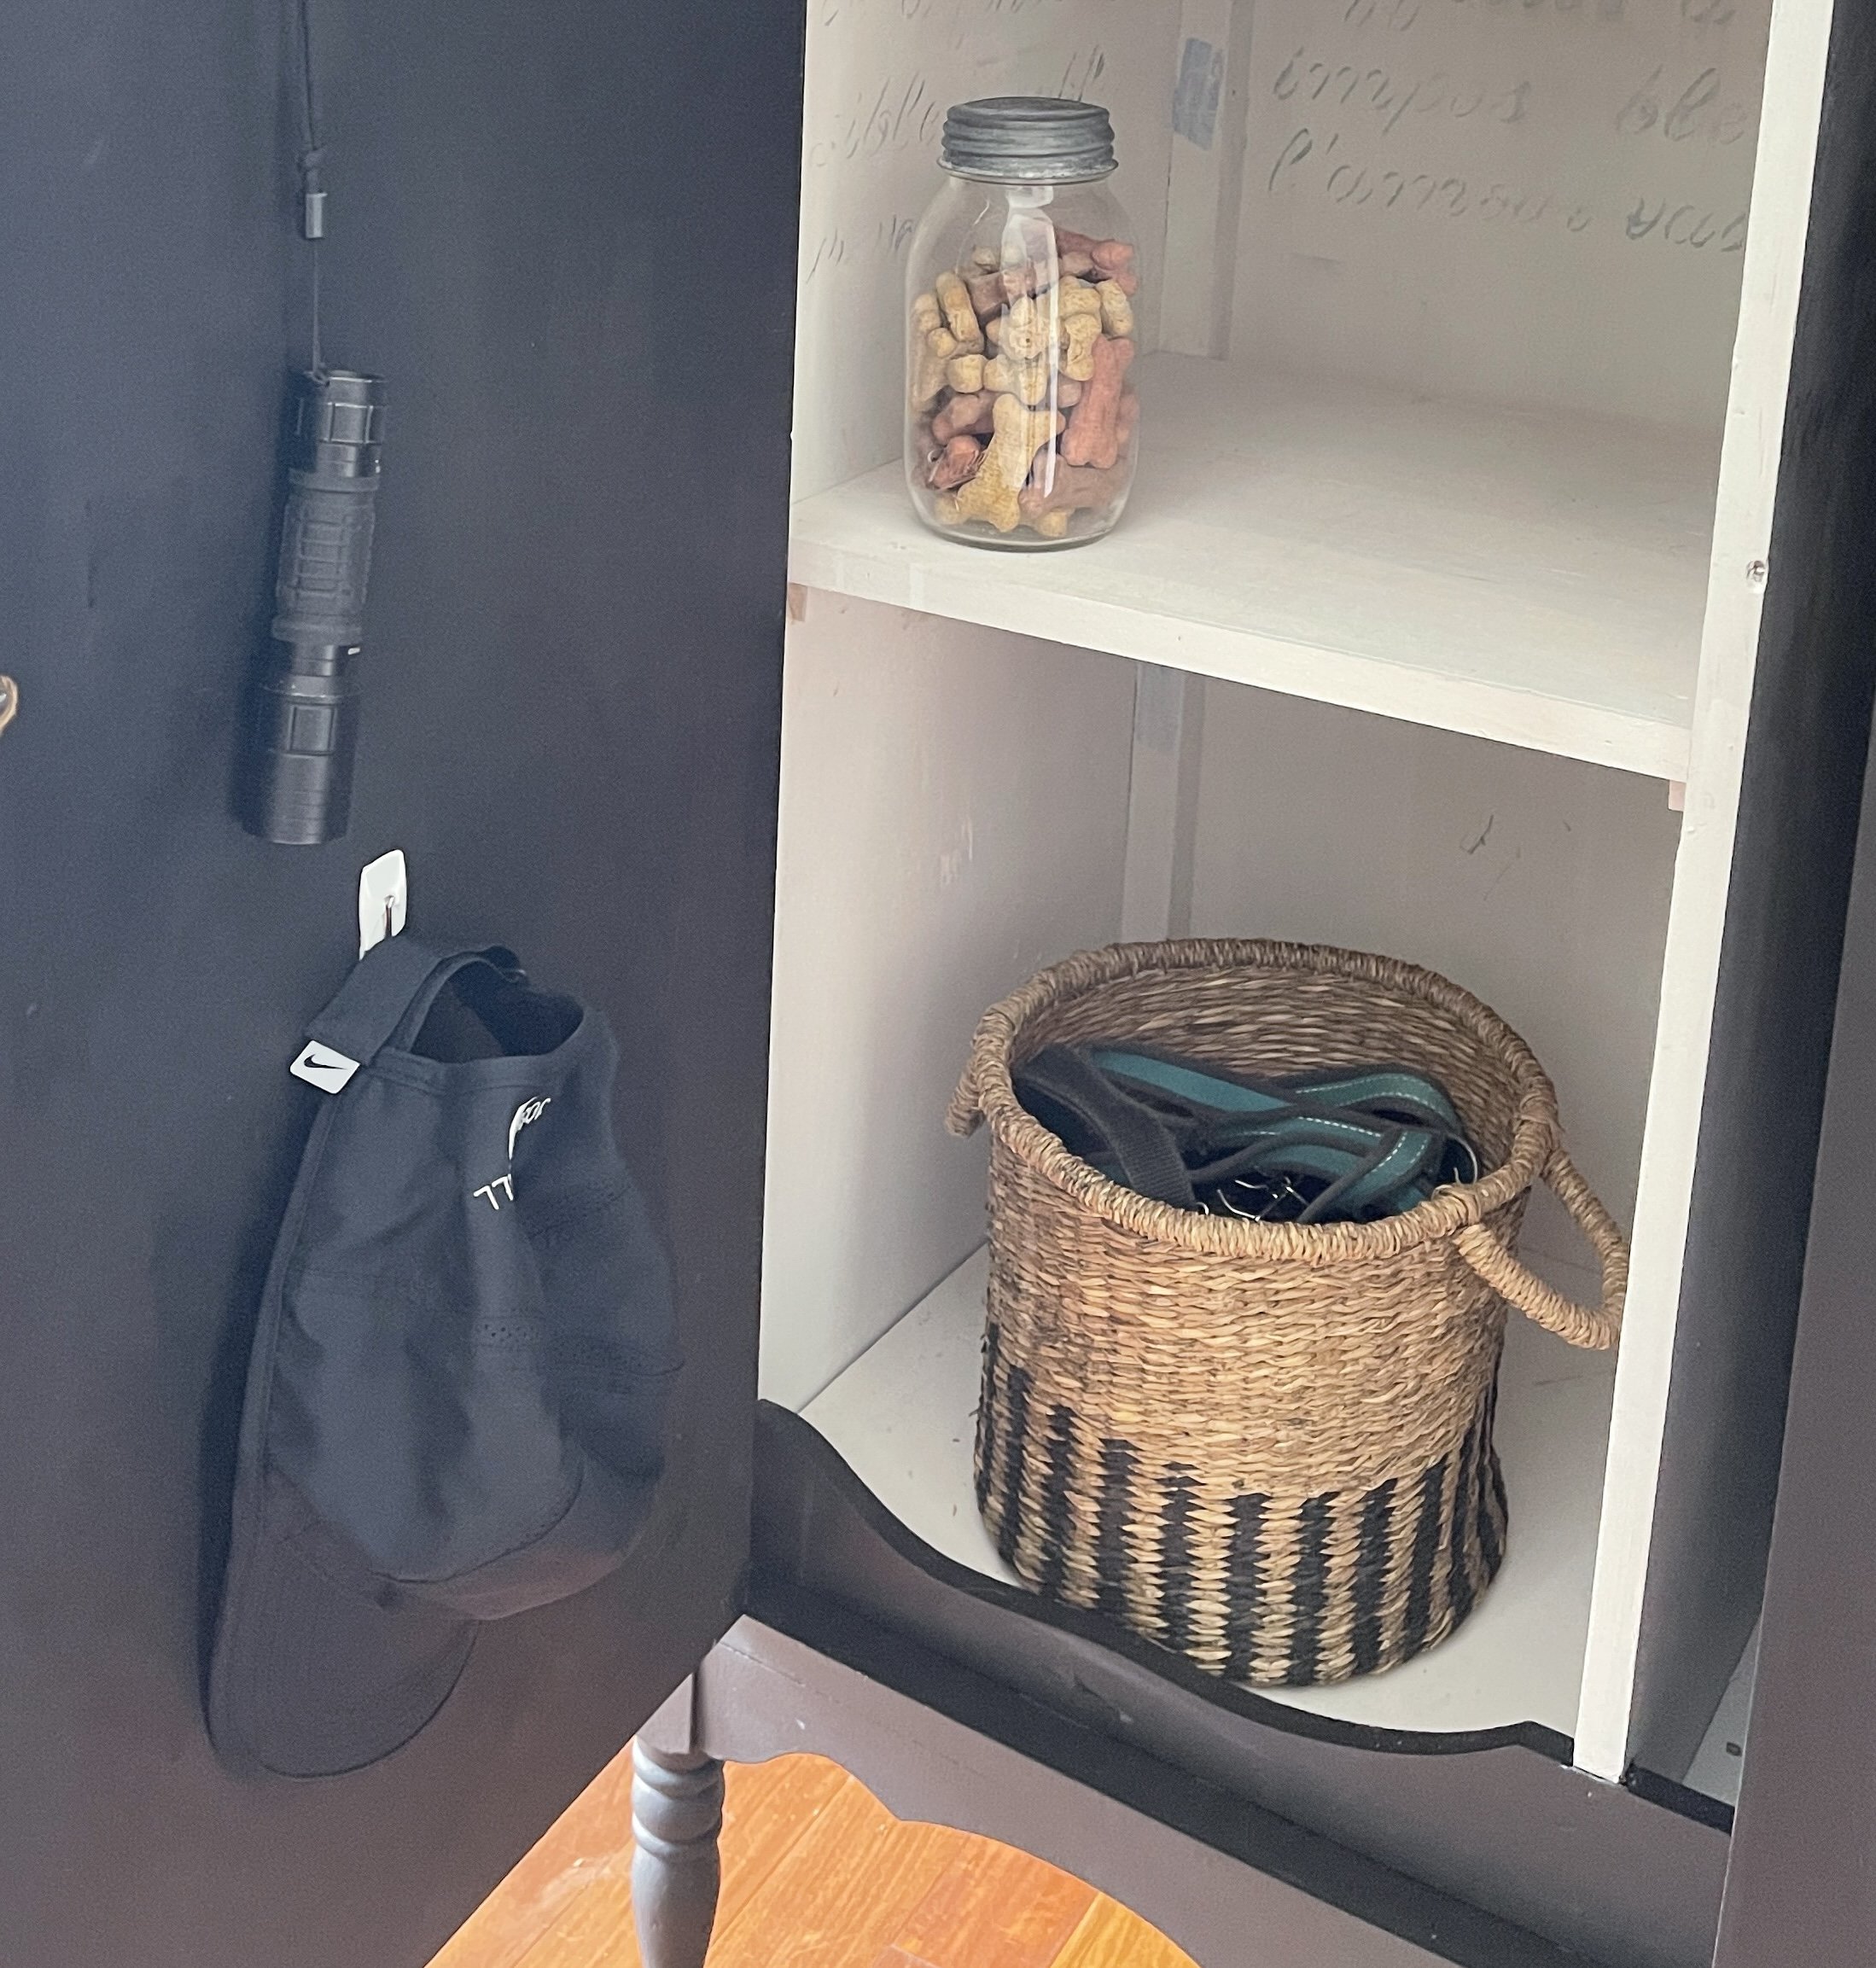
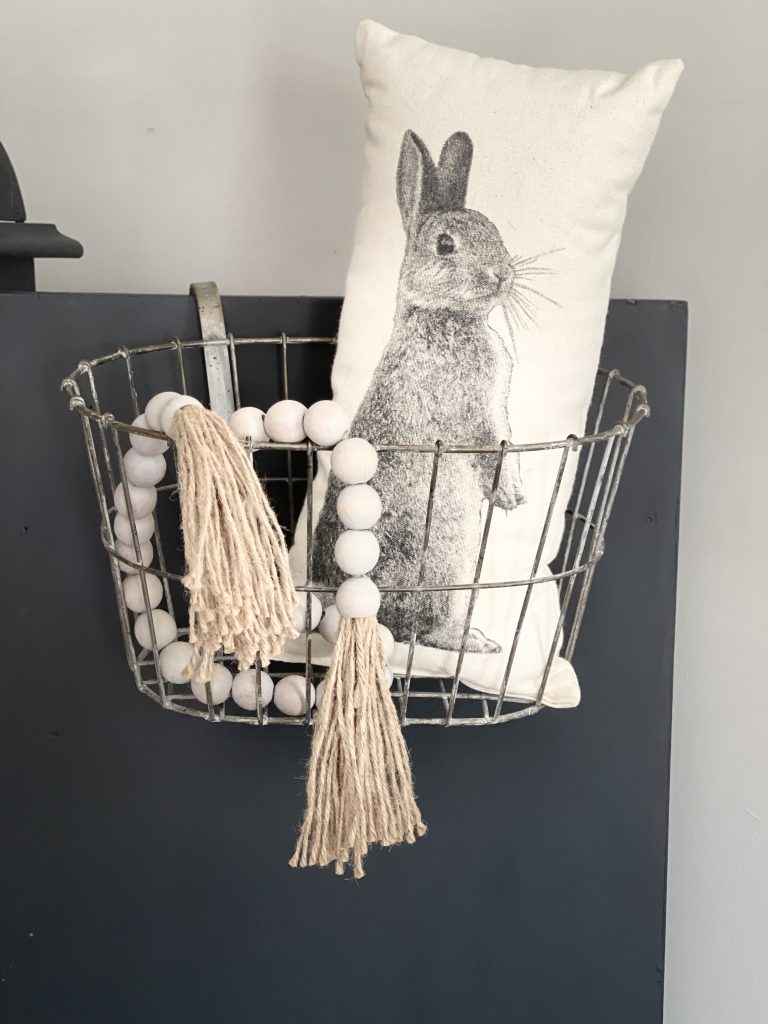
So now it houses our leashes in a cute basket, my 75 pairs of glasses that were on top of the shoe storage. Next, I added two “stick on” hooks for our night walk flashlight and my baseball hat.
There is a large wire basket with gloves and mittens that hopefully can get packed away soon.
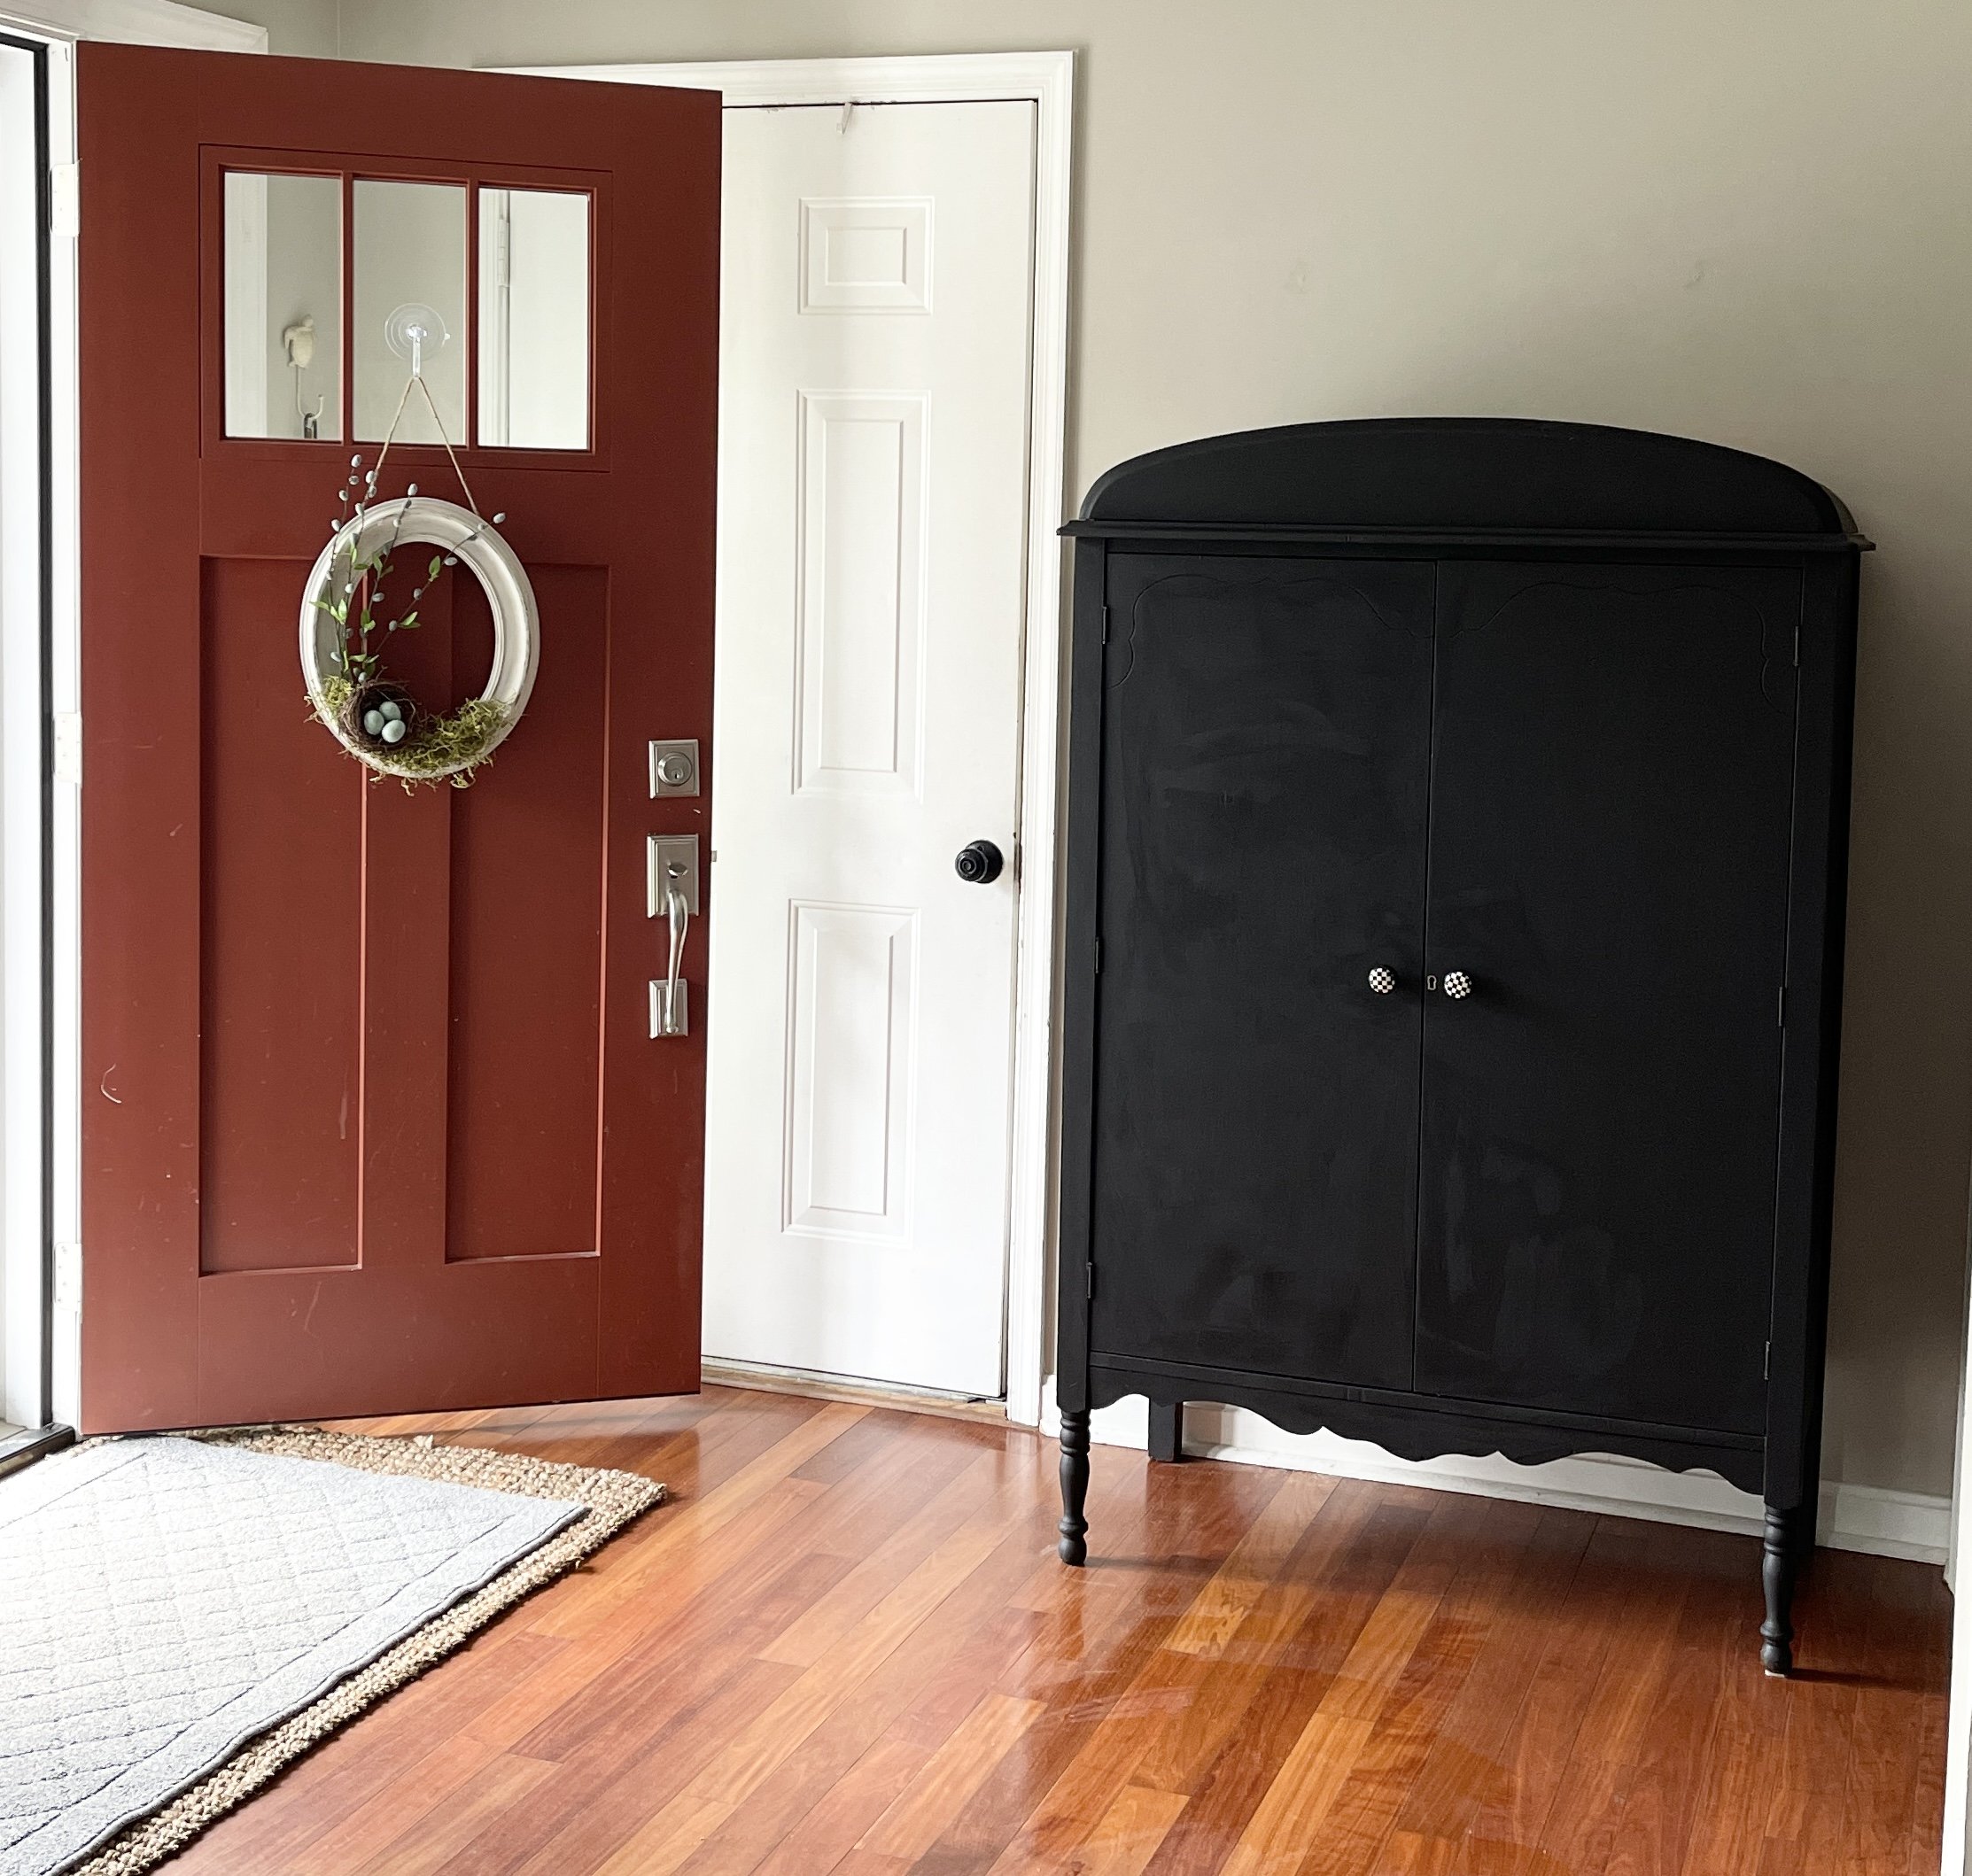
When he came home yesterday and this was right inside the door partially blocking the basement I thought he’d hate it, but guess what?
He loved it.
He couldn’t see any of those things anymore and he asked “now can we get rid of the hooks on the back of the garage door?”
I was stunned. So today I patched the holes (using the mud) above it from the previous hooks, touched up the walls and it’s ready to go!
VINTAGE WARDROBE MAKEOVER
Was a success!
I loved the color, I love the whimsical knobs I purchased from Hobby Lobby and I don’t hate that my living room is a little neater for it.
I could certainly have seen me using it with the doors open to display loads of cuteness but that’s not what our house needs right now.
Thanks for coming along on the journey of my Vintage Wardrobe Makeover. I love this piece and I’ll share a little secret. There were more shelves and the holes for them are still there. Because I may add additional shelves later, I didn’t want to fill the holes.
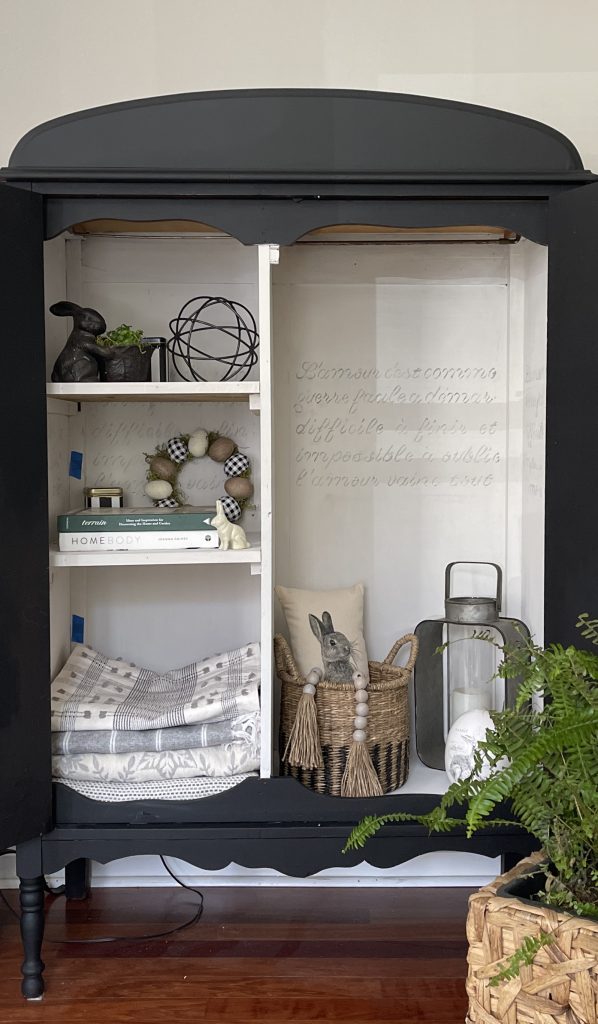
I covered them with painters tape and painted over them. That way I can remove the tape and use the same holes when I add more shelves.
Crazy smart huh?
Thanks for visiting – please subscribe to my blog and get ideas and inspiration directly in your inbox.
If you have any questions let me know or feel free to share what you are working on! To see more projects in this beautiful color click here.
Happy Spring!
XO, Regina
This post contains affiliate links. I receive a small commission if you order from any of the links at no additional cost to you. Thanks for supporting my small business!


Tons of cuteness, open or closed. You made this into a real treasure and I love how many organizational functions it tackles for you in its new life. great work!
Boy we needed this. Since I don’t have the beautiful organization piece like you do in the laundry room this is the next best thing. XO
It turned out very nice.
I would not have thought about doing the inside light and the outside dark, but I really like how it brightened it up!
Very nice!
Thank you for sharing this at the Sunday Sunshine Blog Hop
Laurie
Ridge Haven Homestead
Laurie – thanks. I went back and forth and decided the dark would pop in my living room!
I read somewhere that every room needs a touch of black. I love your wardrobe! Especially open! But I can see where having it closed can hide a lot of “stuff”! I have way too much stuff going on in my rooms, trying to simplify but man, it’s hard! Just found your blog through Jennifer at Cottage on Bunker Hill. I’m subscribing, love what I’ve seen so far. Jan in MA