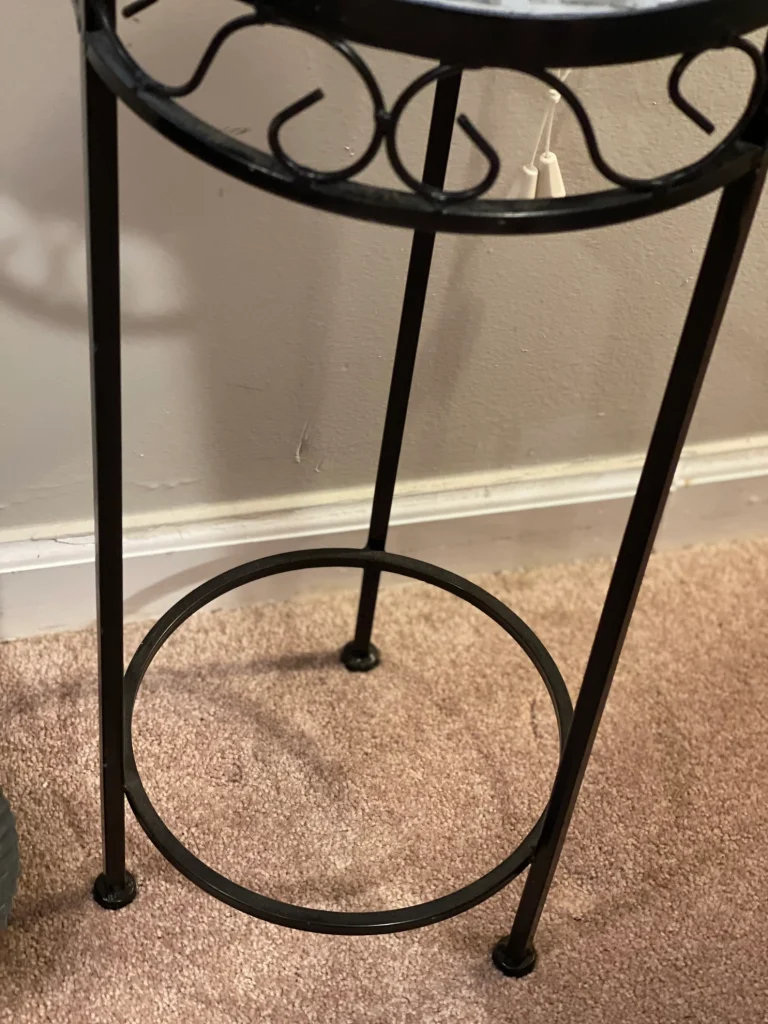
Do you dislike 3 legged plant stands? Me too! I’ll show you how to create a plant stand that doesn’t tip over from an upcycled lampshade.
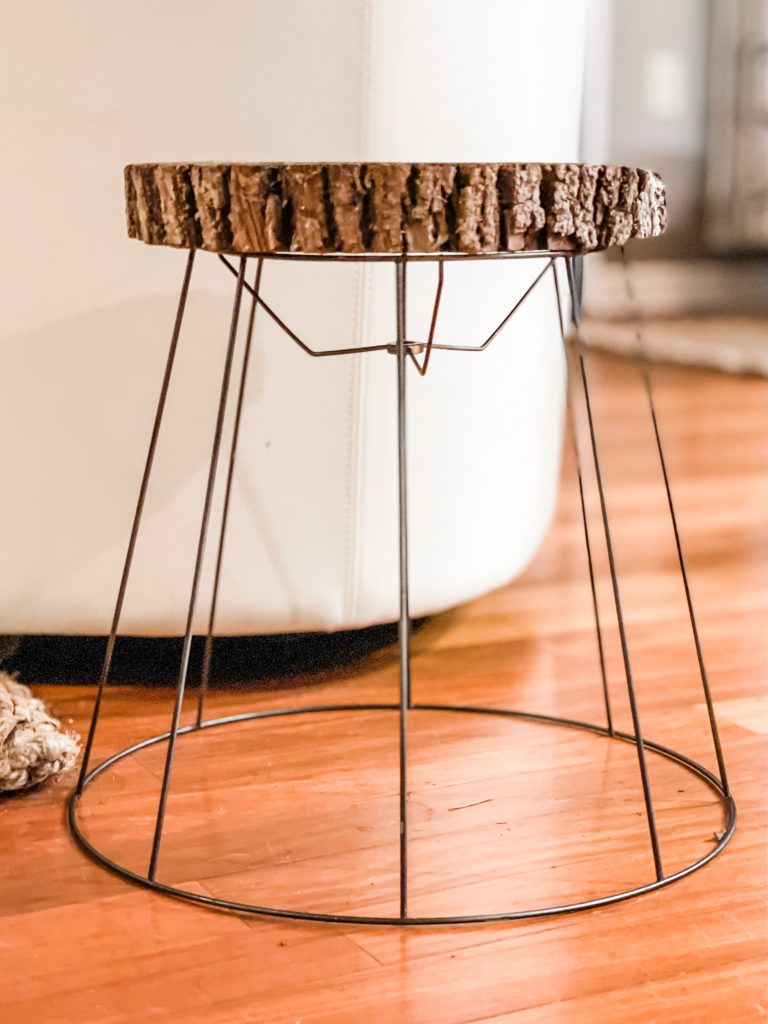
Table of Contents
Back to the project….
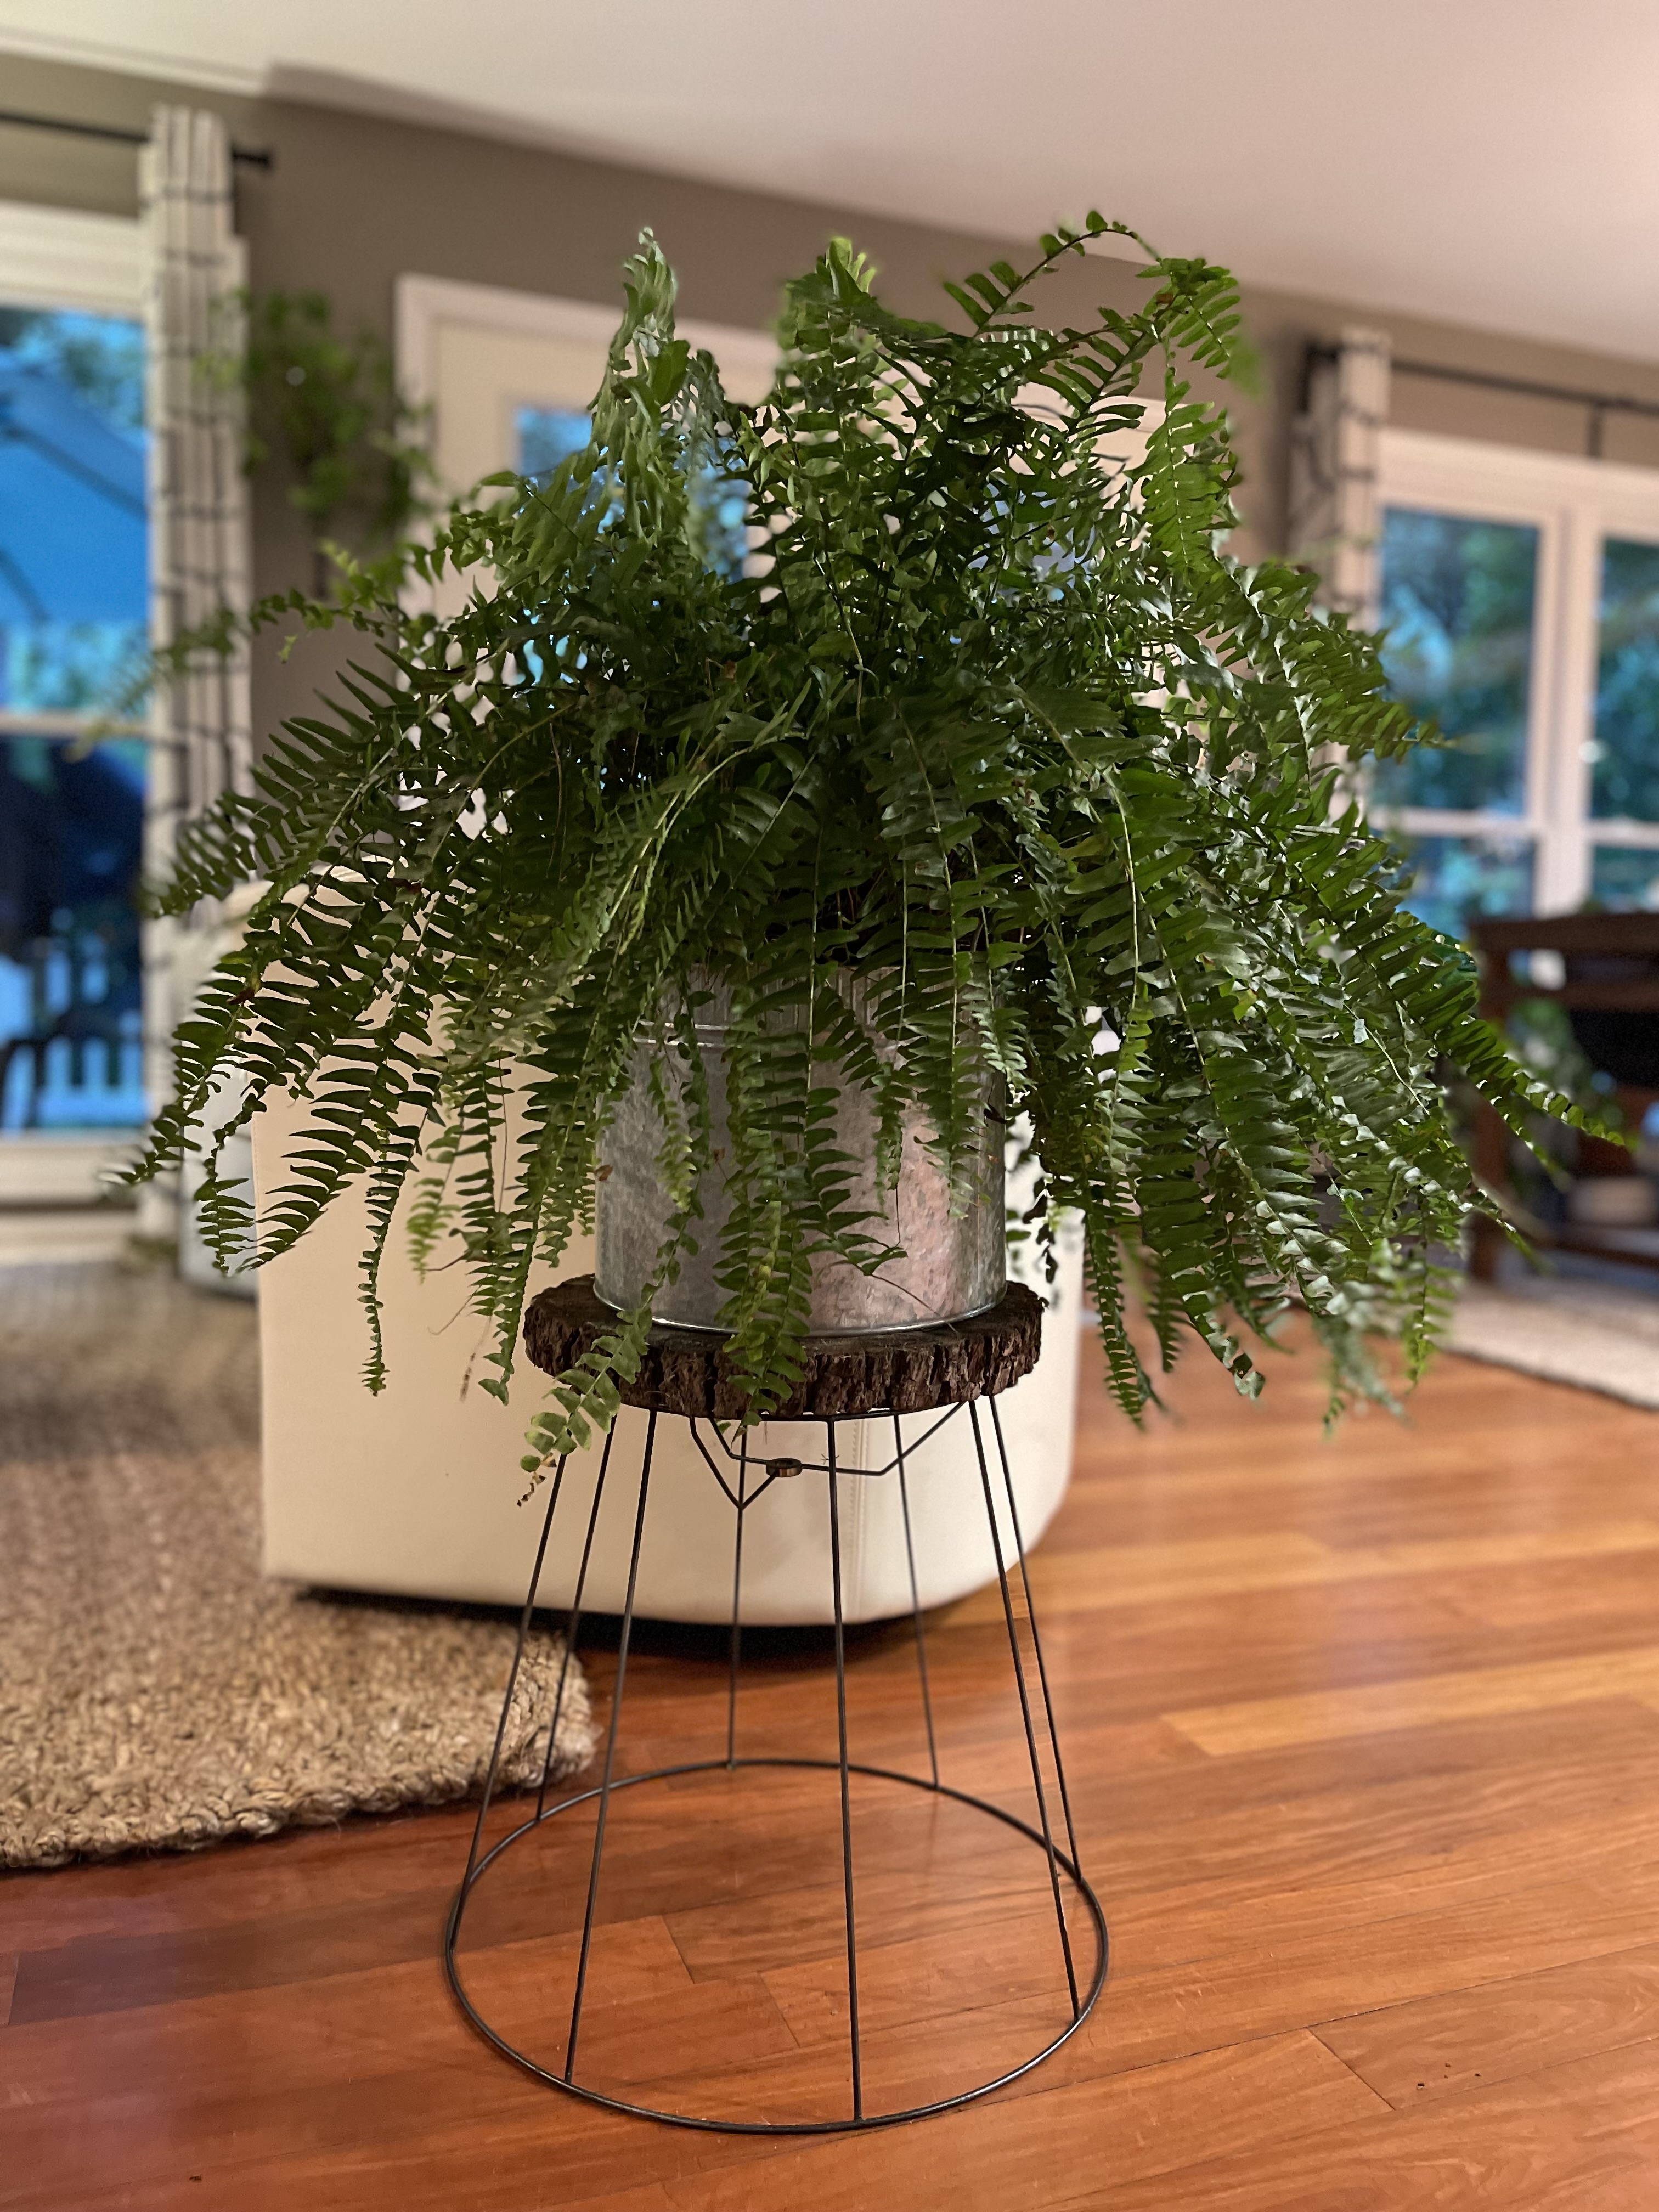
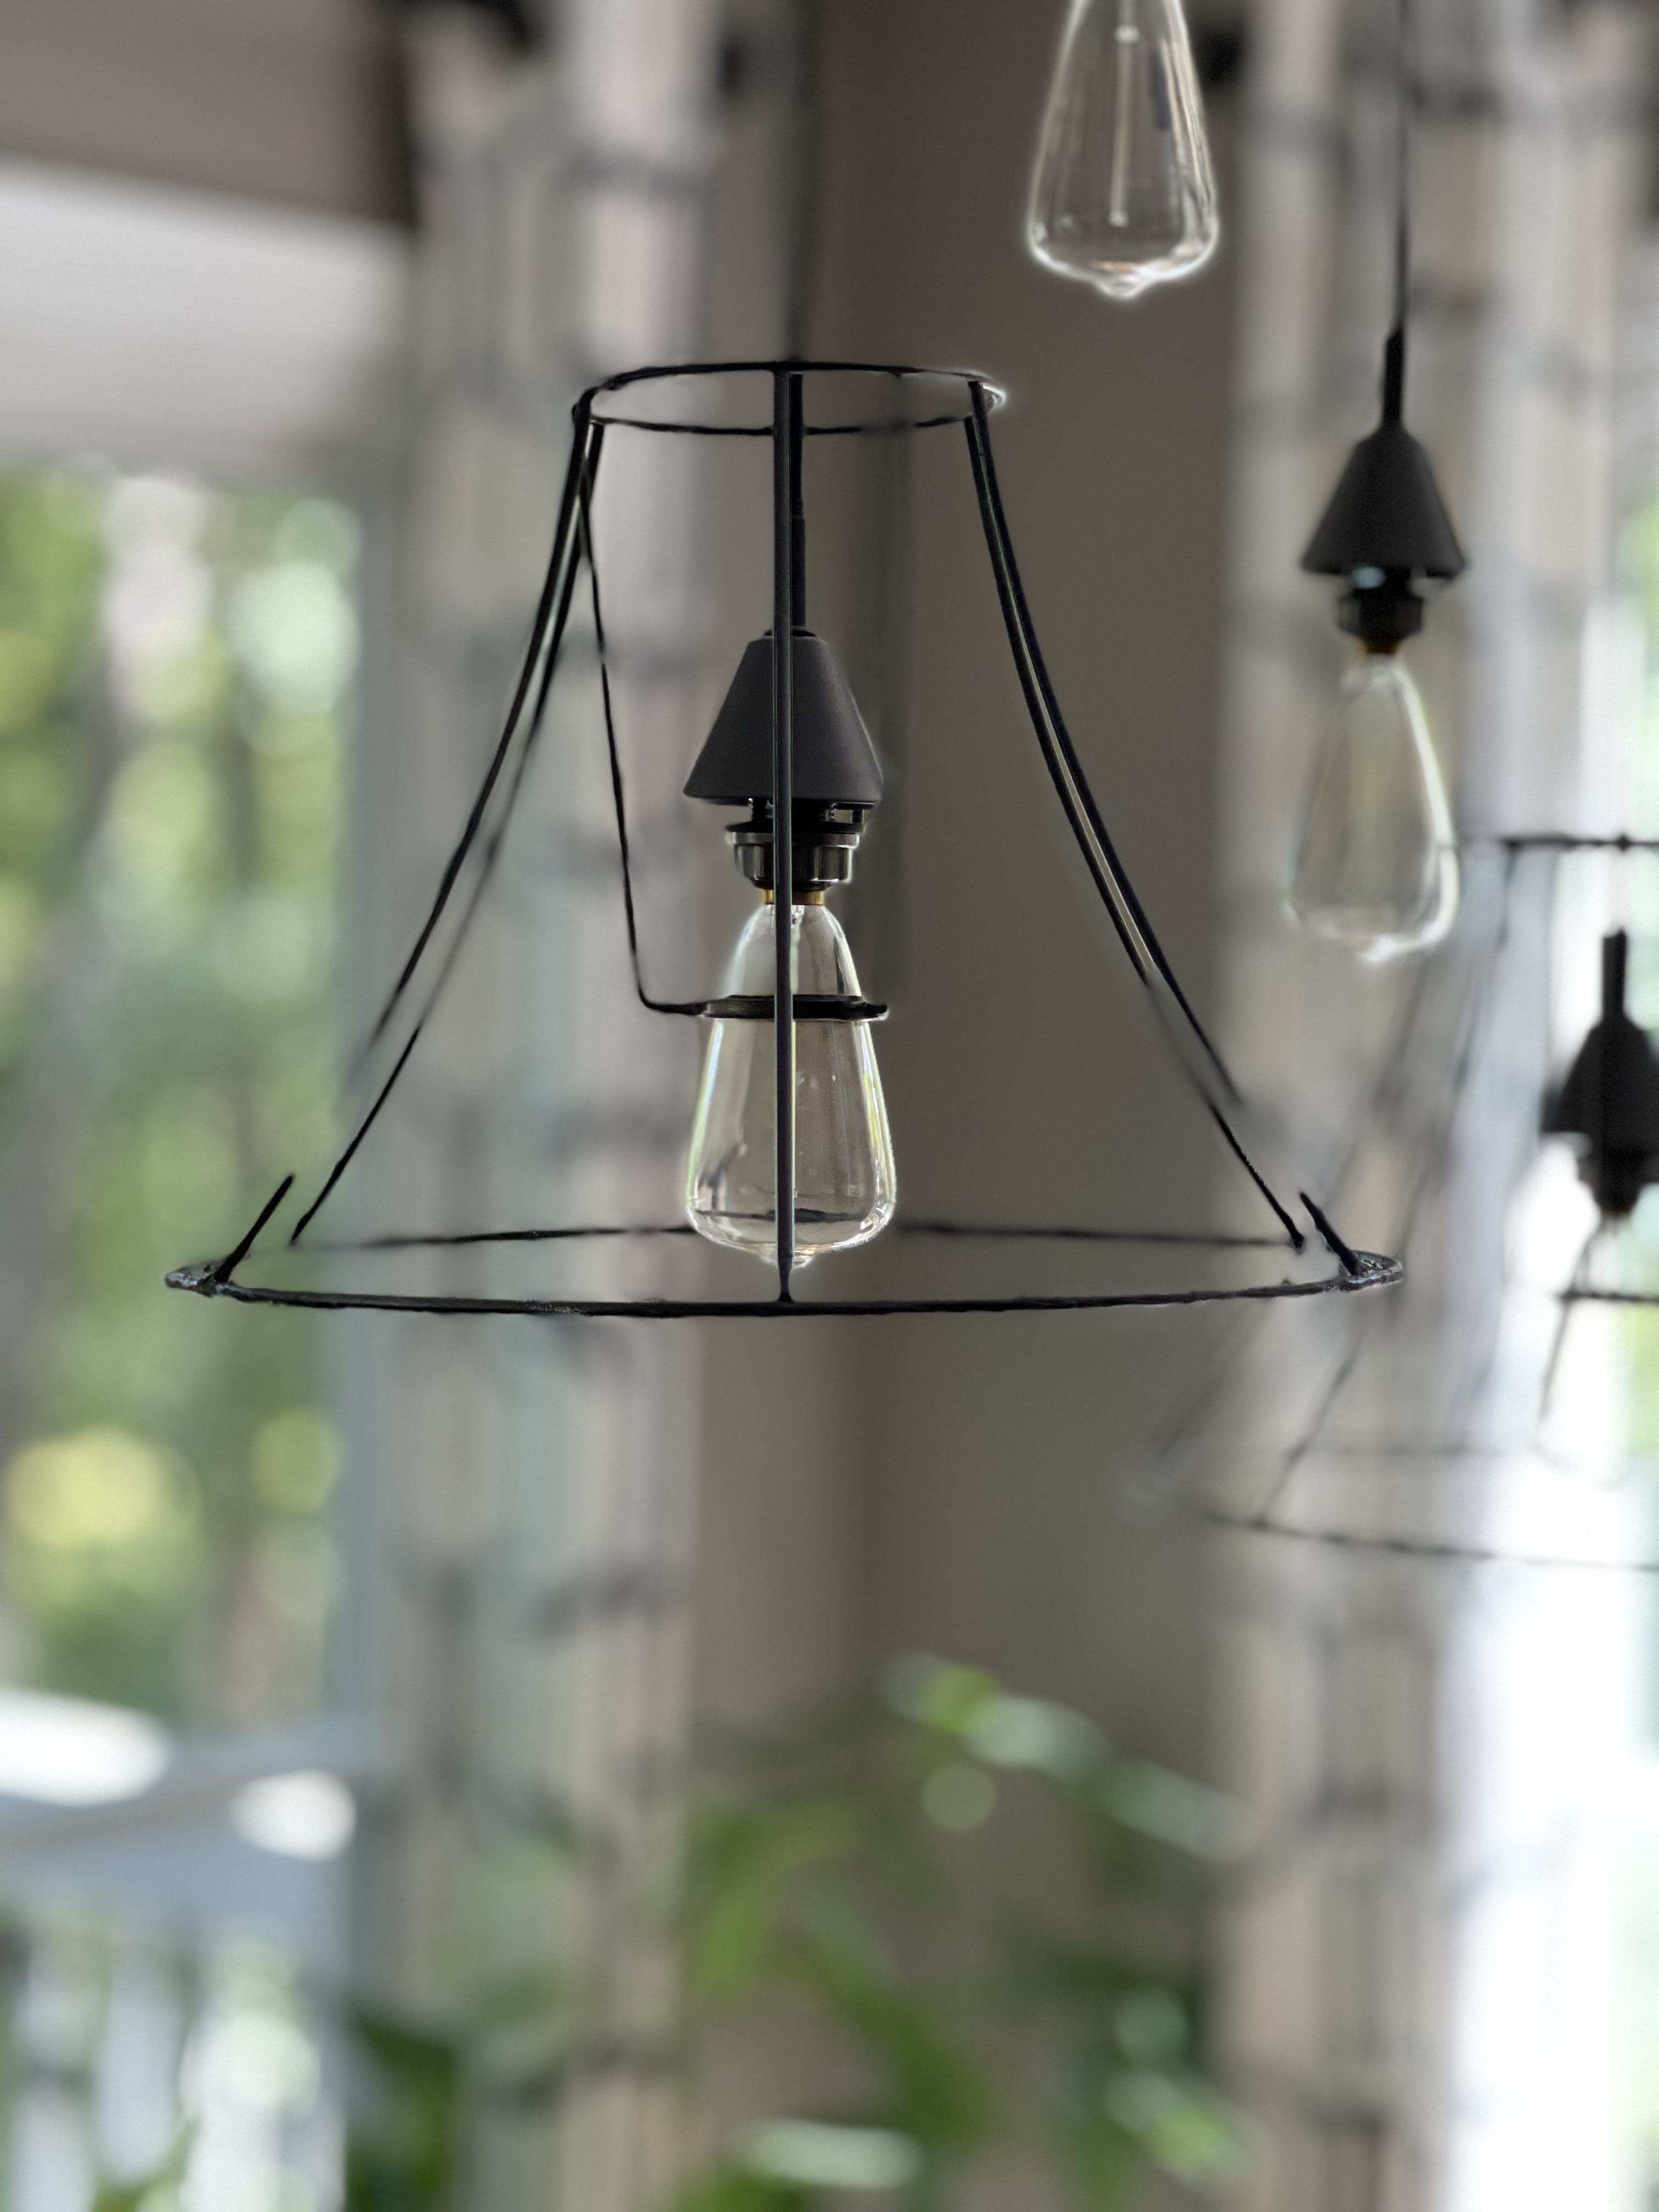
I’ve seen a few thrifted lamp shades made into table bases and that was my initial intent. Flash forward to the fact that I don’t really need any more side tables but I do need plant stands.
So why not make one using my thrifted lampshade? A plant stand that won’t easily tip over for the win. I made my first one using the lamp shade I had gotten for the table.
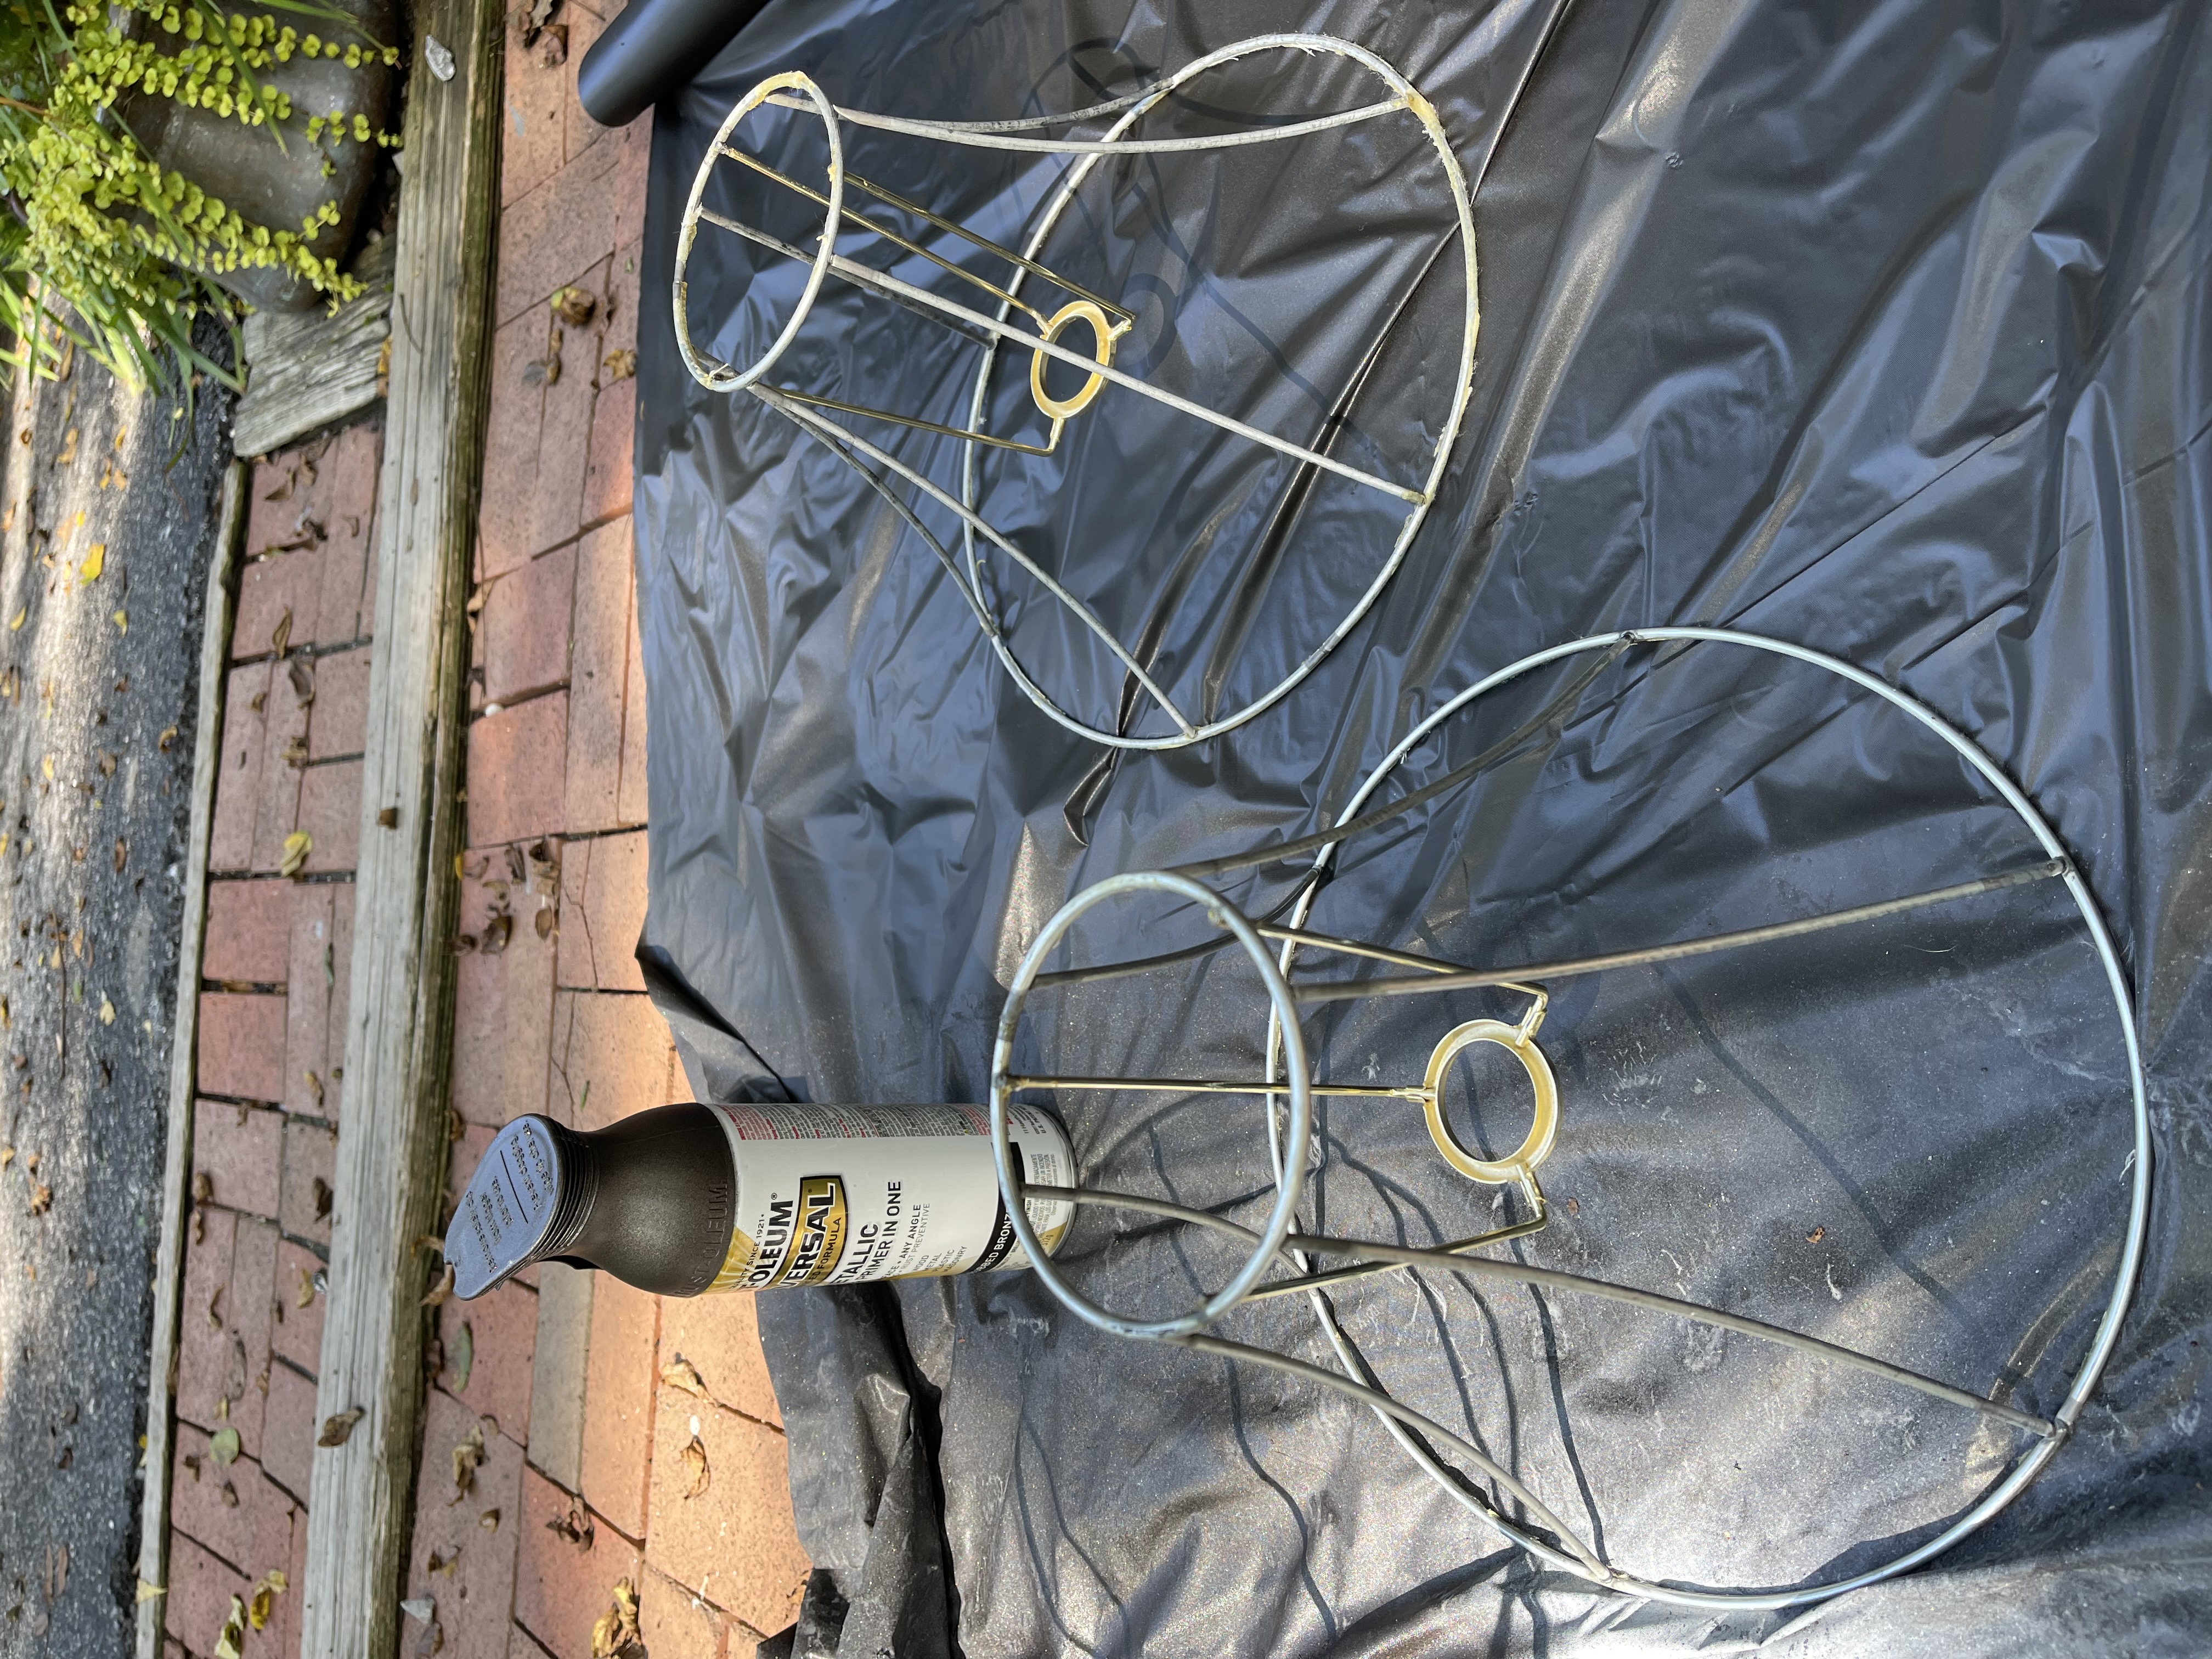
PREPPING THE SHADE
PAINTING THE SHADE
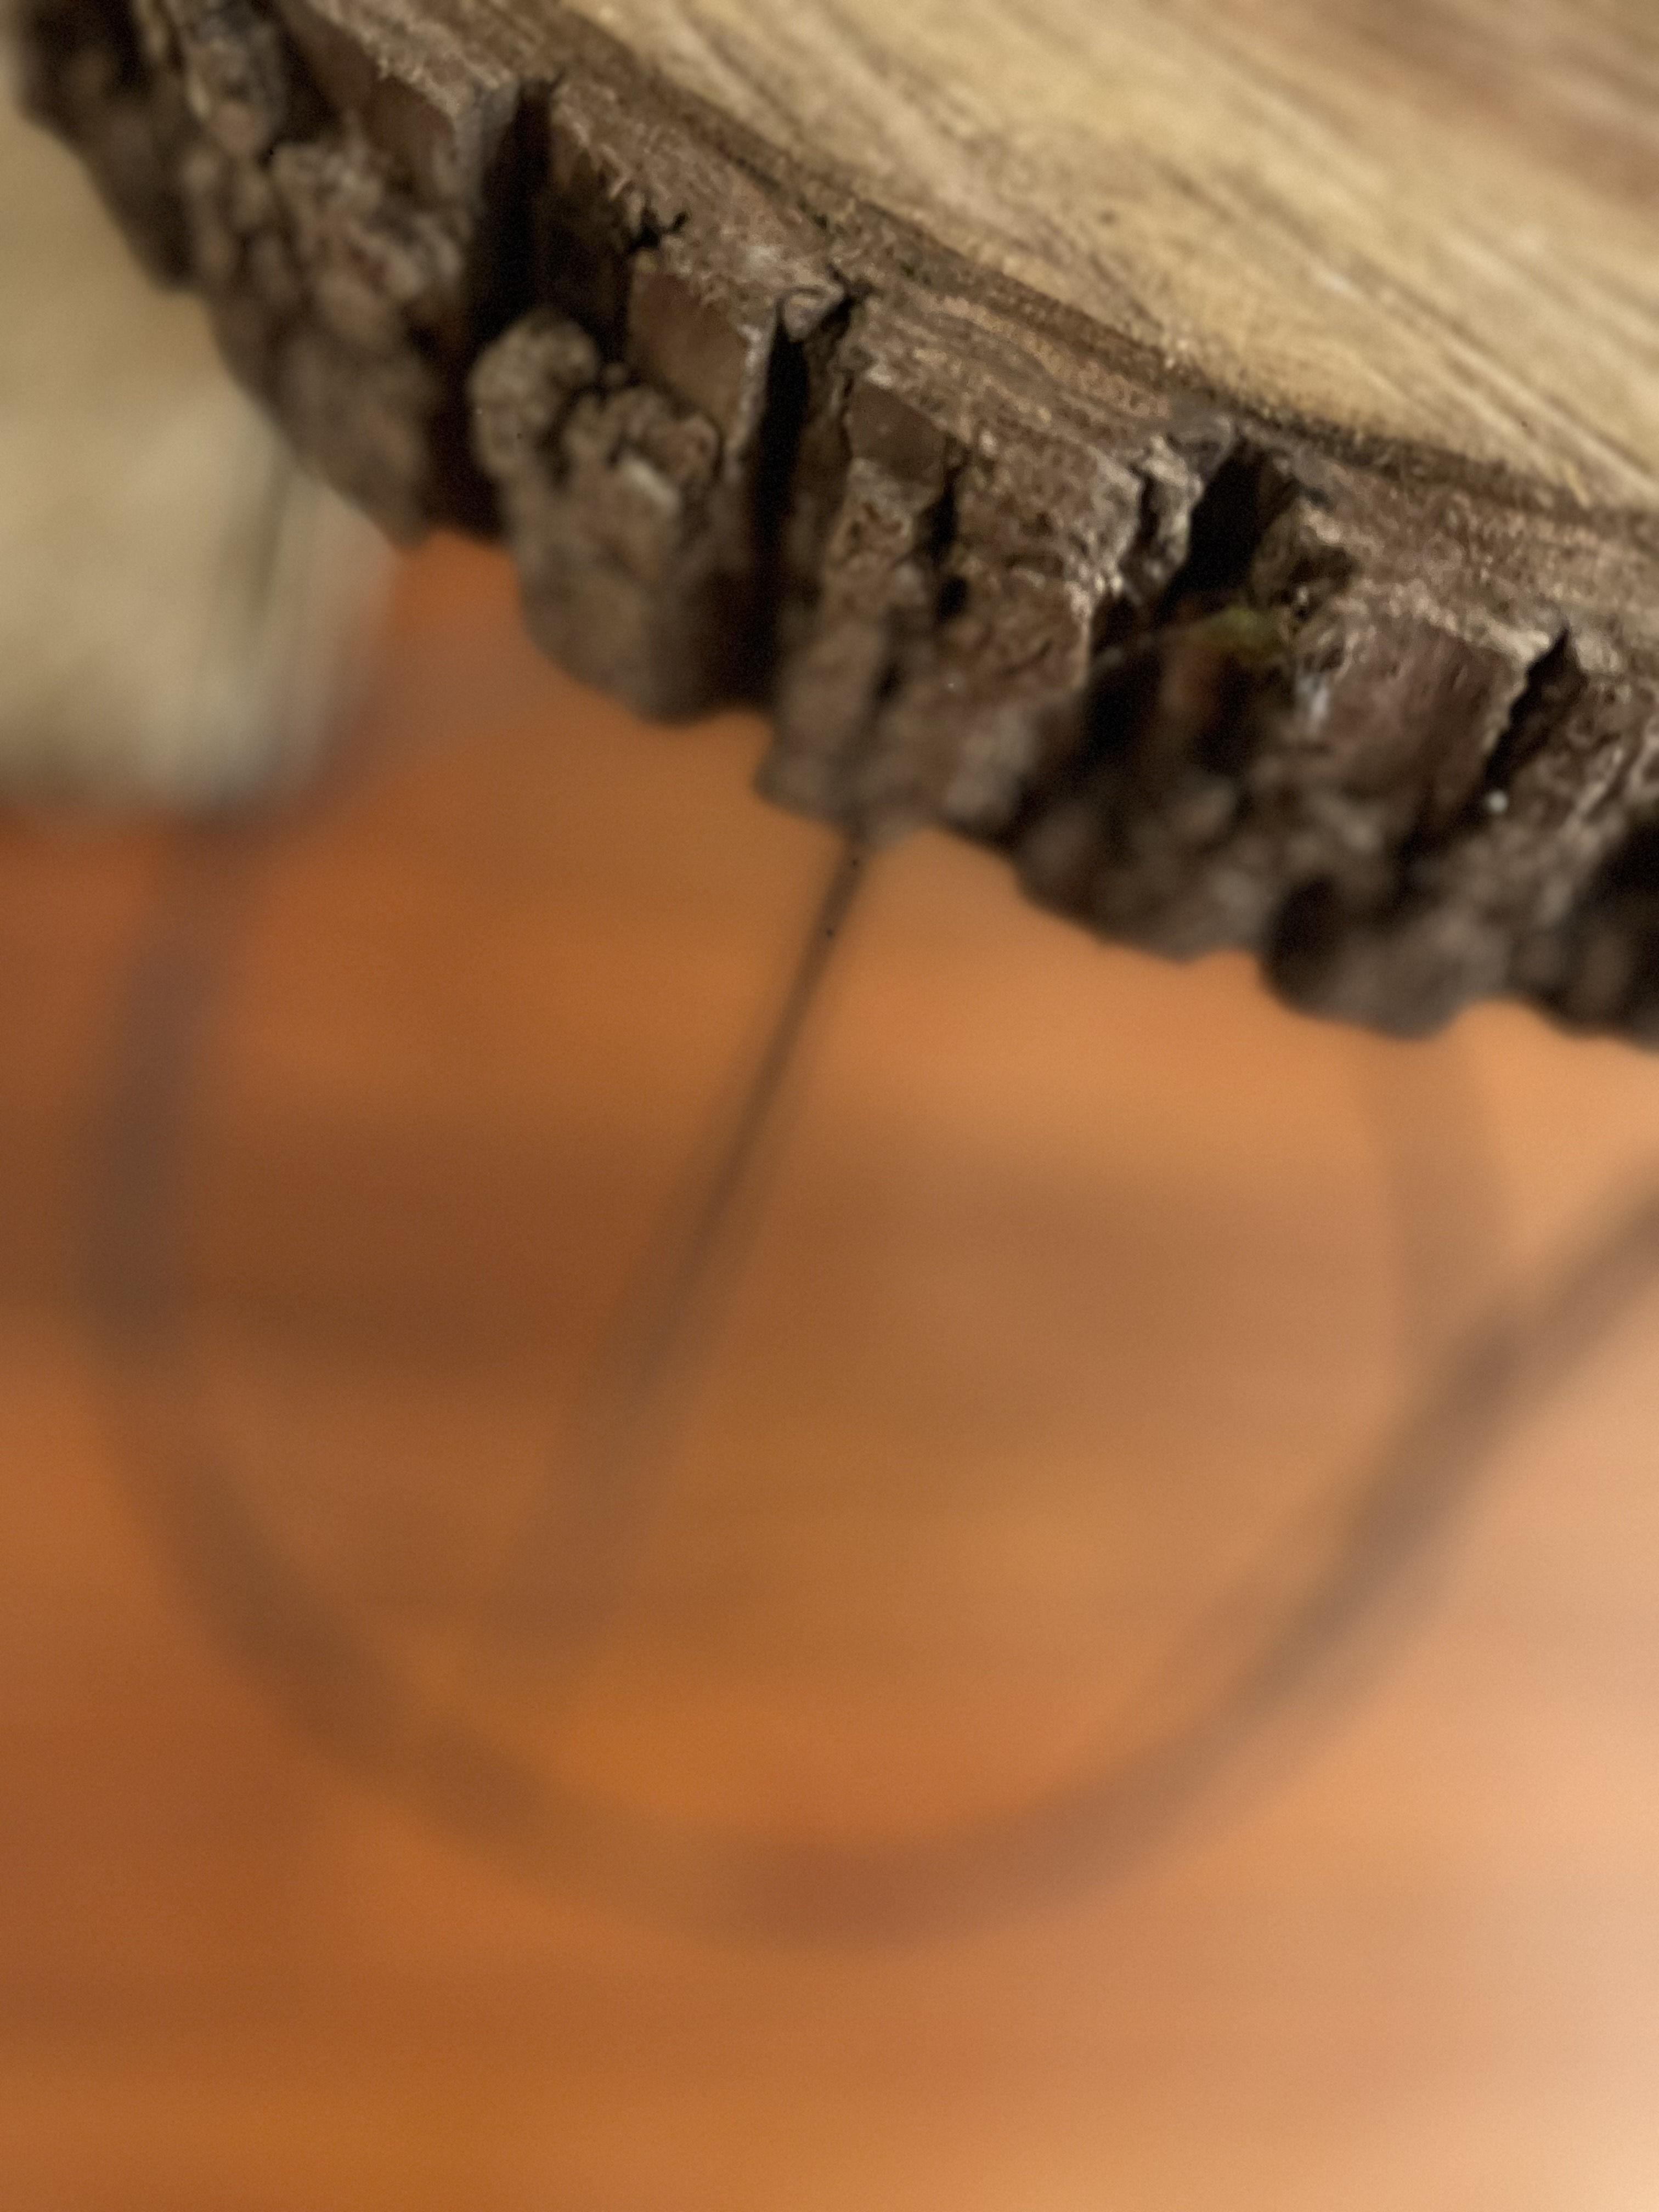
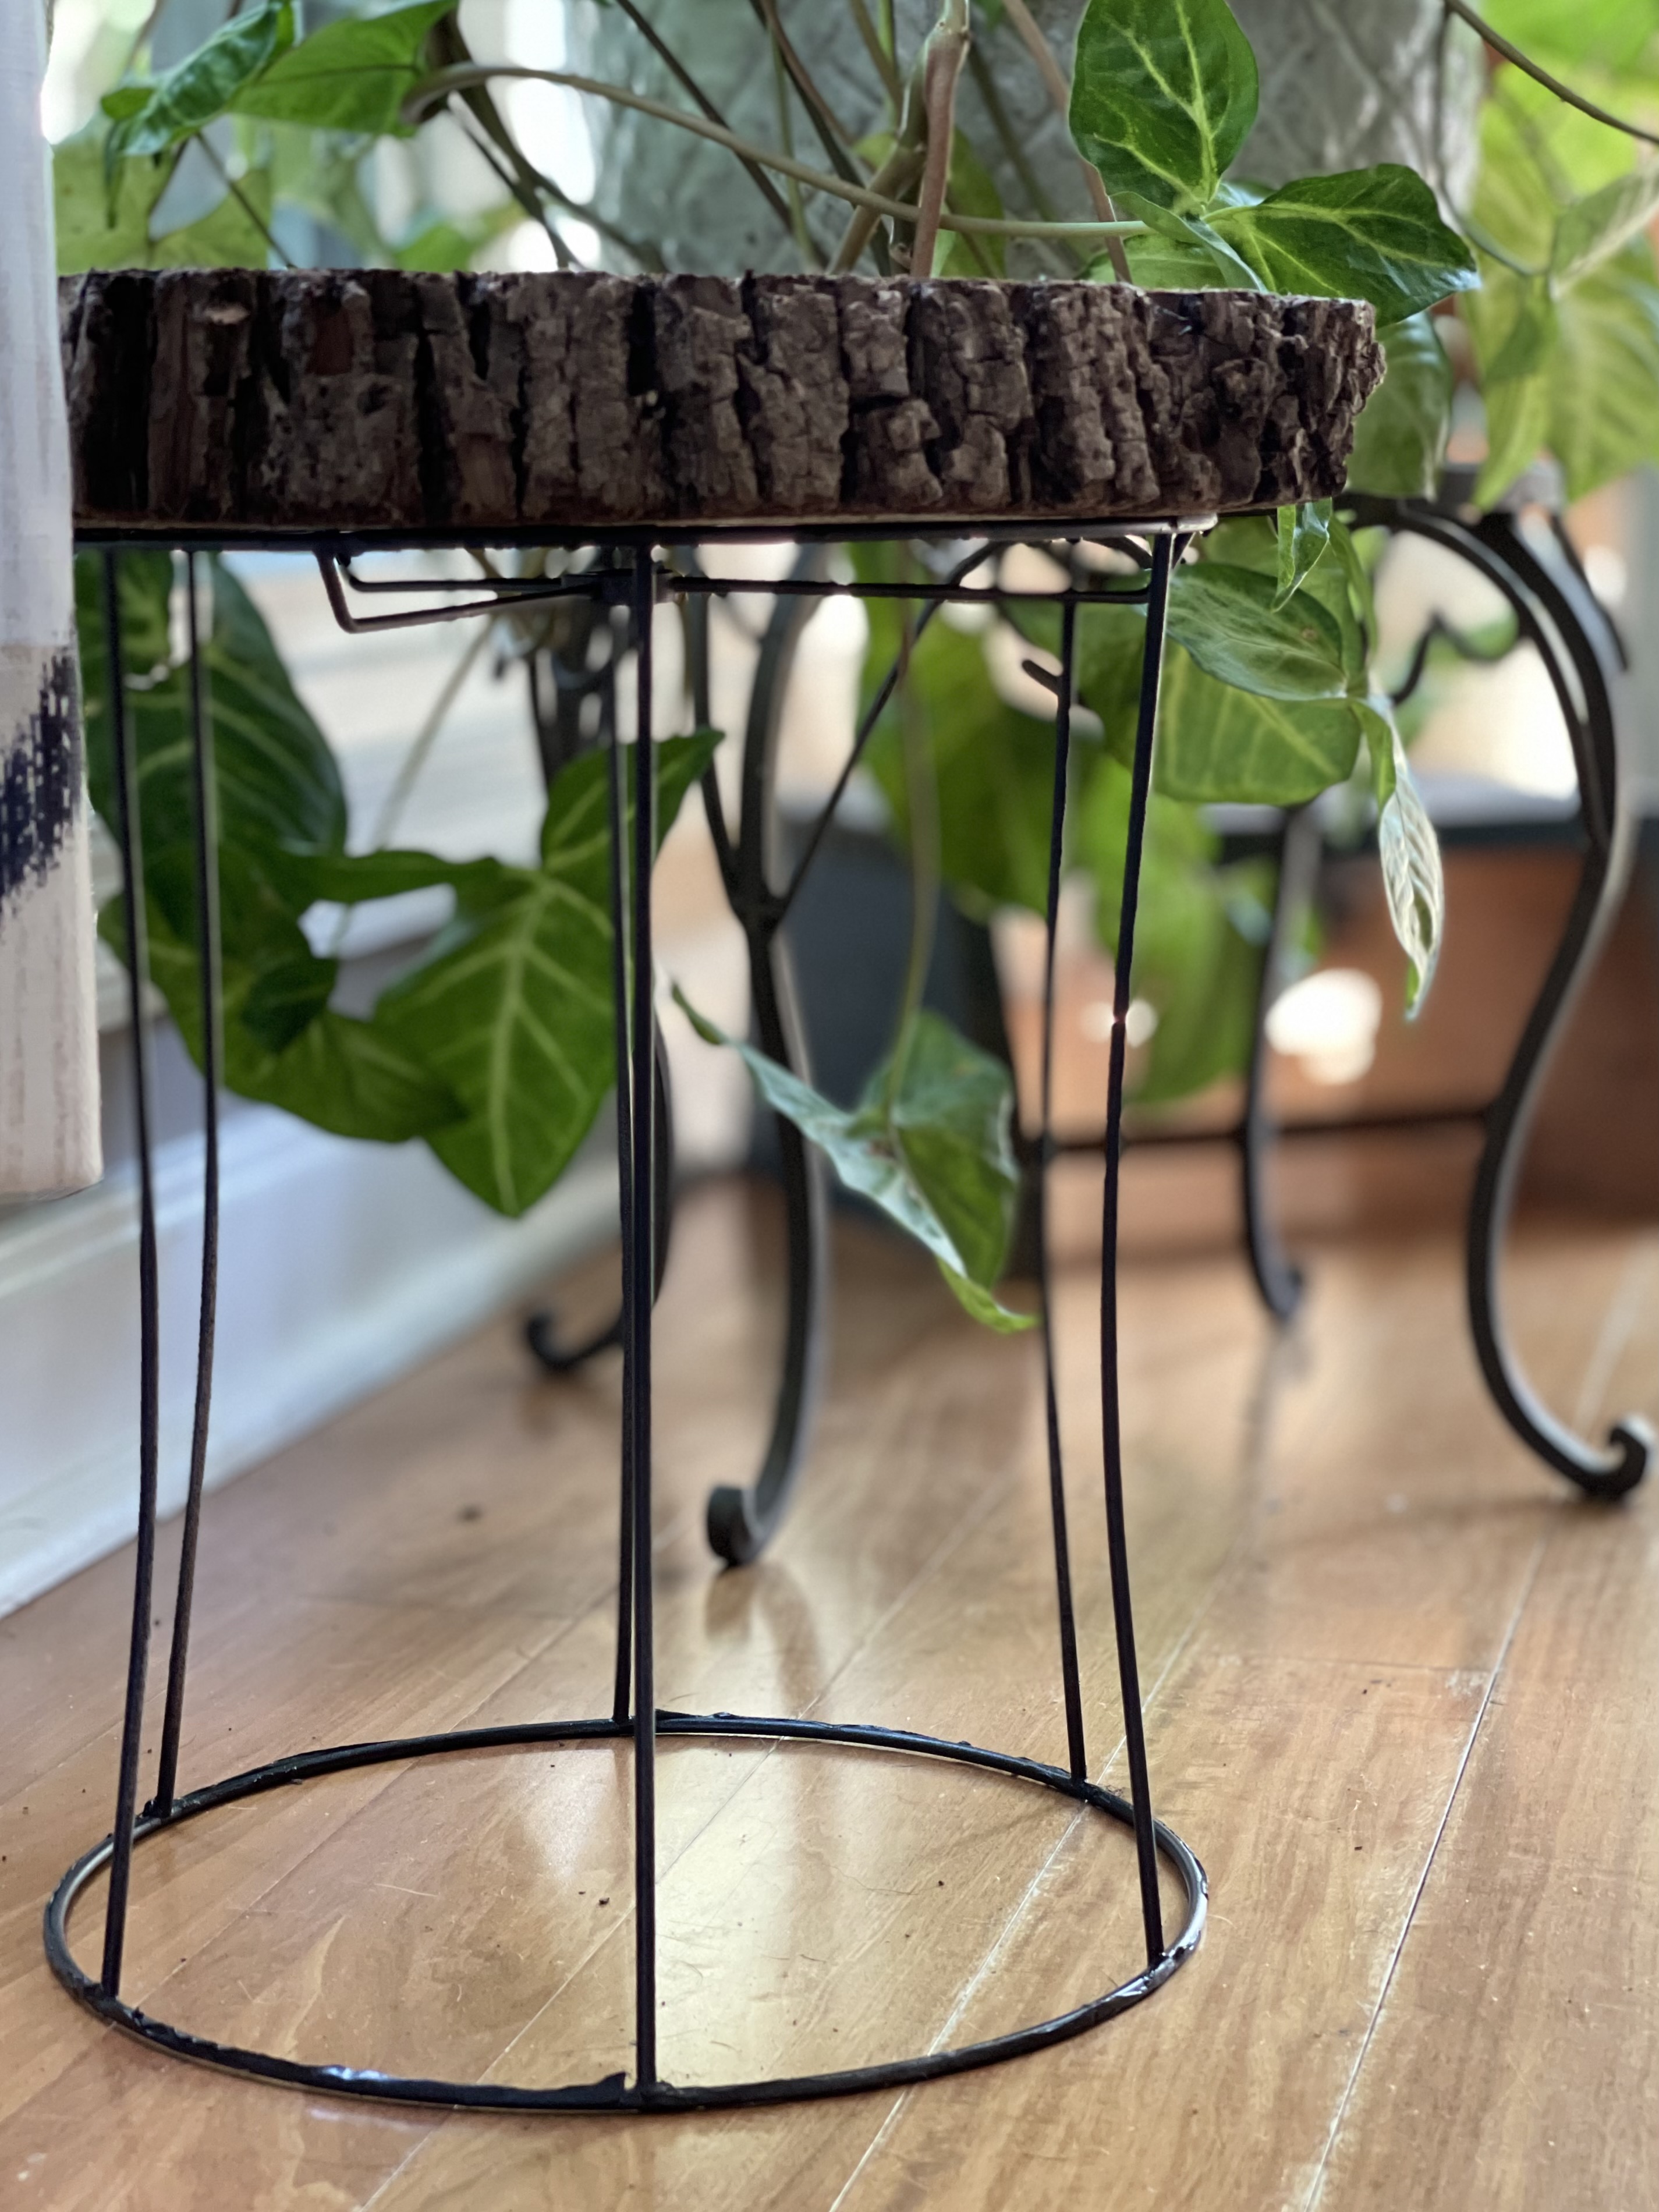
ADDING THE WOOD SLICE
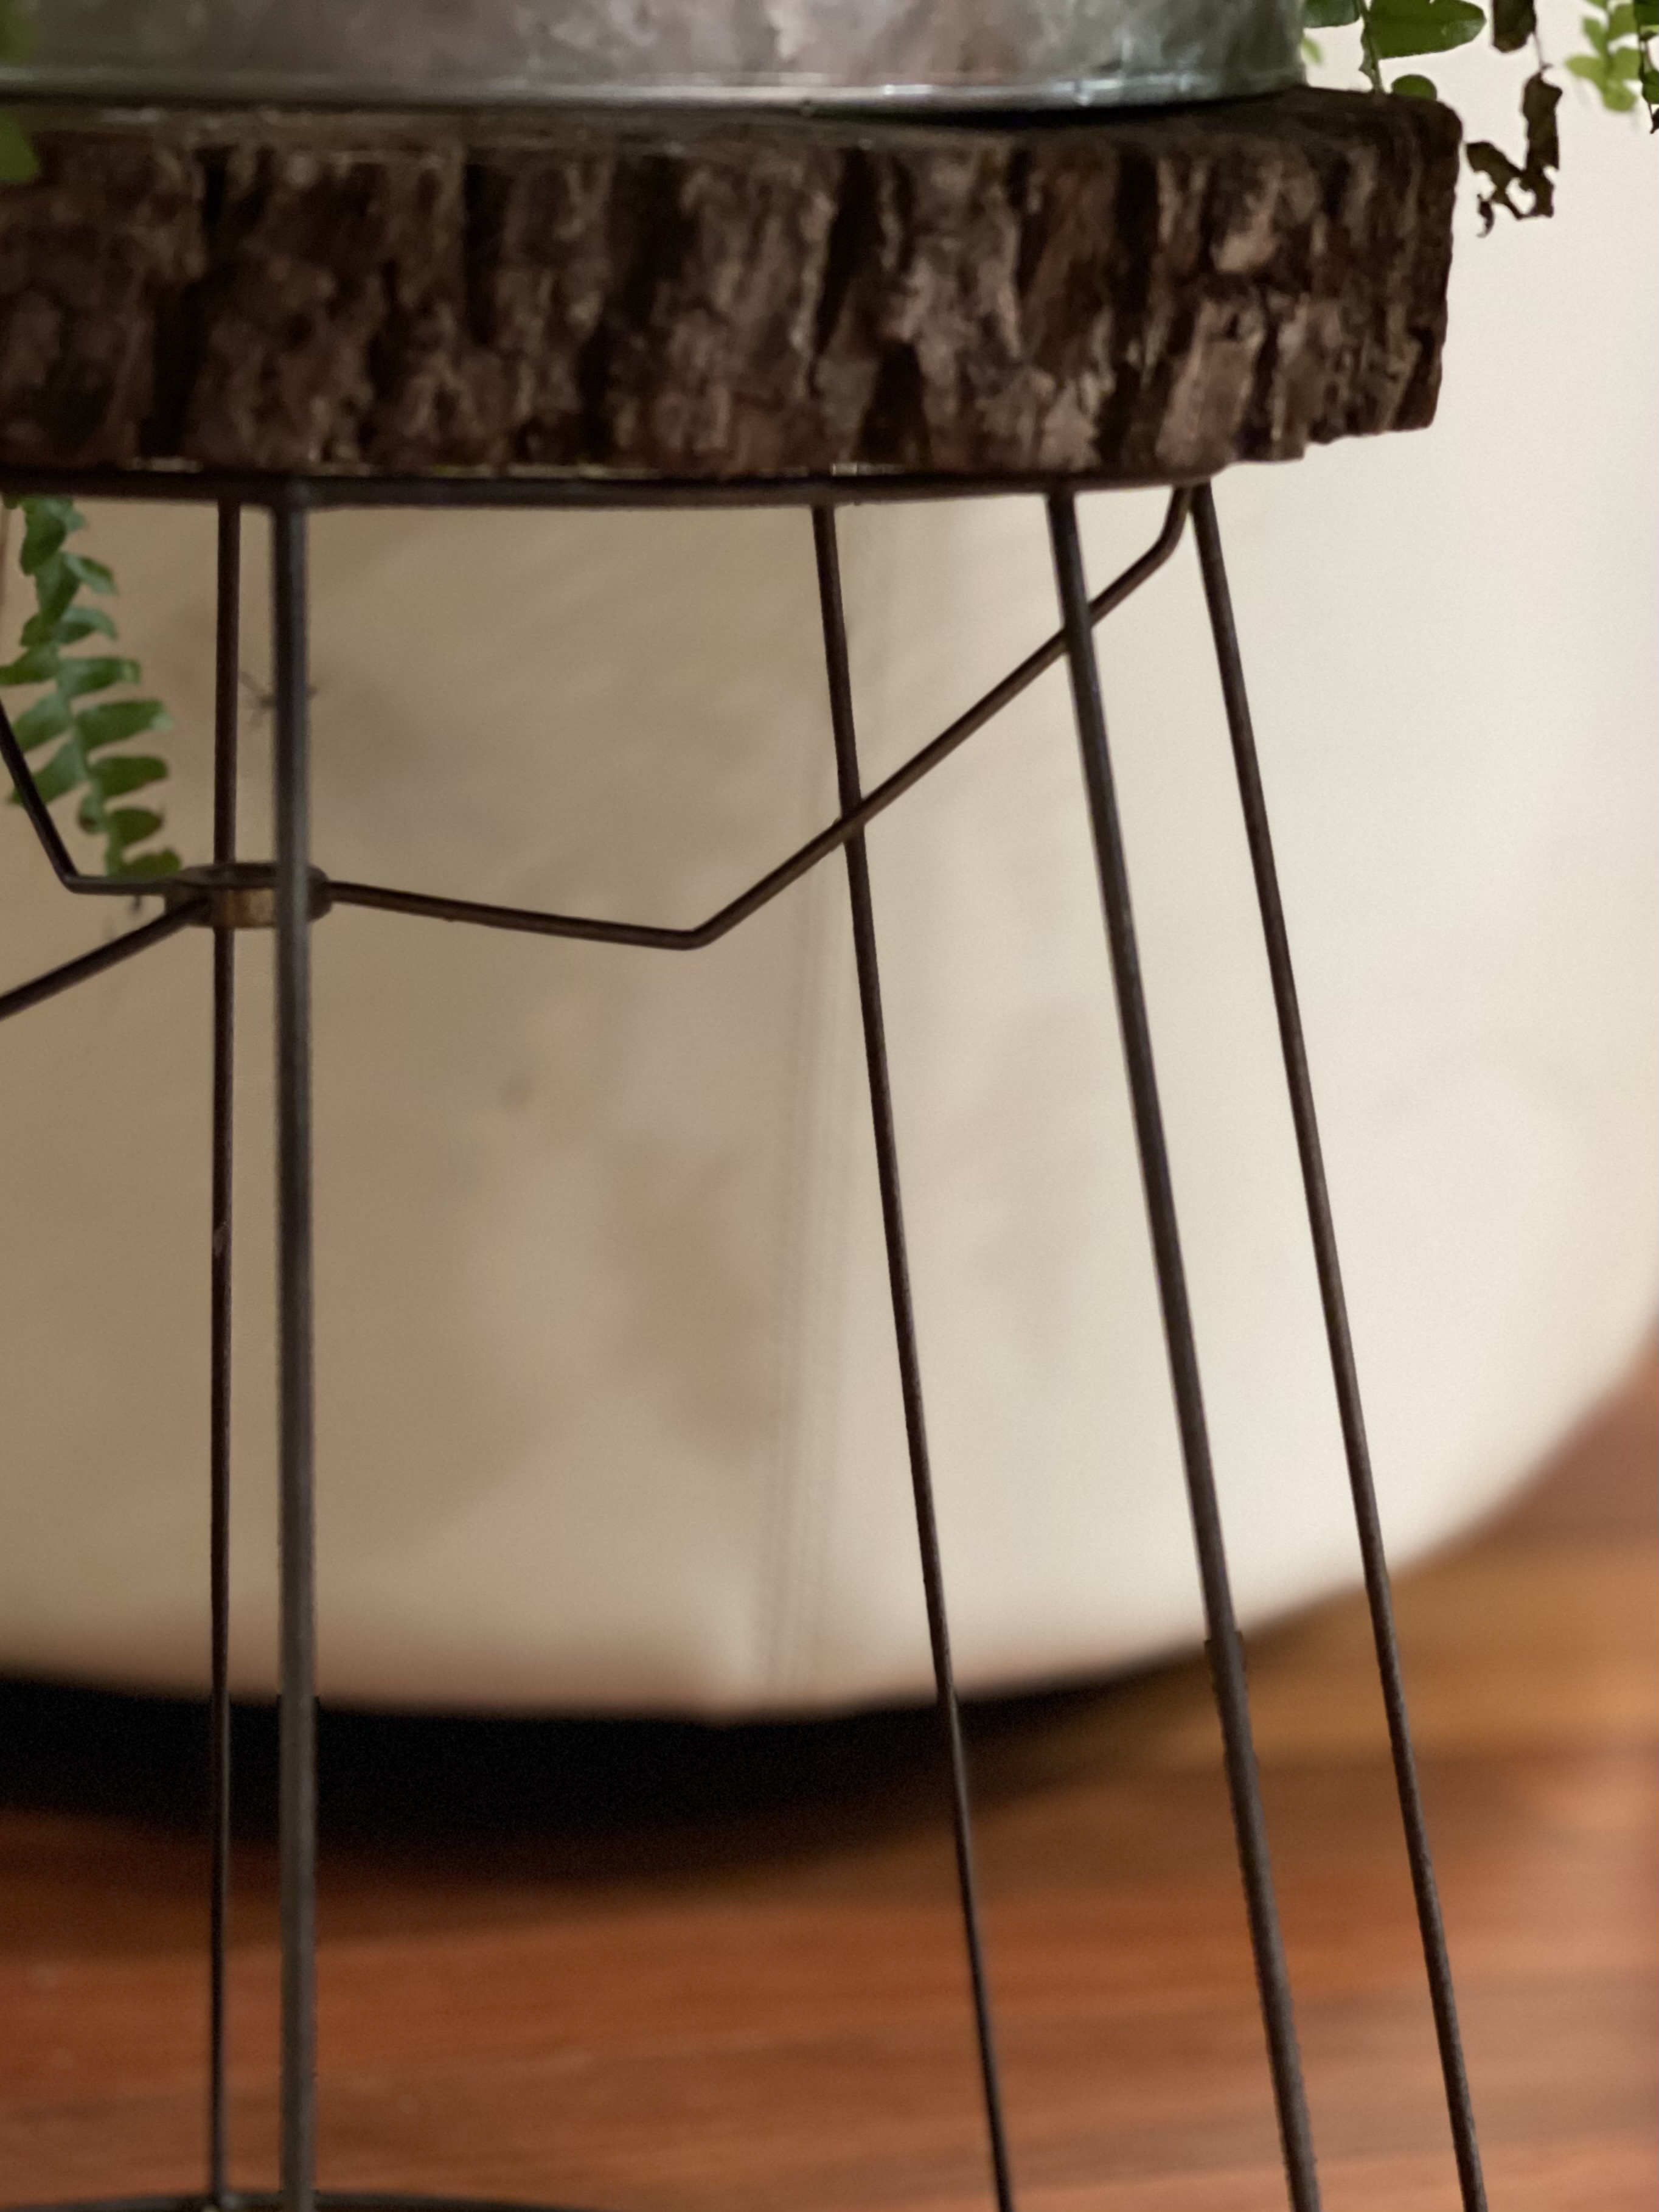
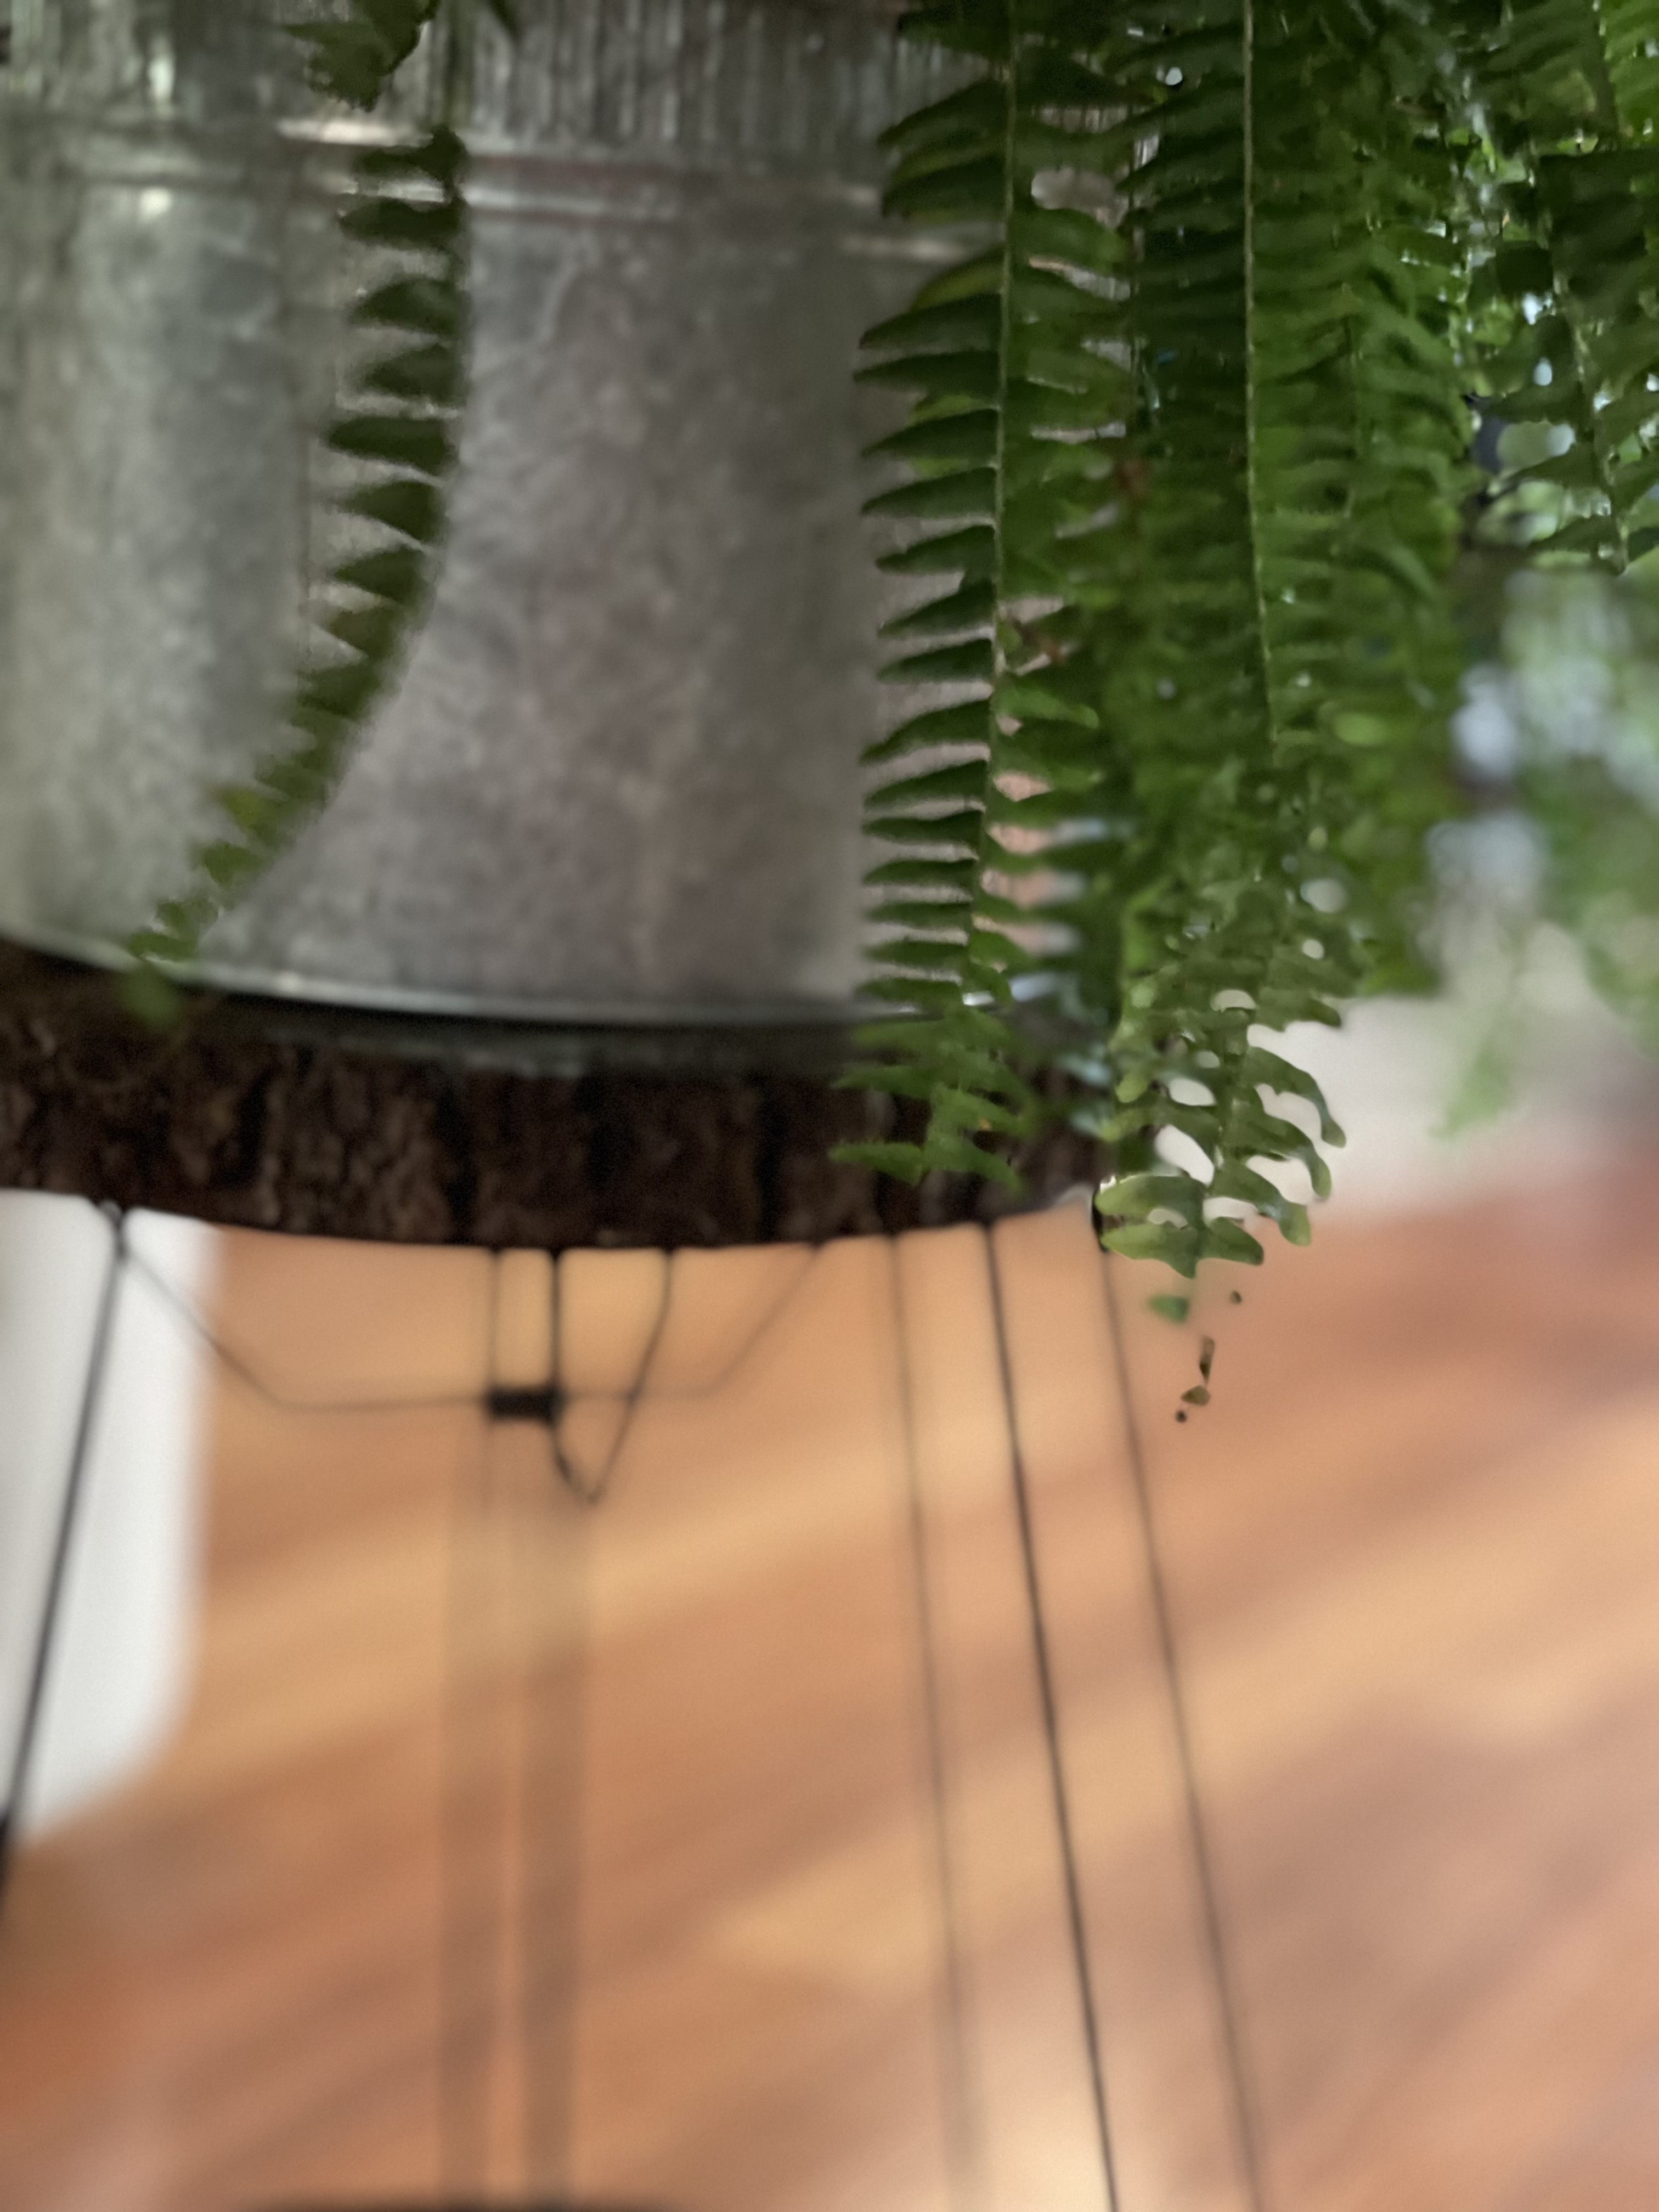
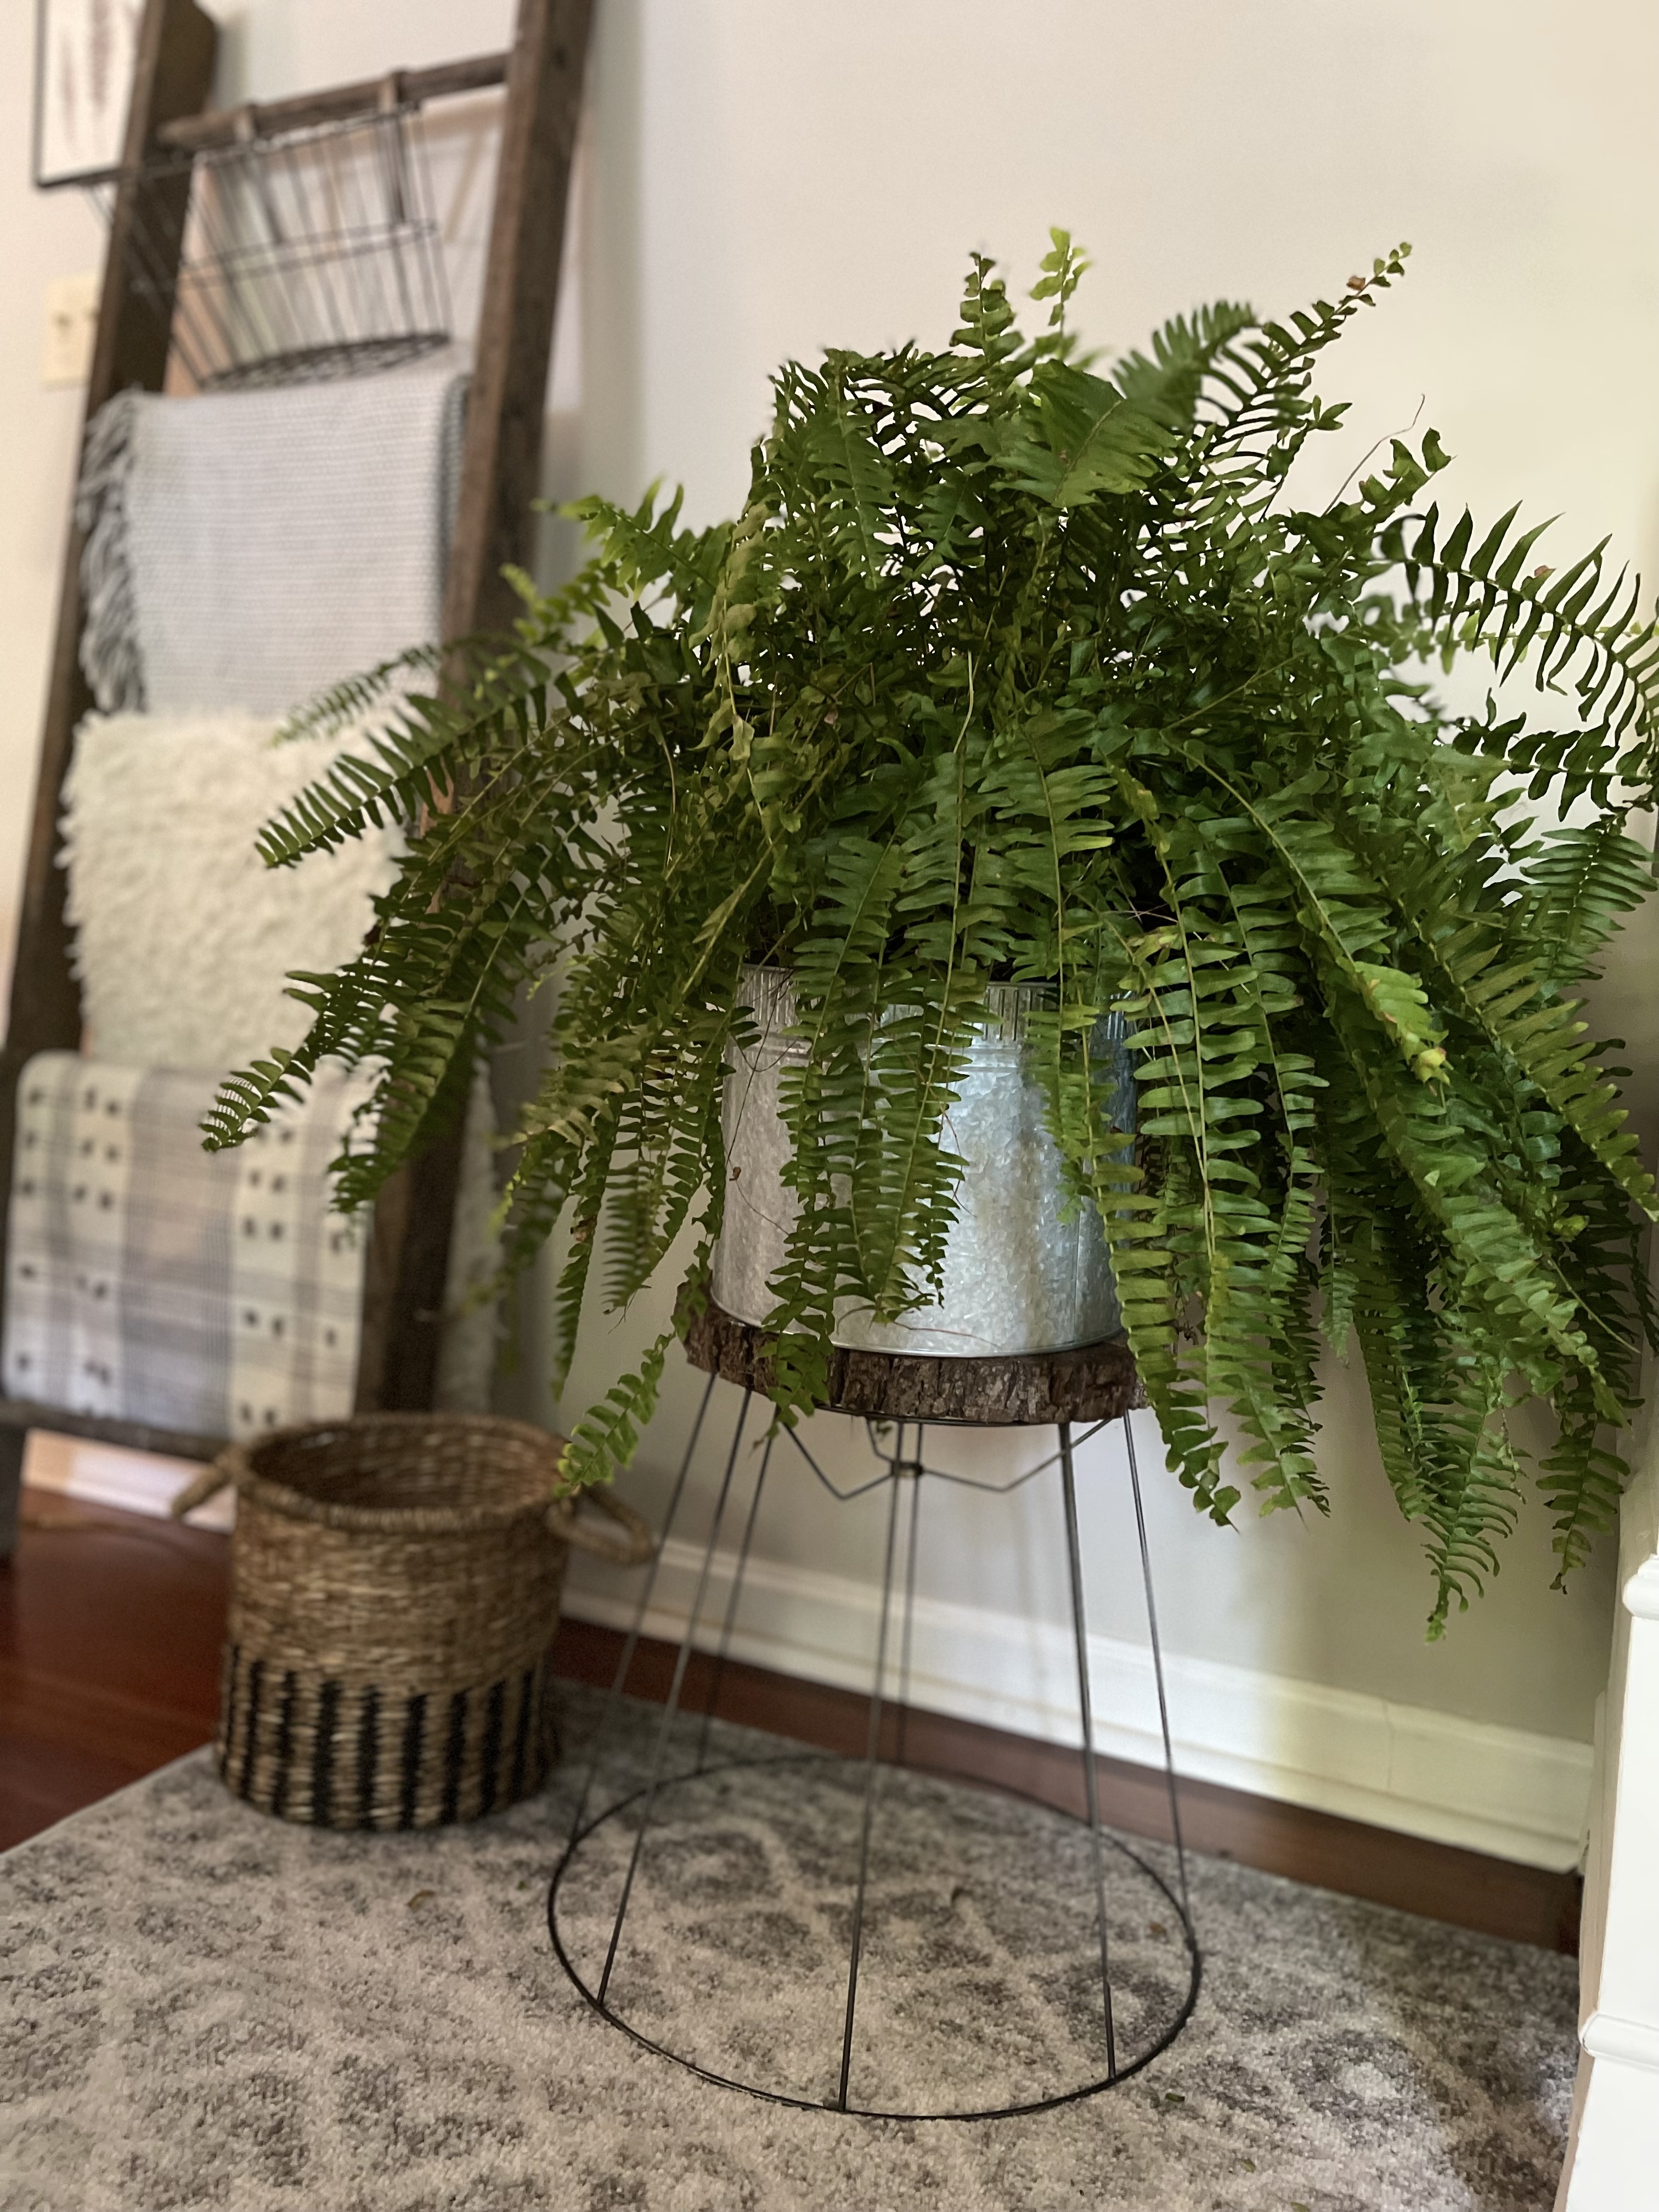
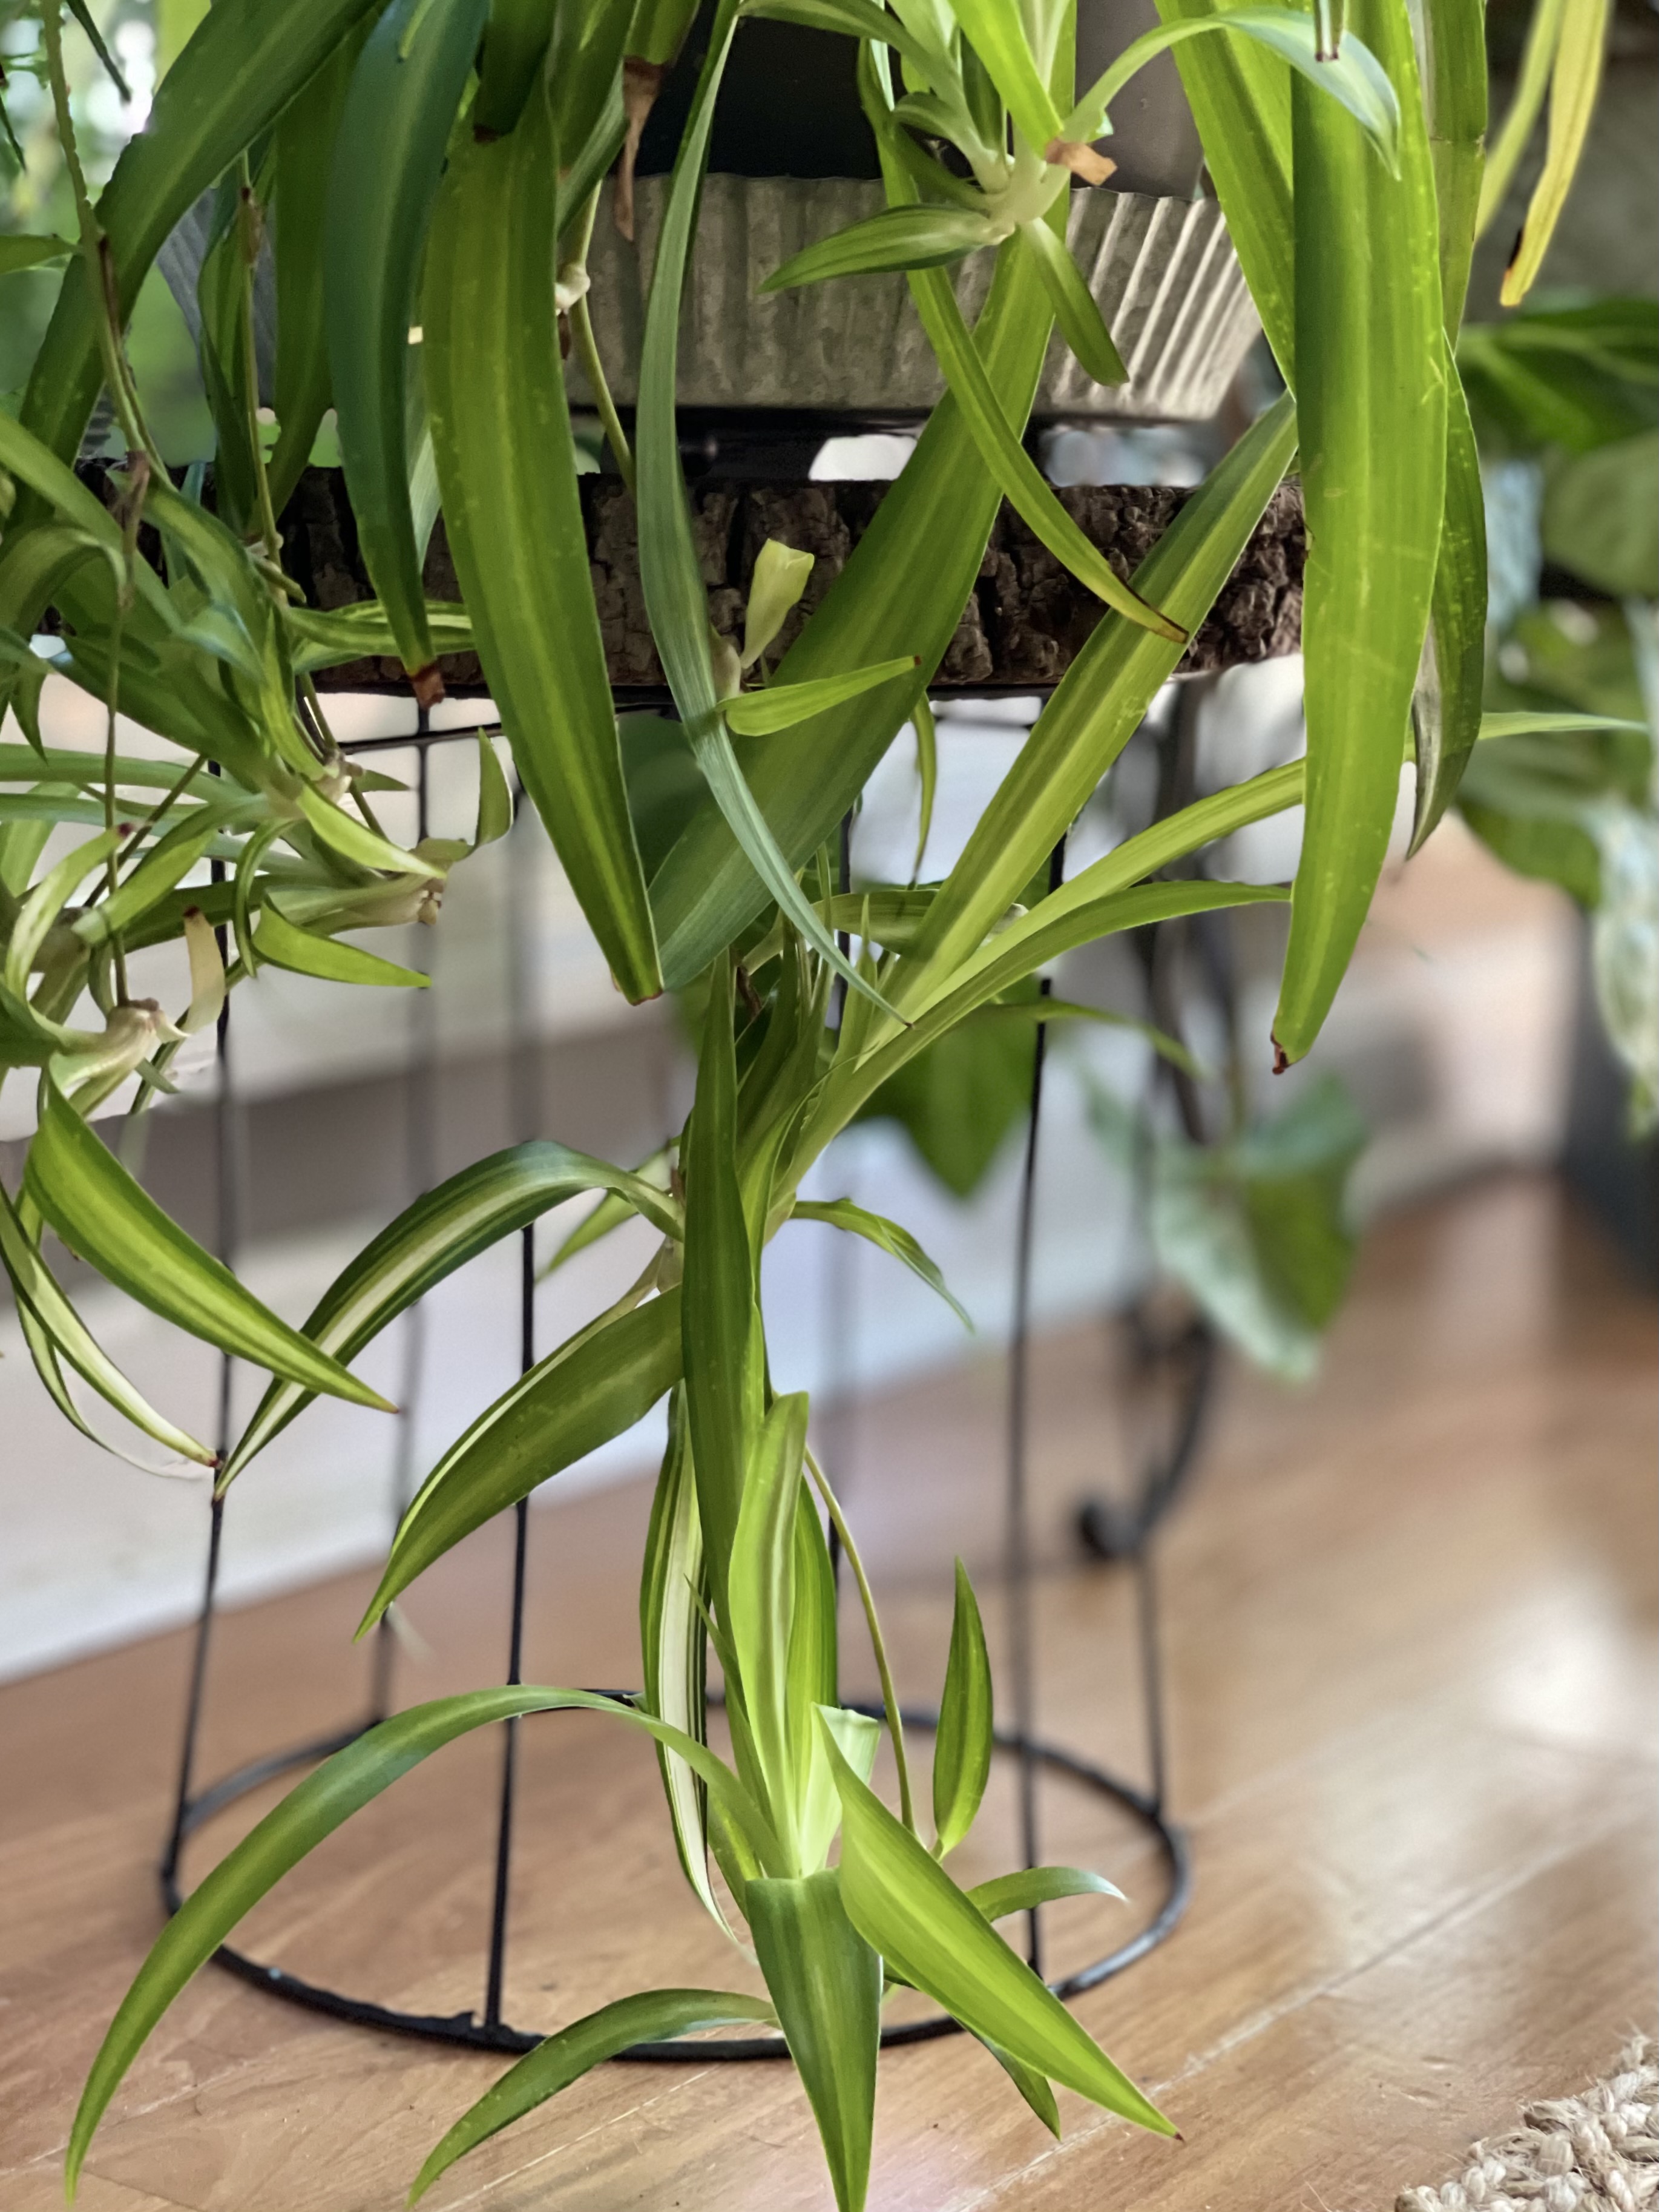
FINISHED PRODUCT
What do you think?
Til then, XO, Regina
Thanks for sharing with us I’ll be featuring you this week when the next To Grandma’s house we go link party starts!
This is a great idea! Would look cute with a crystal knob or large marble sitting where the finial normally goes. Thanks for sharing.