Have you ever picked up treasures from the beach and brought them home with you?
I have jars of shells, bottles of shark teeth, sand dollars, and other treasures I’ve collected on vacations.
I named this post gifts from the sea, not only is that one of my favorite books but it’s truly how I feel about the treasures I find.
This year I began to think about what I could create with shells, driftwood and the palm fronds from palm trees. I came up with and created a palm frond pumpkin, driftwood garland, and oyster shell earrings.
My inspiration and materials came from Edisto Island in South Carolina. It’s a quiet little island a little over an hour south of Charleston, there are no hotels, no mini golf or boardwalk but plenty of wildlife, beach, palm trees, shells and sharks teeth.
Table of Contents
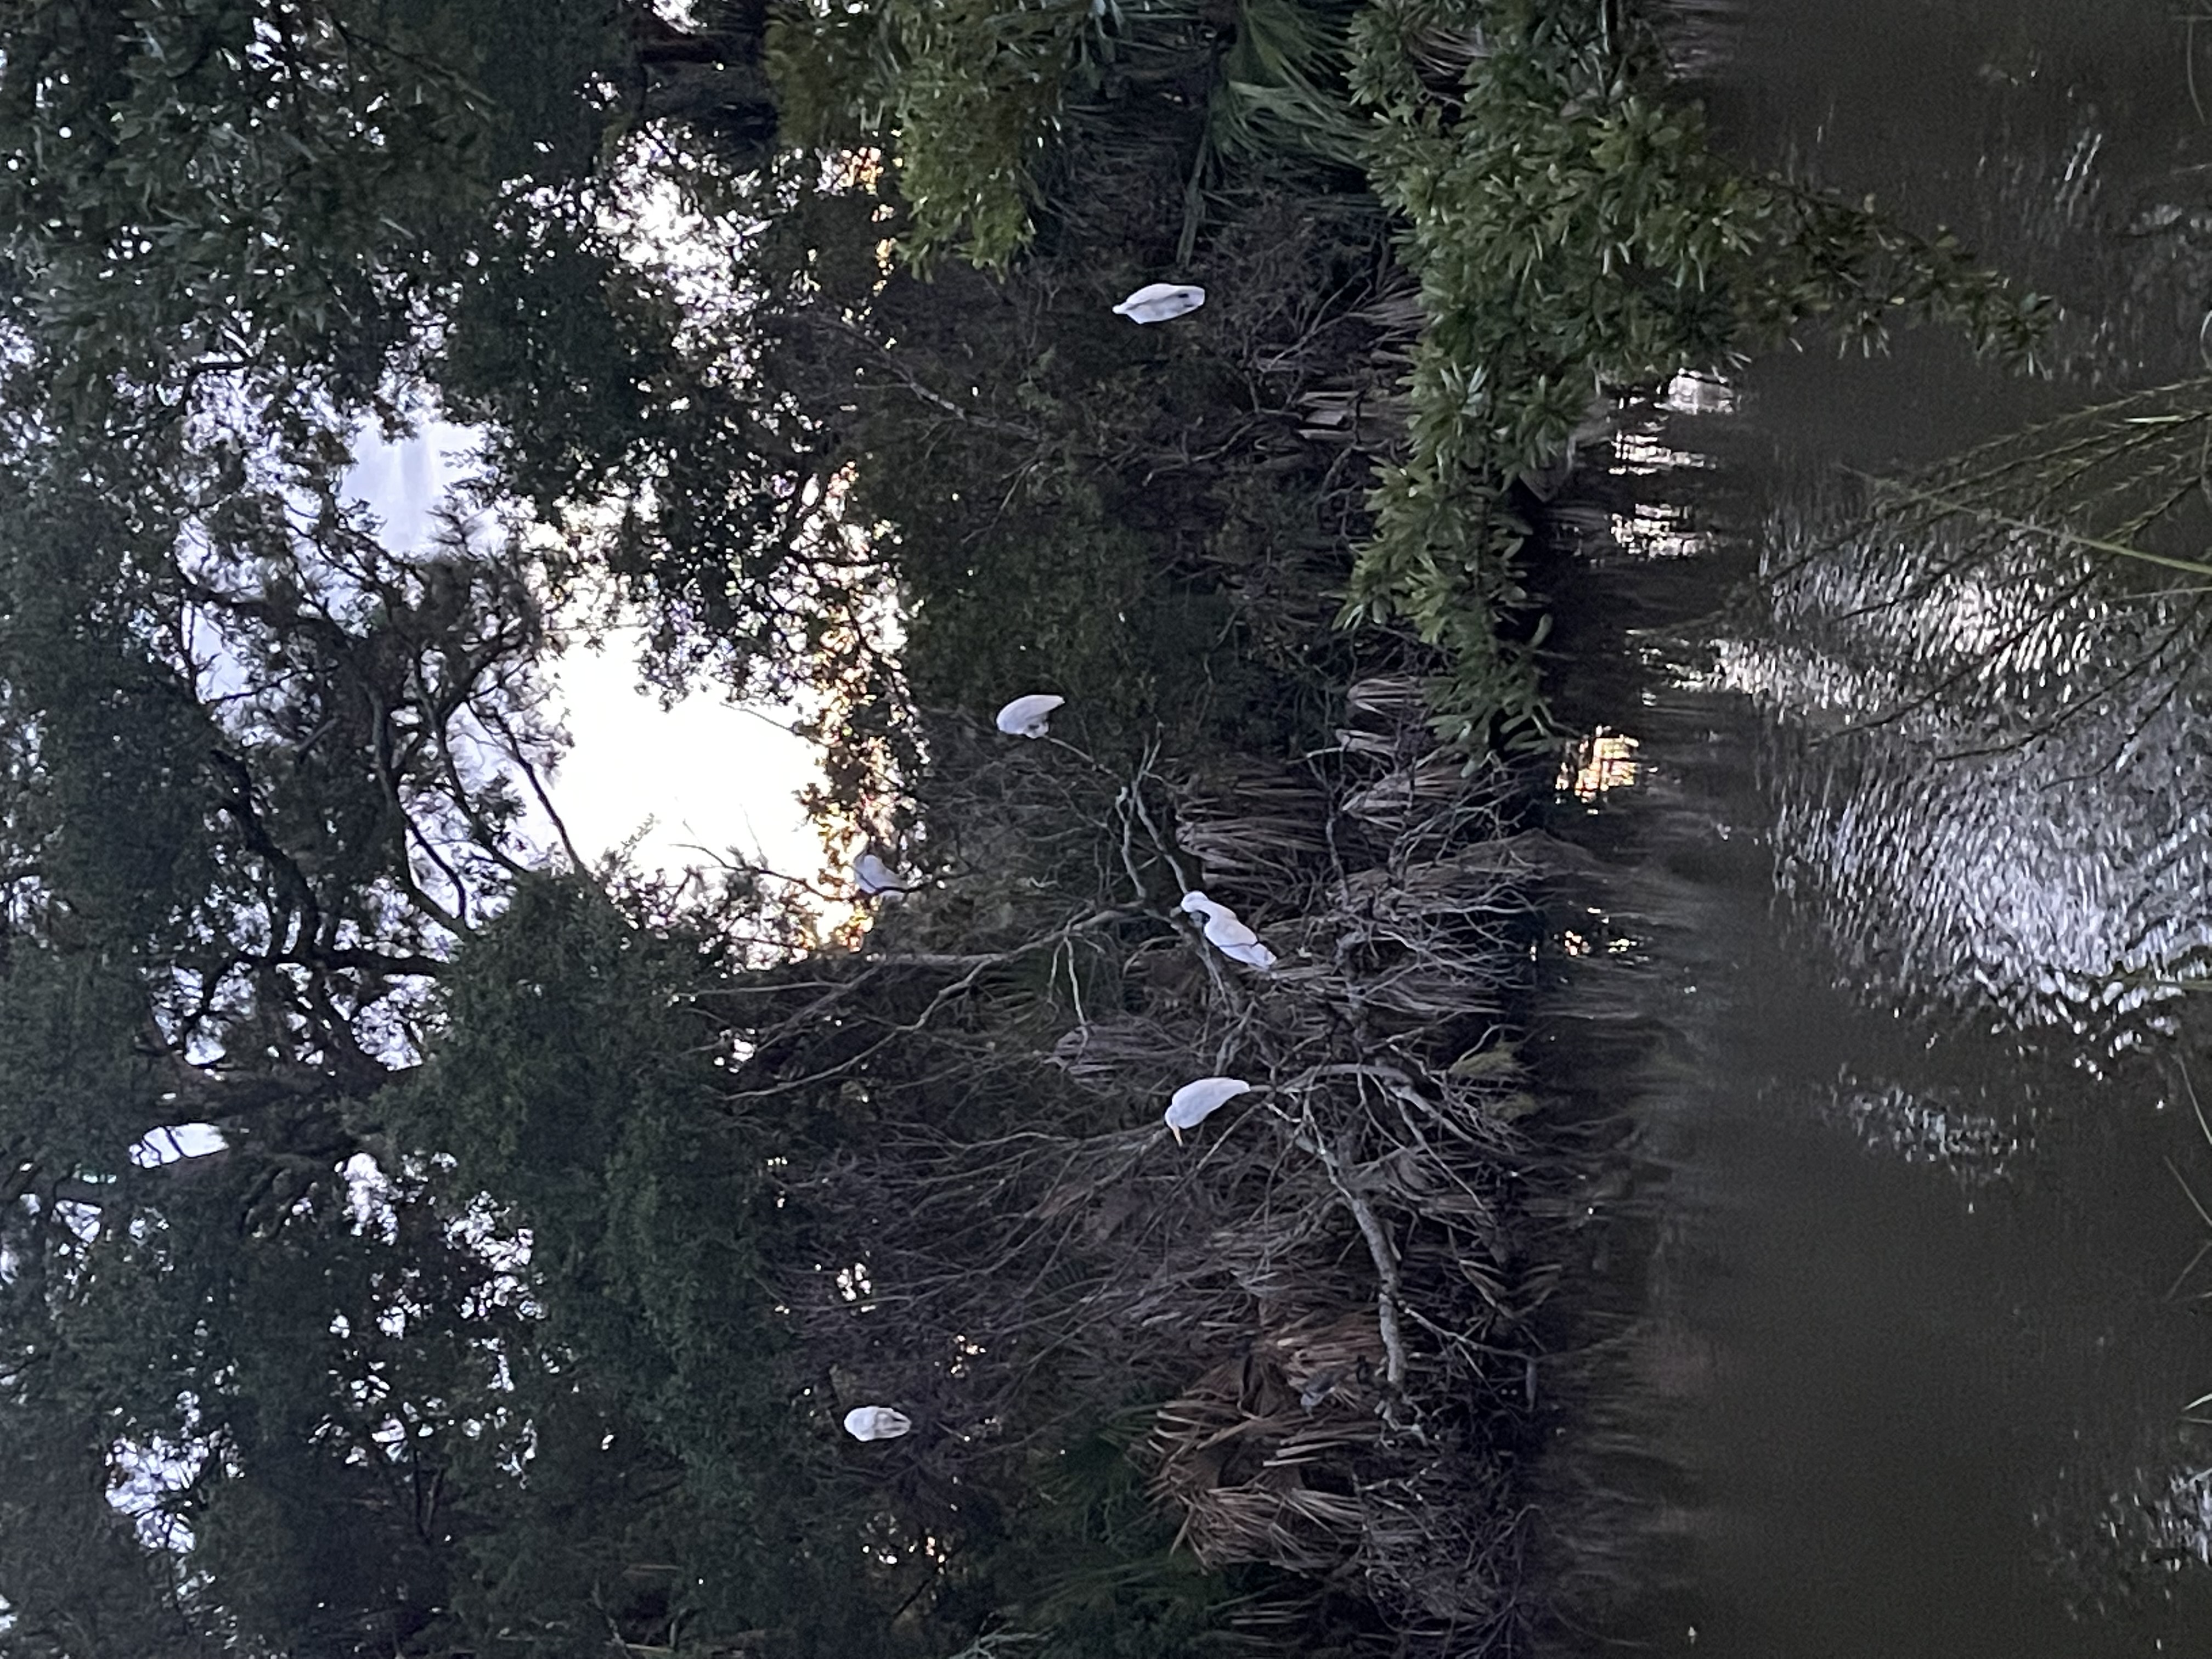
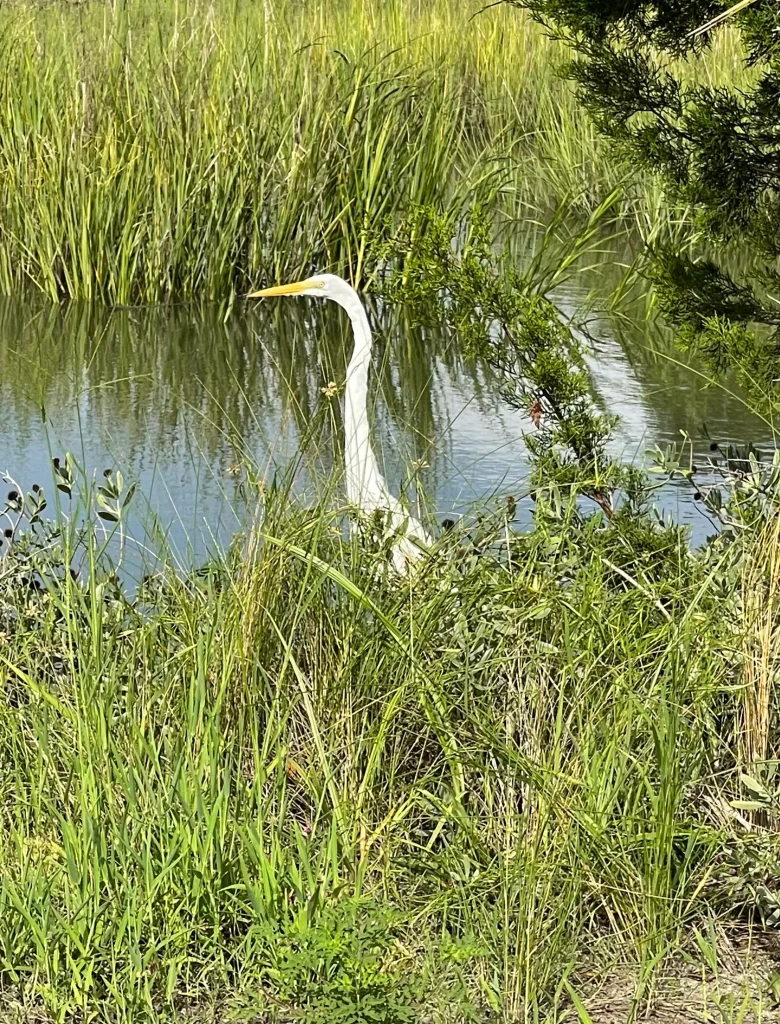
I began going to Edisto in 1997 and have never stopped. It’s a long drive but it’s worth it. When I cross the inter coastal to the island and see the Spanish moss draping off the oak trees, egrets in the marsh and smell the salty air – I feel my whole body relax.
To skip my “history” of Edisto and go right to the projects, click here.
Do you have a special place? A place that transports you? I have so many memories from Edisto, memories of my mom, my son when he was little, nieces and nephews as little munchkins.
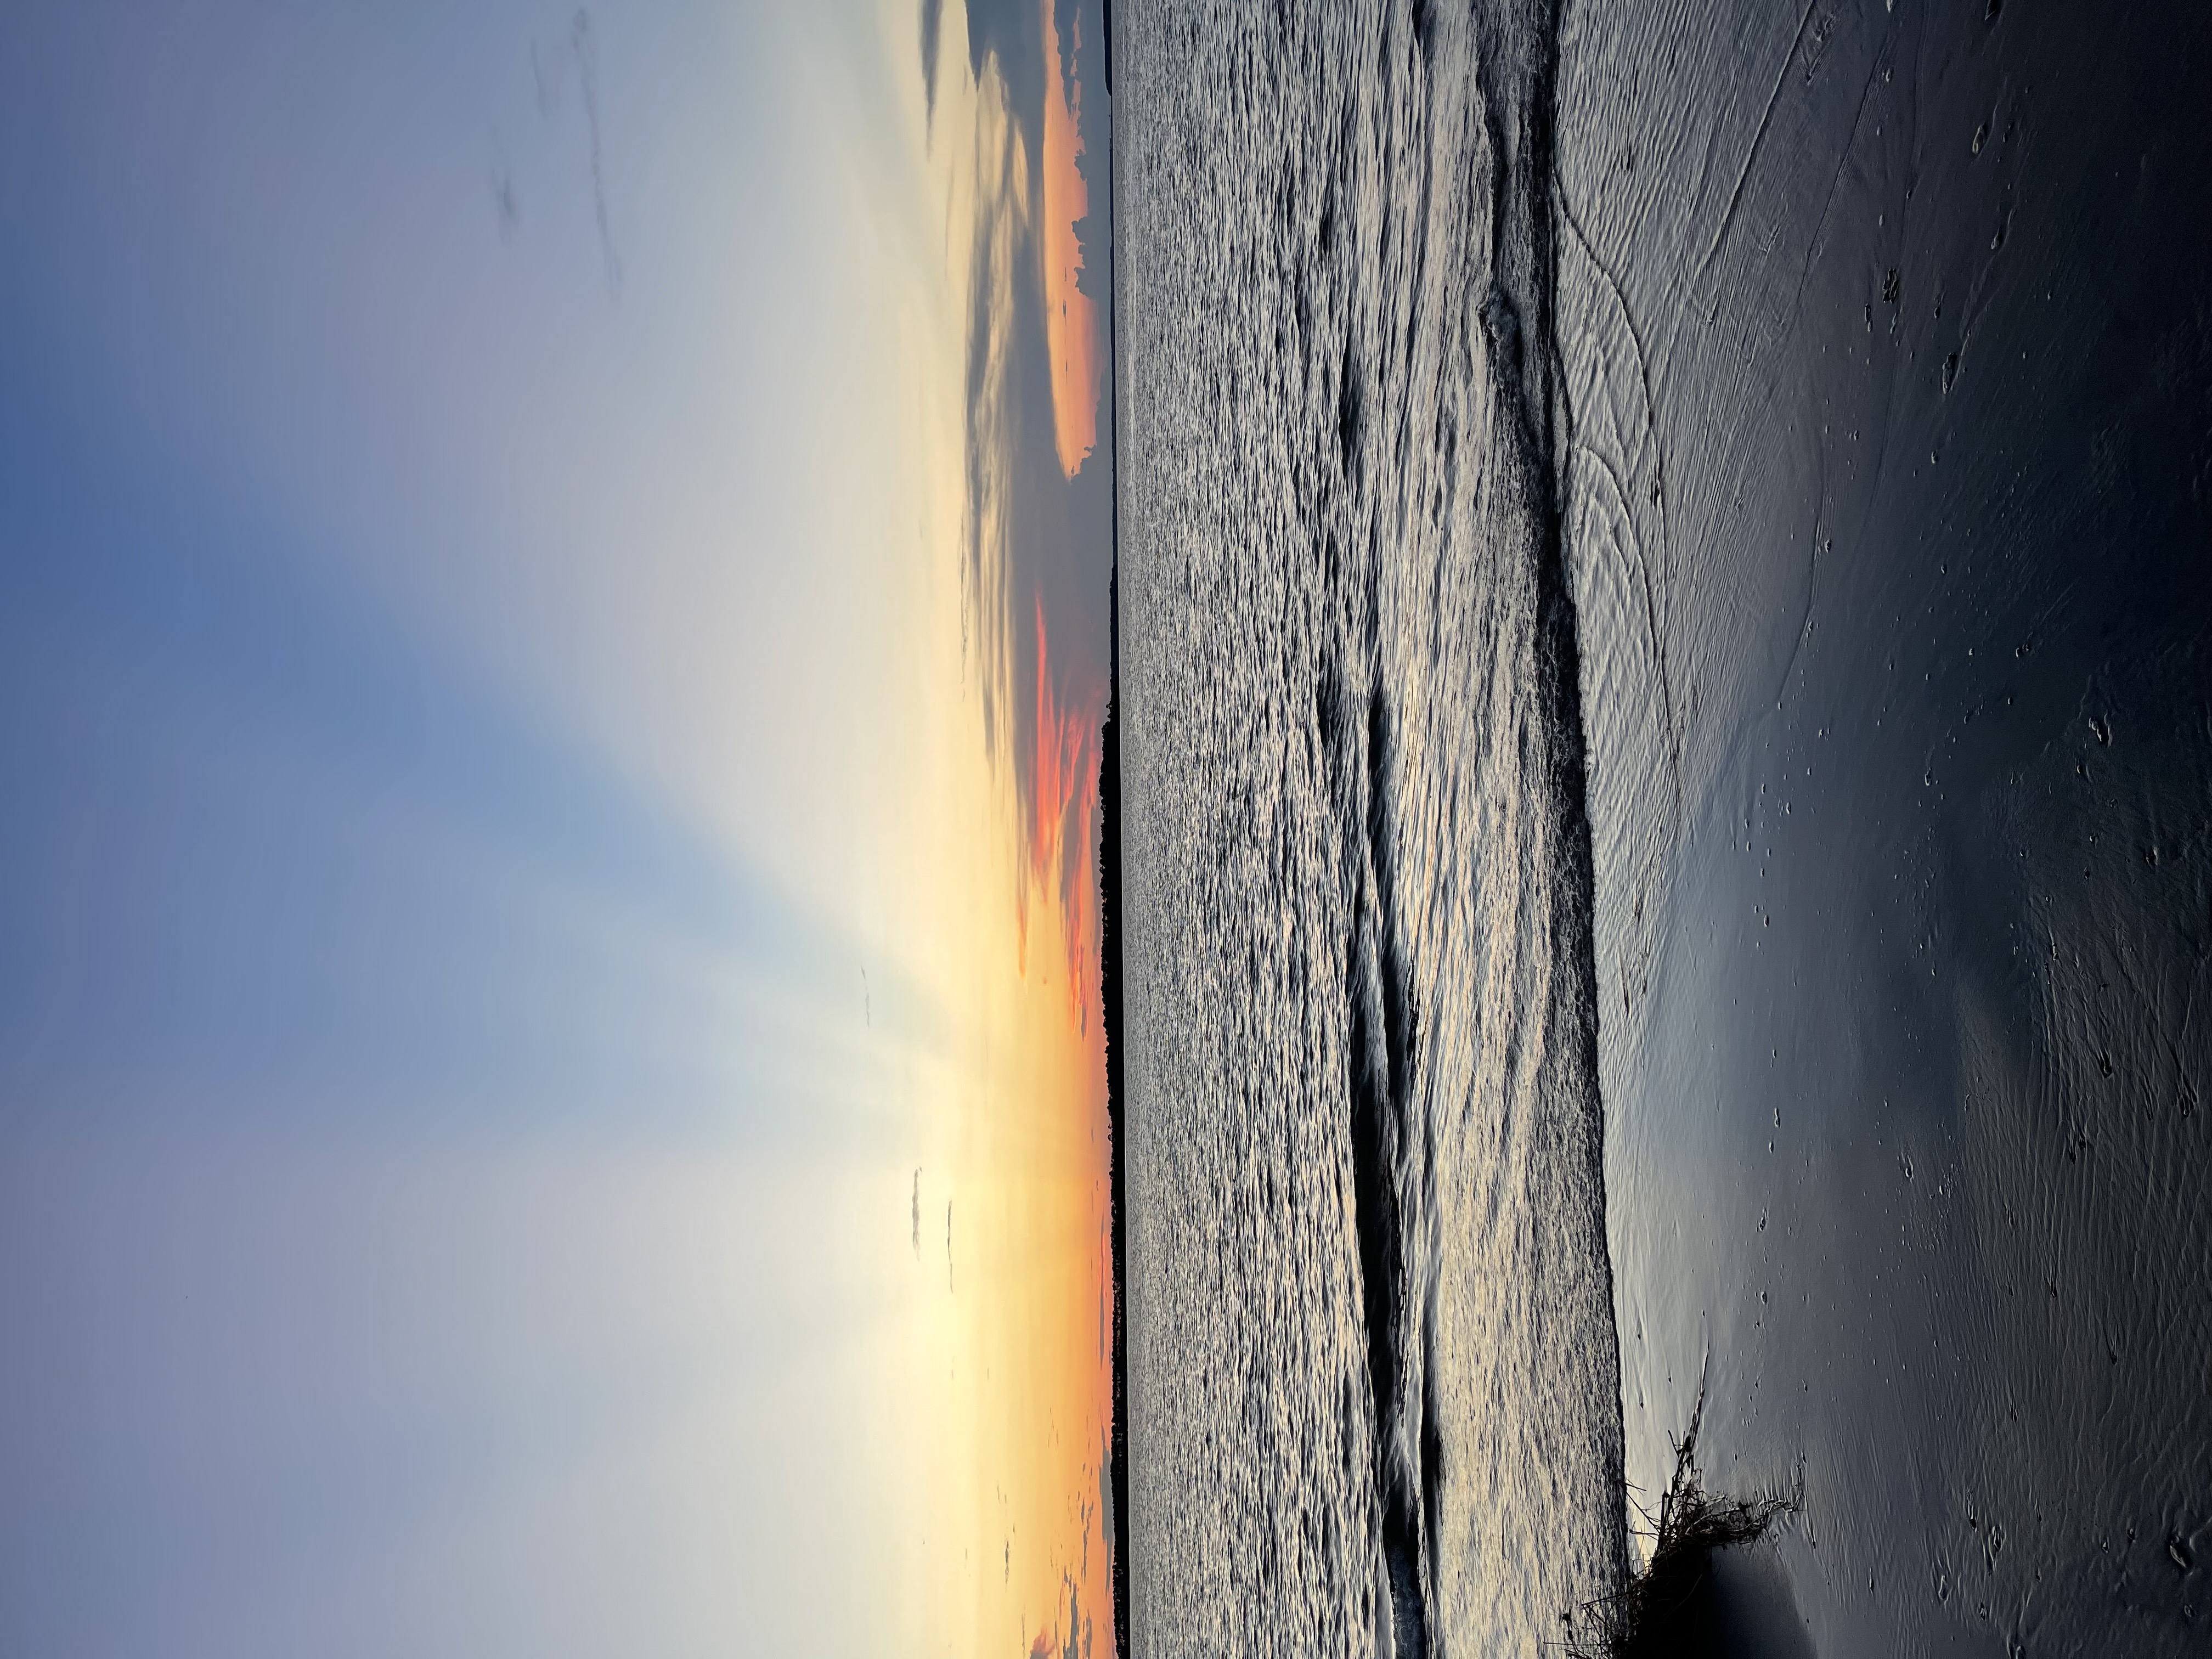
Sunset on the Sound
My first several years at Edisto we camped at Edisto Island State Park, we’d fall asleep in our tent, just over the dunes from the ocean.
You could see a million stars, hears the waves lapping on the shore and sometimes the loudest sounds, frogs? birds? I have no idea! I’ve introduced so many people to the island over the years and I don’t think anyone hasn’t loved it.
I first heard about Edisto from a friend who lived on Sullivan’s Island just outside of Charleston. One day I was scouring the beach for shells, yet there were none to be found.
My friend said that if I wanted to find shells, I needed to go to Edisto.
Over the years, my family and I fell in love with Edisto. My mom and Larry, my sister and her family and my brother from Texas and his family all made the trek many a summer to this sleepy little island where the shark teeth are plenty and the day can be spent watching dolphins and pelicans.
Dancing Fiddler Crabs
Over the years we’ve been lucky enough to witness sea turtles hatch and make their way to the sea, paddle with dolphins, go crabbing, enjoy amazing sunsets and more.
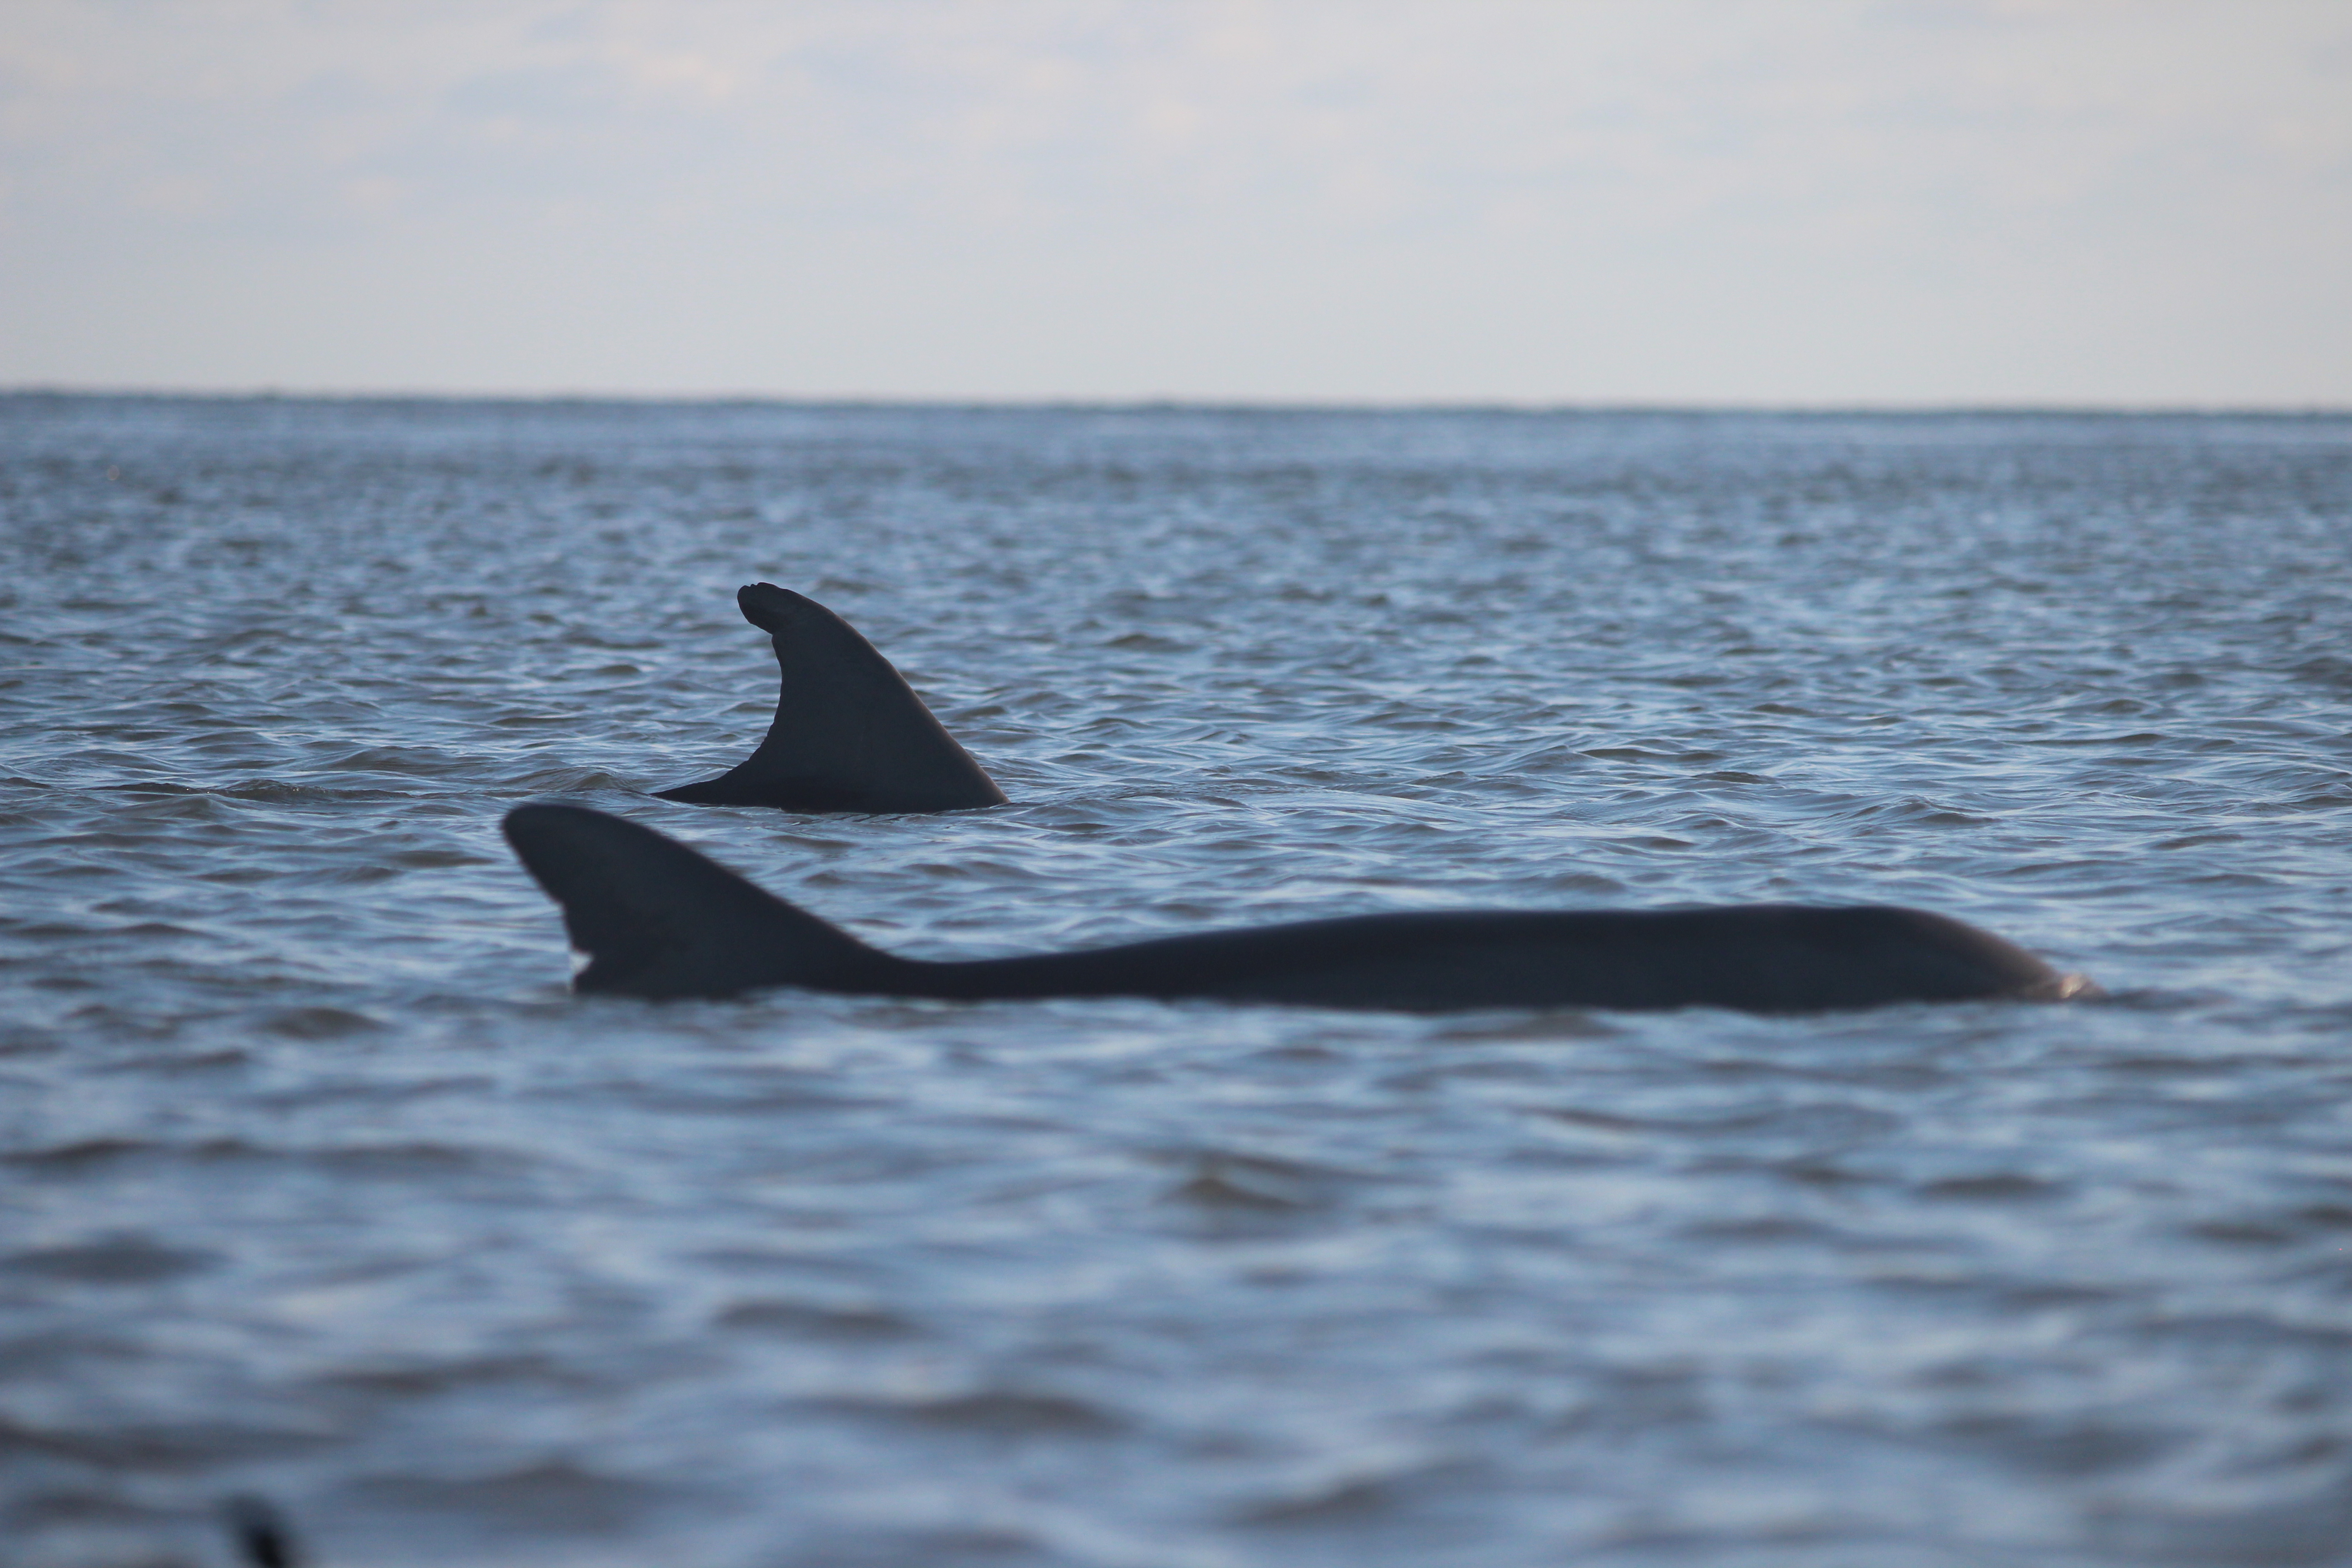
Paddling with the dolphins
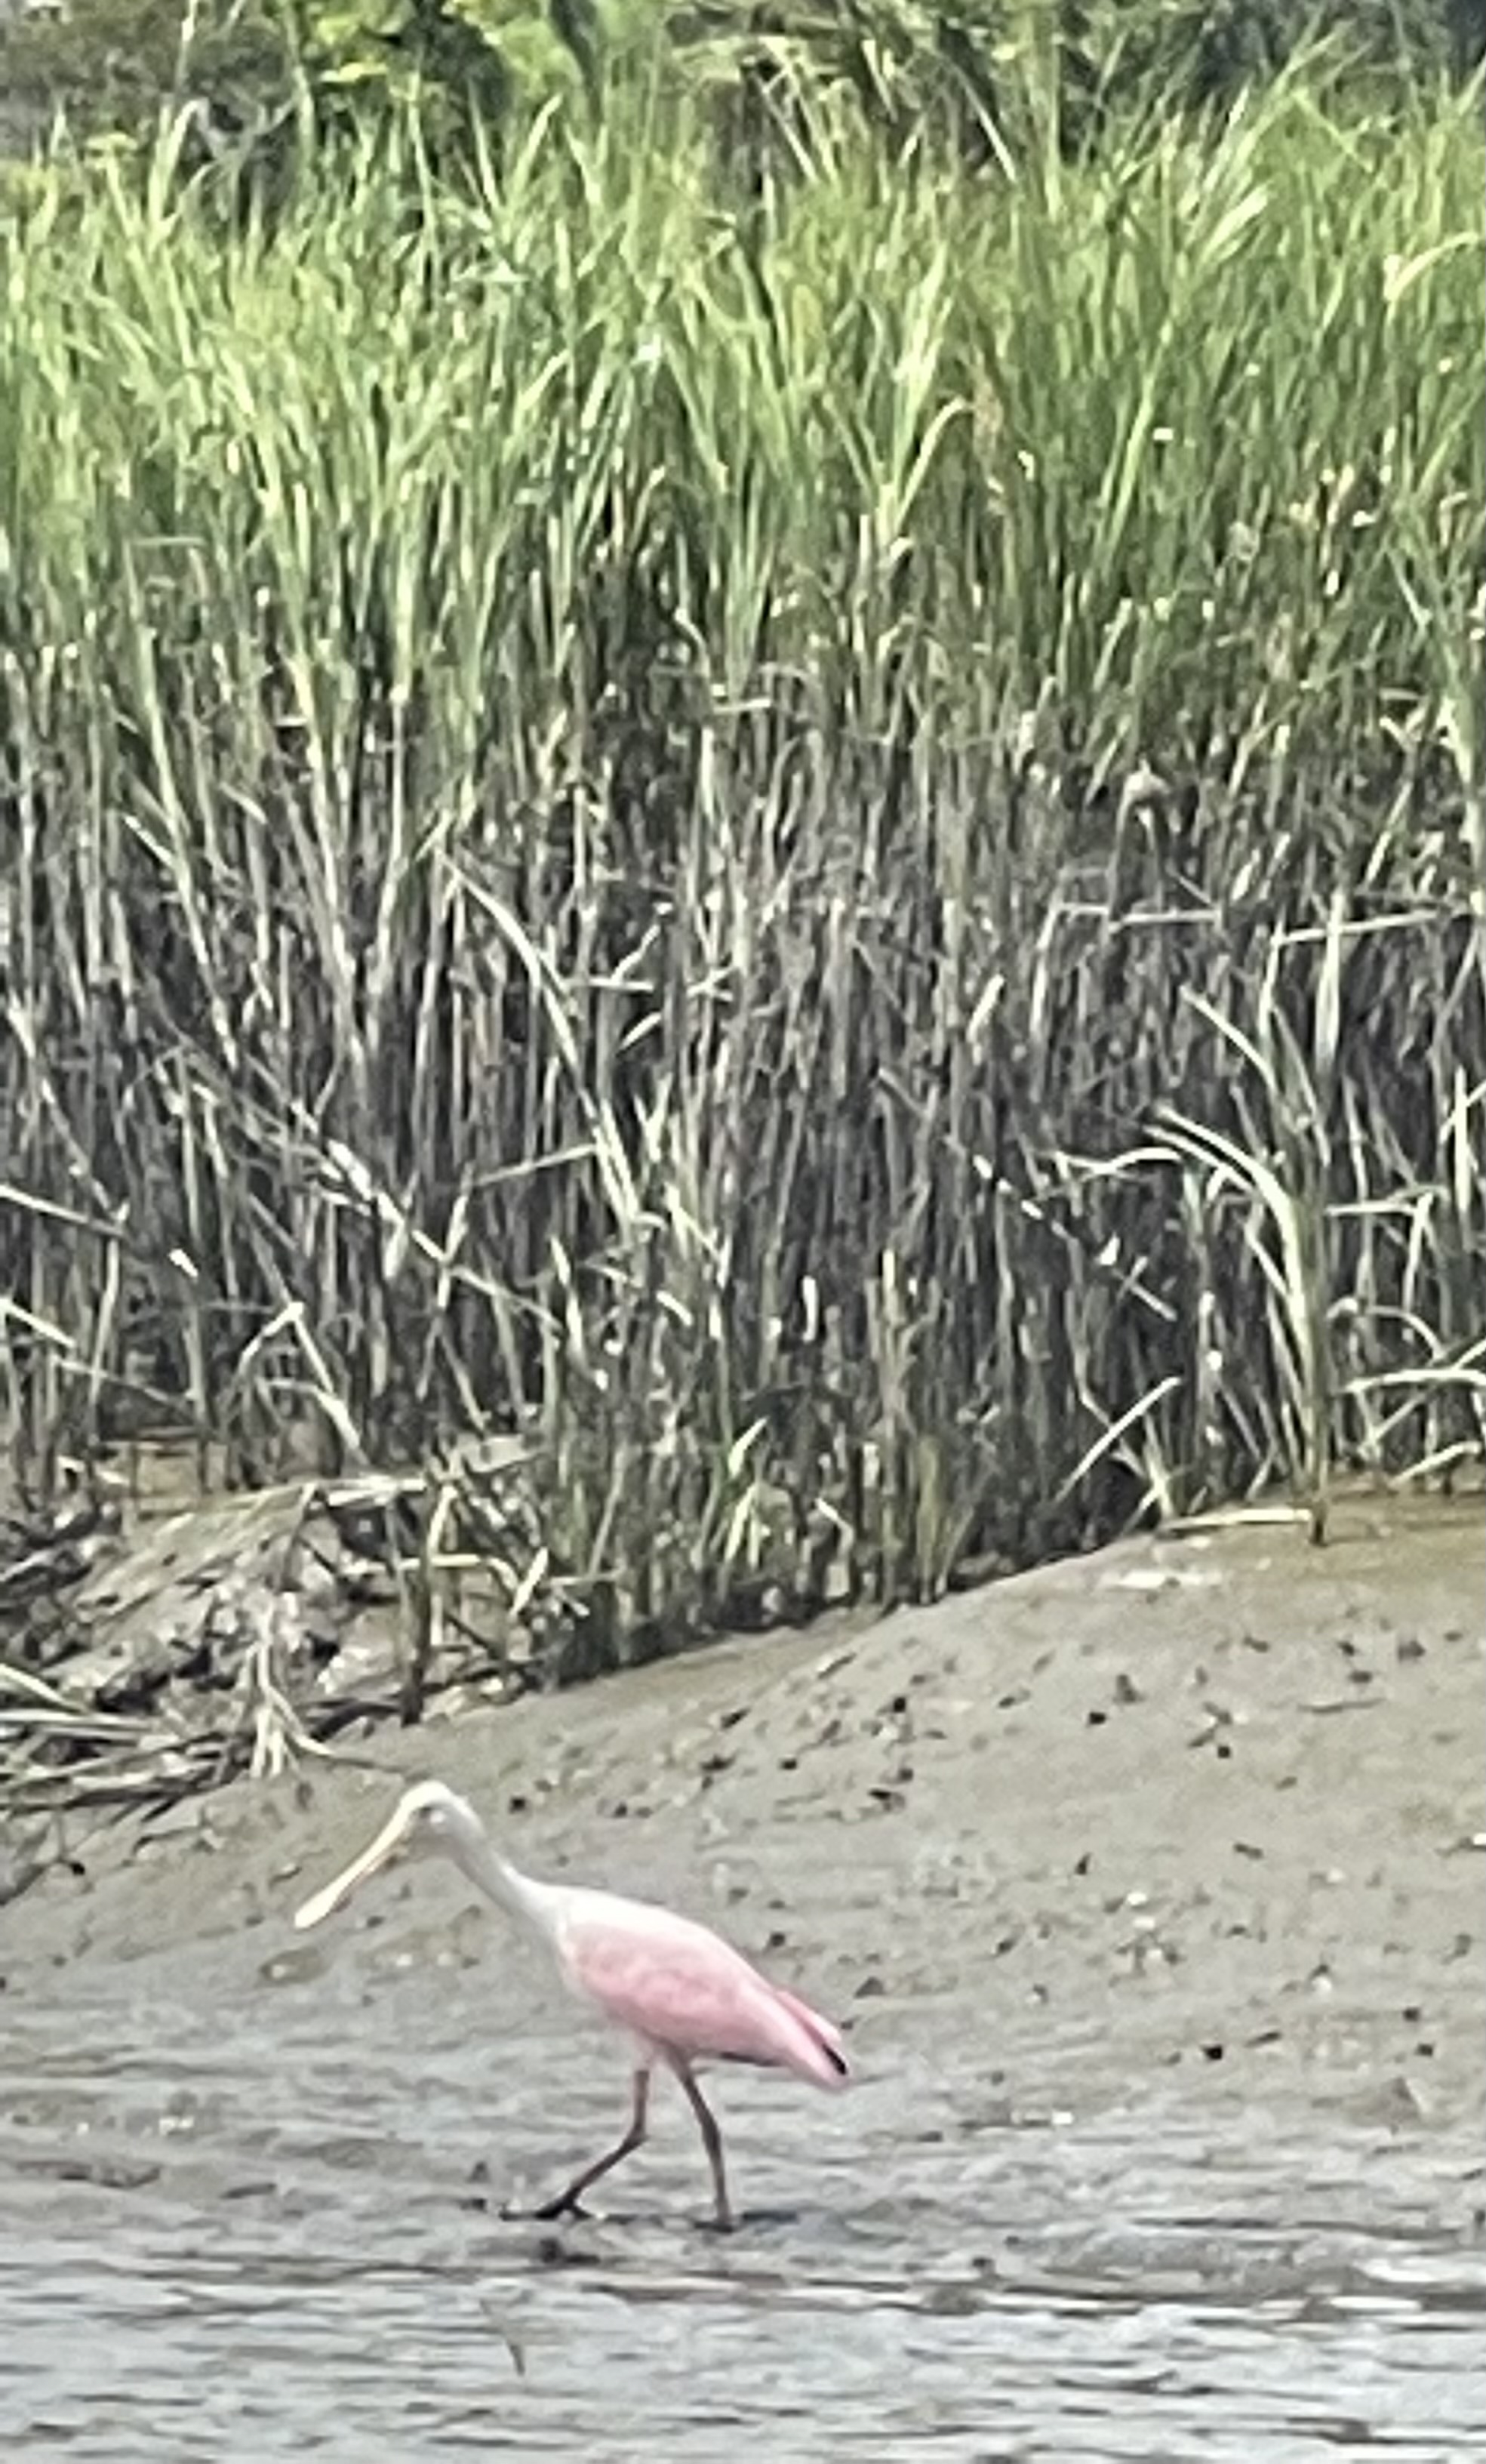
Roseate Spoonbill
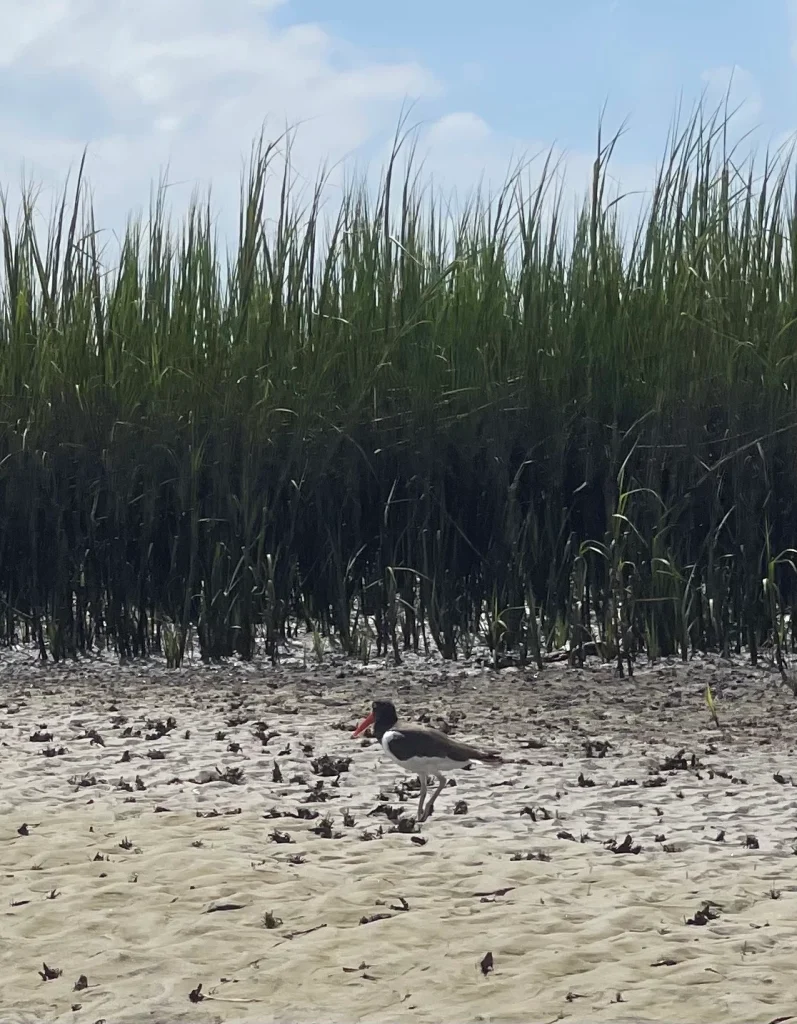
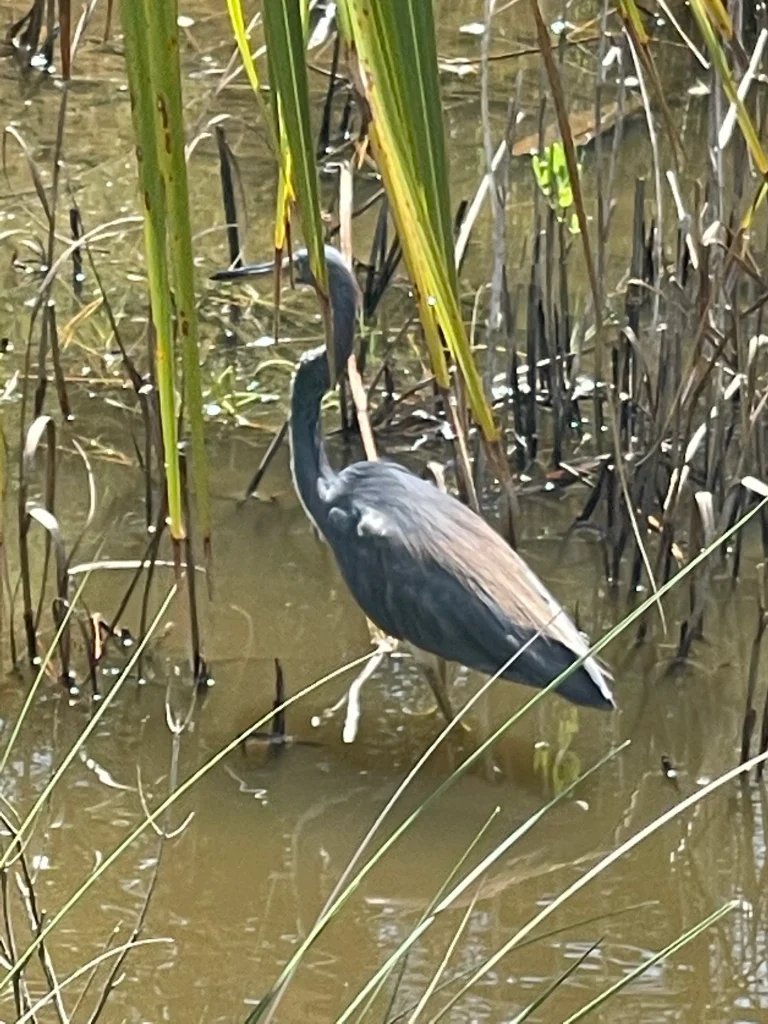
We’ve spotted Heron, Egrets, Roseate Spoonbills, Oyster Catchers, Sea Otter, Sharks, Rays, Shrimp, Crabs and Kingfisher.
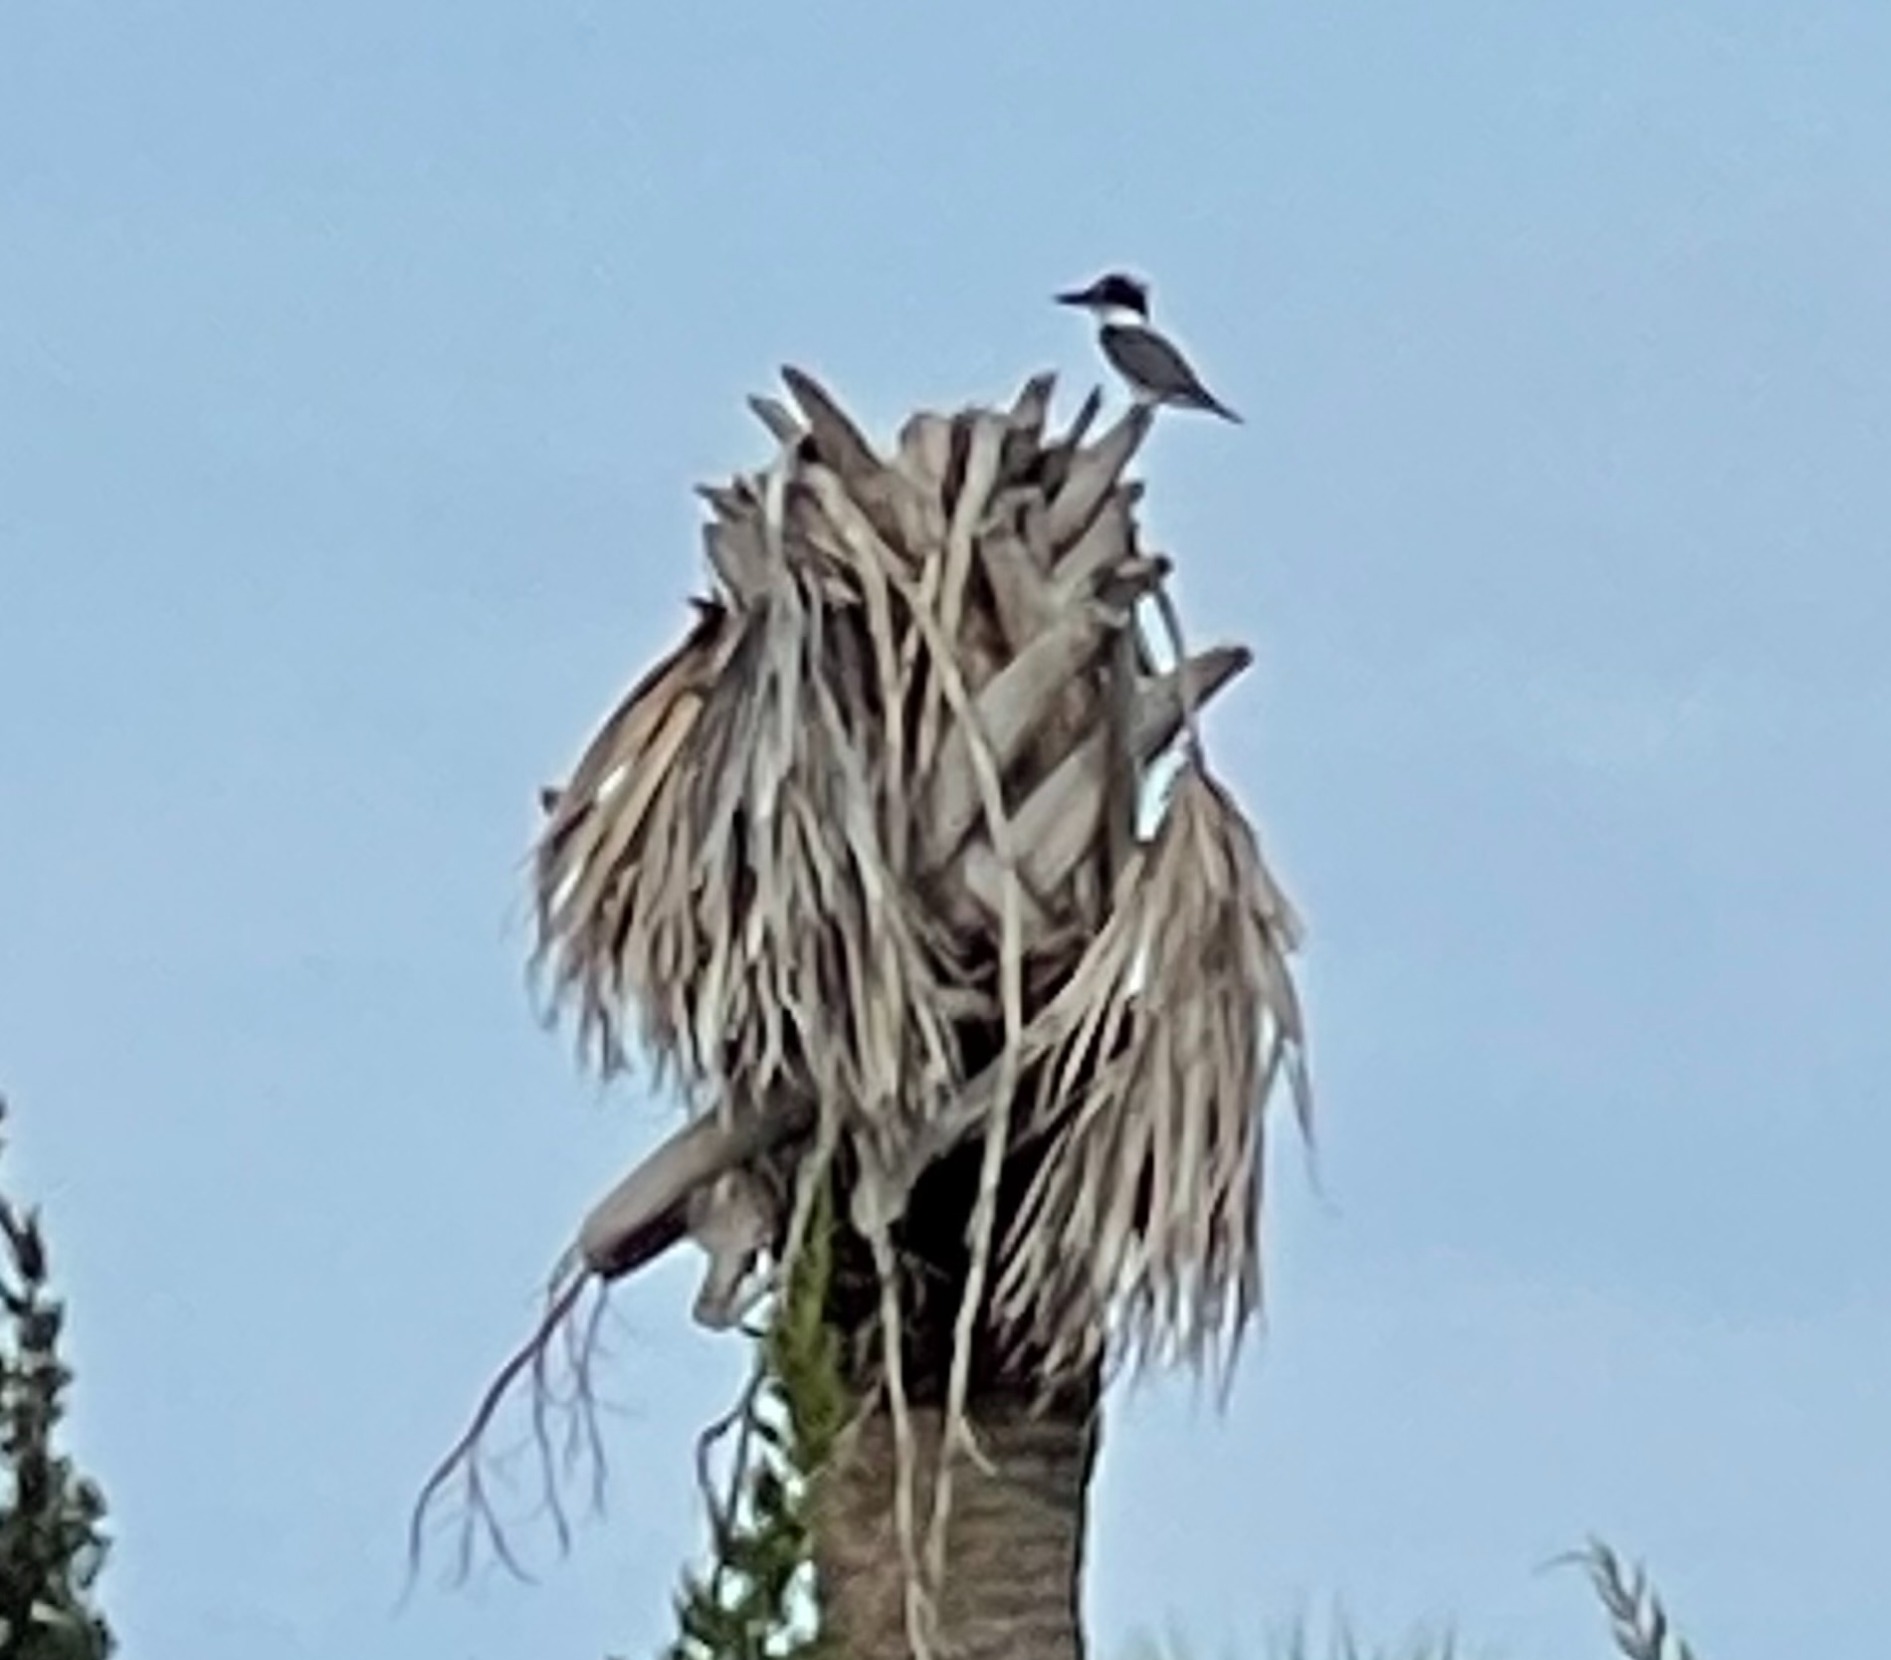
Belted Kingfisher
It’s truly a perfect spot for nature lovers.
Needless to say I did zero blogging while I was there but DIY was definitely on my mind.
I am sharing all that I made with my treasures from the island.
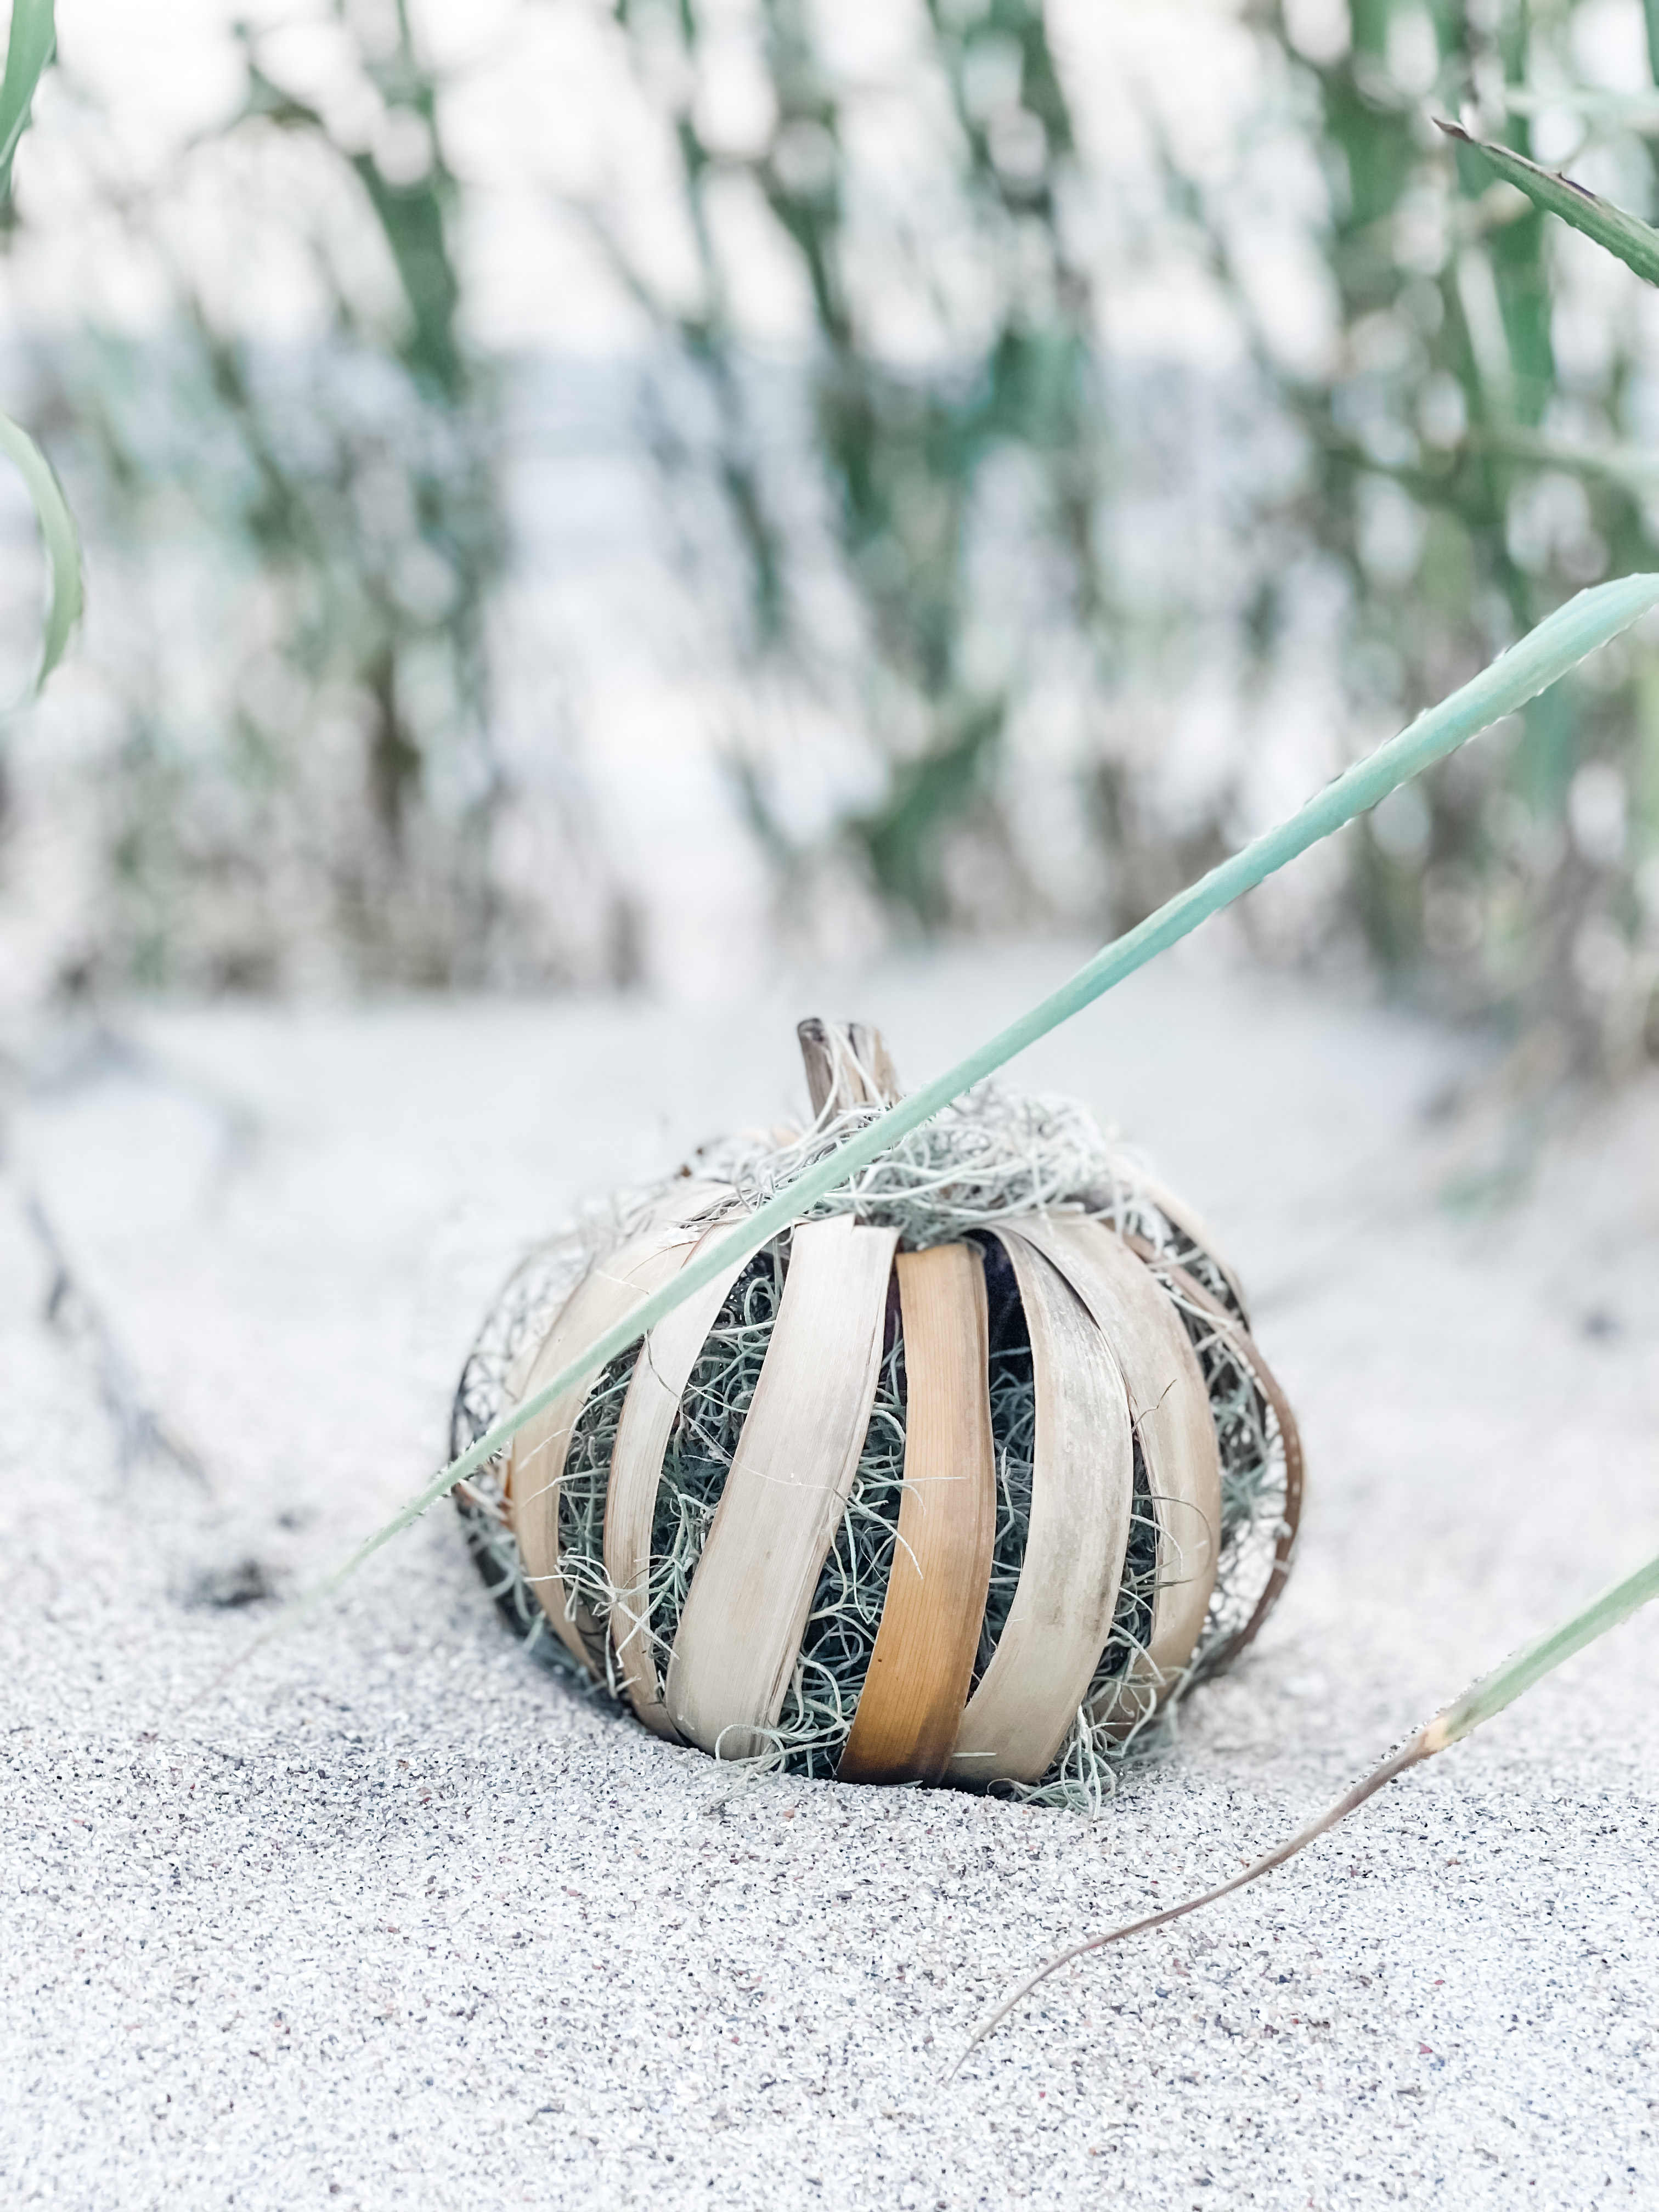
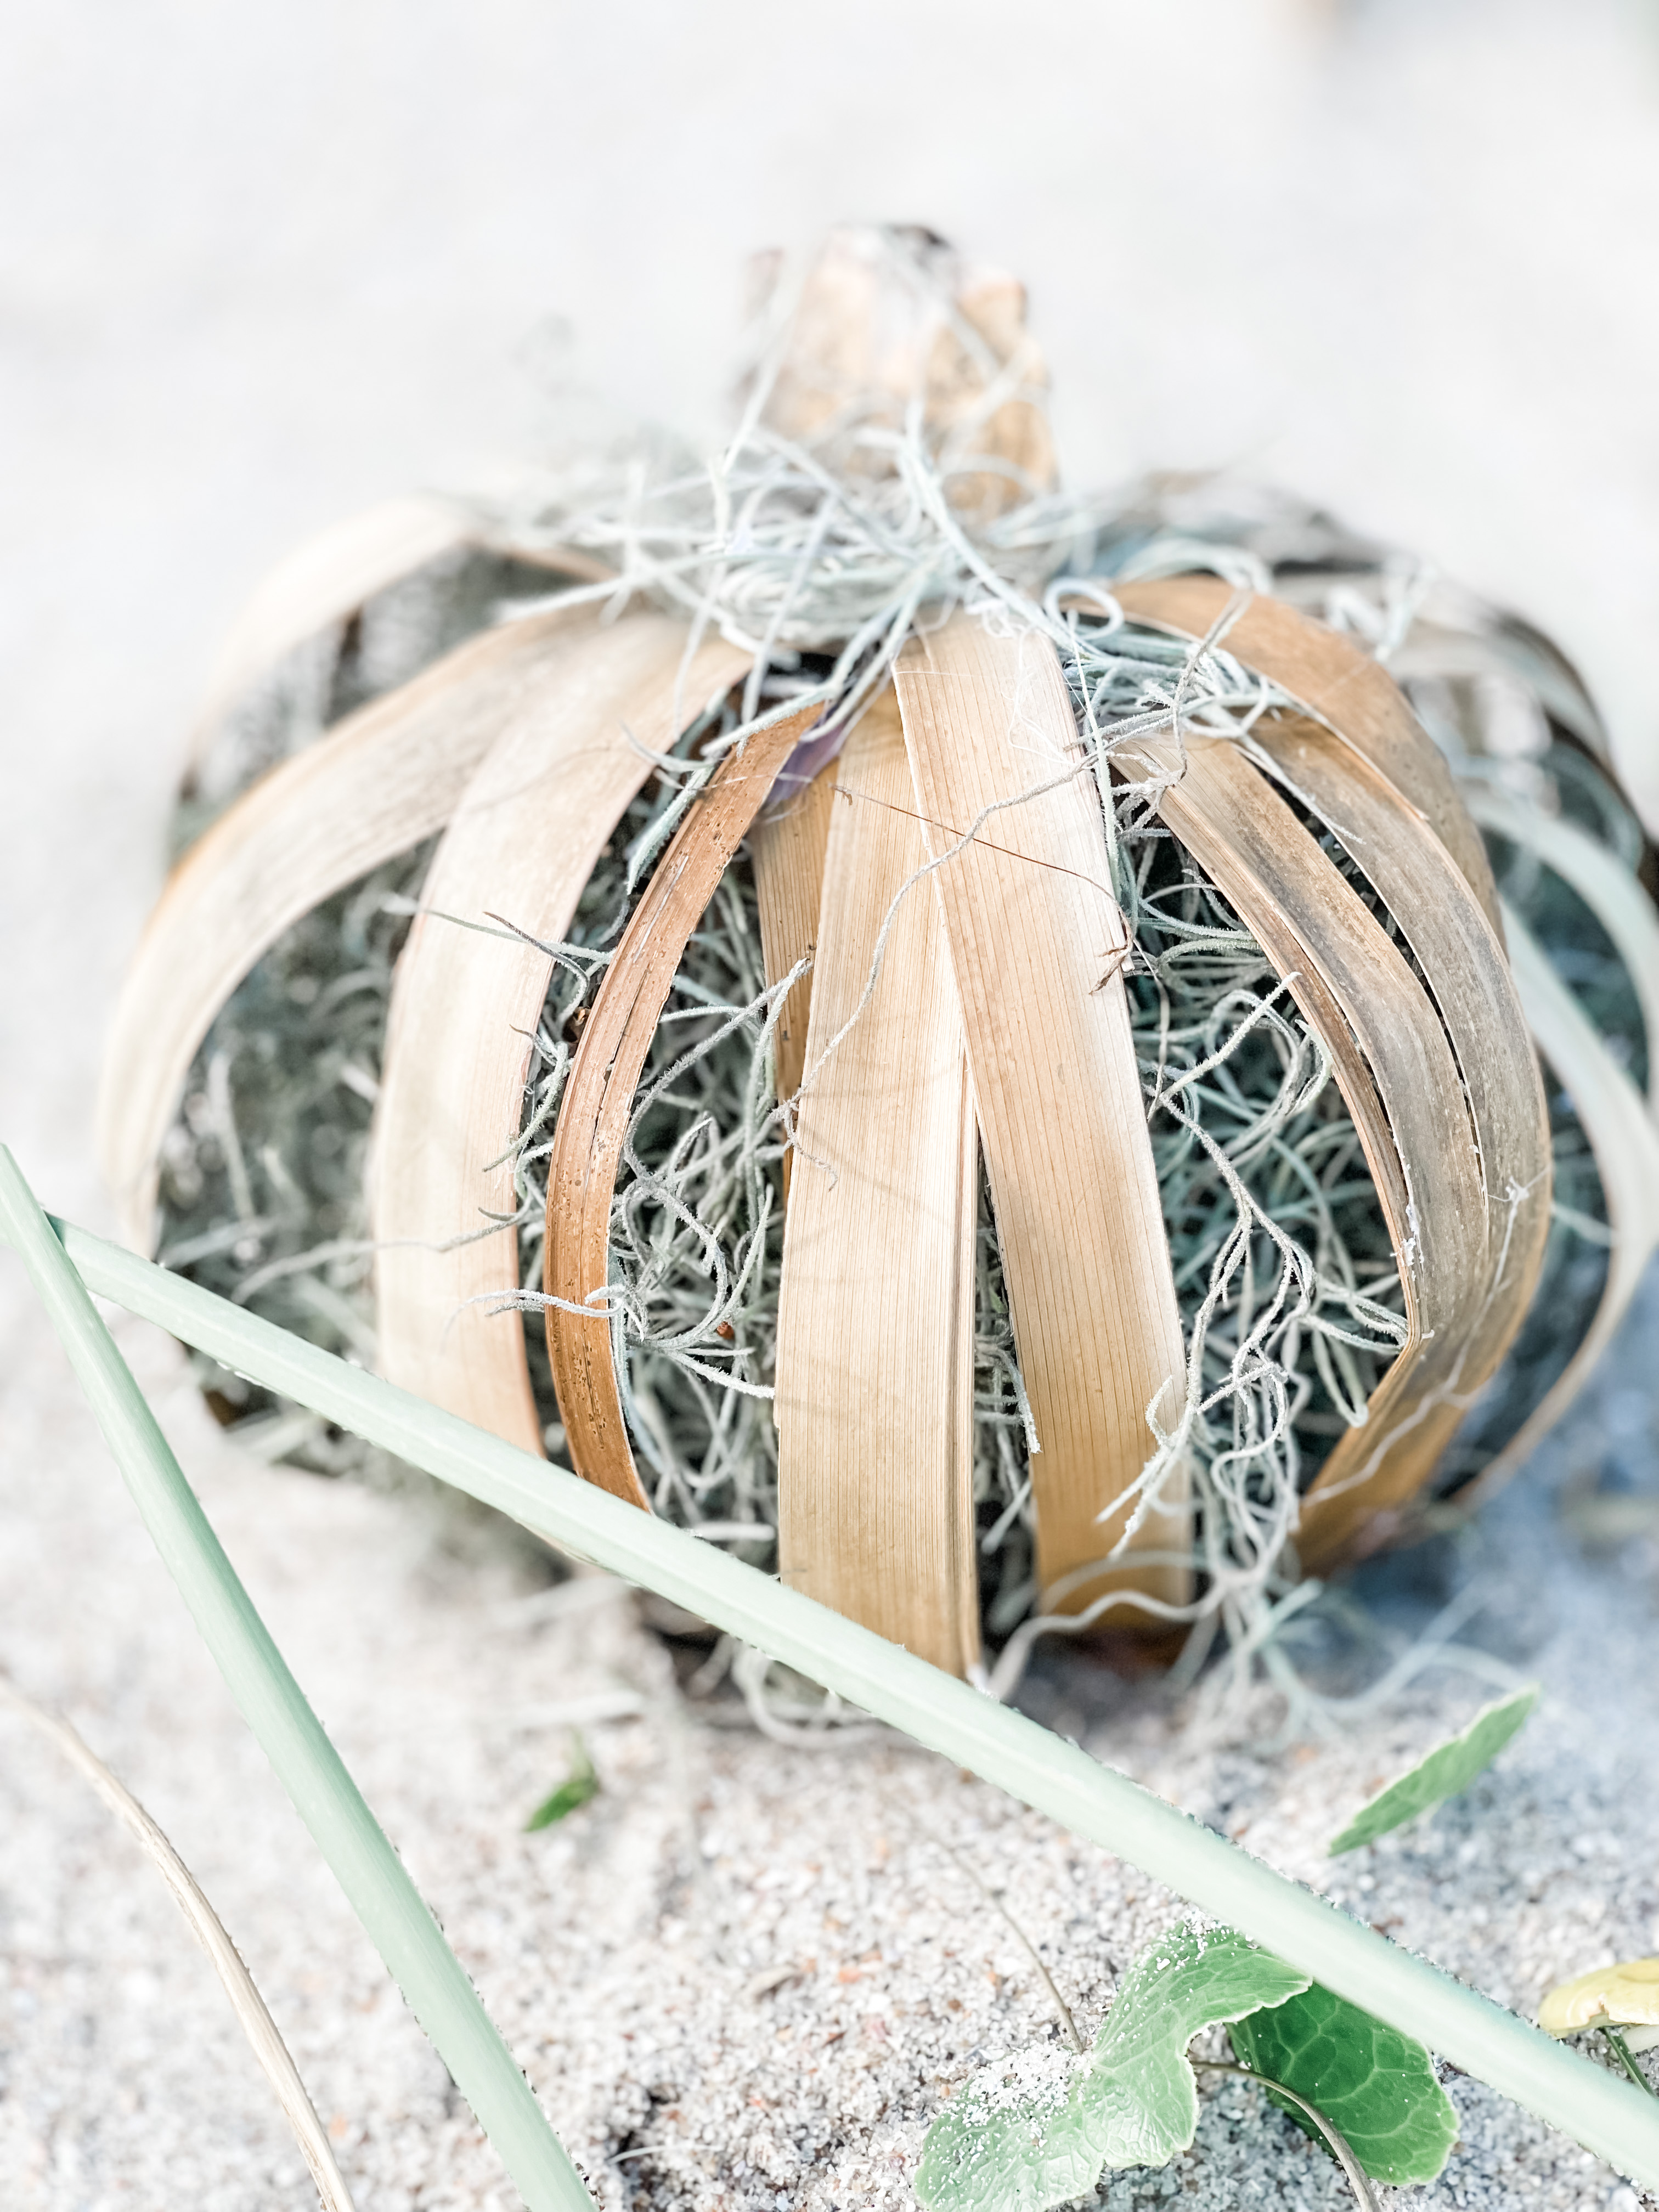
My first project was made while I was still on the island, I found palm fronds on our dog walk, gathered some and brought them back to our house, along with Spanish Moss from the ground and created this pumpkin.
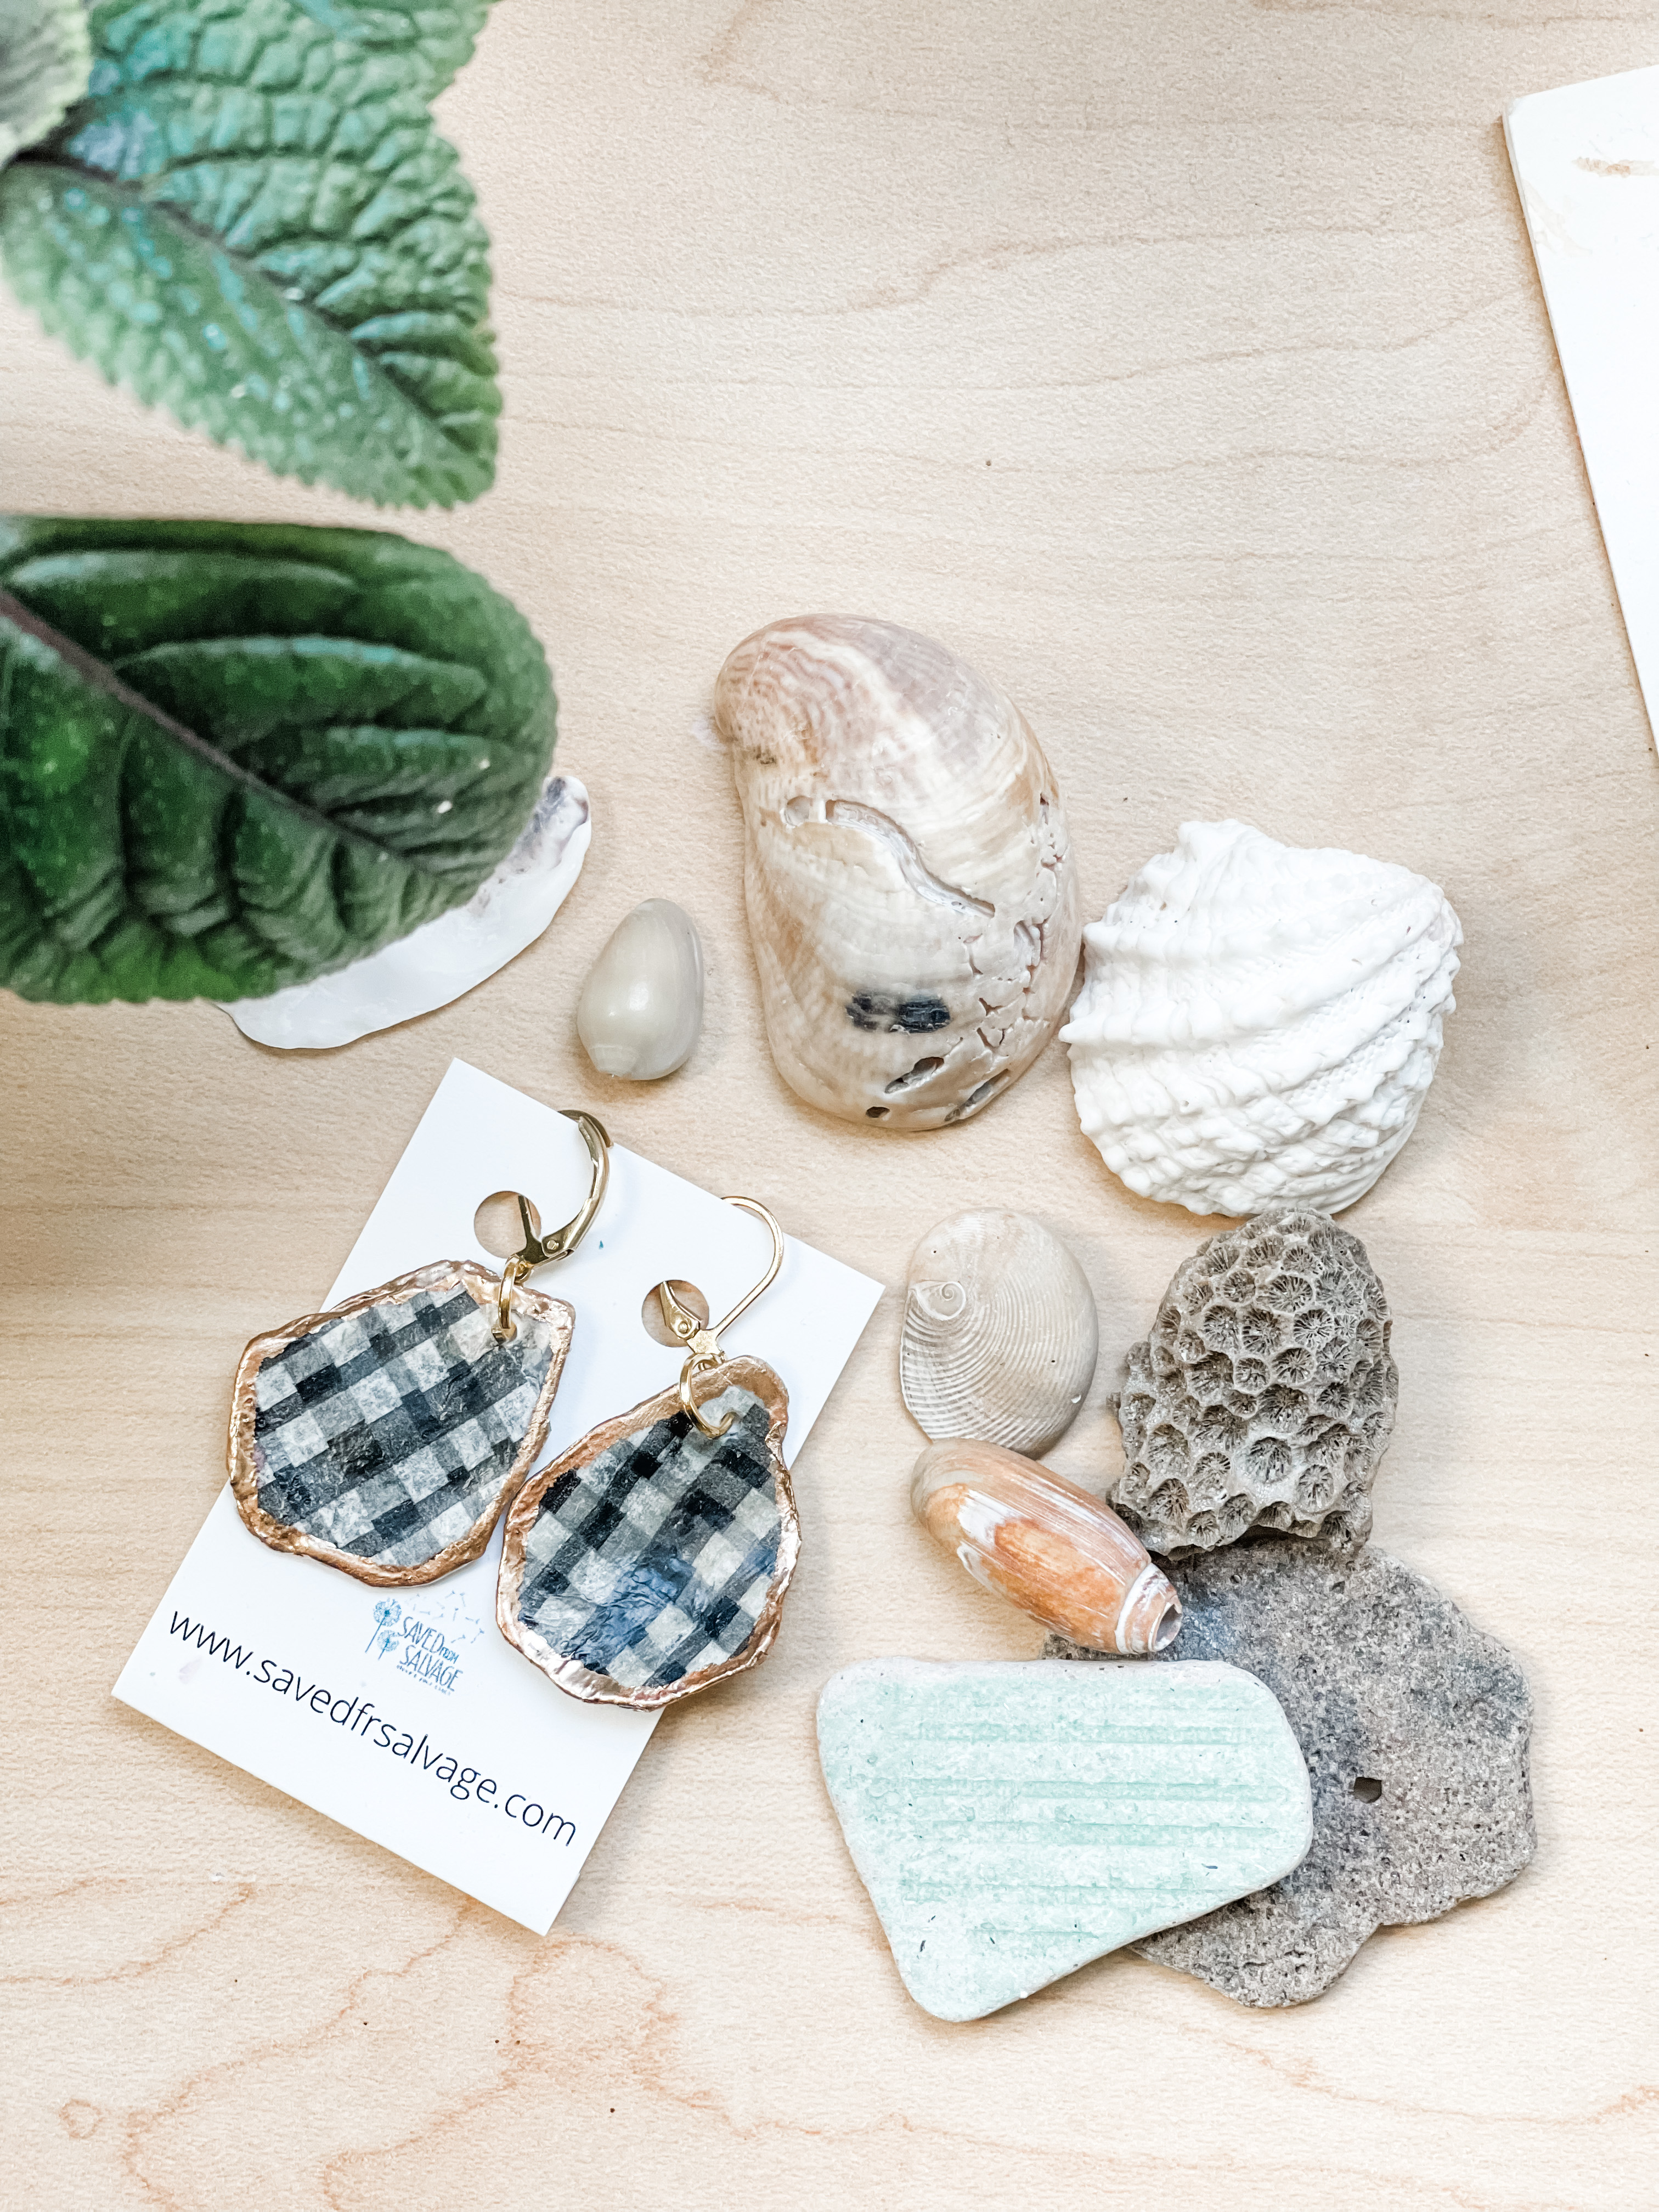
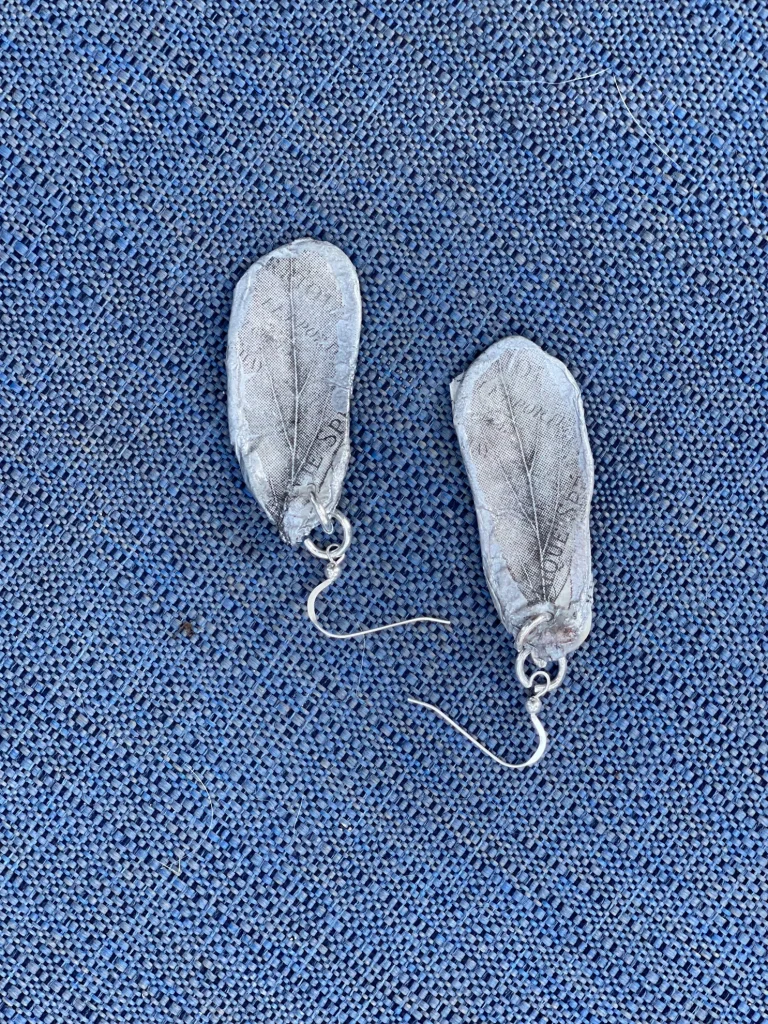
My second project was from the small oyster shells I found along the sound. I made these earrings from them and they are the lightest earrings ever.
My third project was creating a garland from driftwood I collected along the beach. I was always walking Dempsey so I never gathered as much as I wanted to, but what I had made a perfect addition to my sitting area and serves as a reminder of my favorite spot.
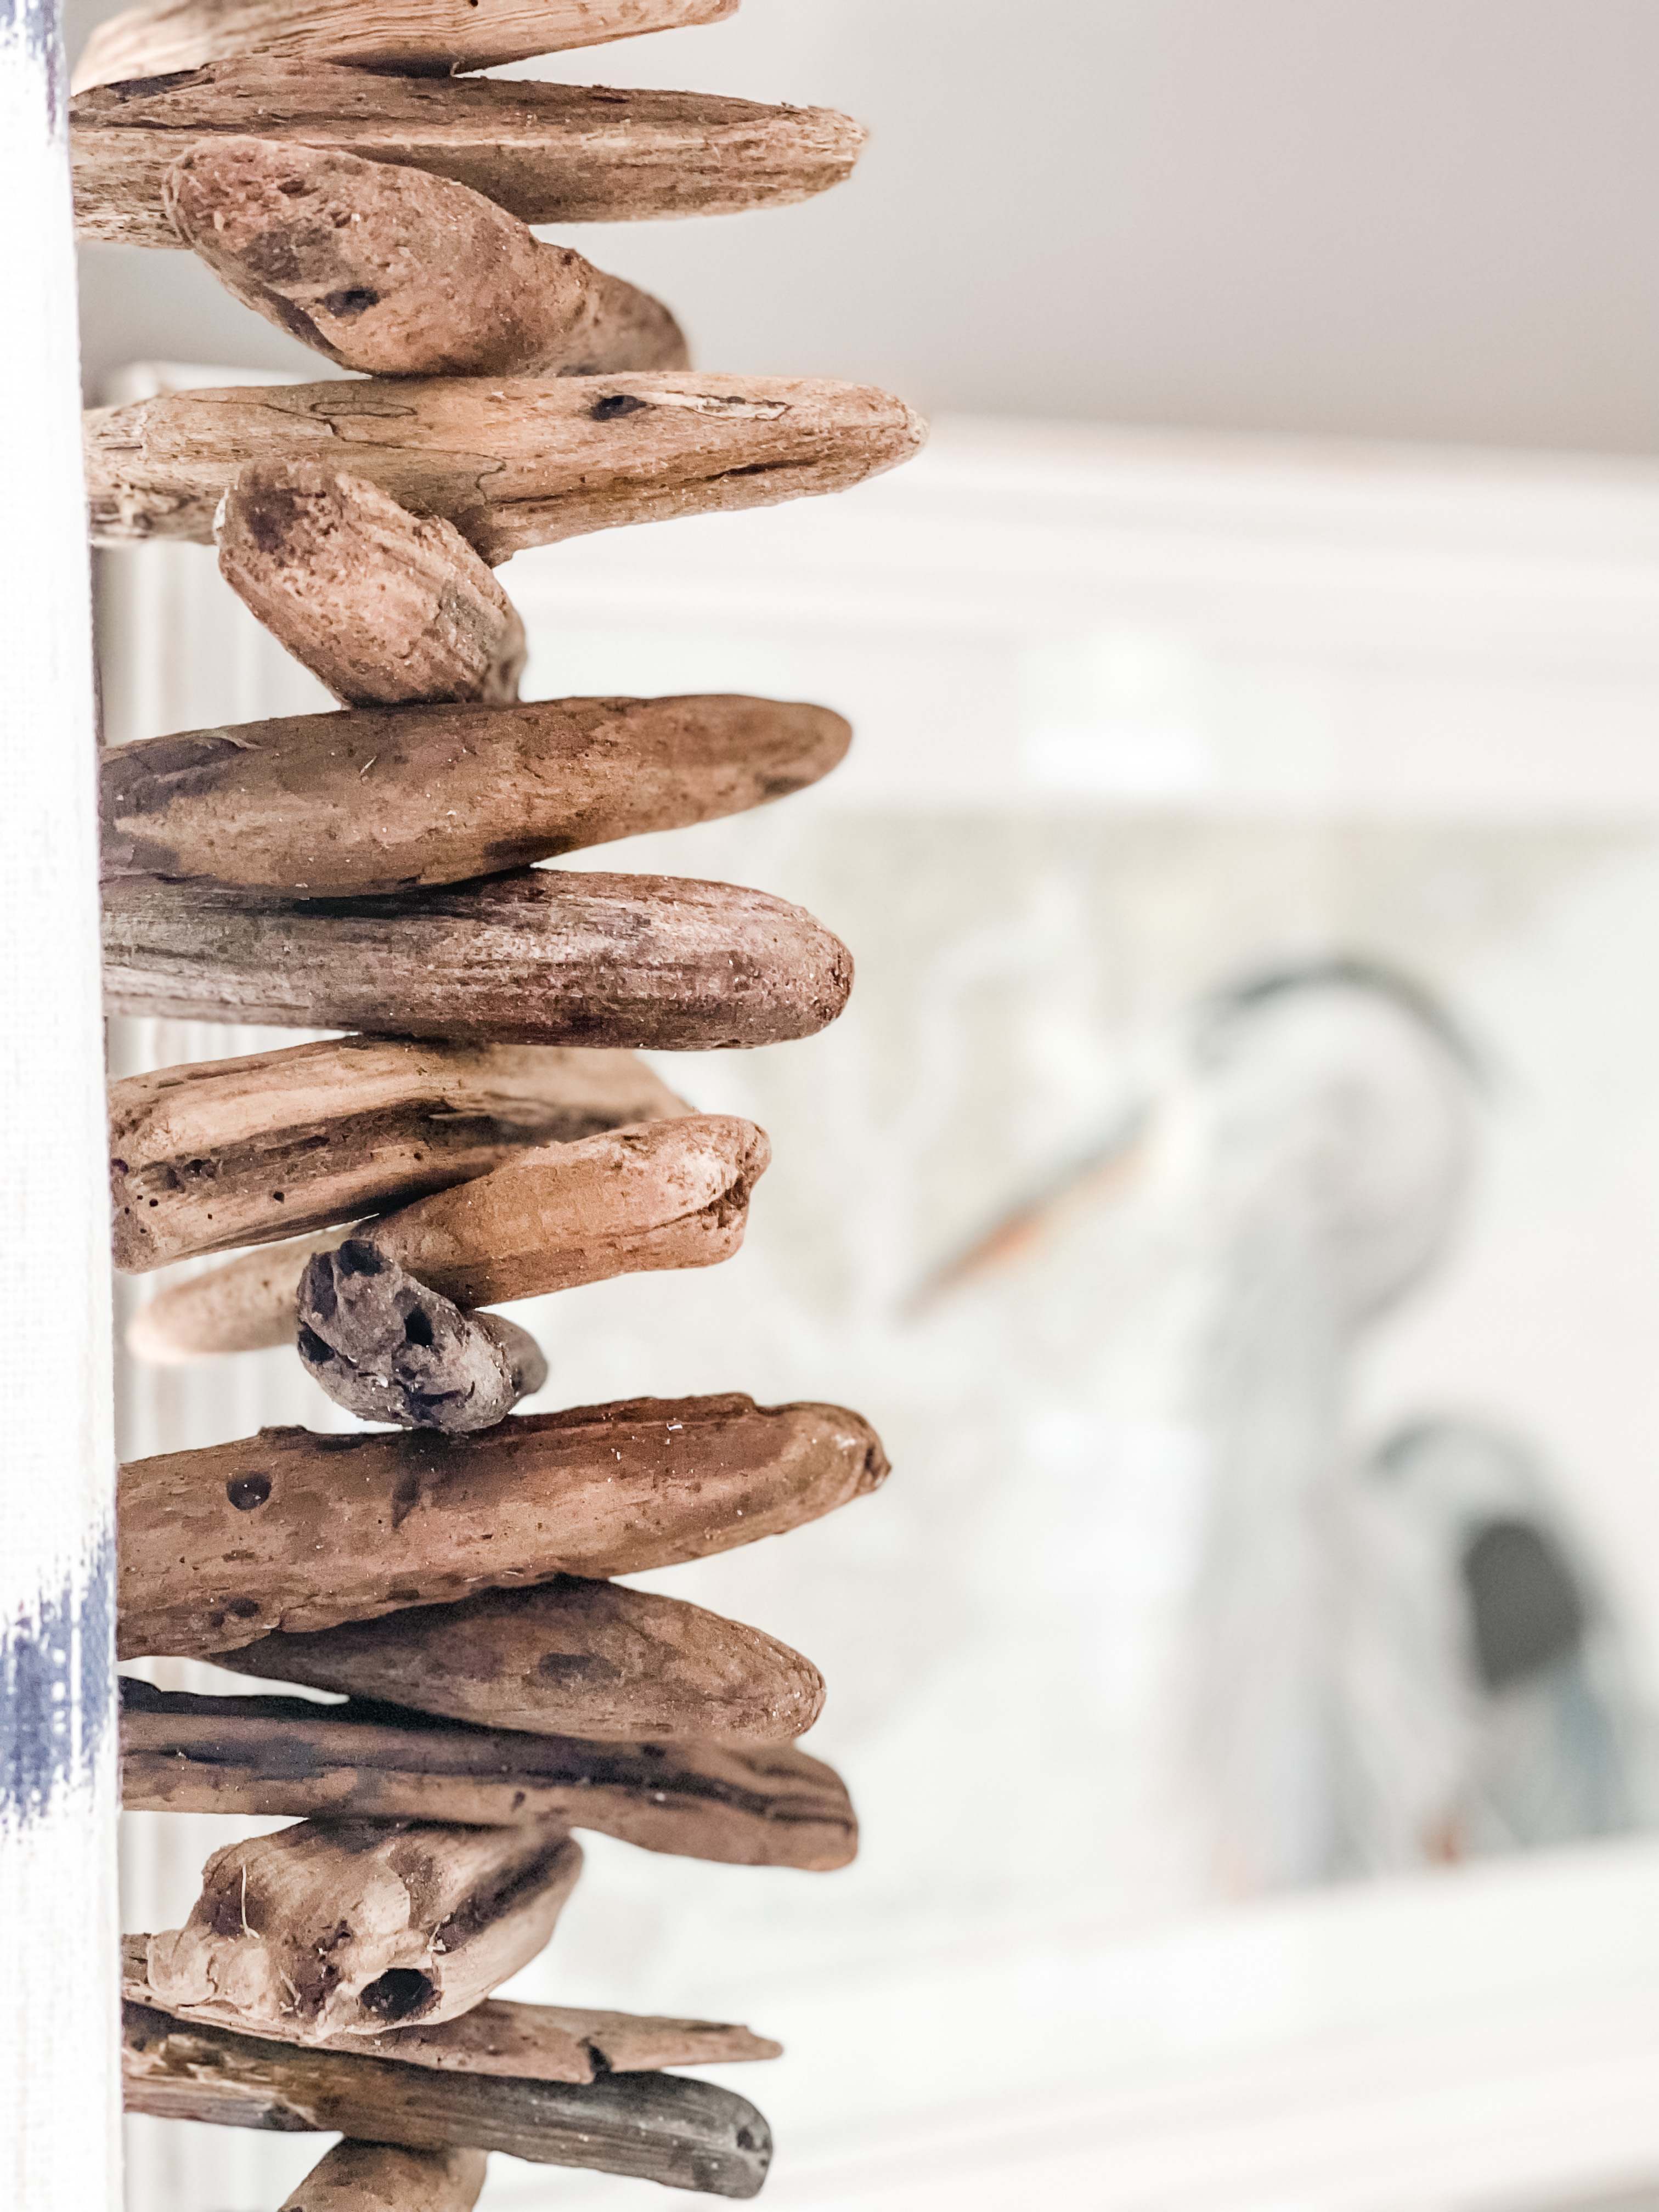
PALM FROND PUMPKIN
The pumpkin turned out so pretty. It took me a bit to figure out how to make it resemble a pumpkin.
I had brought a glue gun along on my trip just in case but I decided I needed a stapler. So off to 3 stores to try and find one. Finally I did. Just a regular home stapler.
I soaked the fronds in the sink for a bit to make them more pliable. Then I took a paper towel roll and used that as my center.
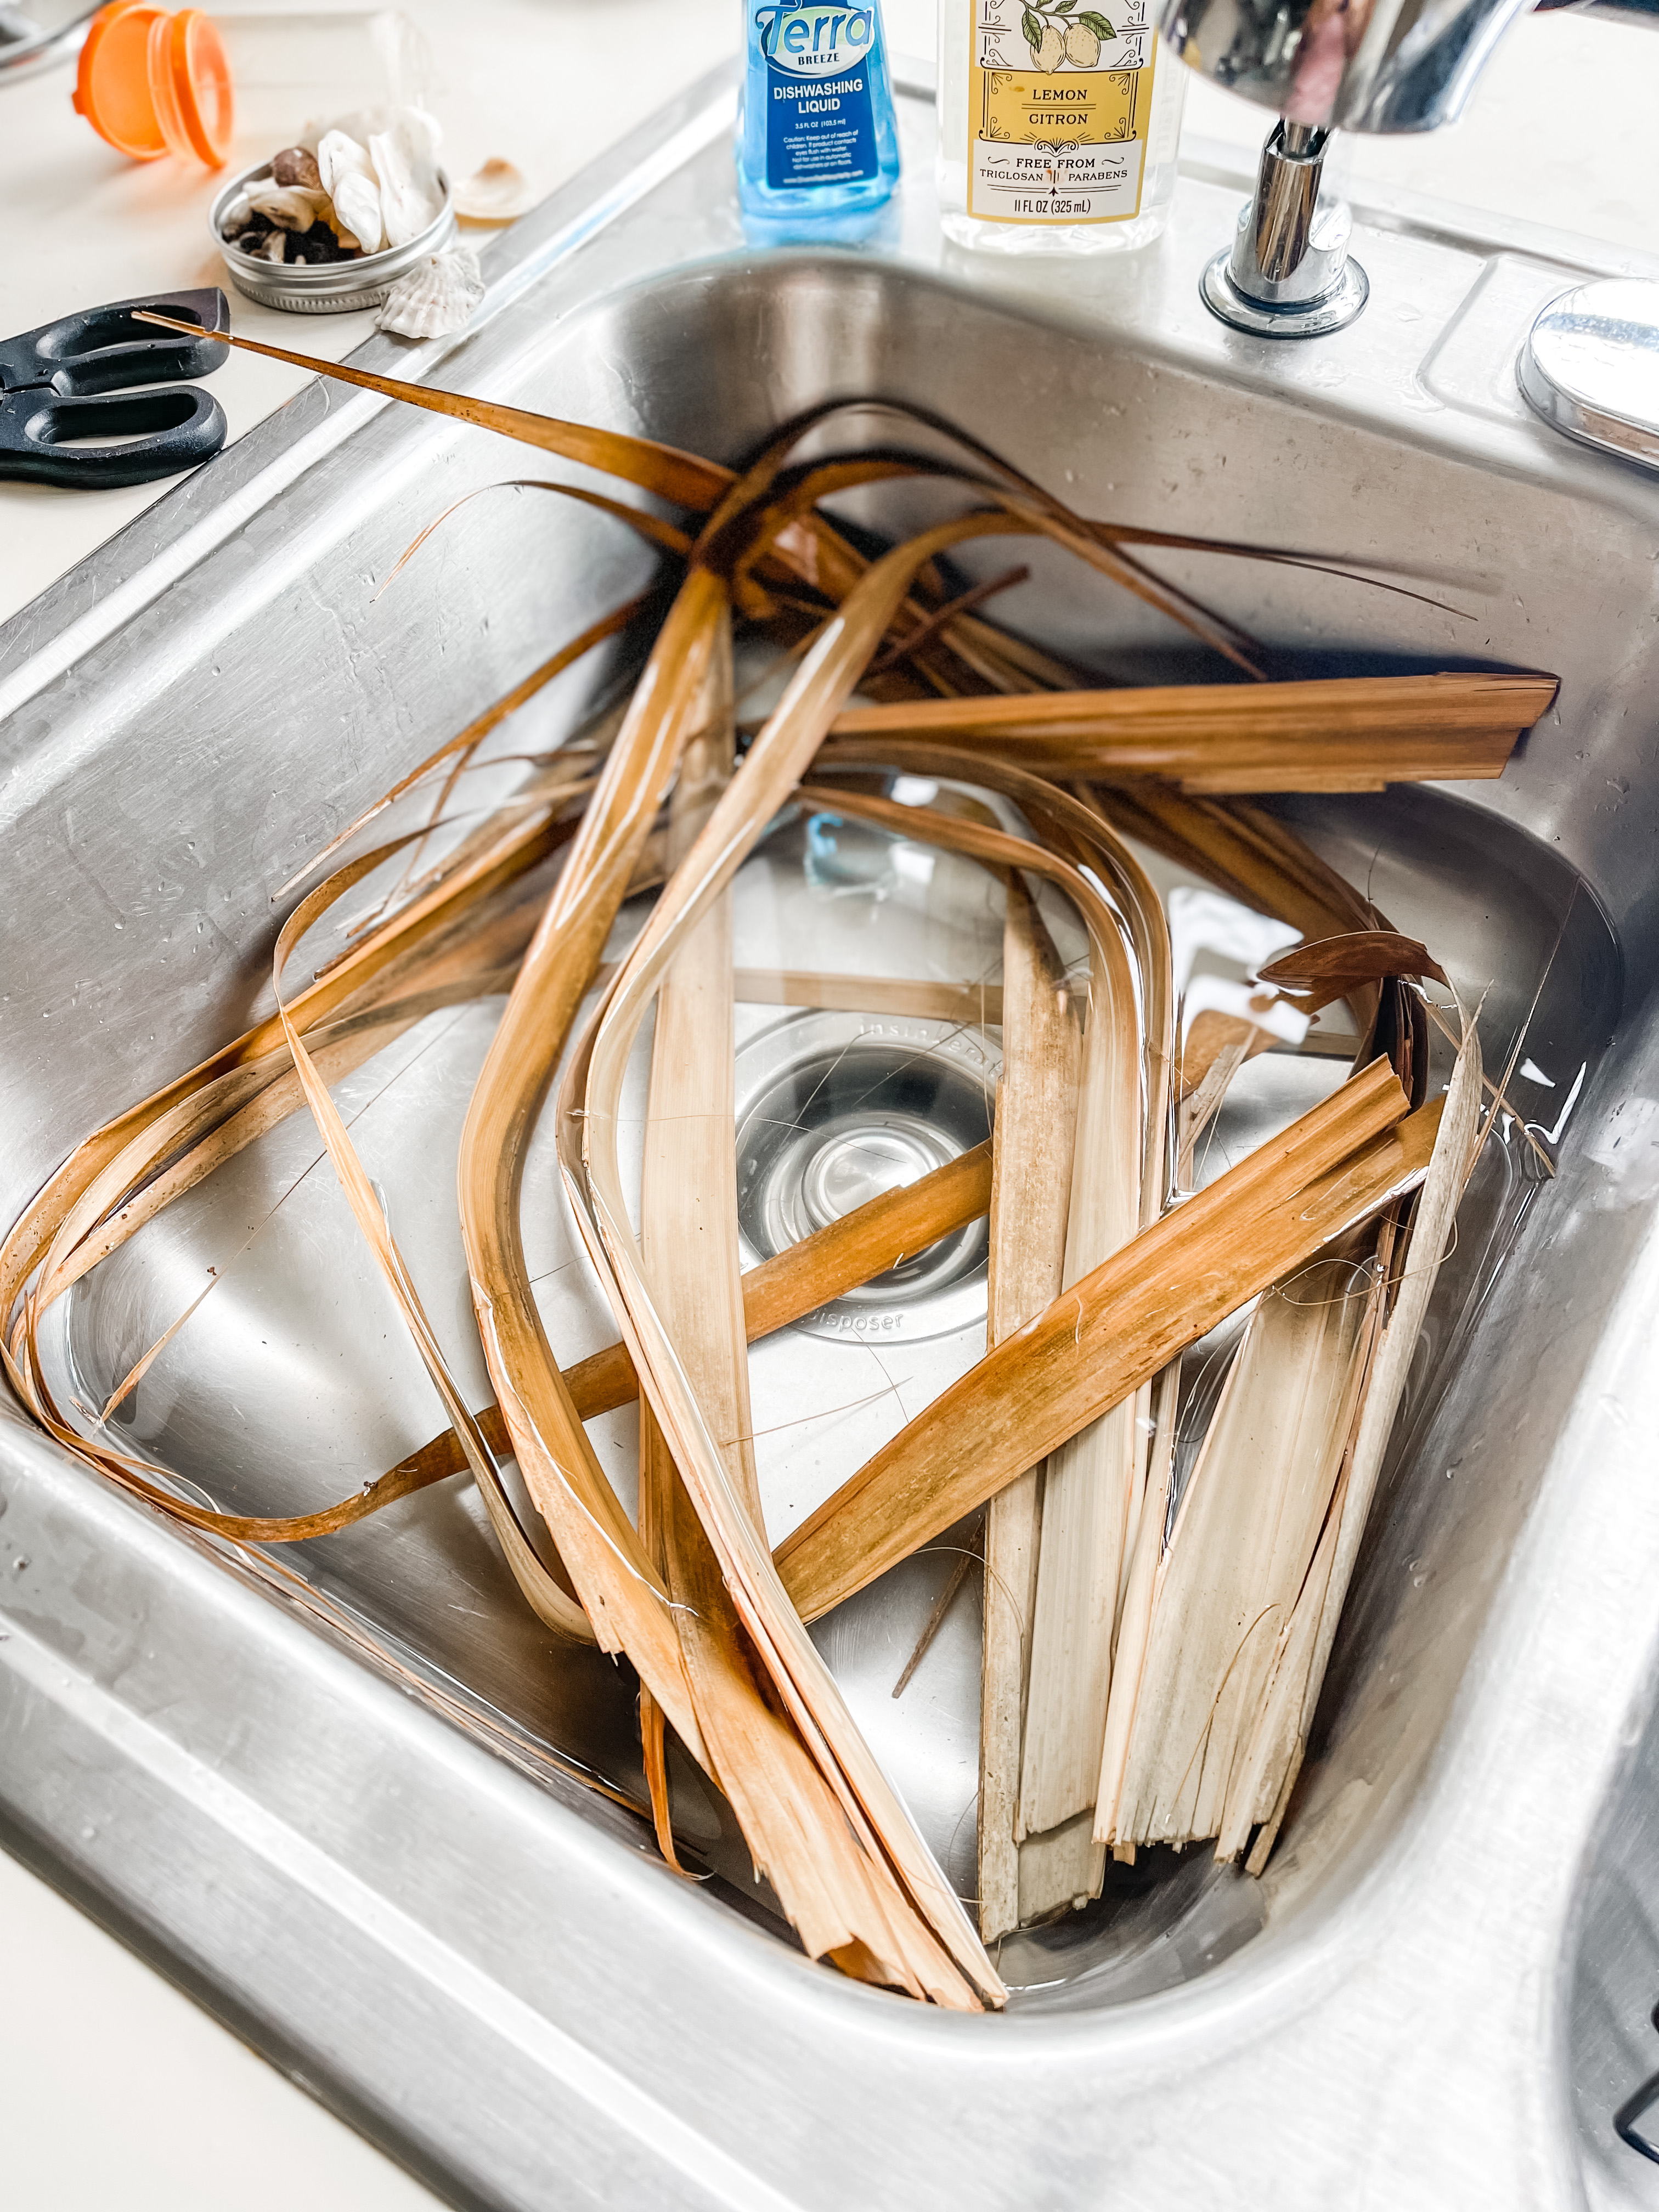
I stapled the ends of the fronds to the inside top of the paper towel roll. I stapled as many as could fit.
Next I stapled the fronds together at the bottom to each other. The bottom of the paper towel roll ended just above the stapled fronds.
It was resting on the stapled fronds, so then I glued the paper towel roll to the stapled together fronds. That held the paper towel roll from moving and kept the shape of the pumpkin.
I glued a few fronds onto the top and then glued them to the bottom area which was stapled. This helped even out the fronds and make it look more like a pumpkin.
I glued a piece of palm tree to the top as a stem and then filled in the spaces with Spanish Moss. This worked out perfectly so you could not see the paper towel roll.
Cut the paper towel roll to the approximate size/height you want the pumpkin. It’s super light because there is nothing holding it down. You could fill the paper towel roll with sand and tape up the bottom so it didn’t come out. The top would need to stay uncovered so you could staple the fronds inside. It’s light as a feather.
OYSTER SHELL EARRINGS
I love oyster shells, you may have seen my post where I made tablecloth weights using large ones.
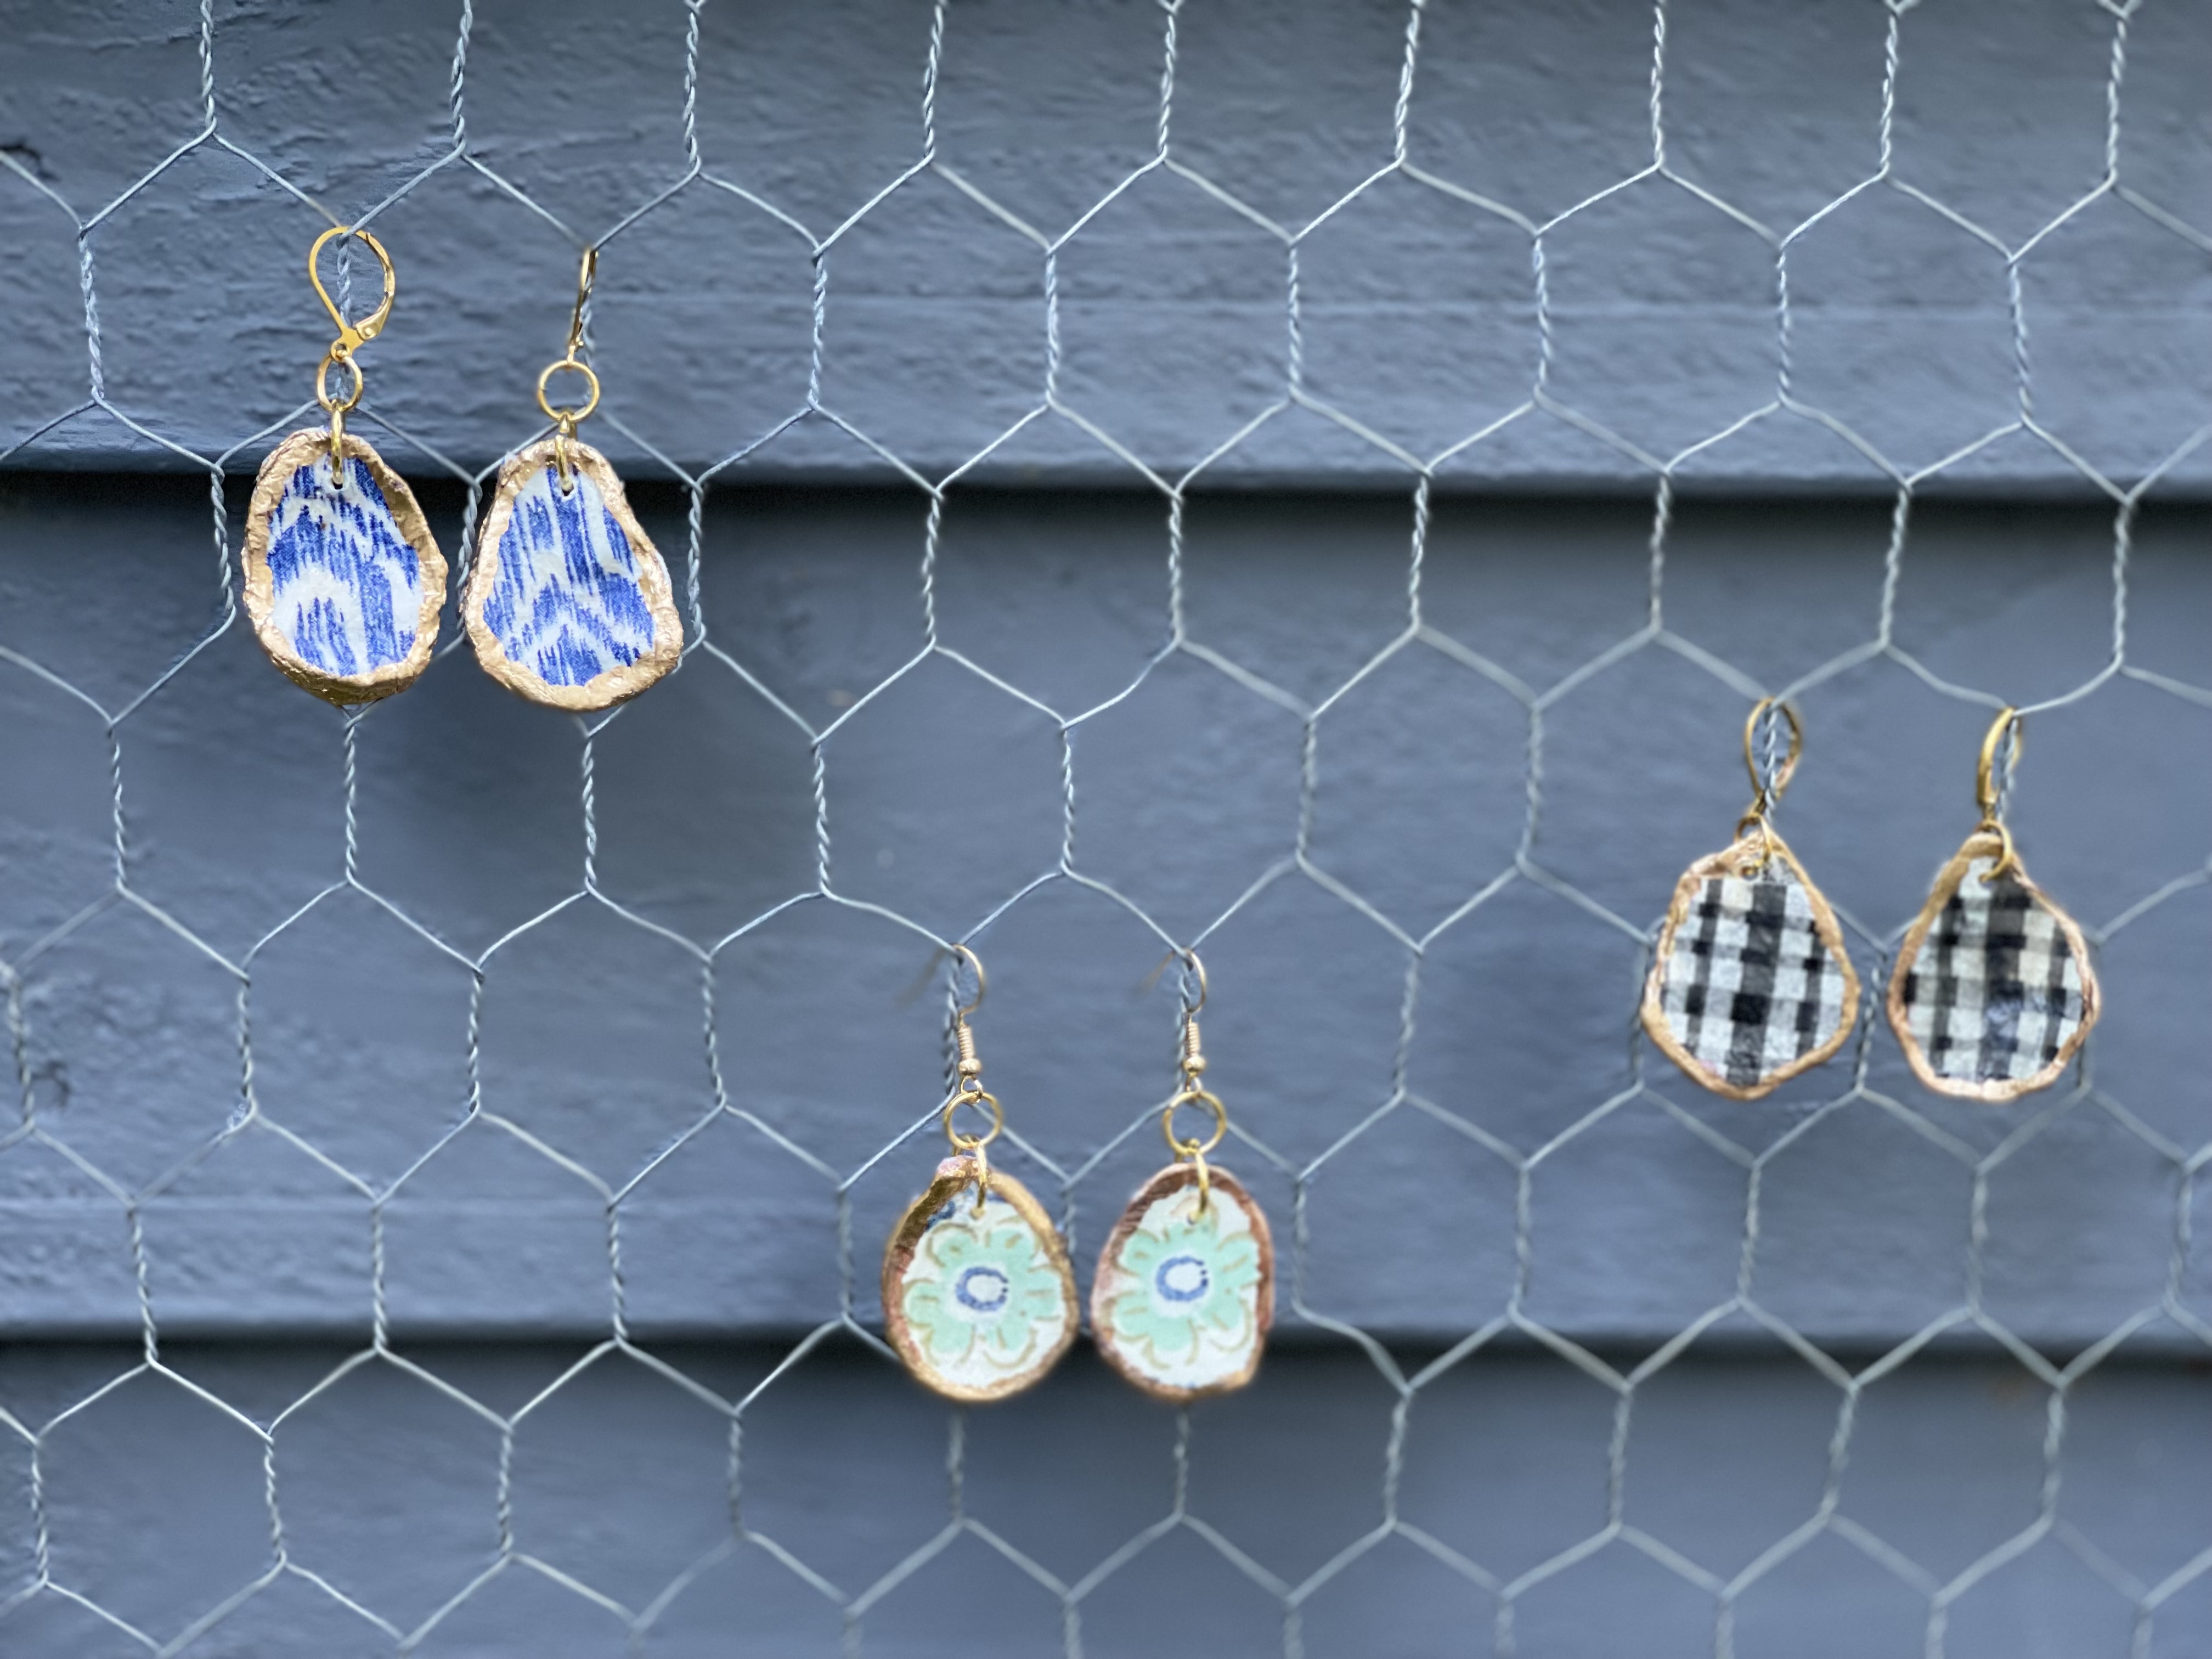
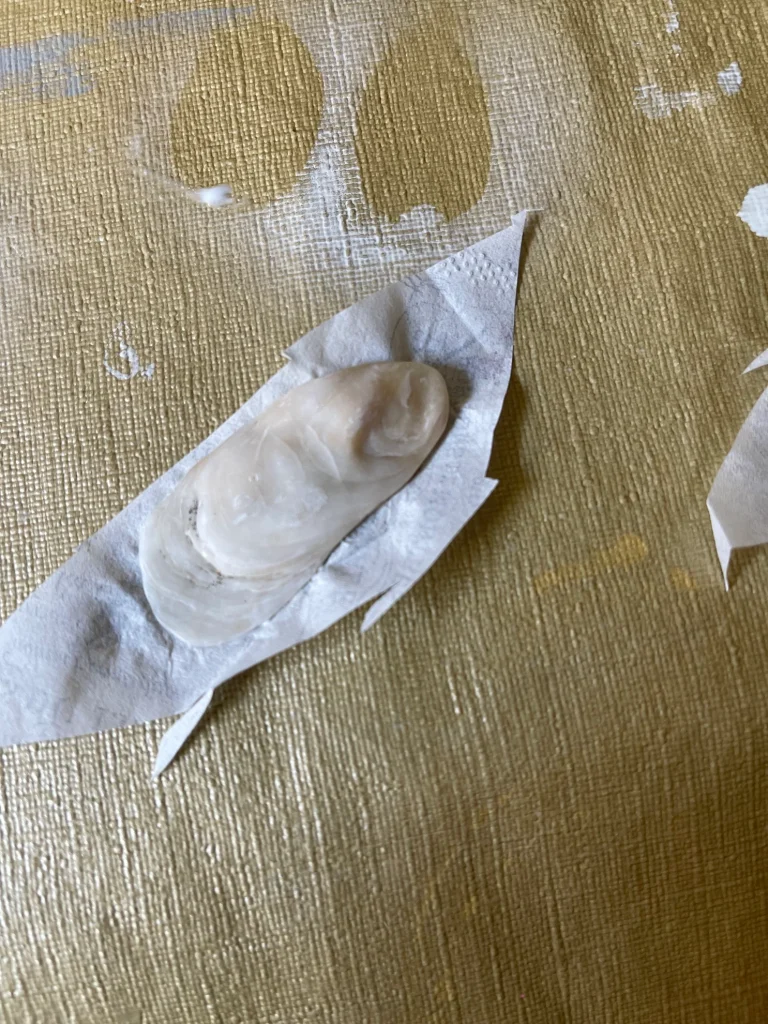
The earrings were made from baby oyster shells, I collected so many while I was walking and then spent some time matching the sizes. As much as I thought I had picked up many matches, the sizes didn’t match up perfectly.
I decided that was ok. I would make them anyway.
I used a tile bit and drilled a hole in the end of the shells. I then took napkins with the colors that I liked.
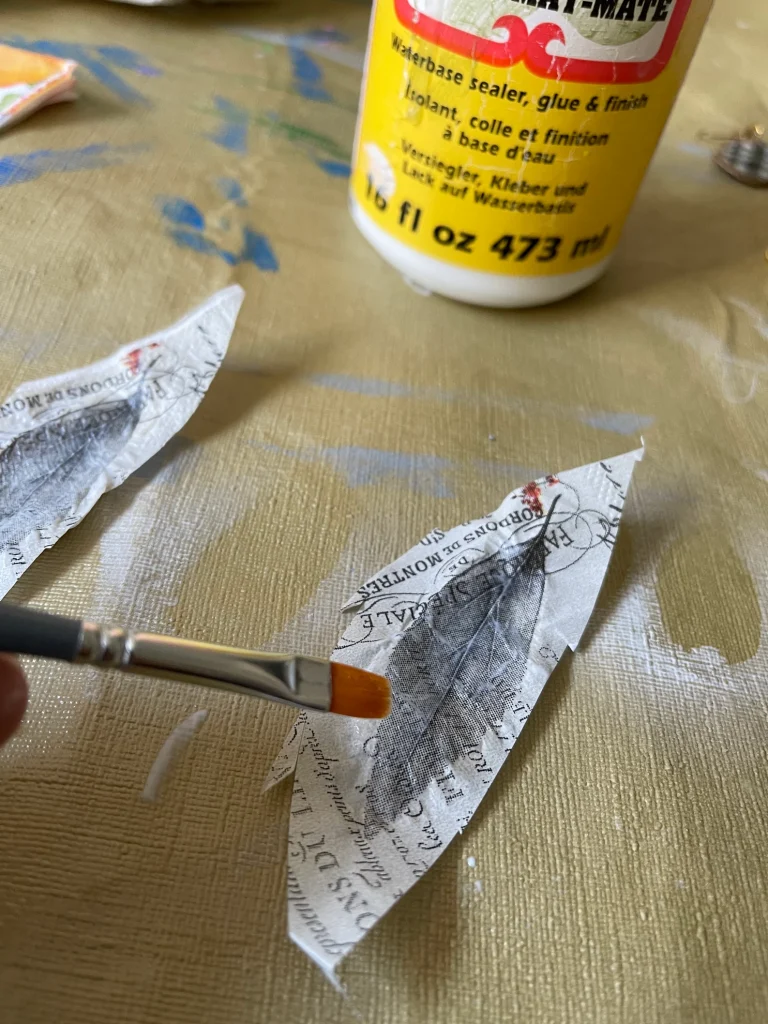
I painted a quick coat of white acrylic paint on the inside of the shell to give it a clean even look. I peeled the napkin so I only used the top layer and then used Mod Podge to attach the napkin to the shell.
After it dried, I trimmed the edges. It didn’t have to be super neat because you will be painting over it with the gilding paint.
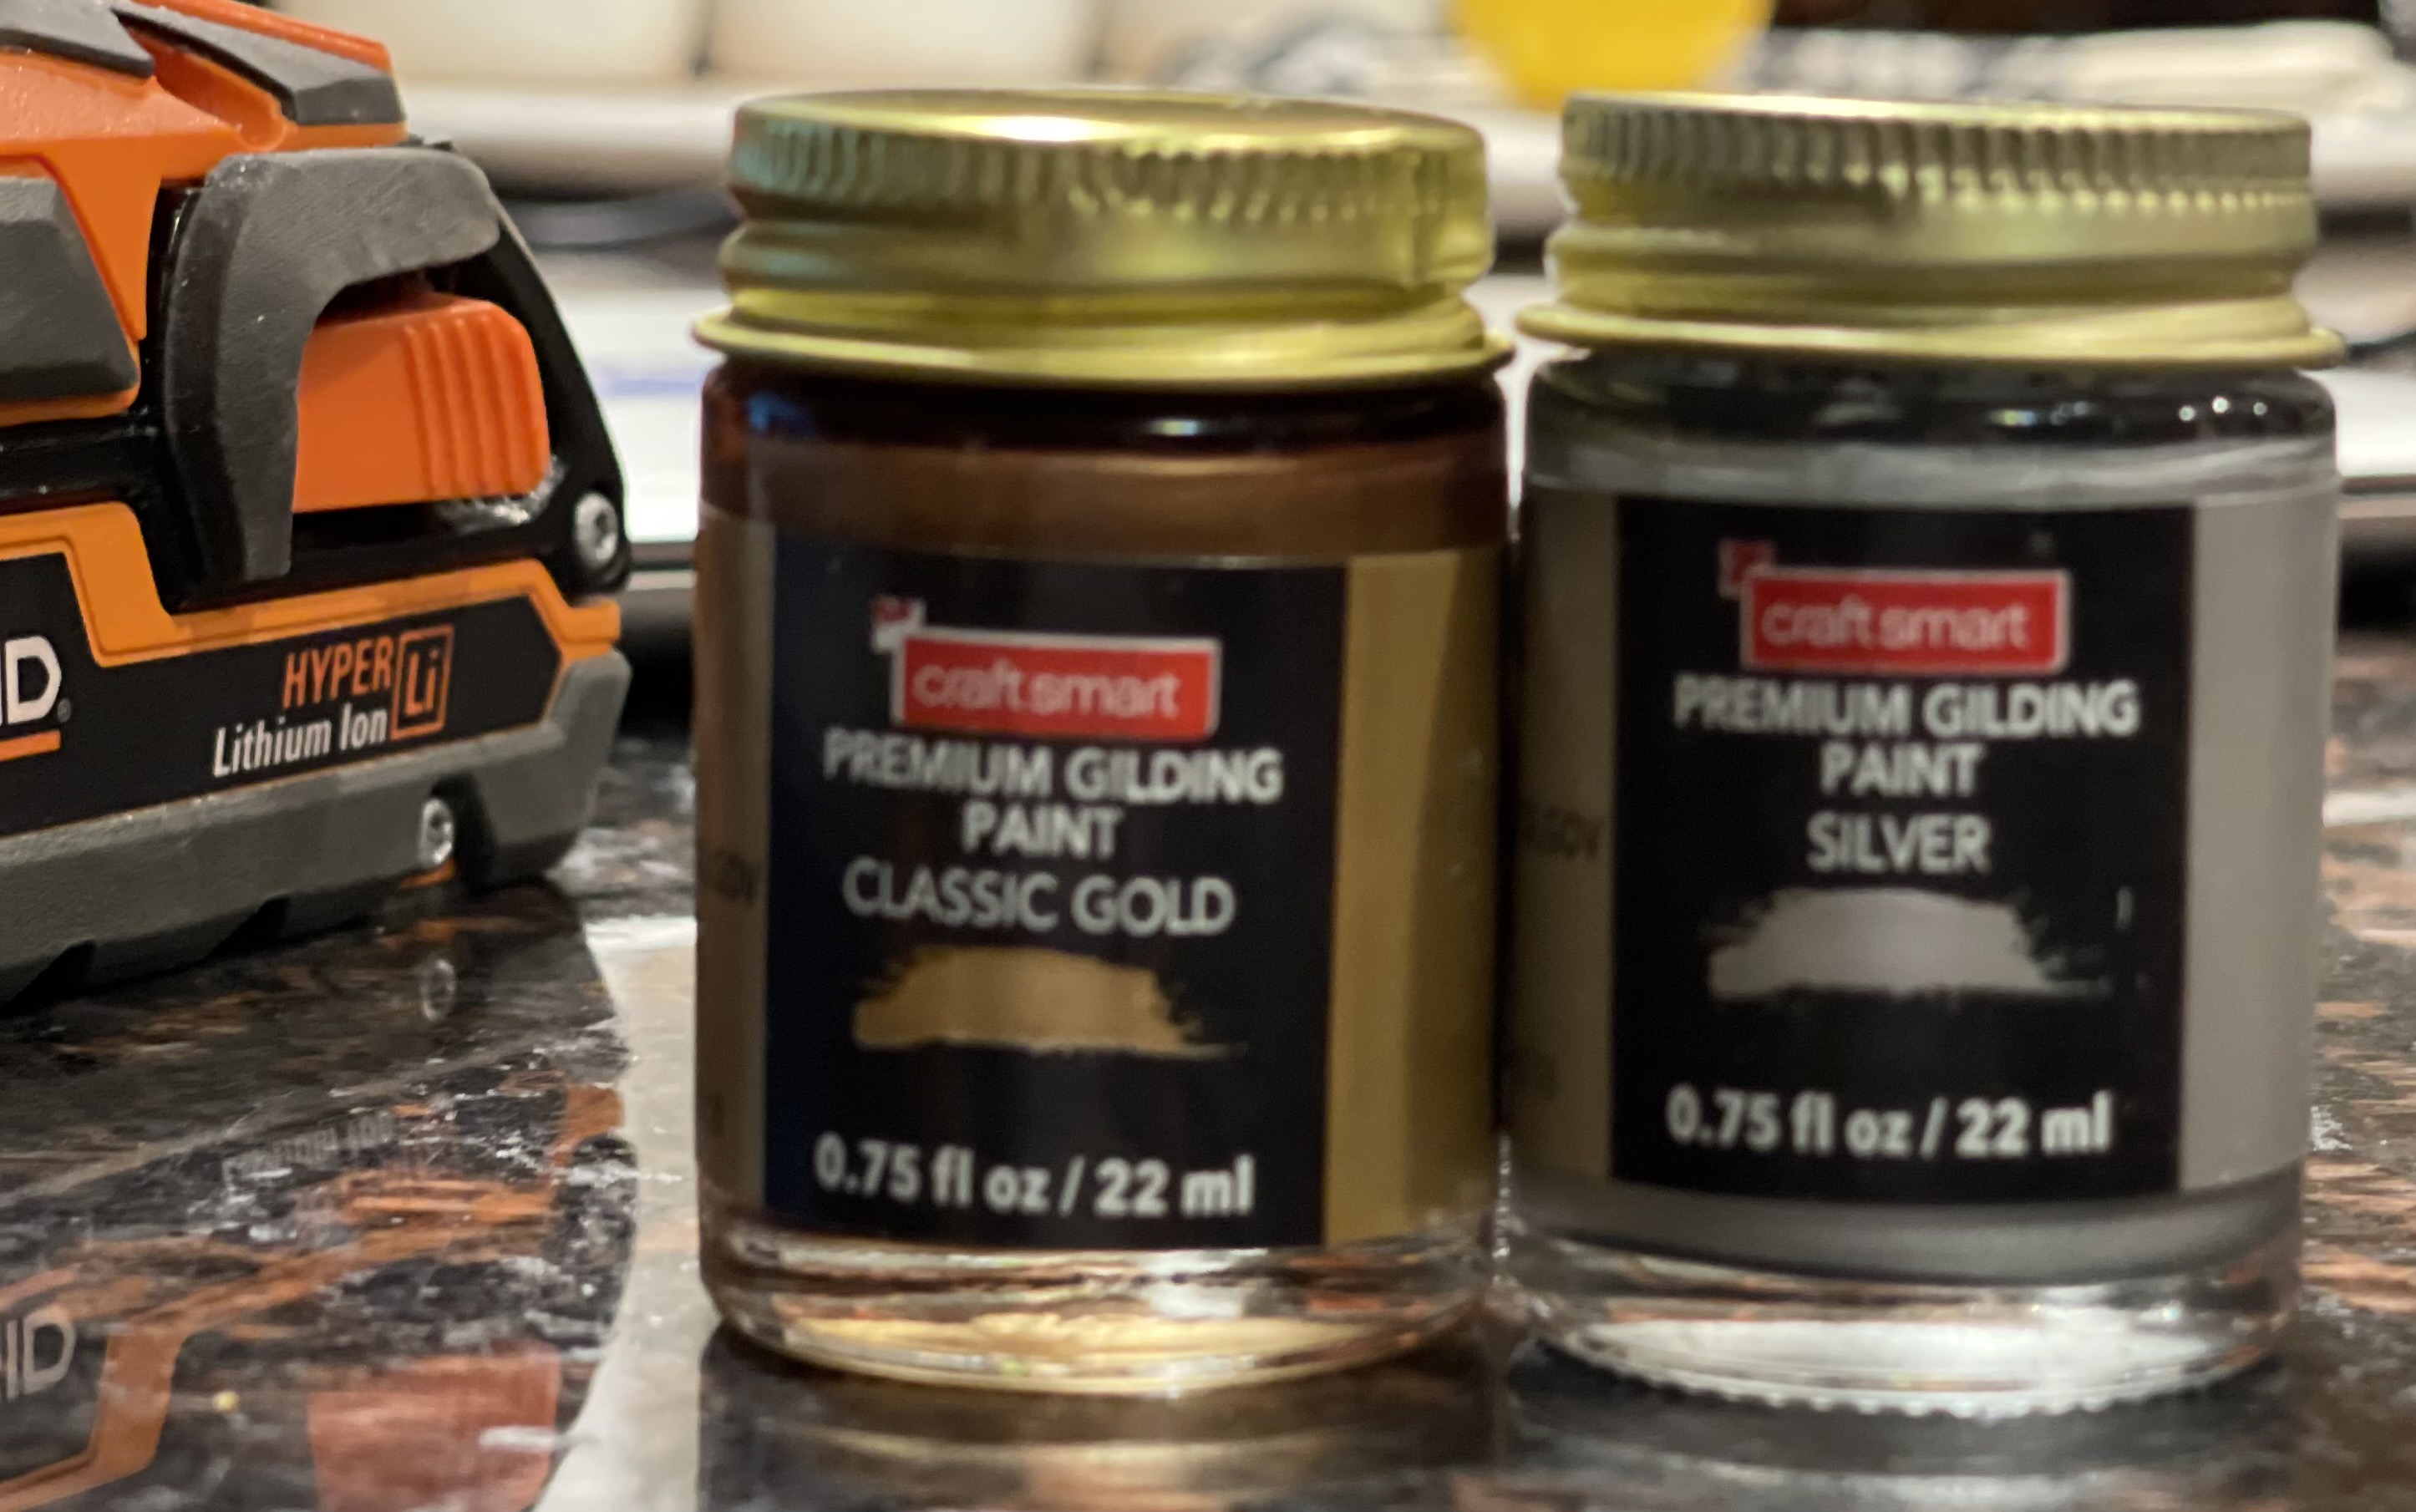
Next I used Gold Gilding paint on the edges and back. You could paint it as far into the shell as you like, it’s your preference.
Next step was to cover the entire front with more Mod Podge. You could spray with a lacquer also. Let it dry.
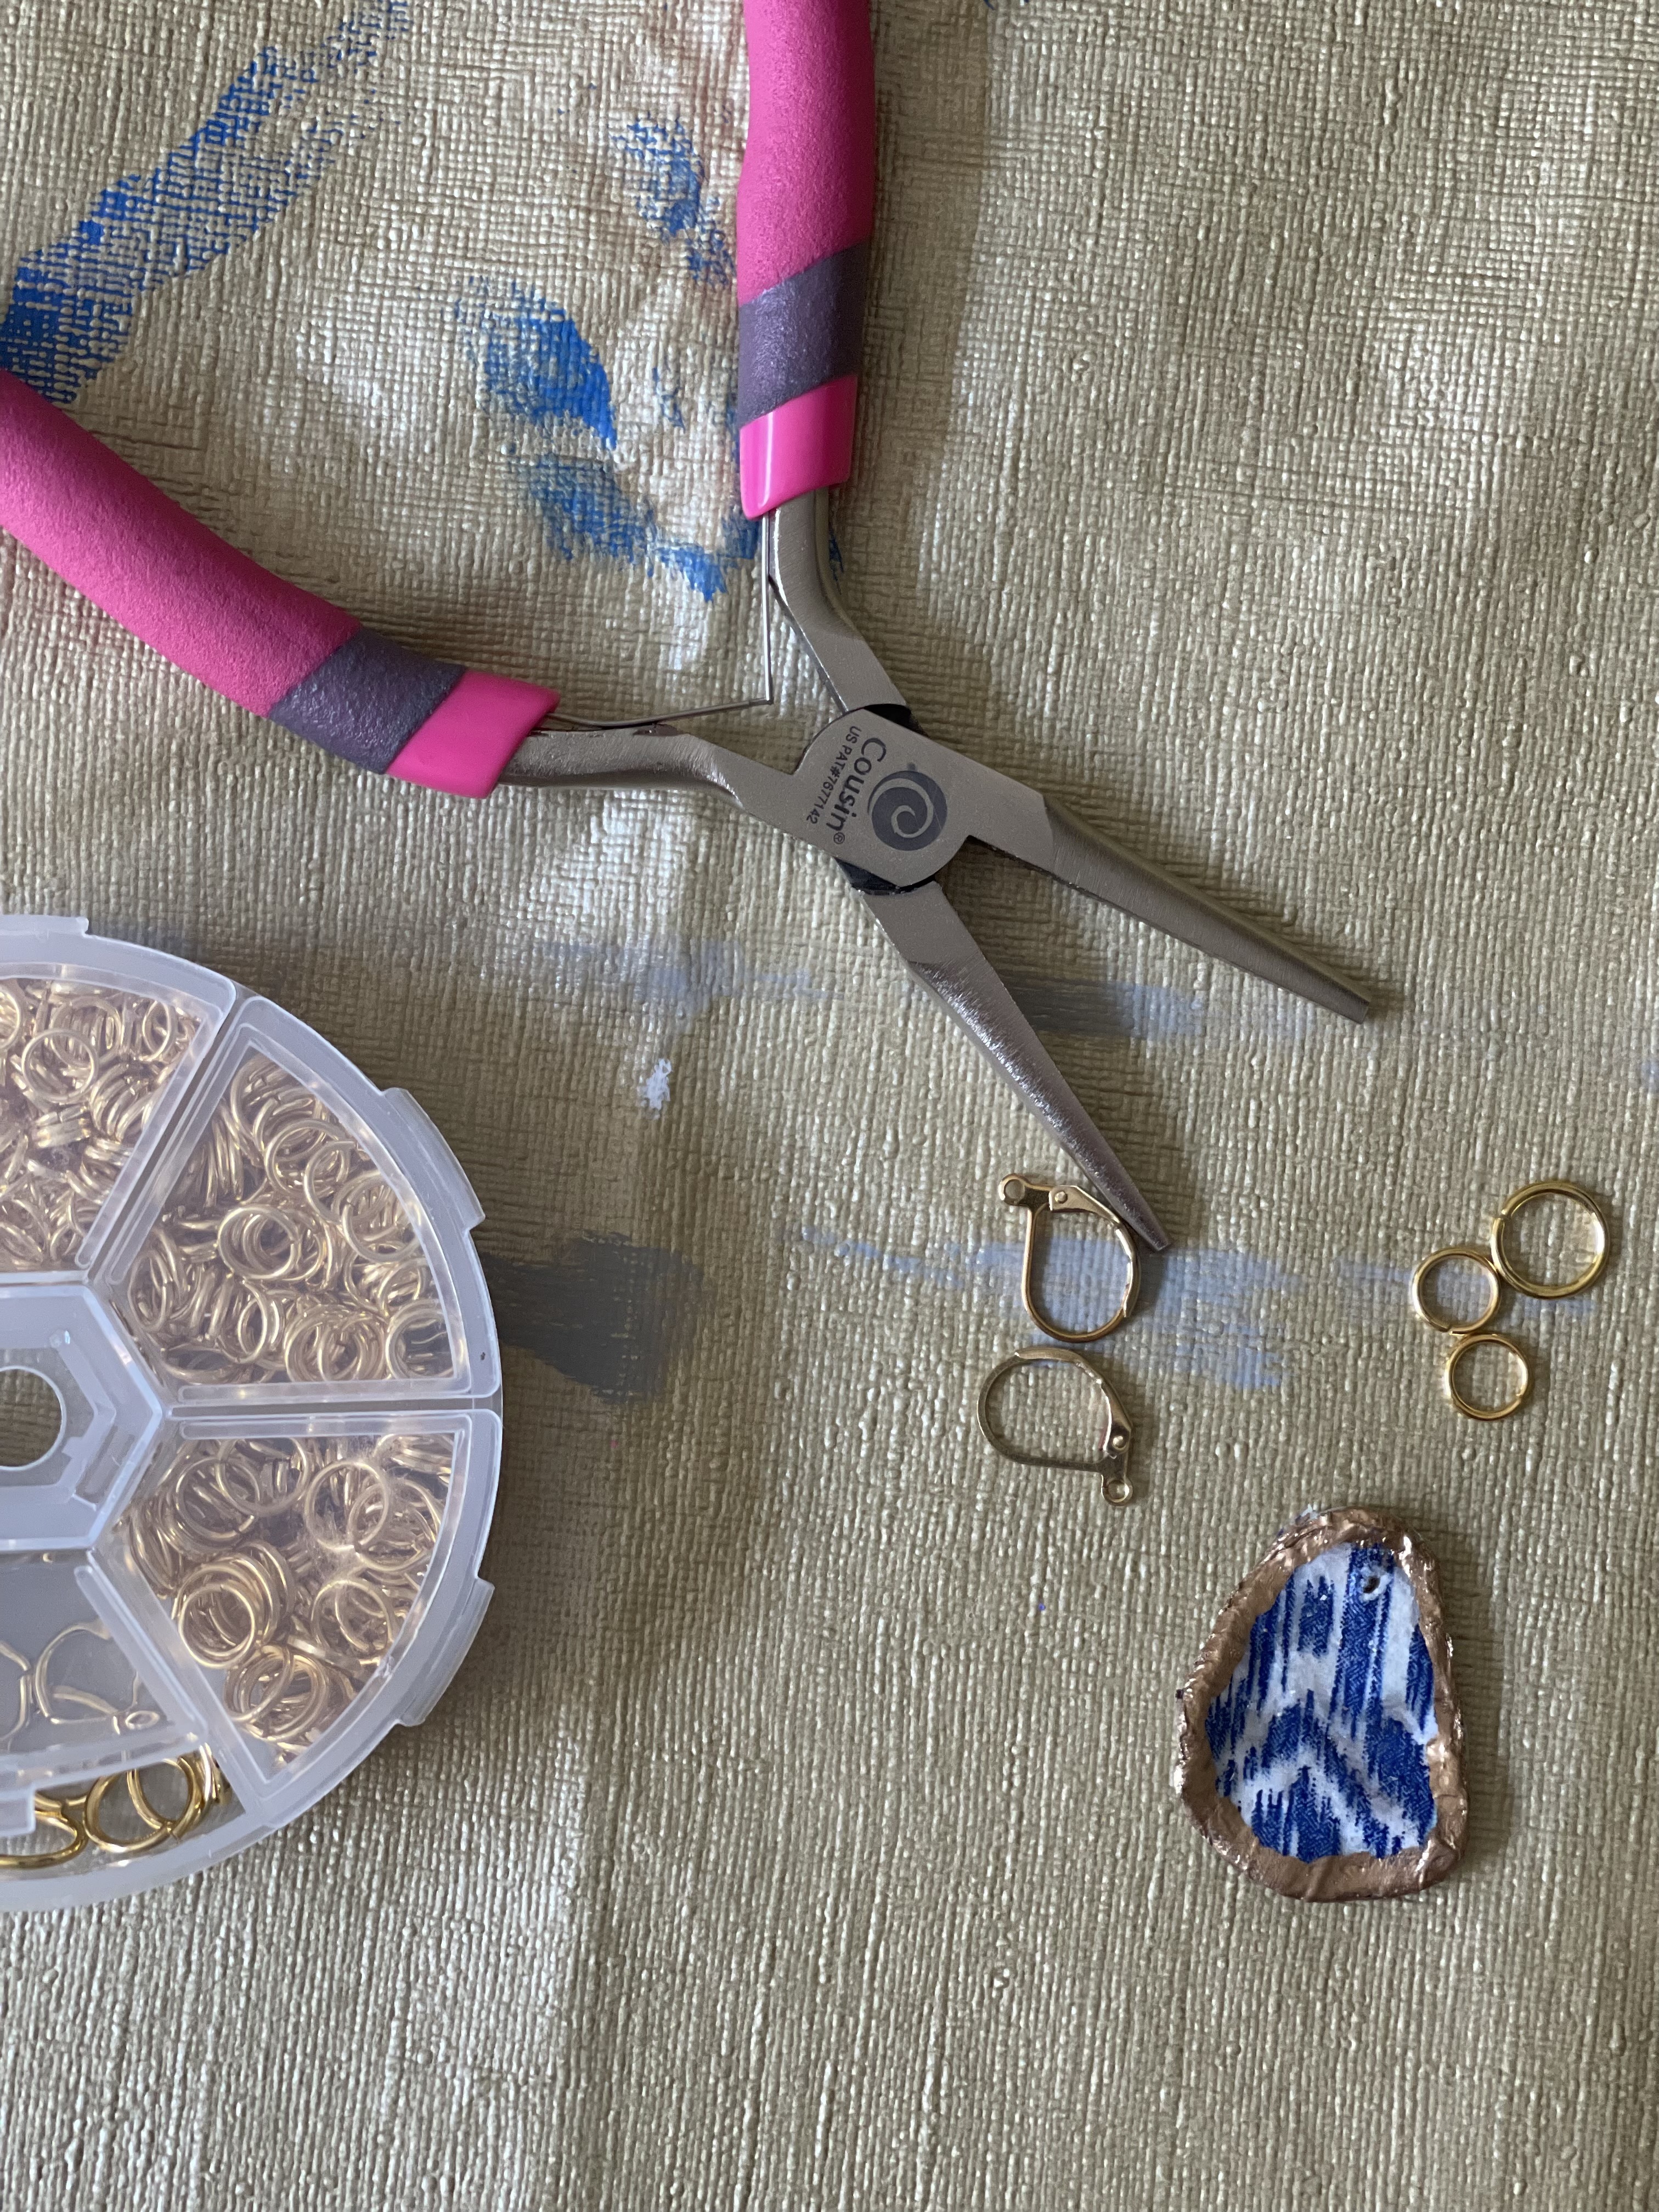
Using pliers I opened my jump rings and then attached the oyster shell, then I added the earring portion and closed the jump rings.
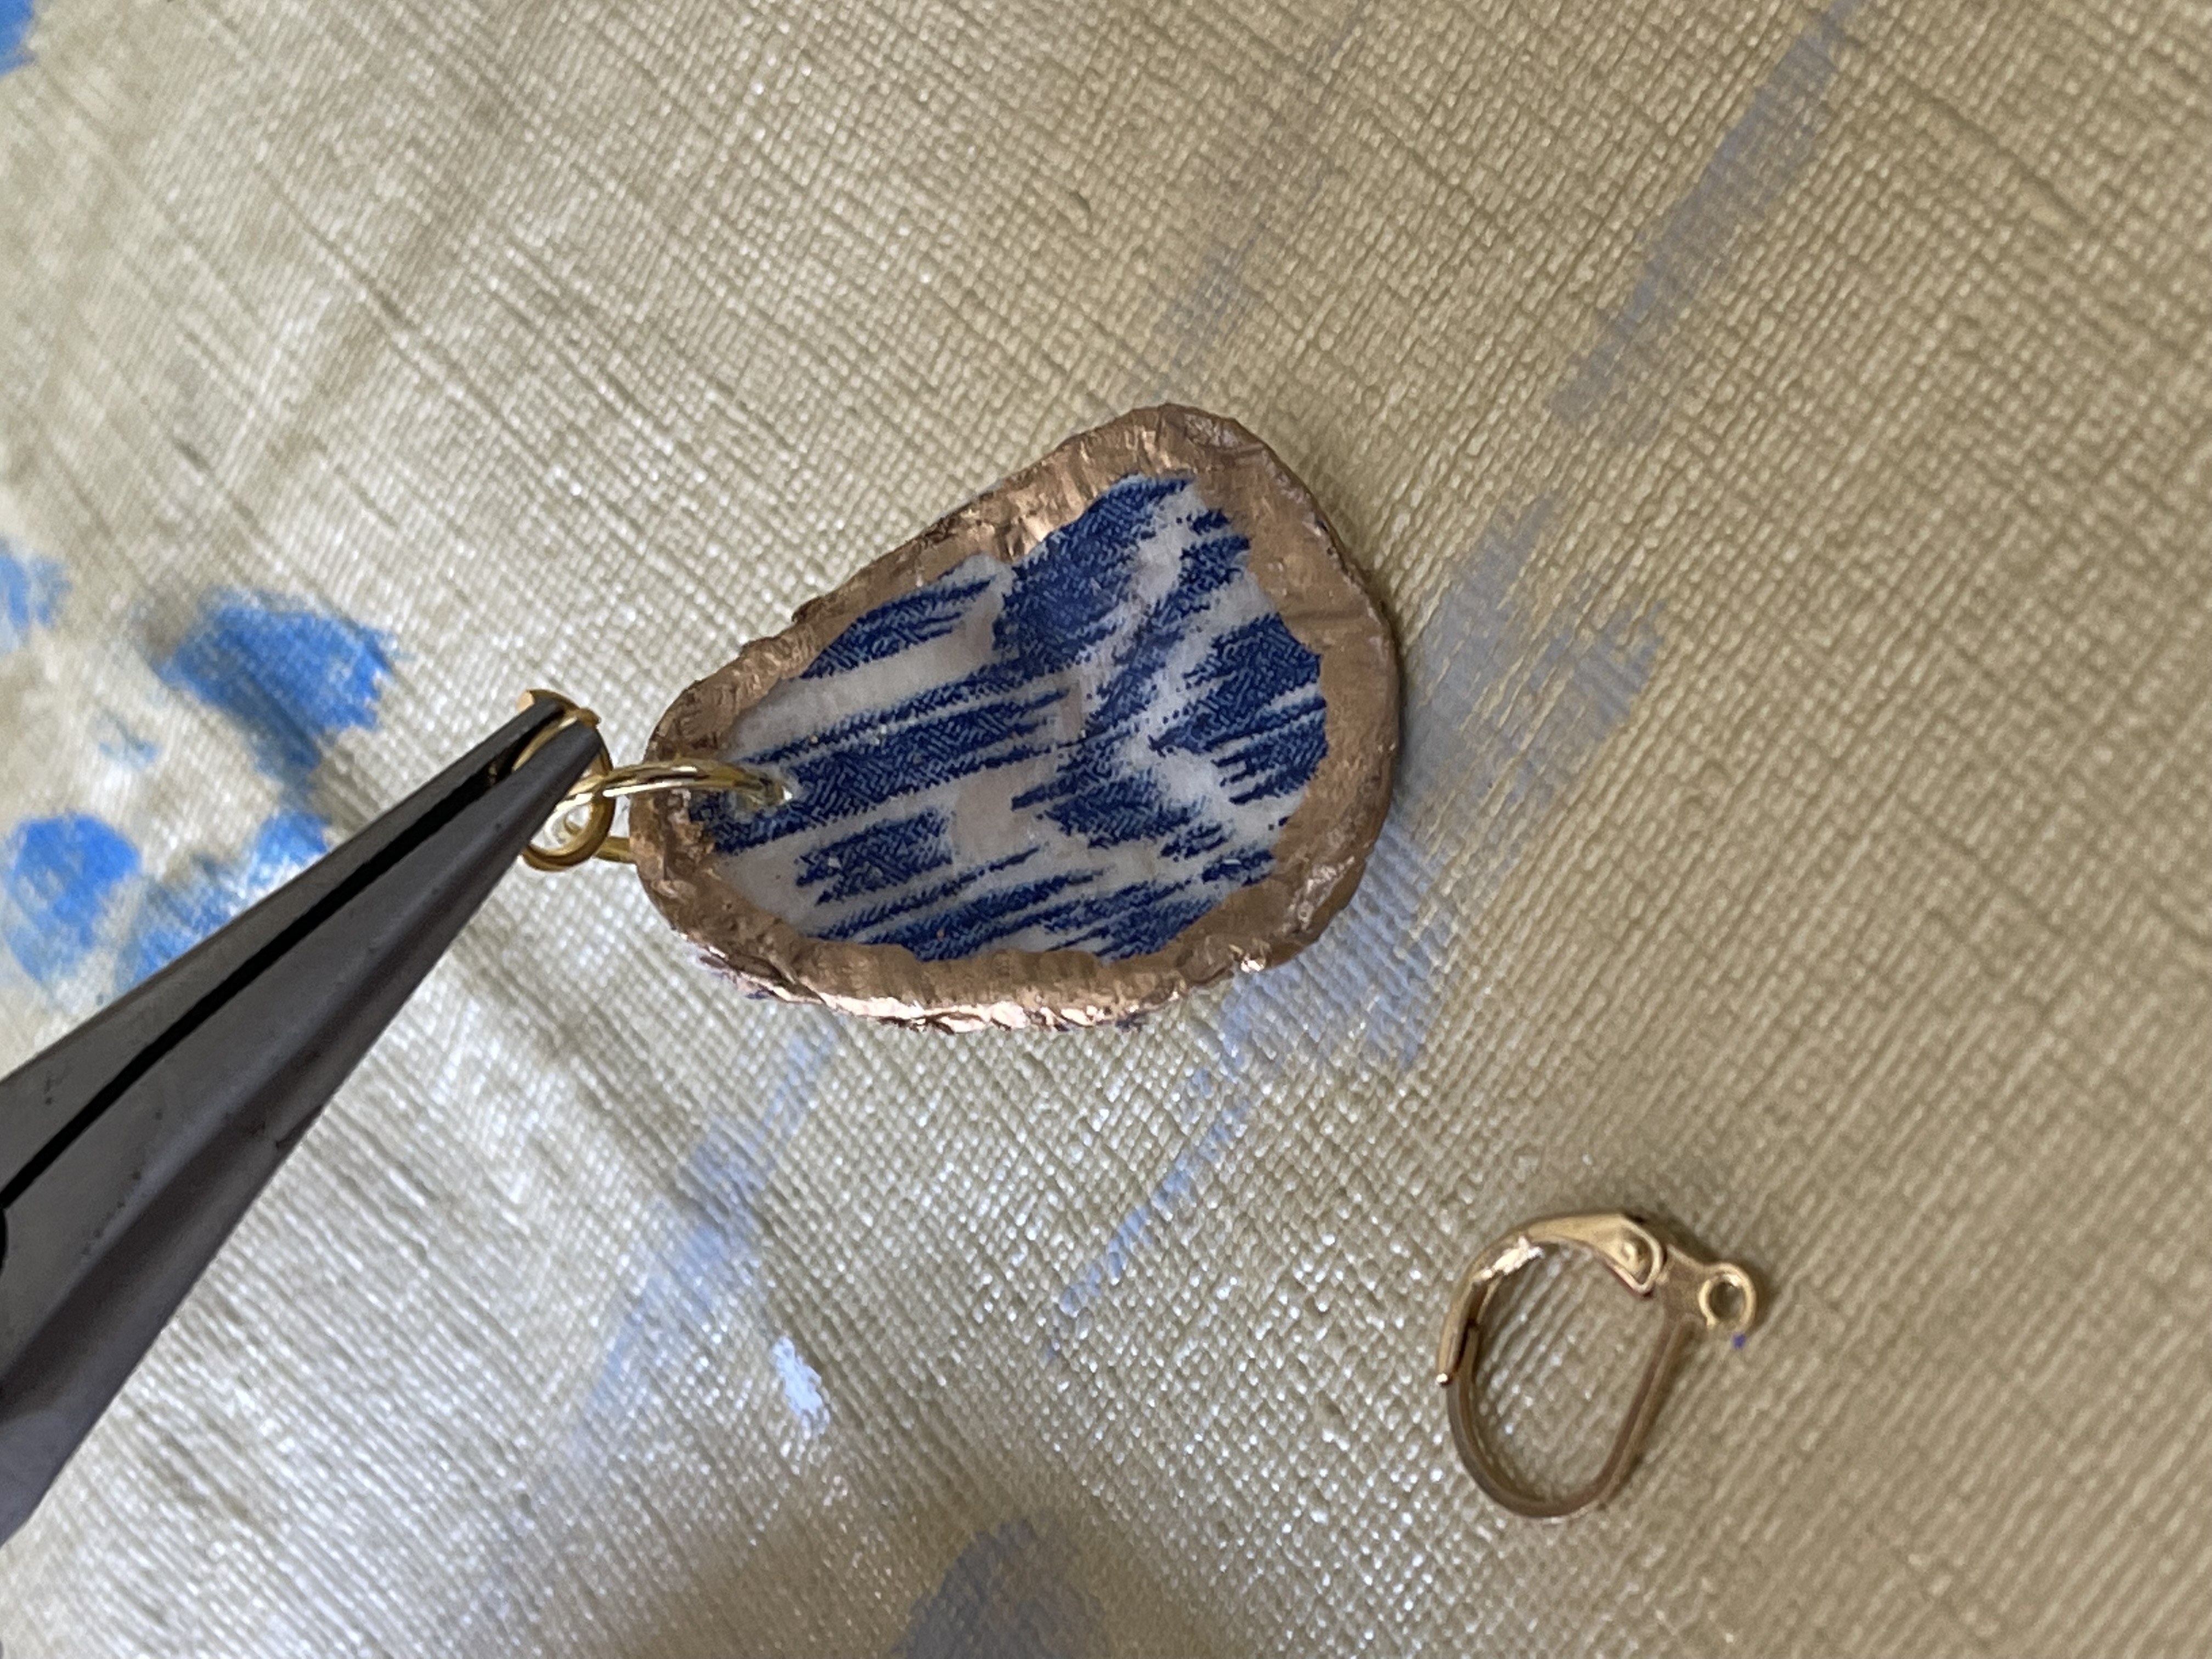
That’s exactly how easy it was to make them!
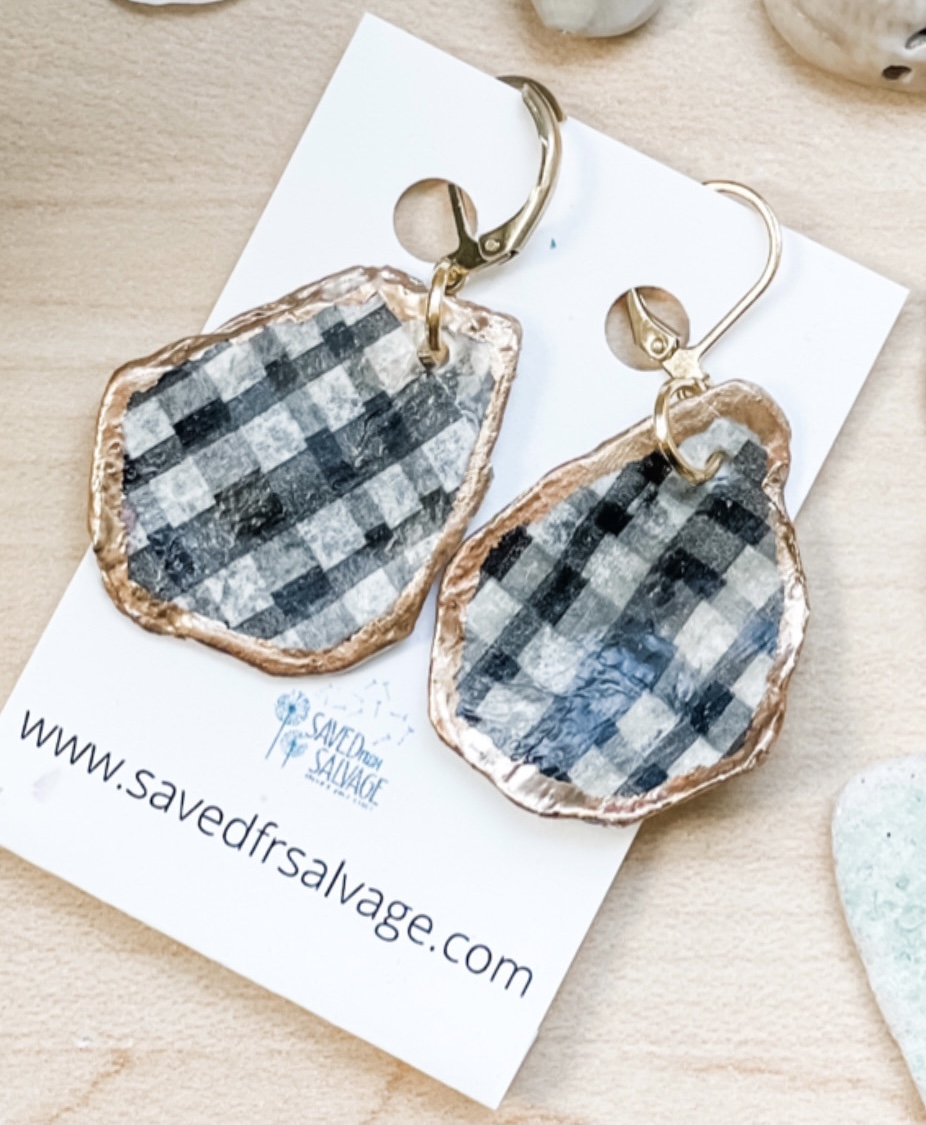
There are as many options for earrings as there are shells.
DRIFTWOOD GARLAND
Driftwood comes in so many sizes, but what I needed had to fit in the car with four people and two dogs! That is also why I didn’t bring home more palm fronds and Spanish Moss!
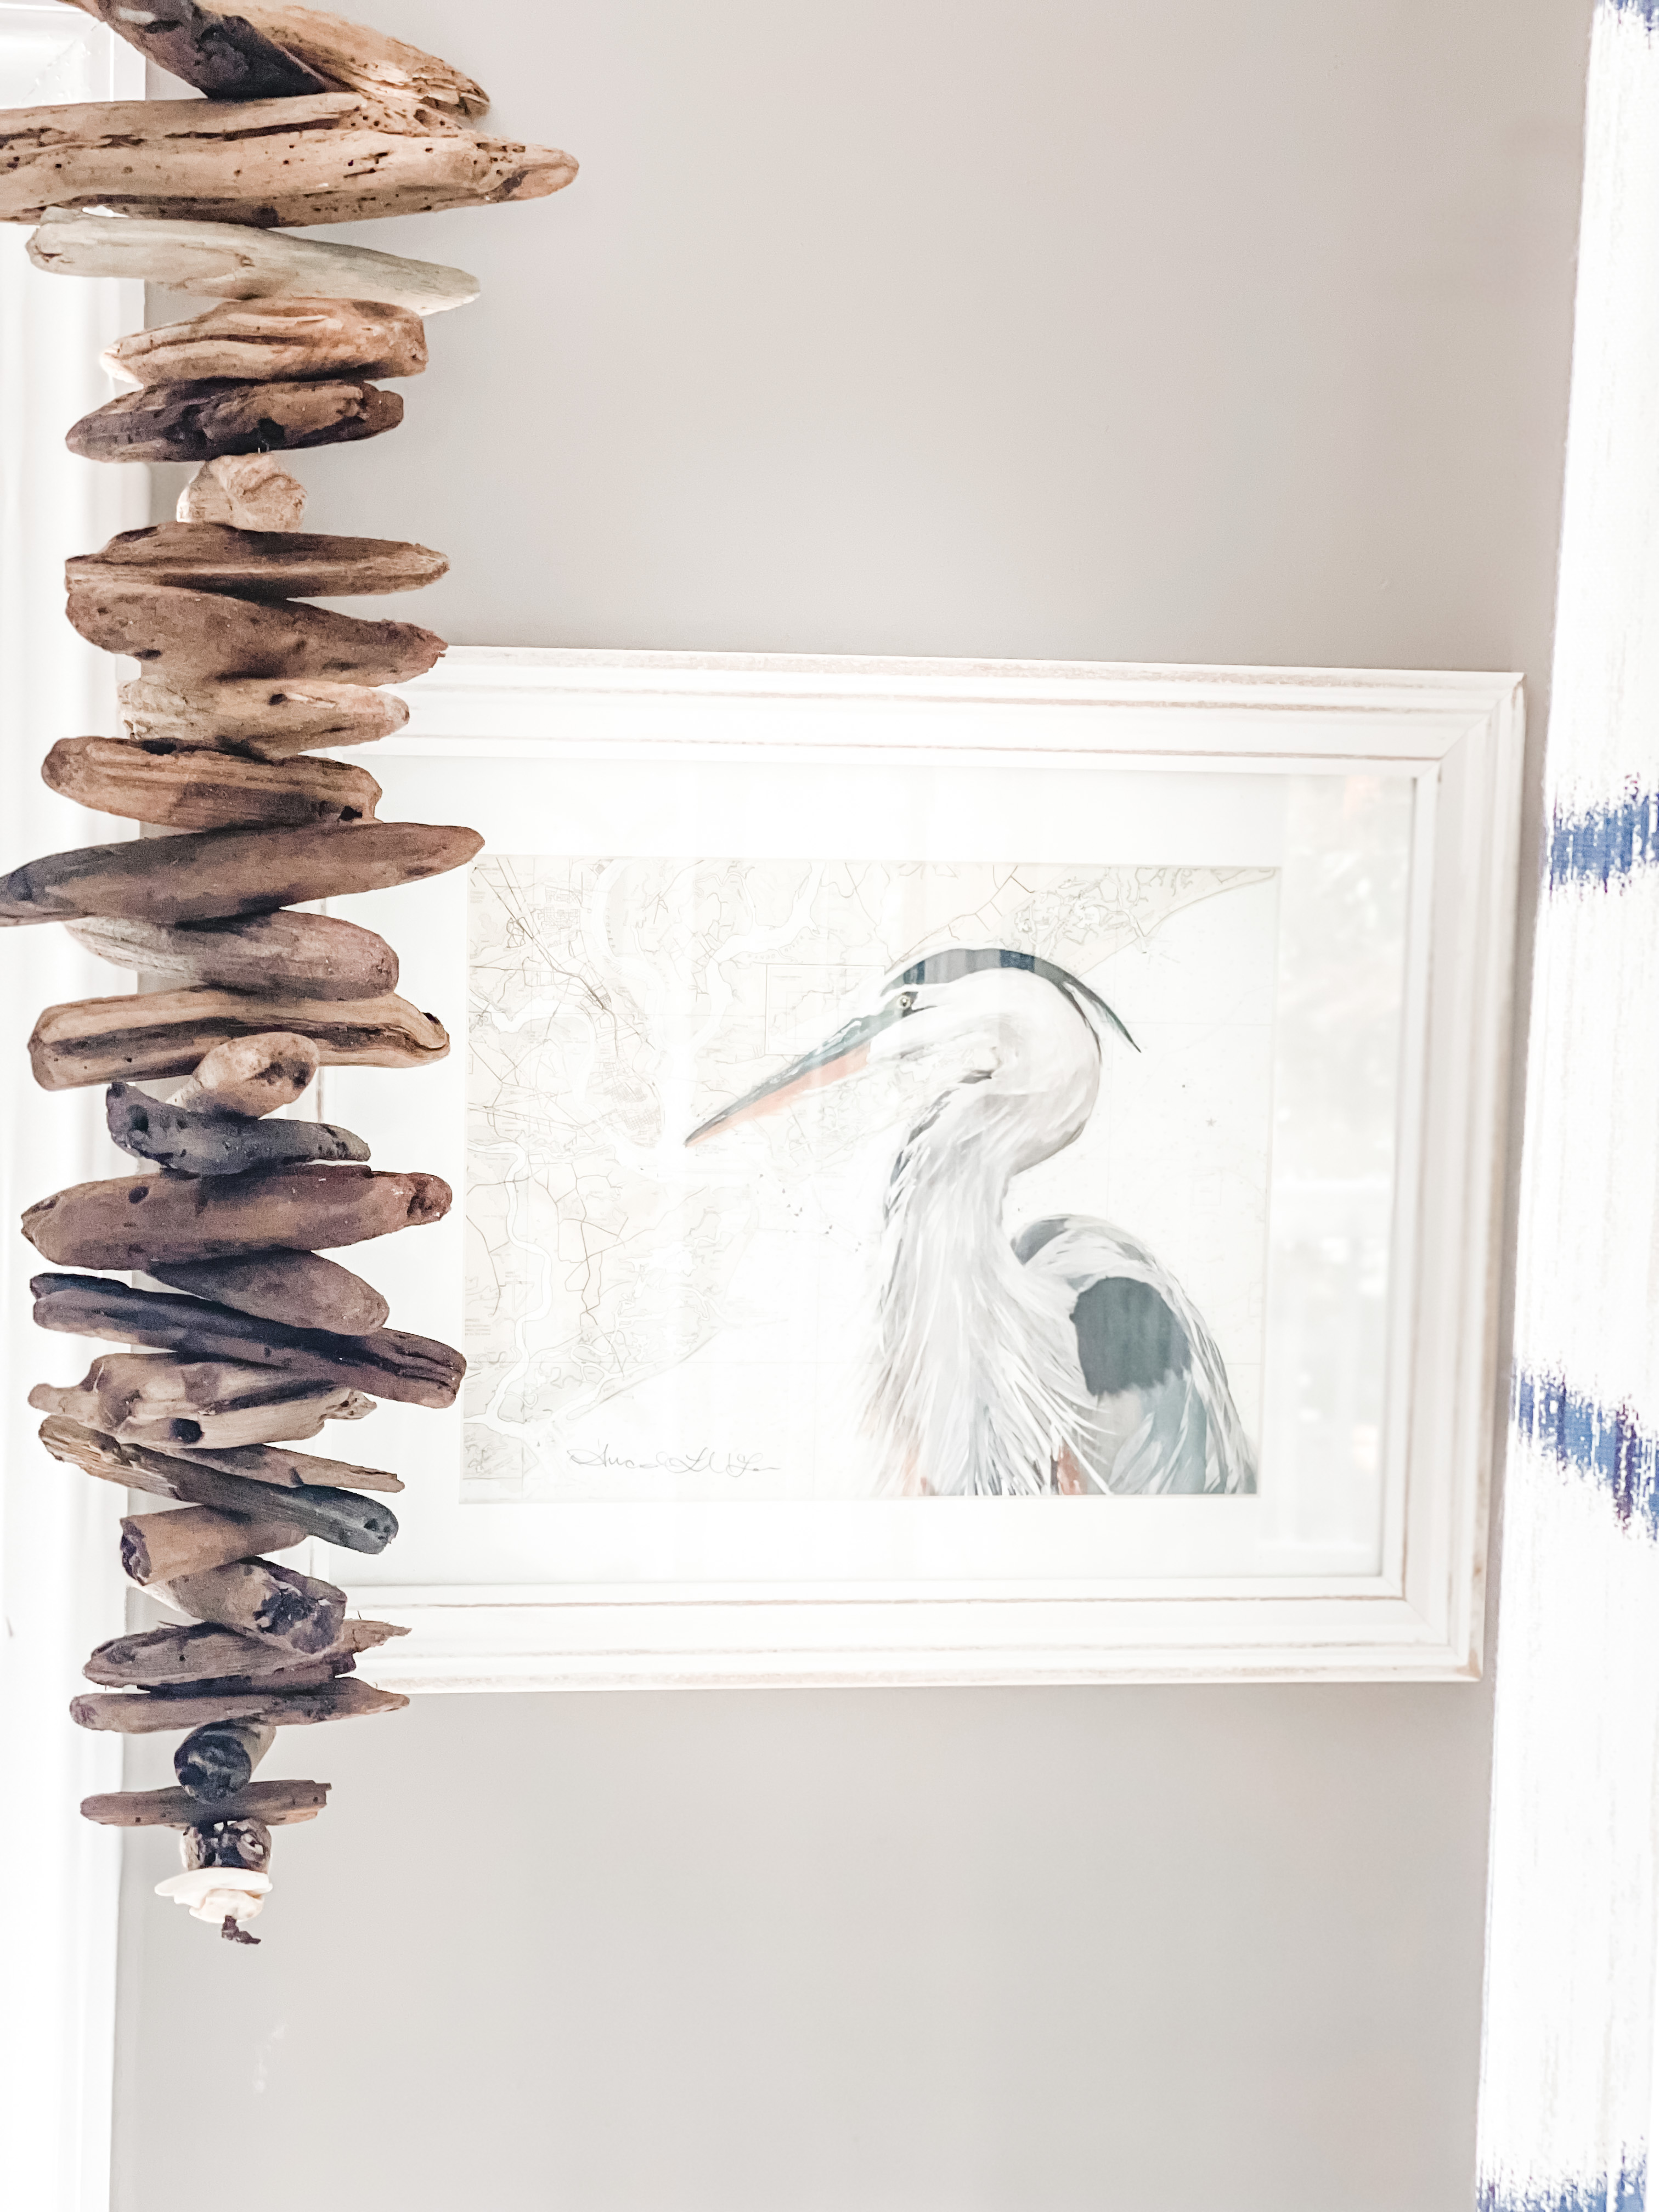
I’ve seen driftwood garland at HomeGoods but I thought free sounded better and it has meaning.
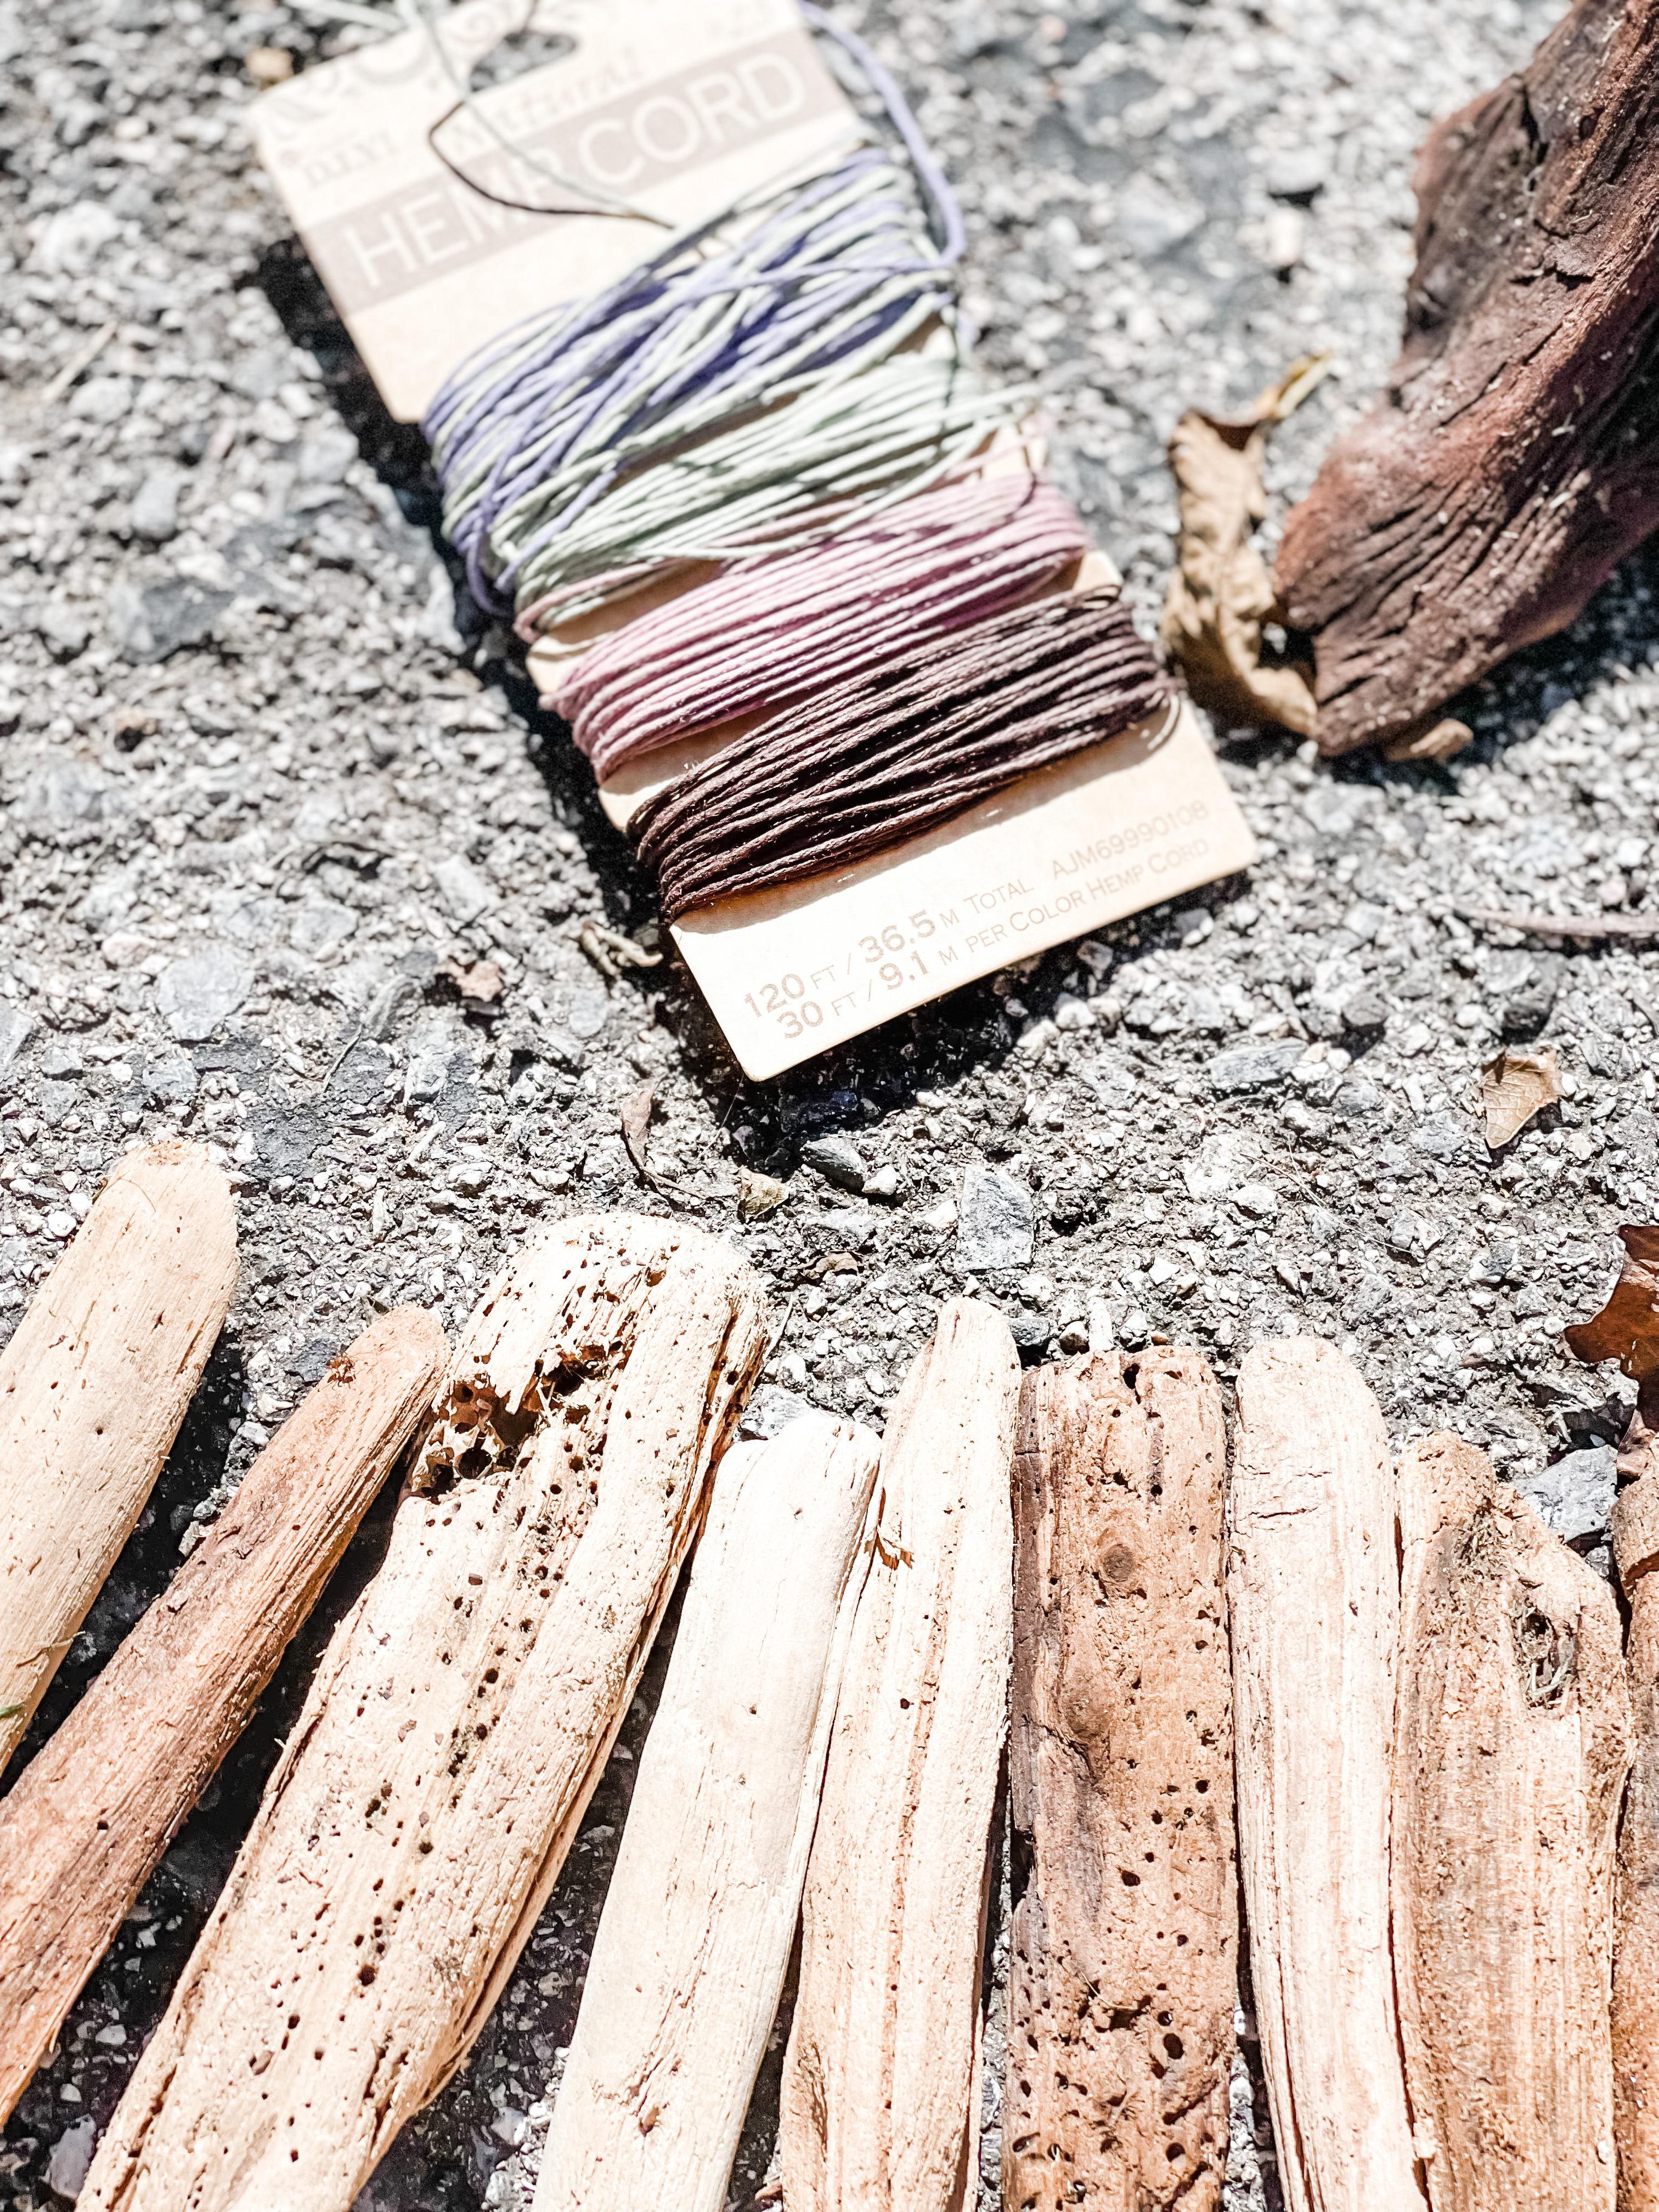
This is another easy DIY. When I got home I rinsed the driftwood with the hose and then laid it out in the sun to dry. That worked until it rained and then I had to bring it in the garage to dry in a box.
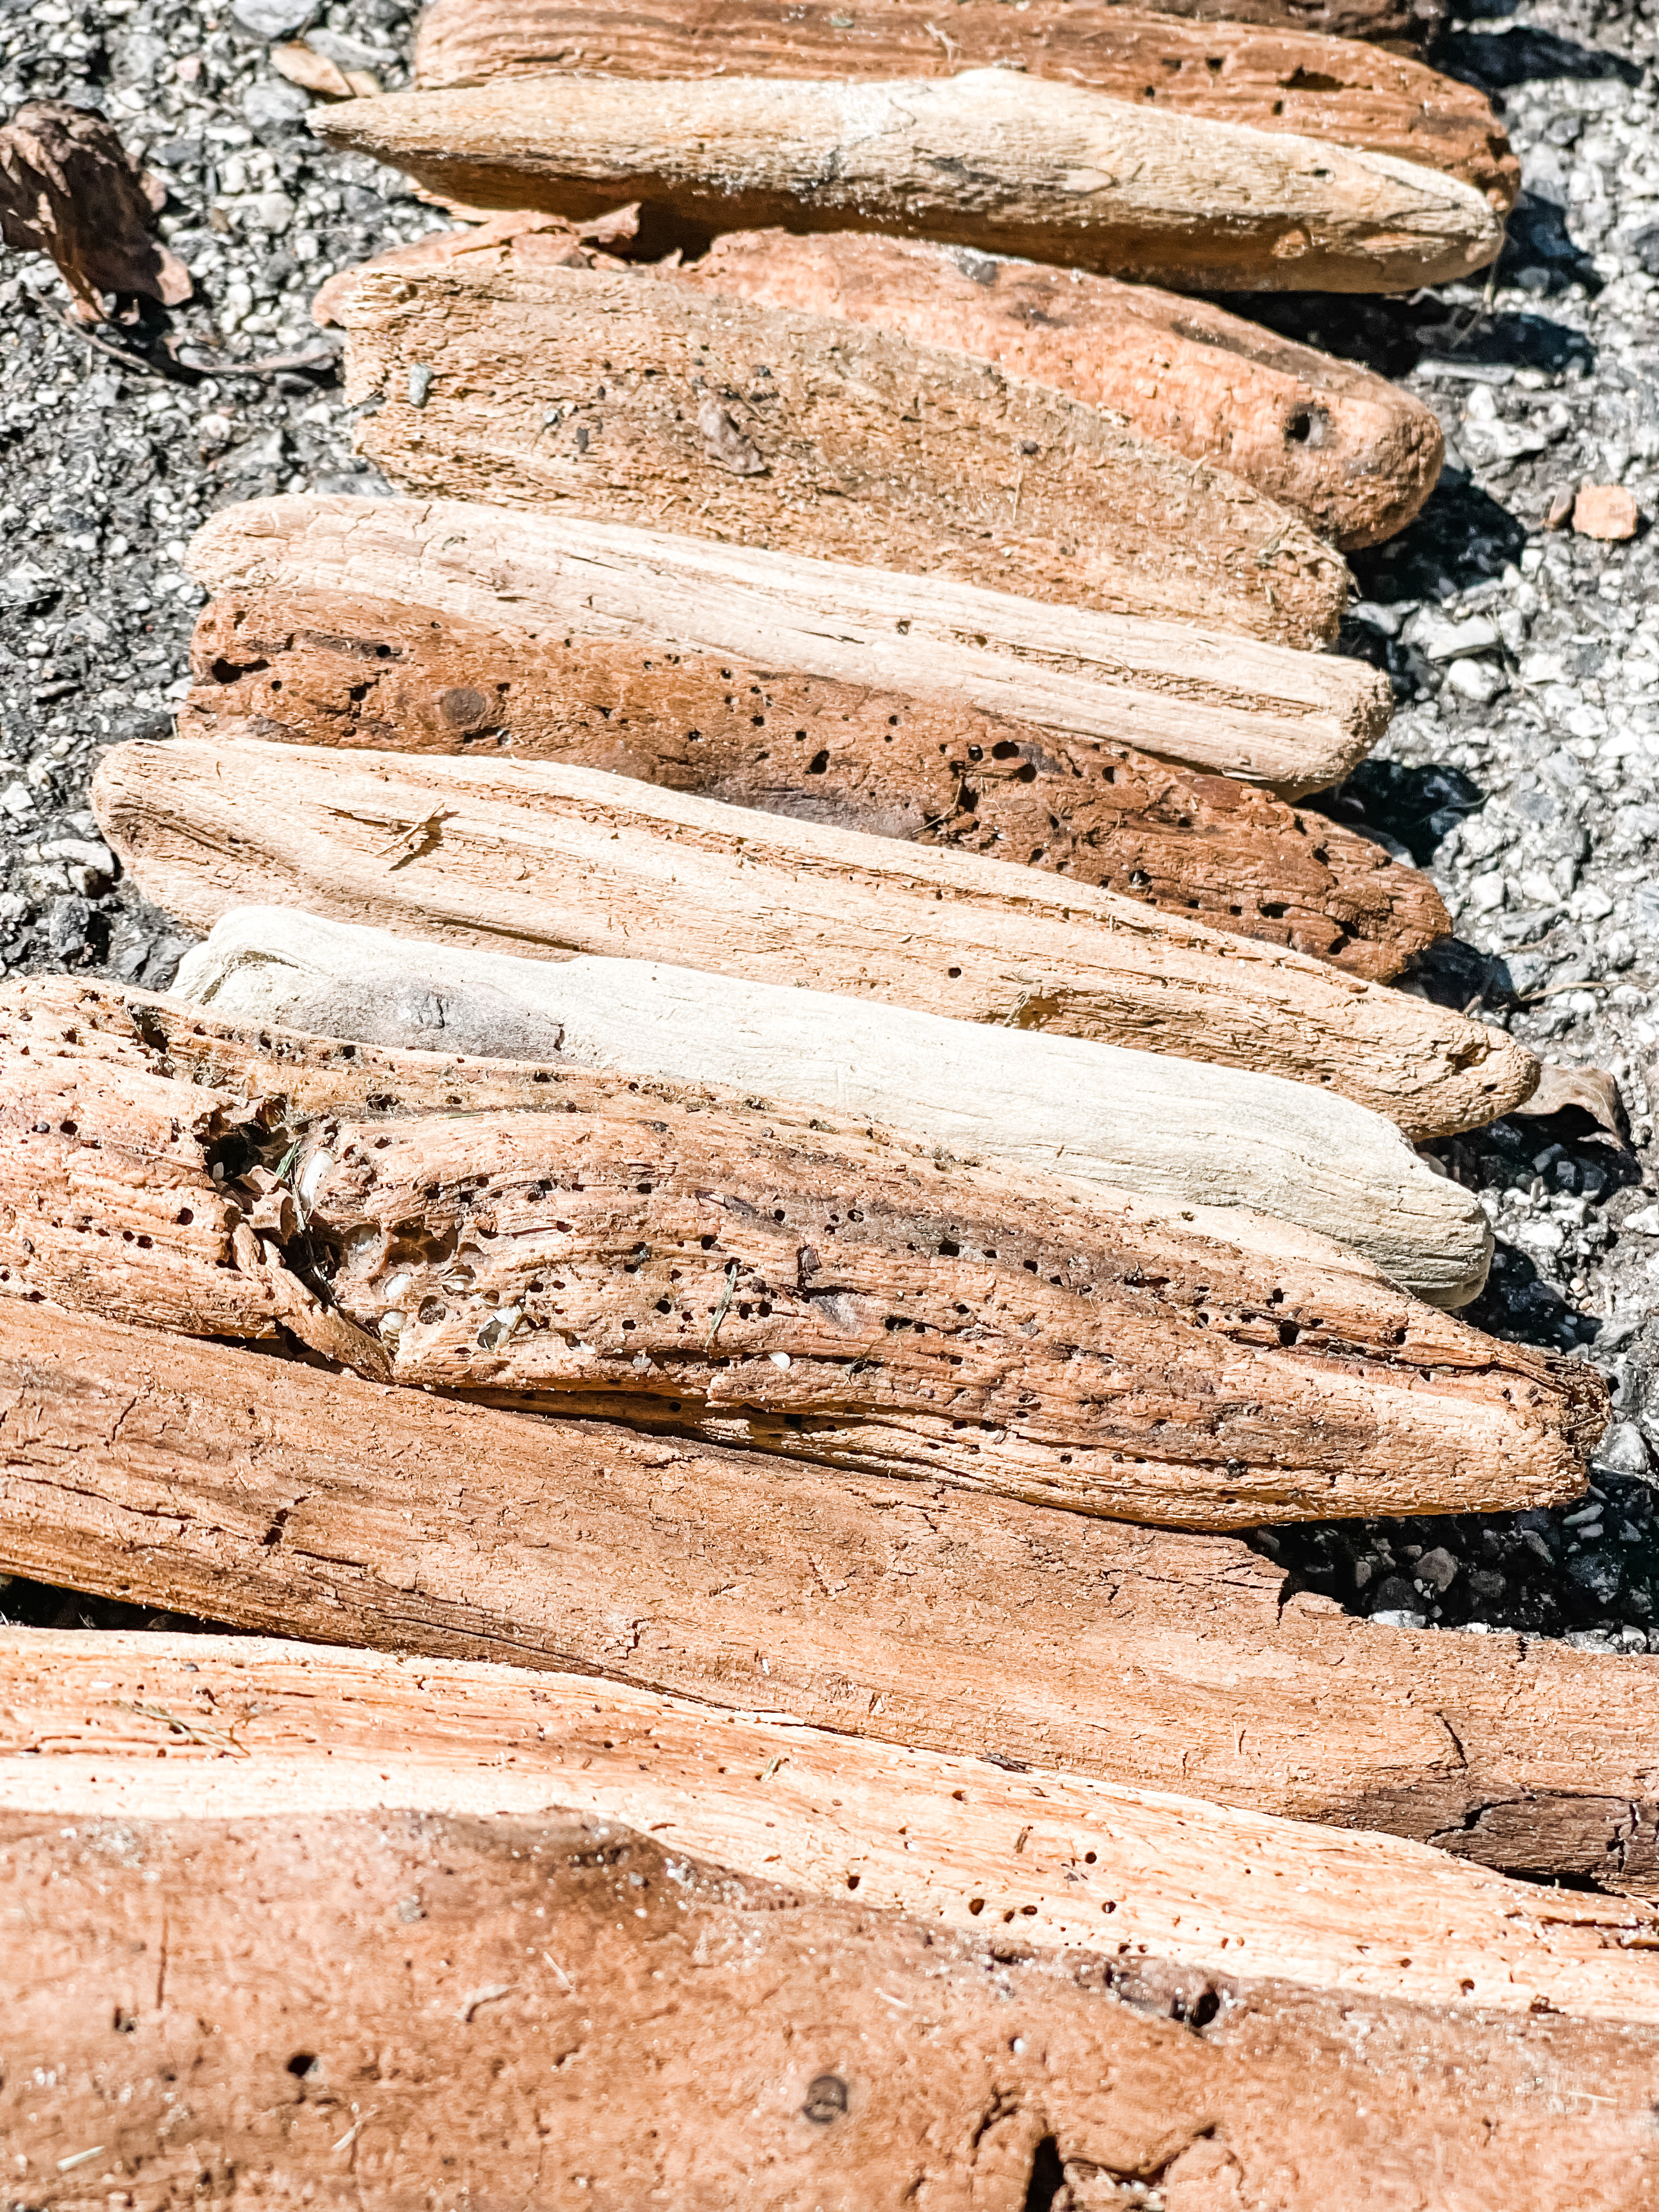
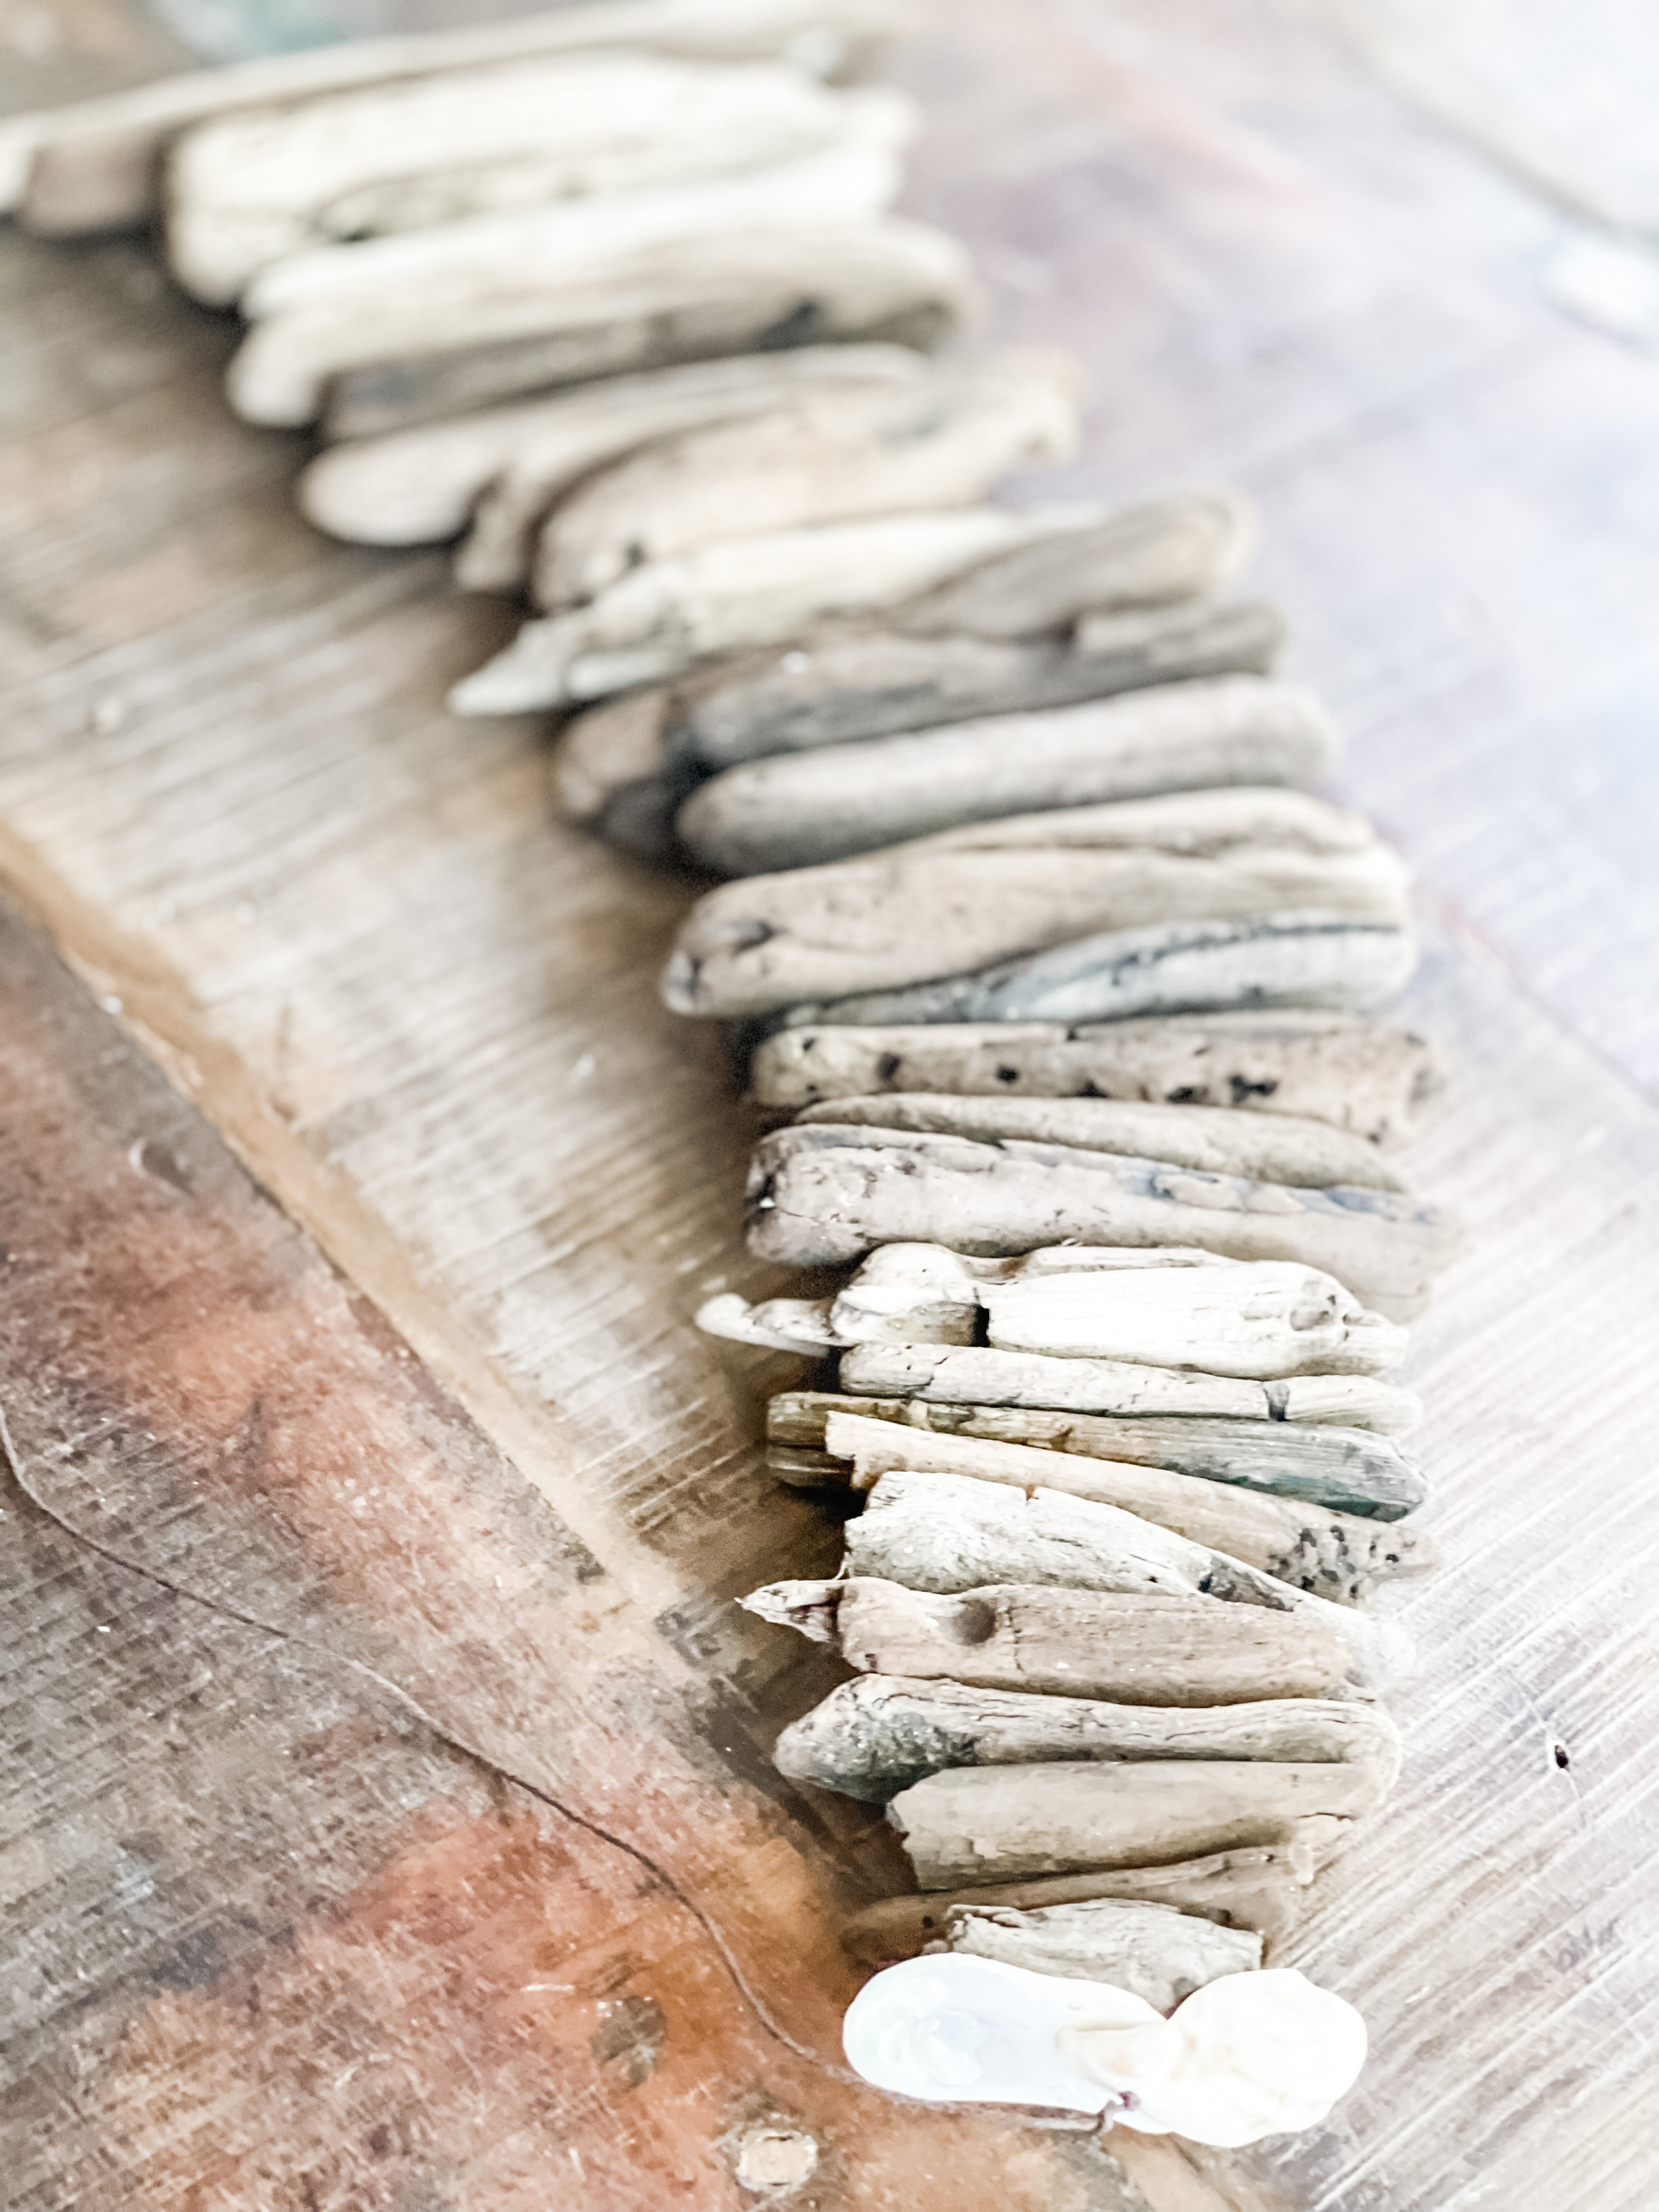
You can arrange your garland however you like but I wanted to go from larger to smaller. I lined up my pieces on the driveway in order of size.
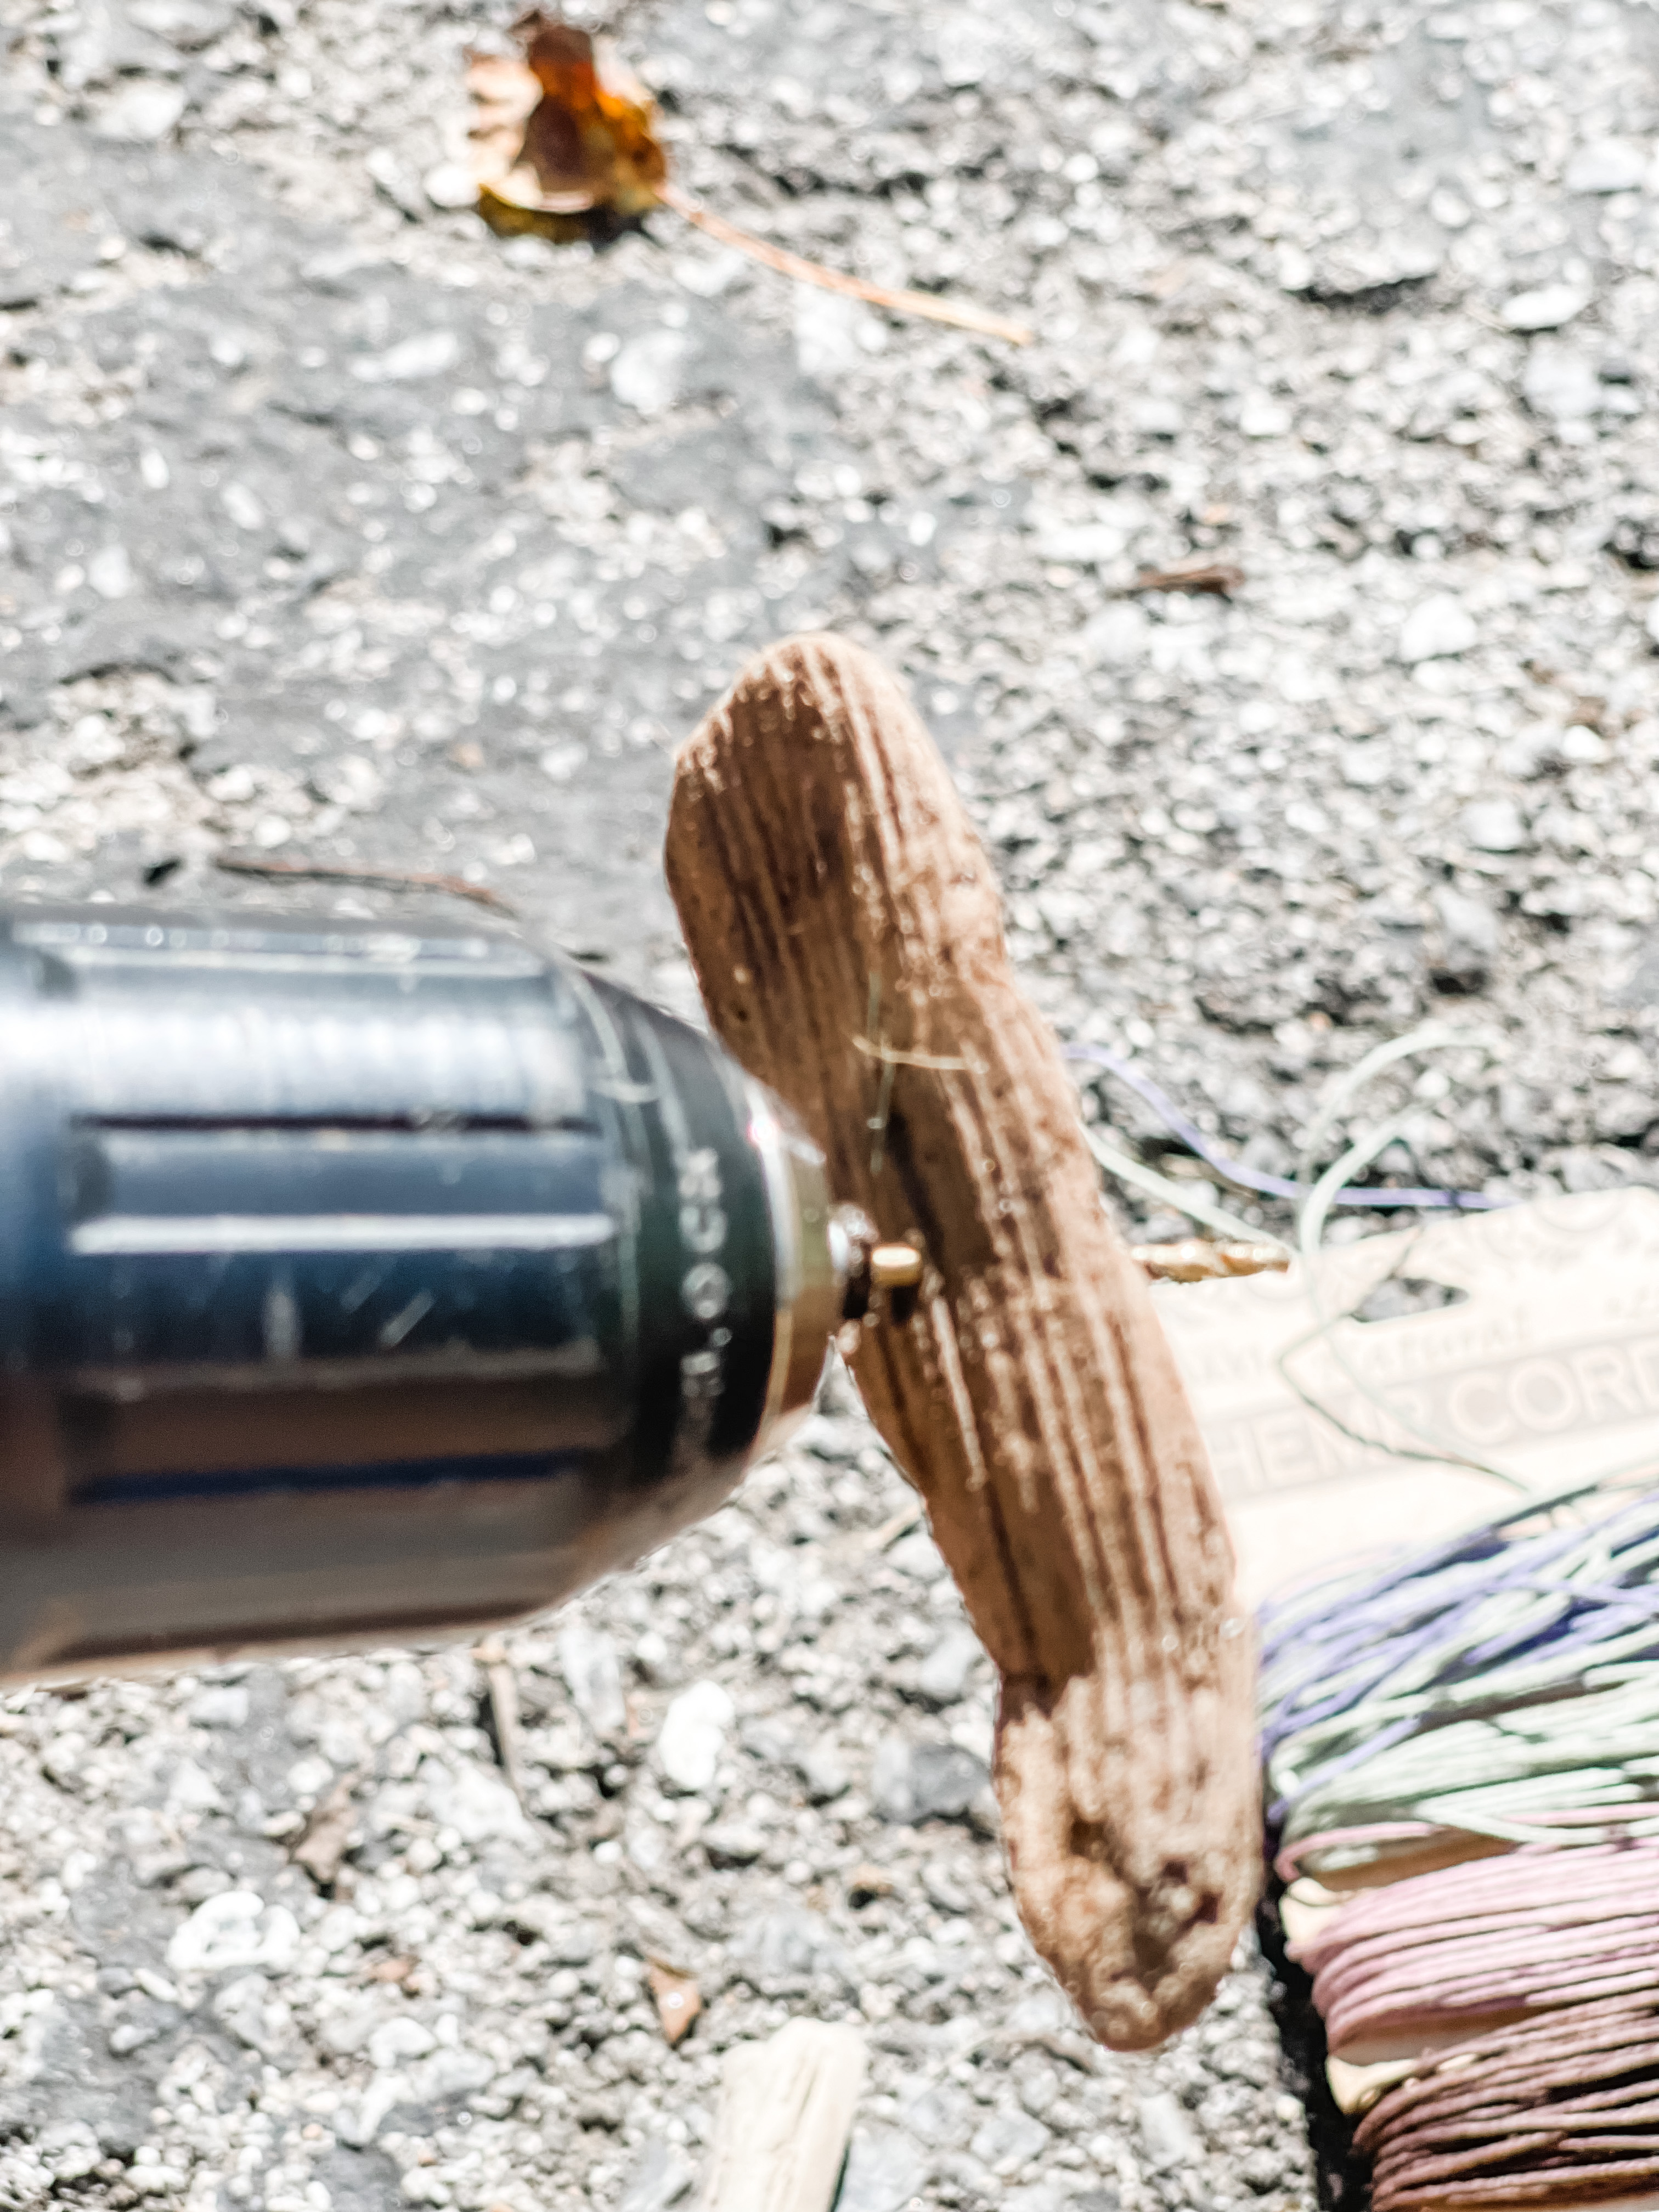
Using the same drill bit as the shells I drilled a hole through the center of each piece.
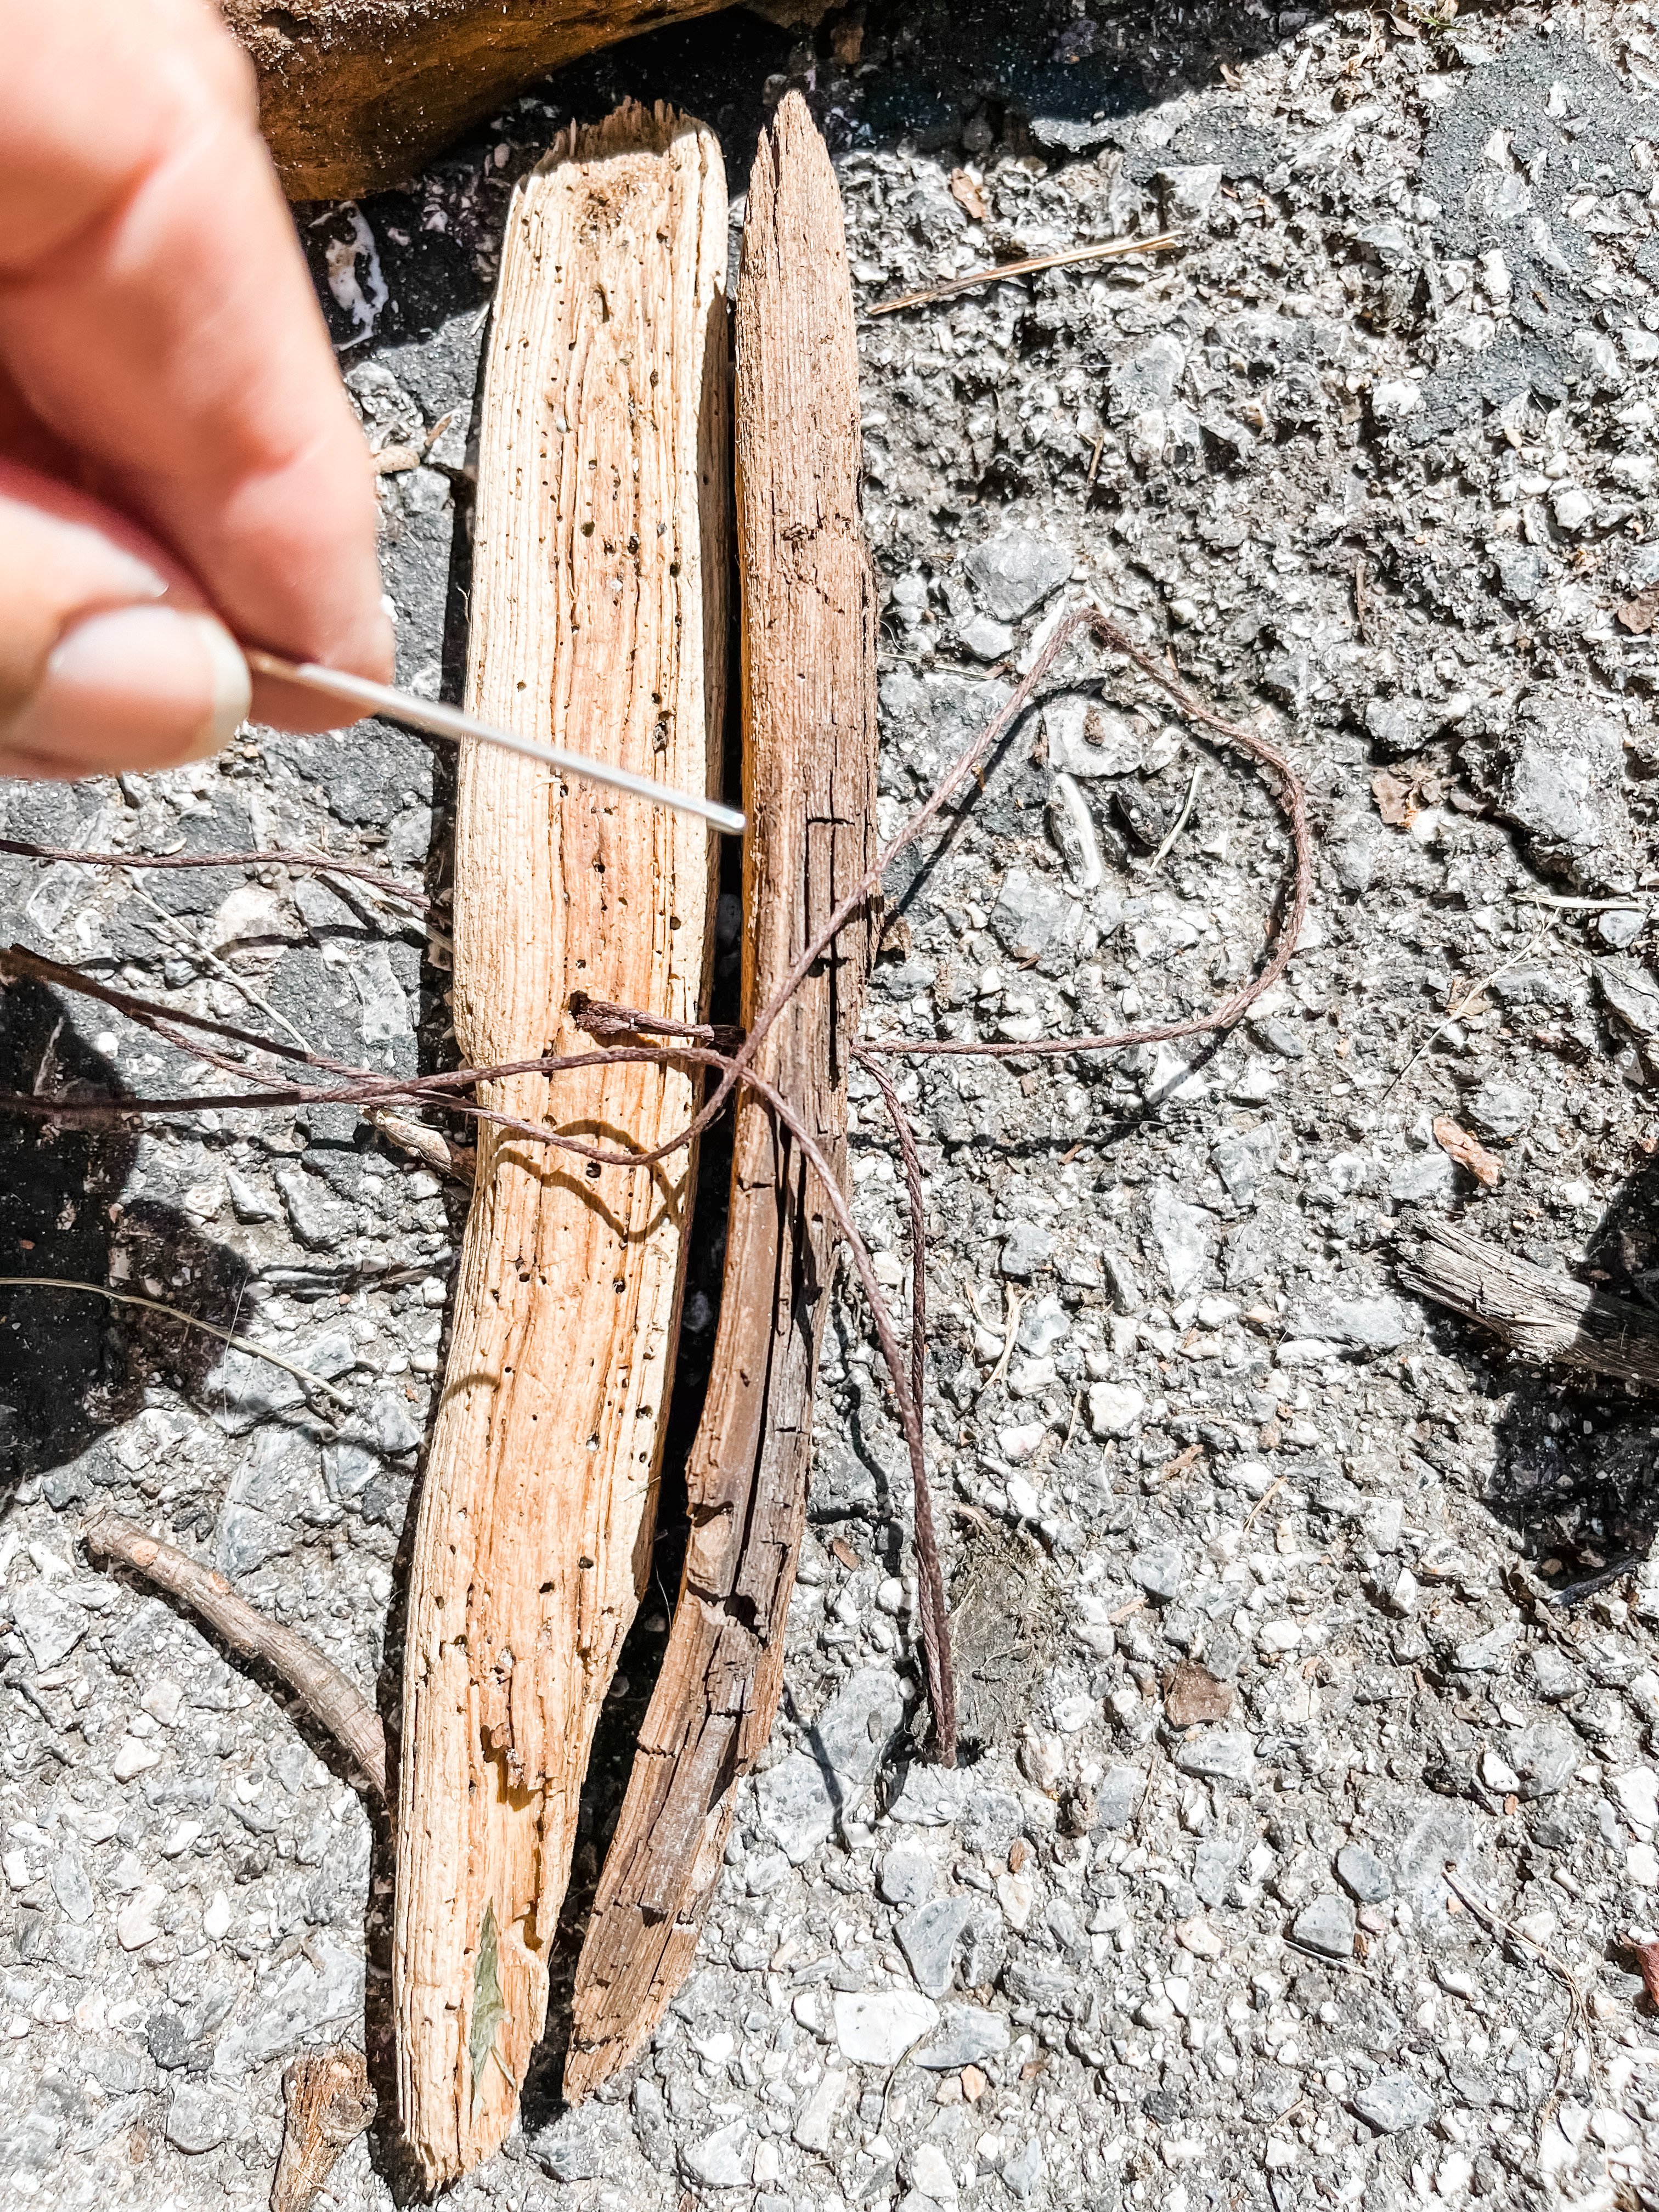
I used a large needle and colored hemp cord and ran it through each piece. I added a few baby oyster shells to the end of the garland and tied a knot.
I tied a knot at the top and then hung it on the end of my curtain rod in my sitting room. It could easily be laid on a coffee or side table but I chose to hang it.
After I hung it, I twisted the pieces of driftwood so they had more dimension.
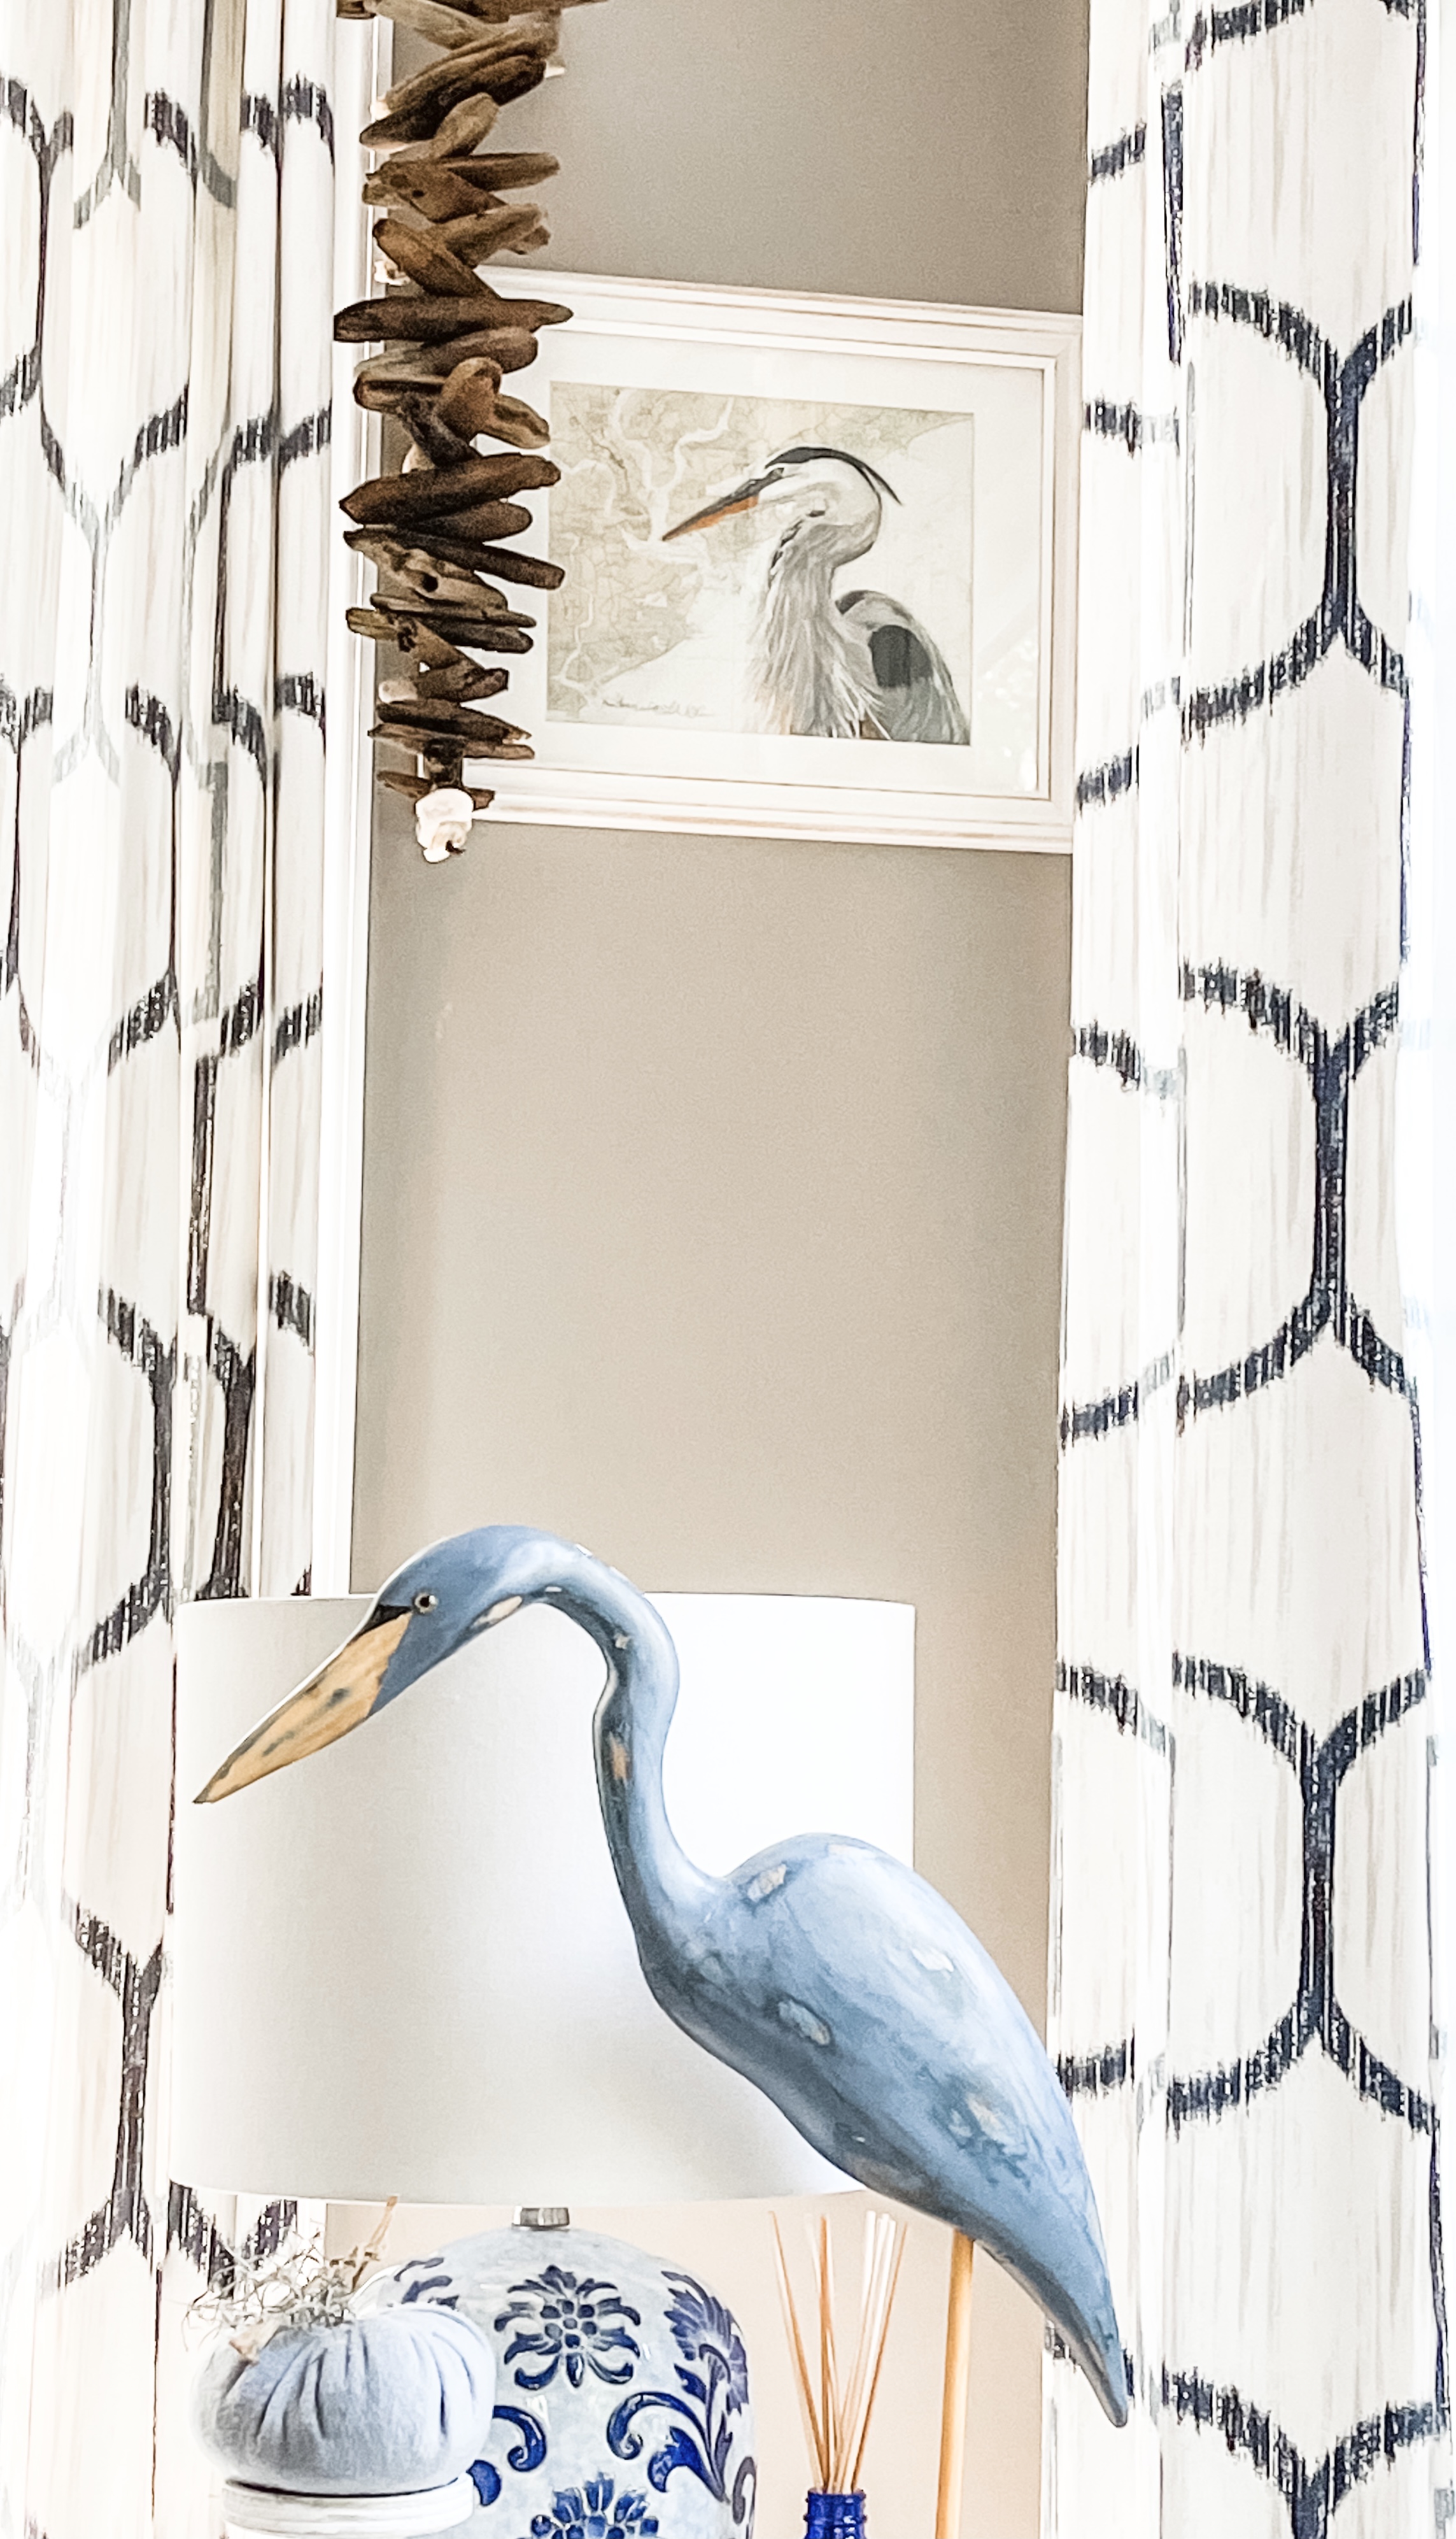
Can you tell I have a thing for blue herons?!
I hope you enjoyed my Gifts the Sea post. I enjoyed sharing my favorite place with you and hopefully showing you a few ways you can bring your vacation memories to life when you get home.
I’ve managed to incorporate shells and driftwood into my DIY pumpkins that I cannot stop making! Watch for that post next! Don’t want to miss a new post? Subscribe and they will come straight to your inbox.
As summer comes to an end I hope you can look forward to all that fall brings: apple cider donuts, nights by the fire pit, sweatshirts and the crunching of leaves underfoot.
Enjoy what you’ve read? Share with a friend.XO, Regina
Leave a Reply