Are you looking for inexpensive fall decor? I’m sharing this fabric pumpkin DIY so you can create a pumpkin patch for your home.
Pumpkins are an easy way to get that fall feel on your porch or inside your home.
The cost is pennies – the options are endless. You could use cloth napkins, shirts, pillow cases, blankets, you get the picture.
You might even be lucky enough to have foam from a mattress cover your dog chewed and use that for stuffing and the entire thing wouldn’t cost a cent.
As you can will see, I cannot stop making these fabric pumpkins. This is a DIY you need to try.
They require only a small amount of material. They are easy, I promise.
I’ve bought some over the years at the store, settling for the colors available. This past year after an unscheduled rug replacement, my living room colors became more neutral. So creating my own pumpkins to match my home made sense.
Table of Contents
I like to decorate for the seasons and holidays within the color palette of my rooms. Weird? Maybe. But these fabric pumpkins make it easy to customize your decor.
I created a video with all of the steps but will lay them out below. Before I do that, can you just look at the cuteness?
Sometimes I look at things and think “oh I can make that” then sometimes, it never enters my mind. Especially when it involves sewing.
Maybe it was my newfound confidence after using my sewing machine for the flannel shirt DIY’s. But I began to think about making these.
THE MATERIAL
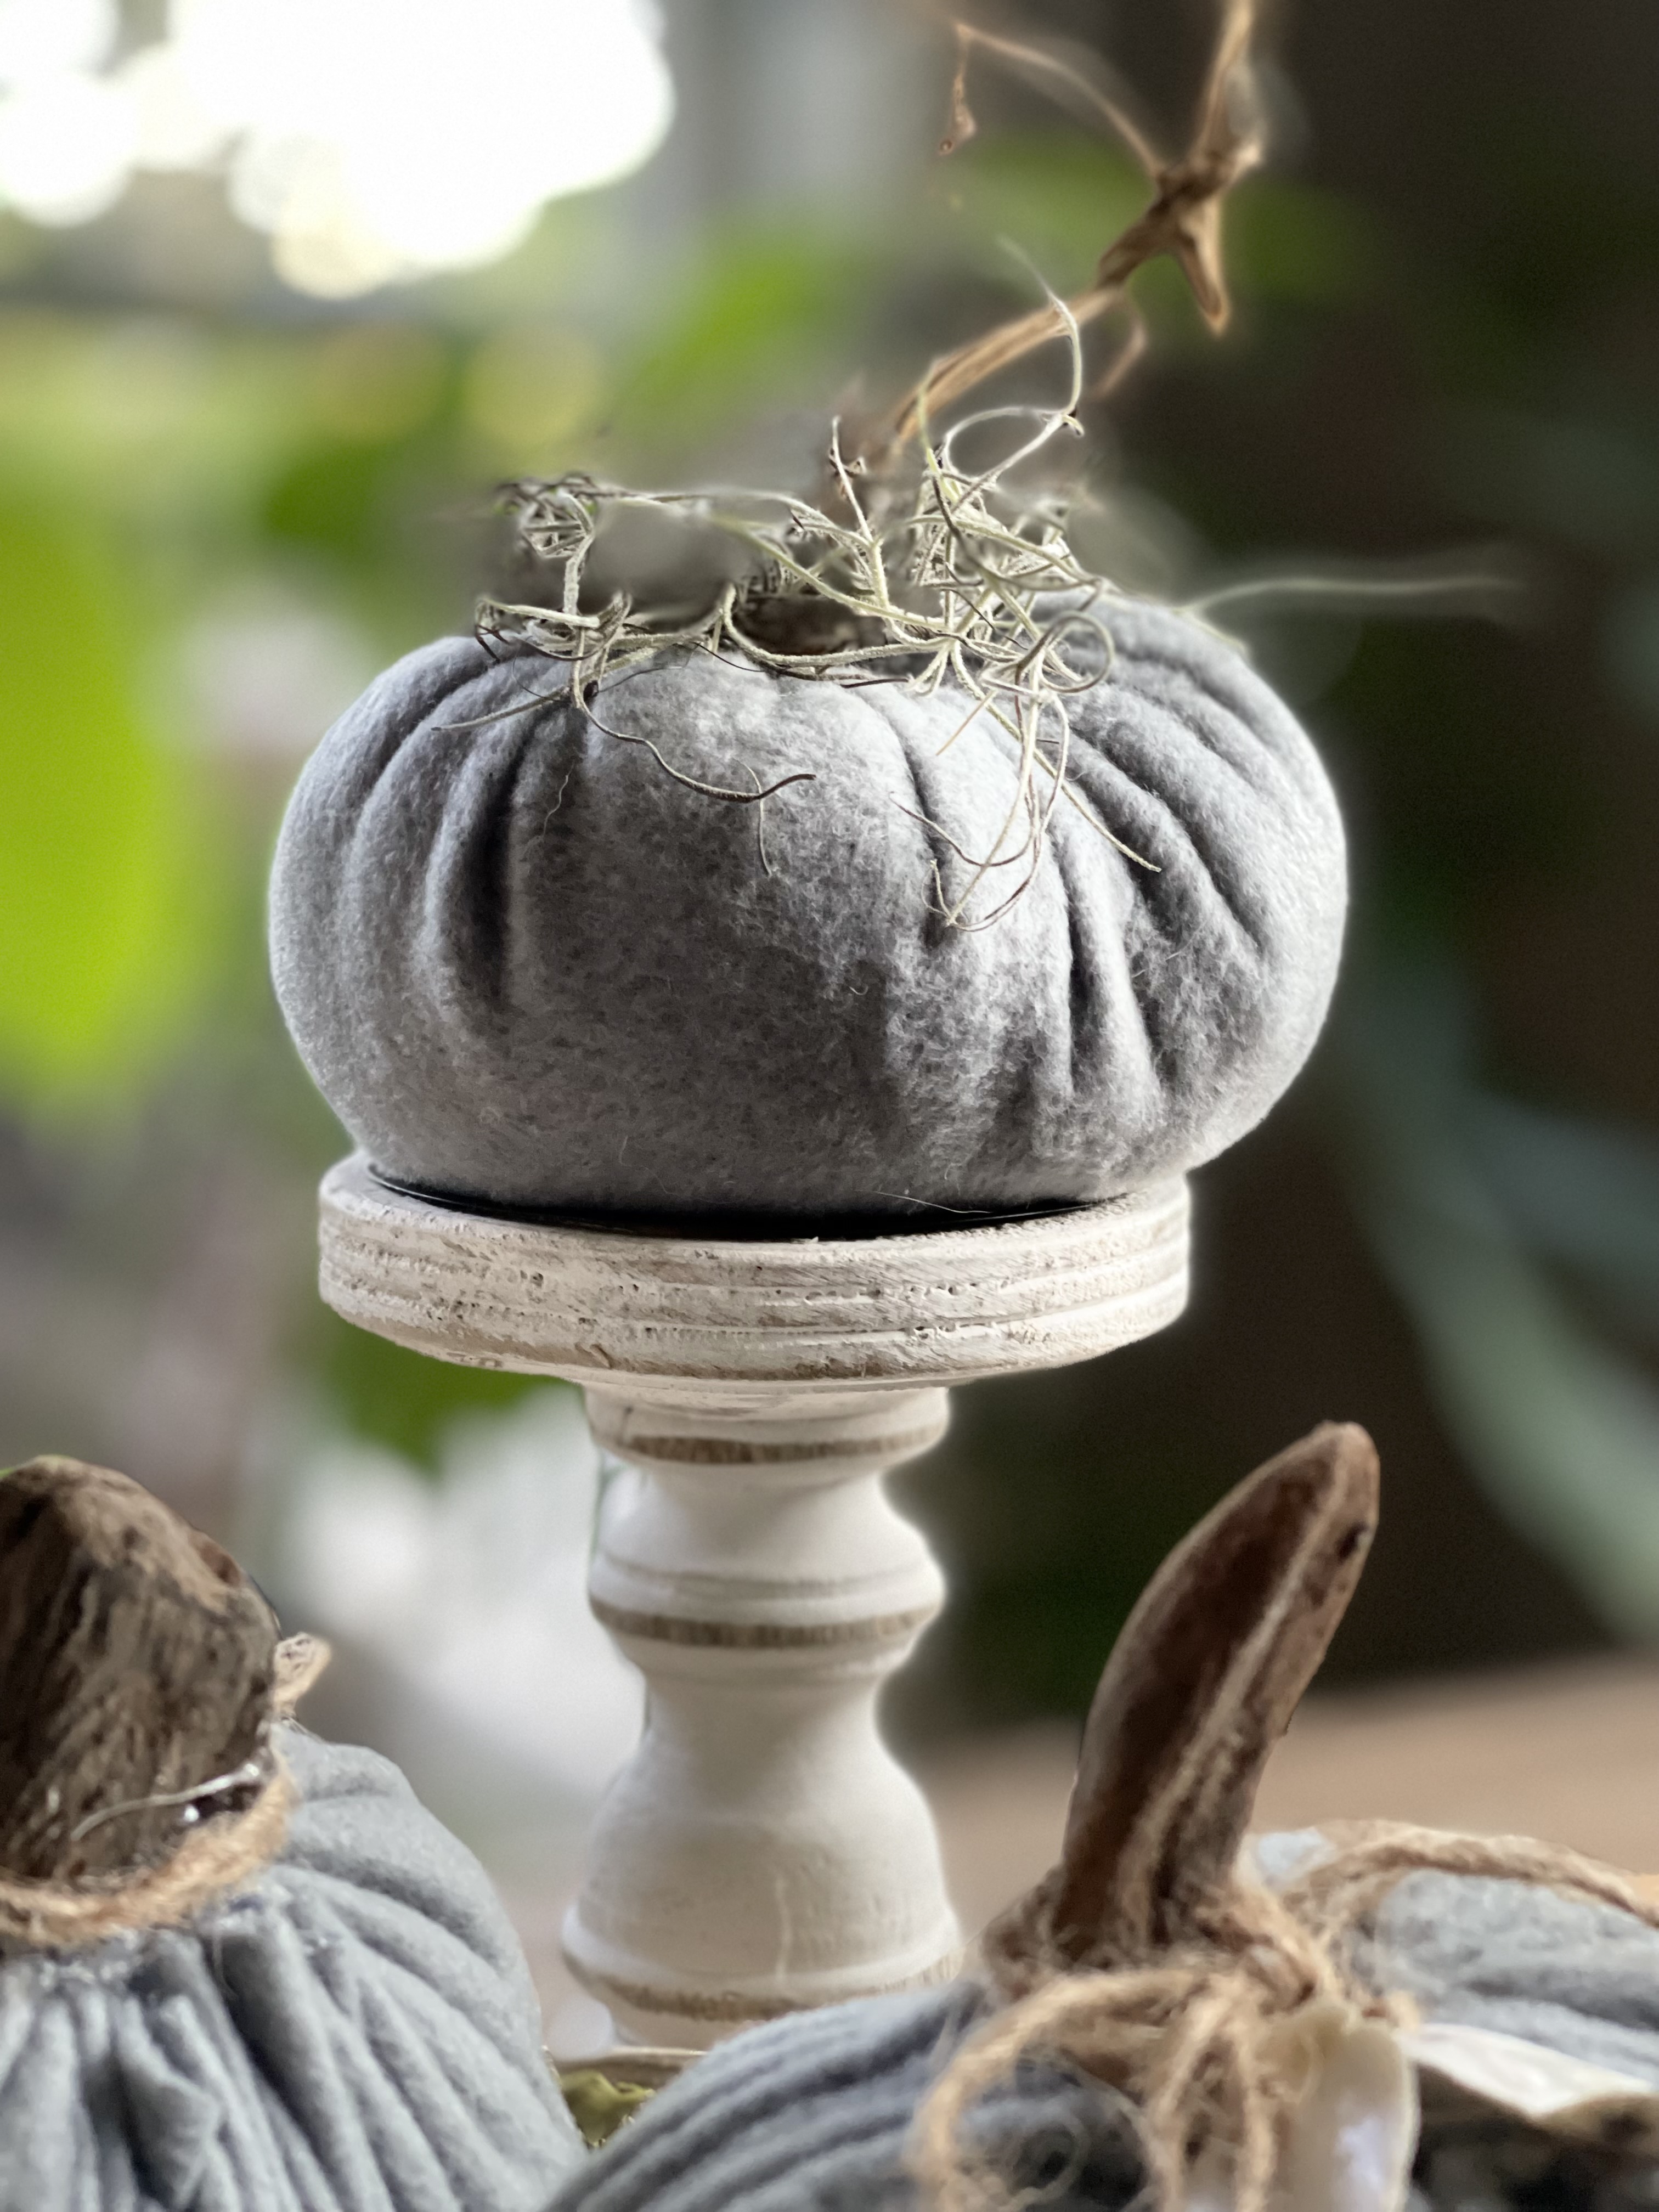
I looked online for some stretchy velvet but then saw the prices and nixed that. I went to Walmart and picked up some grey precut fleece. It was very inexpensive and I wouldn’t feel bad if I ruined it.
I could make 8 medium pumpkins from a yard of material…at least.
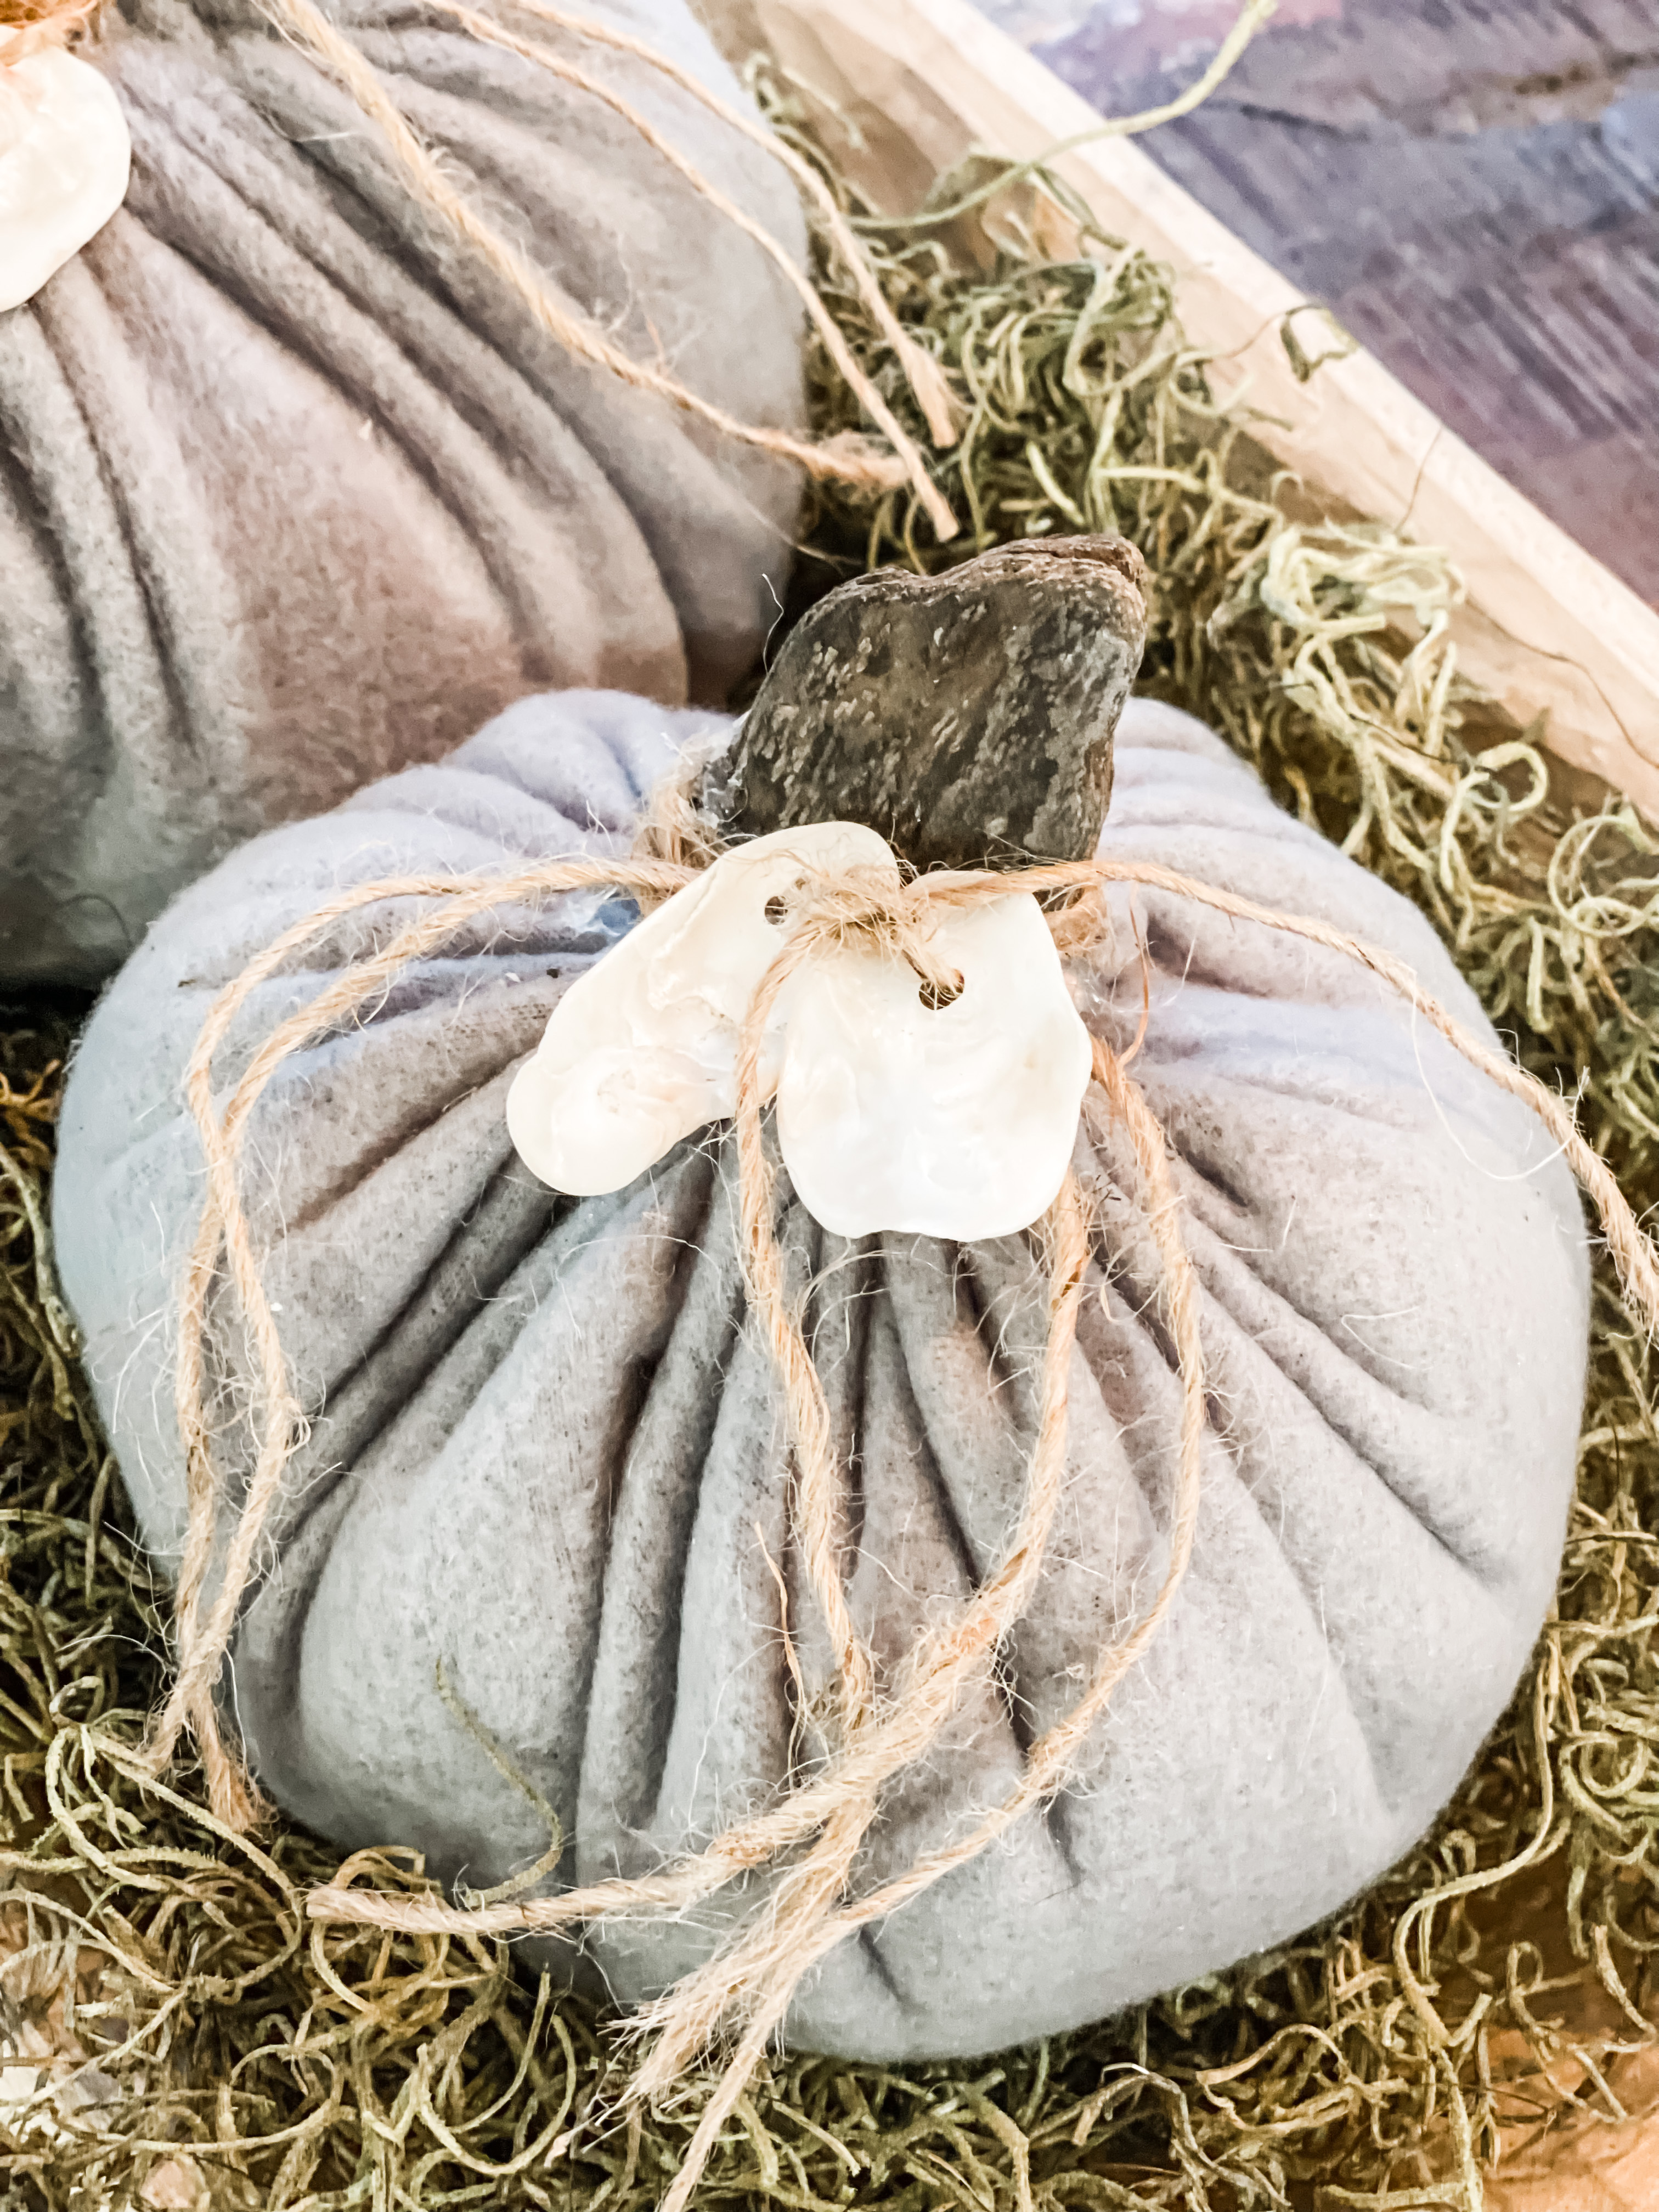
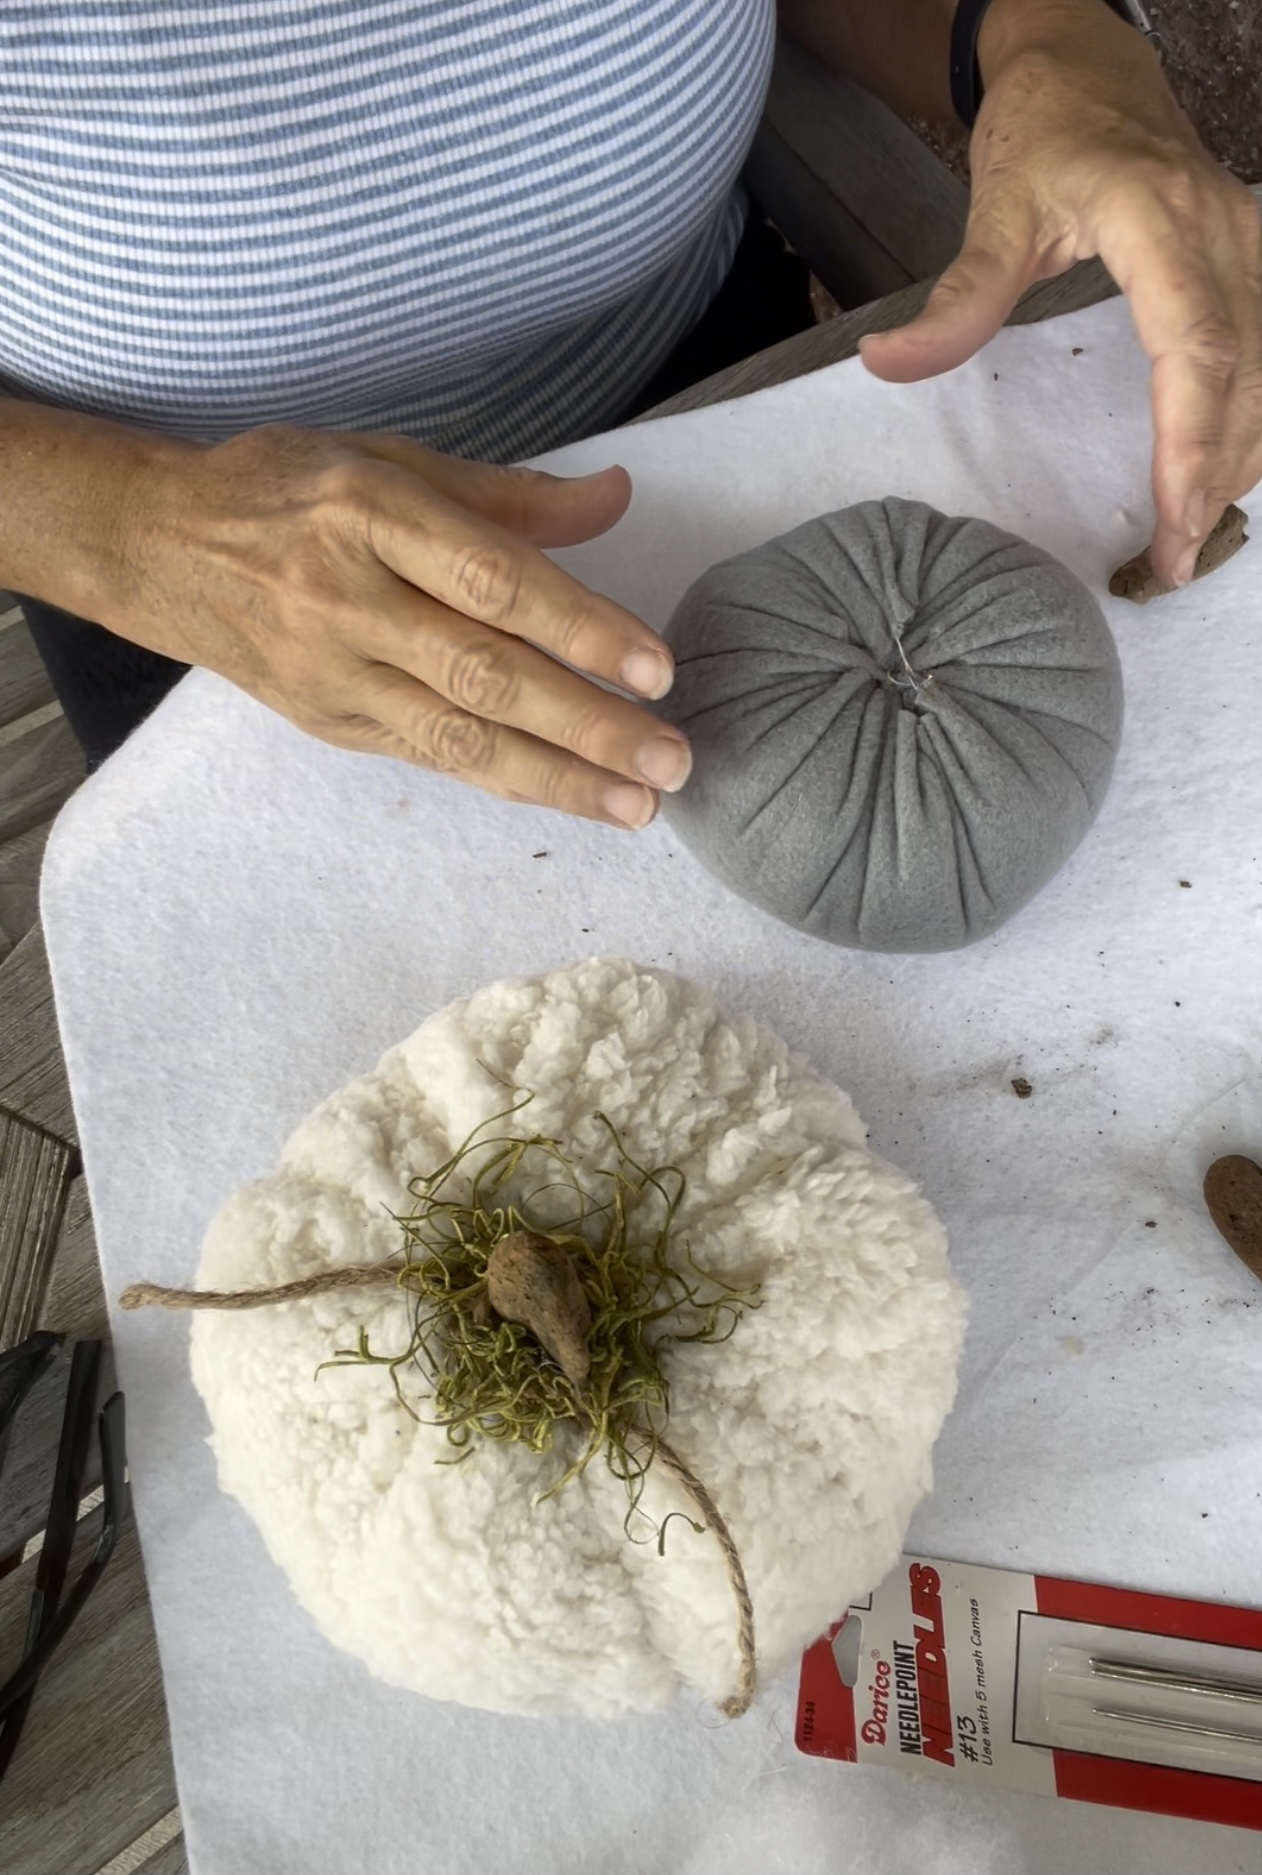
I made my first two with the grey. You probably already know I love collecting things on the beach and had plenty of driftwood to create a stem.
Of course I added some of my baby oyster shells and twine.
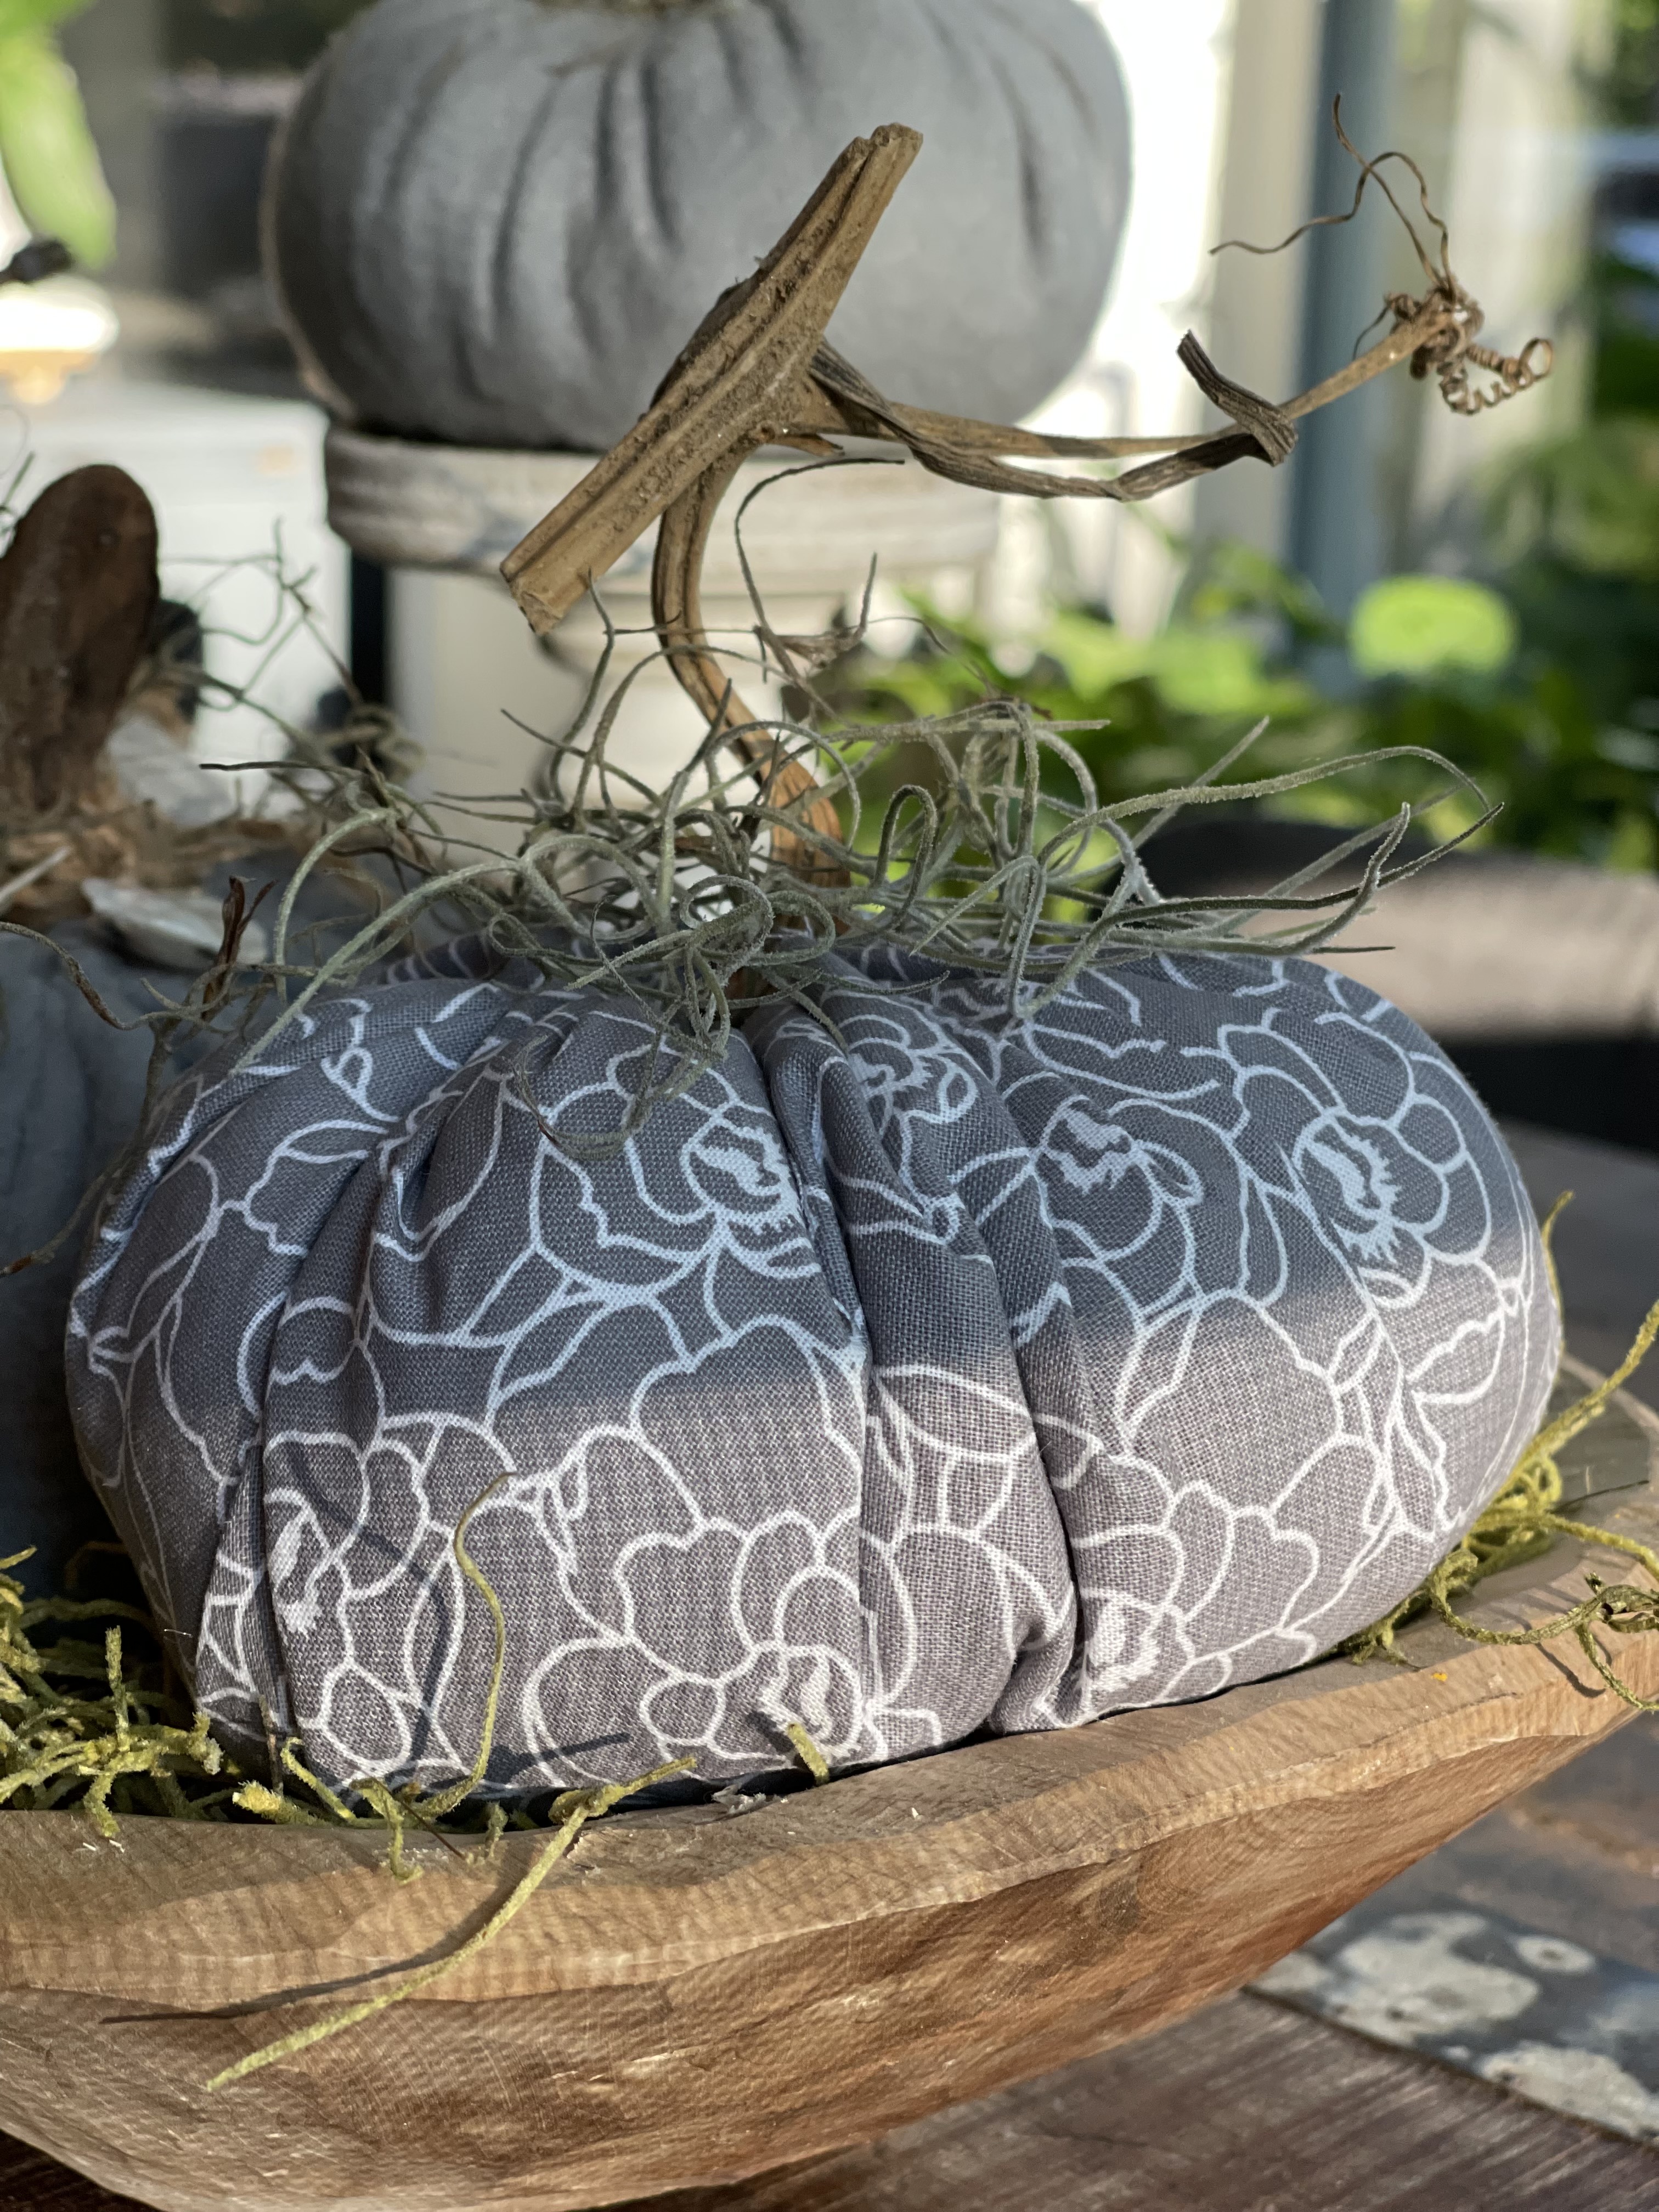
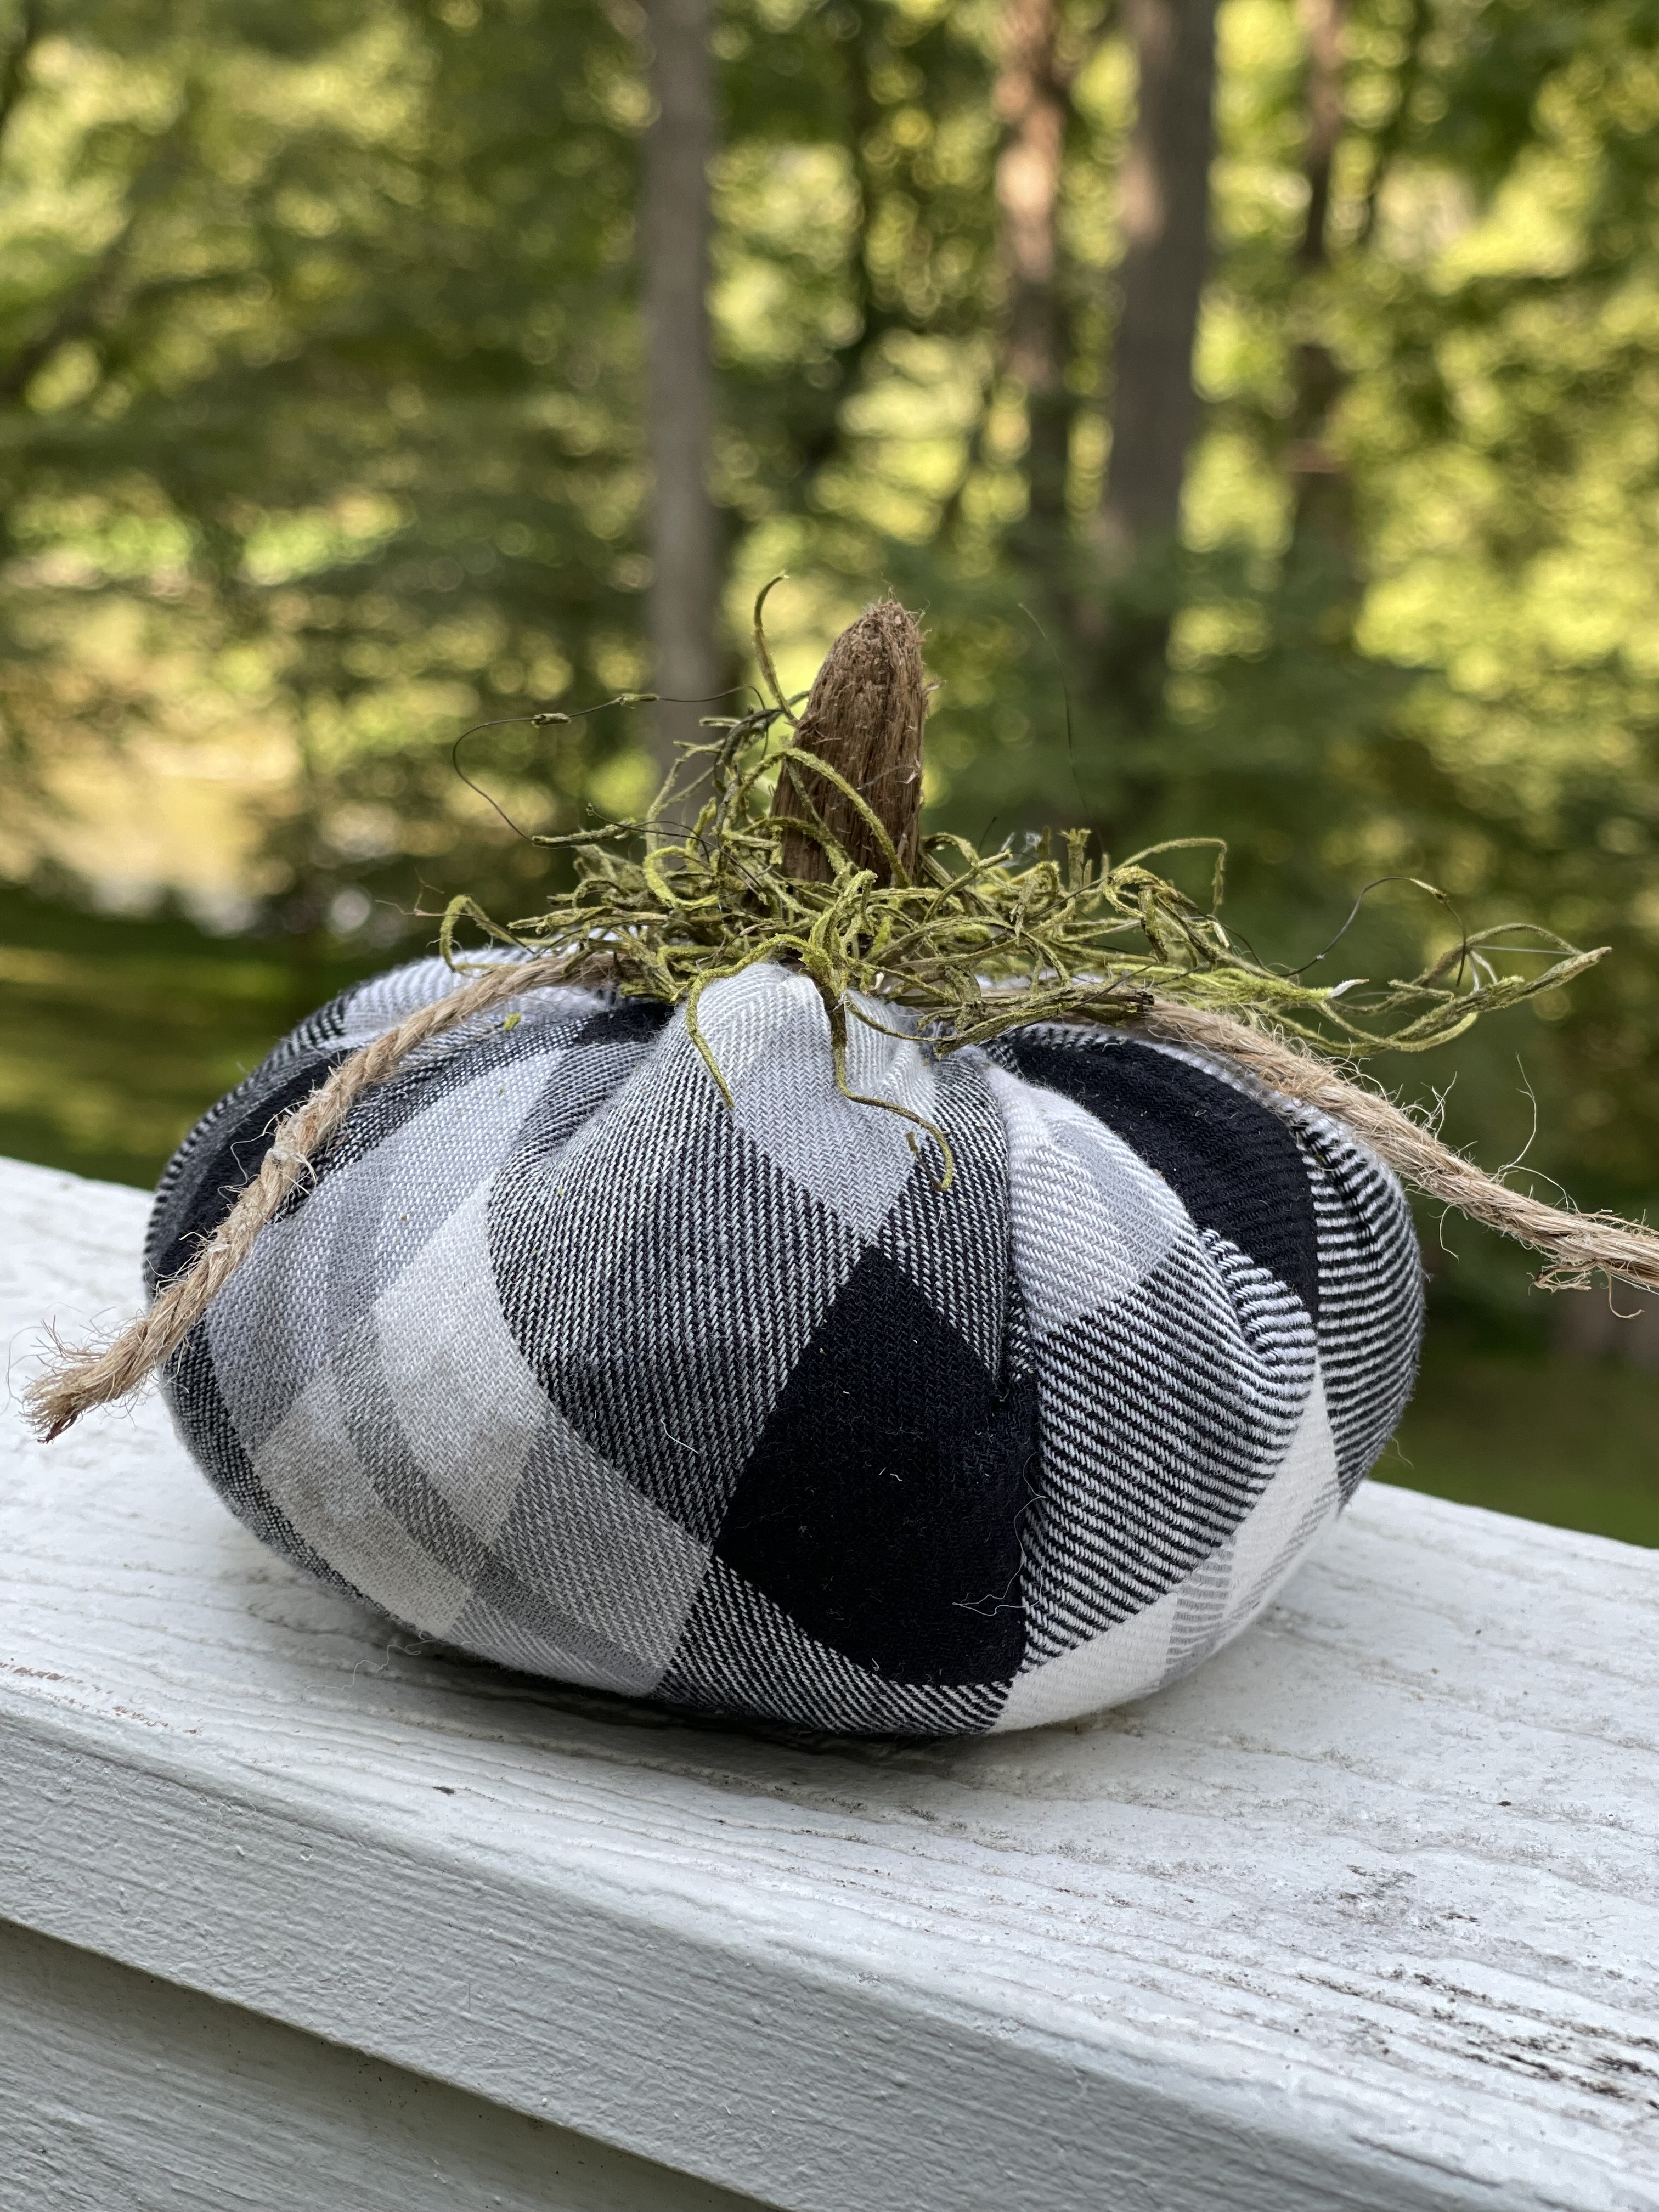
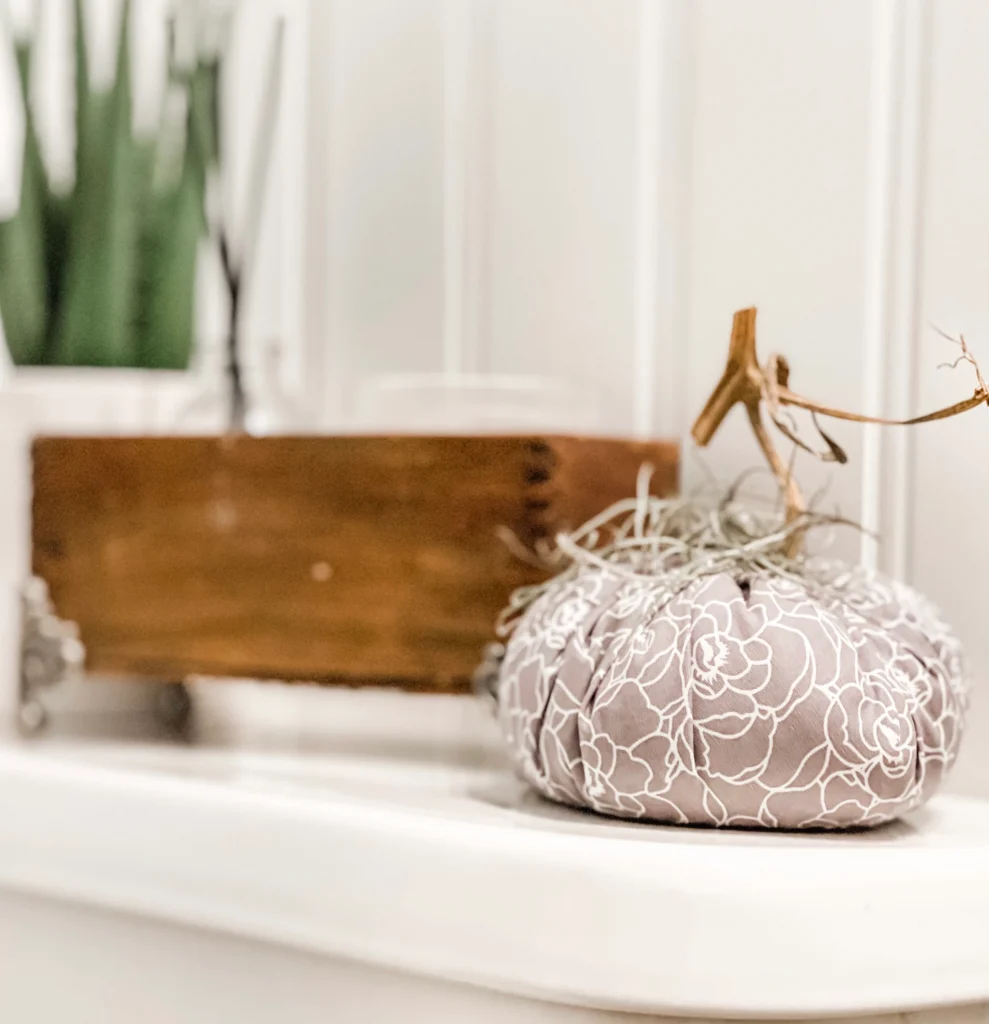
I had this grey and white material in my office and can’t remember why I bought it, but that was my next pumpkin.
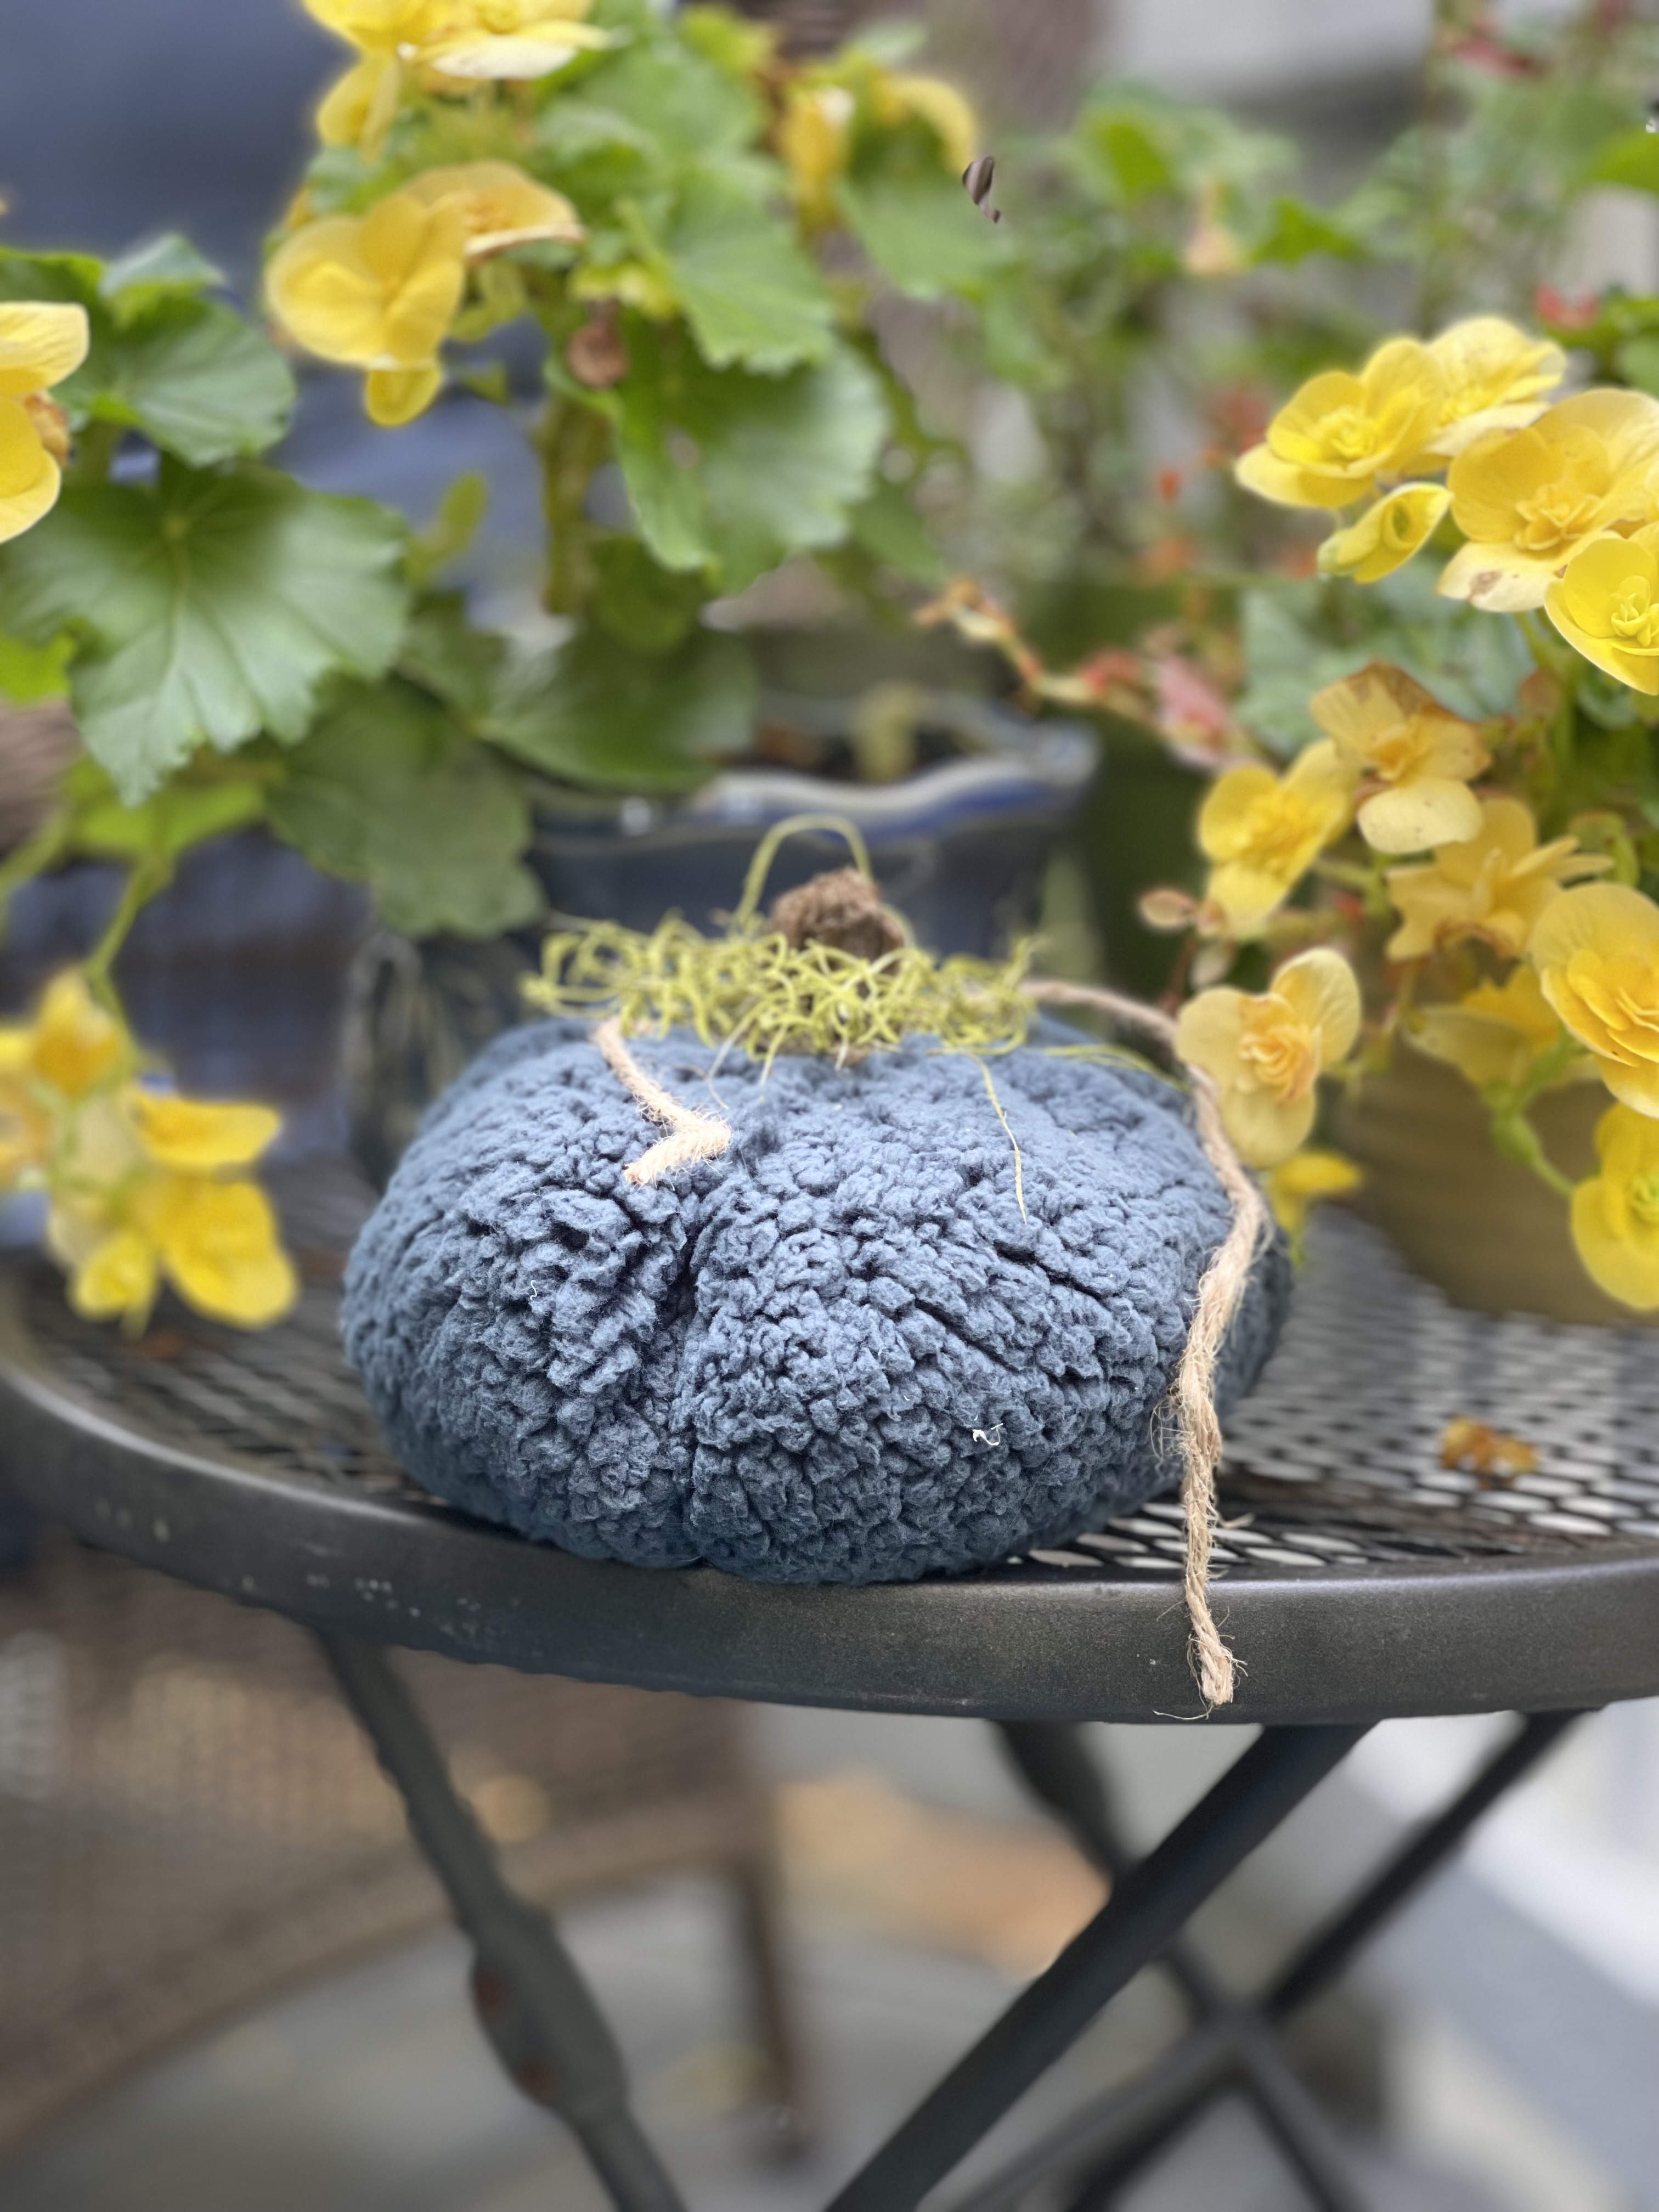
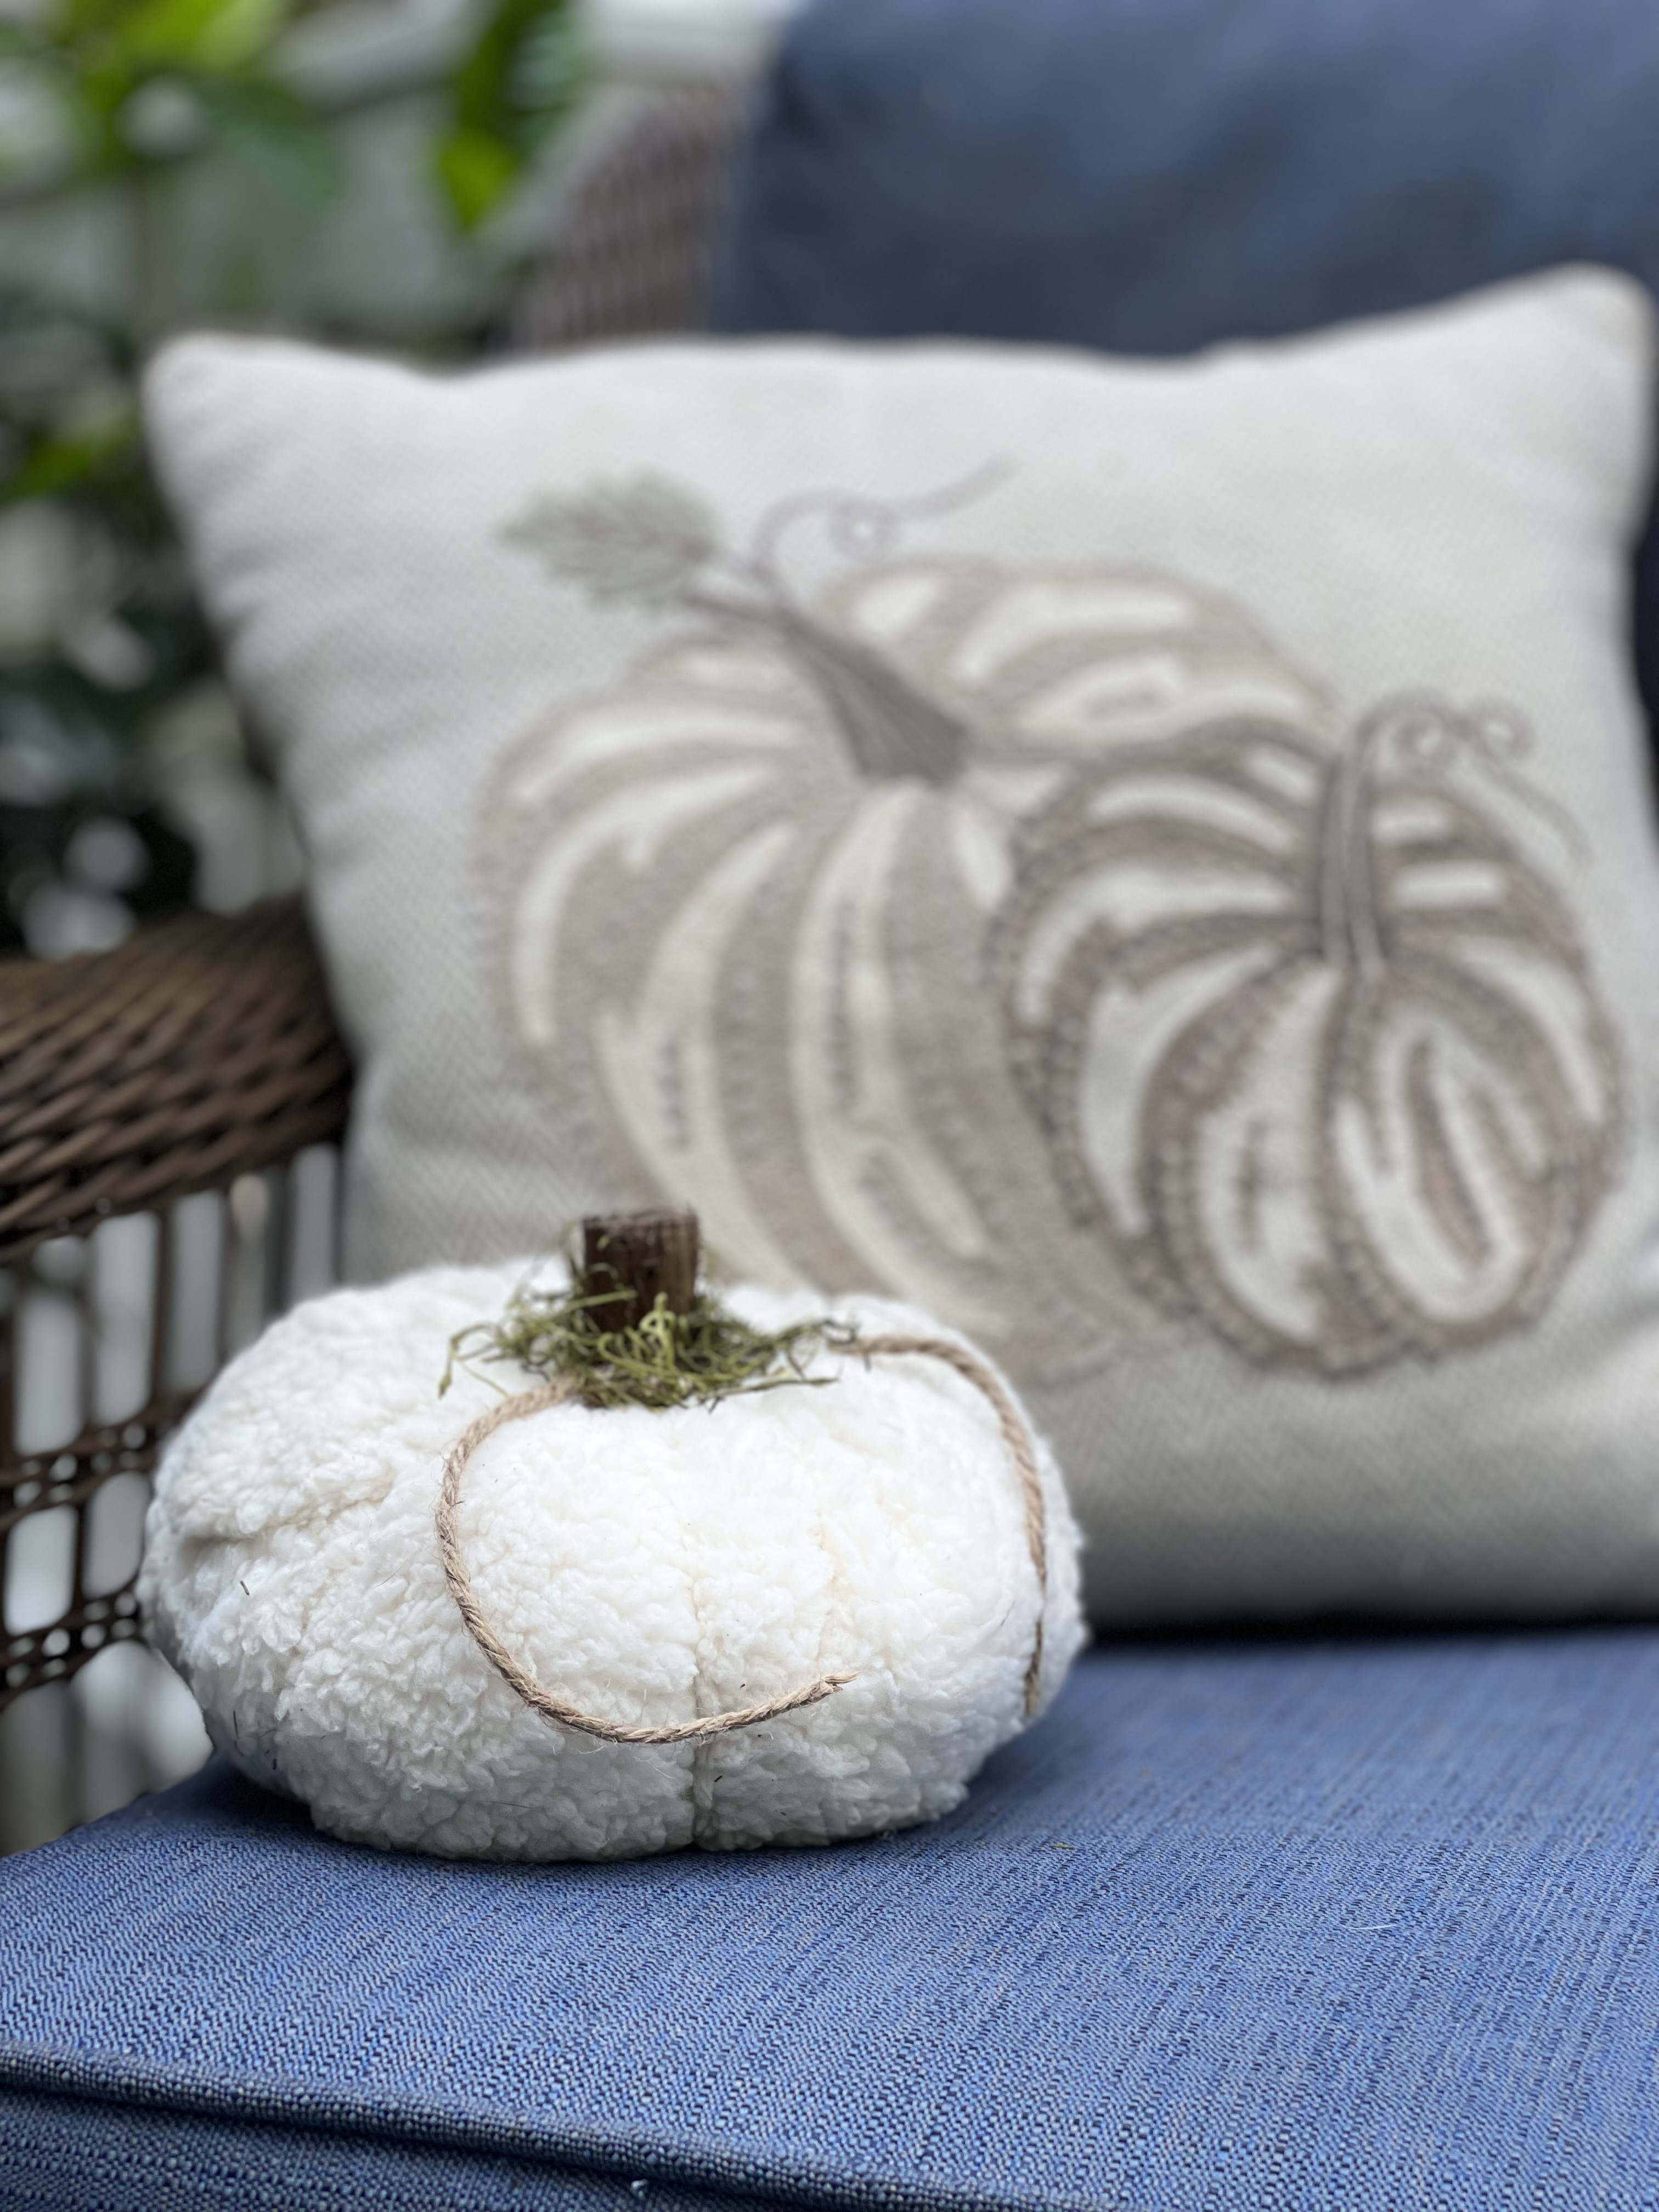
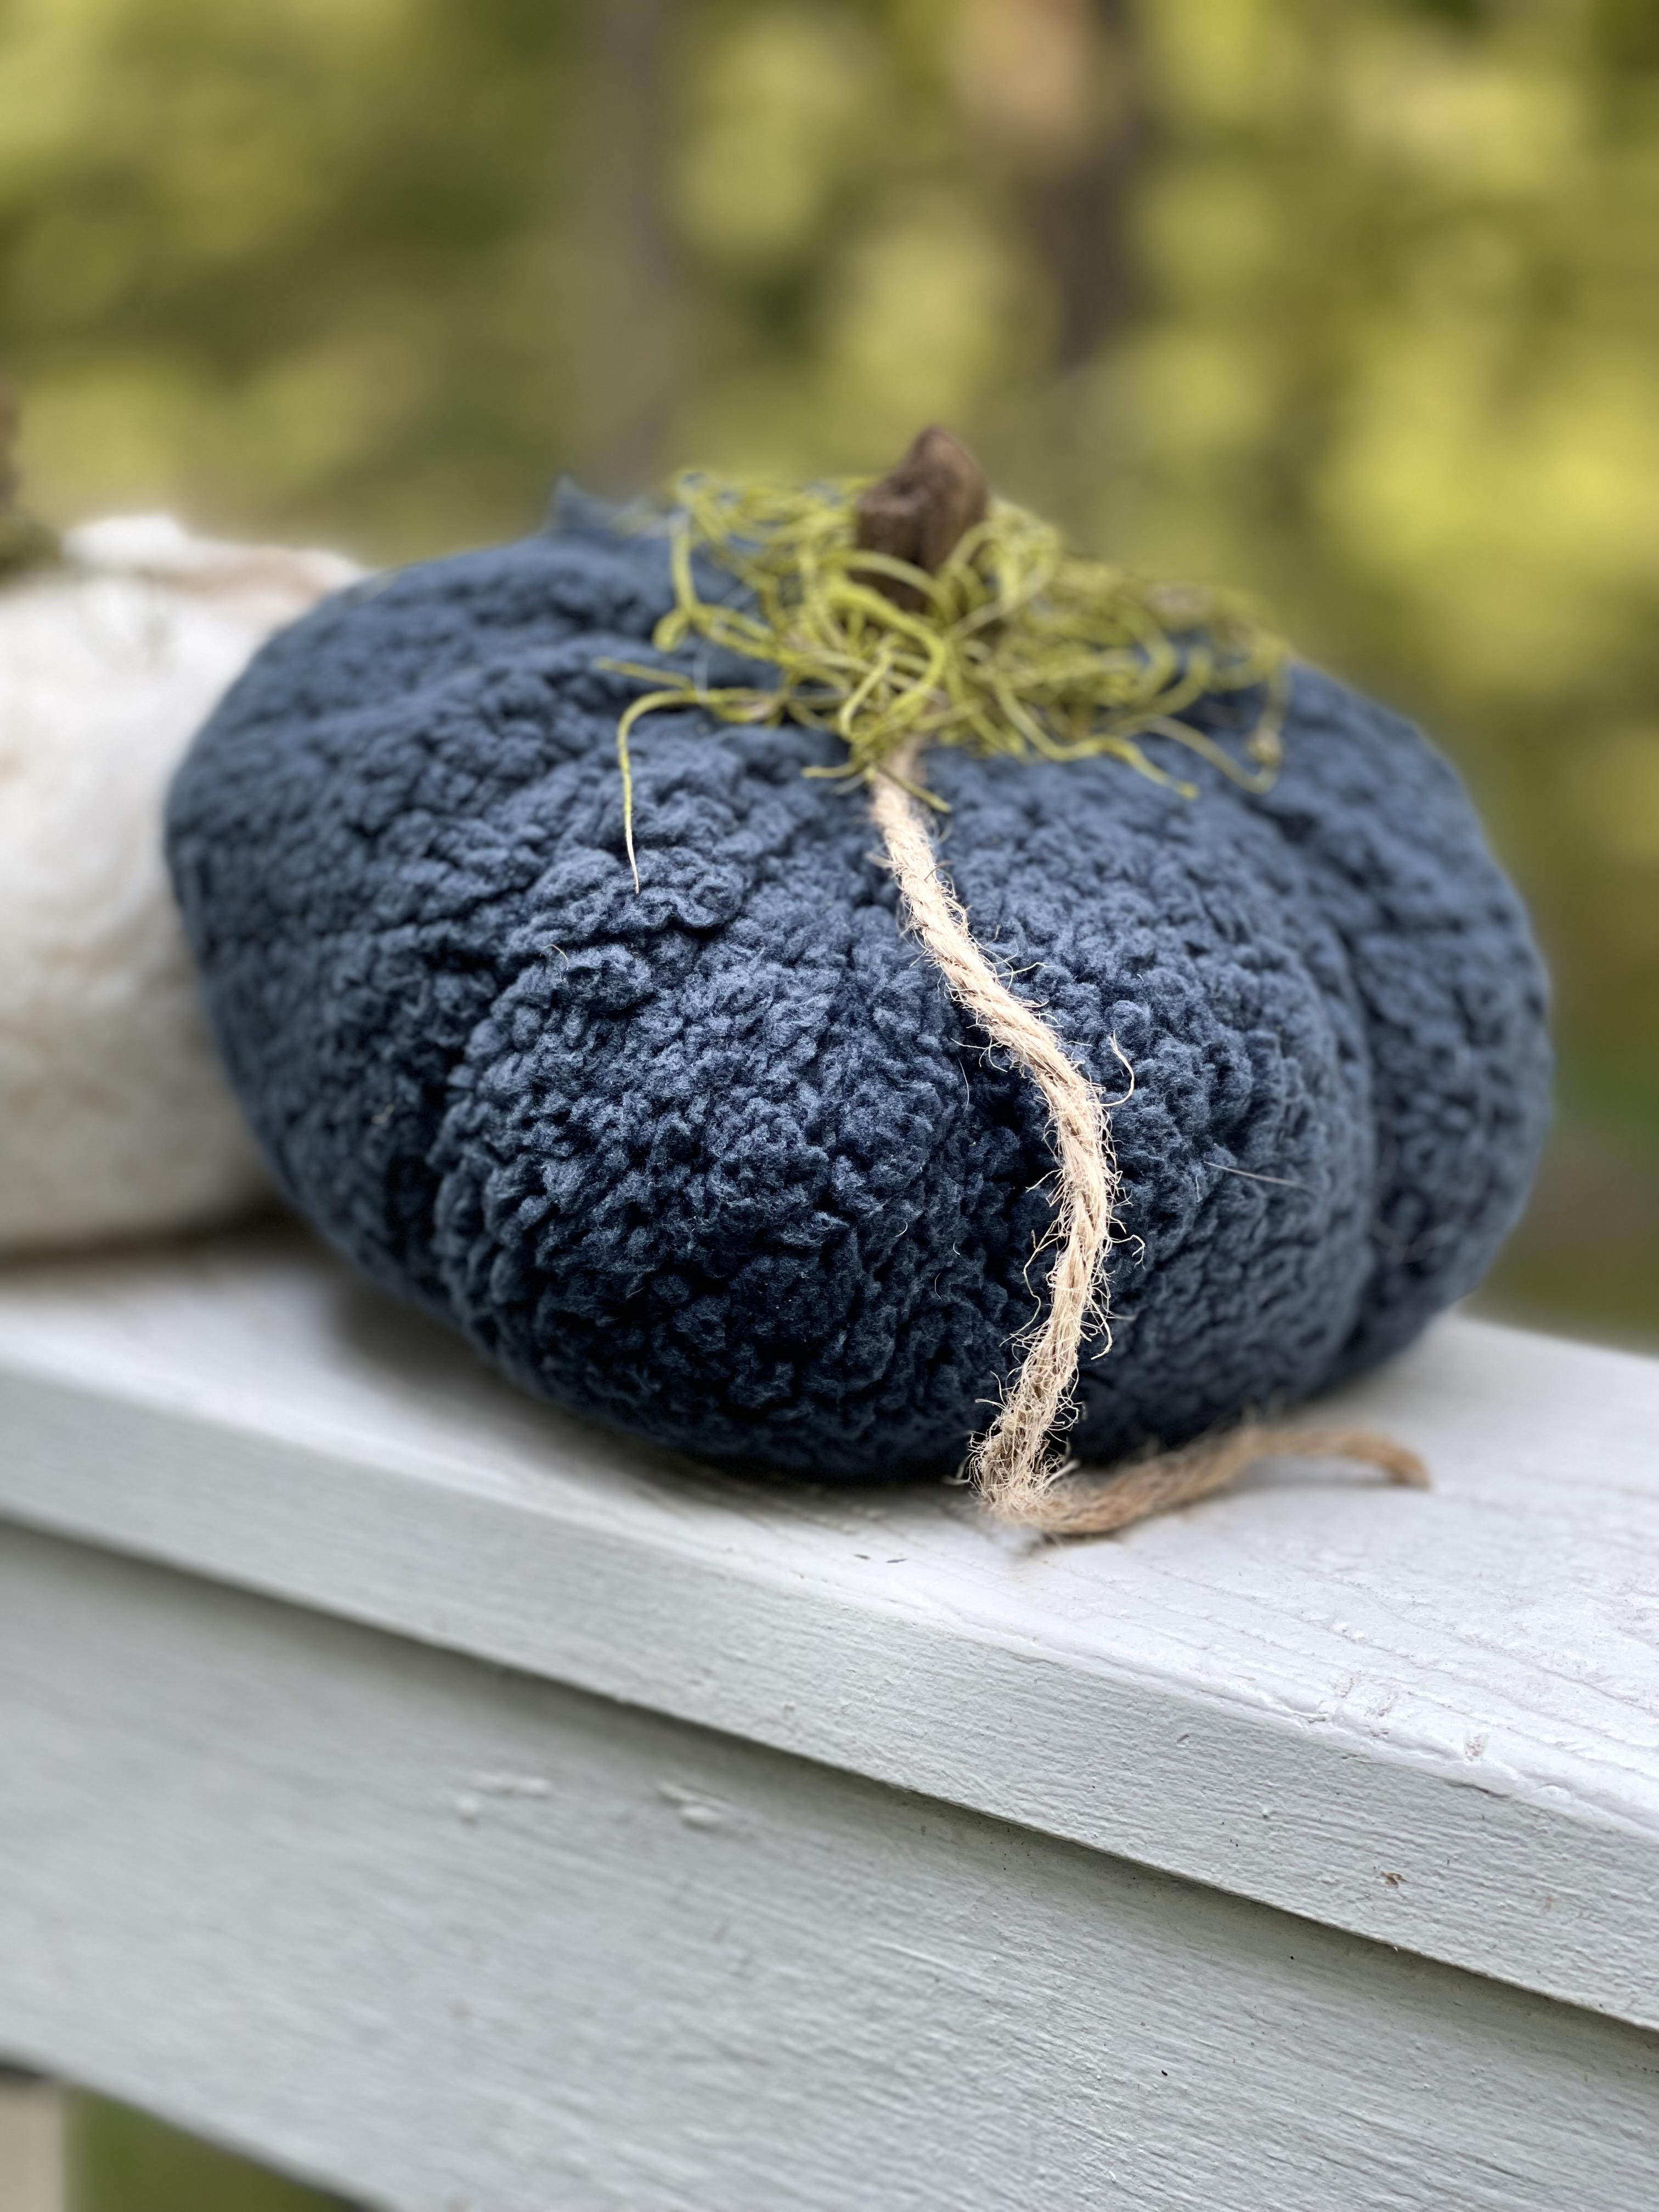
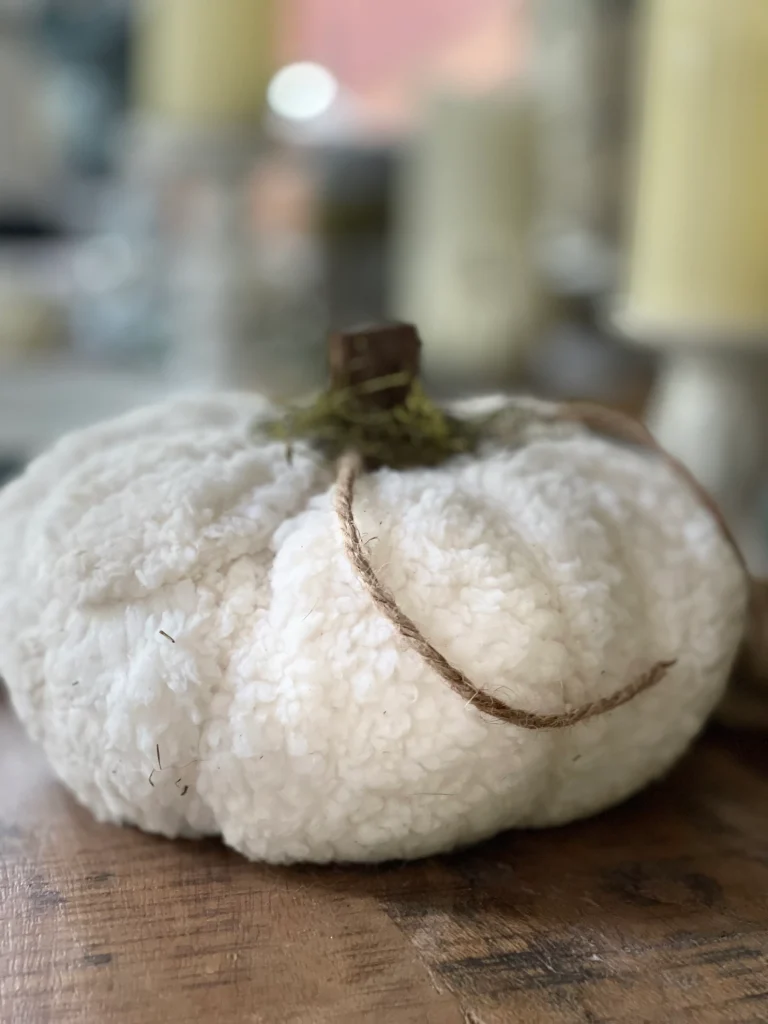
You can find fun types online, I found this nubby fleecy (great descriptor) material and picked it up in navy and cream. I love it. It’s so snuggly.
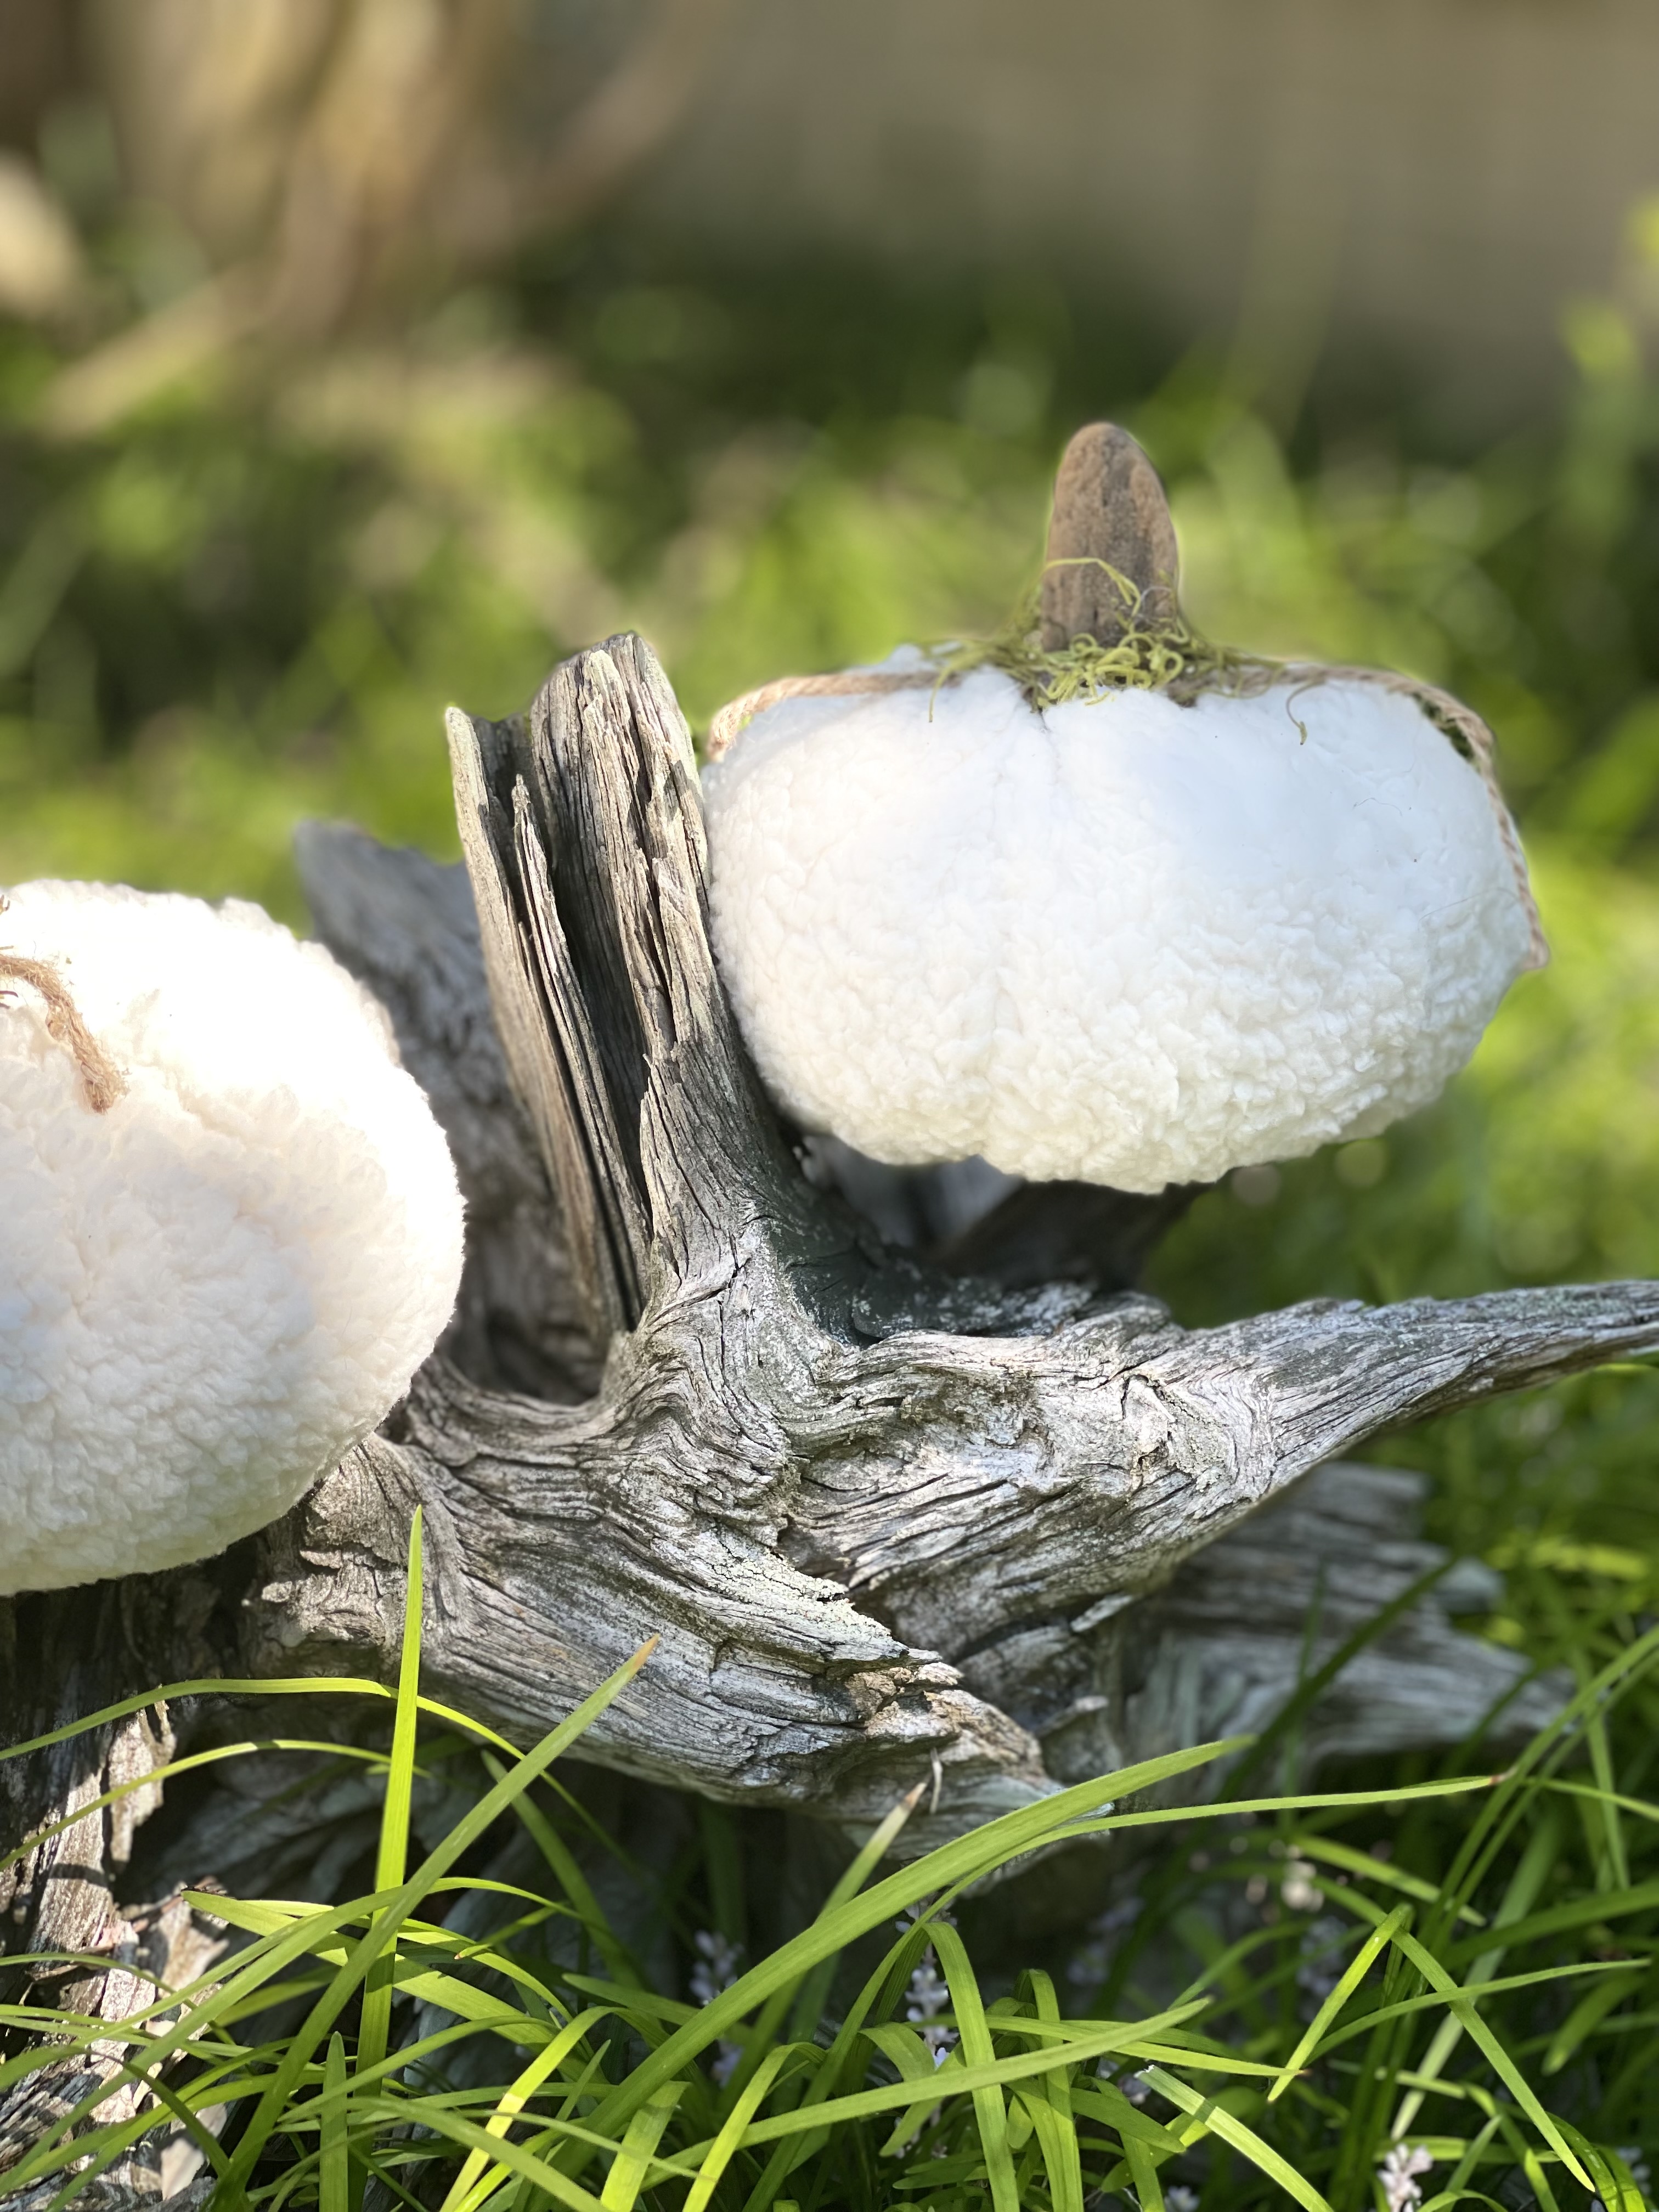
Now can you see why I can’t stop making them?
Ok now I will focus and tell you how to make one…or 8.
STEPS TO MAKE A FABRIC PUMPKIN
MATERIAL AND SIZE
1. Pick your material or use an old shirt.
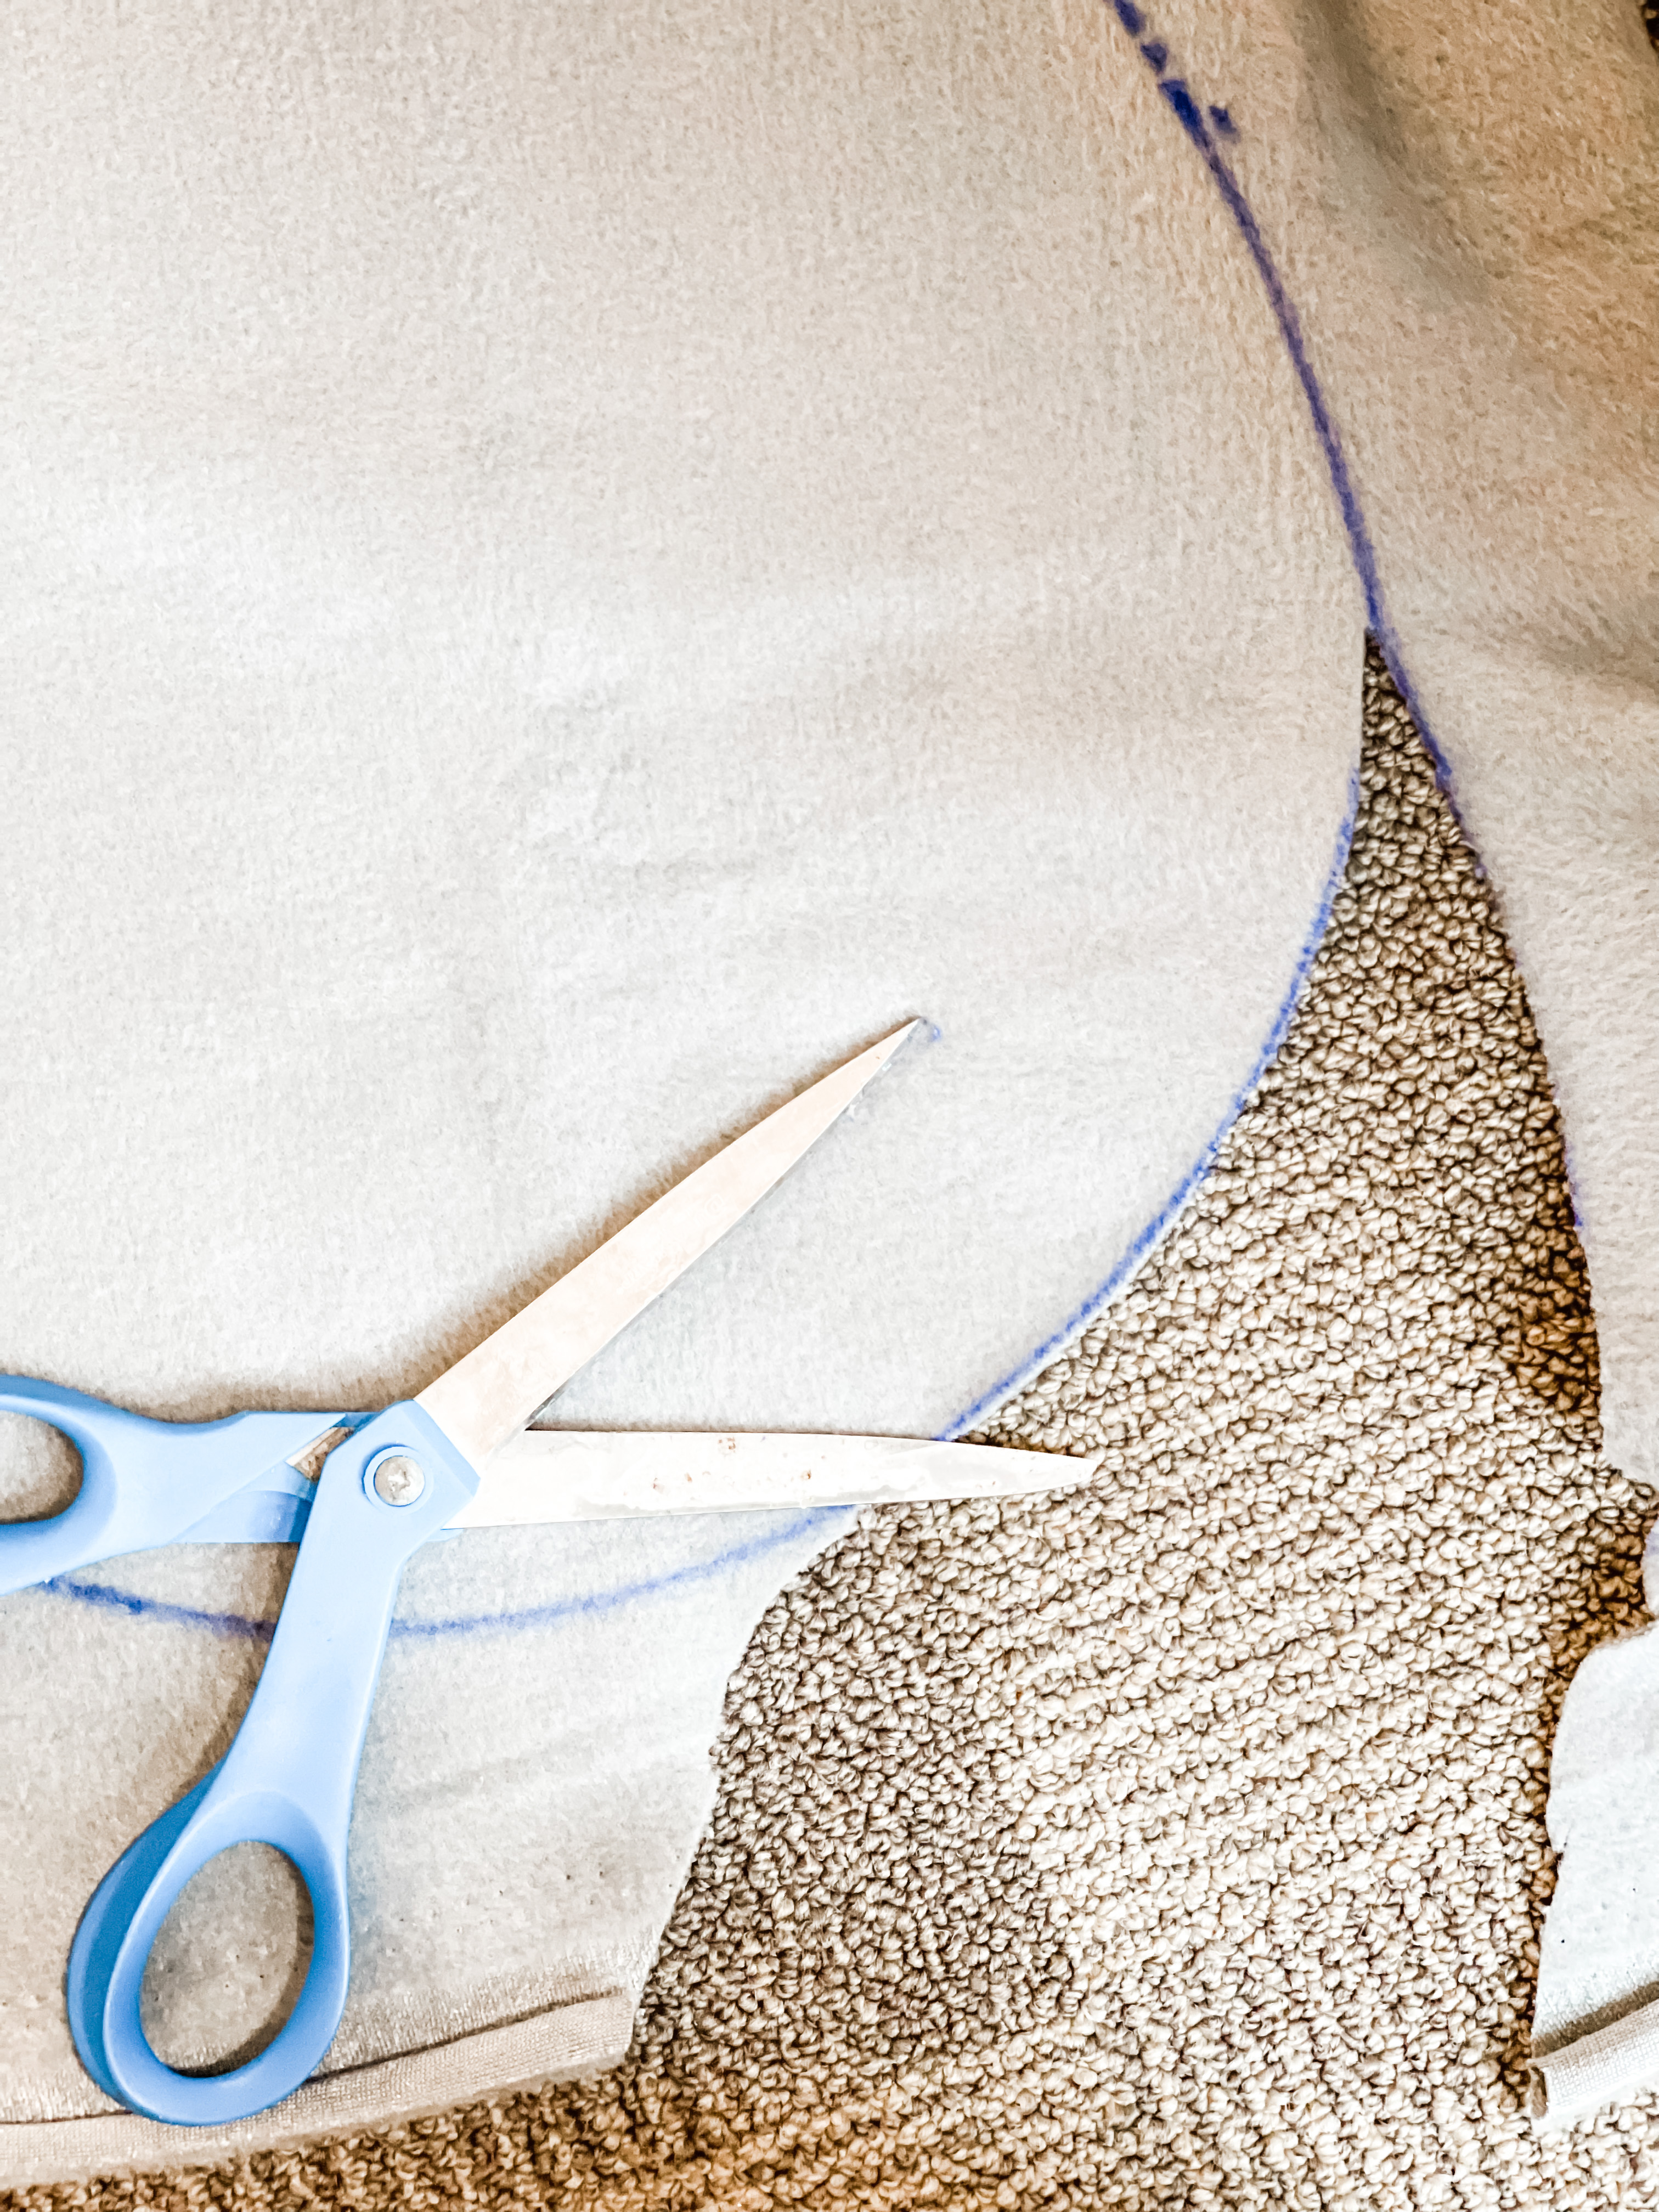
2. Find something round to trace a circle, a bowl, pan lid.
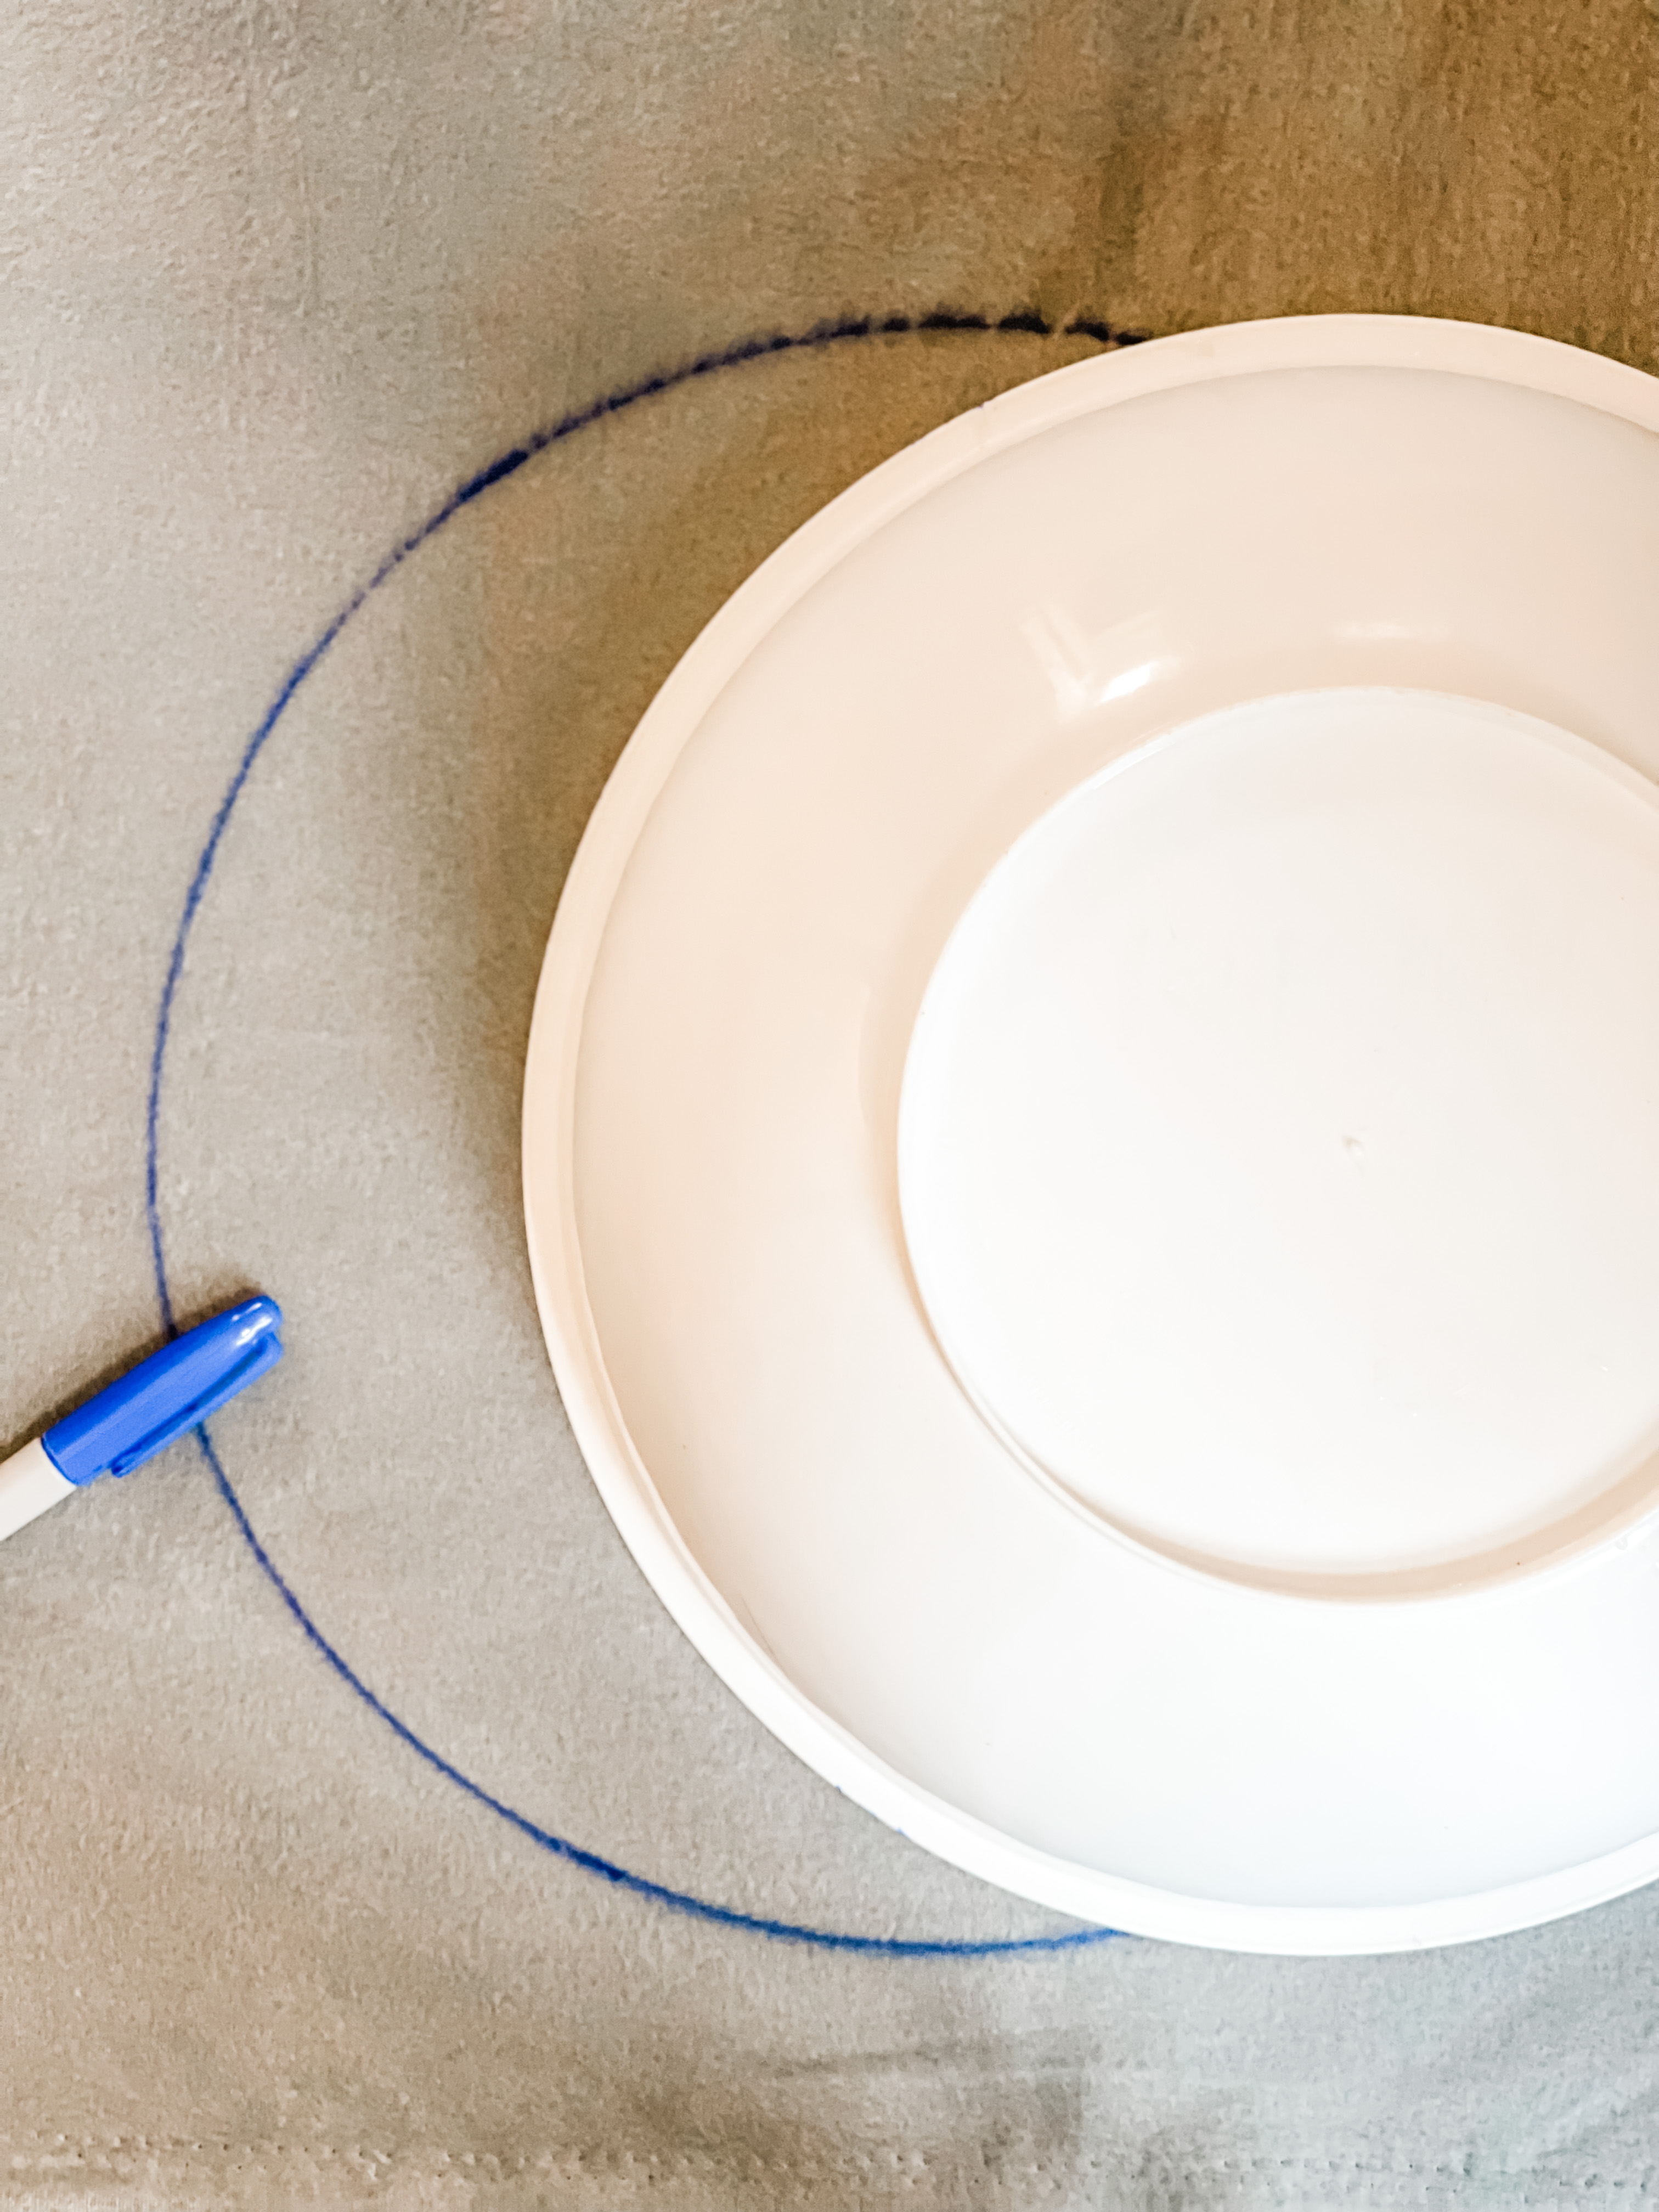
3. Lay your material out flat and trace around the bowl or object.
4. Cut along the line and you will have one round piece of material.
SEWING THE PUMPKIN
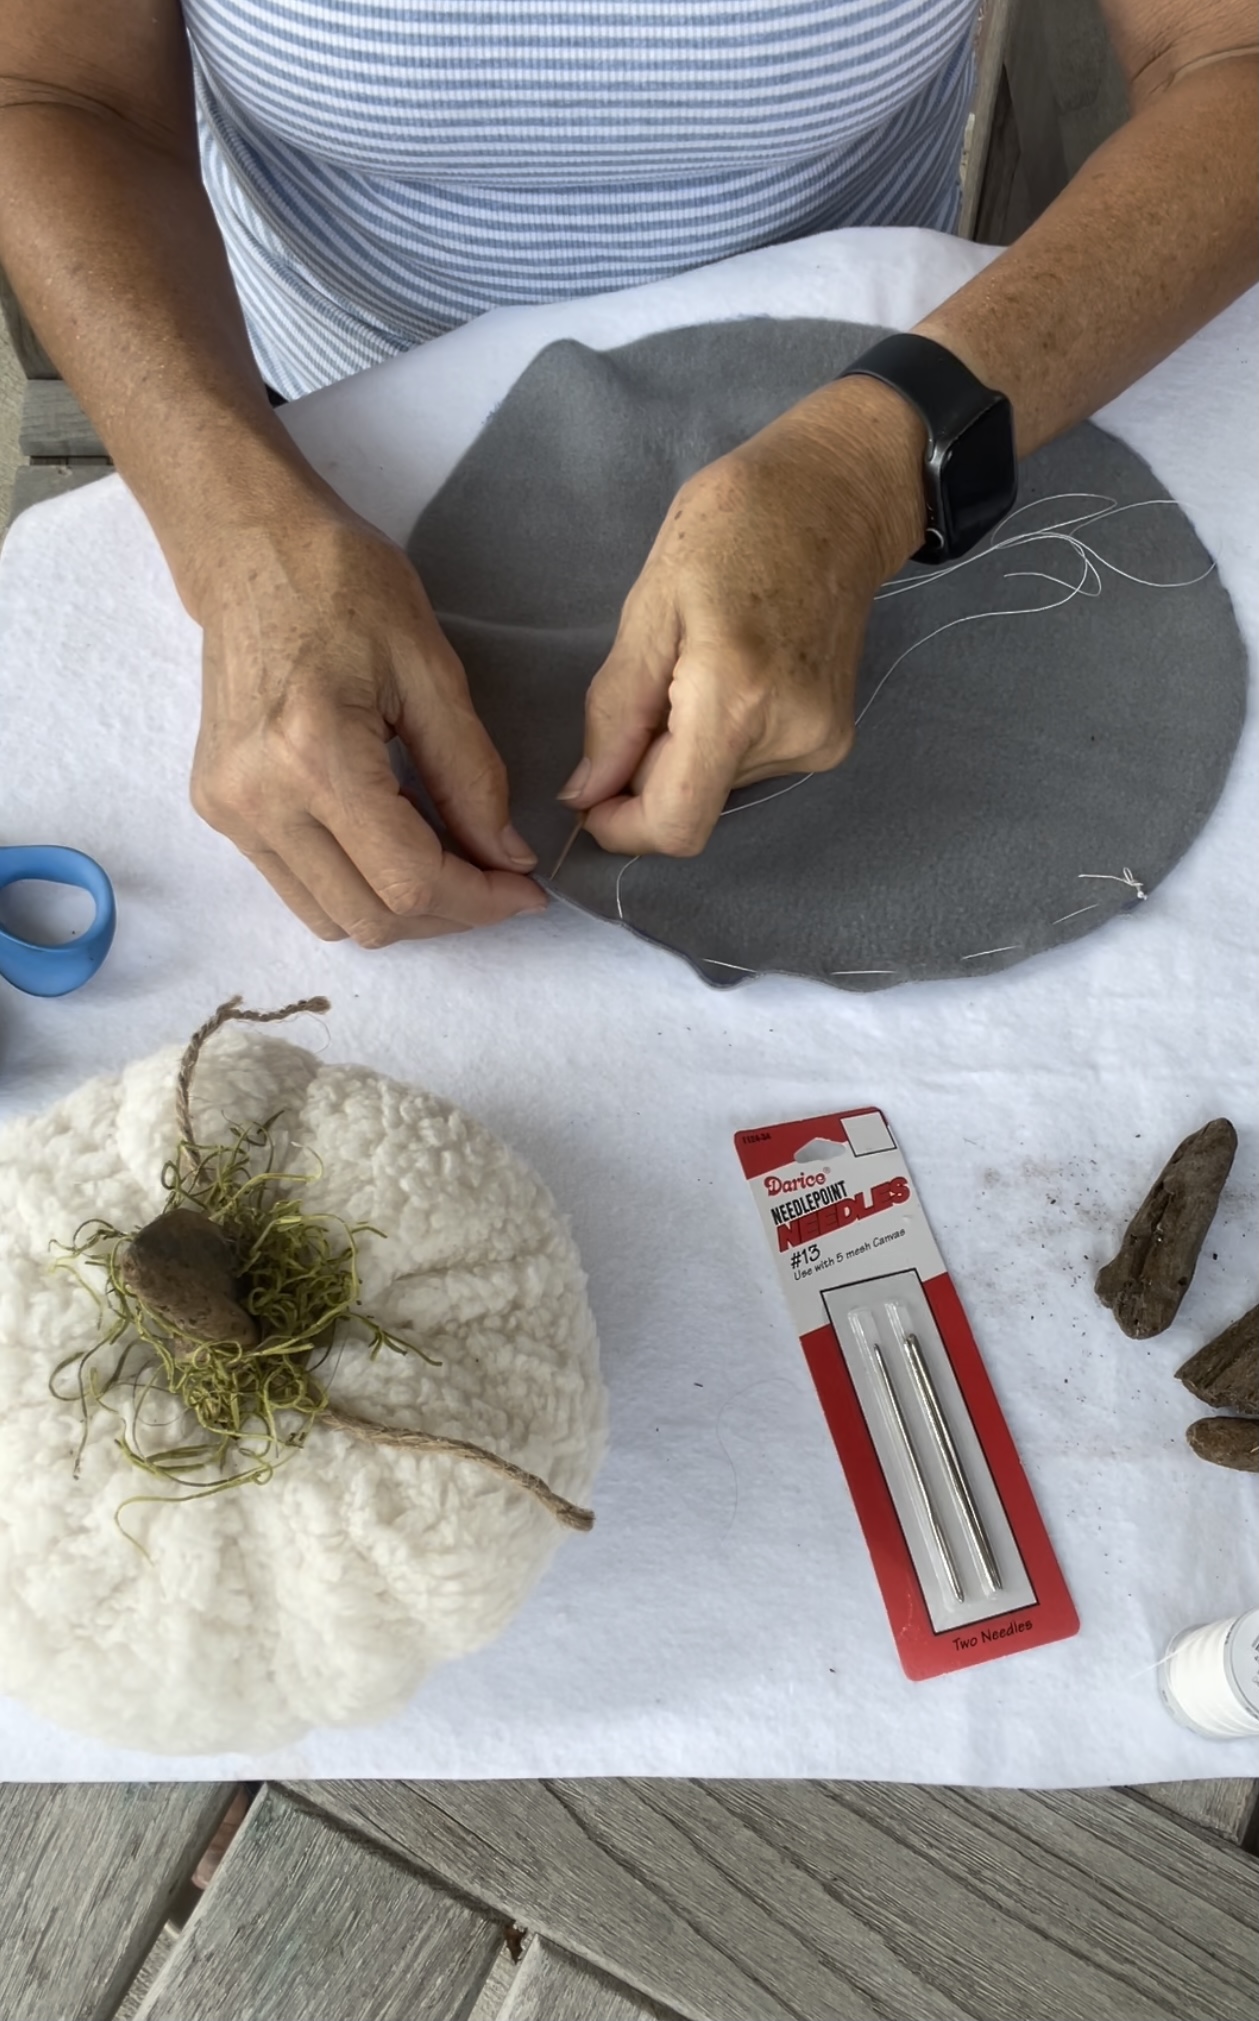
5. Thread your needle using upholstery thread or a very strong thread.
6. Make a knot in your thread and begin basting in and out of your circle.
FILLING YOUR PUMPKIN
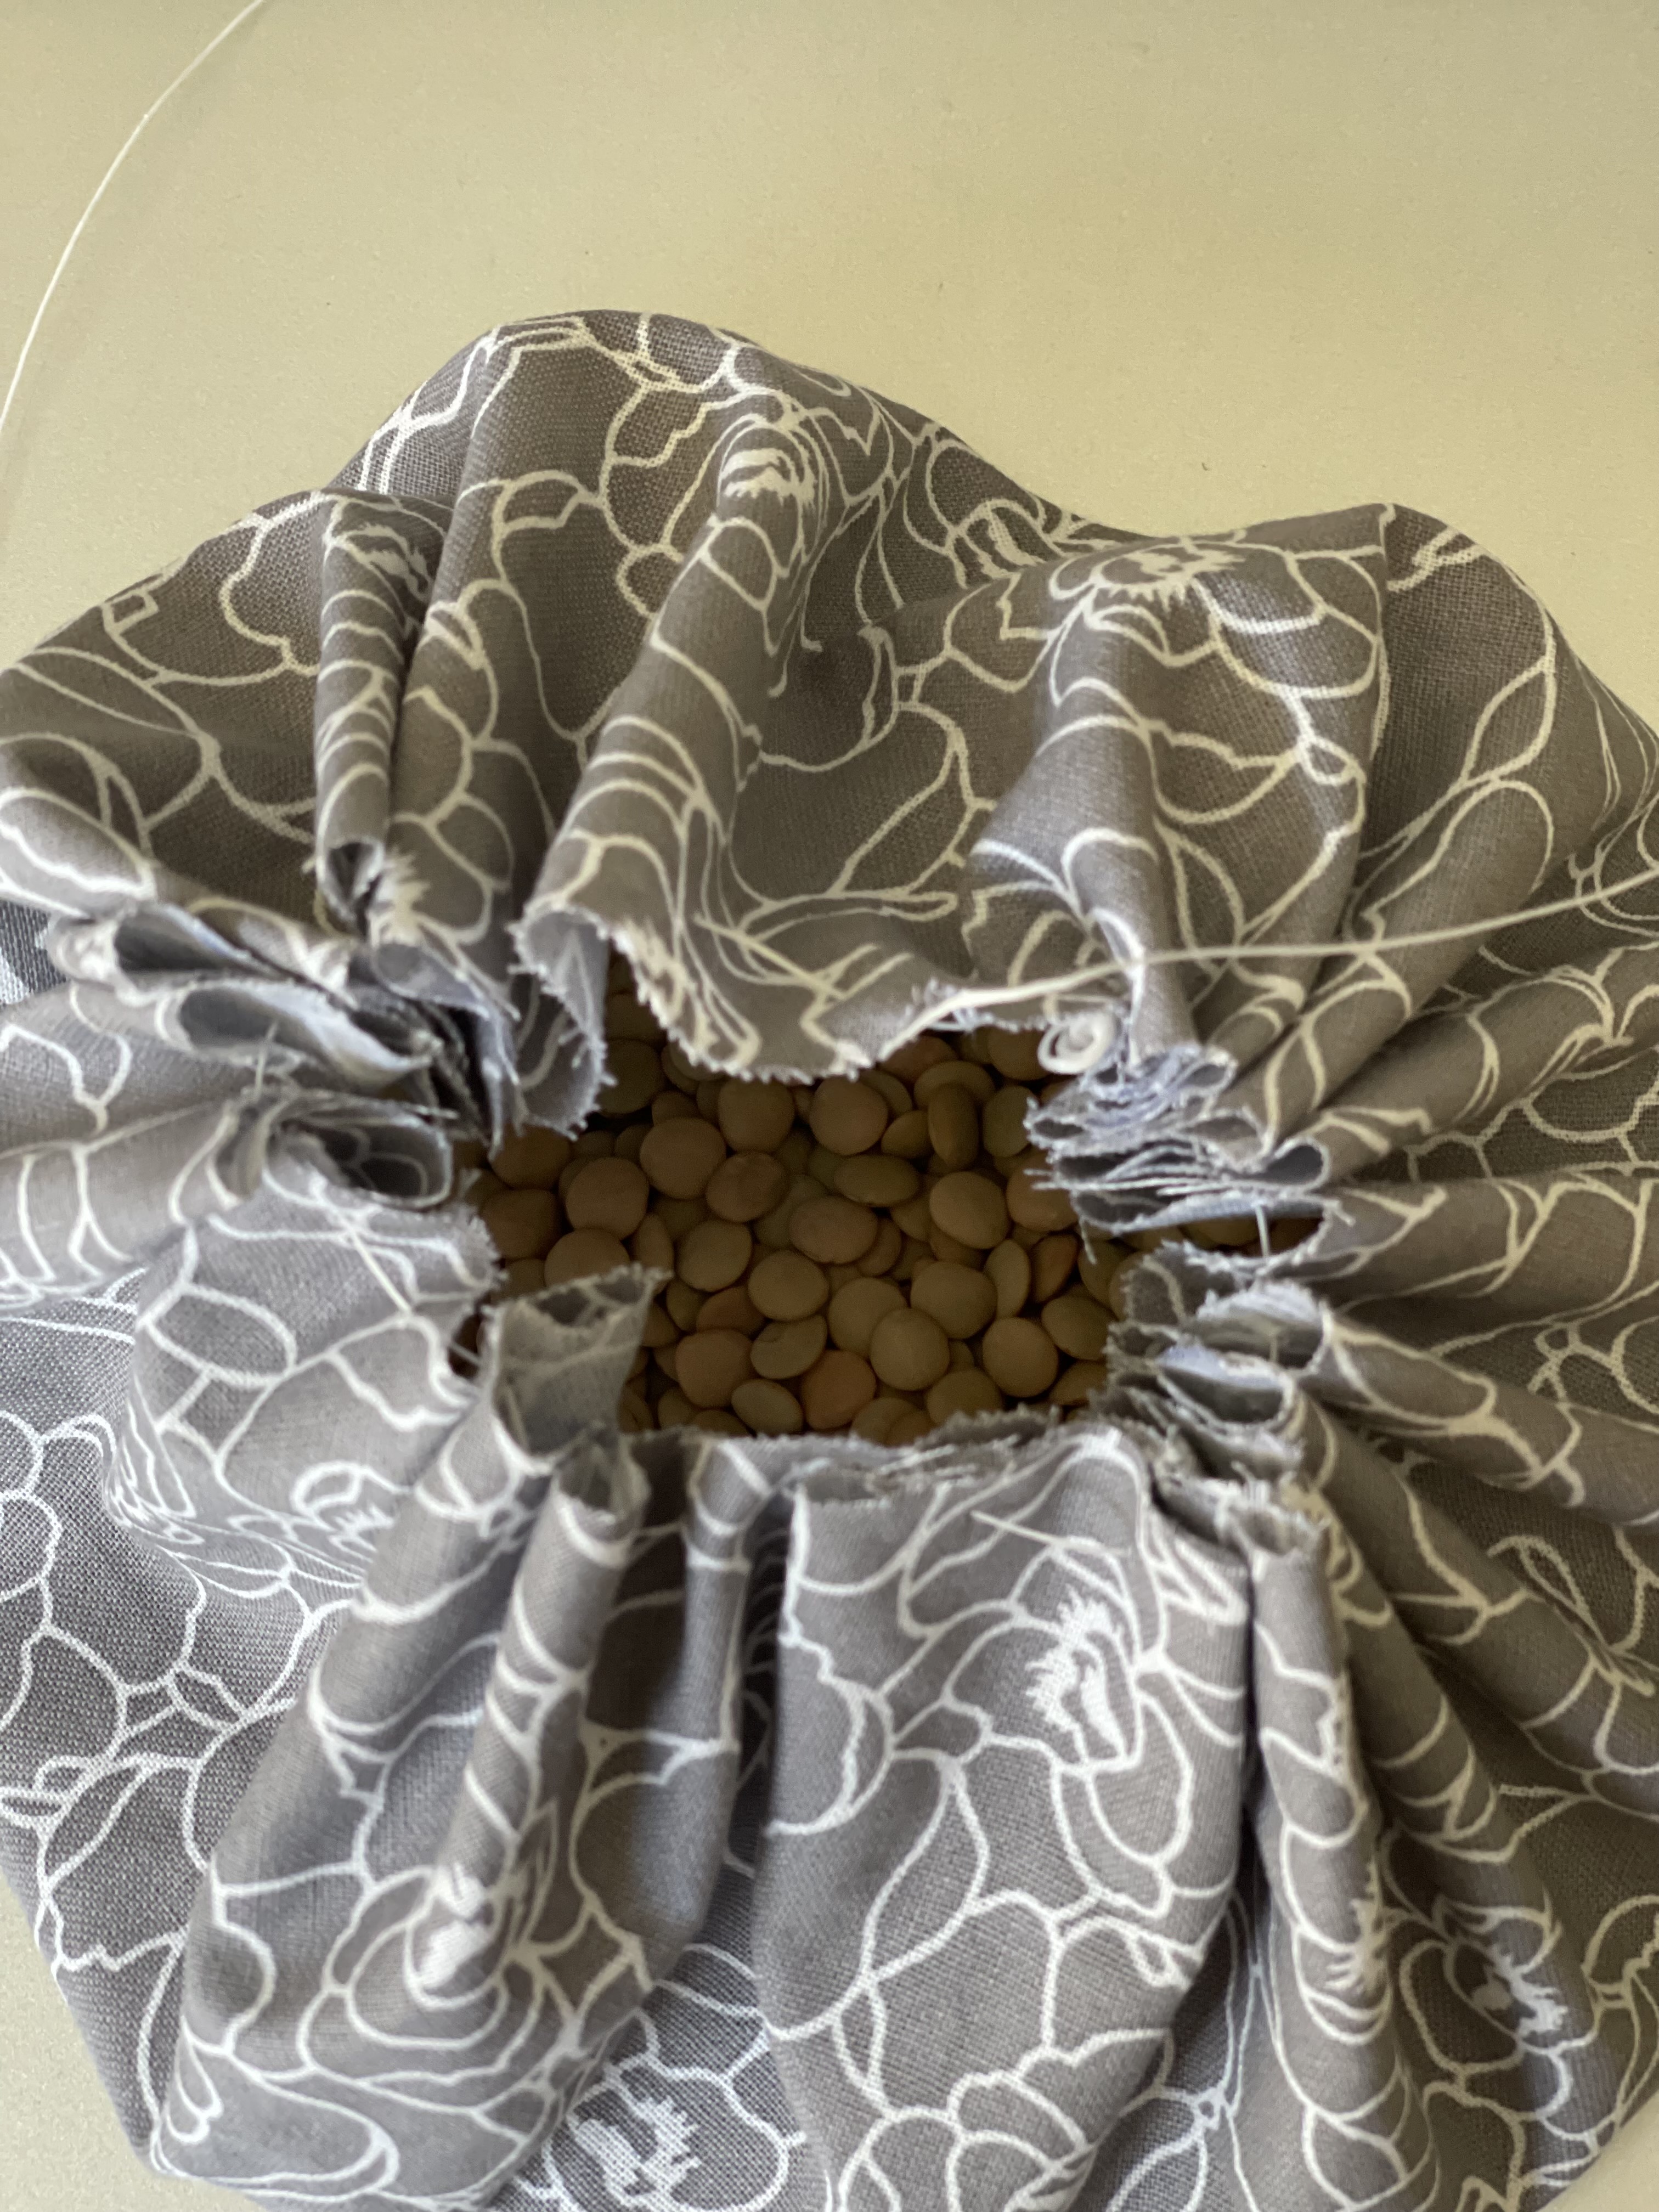
7. Add rice or beans or sand to the bottom of the circle for weight. Here I added lentils…
8. Have your poly fill or chewed up foam from guest bed the dog chewed.

9. Oops, disregard 8, use poly fill or any thing you have on hand to stuff.
FINISHING THE PUMPKIN
10.Pull the thread with the needle so the entire piece begins to gather.
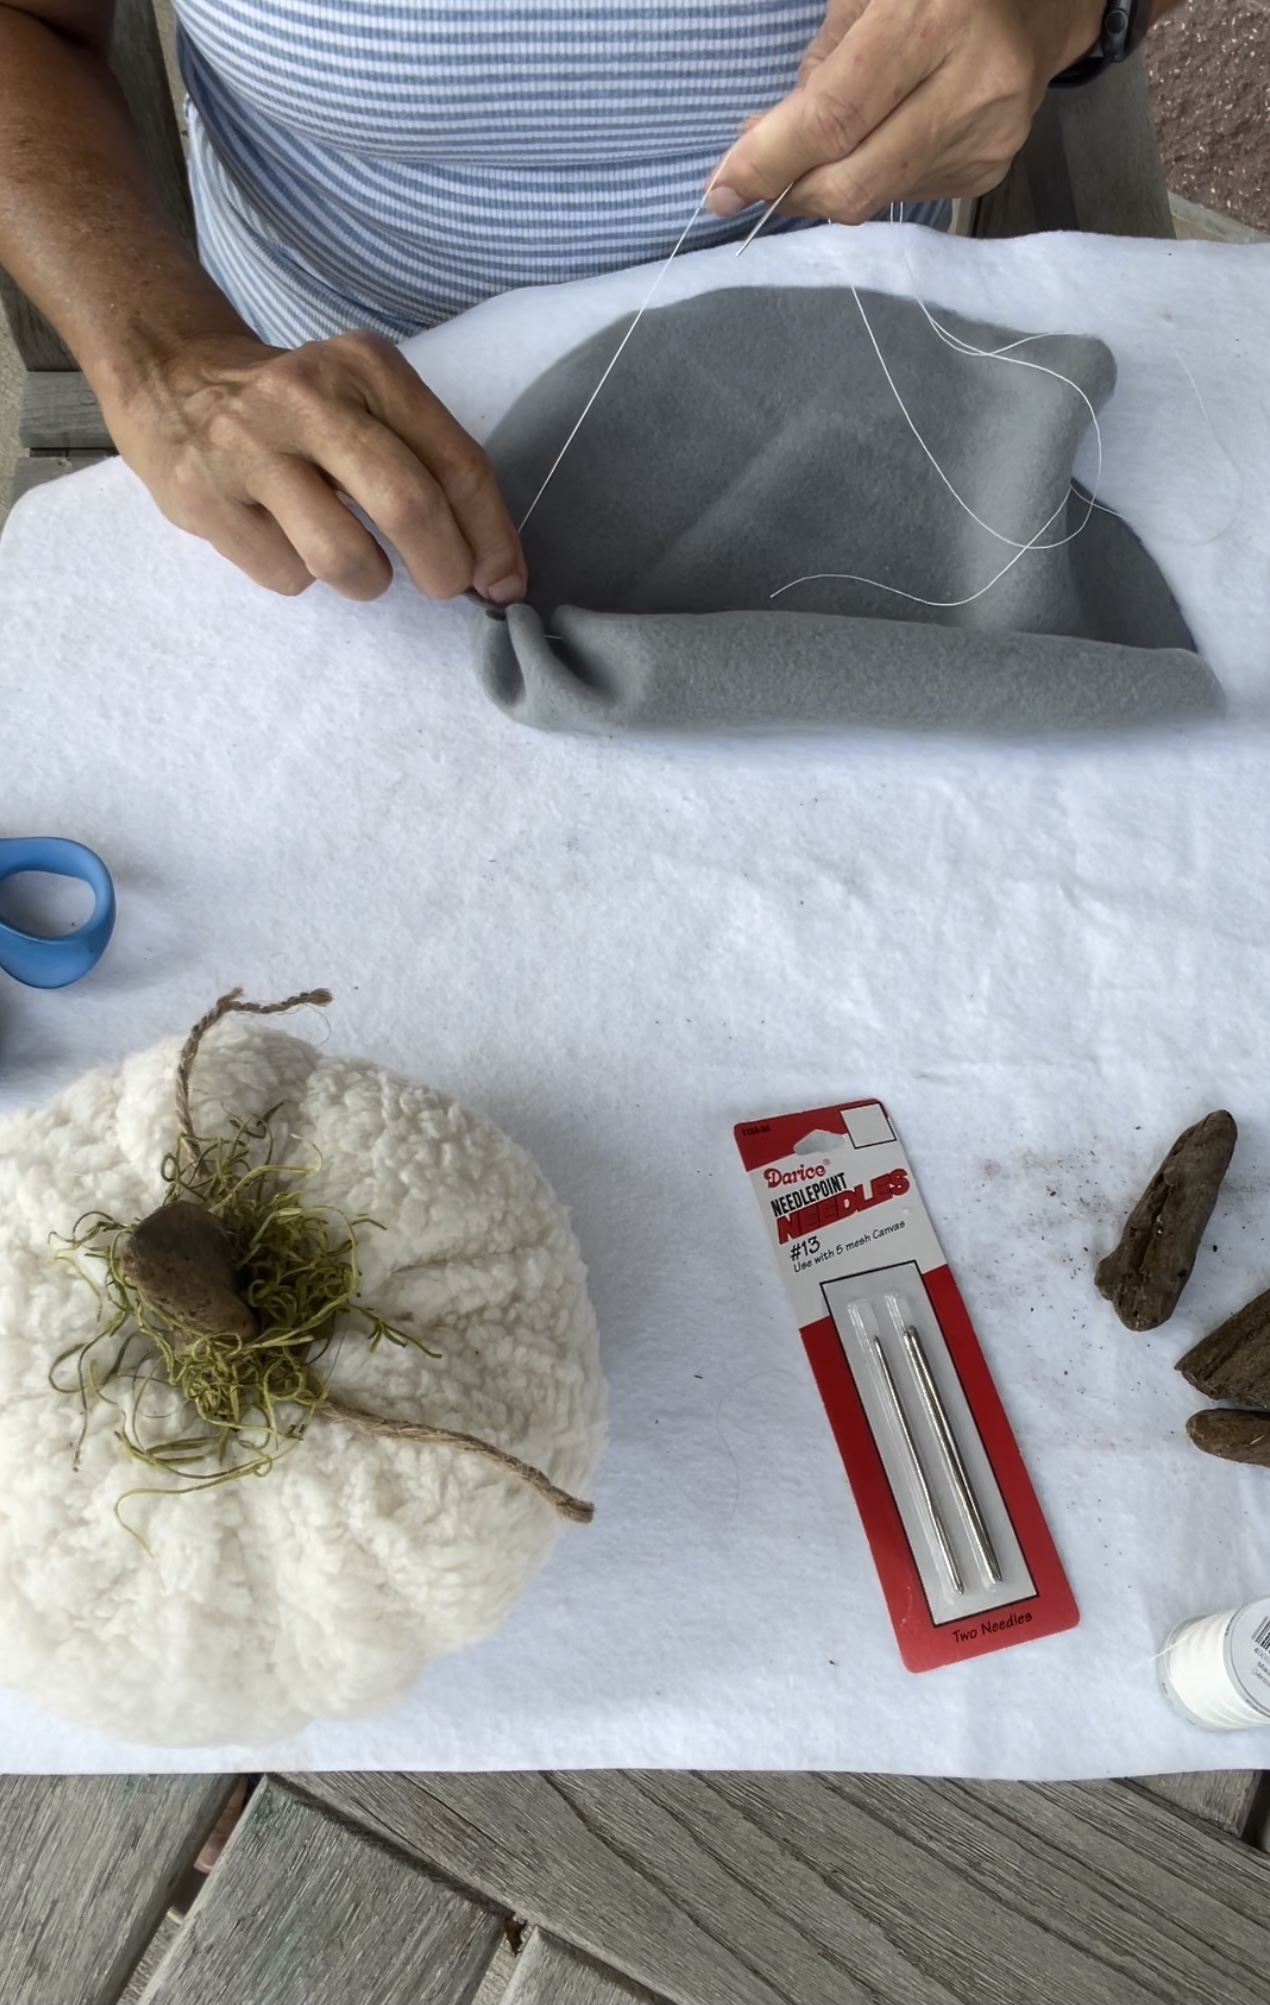
11. Finish stuffing to your liking, more full equals more plump.
12. Pull the thread tight so the hole closes, hold carefully so it stays tight.
13. Don’t cut the thread, but begin stitching up the top. Just go in and out and back and forth, it will be covered with the stem so it’s no time to be perfect.
14. Stitch top together so there is no hole left. Like the picture above.
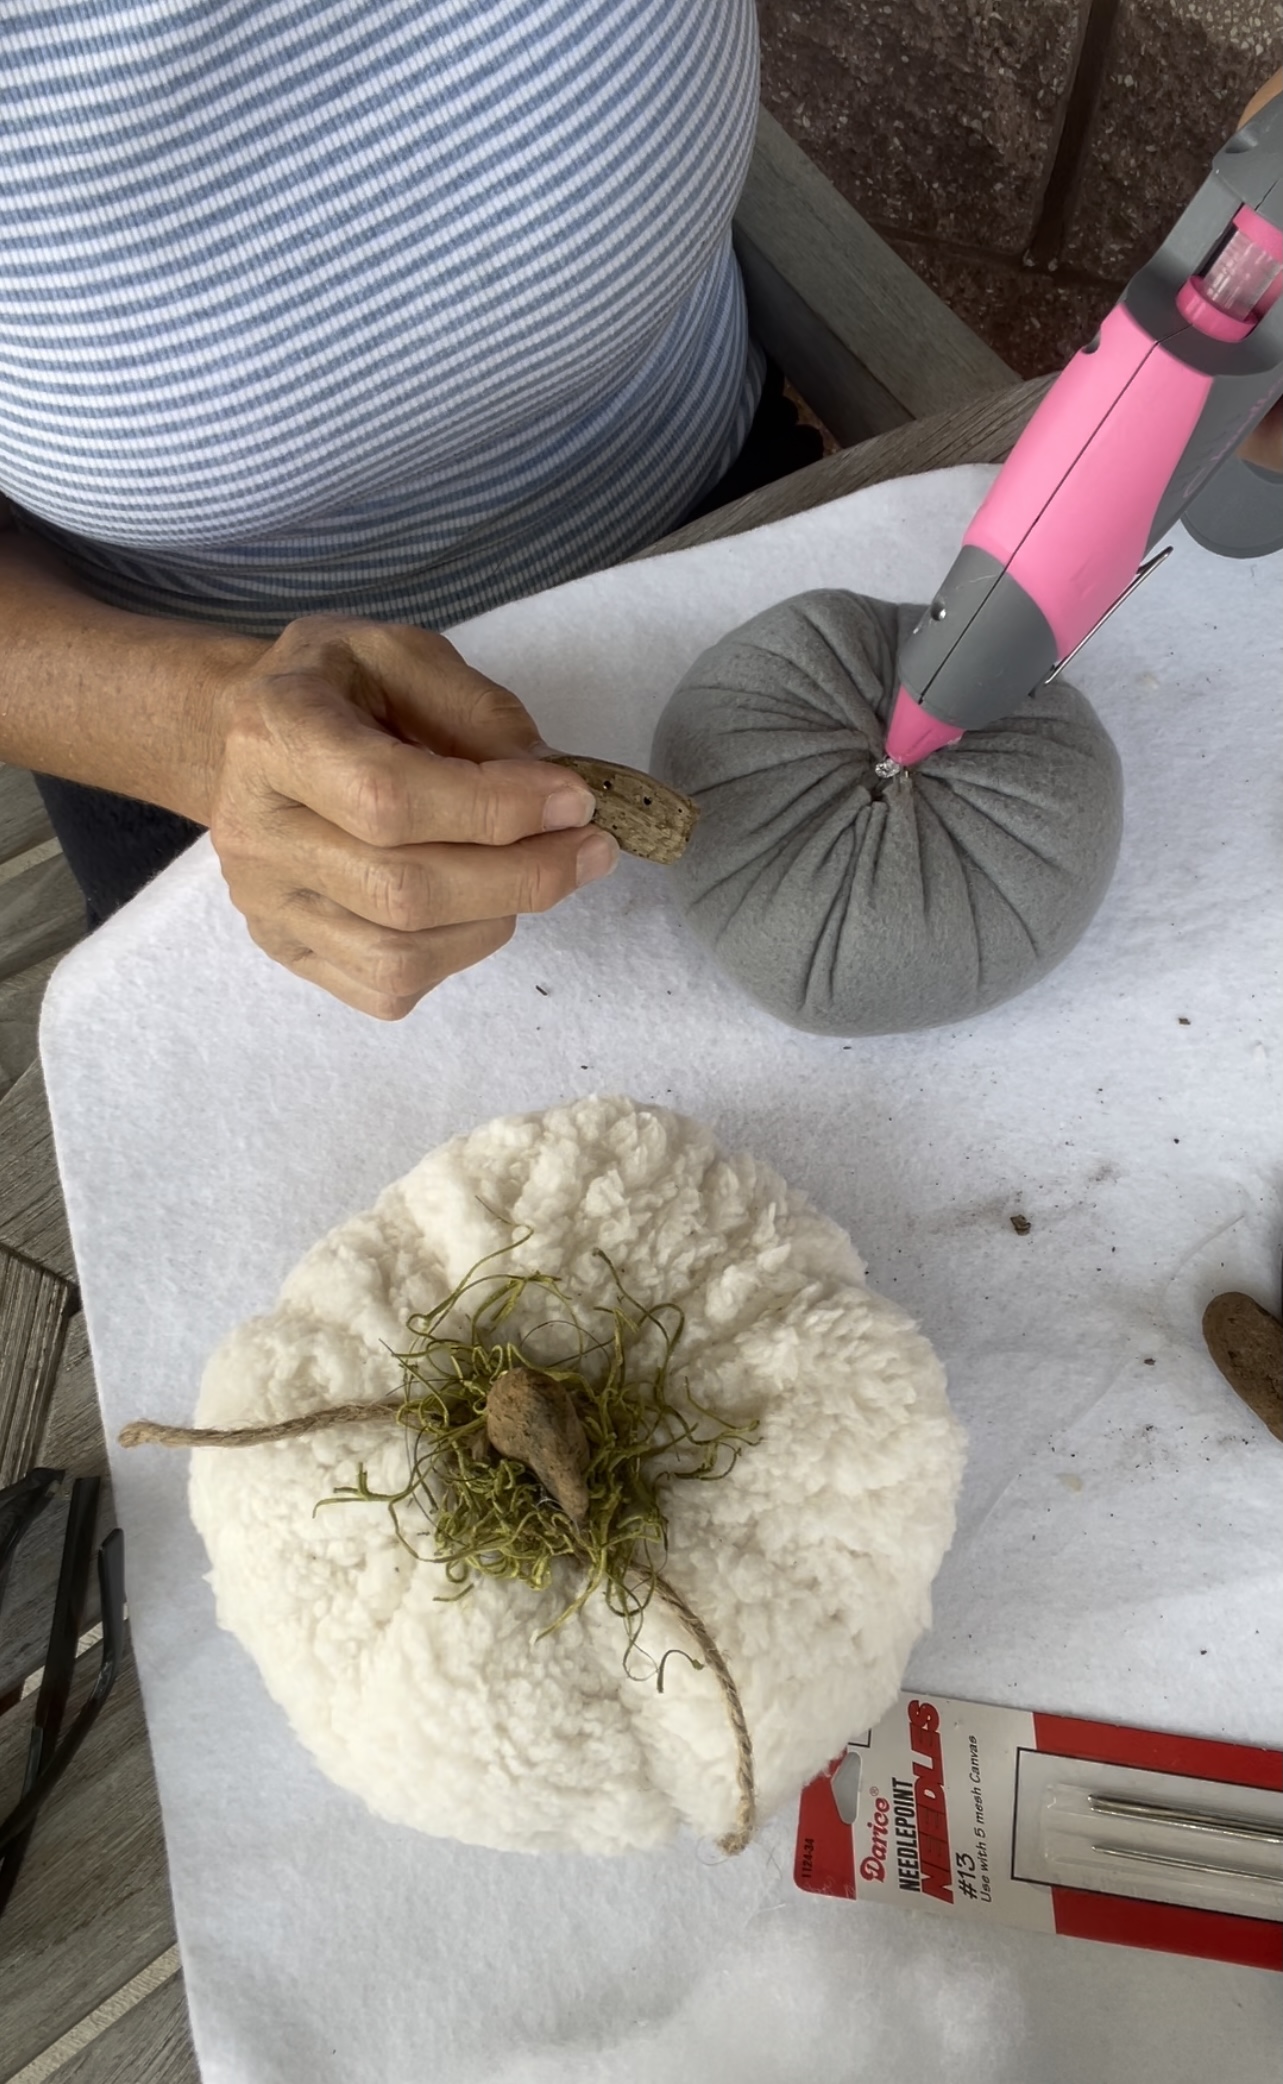
ADDING THE STEM TO YOUR PUMPKIN
15. Using hot glue add your stem whether it be real, driftwood, a stick.
FINAL TOUCHES
16. Add twine if desired around the stem and glue down. This could hide any imperfections.
Here is the one from the flannel shirt. You could make two wine bags to match! – The directions for that are here.
VIDEO
Ok and a few more pictures of the ones I’ve made.

So glad you stopped by to read about my pumpkin problems.
Seriously these are so easy to make. You can have your own Fabric DIY Pumpkin in no time.
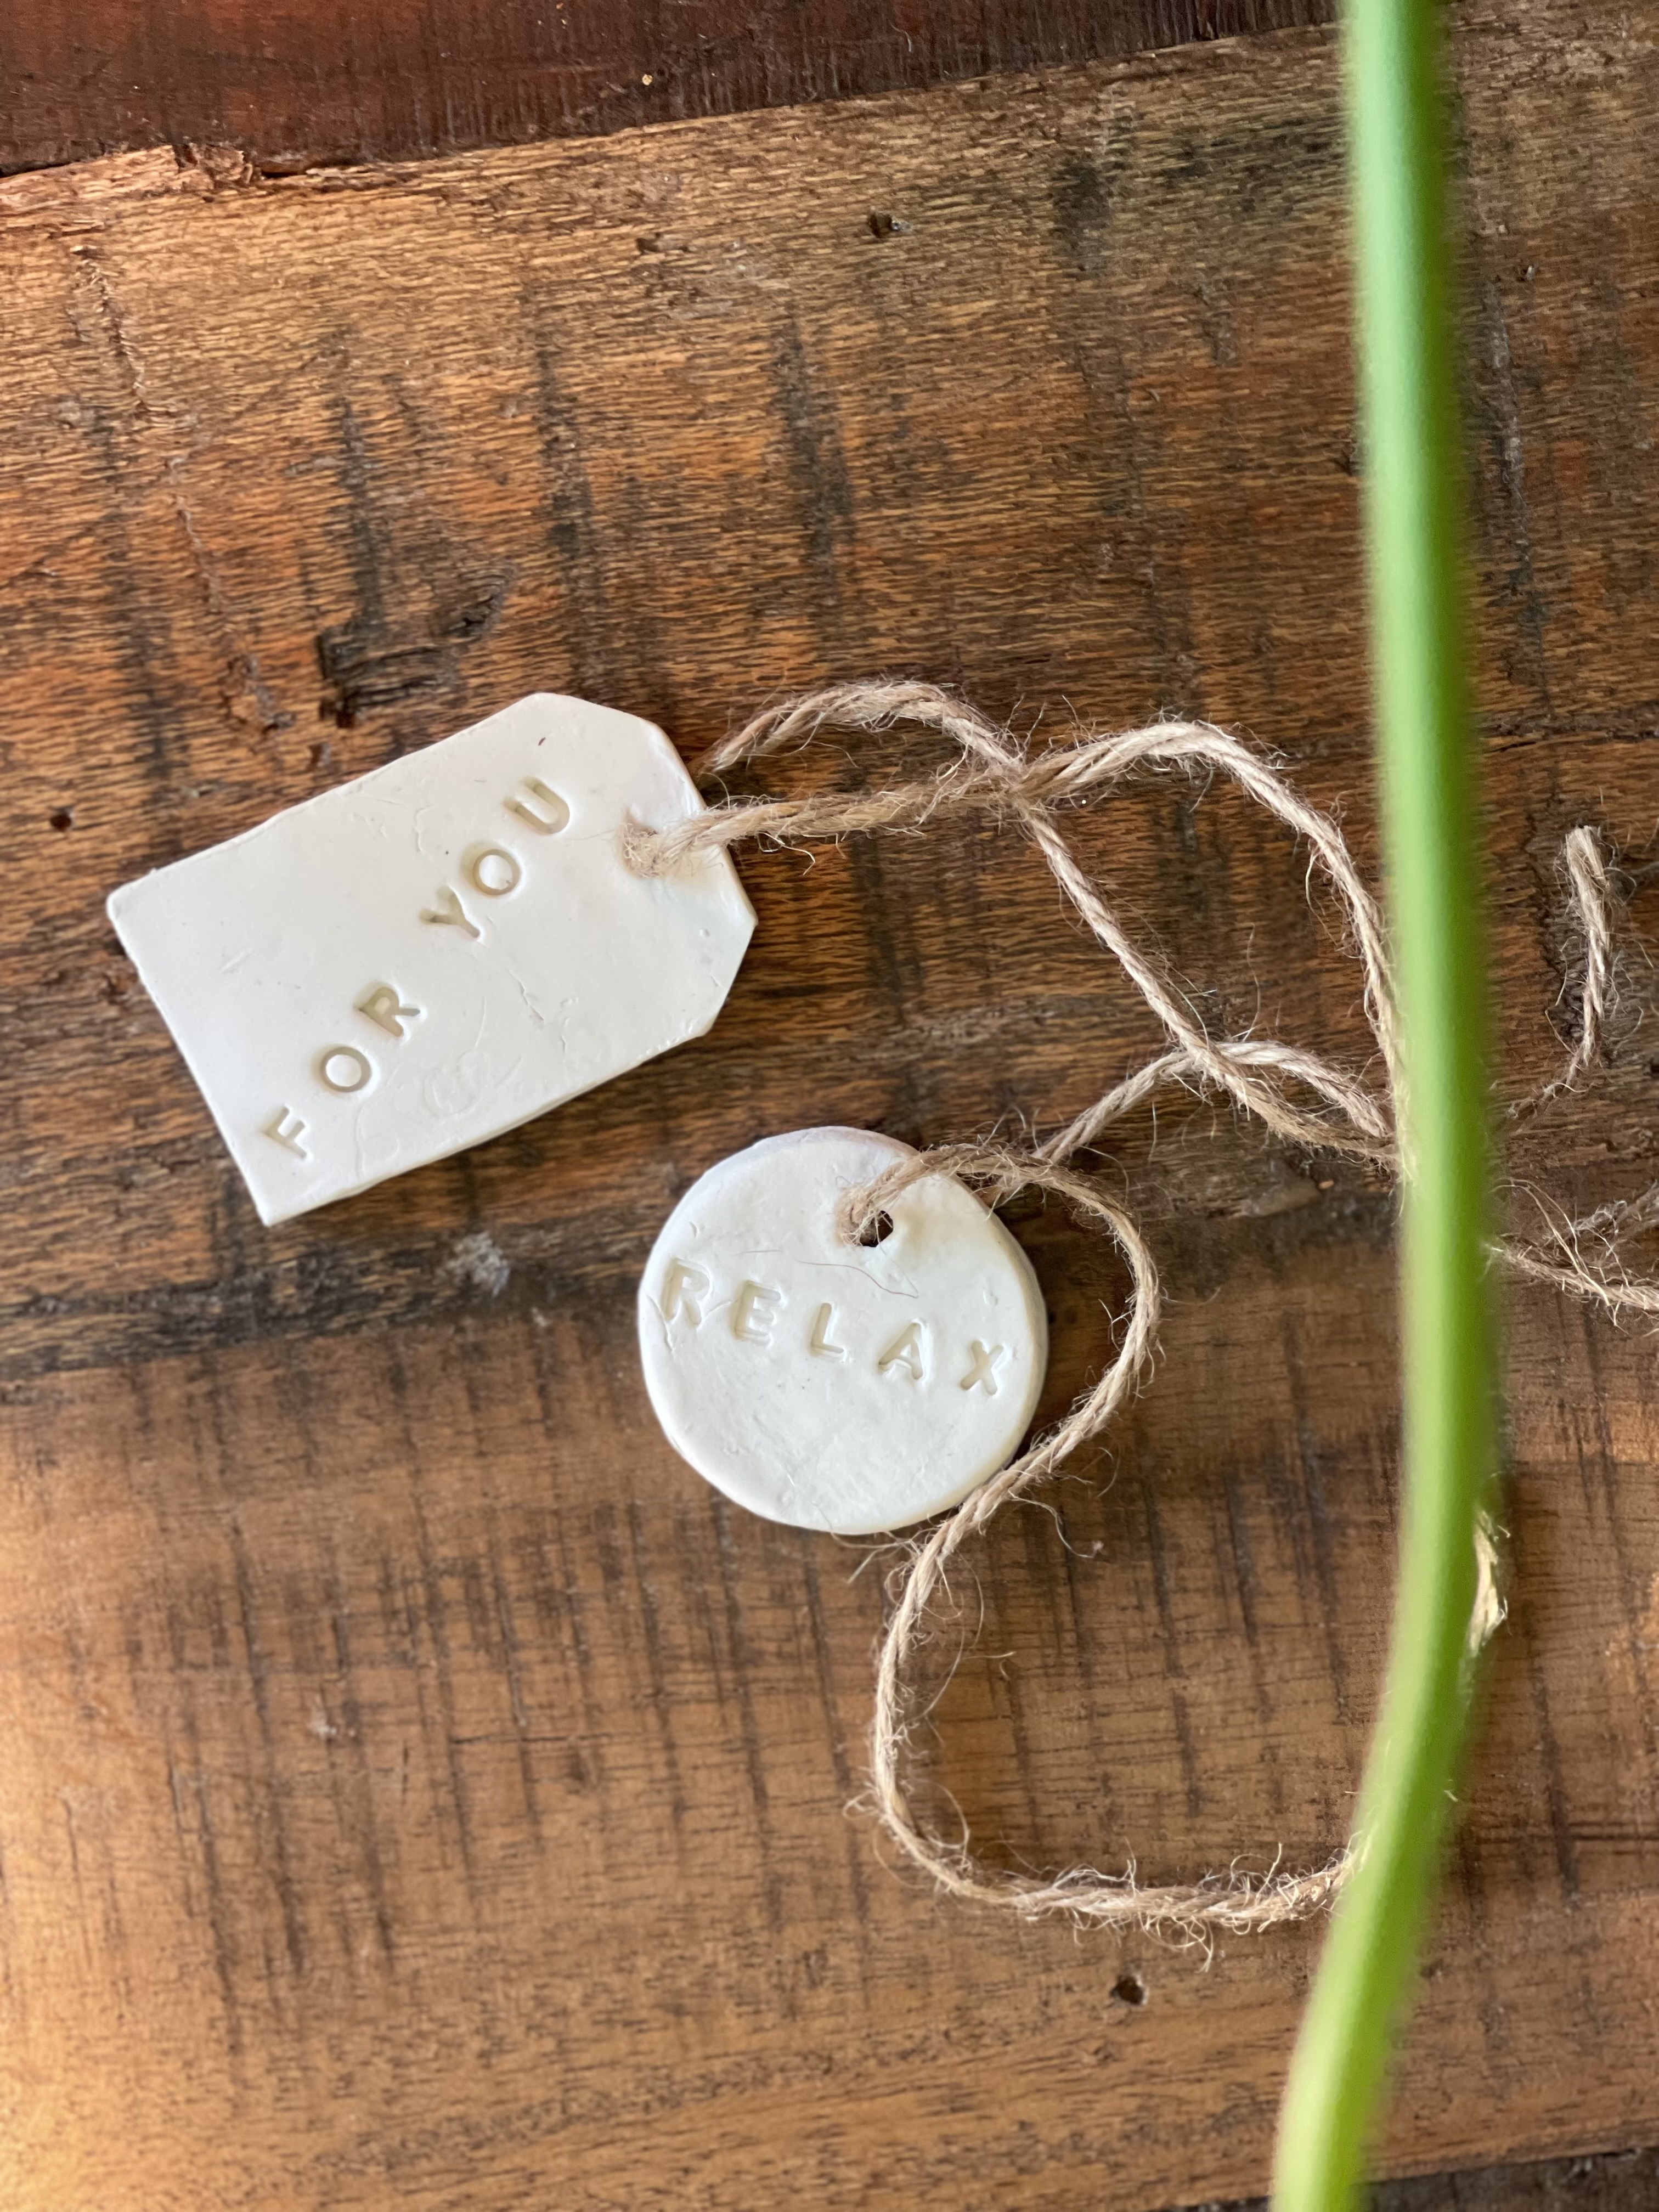
What a sweet hostess gift it would be.
You could personalize them with air dry clay tags…or I could just stop here and let you go on about your day!
Til next time, XO, Regina
P.S. Don’t forget to subscribe or share with a friend if you enjoy what you see.
FOR MORE FUN FALL INSPO CLICK HERE OR HERE
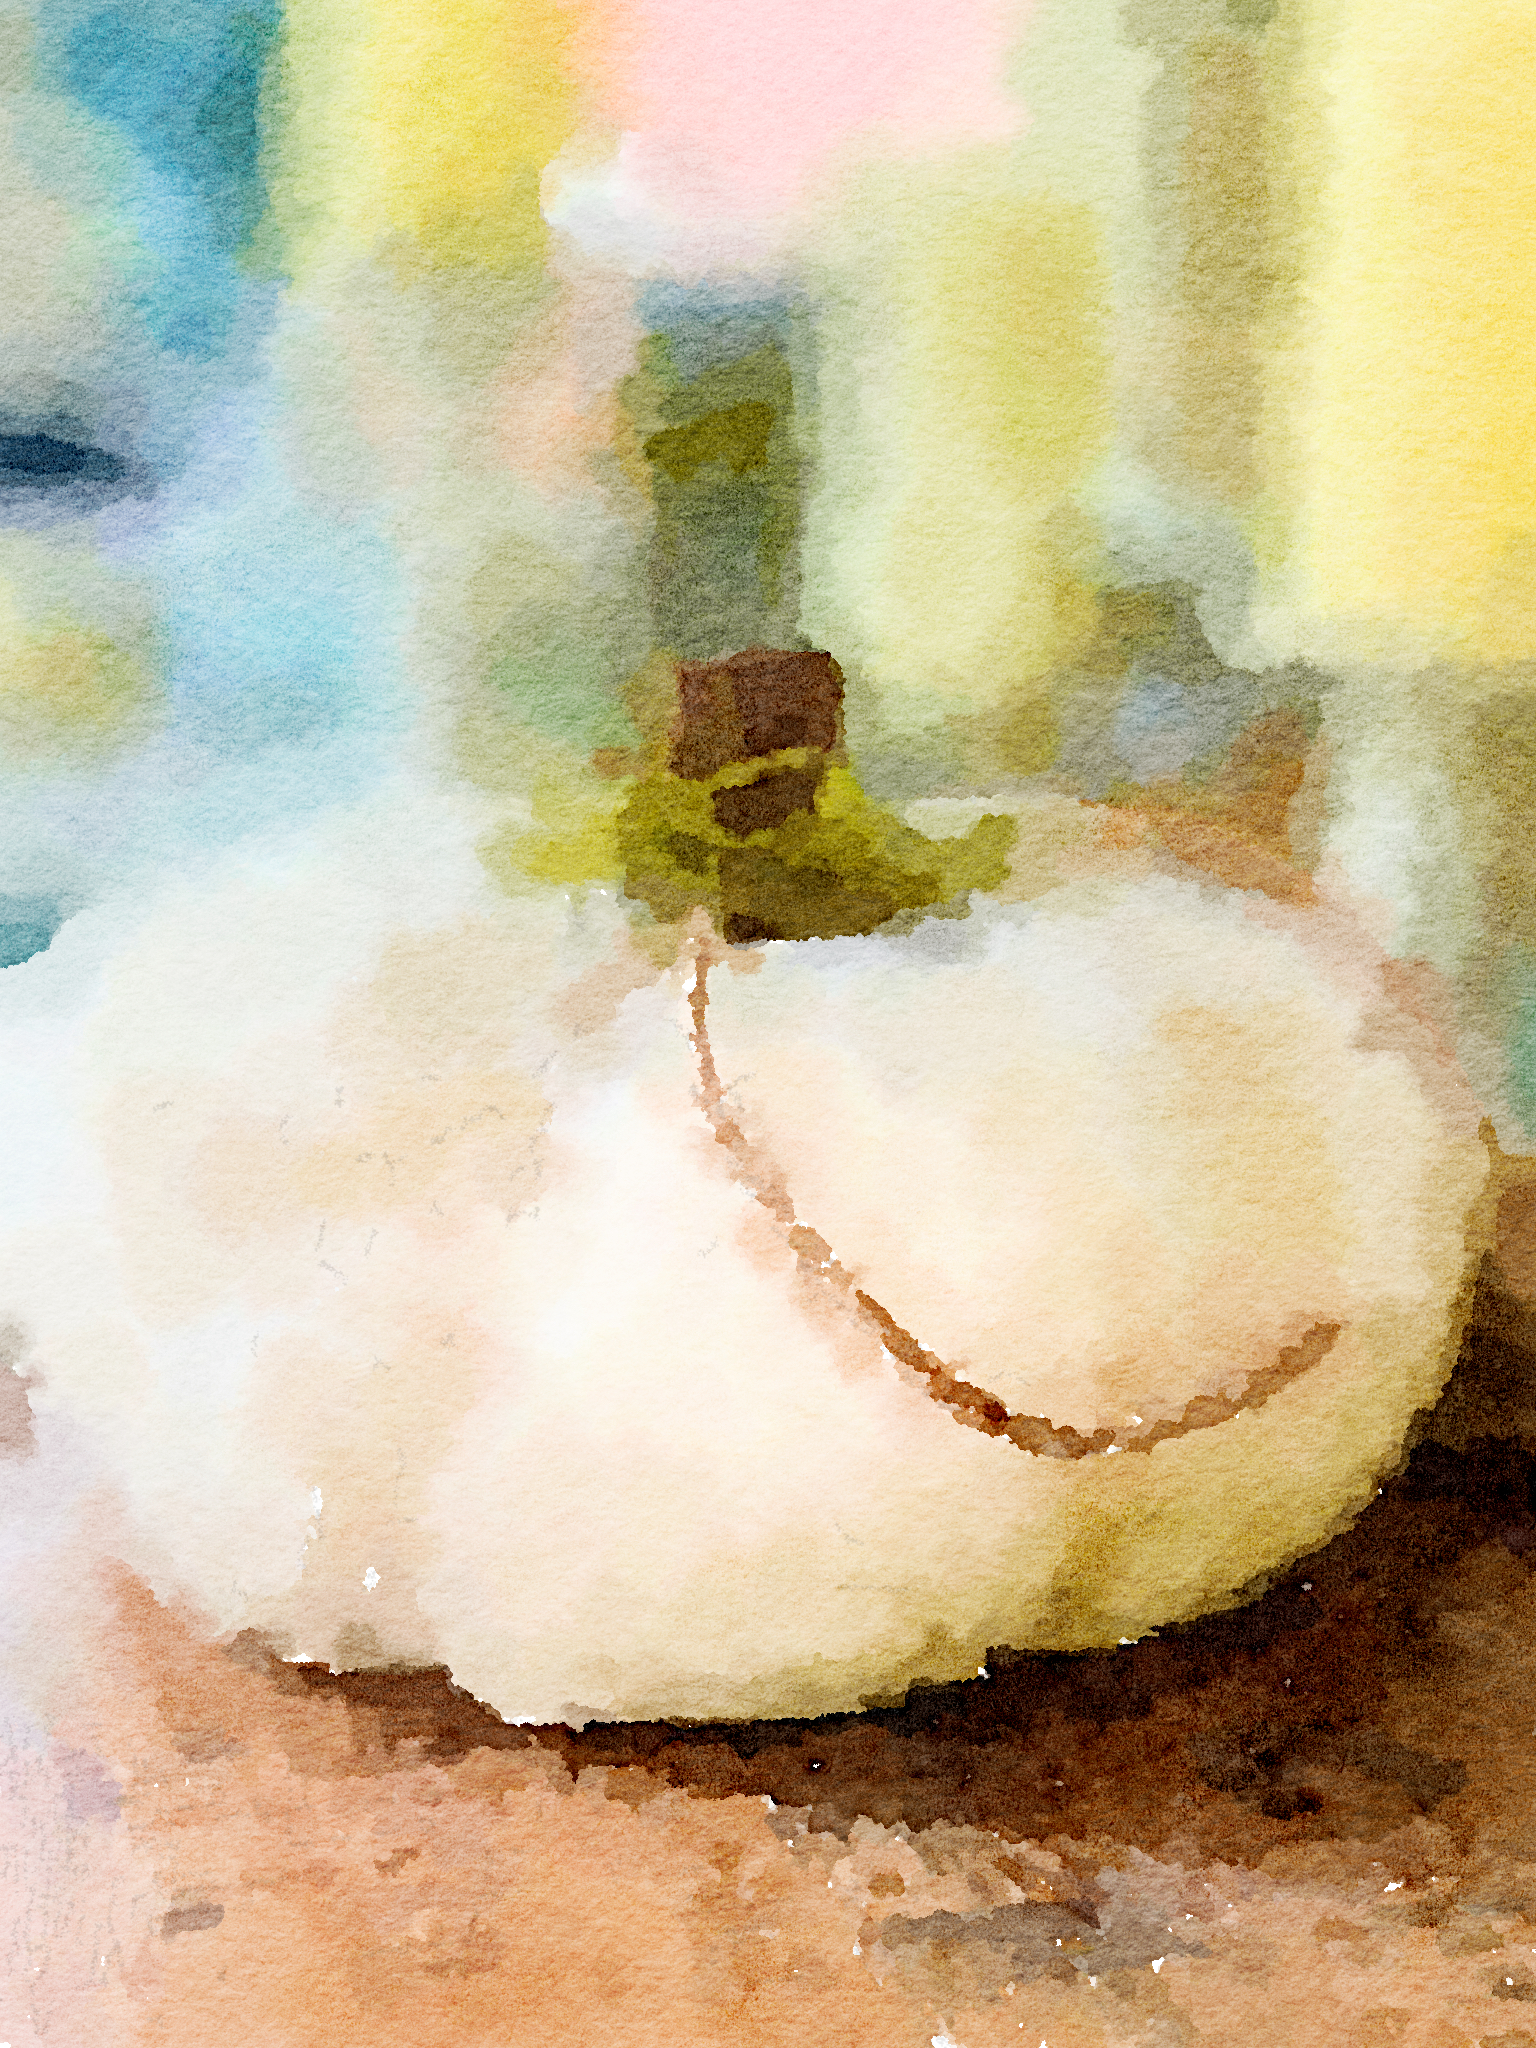
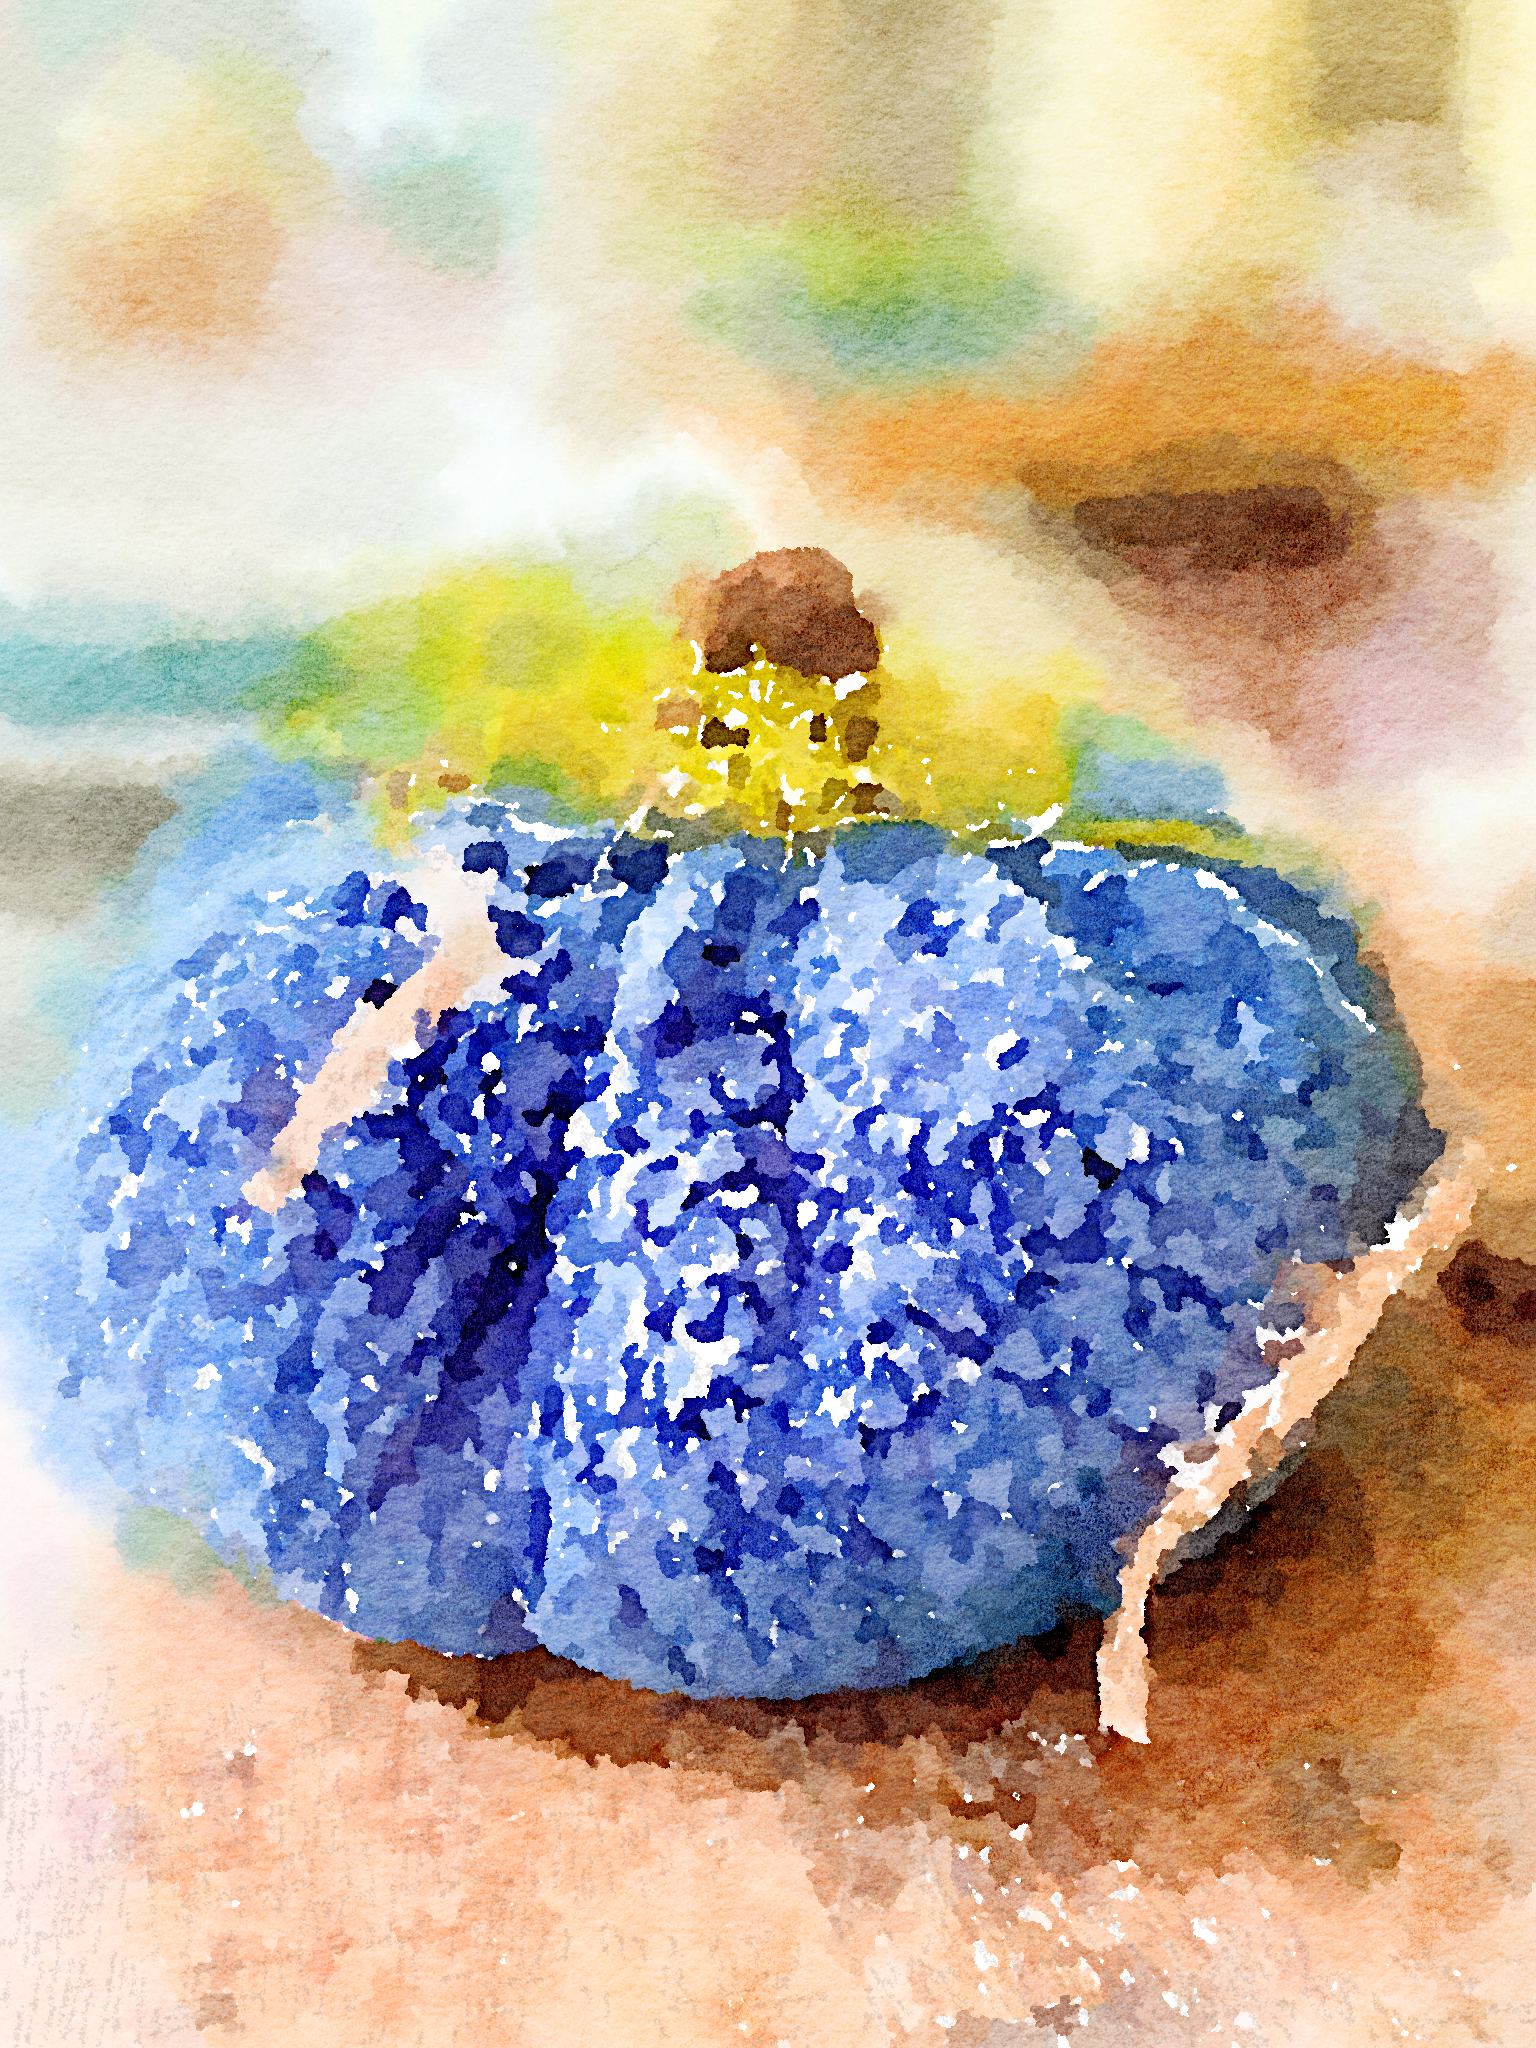
Oh – one more thing. I took pictures of two of the pumpkins and put them through my watercolor app (Waterlogue) on my phone. They look so adorable, you could make some then take a picture and put in the app then make the most adorable fall cards for the cost of the paper. Maybe I should save for another post! But look below. How beautiful?


Regina,
These pumpkins are so darn cute. I can’t wait to share your fun tutorial on Thursday.
Thanks Rachel – excited to be part of your hop!
This is similar to how I make them, but I love your fabric choices! They are kind of addicting;)
Regina what a cute DIY!!! Love it!
These are so cute. Love the nubby textures. Pinned!
The white fuzzy one is my favorite!!
I absolutely love this fabric pumpkin DIY idea! It’s such a creative way to use salvaged materials, and the colors you chose are perfect for fall. I can’t wait to try making some for my home décor! Thanks for sharing this wonderful project!
I absolutely love this fabric pumpkin DIY idea! It’s such a creative way to repurpose old fabric and add a cozy touch to my fall decor. Can’t wait to try this out for my home! Thank you for sharing! 🎃✨