I love hearts. Especially pink or natural wood.
If you are one who leans toward a more neutral home, then you might find these will fit in quite nicely.
I am excited to share these adorable scrap wood hearts I made for Valentine’s Day.
Of course you could always paint them red or a brighter pink!
If you are looking for any more Valentine Inspiration you have to check out this POST.
Table of Contents
A QUICK AND EASY DIY
These were made from pieces of vintage tongue and groove flooring. If you don’t have access to a reuse warehouse you could always pick up some very inexpensive wood like a pine stair tread from the hardware store.
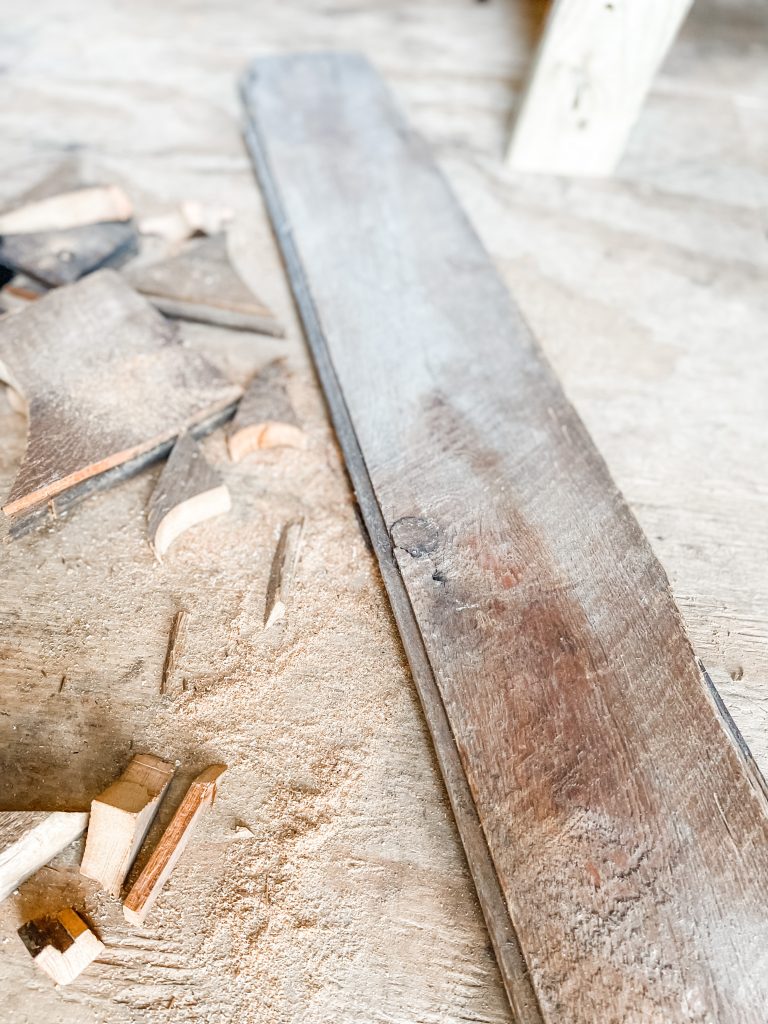
Some of the cutest things come from scraps you might be tempted to throw away.
This tongue and groove flooring was leftover from a repair Carmine did to his 1870’s rowhome, he’s since sold.
He found this at the Loading Dock, another one of our favorite reuse warehouses located in Baltimore.
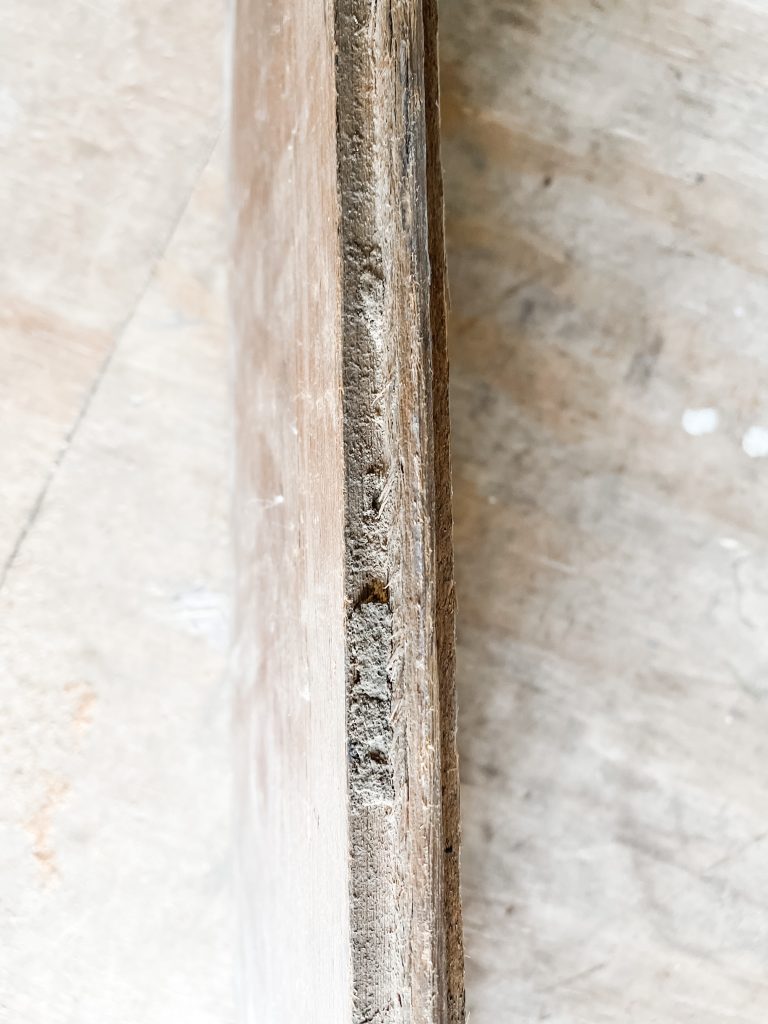
One side was finished and the other side was not. I actually preferred the rough cut unfinished side.
CUTTING THE HEARTS
I googled some clip art hearts and printed them out on plain white paper. After I cut out the paper heart, I placed it on the wood, and traced it with a sharpie onto my board. Now they were ready to cut.
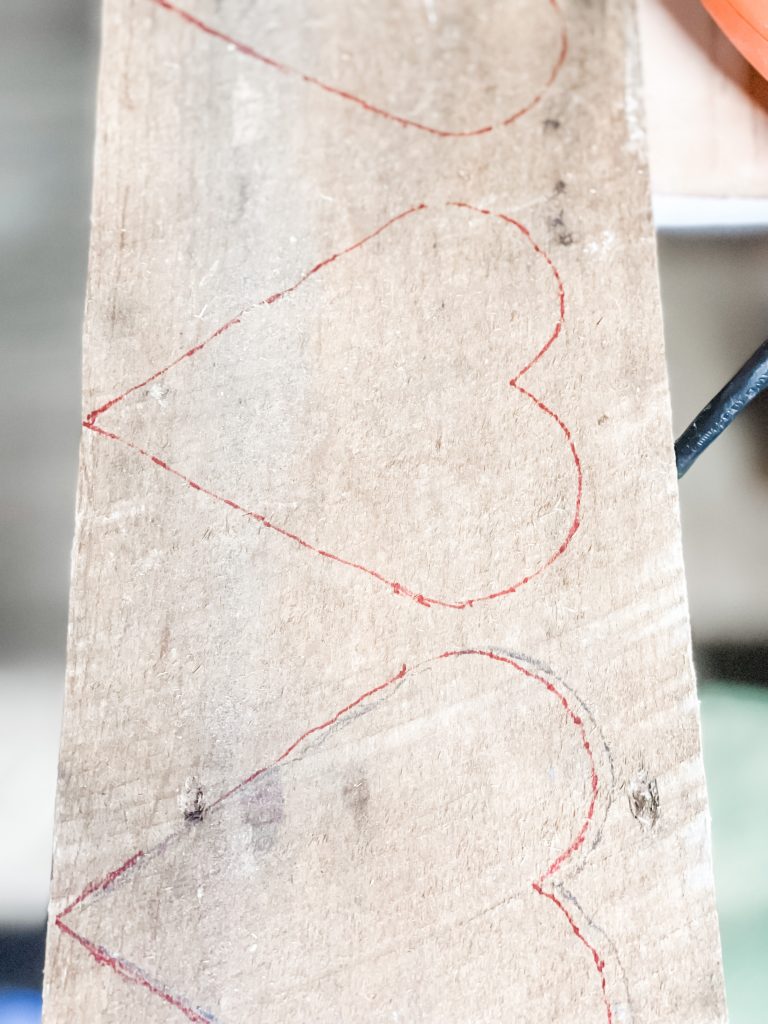
Seriously I need to get a band saw, but until then, I used a jigsaw to cut the hearts.
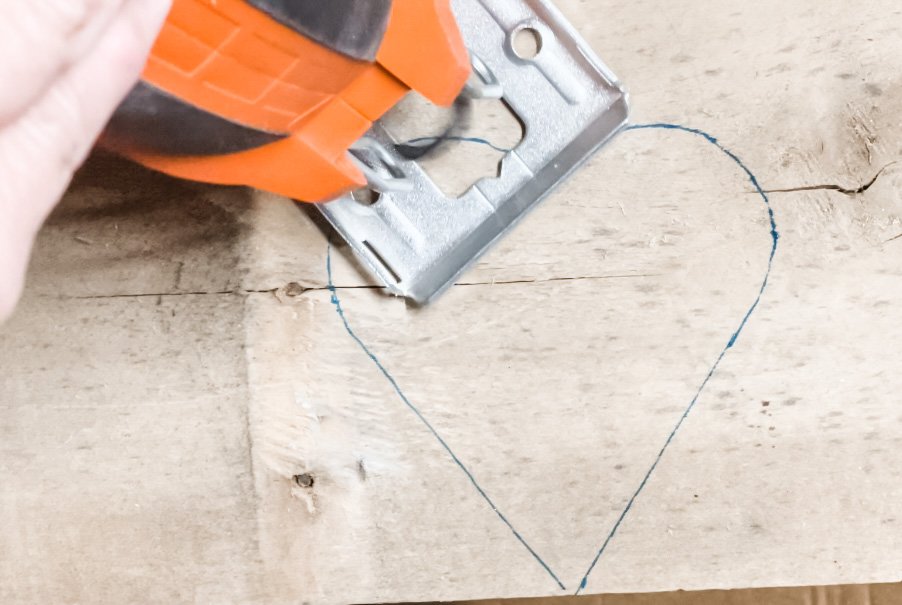
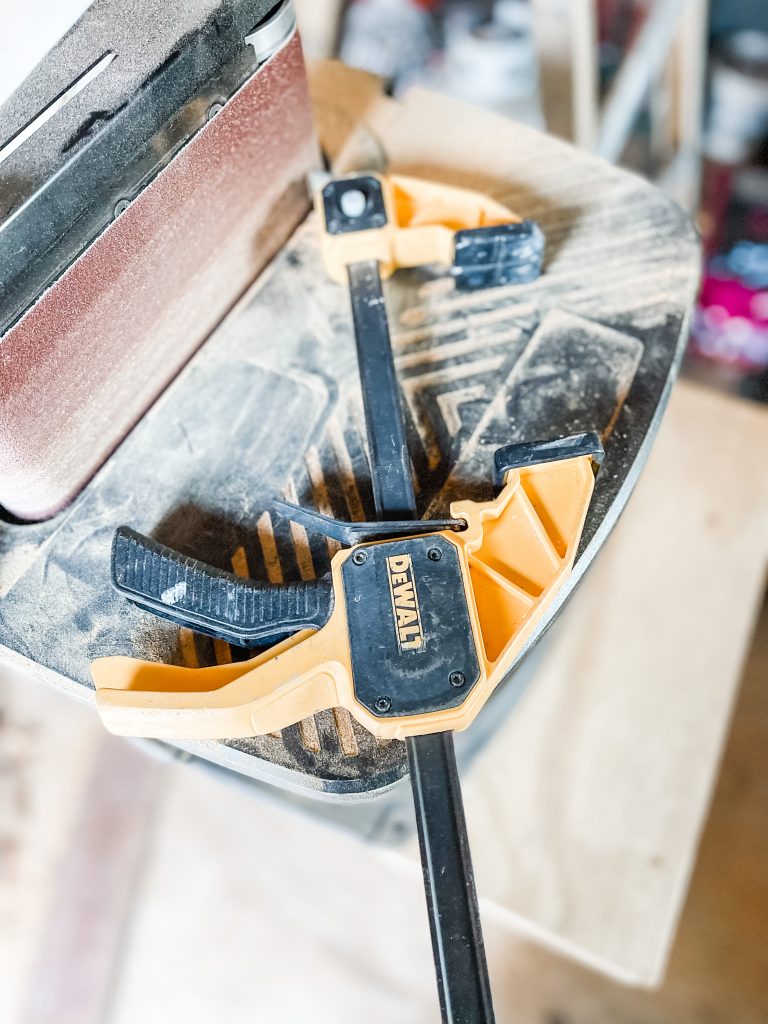
I clamped the boards to the work table so they didn’t move around as I was cutting.
This is the same type of saw but with a different blade that I used to make the Charcuterie or Cutting Boards last week.
FINISHING THE HEARTS
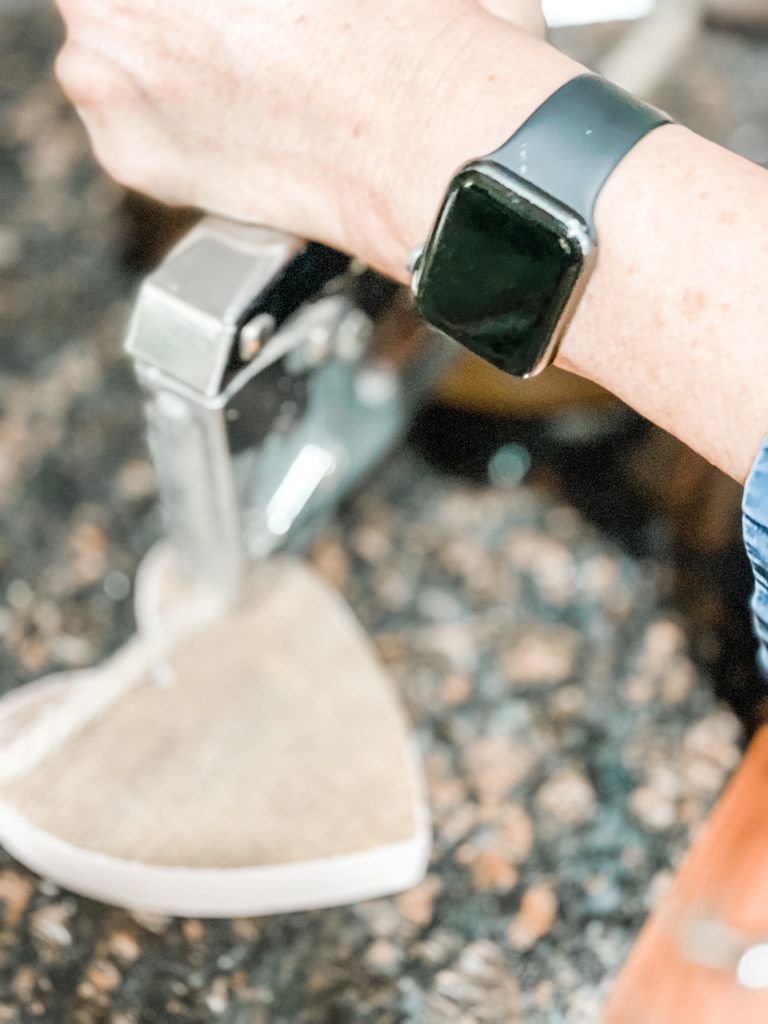
When I was done cutting, the edges were a little rough. That is because I can’t make the edges rounded like I would want to with this saw. So I pulled out the new WEN sander to clean up and smooth out the edges.

You could also use a sanding block or palm sander to even out and smooth the edges.
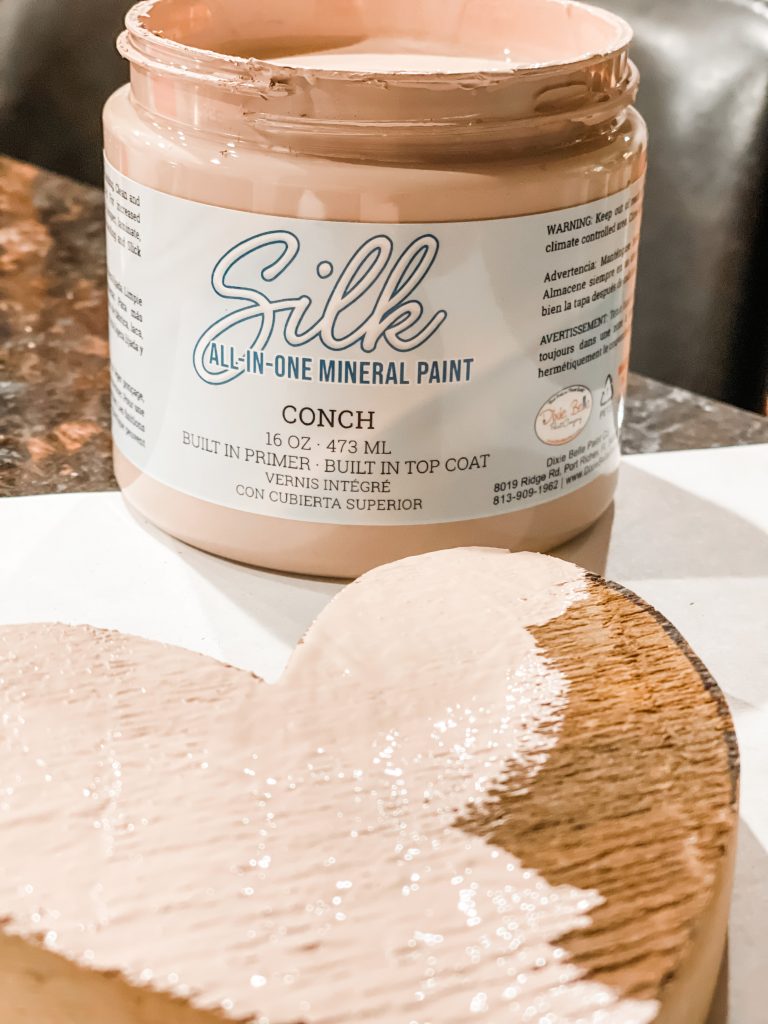
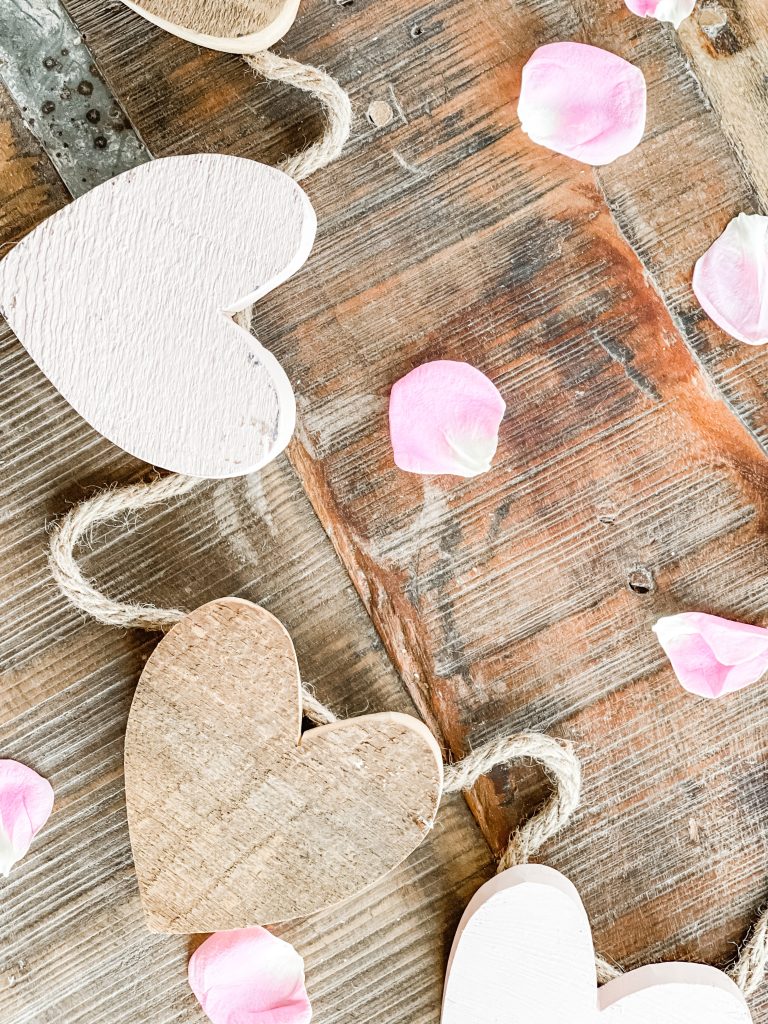
I decided to paint some of the scrap wood hearts with Dixie Belle’s Silk Mineral Paint in Conch. A beautiful soft pink, it pairs perfectly with the natural wood.
Initially I wasn’t sure what I was going to do after I cut and painted the hearts. I was thinking about mounting them on a board or drilling a hole in the top and hanging them.
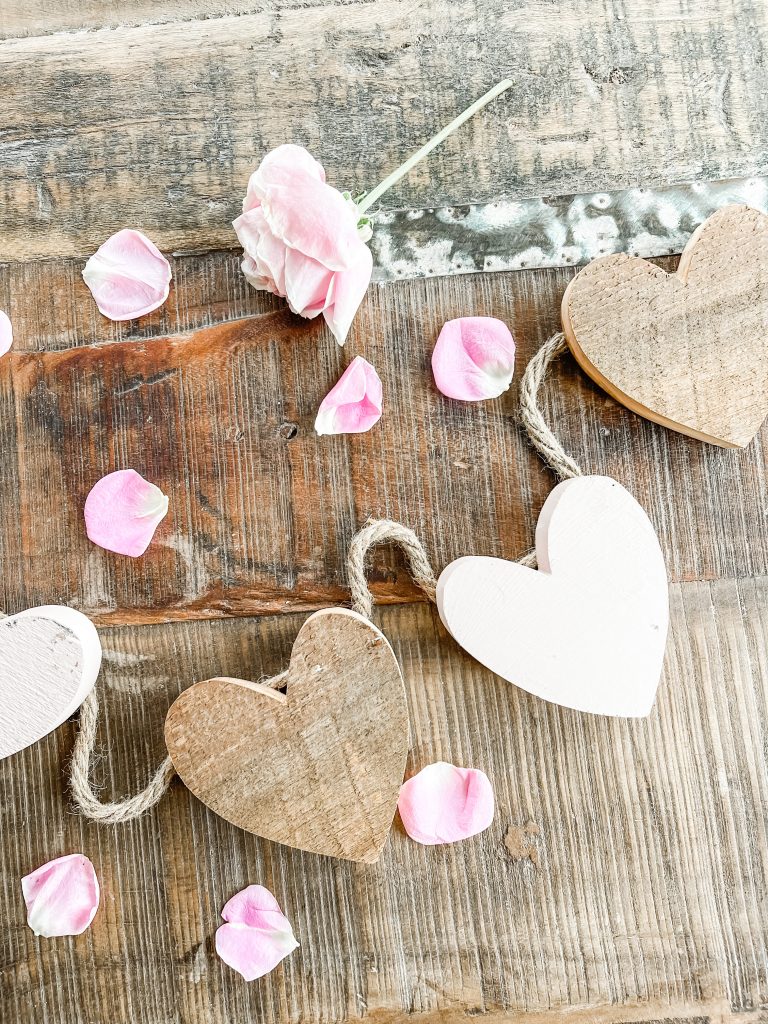
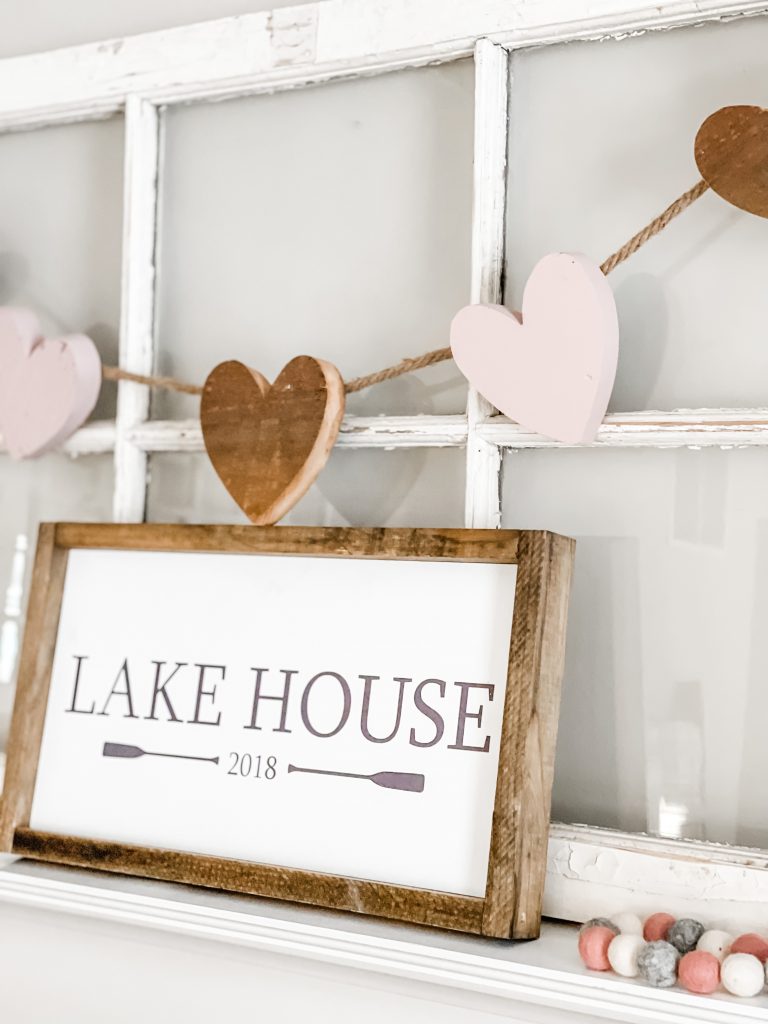
Well, as you can see, I decided to attach them to twine and hang them on one of my vintage windows.
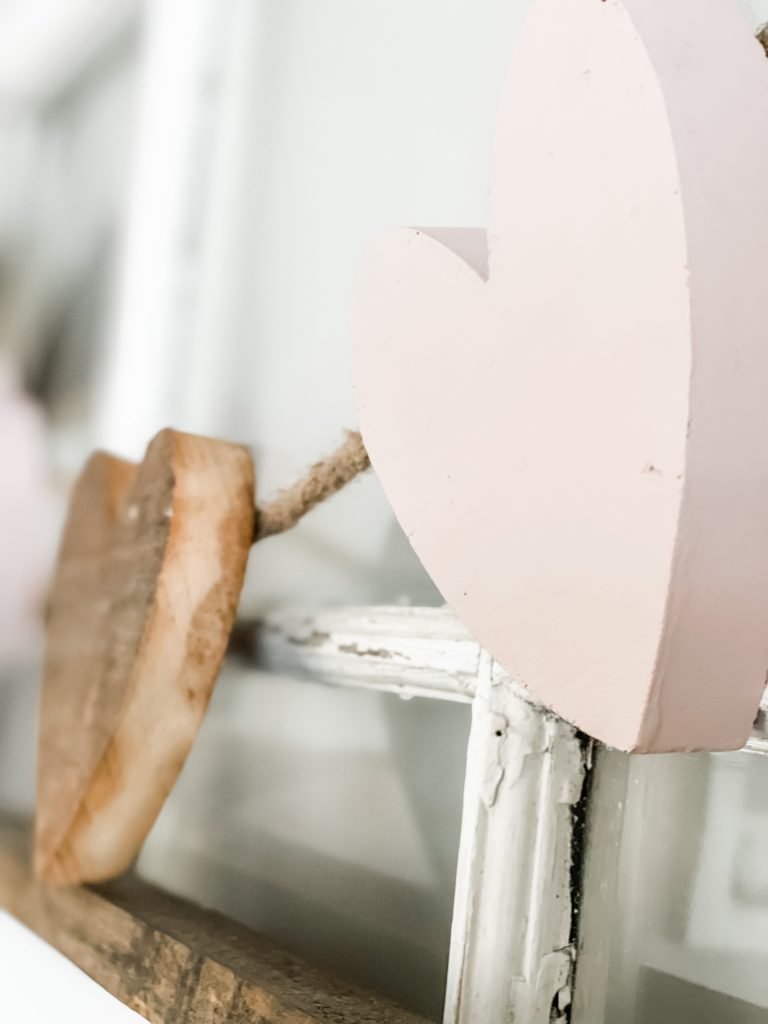
Because I might want to display them differently sometime, I chose to staple the twine onto the backs of the hearts. For this I used a heavy duty staple gun.
Doing this instead of drilling holes allows me to prop them up on their side on a table top or shelf.
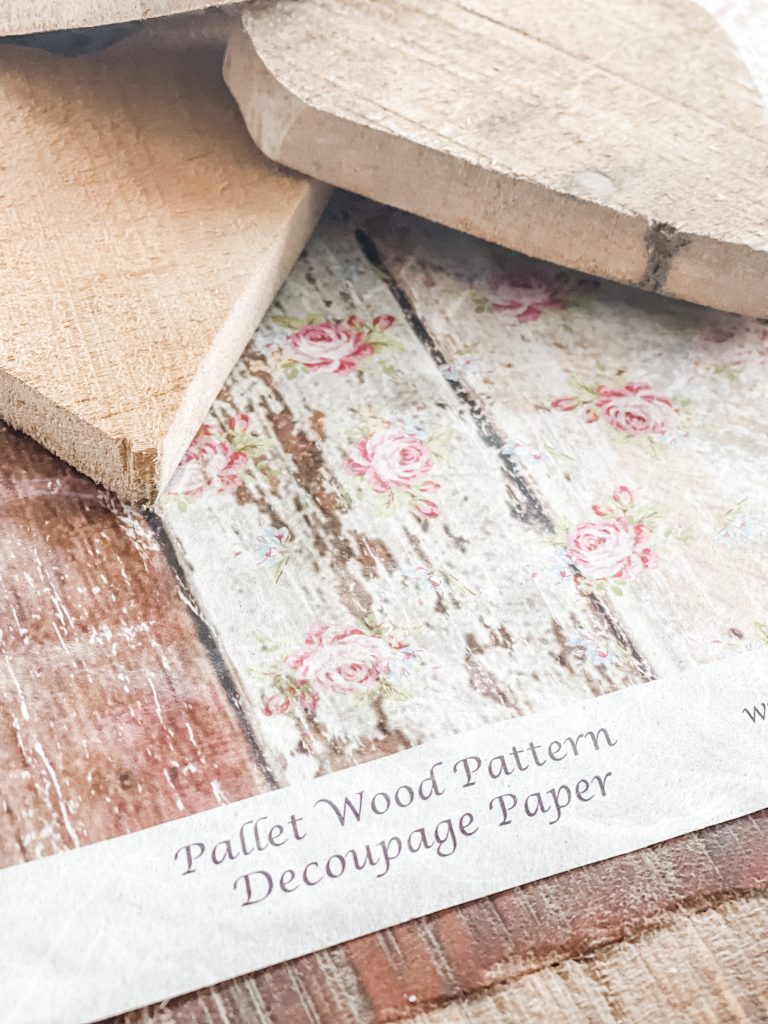
There is a little more wood in the shed. I think I will cut additional hearts because I want to see how they would look with the addition of this beautiful rice decoupage paper. Don’t you think it would look beautiful with the Conch paint?
I just love how simple and sweet they are. What a cost effective way to add a little Valentine’s Decor around your home.
I’ve teamed up with a group of blogging friends to share a Valentine project with you. Below you will see all that are participating. Make sure you stop by their blogs and say hi. Leave a comment and let them know Regina from Saved From Salvage sent you!
Valentine’s Blog Tour
Want to see more Valentine’s ideas? Well then, that’s great because today, you are in for a treat!
❣️ 💟 💟 ❣️ More Amazing Valentine’s Inspiration ❣️ 💟 💟 ❣️
Click the links below the images to go straight to their posts. ENJOY!

Chalking Up Success // Sweet Valley Acres // A Life of Balance // Peacock Ridge Farm
❣️ 💟 💟 ❣️ 💟 💟 ❣️

Cloches & Lavender // From Farmhouse to Florida // My Family Thyme // Sonya Burges
❣️ 💟 💟 ❣️ 💟 💟 ❣️

Design of Your Life // Saved From Salvage // Zucchini Sisters
❣️ 💟 💟 ❣️ 💟 💟 ❣️
I hope enjoyed this quick and easy DIY. Definitely short and sweet. Speaking of sweet, watch for my next post about Ways to Beat the Winter Blues.
Thank you for coming by to visit. The other day I realized that when I am reading your comments, I always have a smile on my face, they make me happy. So feel free to leave a “hi” or what you think.
Why not sign up for my blog with your email address and get inspiration delivered right to your inbox!
XO, Regina
This post contains affiliate links. If you purchase from these links, I will receive a small commission at no additional cost to you. Thanks for supporting my small business.
I love how your garland turned out. I think I like the natural hearts better than the pink ones. Thanks for sharing. Pinned.
Oooh, I love your scrap wood hearts! Scrap wood projects are just the best, aren’t they? That conch paint is so pretty, I can’t wait to see how your hearts look with that decoupage paper too, it looks so lovely! Pinned!
Regina this is so beautiful. I love the tone of paint you picked to go along with the wood tones. It is soft and romantic and absolutely gorgeous! Thanks for hopping along with me on this blog hop!
First off I always love a project where you use leftover or recycled materials. This is such a great little diy that I can not wait to try with some leftover cedar I have out in the garage. So happy to have been on the hop with you,
Love this and perfect for me. I’m more neutral in home decor.
The only.part that would be for my hubby is cutting the hearts.
This girl isn’t a fan of power tools.
I give instructions, he cuts. I make it pretty. Not a bad deal.
Pinned!
I love this idea. Especially with the reclaimed wood. You are so talented my friend. hugs and blessings to you.
Regina, I love your hearts! Such a great idea. You could also make smaller one put an eye hook in the top and attach them to your wood beads. Or make a bunch of different sizes , again attach an eye hook at the top, attach ribbon and make a garland or little ornaments or tags, etc.
I LOVE THIS!!!!!! Thanks for sharing how to make these! I love anything heart shaped! I love anything made from salvaged wood! These are fantastic! So much fun doing this hop with you!
Regina, this garland is adorable! I love that you made it out of wood, it’s definitely impressive. I’ve had fun hopping with you this weekend!
What a pretty garland, Regina! I have a jigsaw and never thought to use it for this. You have inspired me to give it a try! It was so much fun to hop with you! Happy Valentine’s Day!
Your garland looks amazing! Great idea to use up wood scraps! Thanks, Donna
Regina, your heart garland is so rustic and beautiful! I love the contrast between the raw wood heart and the painted heart. It looks lovely strung across the old window. It was fun hopping with you. Pinned!
I really love these simple little hearts! Especially with the twine! Some decor is overdone. I really like it simple.
Thank you so much for sharing this at the Sunday Sunshine Blog Hop!
Laurie
Ridge Haven Homestead
This is a great idea and a pretty project. I will think about this the next time I am trying to use up some scrap wood. Thanks for sharing the inspiration. #HomeMattersParty
Donna – thanks so much. Have a great weekend.
Regina your project is beautiful – I prefer the softer vintage colors too! CONGRATS for being one of our Featured Friends of the Week at Friendship Friday at Create With Joy! 🙂
Thanks so very much for the feature! How fun.
Thank you for sharing this on Traffic Jam Weekend! It had the most views during last week’s link party. Therefore, it is a part of this week’s party features that will go live on Thursday at 5:00 pm CST.
Thanks so much! Yay I’m excited.
These are so pretty!
I love how the wooden heart garland turned out!! The pink is so pretty! You can use these pretty hearts in so many fun ways! Thanks so much for sharing!
So pretty! Thanks for sharing at Vintage Charm–pinned!
This is awesome. Thank you so much for sharing on Fabulous Friday Link Party. We sure appreciate you. Hugs and blessings to you.
These hearts are SO pretty!! I love the neutral colors of them..I too like to use light pink and whites in my home this time of year. What a great way to use old materials!