Do you like roadside finds?
This was rescued from a trash pile. I share how to revamp a hutch into two separate pieces.
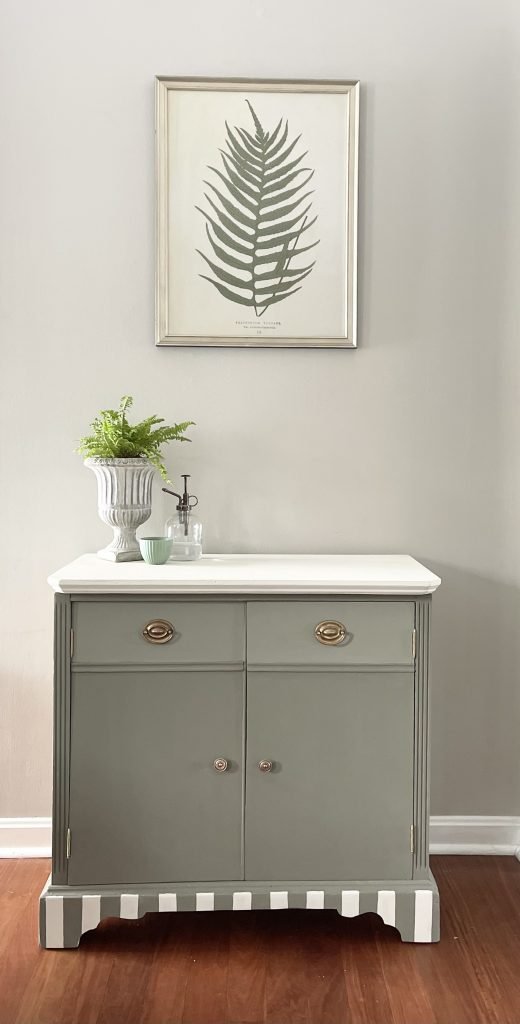
What a transformation.
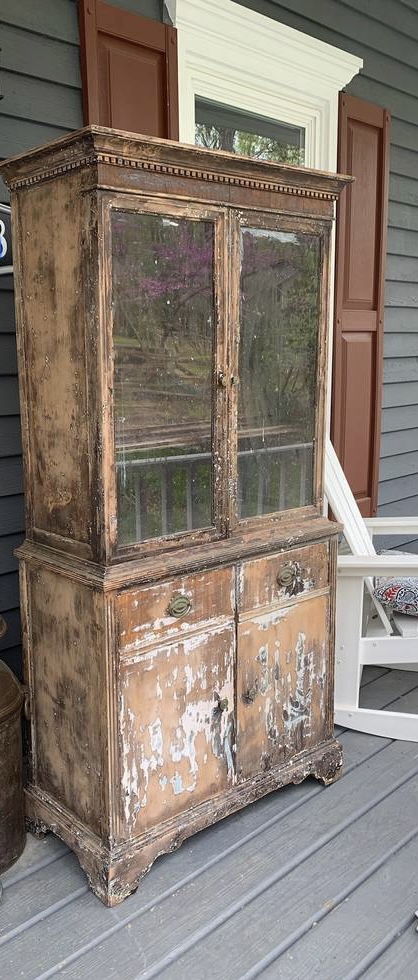
Table of Contents
AN UNEXPECTED FIND
With an affinity for thrifting, dumpster diving and the good ole days of bringing things HOME from the dump, it’s no surprise that I get excited for Bulk Trash Day.
This beauty was spotted in our neighborhood. Unfortunately it was on a day that Carmine was out of town and I was headed to a shower. Dressed up and running late, there was no time to load up a piece of furniture myself. So, I began making phone calls.
I knew I had to have it. To read the story of it’s rescue, see my post here at BULK TRASH DAY.
SCORING THE HUTCH
It landed on the front porch and I used it as a quasi potting station. Carmine didn’t love the aesthetic to put it nicely.
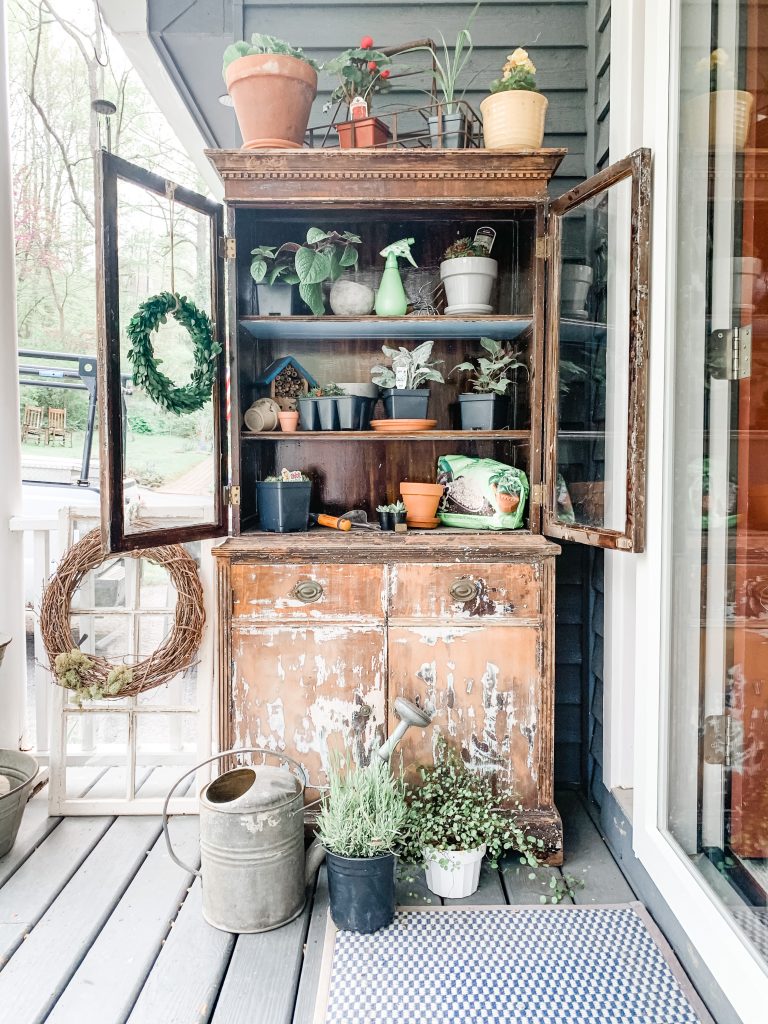
Eventually I brought it inside. It would be perfect to store chargers, over sized plates, cloth napkins and placemats. When I put it in the only space I could, I didn’t like it. Because the hutch is short and narrow, it seemed lost there.
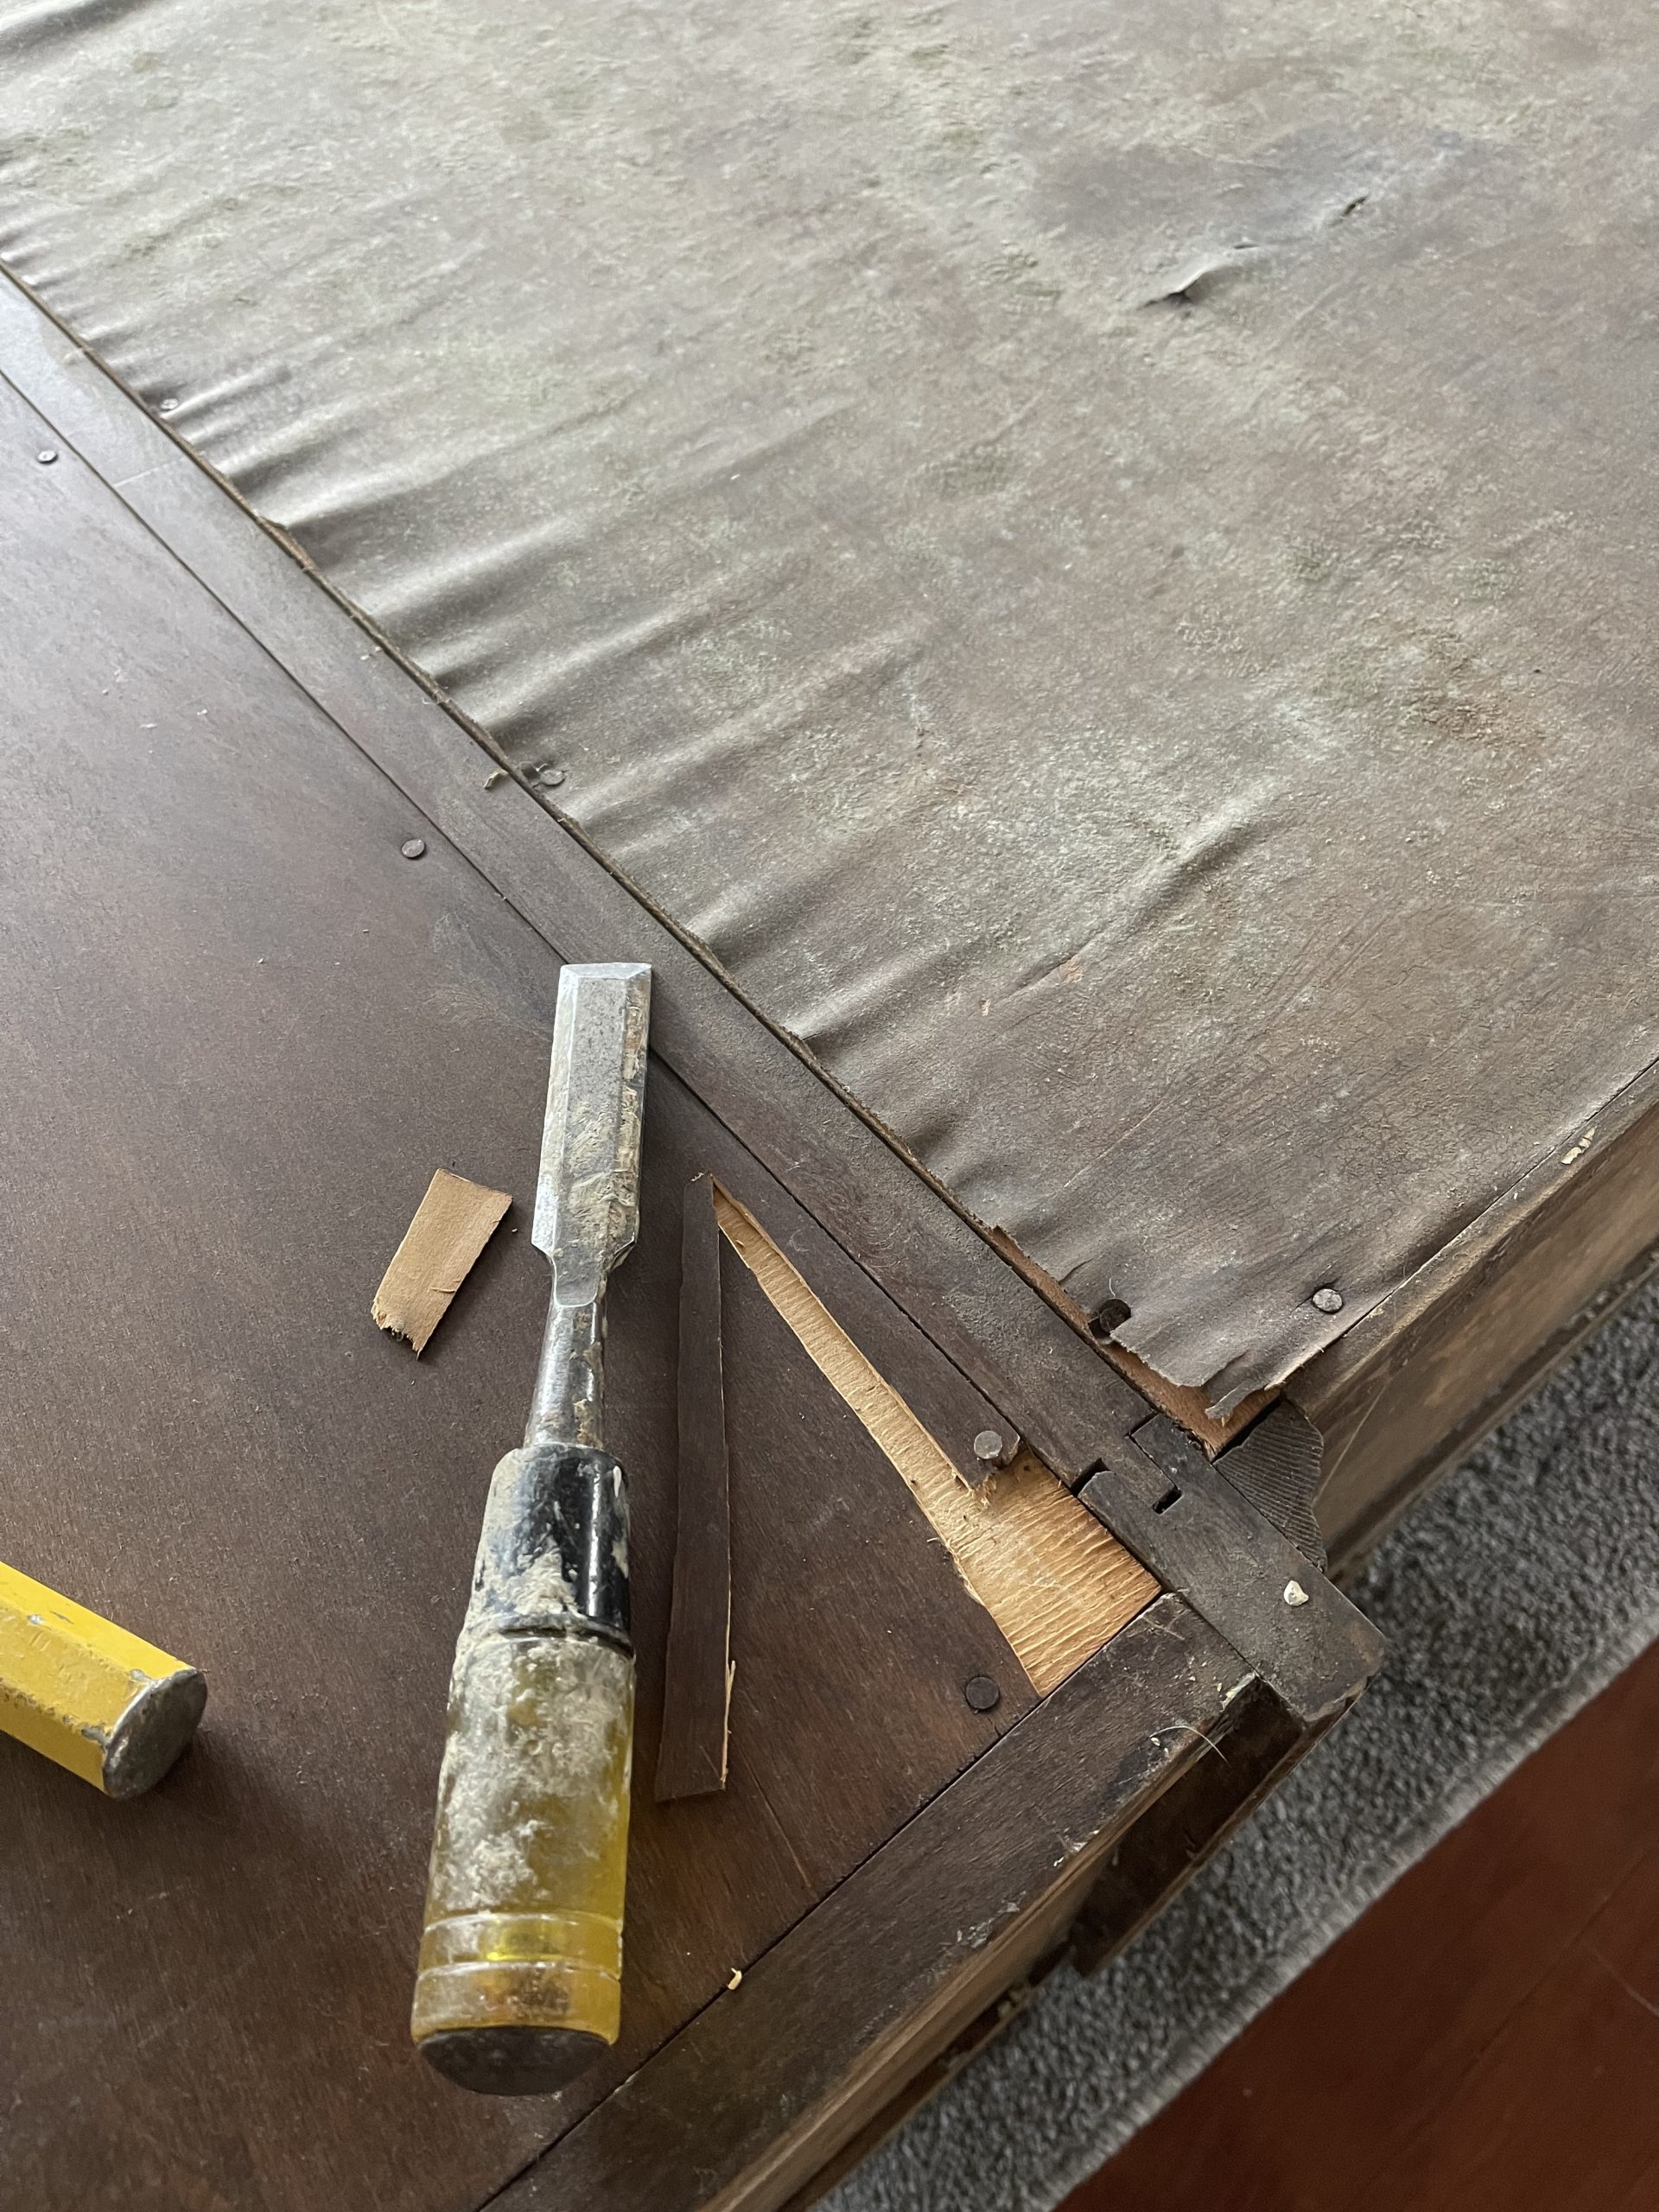
THE HUTCH TEAR DOWN
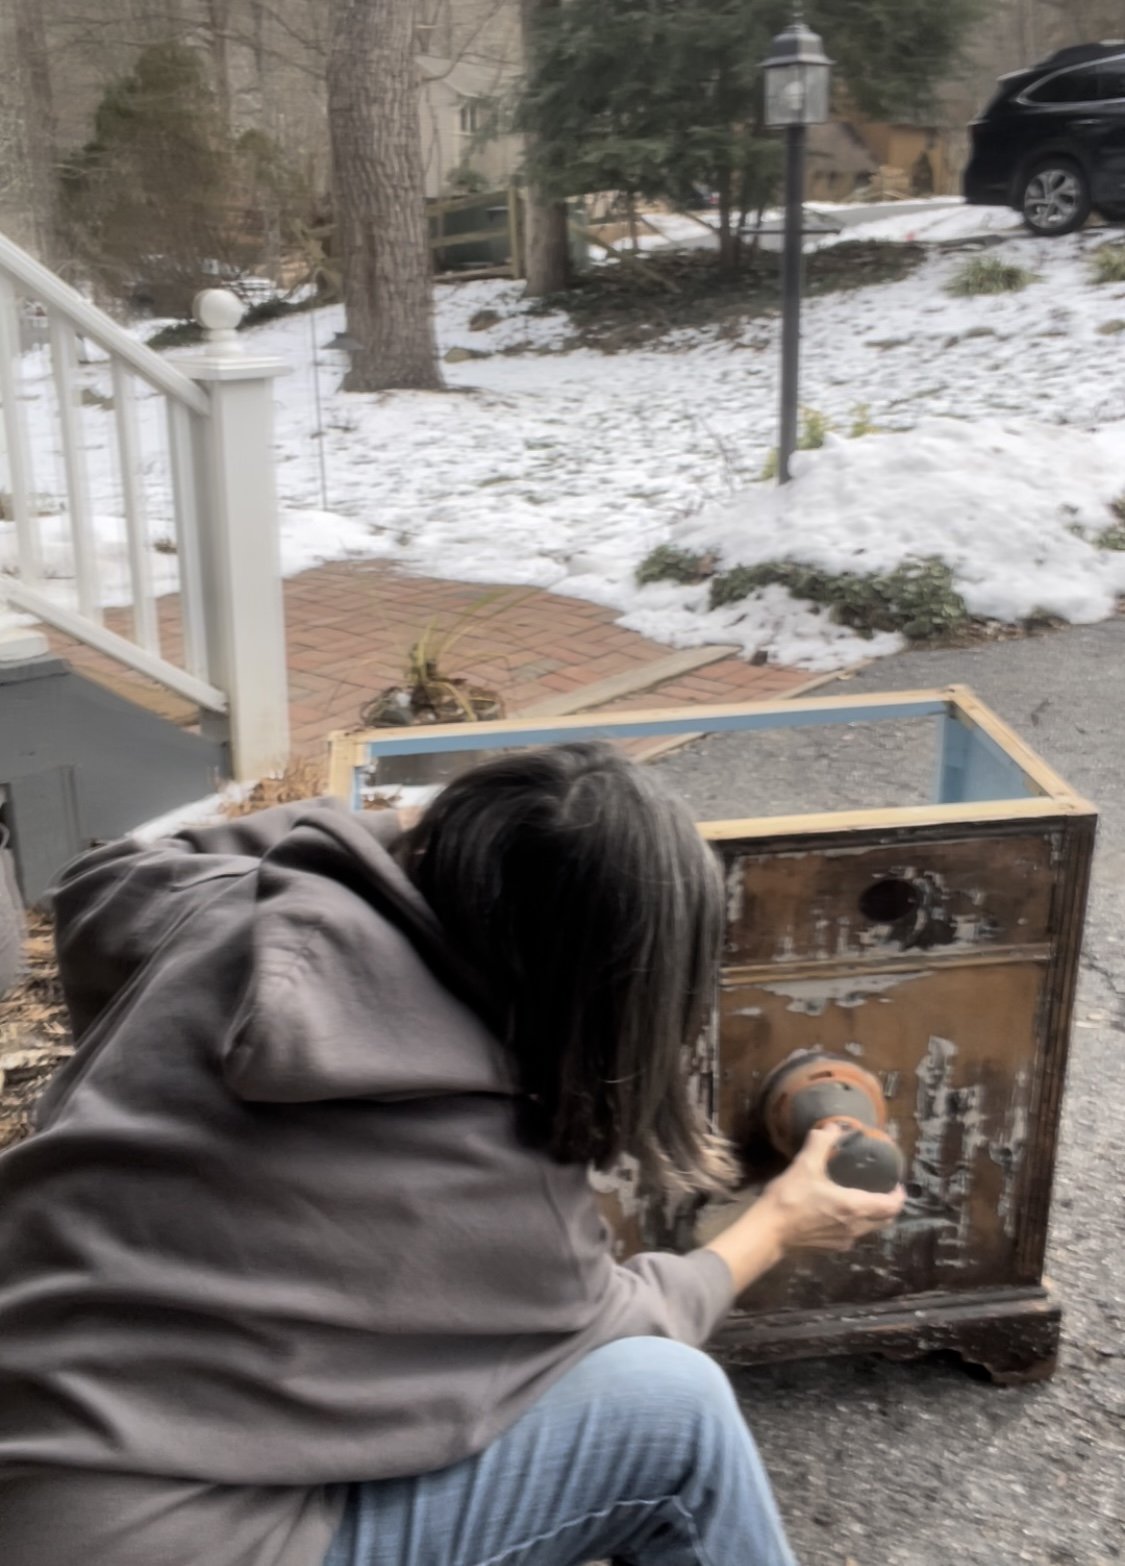
A few weeks ago I thought about taking it apart and creating two separate pieces. I waited until someone was out of town and I laid it on it’s side right where it was, and started at it. Not too sure what I was getting myself into.
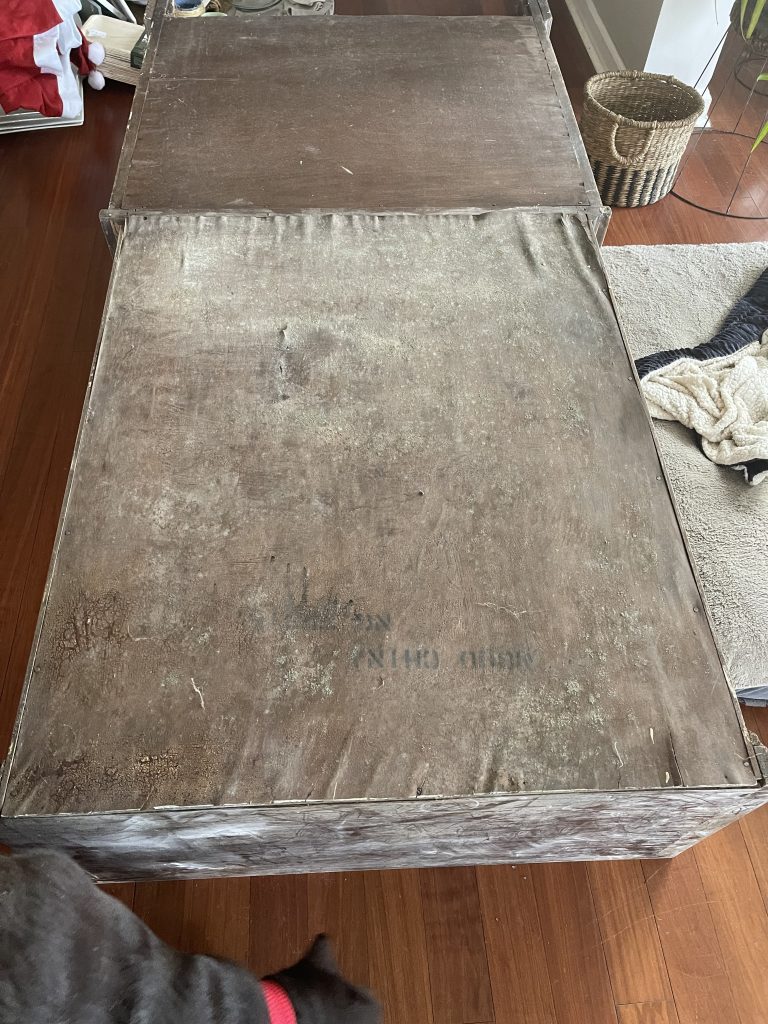
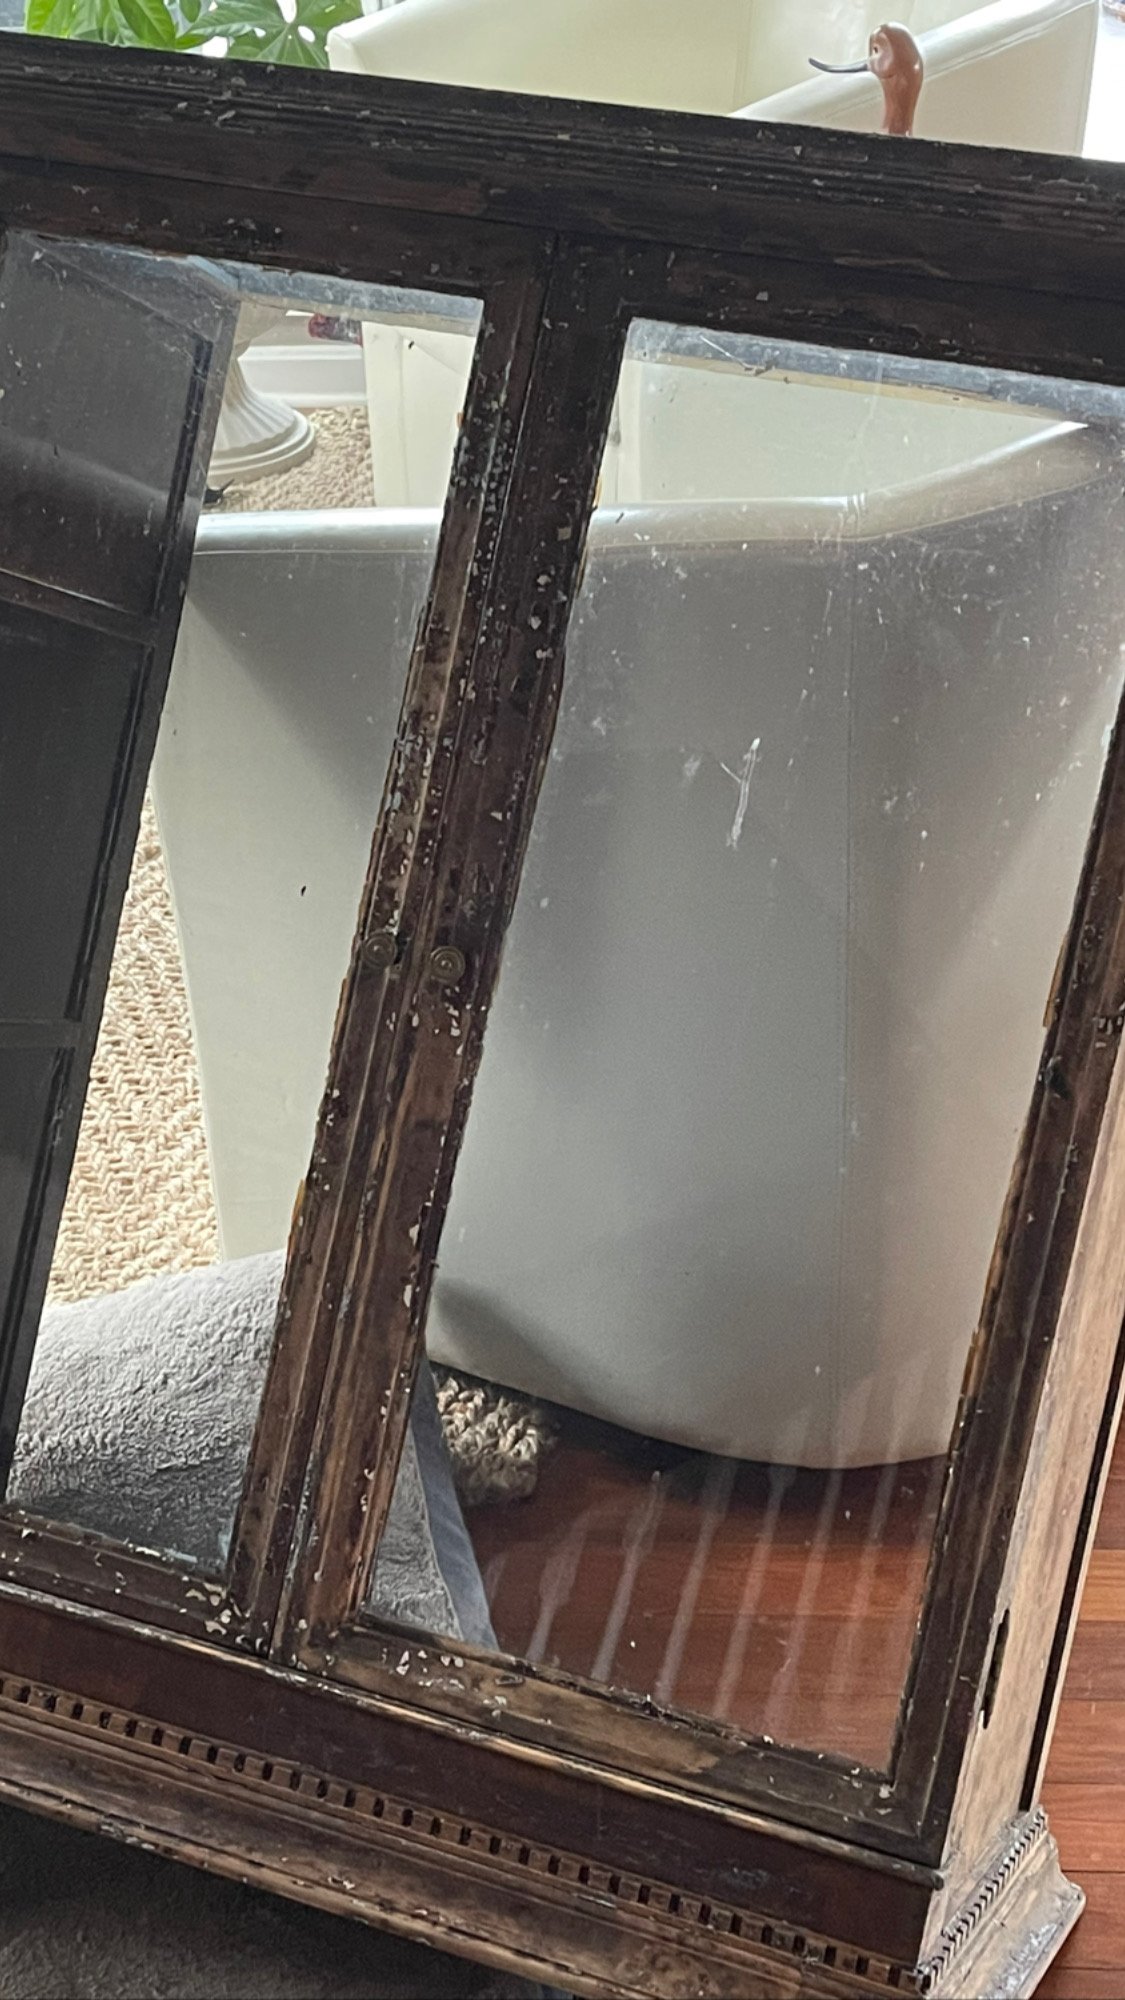
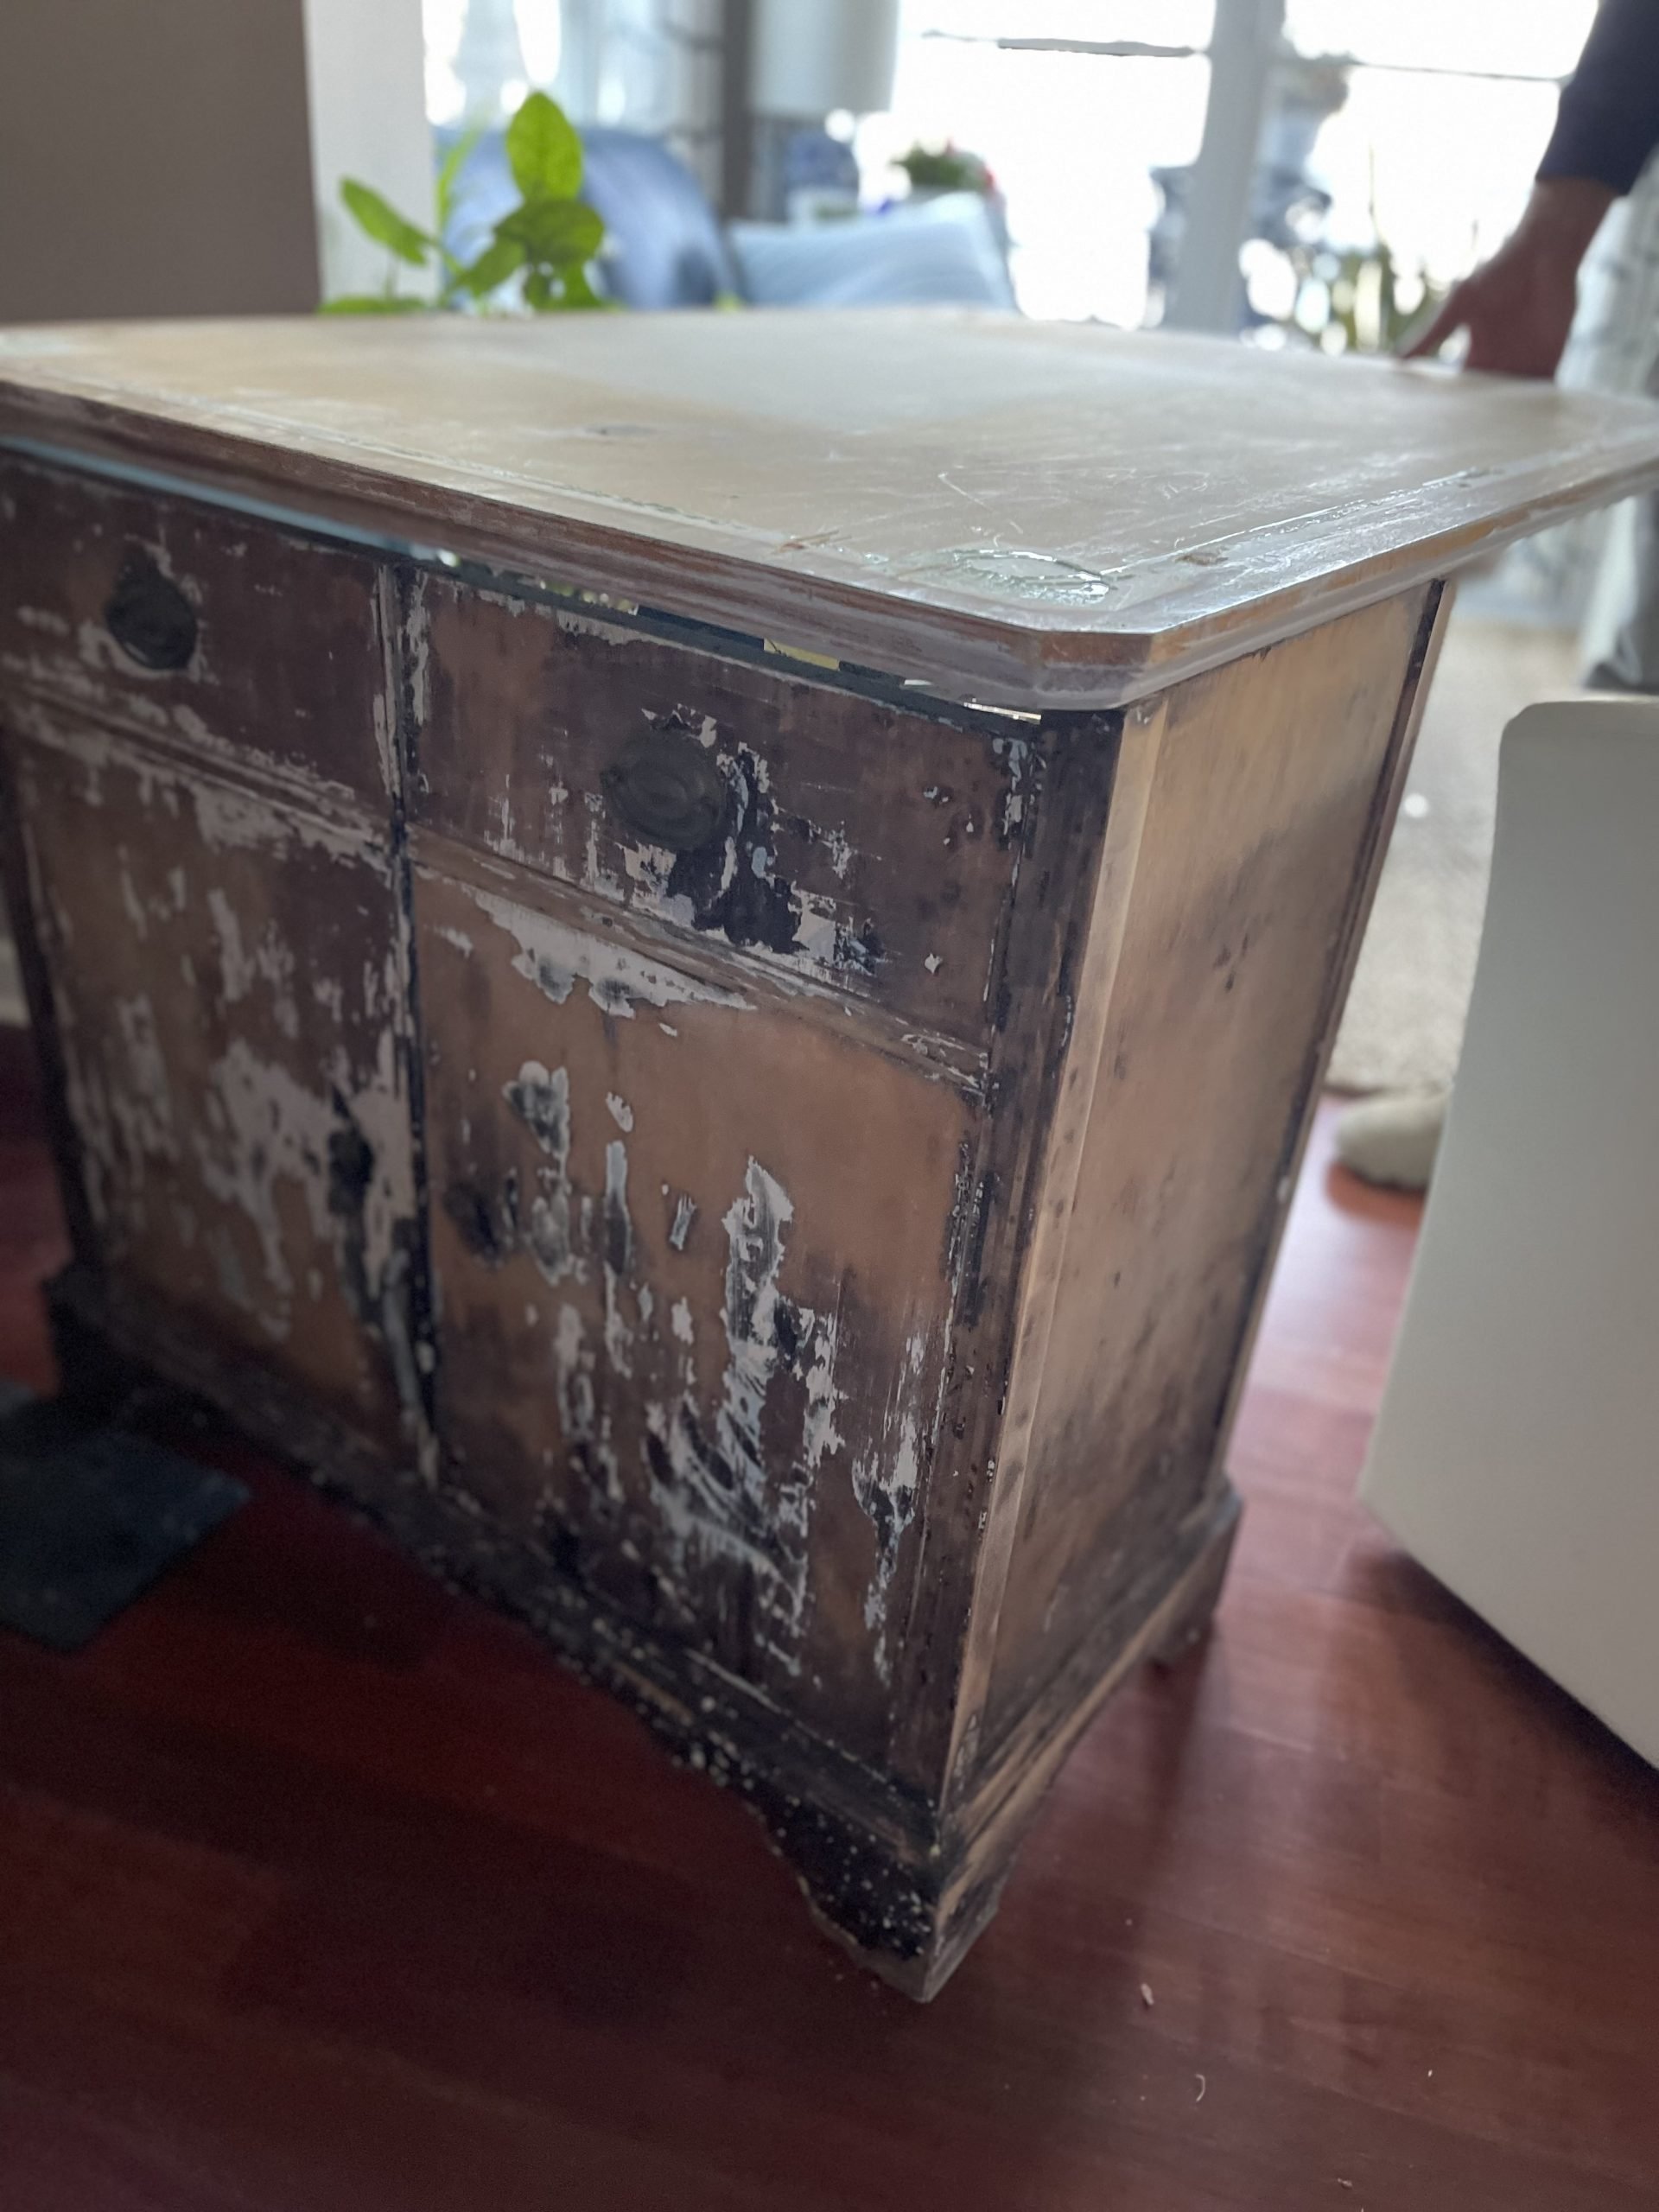
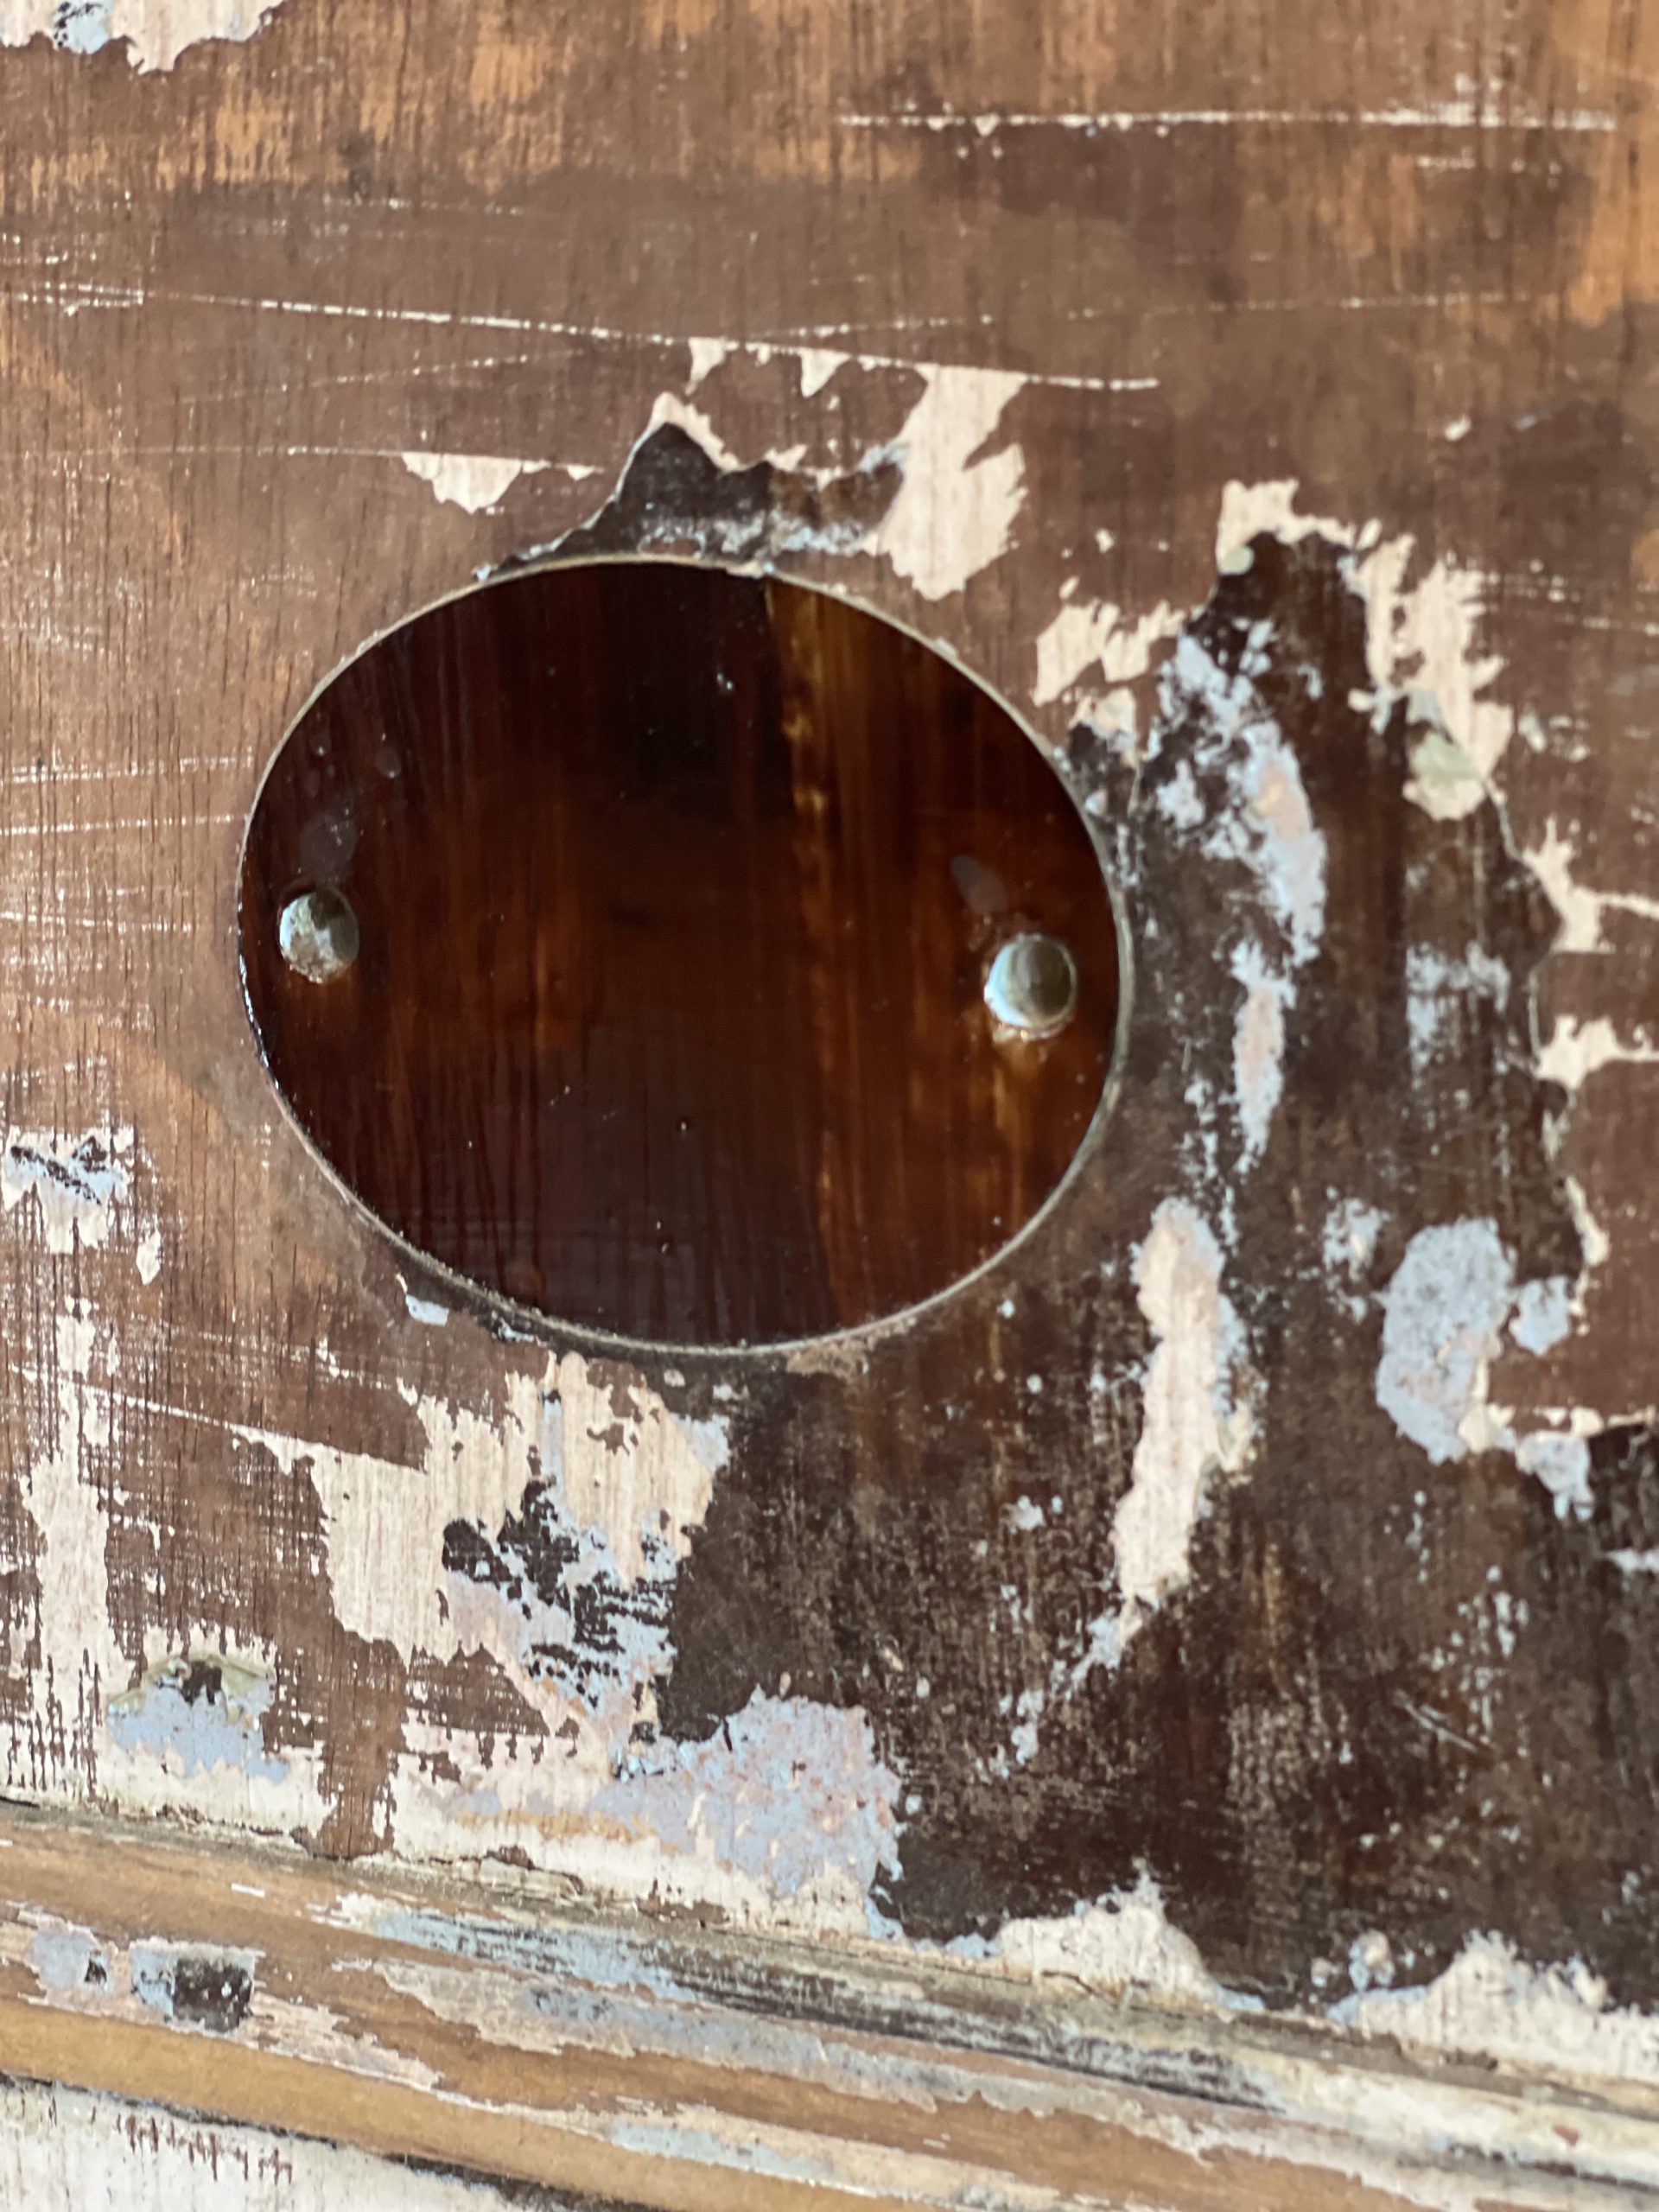
The inside was a hot mess and the outside needed some love. Bubbly from it’s time outside, the back wasn’t pretty. I began removing nails and a few minutes in and it seemed like it wasn’t worth saving.
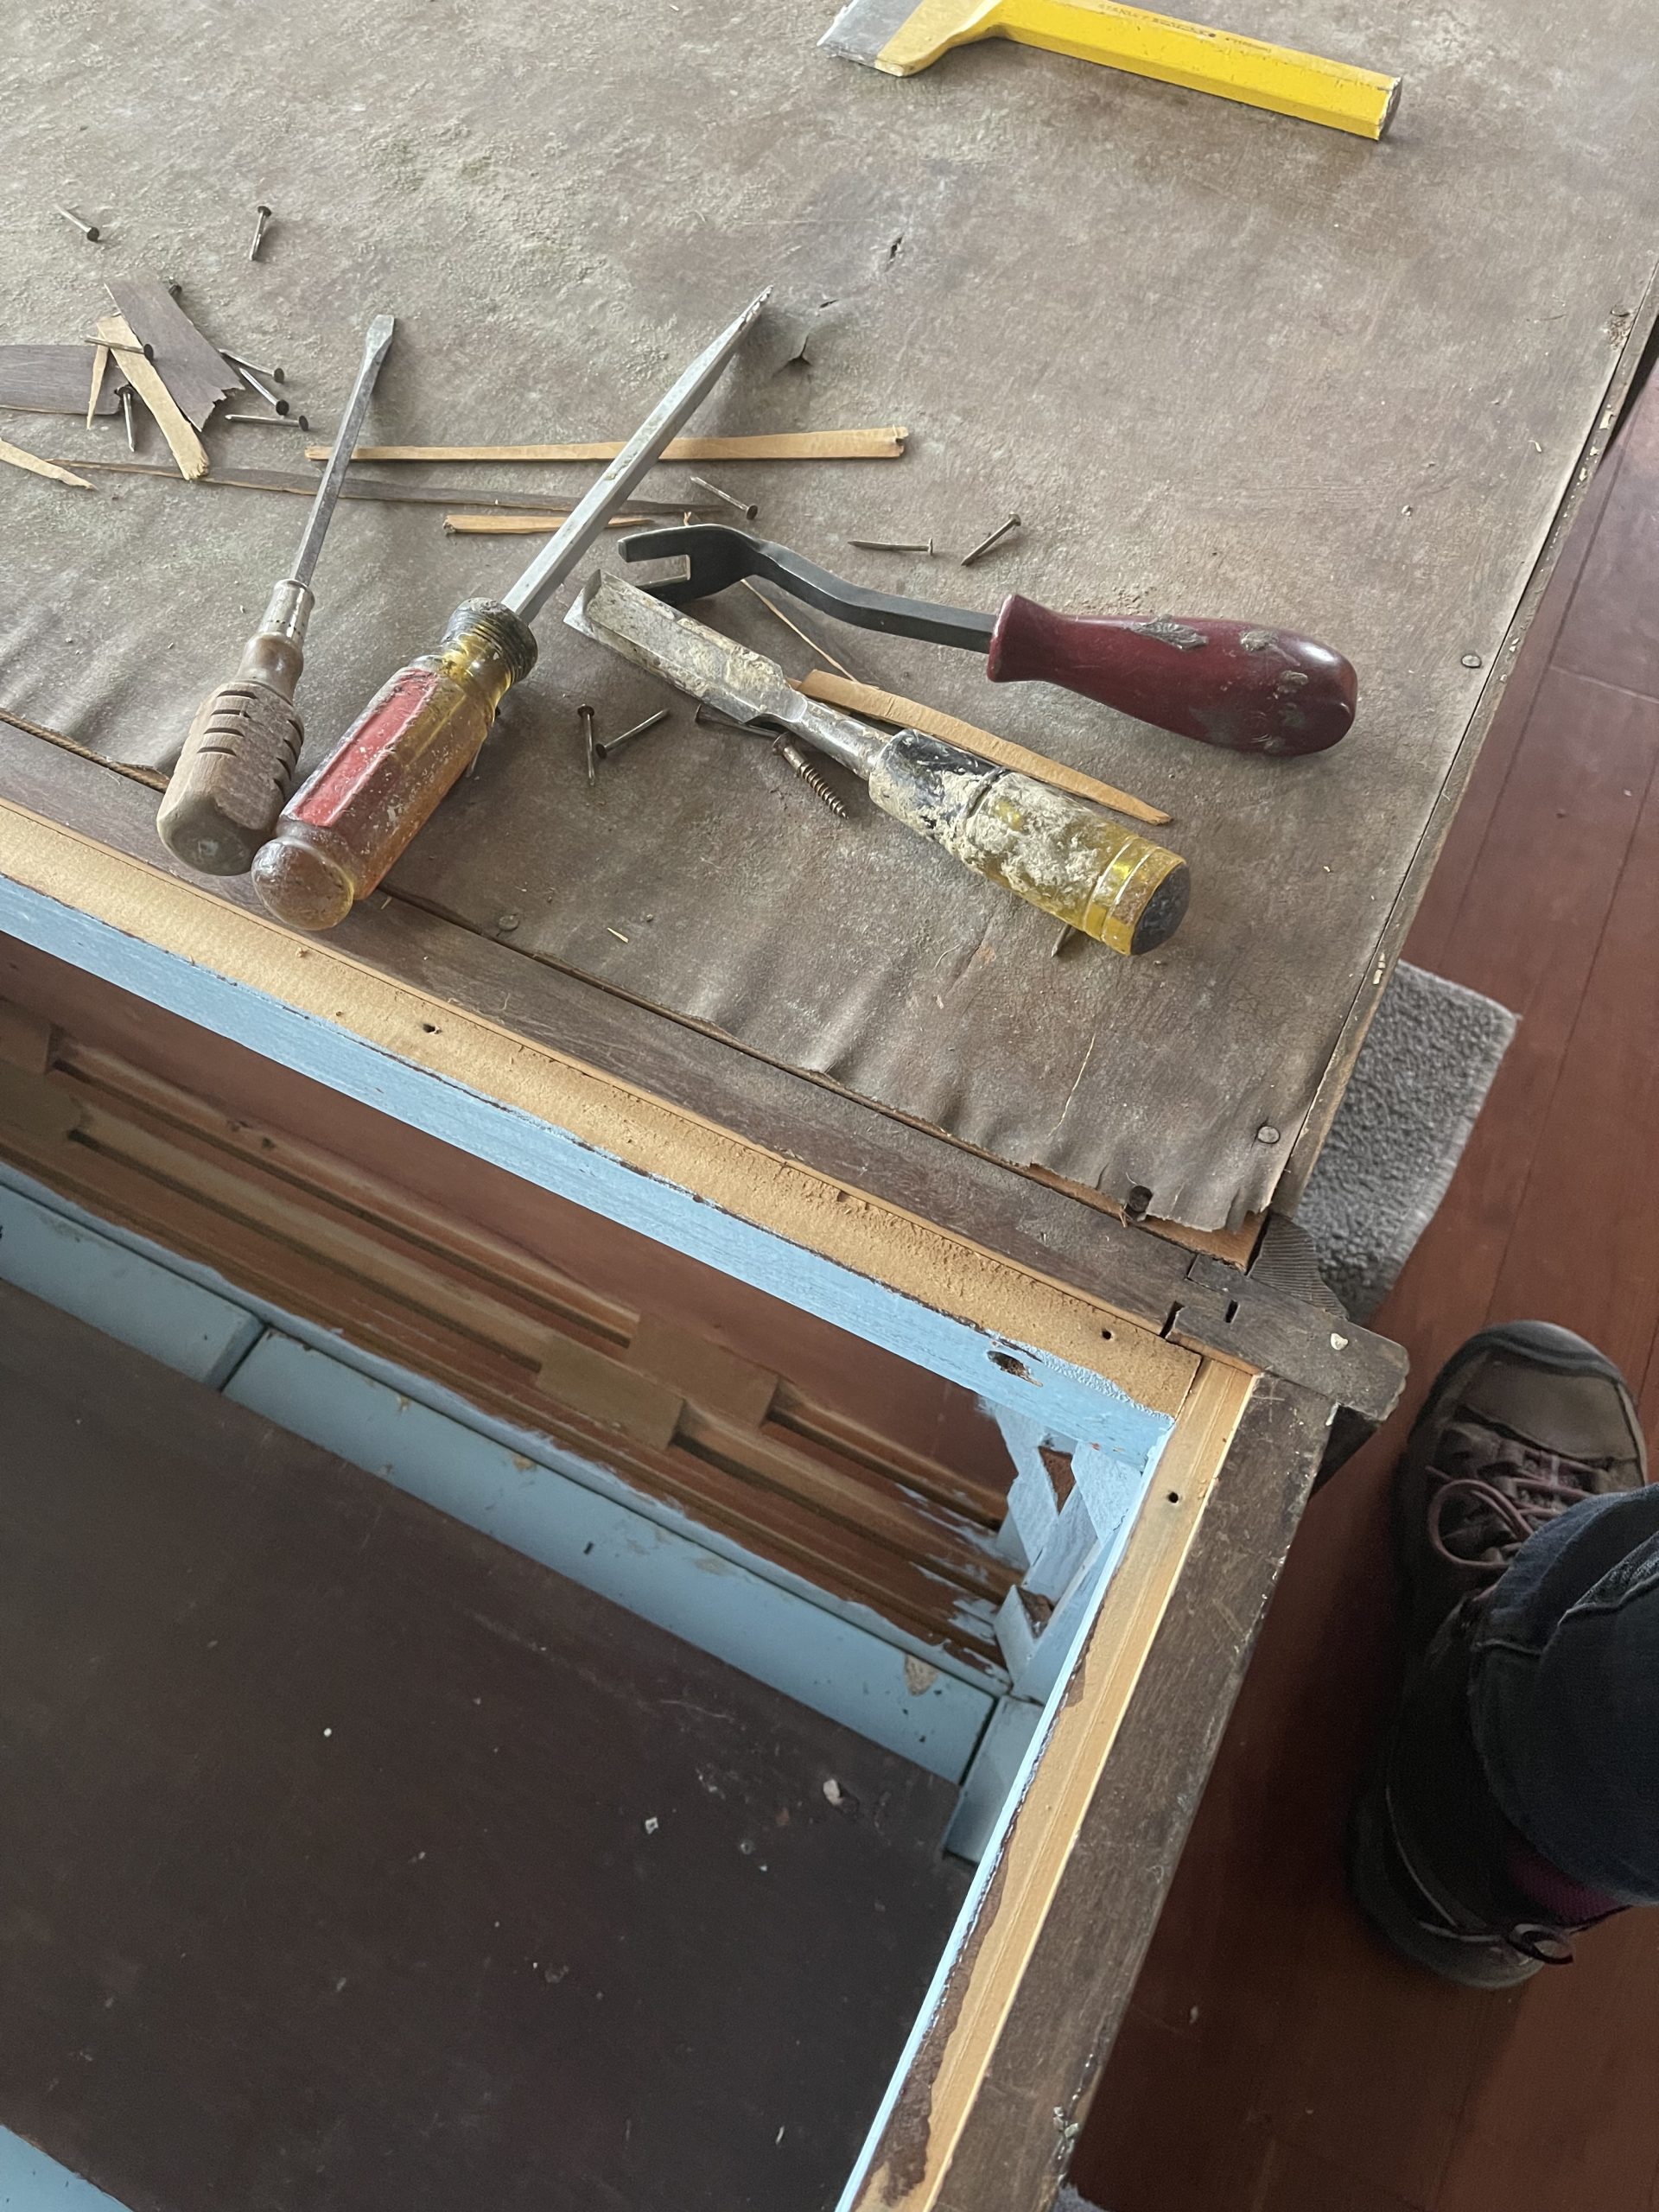
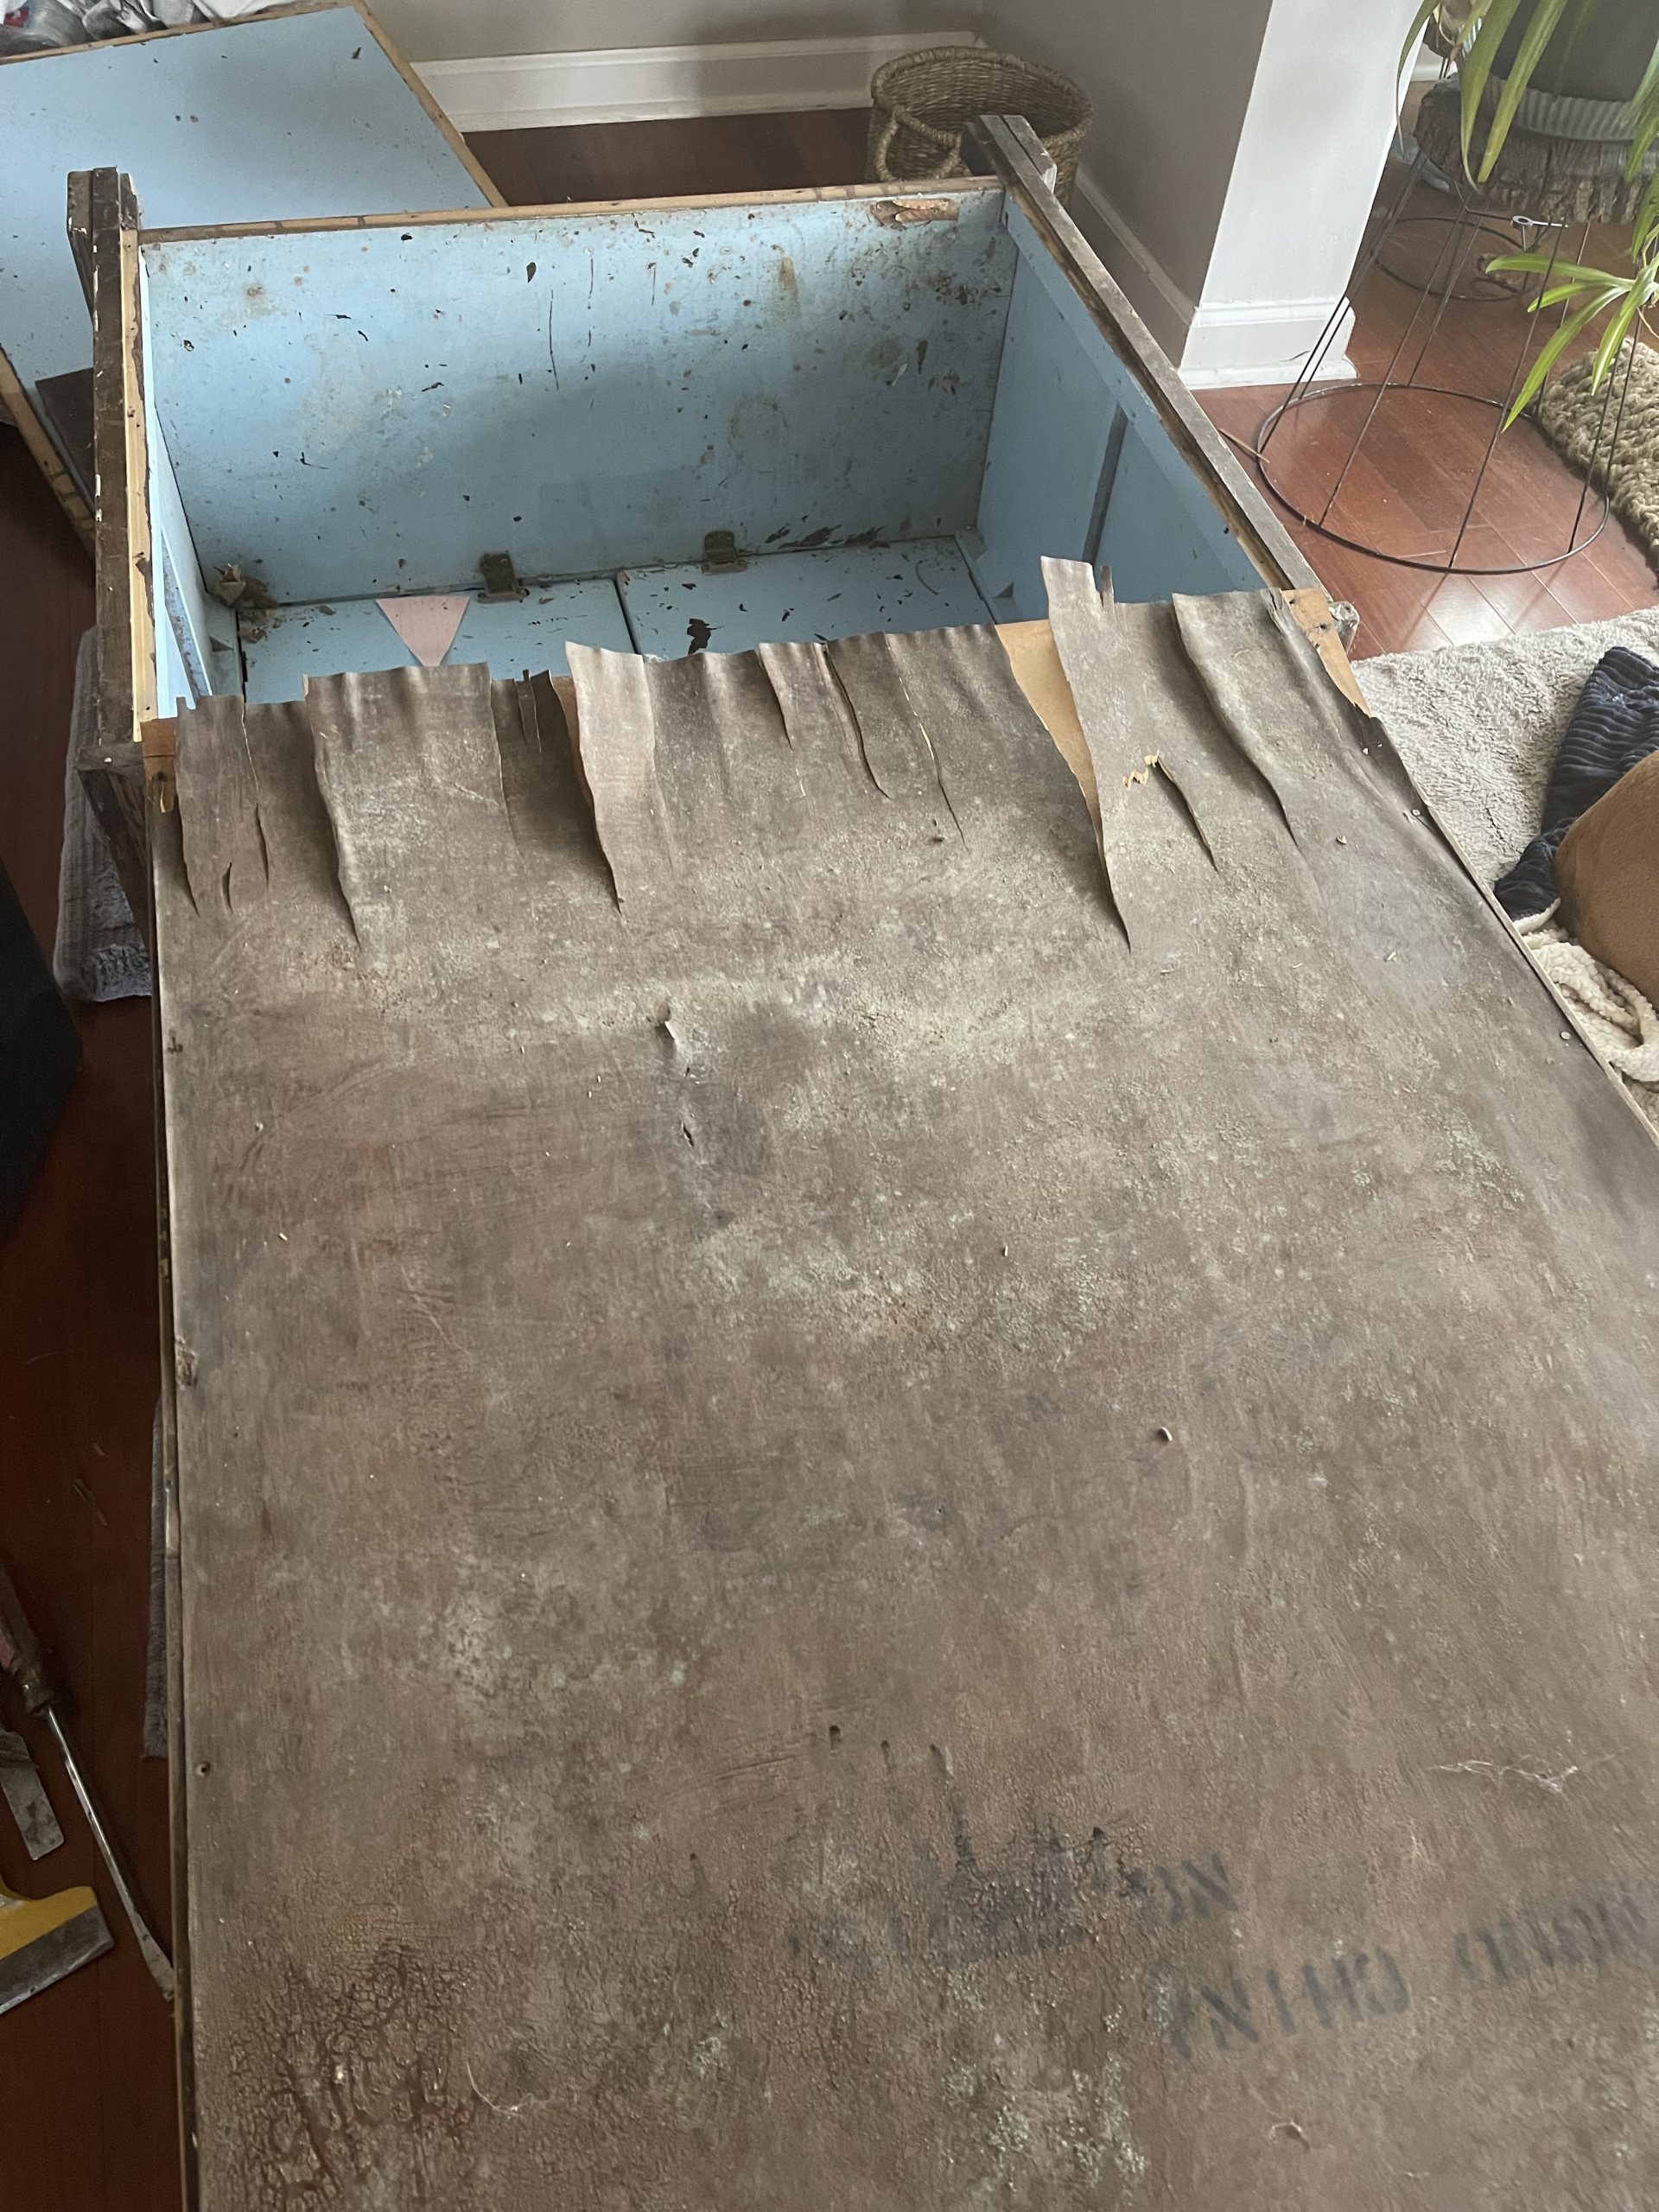
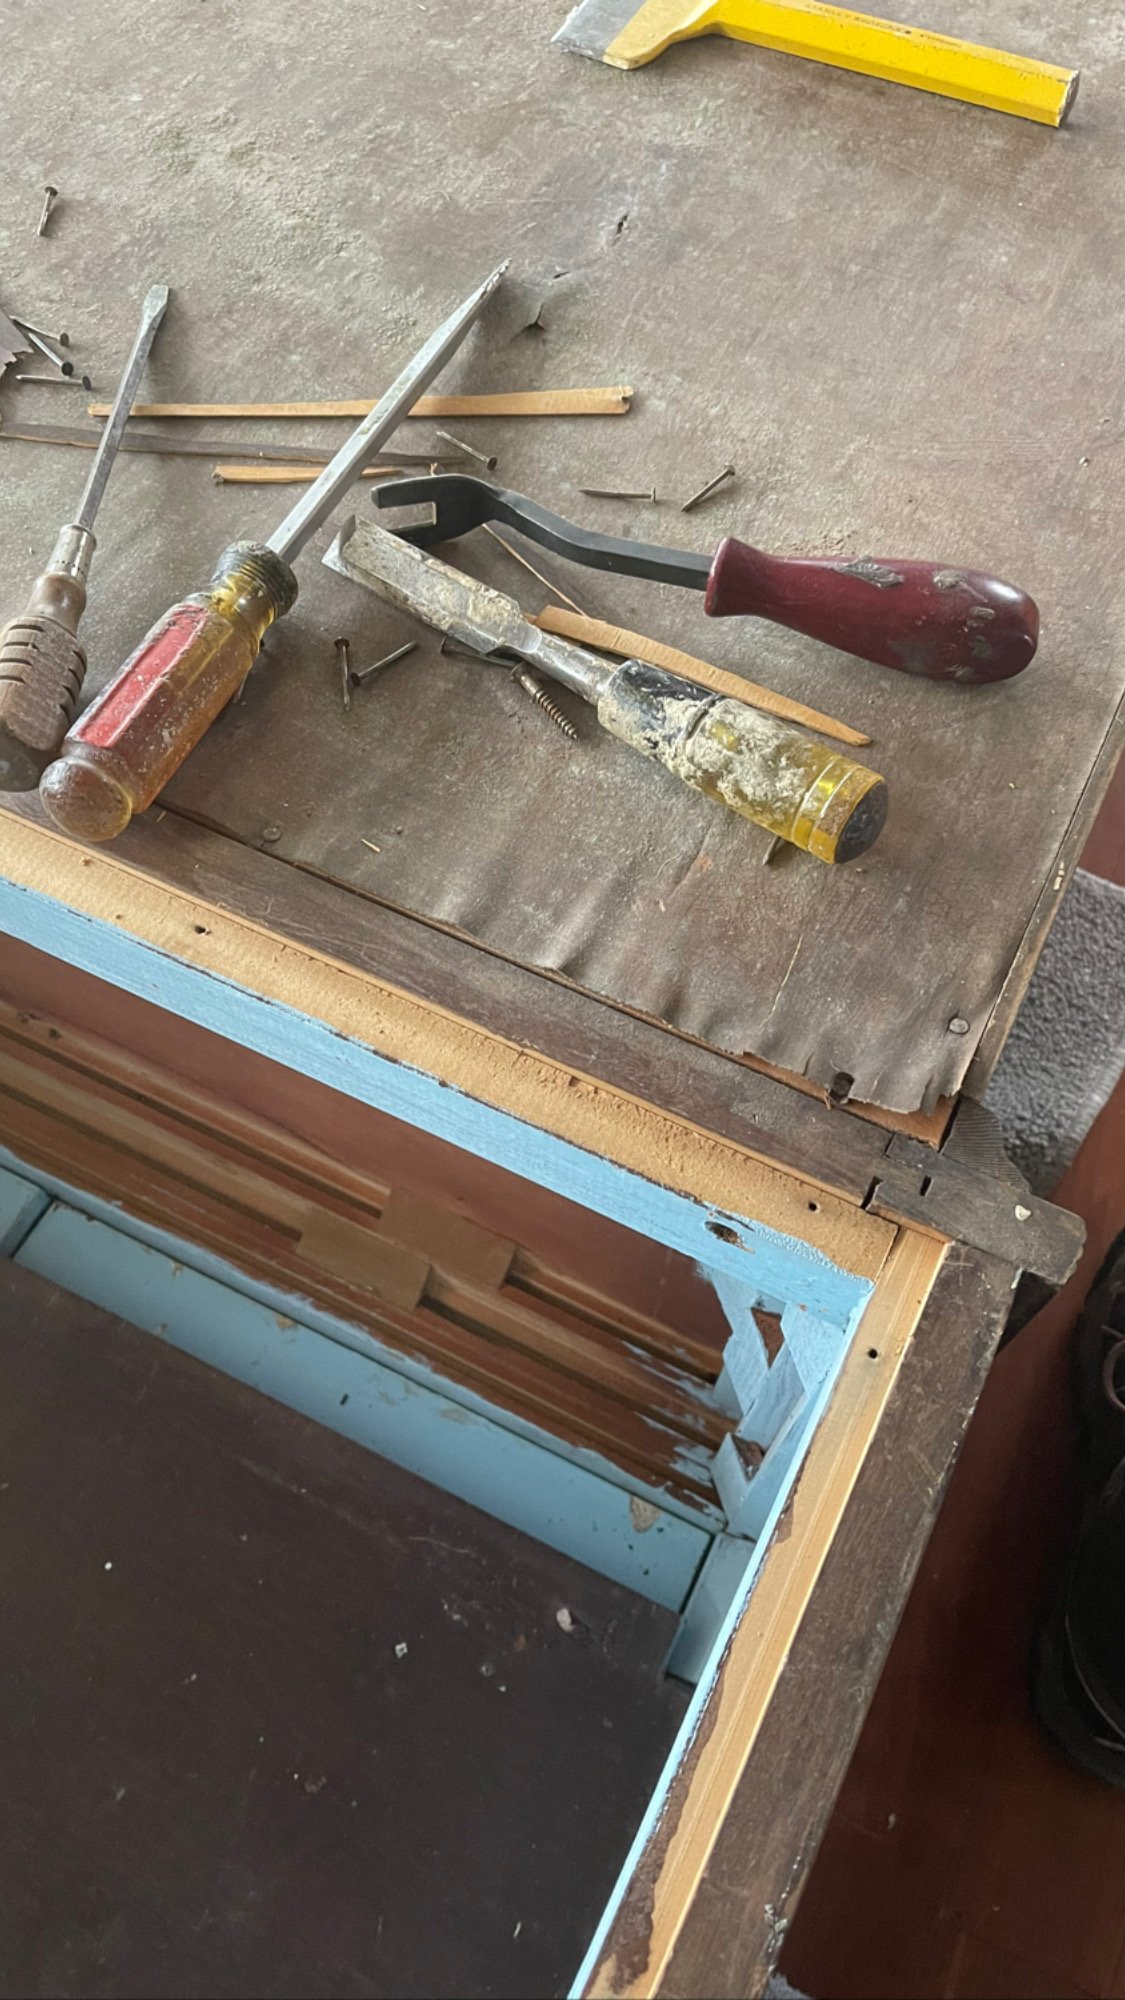
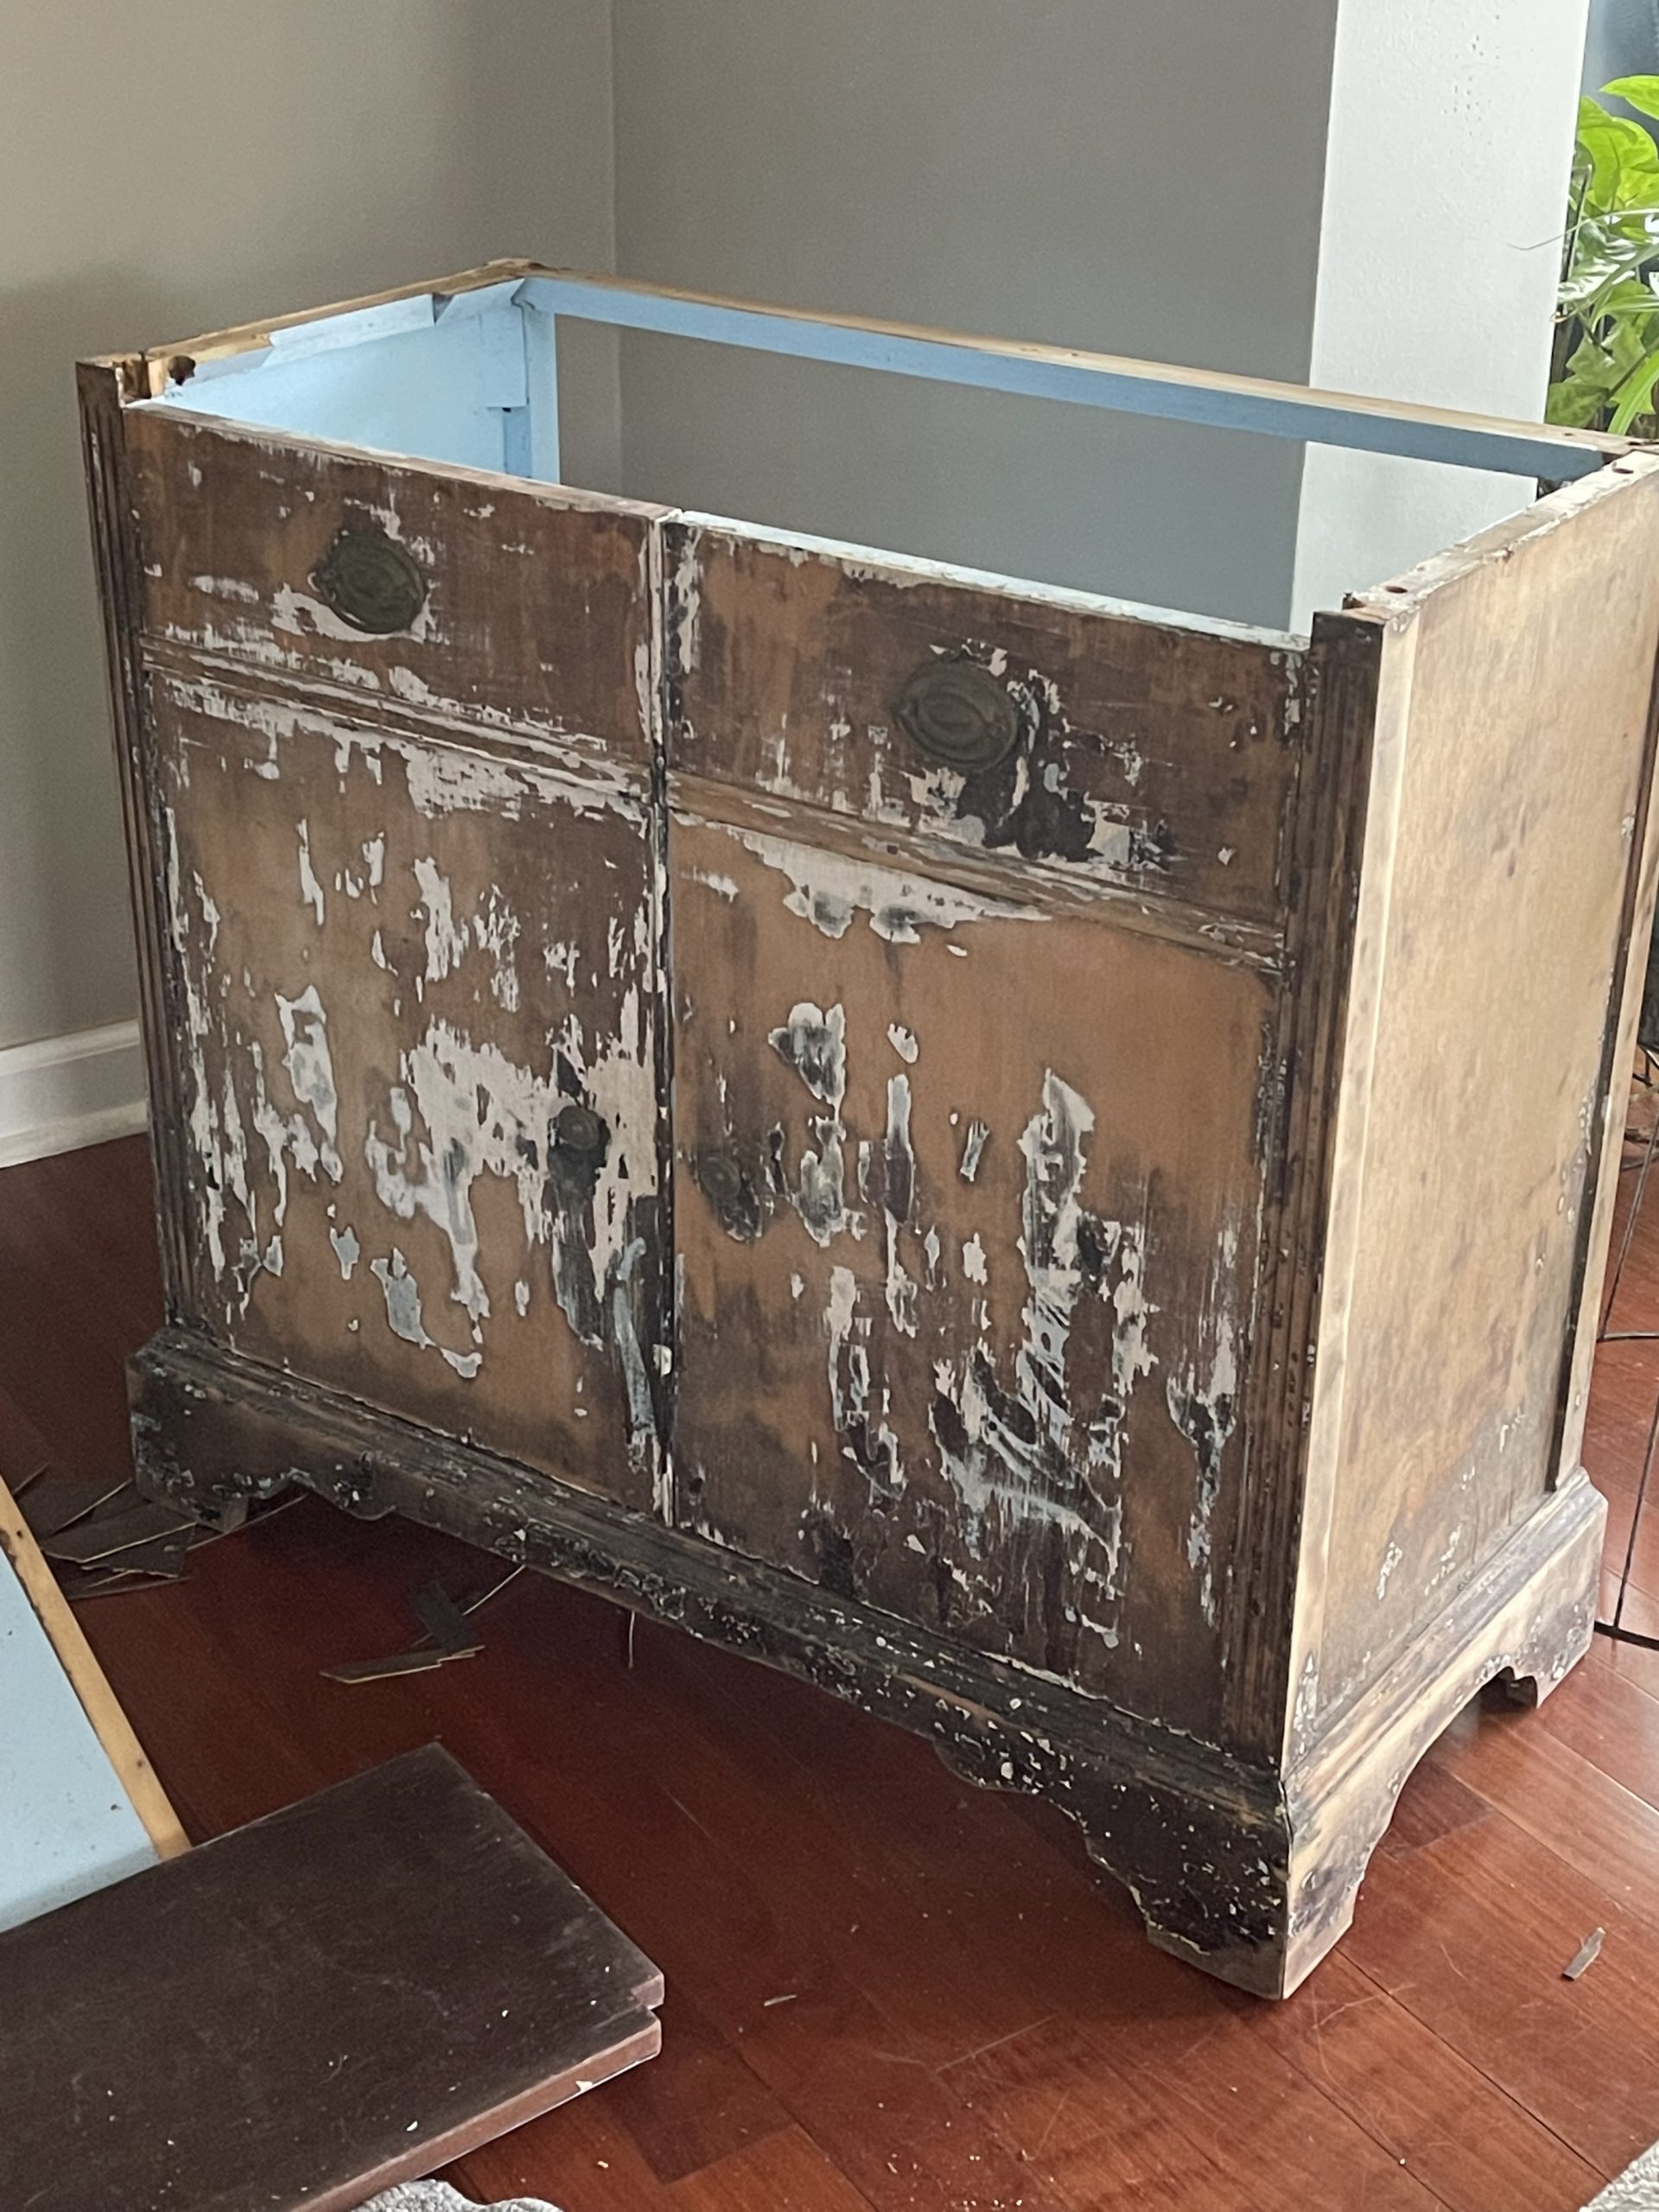
On a mission, I continued until I had separated the top from the bottom. It was basically completely taken apart. Now, after a cleaning, the top section with the glass, will only need paint, legs, and a new back.
THE REBUILD
The bottom now had no top…oops. There just happened to be a coffee table in the garage I had found at a thrift store. I had cut the 1/2 of the legs off and used it for an outdoor picnic table. Weighing in at a zillion pounds, I wasn’t up for dragging it anywhere for another picnic. For that reason, I decided it might be the ticket.
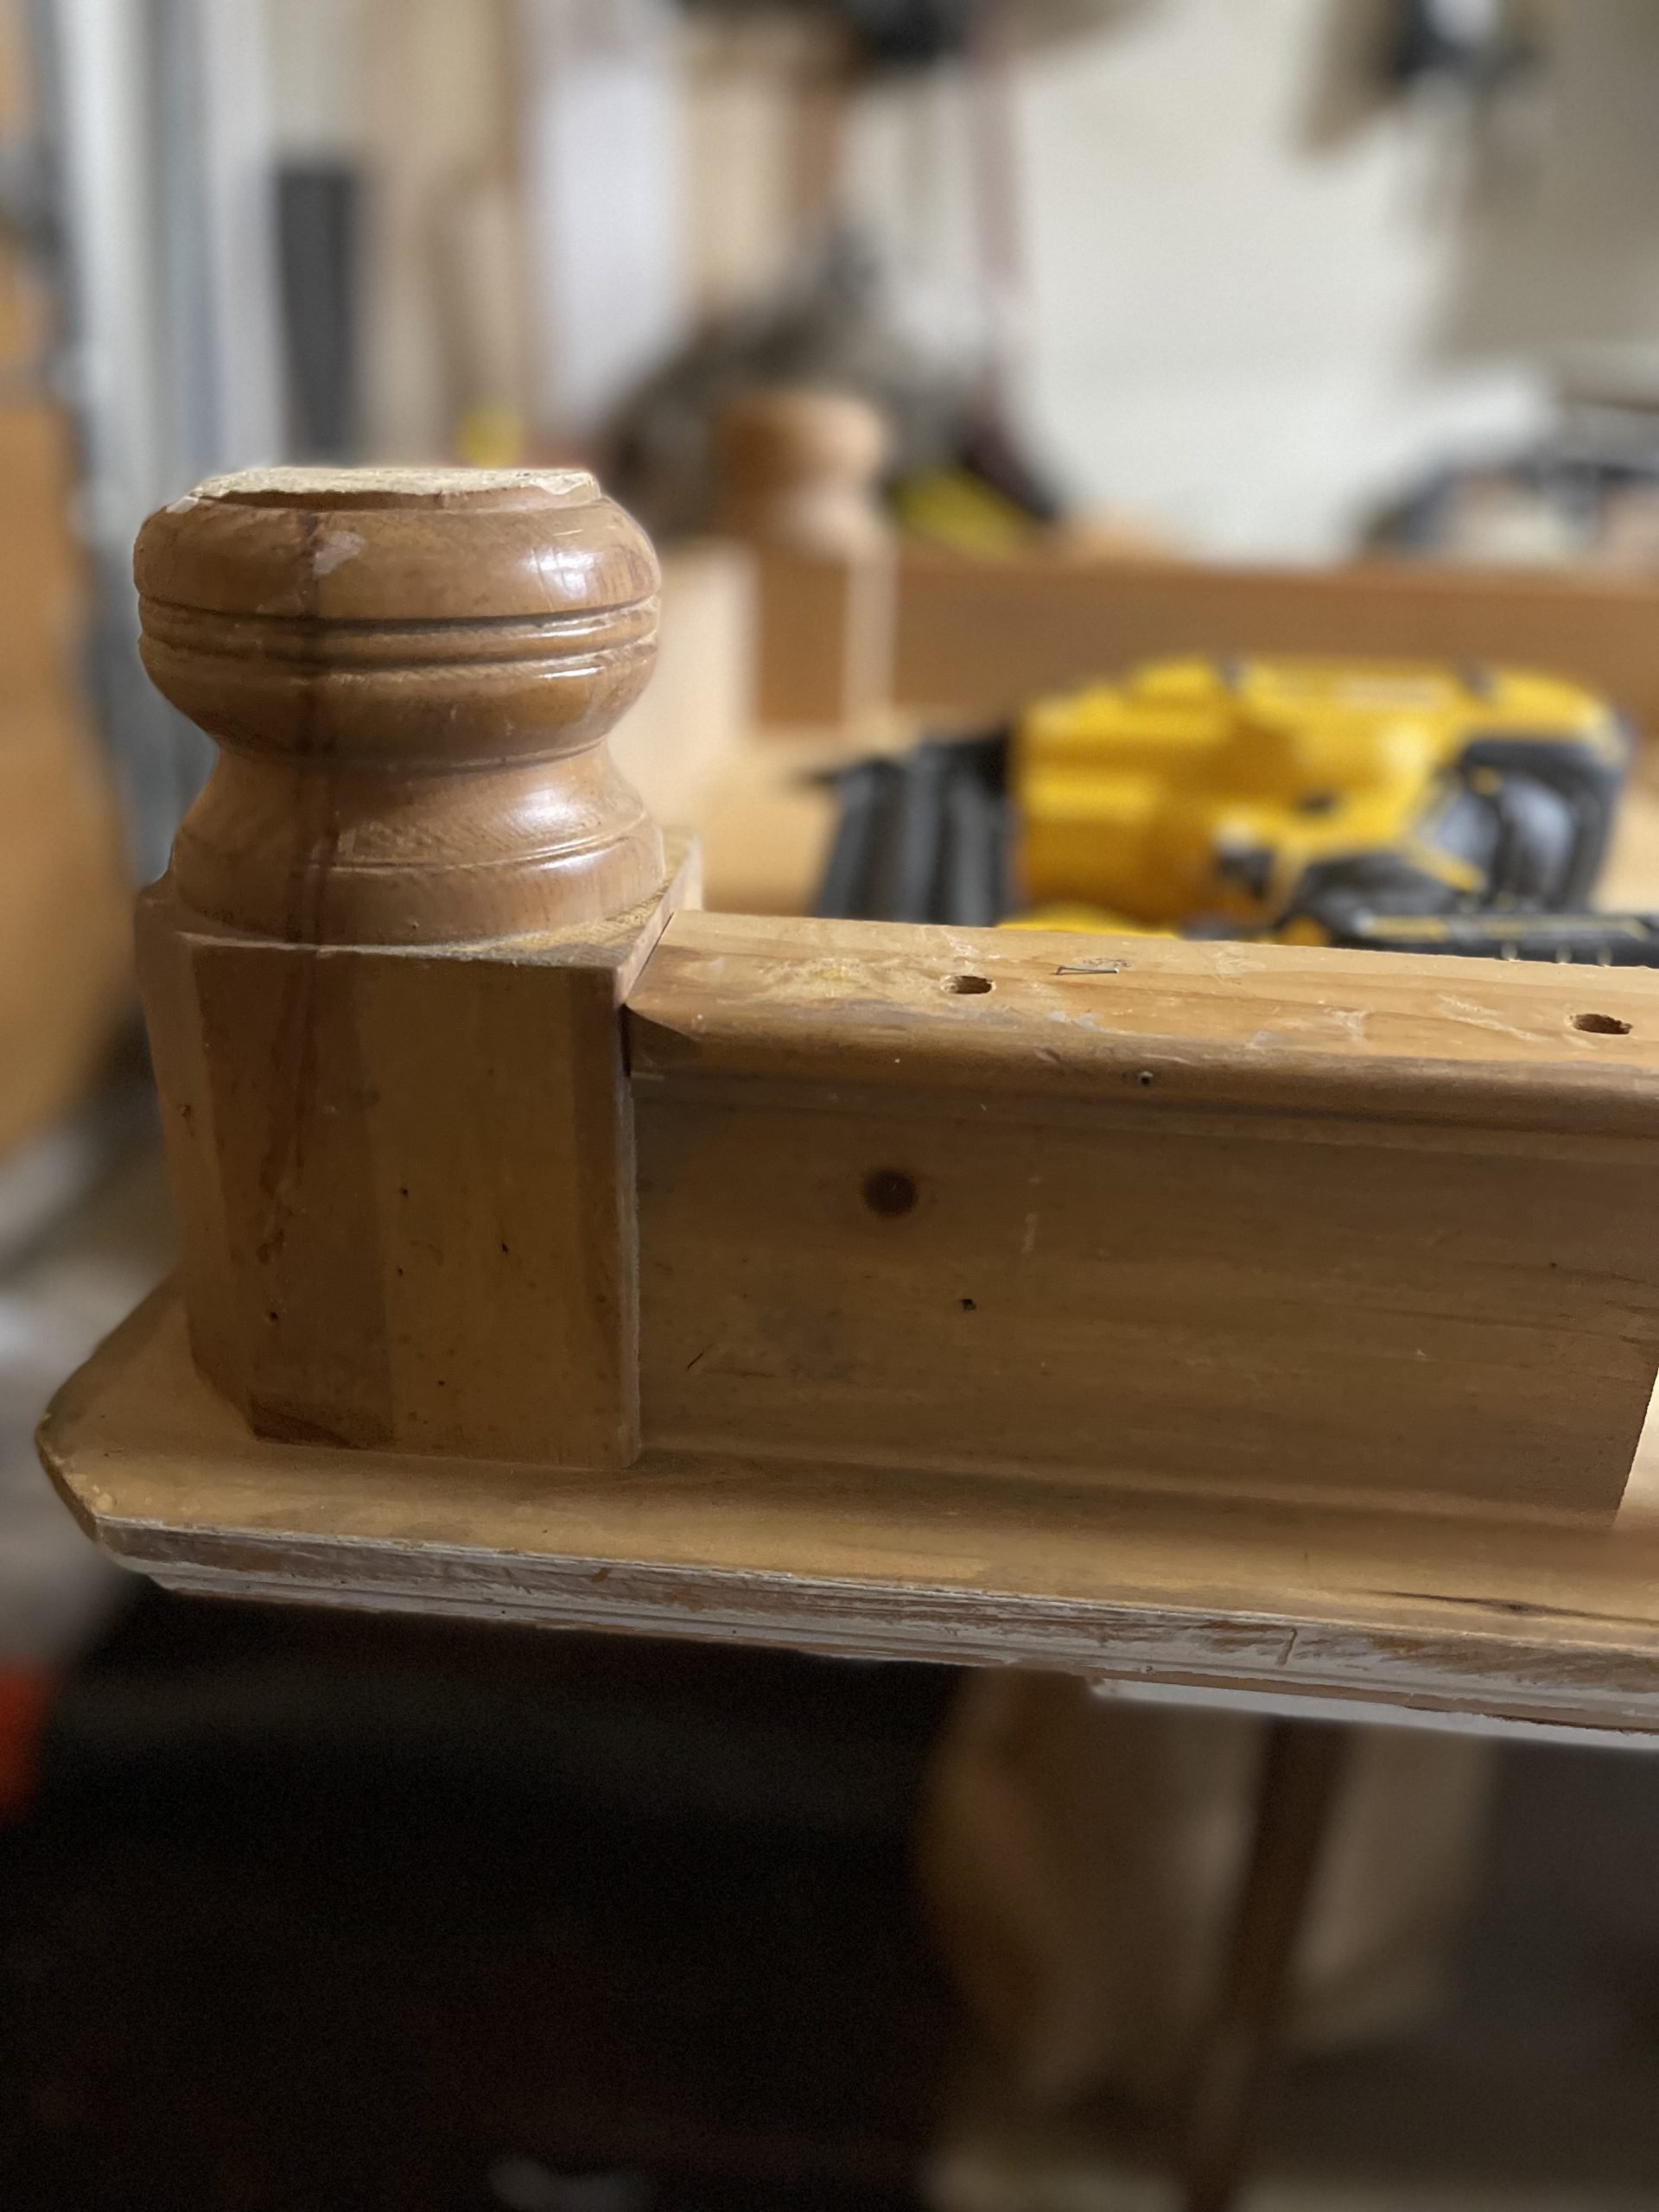

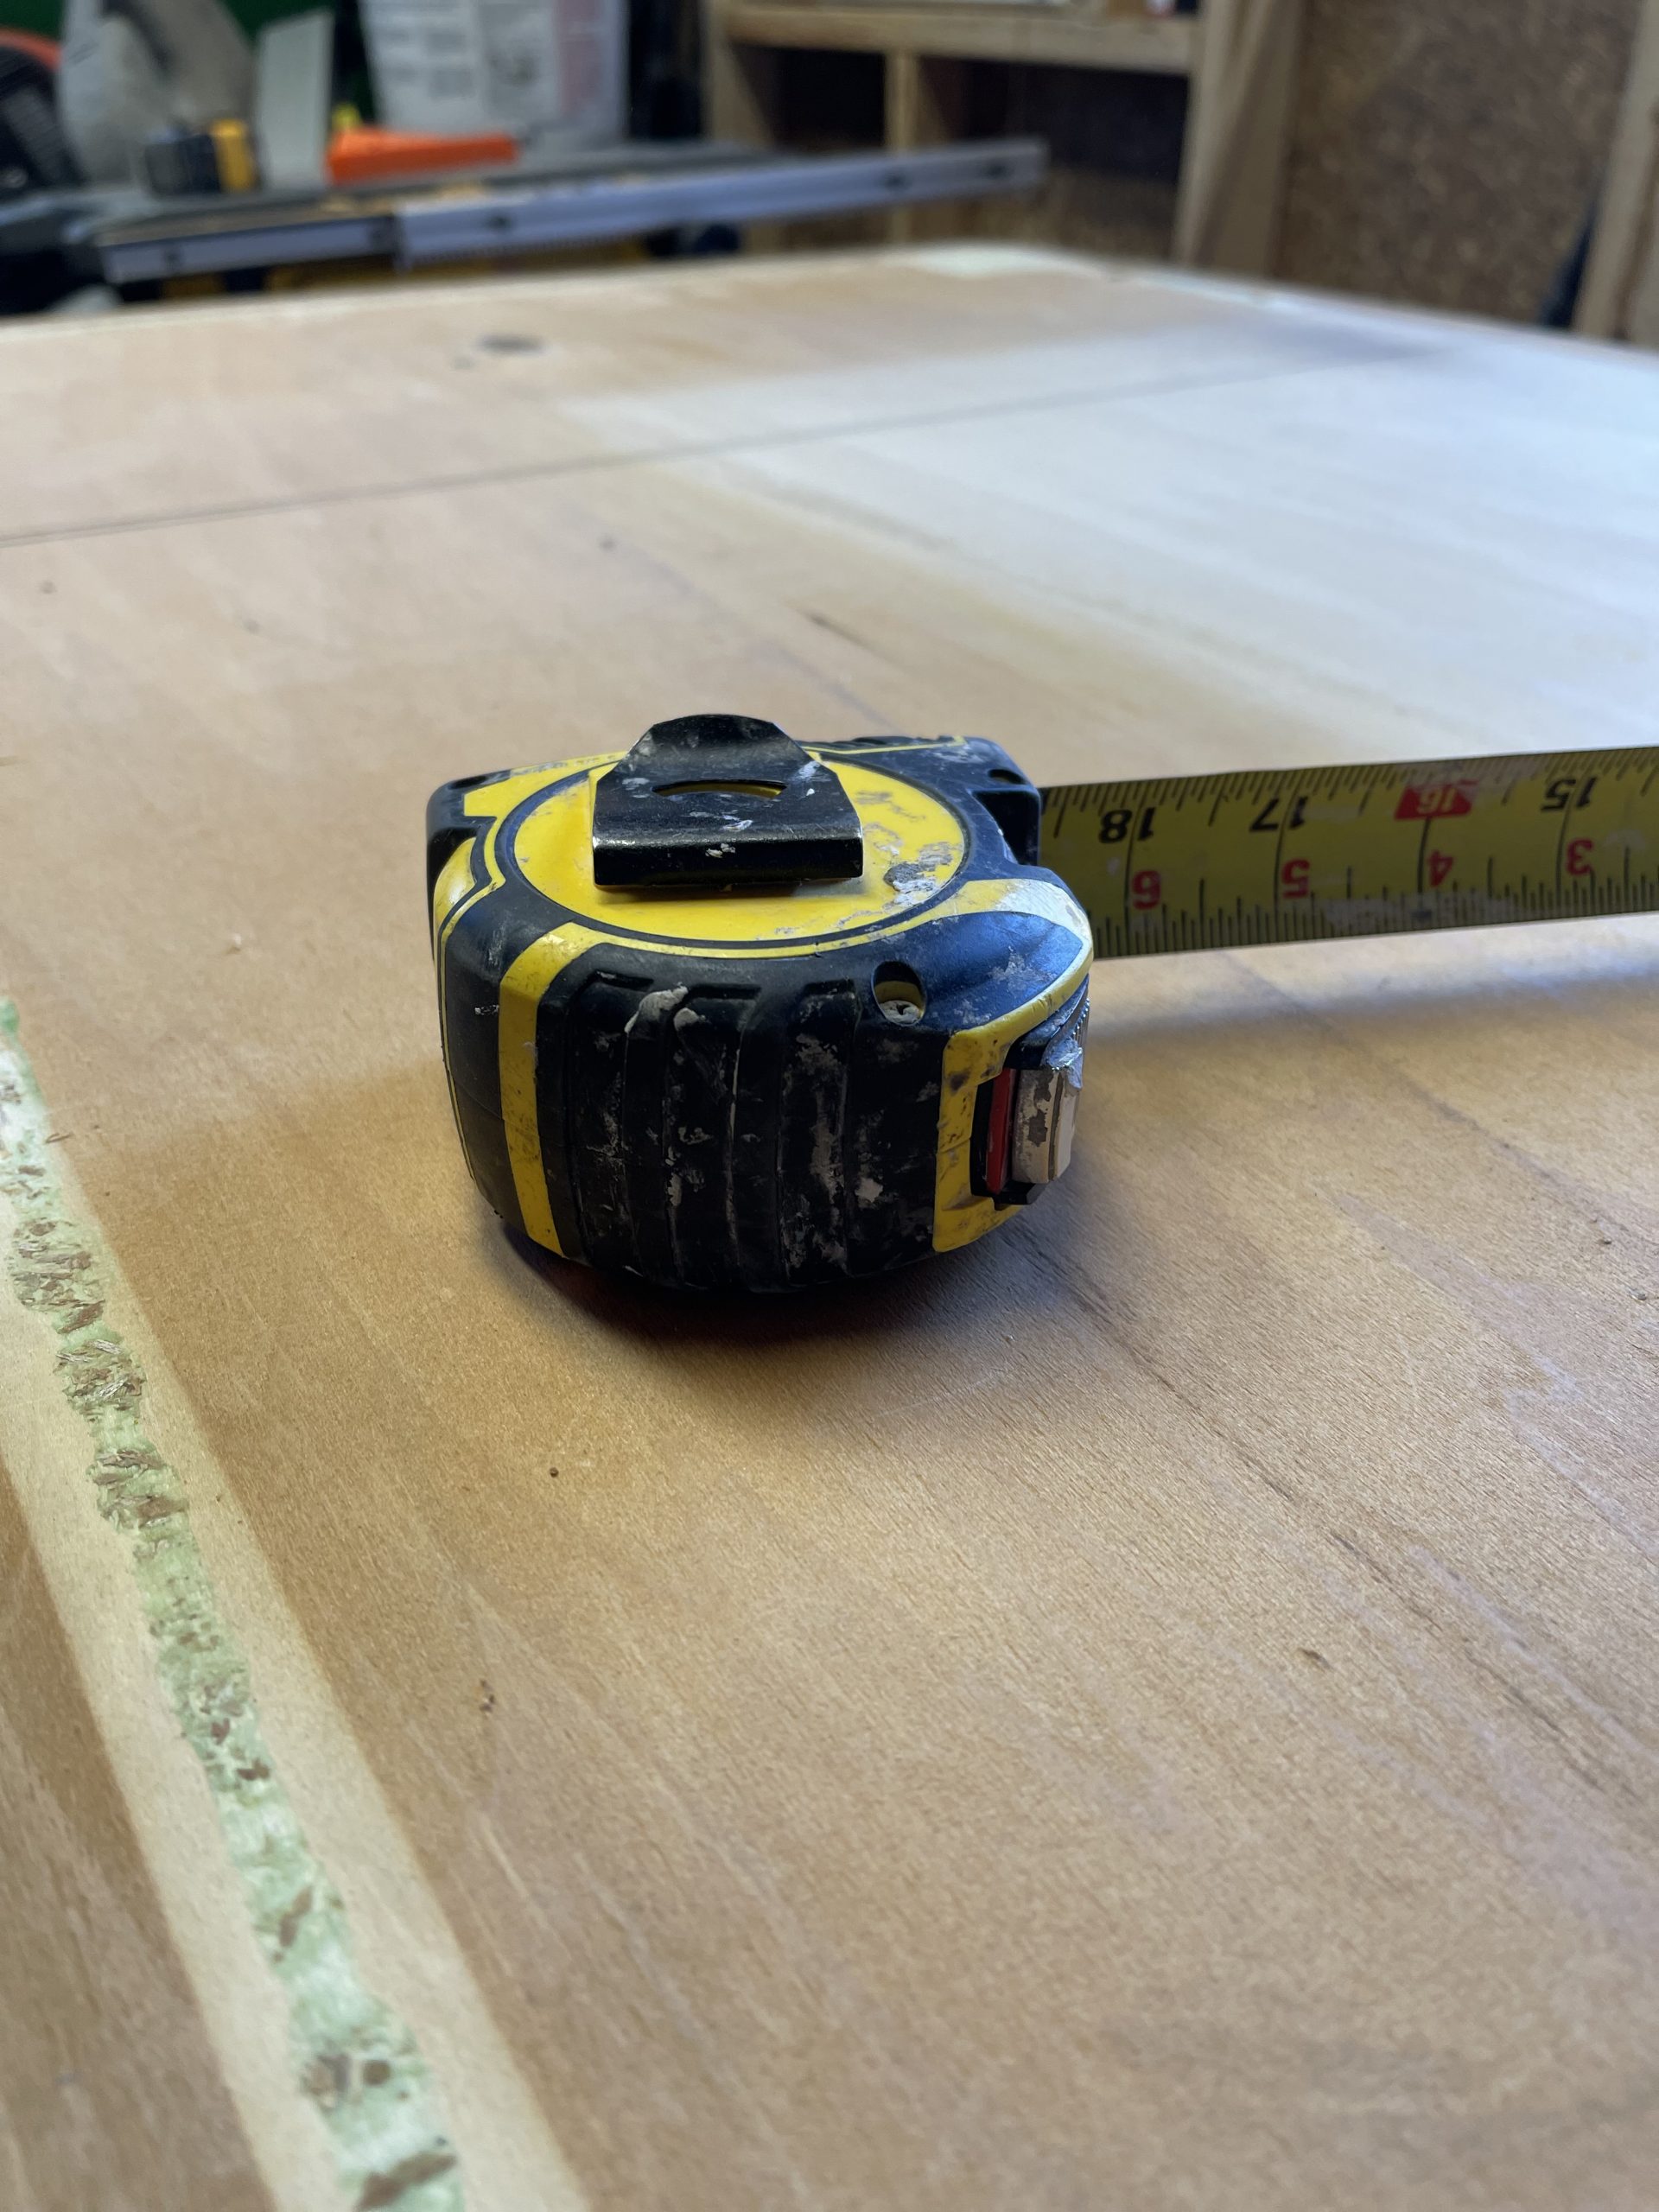
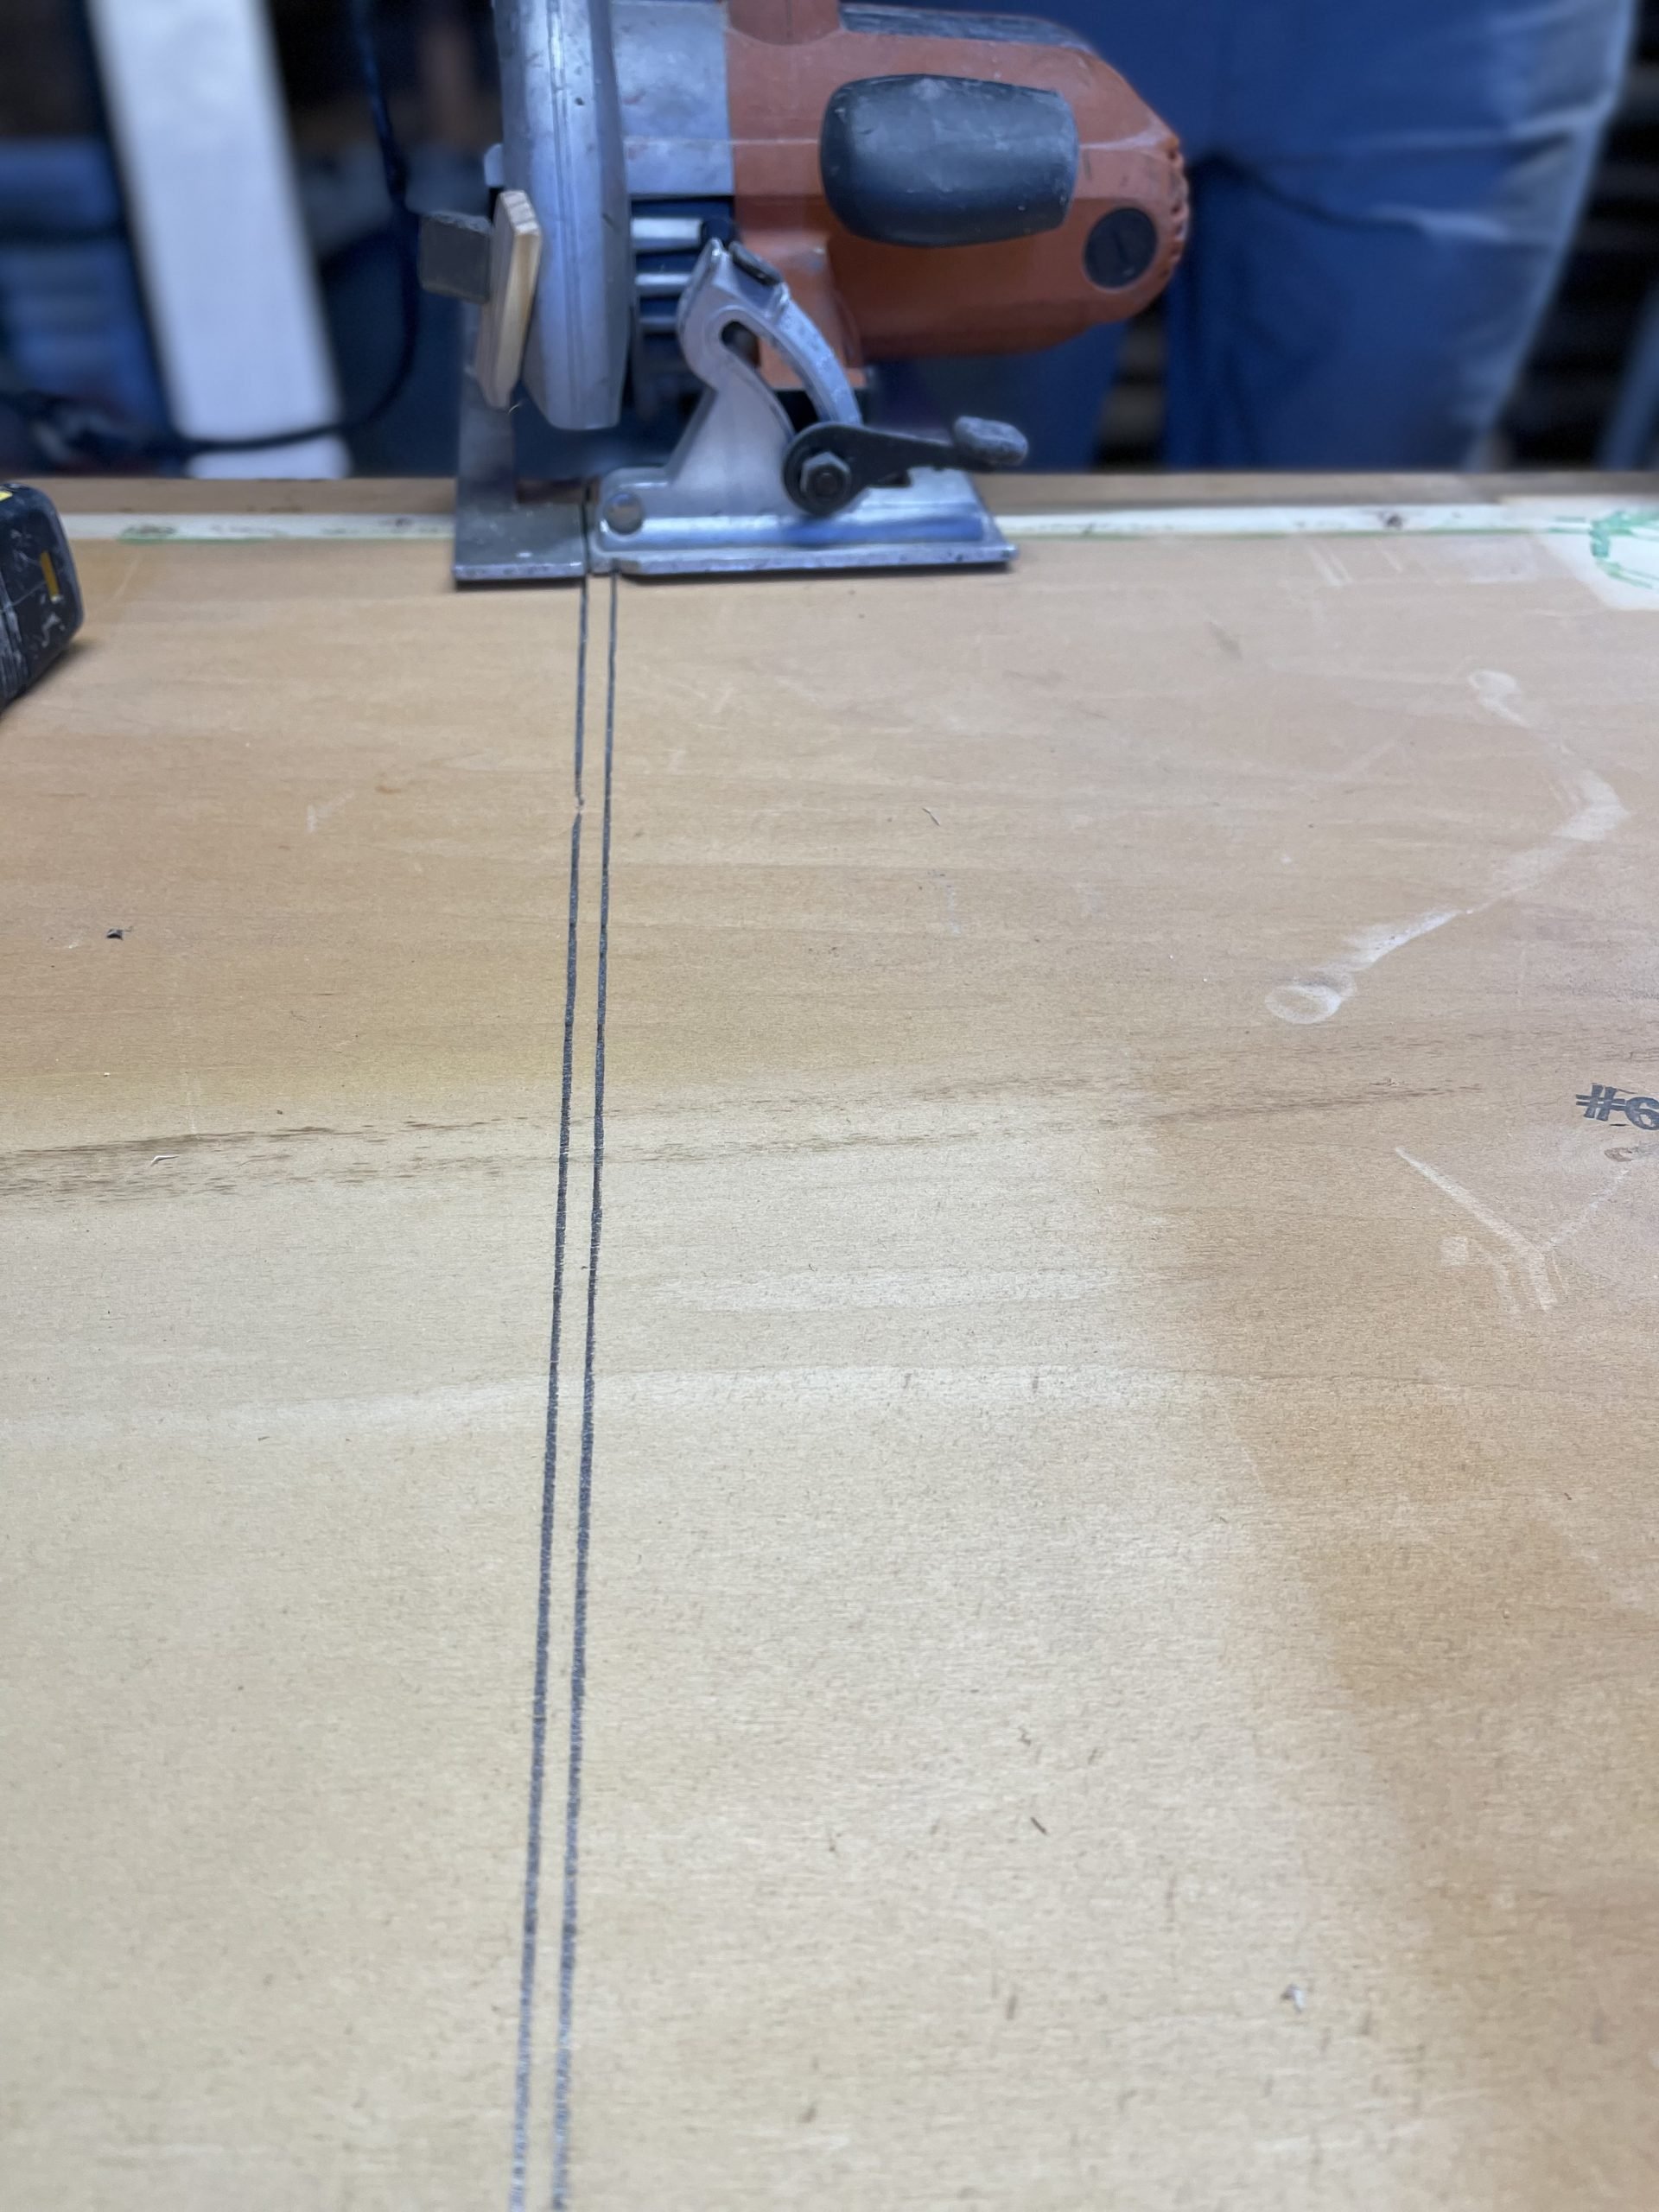
First to get the trim and remainder of the legs off. After measuring the top and marking it, we used a circular saw to cut it. I would flip it upside down and use that for the top. The trim upside down sort of matched the bottom piece.
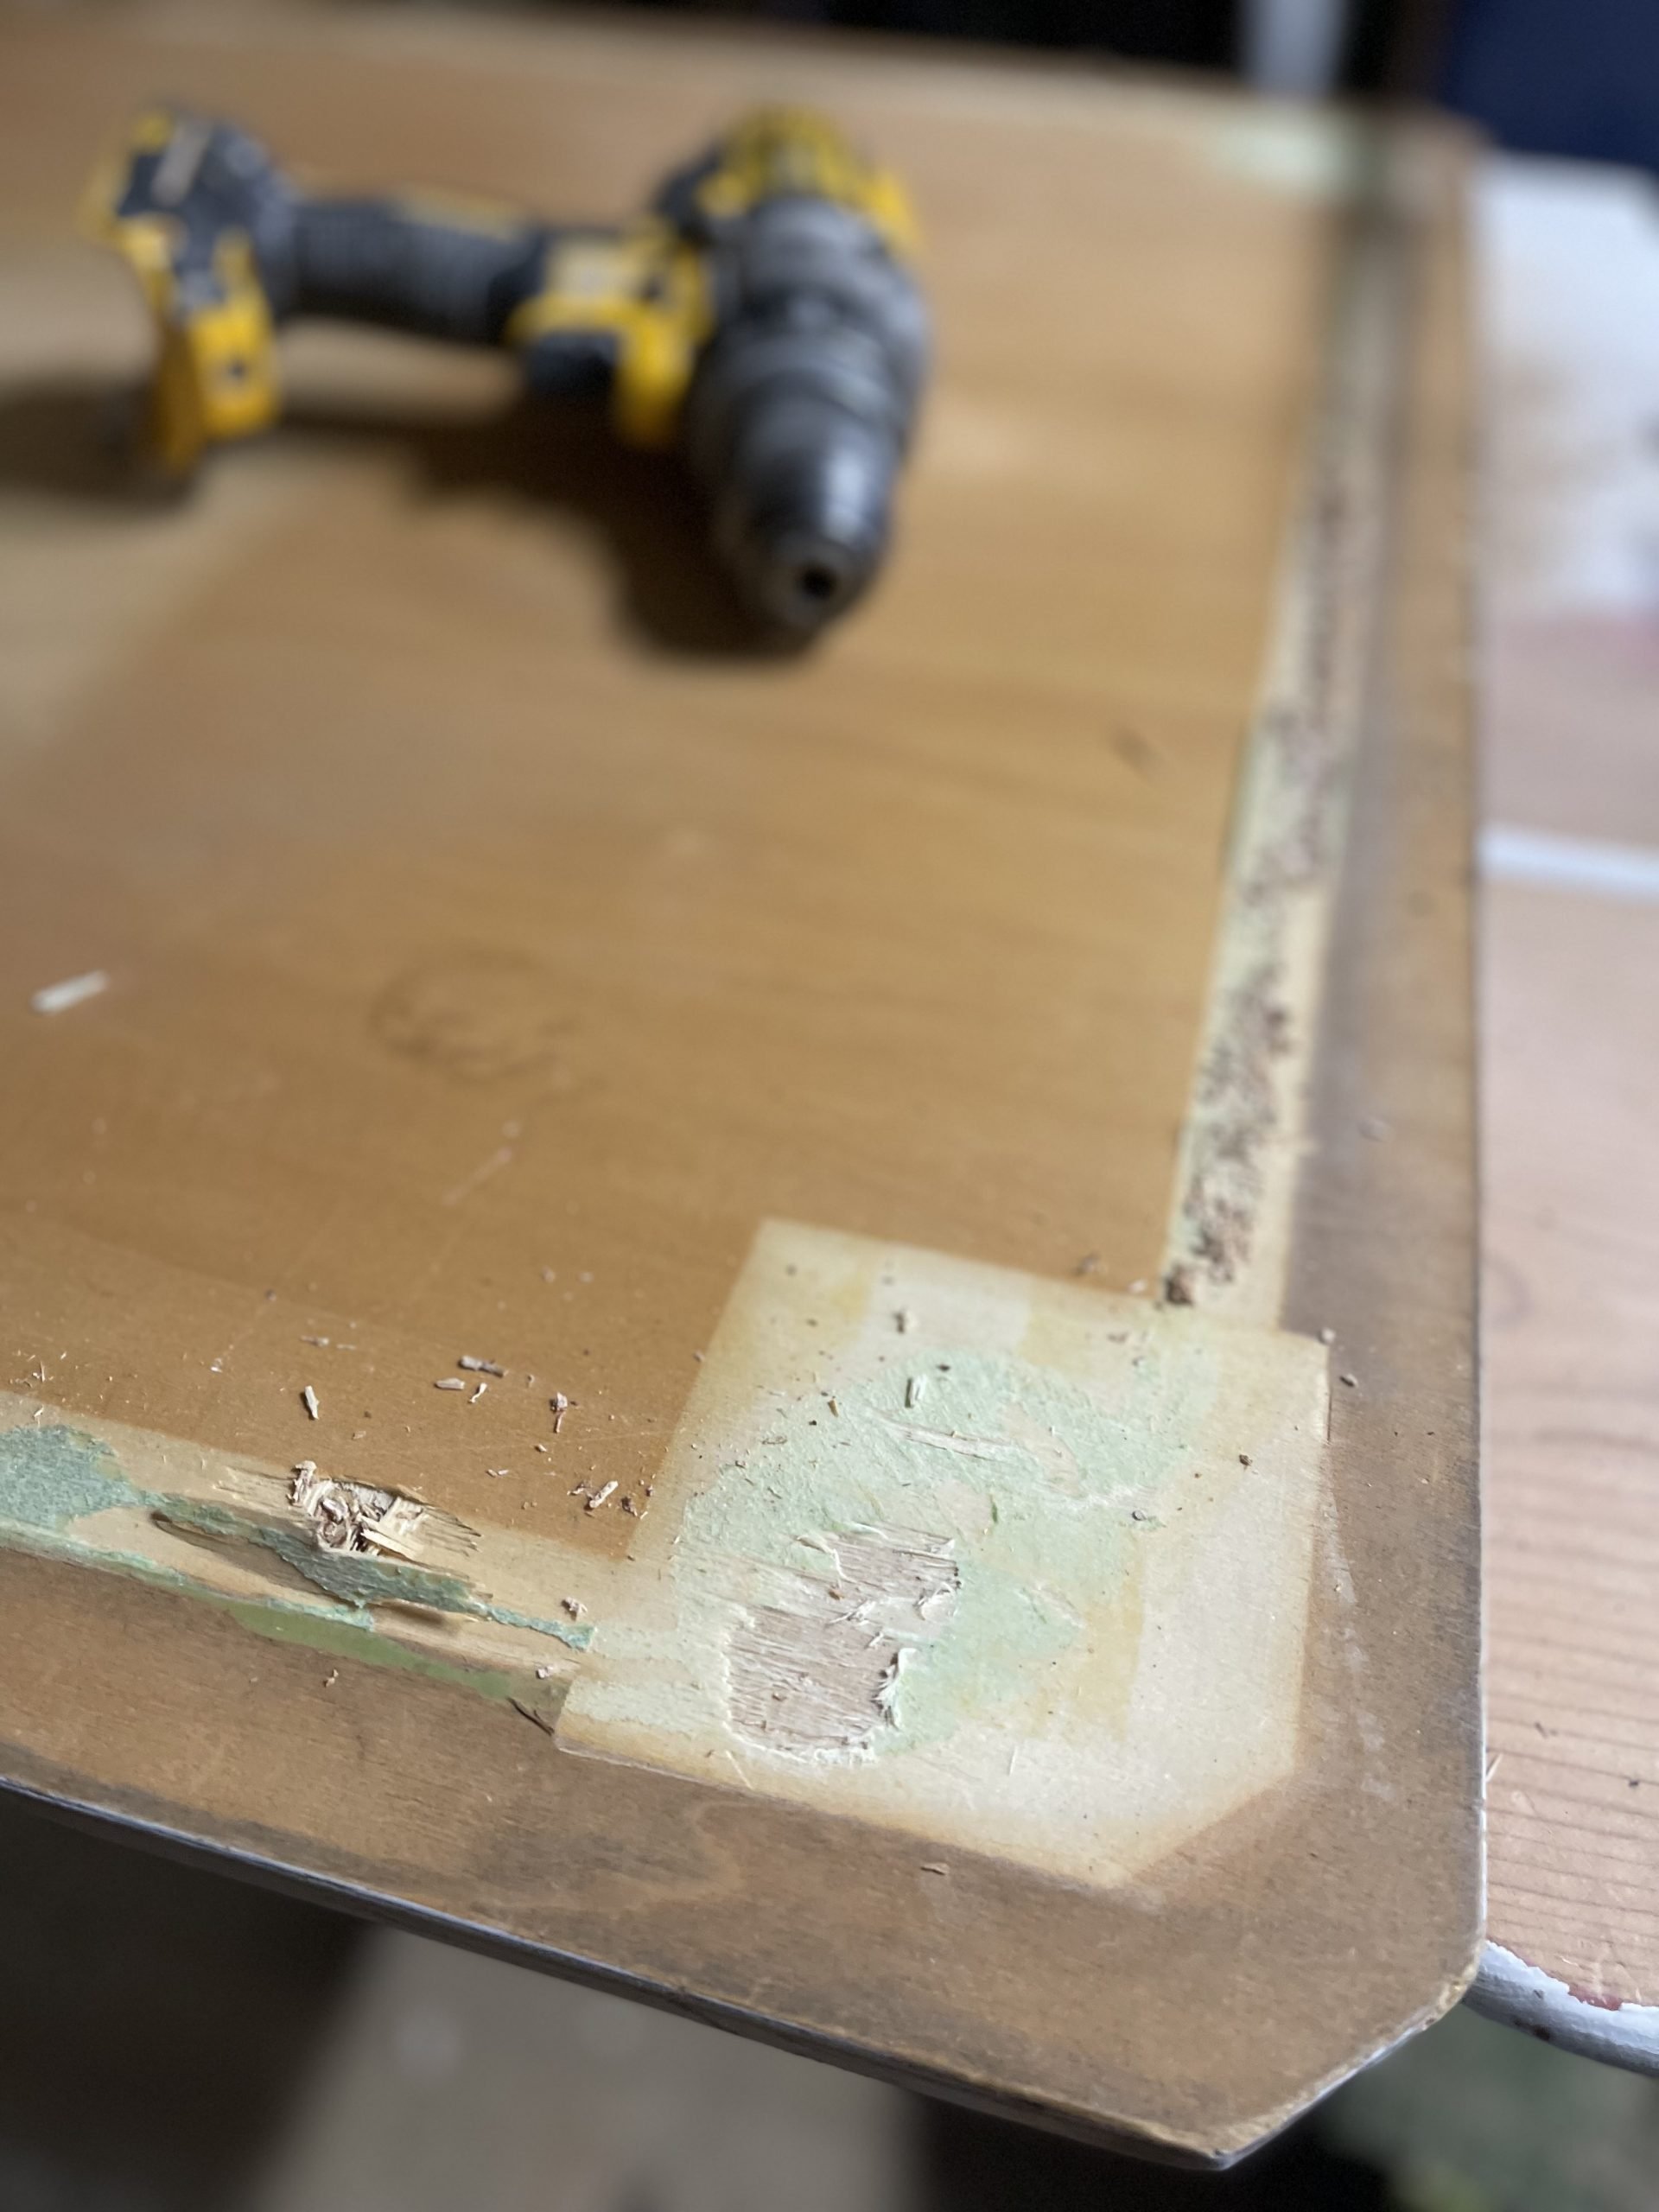
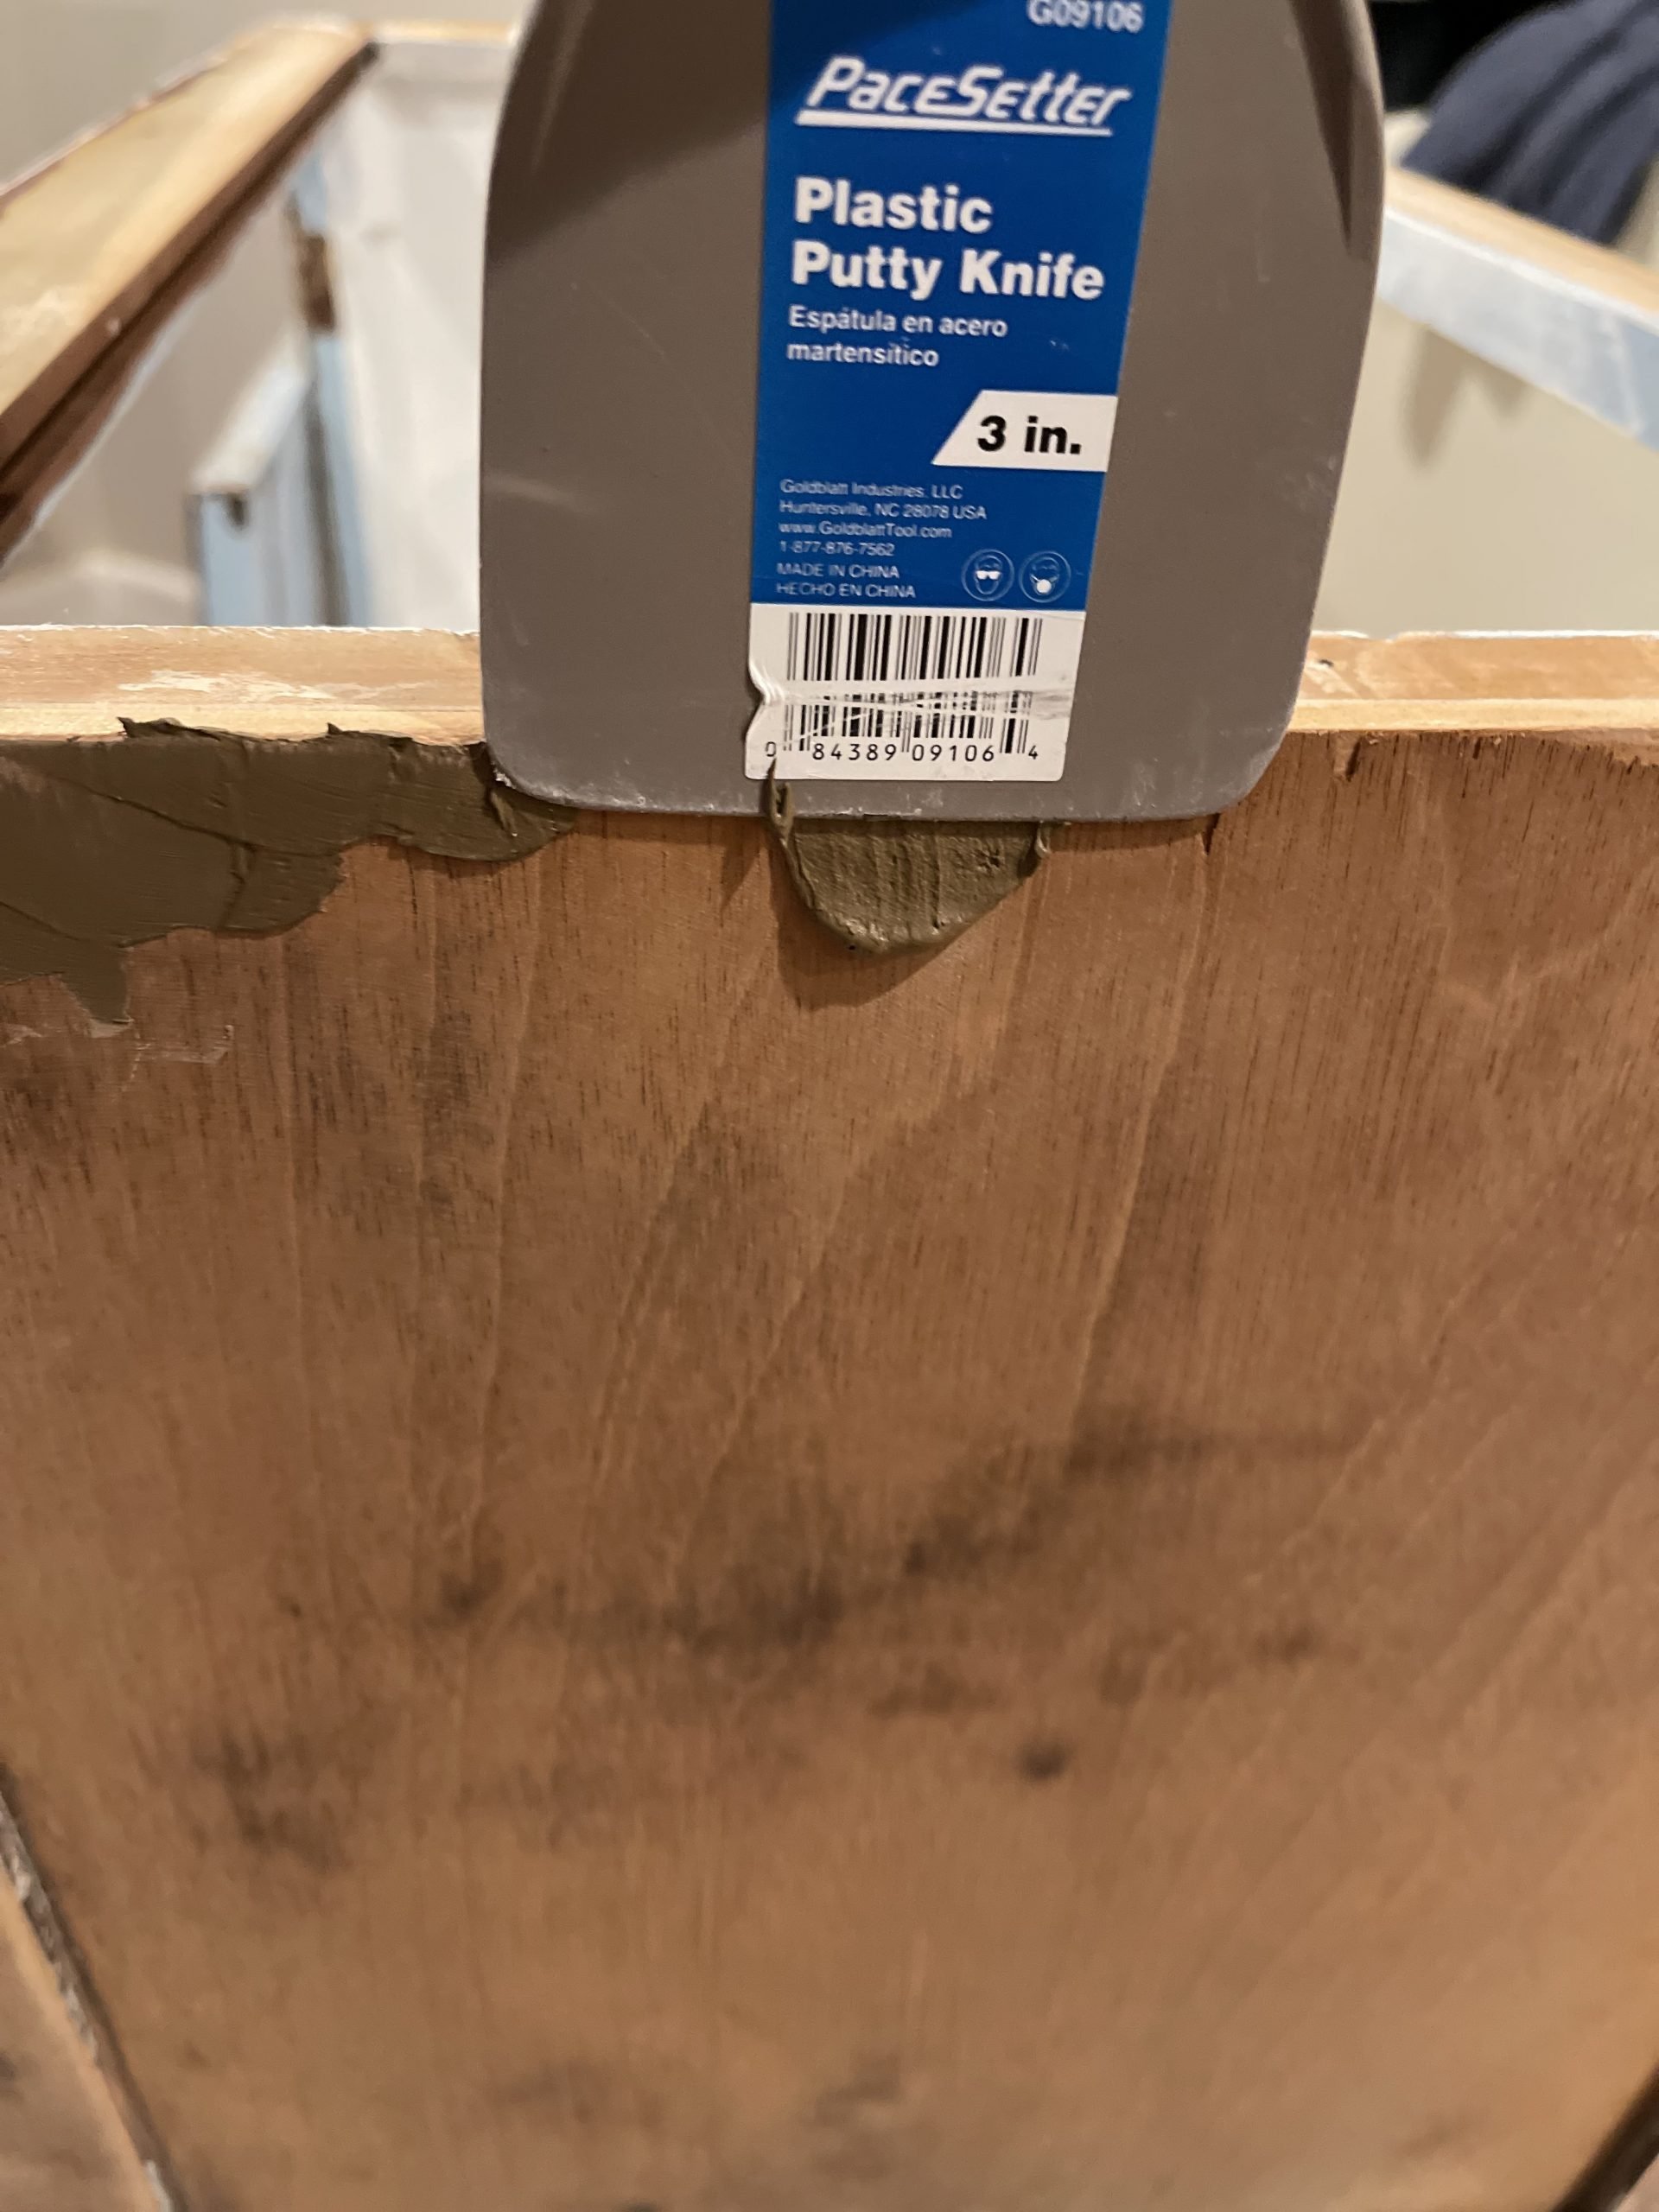
There were marks and divots from yanking the feet off, so there was some work to be done. Using Dixie Belle Mud, I filled in the holes and indentations on the coffee table top. Similar to spackle, you spread it on and sand it down after dry. I repeated a few times.
Follow along here and see how I ended up revamping the hutch.
THE HUTCH REVAMP
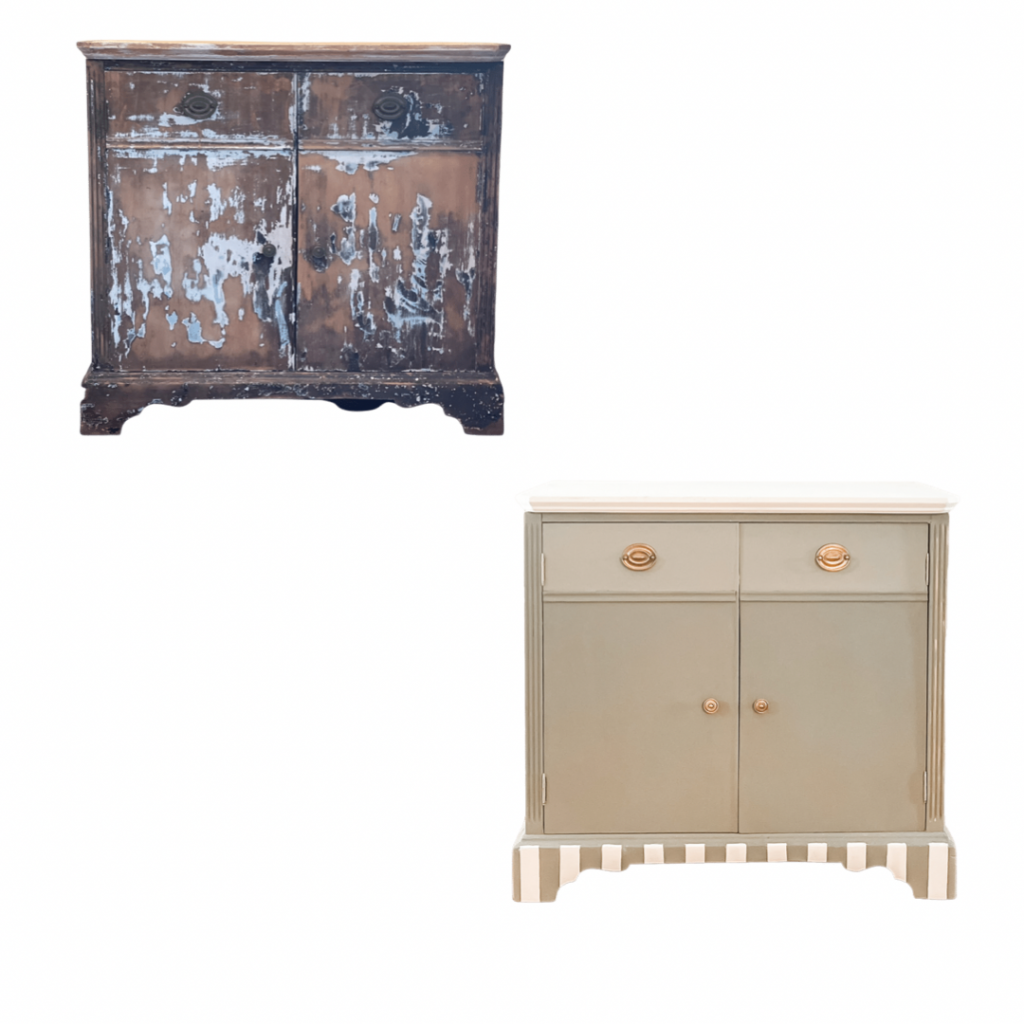
How about that for a quick glance? I am in love. Now to break down what I did for you.
After disassembling it, it was obvious both pieces would need a new back. The lower piece needed the top and the coffee table was the answer, so that was done.
STEP ONE
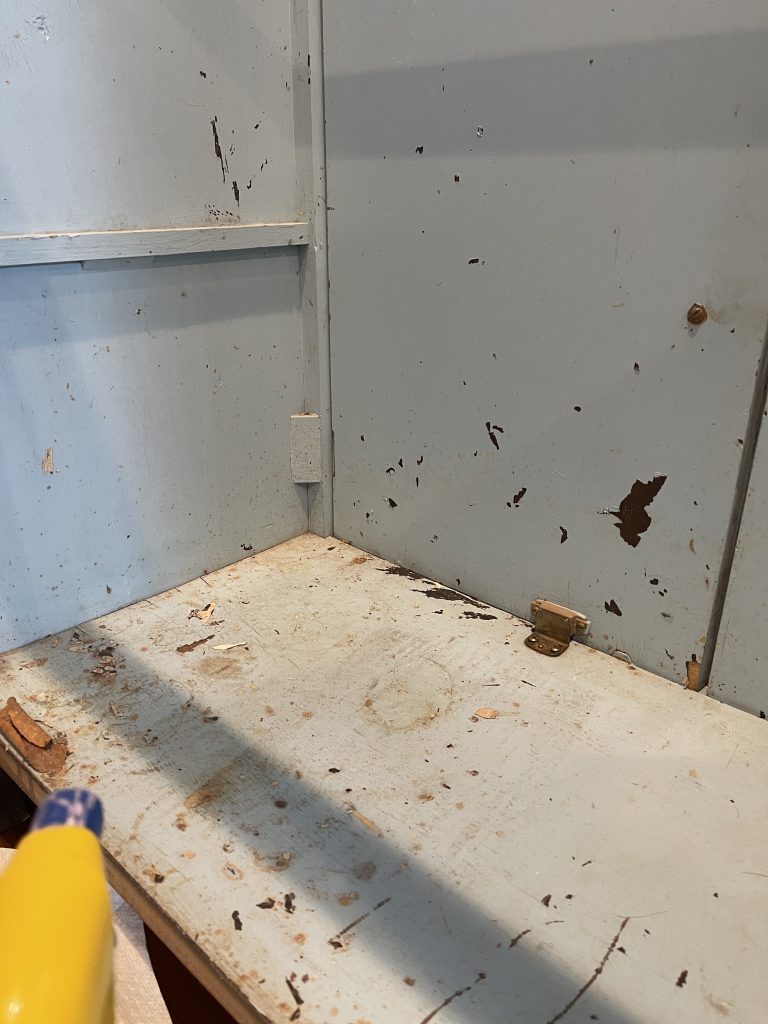
The bottom section was cleaned with White Lightning on the outside. The inside needed even more. I used a degreaser, vacuum, and razor blade.
STEP TWO
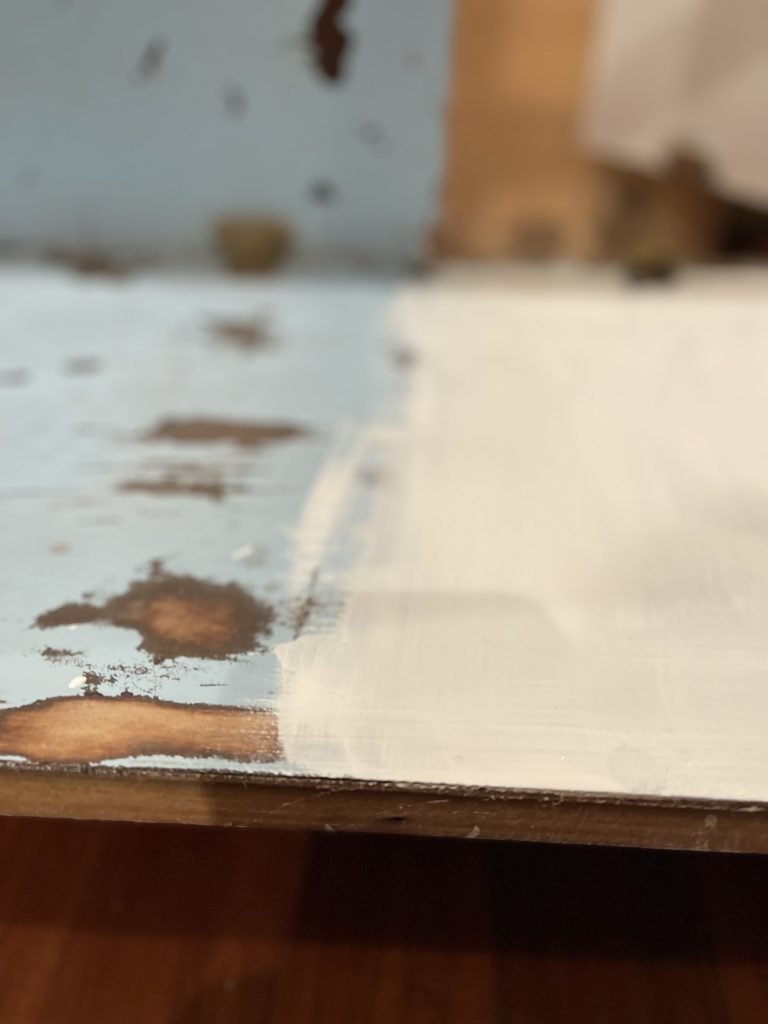
Next using an orbital sander, I sanded outside and inside to clean up and remove the chipped paint.
Cleaned and sanded. I had some spots that needed mud to even them out. So next I added some mud to the splintered and low spots.


STEP THREE
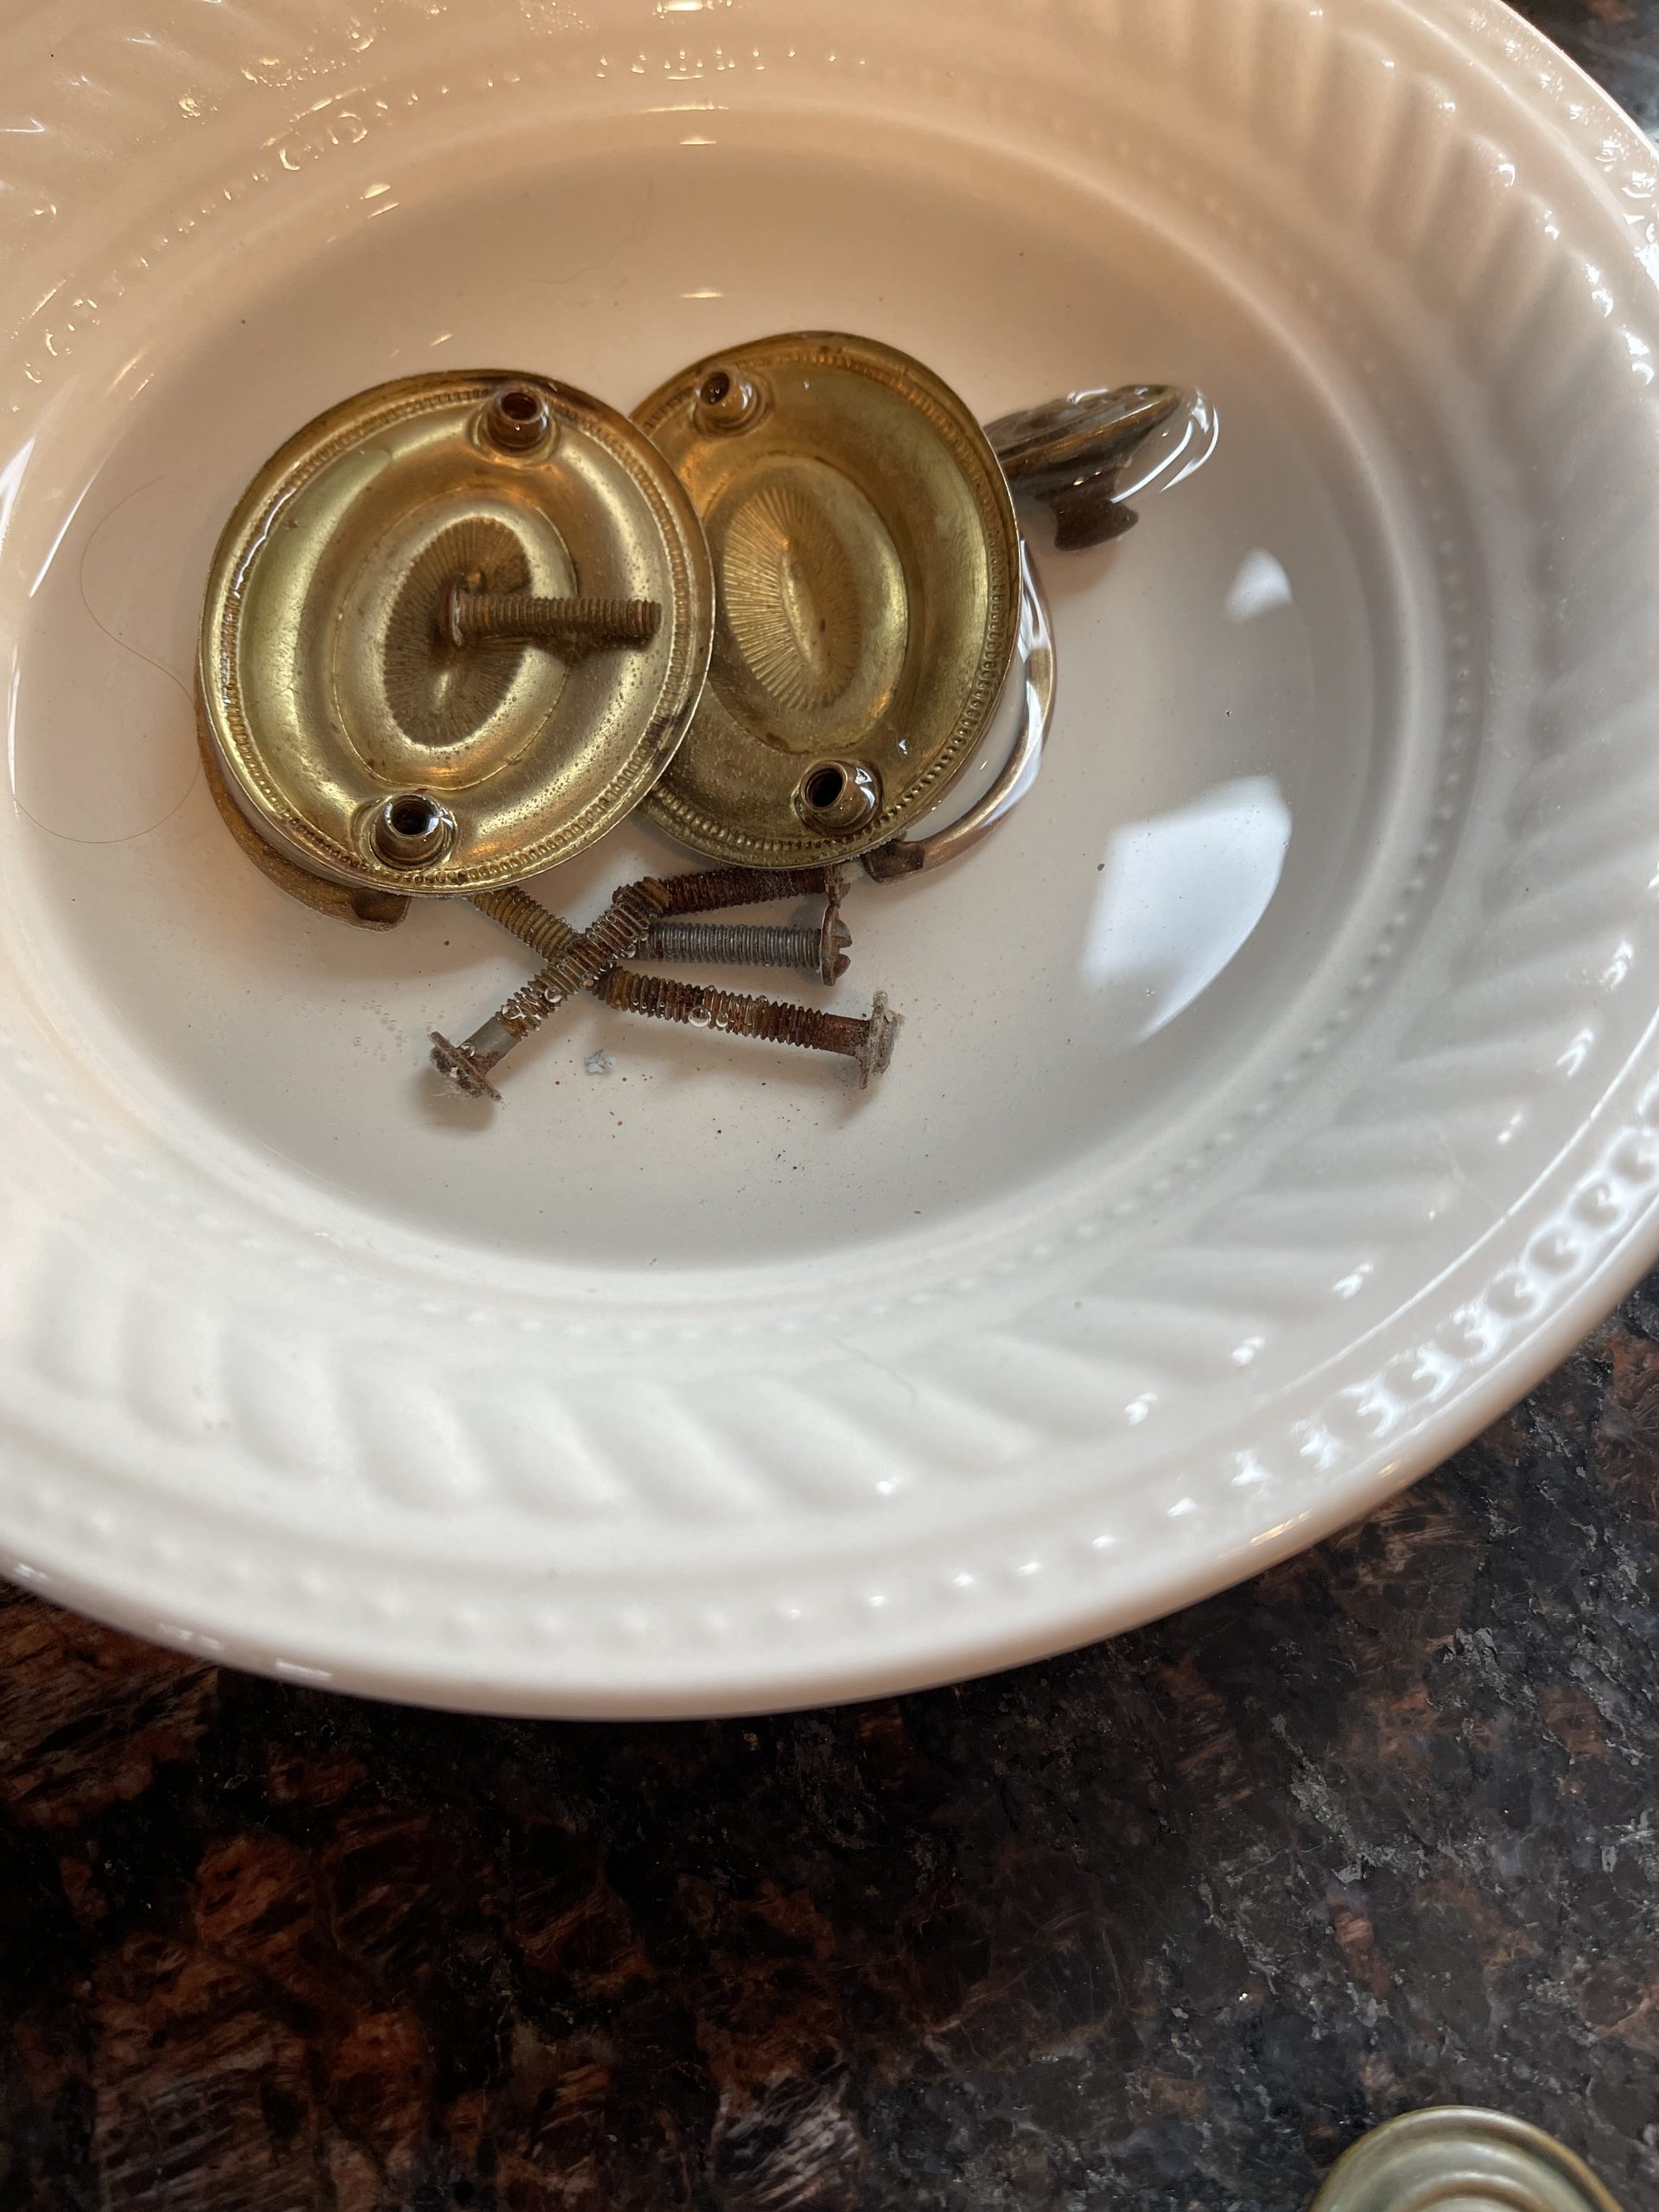
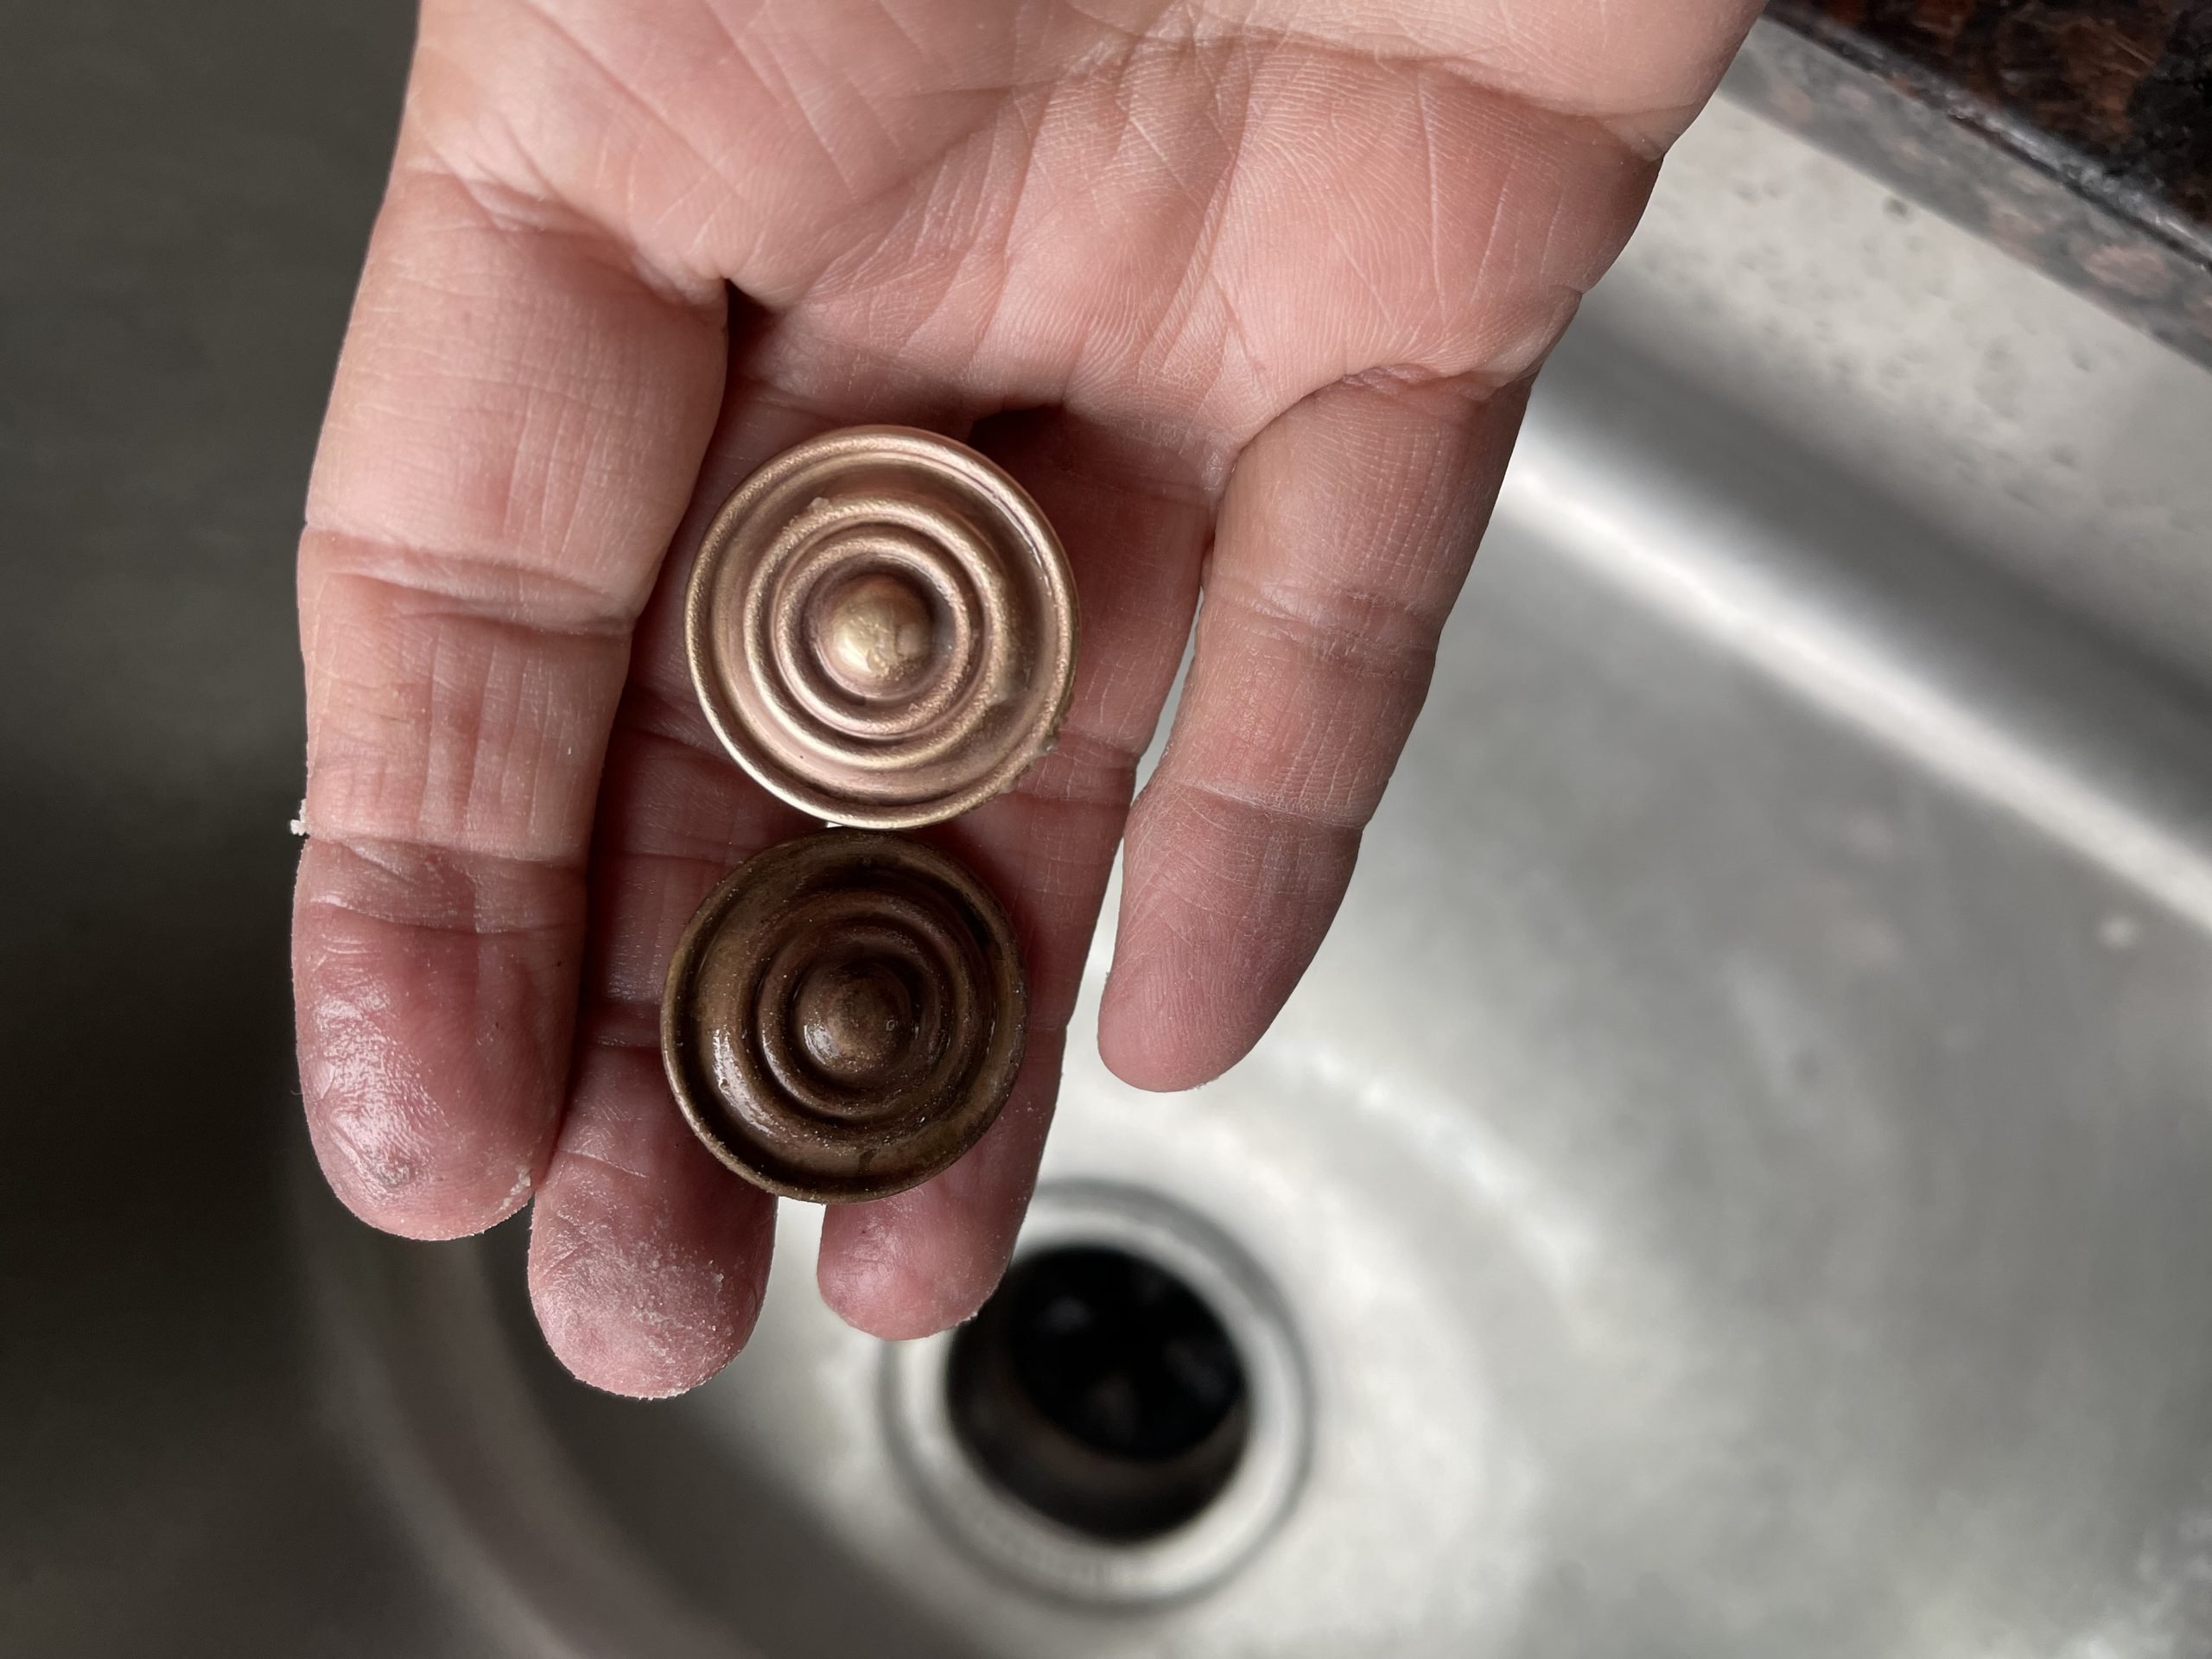
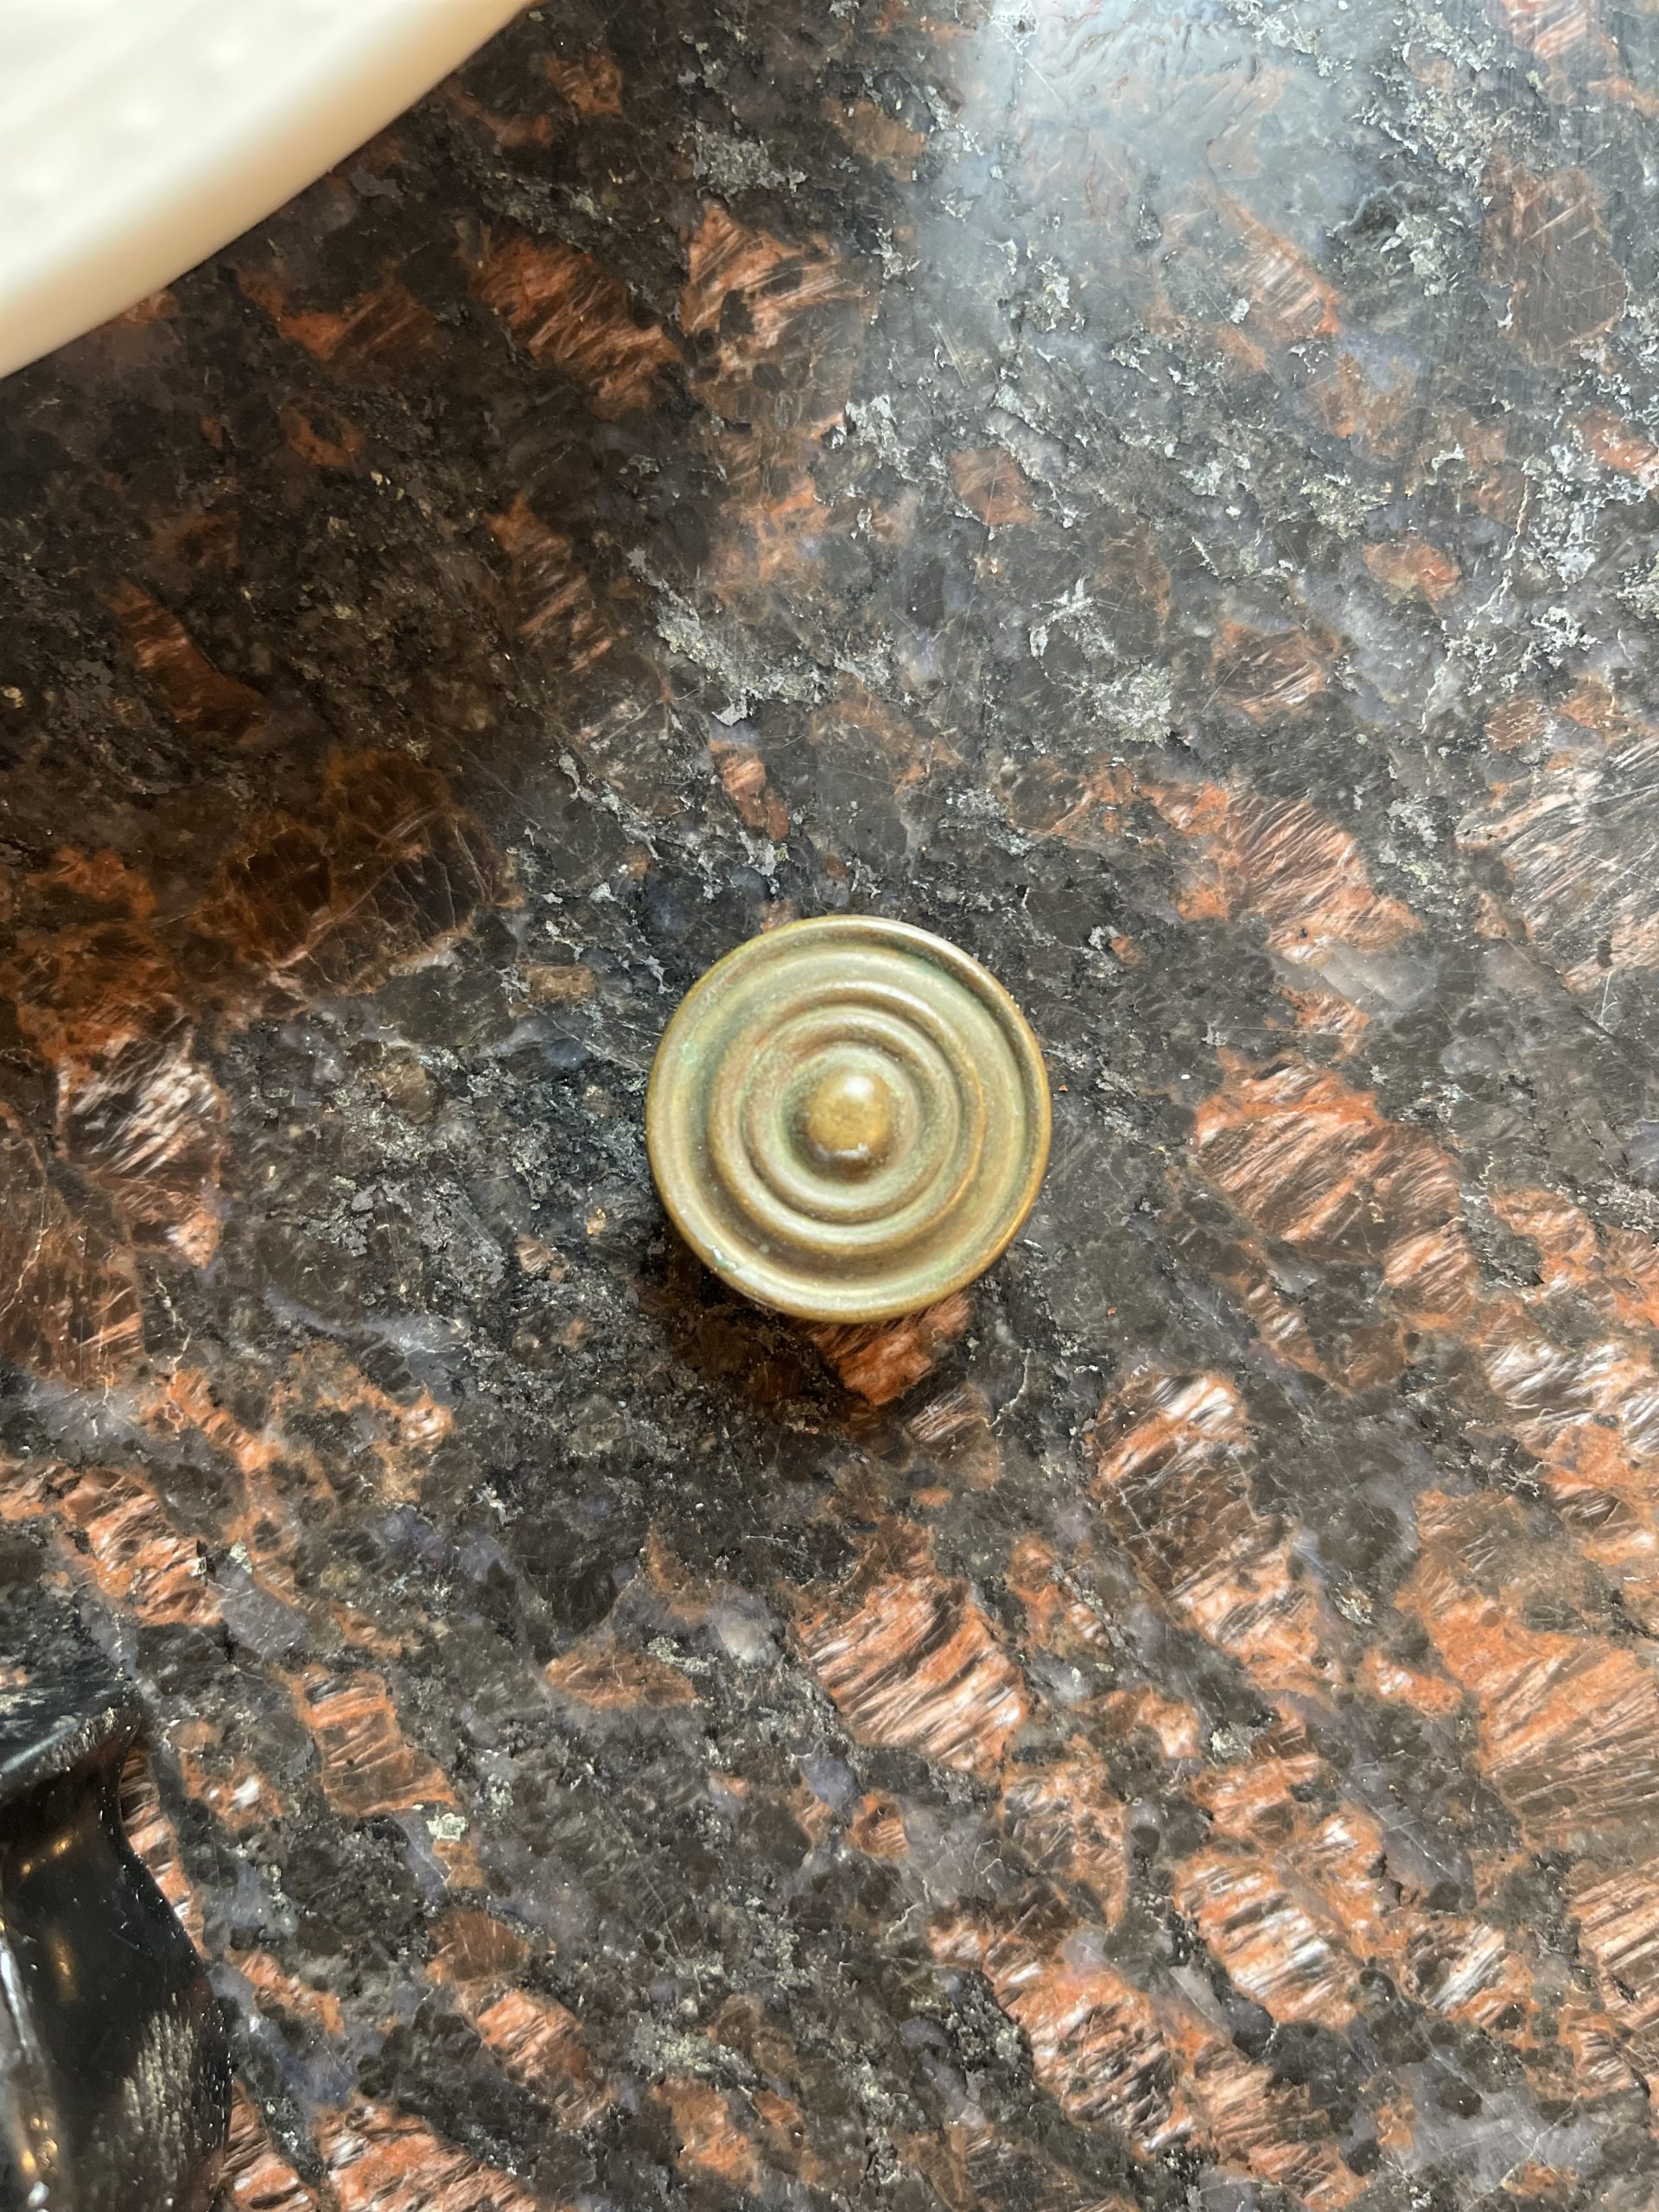
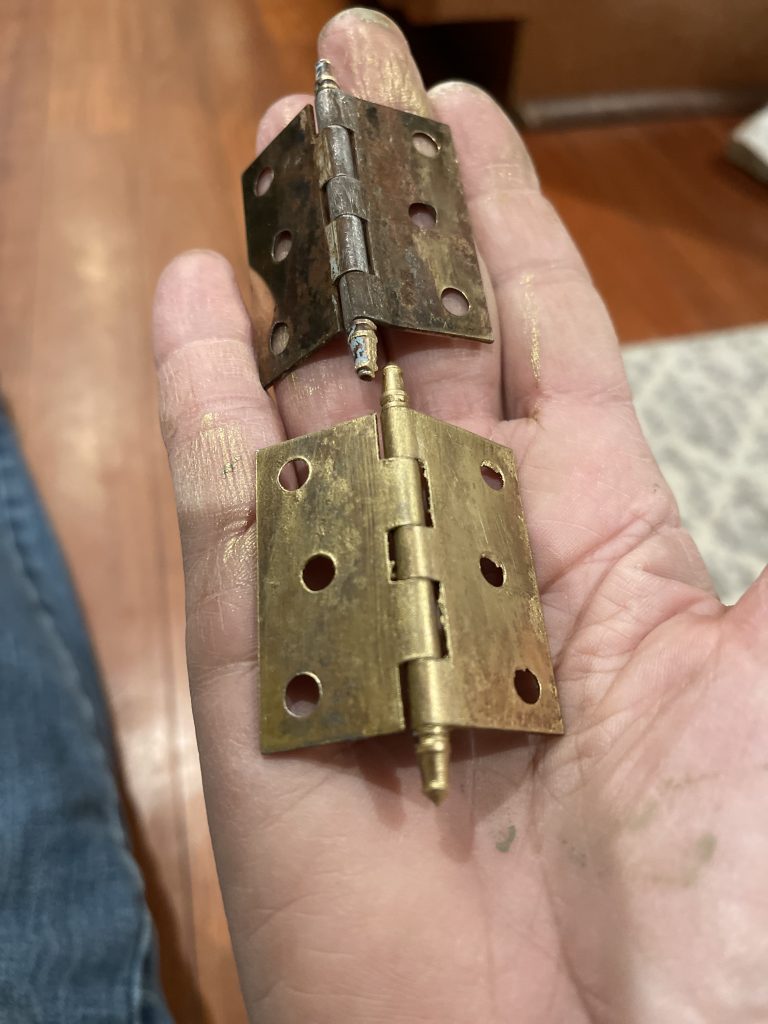
Removing and cleaning up the hardware was the next step. I used white vinegar and dropped in the hardware, the handles were solid brass. Then scrubbing with baking soda, they cleaned up beautifully. The knobs were the same. The hinges were rusty and yucky, not brass, I used some gilding wax to brighten them up and pop.

STEP FOUR
Next I began painting. With the inside being so cruddy, I started with two coats of Dixie Belle Boss in white. This is a primer that prevents bleed through and odor. The inside was blue so after the Boss, I painted it with Dixie Belle Drop Cloth. This lighter color would definitely brighten the inside.
I used the same color for the top.
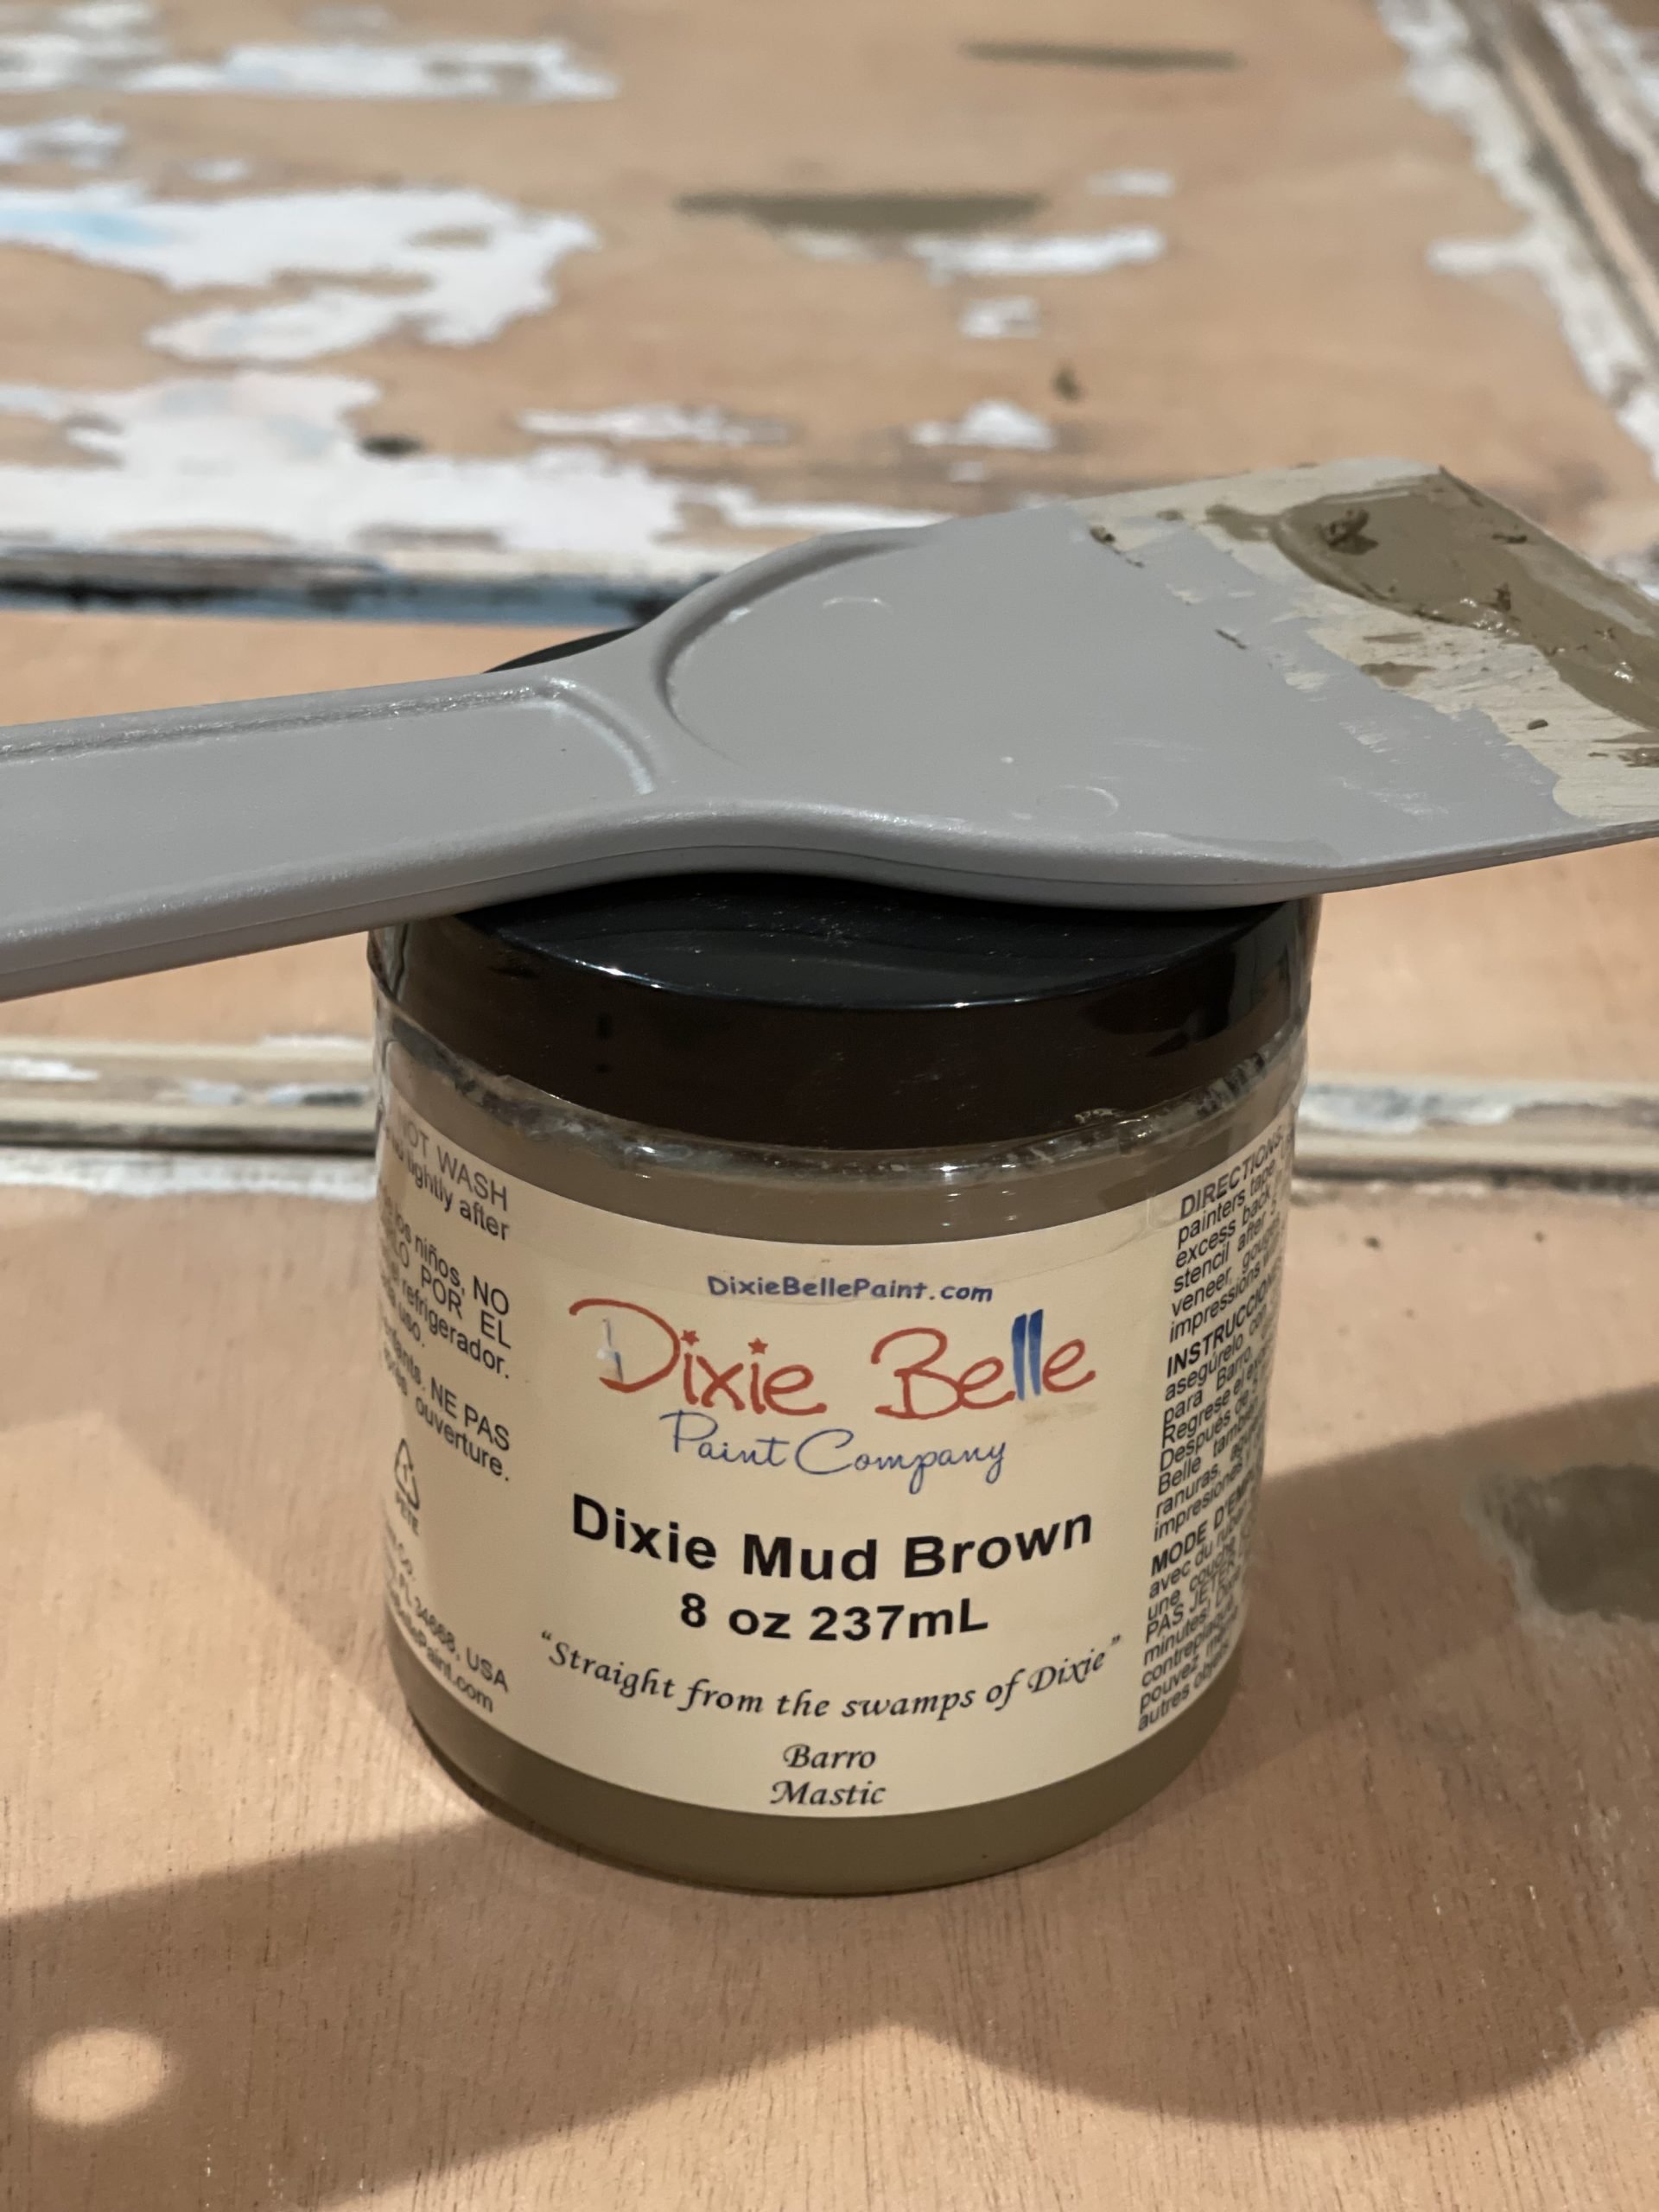
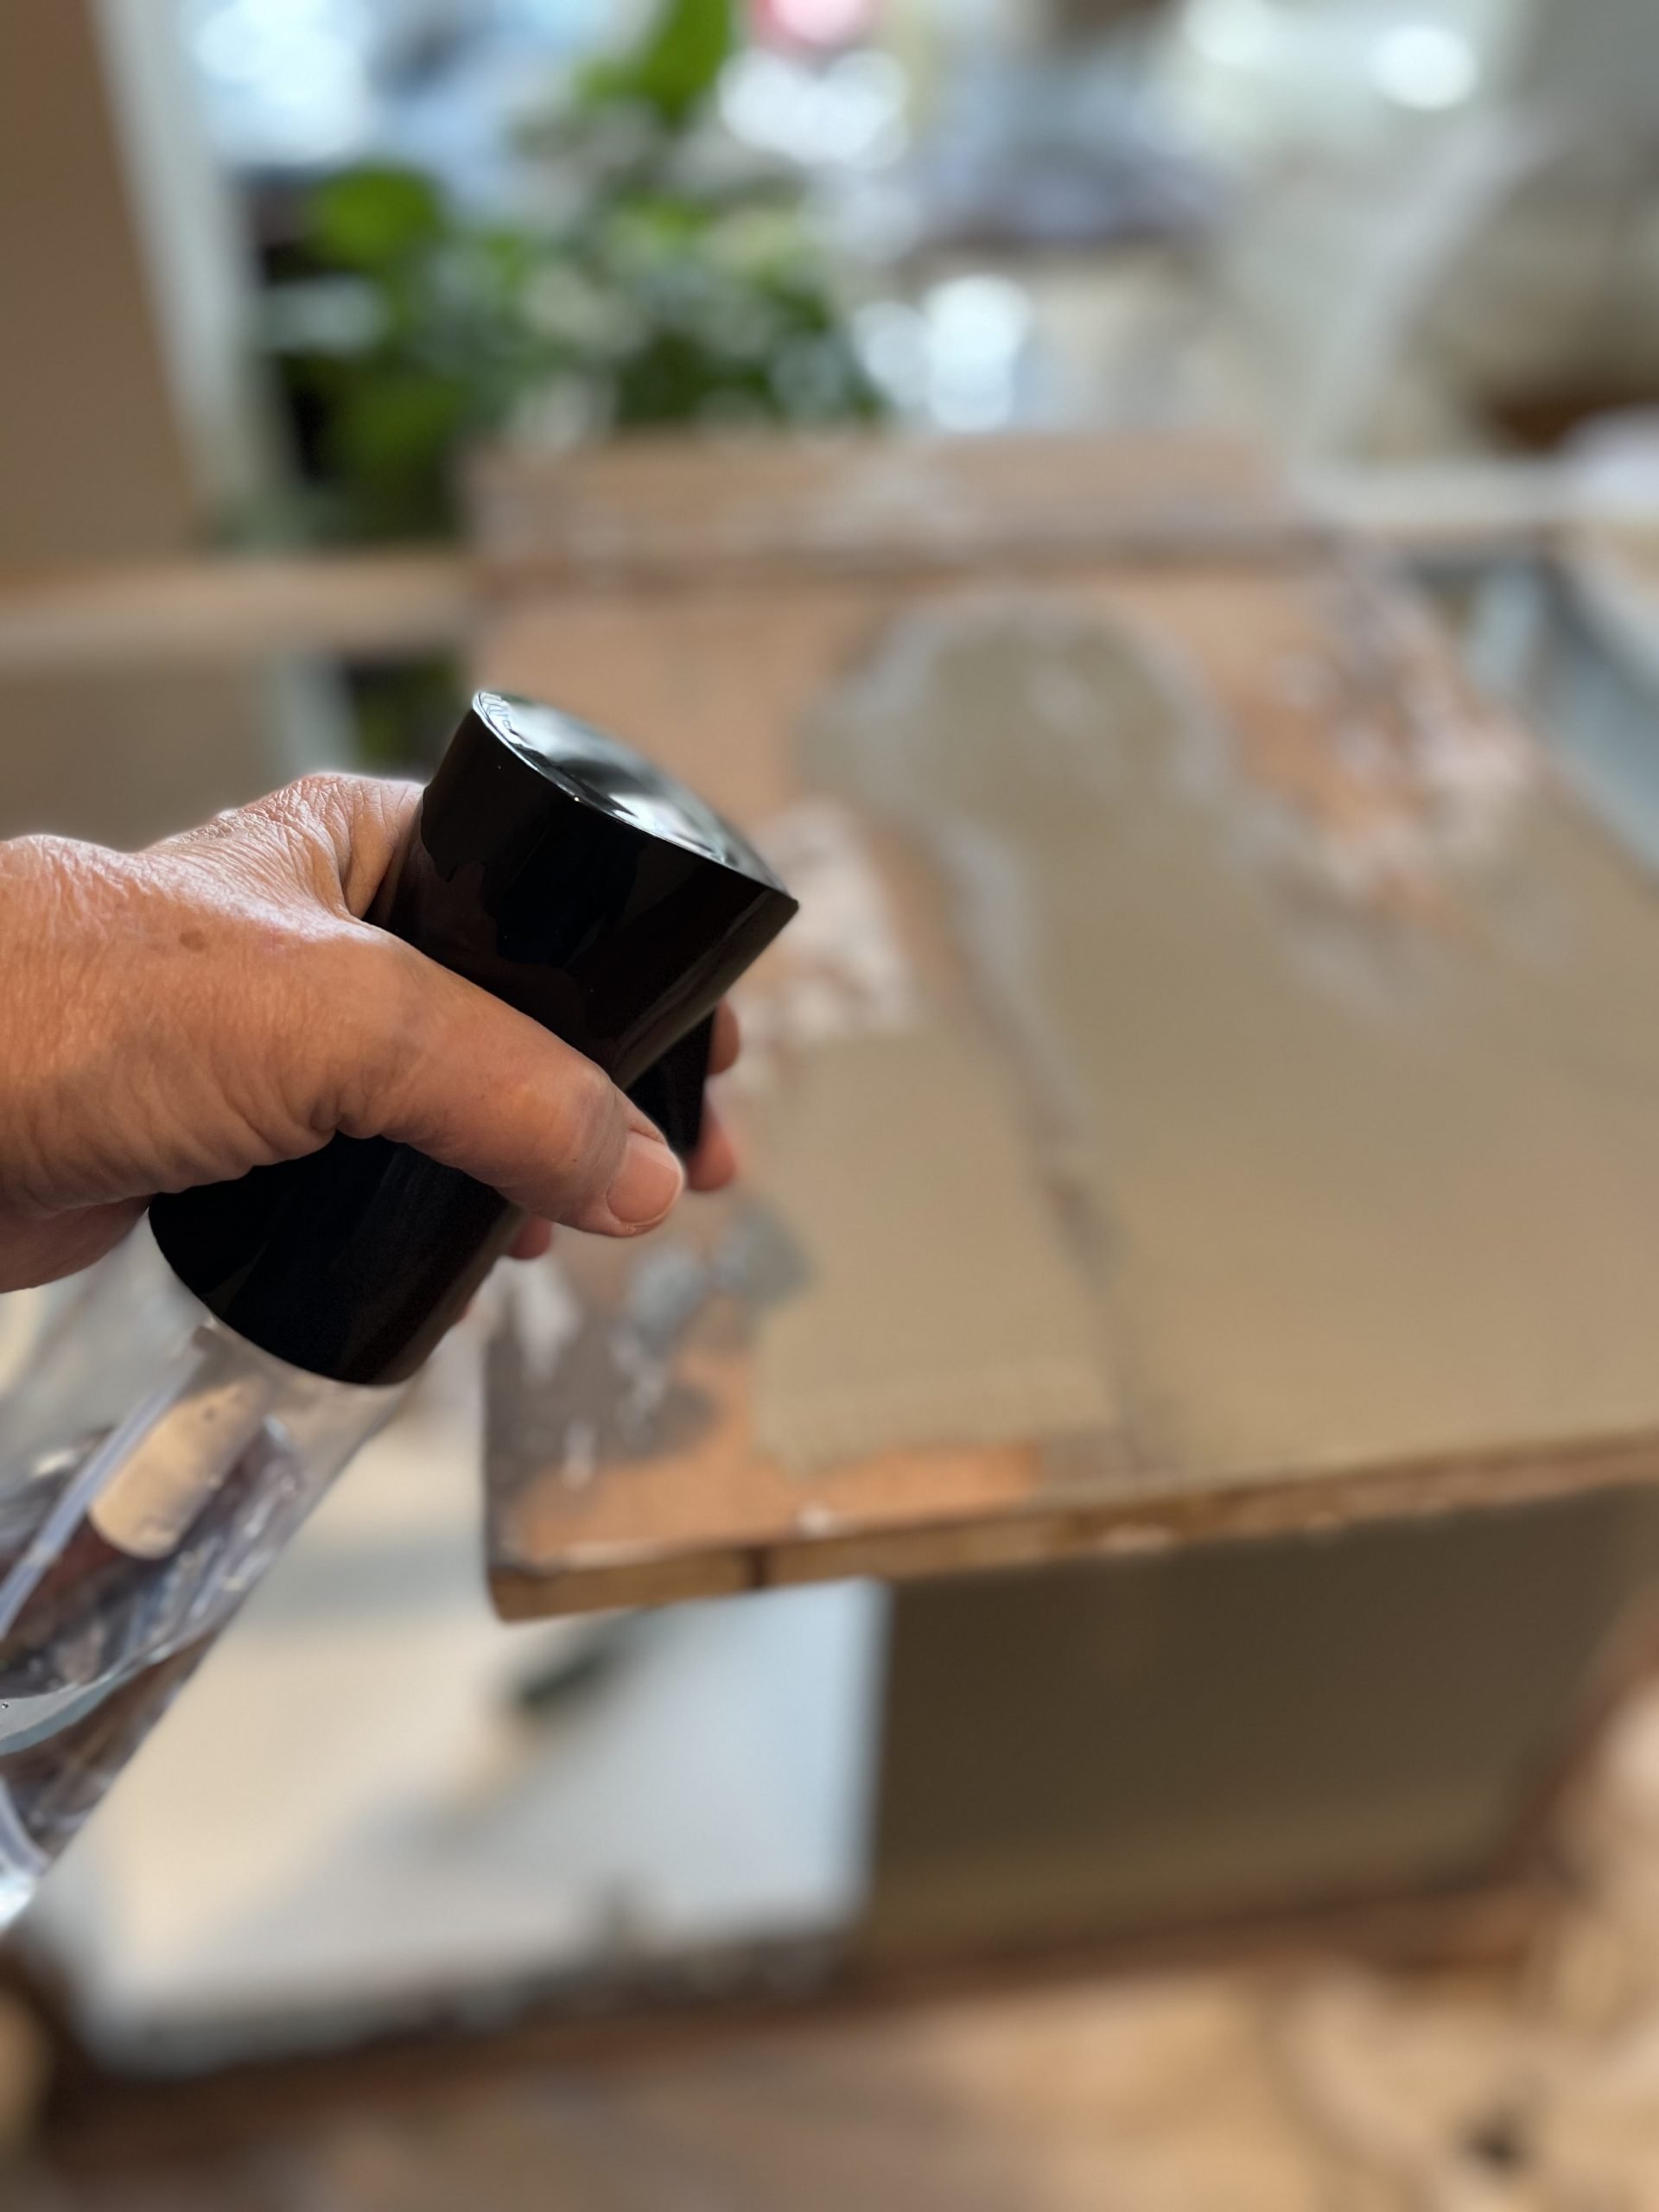
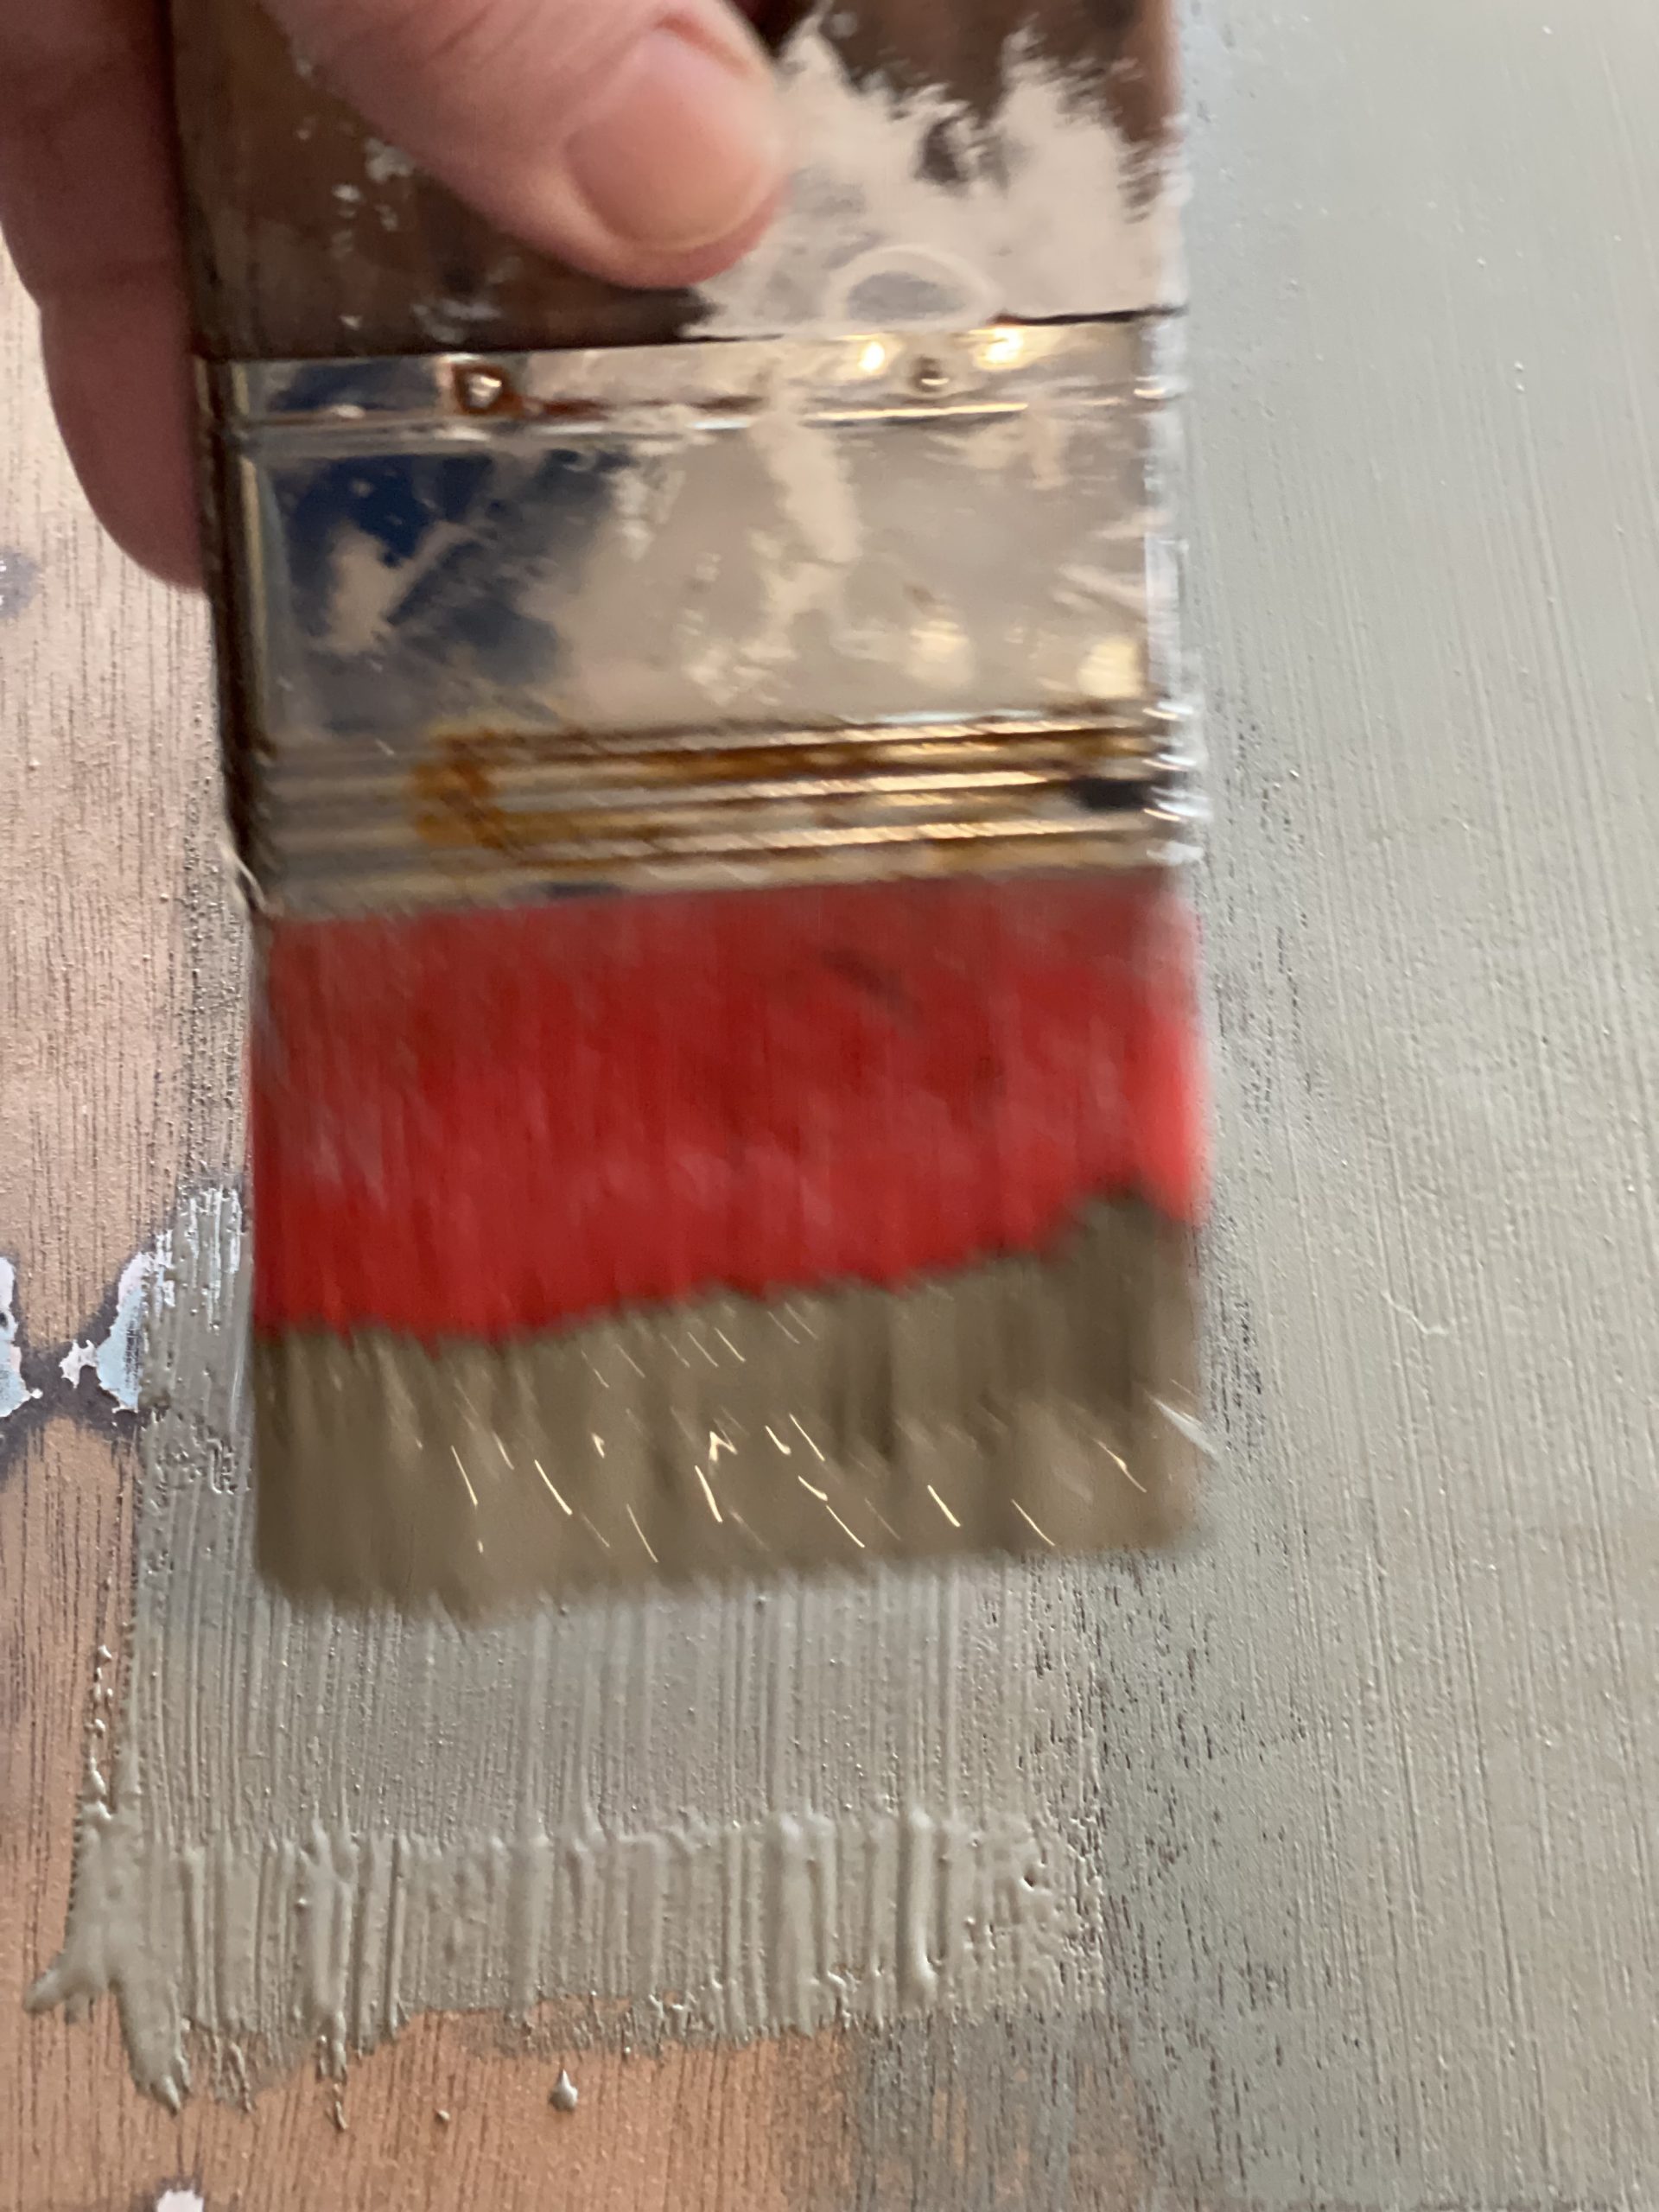
The color I chose for the outside was Dixie Belle Spanish Moss. Such a light greyish green, it’s rich looking. It’s a Chalk Paint and can thicken so I used the continuous misting bottle to spray as I brush on the paint, it really helps it glide on smoothly.

The brass knobs and pulls looked great against that color.
STEP FIVE
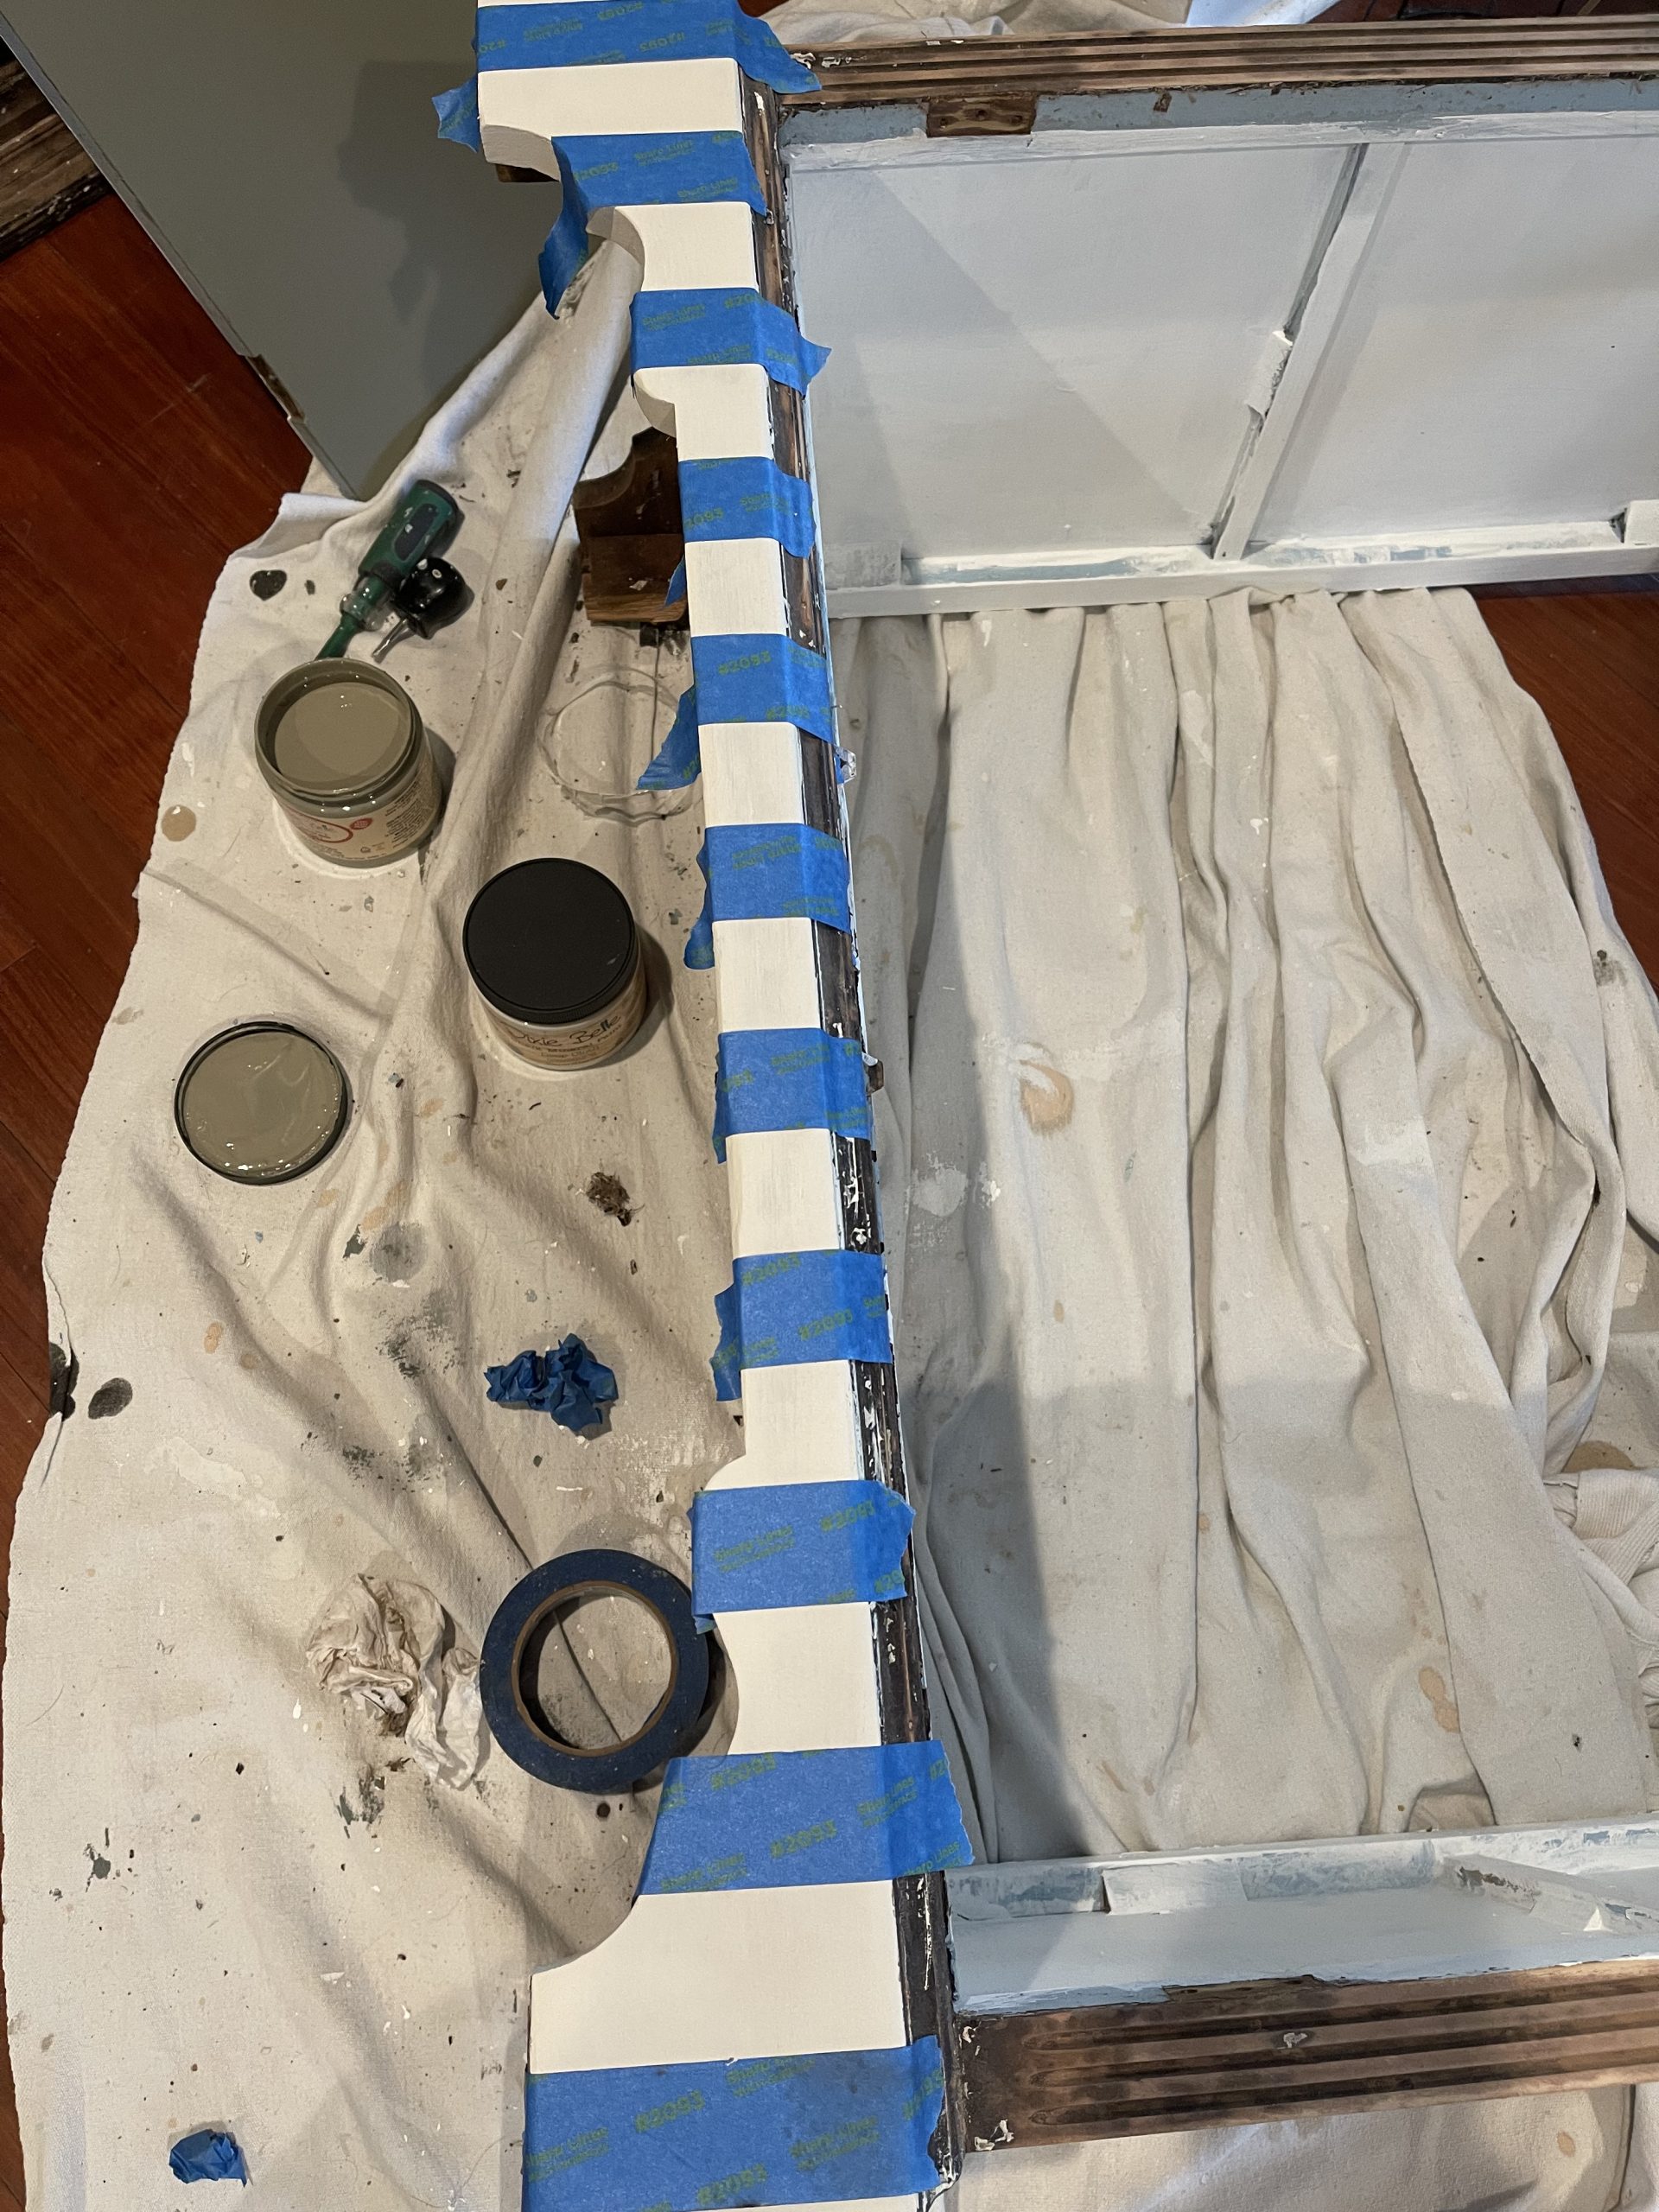
I wanted to add a little something special so I added painters tape to the bottom apron and created stripes. Spanish Moss and Drop Cloth go together beautifully.
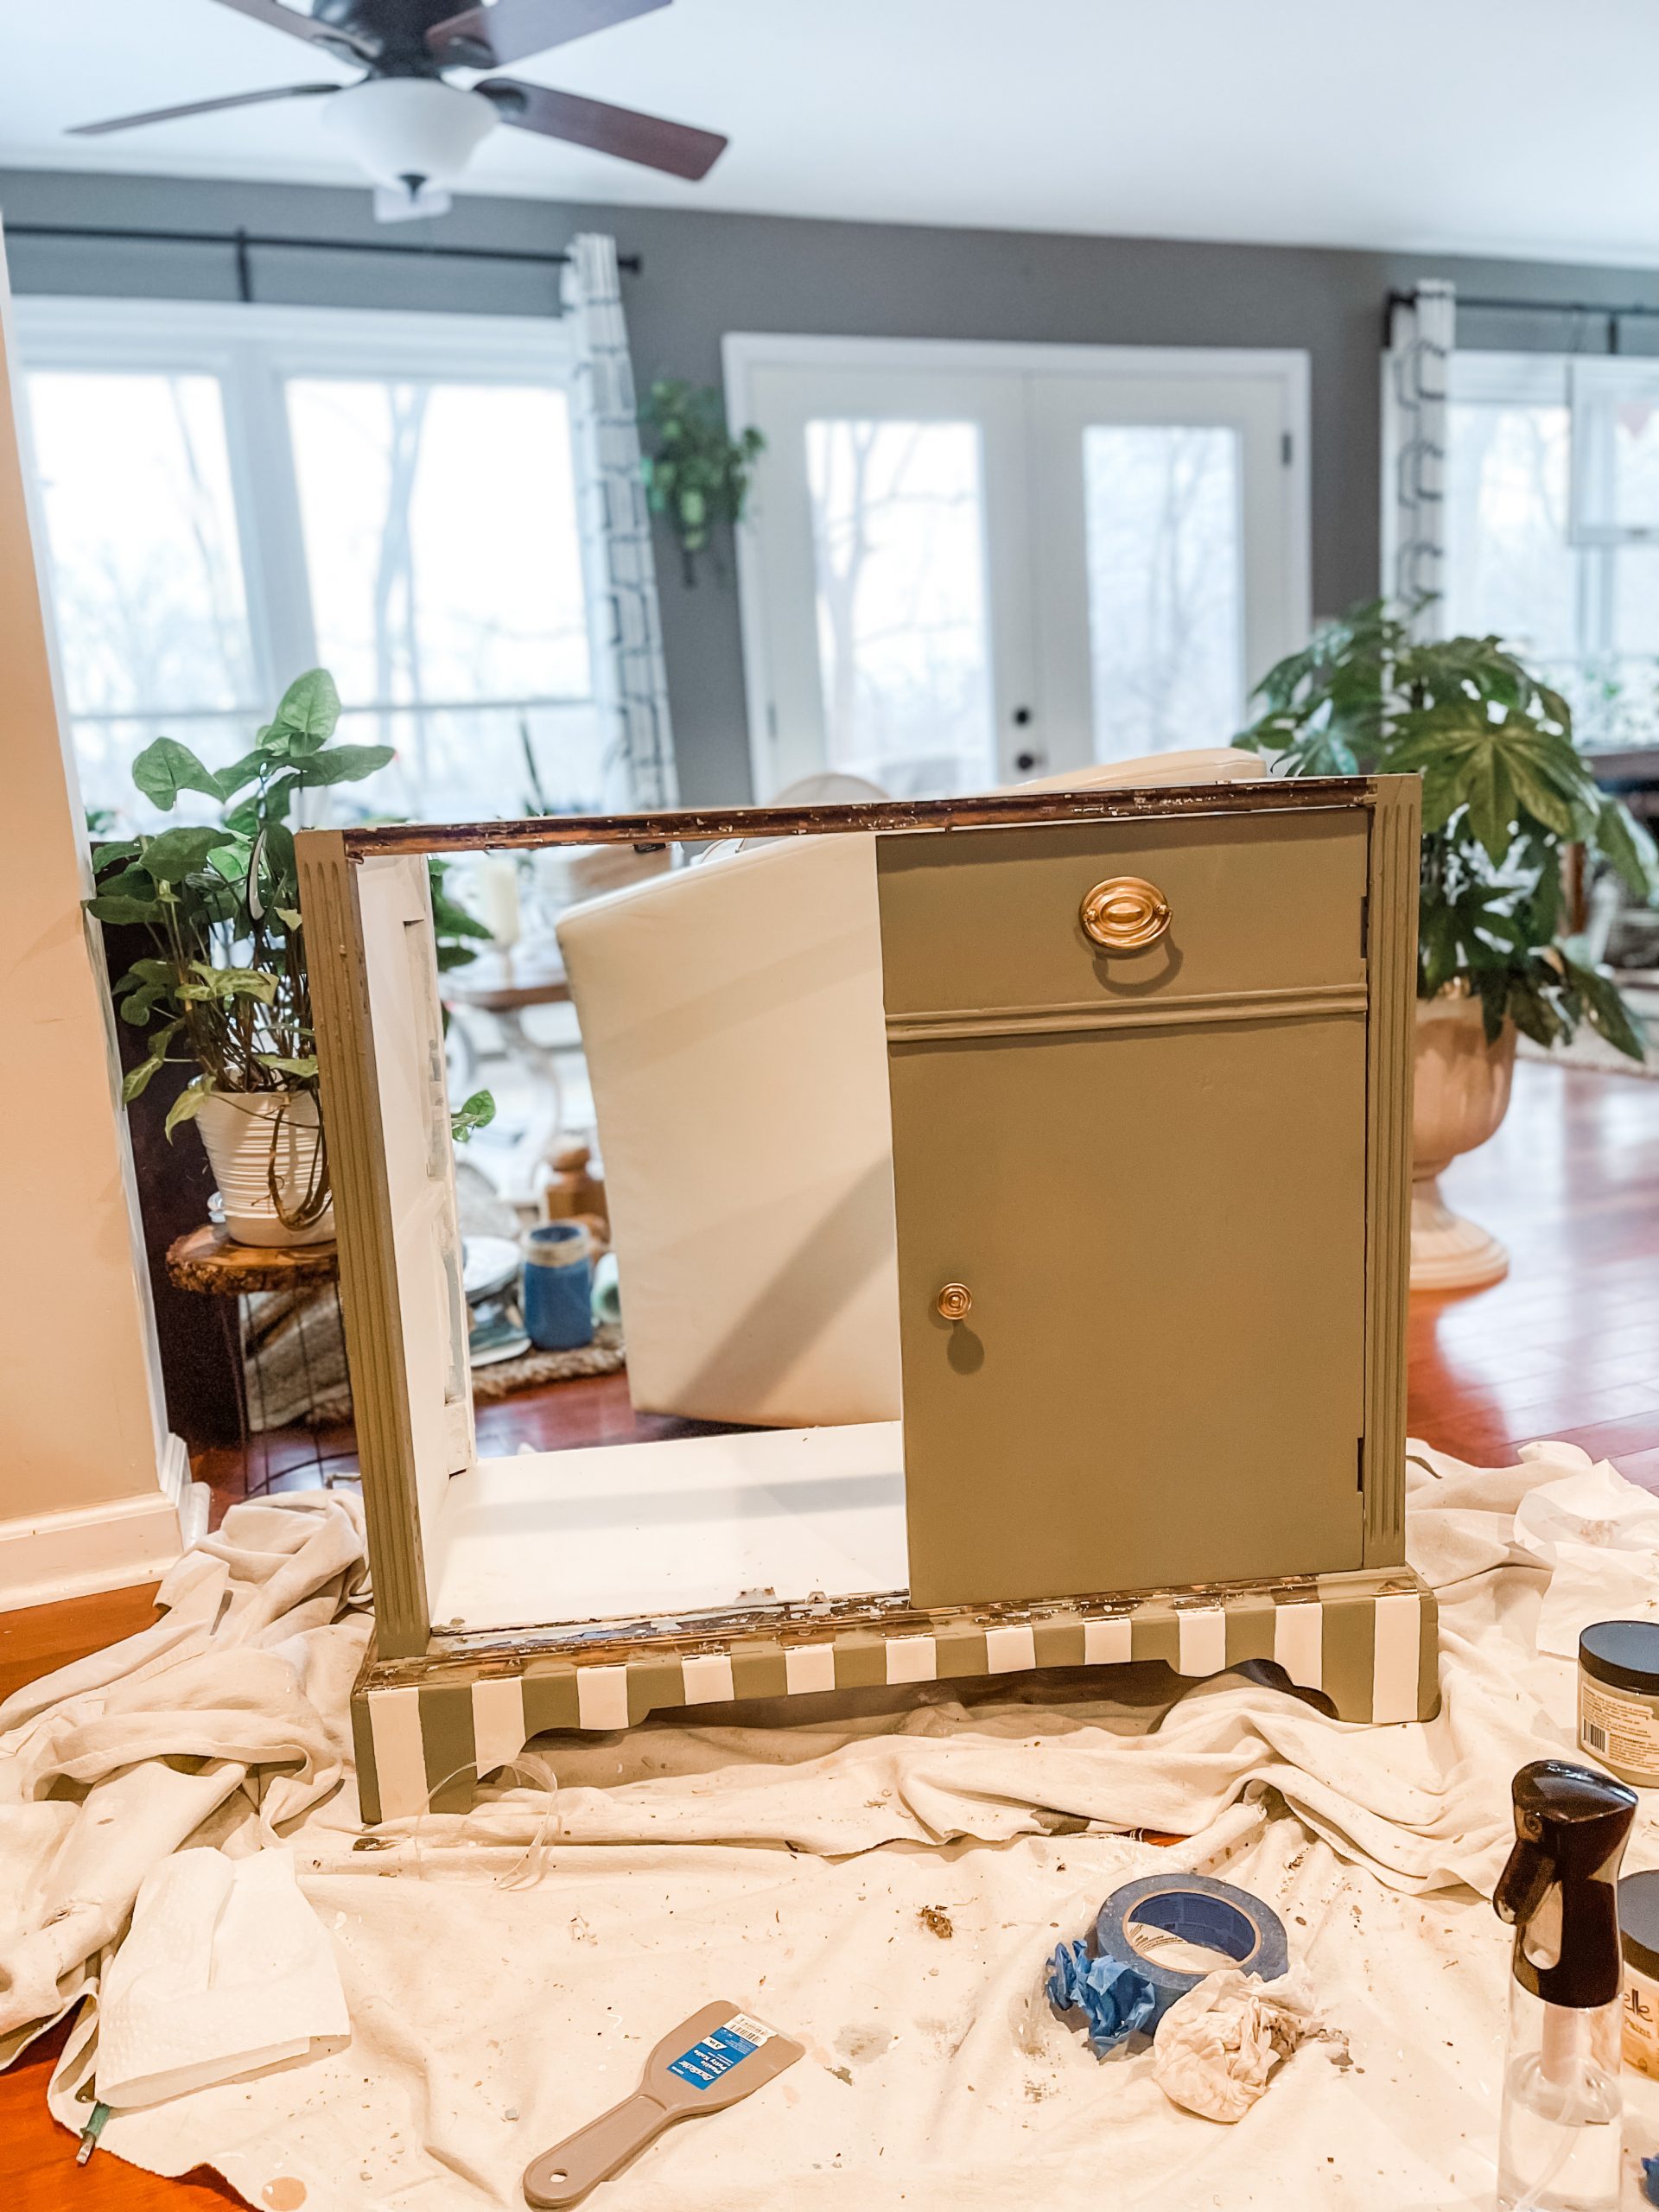

When I thought I was finished painting I took a picture. It was evening and there was a shadow along the top of the piece. It looked like the top of the doors were a different color. Hmmmm.
STEP SIX
I liked it, so I decided to mix Spanish Moss and Drop Cloth together 3 parts Spanish Moss to 1 part Drop Cloth and painted the top part of the drawers with that mixture. Subtle but I liked it.
STEP SEVEN
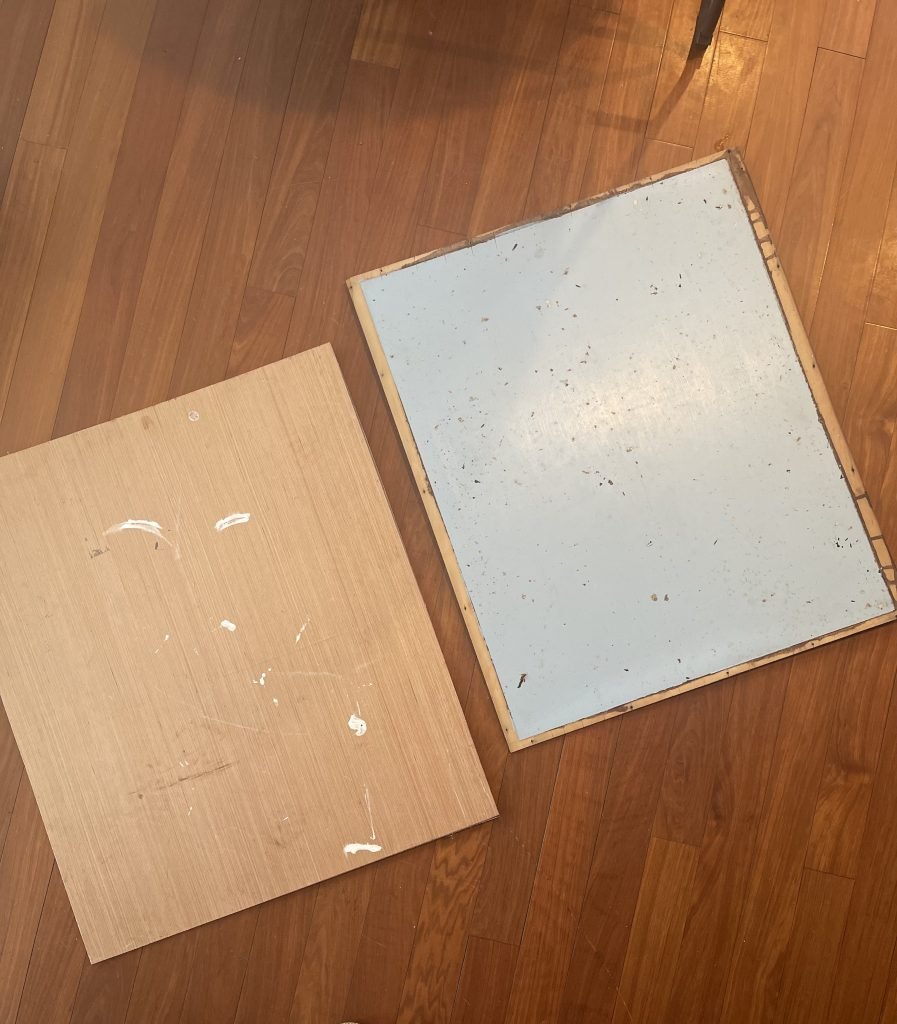
Since the back was warped and peeling, I had to cut an old piece of Lauan plywood, paint it and staple to the back.
With the hinges back on, the top attached and the back on, I only had to paint the inside shelf. After a coat of Boss, then Drop Cloth I was done. All together I painted 2 coats of Spanish Moss and 2 coats of Drop Cloth, that provided excellent coverage.
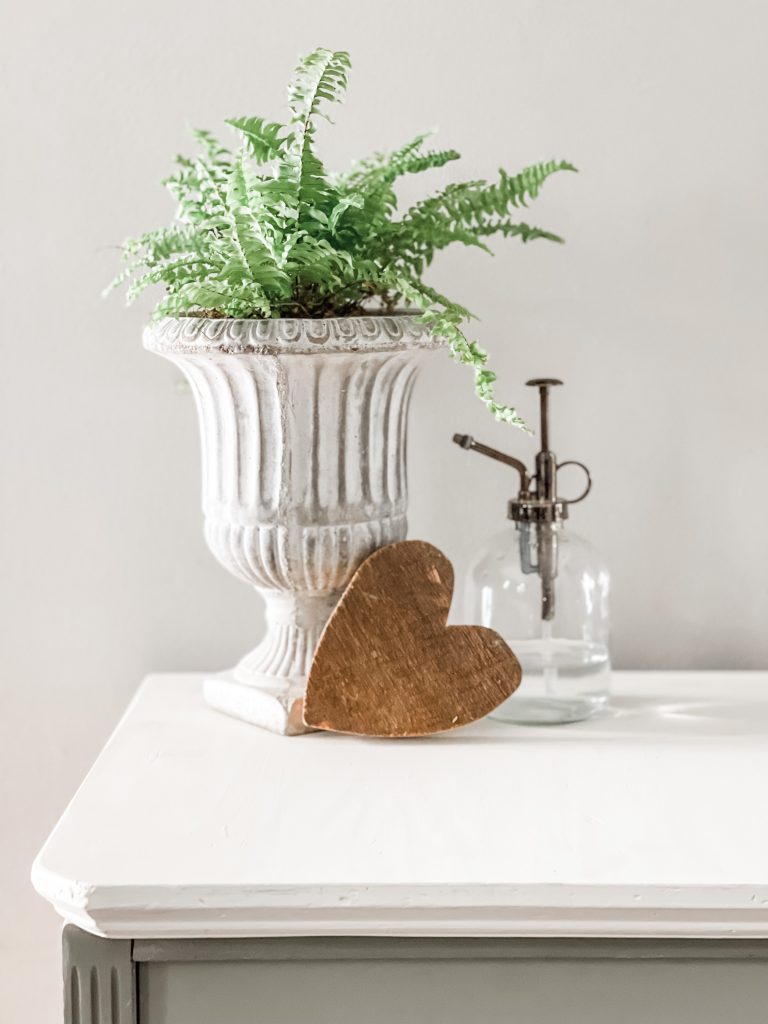
Now she was ready for show time. What do you think?
Thanks for stopping by to see my “Hutch Revamp”. Now it’s on to the top. I’m going to paint the inside the same color but I may just paint the top and leave the remainder all chippy and the way it is.
I’m thinking it would be perfect to store my paints in my office or keep it downstairs and do what I originally planned, store chargers, placemats and kitchen stuff. We’ll see.
If anyone tries to tell you something has to stay together and you can’t take it apart and revamp a hutch, tell them Saved From Salvage did it.
To see some of my other “furniture makeovers” click here and here.
Oh, and I’m looking forward to April, that’s the next Bulk Trash Day here in our ‘hood. Ten bucks if Carmine remembers, he flies me somewhere to keep me off the streets.
Enjoy what you read? Take a minute to subscribe and get updates on projects as they are finished.
It really means a lot that you stopped by so thank you! Feel free to comment and let me know your thoughts. I love to see your comments.
XO, Regina
Wow Regina! You’re very talented! Did you go to school for design? I’m glad I saw this post.
Sandra – how sweet. No design school for me.
Regina, this looks FABULOUS!!!!! I love it! You are incredible. I cannot wait to see what you find on trash day.
Thanks Elizabeth! I can’t believe how excited I can get about trash!
It turned out beautiful!
Thanks Lor!
What an amazing job! Love that you saved it. ❤️
Wow, you put in so much effort, well worth it.
This is truly an unbelievable transformation! There is hope for any piece of furniture!
Stacey – thanks so very much!
This turned out beautiful Regina. I would have never thought that is was salvagable. you hare a really good eye for things that you can save and give a new life to.
Janet – Thanks so much for the kind words!
You did a wonderful job on this makeover! Love the end result.
Paula – thanks so much – me too!
Wow, Regina! What a makeover! It is unrecognizable, you did an amazing job.
Thanks so much Marieza!
What a find – and makeover. Lots of work but looks like it was well worth the beautiful finished hutch.
Regina, you put a lot of sweat and hard work into this piece. It turned out beautiful.
Wow – it doesn’t even look like the same piece. You definitely put a lot of work in to this one. I would have probably hauled it away. Glad you showed that sticking with it made all the difference. Thanks for sharing it. #HomeMattersParty
Wow what a major overhaul. You did beyond an amazing job!
I love a good ‘Lost Cause Makeover’ – I’ve done a few myself. I can’t wait to see what you do with the top!
Ann – Sometimes I can’t believe I try to save these things but in the end I love them!
What a wonderful transformation! Thank you so much for sharing at Tuesday Turn About!
This is an amazing transformation!! All of your hard work paid off. Beautiful job!
Wow! You really gave your hutch new life! Thanks for sharing at Vintage Charm–pinned!
This is awesome. I would love it if you would share this on The Fabulous Friday Link Party.. https://www.peacockridgefarm.com/category/fabulous-friday-link-party/
Hugs to you.
Wow! What a great job you did! It really is a beautiful piece now and you’ve inspired me to use stripes on my next piece to give it a little something extra. I was thinking of going with a WoodUBend product but the stripes will be a beautiful touch, I think. Thank you for sharing your love of hard work and hobby 🙂
Summer – thanks so much for coming by! I’m glad you like it. Yes it’s easier than using another material. I still need to use some WoodUBend myself.