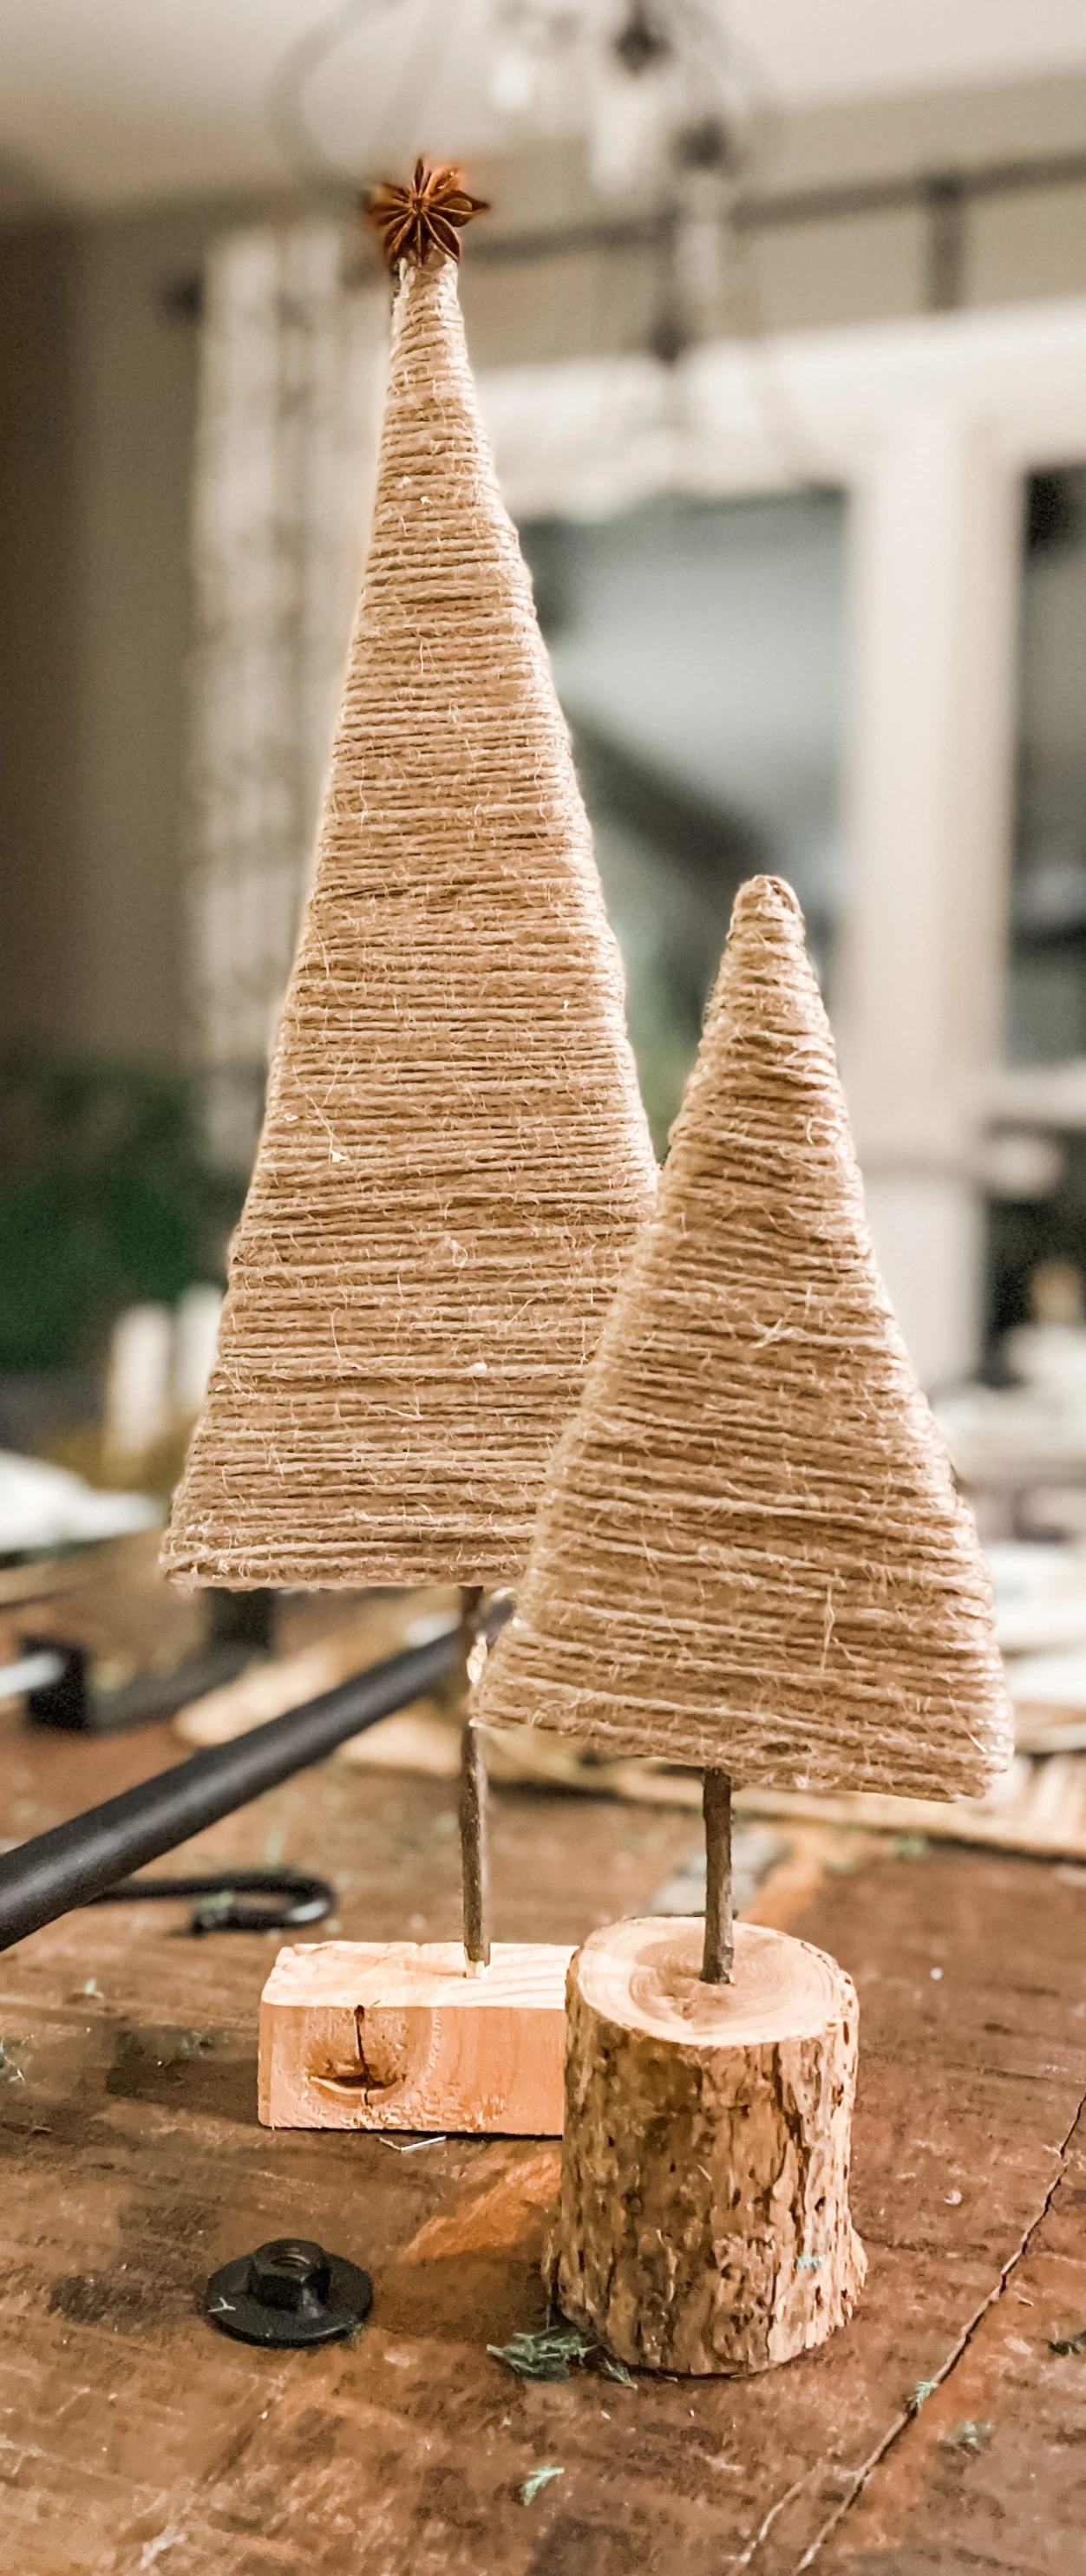
Learn how to make this adorable twine Christmas tree in this Twine Tree Tutorial. Using scraps, it’s easy to do.

I’m sharing a cute and easy DIY Twine Christmas Tree. It’s rustic and simple and with the buzz about shipping delays and product shortages, creating something from scraps around the house is the best idea!
When I was in South Carolina this fall, I spotted the most adorable twine tree in a home decor shop. Made of twine and wood, it was the perfect neutral to fit in with my style.


If you follow me, you know I love a more simple look (except at the holidays.) Maybe because I have more holiday decor than any other so sometimes its hard not to use it all!
I thought these were so cute, I didn’t create them exactly the same but I definitely used this one for inspiration.
So come along as I share my Twine Tree Tutorial.
Table of Contents
MATERIALS NEEDED FOR TWINE TREE
The materials for the twine trees are simple – you can use several different things to create the tree then cover in twine or rope and add a trunk and base.
For the tree you could use:
- Cardboard
- Styrofoam
- Poster Board
- Painters Tape
For the trunk you could use:
- Stick
- Popsicle stick
- Dowel rod
- Paint stirrer
For the base you could use:
- Cut piece of log/branch
- Scrap of wood

I think the perfect topping is star of anise.
CREATE A VARIETY OF STYLES
I’ve created a few of these and each are different.

For some I decided to use a scrap of wood for the base, for another I cut a piece of branch off and used that as a base. For the trunk I just grabbed some sticks from the yard.
Some I wrapped with twine, some I left the twig plain.
I made them in various sizes with the same shape and think they add a nice touch to my vintage window mantel.
Below are the steps to create this pretty twine tree for your own home.
STEP BY STEP TWINE TREES
Step One:
Gather all of your materials.
Step Two:
Trace a triangle on your foam or cardboard. (You could also use scrap wood).

Step Three:
Cut the triangle out.

Step Four:
Using a glue gun, begin gluing twine around the bottom and work your way to the top.

Step Five:
Take your twig or stick for your trunk and whittle the edge (a sharp kitchen knife is fine) to make it sharp then stick it into the bottom of your tree.

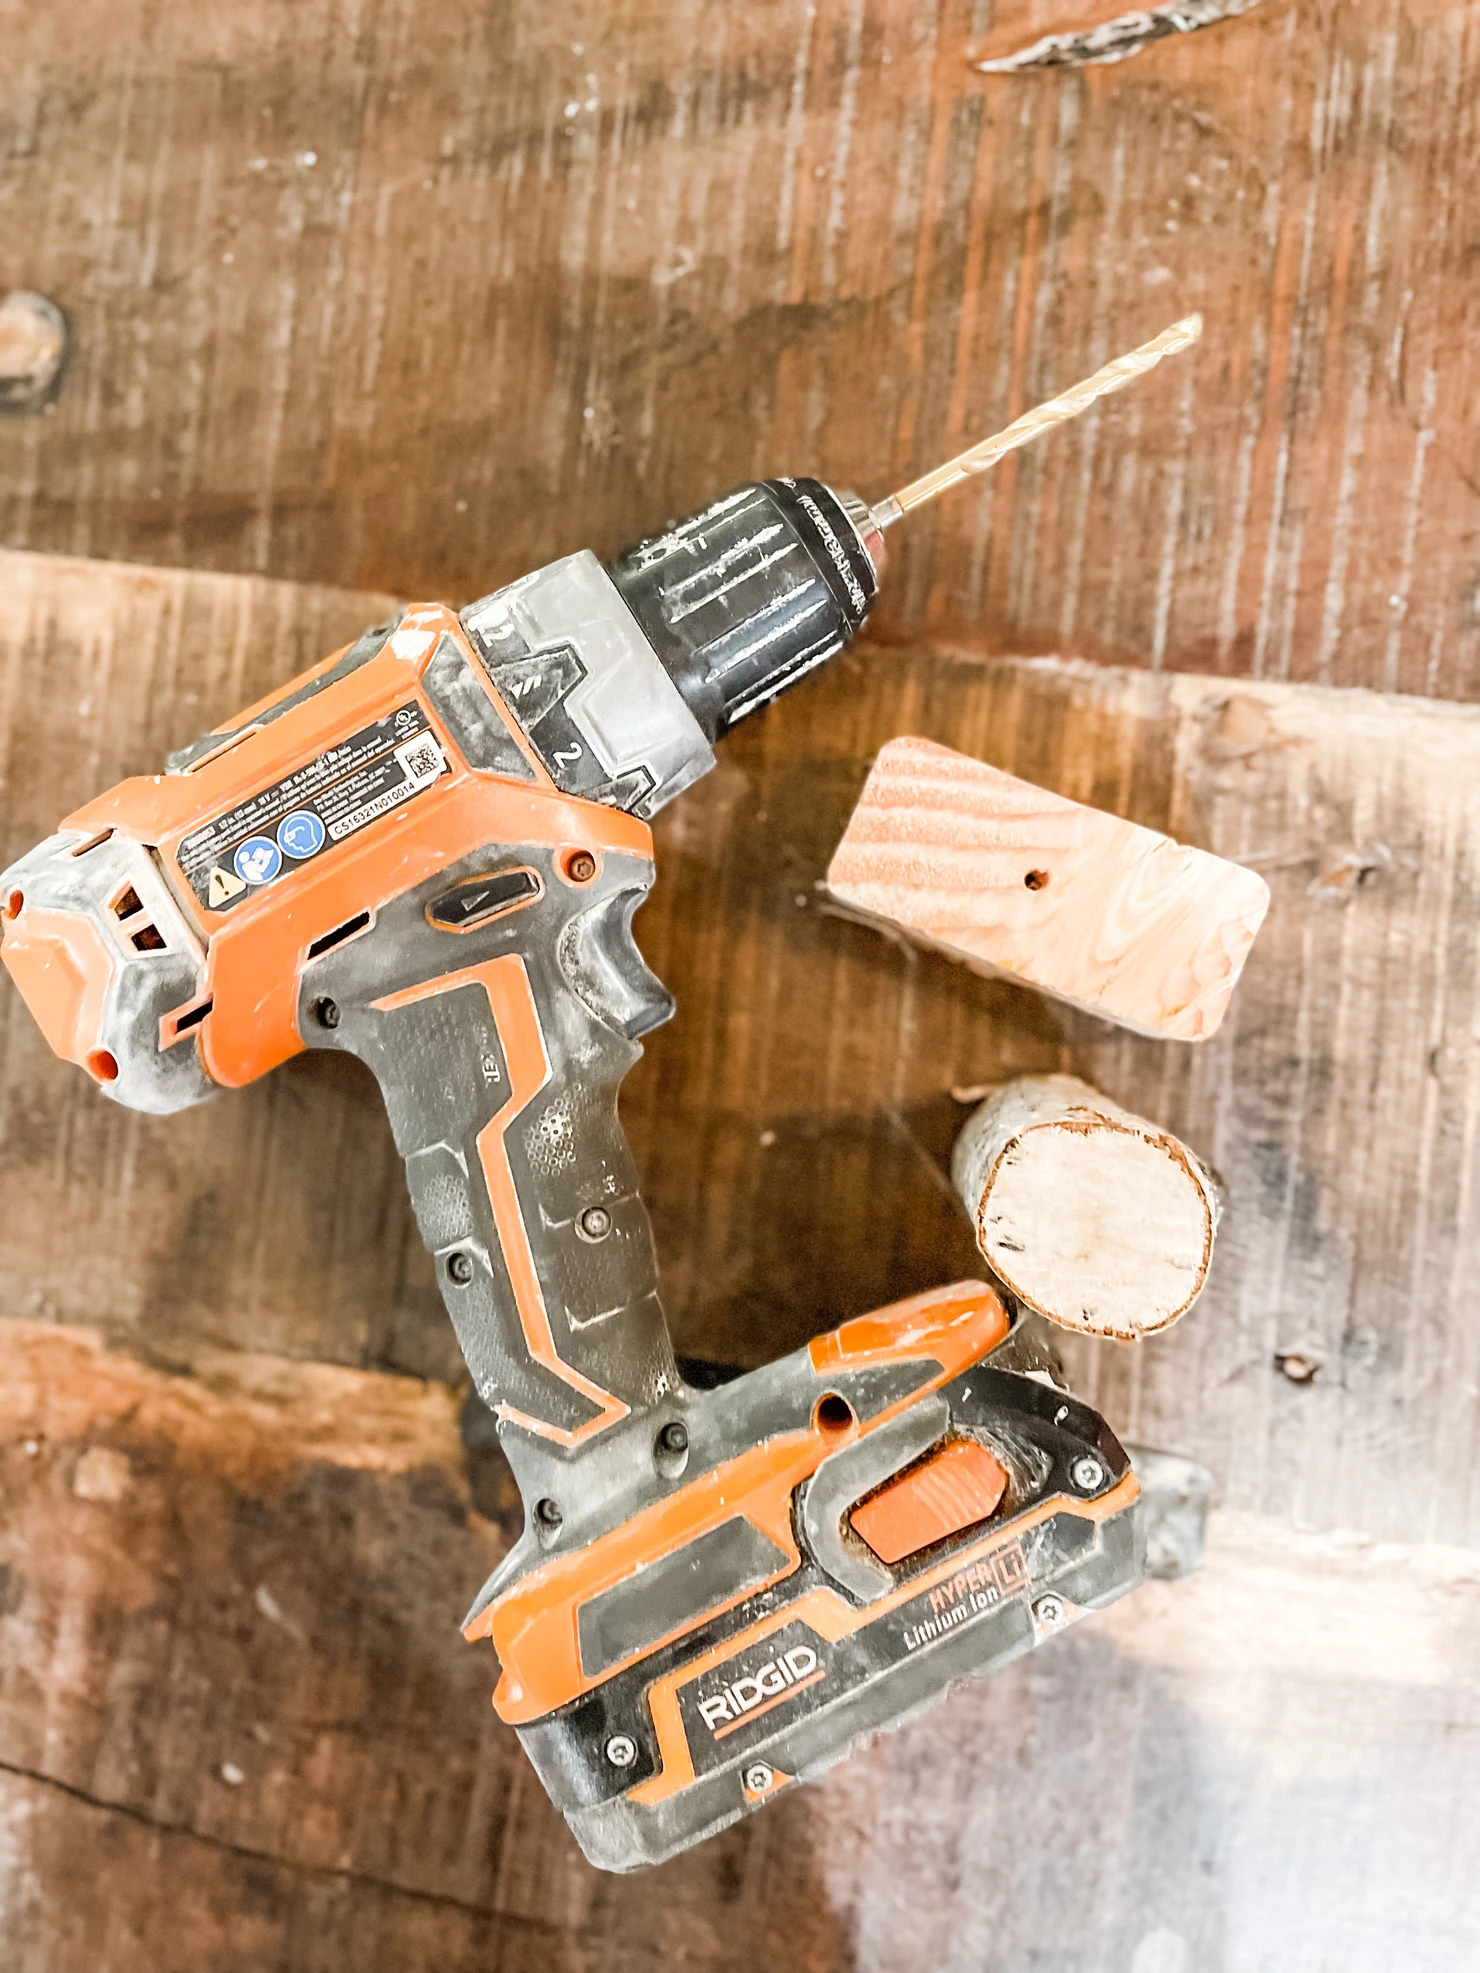
Step Six:
Drill a hole in your base, large enough to hold the stick/trunk.

Step Seven:
Put the trunk into the base and secure with a little bit of glue.

That’s all it takes to make these cute little rustic trees. What do you think? They are not perfect but I’m ok with that. You can tell they weren’t made in a factory.
Here they are on my mantel.

I think I will create a few more to make a twine forest!
Thanks for joining me for this easy DIY Twine Tree. I truly appreciate you being here, I love sharing ideas and inspiration and am thankful you visited Saved From Salvage.
I am part of a Blog Hop where several bloggers are sharing a Christmas related post today. Make sure to stop by and visit these blogs to get some wonderful inspiration for the holidays.
CHECK OUT MY OTHER HOLIDAY RELATED POSTS
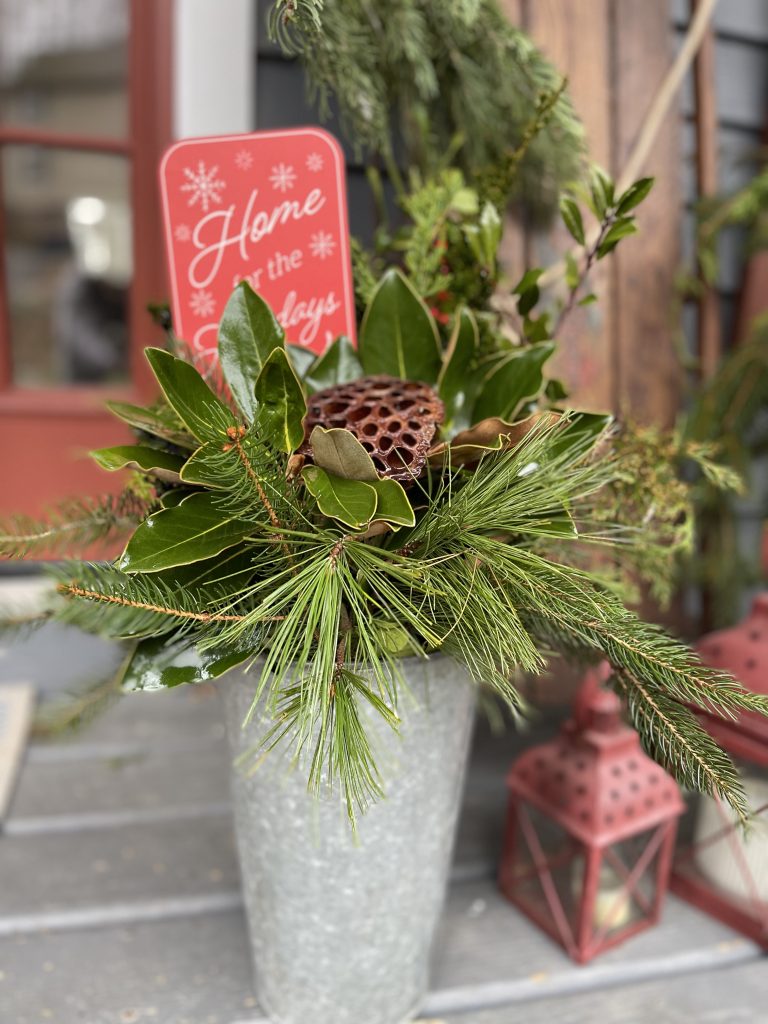
To see my other Christmas Decor posts, check out Cozy & Creative Christmas Wrapping or Ten Ways To Style a Dough Bowl or Holiday Porch Planter.


You may also enjoy my pinecone flower wreath, and my Bags, Tags & Baked Goods post which features some blogger friends showcasing baked goods and wrapping ideas.
Stay tuned for a tutorial on an easy and festive Holiday Porch Planter and some rustic and beautiful Christmas Tablescapes.
Did you shop on Black Friday? I’m not one to fight those crazy crowds because there is nothing I need that badly, but this year we did have to go out early because our fridge broke.
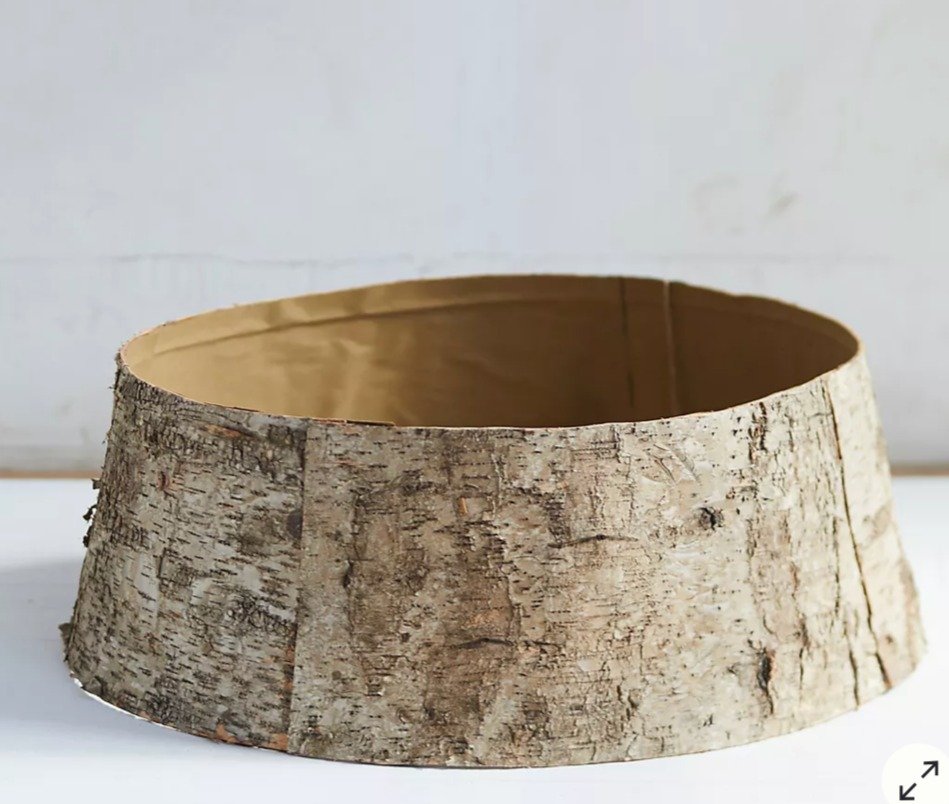
SOME OF MY FAVORITE THINGS
I do love to window shop and here are some things that I’m loving right now for the holidays and my winter dog walks! Each post before the holidays, I’ll share my favorites – enjoy!


Anthropologie Zinc Square Store
Anthropologie Concordia Zinc Pine Tree

I hope you get a chance to visit some of the other bloggers on the list above and see what Christmas related post they are sharing.
Thank you so much for visiting my blog, if you would like to receive inspiration and ideas right to your inbox, subscribe to my blog today.
I so appreciate you being here.
XO, Regina
This post may contain affiliate links for your convenience. If you purchase from the links, I may receive a small commission at no additional cost to you. Thank you for supporting my small business.
The possibilities are endless here. I love what you’ve made! Treasures for sure.
Thanks Kate – appreciate your checking out the new site 🙂
Good info. Lucky me I reach on your website by accident, I bookmarked it.