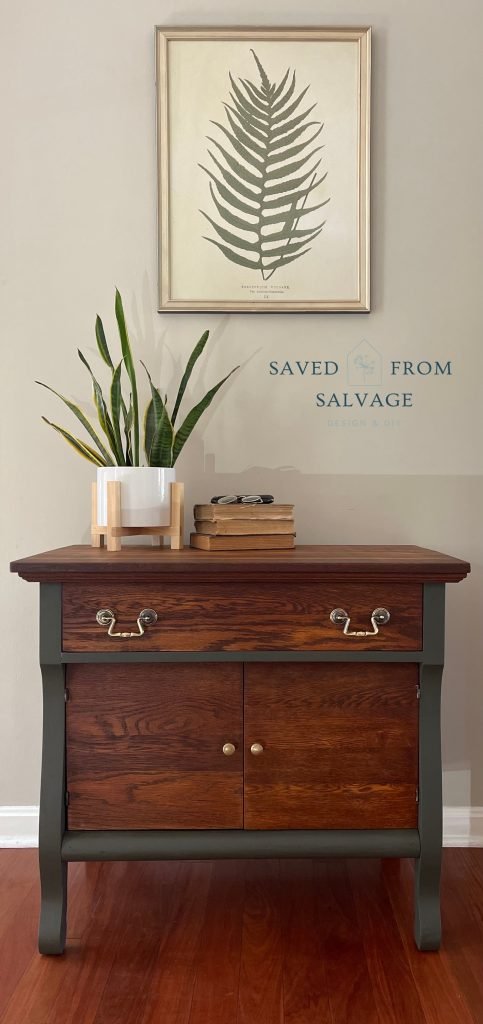
Have you ever seen a piece in the thrift store and thought I could make something from this? I’m so excited to share this project with you. This wine cabinet desperately needed a makeover. The goal was to upgrade it, so welcome to my Wine and Coffee Bar Makeover.
Do you ever have a project in mind and then when it’s time to get started you no longer like your idea? I envisioned a white coffee-wine cabinet but as I started I changed my mind. Later, I went in a totally different direction, changed up the color and finishes and ended up loving it.

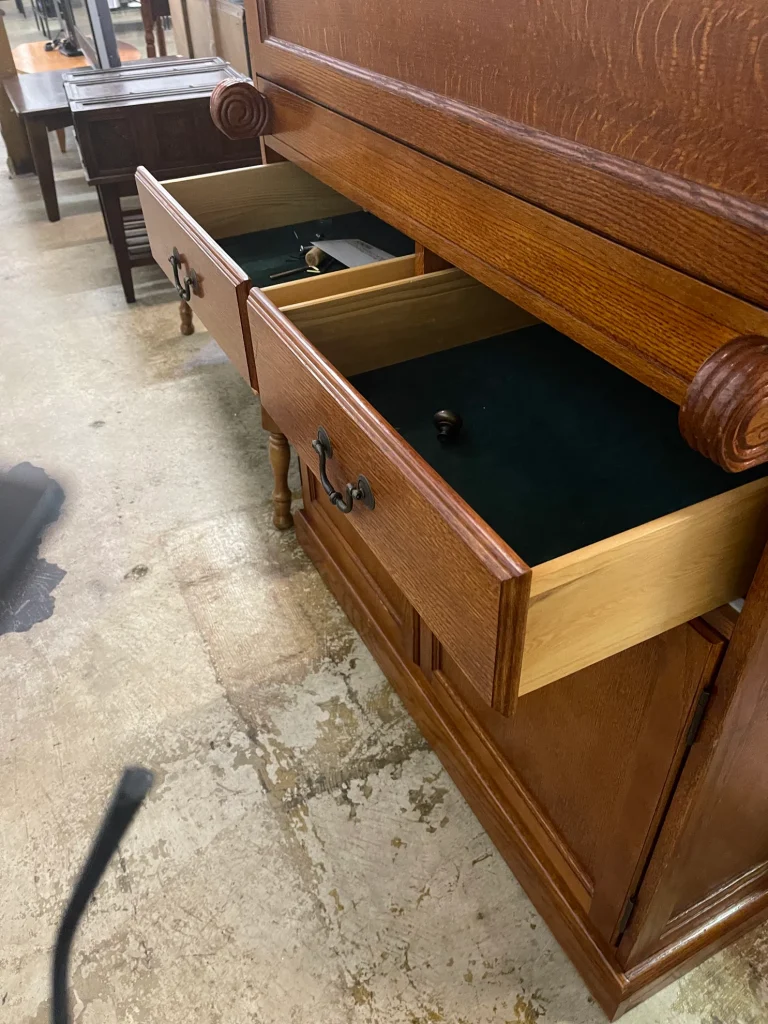
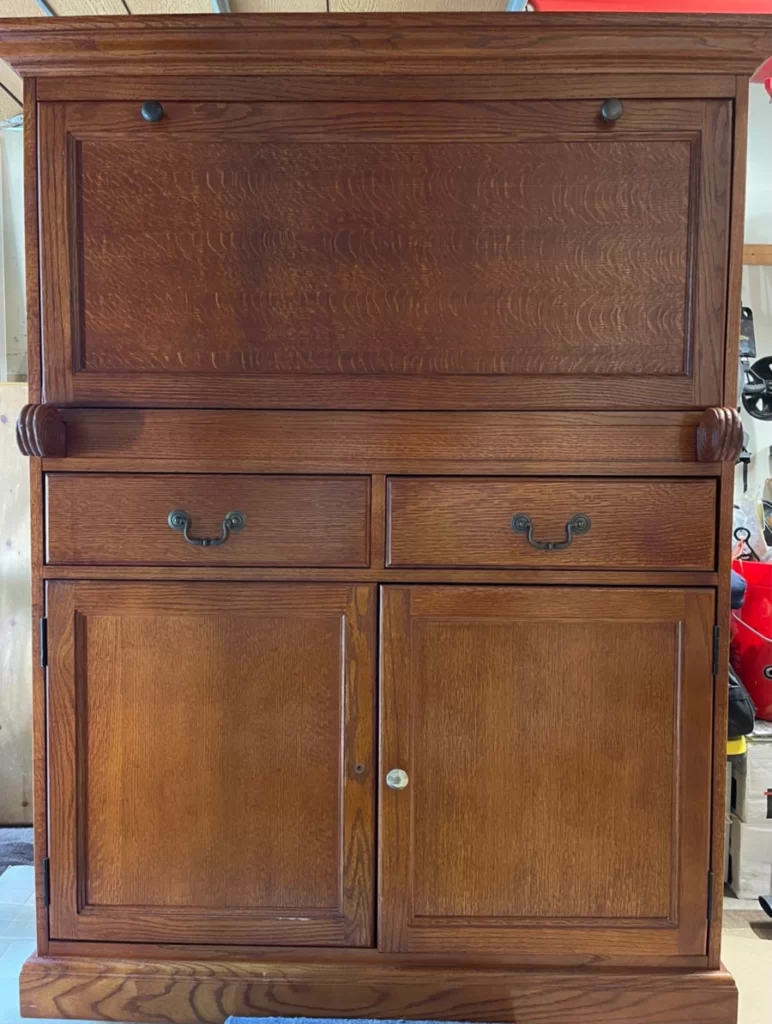
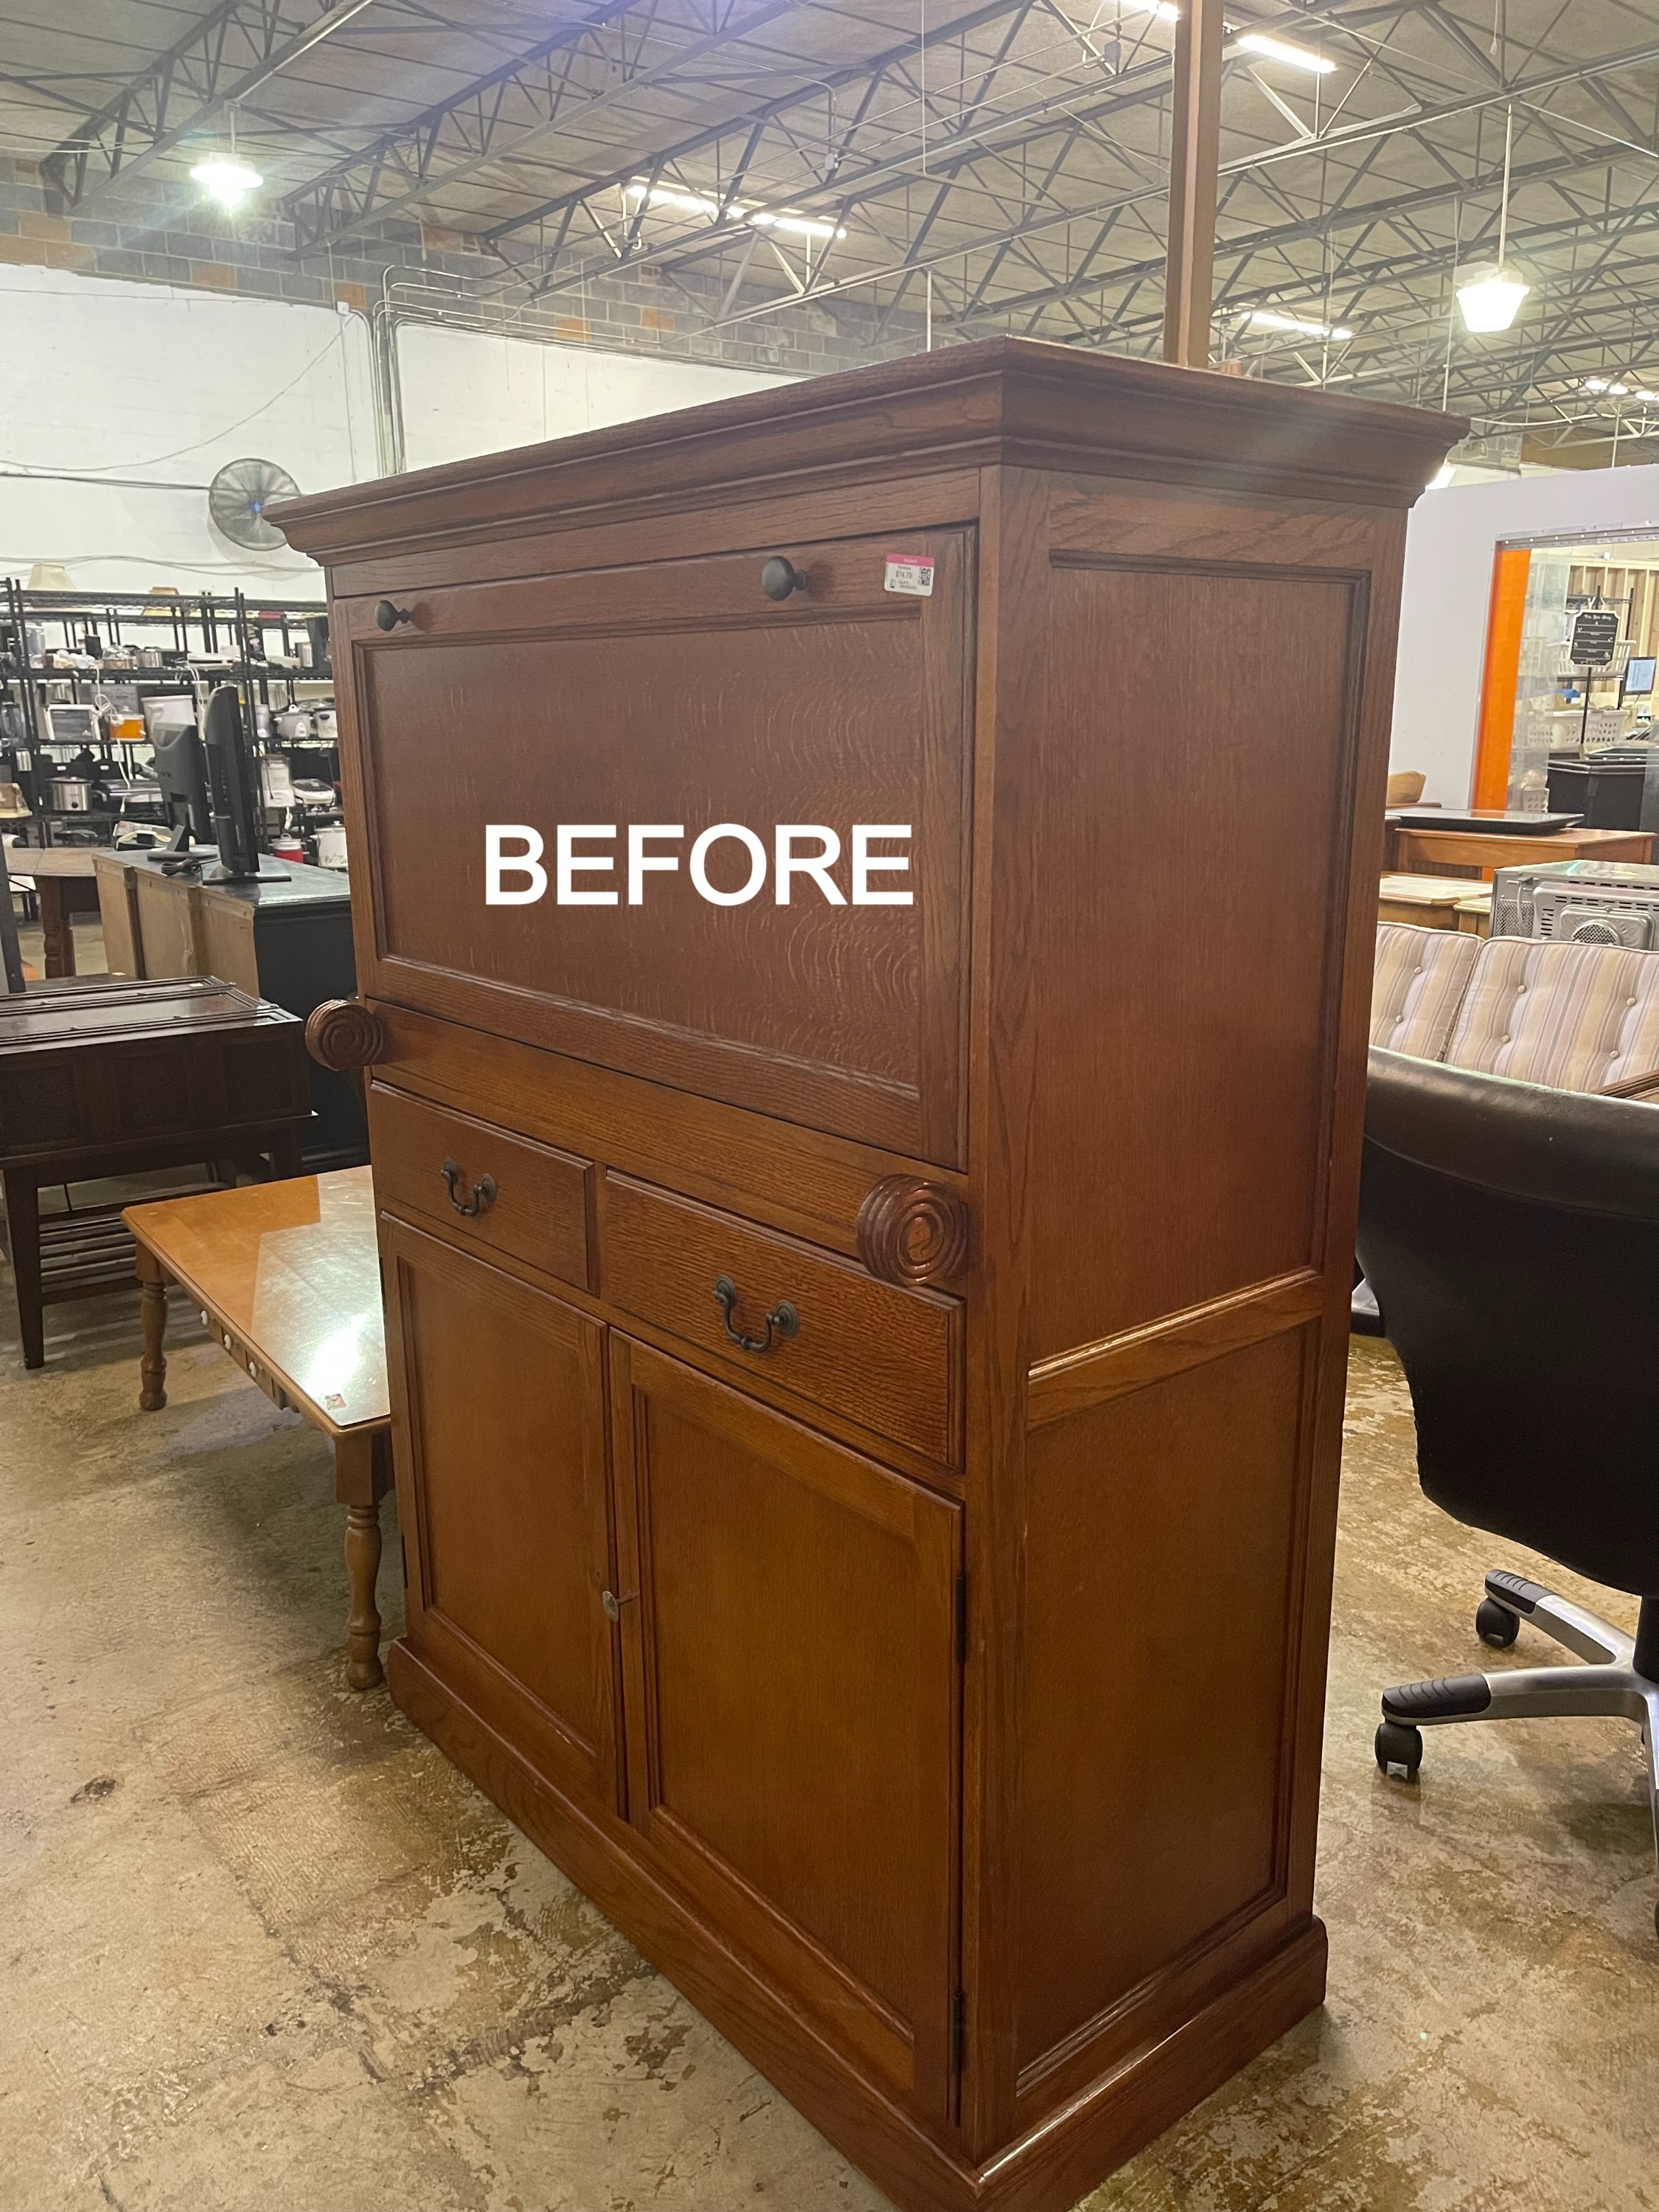
Found! I purchased this big, bulky, awkward wine cabinet with way too many knobs from the thrift store. It was less than $75.
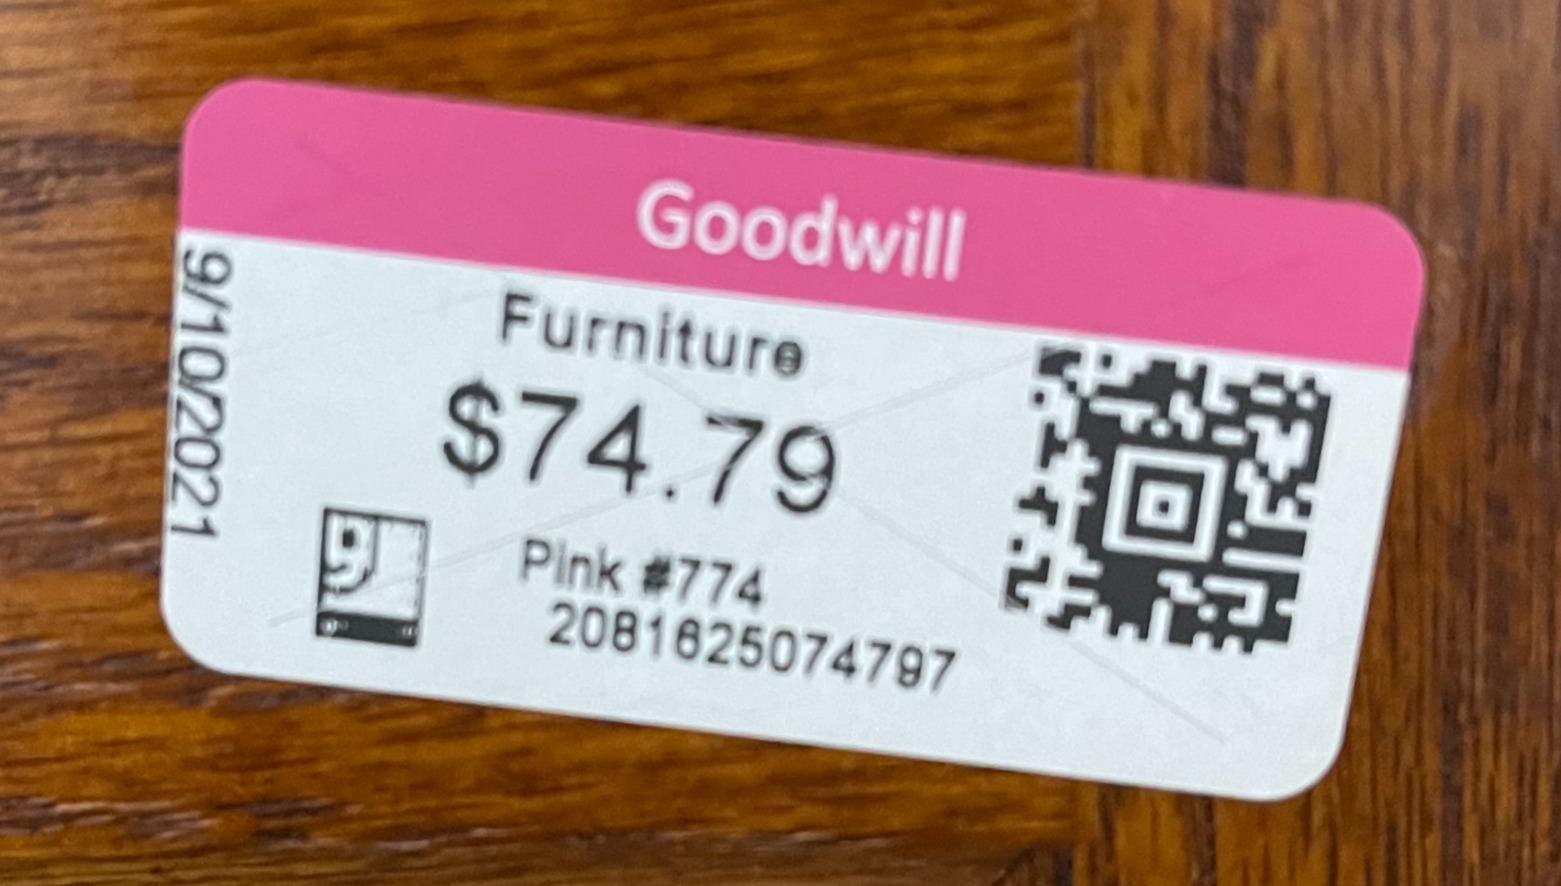
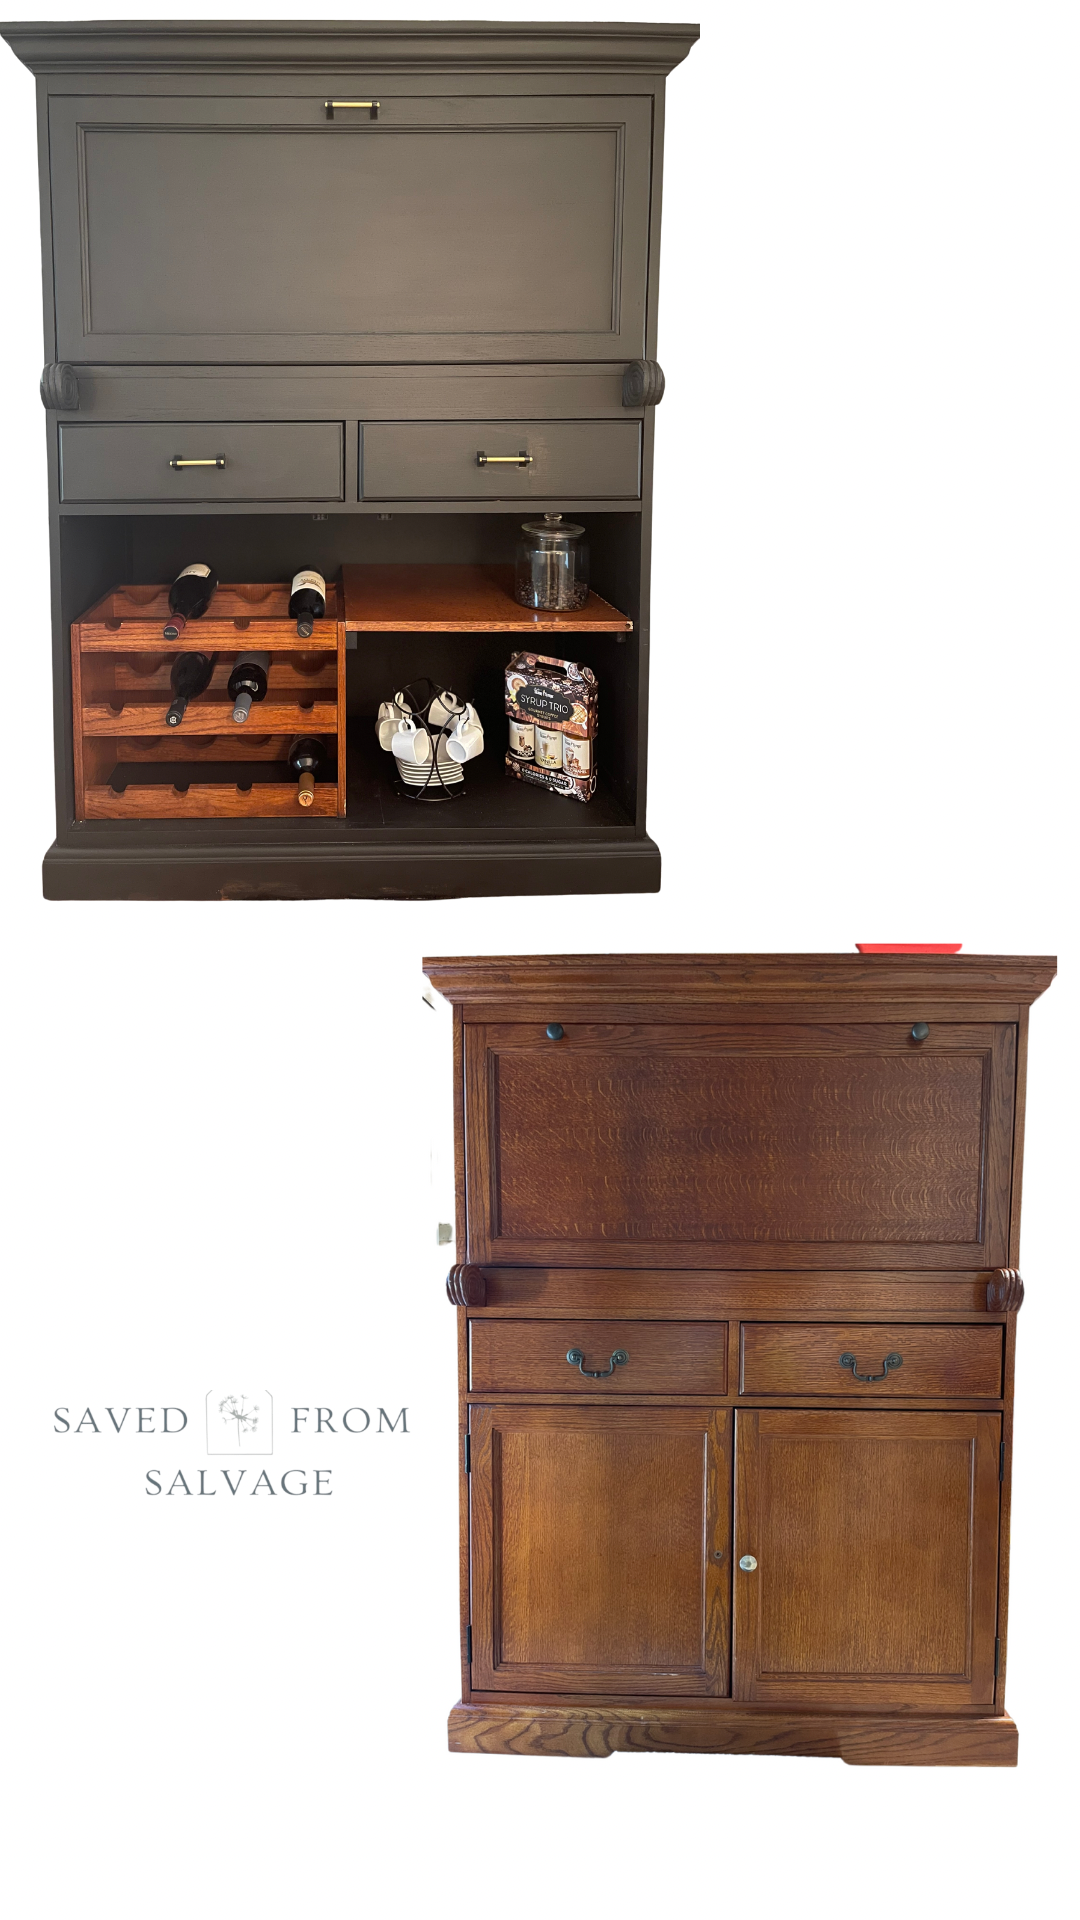
Table of Contents
- WINE AND COFFEE BAR MAKEOVER SUPPLIES
- TRY DIXIE BELLE PRODUCTS
- Synthetic Brush
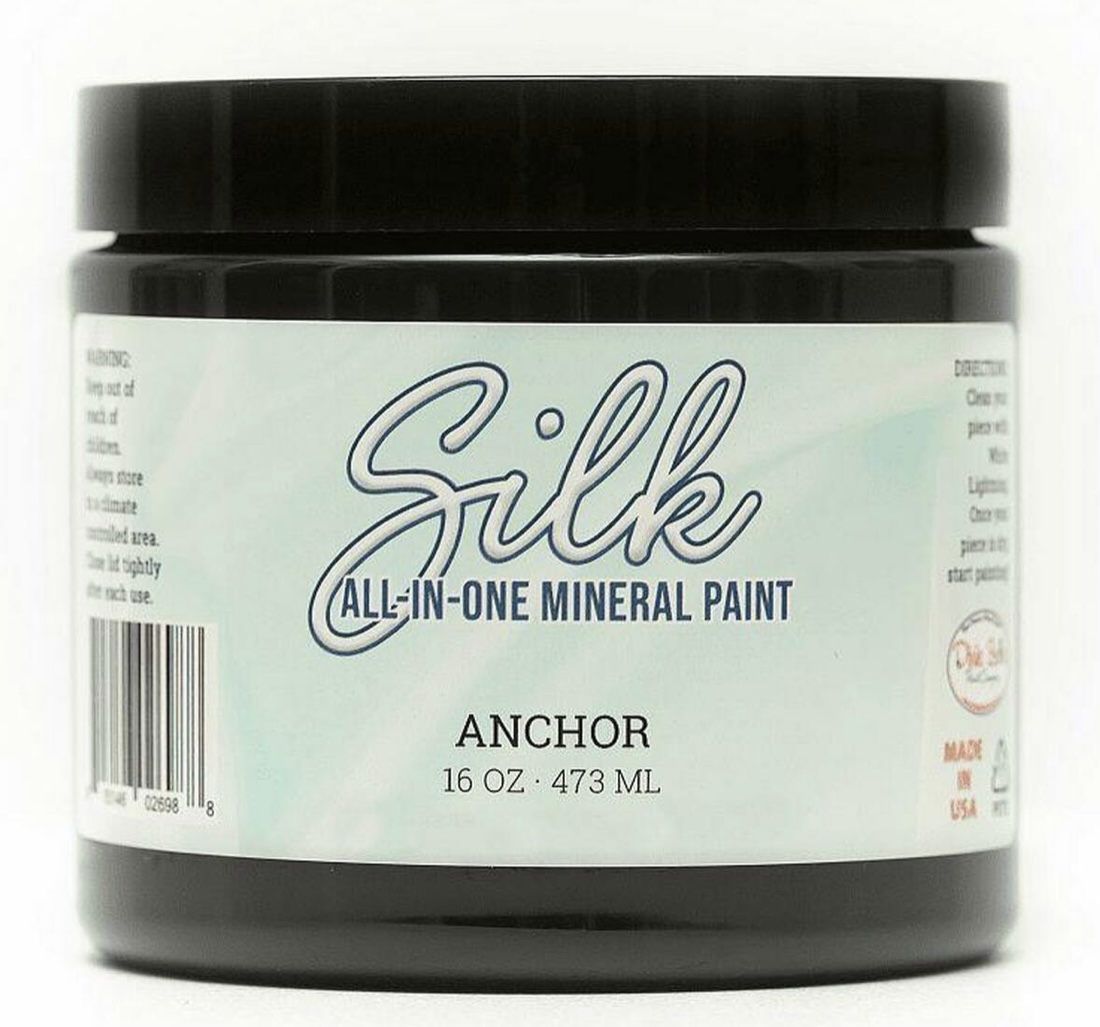
- Silk All in One Mineral Paint
- Color: Anchor
- White Lightning Cleaner
- PREPARATION
- STEP 1
- STEP 2
- STEP 3
- Sanding
- STEP 4
- STEP 5
- STEP 6
- STEP 7
- STEP 8
- STEP 9
- STEP 10
- A LOOK AT ANOTHER “REVAMP” USING DIXIE BELLE PAINTS
- Definitely a “Saved From Salvage” special
- PERFECT ADDITIONS TO YOUR WINE AND COFFEE BAR
WINE AND COFFEE BAR MAKEOVER SUPPLIES
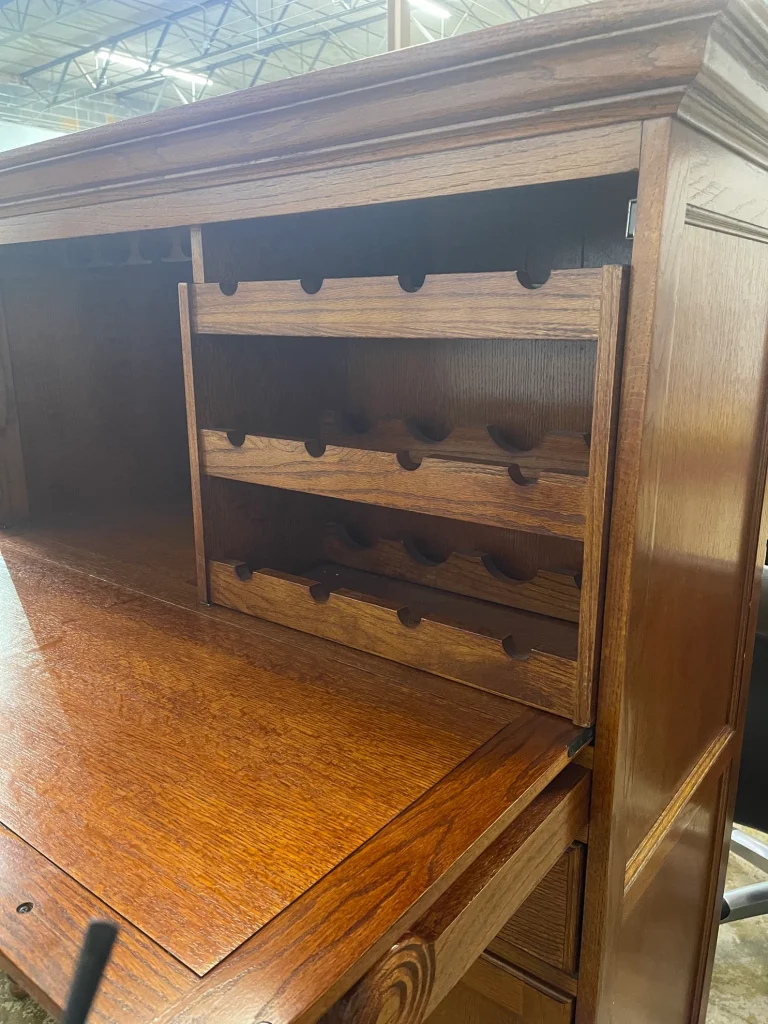
A more sleek and streamlined look was desired, and not so heavy. I did like that the wine rack wasn’t attached and could be moved around, that got my wheels turning.
For this project, I used Dixie Belle Paint. If you’ve not used them, click here to check them out. They are made in the USA, have Chalk Mineral Paint, Silk All in One Mineral Paint and a large variety of other products including finishes, cleaners, brushes, transfers and more.
I selected a Silk All in One Mineral Paint, one of their newer products that comes in 20 colors. With names like Whitecap, Oyster, Tide Pool, and Conch, you know the colors are soft and beautiful.
What appealed to me is that they include a primer, top coat and a water based stain blocker. No need to wax after. It’s also self leveling which meant no visible brush strokes. I’ve struggled on past furniture flips with brush strokes so this was a big win for me. You don’t have to thin this paint, the only time you would add water is if you were going to use a sprayer. Sprayers are in my future I think.
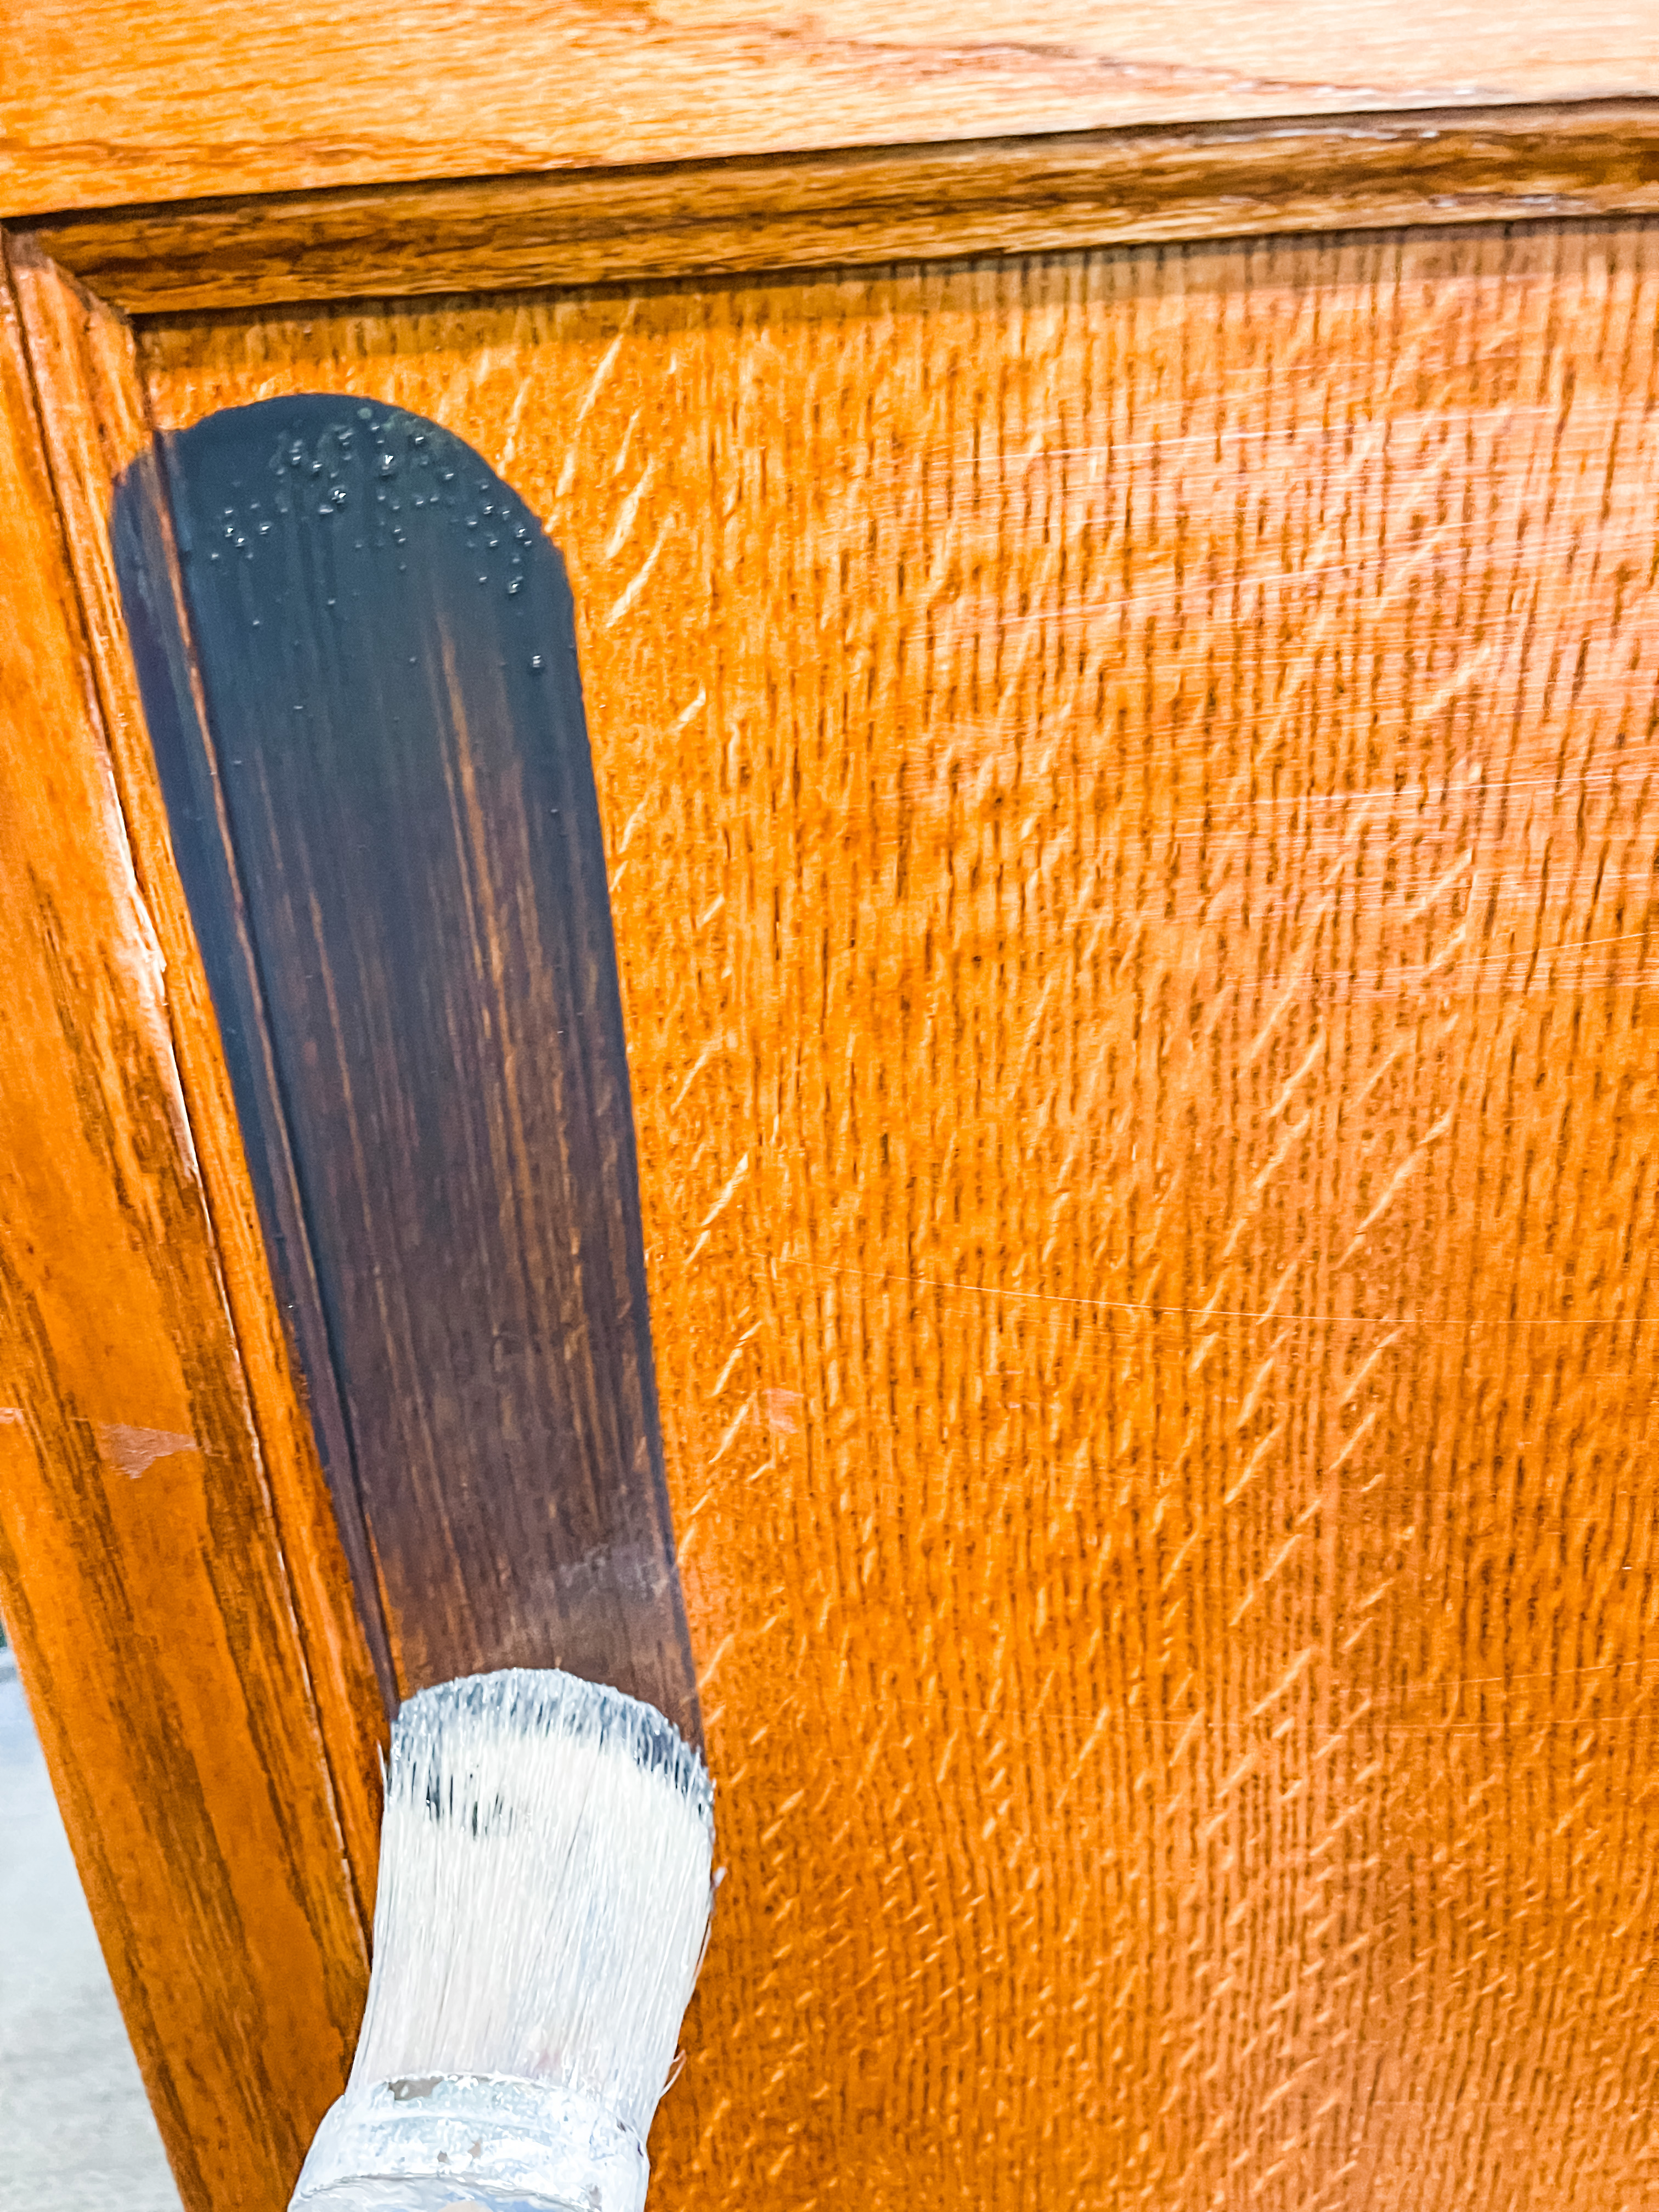
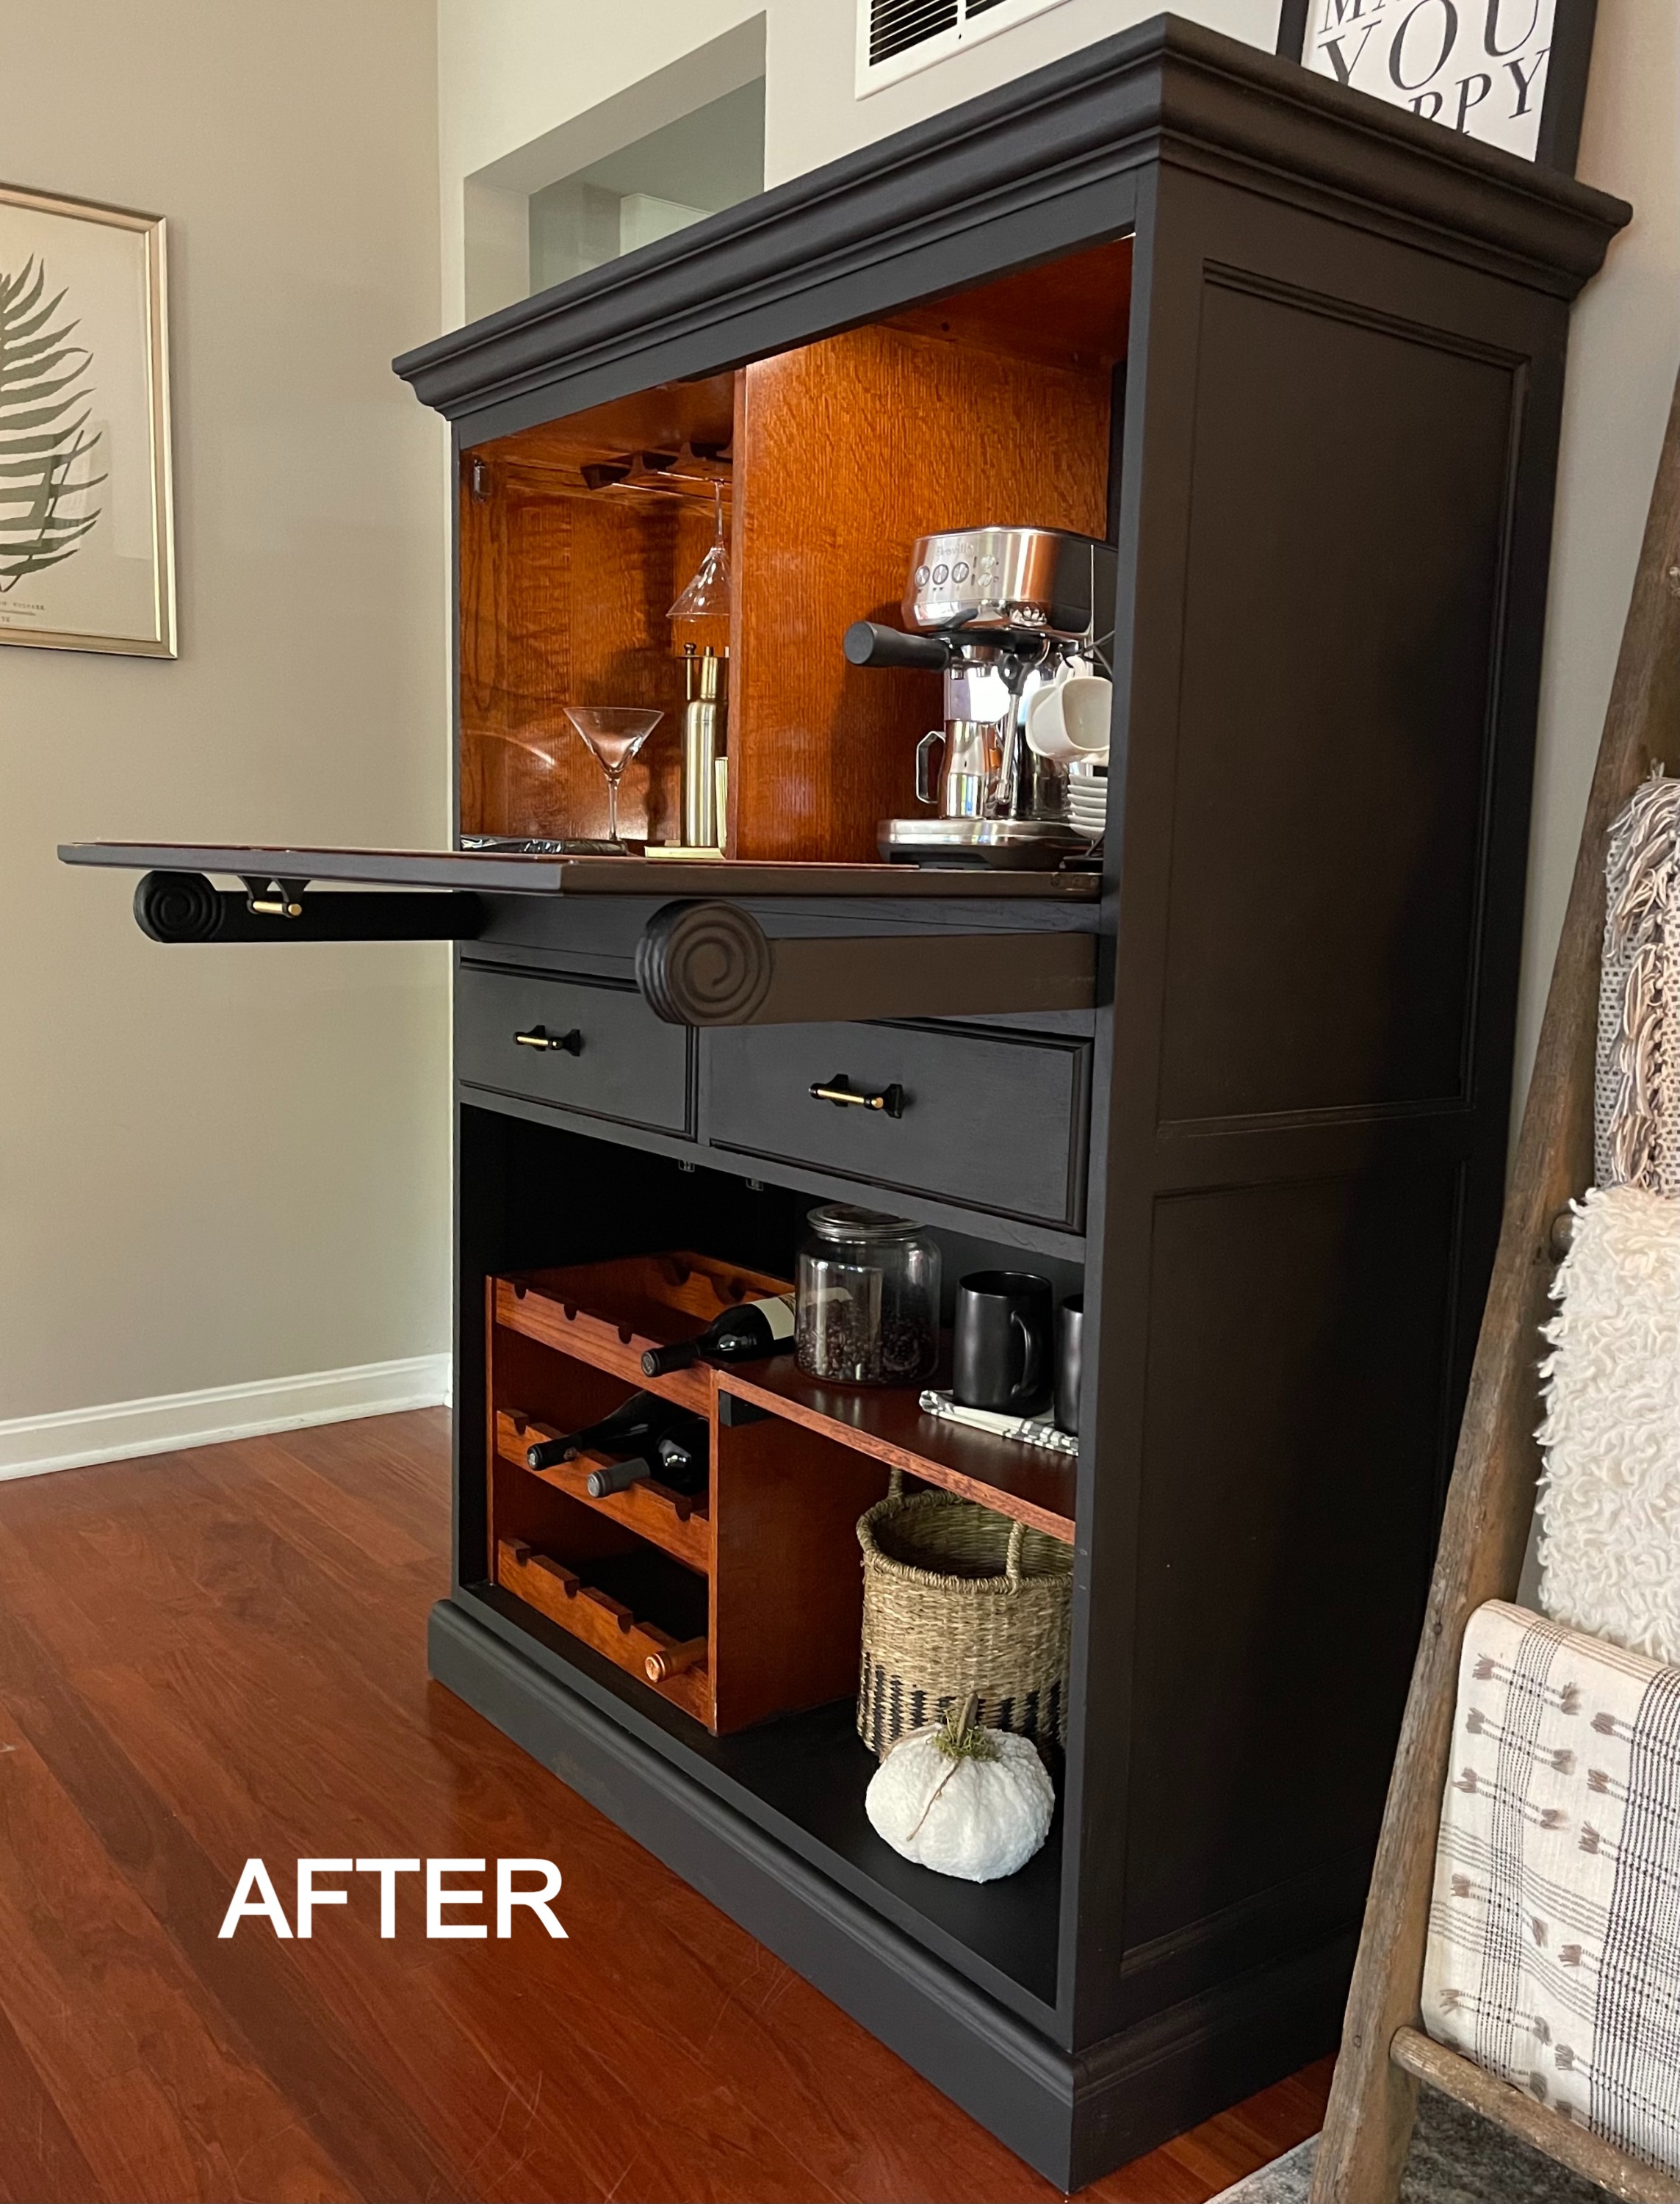
Anchor was my color choice. A very rich and deep black, described as dark as the bottom of the sea. I didn’t want something glossy, this gave me the high end look I was looking for and this black fits in to any color scheme.
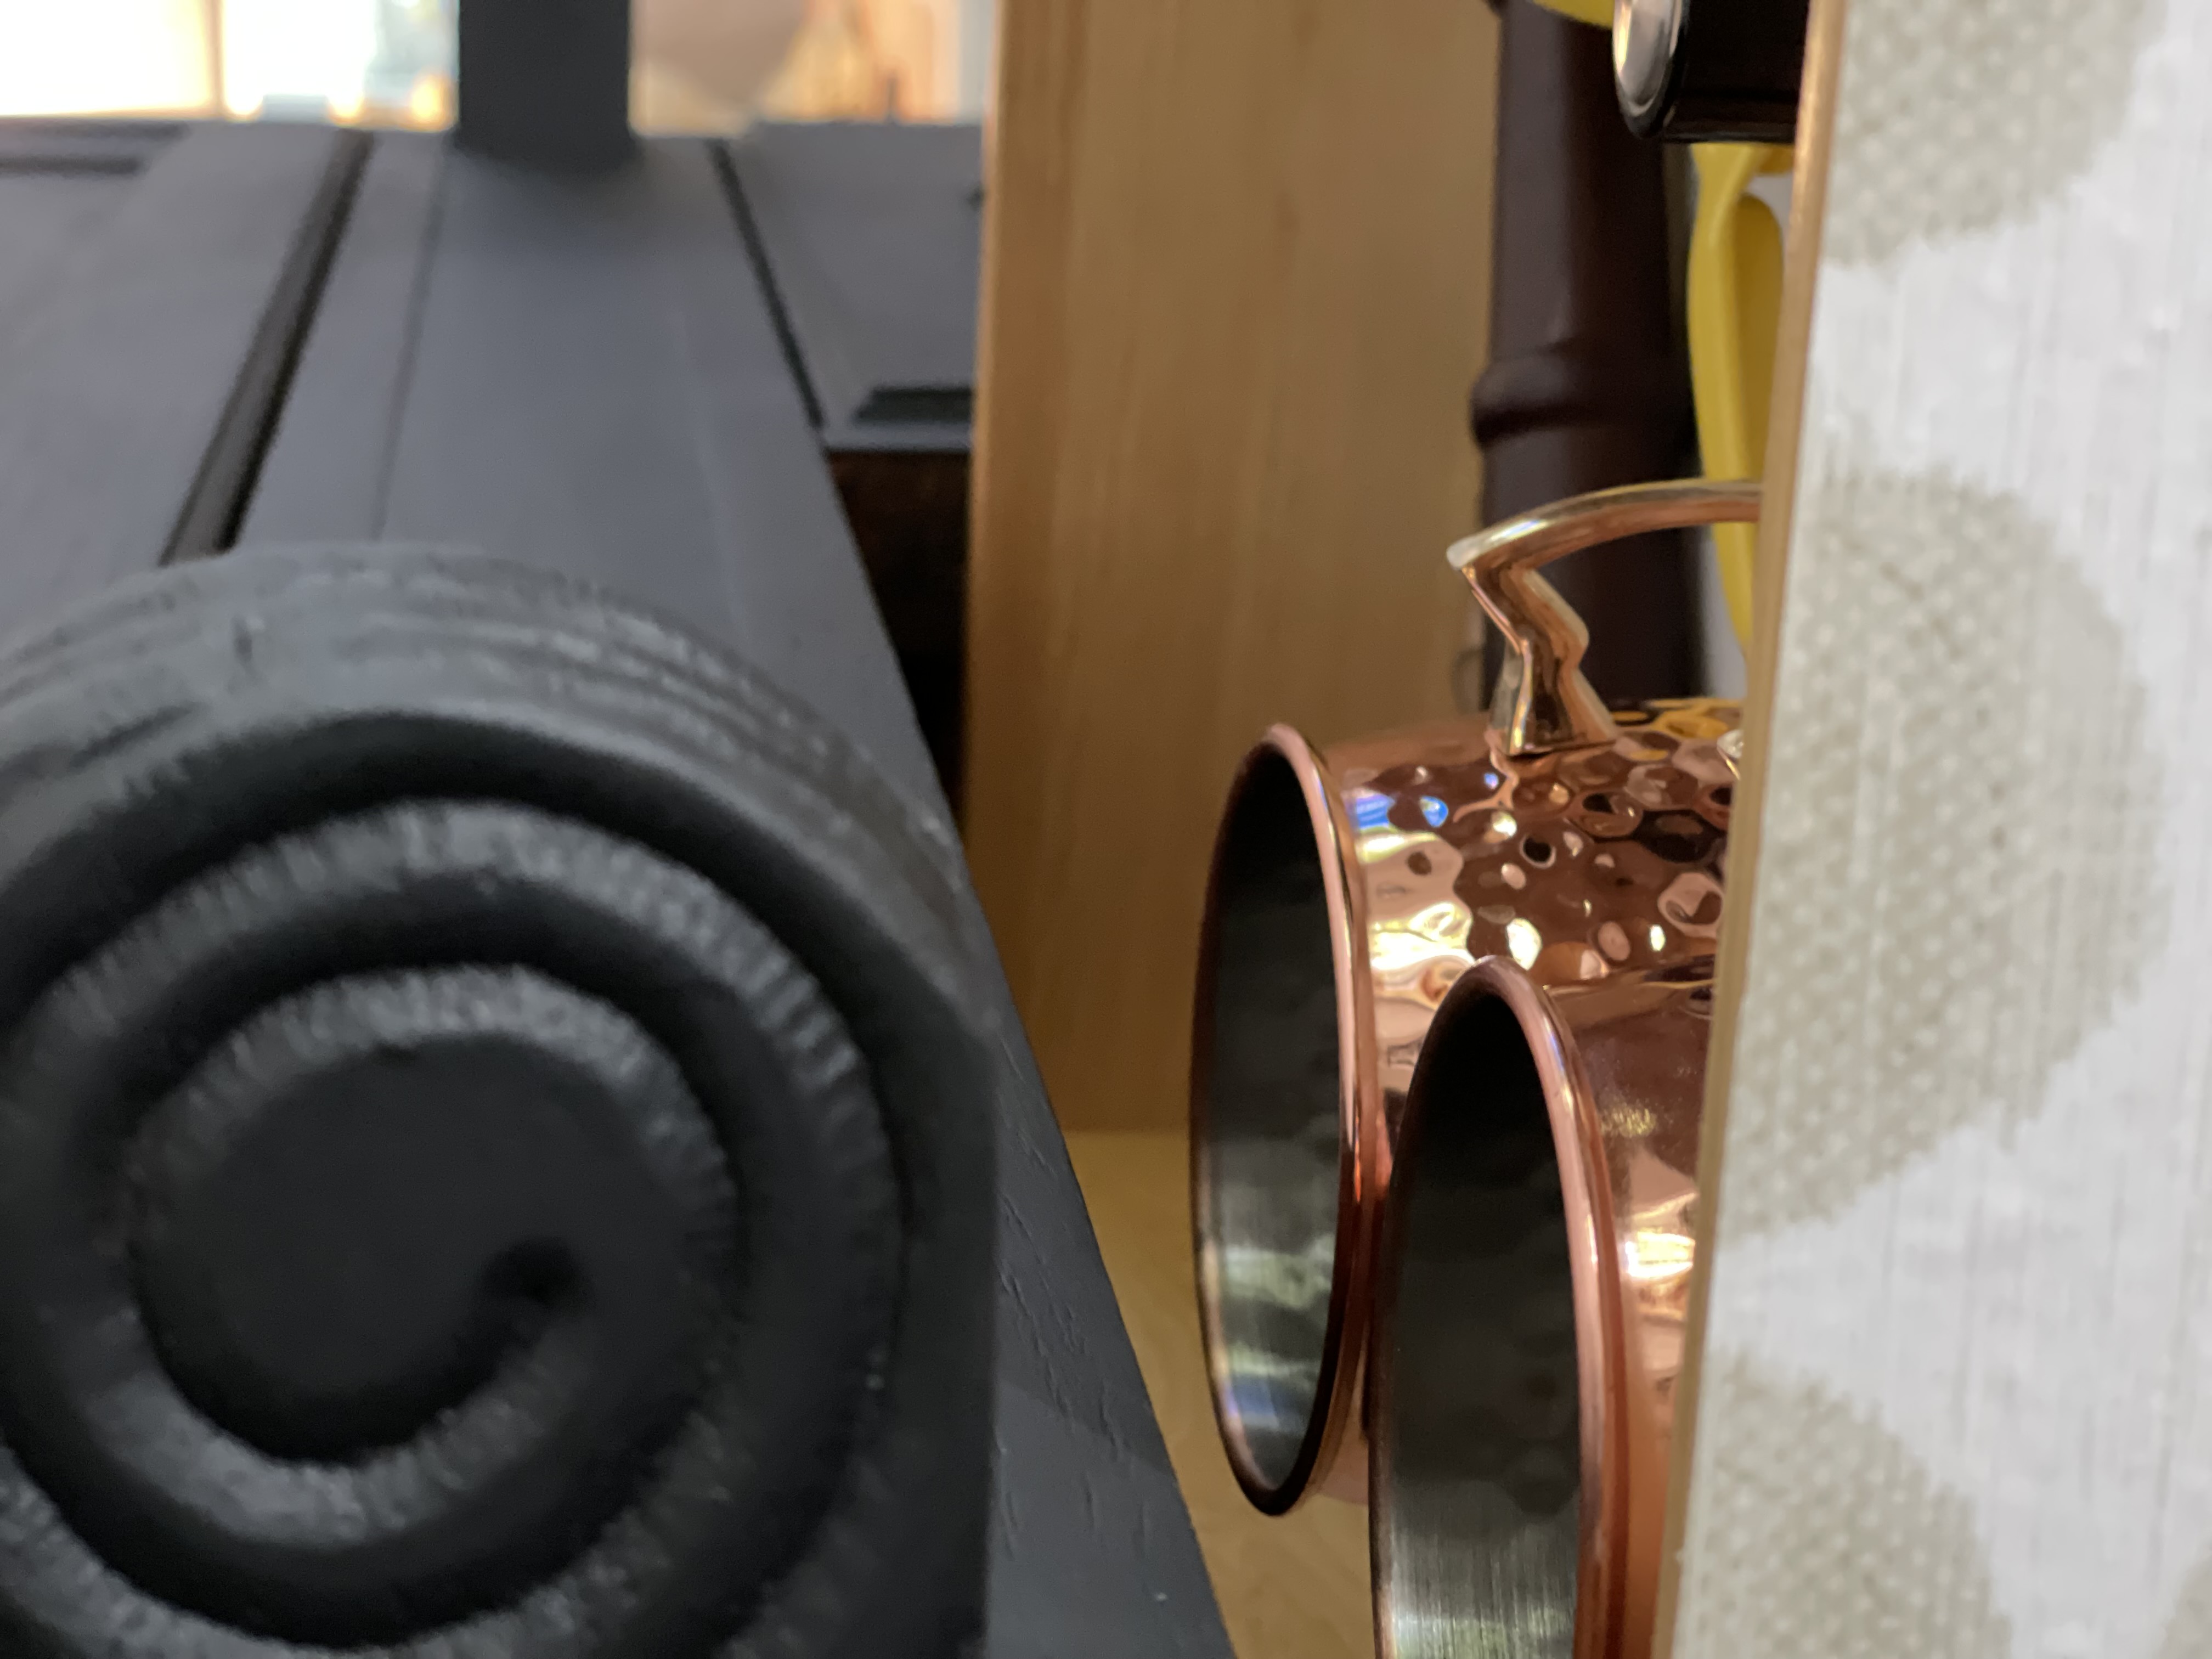
As soon as I decided on the color, I couldn’t wait to get started and finish because I was envisioning how I would stage it, Coffee and Cabernet – Martini and Expresso – Latte and Lemon Drop! It’s the event planner in me that loves to have a “theme.”
TRY DIXIE BELLE PRODUCTS
I gathered all of my products and got started. They are listed below for you with links for your convenience
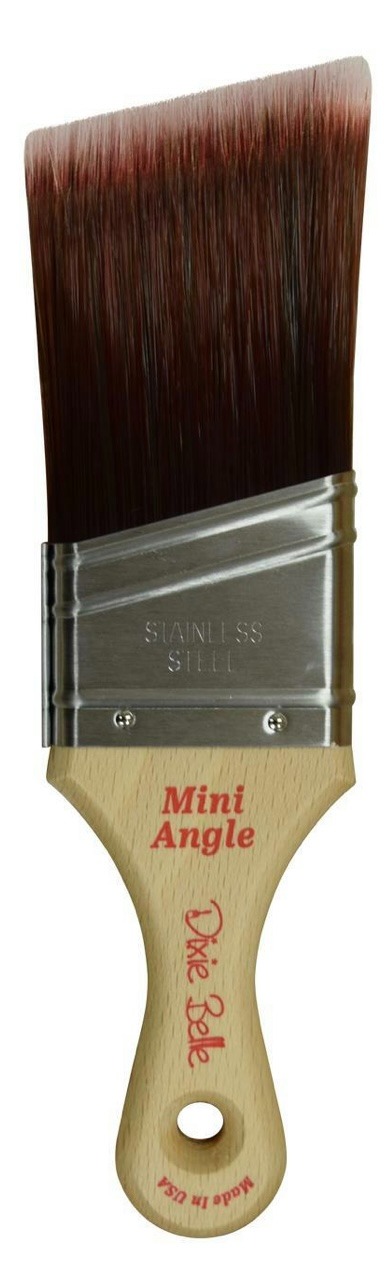
Synthetic Brush
Silk All in One Mineral Paint
Color: Anchor
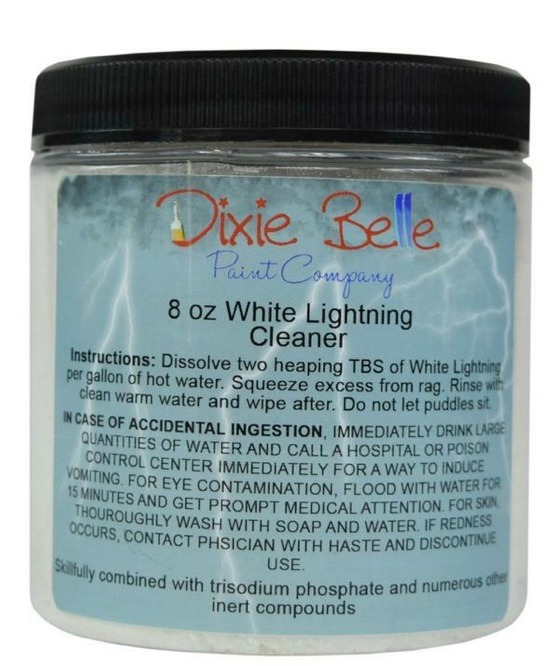
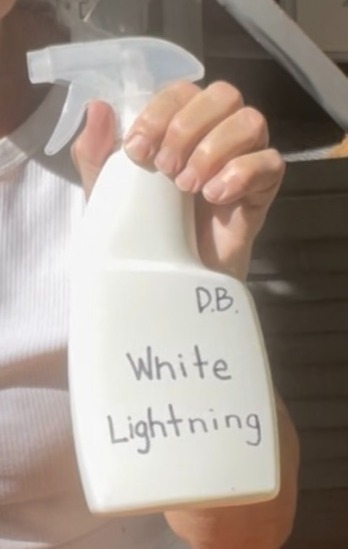
White Lightning Cleaner
PREPARATION
The first step in my project was to clean it completely. I dusted it with a damp rag, then I sprayed the entire piece with White Lightning cleaner. It comes in a powder that you mix it with warm water. I wiped down the piece with the spray and then I used a damp rag to wipe it off. Now the surface was clean and ready to paint.
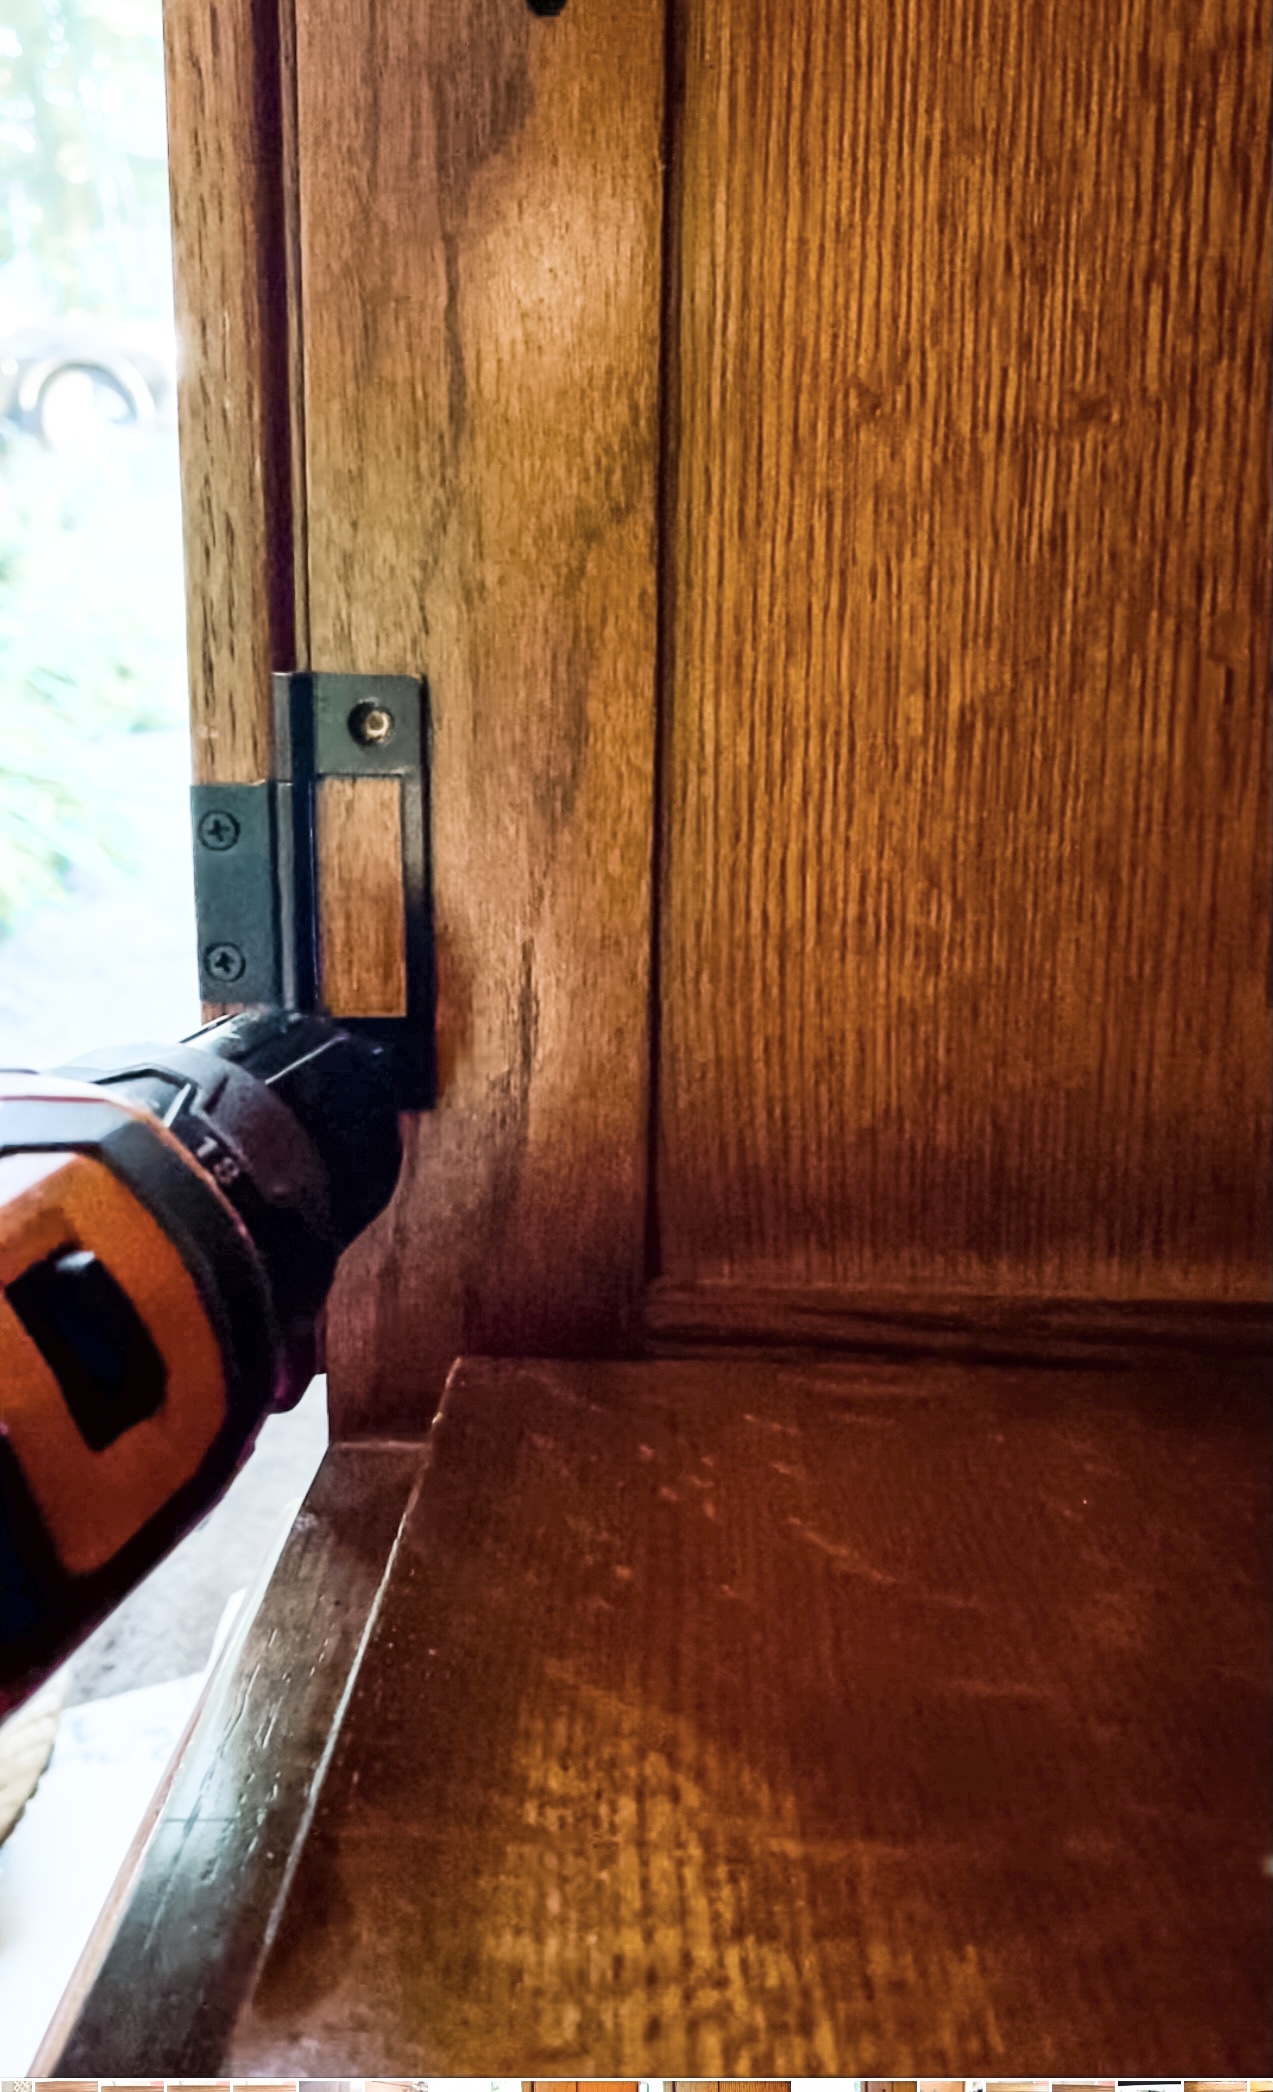
STEP 1
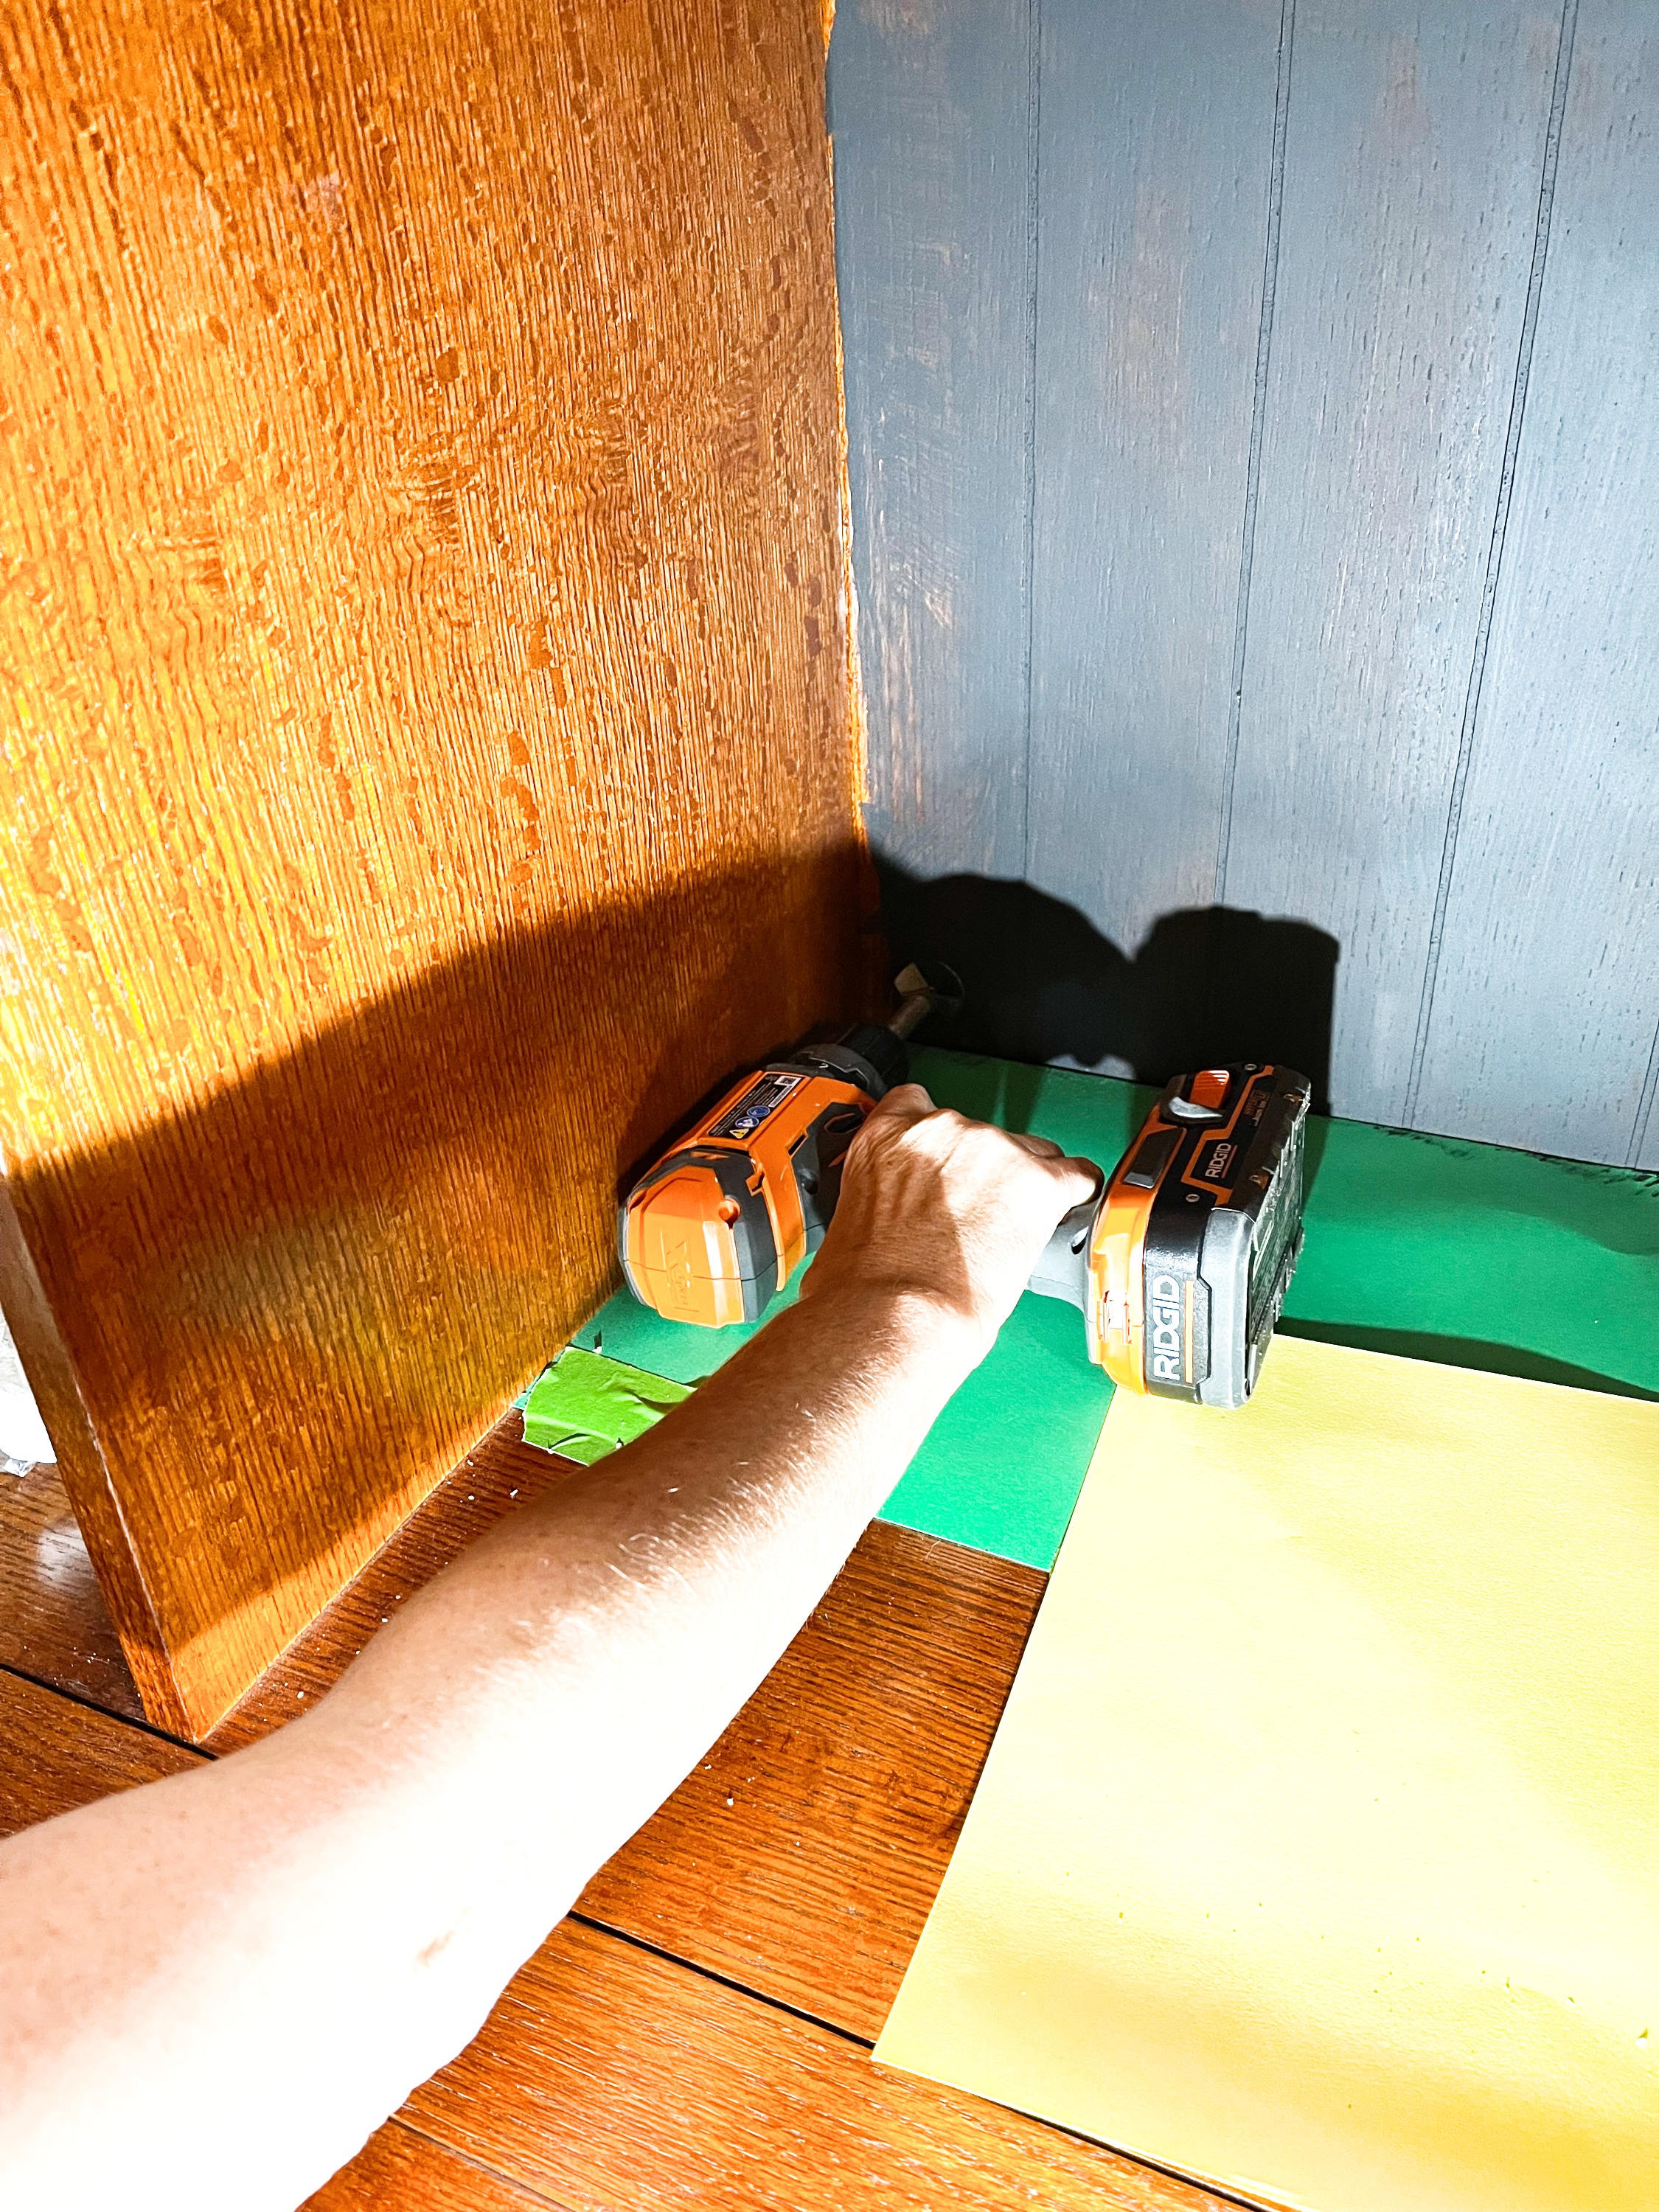
I wanted the piece to feel lighter so I decided to remove the doors from the bottom of the cabinet. Using my drill, I unscrewed the hinges, removed them and set aside.
STEP 2
I removed the knobs off of the top cover piece (there were two). One on the top middle to open the cover would look better to me. Then I removed the knobs from the drawers so I could update those and they would all match. Then I filled in the holes from the knobs because the new ones required new holes.
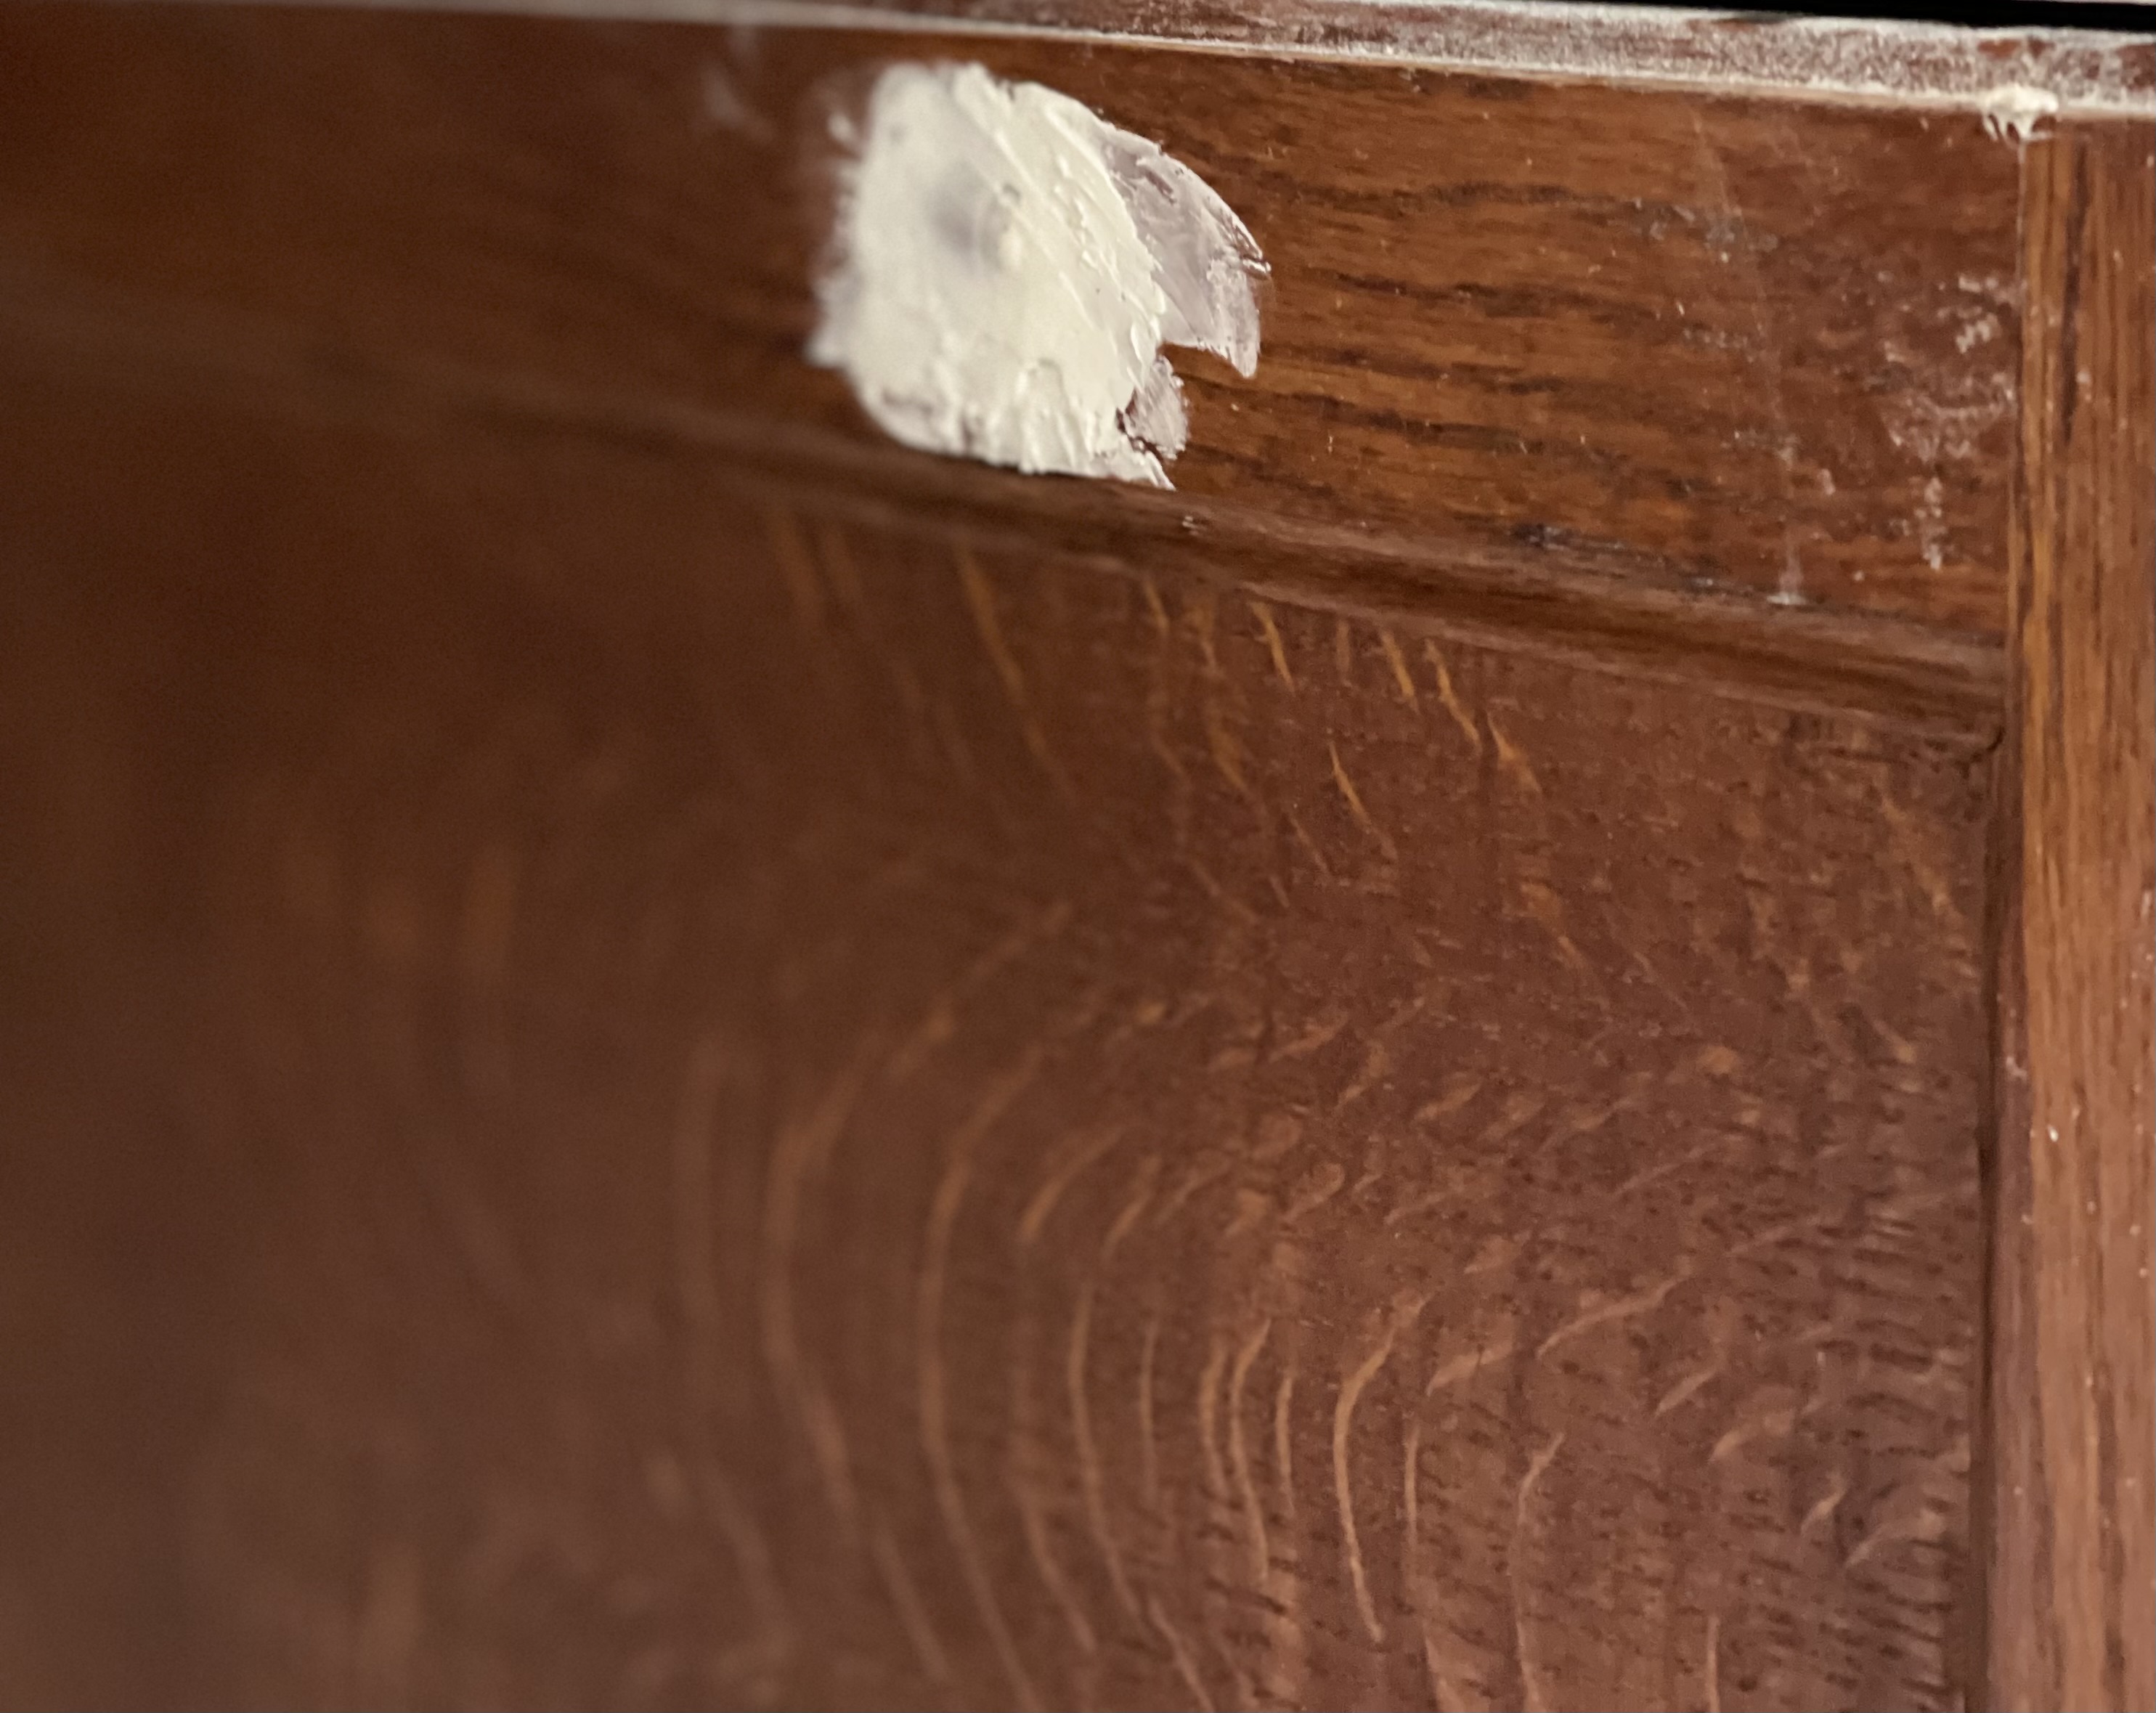
STEP 3
Sometimes I am not the most patient DIYer. I started painting because I told you I was excited. So step three should have been me sanding down the holes I filled in but I had already started painting because I couldn’t wait to see how it looked!
Sanding
STEP 4
I decided to keep part of the cabinet unpainted, because I liked the contrast. So I was picking and choosing what parts I would paint and what I would leave as is.
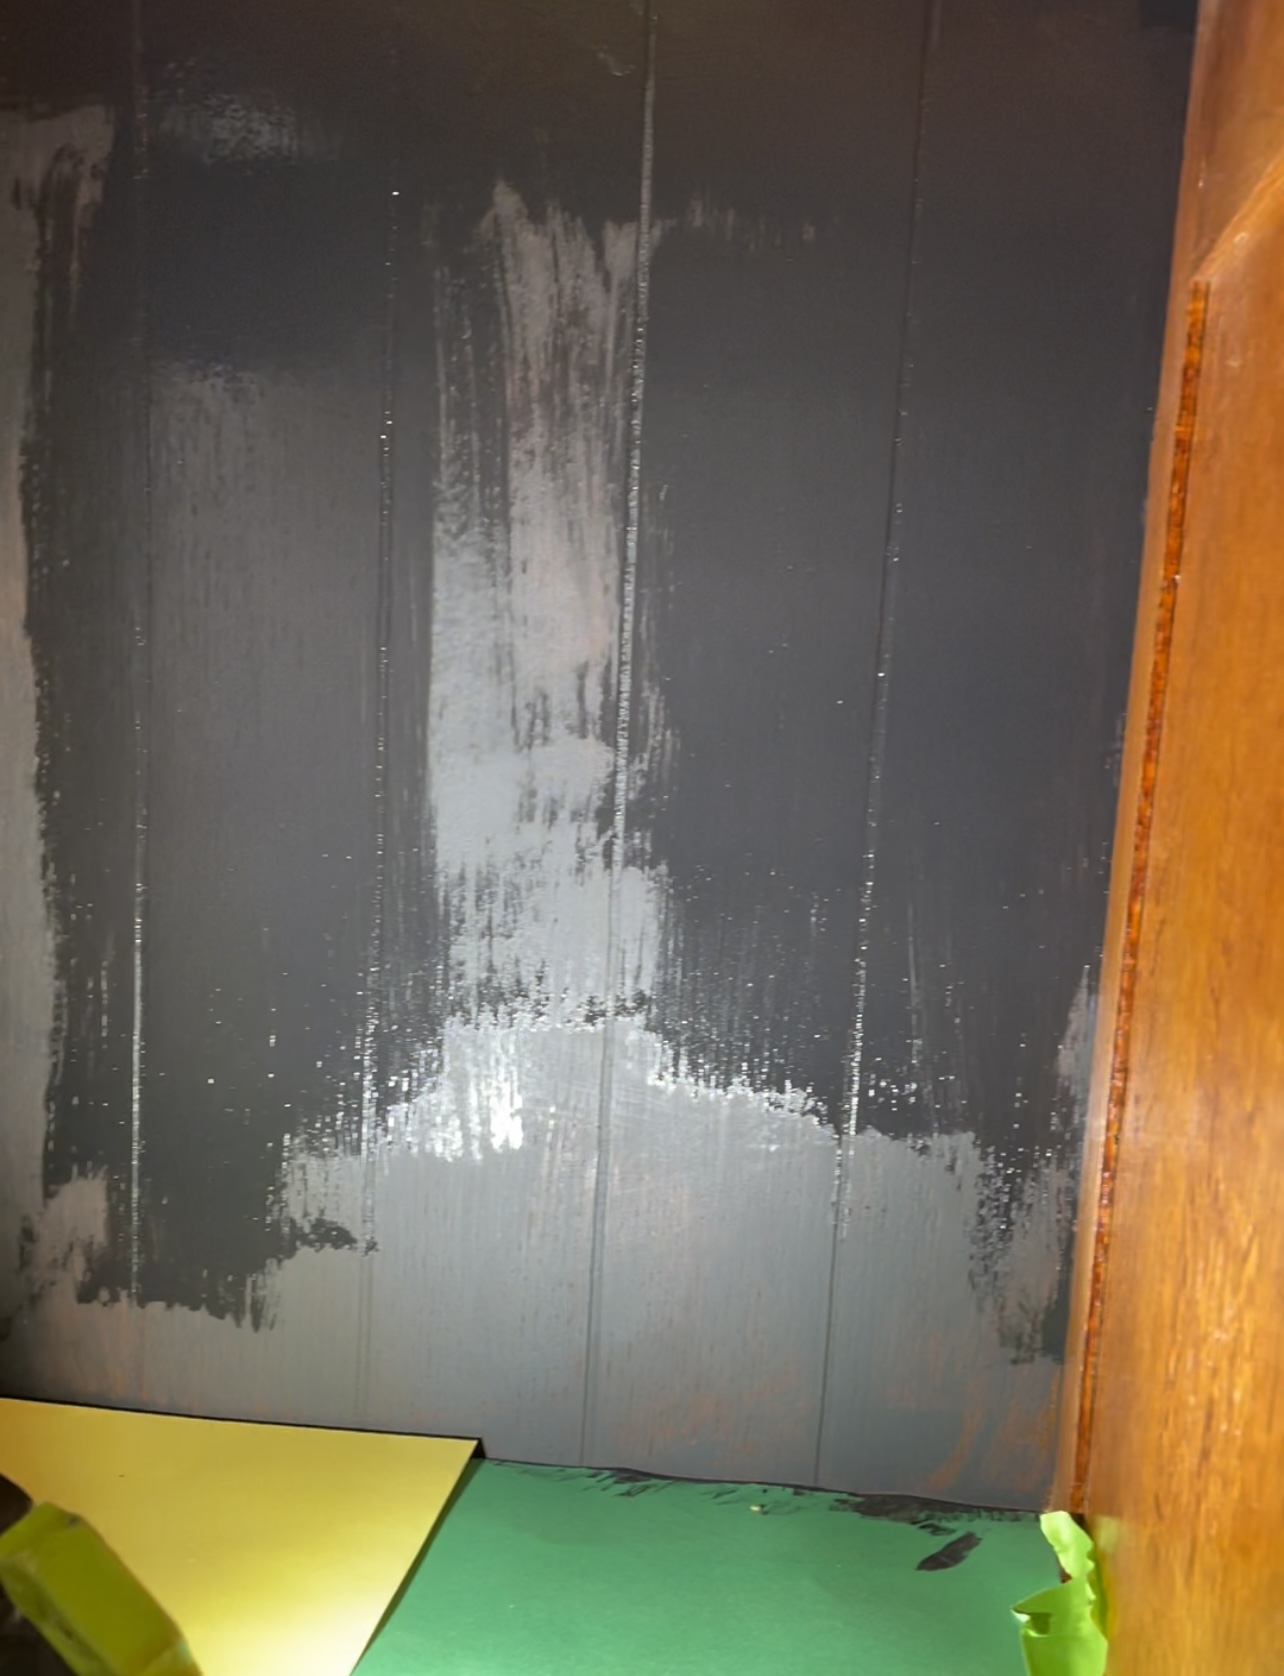
I painted the back of the cabinet inside at the top. I thought it was a good backdrop for the what was going to be in front of it. This was a little hard to reach but after two coats it looked perfect. Here it is below in the midst of getting the second coat.
STEP 5
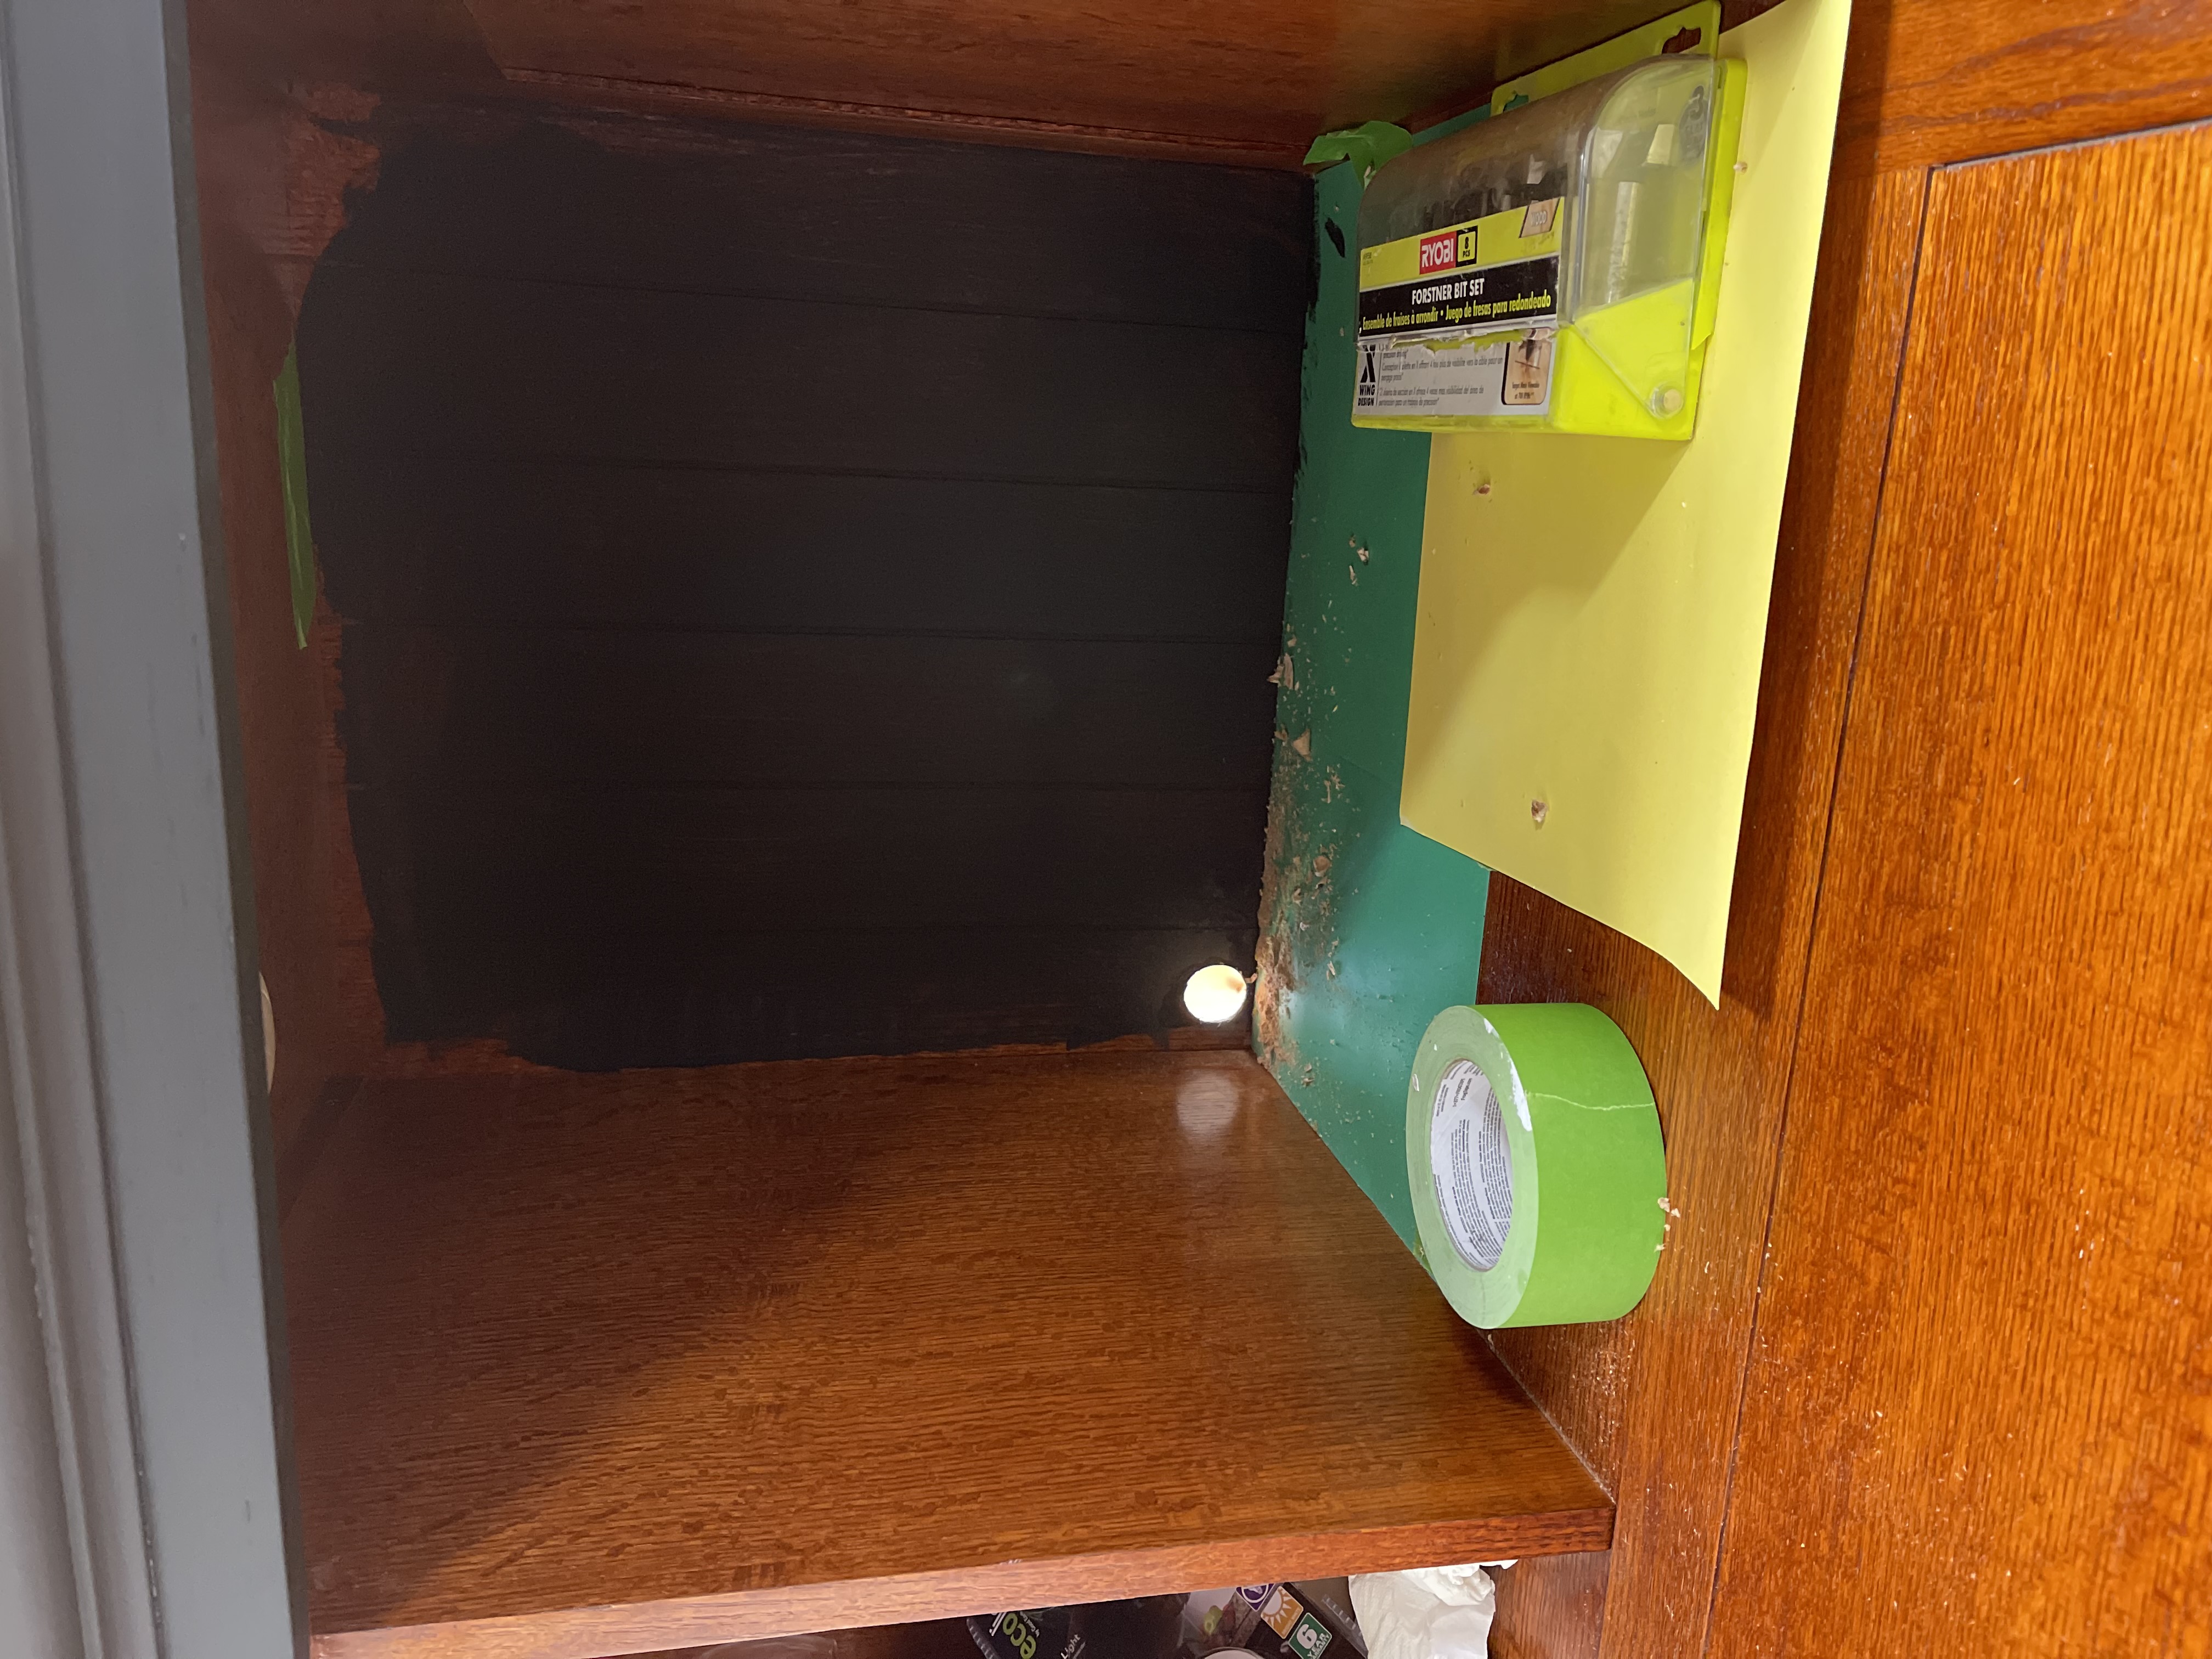
Since I was making this a Wine/Coffee Bar, I needed to cut a hole for the plug for the expresso machine. It required a large wood boring bit to make such a large hole.
I could barely reach but I was able to cut the hole needed for the plug.
Perfect Circle
STEP 6
After drilling holes for the plug and new knobs, I continued painting. The paint dries fairly quickly and as each part dried, I would go back and paint my second coat. The finish after two coats was perfect. So smooth. The paint is self leveling so unlike any other paint I’ve used, brush strokes weren’t visible anywhere.
STEP 7
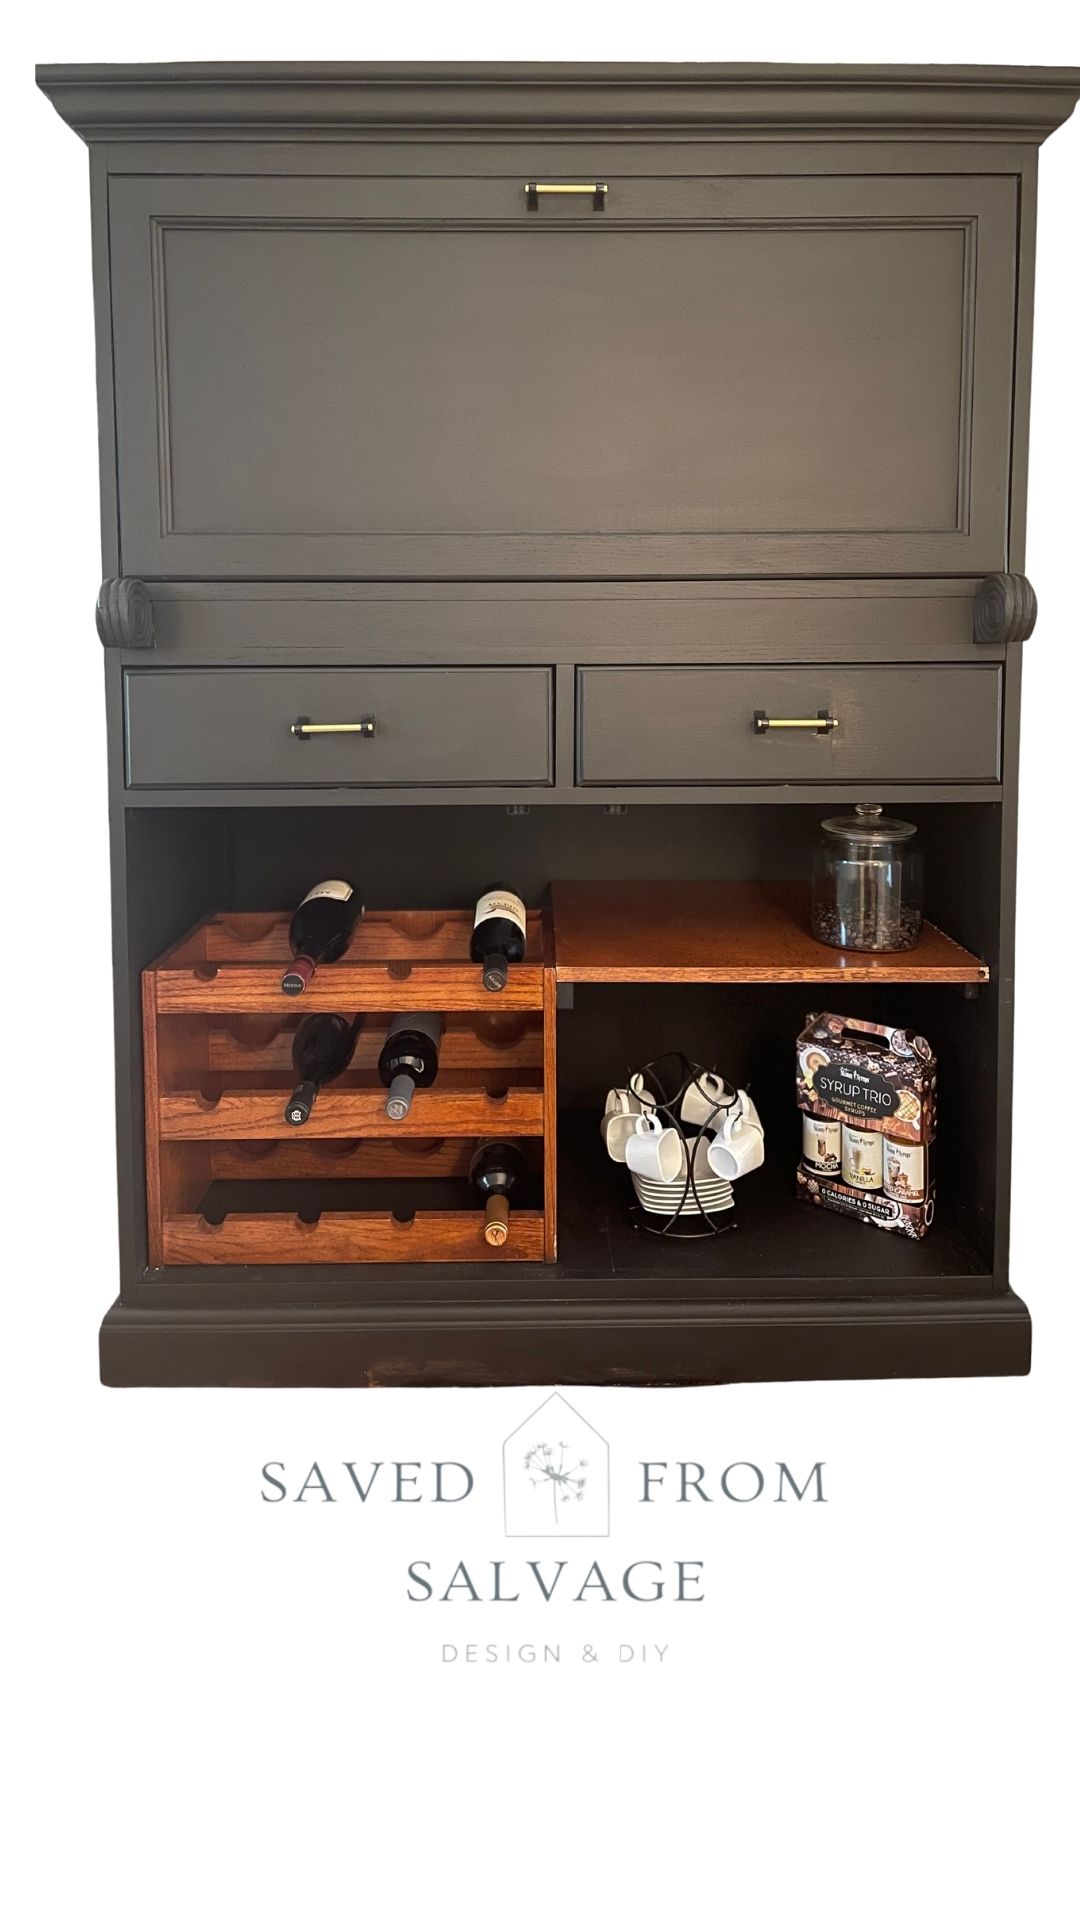
I decided to put the wine rack underneath and although the cabinet came with a long shelf for inside the bottom, it had no tabs to hold it in place.
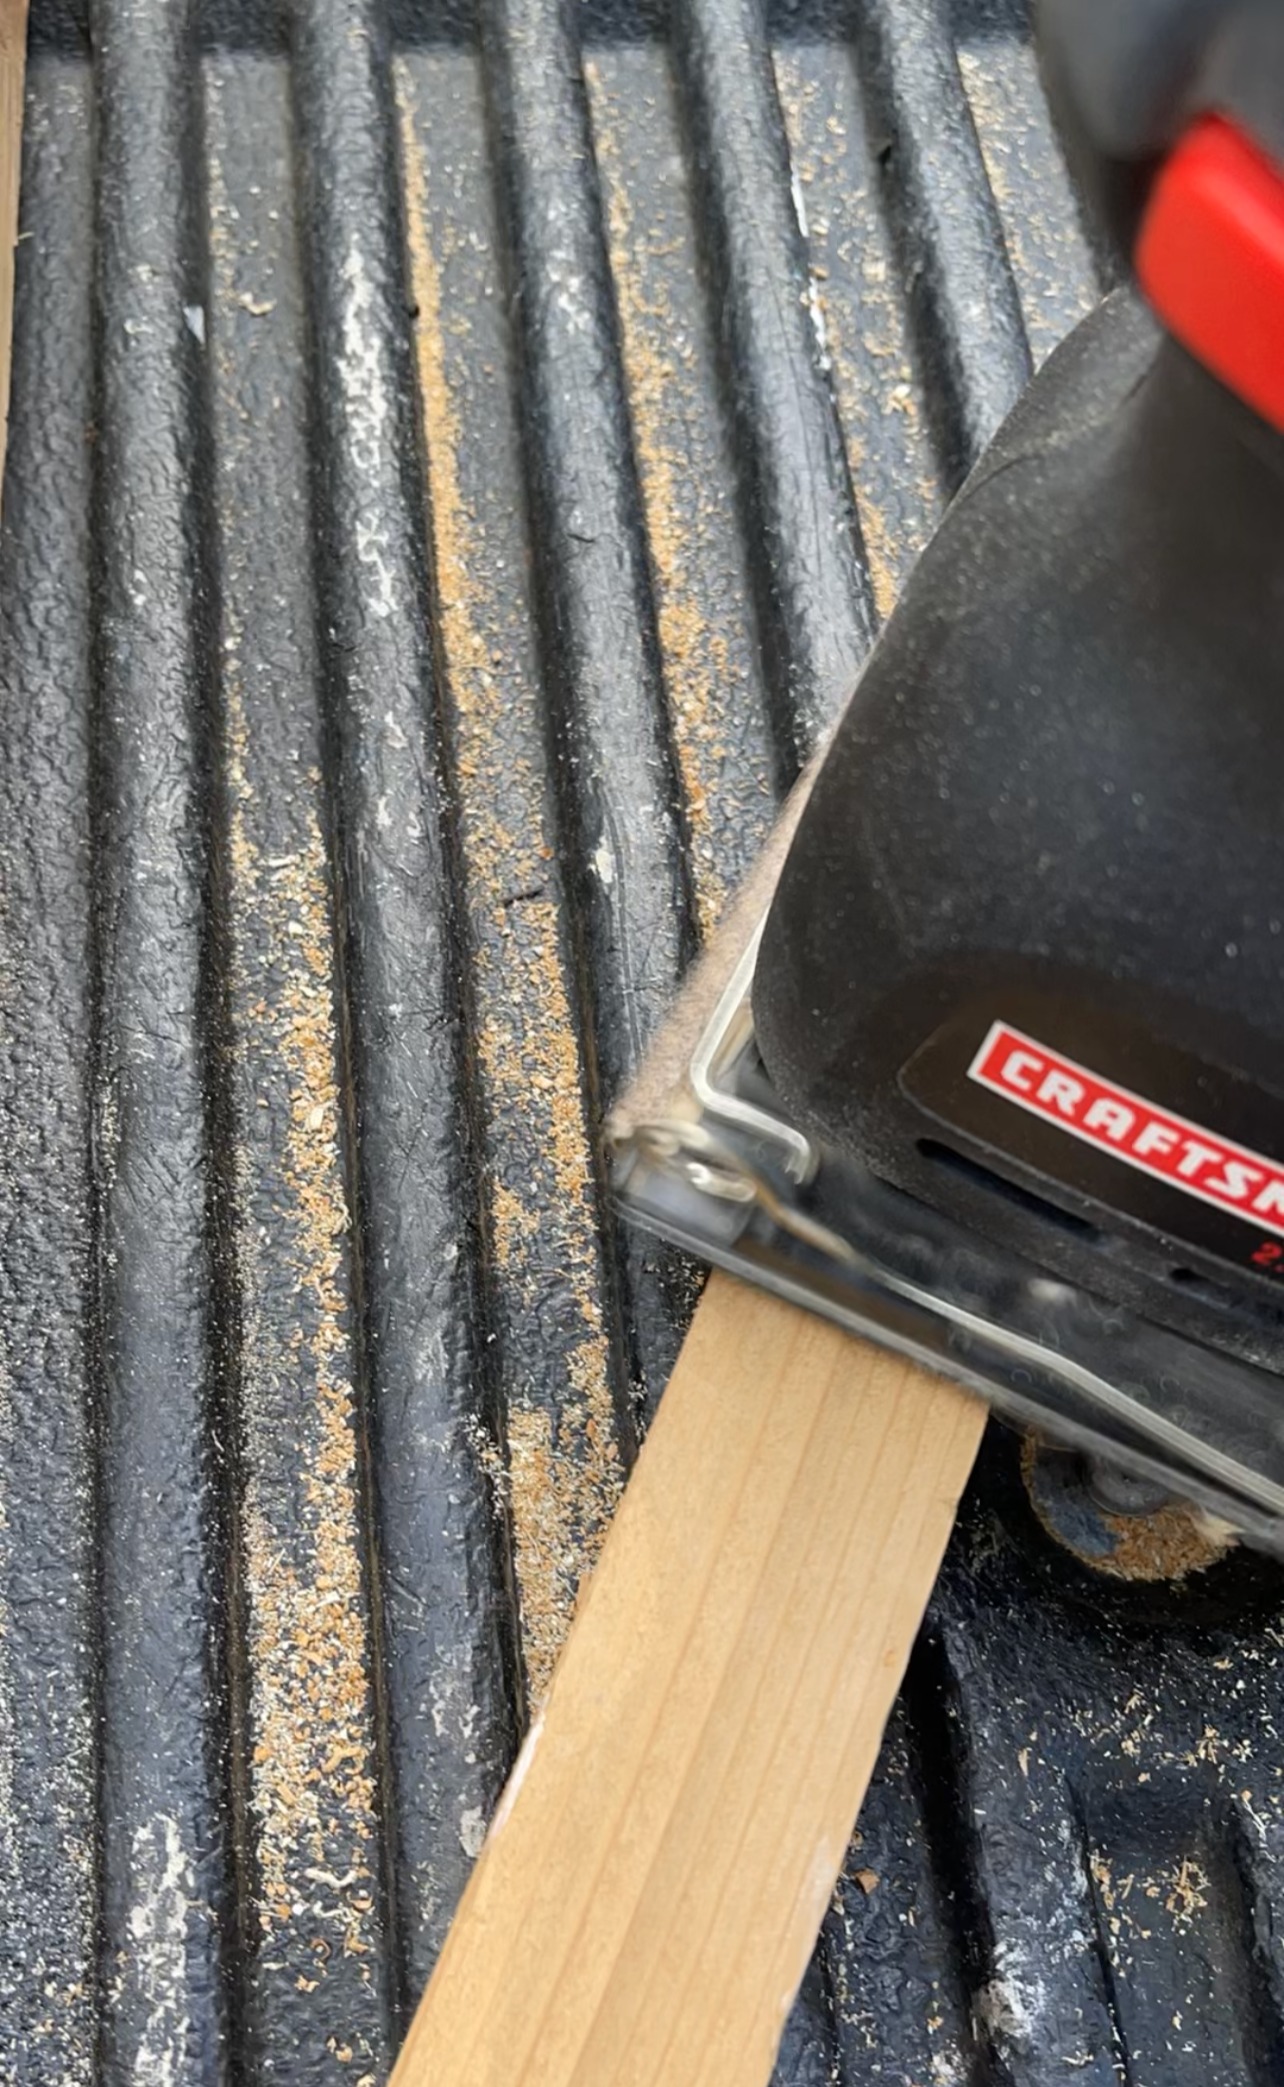
I cut pieces of scrap wood, sanded them and added them to the side of the wine rack and to the side of the cabinet. Painted in Anchor so they fit in and looked like they were always there.
I cut the large shelf and then laid that on top of the wood pieces and now had a shelf on one side underneath, that was even with the wine rack.
STEP 8
I added the new knobs, and then I added a peel and stick wallpaper to the base of the drawers and to the side of the drawers to match the gold/brass color from the knobs.

New knobs in black metal and gold
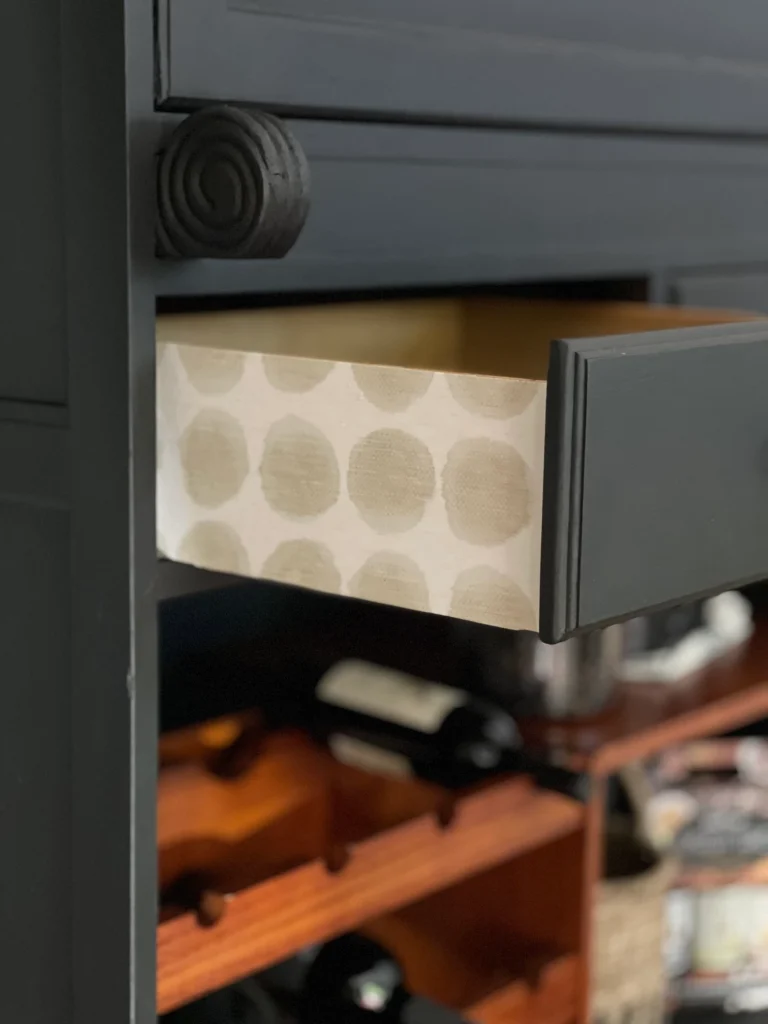
Peel and Stick Wallpaper elevated the look of the drawers
STEP 9
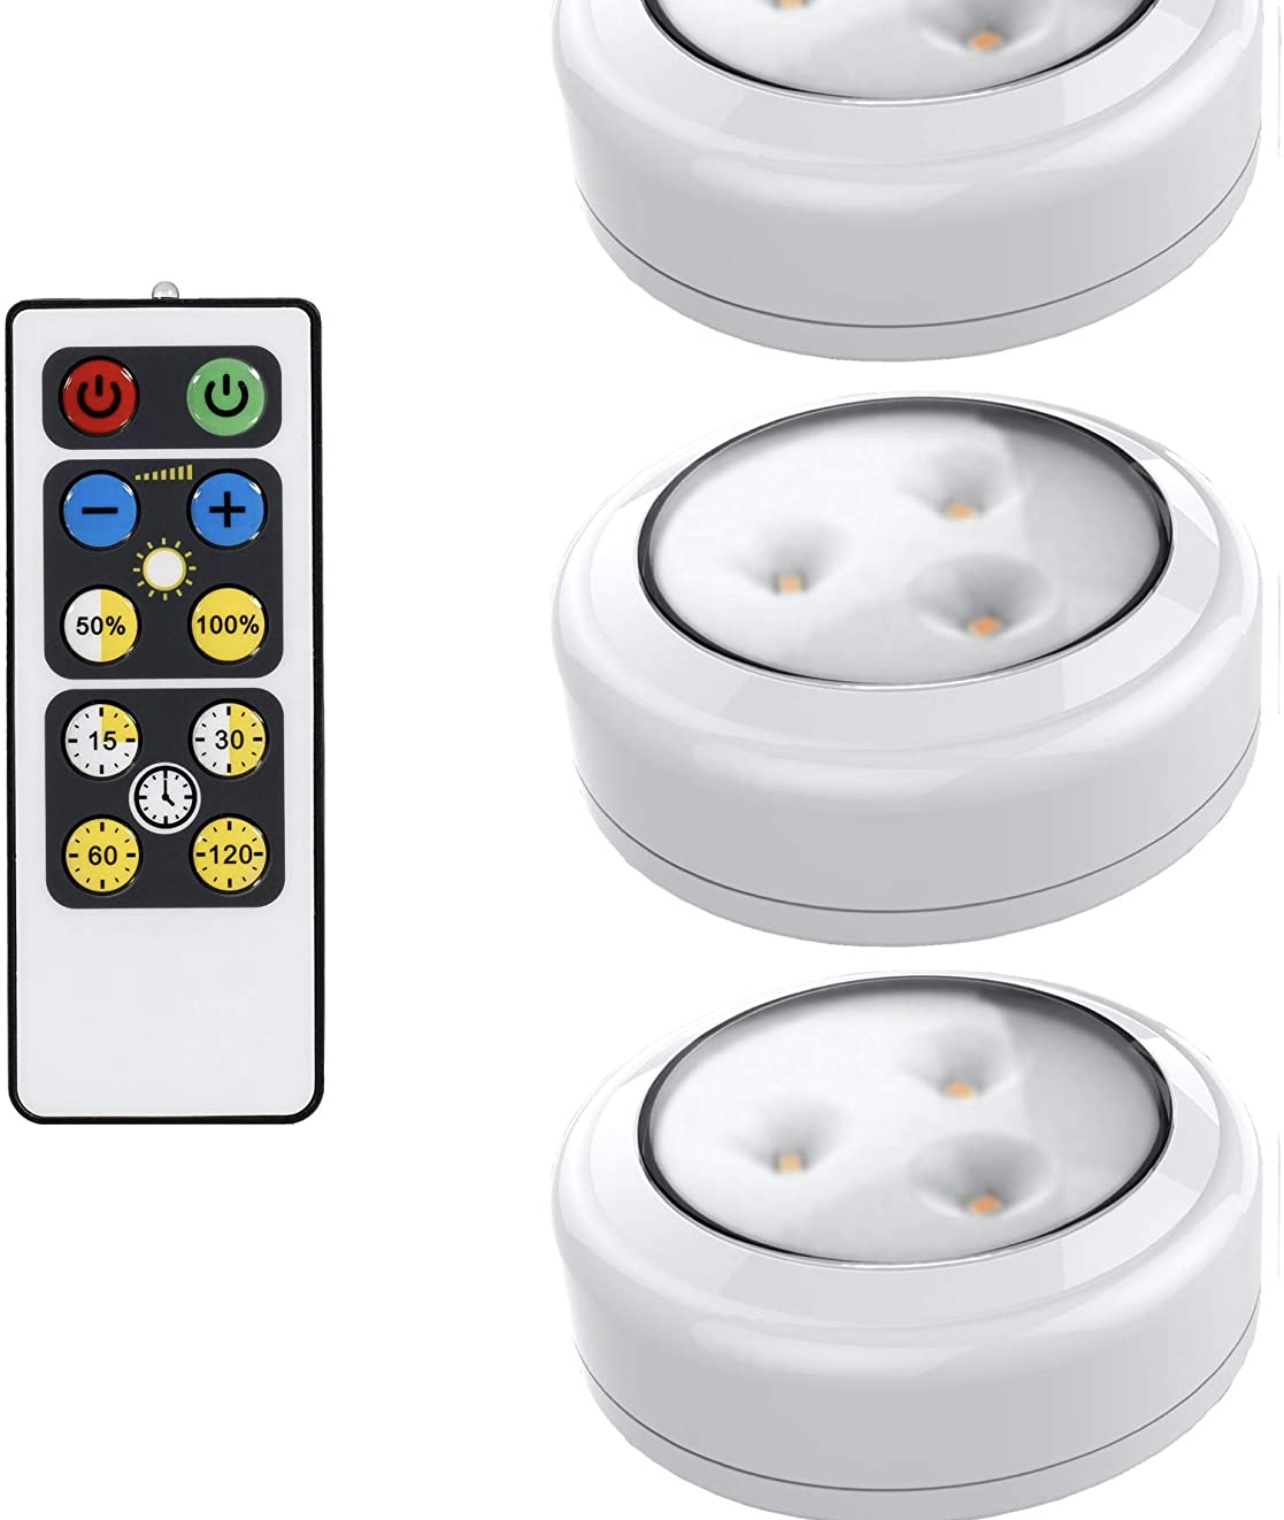
I added small LED lights underneath the top and it really brightened up the area. I touched up some spots, and finished staging
STEP 10
The unveiling. It’s so rewarding to tackle something and have it come out the way you envisioned.
I am so in love with the color and the look. You can style this in so many ways.
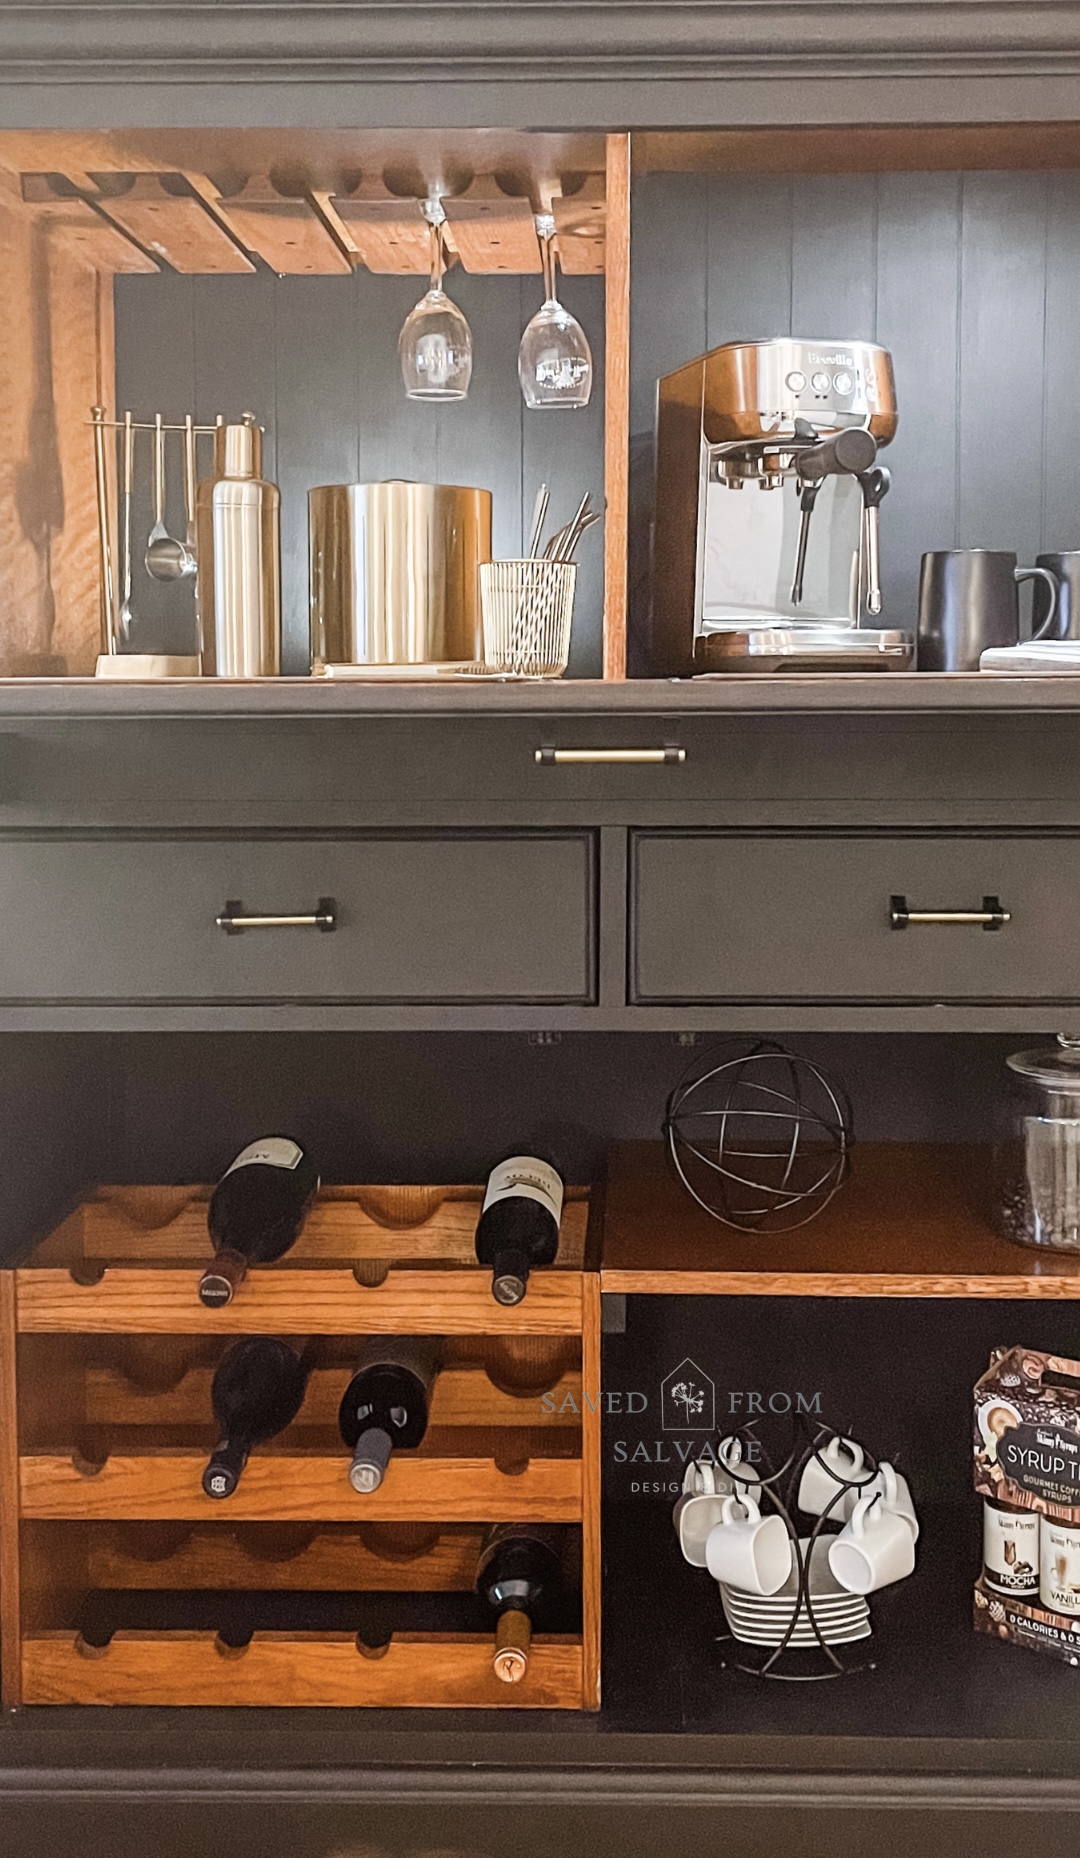
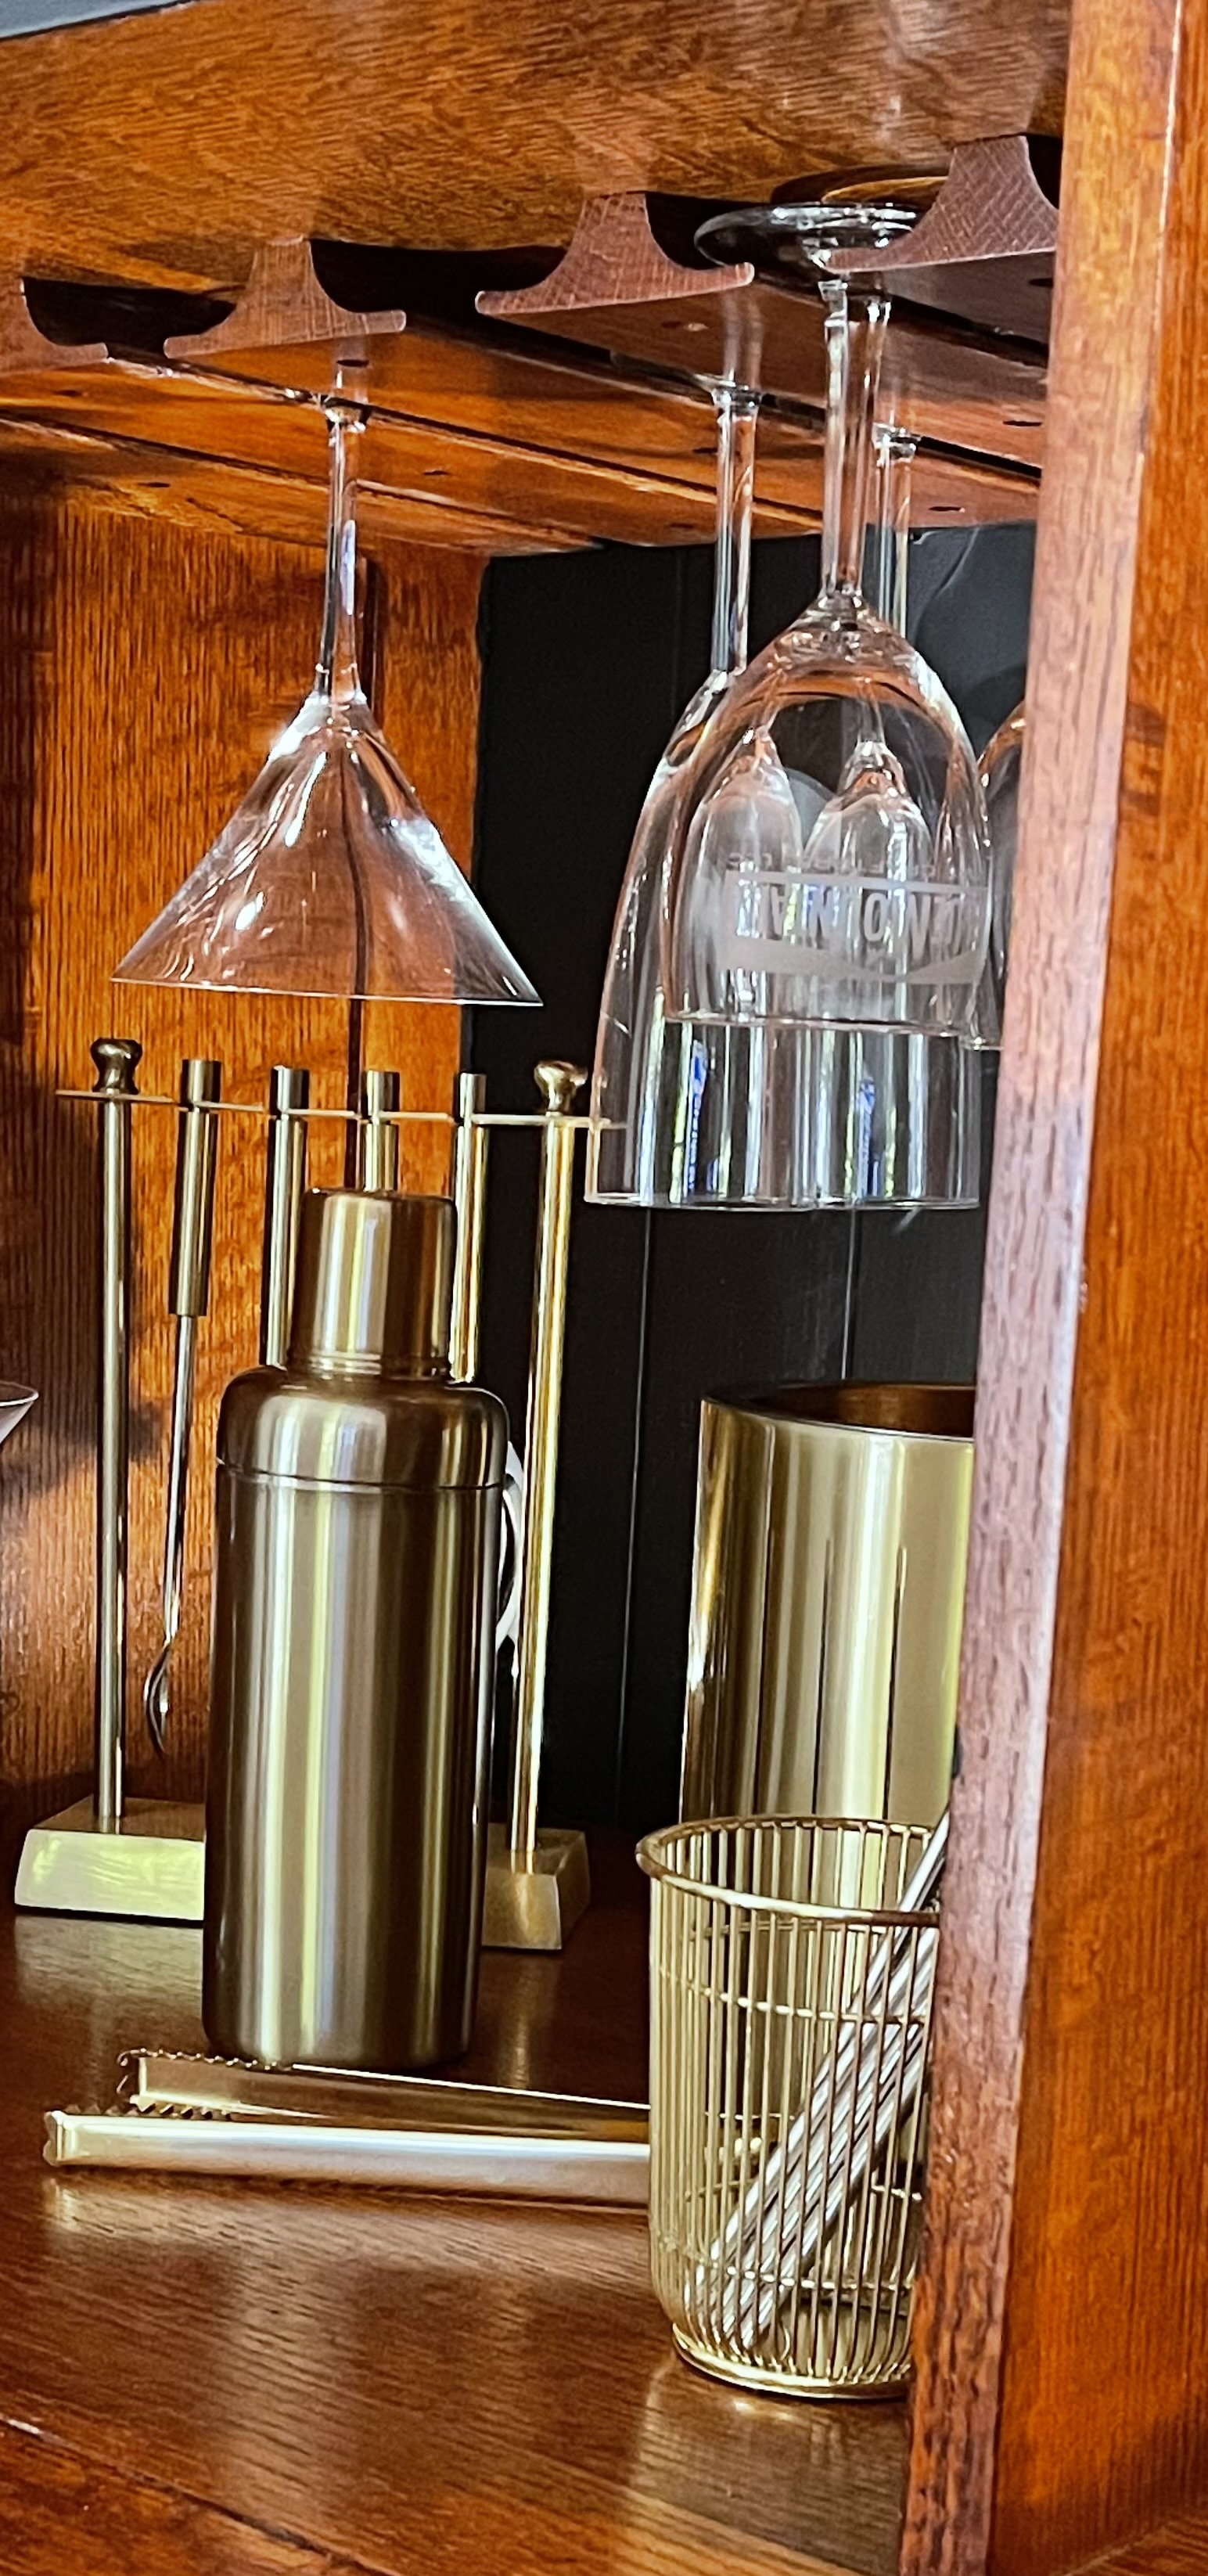
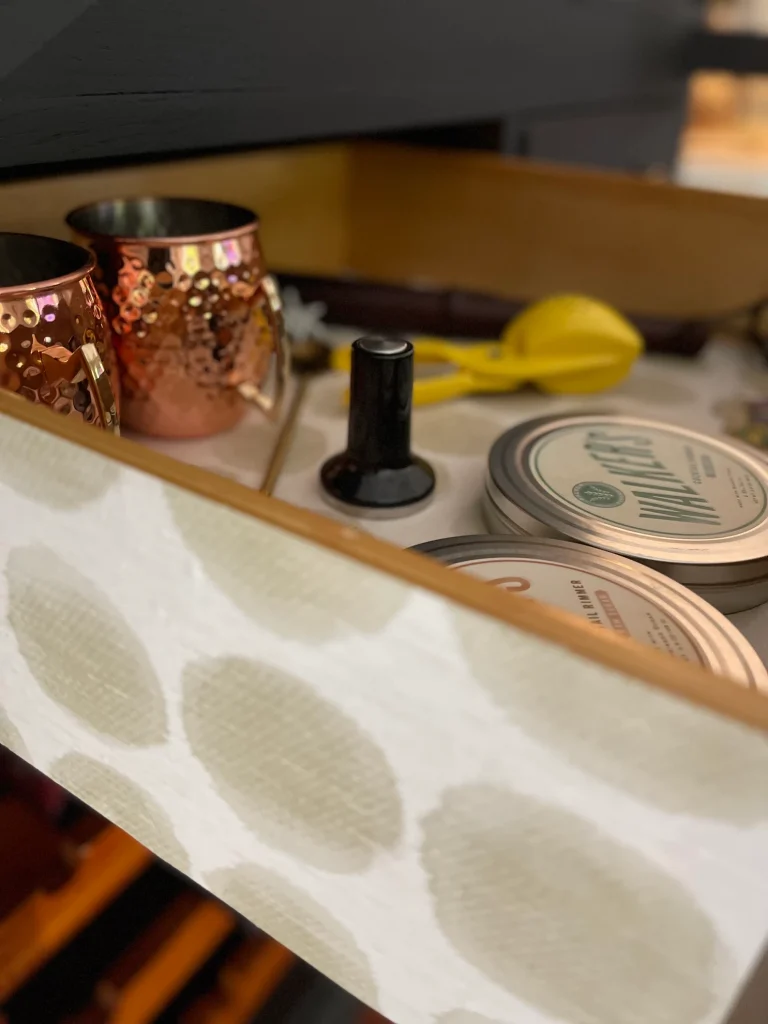
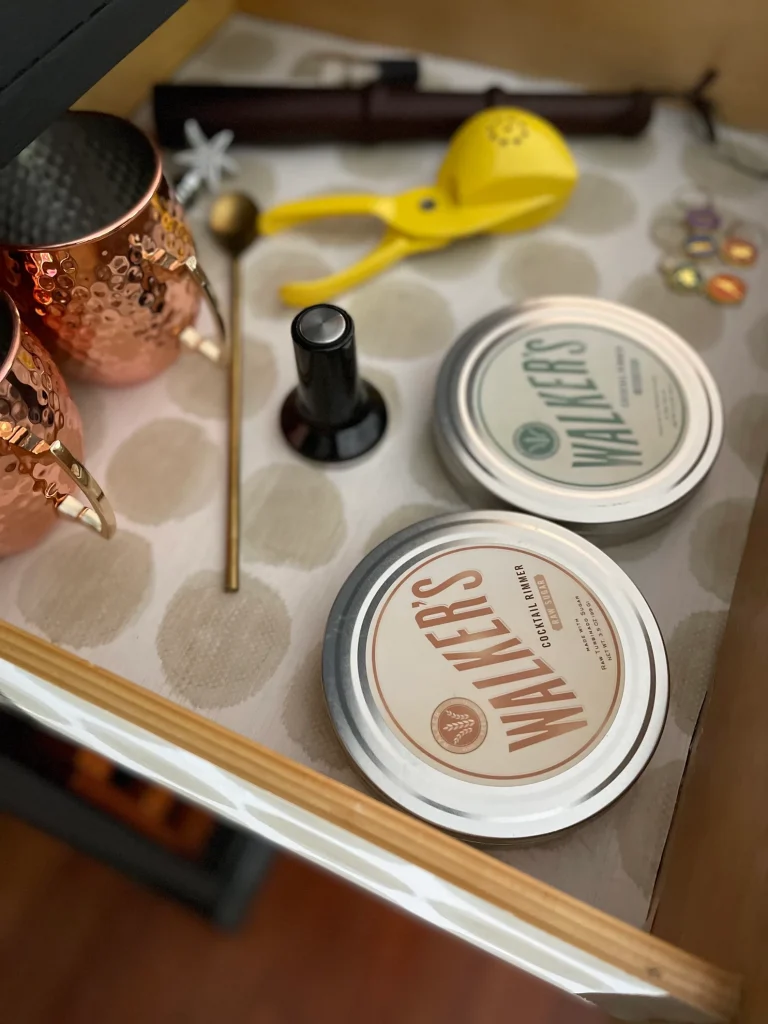
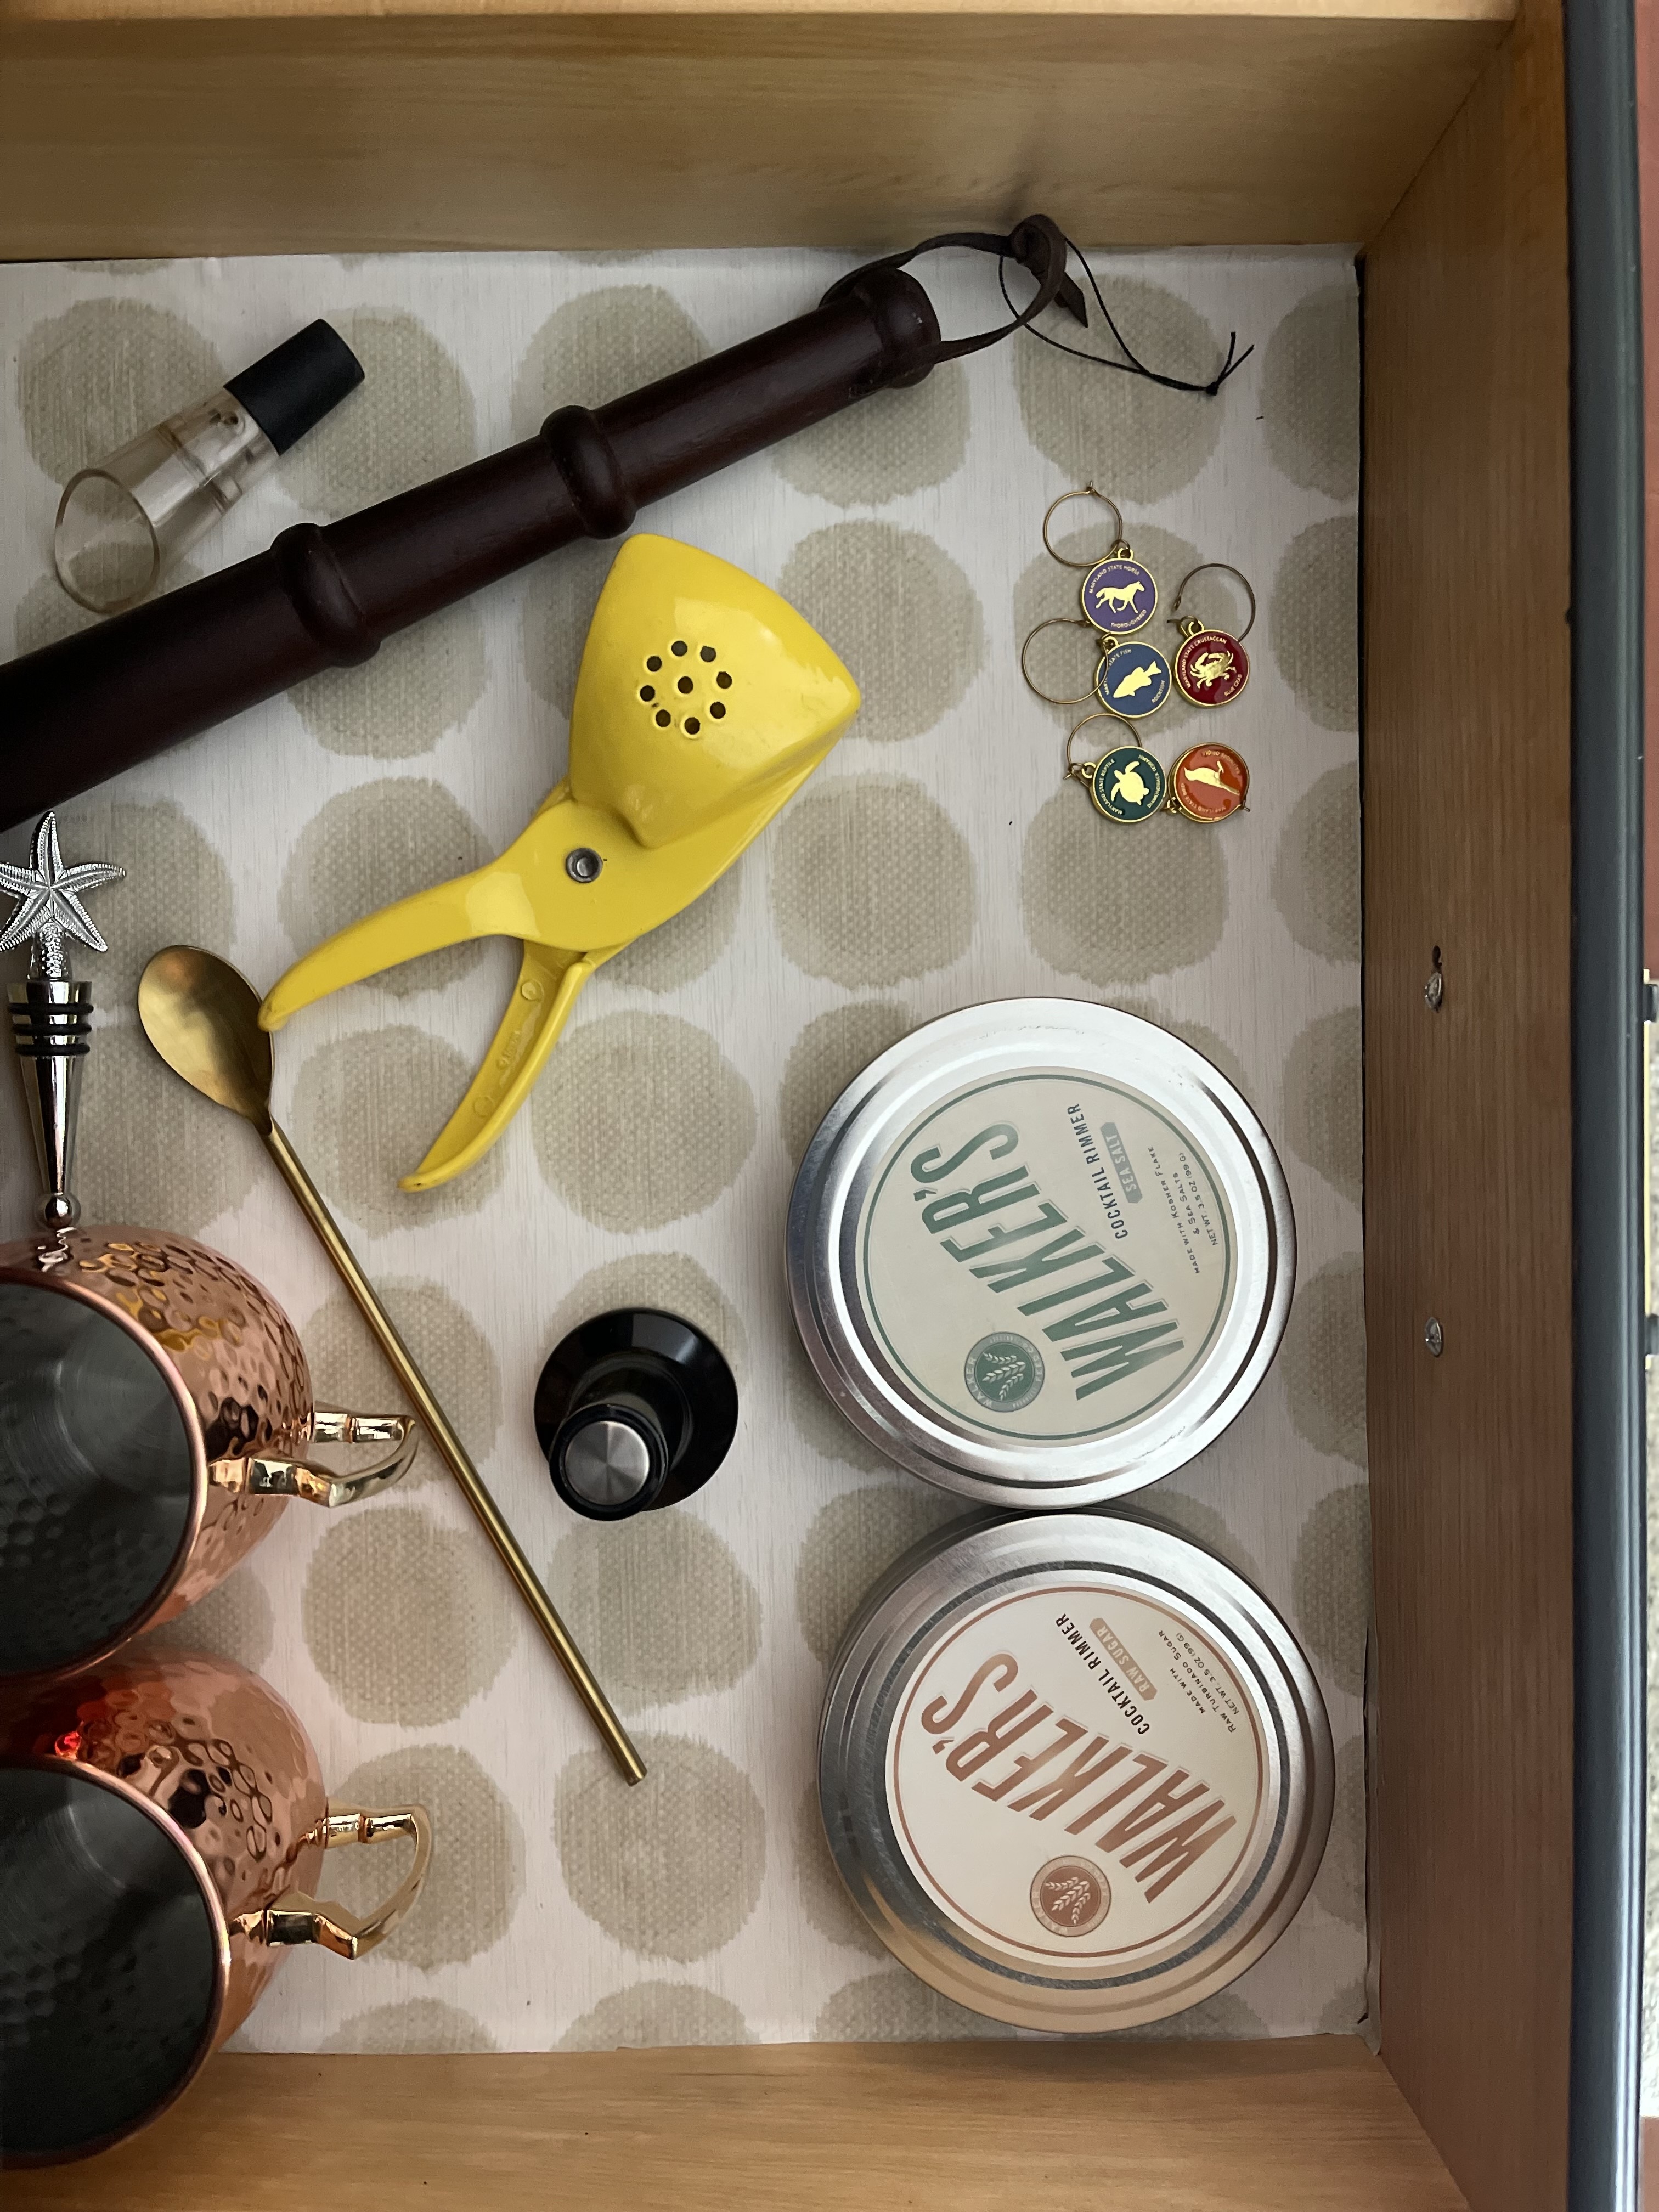
Brass bar essentials go perfectly with the new knobs
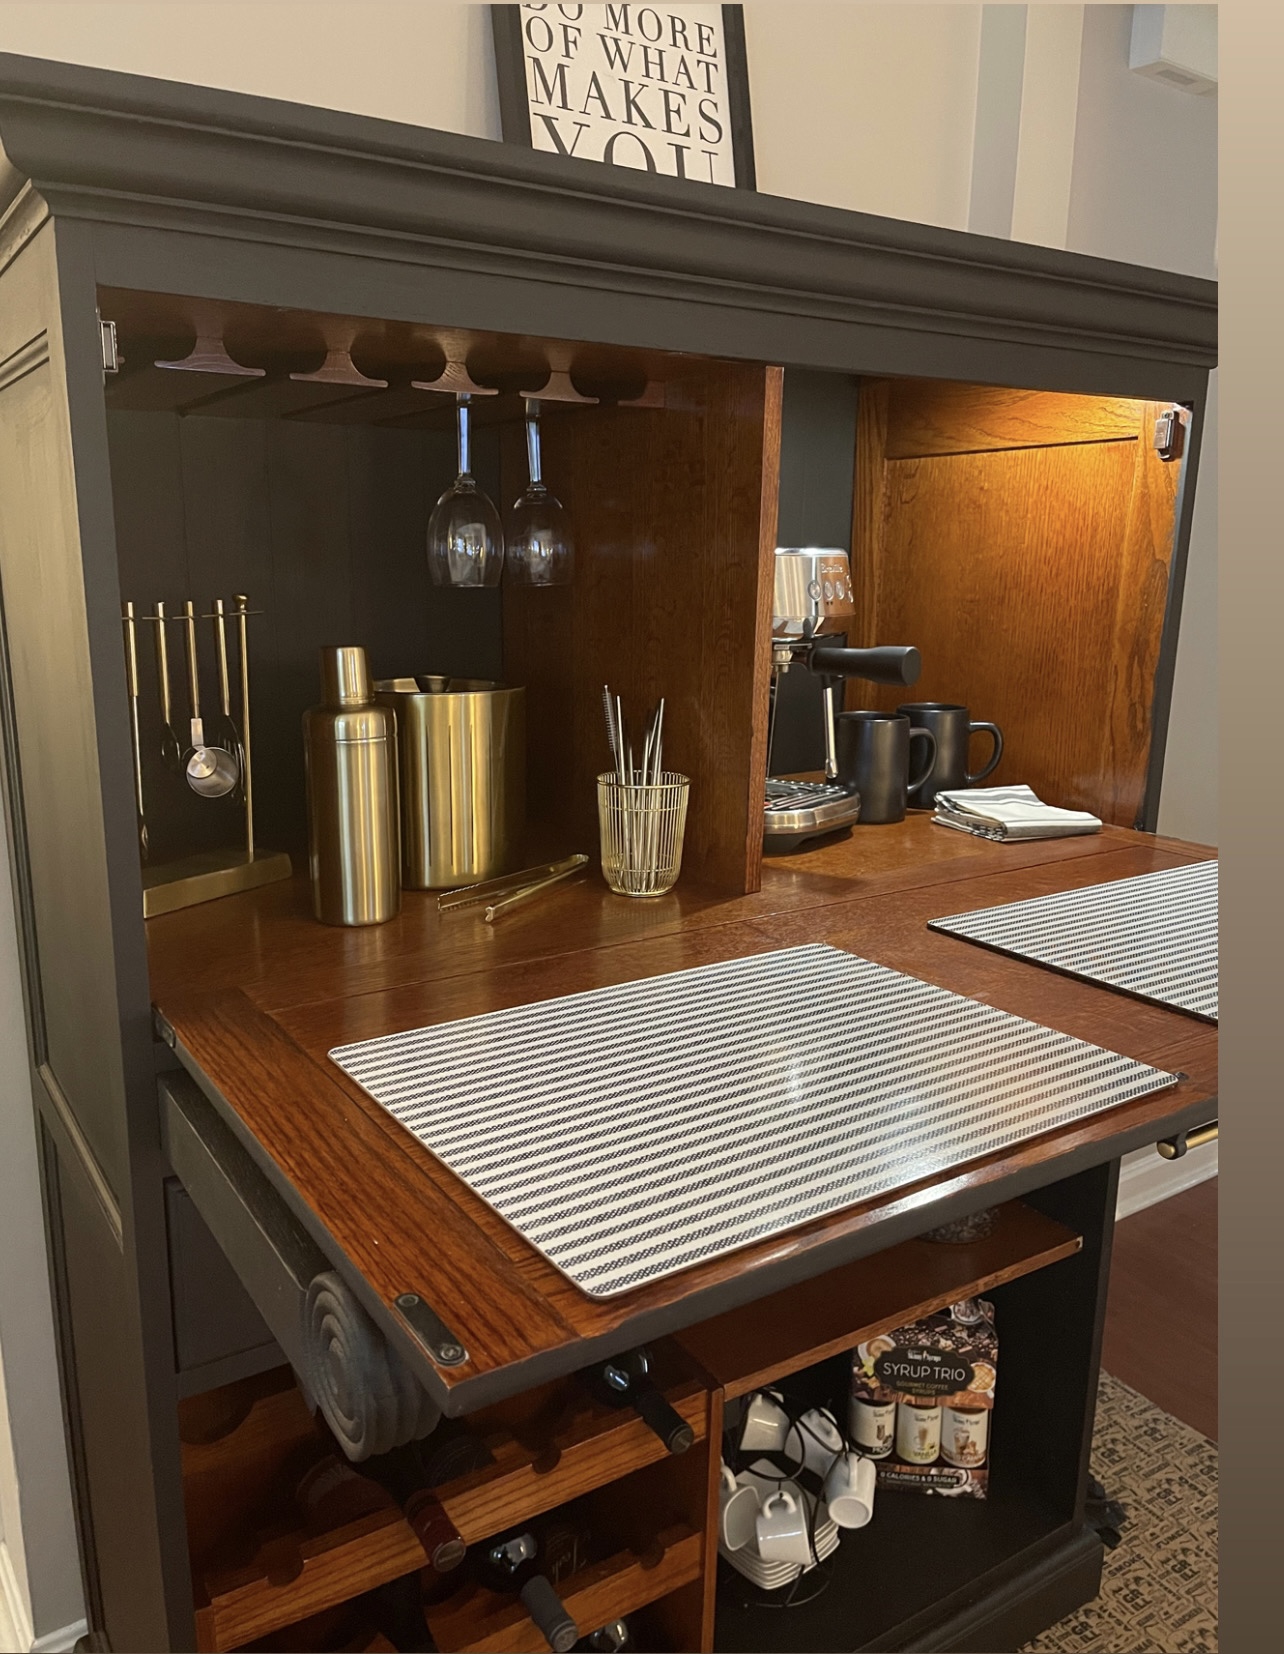
I found two high bar stools, and purchased black and white place mats because when the top is down, it’s a perfect spot to sit and have breakfast or a snack. It’s a large and sturdy countertop.
Thanks so much for coming along on my “makeover” journey with Dixie Belle Paints.
A LOOK AT ANOTHER “REVAMP” USING DIXIE BELLE PAINTS
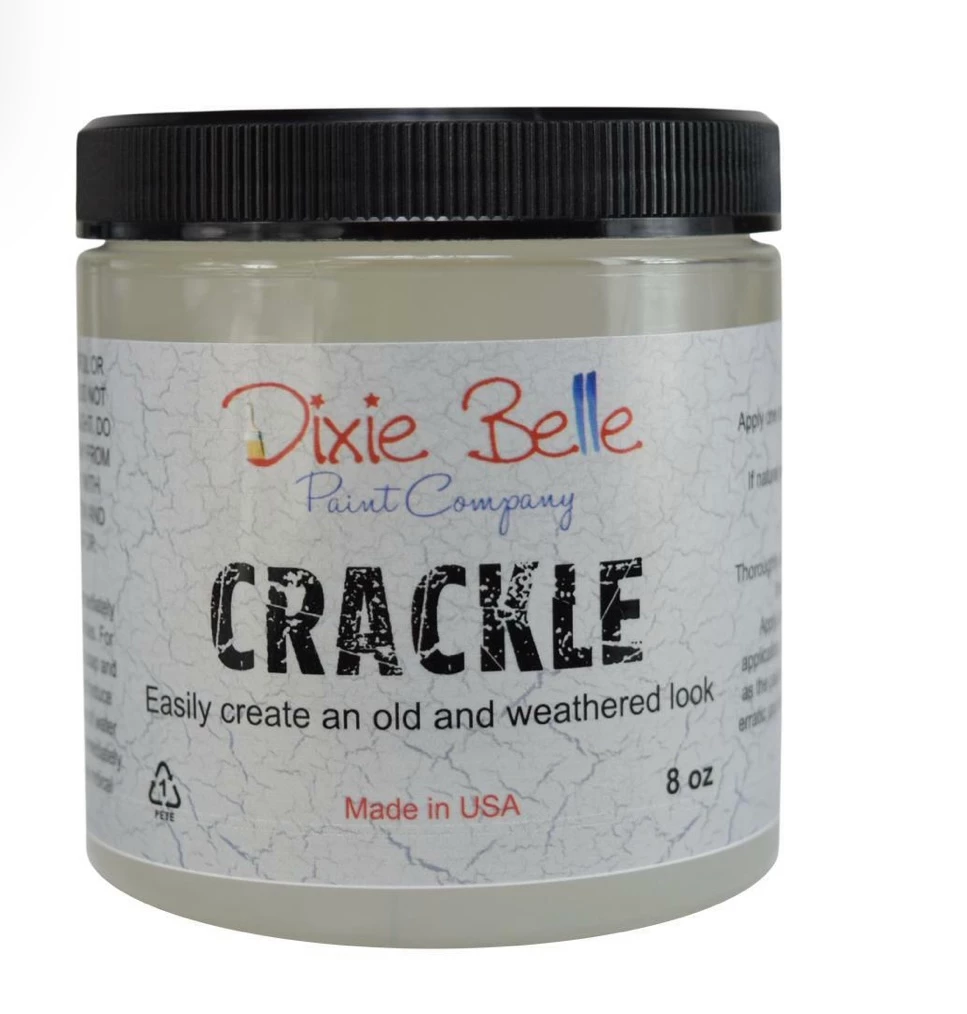
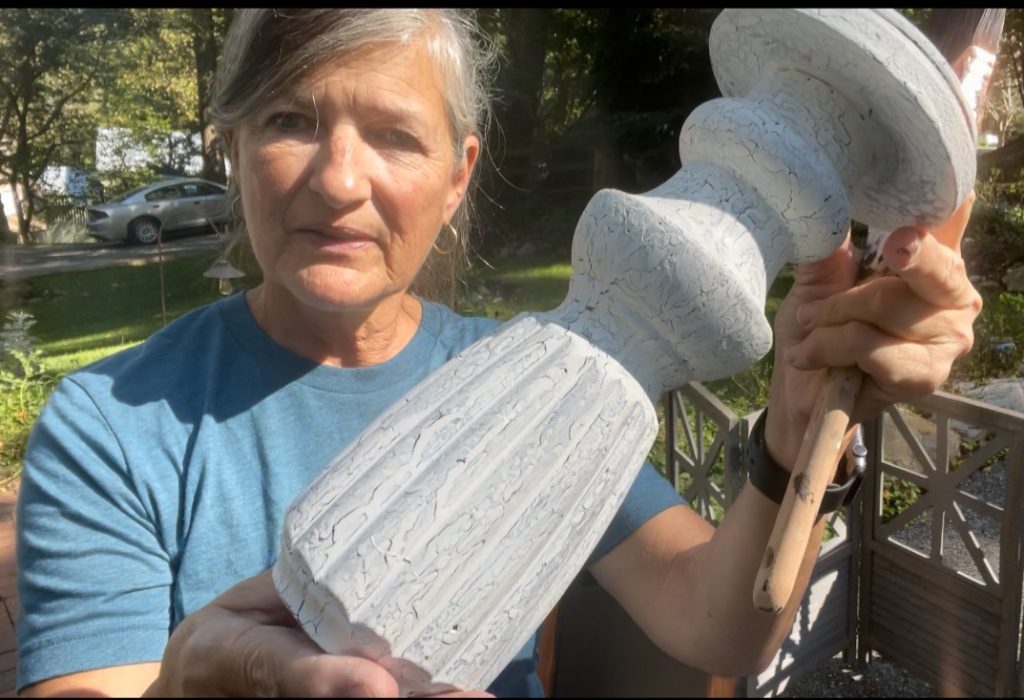
I have an upcoming project using a coffee table where I sawed off the legs. If you know me, you know I couldn’t throw the legs away. First I added wooden lids from candles (that I can’t throw away) and made candlesticks. Then painted them in a coat of Anchor like the Wine – Coffee Bar then used a fun product called Crackle, by Dixie Belle….then a coat of Dixie Belle in Whitecap. It creates an aged vintage look.
Definitely a “Saved From Salvage” special
PERFECT ADDITIONS TO YOUR WINE AND COFFEE BAR
If you enjoy what you read, why not provide your email and subscribe so you never miss a post. Feel free to share with a friend!
XO, Regina
Disclaimer: This is a sponsored post, but the experiences, findings and opinions are my own. This post may contain affiliate links. If you order from these links, I may receive a small commission with no extra cost to you.
Leave a Reply