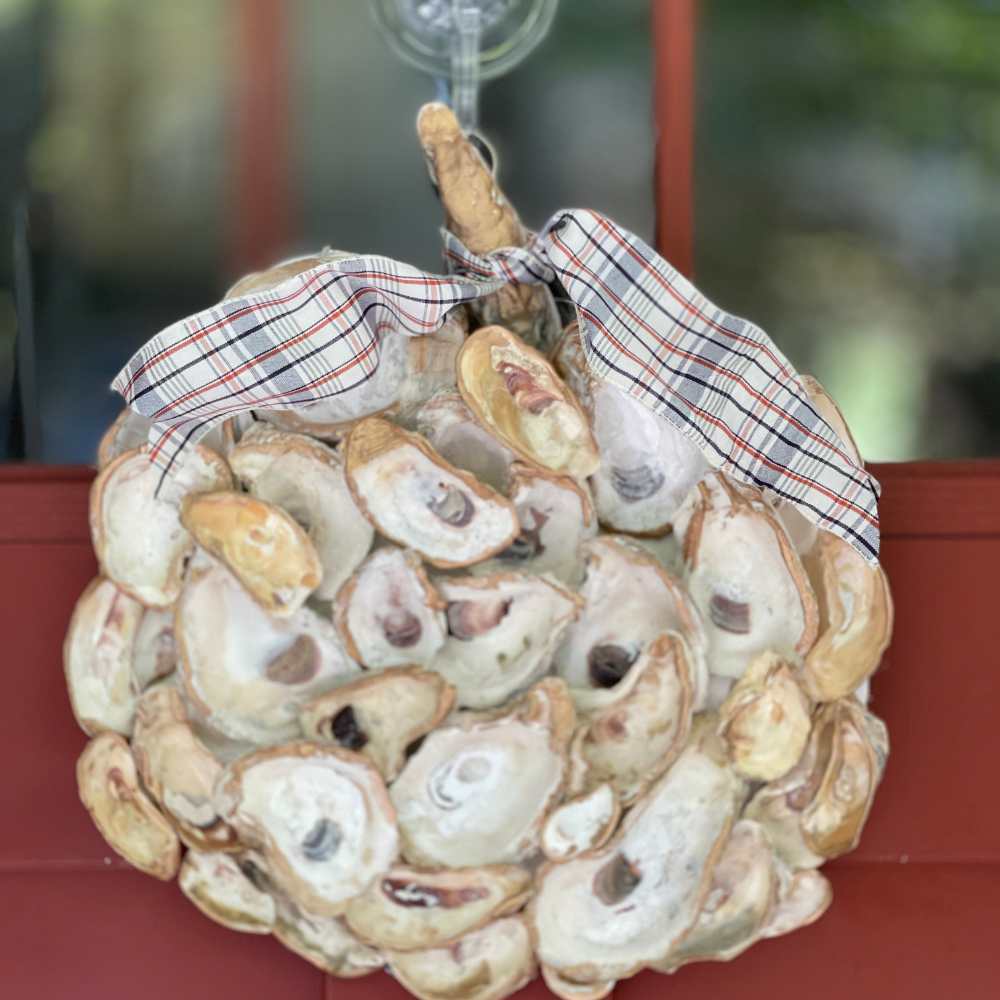
Do you love fall decor but like a coastal vibe even in fall? See how I combine two as I show you how to DIY a coastal pumpkin made from oyster shells.

Hi, I’m Regina and this is Saved From Salvage. I love to share ideas for DIY decor, furniture flips, recipes and trash to treasure ideas. Thanks for stopping by.
Everyone around me is busy decorating for fall and I’m still holding on to summer. I had leftover oyster shells from a project this summer so I decided to combine my fall decor with my love of the beach.
I used materials I had on hand and I’m so happy with how it turned out. If you still have a beach trip planned this year, you might want to grab a few oyster shells so you can make your own. Come along I’ll show you how.
I have included affiliate links for your convenience in this post. If you purchase from these links, I receive a small commission at no additional cost to you.
Table of Contents
HOW TO MAKE AN OYSTER SHELL PUMPKIN
THE SUPPLY LIST
- OYSTER SHELLS
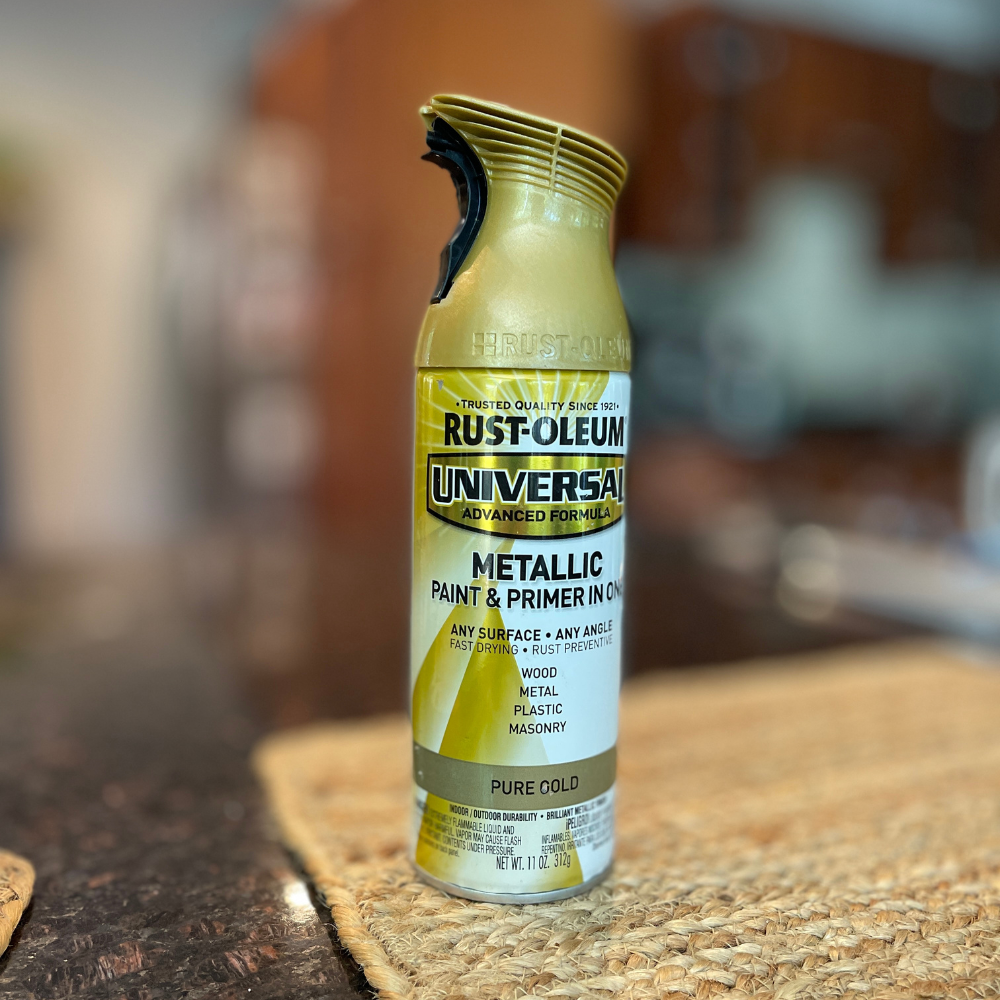
- GOLD PAINT (SPRAY / ACRYLIC / RUB AND BUFF)
- SMALL PAINT BRUSH
- BUCKET
- WATER
- BLEACH
- MOD PODGE SPRAY OR LAQUER
- E6000 OR LIQUID NAILS
- FOAM CORE OR LAUAN
- RIBBON
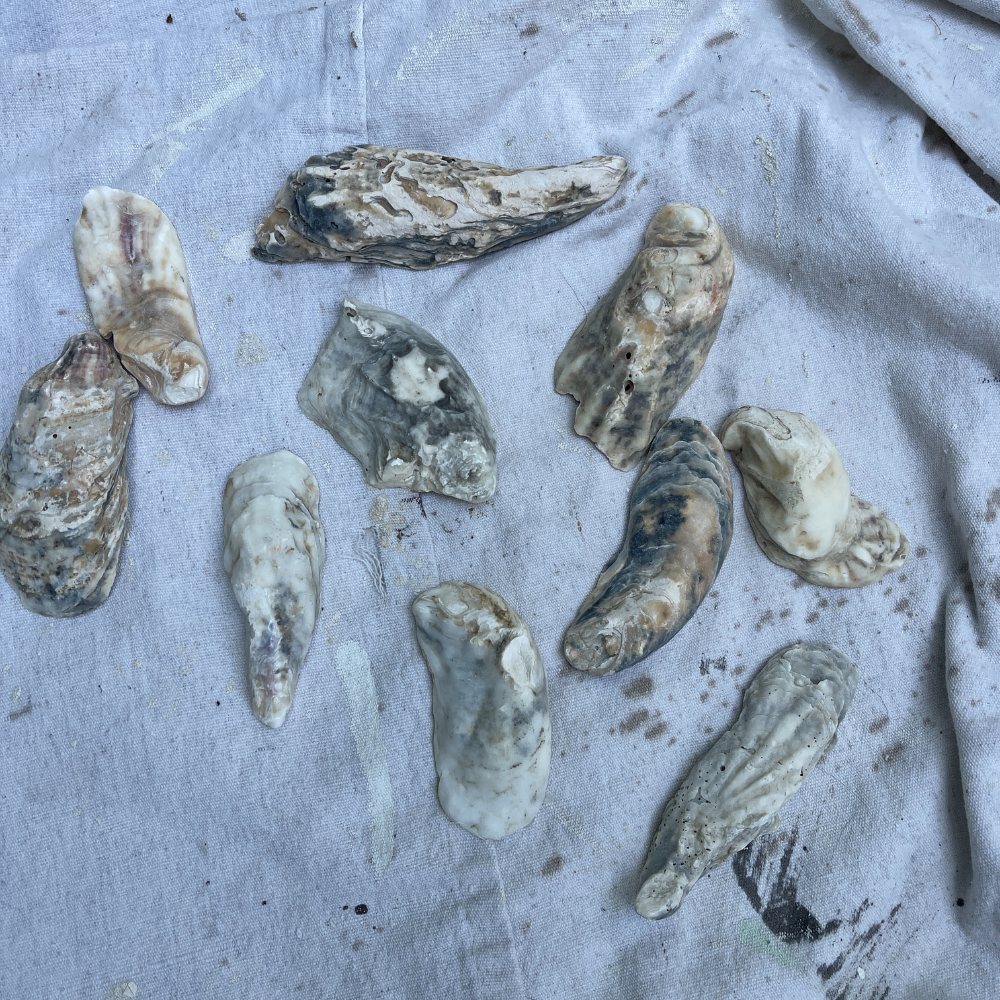
STEP ONE – PREPARE THE SHELLS
Depending on where you got your shells, they may need to be cleaned. For mine I filled a bucket with water and added some bleach and let them sit a few hours. Then I laid them out in the sun to dry.
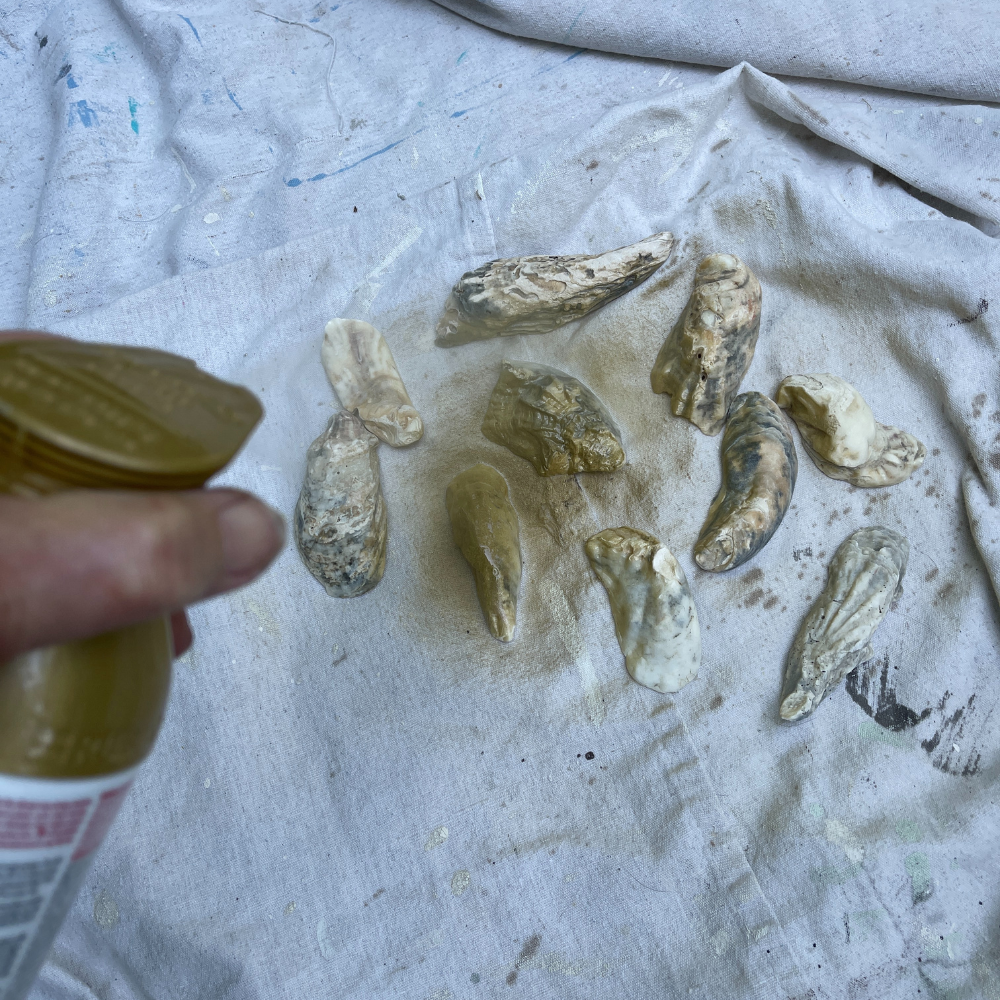
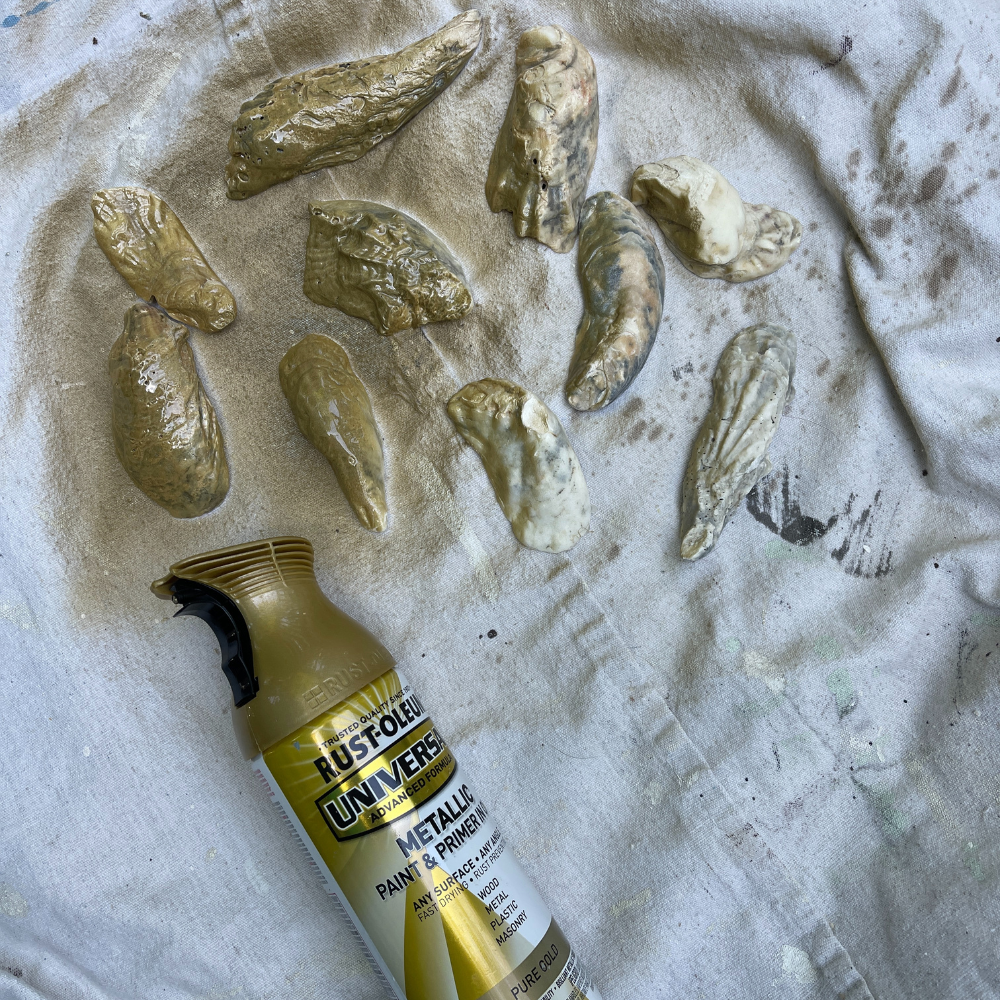
If you’d like to paint the back of the shells gold, this is the time to do it. I spread my shells out on brown kraft paper in the grass and gave them a light coat of gold spray paint and let them dry.
STEP TWO – DRAW YOUR SHAPE
For the pumpkin shape, you don’t have to be exact. The general shape is enough. I drew my pumpkin shape with a Sharpie on a stiff piece of foam core. Make whatever size you like, you will add shells to the shape you want so the drawing is just a guide.
My second pumpkin I used this piece of lauan, a thin wood. I’d recommend this.
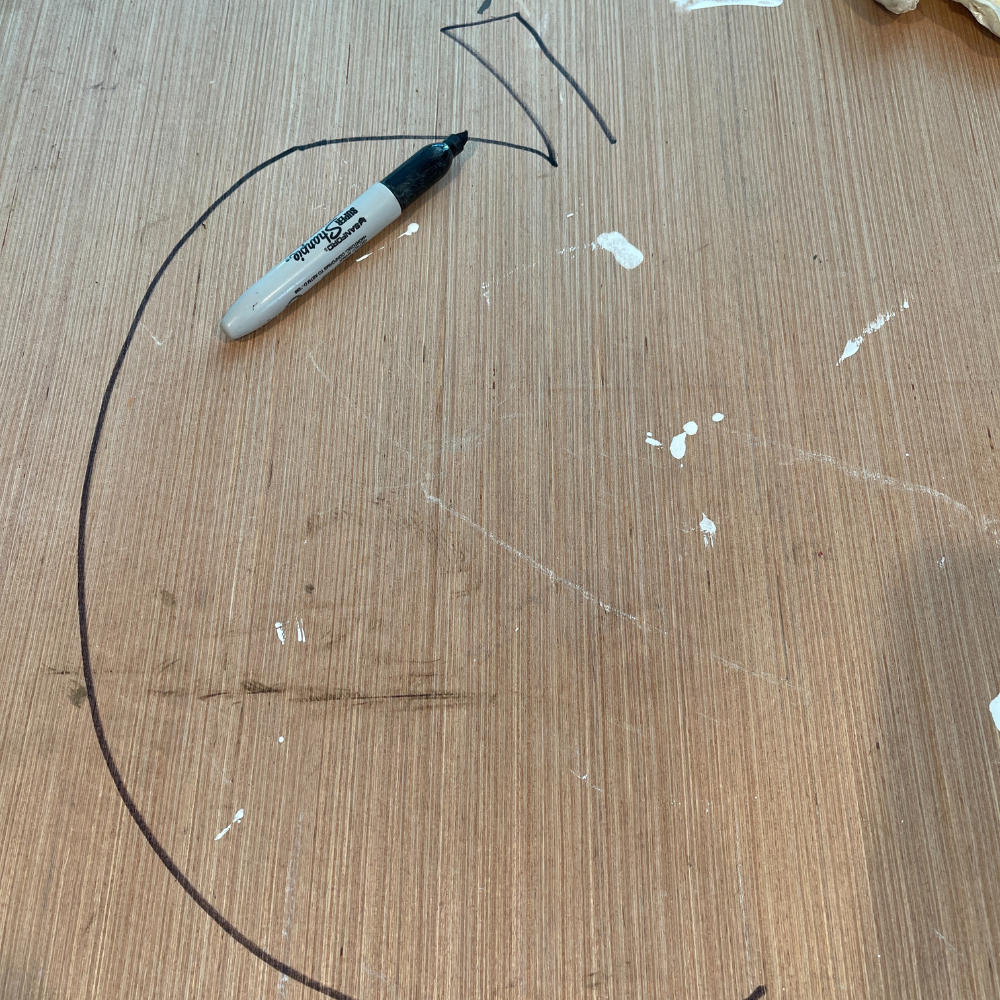
You could also draw it on a thin piece of wood or cardboard, just something thicker than poster board.
STEP THREE – CUT OUT YOUR SHAPE
This backing I used was very stiff and hard, I tried to cut with a jigsaw and a utility knife but strong scissors actually worked best. At the top of your pumpkin in the stem, later you can cut a small hole to attach your twine or wire to hang your pumpkin when done.
NOTE: If you use lauan, you will need a small jigsaw to cut your shape.
STEP FOUR – ATTACH YOUR SHELLS
To get the shape of my pumpkin, I laid shells out in the general shape and moved them around until I was happy with the shape. At first, I used a glue gun to adhere the shells to the board.
This worked perfectly but I have another hint, if you are going to put this on the front door or somewhere that sees sun, you will want to use something stronger that won’t release in heat.
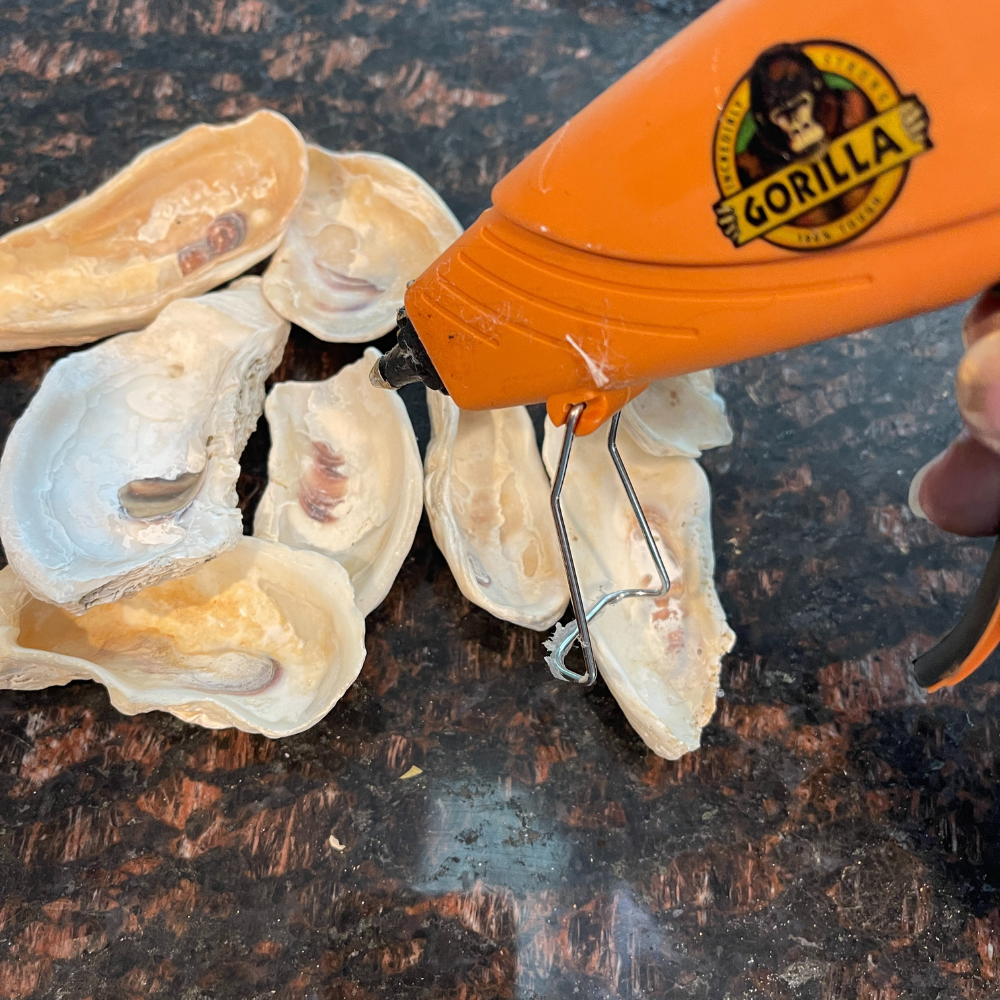
I ordered and used Liquid Nails and this worked perfectly. Because I lack patience, I tried the glue gun first. Again, you can learn from my mistakes.
STEP FIVE – FINISH YOUR SHELLS
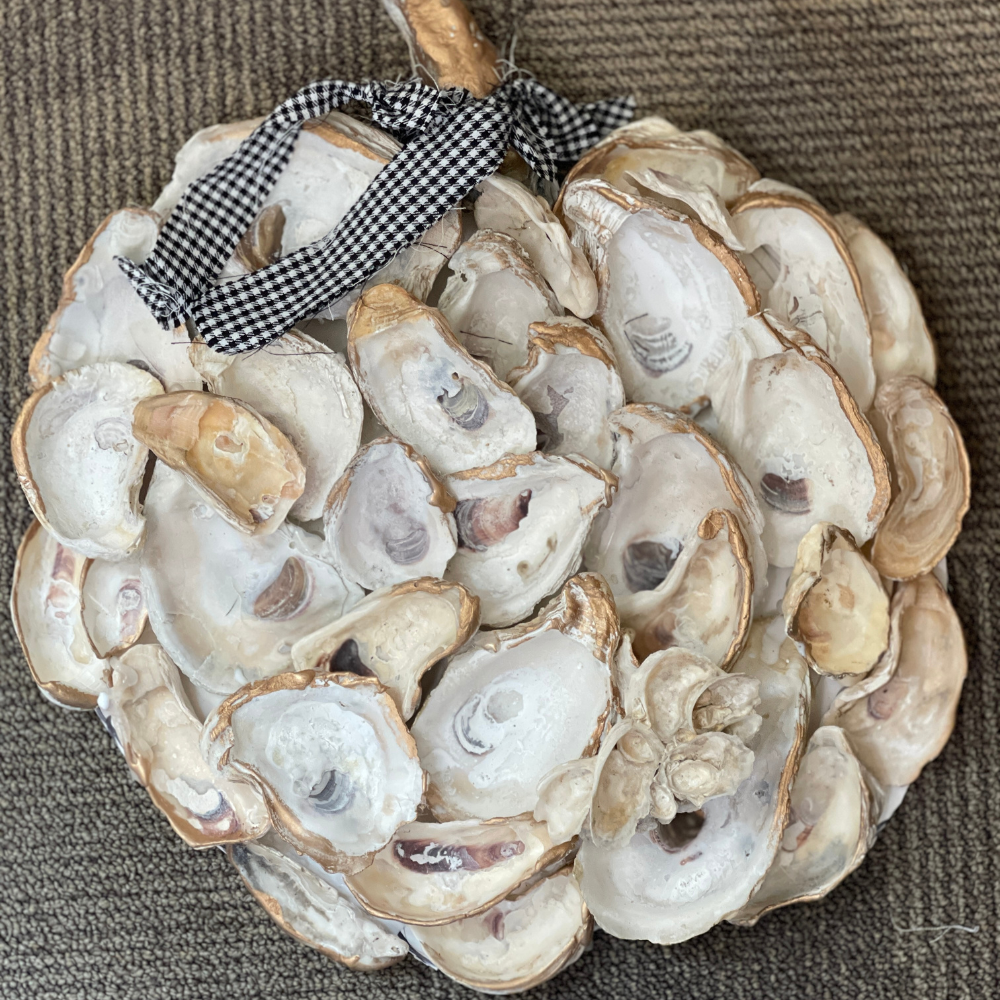
To finish my shells, I decided to paint the edges with a gold Rub and Buff.
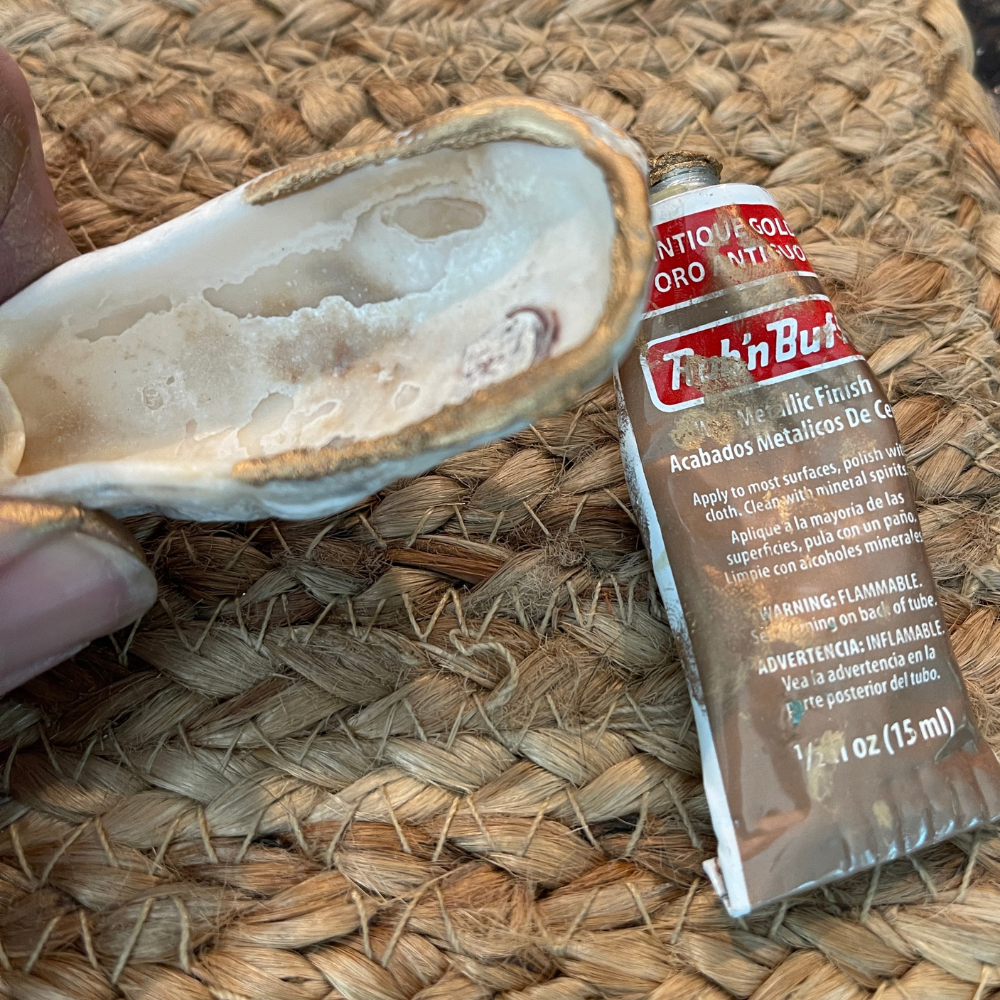
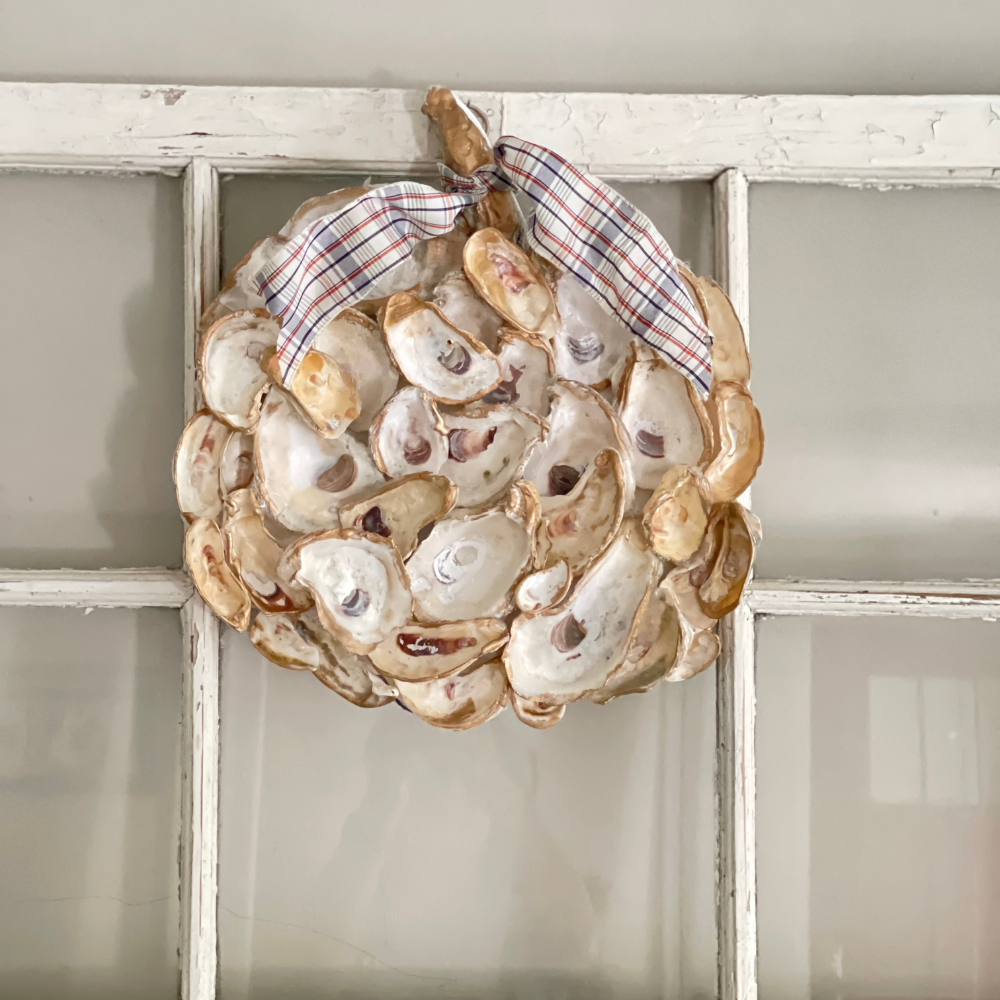
I liked the definition this added to each shell. For the stem I used a large shell and covered that in Rub and Buff as well. I finished the shells by spraying the entire pumpkin with a coating of spray Mod Podge. This gave it a sheen and made the entire pumpkin look the same.
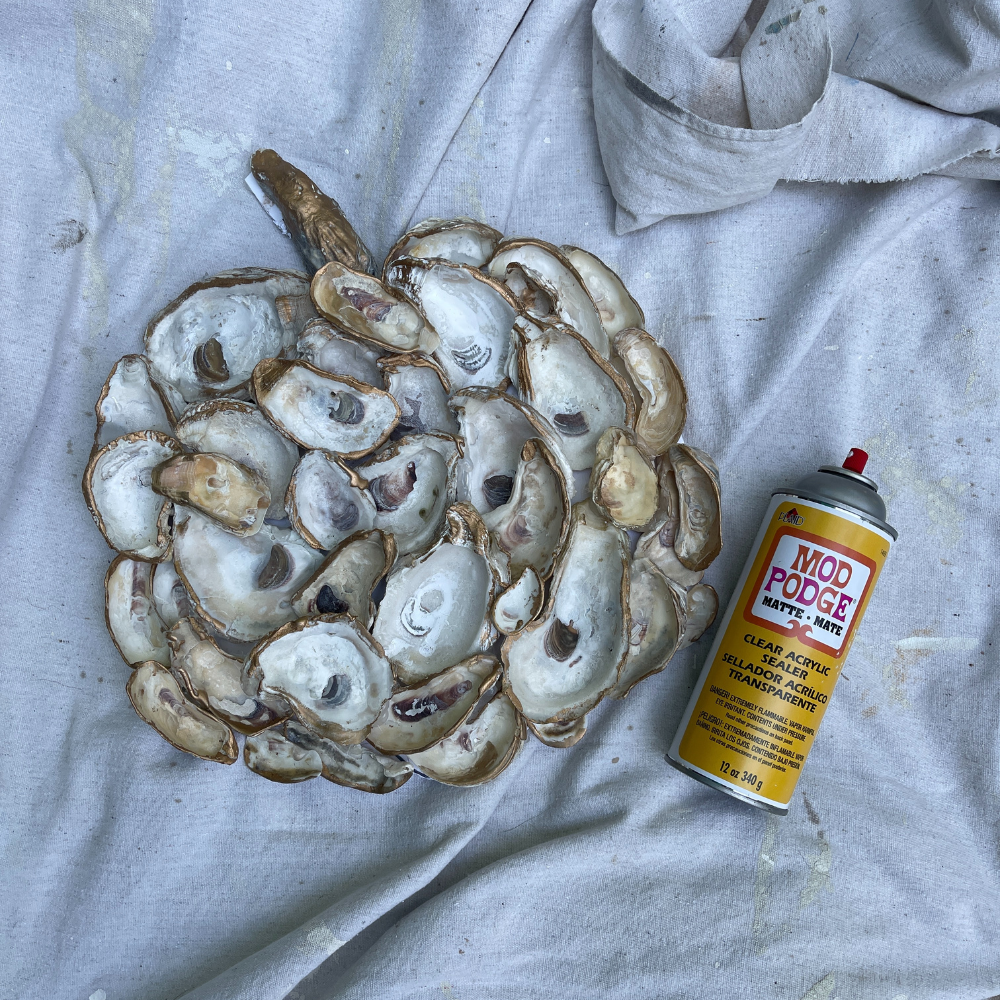
STEP SIX – HANG YOUR PUMPKIN
This pumpkin is pretty heavy so make sure whatever you used to hang it is strong enough. The last thing you want is for the pumpkin to hit the ground and all of your work be ruined. Fortunately this did not happen to me.
I drilled a hole in the plastic foam board underneath the shell I used for the stem. It was just a quick drill to make the hold.
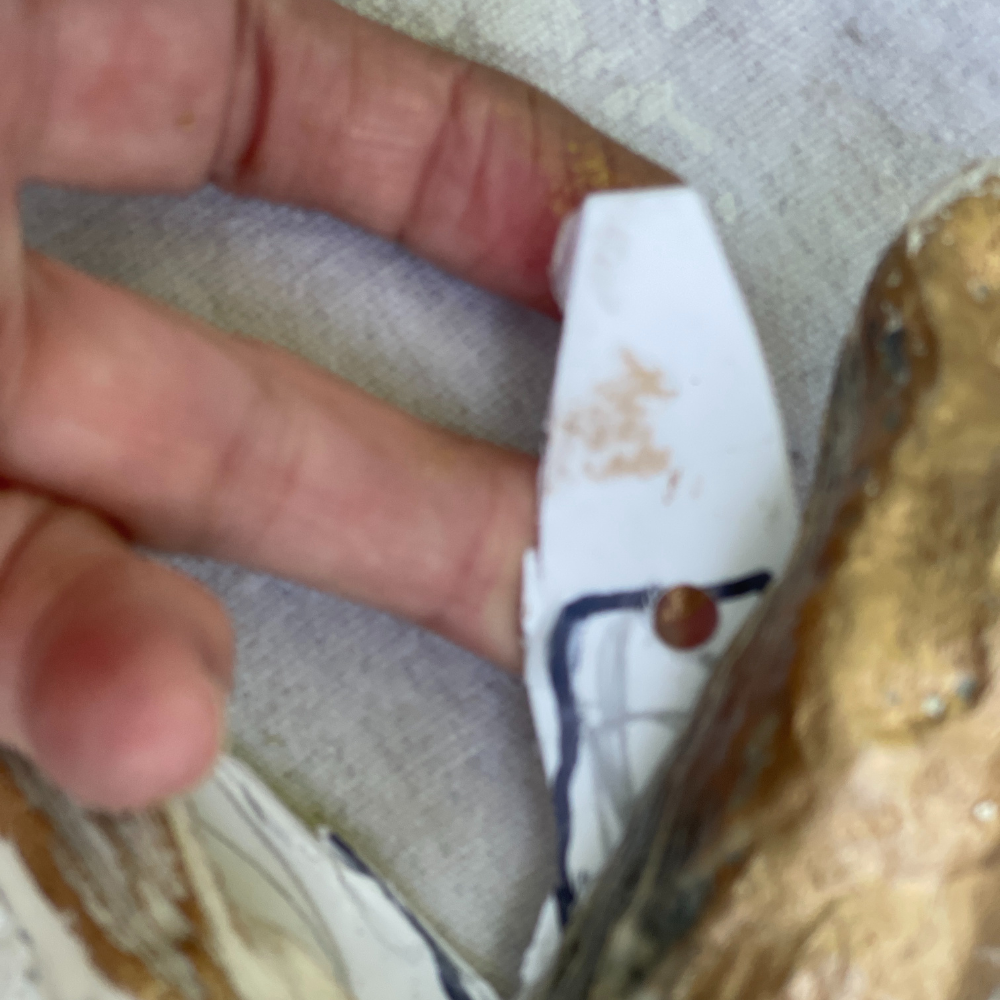
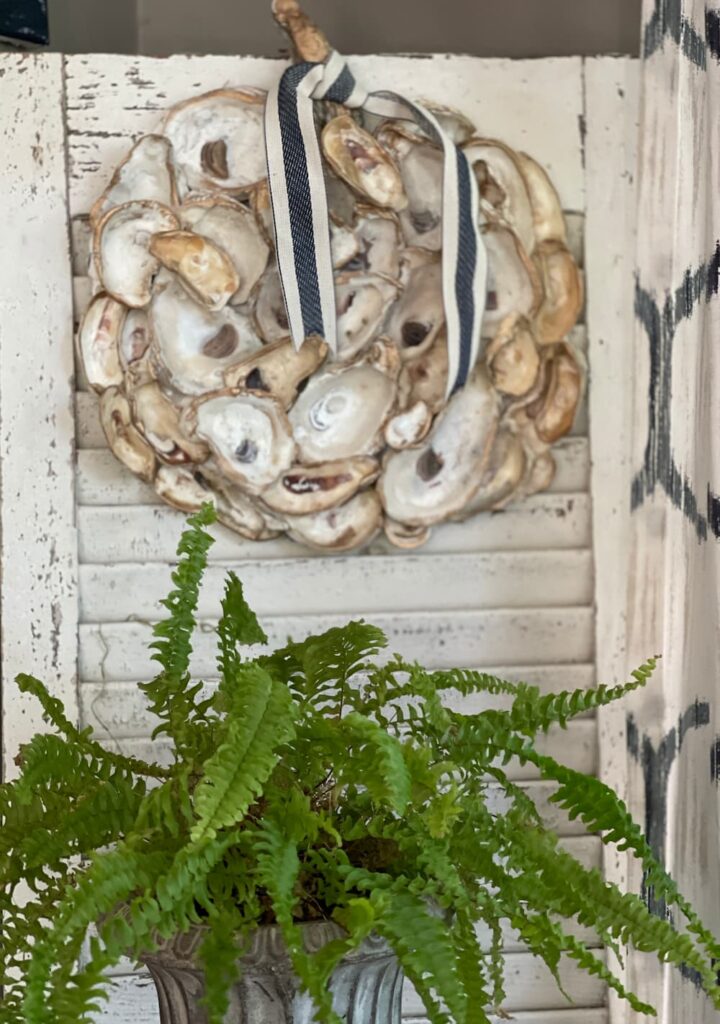
Depending on your likes, you could also prop your pumpkin up to display and I added a ribbon to the stem to finish it off.

Change up your ribbon to match your decor. It’s a beautiful, subtle and non traditional way to welcome fall into your home.
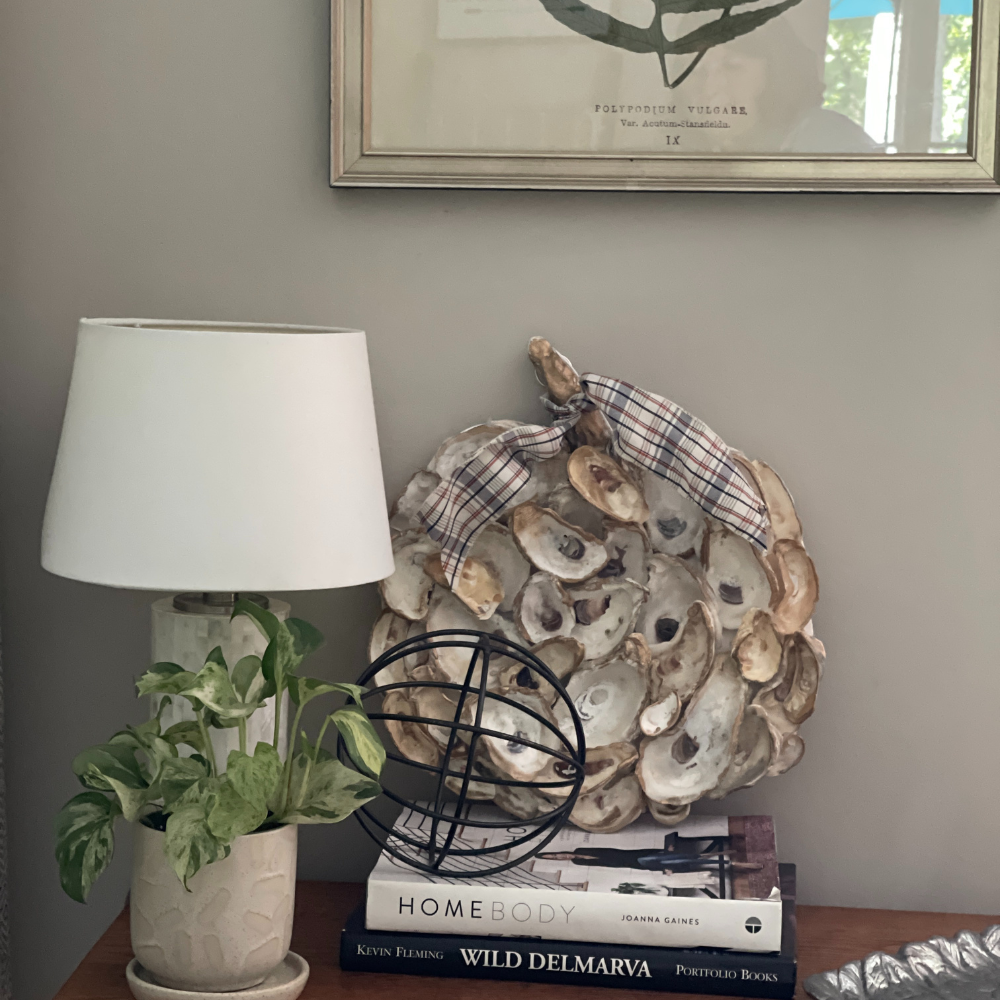
Now it’s time to enjoy your coastal fall decor!
Thanks so much for stopping by.
Make sure to pin for later.
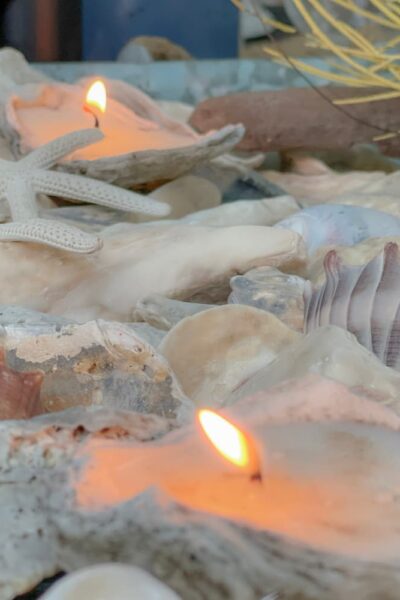
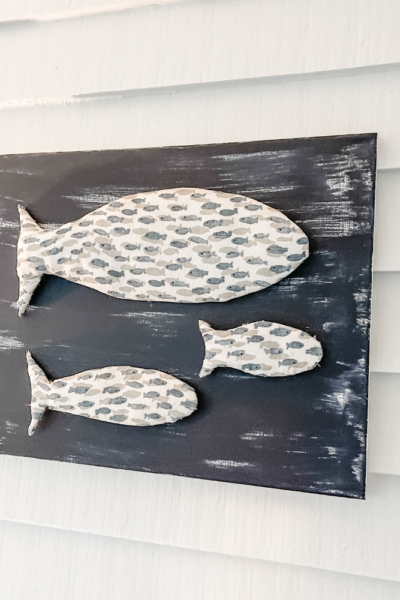
To see other projects I’ve created using oyster shells, click here and here.
XO, Regina
SHOP THIS POST


I love this idea! Perfect for a coastal home. It looks fantastic and I did not know Modge Podge had a spray. That is a game changer. Thanks so much for sharing at the Home Imagined link party. XO- MaryJo
Ohhhh my gosh Regina this is incredible. I’ve never ever seen an oyster pumpkin before. This is genius! You did such an amazing job. What a pretty decor piece to display when living on the coast or near the beach!! Thanks so much for sharing at Home Imagined today…I truly enjoyed this one.
What a great idea to use for a jewelry holder
I visited you via TEAM CREATIVE CRAFTS LINK PARTY #160
I linked up this week with = 22+23. This is a friendly reminder and invite to come and join us at SeniorSalonPitStop. You will find the linkup information under BLOGGING.
What a clever and creative idea. Thank you for sharing with us at Handmade Monday 🙂
Thanks Julie
LOVE how this turned out, Regina!!
We will be featuring you starting Wednesday at the Creative Crafts Linky Party! Pinned and shared!
Creatively, Beth
This is so unique! I have never seen an oyster shell pumpkin before! This will be one of my feature picks for next week’s Home Imagined Link Party–thanks for sharing!
From one coastal gal to another – can you ever have too many sea shells of any kind? I think not. Super creative Regina!! As always. Thank you for sharing your post on the Home Imagined Link Party.