Do you love a coastal vibe like I do? If you do, you might just love this DIY Fabric Wall Art I created from scraps of fabric.

Hi, I’m Regina and this is Saved From Salvage. I love to upcycle, repurpose and diy home decor and furniture flips. I also enjoy sharing tablescapes and event inspiration, welcome to my blog. I’m glad you are here.
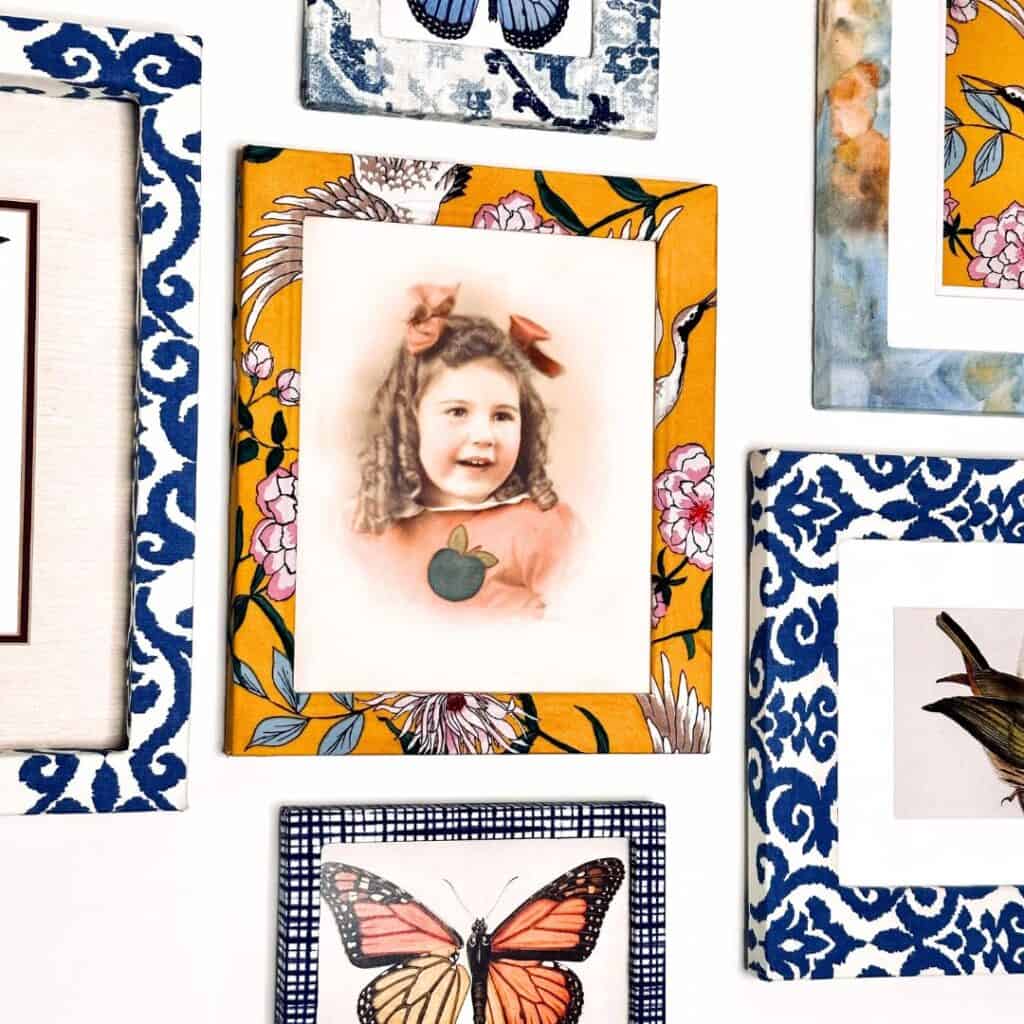
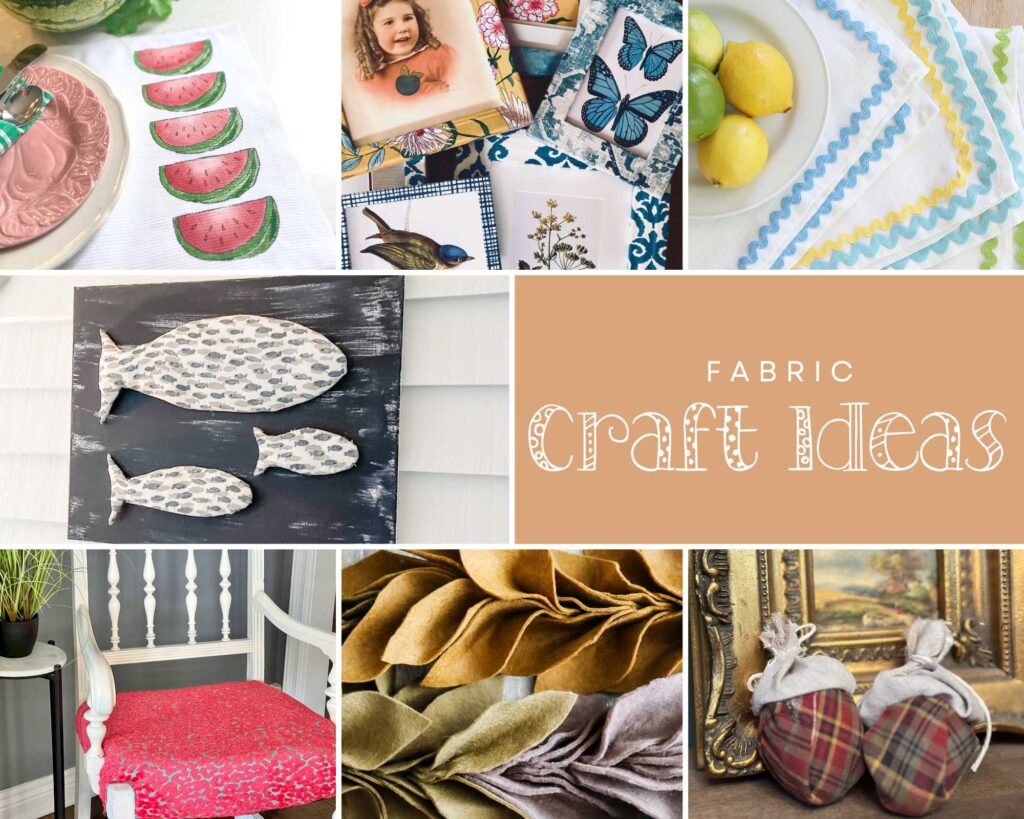
If you are coming from Wendy at WMDesign House, you can see we both must of had a blank wall we needed to fill. How adorable were her fabric frames?
This month for the Handcrafted Society our job was to create using a piece of fabric, thanks to Diane from South House Design. The first thing I did was go through my craft supplies to see if I had any excess fabric.
Because I don’t sew very much, the only thing I could find was drop cloths.
I was not coming up with anything that I wanted to make that was summery.
When it comes to DIY projects, I love to repurpose and upcycle, I didn’t want to go to JoAnns or a fabric store and purchase new fabric.
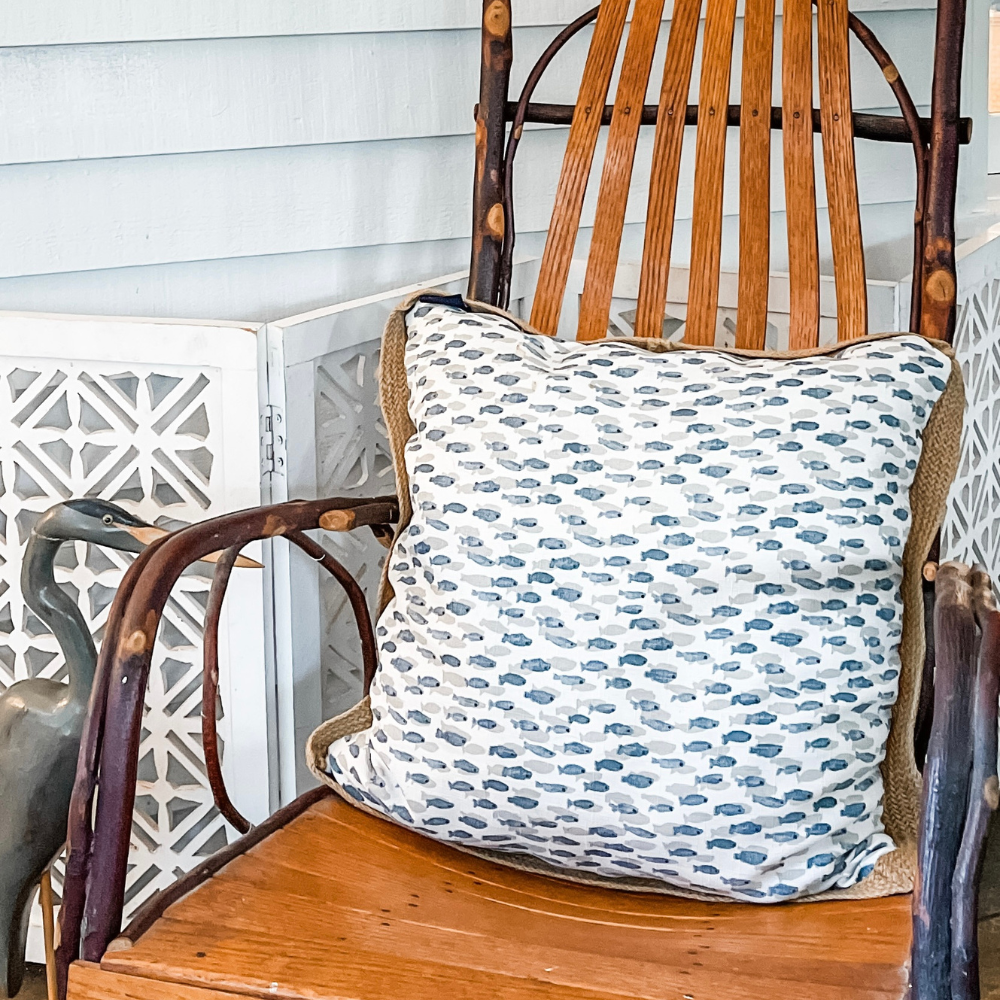
After some thought, I decided I’d try my hand at a DIY wall art. I spotted a pillow I had bought a few years ago and remembered a matching one that got ruined.
I didn’t want to waste it so I cut it up and threw away the inside but was able to salvage most of the cotton fabric.
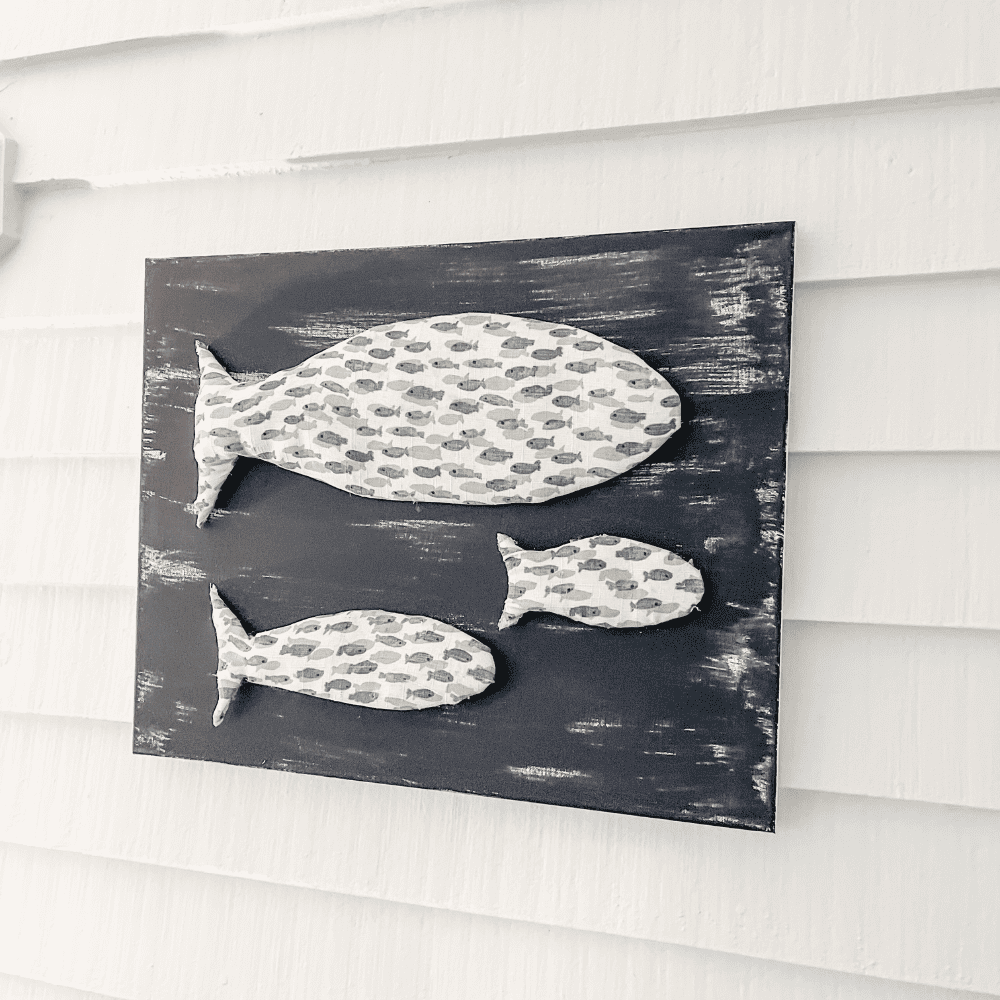
The pillow has little grey and blue fish on it so obviously my wall art was going to have a coastal spin to it.
Table of Contents
SUPPLY LIST
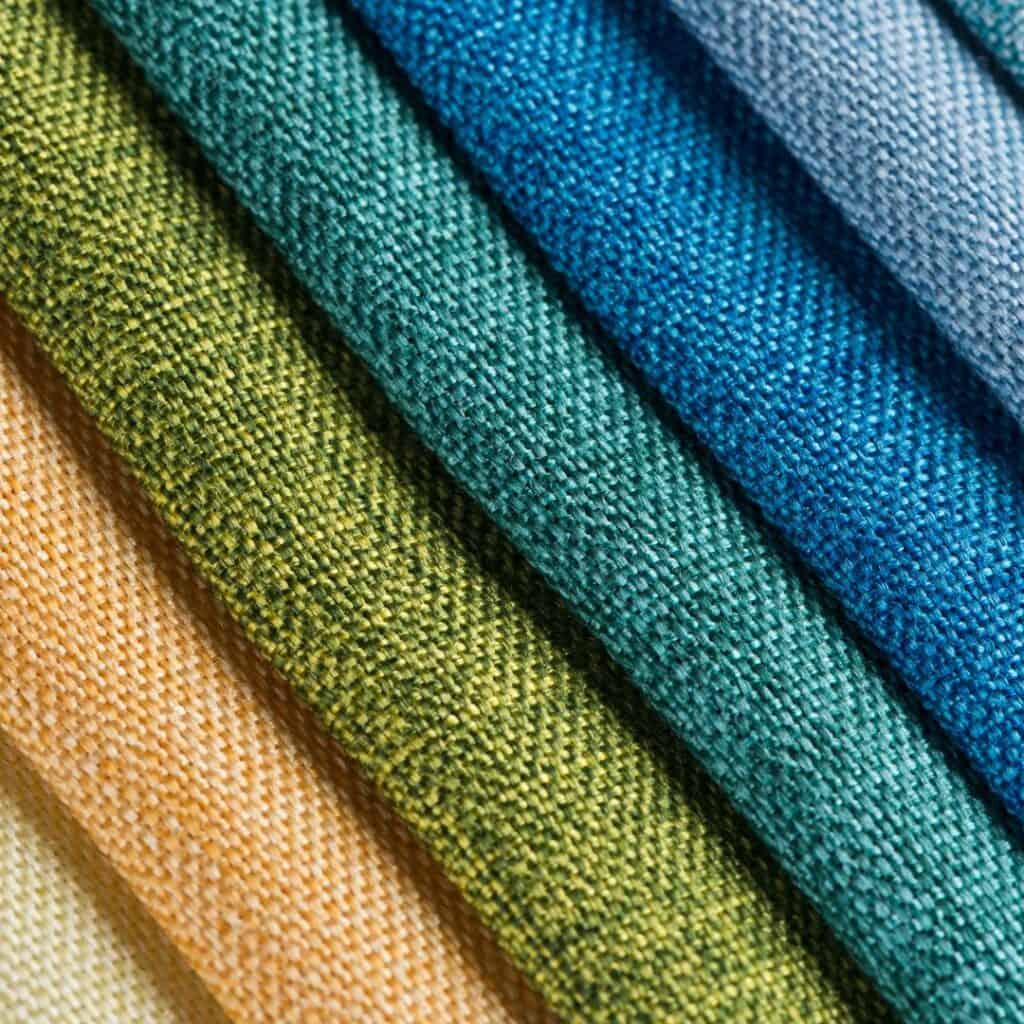
FABRIC
POSTER BOARD, OR THICK CARDBOARD
STUFFING OR BATTING
DIXIE BELLE DEEP SEA SILK MINERAL PAINT
SCISSORS
STEPS TO CREATE THE DIY FABRIC WALL ART
When I thought of the fabric from the pillow and remembered I had an unused canvas, my thought was to cover the canvas with the fabric and maybe add a line of rope to separate the fabric from the uncovered portion of the canvas that I would paint.
Carmine suggested I make fish similar to the ones on the fabric and then of course he suggested stuffing them. Thanks Carmine, he has really good ideas although I remind him frequently he’s not on the design committee.
He suggested I cut out some fish from cardboard and cover them with the fabric. I decided to cut out three and that was enough for a perfect fit on the size canvas I had. I’m all about coastal vibes as you can see from my Coastal Silverware Caddy and my Coastal Tablescape and Oyster Shell Candles.
STEP ONE
After I gathered my supplies, using a pencil, I drew freehand 3 different patterns of fish, a large, medium and small one.
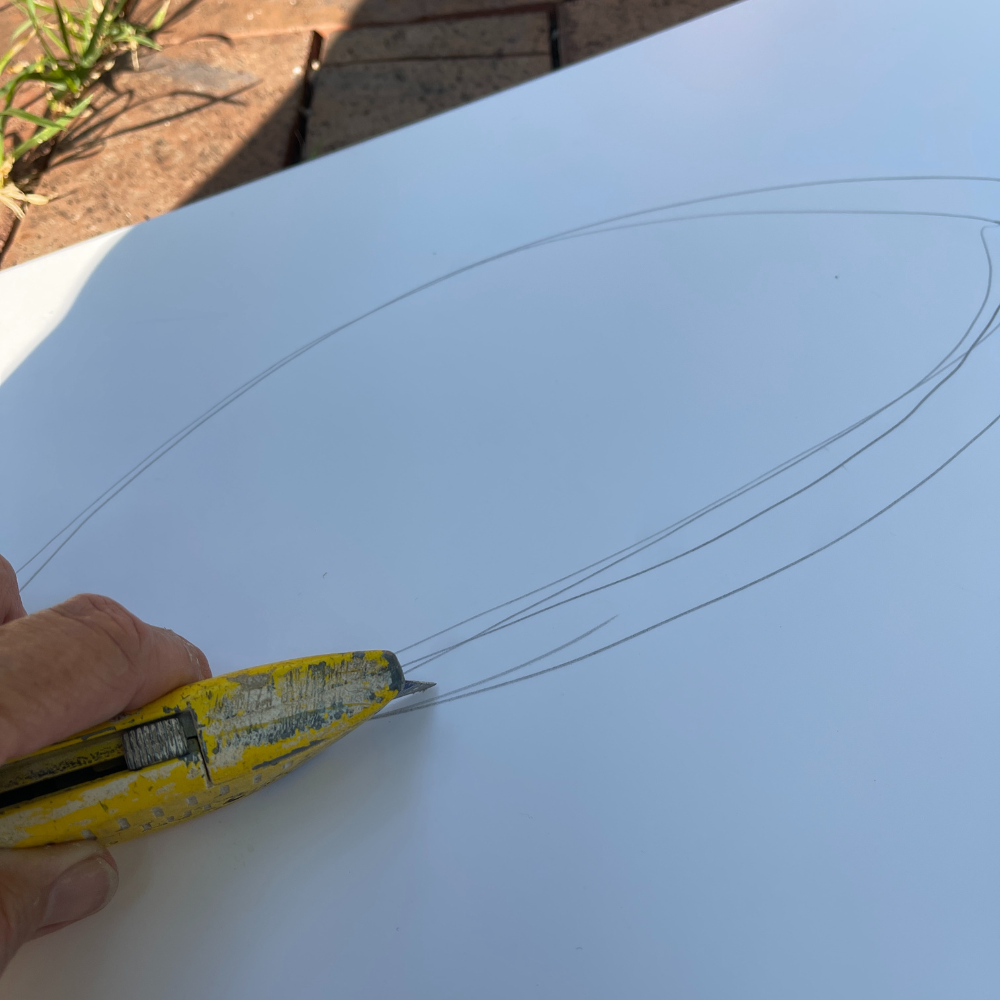
I used a pliable but thick sign I had leftover from a work event.
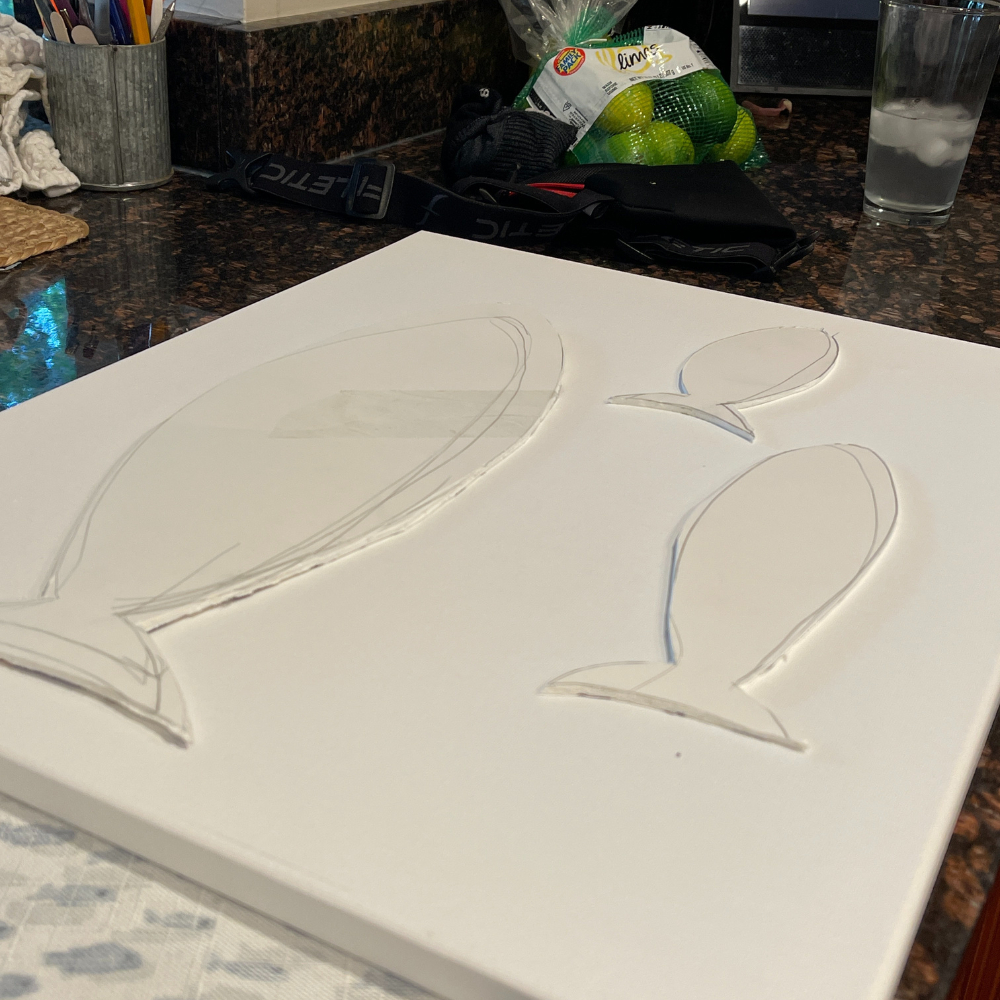
Next I cut the fish out using a box cutter, I had to trim them a bit with my scissors.
STEP TWO
Next, lay the fish on top of your fabric.
After I made sure I could fit all three fish on the fabric, I drew an outline of the fish on the fabric and left a wide margin around the outside of the fish.
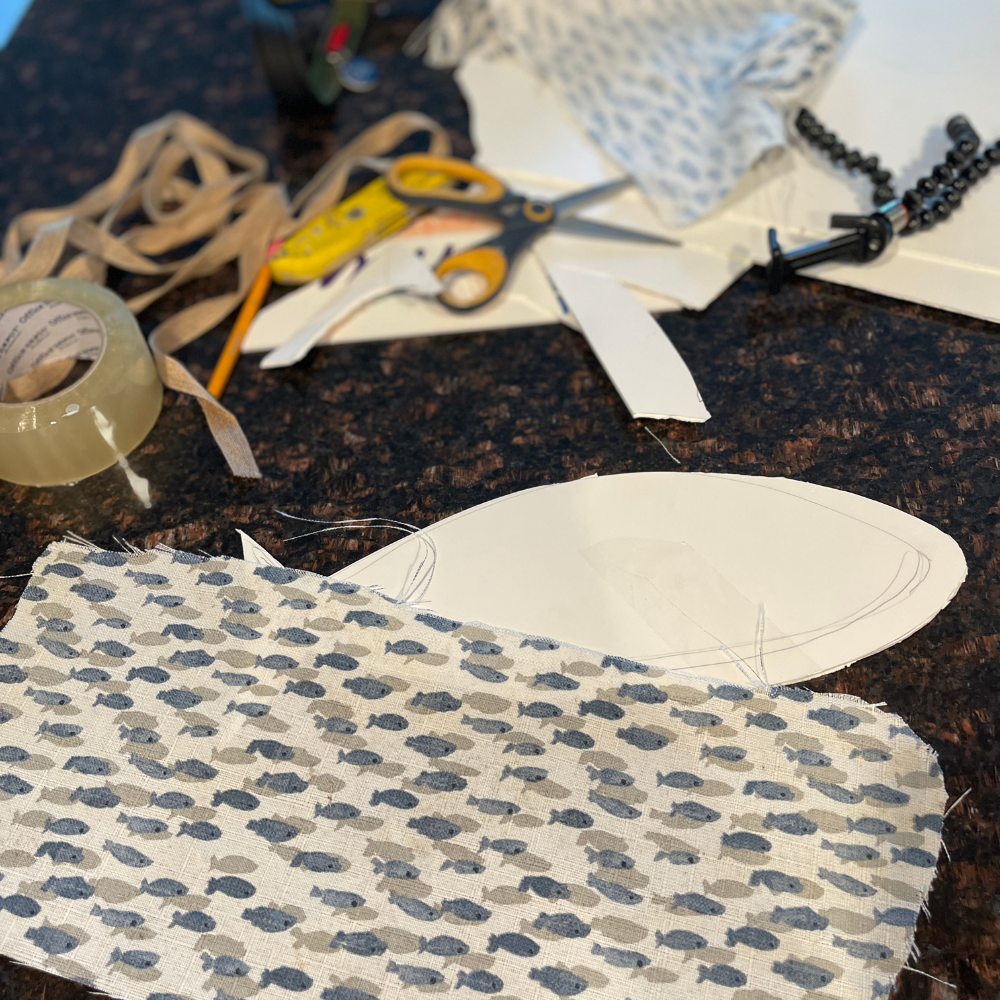
Since I was going to stuff them, I knew I needed extra fabric for the filling.
STEP THREE
Using my glue gun I started to tack down the fabric on the edge of the fish outline. After I got most of the way around with the glue gun and after burning myself several times (I ordered the finger protectors).
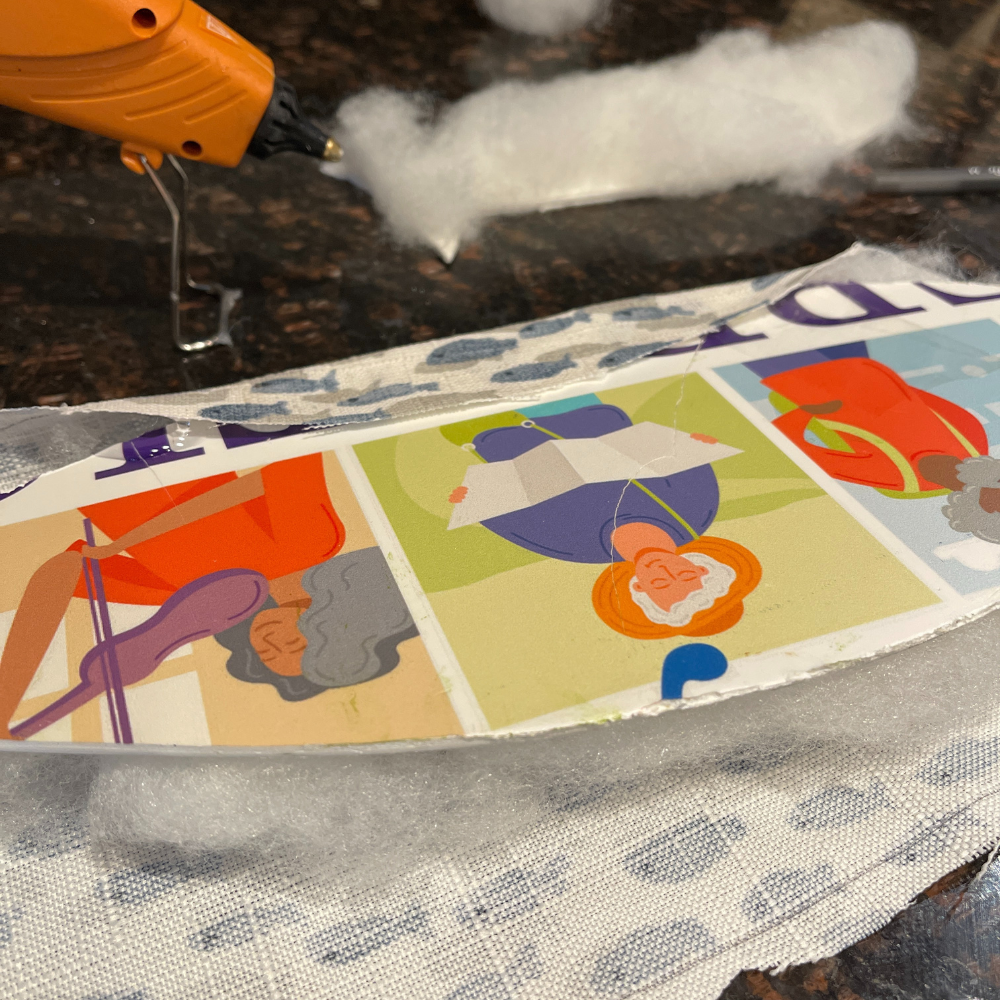
I took stuffing from an old bed pillow we had in the closet and filled the fish.

STEP FOUR
The next step was to paint the canvas. I happened to have this blank one, but you could also use a large picture frame with an old picture in it from your favorite thrift store and paint over that.

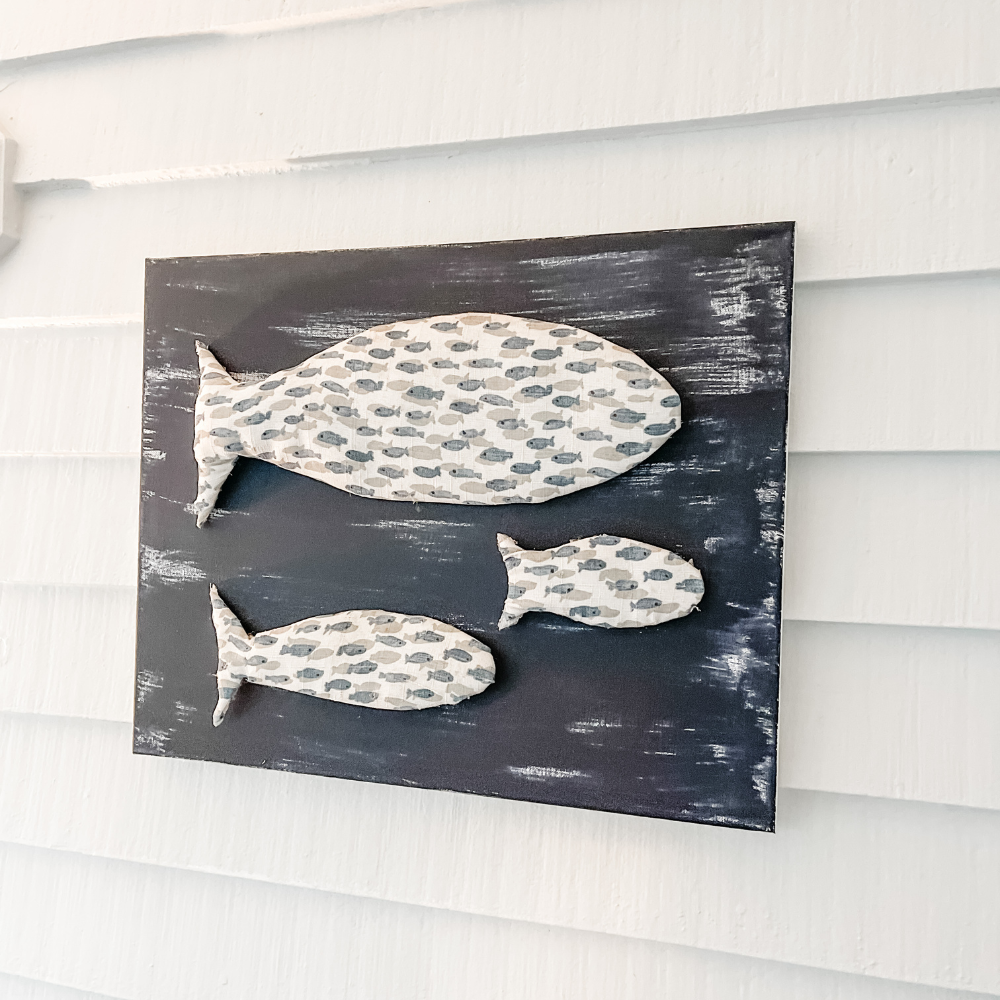
Deep Sea a dark navy paint by Dixie Belle, was the color I decided on for the background. I didn’t want to cover it completely so I just gently painted in one direction and left a little white visible.
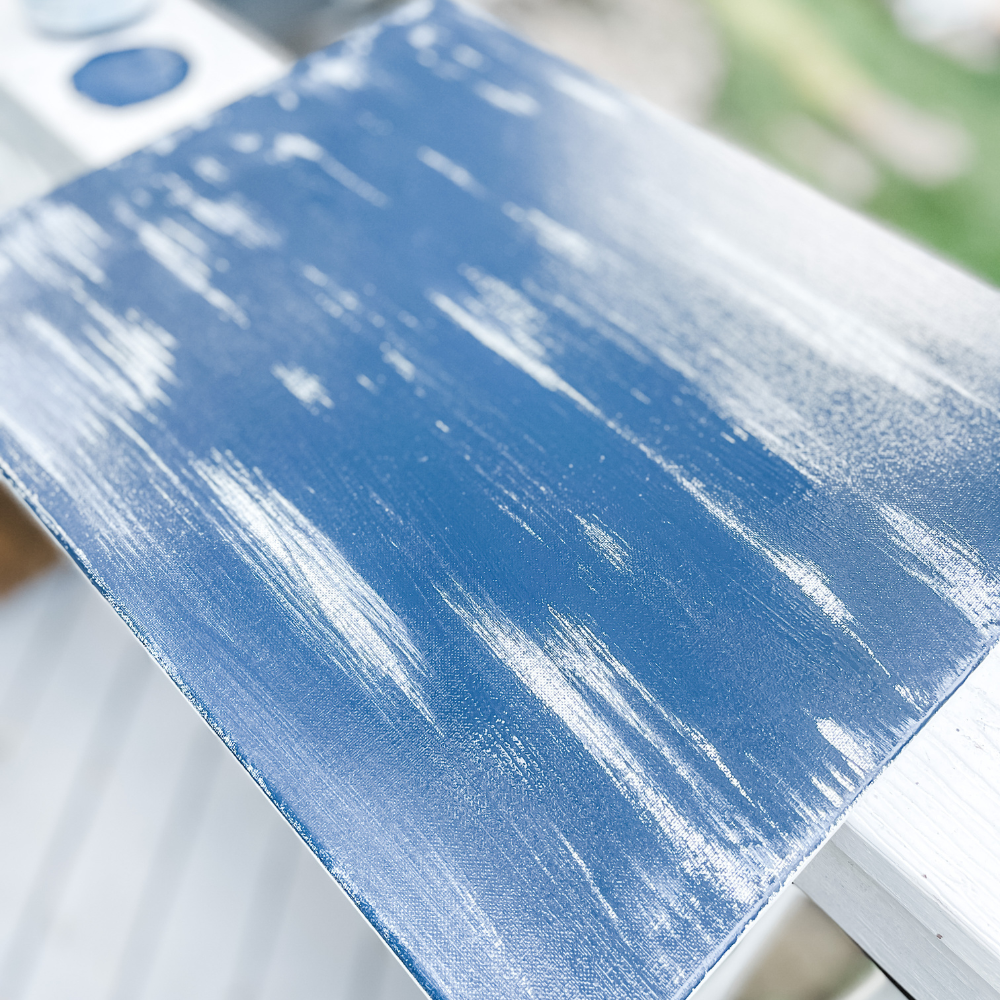
Then I let it dry.
STEP FIVE
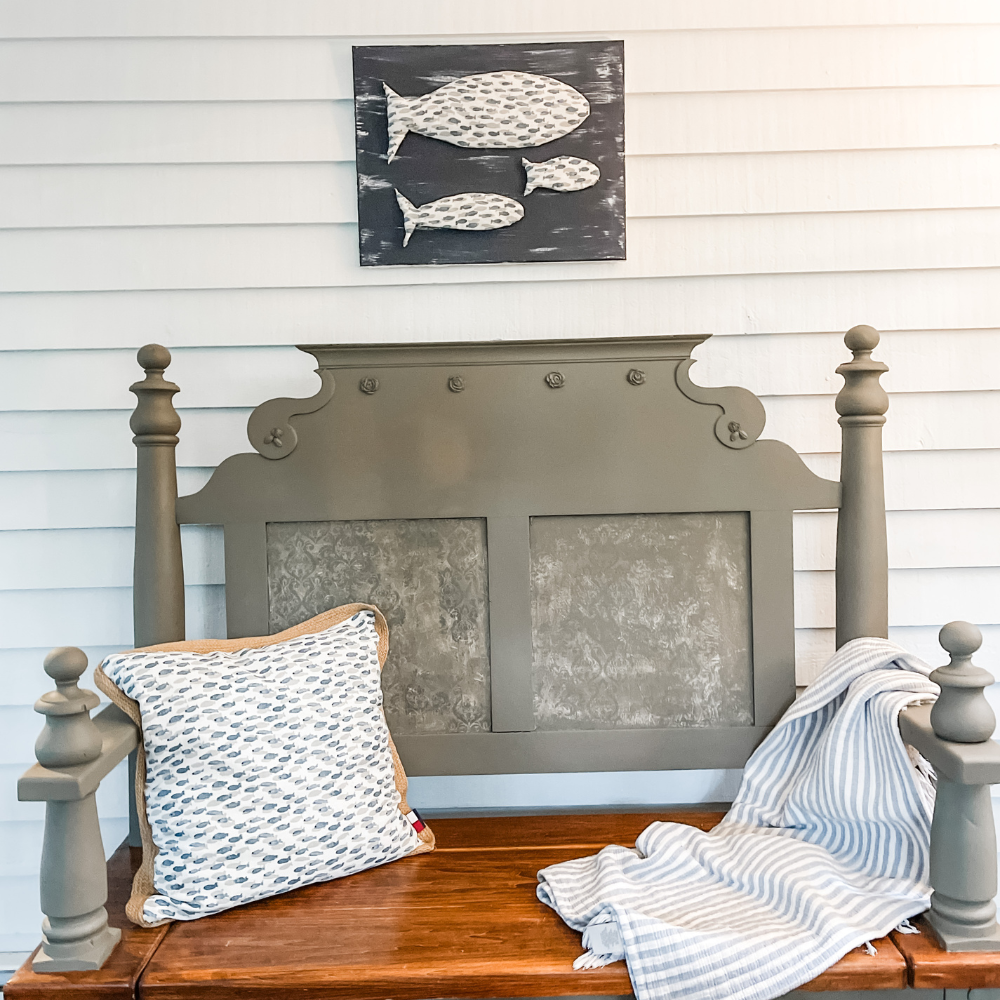
It was time to add the fish to the canvas. I thought I had cut out the fabric with the fish all heading to the left side of the canvas. Well when I finished I realized they didn’t match. Don’t worry I’m not the kind of person who was going to redo them. I decided it was a great way to celebrate their differences and they could swim whichever direction they wanted.
The best part of this project was that I could use a glue gun for all of it. I thought I’d be using my xtacmate but I wasn’t attaching the fabric to the frame of the canvas so glue did fine.
I did have to do a little bit of trimming to the fabric on the edge of the tails of the fish. This type of fabric was quick to unravel so if I did it again, I’d use a little more material and fold it before tacking it down.
All in all I think it’s a cool diy project and I love that there are so many different ways to make your own fabric wall hanging that could rival Home Goods and I didn’t have to pay a penny. The best thing about this project? There was no additional cost because in addition to the scrap fabric, I had all of the supplies on hand.
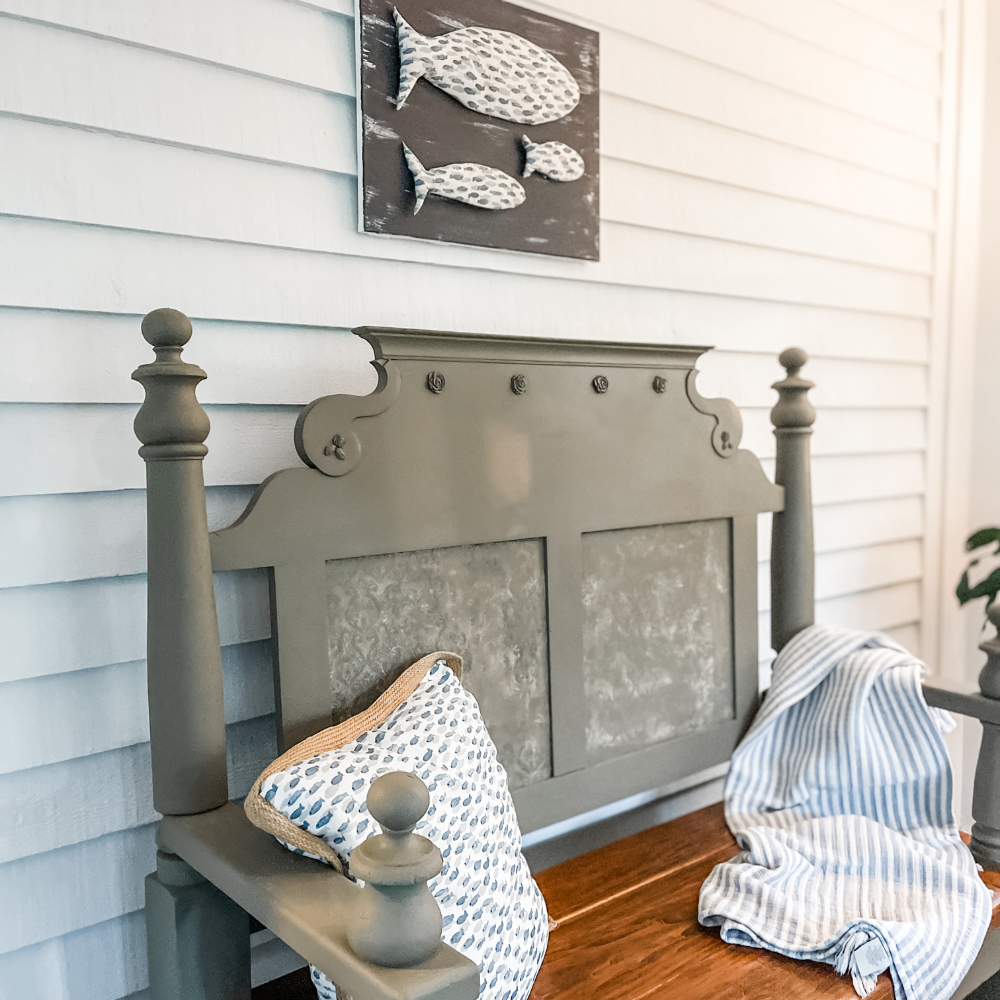
I have the matching pillow in the sun room and I thought that would be a good place to give a new look with my art. After I took a few pictures then last week I moved it to above my vintage bench and threw the pillow on there. I like it there too. A pretty creative way to create your own art if I must say so myself.
HOW DO YOU USE FABRIC FOR WALL ART?
You can see how I used fabric by creating stuffed fish. You could also have used the fabric and stapled it directly to the canvas. Perhaps you could cut the fabric into strips and braided it and created a design to frame.
CAN YOU FRAME FABRIC FOR WALL ART?
Absolutely. The sky is the limit with your fabric wall art. Imagine a beautiful floral linen fabric that coordinates with your decor, stretch and place in a frame for an accent wall.
The next time you are shopping you can look for fabric pieces that work with your color scheme and tuck them away for a rainy day project.
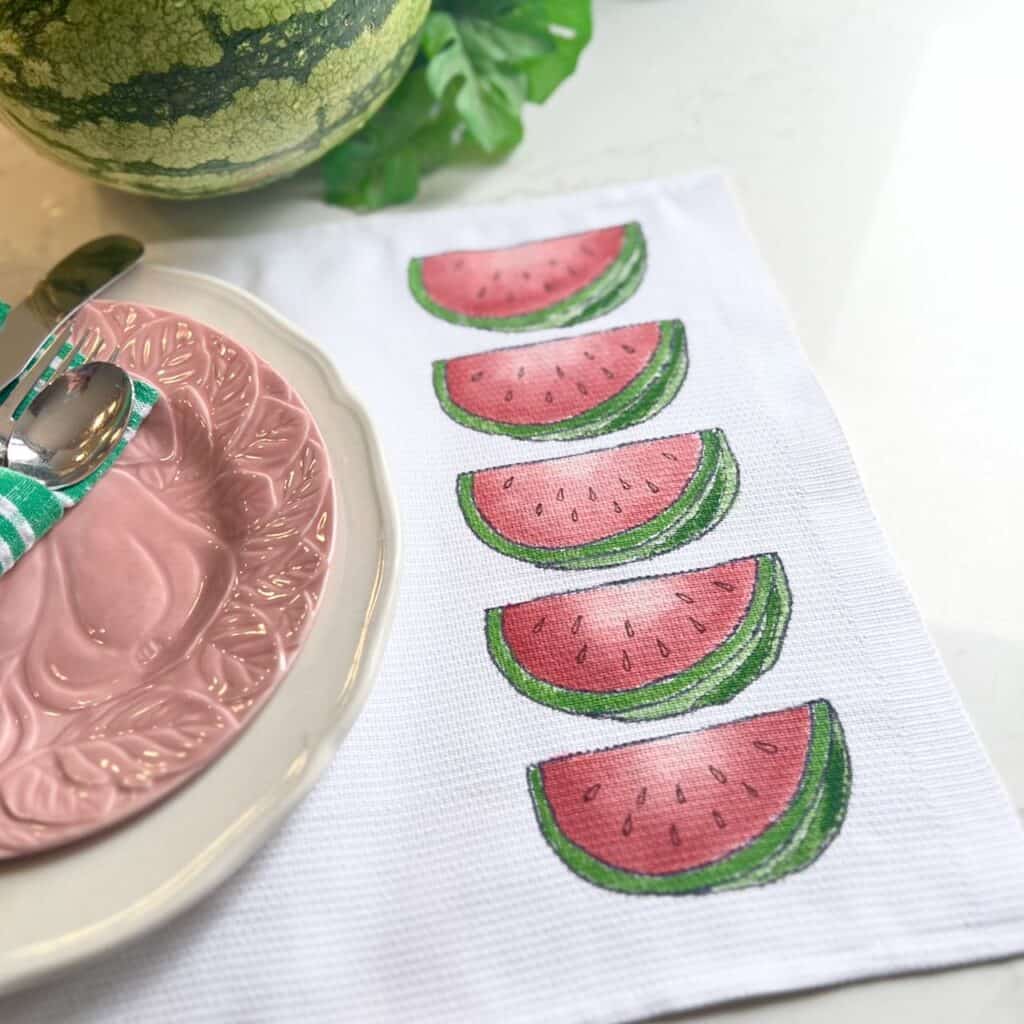
Thanks to Diane for the challenge to use fabric for our project this month. You will love the other inspiration from a tea towel to fall home decor projects, come see what the other bloggers from the Hand Crafted Society have made.
Make sure you visit Instagram to see the adorable video of us using white fabric to give a hint at what we are creating.
I hope you like my new wall art, I think making your own art is pretty fun and not that difficult. I think I might add wood frames to the finished piece. What do you think about that? You can’t really tell it’s canvas and I think it would be an easy way to finish it.
HAND CRAFTED SOCIETY POSTS


Thanks so much for stopping by Saved From Salvage,
XO, Regina
Make sure to pin for later.

SHOP THIS POST


Wow Regina, you have the best recycling projects and they always turn out so cute! Love it! Pinned!
Michelle – thanks so much. It was a fun one to think up.
You are so clever, Regina! I love that you used the pillow fabric! I think I want to move to the coast and be your neighbor!
Thanks Missy. Haha – this was a fun project medium.\
This is so darn creative Regina. I love that you stuffed the fish to give them a more 3D effect. And the way you painted the canvas leaving some white gave it such a great effect. Looks so cute over the bench with your matching pillow. Thanks for participating in the Handcrafted Society. It is creative people like you who make it happen.
That is a really clever project, Regina! Always love coastal vibes!
Oh Regina, how fun! I love the 3D and the recycling aspect. You see things with such a fresh eye.
So cute! I love the coastal vibe. You have made me want to book a trip to the beach this fall!
Great use of upcycling fabric Regina! I have been on a mission reusing items from around the house this year, and it is so uplifting when you can reuse items you have that would have been otherwise thrown out. Thank you for sharing.