Do you have something you are ready to toss?
Wait til you see how I saved this basket and flowers from Trash to Treasure.
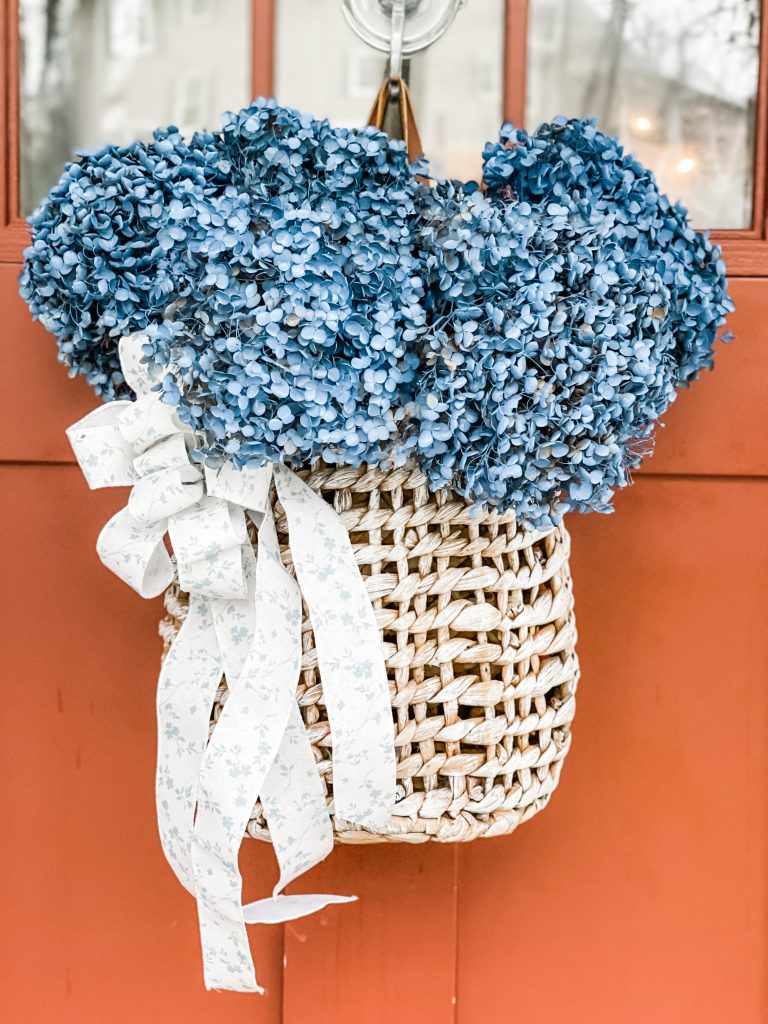
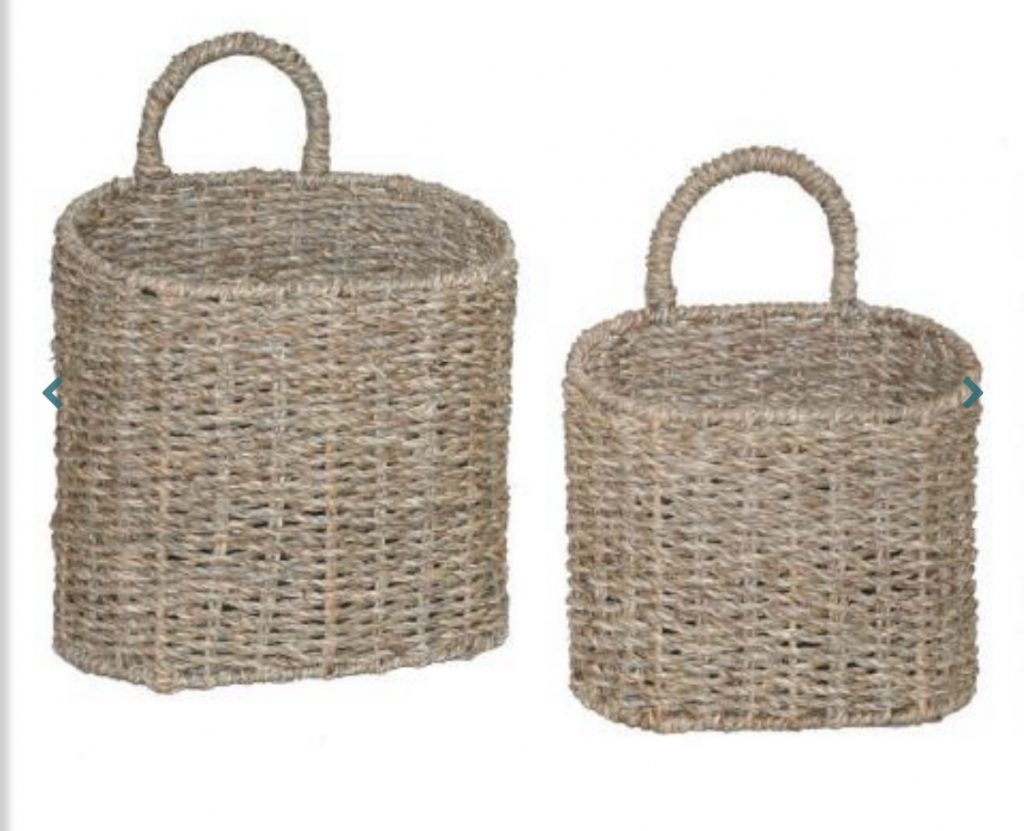
I had purchased this basket a few years ago from Target and loved it.
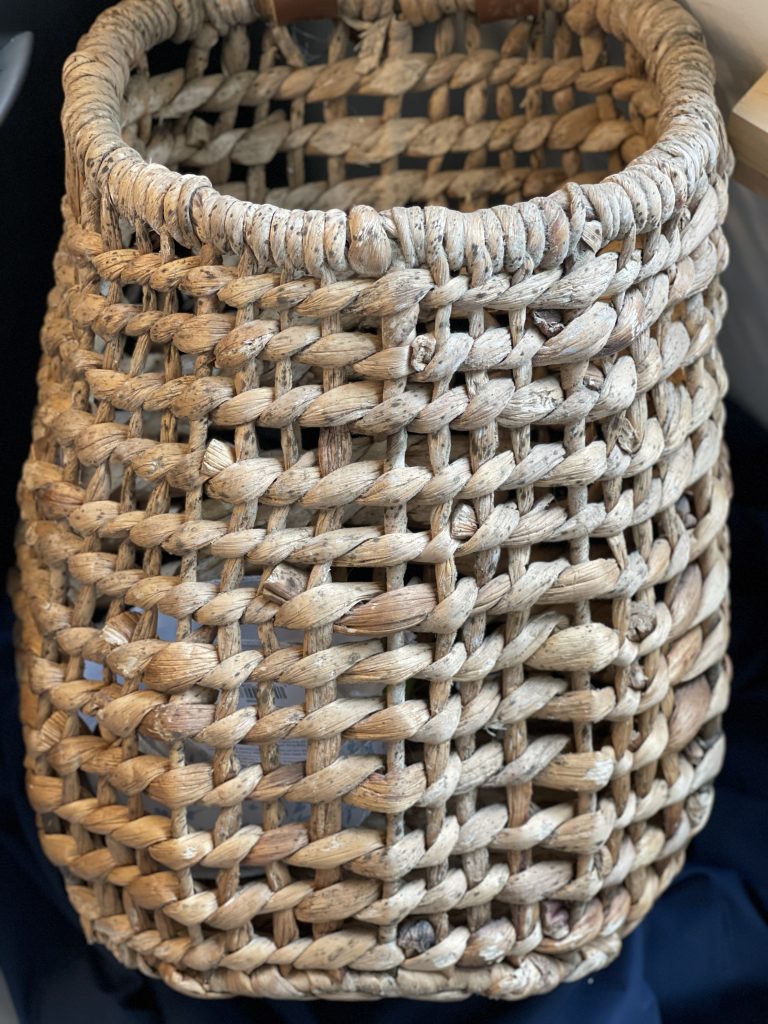
I moved it around, like I do to everything and over the summer it was in the sunroom. Between the heat of the room with the sun and the hot tub, the humidity caused it to mildew.
It was covered with speckled black dots and definitely would not be making it’s way back into the room rotation.
A while back I spotted this beautiful wreath on Pinterest. It was by Kelly from The Tattered Pew. Click here to see the adorable wreath that was my inspiration.
She of all things, spray painted her dried hydrangeas. I decided I’d love to recreate that, but guess what? I can’t get hydrangeas to grow in my yard.
Luckily for me, our community yard waste weekly pick up restarted. I spotted someone’s hydrangeas sticking out of the top of the paper bag on the curb.
I steered the dogs across the street and broke off a few to take home. Yay me.
I laid them in the garage and after a few weeks decided to put the two together. The basket and flowers.
Table of Contents
TRASH TO TREASURE: STEP ONE
To replicate this project you need to gather up you materials.
Here is a list of my supplies:
Basket (This same basket from Target is selling on Mercari for $171.00 – Crazy)
Paint
Paint Brush
Spray Paint
Hydrangeas
Ribbon
SAVING THE BASKET
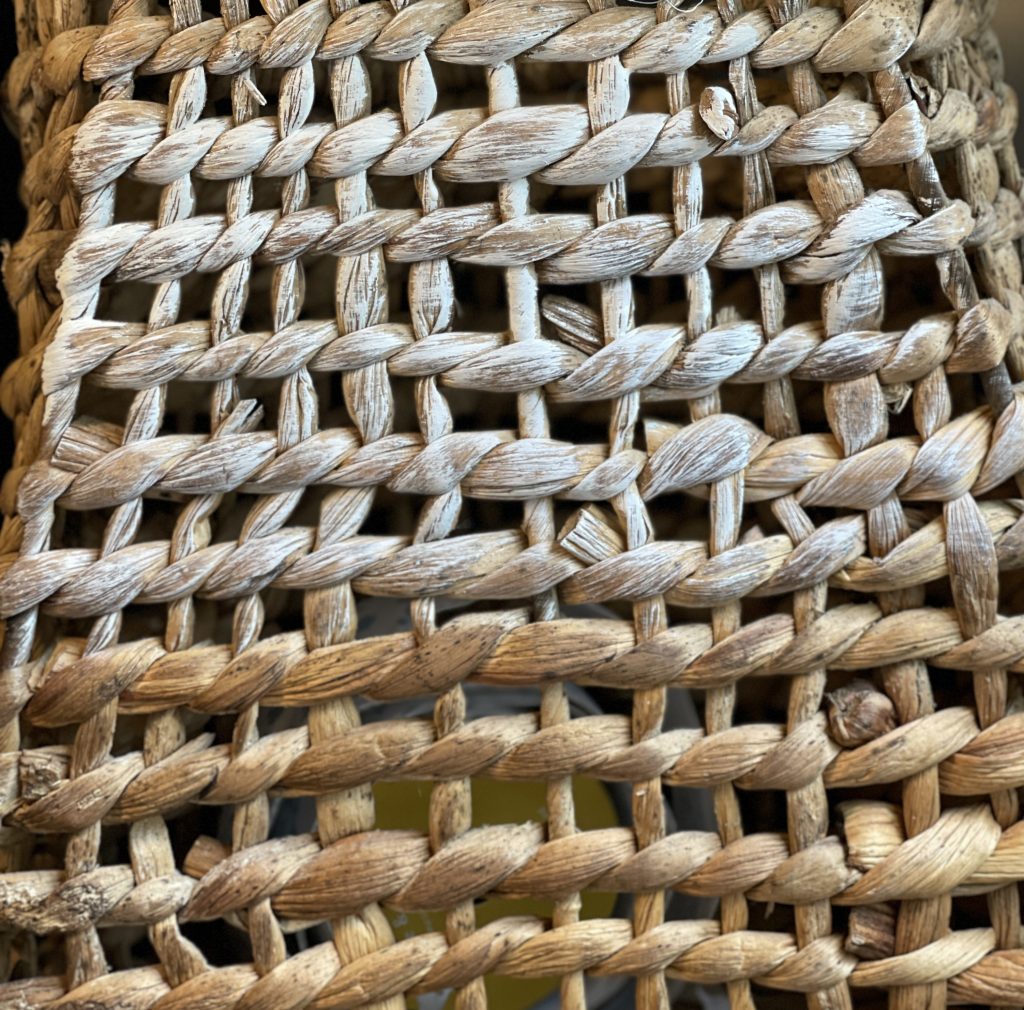
As you can see below, this basket had seen better days. It was too pretty to part with and I really loved the shape, so I decided to dry brush it with white paint.
I dipped the brush into the paint and lightly covered the basket front and back. Painting the basket completely changed the look of the basket and I decided it would look great against the flowers.
CREATING THE BOW
For the bow I used this really pretty ribbon I had picked up earlier this spring. It was simple and I thought it would look perfect on the basket.
Since I am a terrible bow maker – I had a friend make my bow, then I attached it with wire to the basket.
PAINTING THE HYDRANGEAS
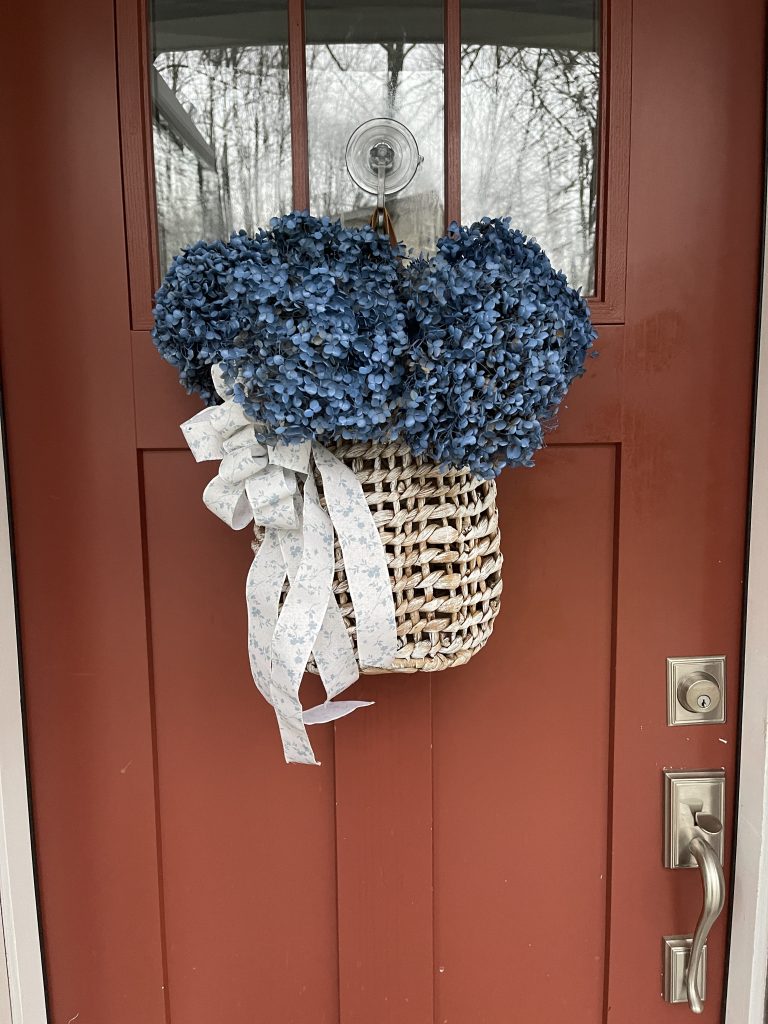
The next step was to paint the hydrangeas. I picked out a pretty color of blue, I chose this blue and then began to paint the flowers. I did this by holding my hydrangeas by the stem over a trash can, I sprayed until they were completely covered. They dried very quickly, so after I was done, I went back and touched them up.
The next and final step was to add them to the basket.
How cute did this turn out?
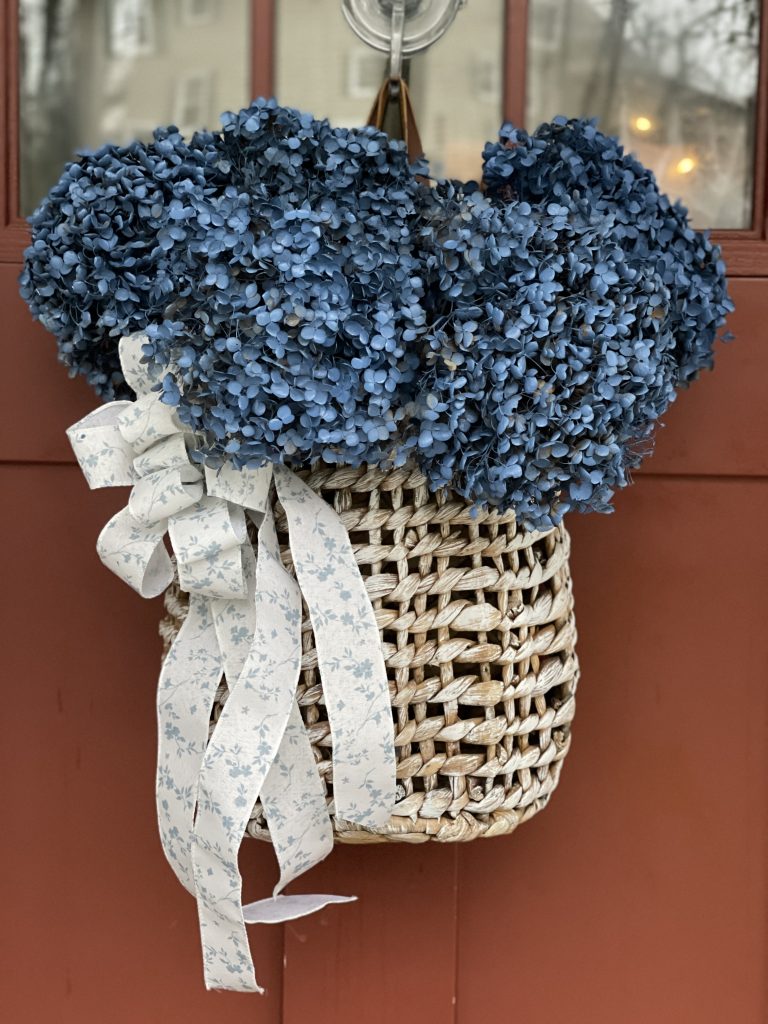
THE FINISHED PROJECT
Unlike most people, I am just not a big fan of faux flowers. I know these are painted but they are still real and I love that about them. I’m so happy I saw the beautiful inspiration from Kelly at The Tattered Pew. Make sure to check out her blog.
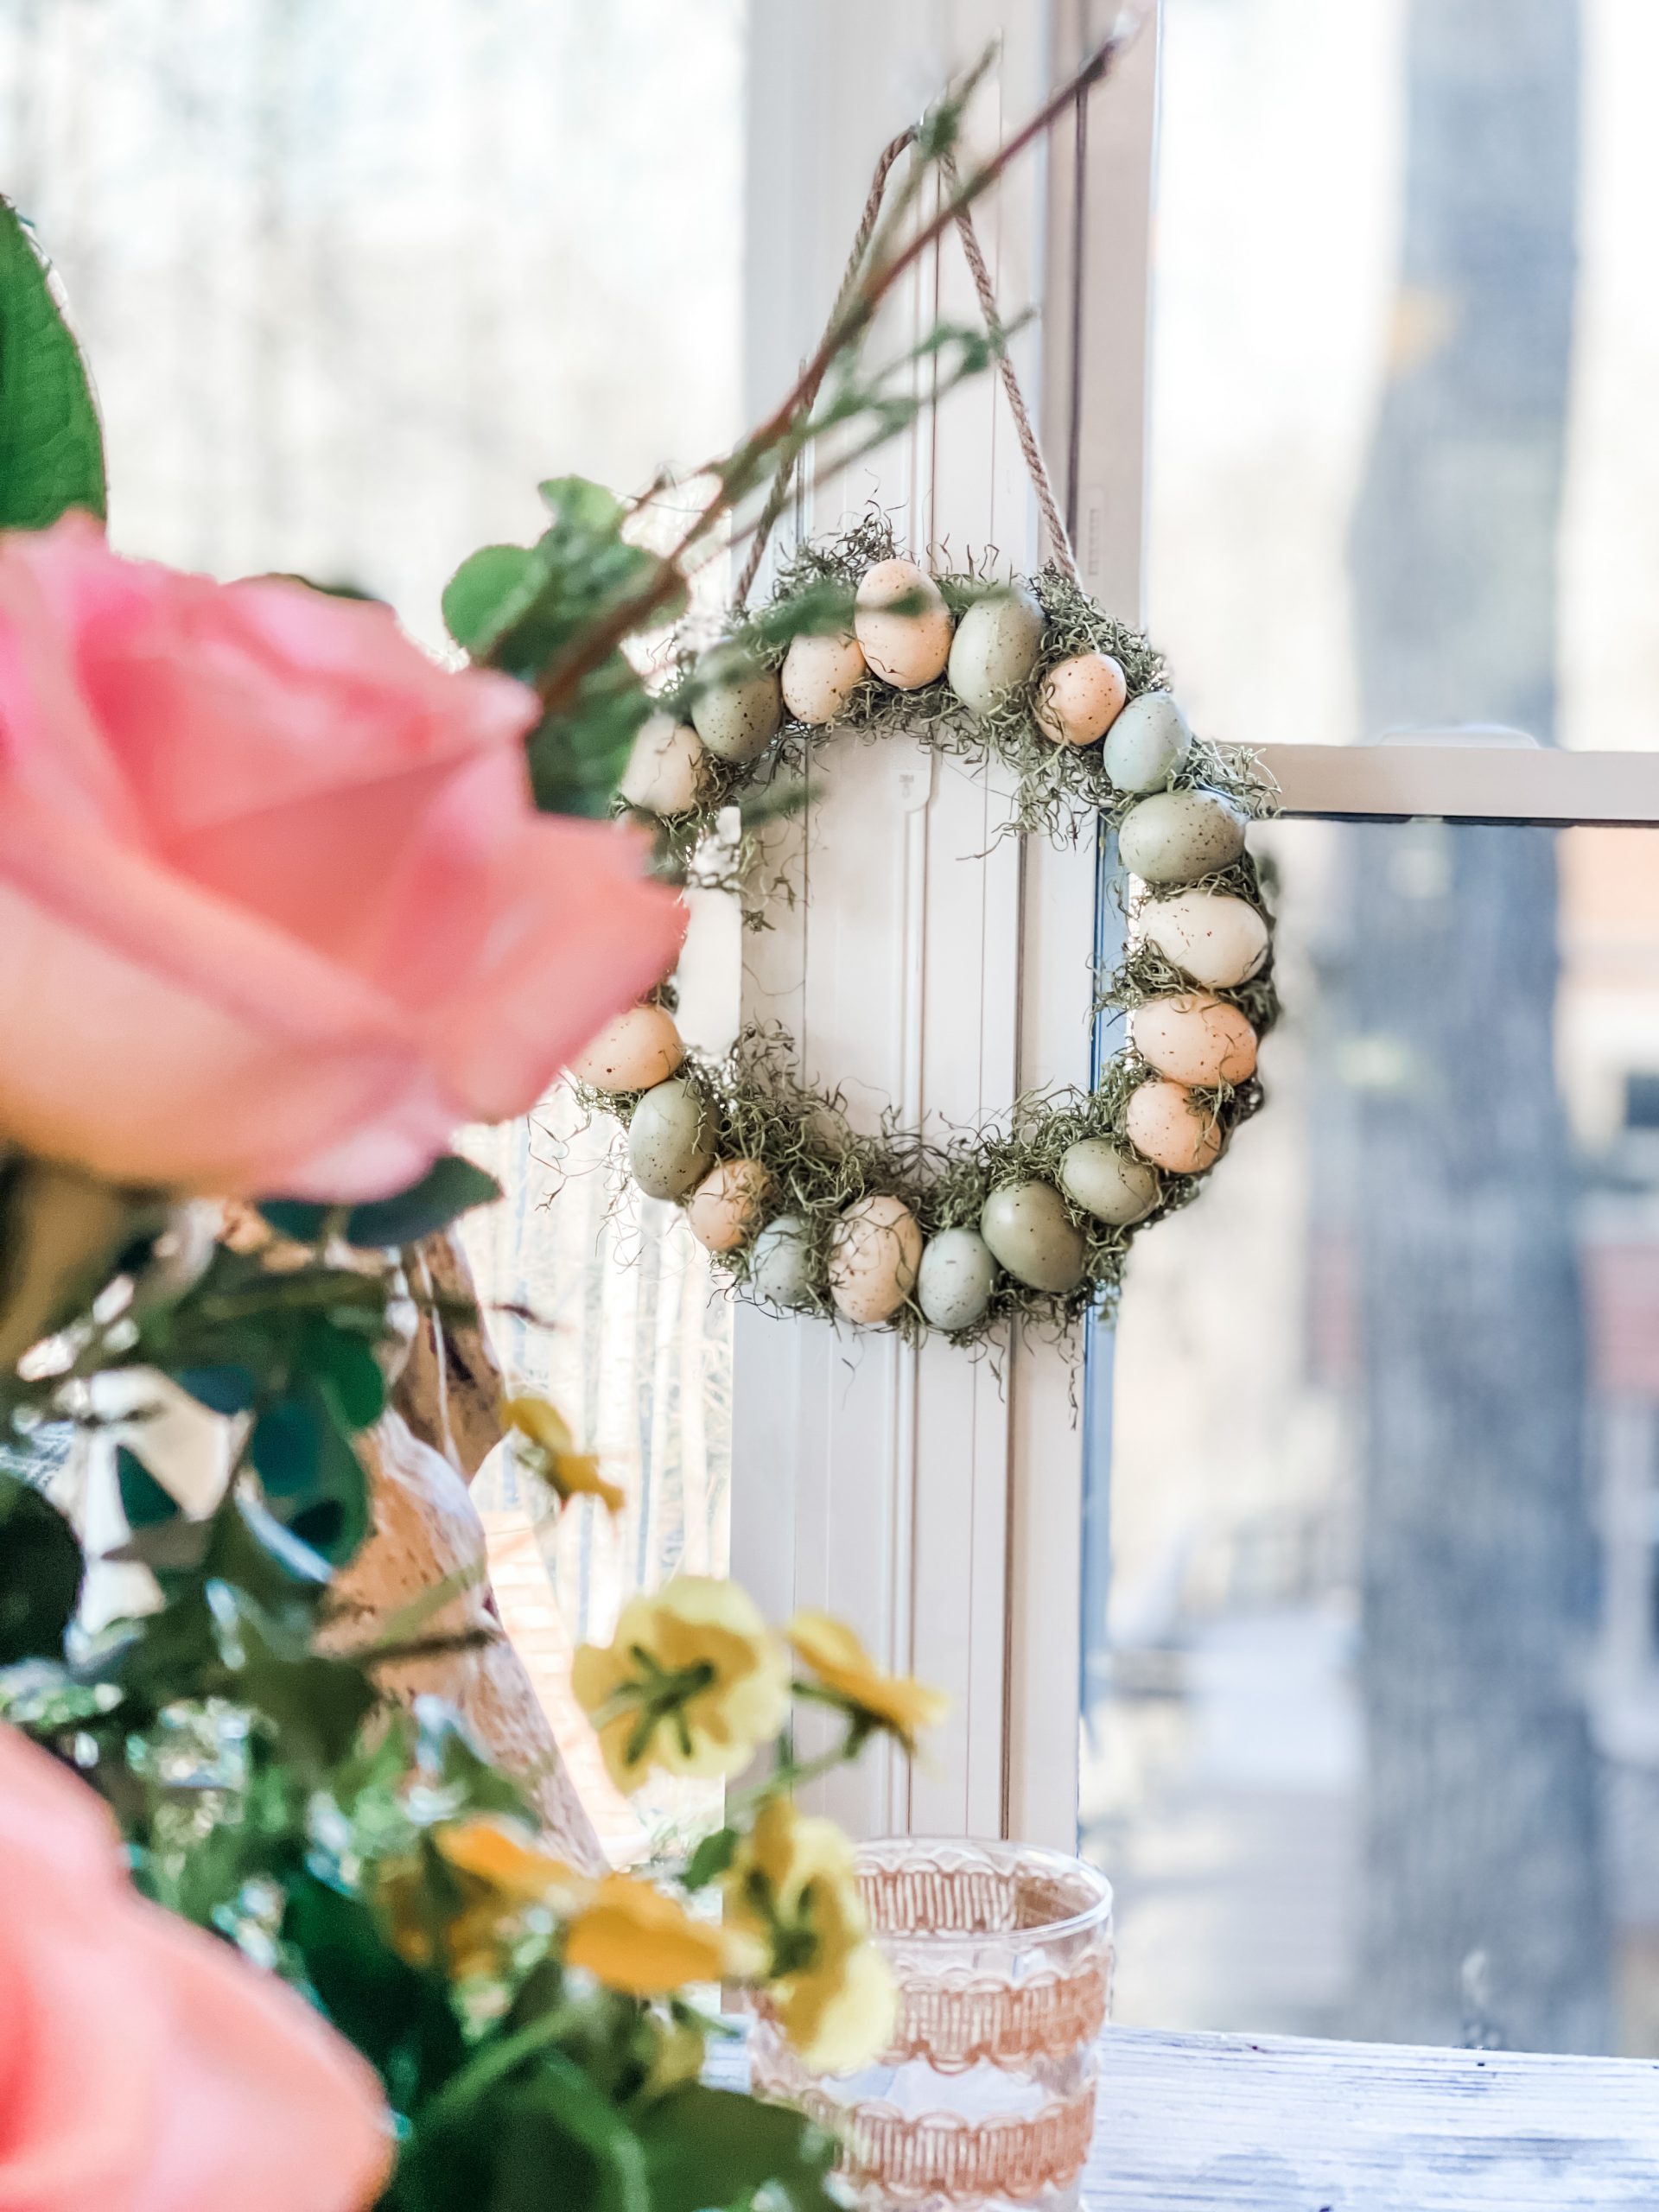
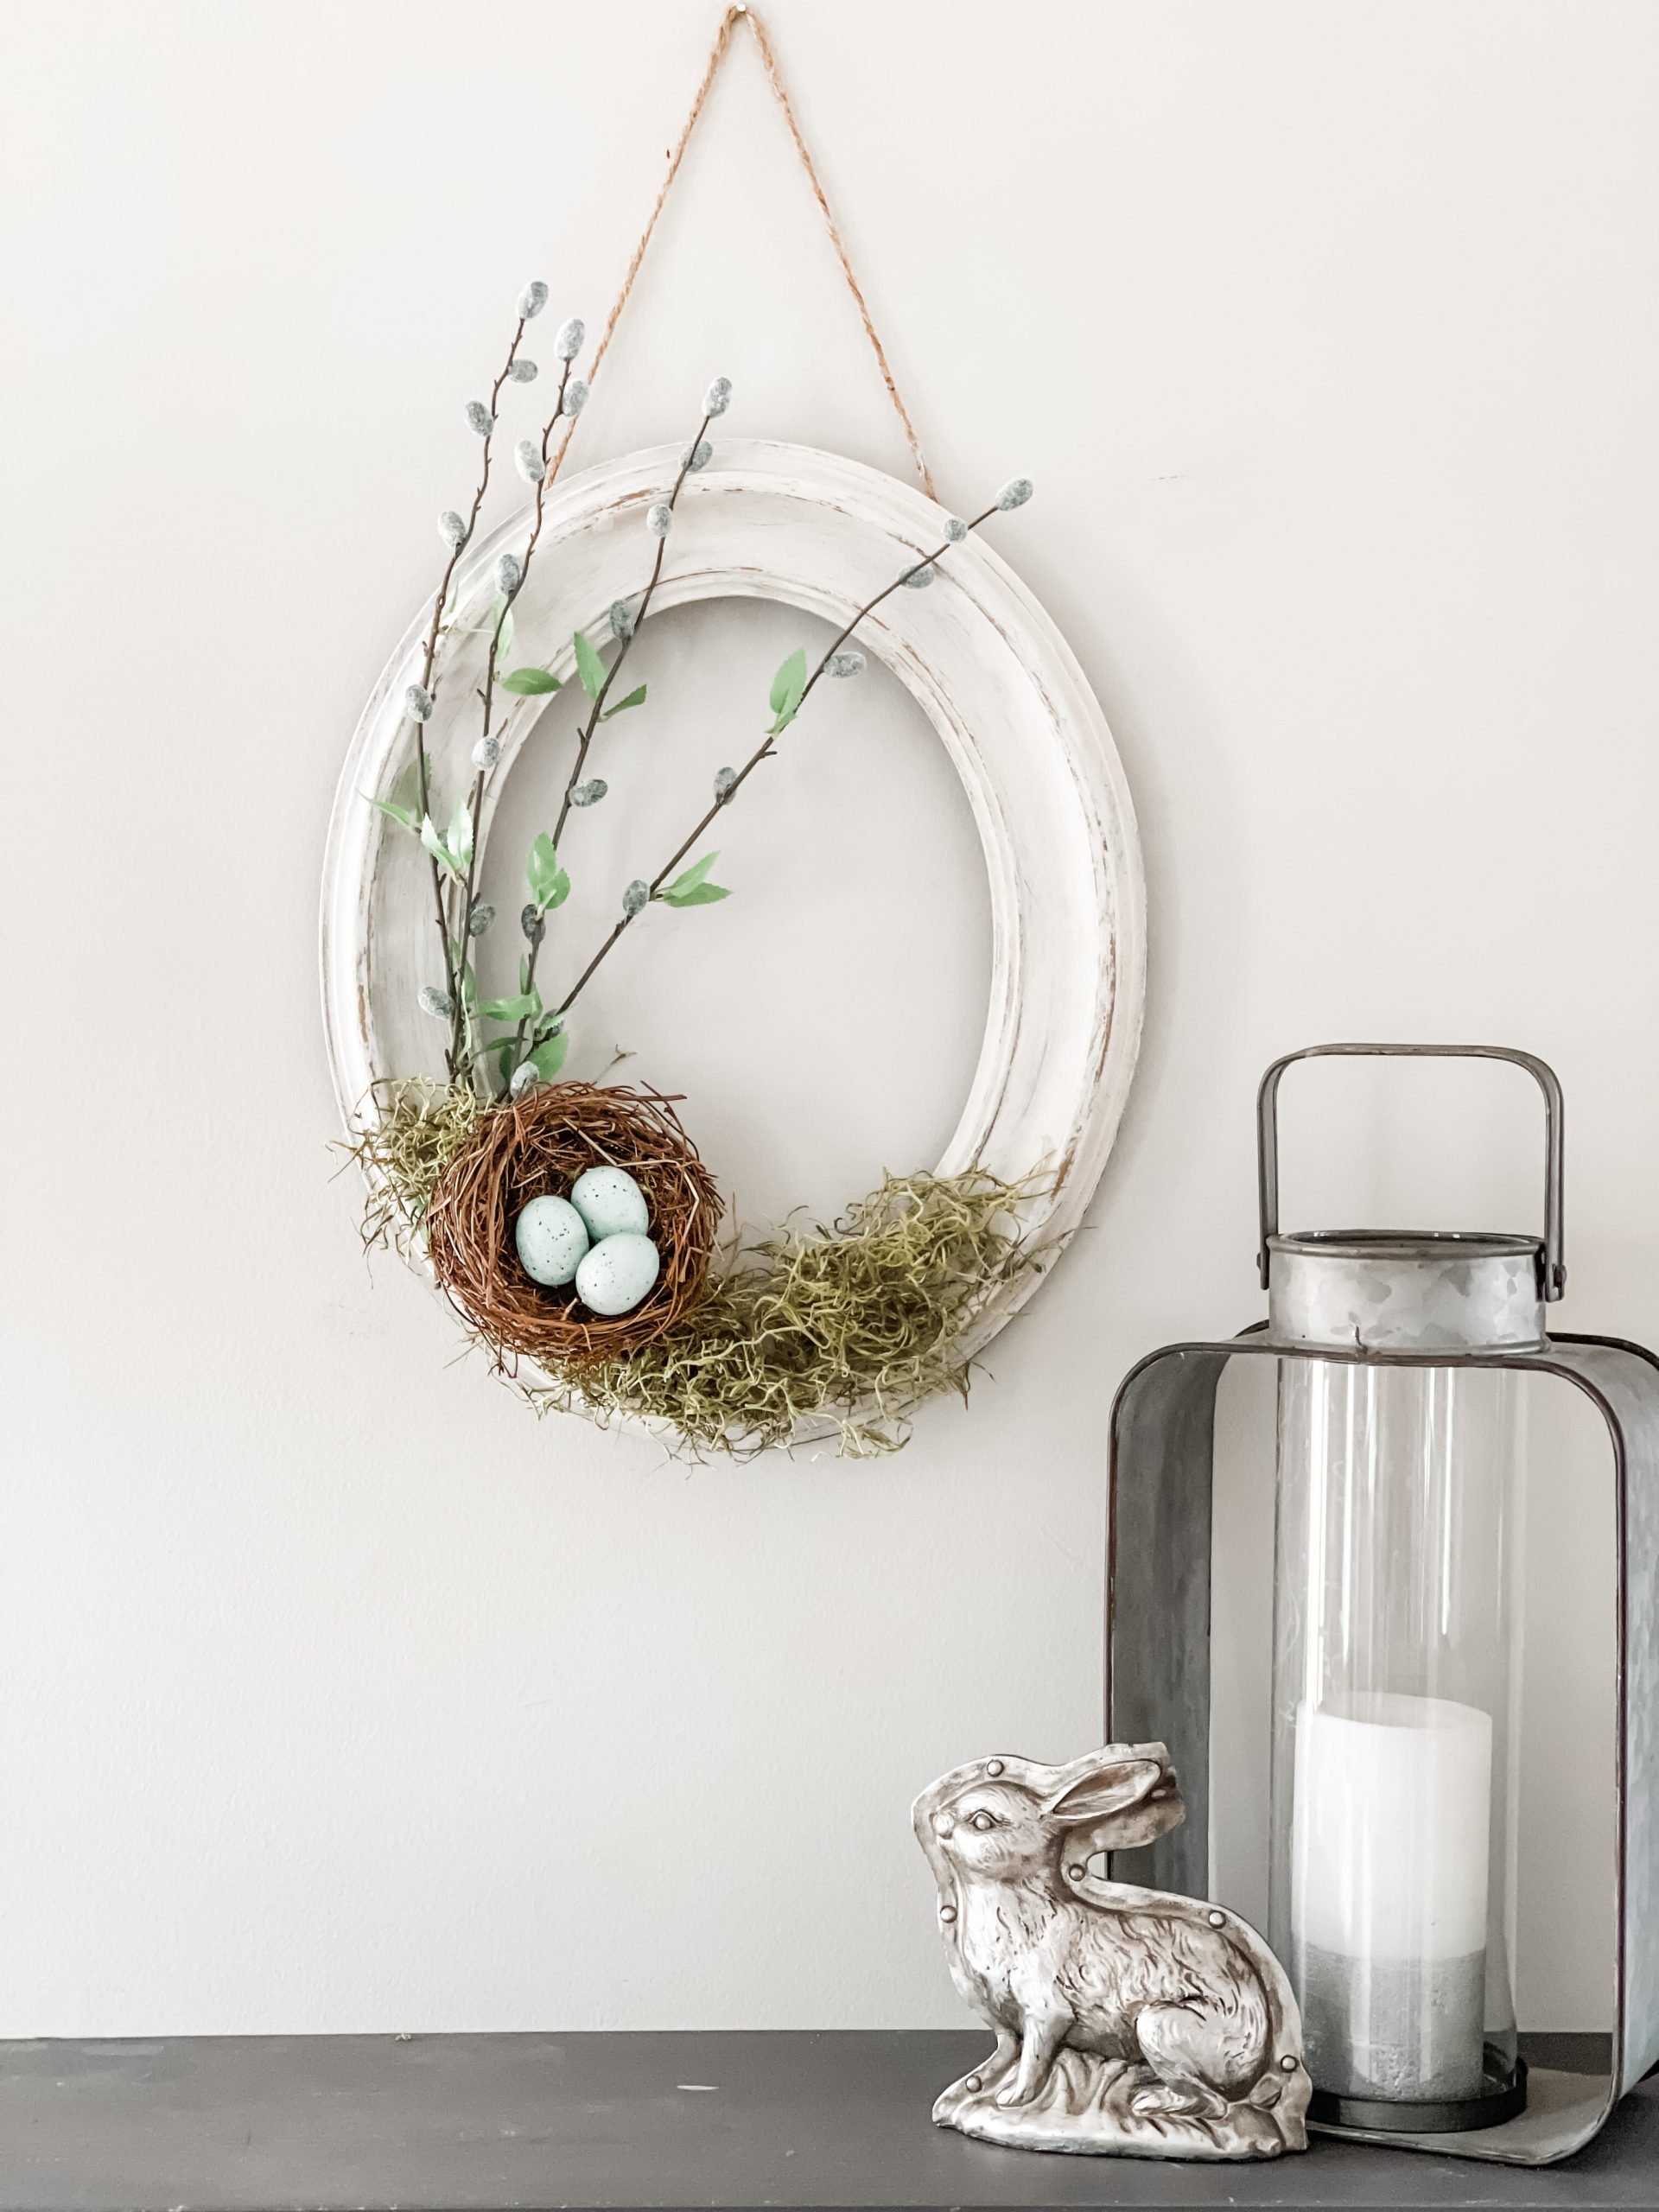
I’ve made quite a few wreaths this spring already. To see the details you can click on captions below the pictures.
Thanks so much for stopping by. I really appreciate you being here. Have you ever spray painted flowers? It was definitely a first for me. So I guess instead of drying my own hydrangeas, trash picking worked just as well.
XO, Regina
This post may contain affiliate links. If you purchase from these links, I will earn a small commission at no additional cost to you. Thank you.





Nothing better than a trash-to-treasure makeover and this is lovely, Regina! Thanks for sharing at Vintage Charm!
Awesome new projects! Looks awesome! Thanks for sharing your treasures & advice!
Love this! Such a beautiful end result!