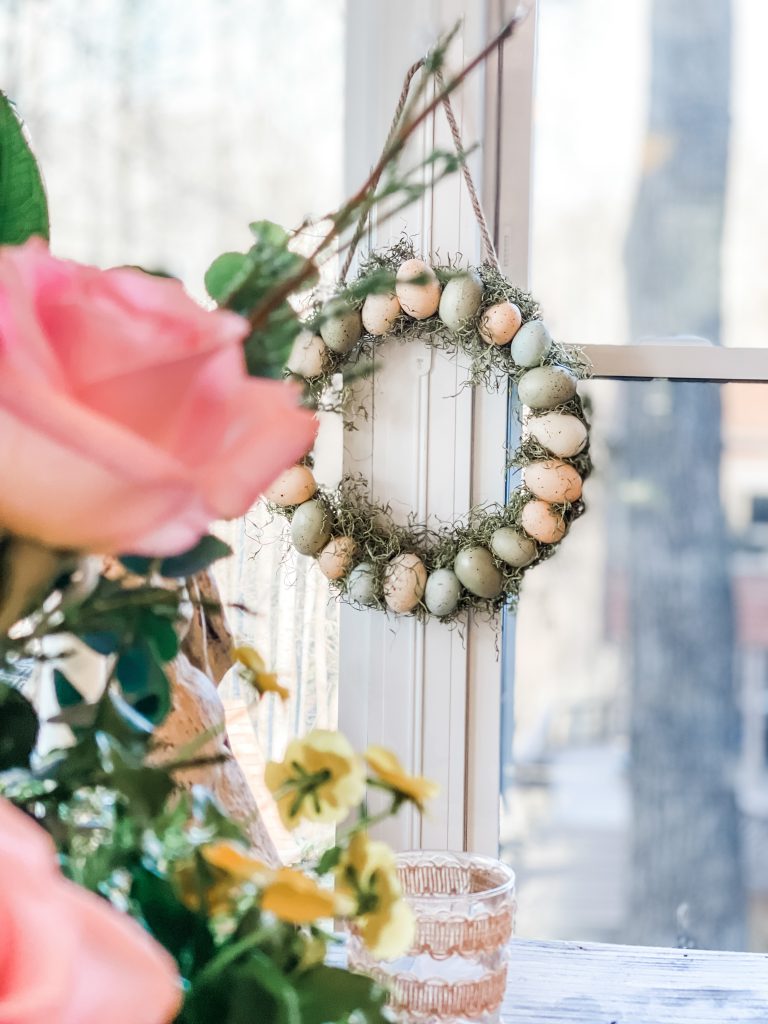
Do you love those Easter Egg Wreaths?
I do and I am sharing how to make the easiest Easter Egg Wreath ever.
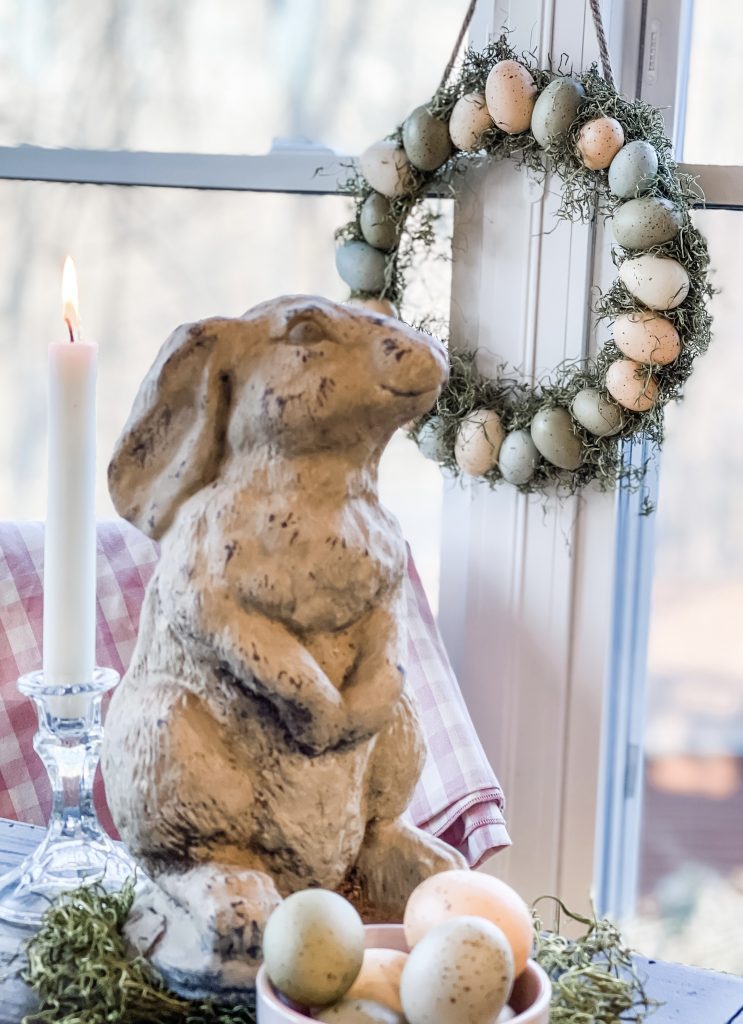
Yes, I am excited to finally have an Easter Egg Wreath. I’ve always admired them but I can’t even begin to tell you the last time I bought a ready made wreath.
Between the cost and the amount of faux flowers they typically have – I’ve never gotten one.
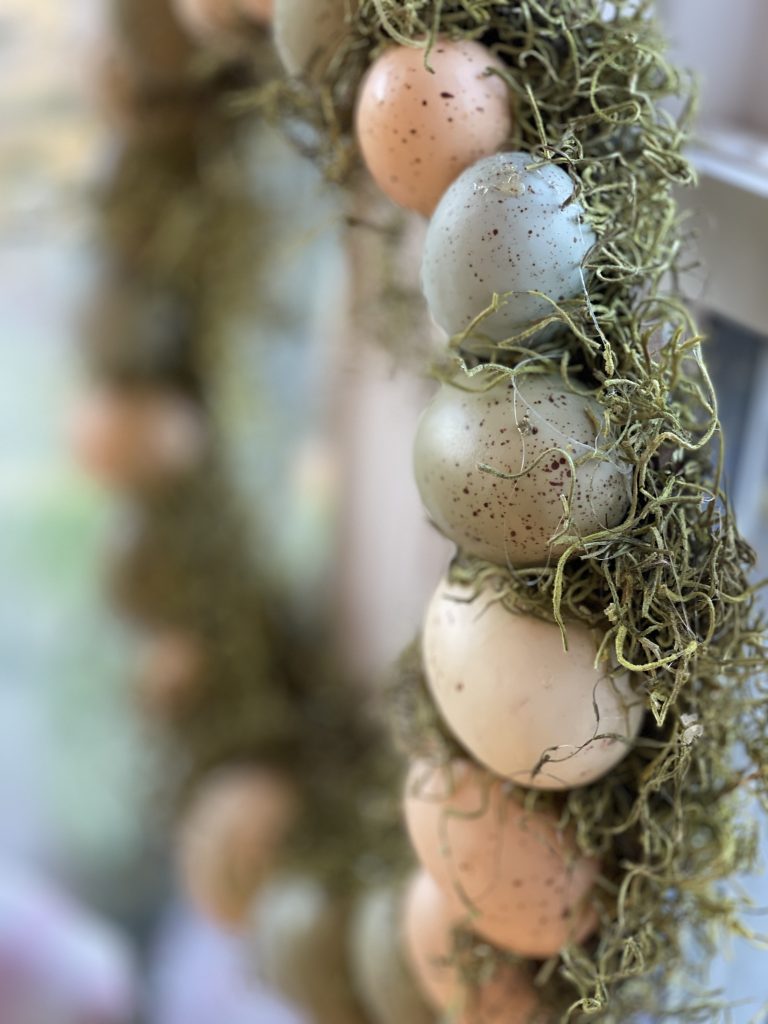
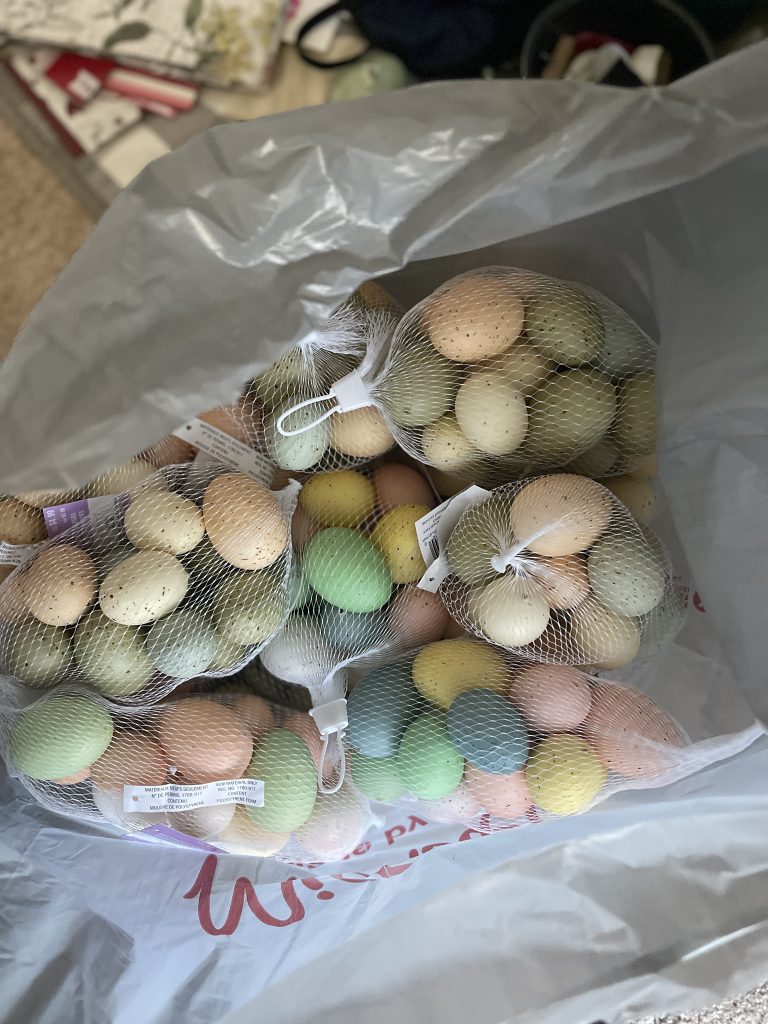
Michael’s had these eggs, the colors appealed to me and they already had flecks on them and I love that look.
They were on sale and so I scooped up 3 bags. They were $3.49 for 14 eggs.
STEPS TO CREATE THE EGG WREATH
I purchased a pressboard ring and used that as my base. I also found that at Michael’s.
After I started, I realized that I could have easily cut up a box and used corrugated cardboard instead.
The eggs were so light I didn’t need the strength of the pressboard ring. I wasn’t going to return the ring, but made a mental note to use a cardboard box for the next one.
Now it was time to begin gluing the eggs on.
I started with one and glued them down, 21 eggs fits perfectly.
After gluing on the eggs, I took my Spanish moss and began tucking it in between the eggs and attached with more hot glue.
Next I glued more moss on the inside and outside edge to cover any visible wreath frame.
I couldn’t find the staple gun, so after cutting the twine, I hot glued that onto the back and hung!
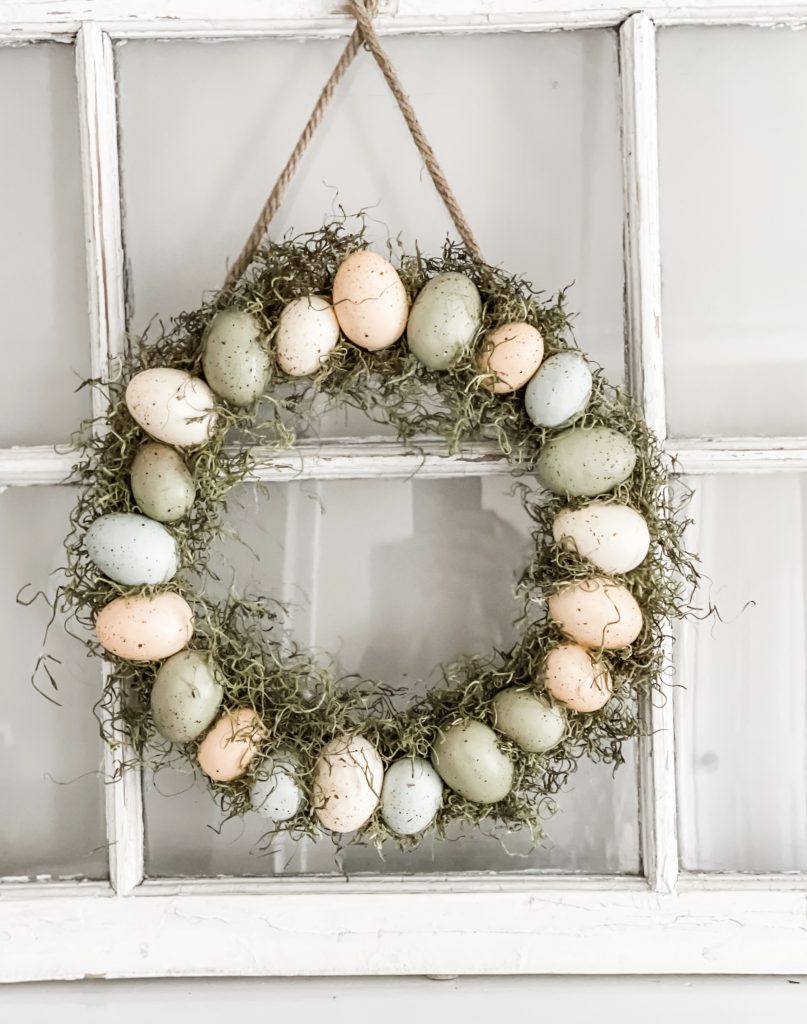
The muted colors of these eggs next to the the Spanish Moss is so pretty. The good news is it weighs barely anything.
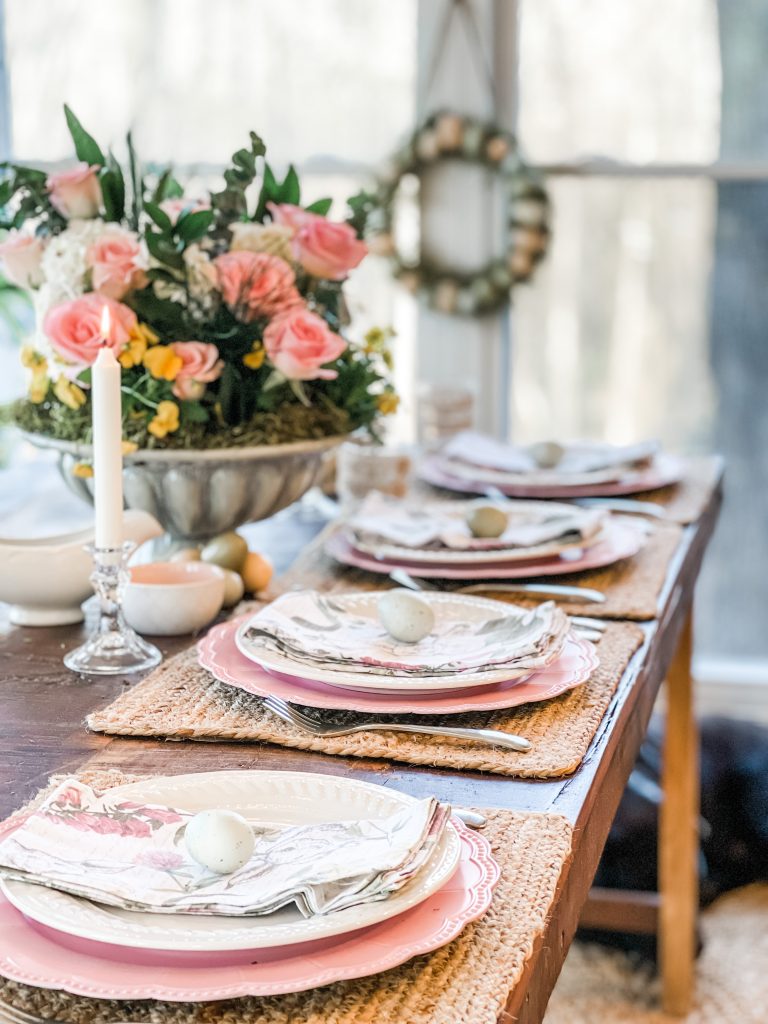
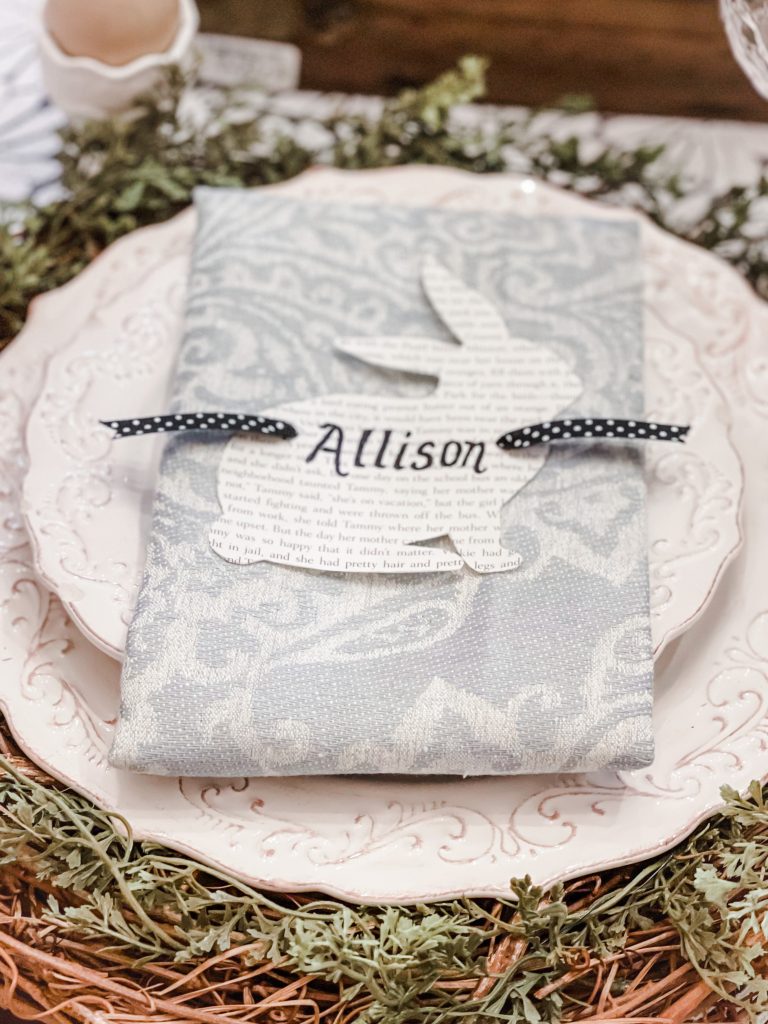
After that I made another to put in the dining area by my table, and used the extra eggs to place on top of the napkins.
SUPPLY LIST
Eggs (I used 1 1/2 bags. 14 in a bag)
Corrugated Cardboard
Pressboard Wreath Ring
Spanish Moss
Glue Gun
Glue Sticks
Twine
HIPPITY HOP EASTER BLOG HOP
Today some very talented blogger friends and I are part of a Hippity Hop Easter Inspiration Blog Hop.
That means we are all sharing DIY Easter Inspiration with you.
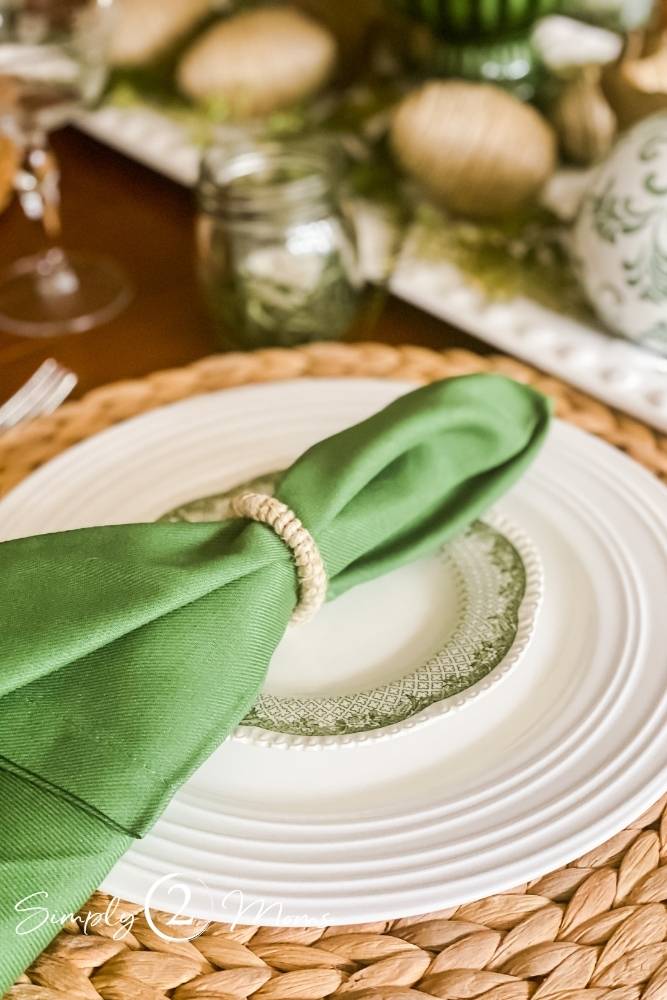
If you are coming by from Simply2Moms – Welcome! Thank you Anne and AnnMarie.
Aren’t they the best? I love their style. If you didn’t see their post, you can check it out here.
Next on the list is Ann from Rekindledsigns
Below you will find links to the accounts behind these beautiful pictures.
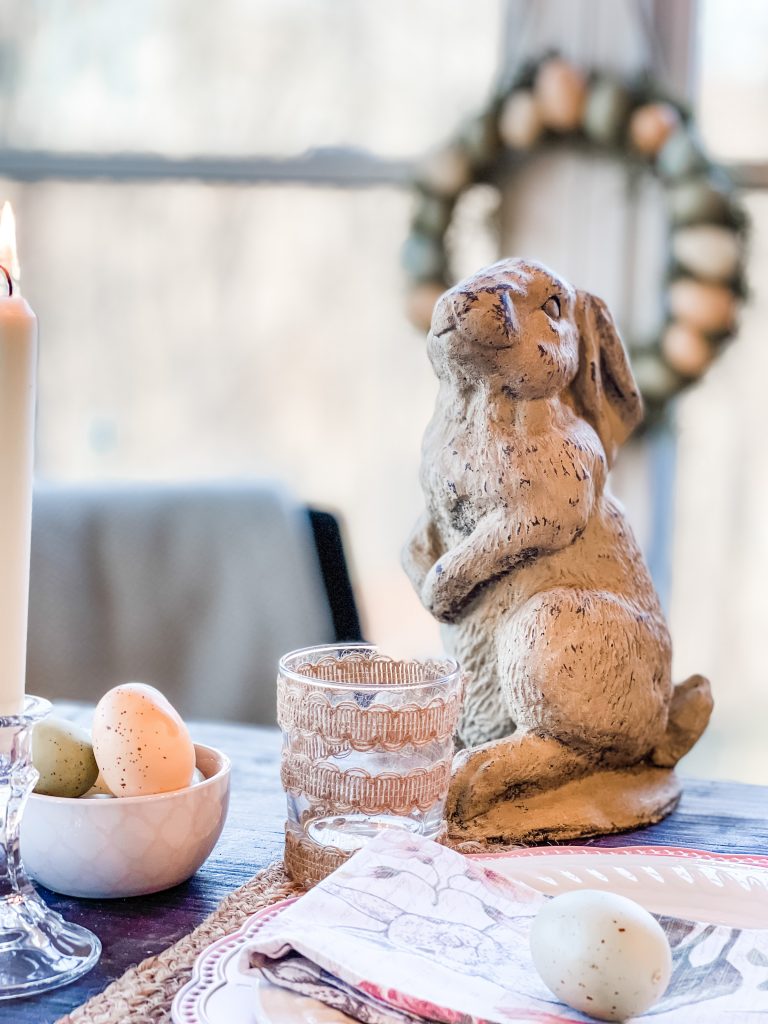
Wendy at WMDesign House – Kristy at Kristy Mastrandonas Interior Designs and Just Tracy Talk, you can click the link at the bottom of the image.
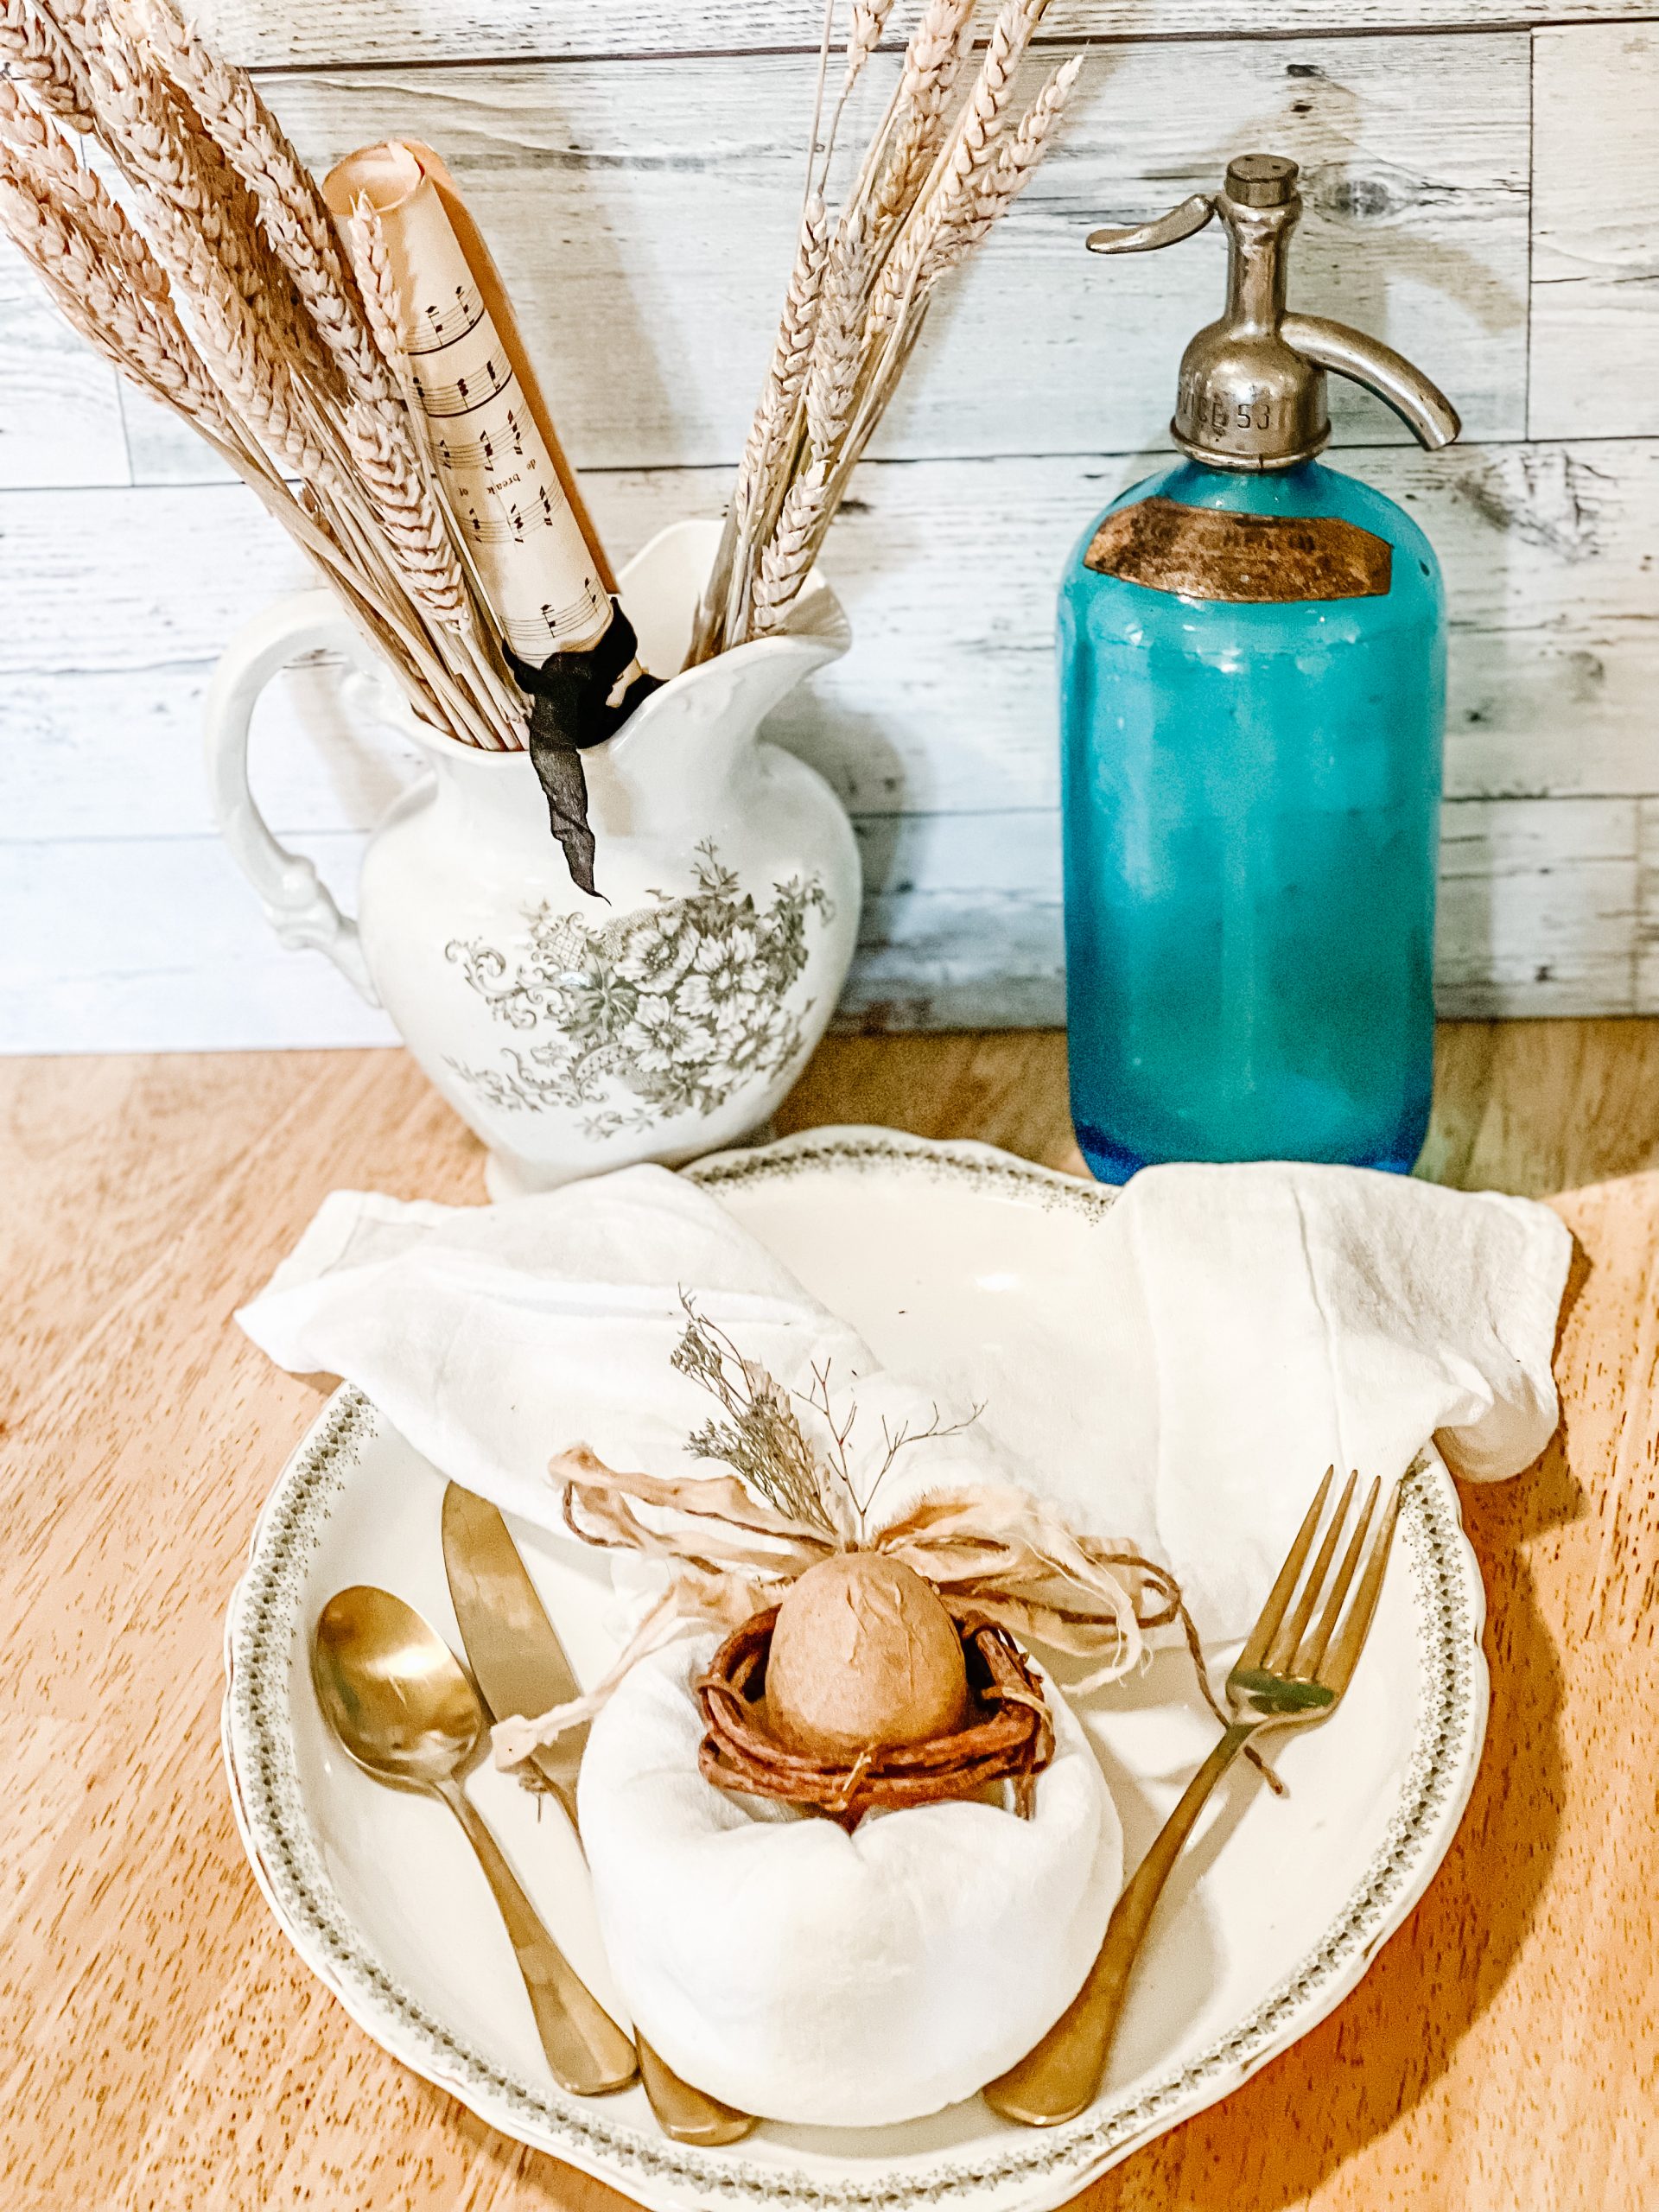
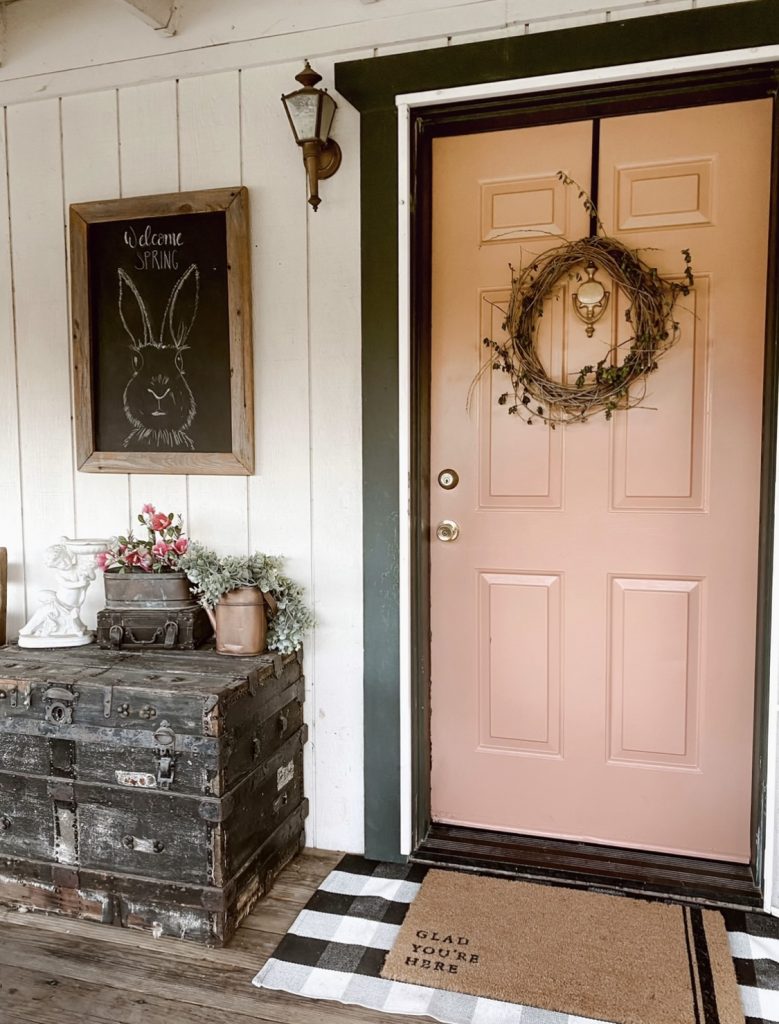
Next is Sheri from Savvy in the Suburbs and Ann and AnnMarie from Simply2Moms. Click the link at the bottom of the photos. Leave them a comment and let them know you came from the Easter Blog Hop

I hope you enjoyed some Easter inspiration. Click here and here for additional Easter Inspiration from my blog.
Maybe you don’t need decor ideas but I’ve also got some super cute ideas for gifts for guests or a host.
You can see that here.
I really appreciate you stopping by – I invite you to subscribe to the blog and receive inspiration directly to your inbox!
XO, Regina
REMEMBER I’VE SHARED HOW CUTE THINGS CAN LOOK WHEN YOU PUT THEM THROUGH THE WATERLOGUE APP?
HERE ARE A FEW PICS FROM MY PROJECT AND TABLE RUN THROUGH THE APP.
SO CUTE RIGHT?


Beautiful Regina! I am always so inspired by your creativity.
Wendy – You are the inspiration my friend. I love all of your content. Thanks for coming by!
This was such a great project! I love your tip to use corrugated cardboard for the wreath—I never would’ve thought of that. The colors are so pretty! Pinned this to make later!
This is such a stunning wreath! Can’t believe it only took 20 minutes, I love the speckled eggs with the Spanish moss! And your table, absolutely divine!! Thanks for including my Easter wreath too!
Your wreath is gorgeous, Regina! I especially love the muted colors of the eggs! Your business showed up in my Facebook feed and I was surprised to see someone else from Maryland with a blog. I don’t see many from MD – I only know of two others. I live in Millersville, just outside of Annapolis. Glad to have found you! I love your blog!
What a great idea! Such a cute DIY! I may be trying this myself. 😊
Your Easter Egg wreath is the perfect Easter decoration, Regina! I love the muted colors and specks on the eggs, and I love that it’s low cost and fairly quick to do too!
Oh, how adorable! And I love the twine hanger! Your watercolors stopped me in my tracks…love them!
Leslie – you are too sweet. Let me know if you’ve you tried the watercolor app.
Regina your wreath is beautiful! I love your table setting as well.
Elizabeth – thank you for the kind words! Hope you have a wonderful weekend.
This wreath is gorgeous, I love the subtle Spring colours, soft and pretty without being too bright. Love it.
I am so excited to feature you on The Fabulous Friday Link Party. This wreath is just so cute. Hugs to you, my friend.
Thanks Renae!
Absolutely gorgeous! Thanks for the inspiration! Pinned!
Wow, 20 minutes! That’s my kind of craft project!
Your egg wreath is so pretty! Thanks for sharing at Vintage Charm!
Regina,
I love your wreath. Just stunning!
Love your creativity! The wreath is just perfect for Easter and looks great hanging in the window next to your beautiful table.
You are sweet – I really appreciate your kind words.
Loved this! Thanks for linking up the Wonderful Wednesday blog hop last week. You can find this article as my feature on myhomierhome.com in this Wednesday’s blog hop. Happy Easter!
Christin – Thanks so much! That’s awesome 🙂
Oh my word. This is the cutest Easter wreath I’ve seen. I’ve pinned this to my Easter board, and I’m going to follow your instructions!
Thanks so much for joining the Grace at Home party at Imparting Grace. I’m featuring you this week!
Richella – Awe, thank you for the kind words. So glad you liked it. Happy Spring 🙂
This is simply the sweetest Regina.
Thank you for sharing this project at Create, Bake, Grow & Gather this week. I’m delighted to be featuring your easy Easter egg wreath at the party tonight and pinning too.
Hugs,
Kerryanne
This wreath is perfection with the muted tones and natural elements. I love this more than glittery, neon colors. Such a beautifully set table and setting!
Thanks – me too on no neon colors! Thanks for coming by. Love you