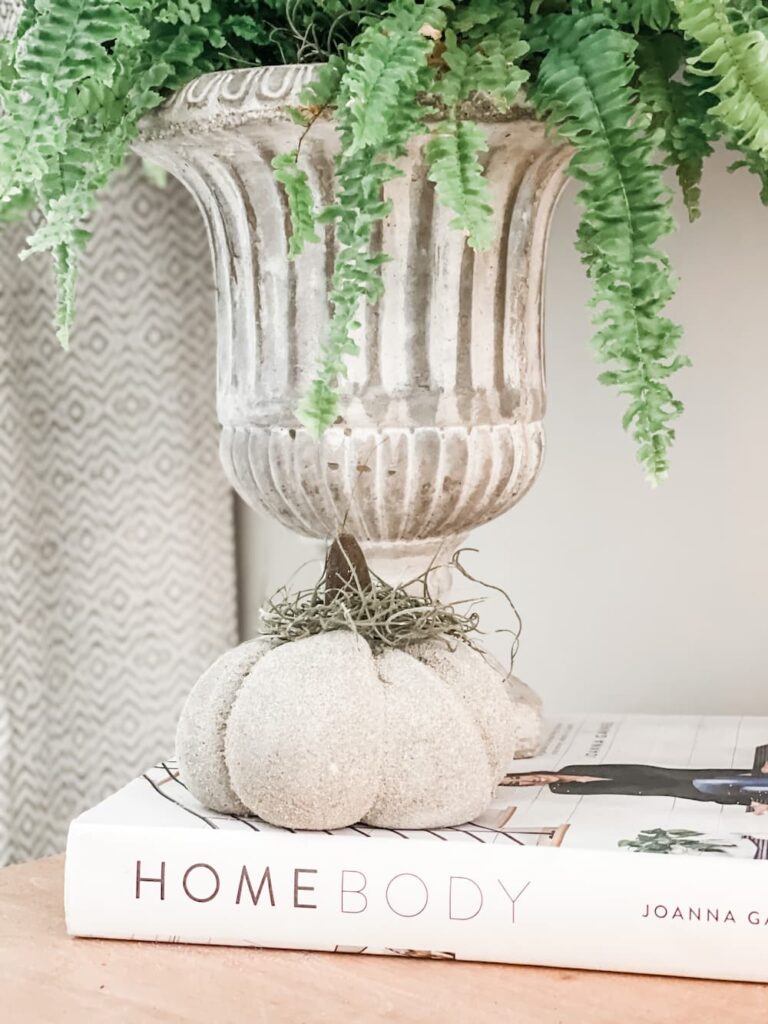
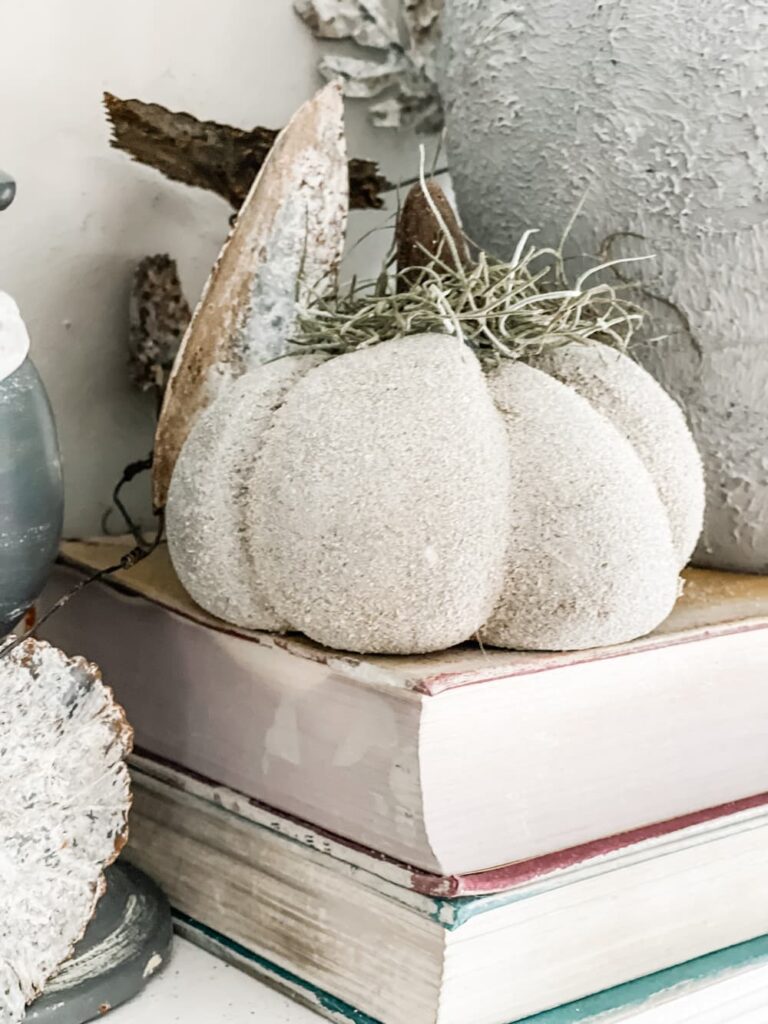
Are you looking for a new way to decorate for fall? I have one, this concrete pumpkin DIY is fast and easy, and they will last forever.
Thanks so much for coming by! I’m Regina and this is Saved From Salvage.
If you are visiting from Kim at Cottage in the Mitten welcome!
How adorable was her Pumpkin and Mum planter?
I’m sharing my concrete pumpkins as part of a fall blog hop, all about pumpkins.
Click on the pictures below to see all of the creative pumpkin DIYs.
You will not believe how many different ways you can DIY pumpkins!

Table of Contents
STEPS TO CREATE CONCRETE PUMPKINS
It’s time to try your hand at creating with concrete. This is basically a foolproof DIY.
Step One
Gather supplies.
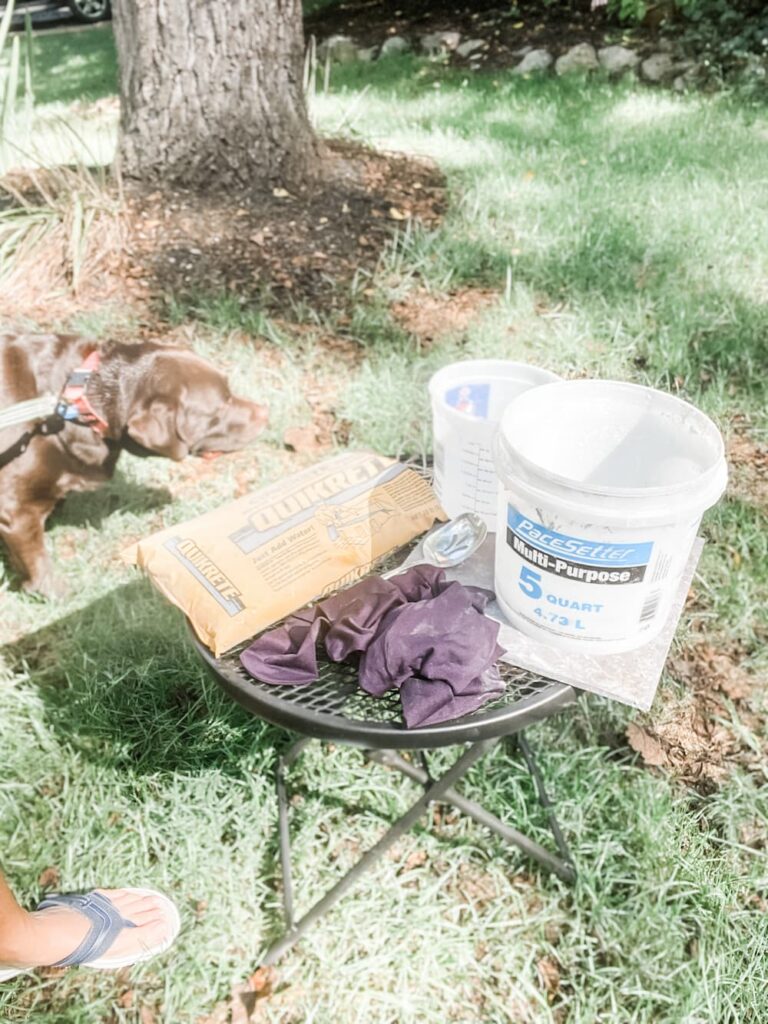
SUPPLY LIST
Concrete
Container to mix concrete
Large spoon to stir concrete
Container of water
Pantyhose or tights
Scissors
Plastic cup
Rubberbands
Twine
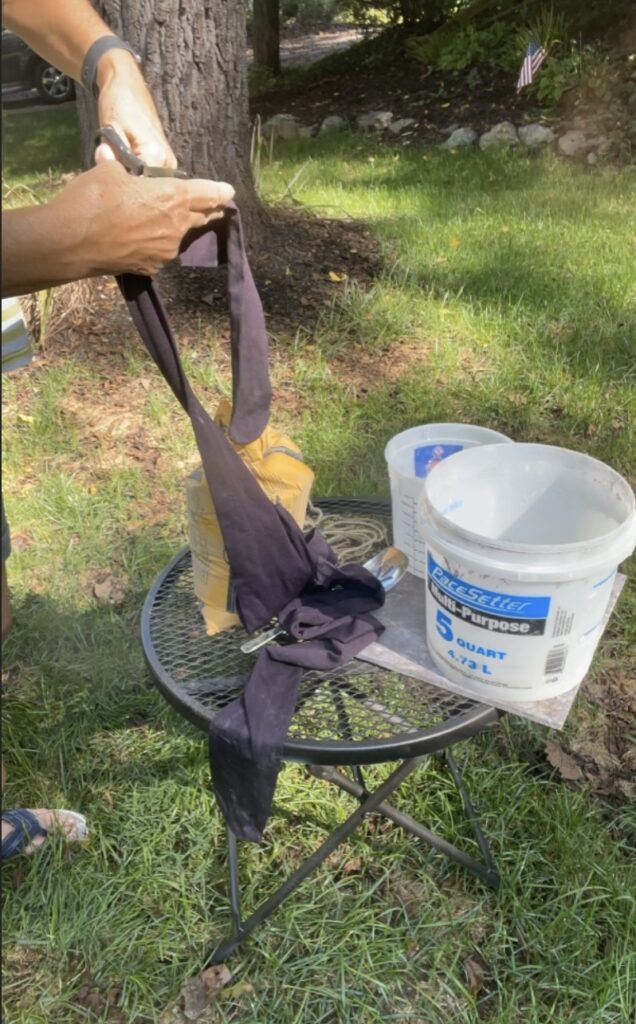
Step Two
Cut the tights or pantyhose about mid calf.
Then put inside a plastic cup and spread the opening over the top of the cup.
This will hold it steady so you can fill it with concrete.
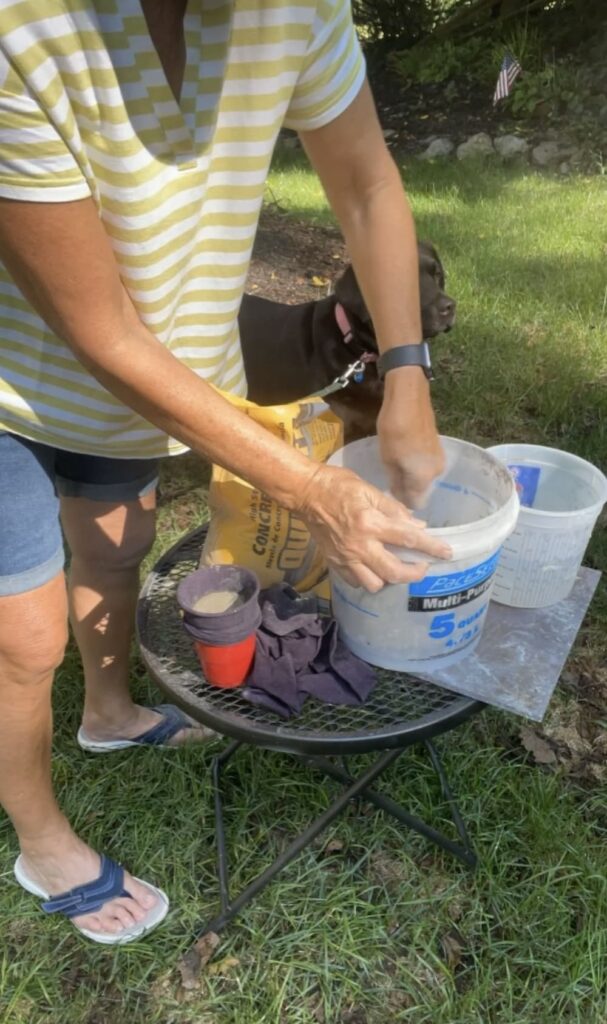
Step Three
Begin mixing concrete and water until you have a consistency of cake batter.
Pour into the opening of the tights that are stretched across the plastic cup.
The size of your pumpkin will be determined by how much concrete you use.
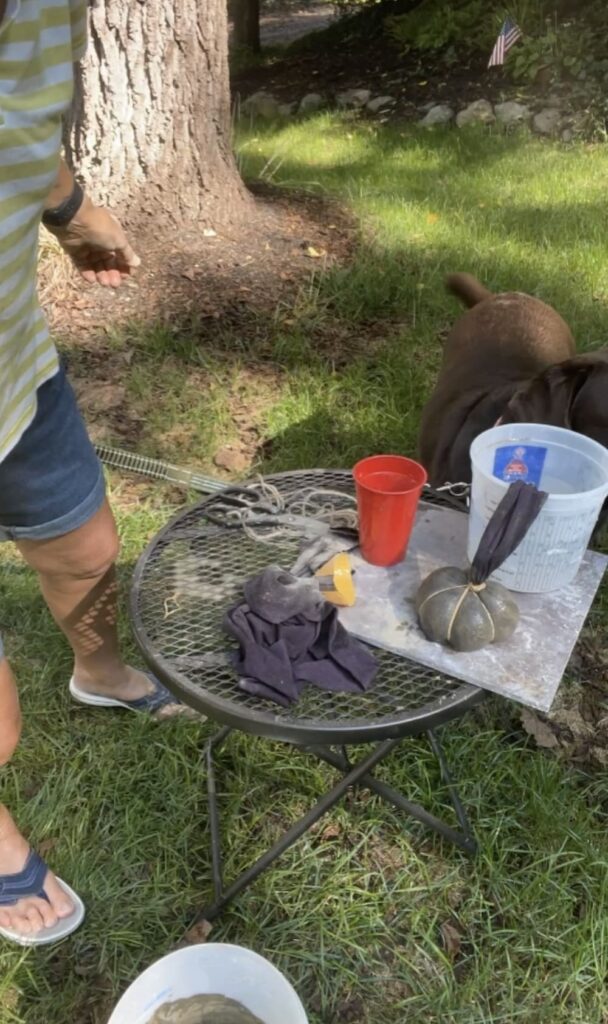
Step Four
After you have filled your tights, pull it out of the cup. Next, use a rubber band to secure the top so nothing leaks out.
Using the other rubber bands, place them around the pumpkin to create the sections or lines.
You only need two or three rubber bands to do this.
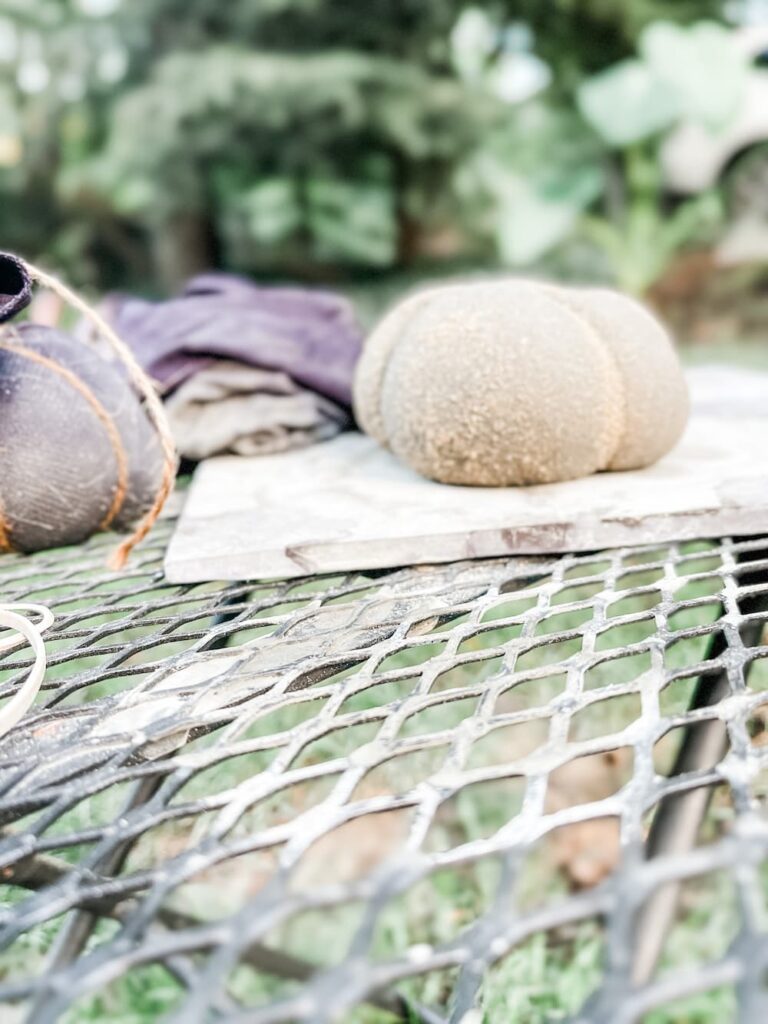
Step Five
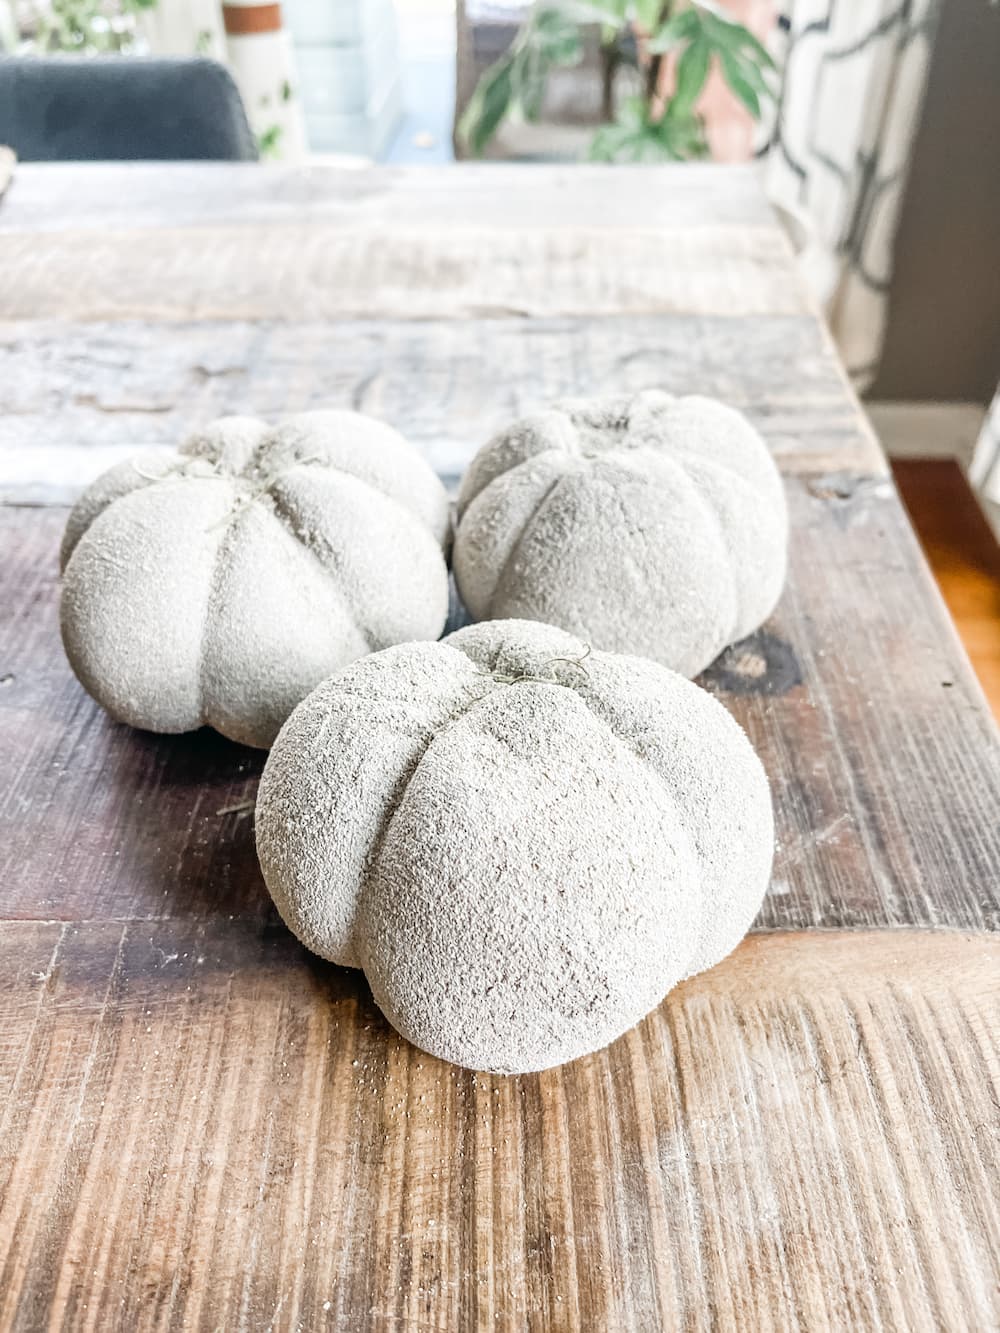
Let dry overnight. Then cut the rubber bands and pull the tights away from the pumpkin and discard.
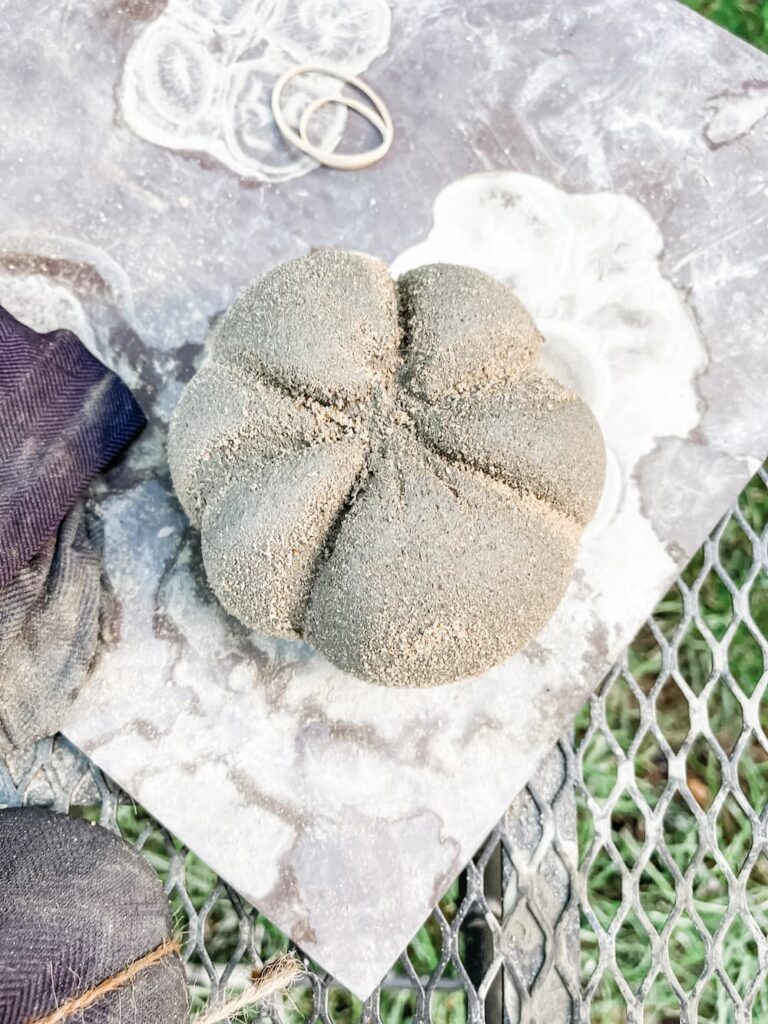
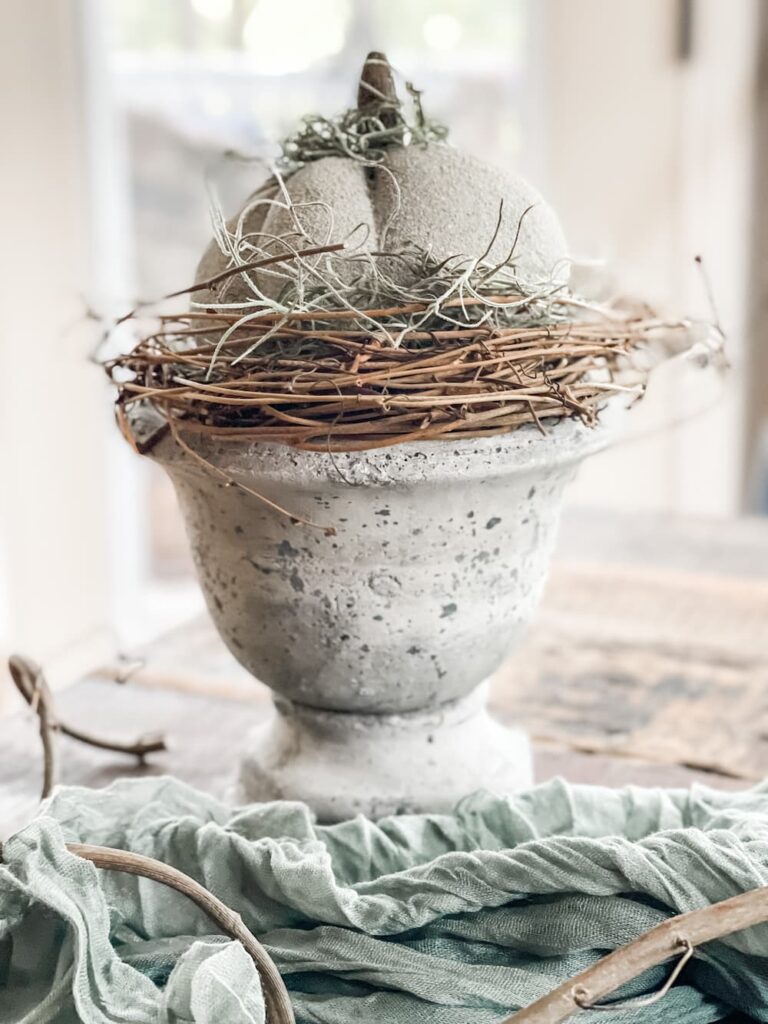
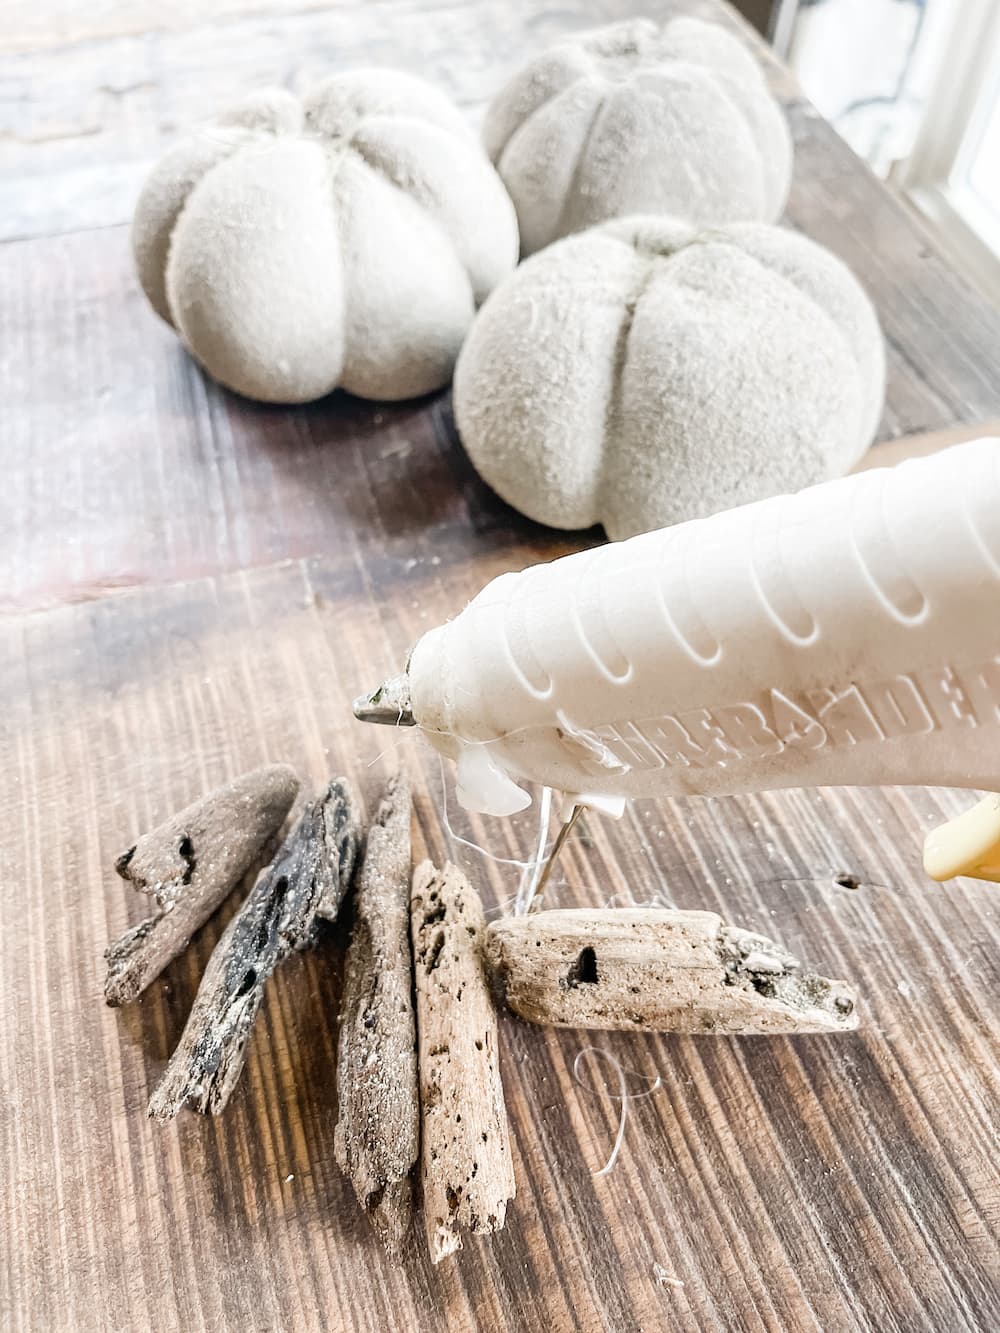
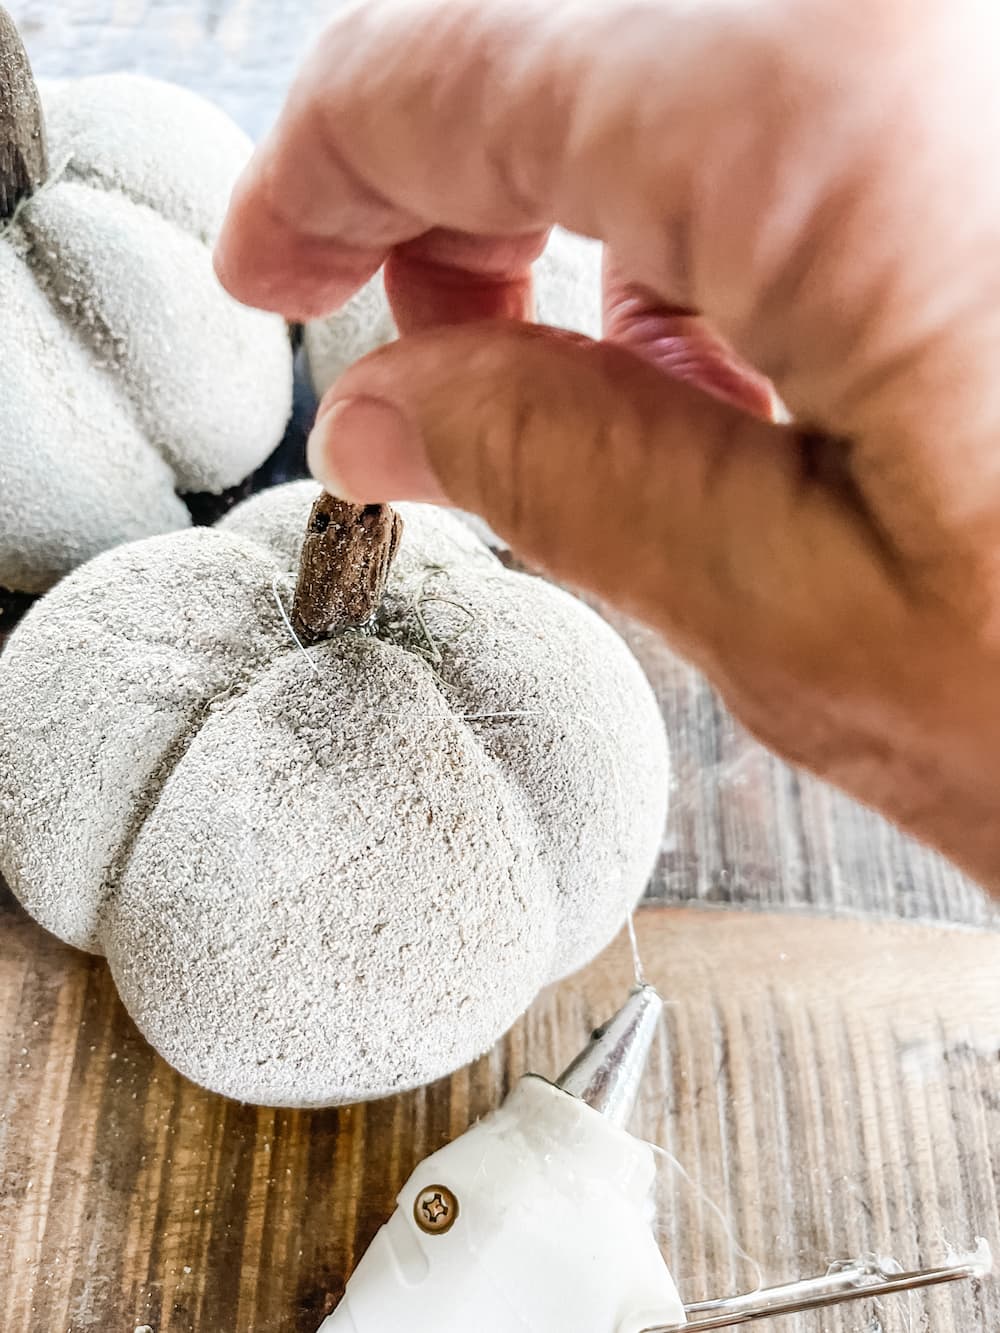
Step Six
Decide what you would like to use for a stem and glue it on and you are done.
I hope you enjoyed learning how easy it is to create these pumpkins. Next on the hop is Lora from Lora B. Create and Ponder. She is sharing the cutest project, she has used a vintage quilt to create a witch hat. You can see her post here.
Are you decorated for fall? Do you like to go all out or only add a few fall items to your existing decor?
Did you see my charming napkin rings I made last week? Click here.
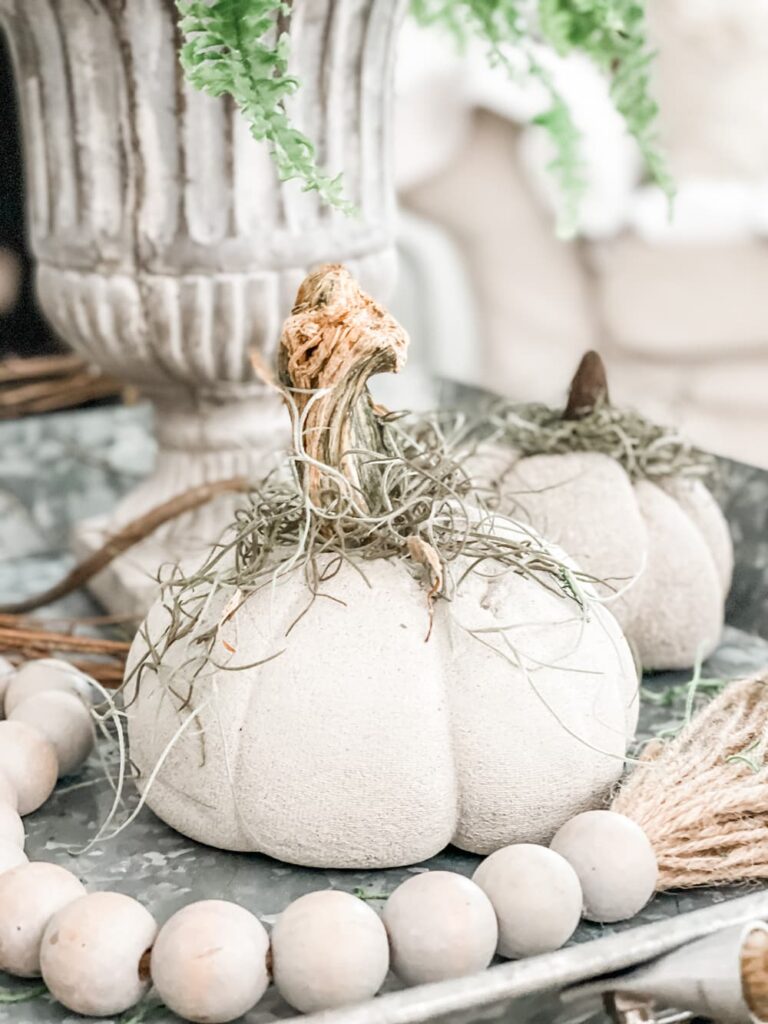
I enjoy fall decor, but love to keep it in the same color family as my regular decor. These concrete pumpkins are a perfect neutral for my home.
If you like this type of texture, you need to see this glass vase update I just did. Click here to see.
Happy Fall! XO, Regina
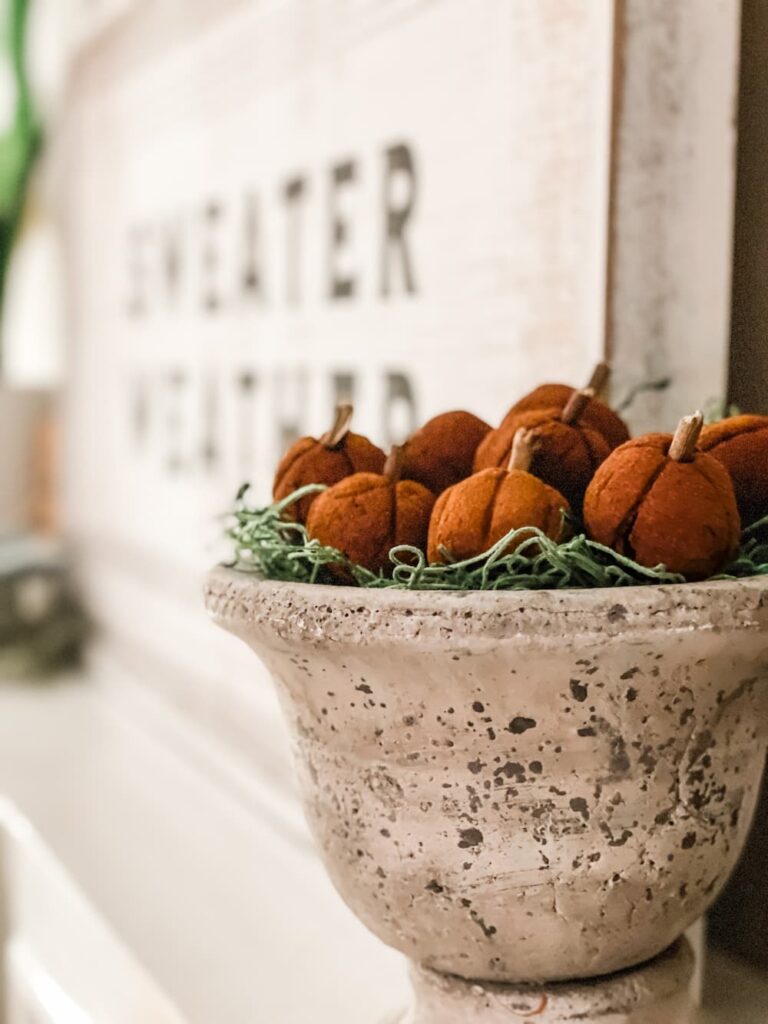
For even MORE fall inspiration, you need to see these adorable mini pumpkins I made to add charm and fragrance to my mantel. Click the link below the picture.
I AM AN AMAZON AFFILIATE, IF YOU PURCHASE FROM THESE LINKS, I RECEIVE A SMALL COMMISSION AT NO ADDITIONAL COST TO YOU.
LETS GO SHOPPING


These are such beautiful pumpkins! Love the results Regina and so happy to hop with you today!
Your concrete pumpkin turned out so good and the stem was the perfect touch. Nice hopping with you today!
I really need to spend a day with you and a bag of concrete! Your projects are so beautiful and unique! Love the pumpkins! ~Missy
This is such a great idea! I love how you created some cute and chic decor with concrete of all things! Thanks for sharing this project!
OK, I had no idea that’s how you make cement pumpkins! I totally learned something new today, very cool! Love the look of them.
These are sooo cool! I’ve never crafted with cement before, but now I want to try! I’d love life-size ones in my garden:) Thanks for the idea!
What??? You made these with tights? So I don’t need the expensive mold I bought at Michaels? This project is so amazing. I would have never thought to have used tights! You are a genius! I love how it got that fuzzy kind of texture on the outside – makes it so much more interesting. As always so fun to hop along with you. So glad you are safely at home. Now you can say you survived a hurricane!!!
OK girl, these are the cutest little pumpkins ever! I really need to get my game on and try this out. I ove the sandy texture they have. Happy Fall.
This is such a cute and clever idea, Regina! I love the real stem and moss; great touch!
I love these pumpkins! I will be gathering my supplies!
Smiles, alice
Such and adorable idea Regina! so Creative and Clever!
These are SO cute. Your tutorial is great and clearly outlines all the steps.
Love these cute pumpkins! Looks like so much fun to make! I’m going to have to try this sometime! Pinning now! Thanks for participating in Fabulous Friday Link Party! Blessings, Donna
Thanks for sharing with us, I’m featuring you this week when the next To Grandma’s house we go link party starts! Happy October!
Wow, what a clever idea. I love this. Pinned. Congratulations, you are being featured on Thursday Favorite Things Party. I hope you stop by.
https://www.eclecticredbarn.com/2022/10/fall-foliage-and-tft-party.html
Hugs,
Bev
These are just beautiful! And you make the project look very doable. Thank you for the inspiration!
Thanks so much for joining the Grace at Home party at Imparting Grace. I’m featuring you this week!
These are just exquisite. Featuring when my party opens!
Carol – thanks so much!
What a creative project with fabulous results! Appreciate the detailed tutorial. Pinned!
Regina,
This is just the cutest. I want to try to make one. I’m going to share a link on Sunday’s Dirt Road Adventures.