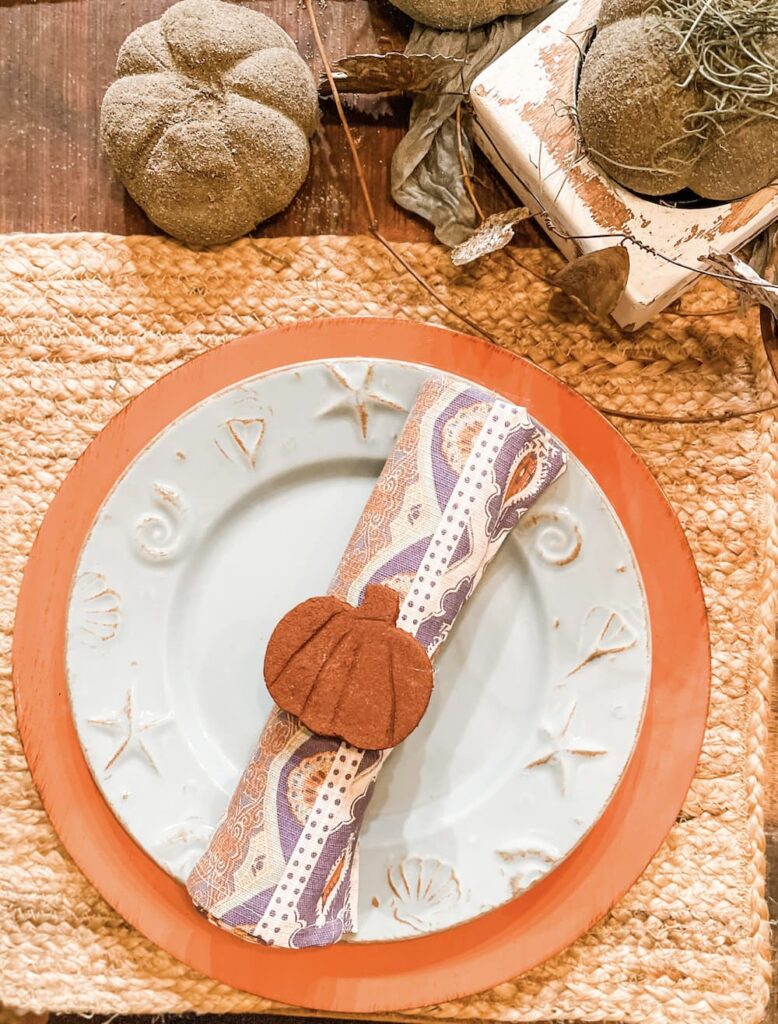
Looking for a unique napkin ring for fall meals? These fall napkin rings and mini pumpkins, made of cinnamon and applesauce, have a lovely scent.
It’s been years since I’ve made cinnamon and applesauce ornaments. There are some I made over 20 years ago, that go up when I decorate my tree.
Maybe it was time to make more, but with an added twist. This time it was napkin rings, garland and mini pumpkins to display in a pot.
Hi, I’m Regina and I want to welcome you to Saved From Salvage.
I am writing this from my patio in the Dominican Republic. I didn’t want to wait until I got back to share this easy, charming DIY.

Table of Contents
THREE PROJECTS – ONE RECIPE
I suggest you head to the dollar store to get your supplies, applesauce, cinnamon and white glue.
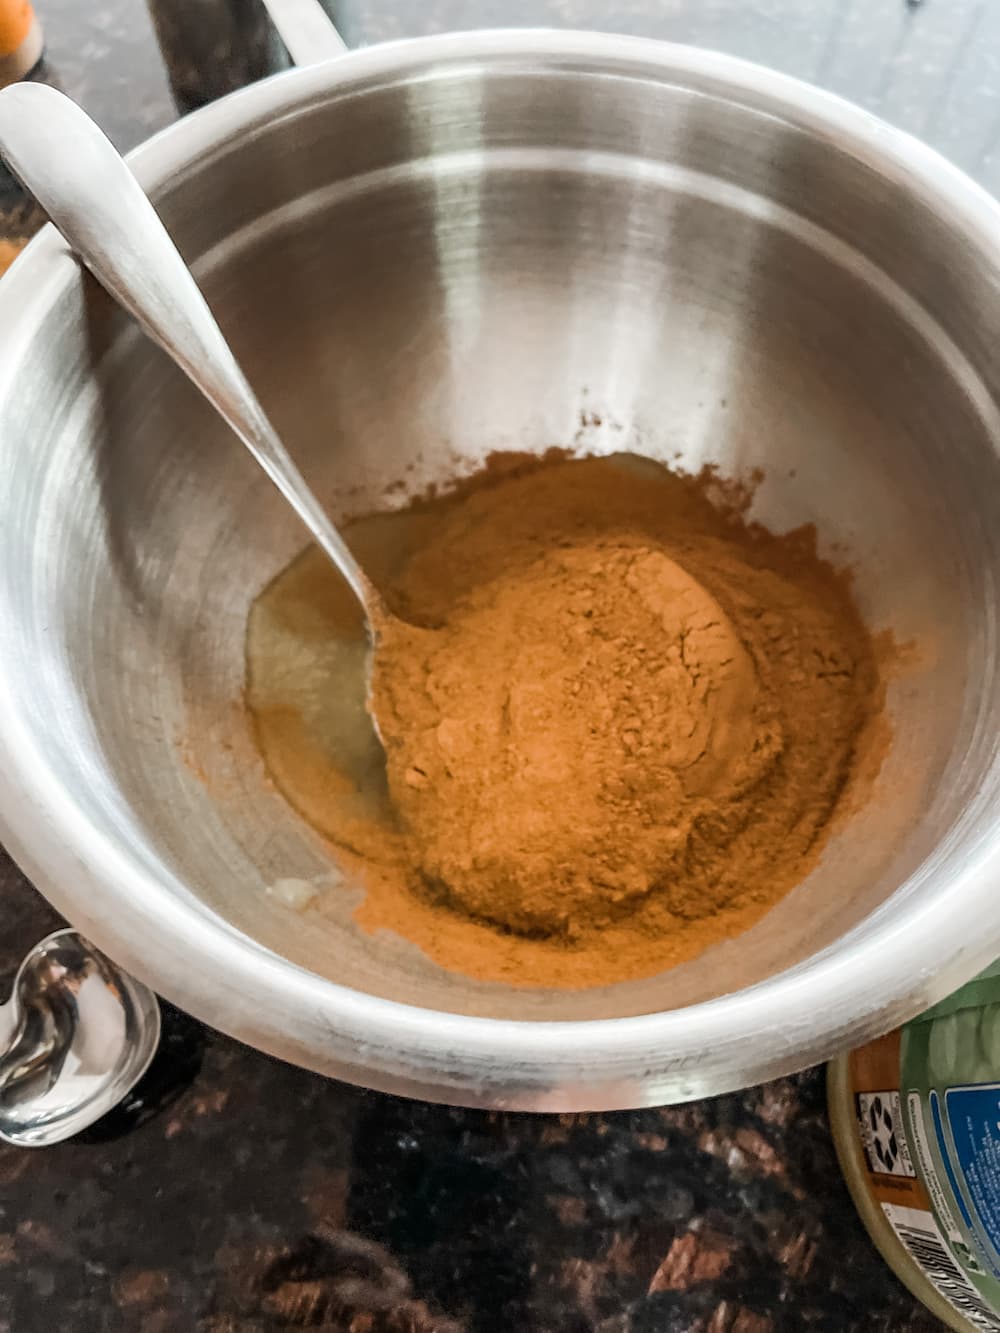
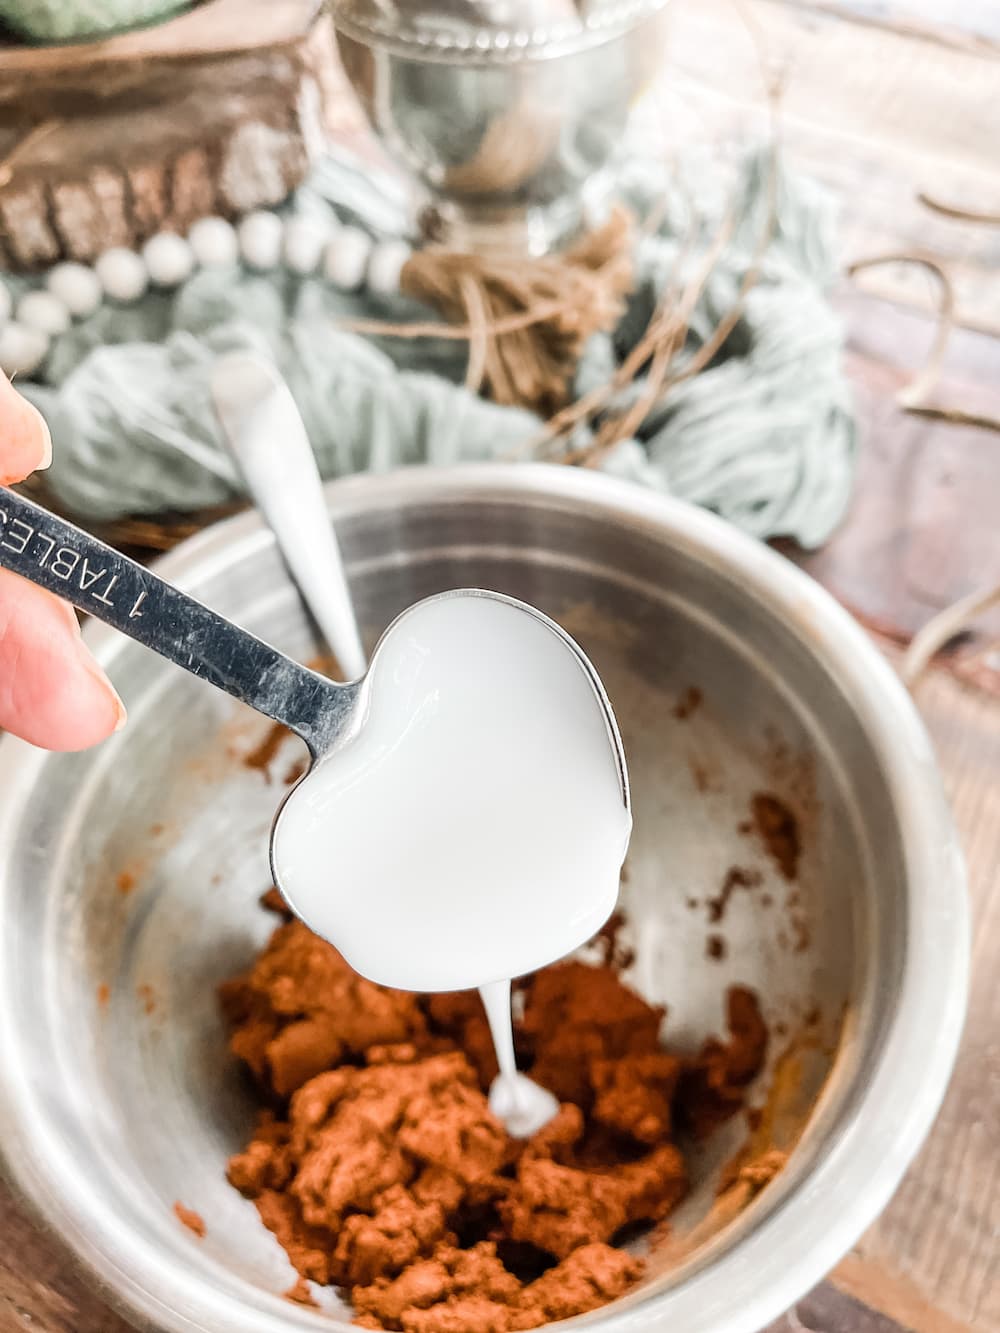
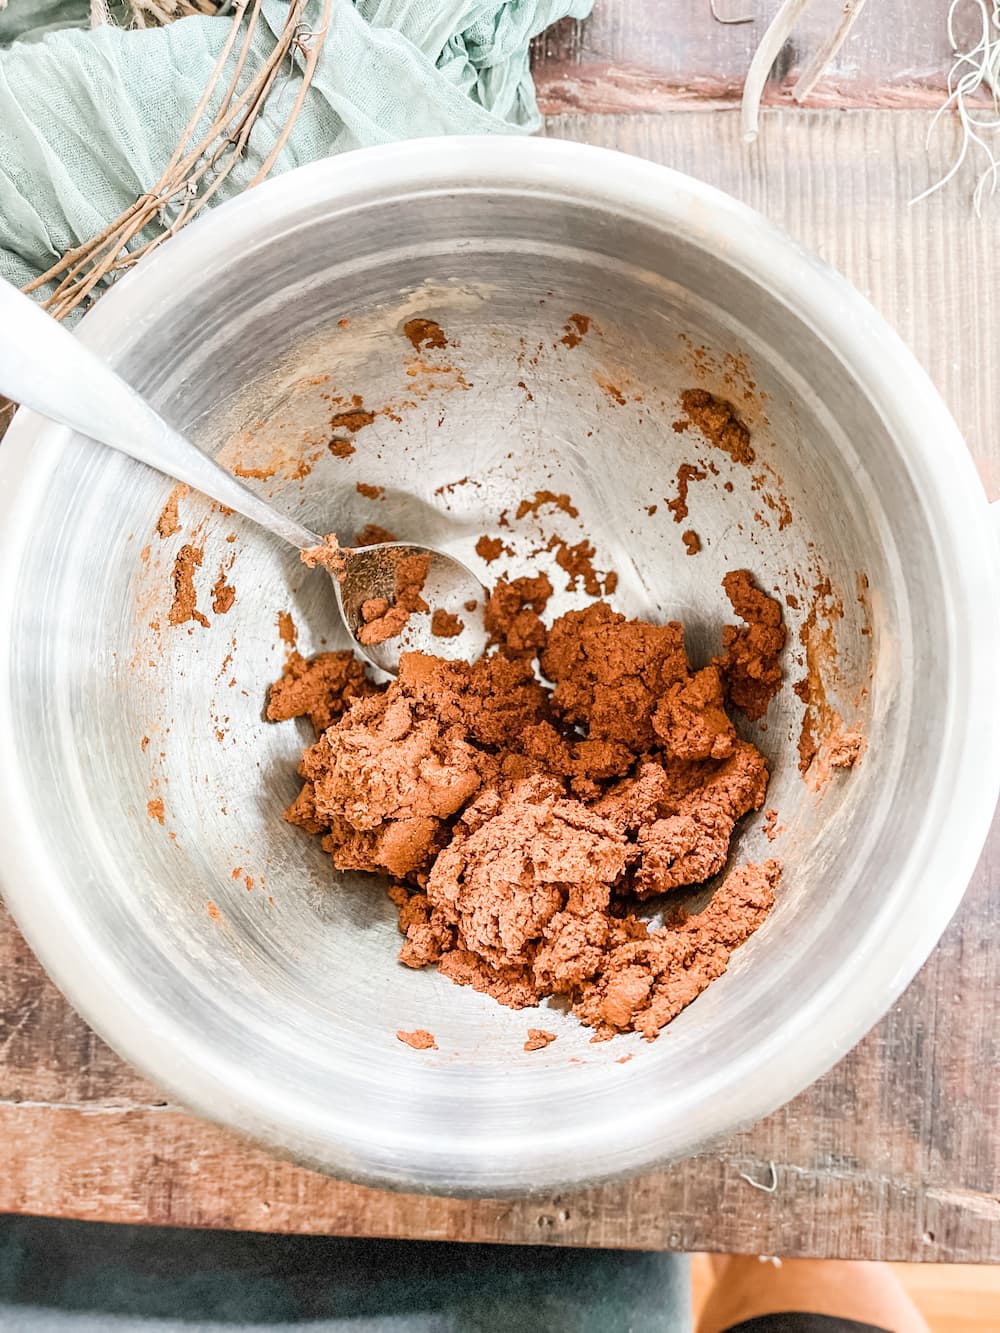
This recipe is so easy. You mix the cinnamon and applesauce until you have a clay type consistency, then add a little glue and stir.
CINNAMON & APPLESAUCE RECIPE
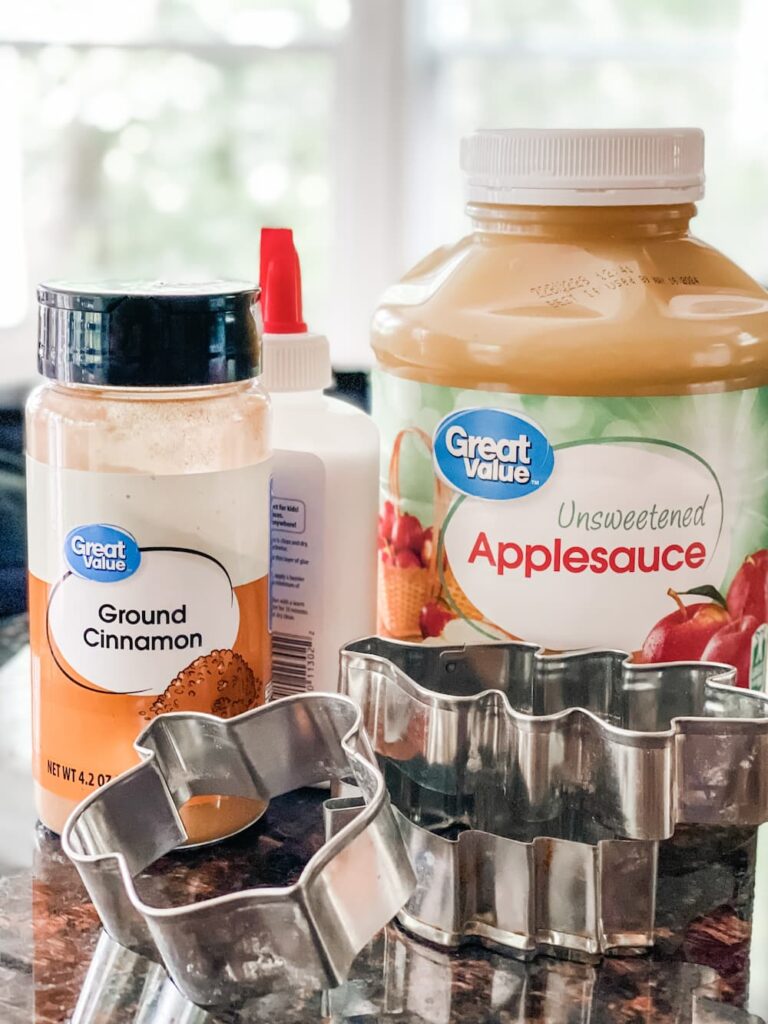
3/4 CUP APPLESAUCE
1 1/4 CUPS CINNAMON
2 T WHITE GLUE
Mix together and get ready to create. What’s great about this recipe is you can dry them in the oven or just leave them out for a few days and they will dry on their own.
MAKING THE NAPKIN RING
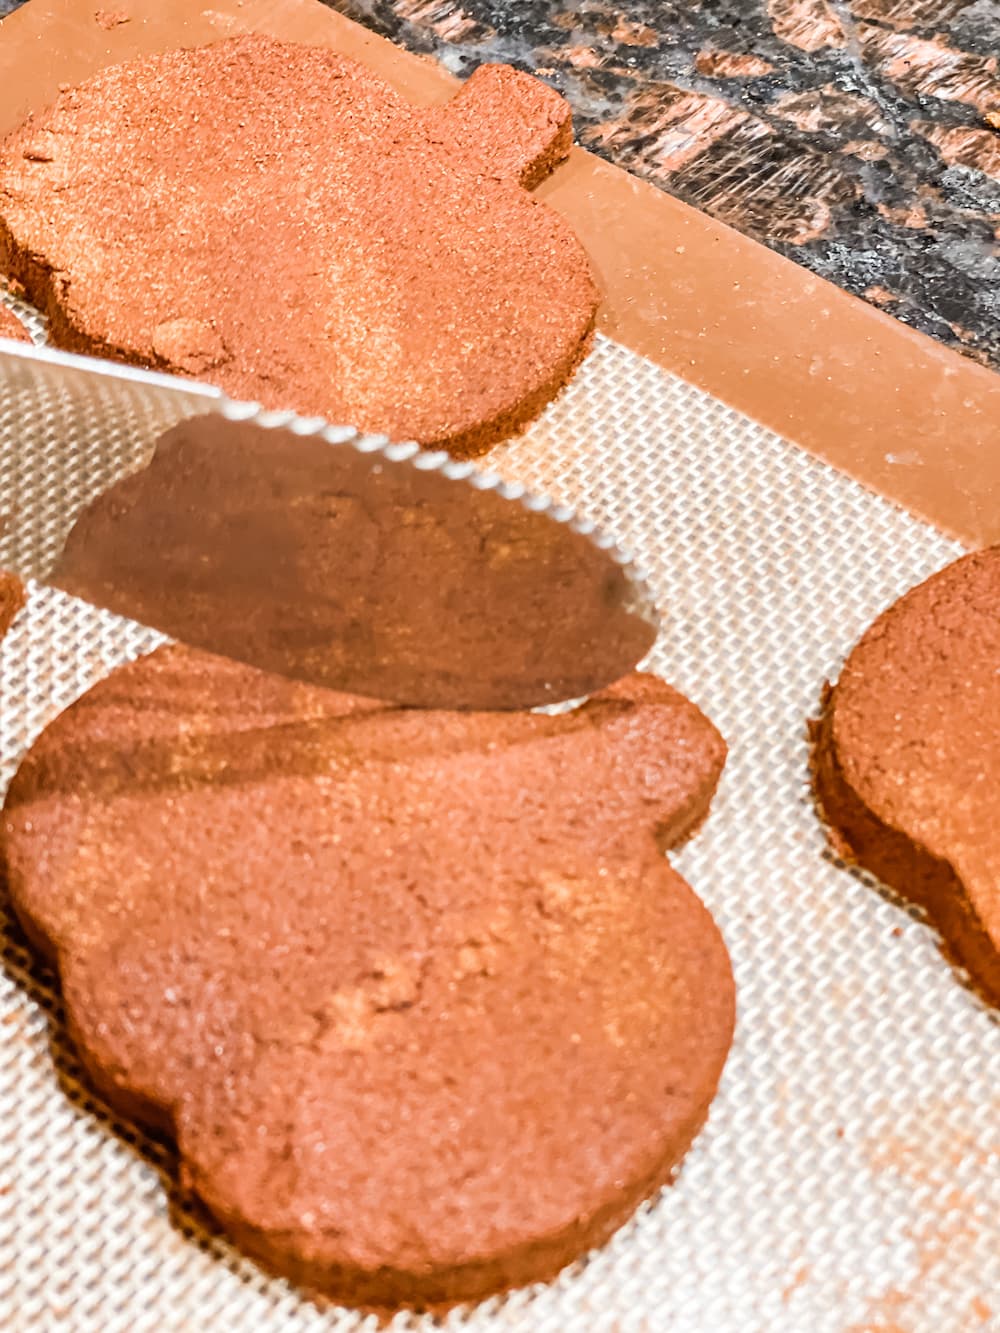
After you have created your dough, you sprinkle cinnamon on the counter or on a silicon mat or parchment paper.
Next you roll out the dough to about 1/4 inch thick. Using whichever cookie cutter you choose, (I used pumpkin) cut out as many as you need.

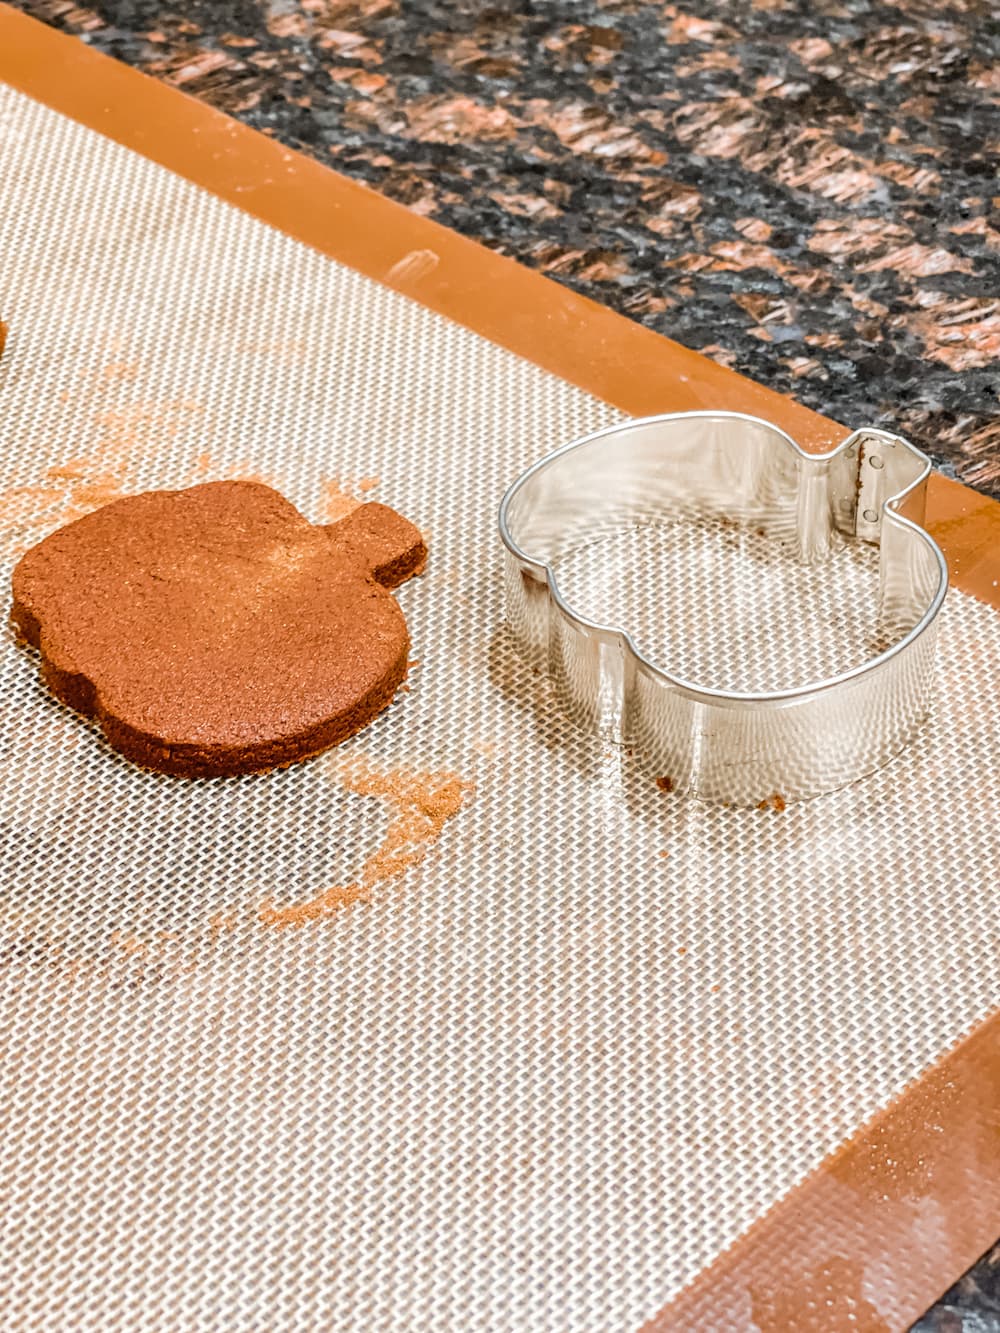
I also had leaves and acorn and tree and squirrel cookie cutters. But for this project it was all about pumpkins.
For the napkin rings, after I cut them out, I smoothed the edge by just wetting my finger and using that to smooth out any rough edges.
I added lines with a knife for some of them before I baked them.

Then I popped them into the oven at 250 for 2 hours. You can’t really ruin these which is another reason I love them.
Next you decide what you are going to use for your actual napkin ring.
I had this rattan braided ribbon that was stiff and would be perfect.
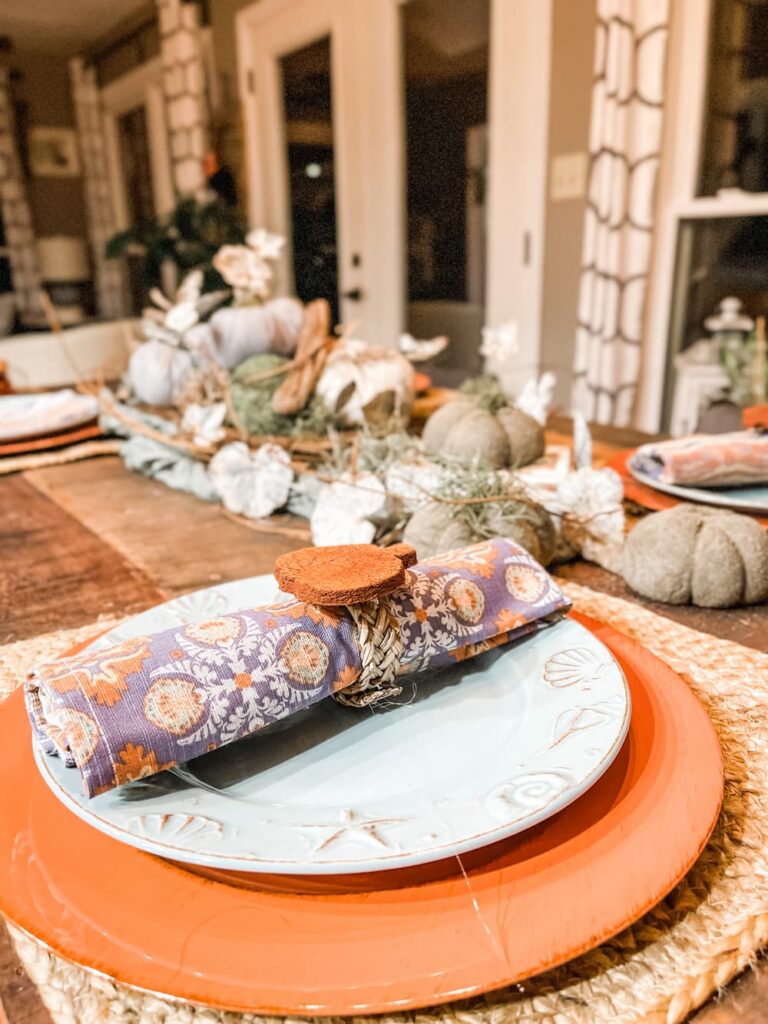
I cut a piece, made a circle, hot glued it together and let it dry.
Next step was to add the pumpkin on top with glue.
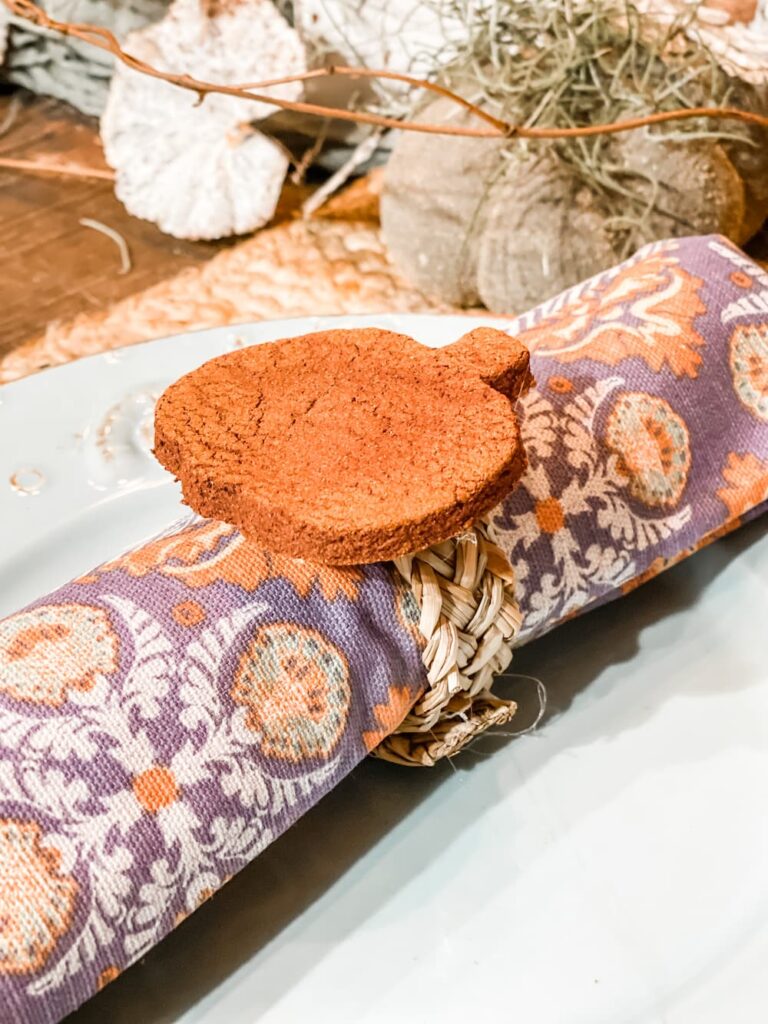
That’s it and you have an adorable and lovely scented napkin ring.
CREATING PUMPKIN GARLAND
Using the same recipe, I cut pumpkins out, but this time I put holes on both sides of the pumpkin so I could hang it as garland.
I used a metal straw and just poked it through both sides before baking.
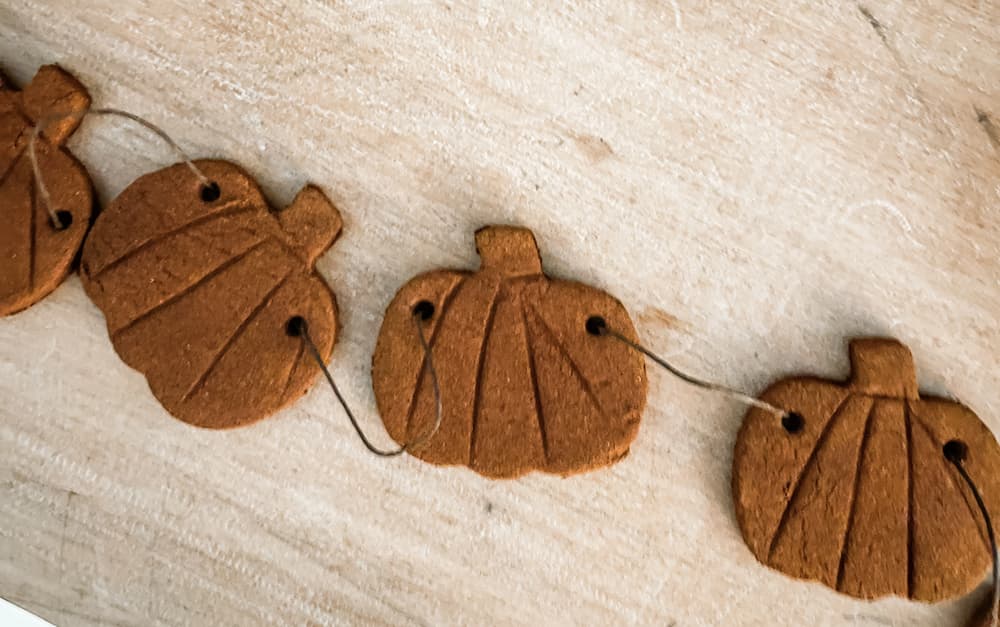
Using string or twine, weave it in and out of the pumpkins with the twine behind the pumpkin.
Add as many pumpkins as you like and hang it in a window, on a mantel or anywhere you like.
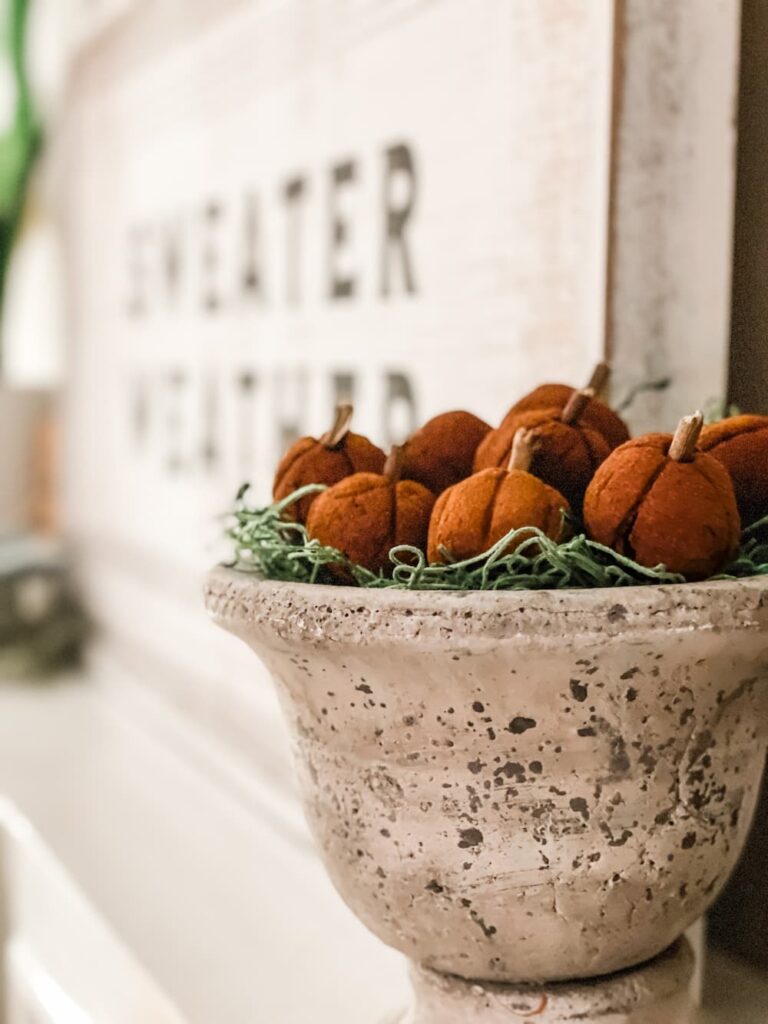
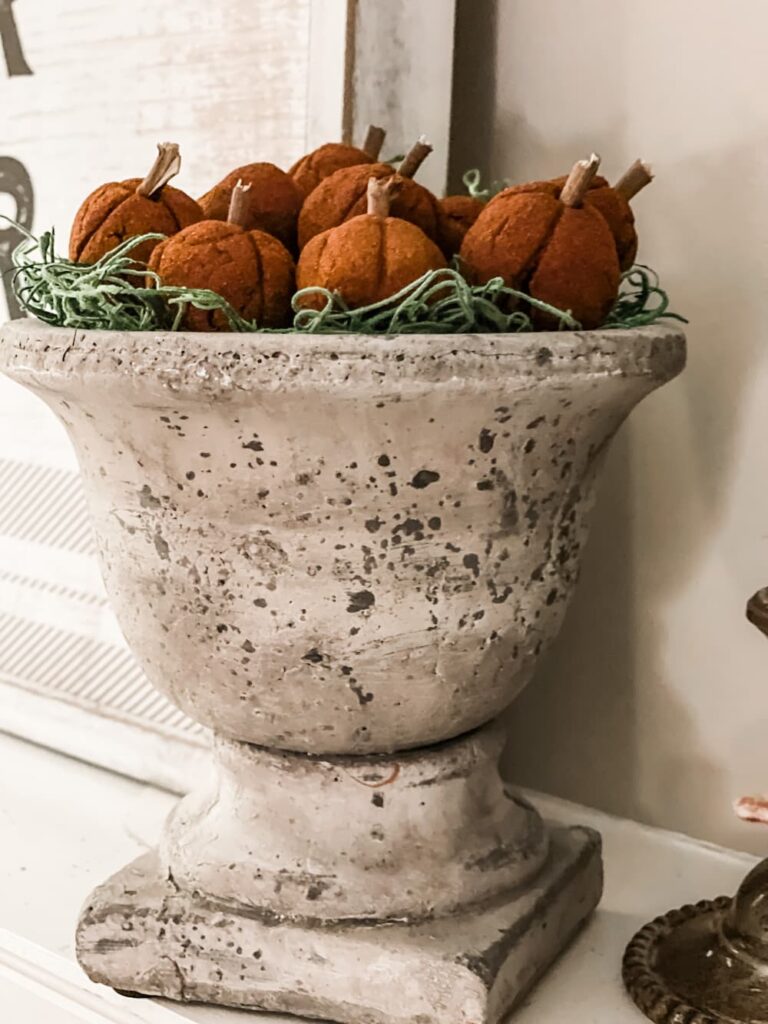
A BEAUTIFUL BOWL OF PUMPKINS
You know those bags of pinecones and cinnamon that are scented and very very strong? I don’t love them. Not even a little bit.
The scent is too strong and two artificial. I have a great solution for you.
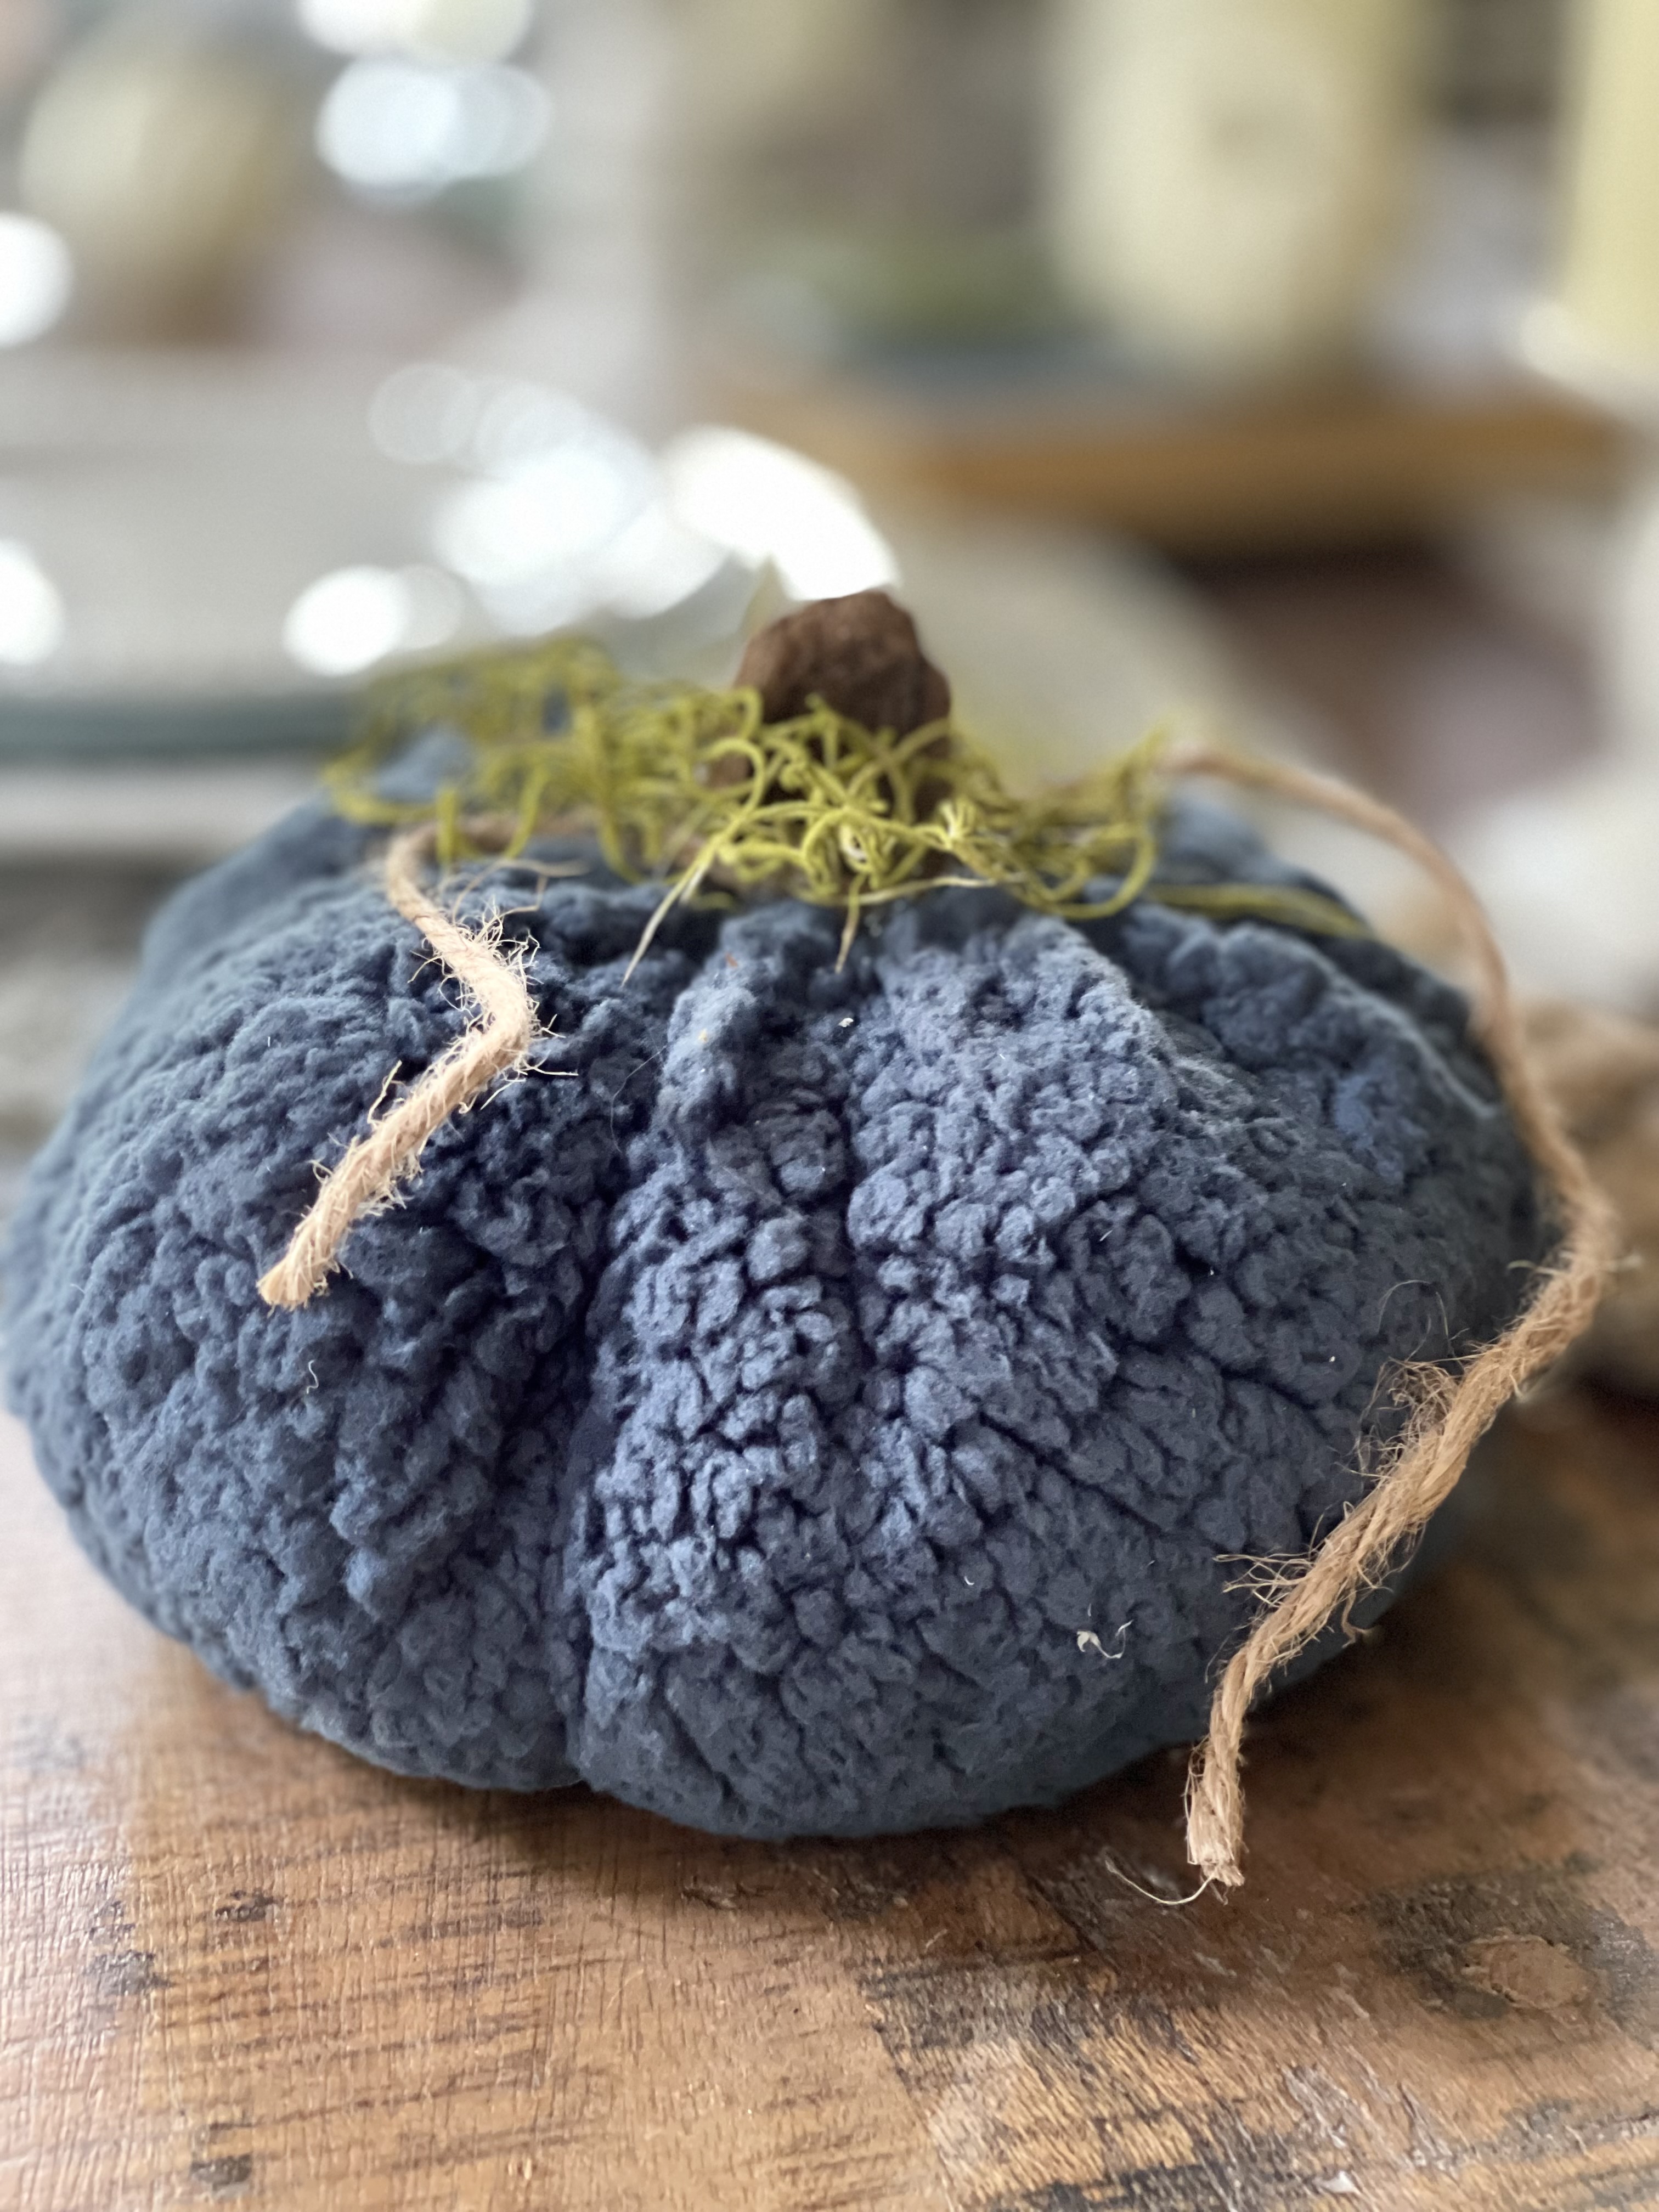
Why not create mini pumpkins to display in a bowl or tray or add to a vignette and enjoy the natural fragrance that is just right.
Using the same recipe above, I made little balls then put a skewer through the middle.
Next, I used a knife to make lines down the sides, similar to the napkin rings.
Popped them into the oven and then added a small stem to each one.

I think I am in love with these. There are so many containers you could put them in to display.
This small urn type pot is perfect. Aren’t they adorable?
Thanks so much for stopping by.
For more fall DIY ideas, click here.
I hope you give this a try. It’s definitely a fun one to do with little ones too.
XO, Regina
I am an Amazon Affiliate and I receive a small commission if you purchase from the provided links at no additional cost to you.
LET’S SHOP

I really like the fact you can do so many different things with the dough. Very easy to make too! Great idea! Pinned! Have a wonderful week.
Thanks so much Meagan. I love dough and clay of all types. Addicted!
Such a creative project, and beautiful.
Thanks Maria! Have a great weeeknd.
Hi Regina, I remember making these cutout ornaments with my girls years ago. How fun that you’ve been so creative to come up with new ways to use the dough. I can smell this post from here!! I’m featuring this post at All About Home this evening. Thanks so much for coming by to join in! Deb
Super adorable, both ideas! Saw your feature on All About Home (Debra’s)!
Rita – thanks so much for stopping by. Glad you liked them!
My goodness, I can hardly wait to try this!!! I love each idea. Hope you can add this to the Farmhouse Friday link party this week (on Friday 6am thru Monday at noon, CST). So fun! pinned
Cindy – thanks so much for the kind words. Yep – not just for Christmas anymore!