Would you like a unique way to keep special memories alive? I’ve got a great idea to make keepsake holiday ornaments.
Hi, I’m Regina and welcome to Saved From Salvage, I’m glad you are here!

Today I’m excited to share a way to create a lasting memory through a Christmas ornament.
This is an easy and inexpensive DIY that has a lot of impact.
Welcome to week 3 of our Handmade Gift Series. We’ve got one week left!
Make sure to visit Wendy from WMDesign House, Amy from Amy Sadler Designs and Jennifer from Cottage on Bunker Hill to see what they’ve been up to this week.
One of my favorite things to do at Christmas is to decorate my tree. Picking out the ornaments one by one and remembering who or where they came from.
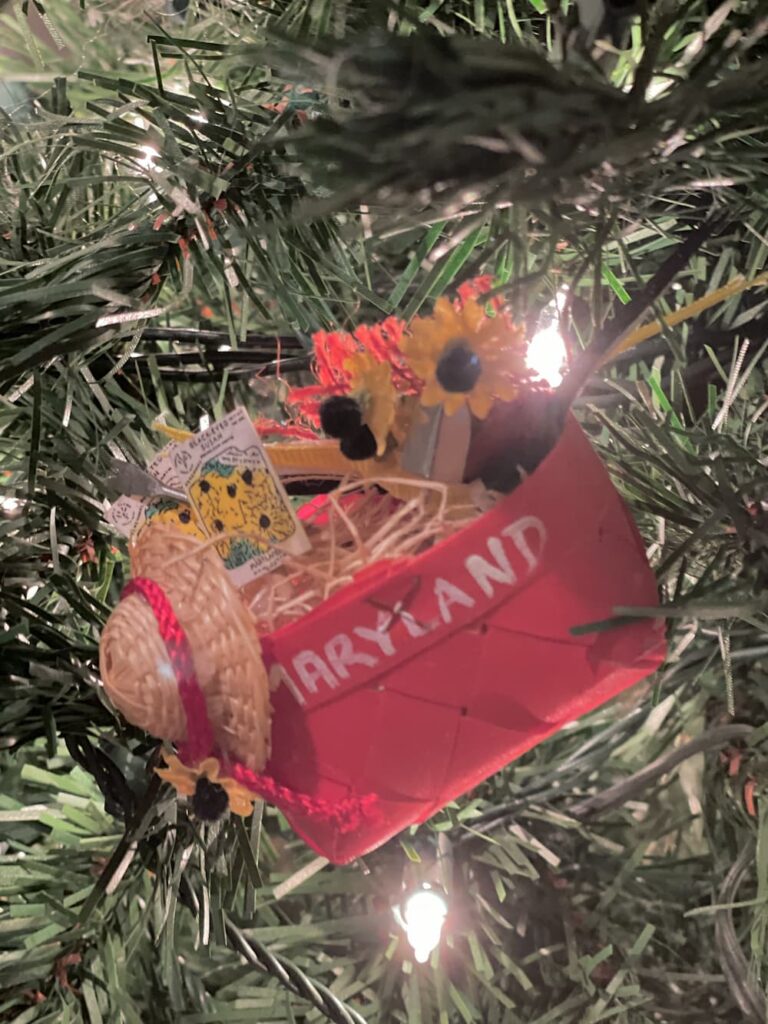
Maybe a souvenir from a family vacation or soccer trip, or a handmade ornament from a friend or family member. Ones that remind me of where I live, ones I made from cardboard and glitter.
The birthday ornaments, the pickle, ones I’ve made out of shells from the beach or a sand dollar I’ve saved.
They all tell a story.
Now that I have many of my mom’s ornaments, including ones from when I was little, it’s even more special to recall her putting them on her tree.
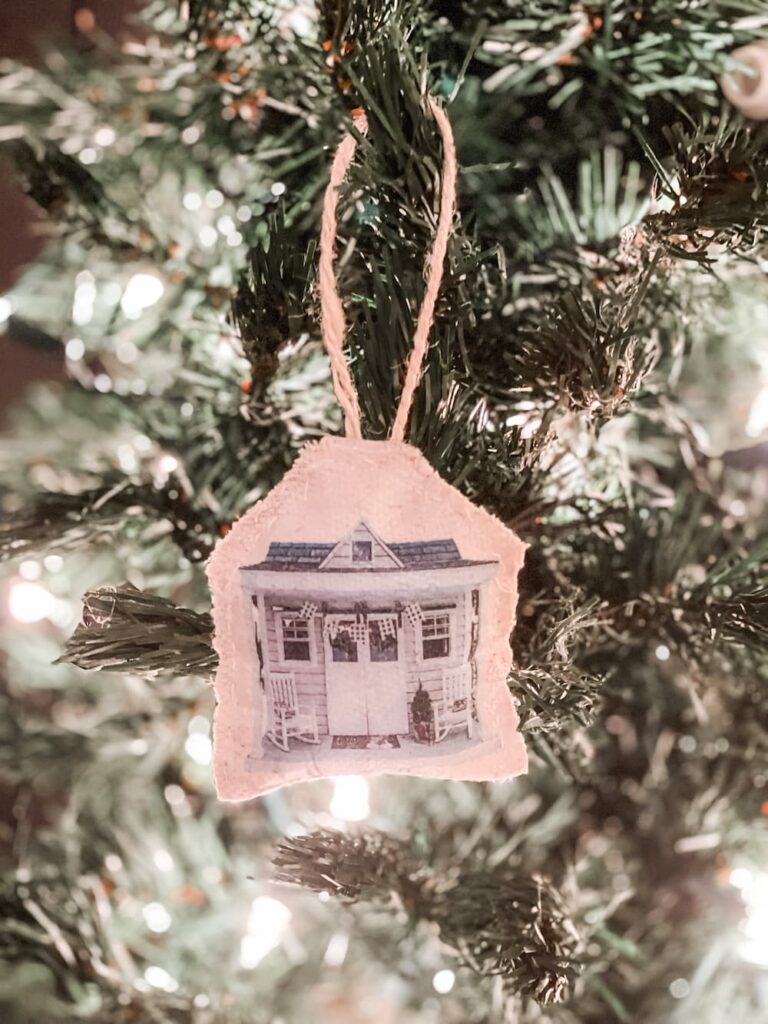
Table of Contents
CREATING A KEEPSAKE ORNAMENT
Even though with our phones, we document so much of our lives, I find many of those pictures stay right there.
I do look back through my photos on my phone and it serves as a diary of my life.
This idea will take a few of those photos from your phone and turn them into ornaments that can elicit memories for years to come.
The best part? Anyone can make these and they are not breakable. They are made from fabric and thread.
ORNAMENT SUPPLY LIST
- COTTON FABRIC
- NEEDLE
- THREAD
- STUFFING
- PHOTO
- IRON
- TRANSFER PAPER
INSPIRATION FOR THE ORNAMENT
Two years ago Carmine built the most amazing Playhouse for his granddaughters. It was and is beautiful.
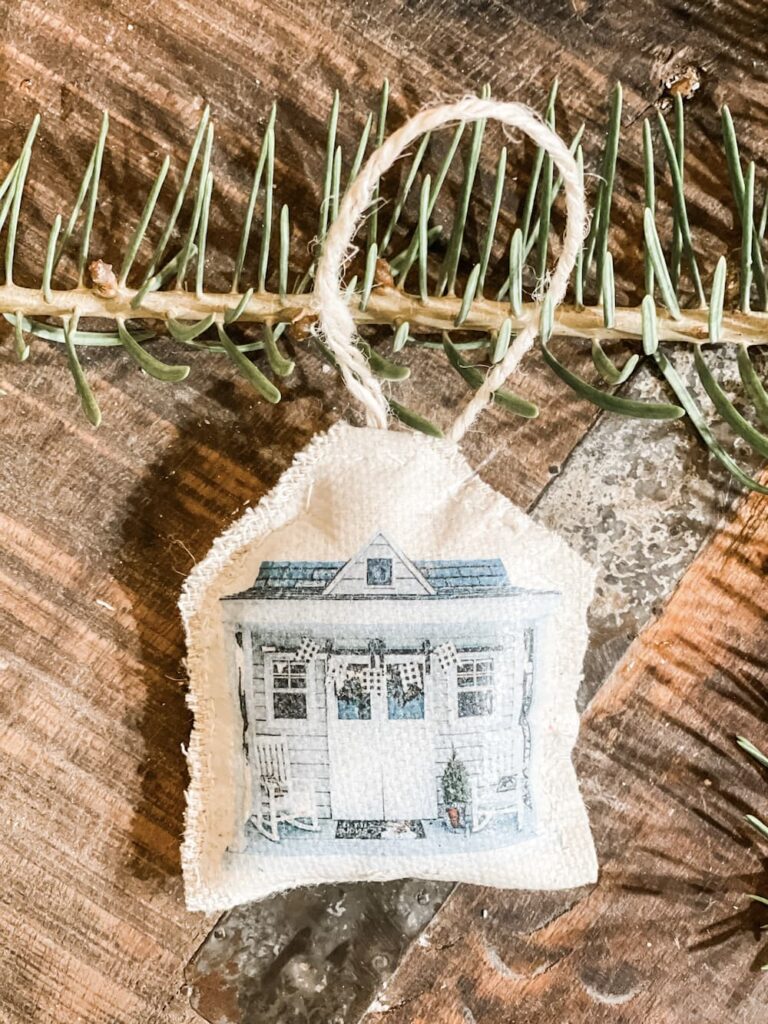
I had the pleasure of decorating and helping with the little things. He did an amazing job, if you haven’t read the story of how he built it and took it apart, you need to. You can see it here, THE BEST GIFT EVER.

One day when his daughters outgrow the playhouse, they will have the memory of the BEST GIFT EVER on the Christmas tree.
STEPS TO CREATING A FABRIC ORNAMENT
The first step is to select your picture.
After I created these, I began looking for some good pictures of my son’s pup and my sister’s new granddaughter.
They would both be fun images to use.
Ok, back to selecting your picture.
Optionally, you could use a program like CANVA if you’d like to remove the background.
The next thing that you need to do is email the picture to yourself or if you are able to print directly from your phone, you can do that.
Decide on the size you want the picture to be.
Print the picture on regular copy paper to make sure you are happy with the size.
Next step is print the picture onto the transfer paper. You can find that here.
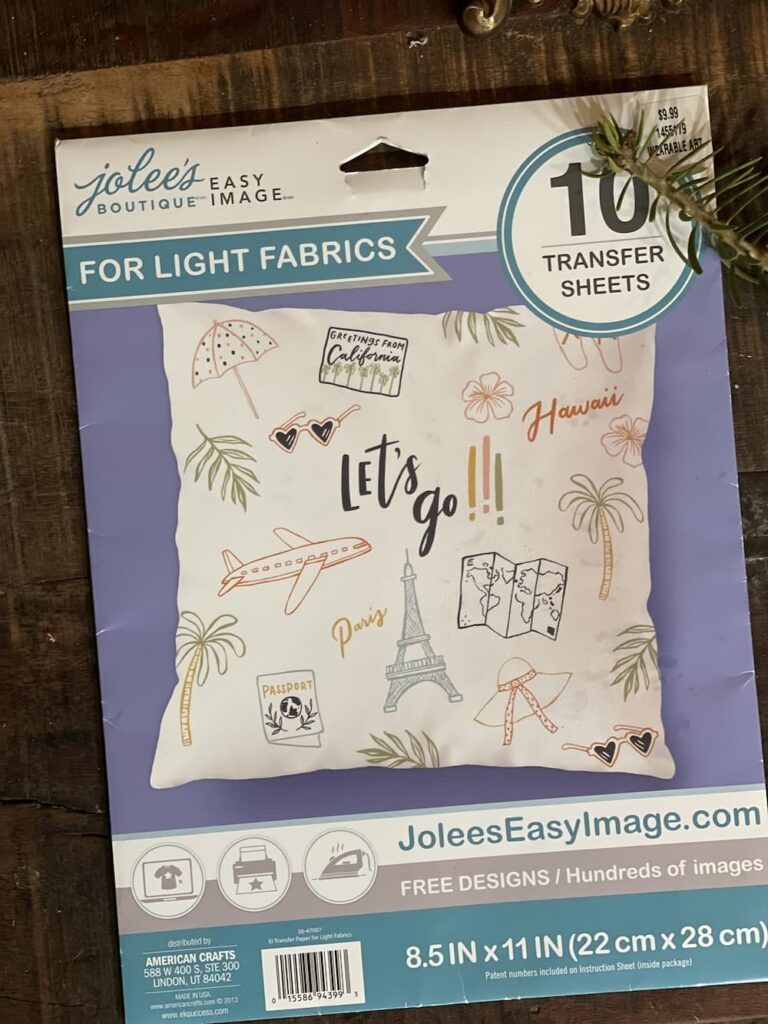
After that, then follow the directions on the package. Next is to iron your picture or onto your fabric.
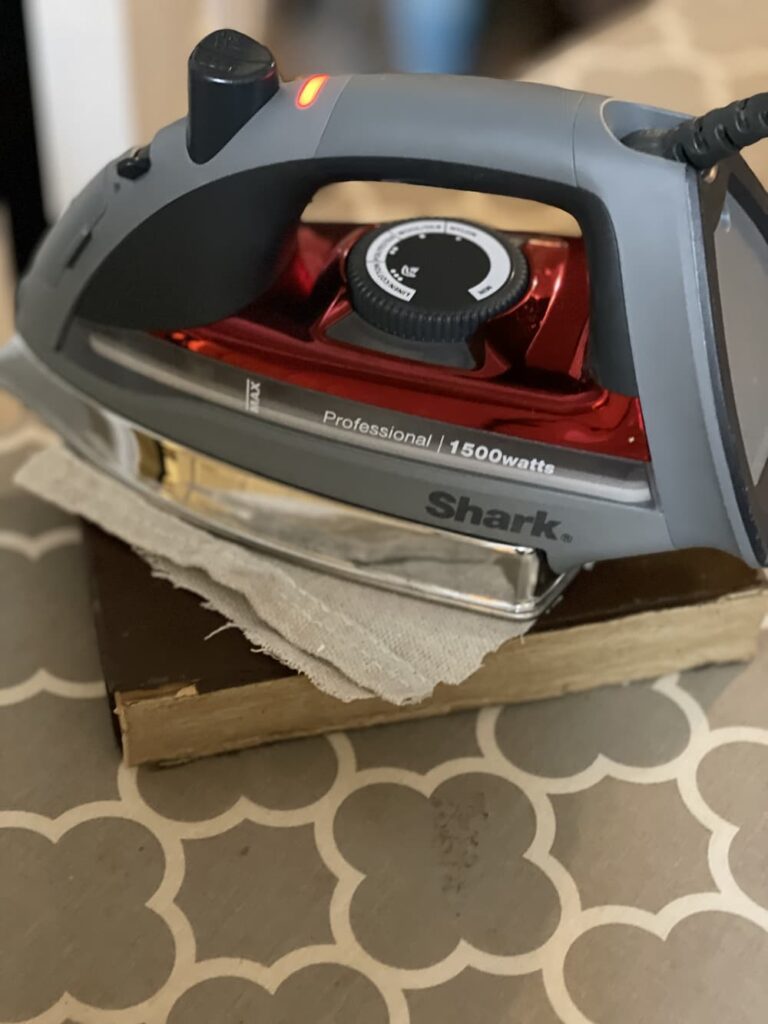
I used paint tarps. That’s because I use them for lots, cover the chairs, pumpkins, table runners.
You could use flour sack cloths or anything you’d like that the transfer paper would work on.
After you have the image on the fabric, they you can decide how to finish your ornament.
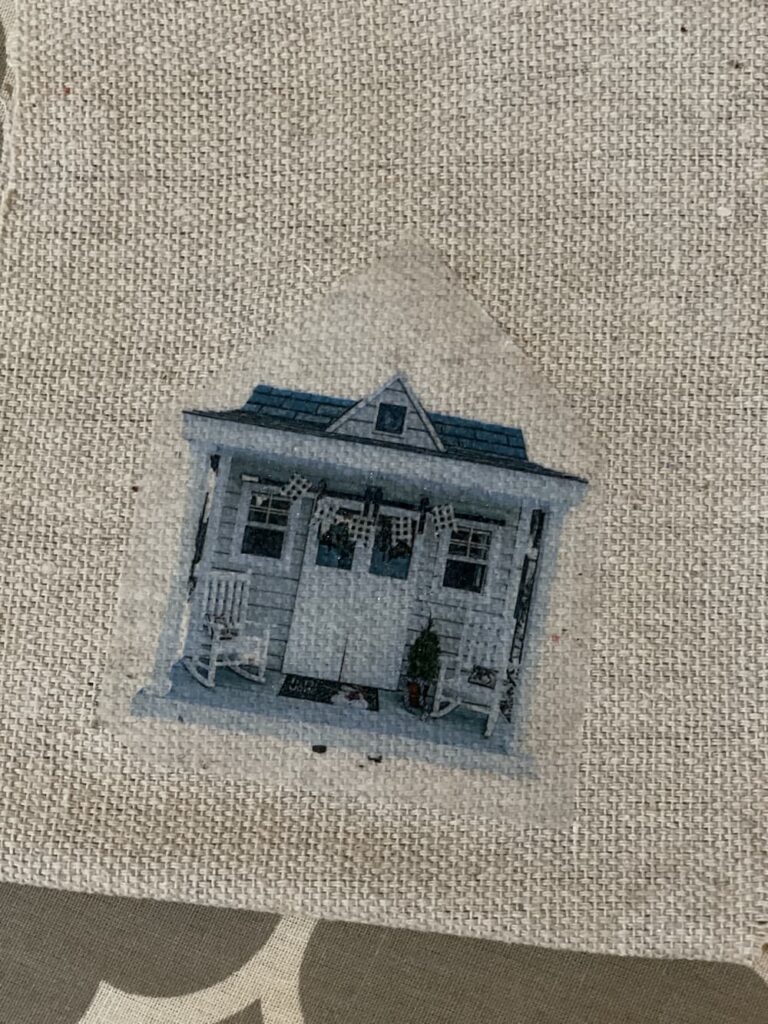
I decided to stitch mine up using a thread and needle and leaving a small space to add stuffing.
I stitched it on the outside and went around the transfer.
The picture below is a memory from a family trip to the Poconos in PA last year.
We had gotten everyone matching jammies.
Boy did we hear some moans and groans when it was time to wear them for our picture.
This will never happen again so we needed to capture this memory!
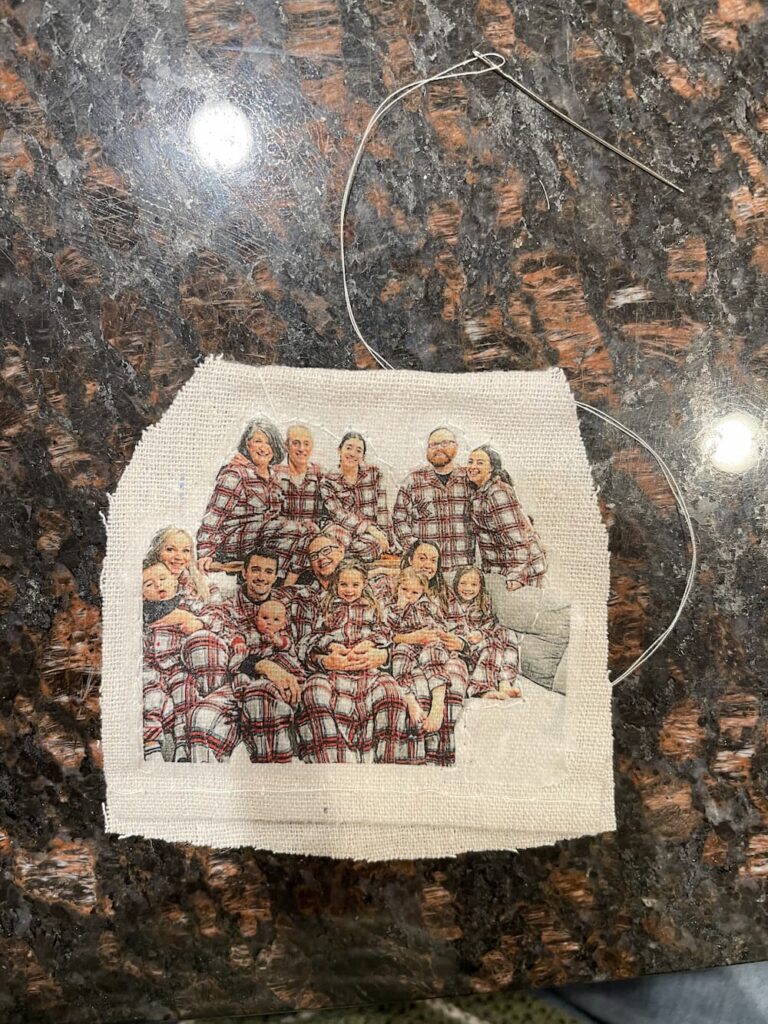
Leaving a small opening, I stuffed a little poly-fill into the inside.
Next I stitched it up and trimmed the remainder of the fabric around the image.
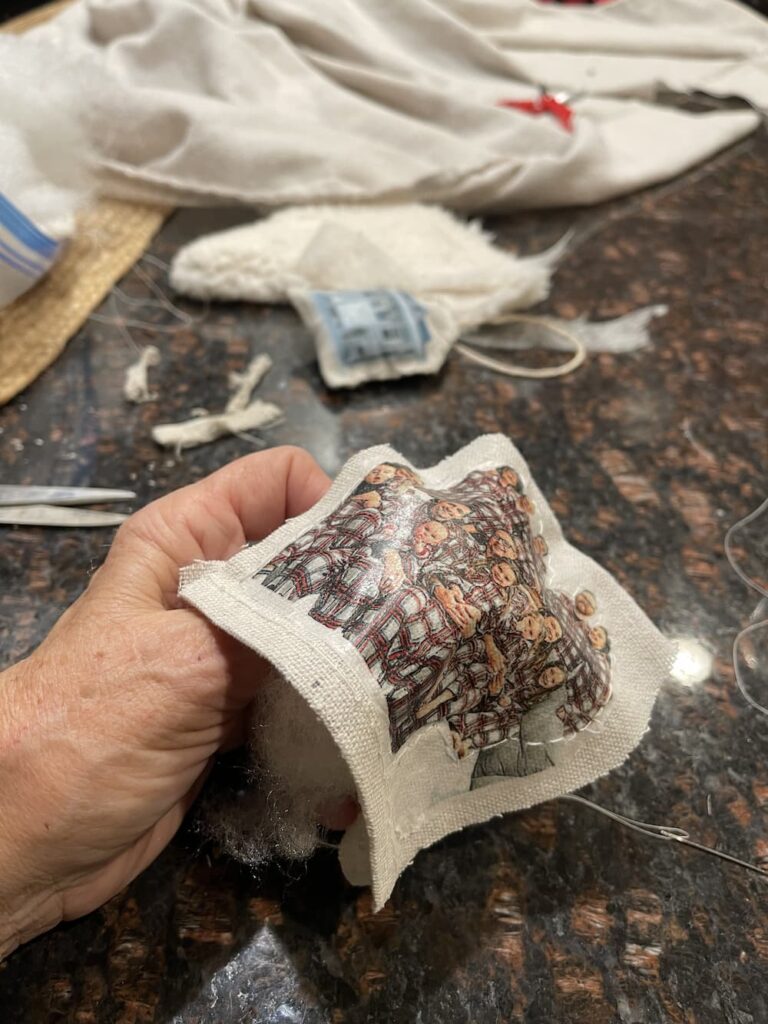
For a hanger, I used string on one, and cut some ribbon for the second.
Alternately you could put an ornament hook right through certain fabrics.
ORNAMENTS ON THE TREE
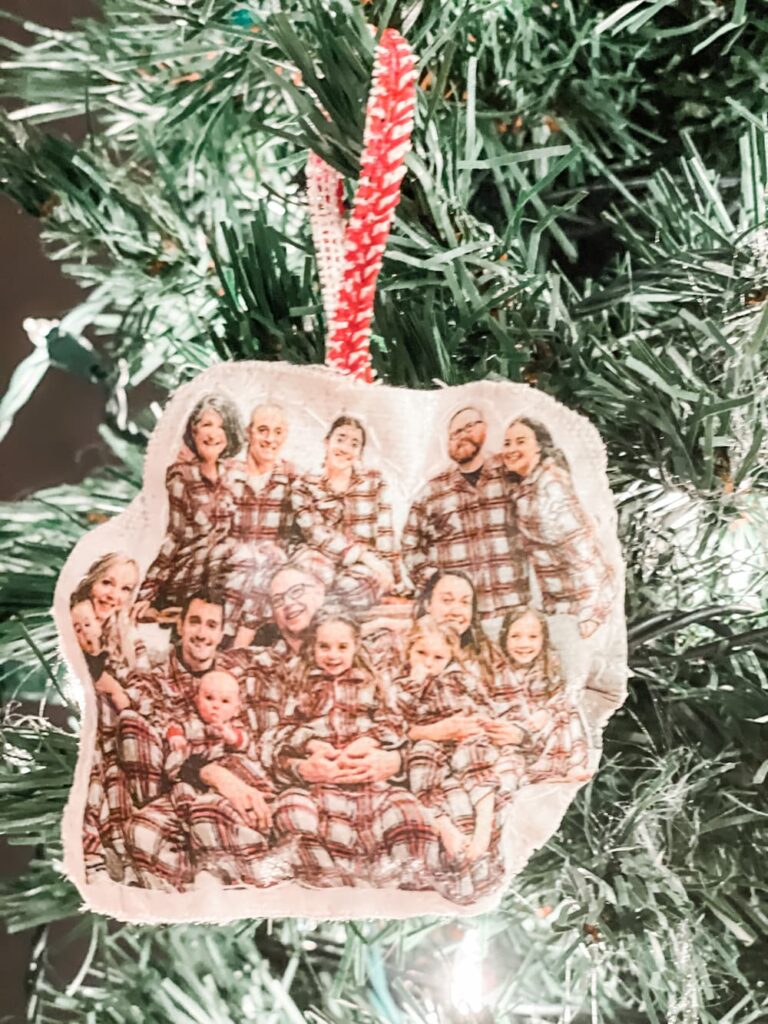
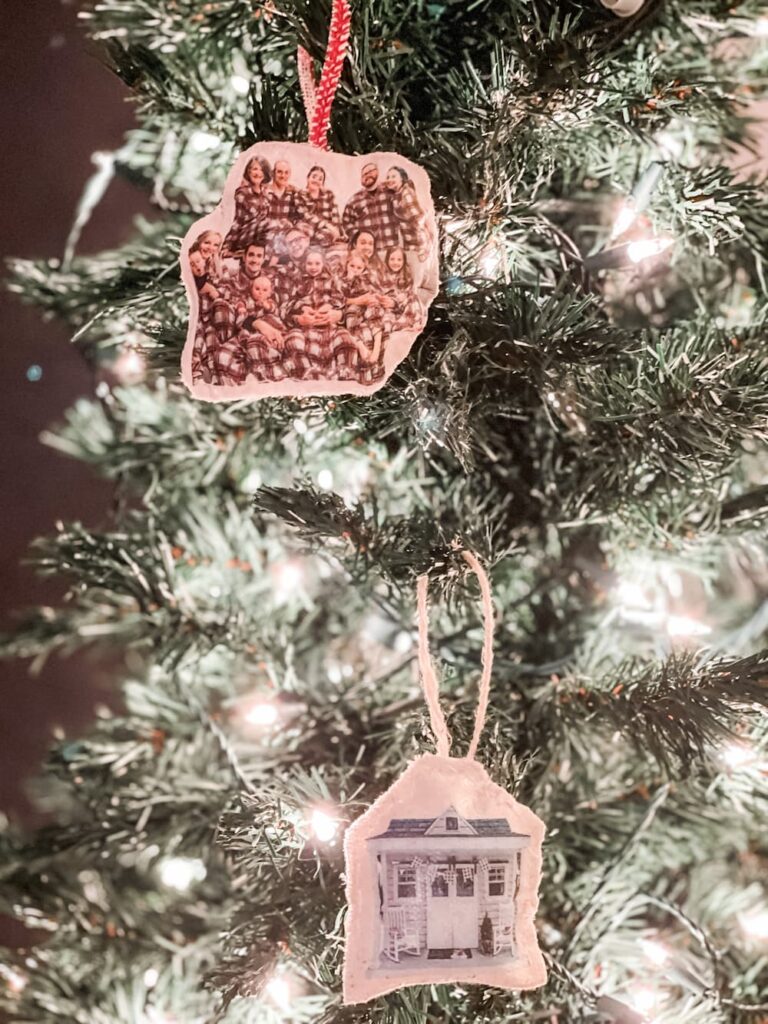
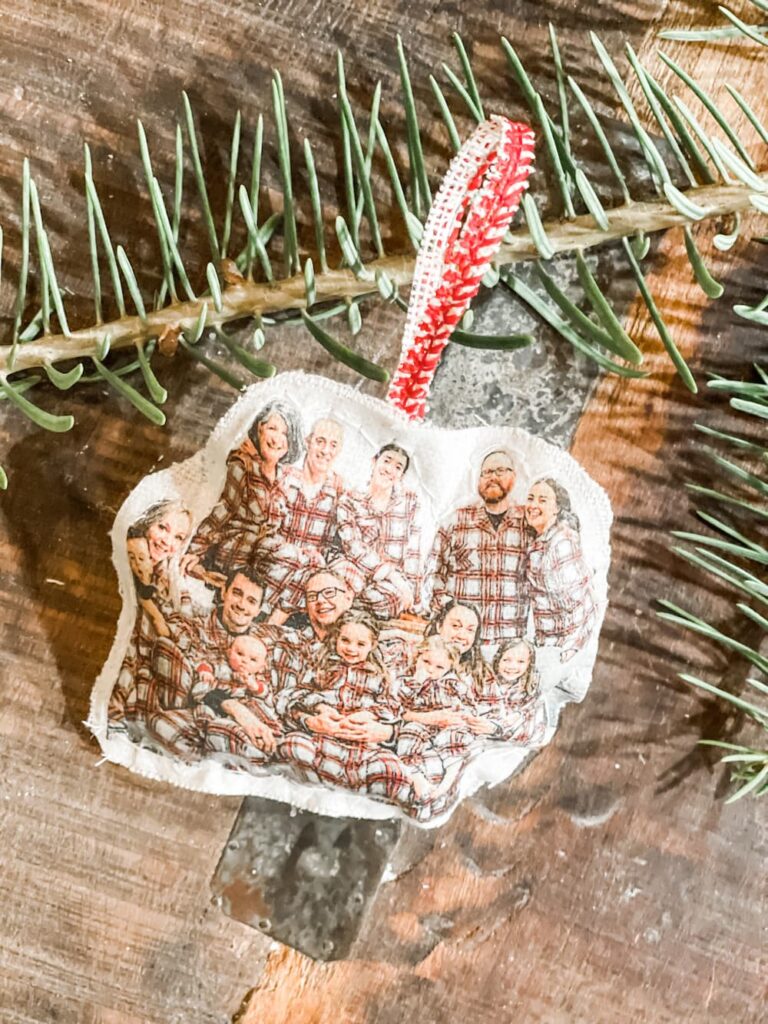
I hope you got some inspiration to create your own fabric ornaments.
One variation is to mount the fabric onto a stiff piece of felt and not stuff it.
You could do many other variations as well, one idea is to type up a saying or words and print those onto fabric and create an ornament with that instead of a picture.
I’m so glad you stopped by. Now onto the Handmade Gift Series,
you will love this fun doormat from Jennifer at Cottage on Bunker Hill.
Wendy from WMDesign House has whipped up some beautiful lavender sea salt soap, and
Amy from Amy Sadler Designs is sharing these adorable felt coasters.
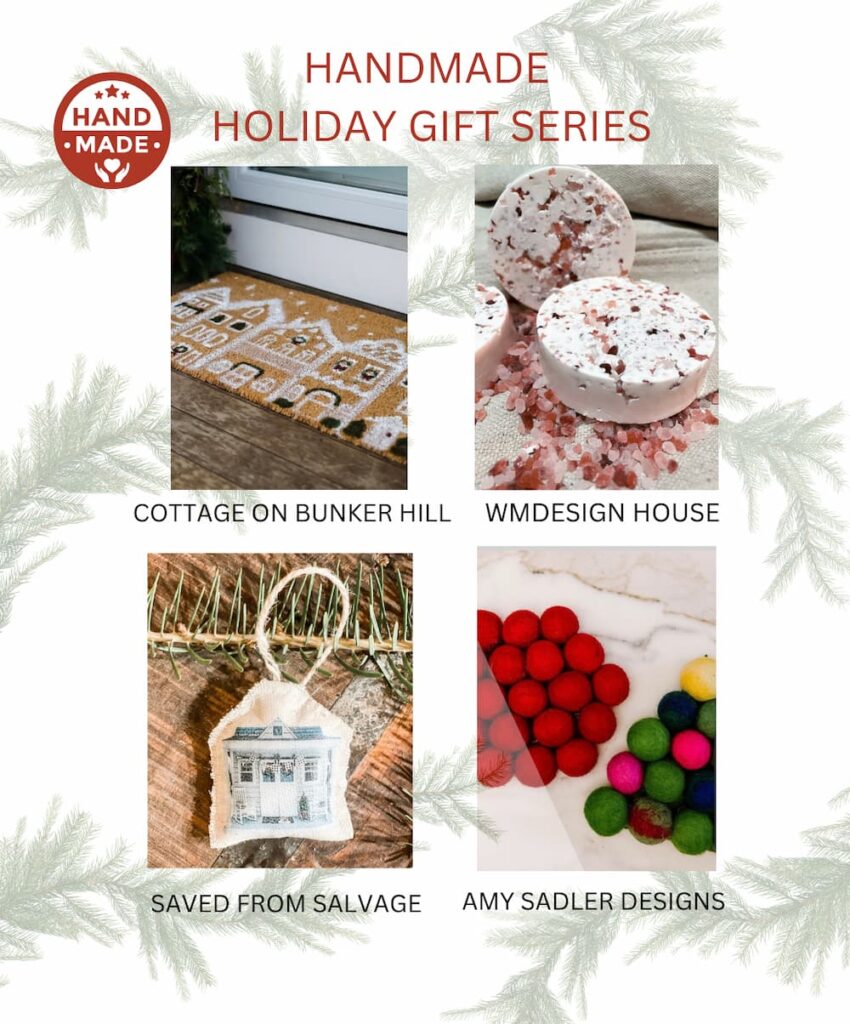
Be sure to come back next Wednesday for our final week of our Handmade Gift Series. Here is a link to the Sugar Scrubs and Watercolor Notecards.
If. you would like another another fun idea that could be a gift for you or a friend, check out my No Sew Holiday Pillows.
I hope that your holiday prep is going well. I’m enjoying creating and doing all the fun stuff, teaching wreath workshops and going to a cookie swap.
Going to stores close to Christmas isn’t my thing, too many people are rushed and stressed.
I just found out my brother and his wife will be in town before Christmas and that’s the kind of thing that makes me happy.
Oh and I’m so excited to share a Cozy Holiday Home Tour with you. Click here.
Enjoy your December, however brings you joy.
XO, Regina
I am an Amazon Associate. That means I receive a small commission if you were to purchase from these links, at no additional cost to you. Thanks for supporting my small business.





Love this idea and am going to try it!!
Erin-thanks for checking it out, so glad you liked it!
Love this idea and am going to try it!!
These are great! Might try some myself! 😜
This is a fantastic idea that I would love to try! Ornaments with meaning behind them are the best and you have shown a way to save and share beautiful memories every year on the Christmas tree! Love it, Regina!
LOVE this photo ornament idea, Regina! We will be featuring you starting Wednesday at the Creative Crafts Linky Party! Pinned and shared
Creatively, Beth
I just love this idea! I’ve made a few keepsake ornaments before, but never one like this. Thank you for the instructions!
Thanks so much for joining the Grace at Home party at Imparting Grace. I’m featuring you this week!
Richella – Thanks so very much for the kind words and the feature. Your family is in my thoughts.