Have you ever had an old china cabinet to upcycle?
See how I created a potting station from my side of the road find.
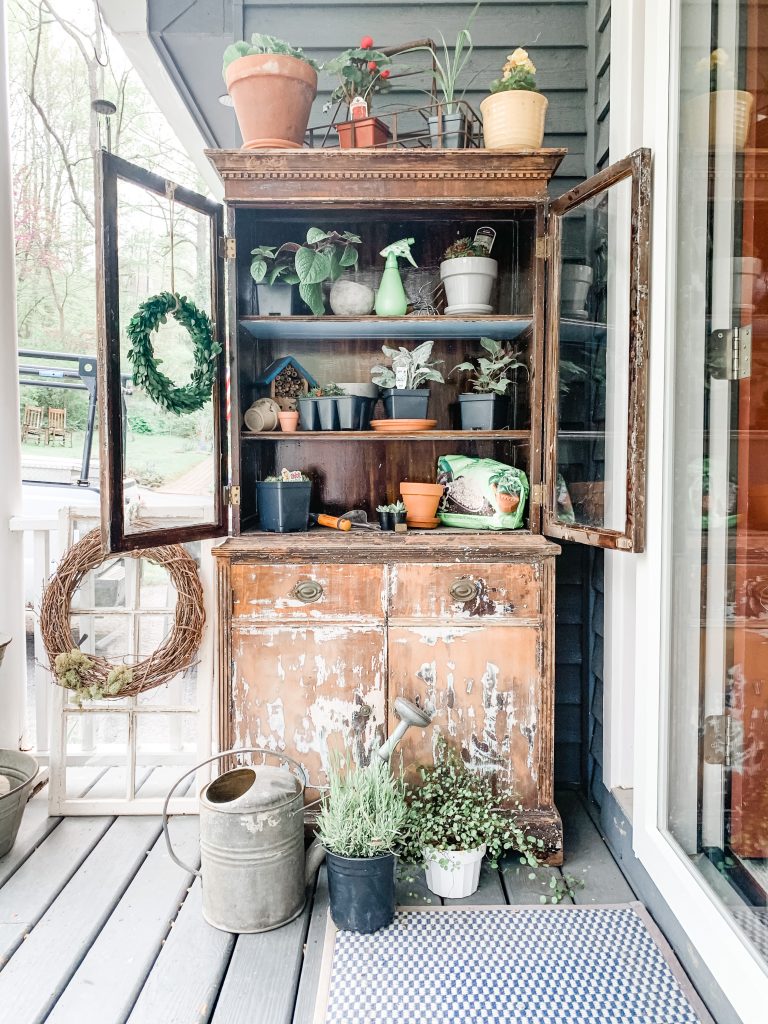
Table of Contents
THE POTTING STATION BACKSTORY
I’m so excited to share this with you.
You know when you find something in the trash, you can’t go wrong.
Even better when you can save it and get a two for one.
That’s exactly what I did with this piece. It went from the side of the road trash pile to a
lovely cabinet and an adorable potting station.
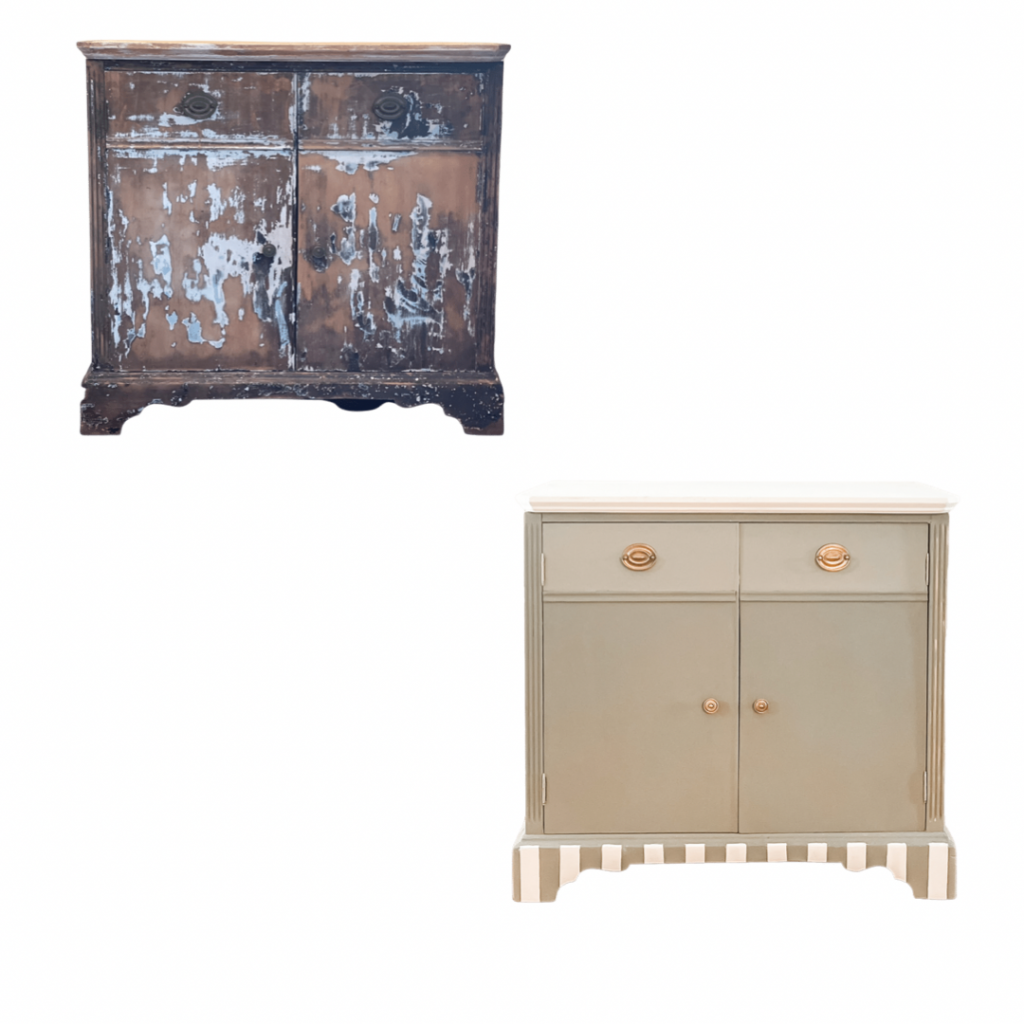
THE REVAMP BEGINS
When I found this in the trash last year, I put it on our front porch. I loved it there, someone did not.
I used it to store planting supplies and then occasionally would decorate it.
It’s not made to be outside and it began to warp and the veneer lifted in spots.
So….I moved it inside. It’s small and I never found a spot that it looked as good as the front porch.
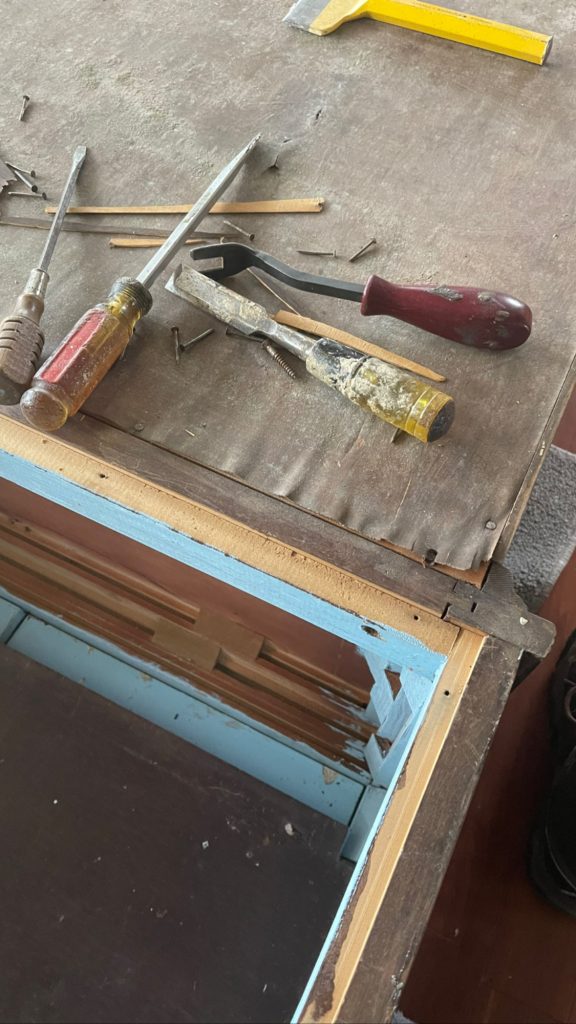
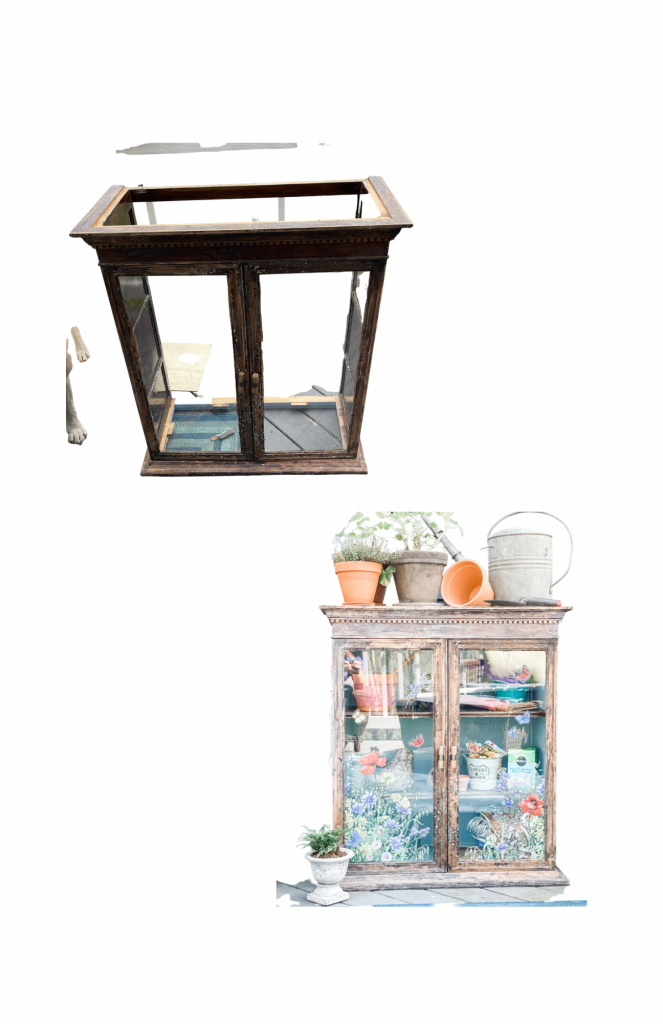
A few months ago I decided to try and take it apart.
Carmine was out of town so I flipped it over and began tearing it apart.
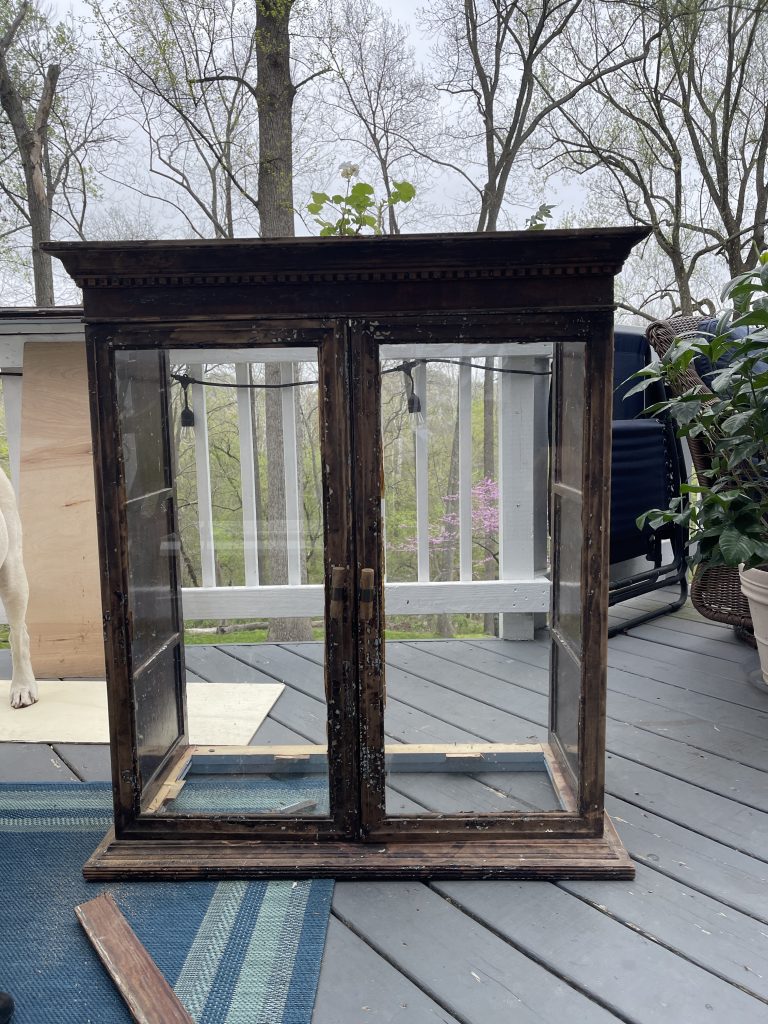
So when I was done, there was no top on the bottom and no bottom on the top. Get it? I had to use a thrifted coffee table to create a new top for the base and I did a whole lot of work on the upper piece, I’m sharing that here.
A POTTING STATION IN THE MAKING
The top of the glass portion was not salvageable. I really wanted to use it for my planting supplies so I thought about putting a metal tray on top. Then I remembered we had some leftover white tile from the guest bath makeover. Click here if you want to see how great that project turned out.
I decided to use that and tile the top, it would wipe clean easily and be a perfect surface for potting.
1ST: PREPPING
I took the shelves out, took the top off and removed all of the remaining nails that were sticking out. Following that, I cleaned the entire piece with Dixie Belle White Lightning Cleaner.
2ND: TRANSFORMING
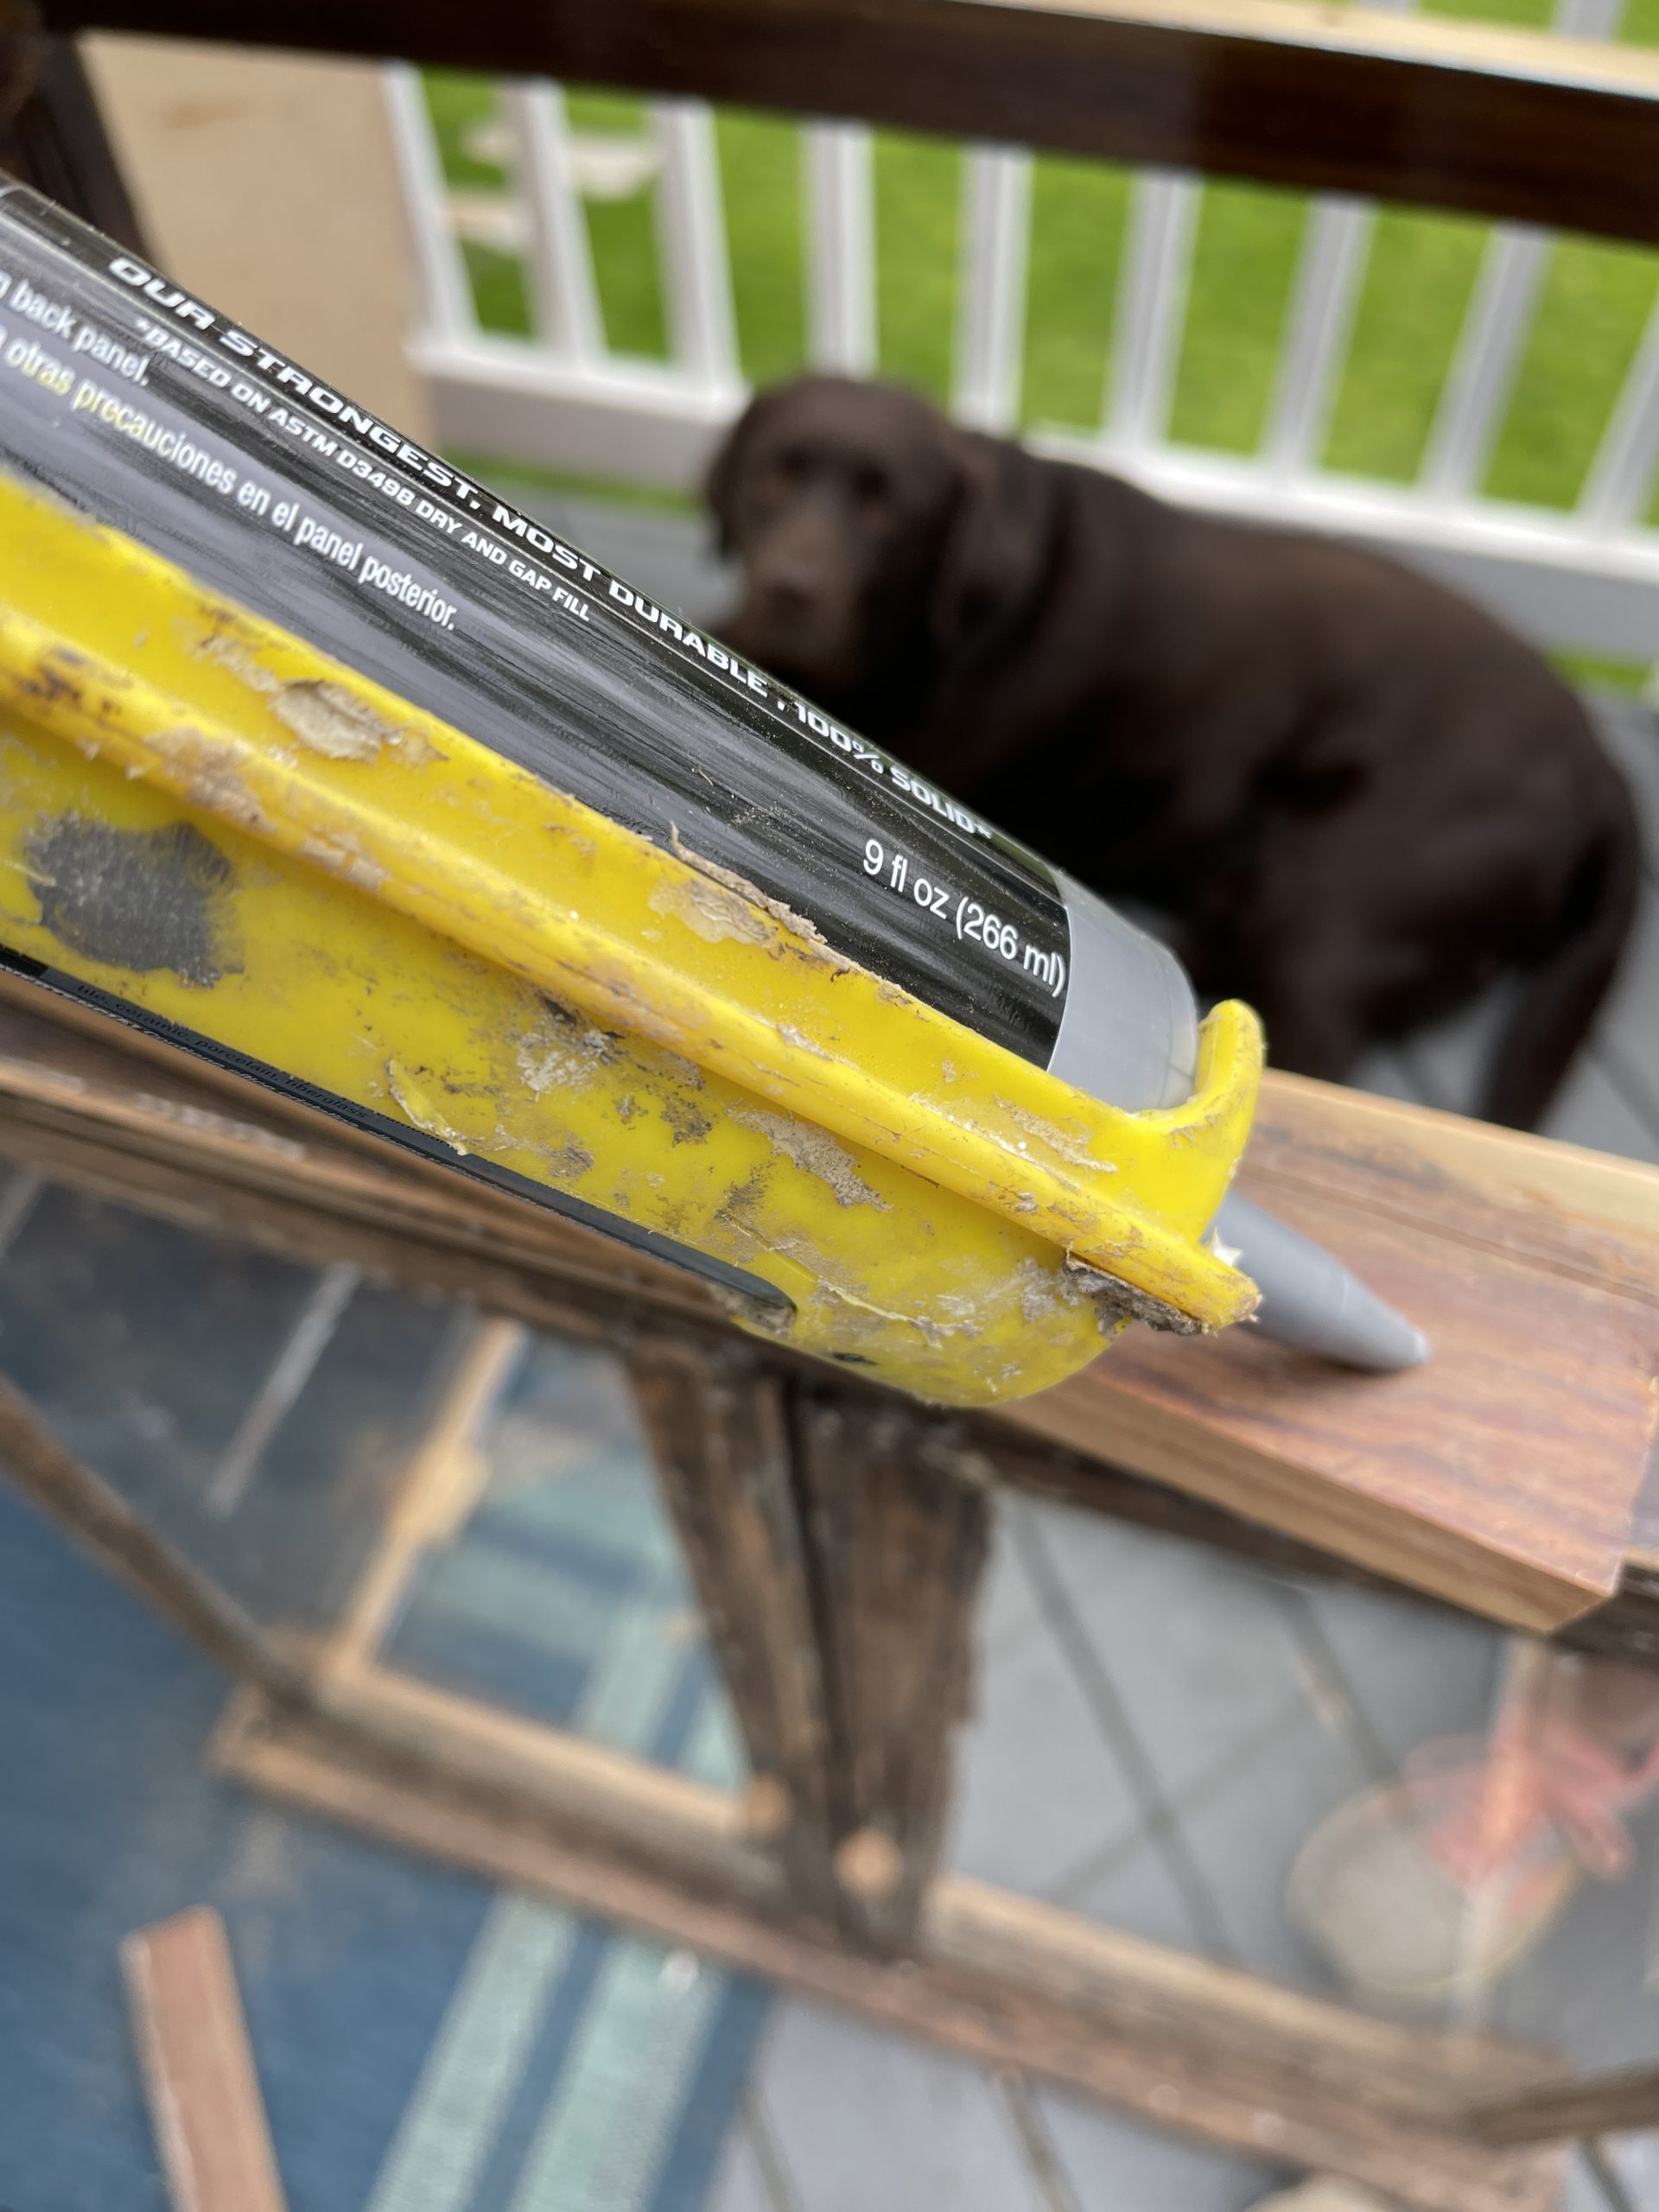
To tile the top I needed something for the tile to lay on since I couldn’t use the top. I found some more leftover tongue and groove flooring. I cut four pieces and attached with glue and staples just below the edge on all four sides. This would create a ledge for me to lay a piece of hardy board. I would lay the tile on the hardy board.
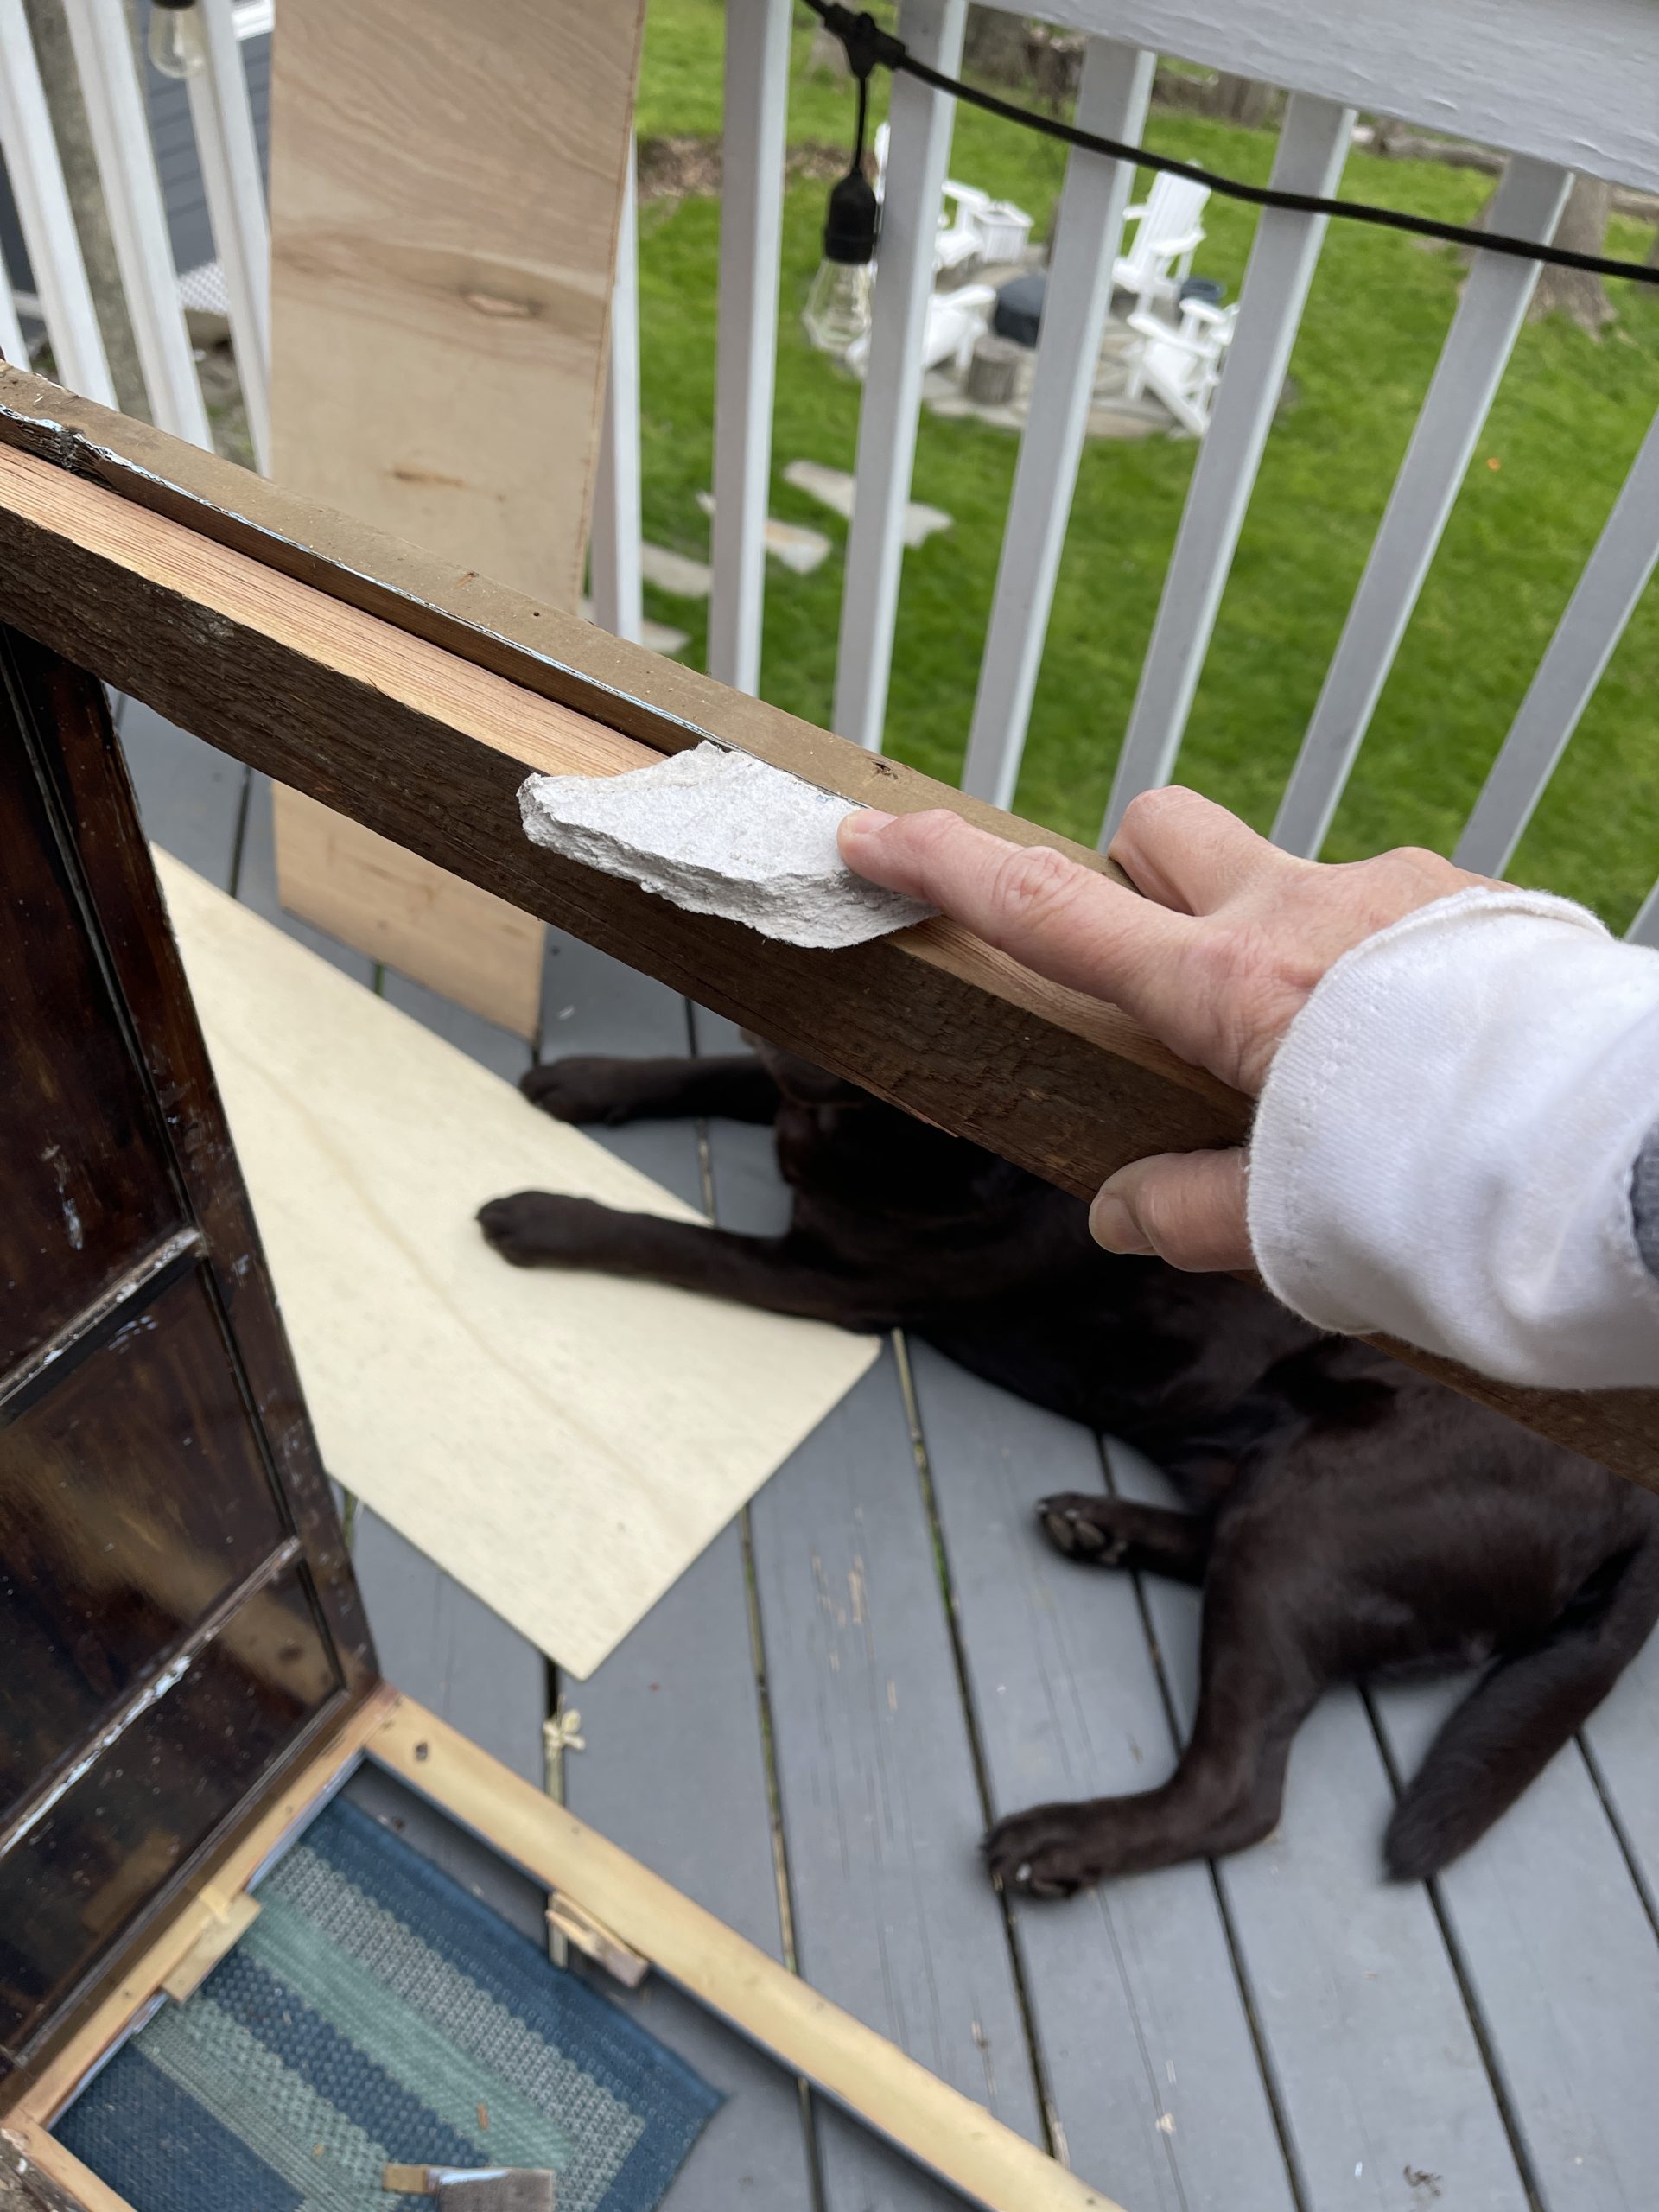
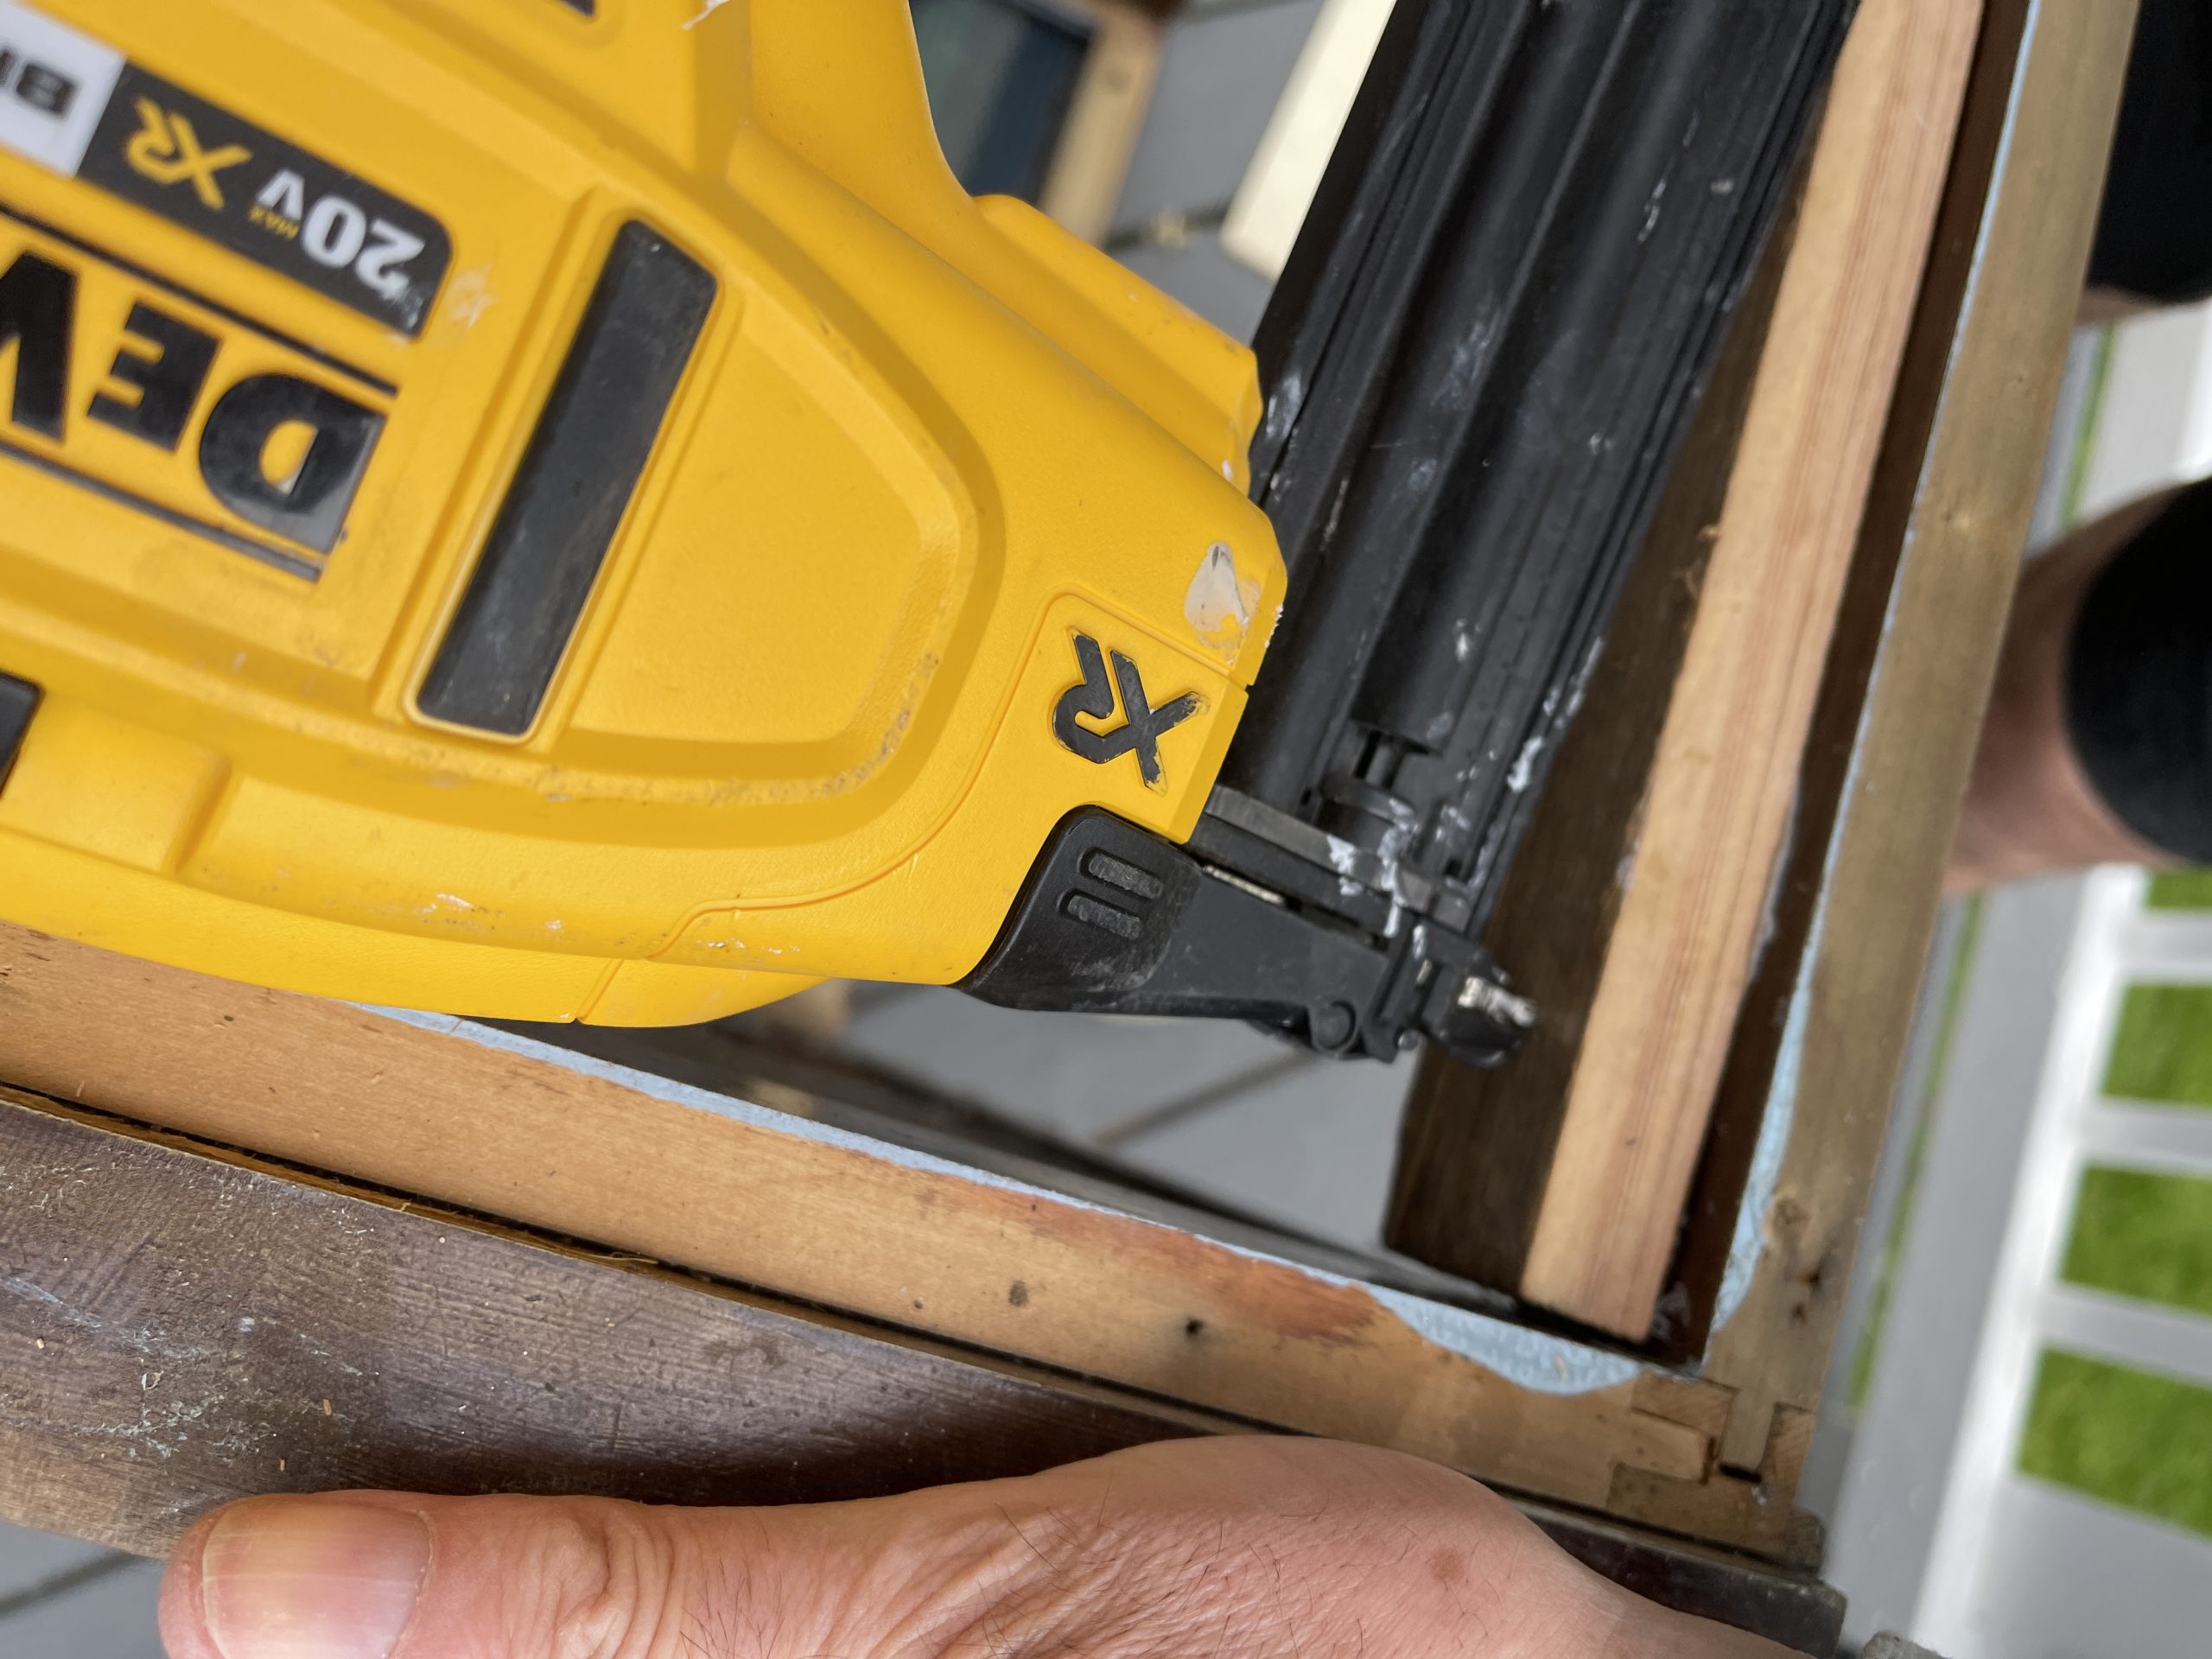
There was also no back, I used leftover pieces of lejuan to cut and attach for a backdrop.
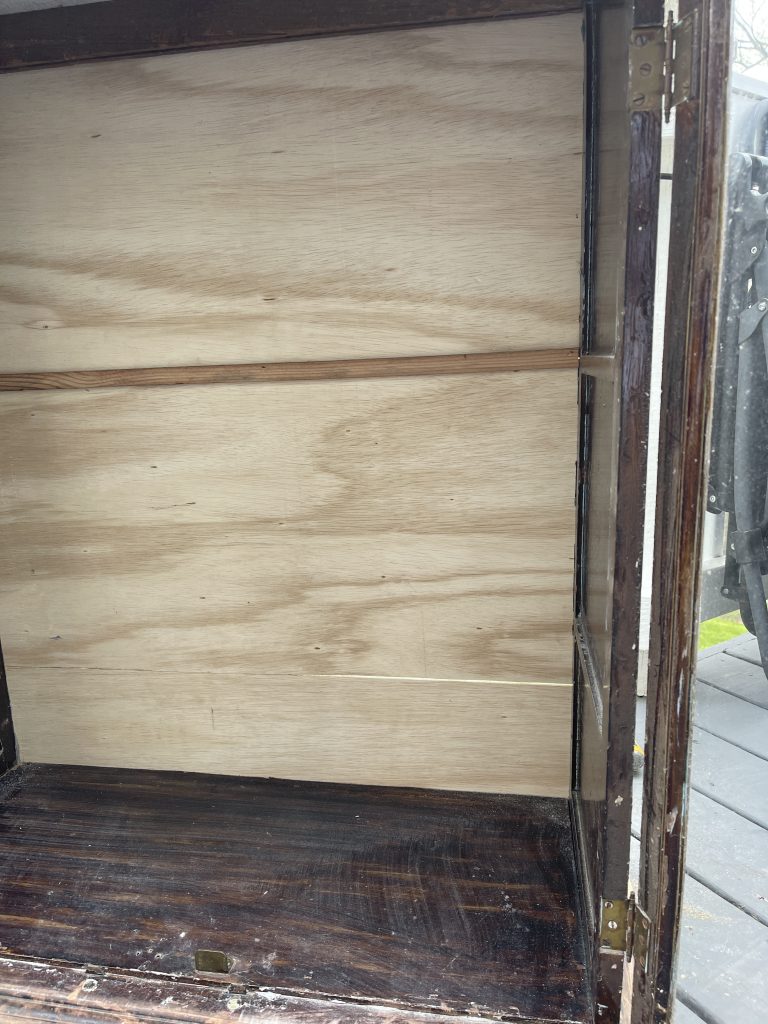
The bottom was warped but I added glue then stapled it down tightly and it laid flat.
3RD: TRANSFERS
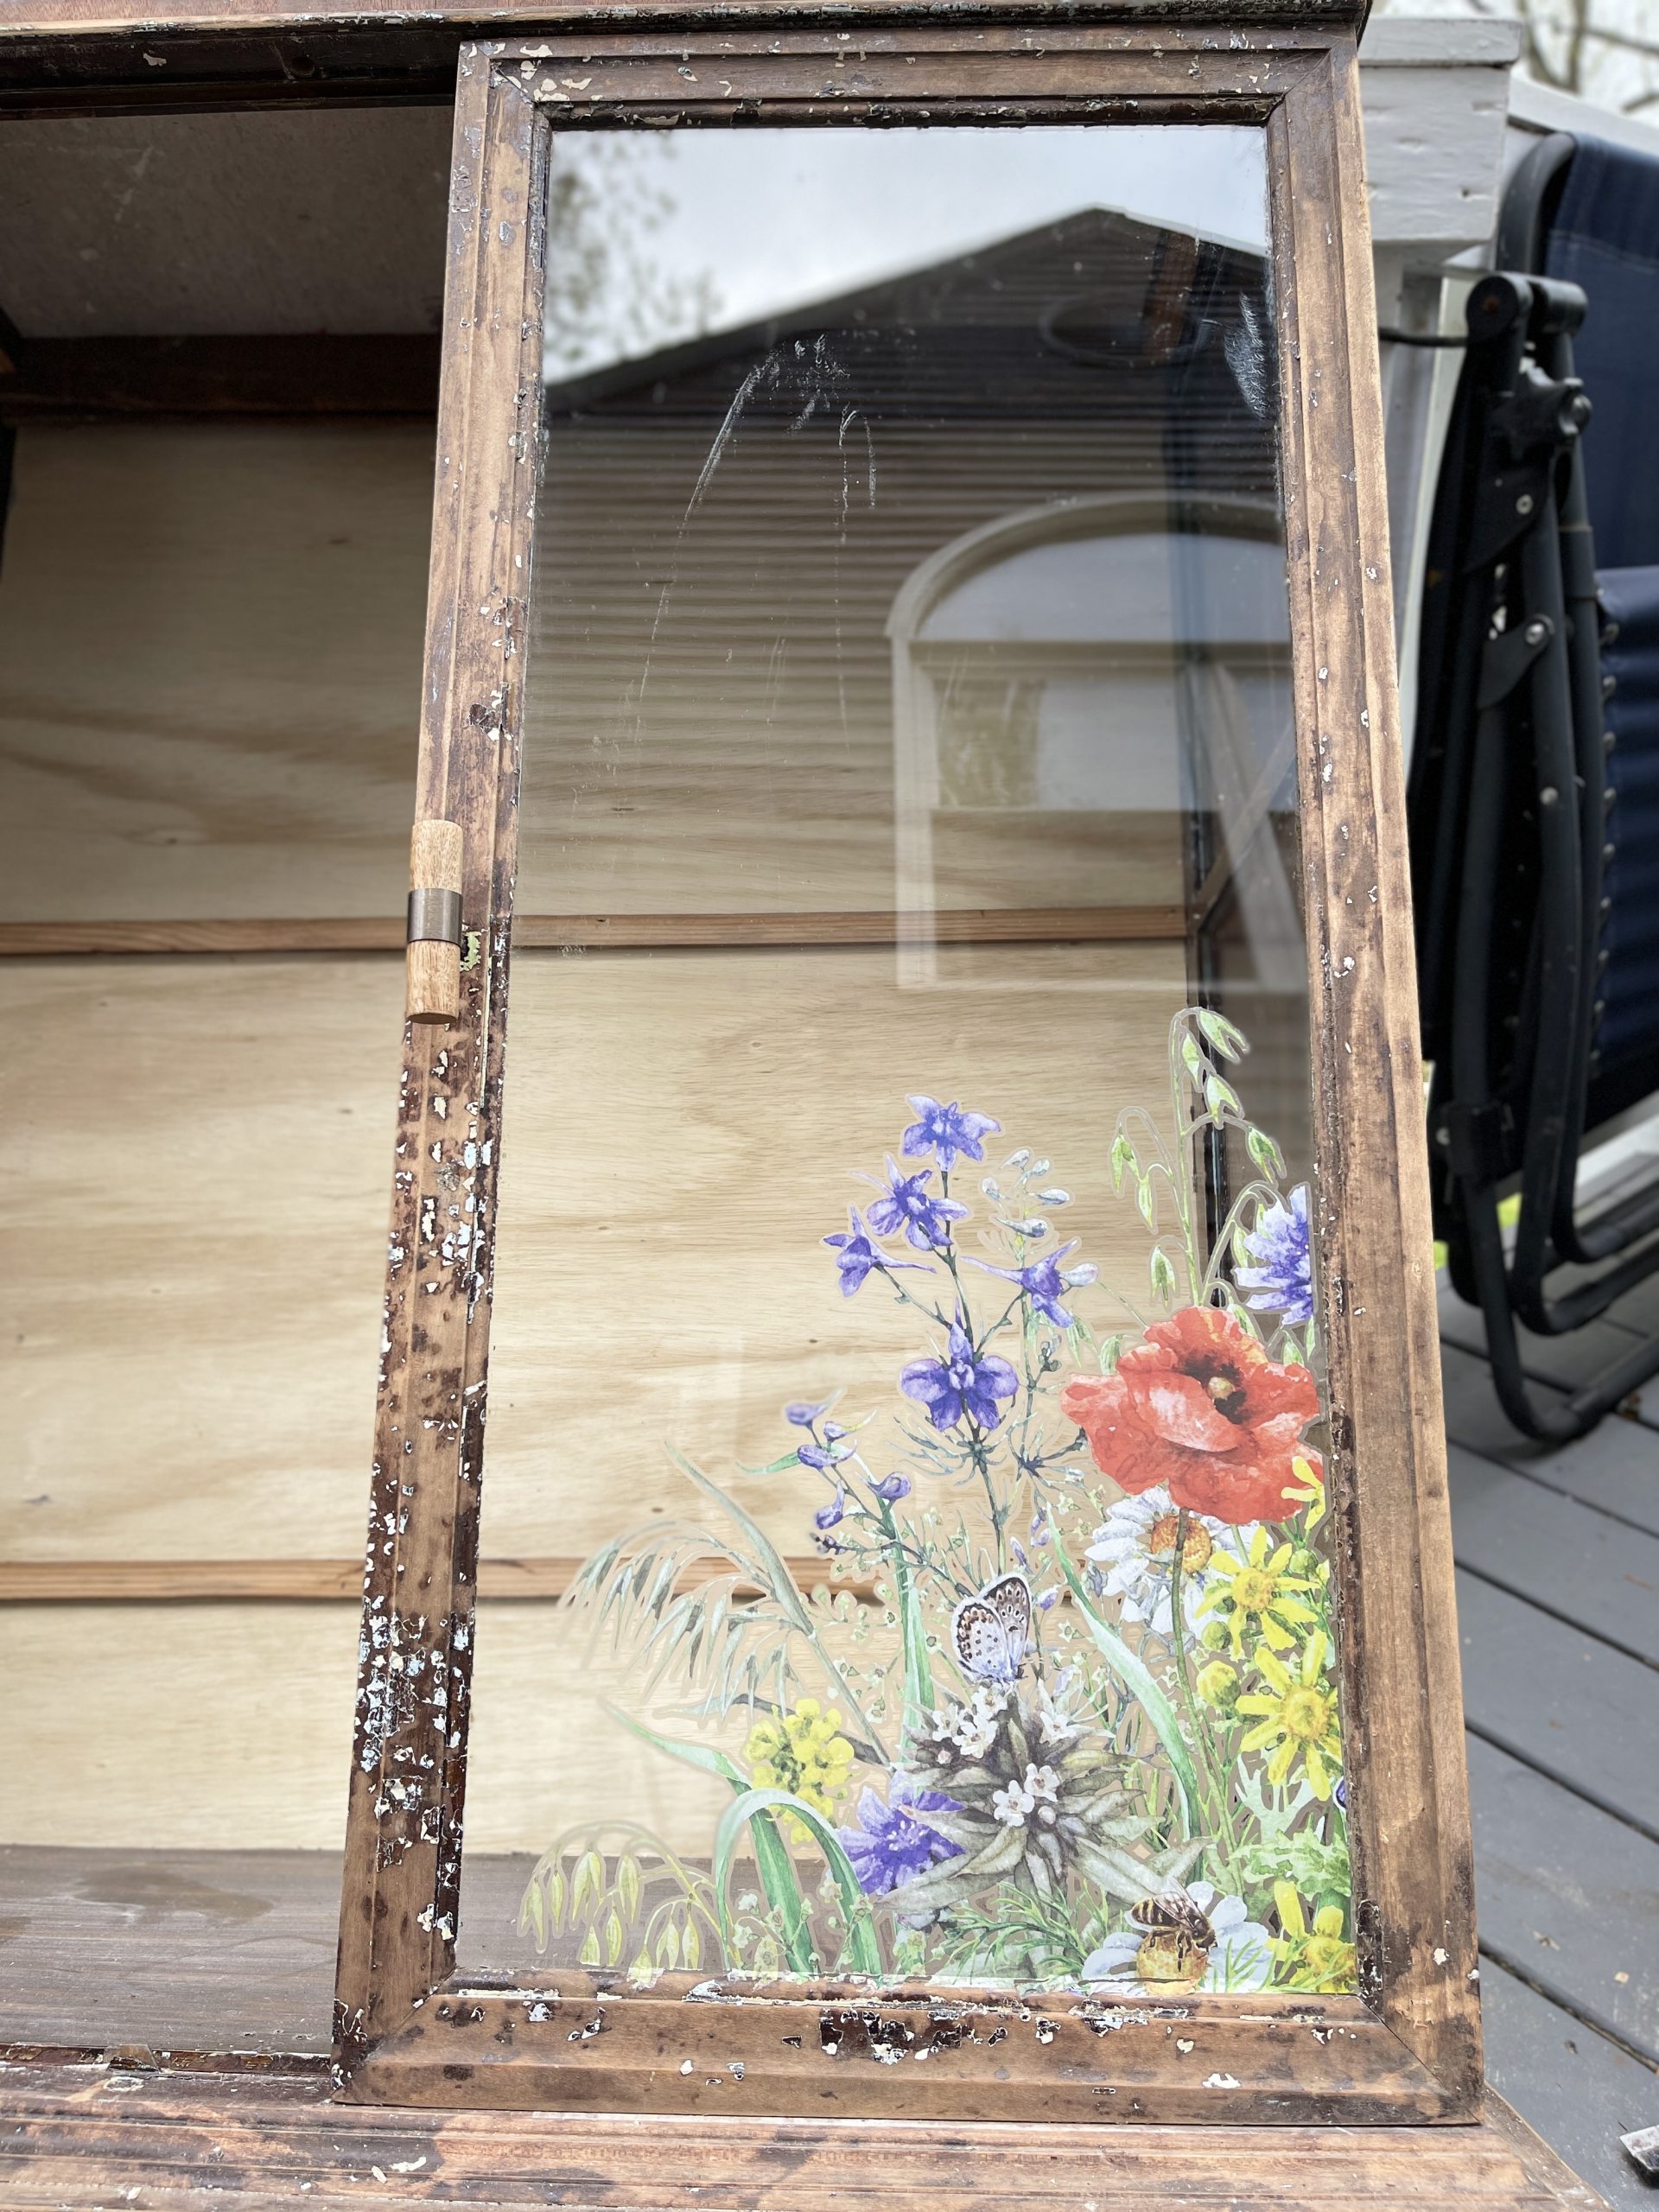
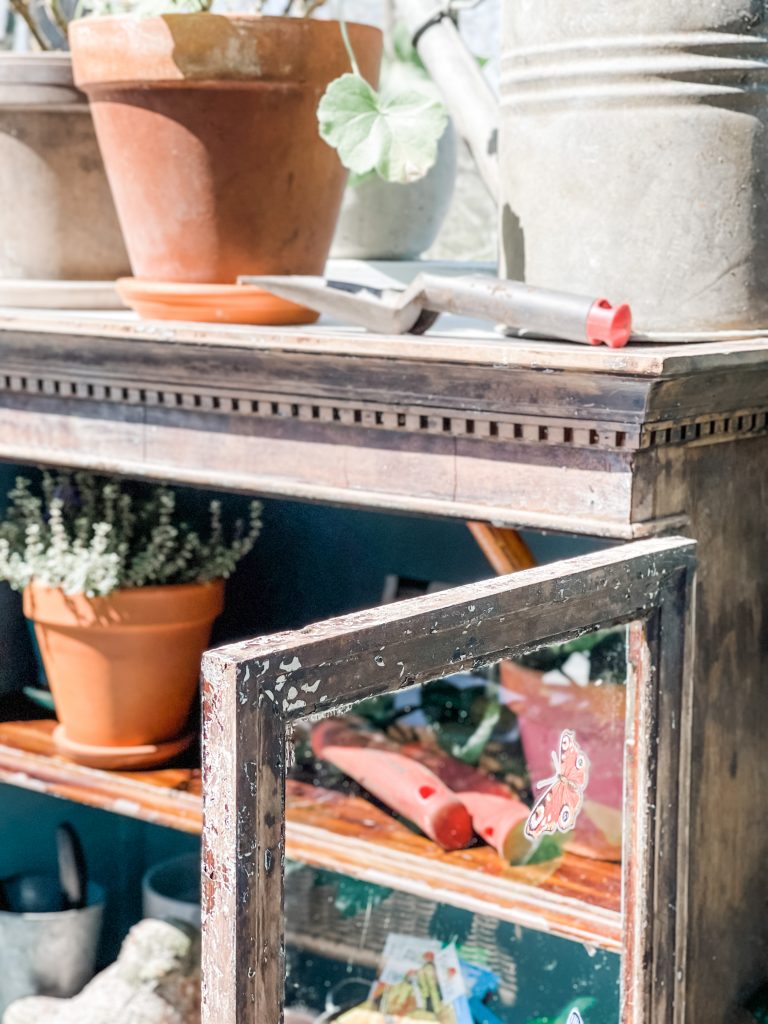
I had a vision in my head that I wanted to use transfers. I have a variety of floral transfers from Dixie Belle Paints and I chose the Wildflowers and Butterflies transfer for the glass.
Transfers go onto glass like buttering a piece of bread. So easy.
I first used a razor to clean up the glass then washed it really well.
For the transfers, I selected the ones I wanted, and trimmed around the design with a scissor. Next I removed the paper backing and attached the transfer where I wanted it.
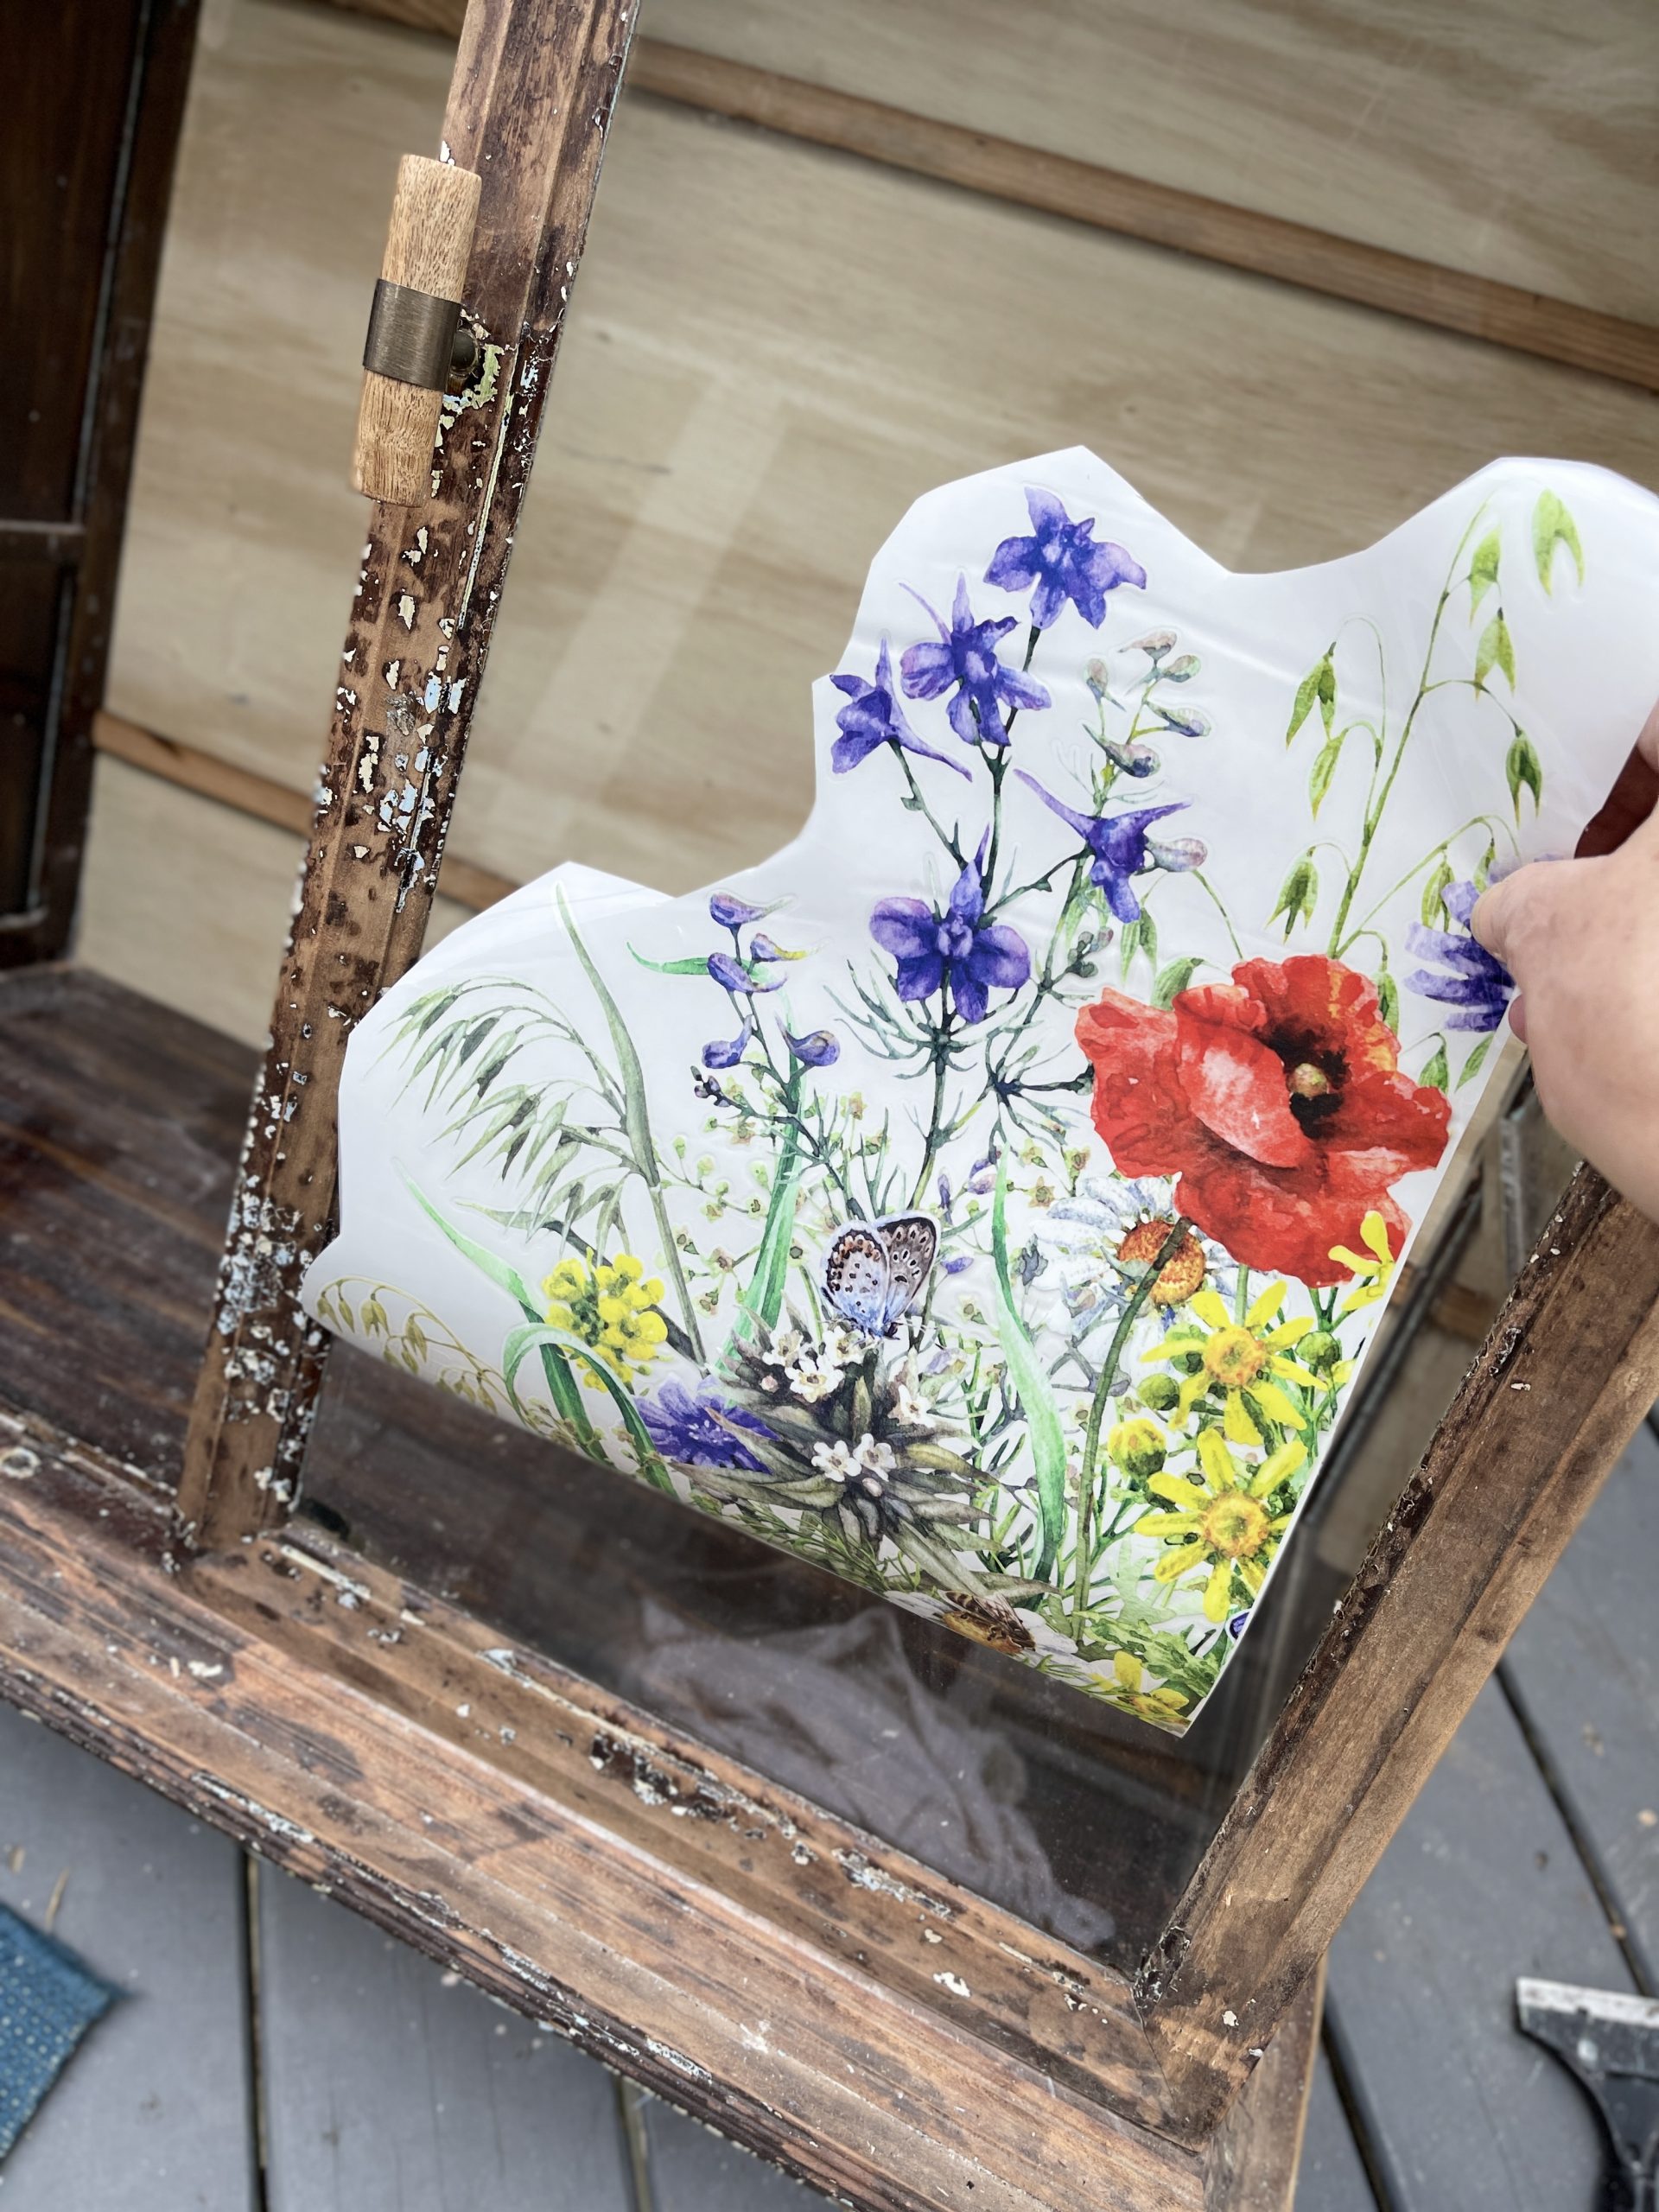
I didn’t even need to tape it on, it stuck. There is a little wooden tool to smooth over the transfer. Then I peeled back the plastic backing, and it went on perfectly.
4TH: PAINTING
I wanted to keep the outside all chippy and worn like I found it. Although I wanted to clean up the inside a bit.
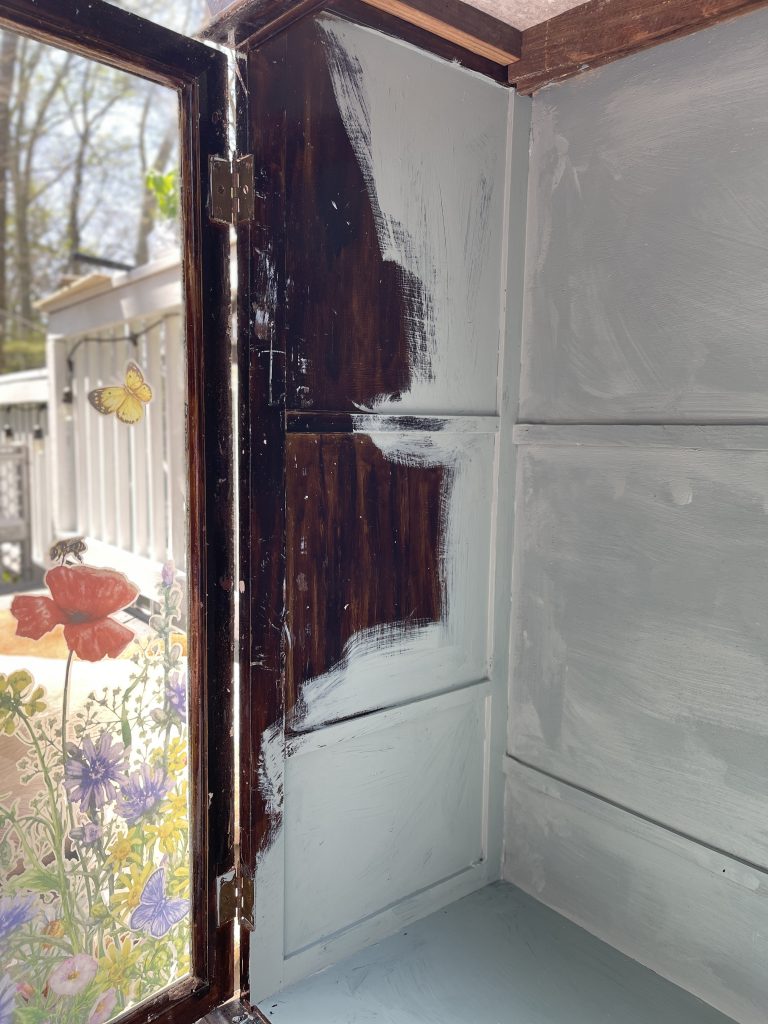
I thought a light color would brighten it up. Duck Egg Blue Chalk Mineral Paint from Dixie Belle was what I chose for the inside. I added two coats.
Because it would be getting dirty, I decided to leave two shelves as they were not paint them.
5TH: TILING
A few of the tiles needed to be cut to fit the top. We had 9 tiles leftover so I felt a little pressure to not mess up, Carmine graciously helped with the cutting. Sometimes the wet saw is intimidating.
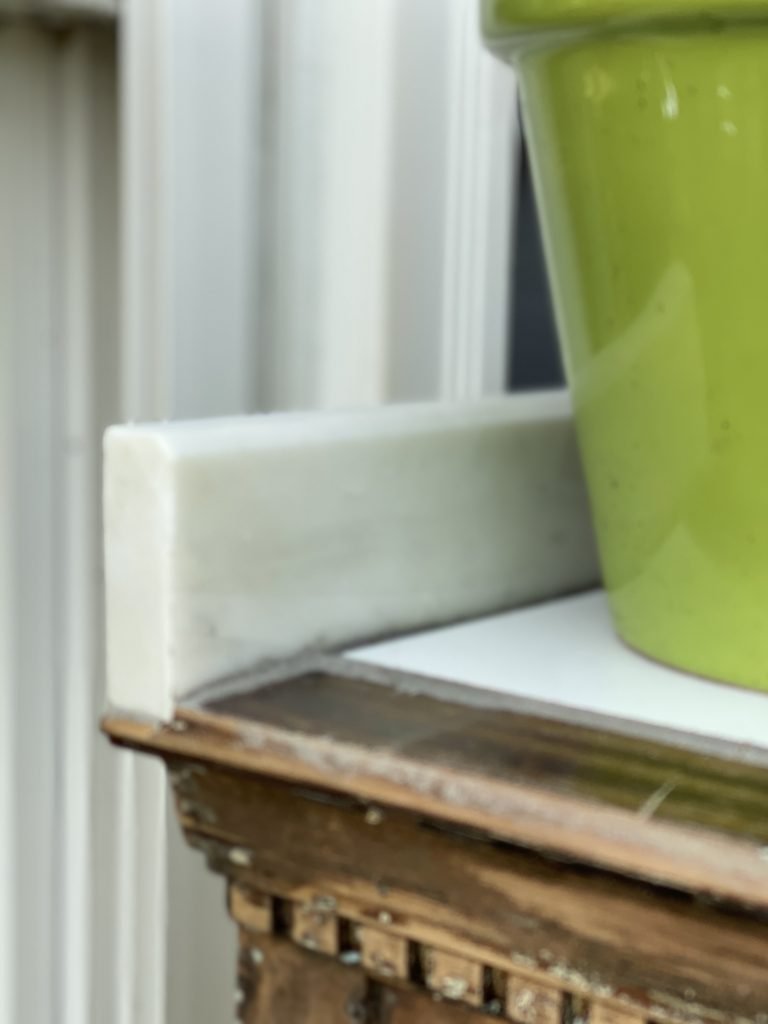
We also had a large marble backsplash from our guest bathroom remodel. That would make a great back edge for this as well.
I am the messiest individual whether in the kitchen or workshop.
I mixed some thinset with water and spread that on the hardy board top. After you spread it, you need to run a tool over to make grooves, this helps the tile adhere.

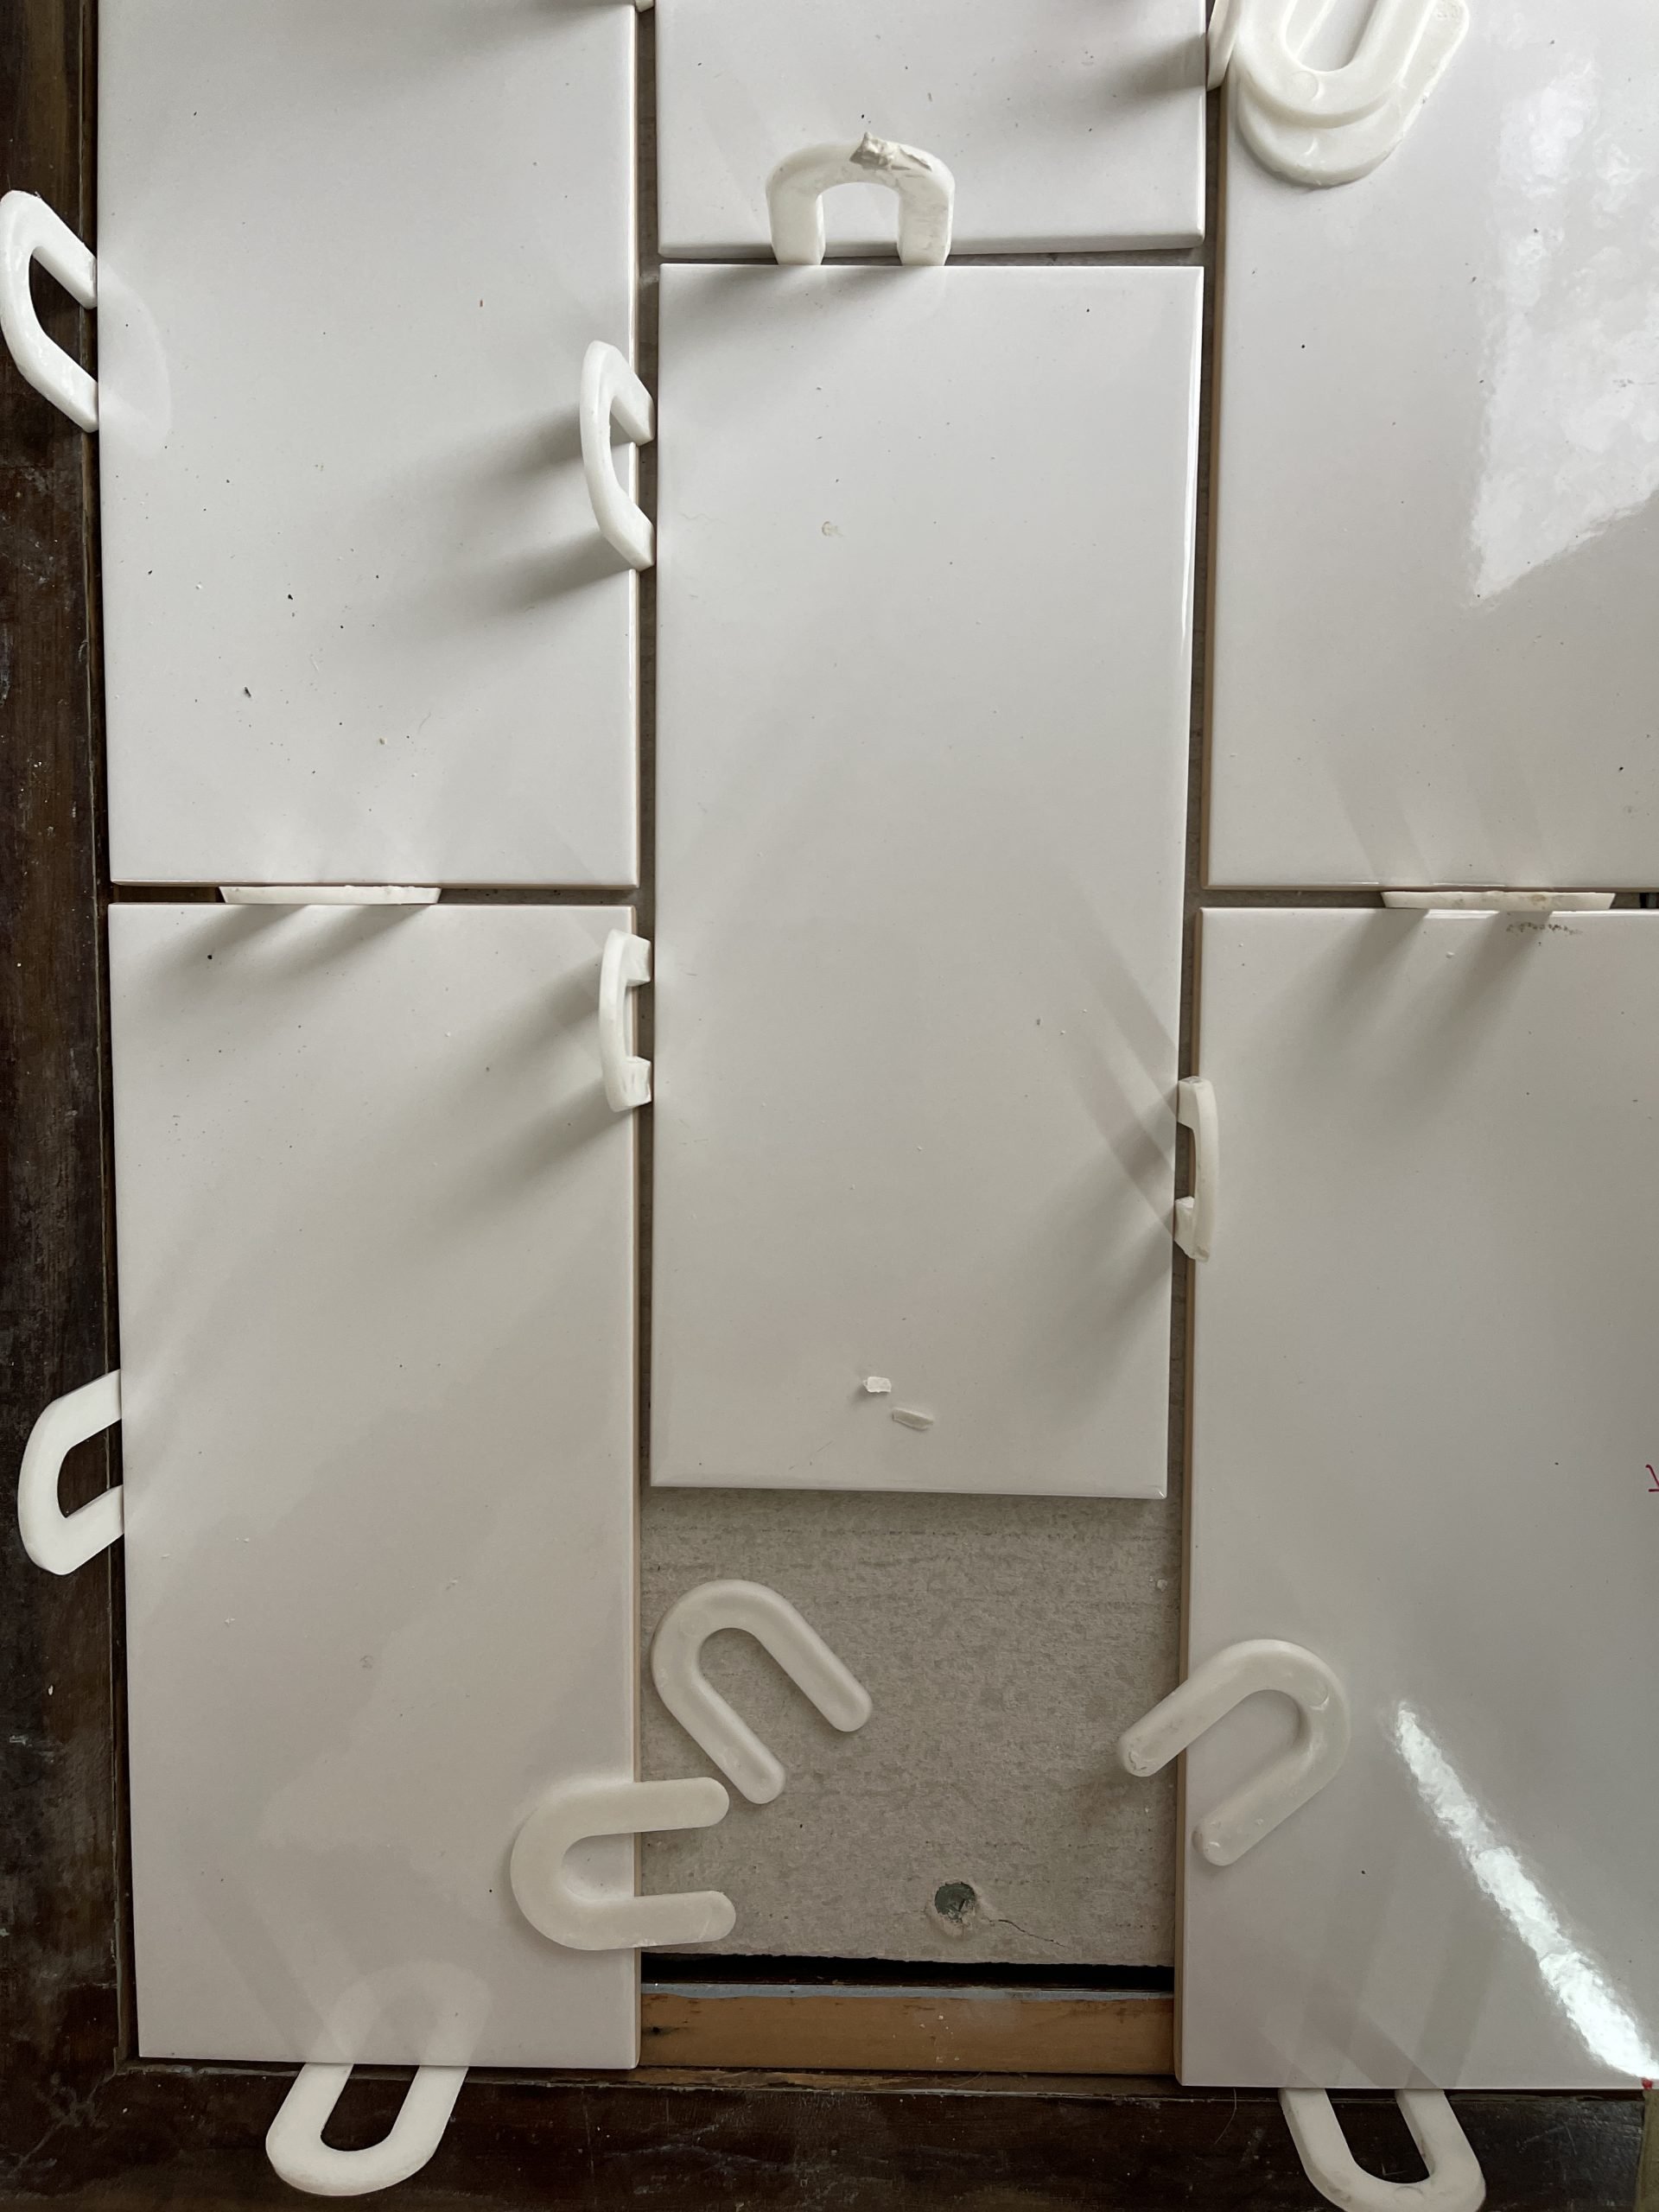
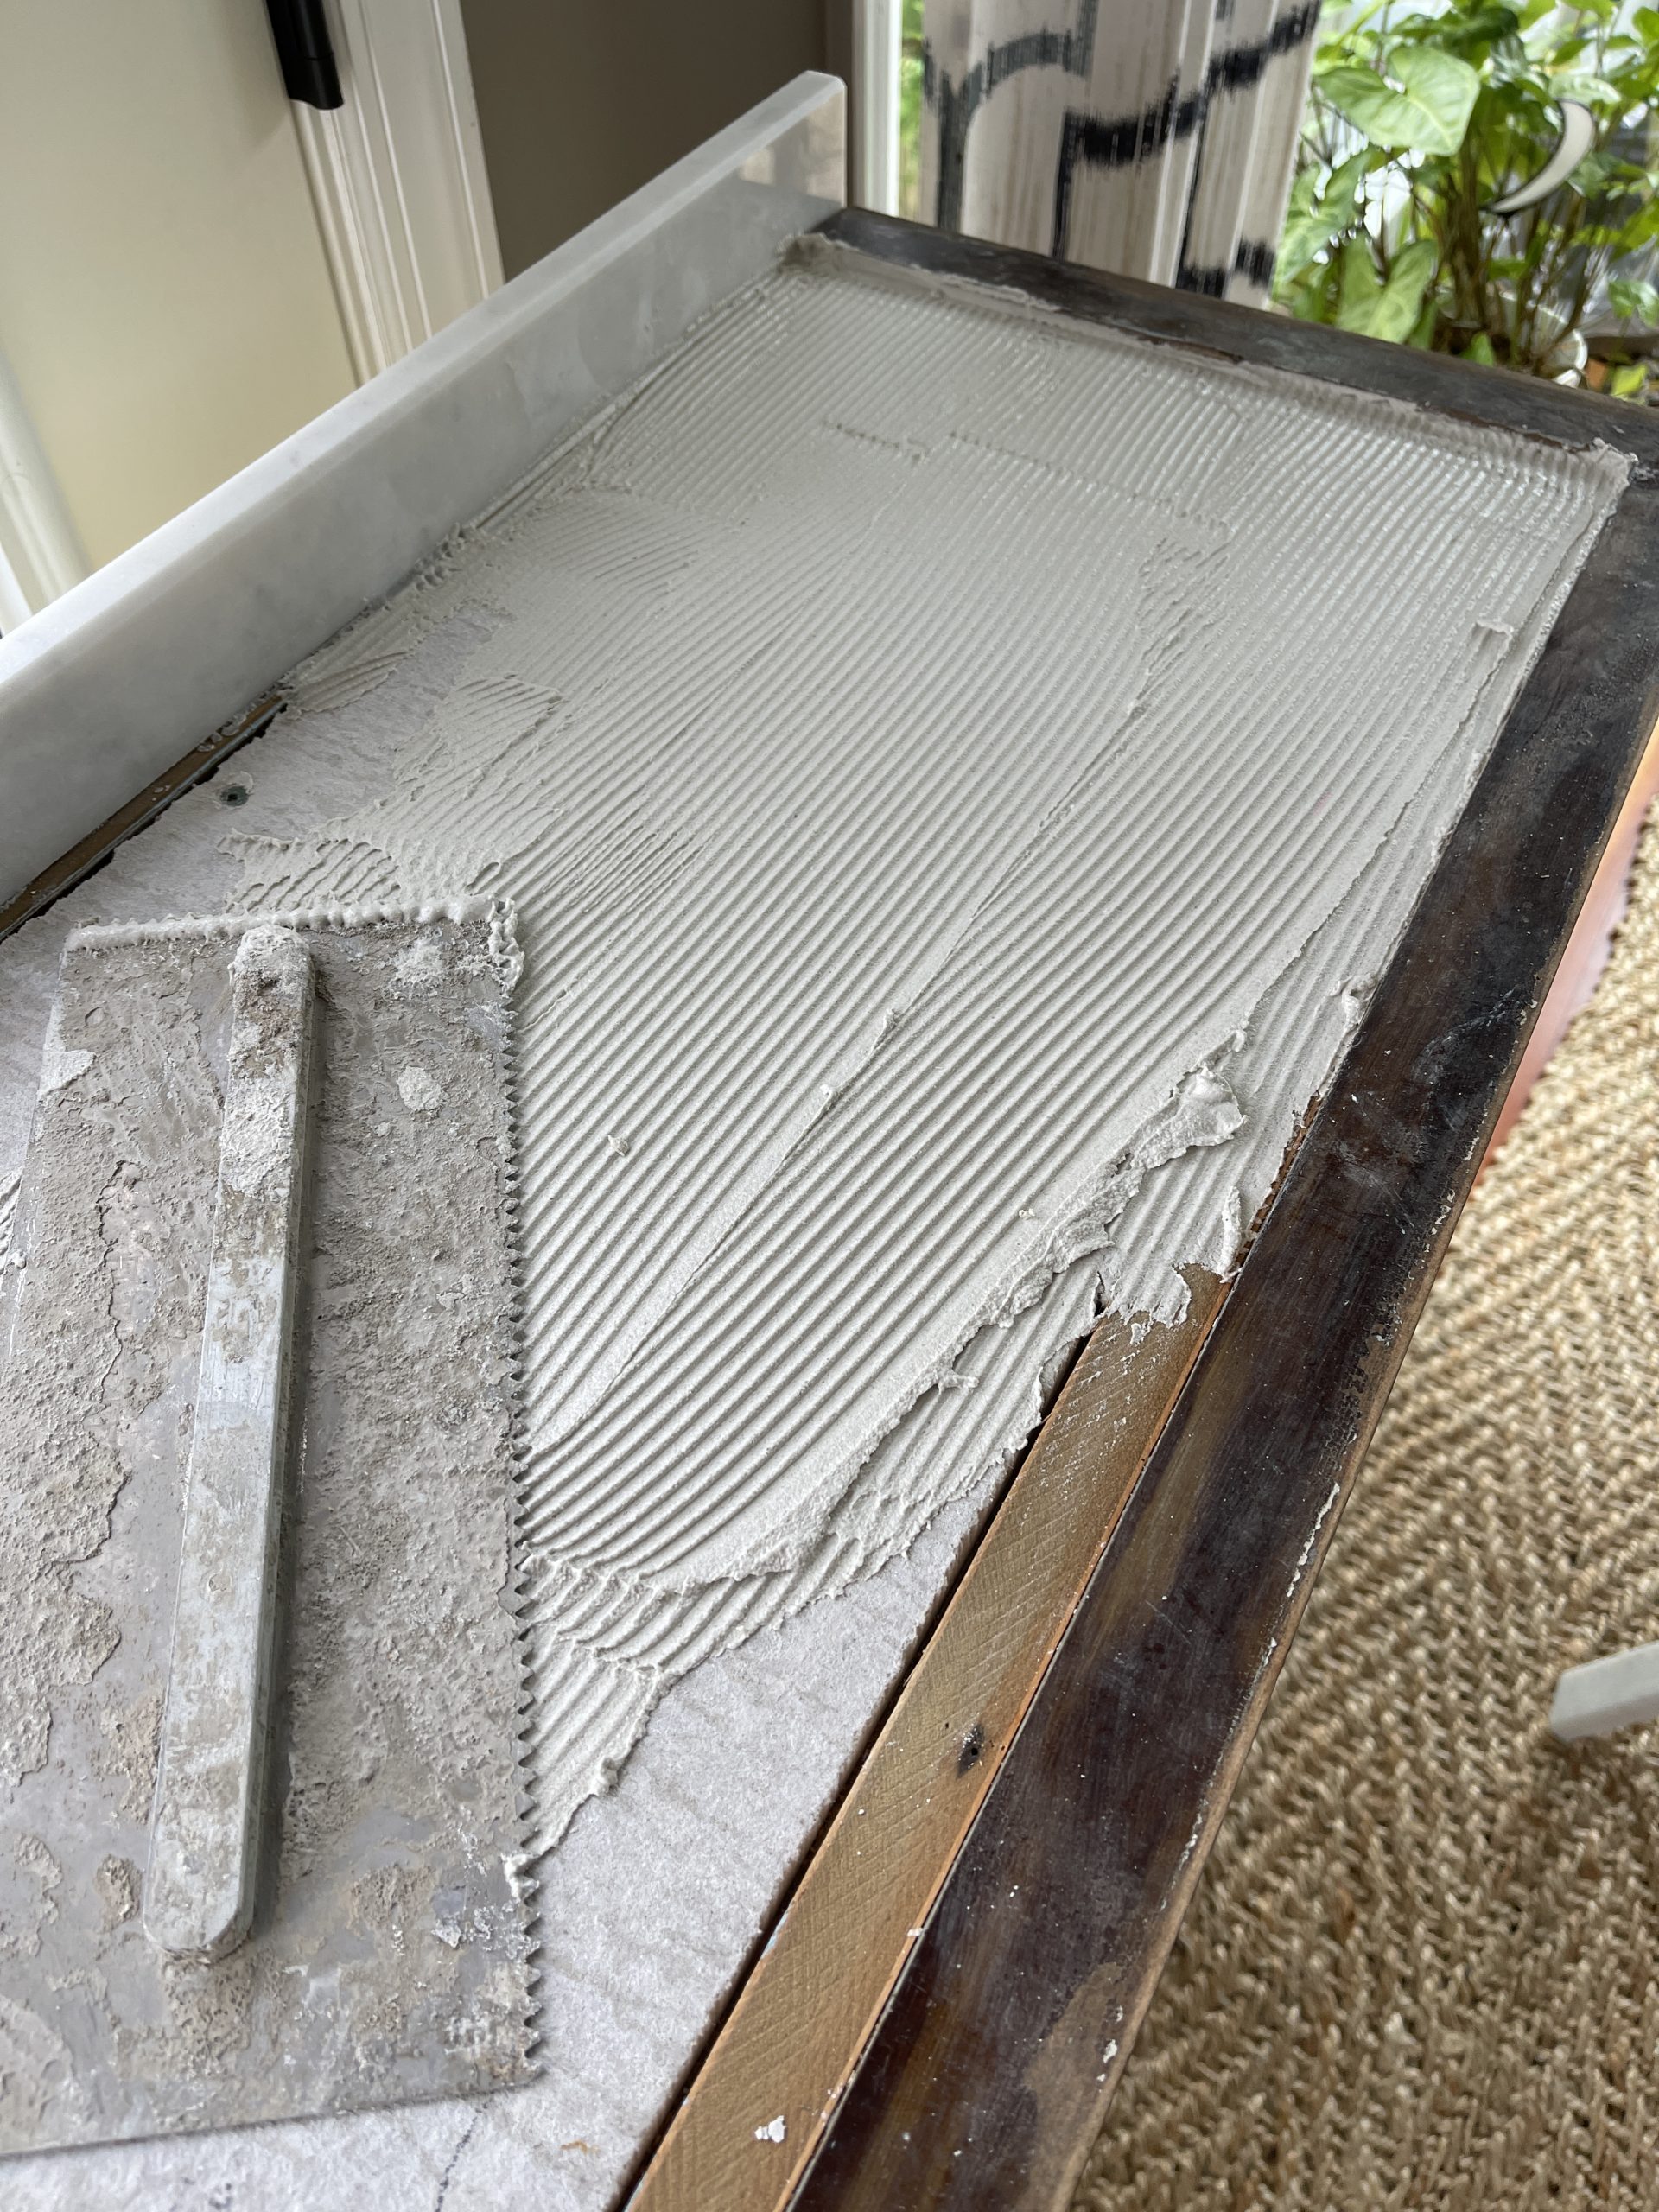
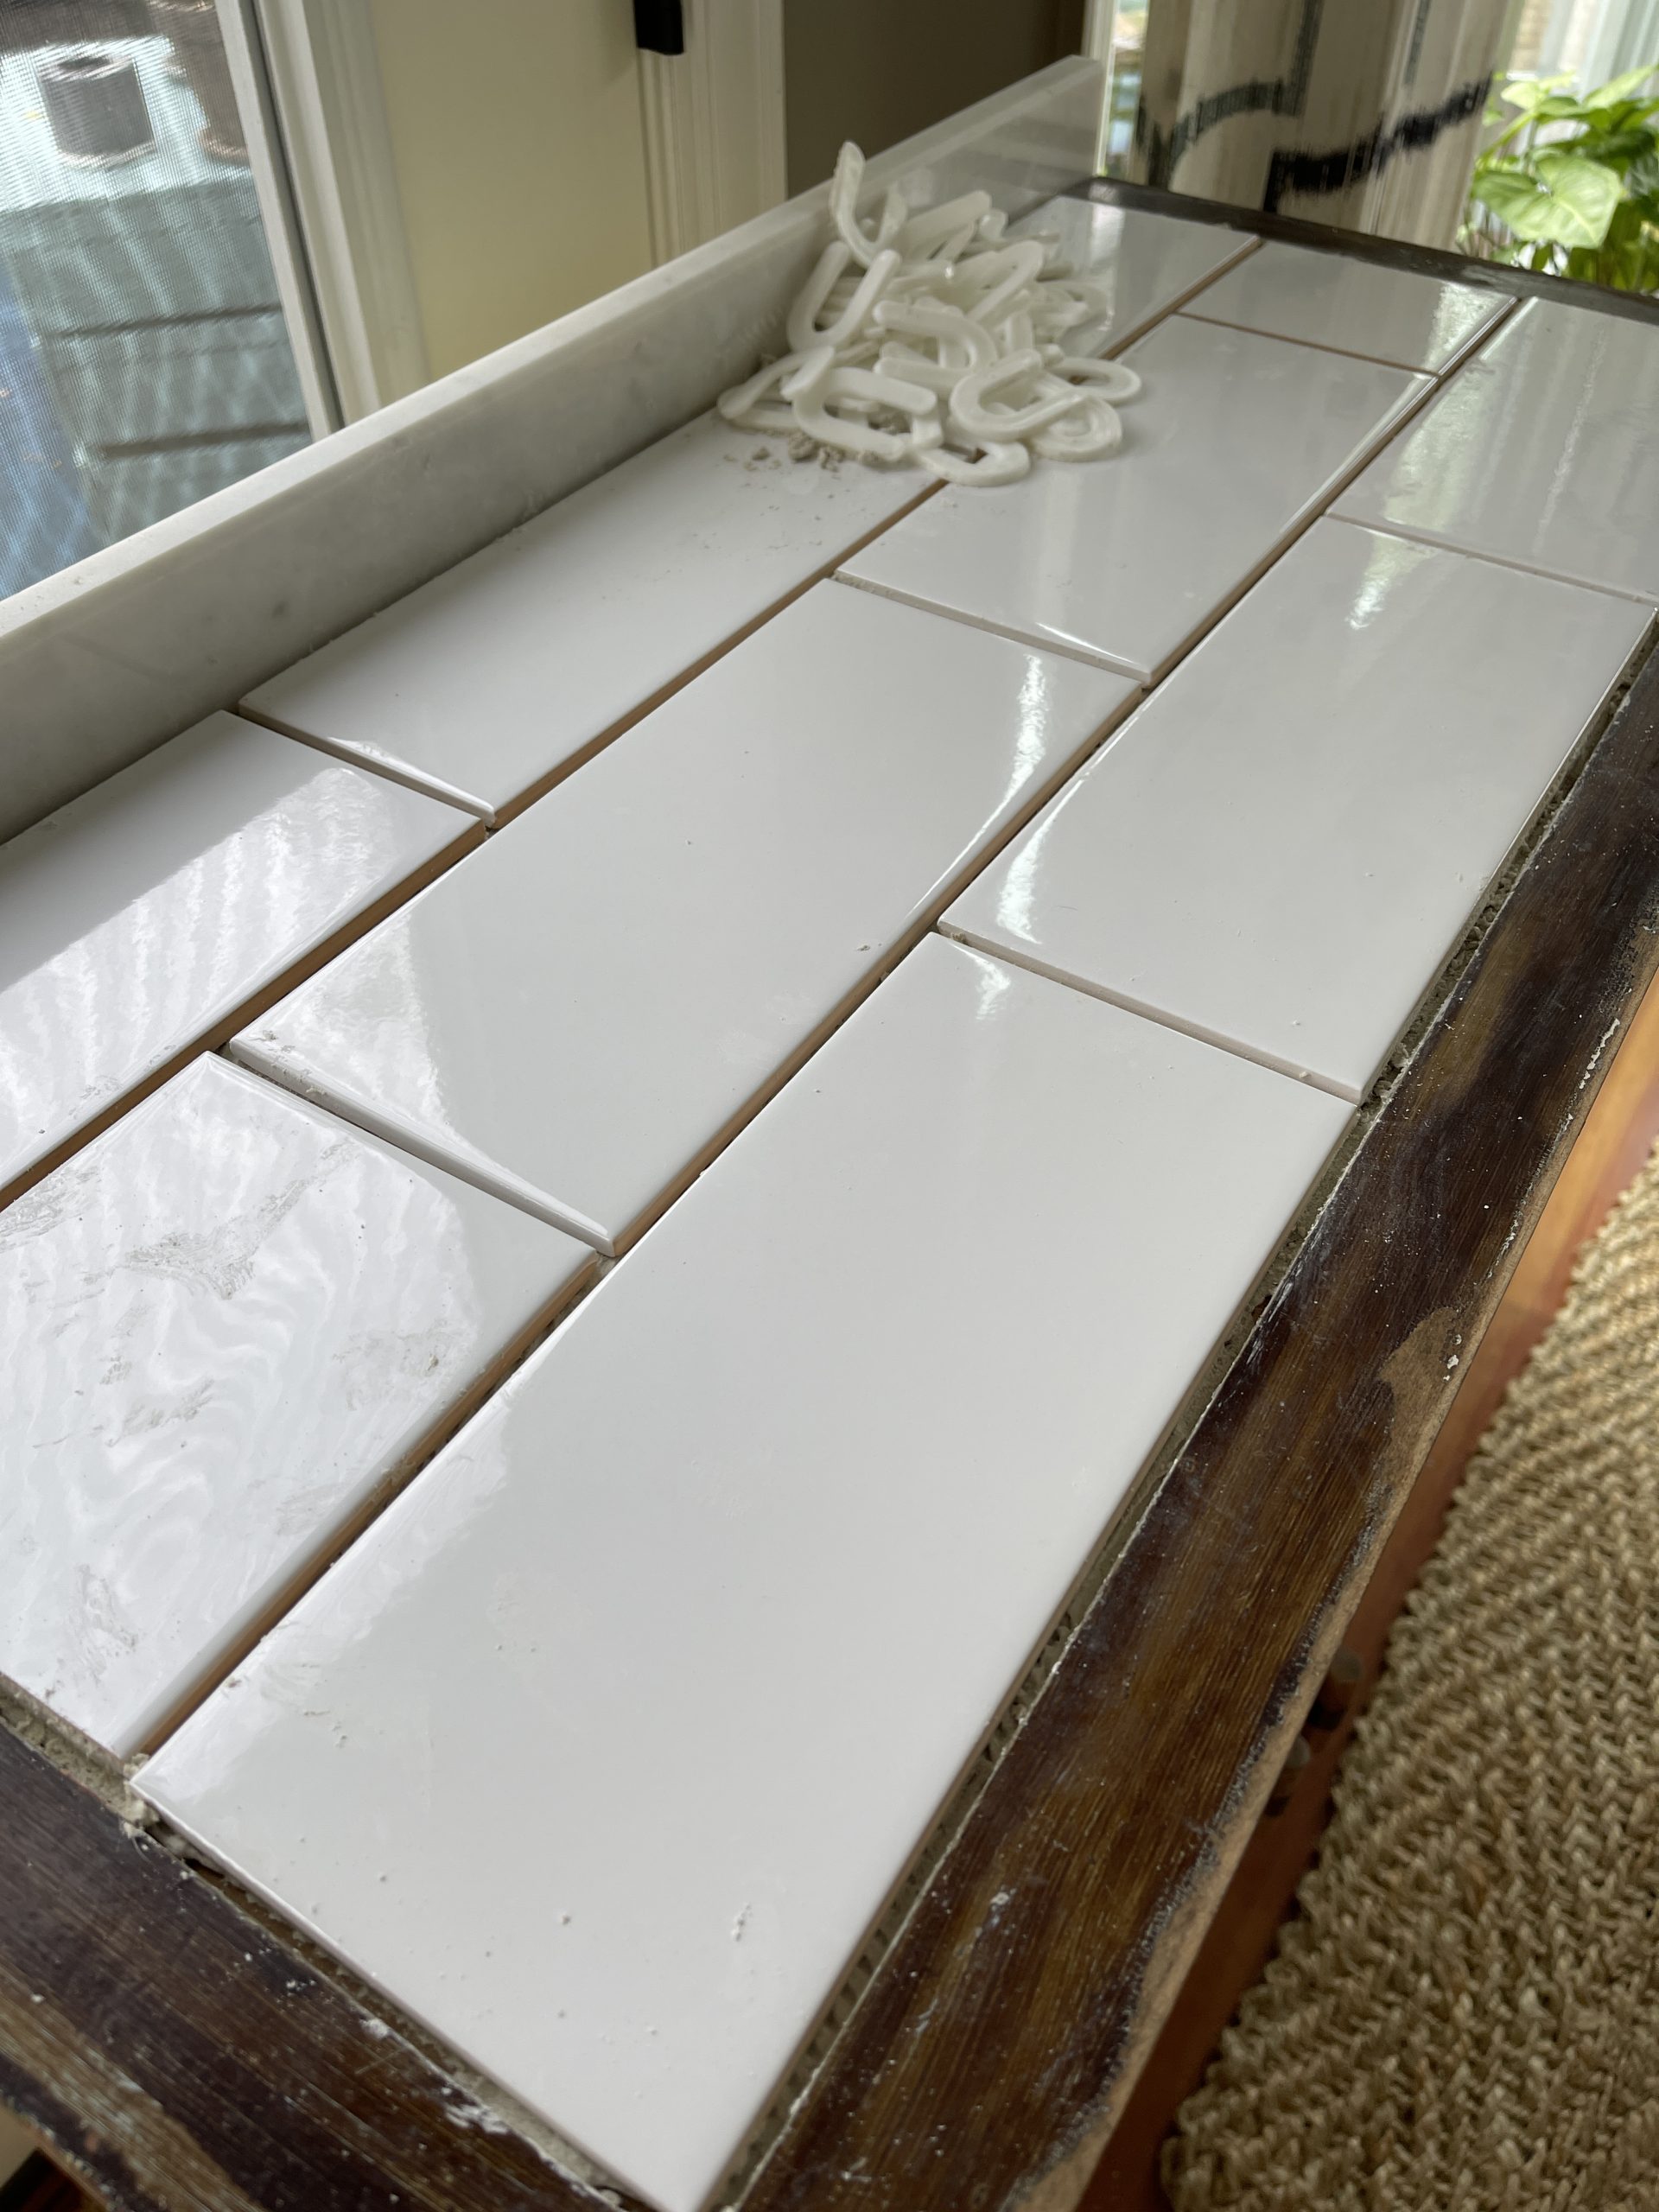
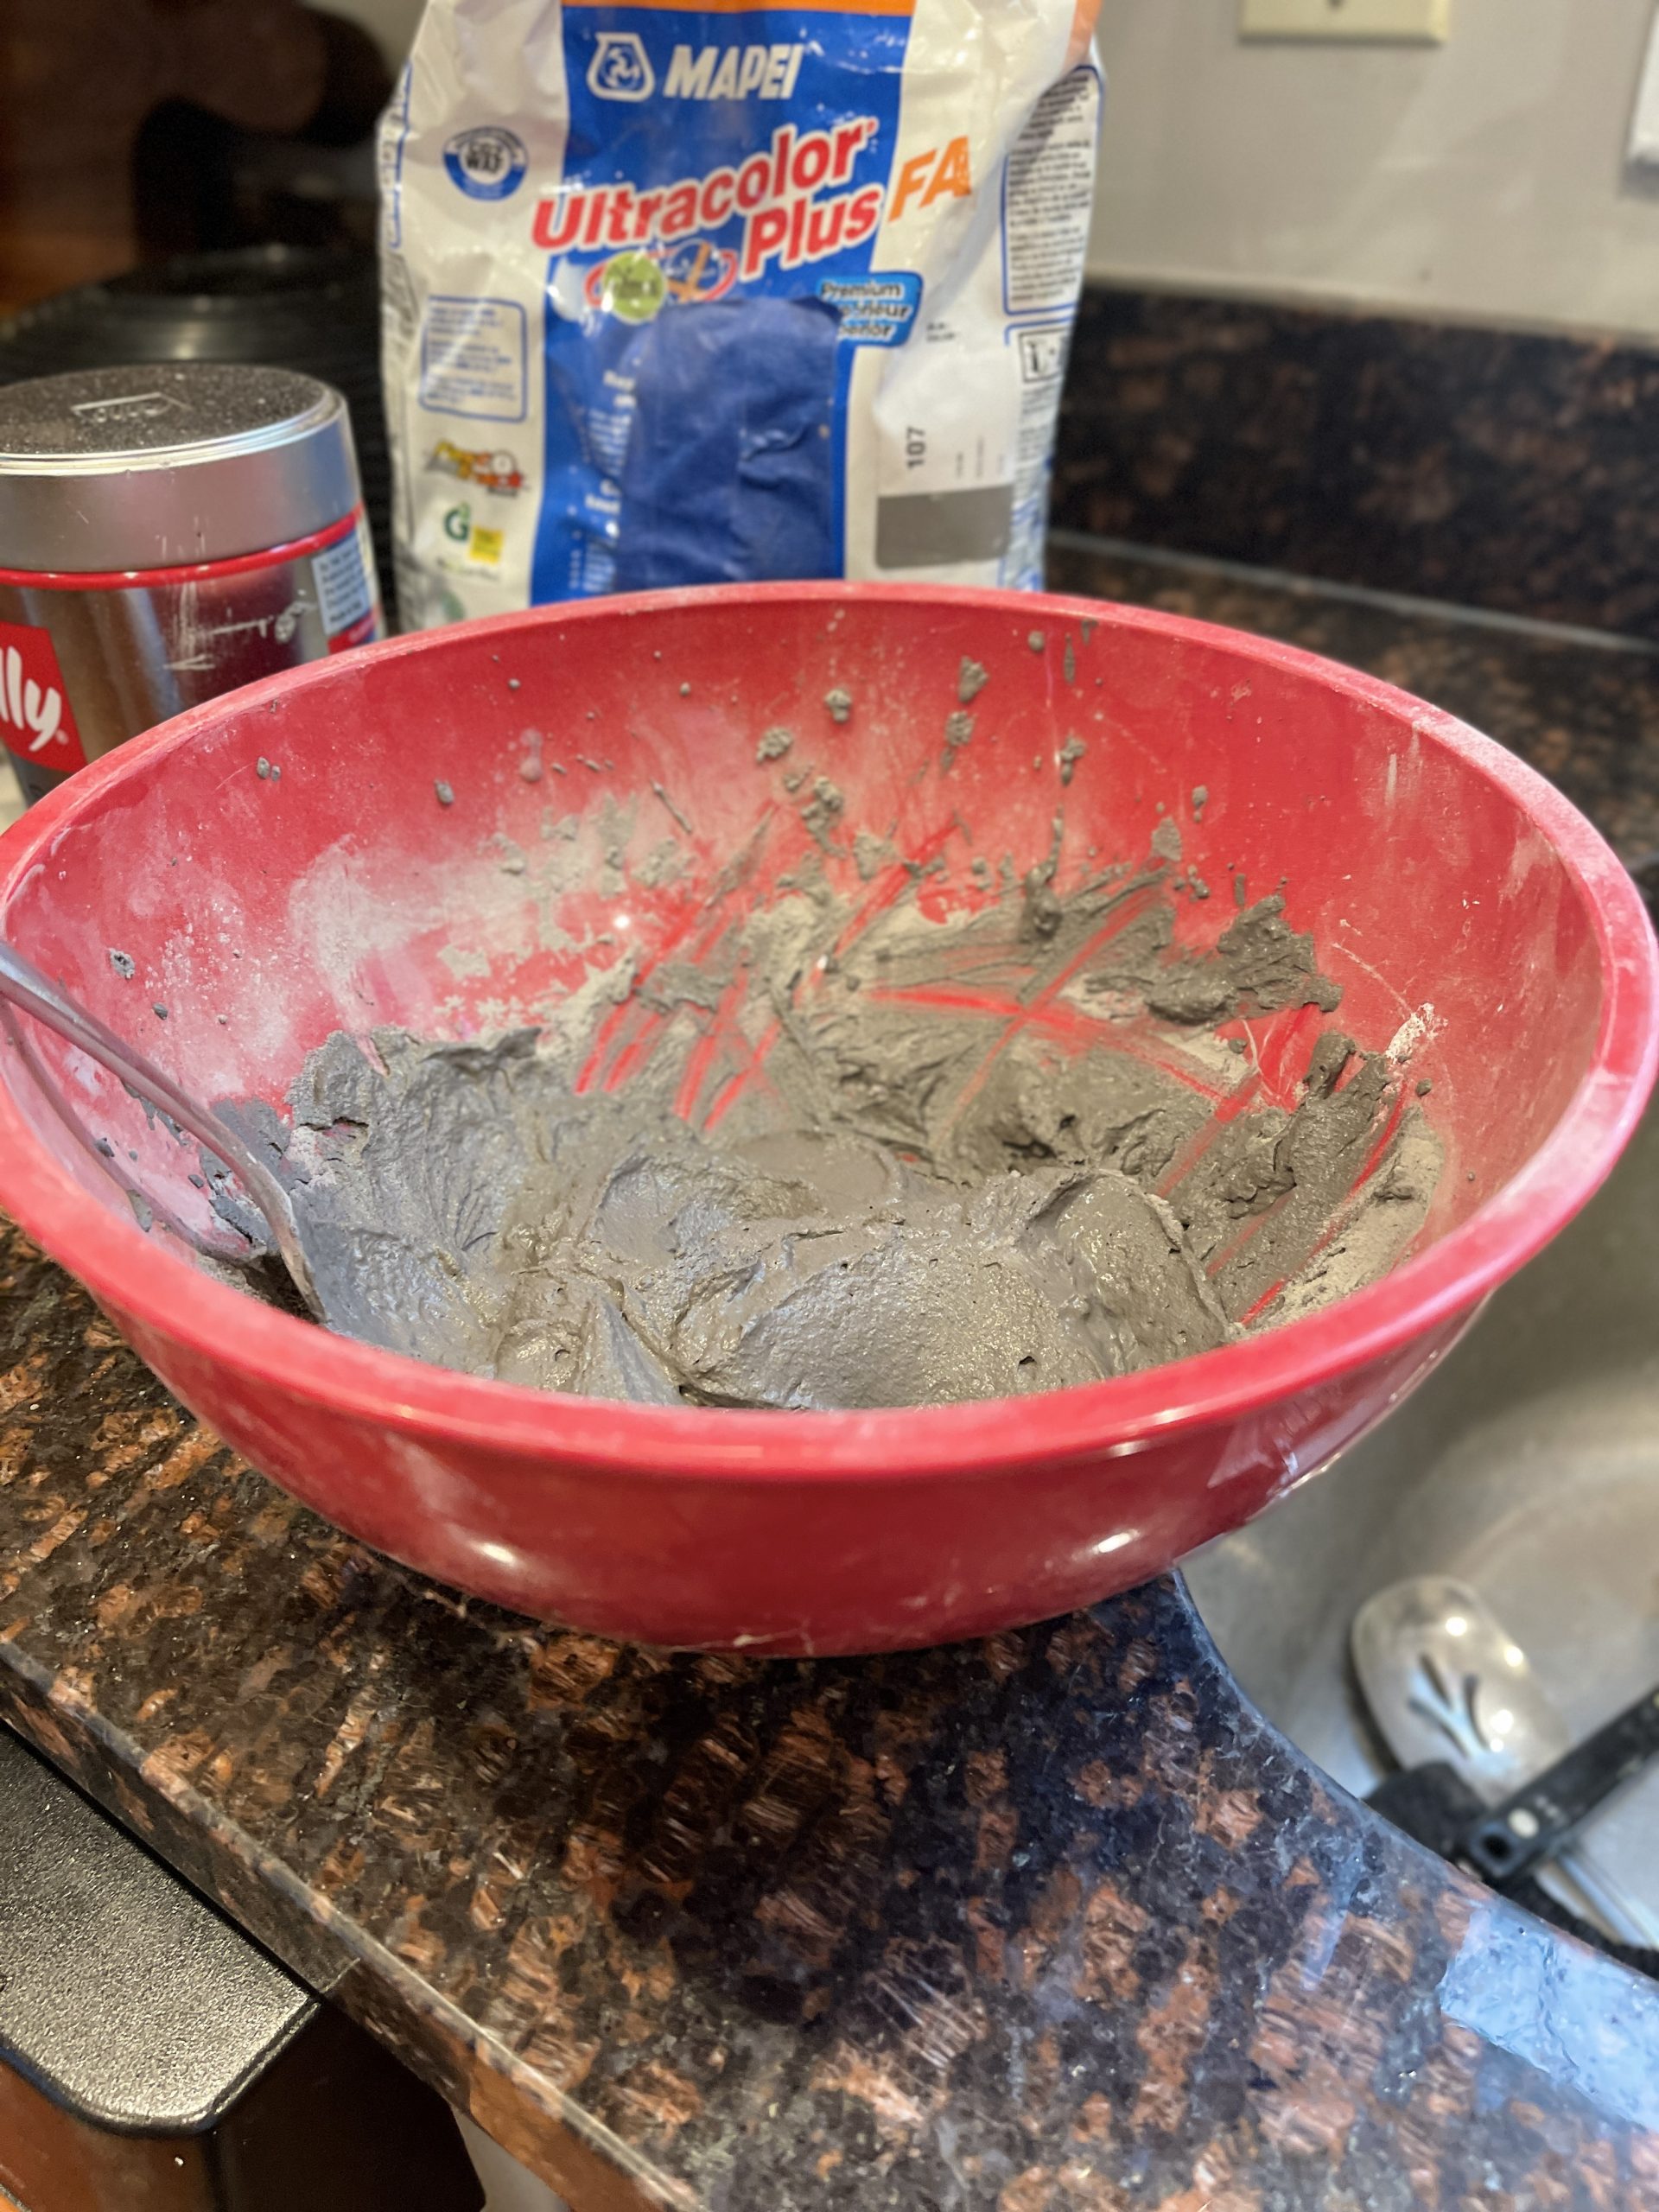
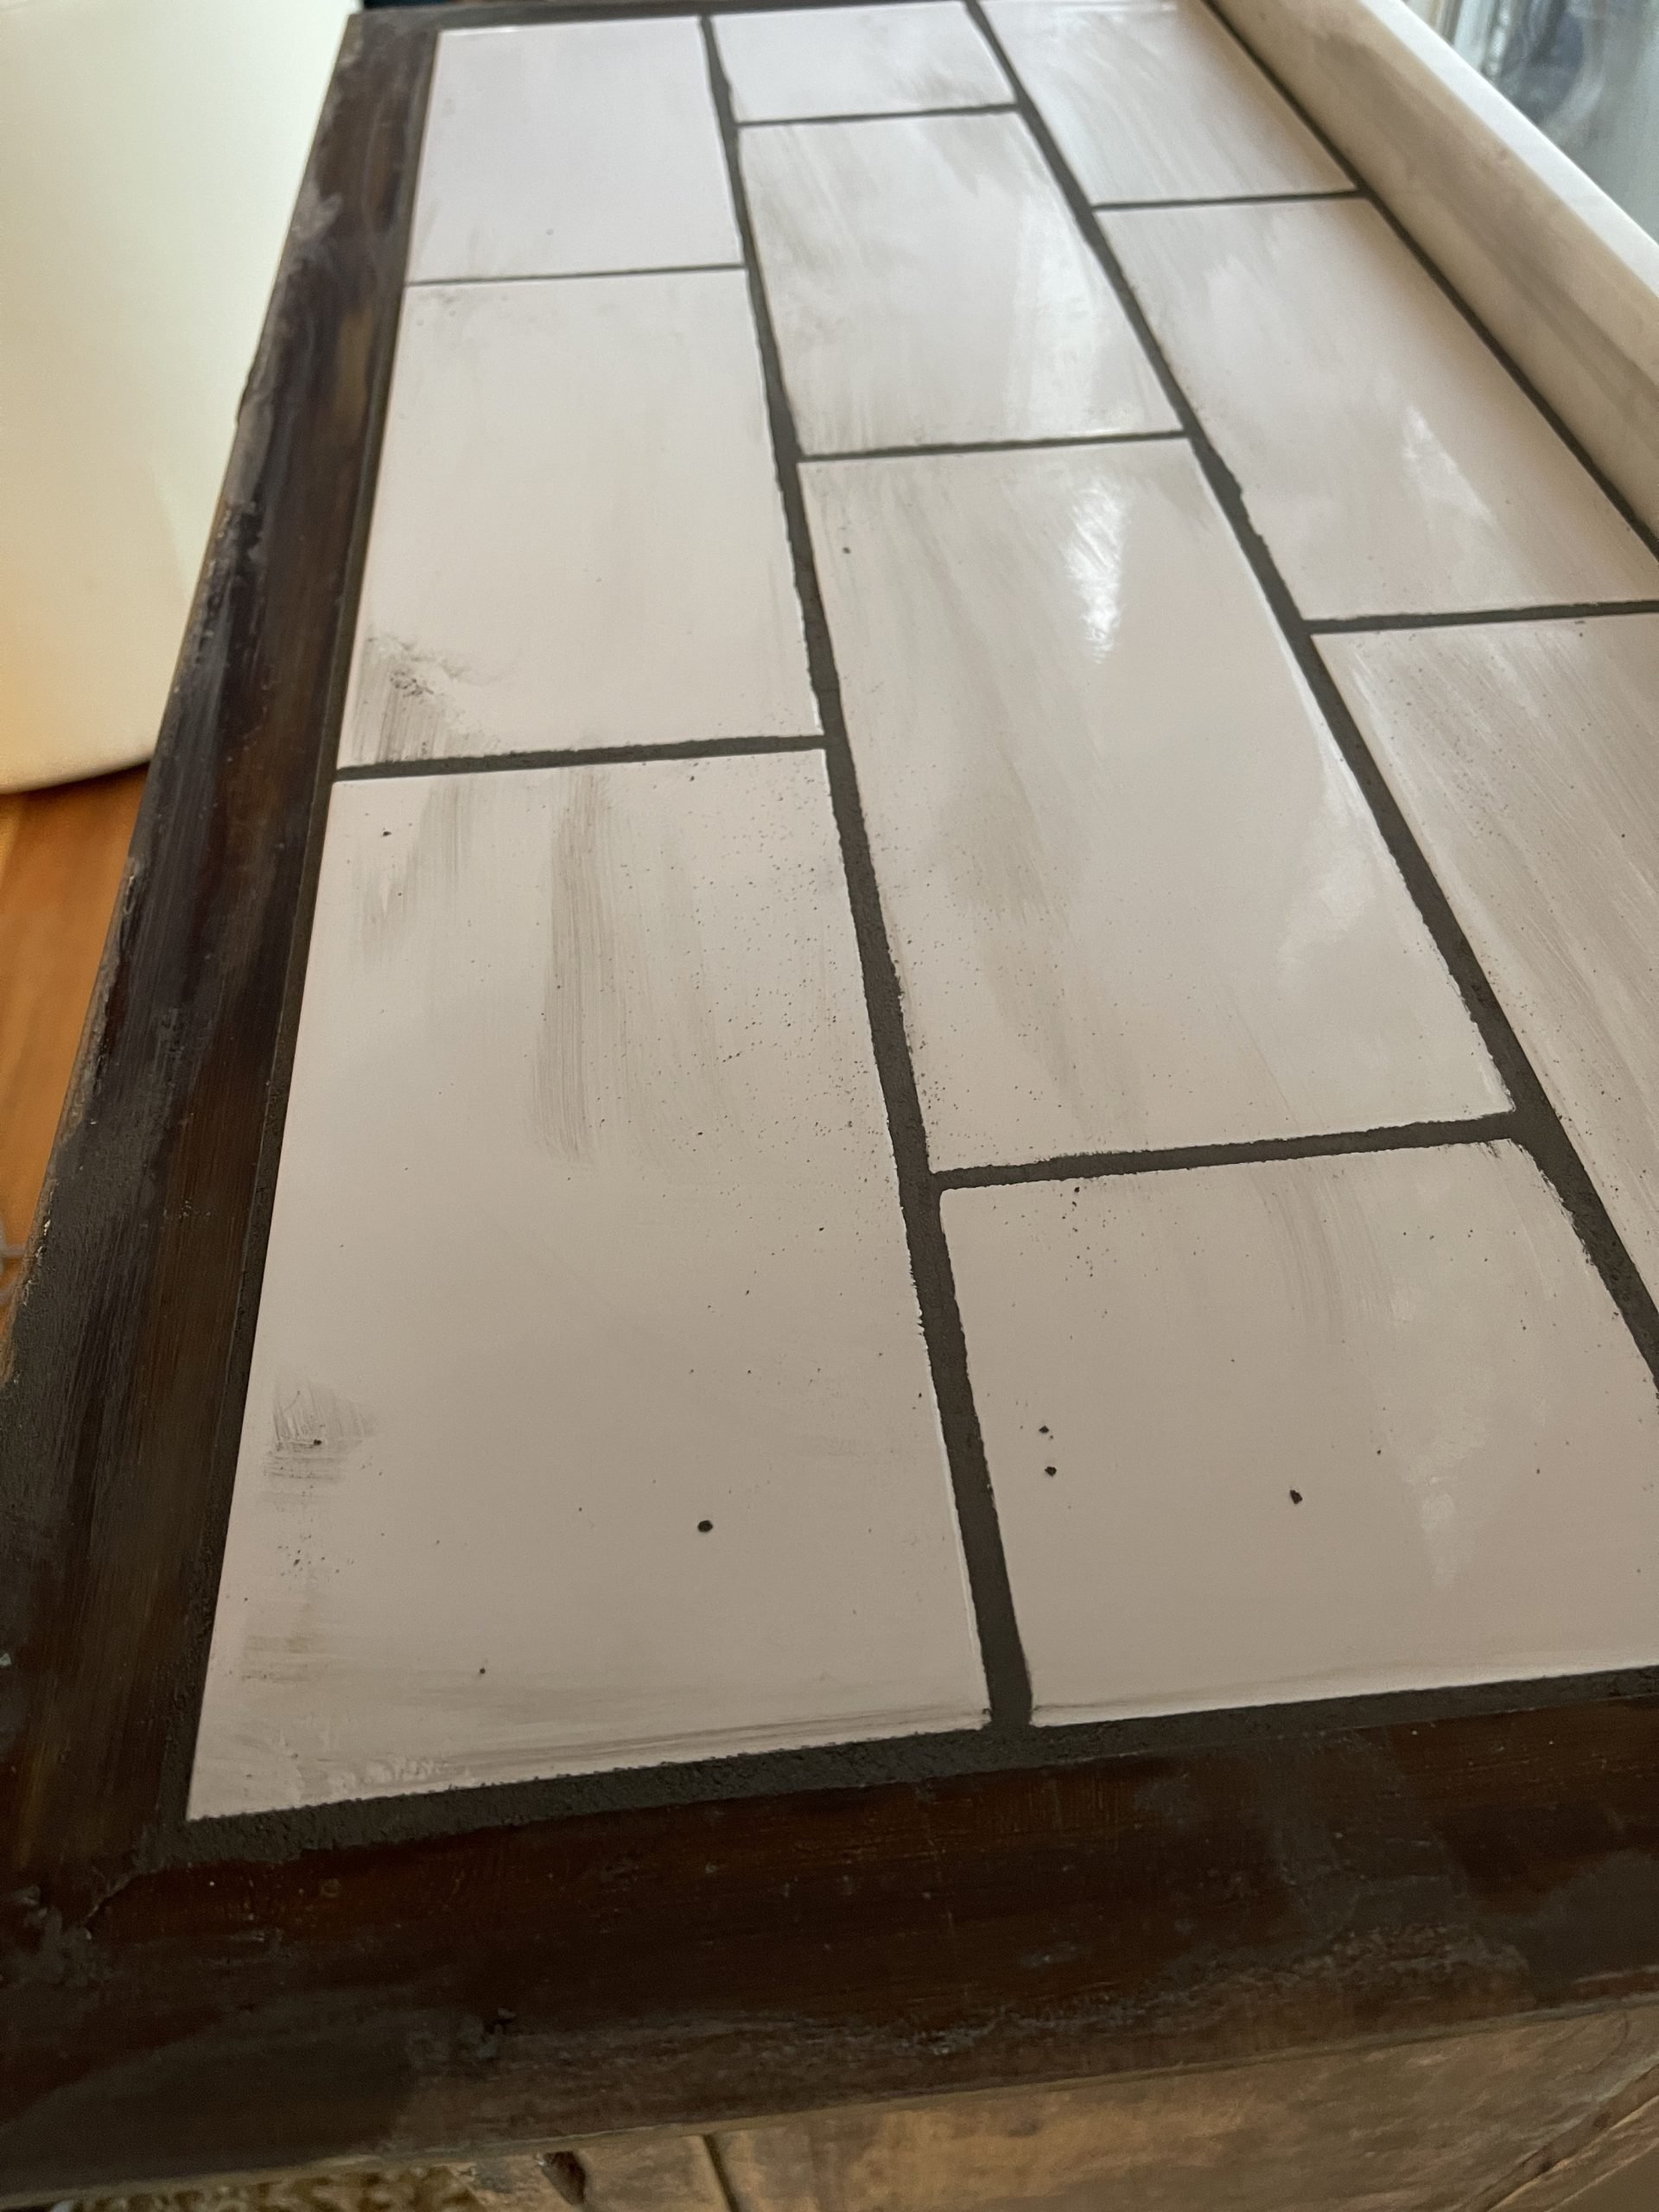
Next I laid the tiles in the way I had practiced. I put spacers between each tile and then let them set for several hours. Over night would be best if you were doing a floor. We had some dark grey grout in the garage from a previous bathroom remodel. I mixed that up with some water until it was the consistency of peanut butter and spread that between the tiles.
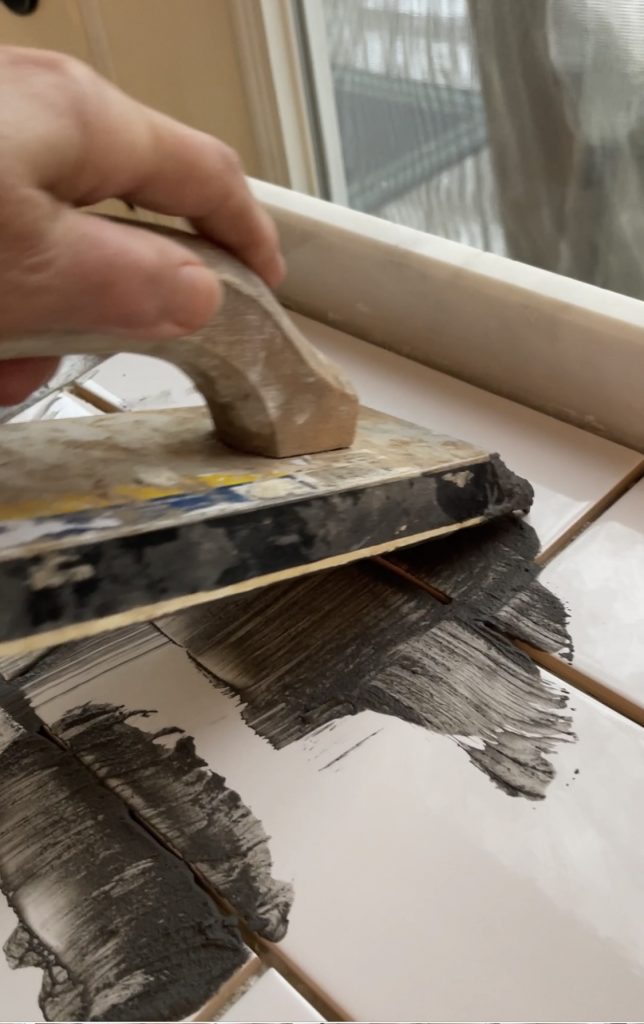
Next step was cleaning up my messiness a bit, then as it dried I used a wet rag and cleaned up the rest of the lines.
6TH: STYLING
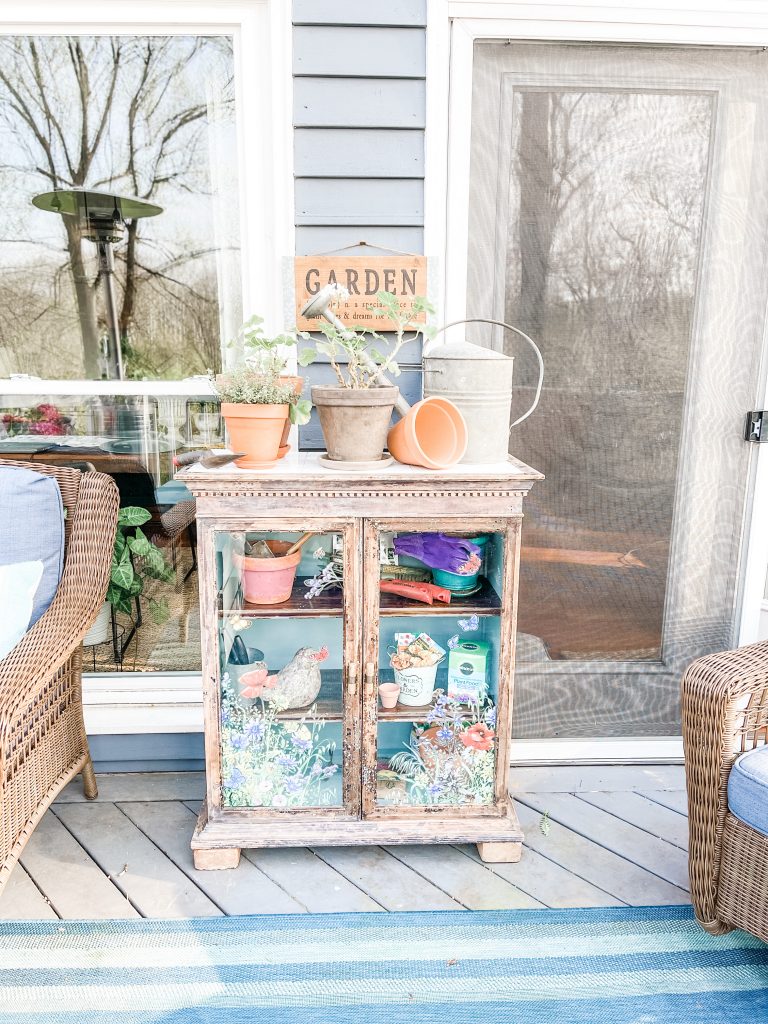
This would probably look better with feet of some sort. Since I couldn’t decide what type I would like, I opted to use some vintage 100 year old brick we’ve had from a previous project.
How perfect are four of these underneath?
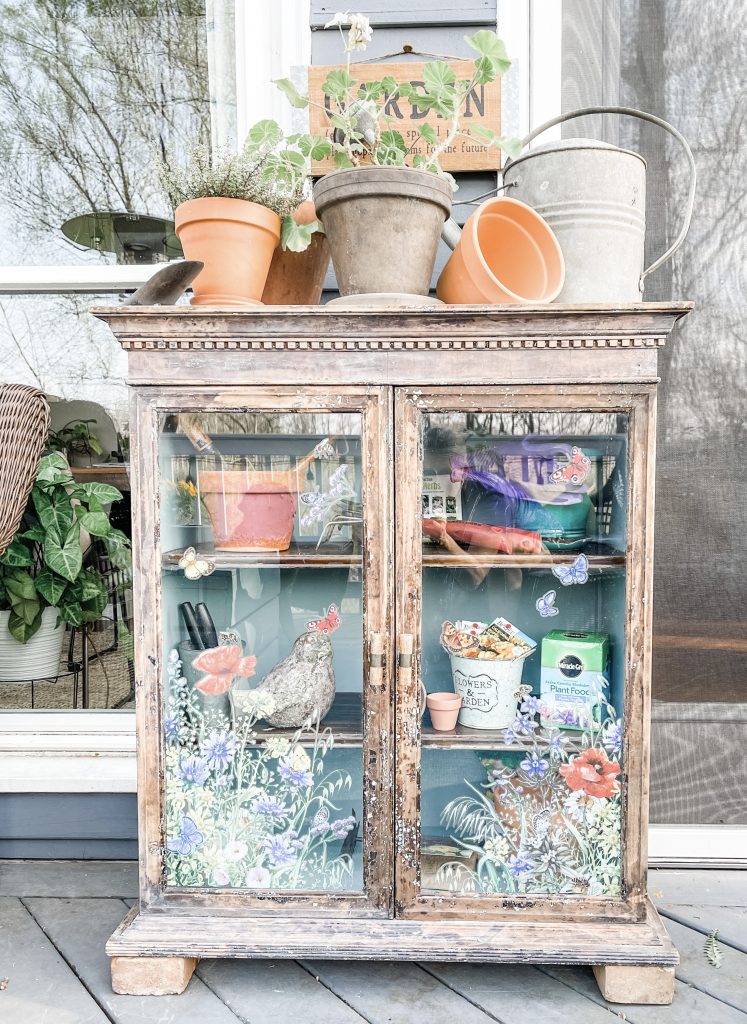
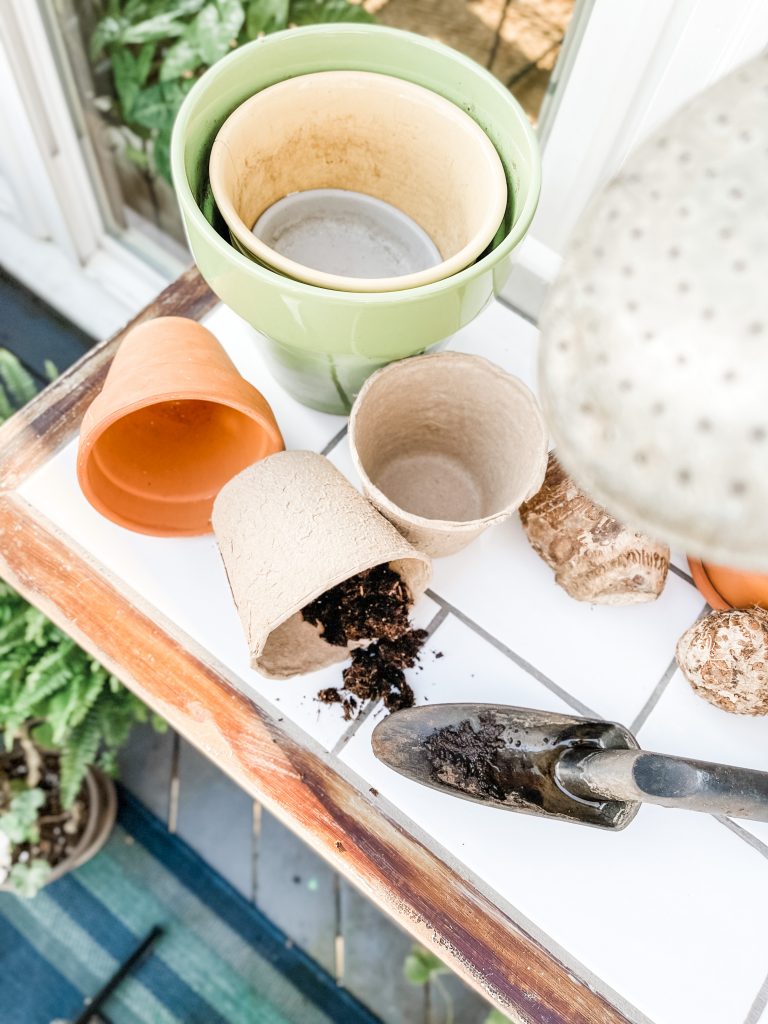
I styled it by filling it with my empty pots, tools, seeds that still need to be sown, gloves, and some plant food.
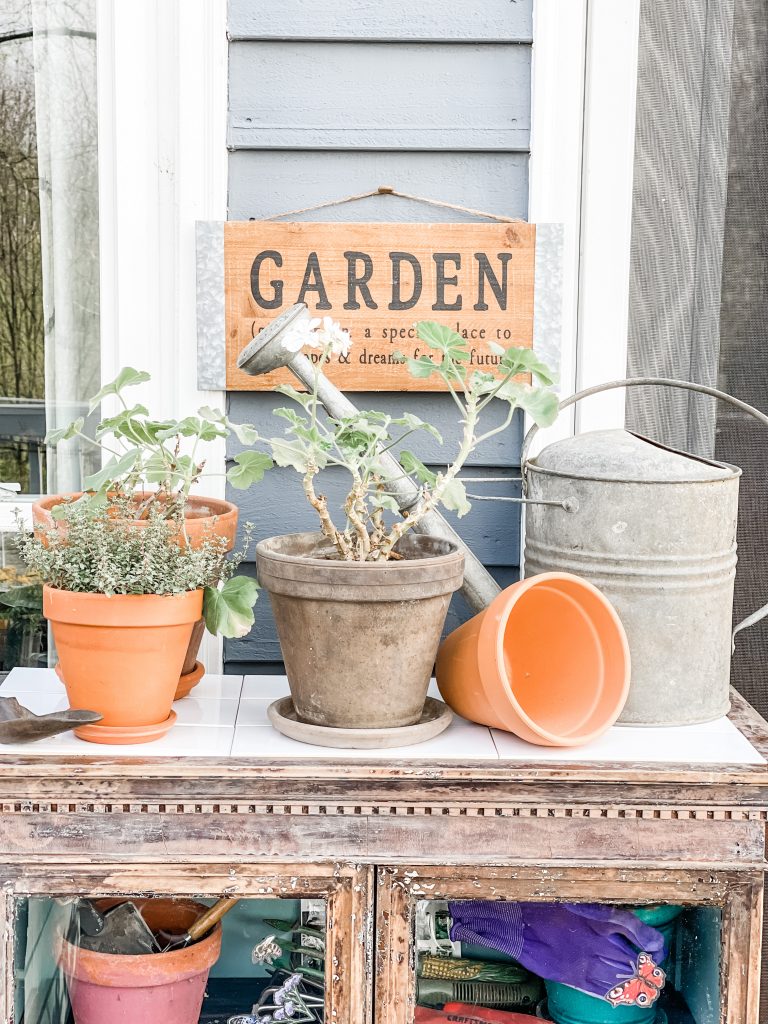
The top came out amazing and I love my new potting station. I have it on the deck, added my little garden sign above it and now it’s ready for work!
Thanks so much for stopping by! I would love if you left a comment and told me what you think.
This was truly a Trash to Treasure, found and leftover items along with some pretty paint and transfers and it’s completely transformed.
It’s functional and will definitely get use now.
XO, Regina
POTTING STATION SUPPLIES

WILDFLOWER & BUTTERFLY TRANSFERS
INSPIRATION


This post is sponsored by Dixie Belle Paints. All ideas, and opinions are my own. I have shared affiliate links, if you purchase from these links, I will receive a small commission at no additional cost to you. Thank you for supporting my small business.
nice job. looks great
This looks great! You made a true treasure out of this piece. Love the look out on the deck!
Regina, I am in awe of your creativity! This looks so beautiful! I love the stencils and the cabinet!
What a stunning transformation, love your work!
This is gorgeous Regina! I’m working on a china cabinet now and wish I had done this lol!
This came out so amazing! I love it! What a fun project. Great job!!!!
This is so beautiful and such a great idea. I might have to steal it and make one of my own. Thank you for sharing.
This piece was perfect before you touched it but I must admit, it is more perfect now!! I am loving the vintage chippy goodness on the outside with the gorgeous transfer and beautiful paint on the inside! Well done Regina 🙂 Pinned!
What a cute potting station! I love that you made two completely different pieces from an old china cabinet! You’re very creative! Donna
This turned out so cute. I would love something like that on my back deck. I’ll have to keep my eyes open for a piece to use.
Another fantastic salvage. It’s gorgeous!
Oh! I am in love with your potting station and now want one!! Stunning!
What a fabulous idea! I love that the glass doors have a green house like effect. Thank you for sharing your step by step instructions.
Hi Regina! First time to your blog and now you have me. I have subscribed. This potting station with that transfer is gorgeous. Love that old. Hippy look and the inside is gorgeous. Lots of love into this. Thank you!
Your project turned out so awesome! Love it!
Thanks so much Tammy!