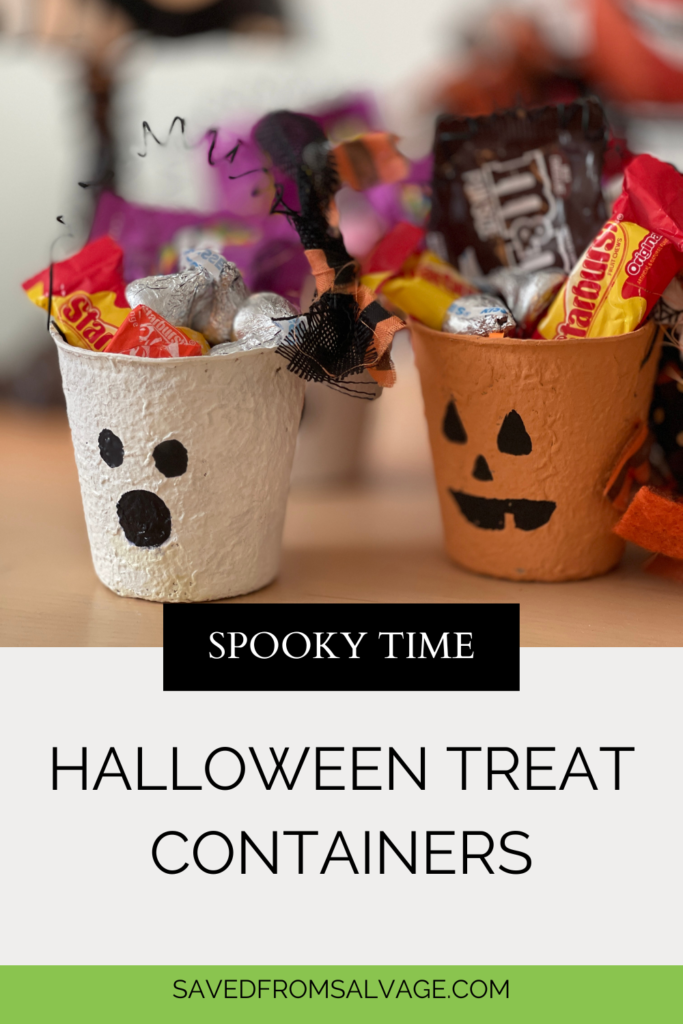
Any one else have these leftover from spring planting? If you do, grab them and let’s make these adorable and whimsical containers for your Halloween parties or get togethers. I’m sharing how to make easy Halloween treat containers using peat pots.
I might have been a little ambitious in my ordering of peat pots this year, I think I got 60. So I have quite a few left over.
This year I’m embracing all things Halloween and in addition to my DIY Ghosts, these are going to make the cutest addition to my treat table. The best thing you guys about this DIY? I had everything on hand, so zero dollars is a win for me.

Hi, I’m Regina and this is Saved From Salvage. I love to share DIY projects and furniture flips along with event inspiration like this. Thanks for stopping by.
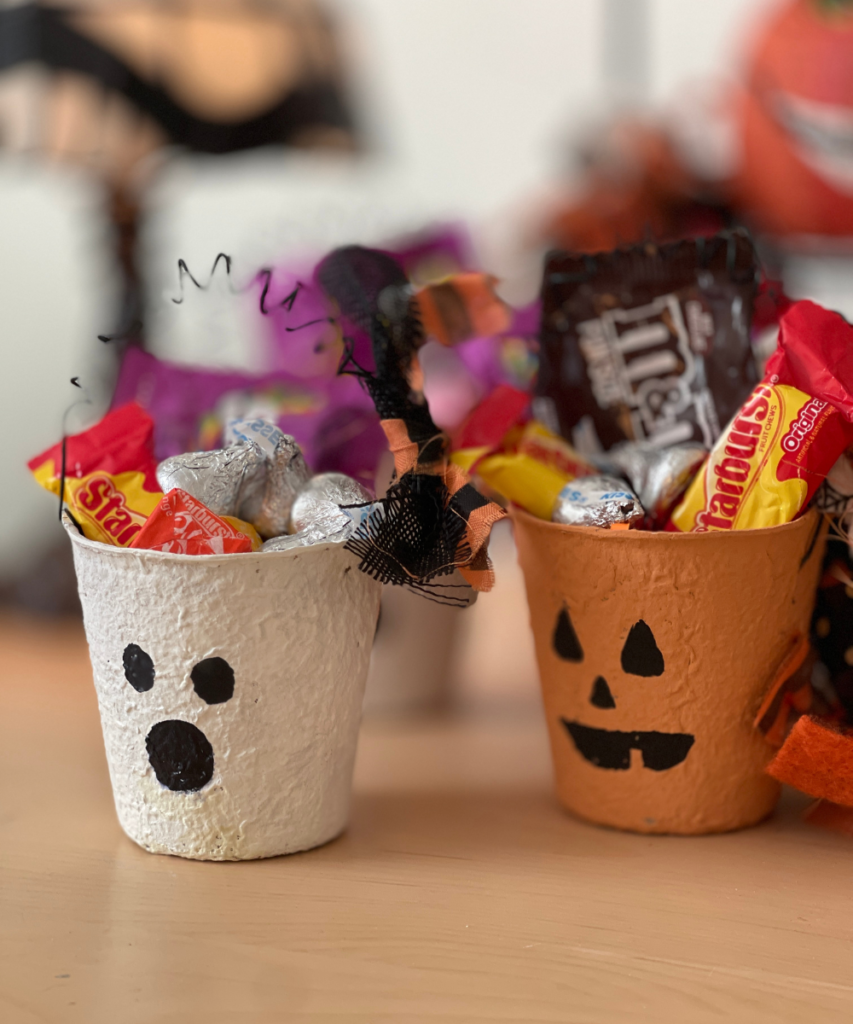
Table of Contents
PEAT POTS
What is a peat pot? They are a compostable material made from peat moss and wood. They come in various sizes.
Where do you get them? I have purchased them from garden centers and online from Amazon.
What do you use them for? To start seeds or small plants in. Or if you are like me, to use for events and holidays in a variety of ways.
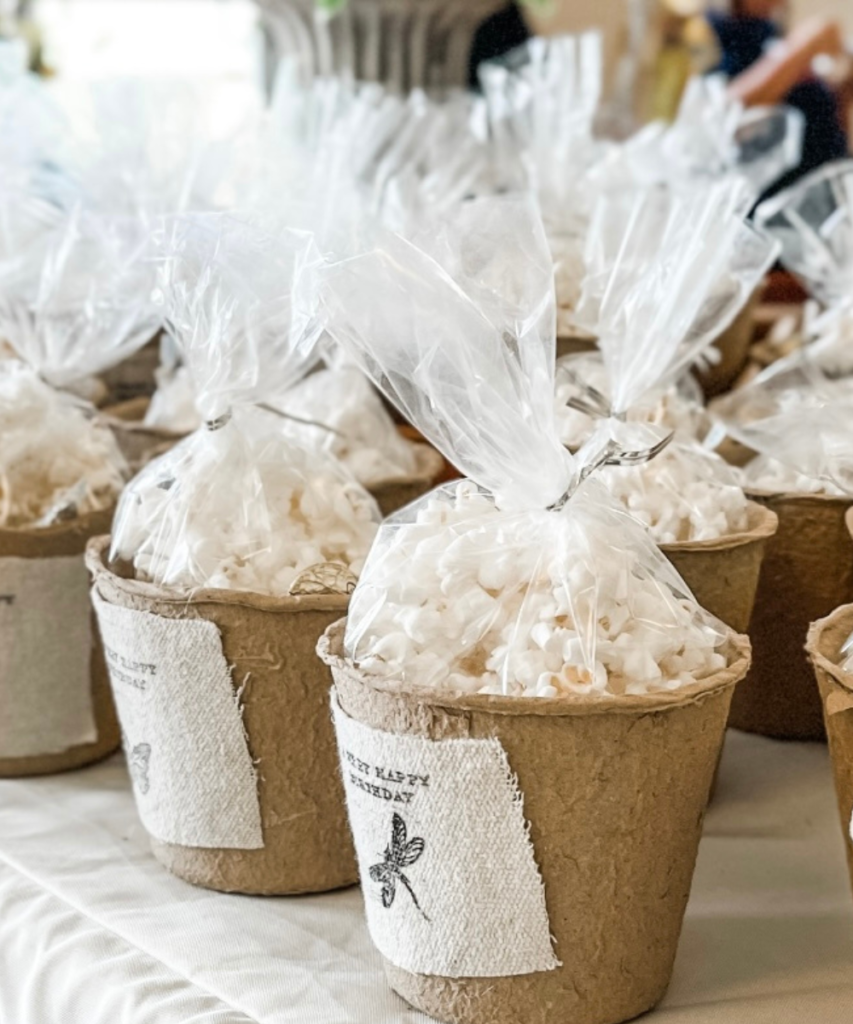
Here’s a snapshot of a party favor where I used peat pots.
DIY HALLOWEEN TREAT CONTAINERS
Follow along for this super easy DIY. If you don’t feel artistic, stick with the ghosts or pumpkins.
You’ve got this!
STEP ONE
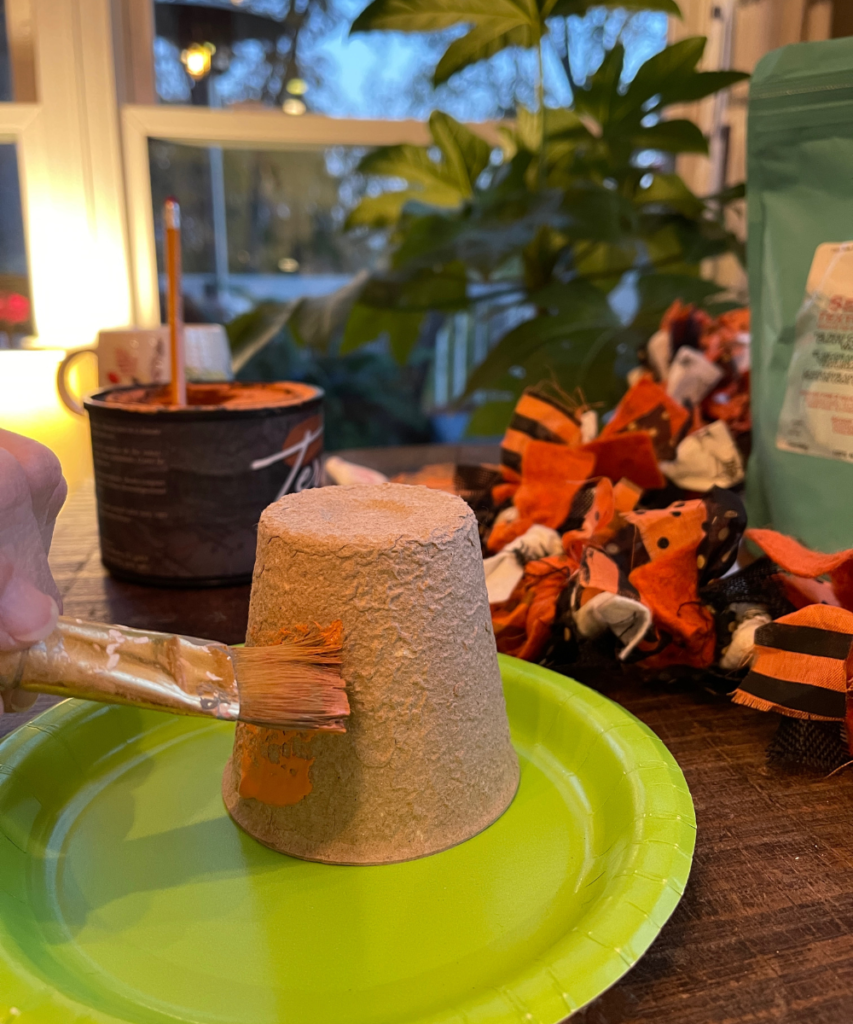
After you have gathered your supplies, cover your work surface and begin painting your peat pots.
STEP TWO
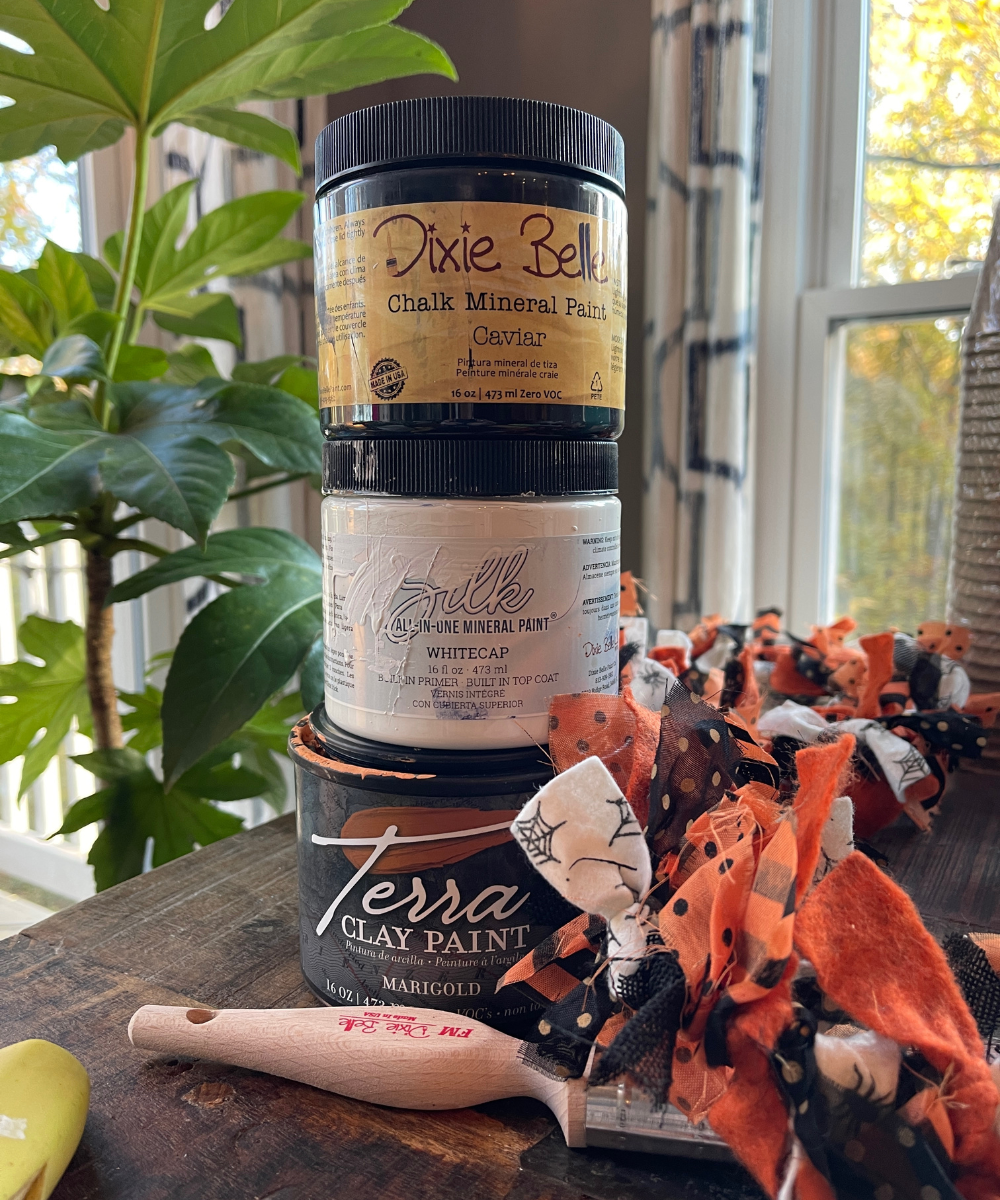
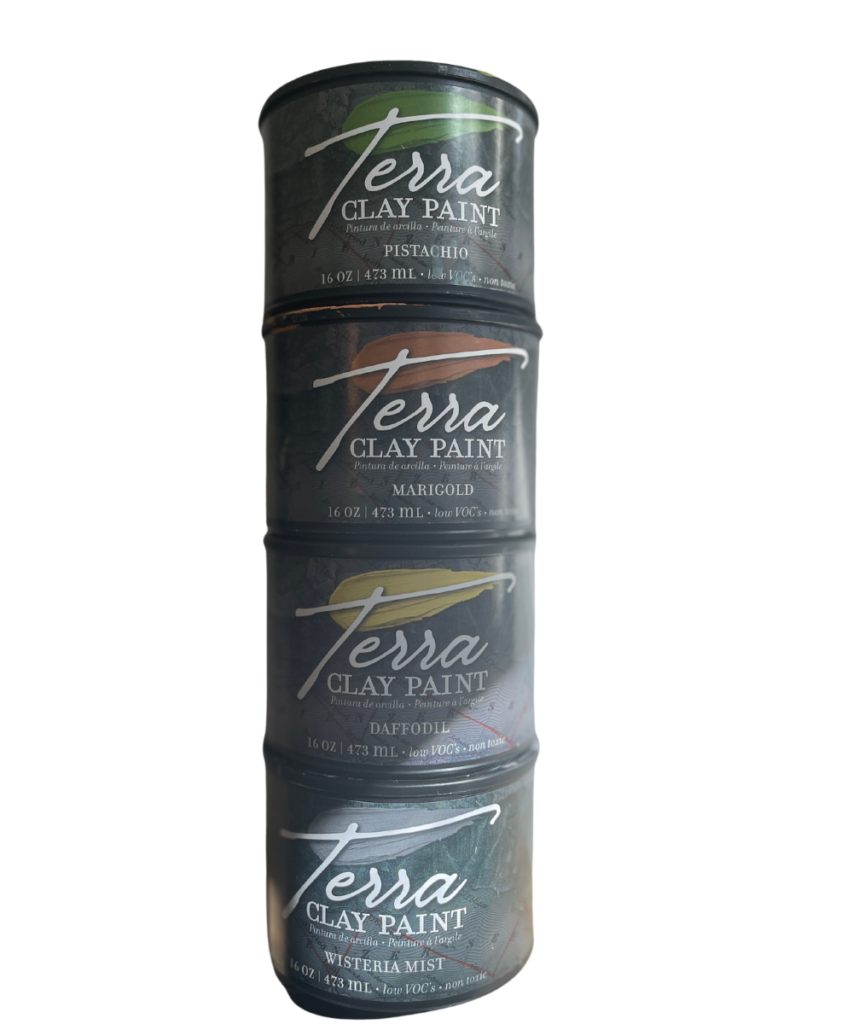
Begin painting your pots one color at a time and let them dry. I used a few different types of paint. The one I want to expand on here is the Terra Clay Paint.
There are 18 colors and I’ve used four of them in this project.
These paints come in beautiful colors and allow you to create texture.
Unlike Silk Mineral paint, Terra Clay paints are not self leveling.
You can go back to this paint and wet it and create new textures.
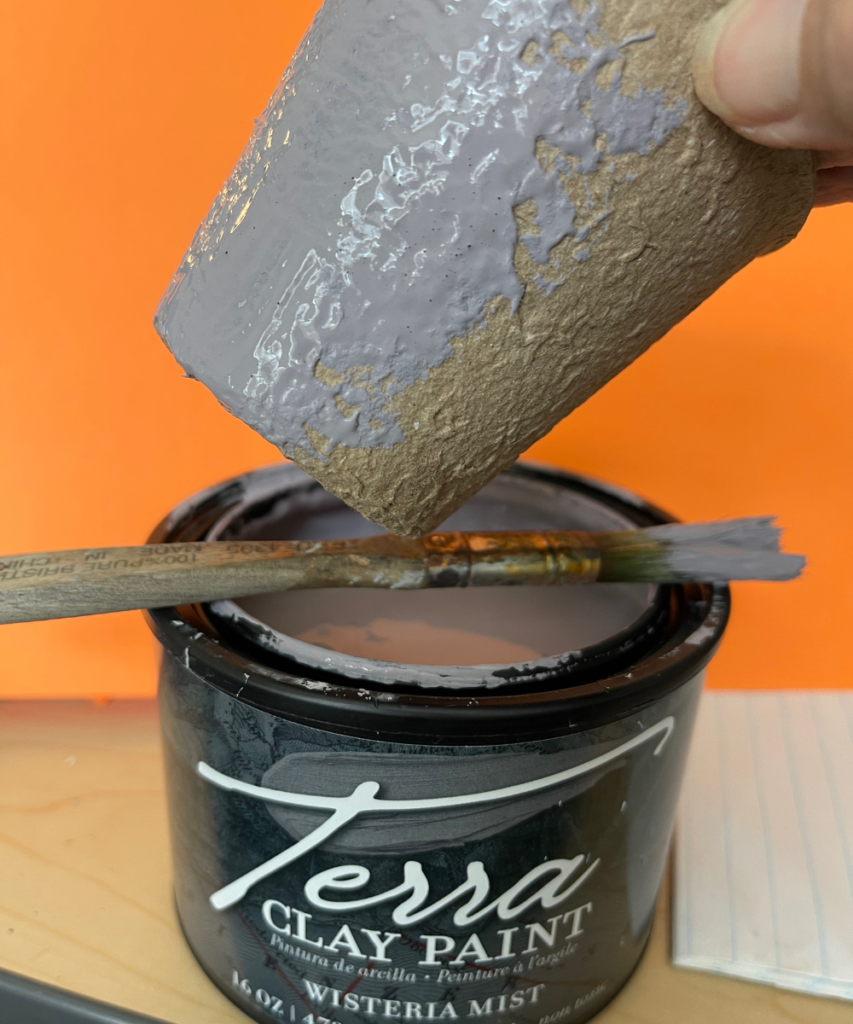
For mine, I painted the outside and after dry, I painted about an inch down on the inside.
STEP THREE
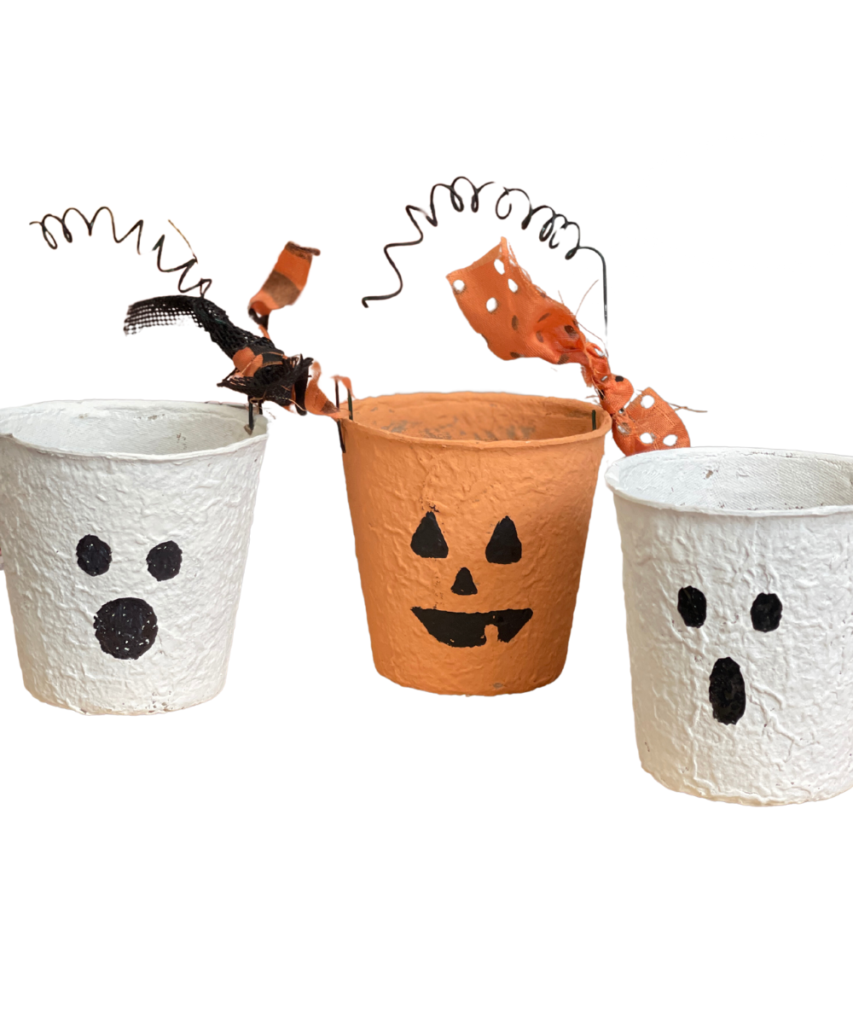
The next step is to paint the face or design on your container.
You could paint them all the same or like me, you could paint several different designs.
Whichever you prefer.
I realized I’m not great at small hand painting but they don’t have to be perfect.
It helped to draw the design in pencil first then fill it in with paint using a very small paintbrush.
STEP FOUR
The next step is to add a handle.
I was looking for some black wire, then remembered I had pieces of green wire from the wedding I did in September, I decided to make them work.
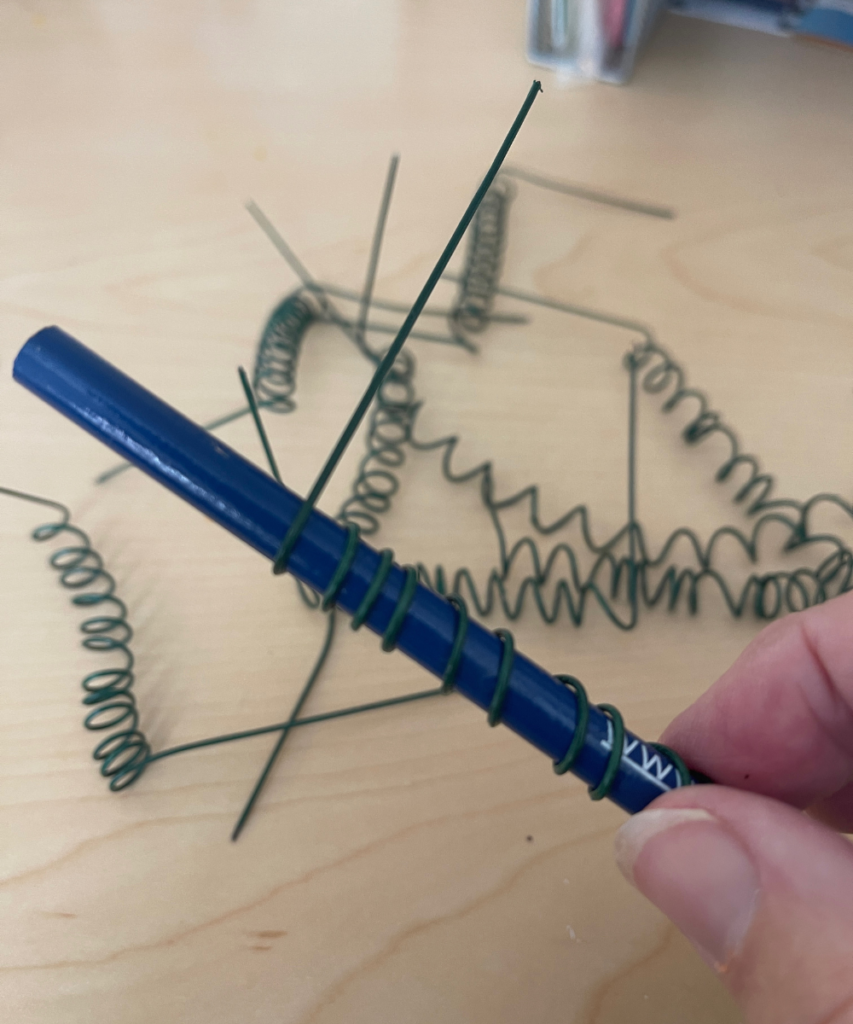
To make the handle, I wrapped the wire around a pencil and then slid it off.
Next I painted it with the Caviar Chalk Mineral Paint I used for my black pots.
Then, I flipped them over and did the other side.
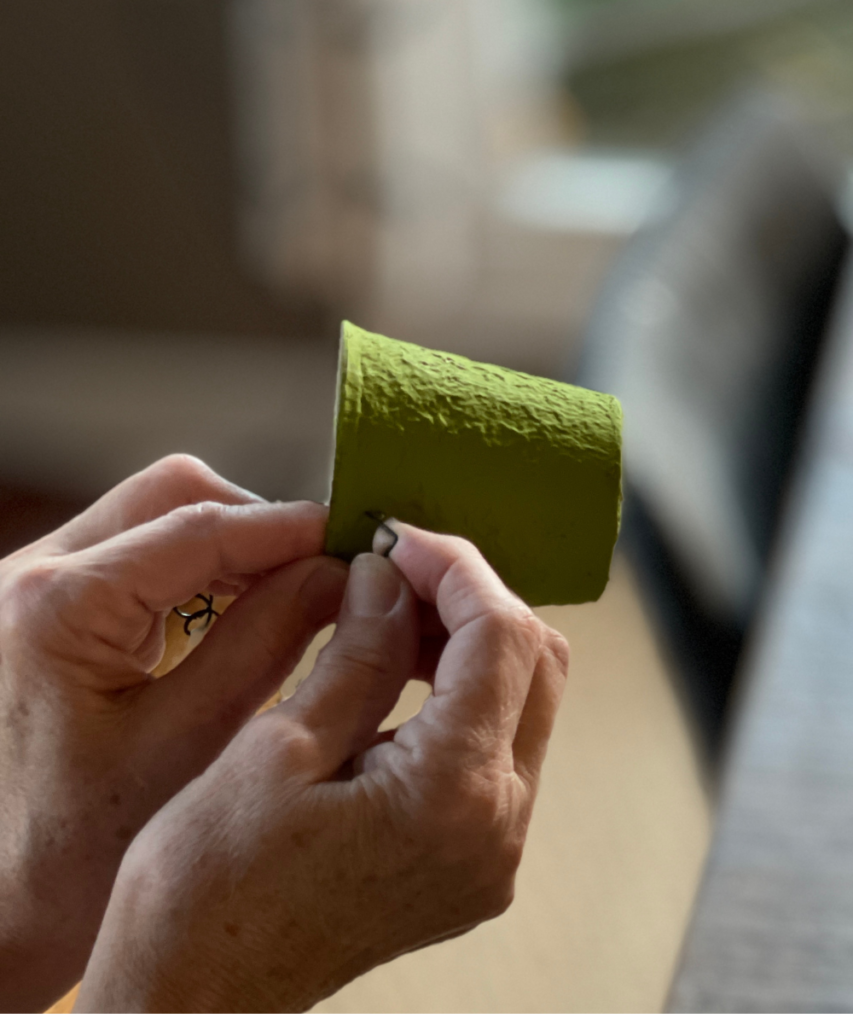
I used the end of the wire to poke a hole in the side of the peat pot and bent it to tighten.
I didn’t need any tools to do this, just my fingers.
Here is how easy it is to add the wire. Just use the end to poke through the pot.
SUPPLIES FOR HALLOWEEN CONTAINERS
I am an Amazon Affiliate. I have provided links for your convenience. If you purchase from these links, I will receive a small commission on eligible items. This is at no additional cost to you. Thank you for supporting my small business.
Marigold Terra Paint by Dixie Belle
Daffodil Terra Clay Paint by Dixie Belle
Wisteria Terra Clay Paint by Dixie Belle
Pistachio Terra Clay Paint by Dixie Belle
Caviar Chalk Mineral Paint by Dixie Belle
White Cap Silk Mineral Paint by Dixie Belle
Wire
Paint Brush
Paper Shred
Pencil
Scrap Fabric Strips
MORE IDEAS FOR YOUR HALLOWEEN PEAT POTS
Well I couldn’t stop with the ghosts and the pumpkins. I tried my hand at Frankenstein, a Cat and a Witch.
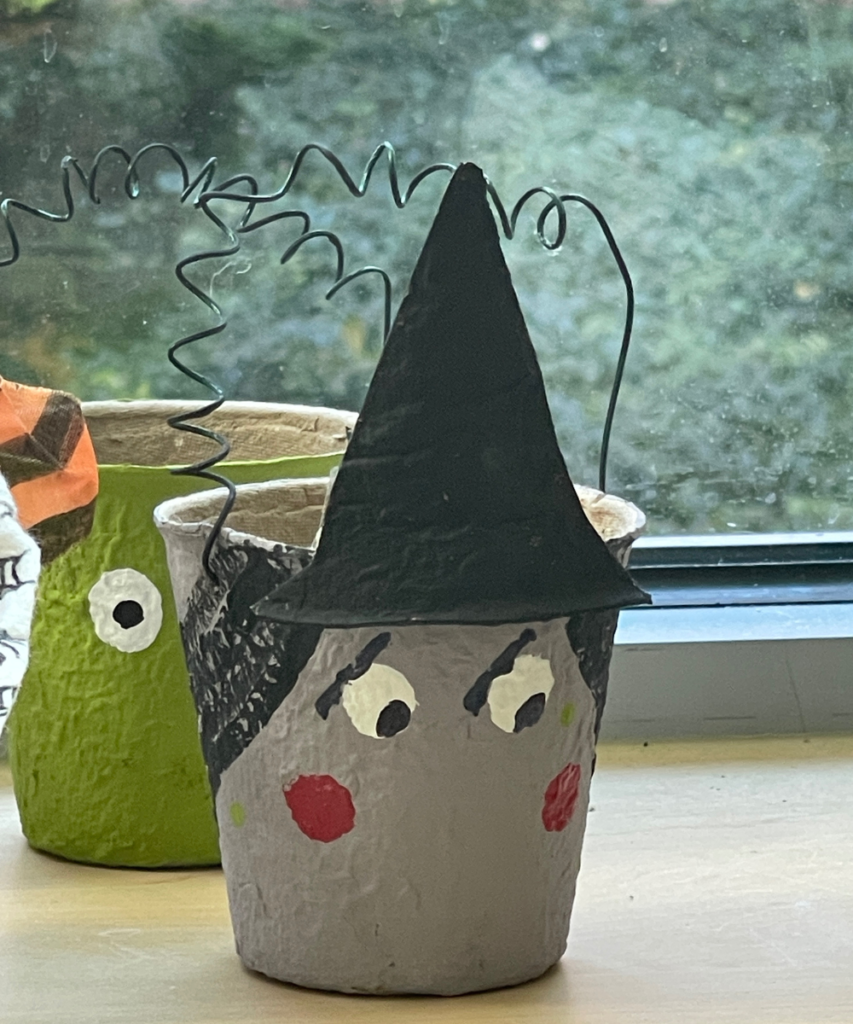
I still have to work on the witches nose, I’ve repainted over it 3x so far. It doesn’t have to be perfect but…
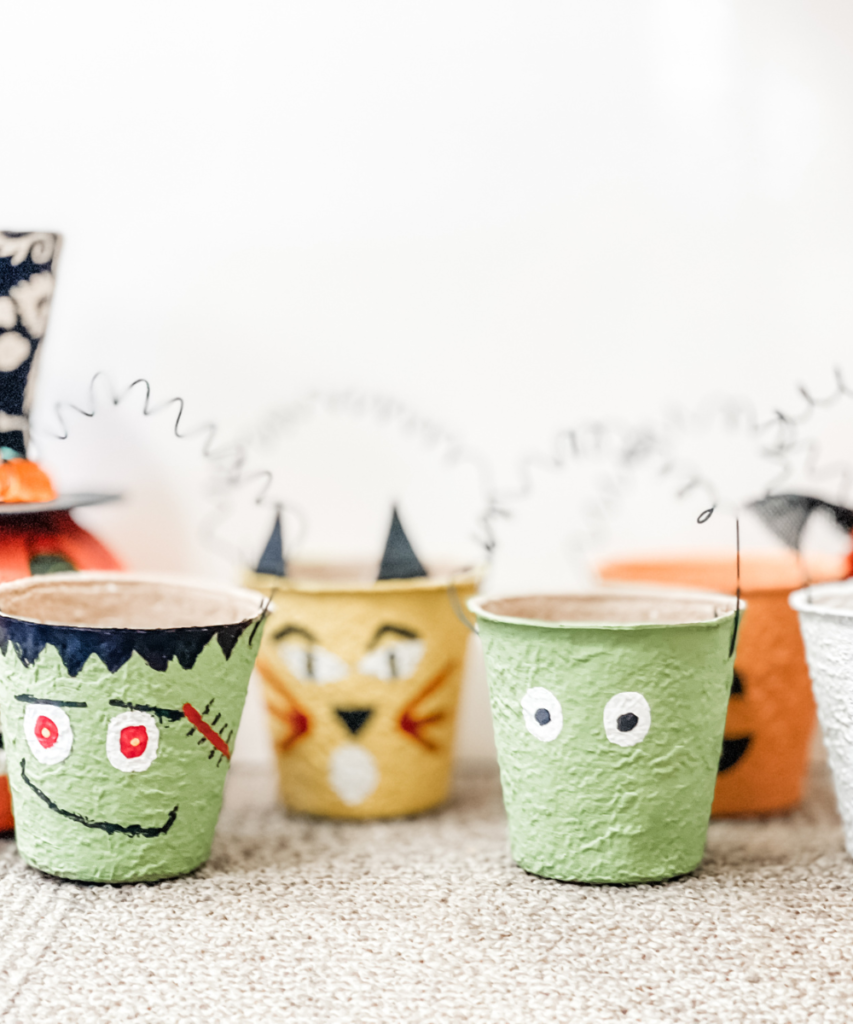
Anyway, I’m so glad I found something to do with my leftover peat pots.
These would be perfect to gift a treat to a co-worker for Halloween, popcorn, a gift card, donuts?!
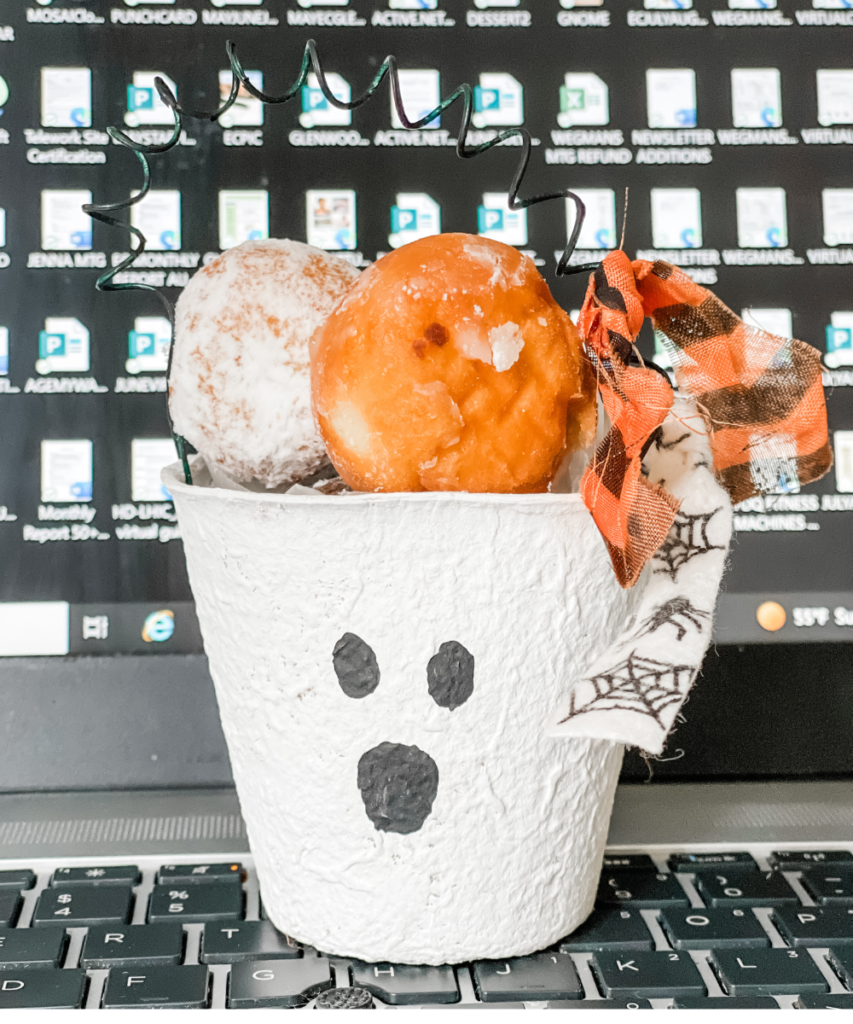
How about a few treats for your pups friends, so cute with some homemade sweet potato chips or Milkbones.
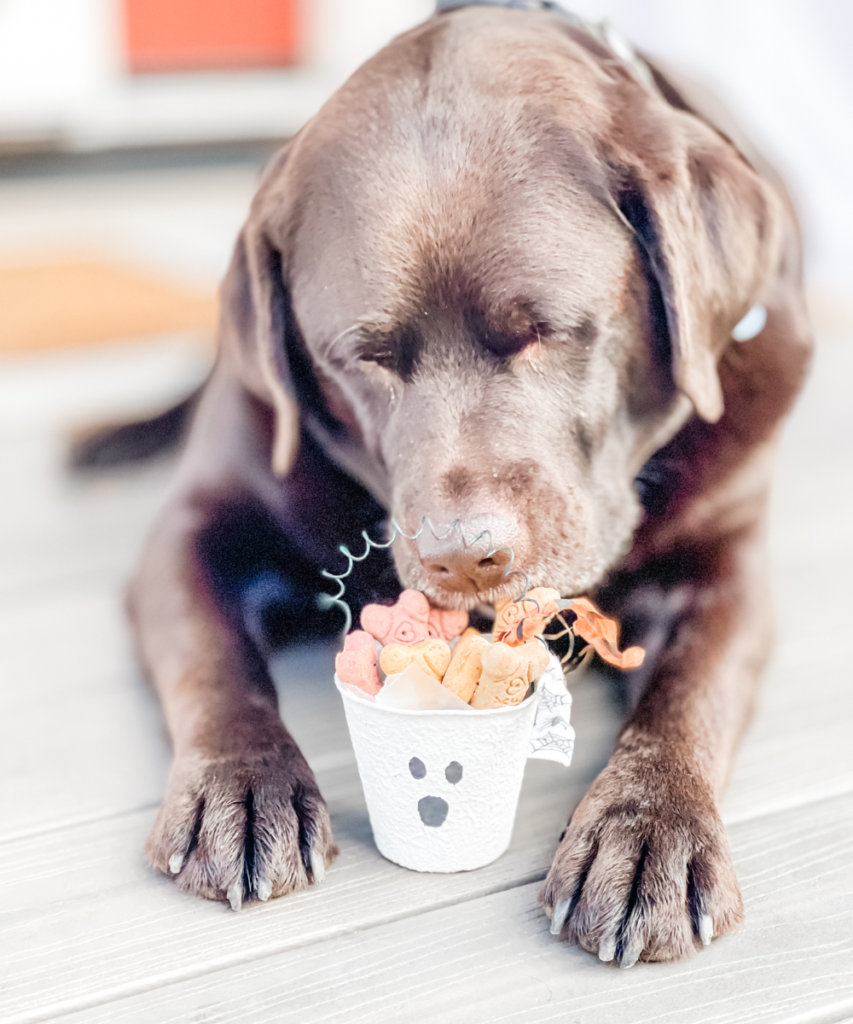
I’ll be sharing these with the little ones next door for sure, kids and pups that is.
Since I had my knee replaced in September, I have not been up to blogging so here I’m sharing some fun Halloween Inspiration from previous years. Check them out here, or here.
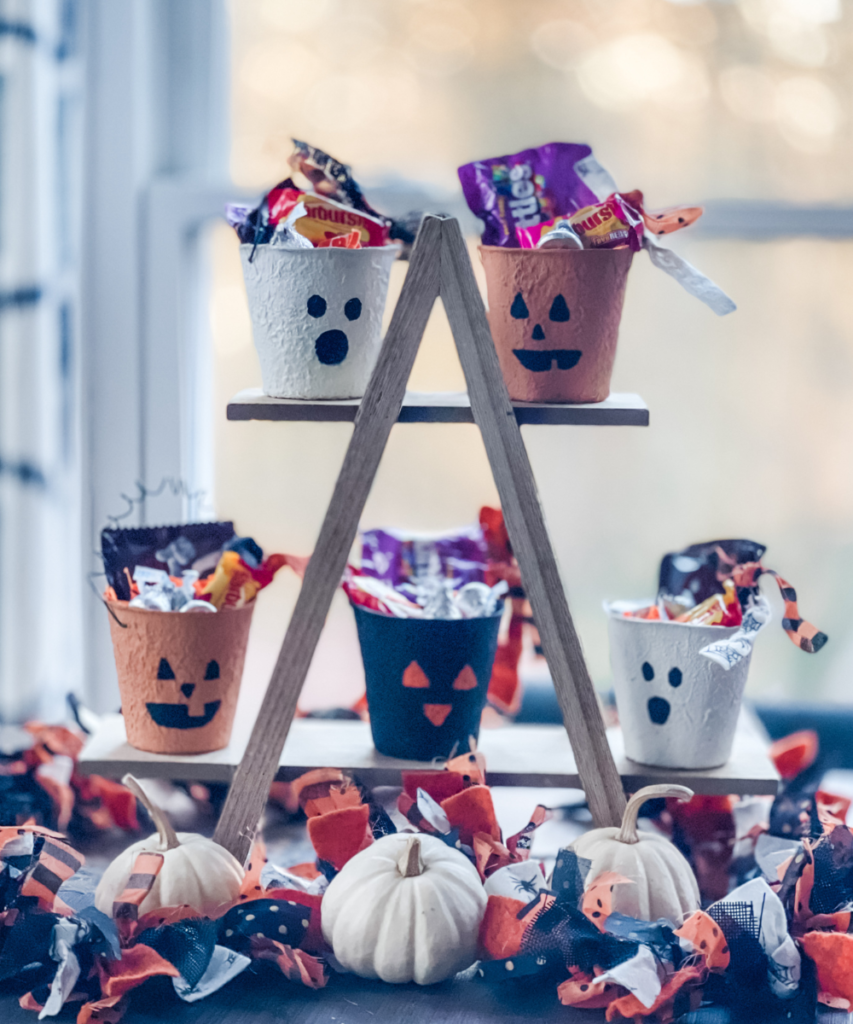
Thanks so much for stopping by. I would love if you let me know what you think.
XO, Regina
SHOP THIS POST
Click on image to shop.

Leave a Reply