Do you like to change out your front door decor with the seasons? If you are looking for an inexpensive super cute idea, check out my fall door hangers diy I created with decor from the Dollar Tree.

Hi, I’m Regina and this is Saved From Salvage. I love to share DIYs, Home Decor Projects, Event Inspiration and recipes. Thank so much for being here.
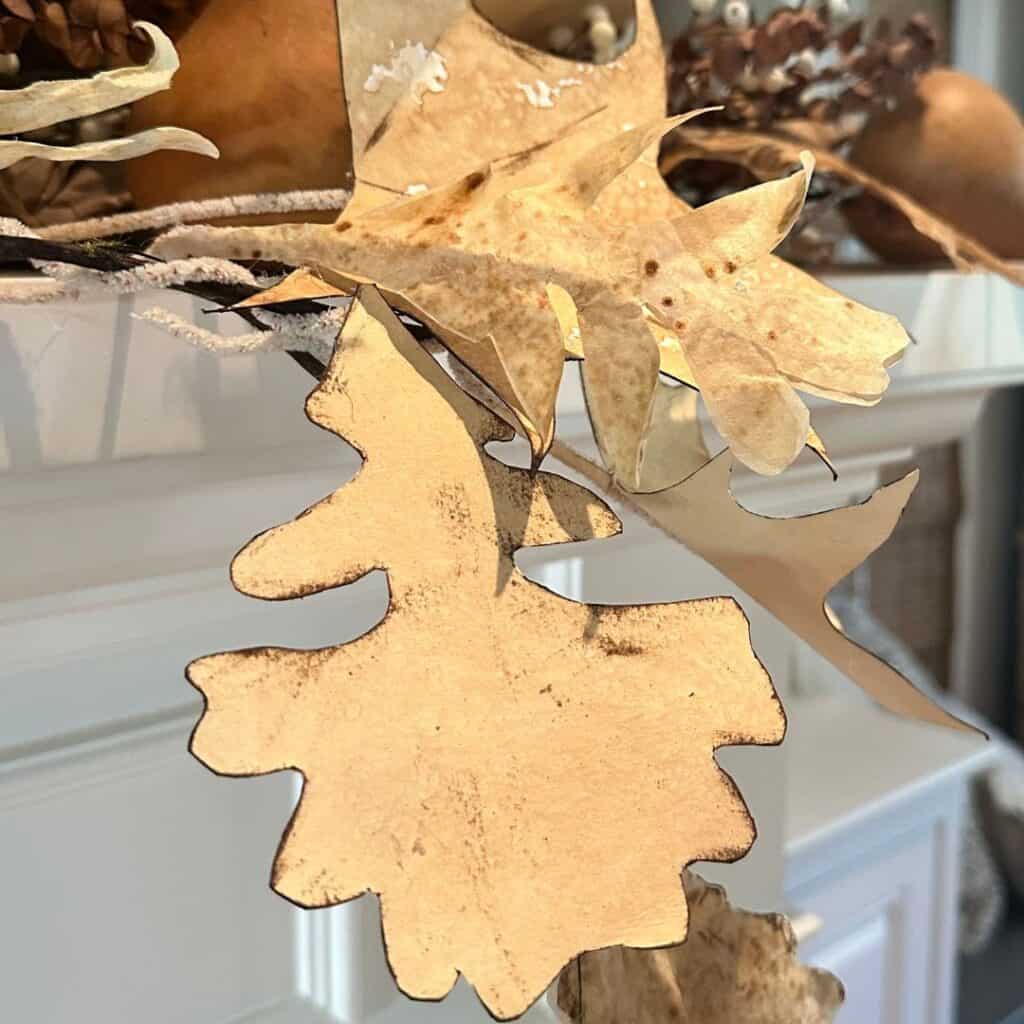
It’s time for Handcrafted Society and this month our medium was leaves, thanks to Missy from Sonata Home Design. A perfect idea for this time of year. I can’t wait for you to see all the creative ways these ladies used leaves in their projects. If you are coming from Wendy at WMDesign House, can you believe what she does with coffee filters? This month we welcome a new member, my friend Susan from Hen and Horse Design and our guest is Nicolle from Our Tiny Nest.

I had just completed a makeover of old rusty red lanterns using Dixie Belle Patina Paint collection and I loved it so here it is again. You can see those right here.
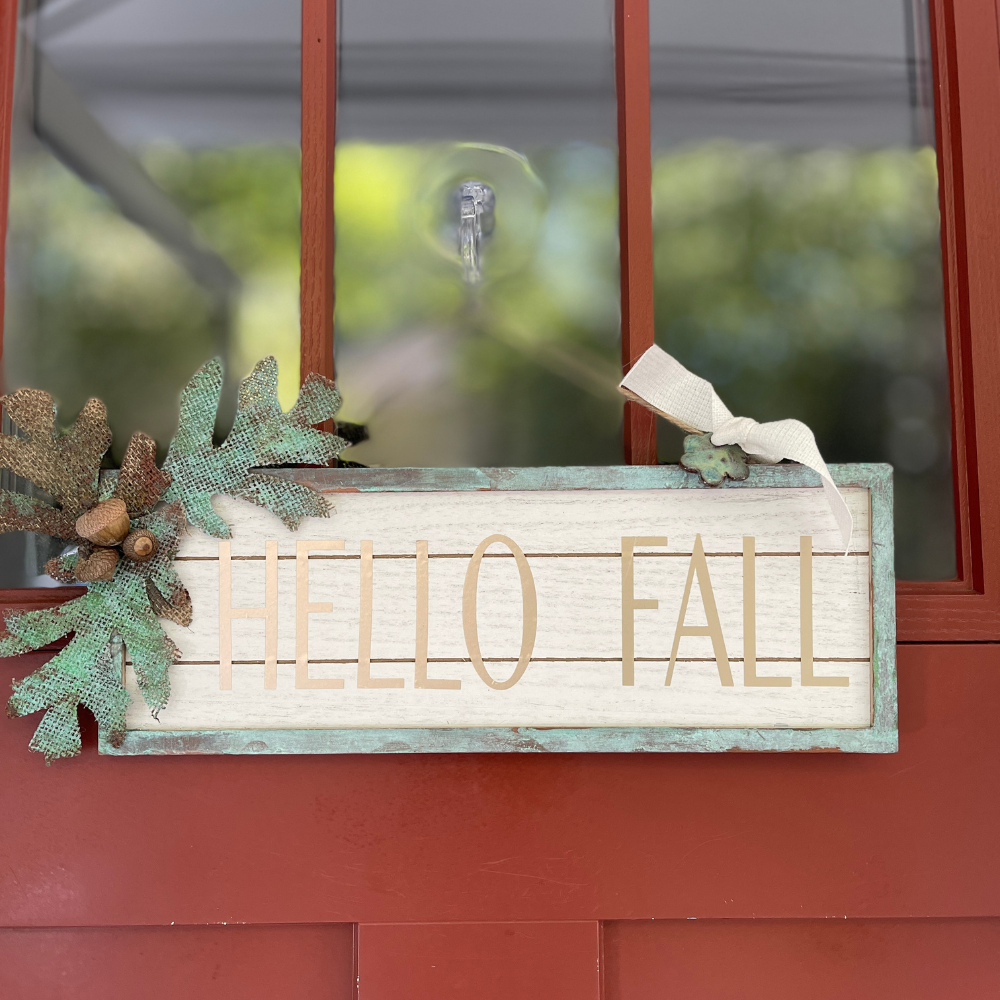
For this DIY project, I knew it was going to be all about fall decor since it was to include fall leaves, I thought of a fall wreath but decided on a welcome sign of sorts, a door hanger.
What better way to welcome the fall season than with a hello fall sign. Dollar Tree is a great place to get decor with a fall theme. Their fall and halloween decorations are over the top.
I know many people purchase Dollar Tree decor and paint over the signs or redo decor, for this I just purchased the fall leaves and the door sign, it was just a plain ready to paint or stencil board.
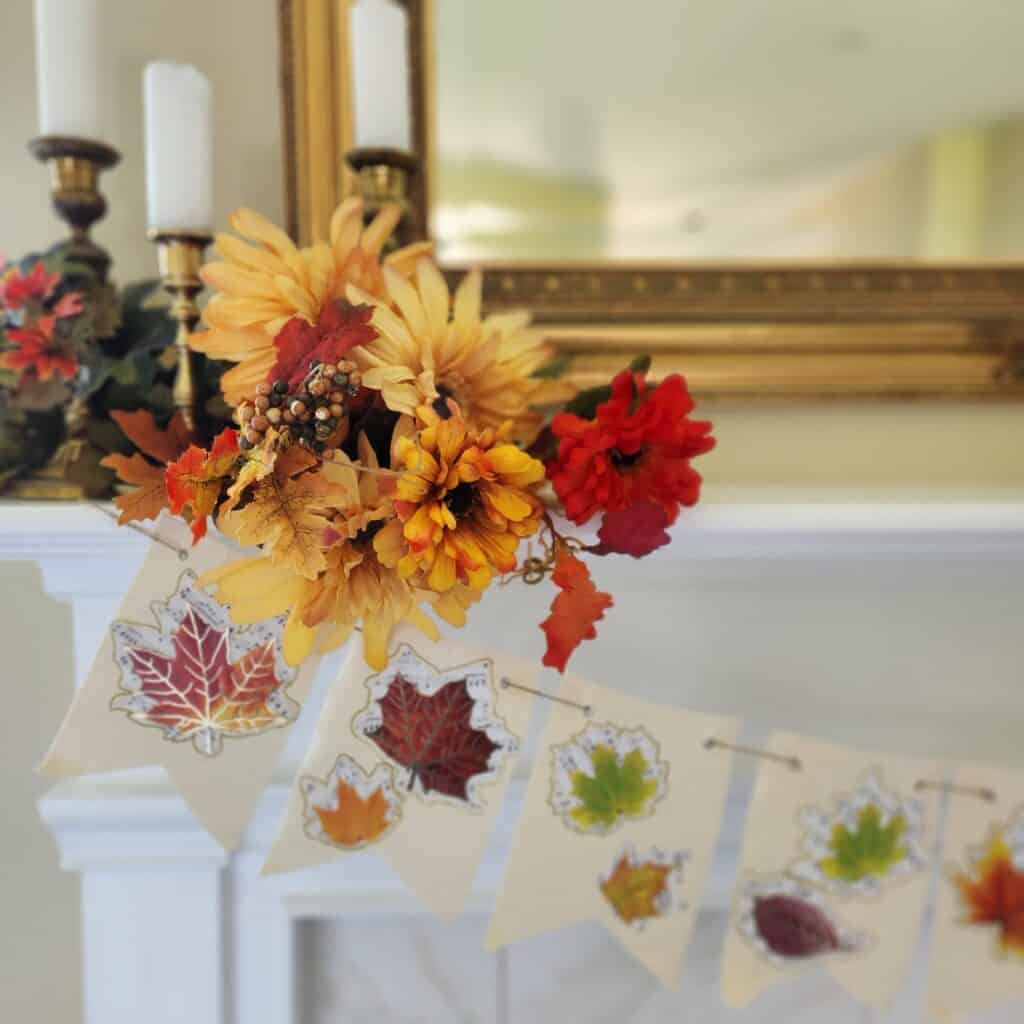
Full disclosure, I am just not one who can get on board with fall florals. I love real flowers, dried flowers but silk flowers not so much. I love the leaf garlands other members of the Handcrafted Society have made.
Table of Contents
SUPPLIES FOR FALL DOOR HANGER
- WOODEN SIGN FROM DOLLAR TREE
- BURLAP LEAVES FROM DOLLAR TREE
- ACORNS
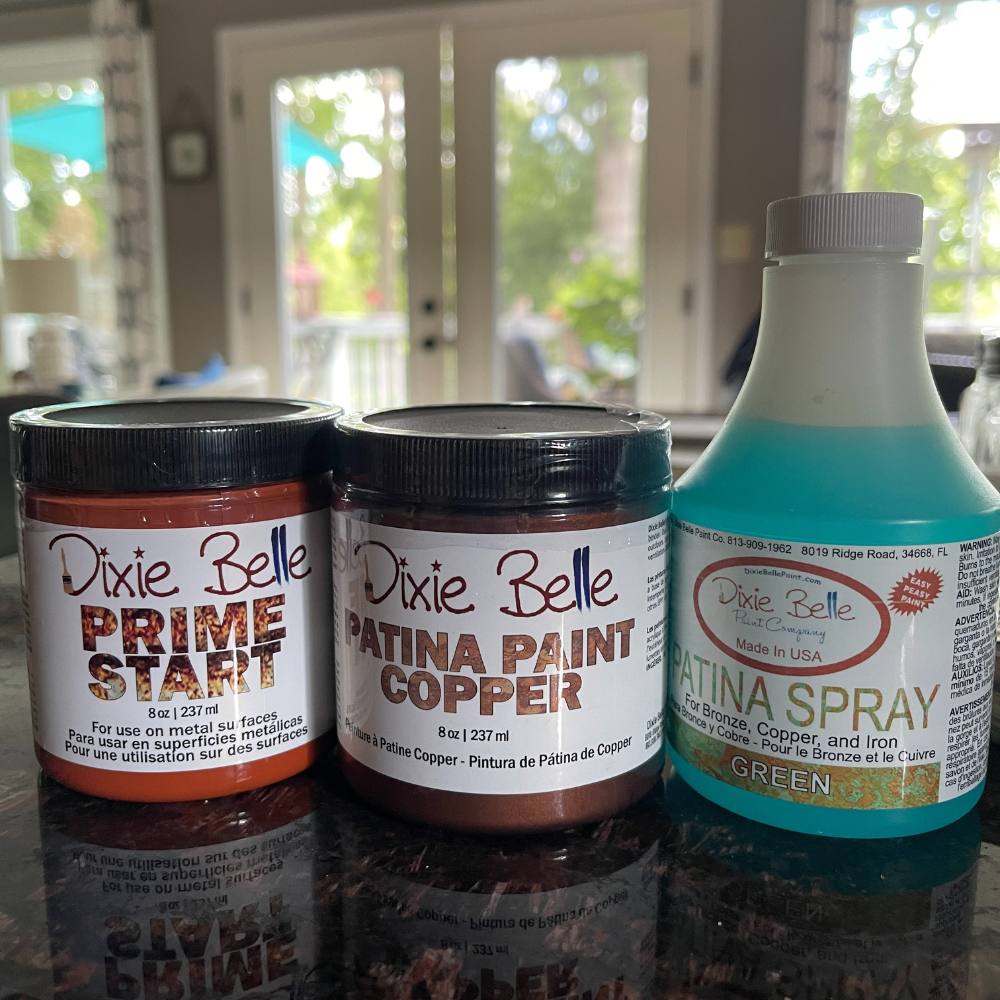
- PATINA PAINTS FROM DIXIE BELLE
- GOLD VINYL
- HOT GLUE GUN
- PAINT BRUSH
HOW TO GET THE LOOK
To get this fun copper rusty look, I used Dixie Belle Patina Paints.
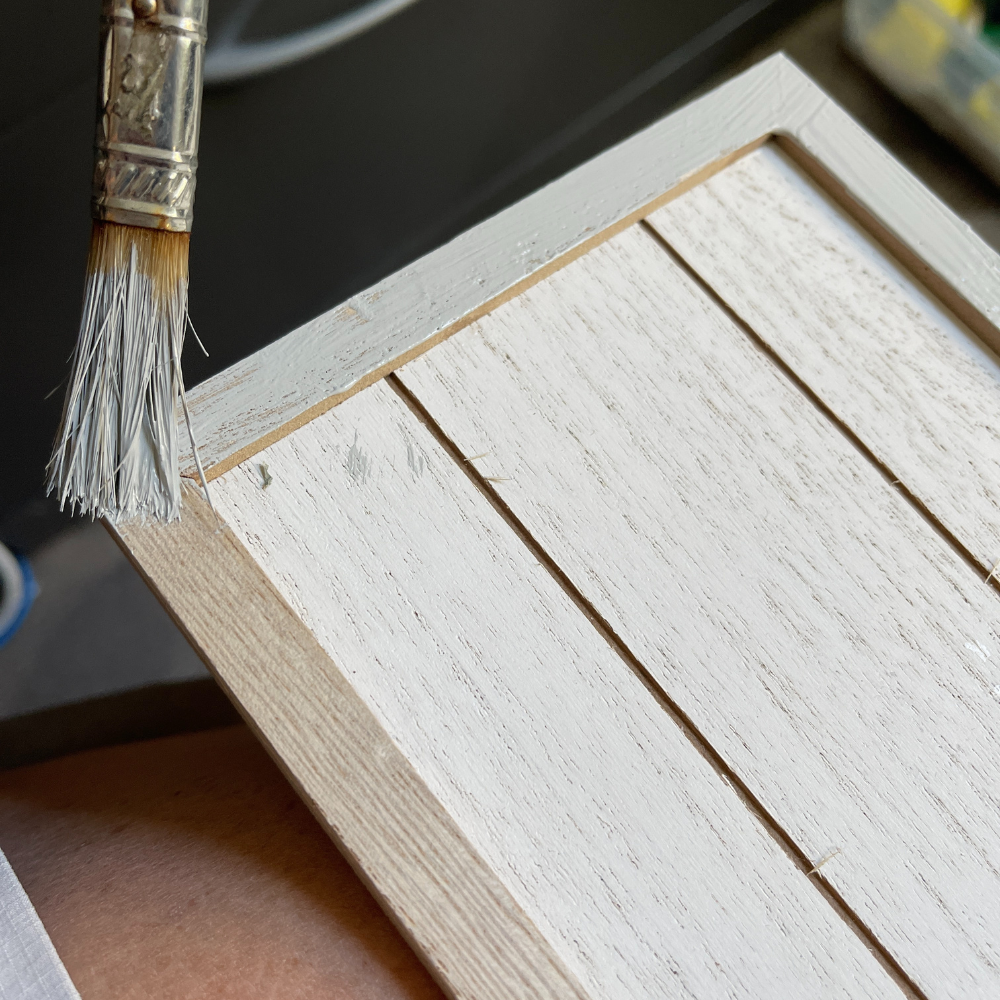
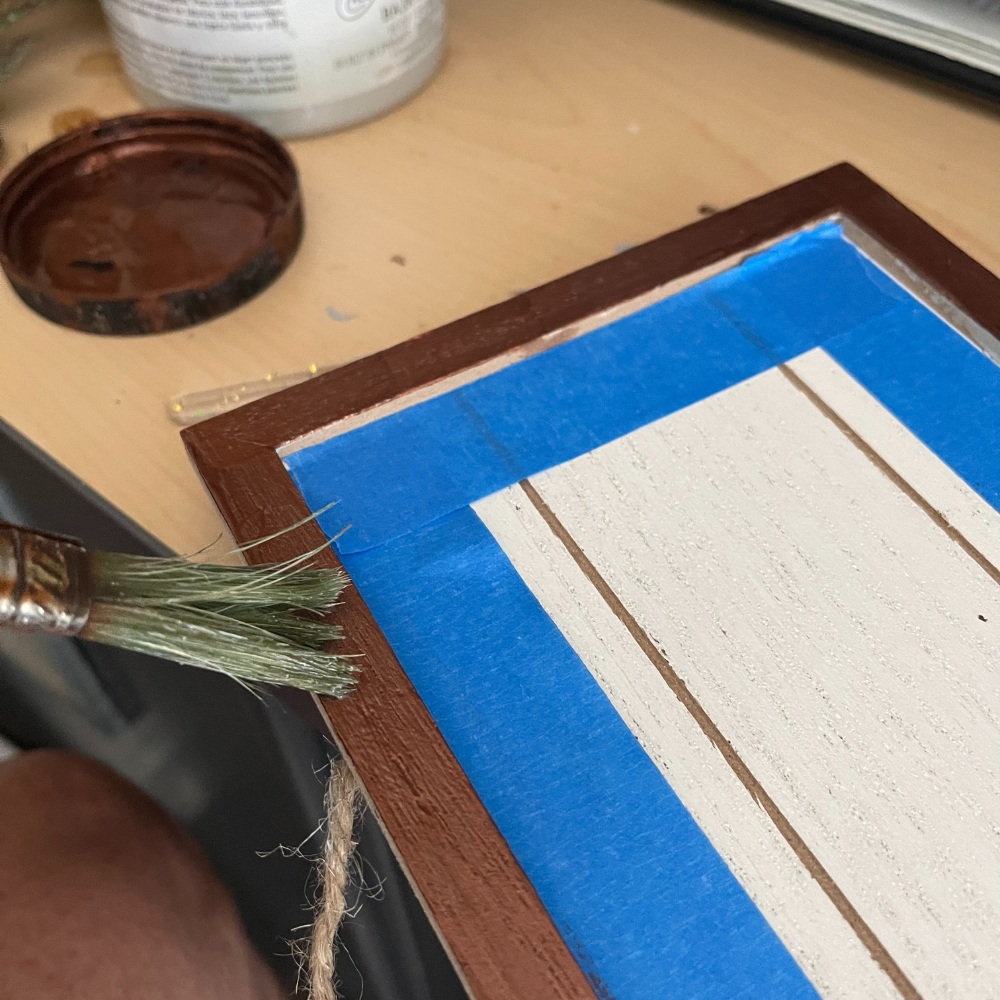
The first step was to cover the edges of the sign with painters tape so I didn’t get paint on the white.
Next, I painted the edge of the wooden sign with a grey paint and let it dry.
Next I used the Patina Paint in Copper and covered the grey.
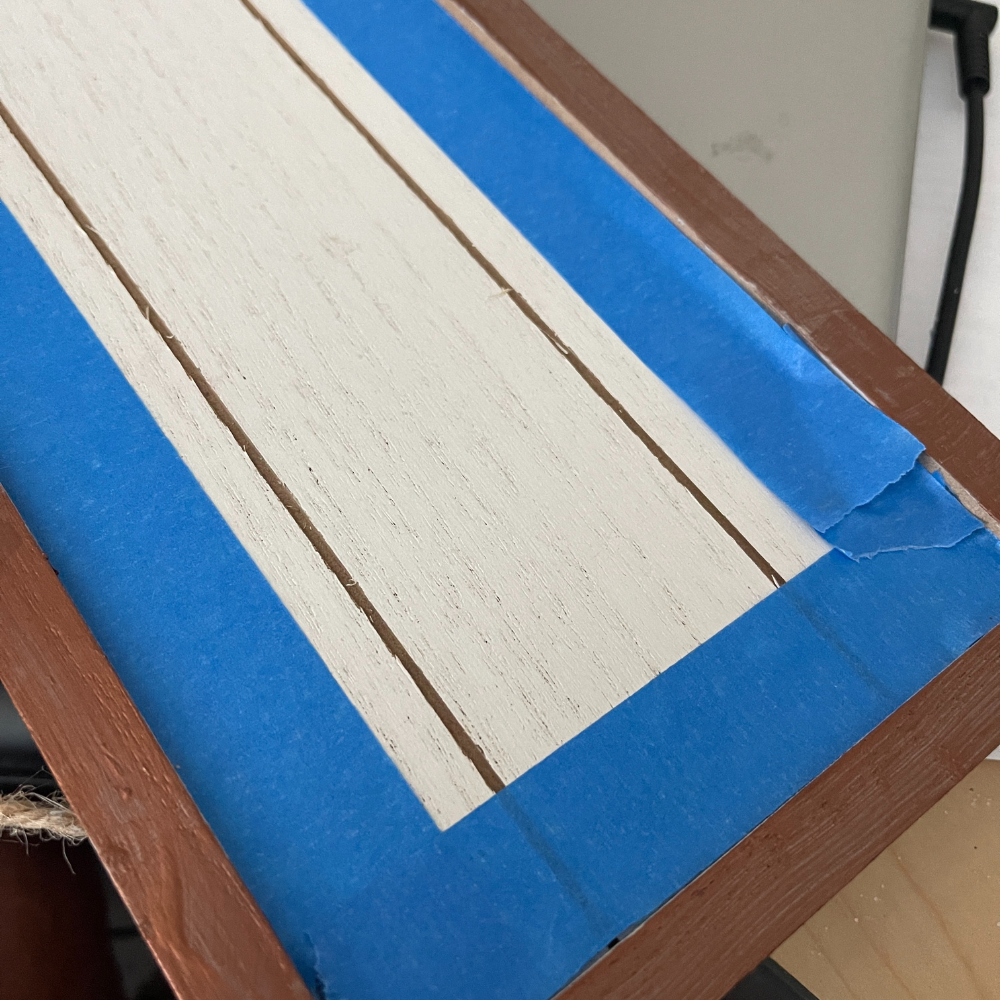
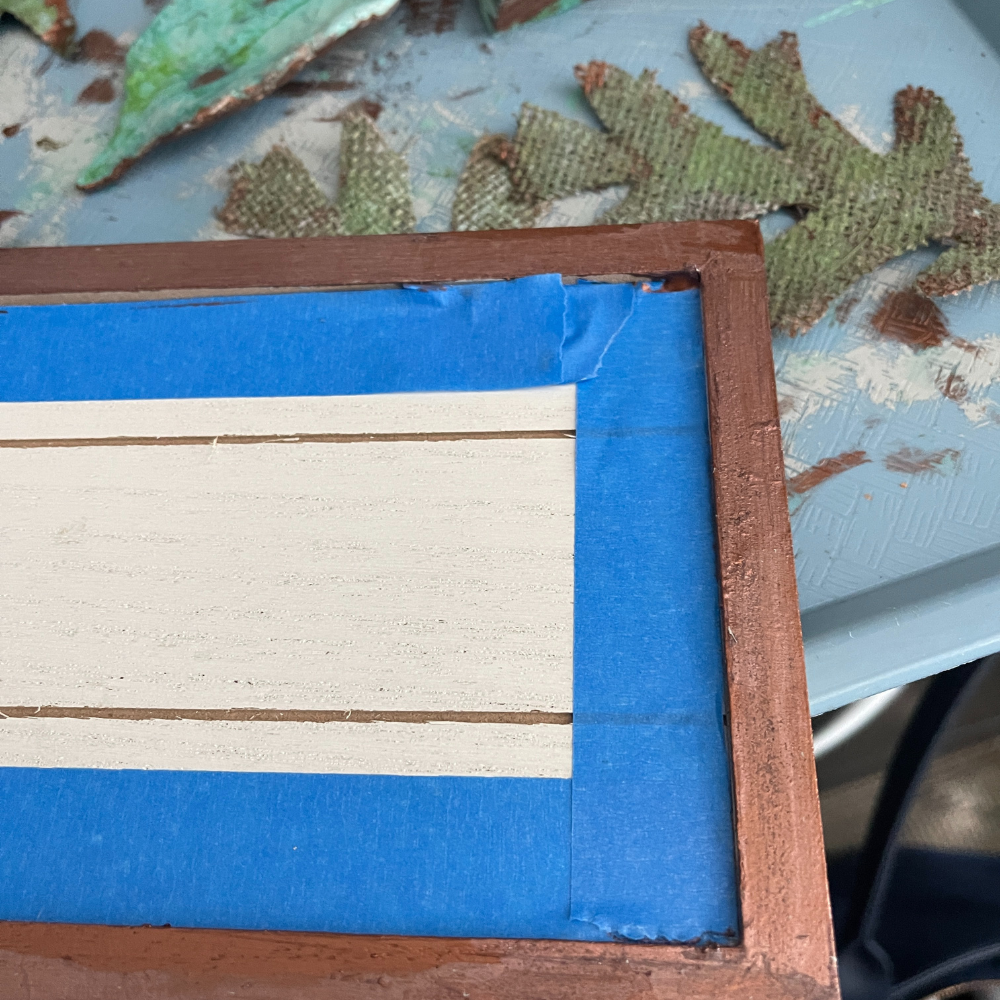
The next step was to add one additional coat of Patina Paint in Copper and while it was still wet, I dipped my brush in the Patina Paint Spray in Green and went over the edges of the sign I had painted with the Copper.
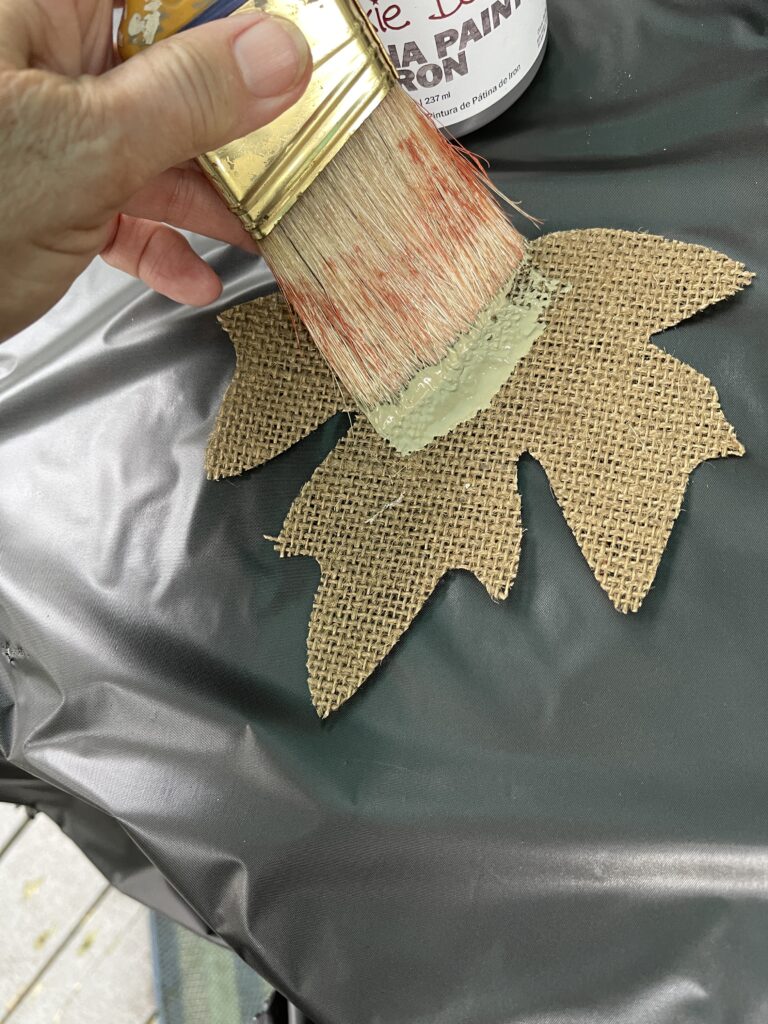
I waited for the reaction with the Patina Spray and while I was waiting, I did the same steps to my burlap leaves.
A coat of a light green paint, a coat of Copper Patina paint, let it dry and then add another coat of Copper Patina paint and while wet, brush on the Patina Spray in Green.
The last step in creating my DIY fall door hanger was to make my HELLO FALL saying on the Cricut.
Cricut Maker is the machine I used and gold vinyl.
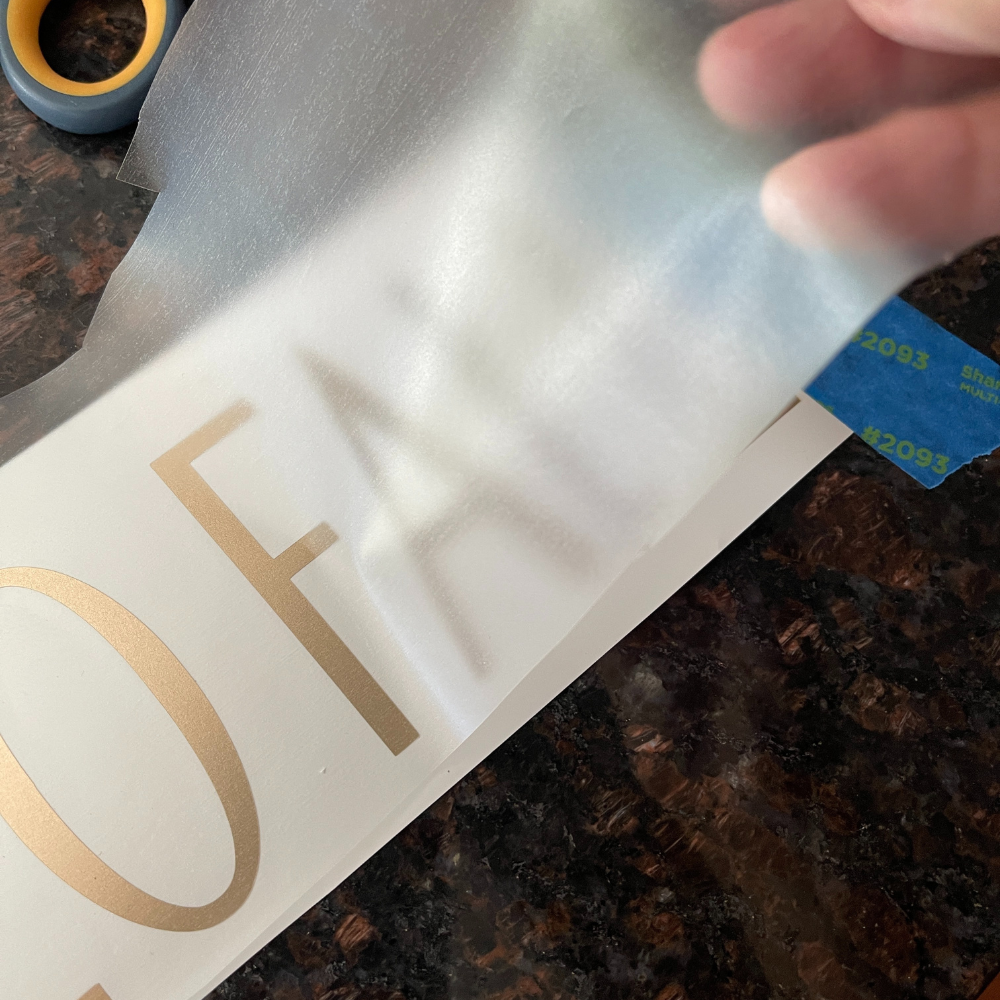
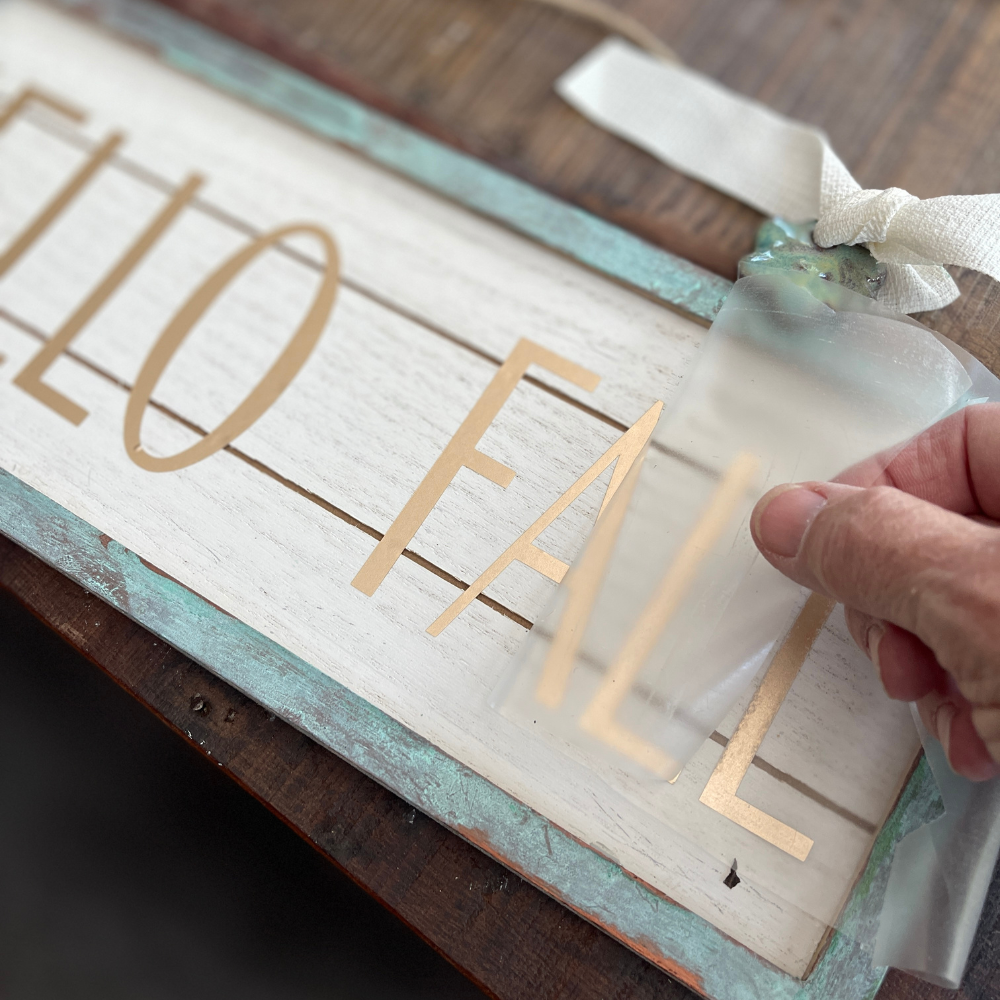
After typing up my saying, I printed it out on the vinyl, weeded it and then used contact paper to place it on my sign.
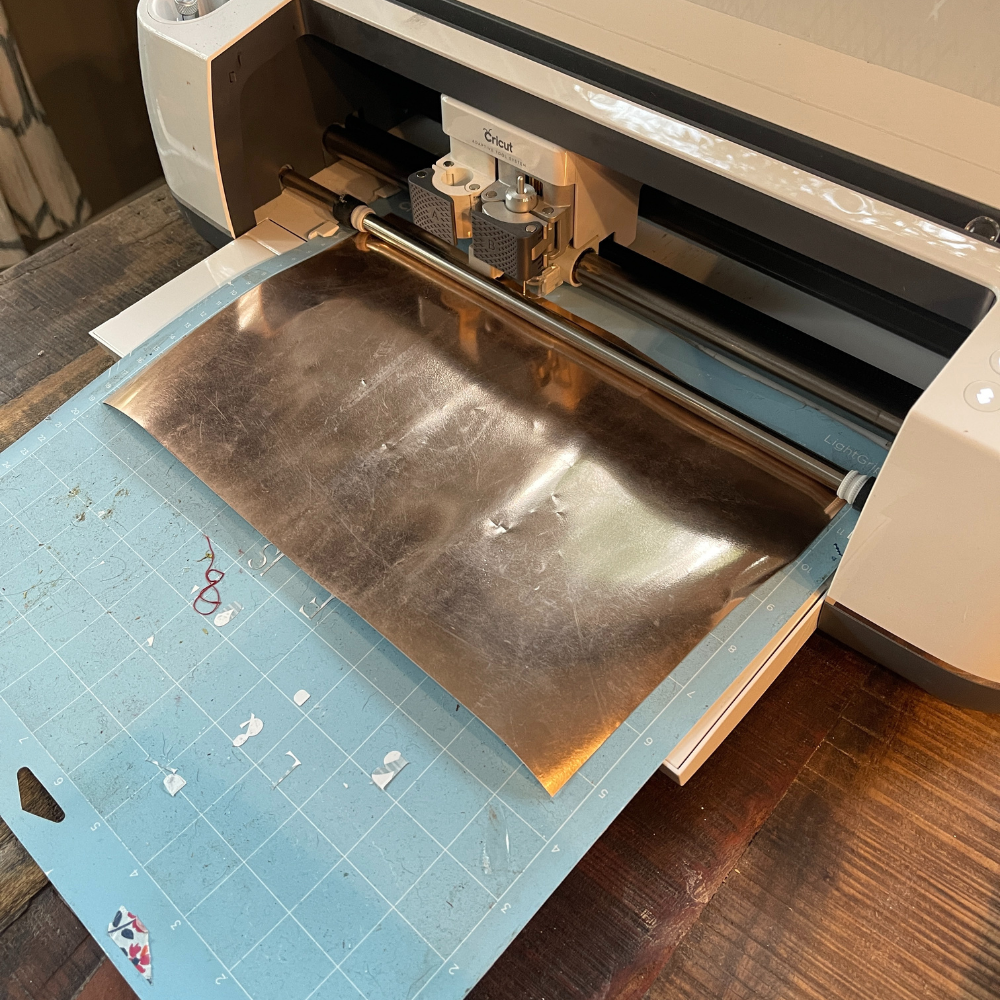
I had a copper color vinyl but it wasn’t cutting properly, that would have been my color of choice but I liked the end result using gold.
PUTTING IT ALL TOGETHER
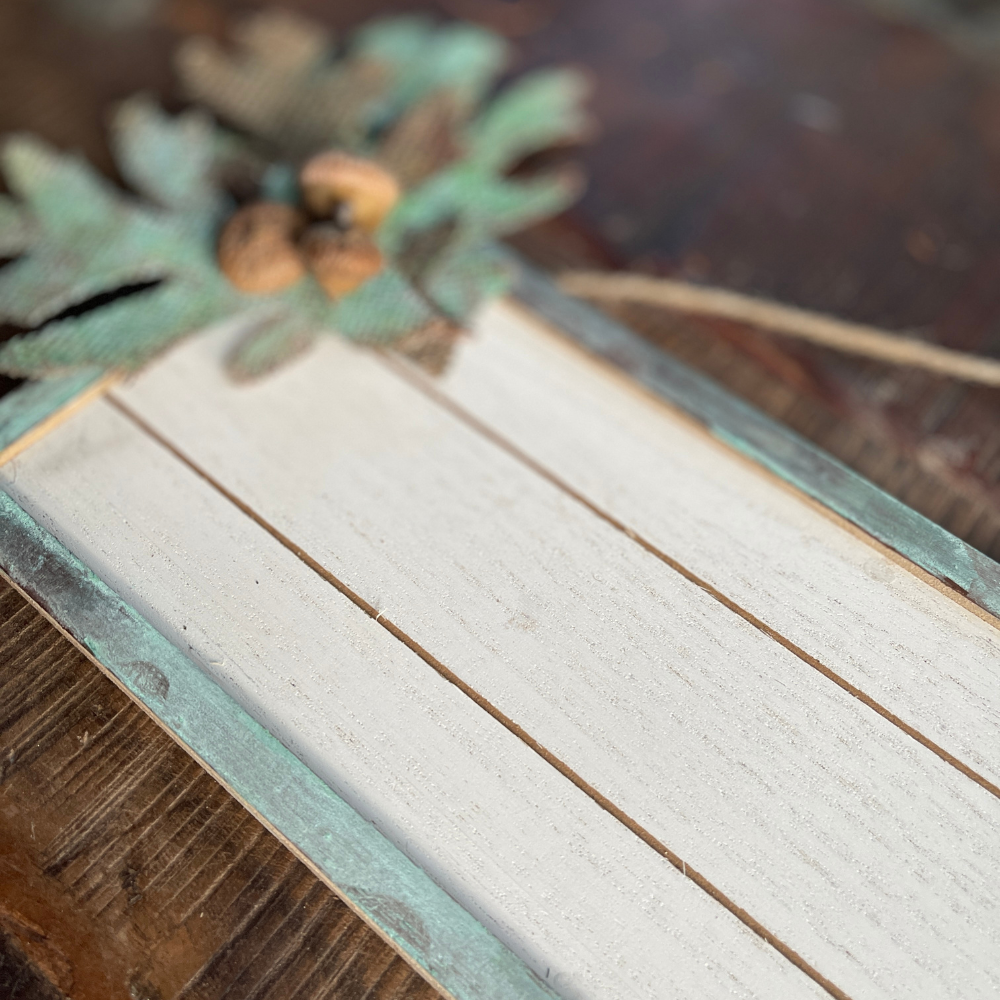
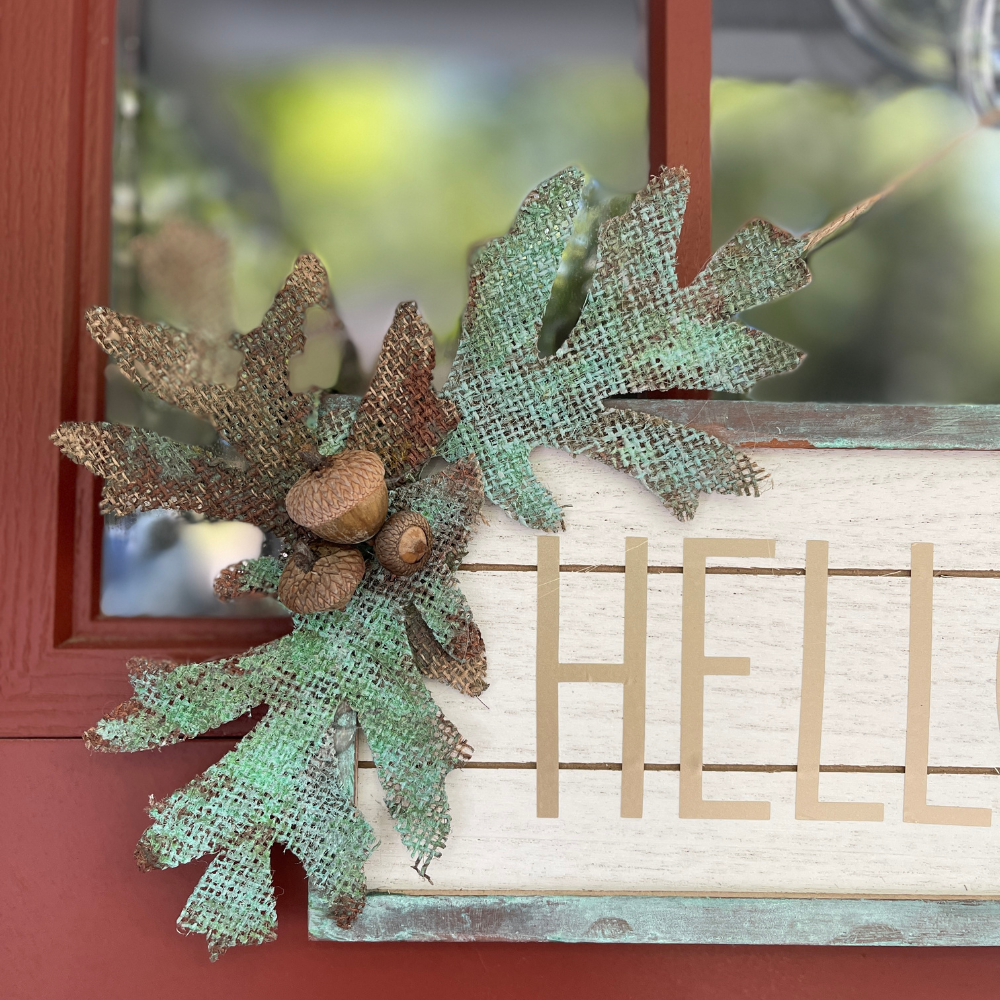
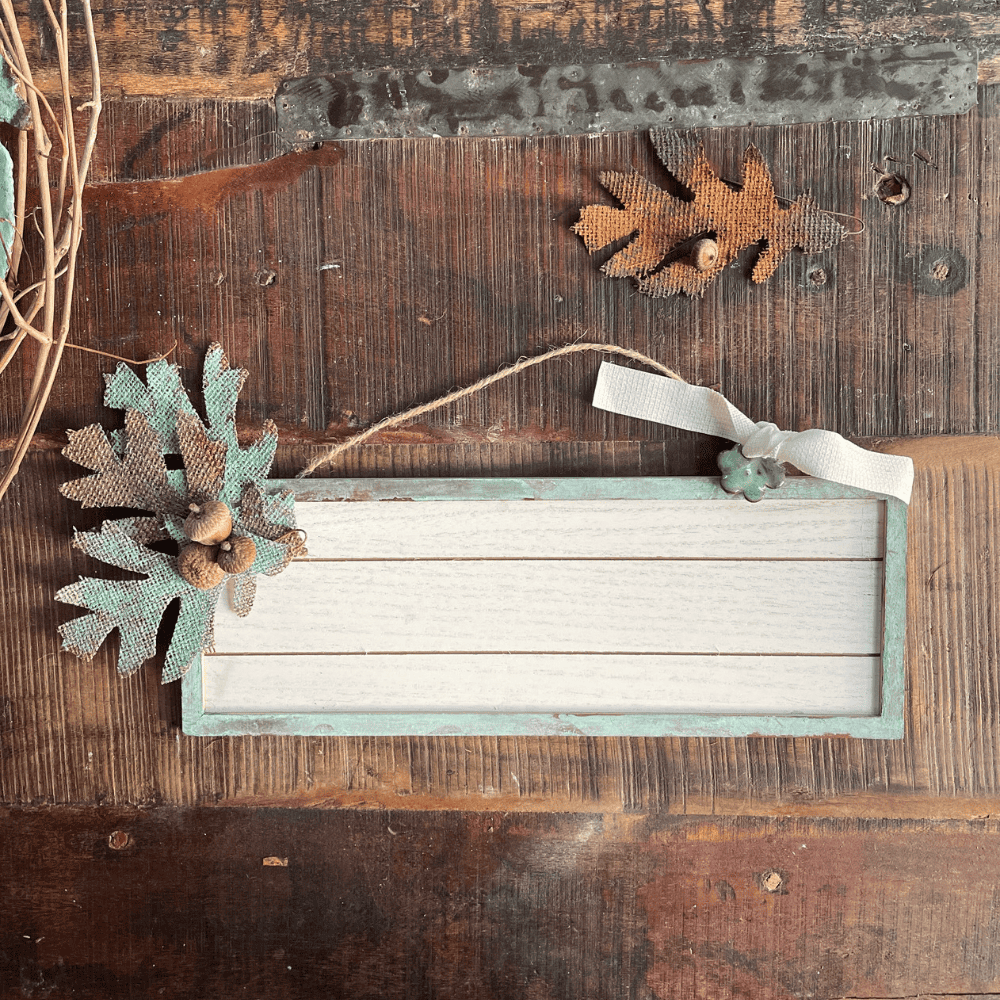
After I let the leaves dry, I arranged them in the top left corner of my sign.
I attached them with my hot glue gun and then added a few acorns I found on the street on a dog walk.
FINISHING TOUCHES
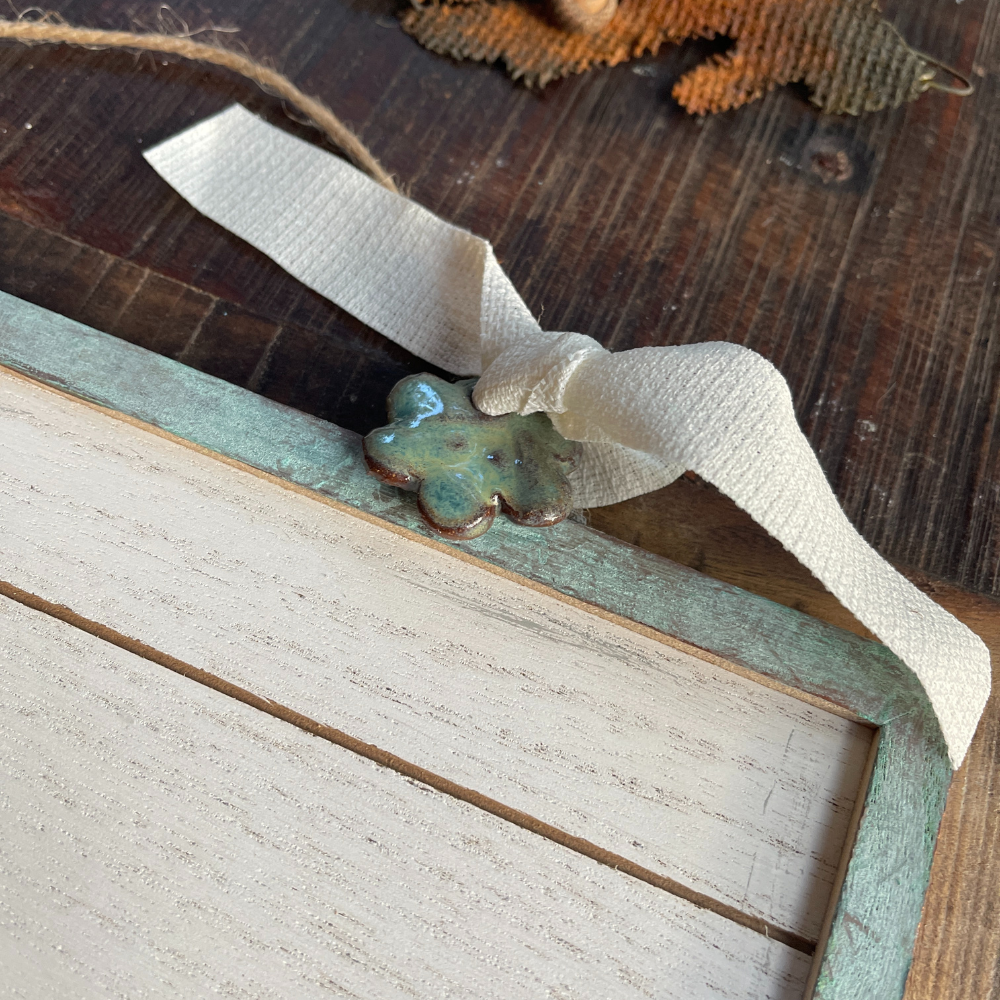
For my last step, I wanted to add a little more to the sign, so I used an scrap of cloth and tied it to one end of the jute hanger. I thought wood beads would be a cute addition but I wasn’t heading back to the craft store.
I found these ceramic charms from work and tied one on to the material. It gave it a little bit more uniqueness to my door hanger. The color complemented the leaves and edge of the sign.
Now I have the easiest and cute fall door decorations that cost just a few dollars. Now it’s time to finish my seasonal display out on my front porch. I obviously will be adding my pumpkins and more to get a seasonal vibe.
This post may contain affiliate links, if you purchase from these links, I receive a small commission at no additional cost to you.

Make sure to visit all of these fun leaf projects from the Handcrafted Society and pin this image below to save for later.
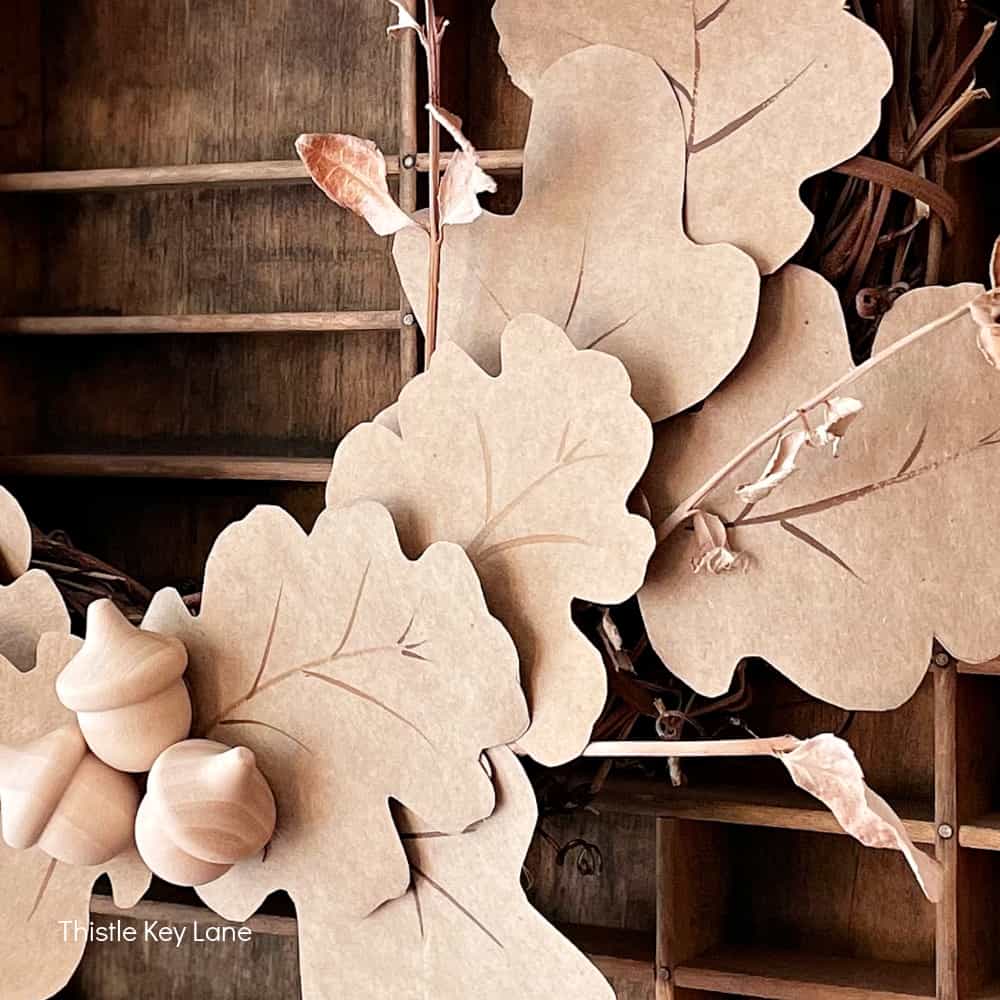
I’m so glad you stopped by and if you are heading to Michelle from Thistle Key Lane, she continues to win me over with her elegant and simple style. You can see her garland here.
Since it’s September I can definitely say Happy Fall. To see what’s going on behind the scenes at Saved From Salvage, check out my latest Lately on the Lake here.
XO, Regina

SHOP THIS POST
DIXIE BELLE PATINA PAINT COLLECTION


-

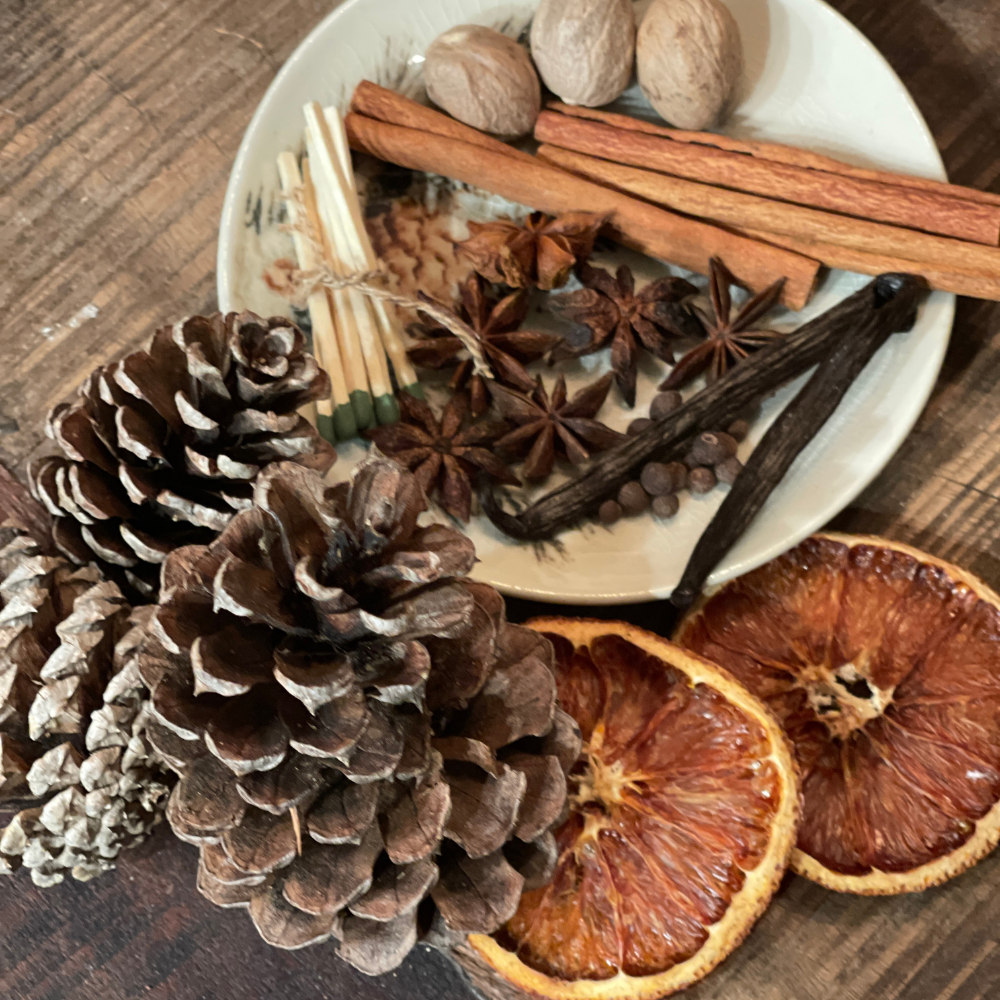
DIY HAND DIPPED PINECONE FIRE STARTERS
It’s that time of year when we are searching for the perfect gift. Functional, useable, beautiful, unique. You can stop searching and start making. These DIY Hand Dipped Pinecone Fire Starters make a perfect gift for neighbors, friends, housewarming or hostesses. Come see just how easy these are to create in an afternoon. Hi, I’m…
-
LATELY ON THE LAKE
Hi and welcome to November and Lately on the Lake. Last weekend it was in the 80’s, I woke up Thursday and it was 29. Yuck. I know many of you have already seen that white stuff. Today I’m sharing what I’ve been up to, what I’m working on, what I’m loving and what’s inspiring…
-

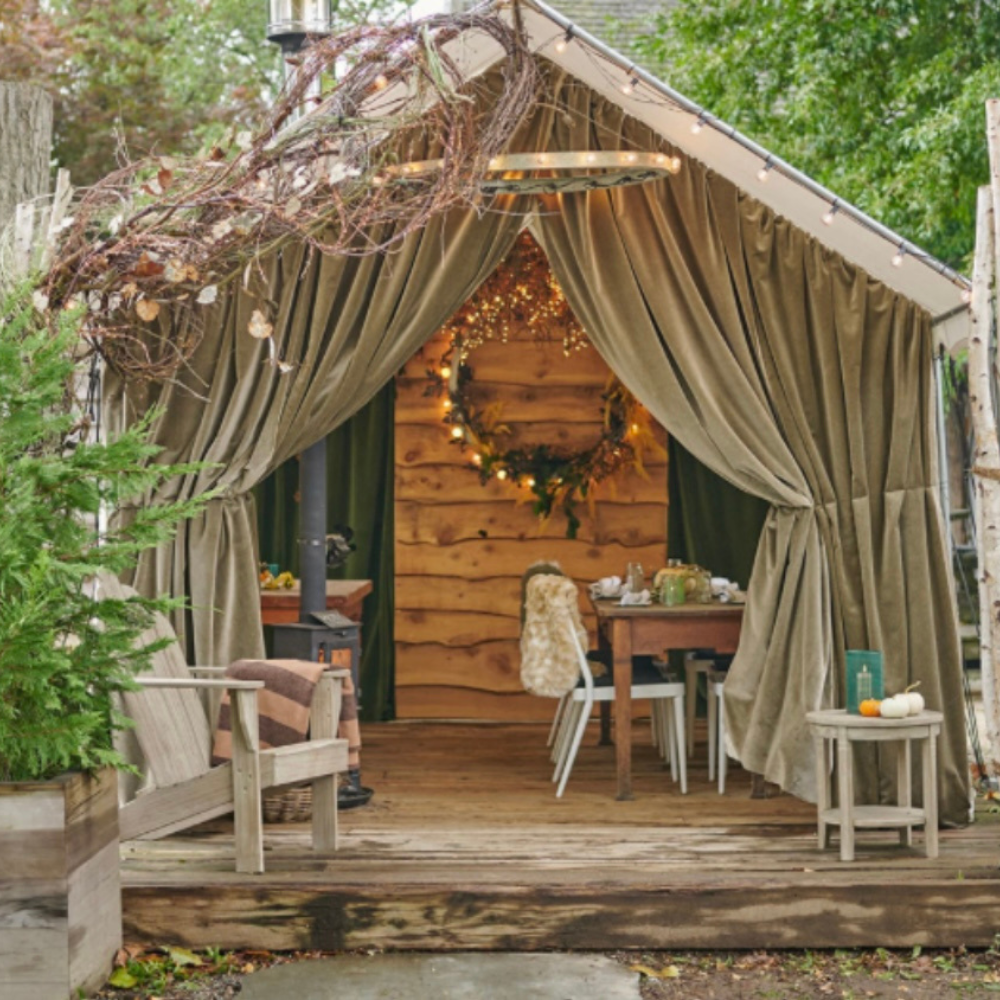
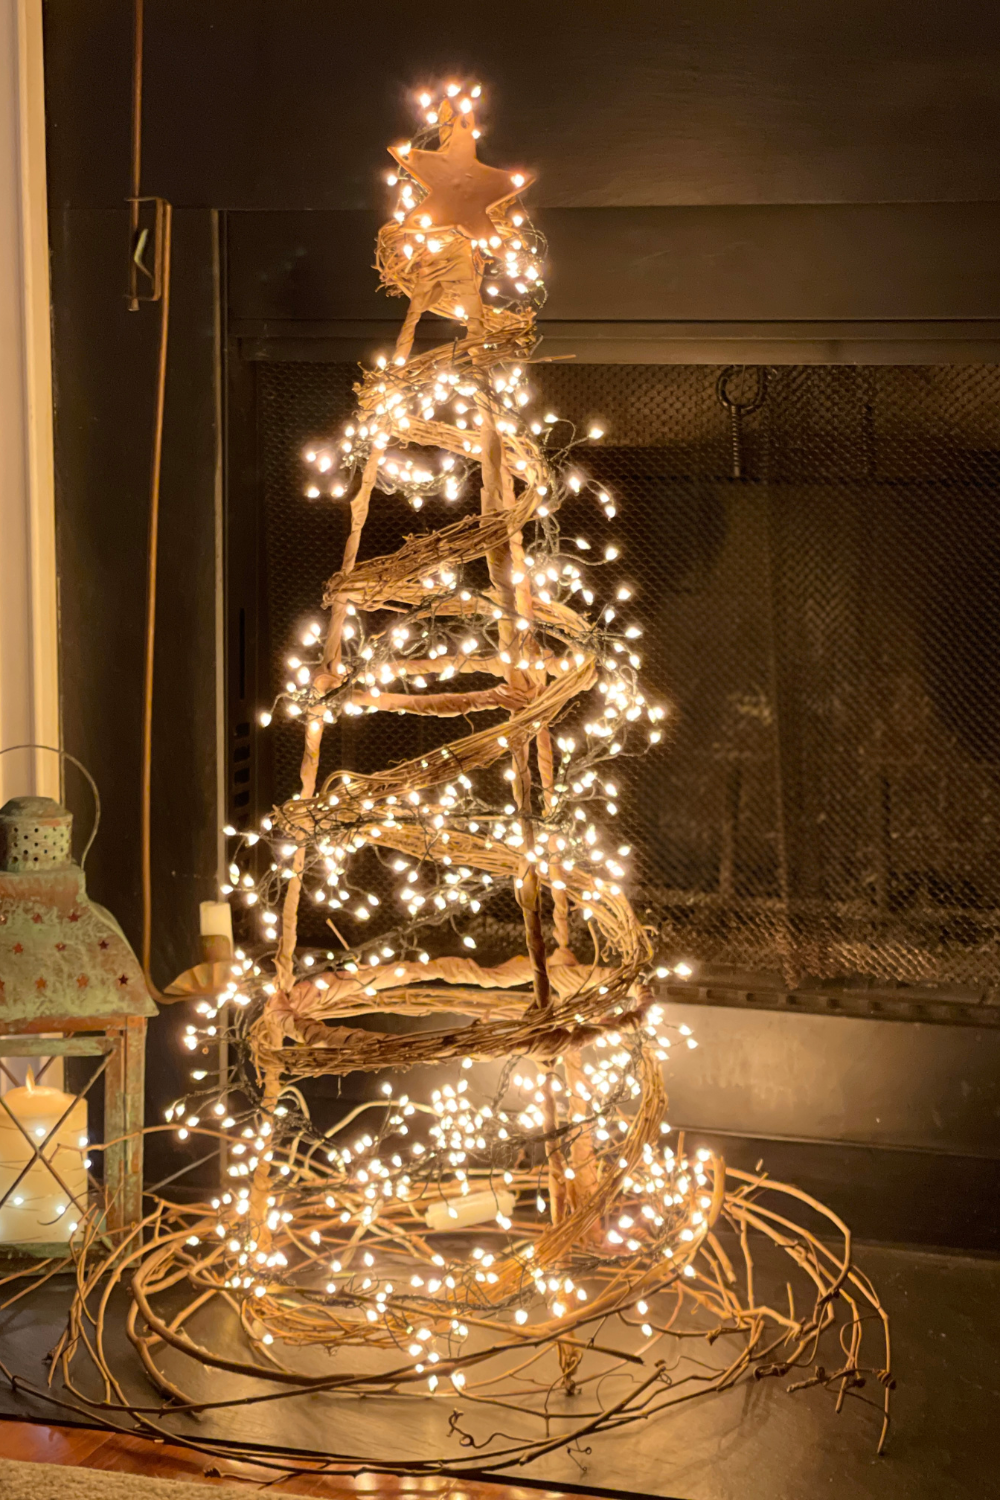
HOW TO DIY A FAUX GRAPEVINE TREE FOR CHRISTMAS
Do you love to use natural elements at the holidays? I do and today I’m sharing how to DIY a faux grapevine tree for Christmas. Inspiration came from the holiday shop at Terrain. If you’ve not been, it’s a great outing for inspiration and gifts. There are two in Pennsylvania that are a few hours…

Absolutely adorable Regina!!! And you are so right that little ceramic charm really brought it all together. I’m kind of glad you didn’t have any wood beads.
You are so good with paint, Regina! This sign is so beautiful and would be the perfect welcome for any home! I love every pretty detail!
Quite a transformation Regina! Your sign looks like something you would find in an upscale gift shop! Love the look of the patina paint!
Regina this came out so cute! I love the colors you chose! And I’ve heard so many good things about Dixie Belle paints! Loved joining you ladies this month.
The patina treatment is winning me over! Love the classic look it gives your projects!
LOVE, LOVE, LOVE how you did the patina on the burlap leaves!! I have a few bags of those in my craft hoarding stash…
I love how you transformed this burlap leaf project from Dollar Tree. You are so creative Regina.
This is so adorable Regina. I love the idea of the charm (totally charming) and how the leaves came out. Just so pretty and would be a great addition to any front door!
What a creative and budget-friendly project! The transformation of simple items from Dollar Tree into a beautiful fall door hanger is truly inspiring. Your step-by-step instructions along with the images make the process seem so easy and fun. It’s amazing how with a little paint and imagination, you’ve created something that adds a warm, autumnal welcome to your home. The final result with the ‘HELLO FALL’ saying and the added touch of a cloth scrap and ceramic charm gives it a personalized and cozy feel. Thank you for sharing this DIY project, Regina!
Hi Regina! I am sharing this post in my monthly Unboxing post that is getting published on Saturday. This is such a clever idea. Hope you are feeling better. We are definitely thinking of you!