Do you love to use natural elements at the holidays? I do and today I’m sharing how to DIY a faux grapevine tree for Christmas. Inspiration came from the holiday shop at Terrain.
If you’ve not been, it’s a great outing for inspiration and gifts.
There are two in Pennsylvania that are a few hours away.

Hi, I’m Regina and this is Saved From Salvage. I love to share DIYs, Furniture Flips, Home Decor projects, and event inspiration.
Thanks so much for stopping by. Sign up and join the club.

This post is part of the Celebrate the Holiday Blog Hop hosted by Carol of Bluesky at Home. If you are stopping by from Hen and Horse Design, how sweet is that Advent Wreath?
My project is a quick and easy DIY.
Are you drawn to grapevine wreaths?
Not only do I love grapevine wreaths, but also give me all the orbs and trees.
Unfortunately, they are not the cheapest.
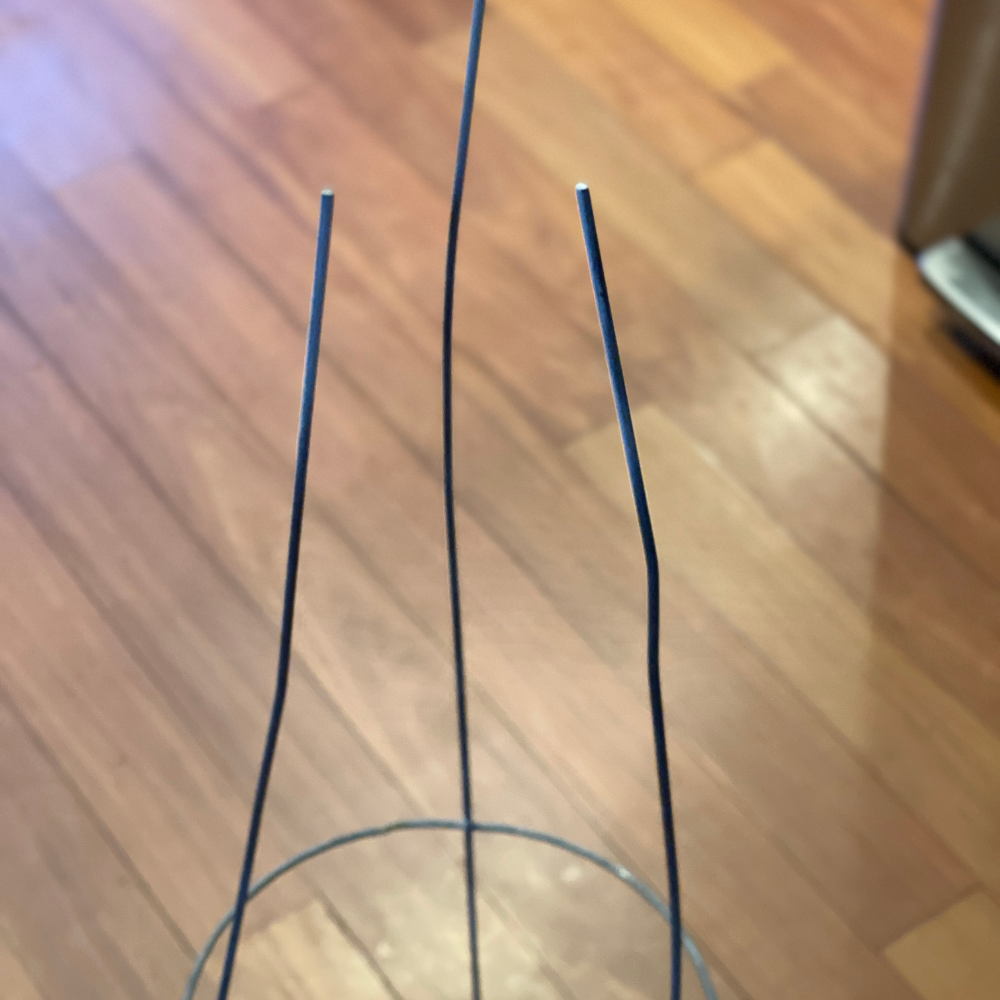
Using the leftover tomato cages from my Halloween ghosts, I decided to create my own.
I went for a minimalist look and used things I had on hand. Is that not the best craft?
One where you don’t have to spend a penny.
Basically this a sort of “faux” grapevine tree, because I did use one circle of grapevine that I had purchased at Michaels a few years ago.
I just wasn’t sure what to do with it.

Table of Contents
STEPS TO CREATE A FAUX GRAPEVINE TREE
STEP ONE
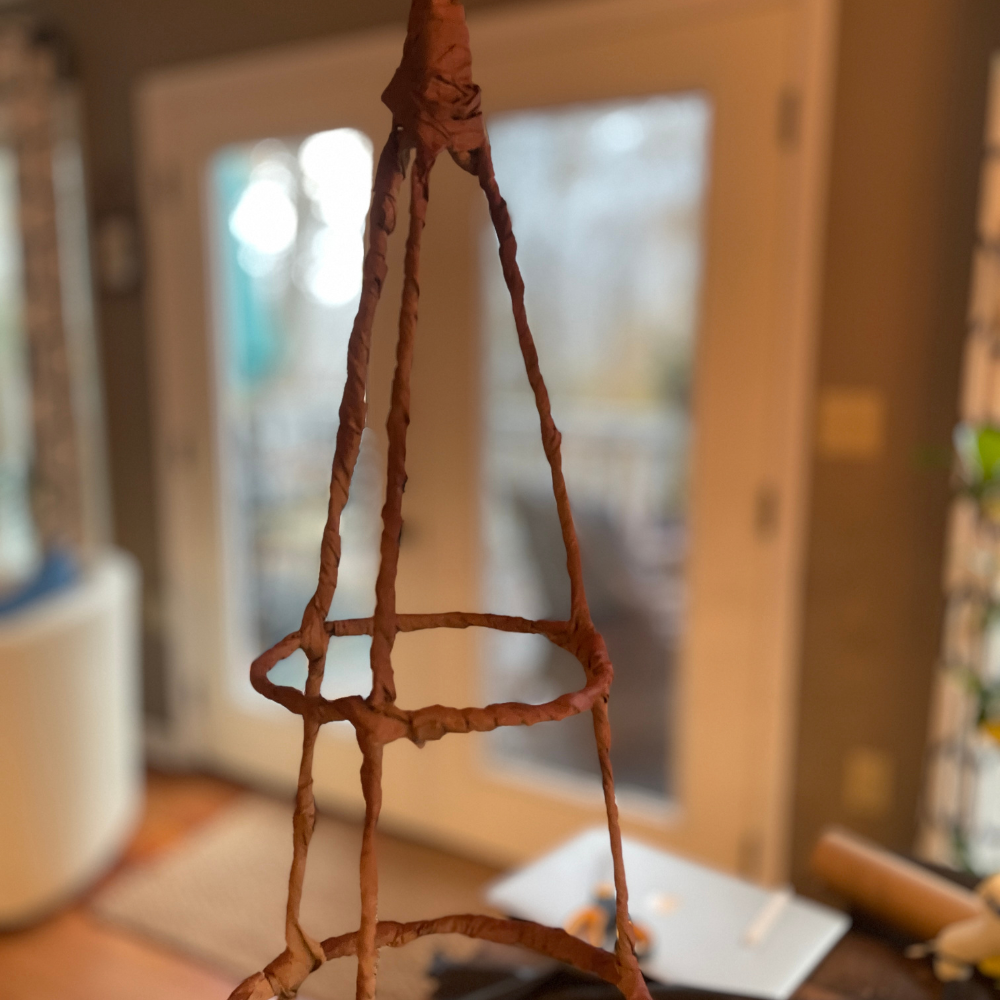
After gathering your supplies, use wire to attach the top three pieces of the tomato cage together.
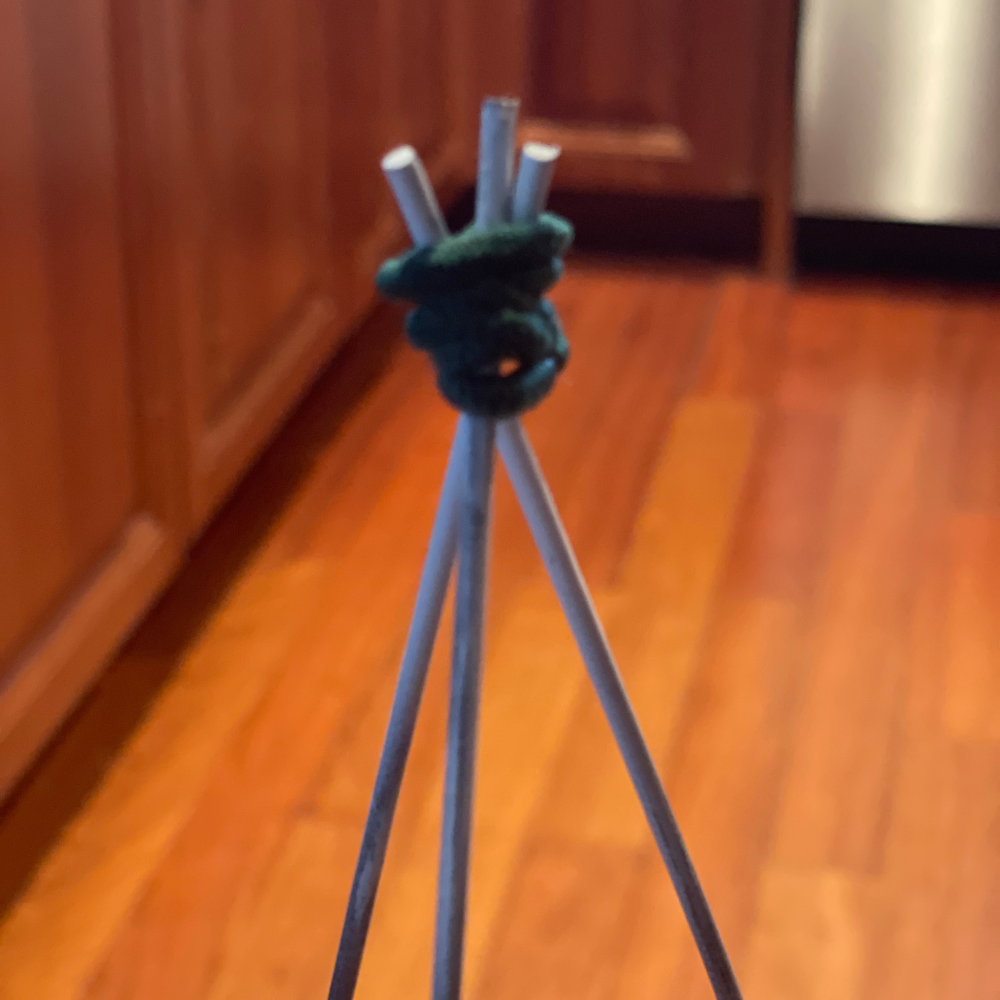
You could use a zip tie, rubber band or wire. I used a pony tail holder.
STEP TWO
The next step is to grab your kraft paper. I unrolled it about 15 inches and then cut it.
So now I had another thinner role. I took the thinner role and cut it in pieces. After it looked like this.

You are left with long strips. It doesn’t matter how long, but the longer, the less you will have to use the glue gun to attach an edge to the metal.
I used a spray mister I had to dampen the paper to make it more pliable as I scrunched and twisted it.

STEP THREE
Now it is time to attach the kraft paper to the tomato cage. Beginning at the top, twist it around where the wires come together to hide them.

After you have done that, use a drop of glue from a glue gun, to attach one end of the twisted paper to each horizontal and vertical metal.
After it is dry, then wrap the metal with the kraft paper until all the metal is covered.
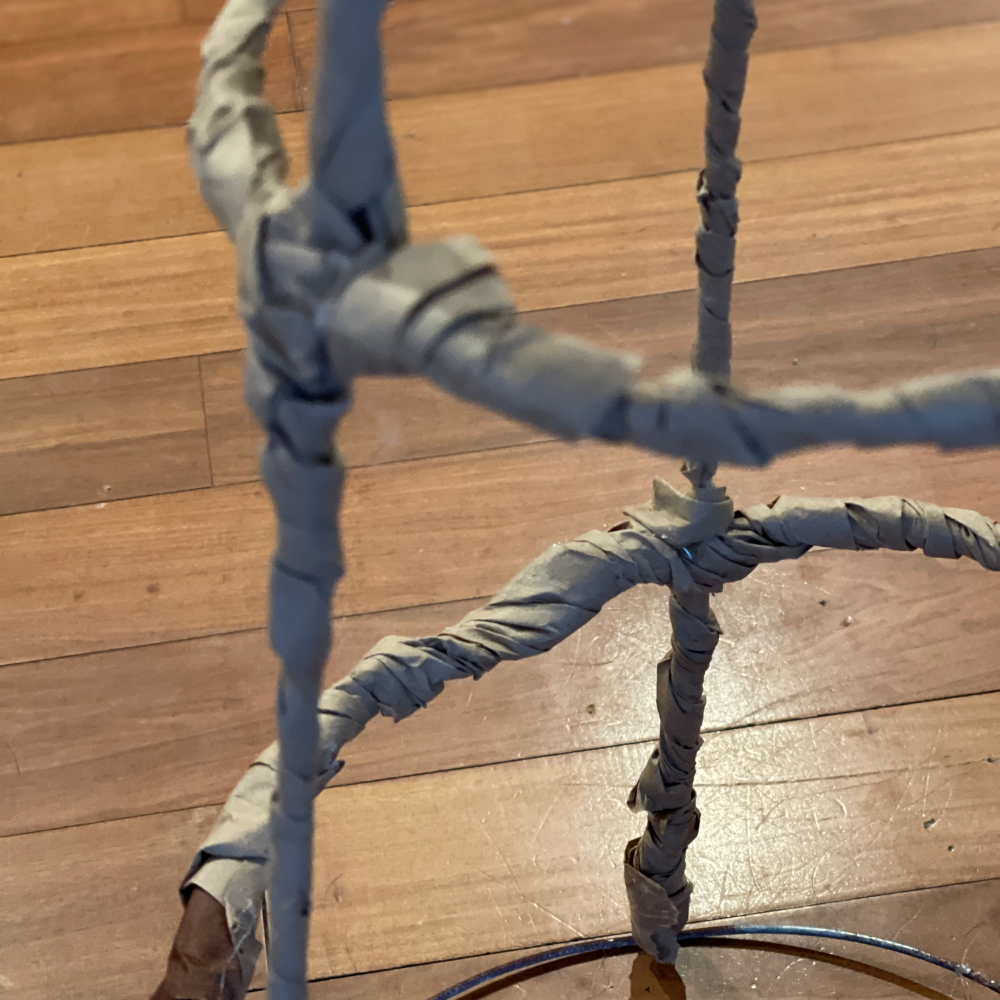

I did not put kraft paper on the metal base in case I put it outside, it would just get torn up.
STEP FOUR
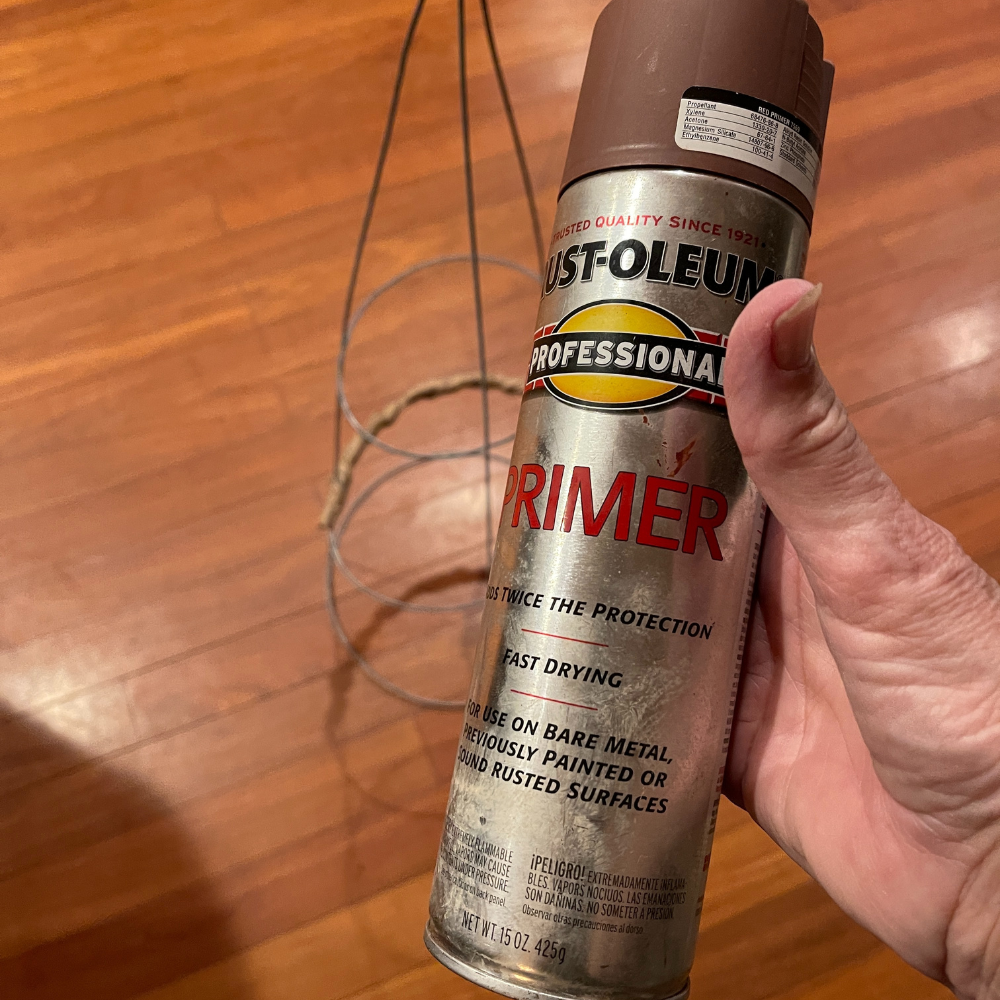
The next step is to set up a space to spray the entire piece with any brown spray paint you may have.
I had some Rustoleum primer so that is what I used. You could skip this step if you don’t have paint.
STEP FIVE
If you painted it and let it dry, then it is time to add the roll of grapevine.
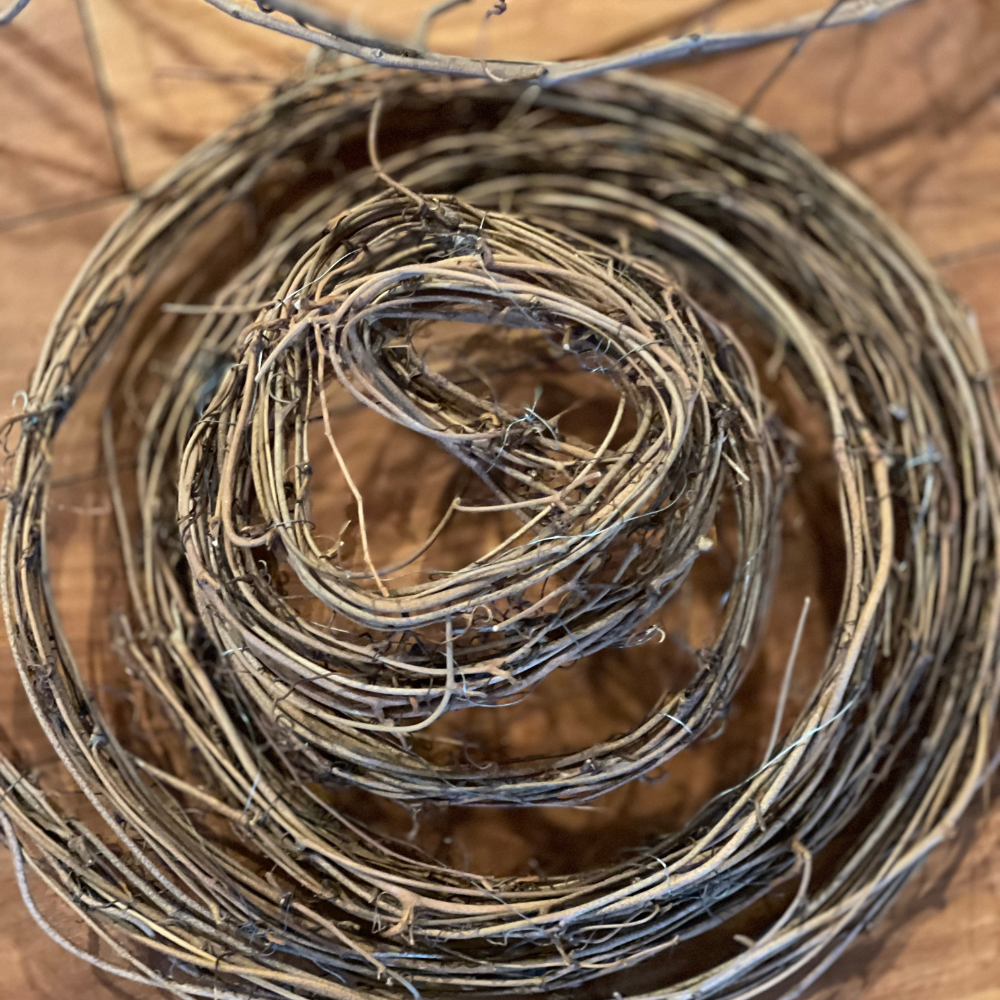
It’s coiled up, so I started at the top and then pulled to down the length of the tomato cage and attached the end to the bottom ring of the tomato cage.
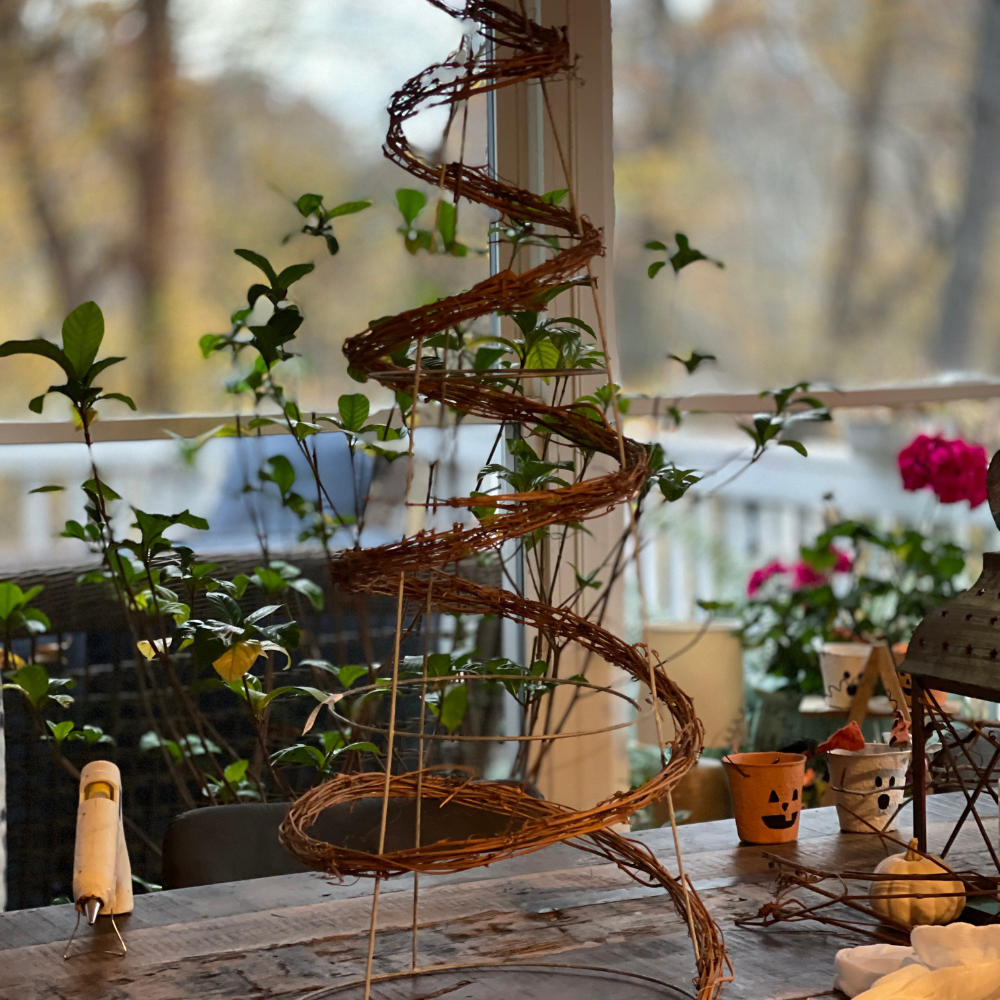
After you have added the grapevine, you can add any lights that you may have. I had these on hand from Terrain but you could also use these with brown wire from Amazon.
I ordered some of these because I have another tomato cage to use.
Green wire would be fine too, or even the small battery operated lights would look great, especially with copper wire.
STEP SIX
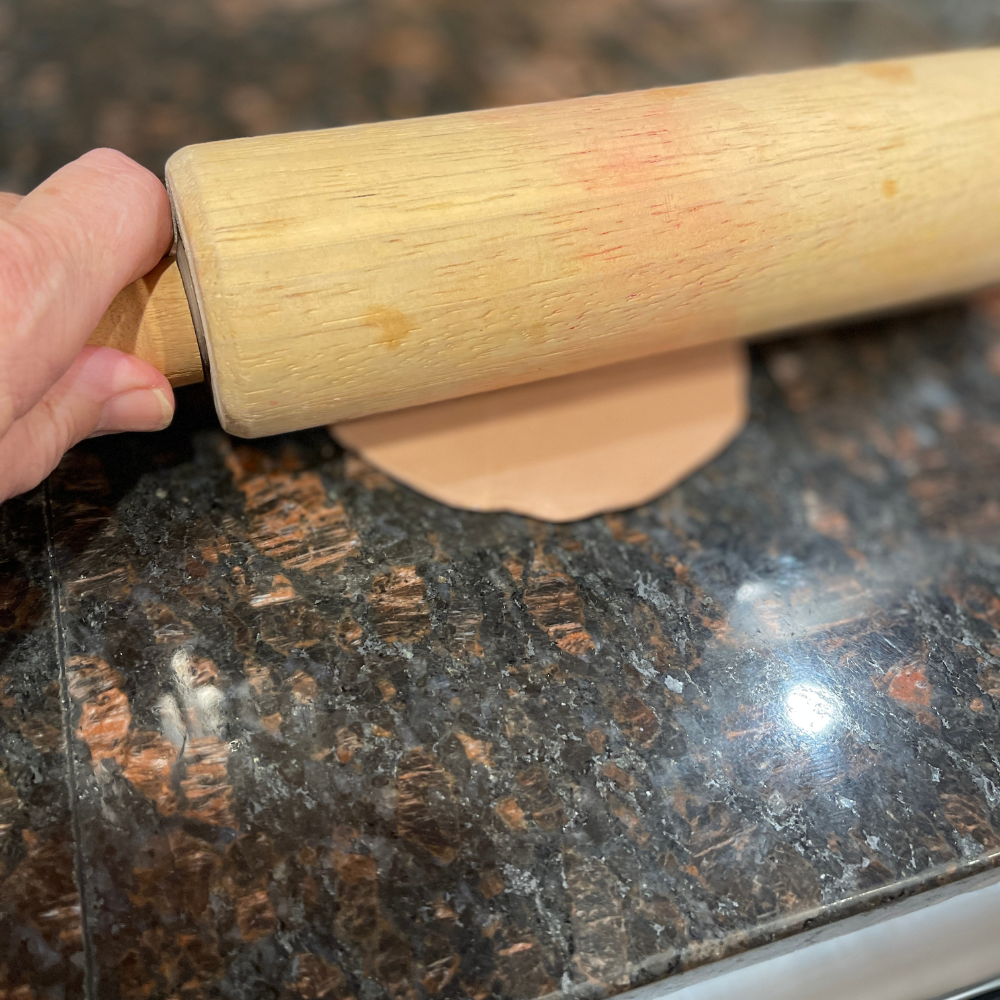
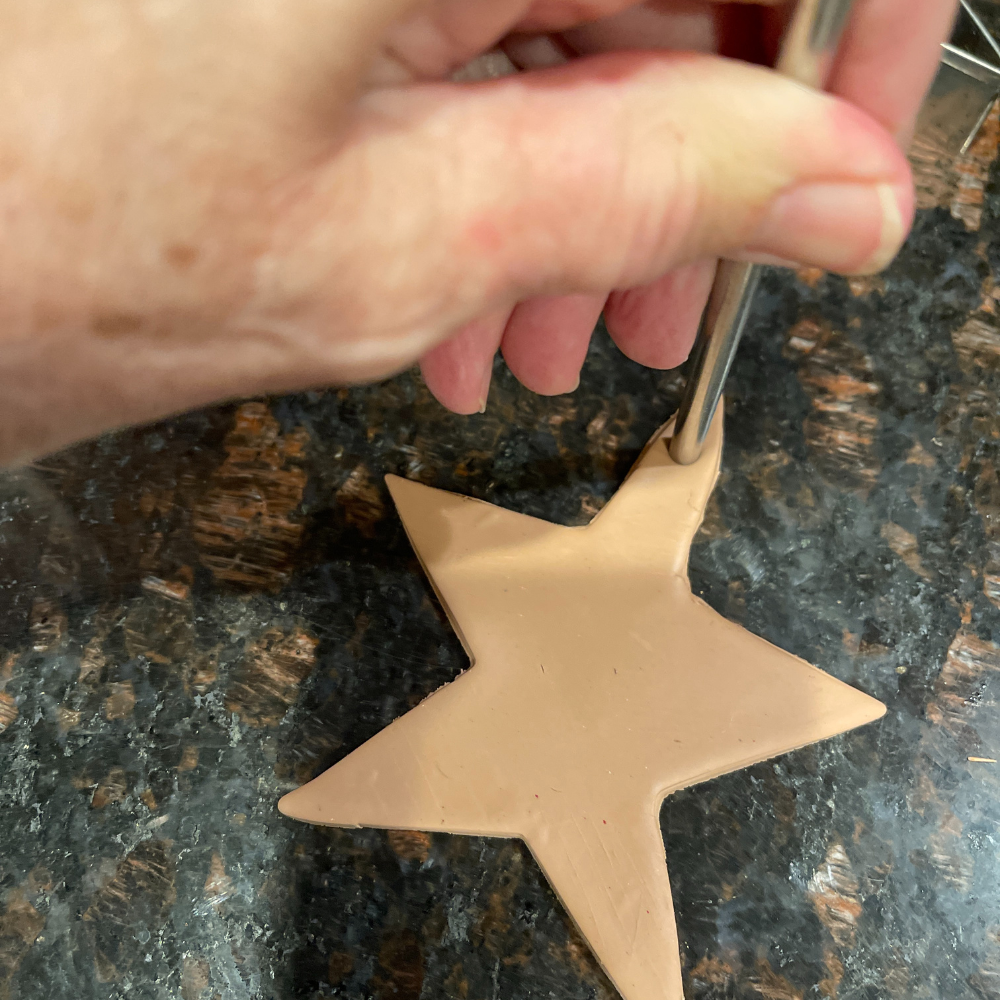
Next I created a clay star for my tree using Sculpey clay in brown.
This was perfect to match my tree and I found it in my craft room.
After I rolled the clay, I cut the star, put holes in each point and baked it for 15 minutes.
I wanted the holes so I could poke the lights through to light up the star.
DECORATING THE TREE
Now it’s time for your imagination. I added the star to the top and pulled the lights through.

I dried some orange slices and plan to make a garland for the tree. This will probably end up on the front porch because I love the natural elements next to my other decor.

You could add cranberries, ornaments or just leave it plain. It’s easy to decorate it any way you like. Just the twinkle lights make it so cozy.
Another idea I had is to use these Star Anise to make a garland to decorate with. They smell wonderful.

SUPPLIES FOR A FAUX GRAPEVINE TREE
- Tomato Cage (I got mine at Lowes)
- Wire
- Kraft Paper (1/4 of a roll)
- Grapevine Garland
- Lights
- Brown Spray Paint
- Clay Star (optional)
- Dried Orange Slices (optional)
Next up is Kim from Perfecting Places, she is showing us how to decorate using those beloved bottle brushes.
Below is the rest of the inspiration from our Celebrate the Holiday Blog Hop.
Make sure to stop by and pin them for later.


Bluesky at Home – How to Make the Cutest Christmas Garland
Sonata Home Design – How to Make a Chocolate Truffle Christmas Tree


Peacock Ridge Farm – Gift Wrapping Ideas for the Holidays
White Arrows Home – A Holiday Table Spode Christmas Tree China
Masterpieces of My Life – Organic DIY Christmas Tree


Everyday Edits – How to Decorate an Apartment for Christmas
The Tattered Pew – DIY Star-Shaped Pinecone Ornaments
Thistle Key Lane – Christmas Ornament Makeover with Paint
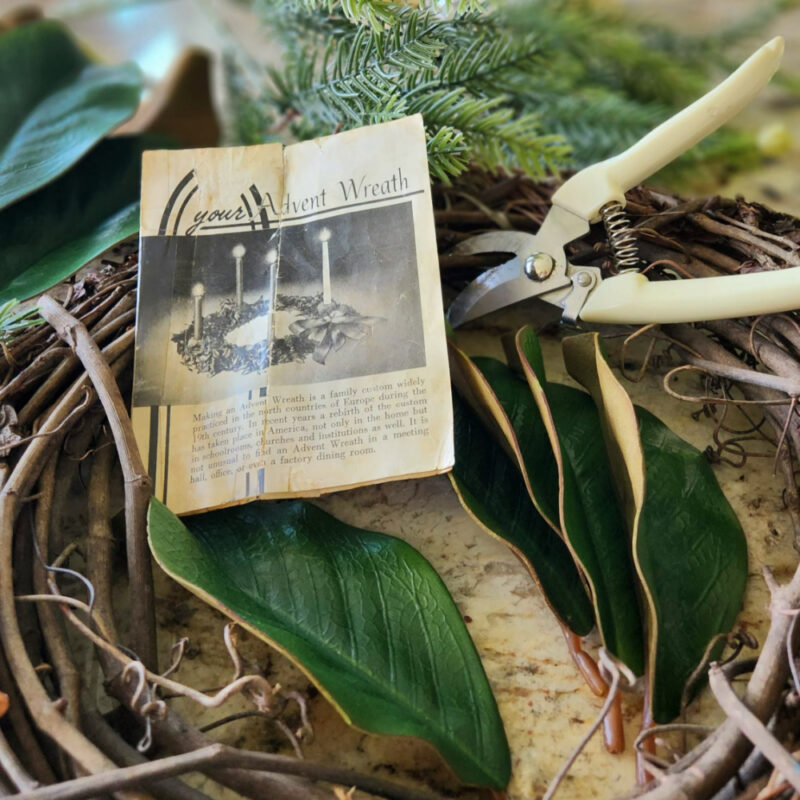


Hen and Horse Design – Easy DIY Advent Wreath
Saved by Salvage – DIY Faux Grapevine Wreath
Perfecting Place – Simple Ways to Decorate with Bottle Brush Trees

Pin for later.

Make sure to see the latest Lately on the Lake for a behind the scenes peek at Saved From Salvage.
Thanks so much for stopping by Saved From Salvage.
XO, Regina

I am an Amazon Affiliate and I may earn a small commission on eligible items. This is at no additional cost to you.


So smart the way you covered the wire Regina! Love the grapevine, the start and a that cute string of lights!
Thanks so much Michelle. Christmas here we come!
I love this Regina!! I too coveted those twig trees from Terrain. I’m kicking myself for not getting them since they are not back this year. Now you have inspired me to make my own. Pinned. Happy Holiday season. XO- MaryJo
Beautiful, Regina! This is such a great idea, and I think the dried orange garland will be gorgeous!
This is gorgeous, Regina! Your use of rolled up paper is brilliant! From construction to styling, this is a winner project!
Always so creative Regina! I love how you added the twinkly lights. Such a great idea. I’ve gathered some vines and hoping to use them soon!
Regina, this is such a creative Christmas project using simple supplies. I think I have everything on hand. Love the natural materials and the rustic look. Thank you for sharing at Celebrate the Holiday.
This is such a wonderful rustic, down to earth idea. We all need some solace in our lives right now among all the horrible things and hate in the world.
HAPPY HOLIDAYS TO ALL AND A WONDERFUL 2024