Looking to make easy and inexpensive fall or winter decor? These DIY gnomes, made from dollar store items are perfect for either.
Hi, I’m Regina and I’d like to welcome you to Saved From Salvage. I love to share DIYs, tablescapes, and home decor. I hope you enjoy this whimsical project.

You probably know Dollar Tree crafts are a thing, a big thing. I love the Dollar Tree for certain things, candy for the movies, cards, and gift bags.
I’m not always on the Dollar Tree craft wagon, but I wanted to make a gnome so I wandered the aisles and found what I think are the perfect supplies.
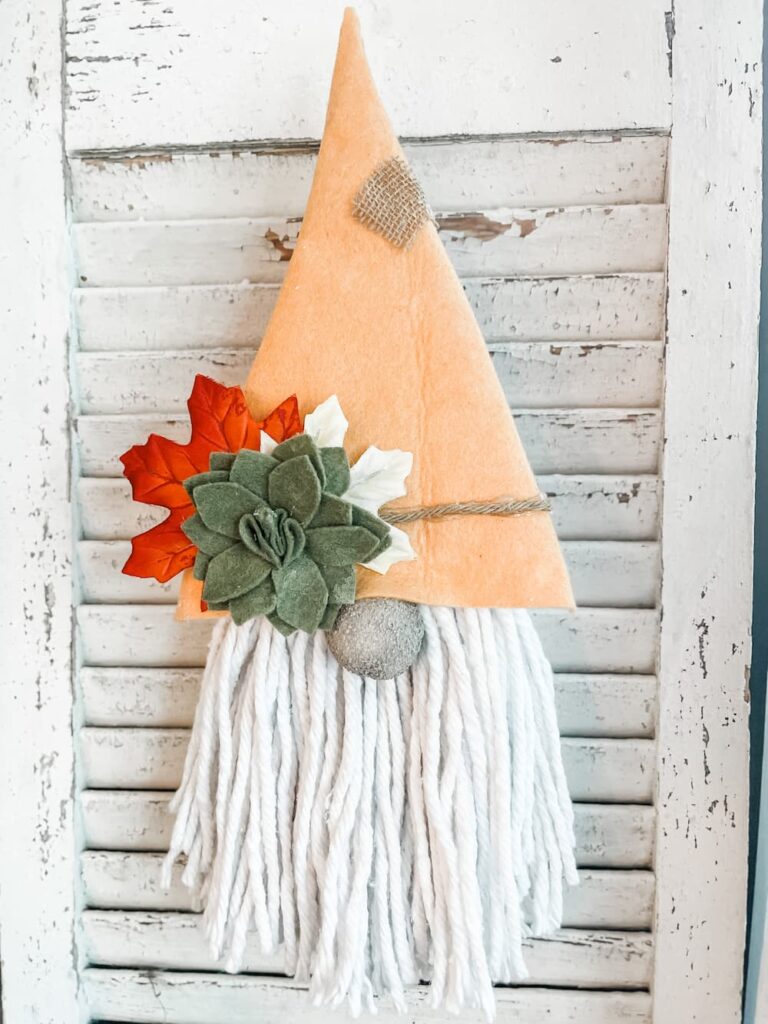
Table of Contents
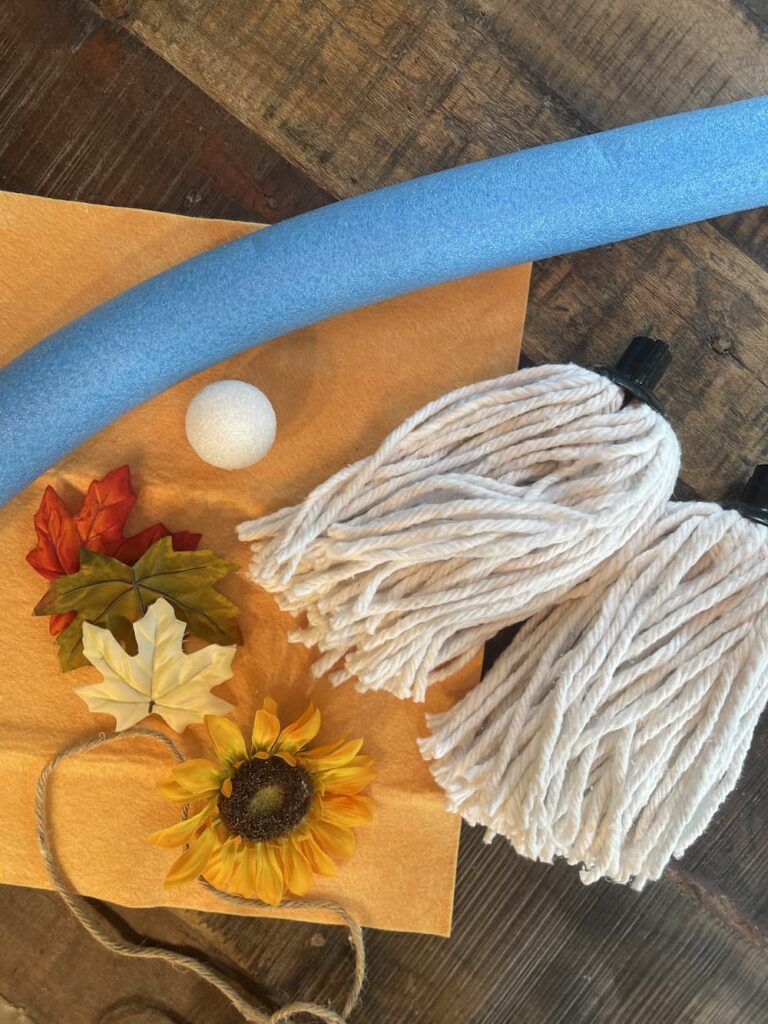
FALL GNOME SUPPLIES
Mop Head (2)
Shammi Cloth (1)
Clothesline
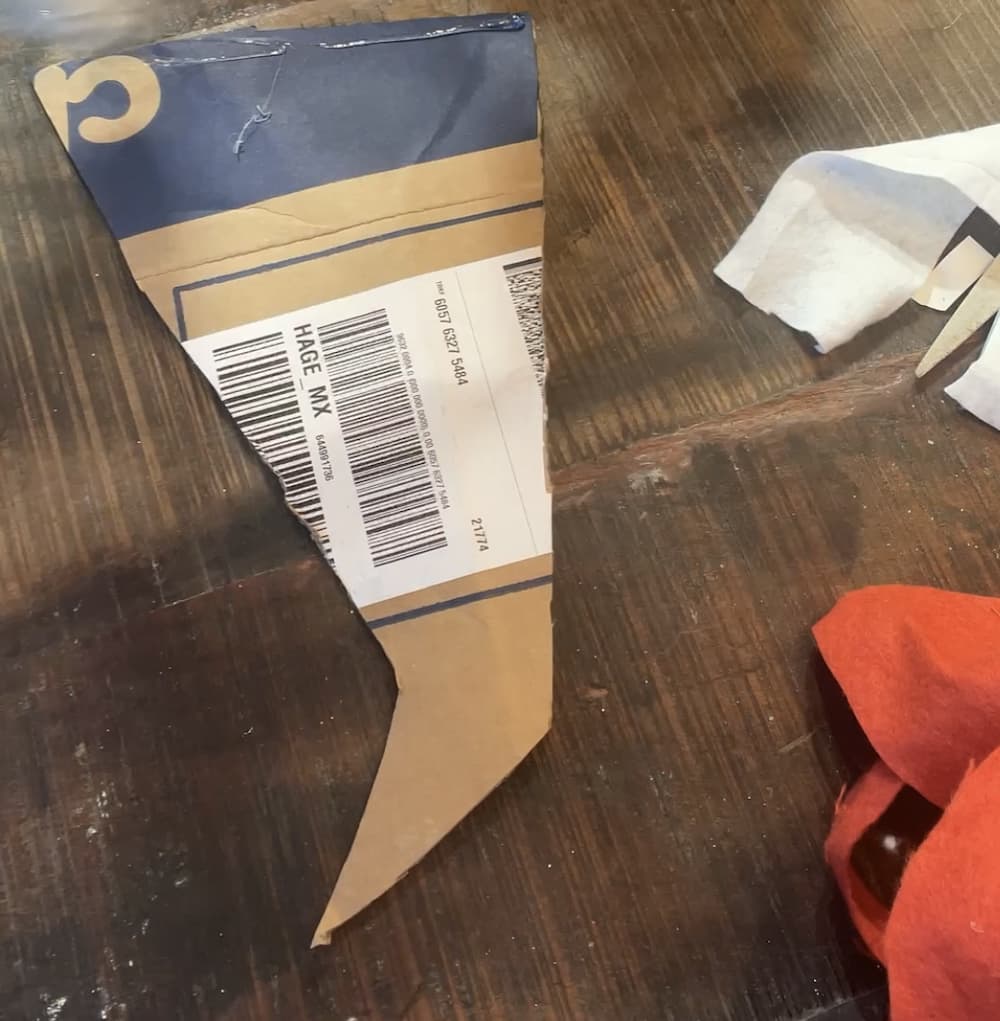
Cardboard
Leaves or Fall Flower
Glue Gun
Styrofoam Ball
FALL GNOME STEPS
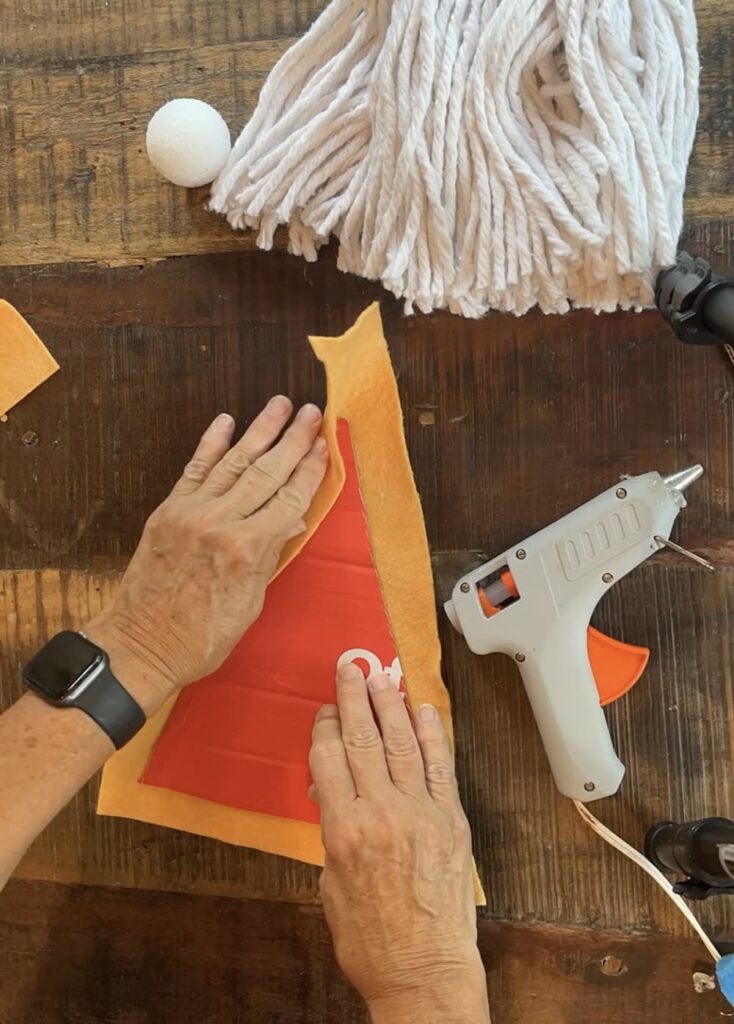
Ok so this was my first one and the beauty is I learned from it. The threads are easy to remove from the plastic, didn’t occur to me on this one.
I cut the cardboard shape from a box. Then I cut up my shammi cloth. (This makes 2-3).
I glued everything on and used some fall felt succulents I had made and twine and burlap to adorn.
This guys nose was a styrofoam ball from the dollar store that came in a pack of 3.

CHRISTMAS GNOME SUPPLIES
Mop Head (1)
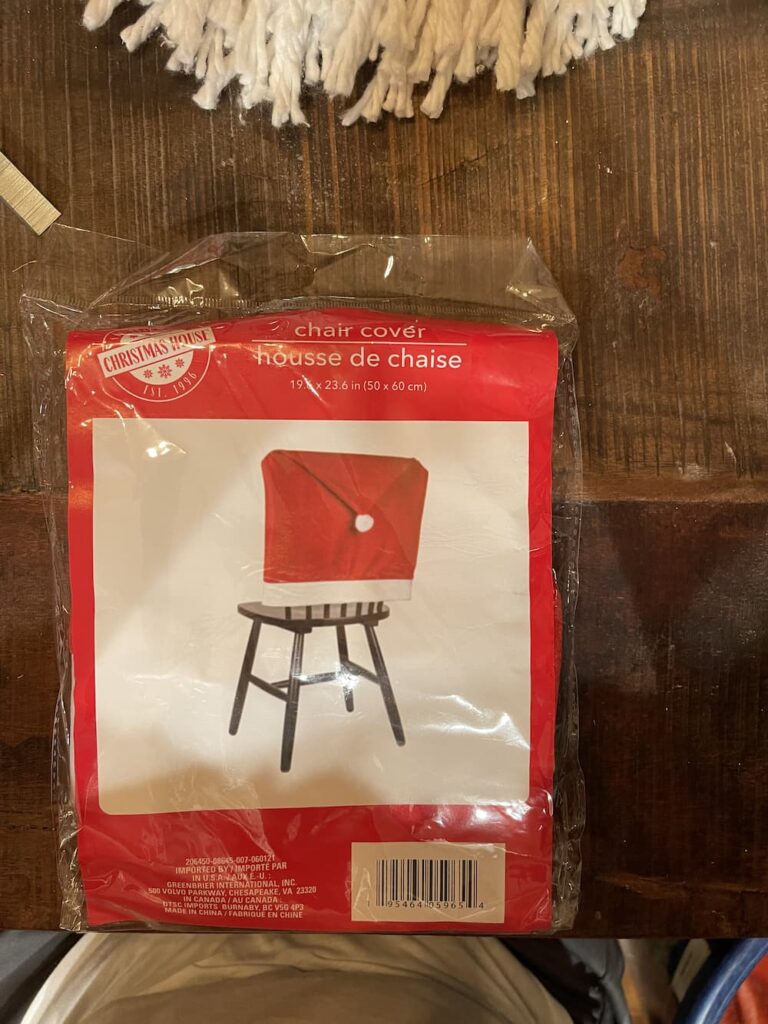
Santa Hat Chair Cover (1)
Cardboard
Glue Gun
Cat Toy
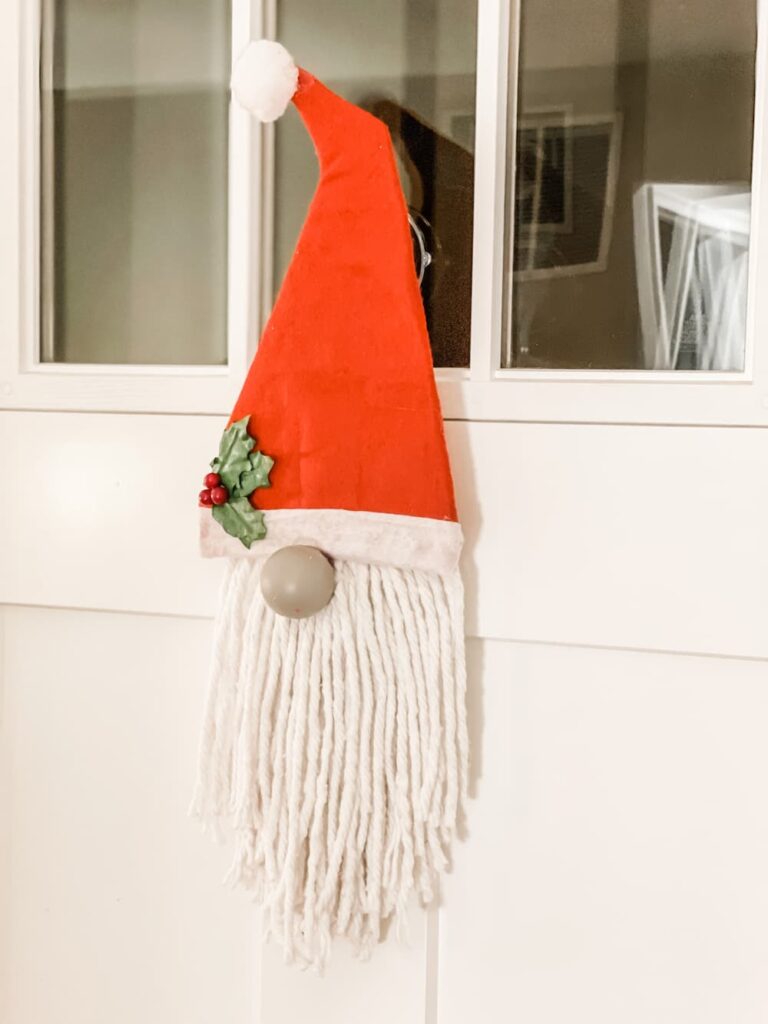
CHRISTMAS GNOME STEPS
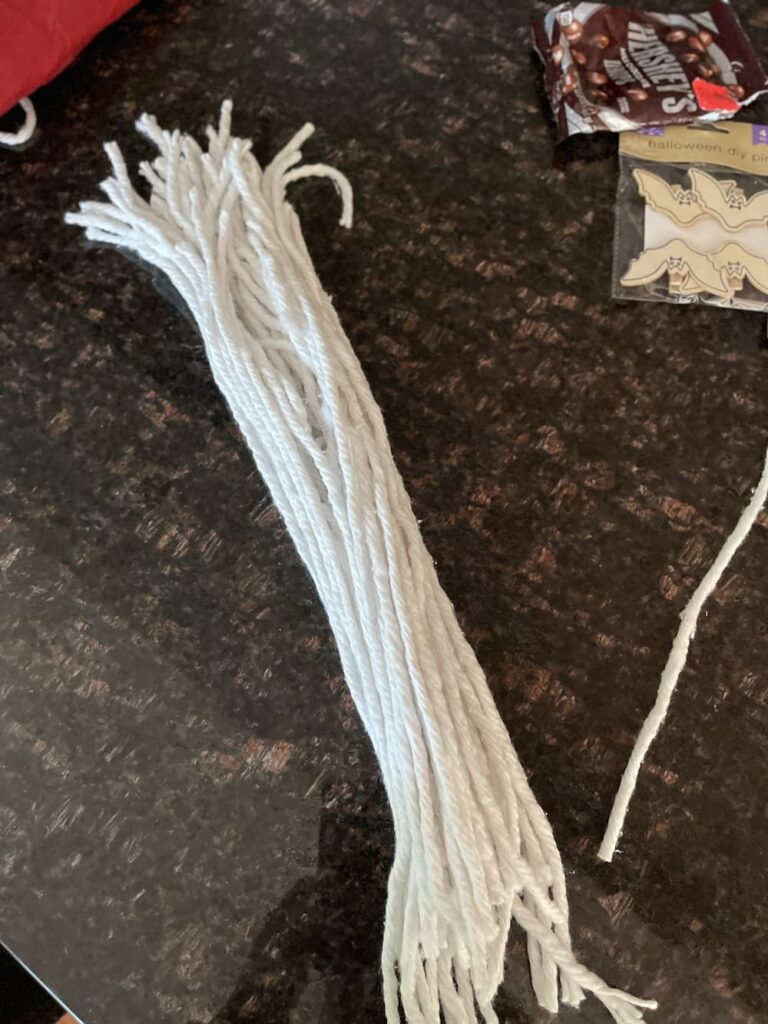
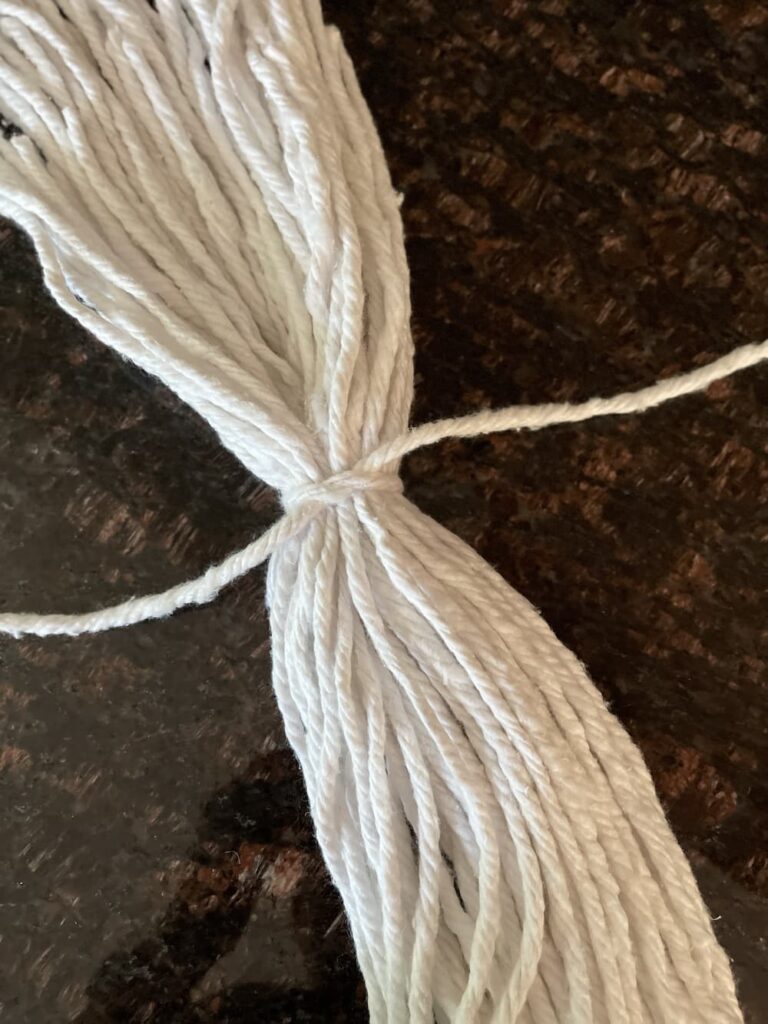
For this guy, I used one mop head. I pulled the strings from the plastic and then lined them back up evenly.
Then I took one string and tied it around the bundle.
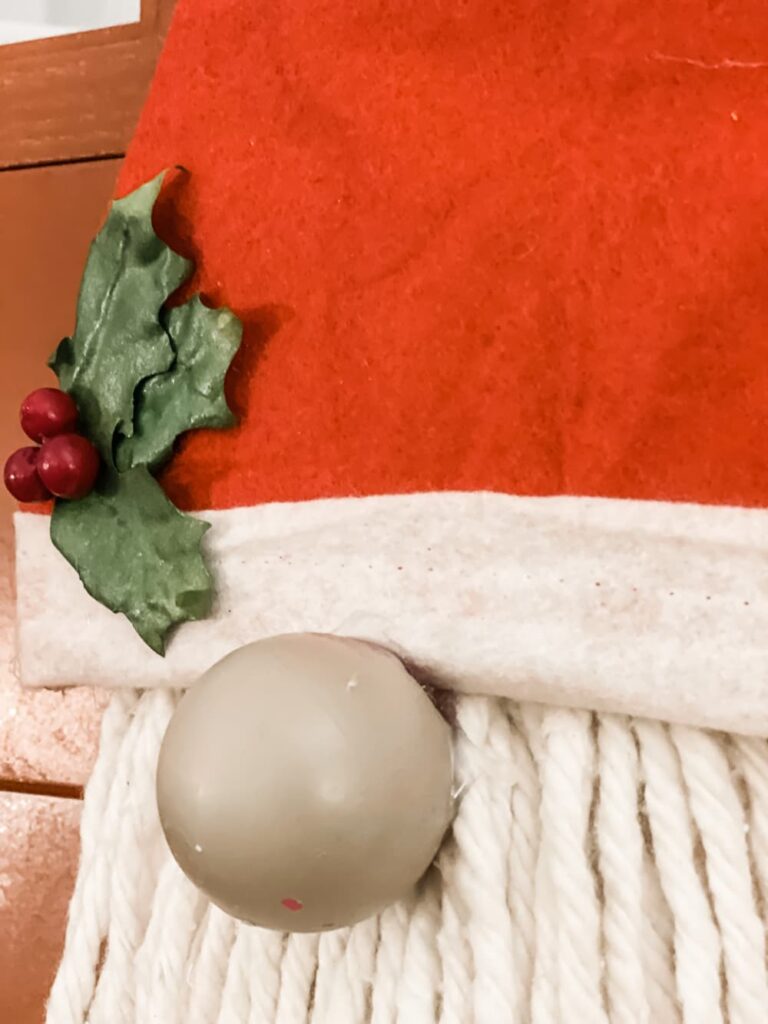
Using the cardboard, I cut it in a hat shape and added a turn at the top.
Next I cut the chair cover to put around the cardboard hat shape and glued it on.
Next I attached the pom pom on top.
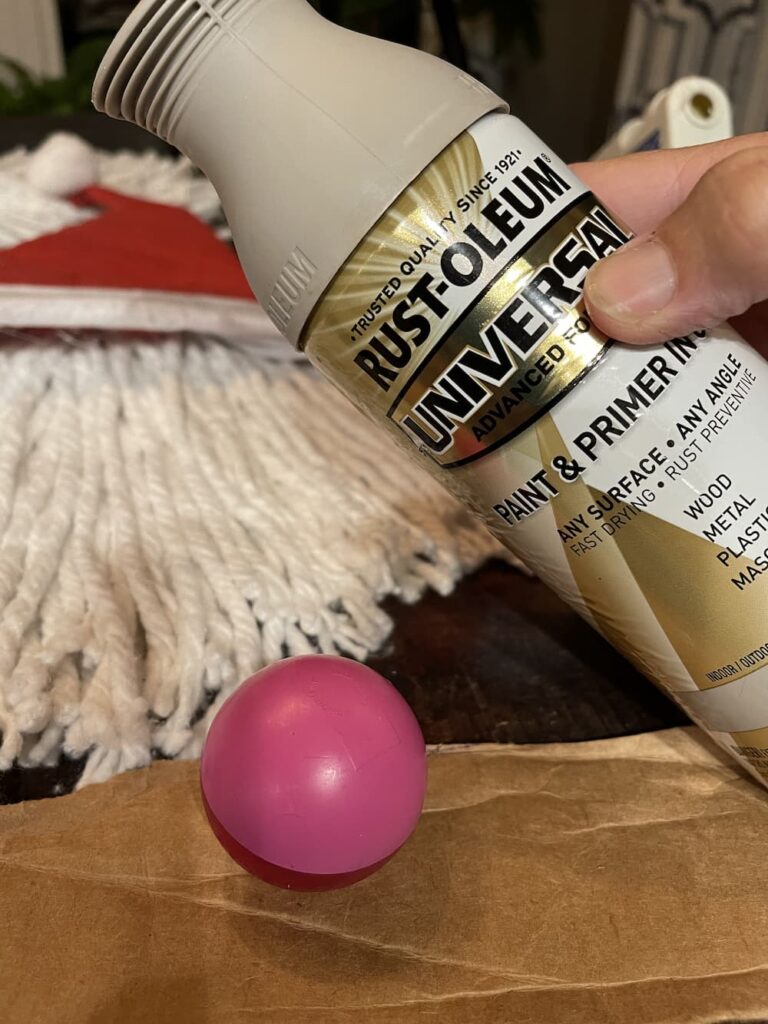
The last step was to spray paint the old cat toy and glue it on and then add whatever adornments you like.
Thanks so much for stopping by. If you are ready for more Holiday Decor, click here to see several bloggers sharing their best holiday ideas.
Too early for that? How about my Thanksgiving Tablescape? Click here to see this colorful setting.
I’m all about stress free holidays, Doing things ahead, keeping it simple. Remember the most important thing is time with family and friends. Cobwebs in the corners? Dust bunnies on the floor? Dim the lights, add some candles and music and enjoy the moment.
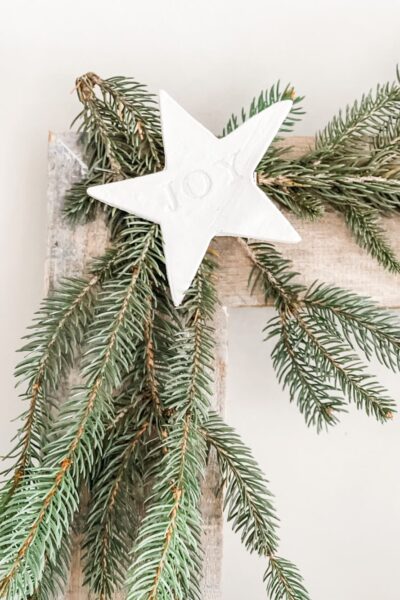
If you want some inspiration for a simple and fun craft – click here to see my EASY CONCRETE TREES.
XO, Regina
Regina thank you so much for sharing! I am gnome obsessed and this is so cute! I am happy to announce that I am featured this DIY in my weekly link party today! https://www.ourtinynest.com/2022/11/10/how-to-make-the-best-goat-cheese-board/
I hope you have a great Wednesday!