I wanted to make a coastal tablescape using many of the shells I’ve collected over the years. Since the beach is one of my favorite vacation spots, beachcombing is on the top of my todo list when I’m on vacation.

Hi, I’m Regina and this is Saved From Salvage. I love to share DIY’s, Furniture Flips, Event Inspiration and Recipes. Thanks for stopping by.
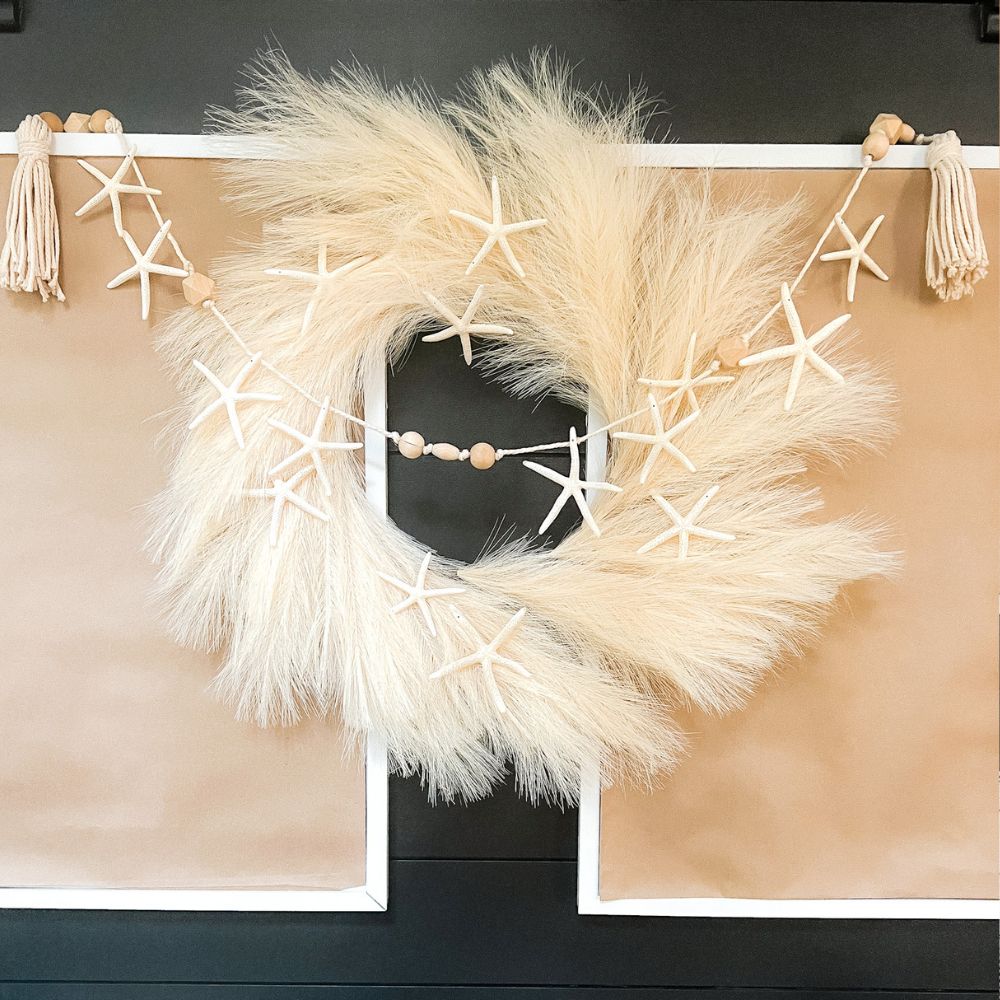
Today is the July issue of Handcrafted Society and our medium was shells. If you are coming from our host Wendy from WMDesign House, you will love her gorgeous garland, you can see it here.For this project I focused on oyster shells but did incorporate others as well. Wait until you see all the creativity from this group.
Table of Contents
COASTAL TABLESCAPE ELEMENTS
There are a few components that make a perfect coastal table. Shells, driftwood, and blues and whites.
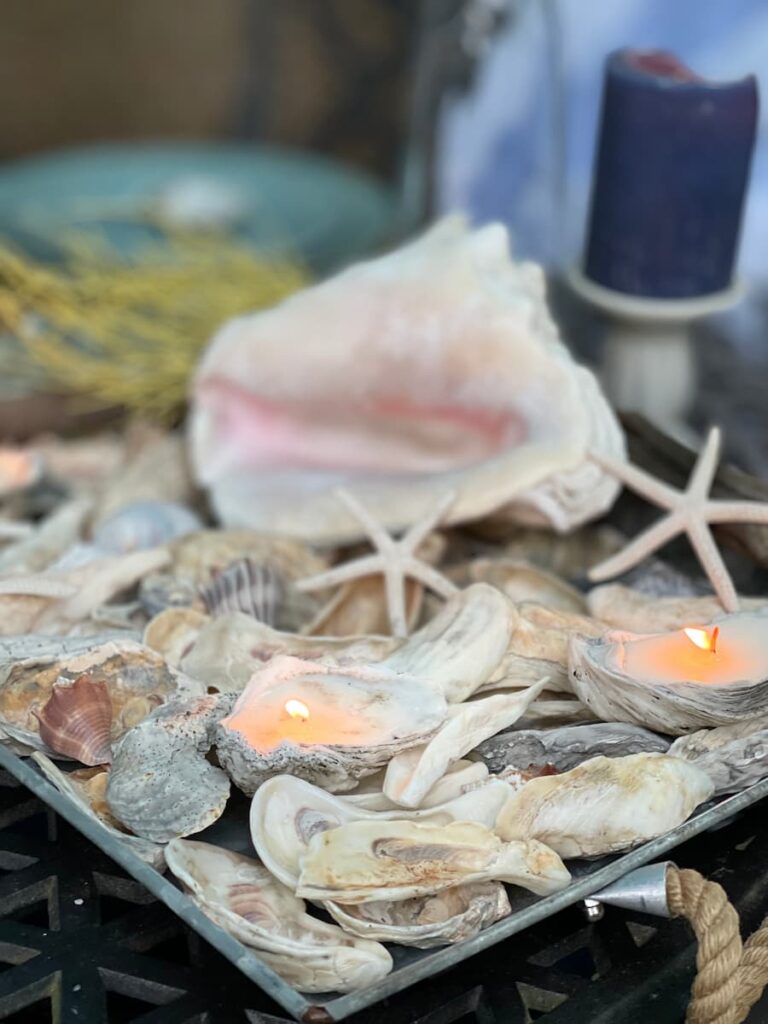
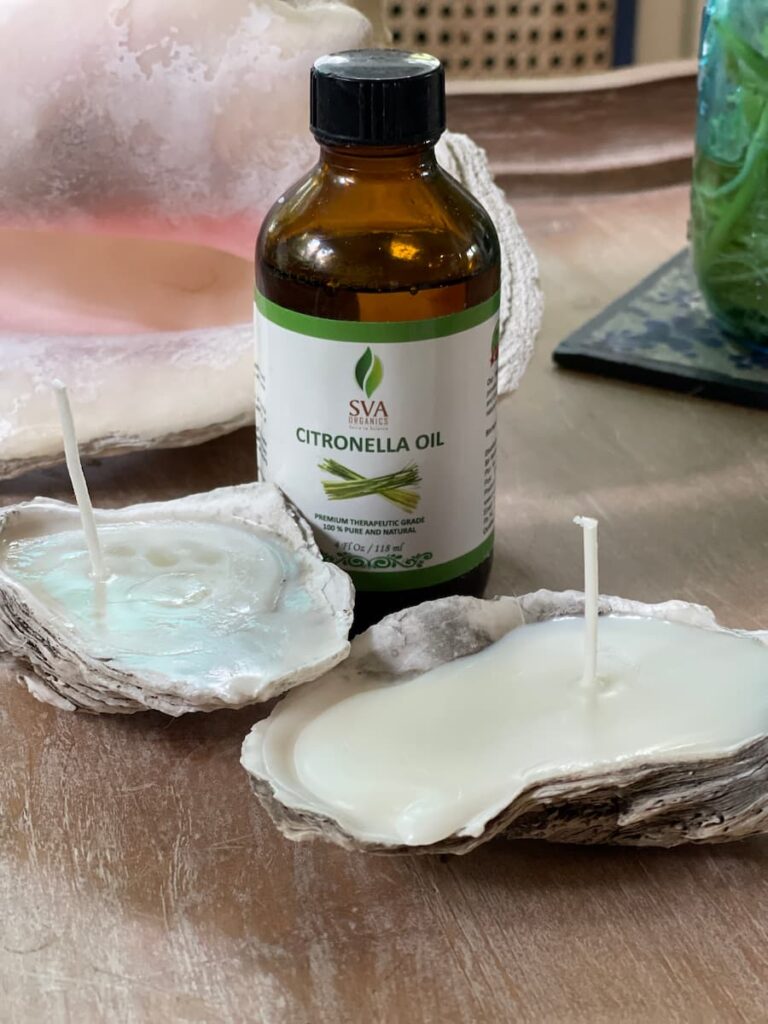
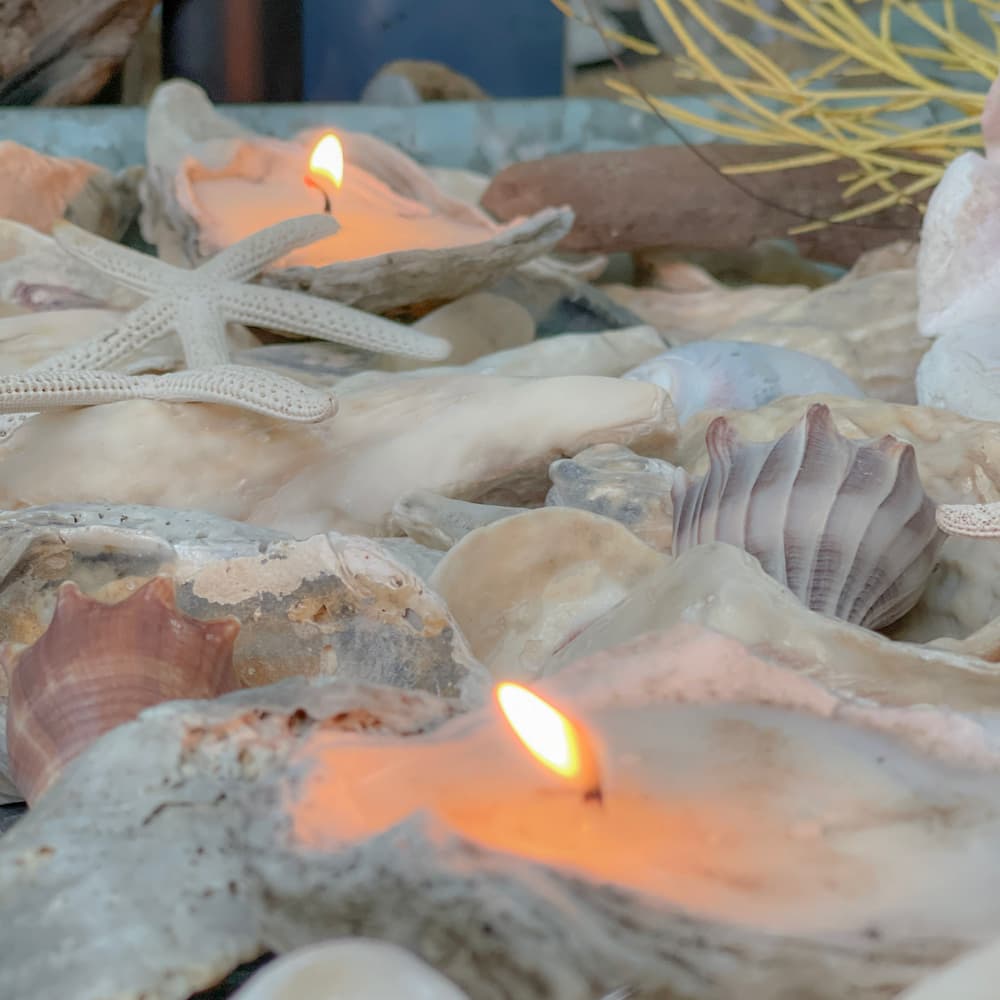
The first DIY I wanted to make for the table, was an oyster shell candle for my centerpiece. I was envisioning shells on a tray with a glow from my DIY candles.
This large galvanized tray with jute rope handles was perfect to hold my shells.
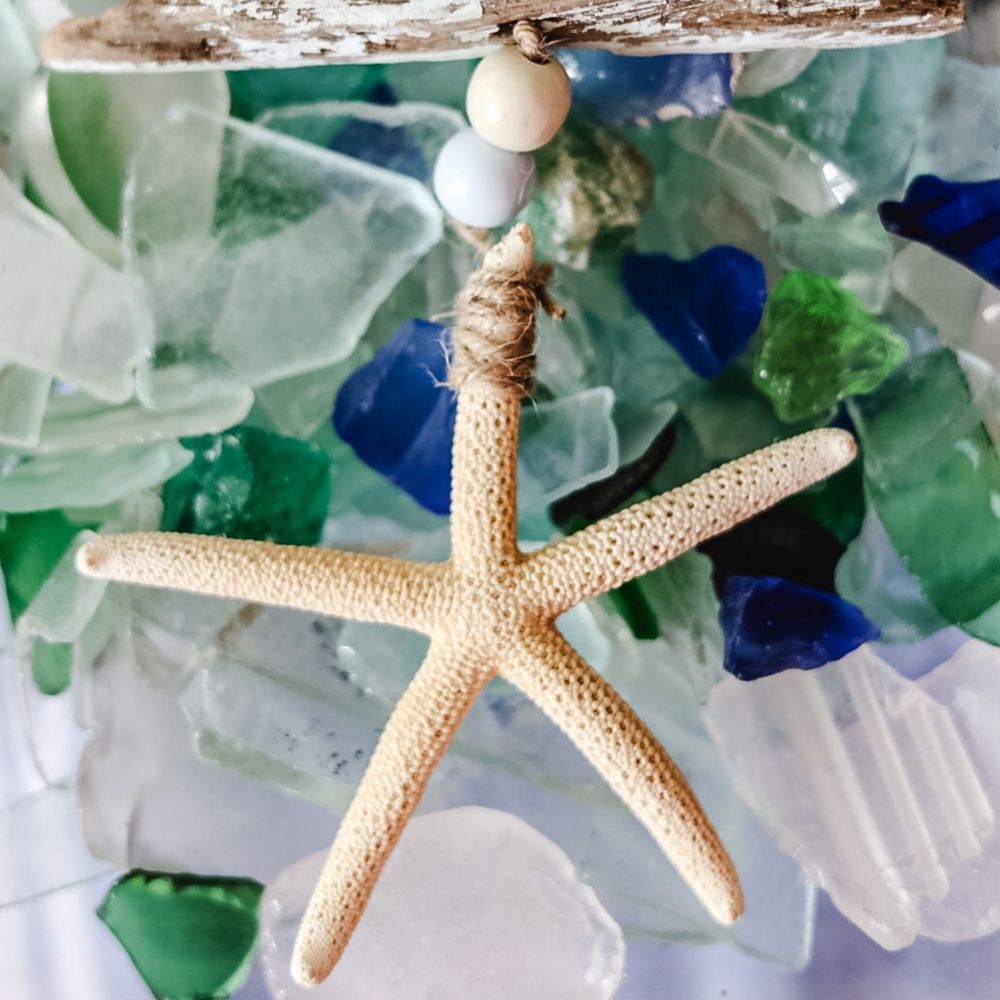
Mostly, I used oyster shells but added a few other shells and some starfish. The anchor shell was a large conch that I just brought home from the Bahamas in June
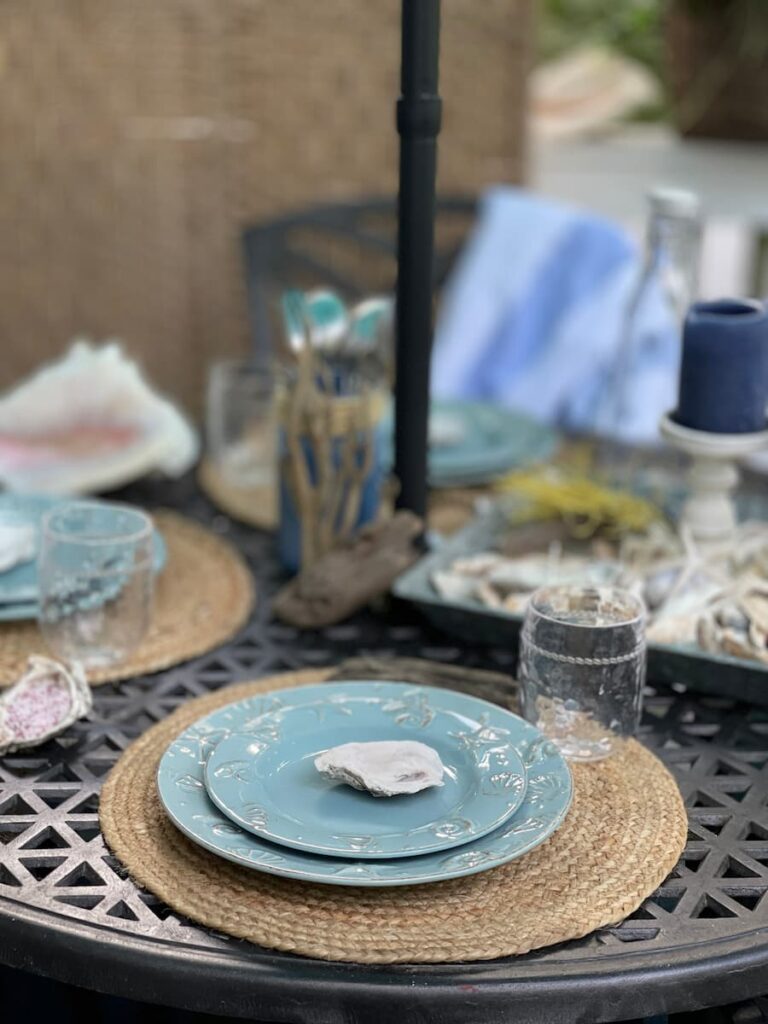
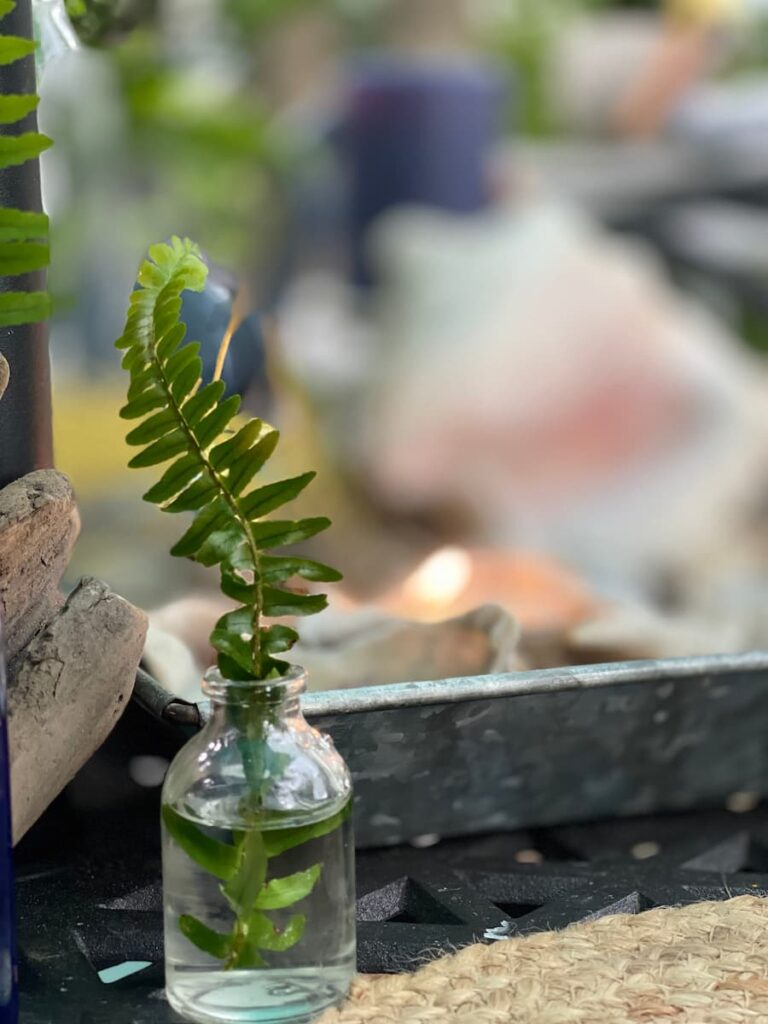
Nothing spells coastal like adding blues to your table. I started my place setting with a round jute placemat followed by these beautiful blue plates with raised shells on them. Acrylic tumblers are perfect for outdoors and I snipped ferns from the yard to add a touch of greenery.
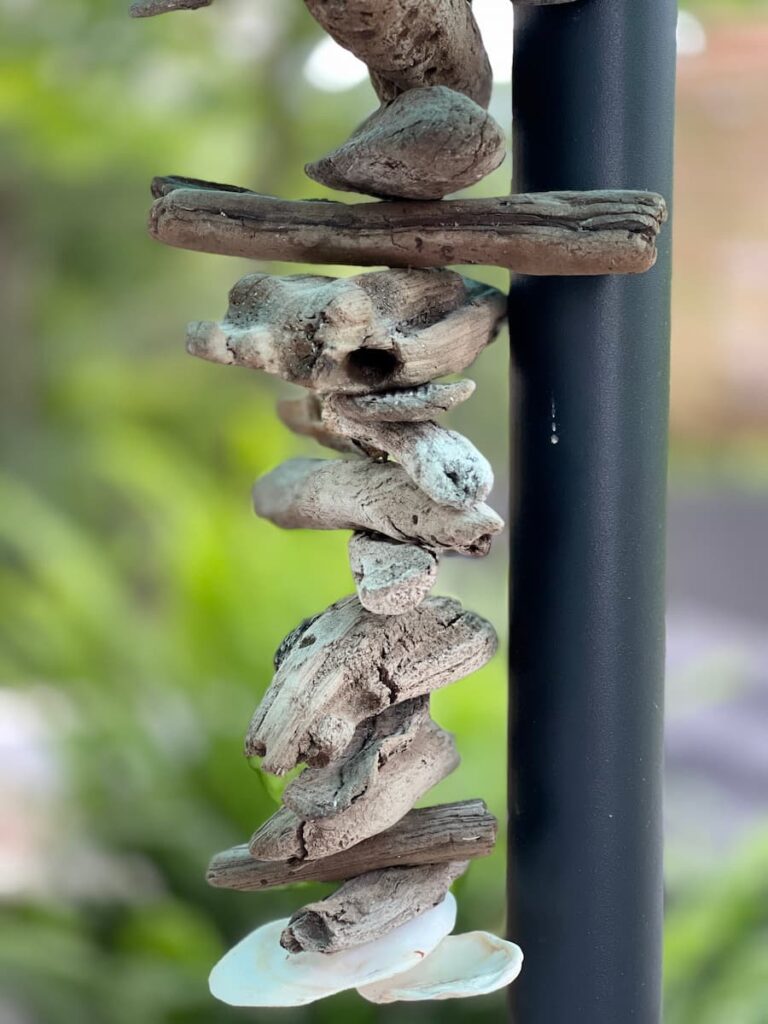
. Above the table on the umbrella I hung my driftwood garland. You can see the details on that here.
I tossed some blue and white Turkish towels that sometimes serve as throws near the fire pit over the chairs. A bright fish pillow creates an inviting seat.


HOW TO ADD A COASTAL VIBE
- OYSTER SHELL CANDLE
- OYSTER SHELL SALT CELLAR
- COASTAL EPOXY COASTERS
OYSTER SHELL CANDLE FROM OLD WAX
I had some larger oyster shells that I wanted to make my own candles in. Any table looks better with candles, especially a coastal tablescape.
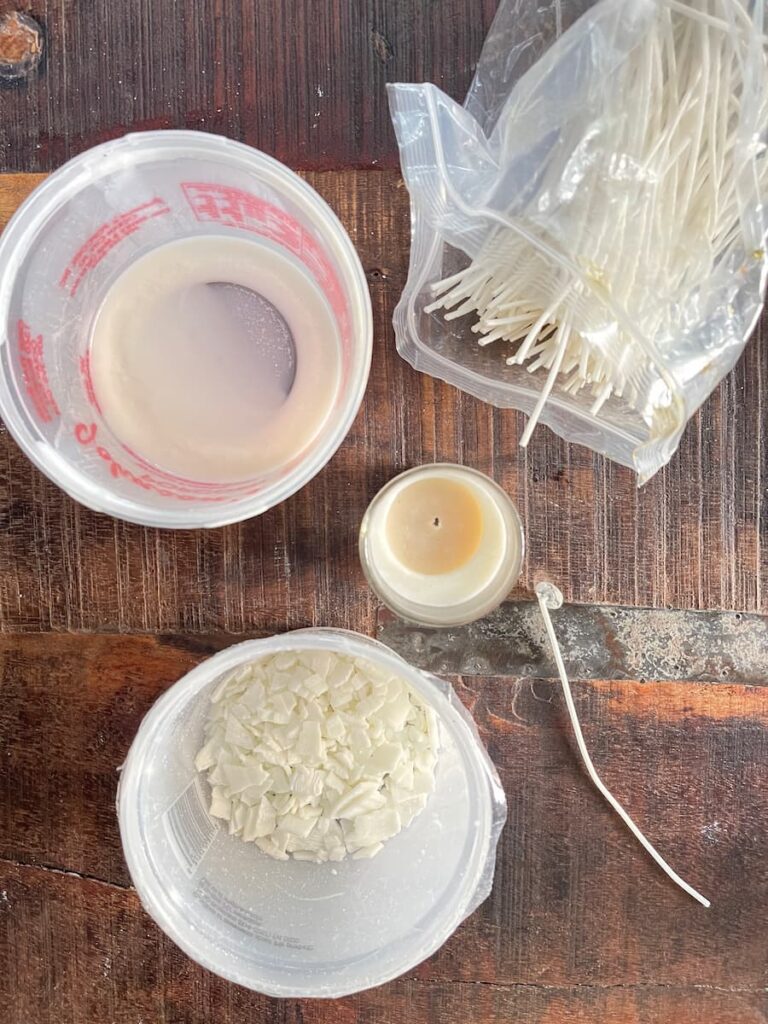
Using leftover candle wax that I decided to use for my oyster shell candles, the type of wax I had was not paraffin wax but soy wax flakes.
I also had some leftover wax in glass jars from last summer. My thought was it would be great to give these old candles new life.

I knew I needed to get the old candle wax out of the glass candle jars and remove the old wicks. I thought this was a great idea to use up old supplies.
There was about an inch of wax in the bottom of each jar. I used the freezer method to get the wax hard. Next I used a butter knife to chip the small pieces of wax out, and added them to the wax flakes I used to make soy candles in the past.
MAKING THE CANDLES
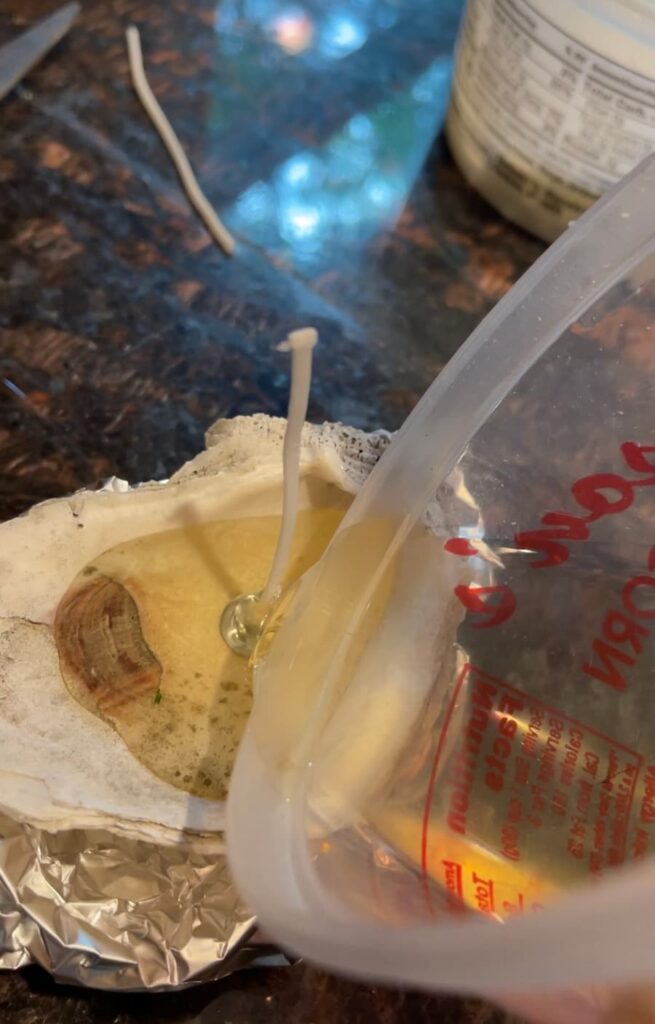
To make a candle in the oyster shell, I only needed a little bit of wax. I took the excess wax that I had and a new wick and decided that the easiest way to melt the wax was in the microwave.
There are many different ways to melt your wax, you can use the oven method or the double boiler. Typically I use the double boiler method but this time I was using such a small amount that the microwave worked perfectly.
I also had citronella essential oil from a previous project. For this size you only need a few drops of essential oil in your wax flakes.
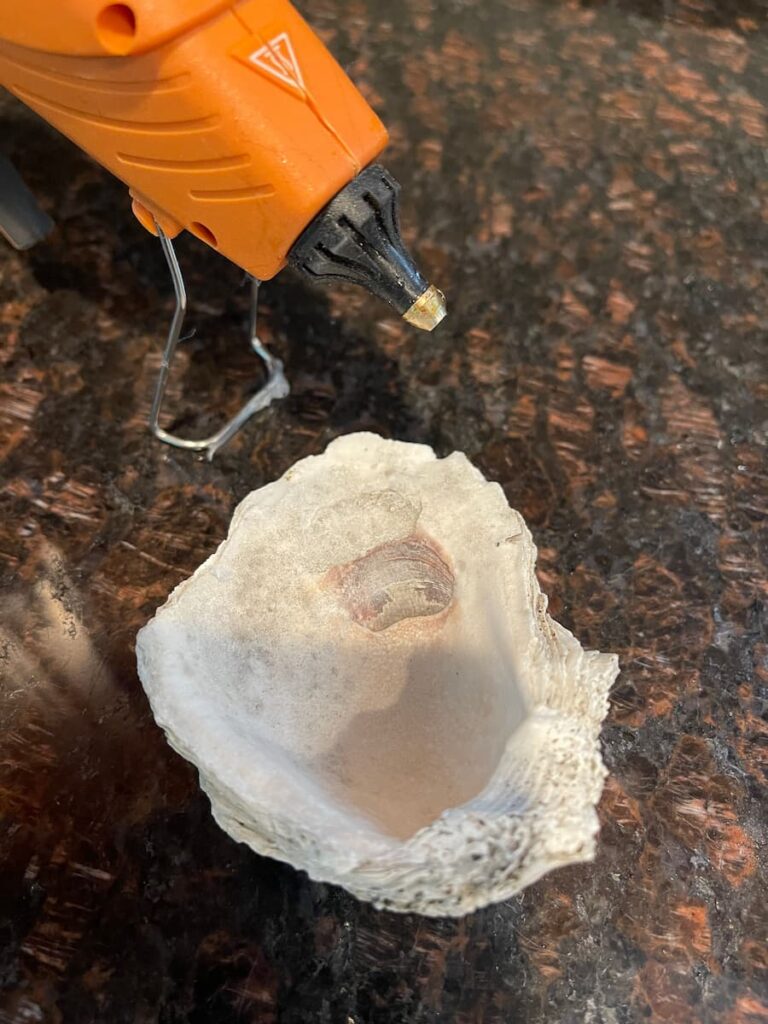
After I had melted wax, I used the essential oils to scent it. When the wax was ready I used a glue gun and attached the candle wick to the bottom of the oyster shell.
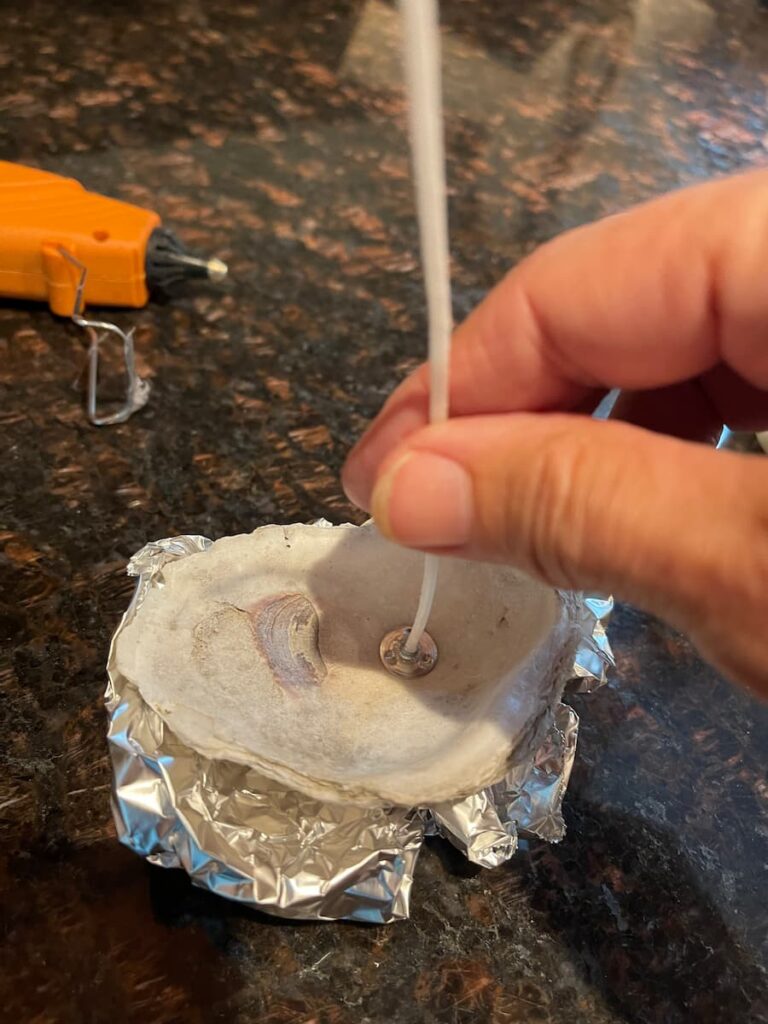
The next step was to take aluminum foil and scrunch it up so the oyster shell could sit on it. This way it was flat when I added the hot wax.
Since this tablescape was for outside, I thought citronella would be great at keeping bugs at bay.
So if you are looking for a great way to use up scrap candle wax, making oyster shell candles is the best approach. You don’t need very much wax at all.
When I was done, I had a new candle. Adding these DIY oyster shell candles was one of the best ways to cozy up my tablescape which included a tray of shells.
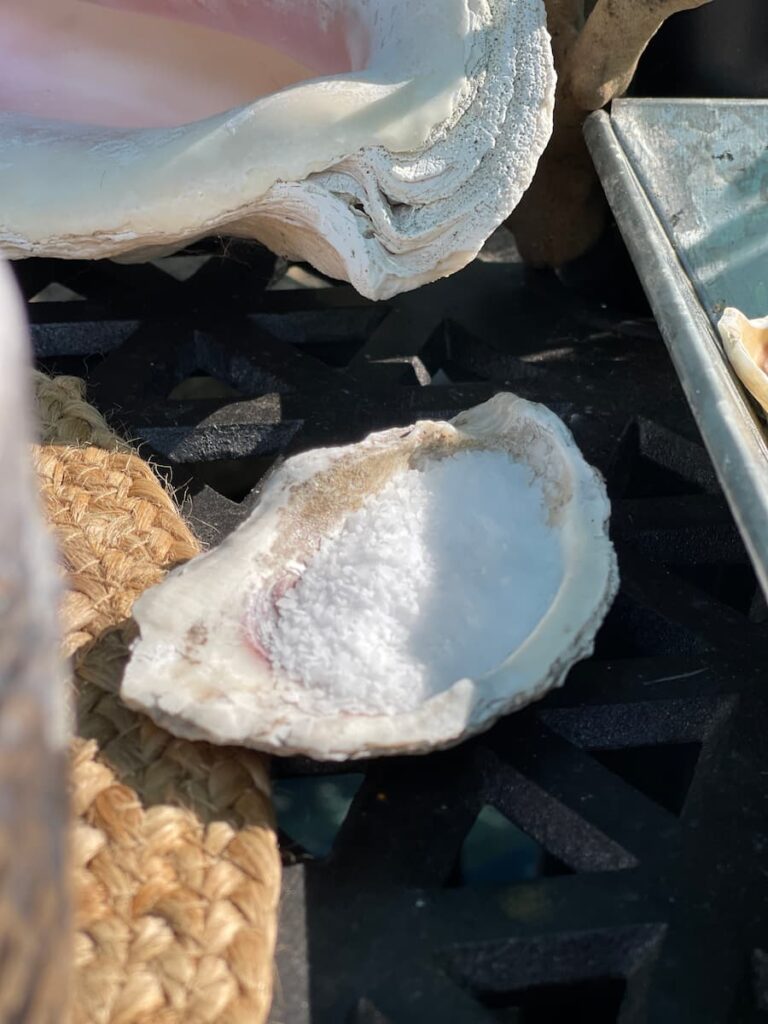
OYSTER SHELL SALT CELLAR
This is the easiest DIY with loads of impact. I washed the oyster shell and then dried it and added a coating of food safe Mod Podge. That’s it.
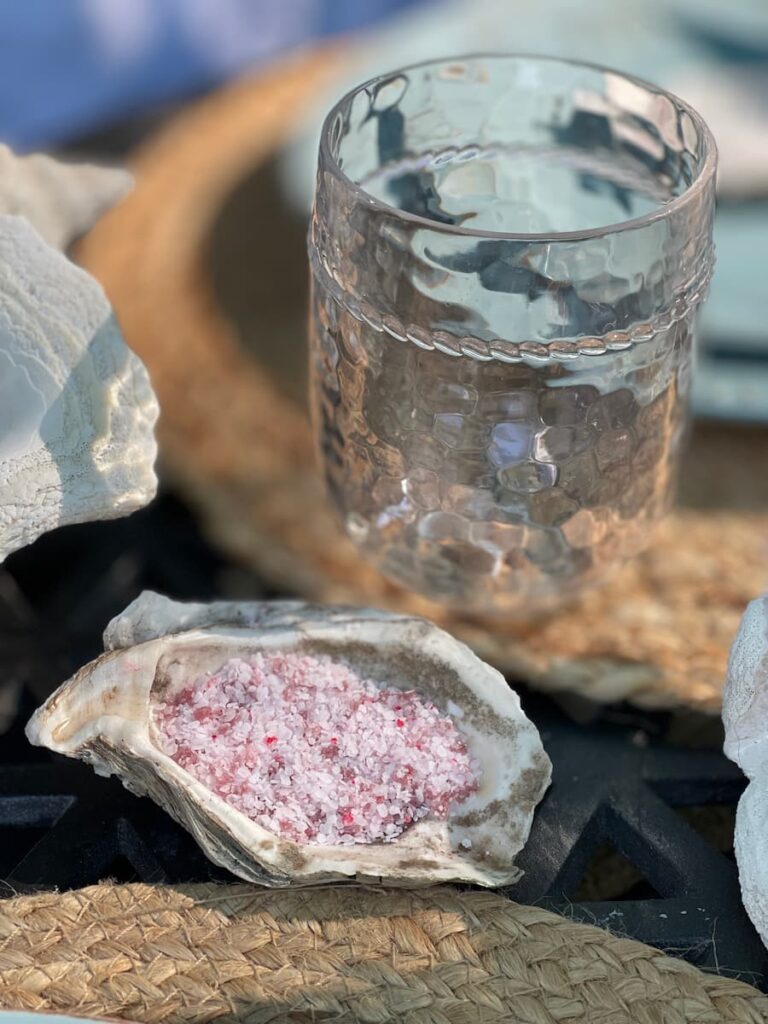
I used two of them on the table, one held a kosher salt and the other a pinot noir salt. In the Bahamas these were on the tables and it was so easy to take a pinch and use it.
COASTAL COASTERS

I wanted to add another element to my coastal tablescape and decided on coasters.
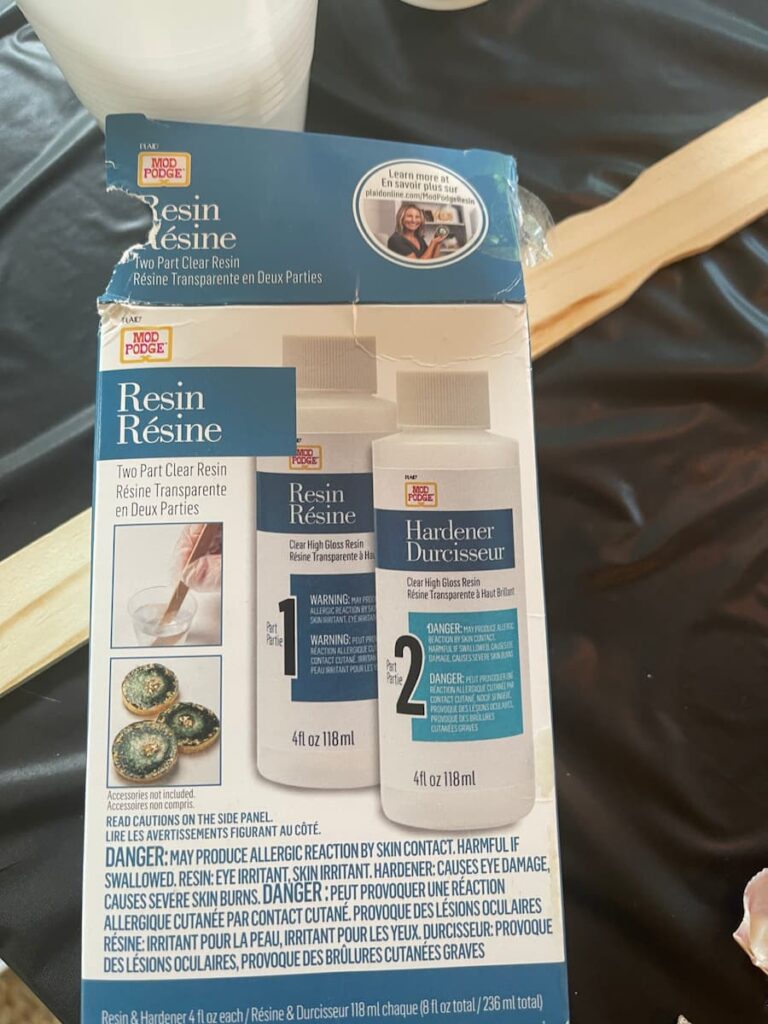
These turned out fabulous, I have never worked with epoxy before so I was a bit nervous.
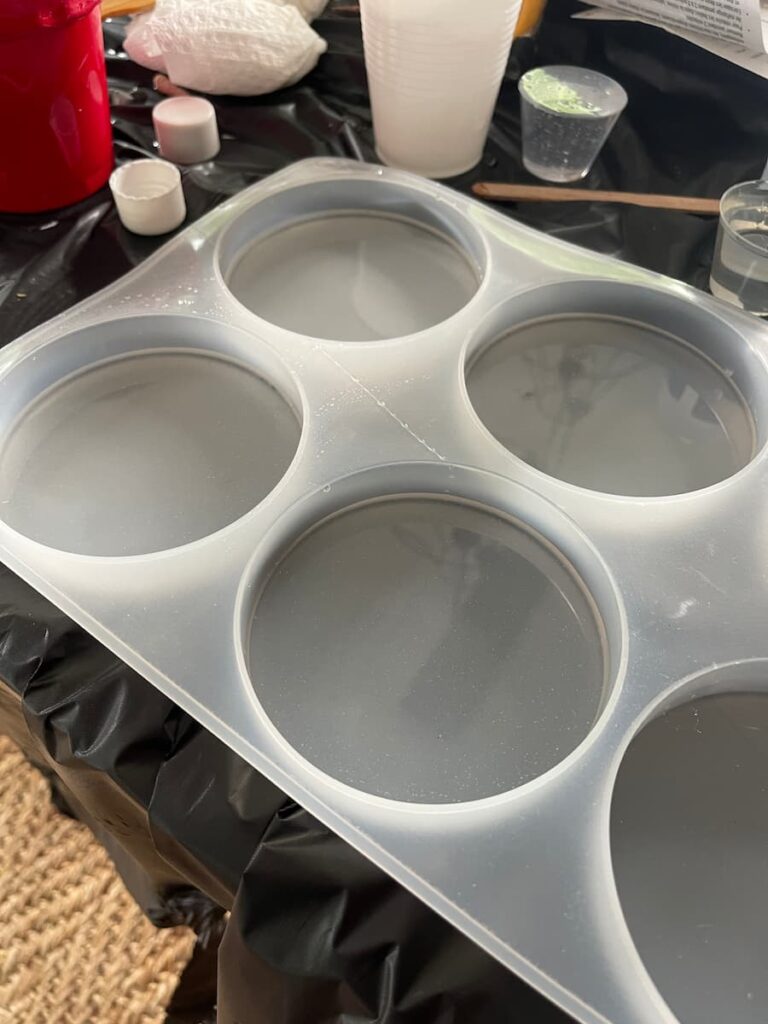
I had purchased this 2 part epoxy mix from Mod Podge. I ordered this silicon mold off of Amazon.
STEPS TO MAKE THE COASTERS
The first thing I did was to wash and let the silicon mold dry.
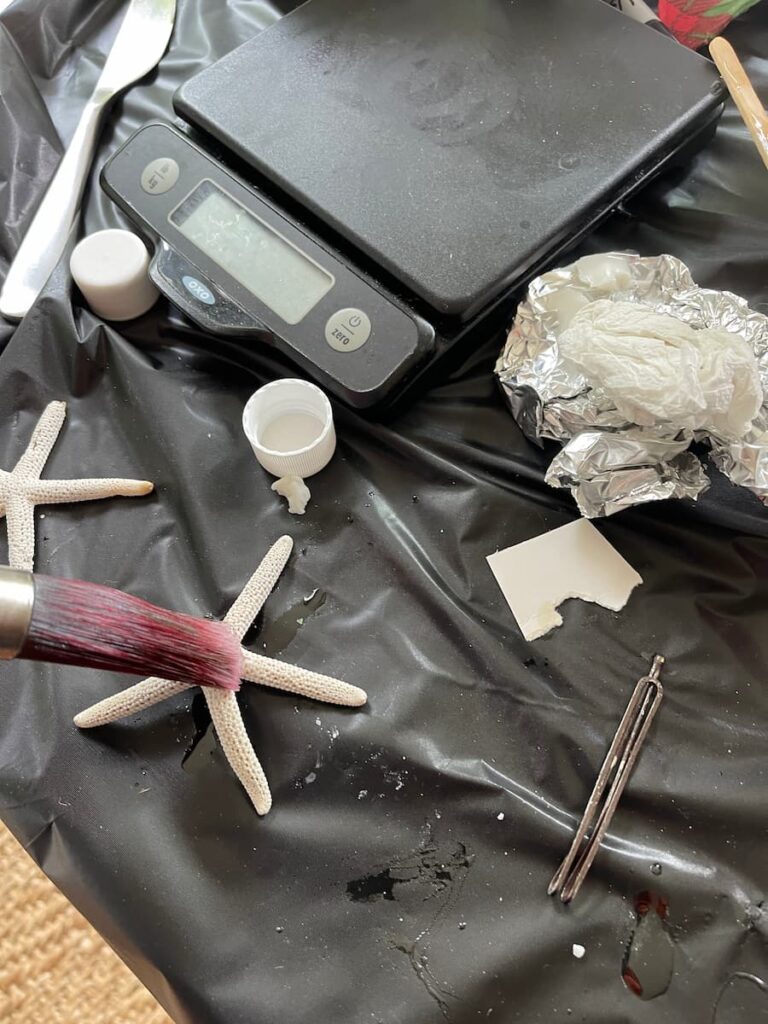
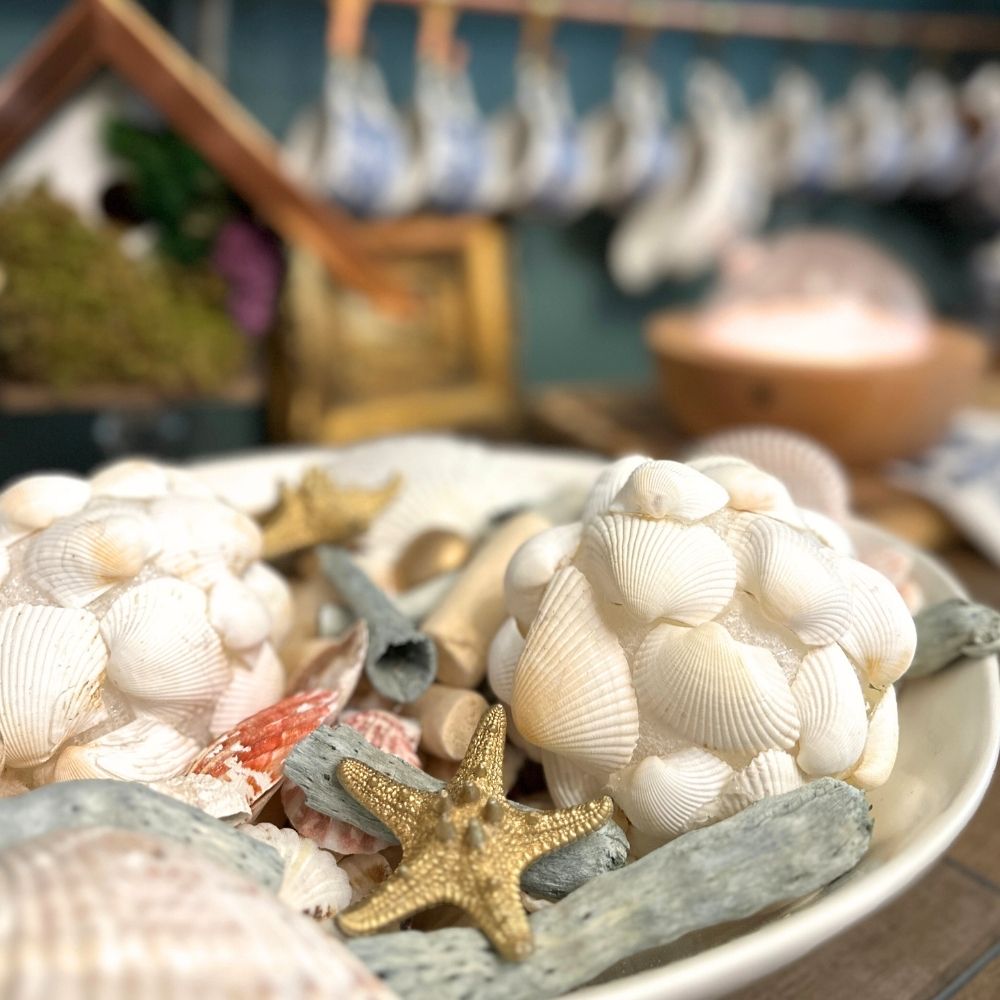
Next I selected the starfish I was going to add to the coasters.
The next step was to gather all of my other supplies and covered the table with plastic. A must are protective items like rubber gloves and a mask. I did this inside but had the doors and windows open and the ceiling fan going.
There are more details on the instructions. I followed the directions on the package and mixed the 2 liquids together in a 1 to 1 ratio.
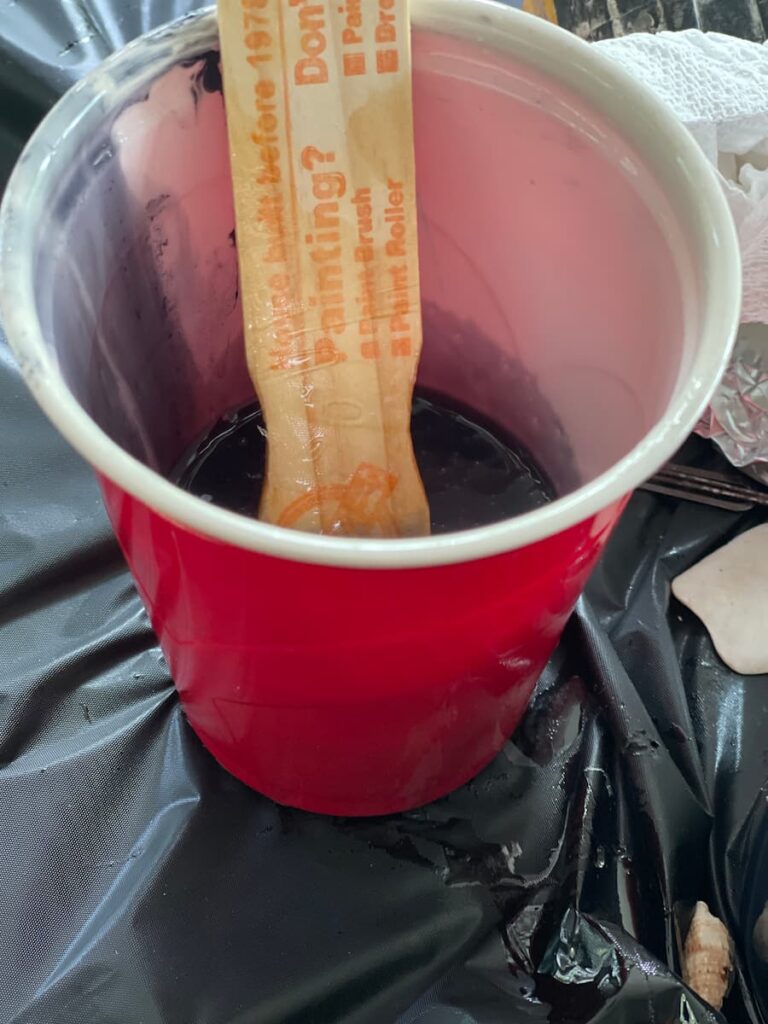
For containers, I used plastic cups and made my lines in a Sharpie. I used a paint stick to stir.
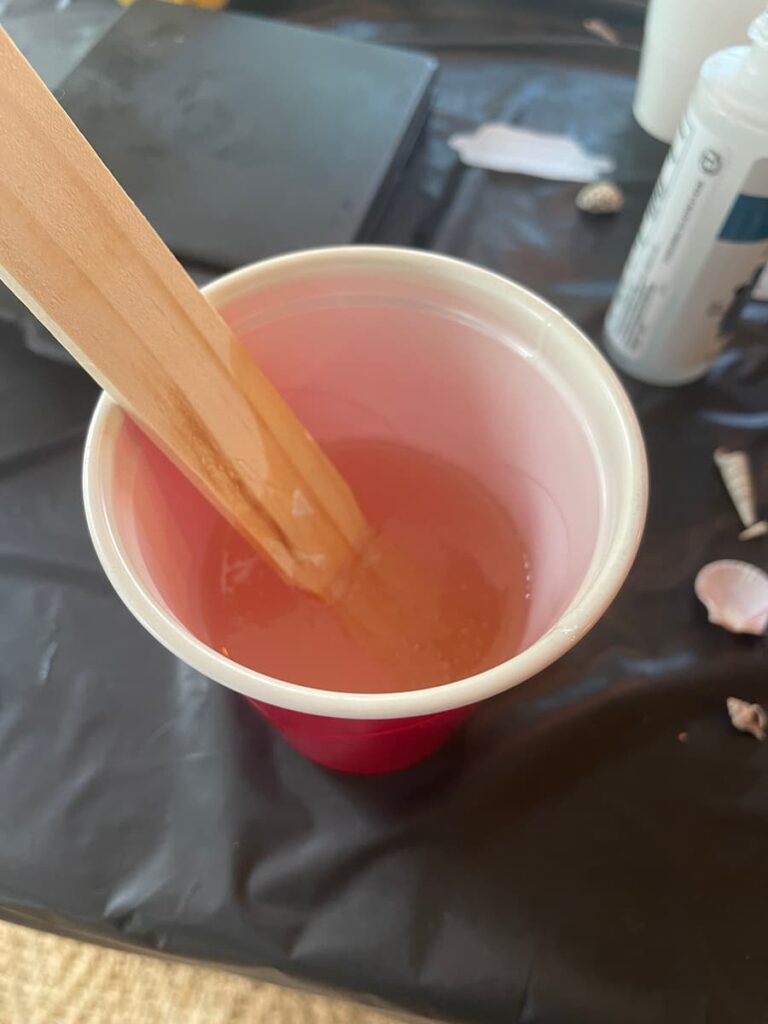
I mixed for 3 minutes and stirred constantly. Next I used my heat gun to try and pop some of the bubbles. One time it worked perfectly, one time I began melting the cup.
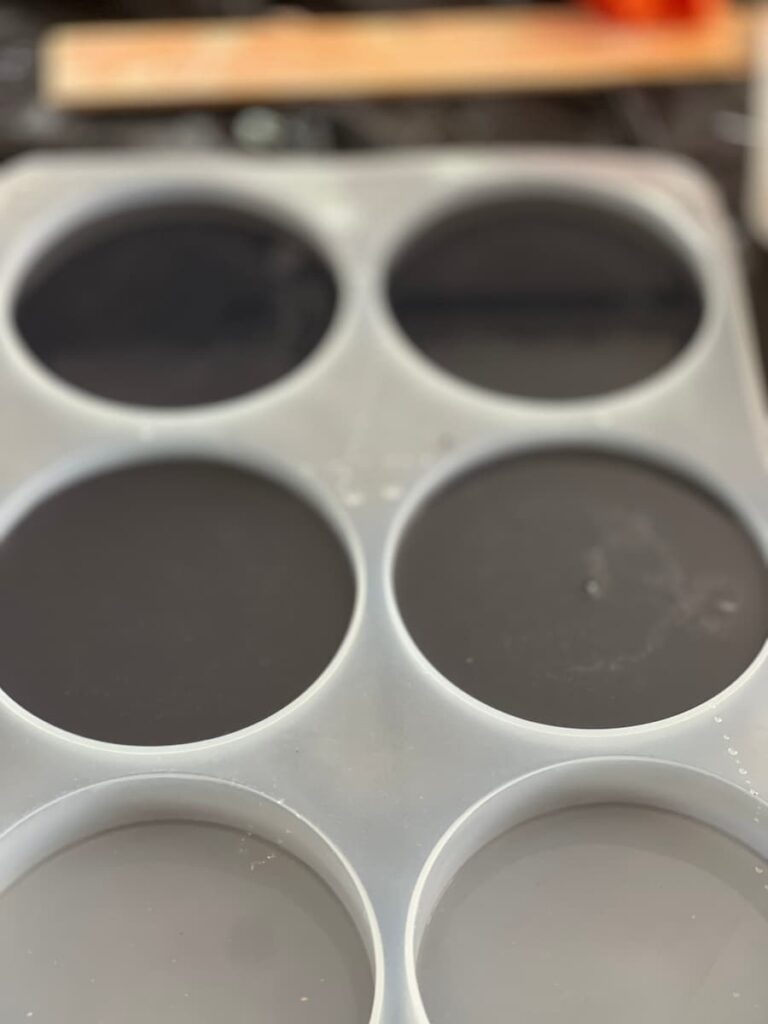
After mixing, I let the mixture set for 3 minutes. I then added a small amount slowly into the mold. Just enough to cover the bottom. (Which will be the top). After you mix the parts together, you have about 30-40 minutes working time.
I let the first layer sit for about 20 minutes until it began to set up.
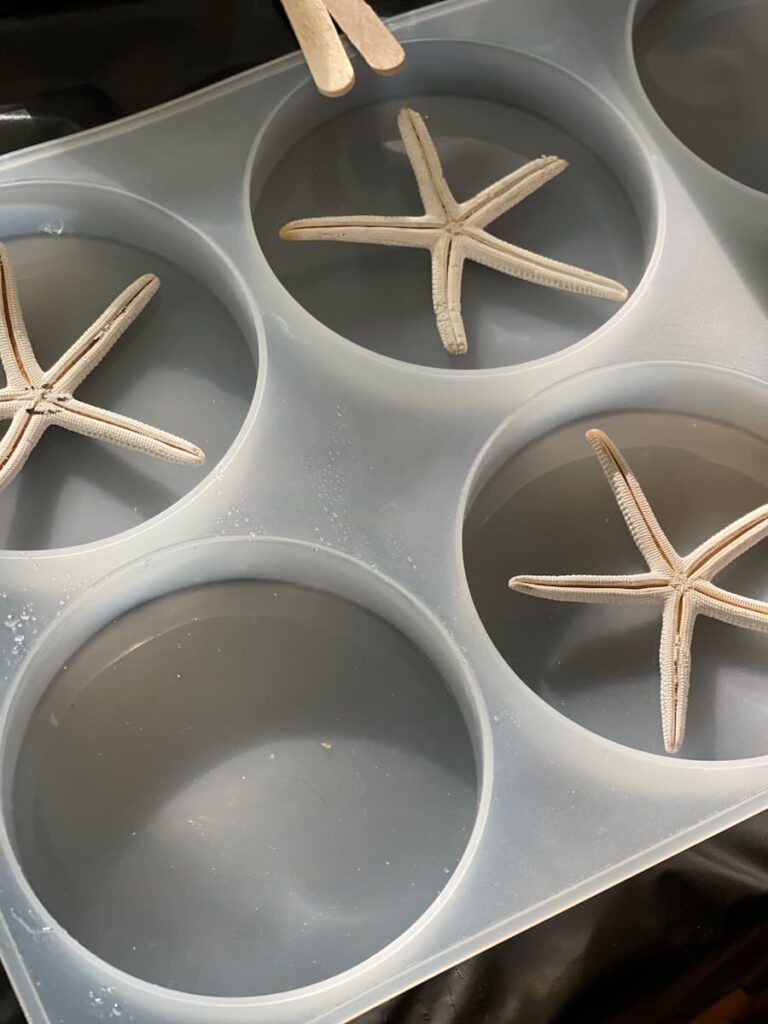
It’s suggested that you coat what you are putting in the mold with a layer of epoxy to reduce the release of bubbles. I did that and let them dry.
Next I gently placed the starfish face down in each mold. After about 10 more minutes, I added some more clear epoxy on top to cover the starfish.
After two hours went by, I mixed more epoxy and then added some of my Dixie Belle Deep Sea Silk Mineral Paint to the mixture. I read the ratio should be 10 to 1 with 1 being the paint. After mixed, it was dark but translucent. I loved it.
Next I poured the blue onto the mold just enough to cover the entire circle. Then I waited. I did use the heat gun to pop some of the bubbles before letting it sit.
It took about 4 hours until it was completely set up and then I just peeled them out of the mold.
It took almost the entire 8 oz of each bottle to make four coasters. I didn’t mix it all at one time because I needed to hold some out for the blue. It was a guessing game for me how much to mix.
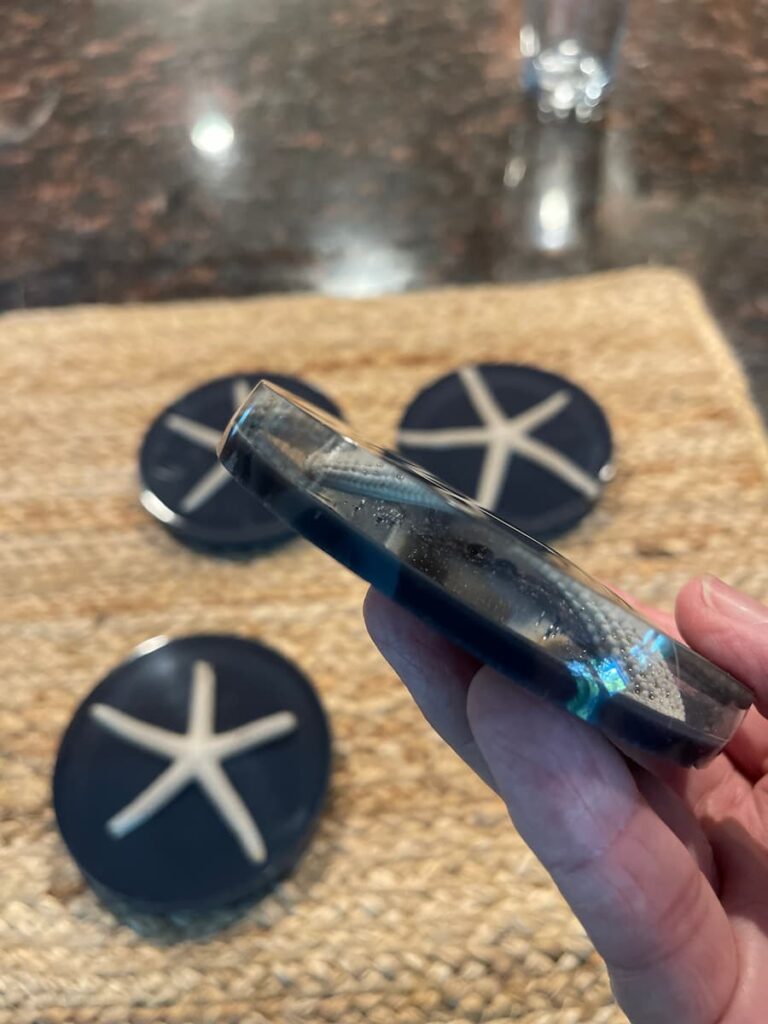
Such an easy and beautiful coastal look for the table.
SUPPLIES FOR MY COASTAL TABLESCAPE
- OYSTER SHELLS
- SALT
- FOOD SAFE MOD PODGE
- SOY CANDLE WAX
- CITRONELLA ESSENTIAL OIL
- WICK
- GLUE GUN
- 2 PART EPOXY
- SILICON MOLD
- BLEACHED STARFISH
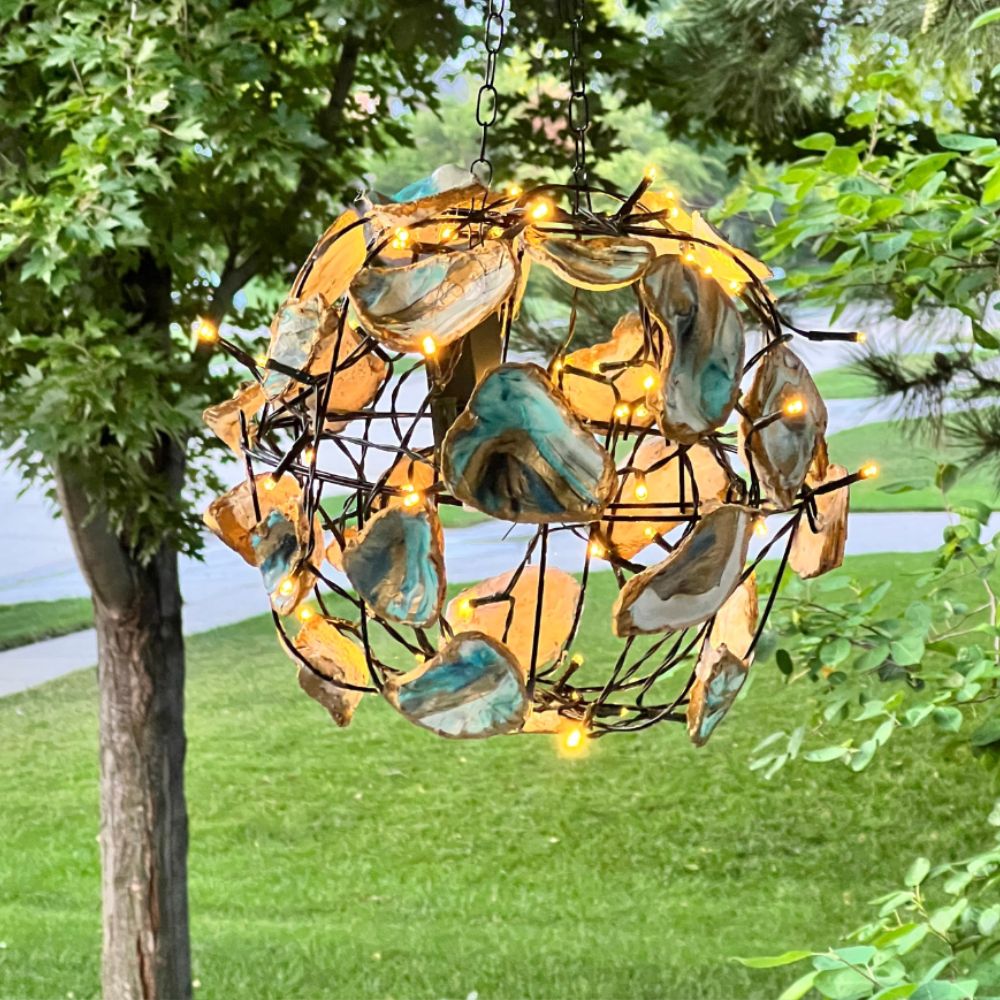
I so love working with shells. These Oyster Shell Tablecloth Weights are so easy to make and customize to match your table. See the details here.
Now off to see all the other fantastic shell projects from the Handcrafted Society.
THE HANDCRAFTED SOCIETY PROJECTS
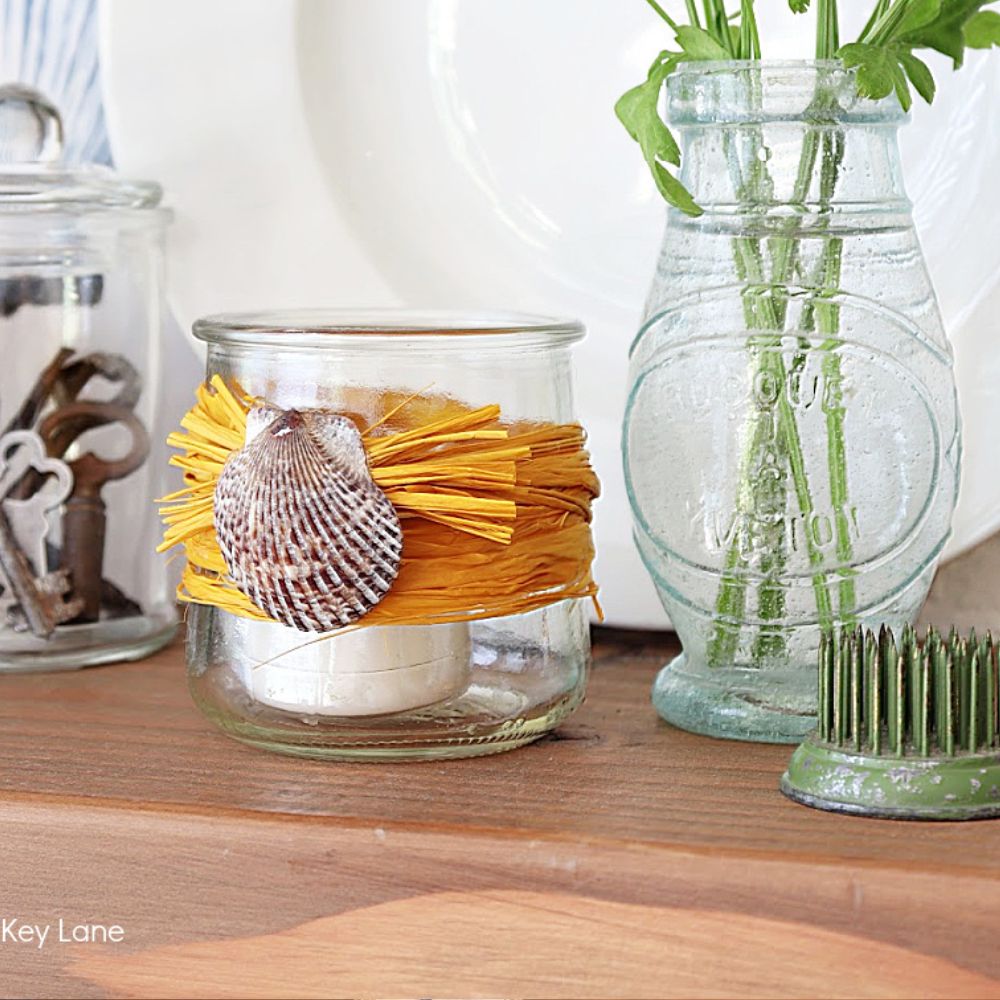
Thanks so much for stopping by Saved From Salvage, I hope you enjoyed seeing how I created my Coastal Tablescape, next up on the Handcrafted Society is Michelle from Thistle Key Lane. Check out her raffia and shell candle holders here.
I am an Amazon Affiliate, I receive a small commission if you order the supplies I’ve linked below. This is at no additional cost to you.
XO, Regina

Wow two excellent projects in one post! I hope to make your oyster candles this summer. I would love to use them on our patio table with the citronella oil! BTW your starfish coasters look professionally made! Great post Regina!!
Oh my Regina, those candles mingled in with all the other shells are a showstopper! So clever of you…
Oh my goodness! What a gorgeous centerpiece. The colors with the light are beautiful, Regina! I pinned it to my summer board to share 🙂
xoxo
So many great projects in one post! I especially love the coasters! Thanks for leading us in a great month for the Handcrafted Society!
So many cool projects! I’ve never worked with epoxy before, it looks so neat. I was just at this little shop in Maine and I snapped a pic of the prettiest driftwood garland, love yours!
I want salt cellars now, and individual citronella candles! All of these projects make the perfect tablescape! I love it!
Your table is just stunning Regina. I love the candles and those coasters are fab. I am going to share on my saturday post.
I love those candles Regina! Great idea!