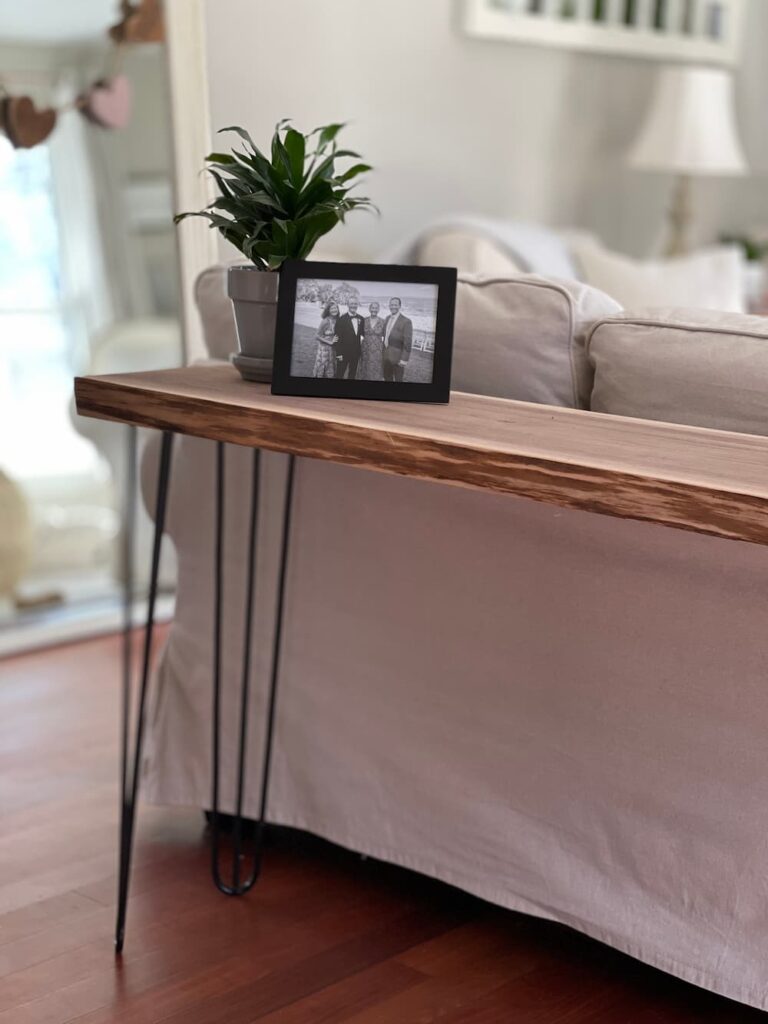
Wondering how to make your own live edge console table? I’m sharing how to make a DIY BLACK WALNUT TABLE FROM WOOD SLABS.

Hi, I’m Regina, welcome to Saved From Salvage. I am so glad you are here. I enjoy sharing DIY projects, furniture flips, and ways to make your home cozy and inviting.
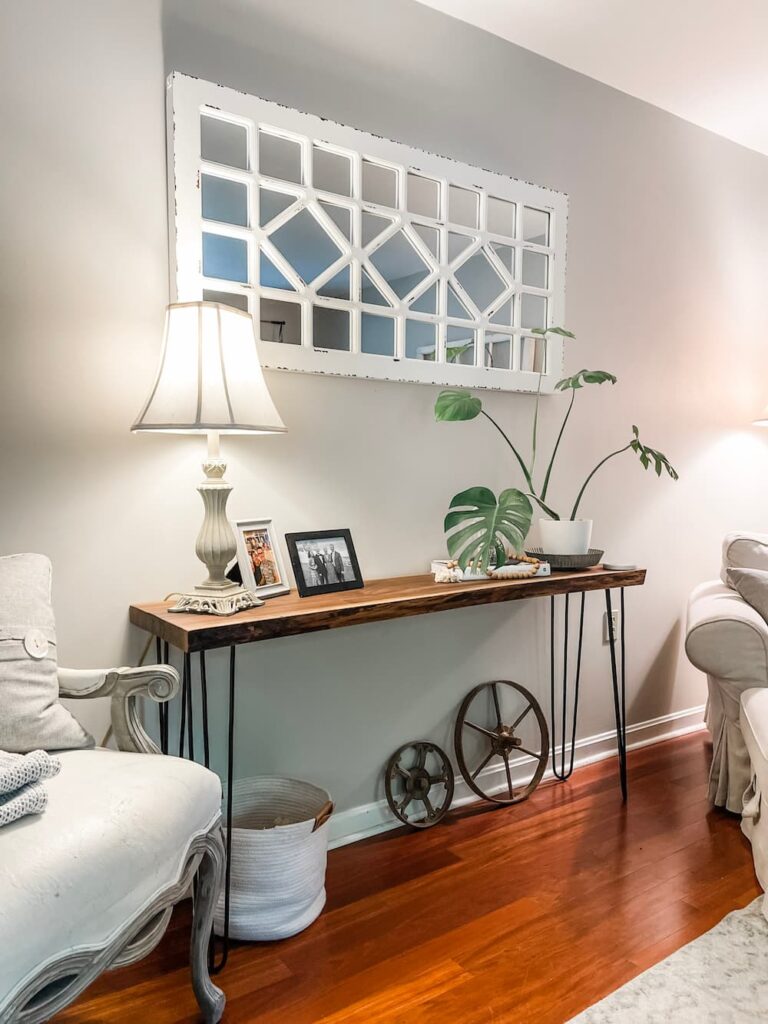
Table of Contents
CAN YOU MAKE YOUR OWN LIVE EDGE TABLES
I would have never thought I could make a live edge table, the kind I see in custom woodworking shops.
I am going to show you that you too can make your own from just one piece of wood.
When I saw the price ranges for these in shops, I knew there had to be a better way.
In stores, a popular choice is black walnut and that is what our trees were.

SUPPLIES NEEDED TO MAKE A TABLE
- Live Edge Wood Slabs
- Palm Sander
- Belt Sander
- Hairpin Legs
- Router
- Sand Paper
- Soft Cloth
- Walrus Oil
MAKING YOUR LIVE EDGE TABLE FROM BLACK WALNUT
There are many wood types that can be used to make live-edge tables. White Oak, Red Oak and Redwood Slabs are just a few of the types of wood.
All of these have unique characteristics that make them beautiful and unique.
Black walnut is a hardwood.
The wood for my table came from a downed tree in our yard. It is black walnut. We hired someone to come take it down.
As the company that cut the tree was gathering the wood to haul off, I asked that they leave a few pieces.
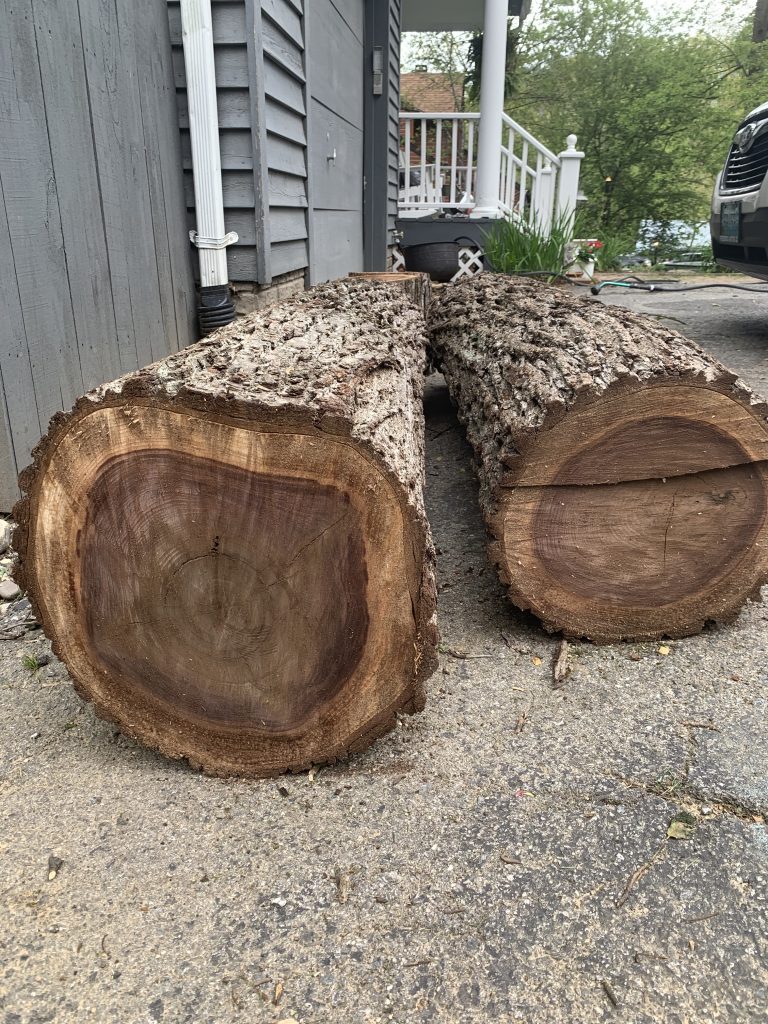
At that time I wasn’t sure what I was going to do with it, but it was beautiful and I didn’t want to waste it.
Surprising to hear that I’m sure.
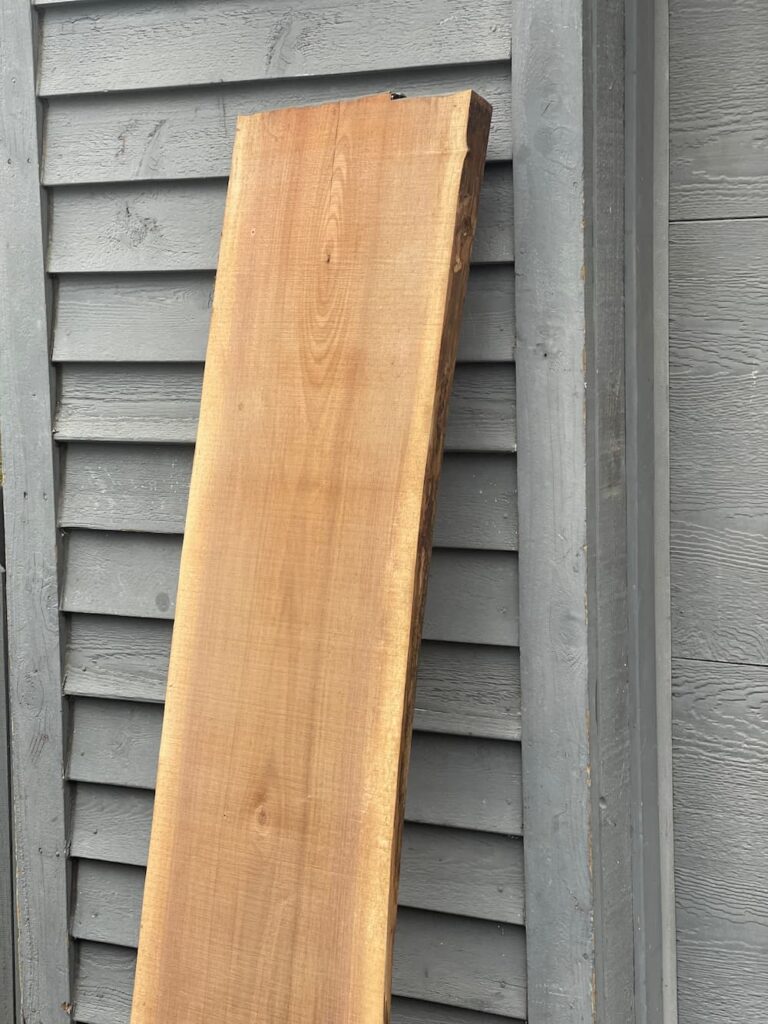
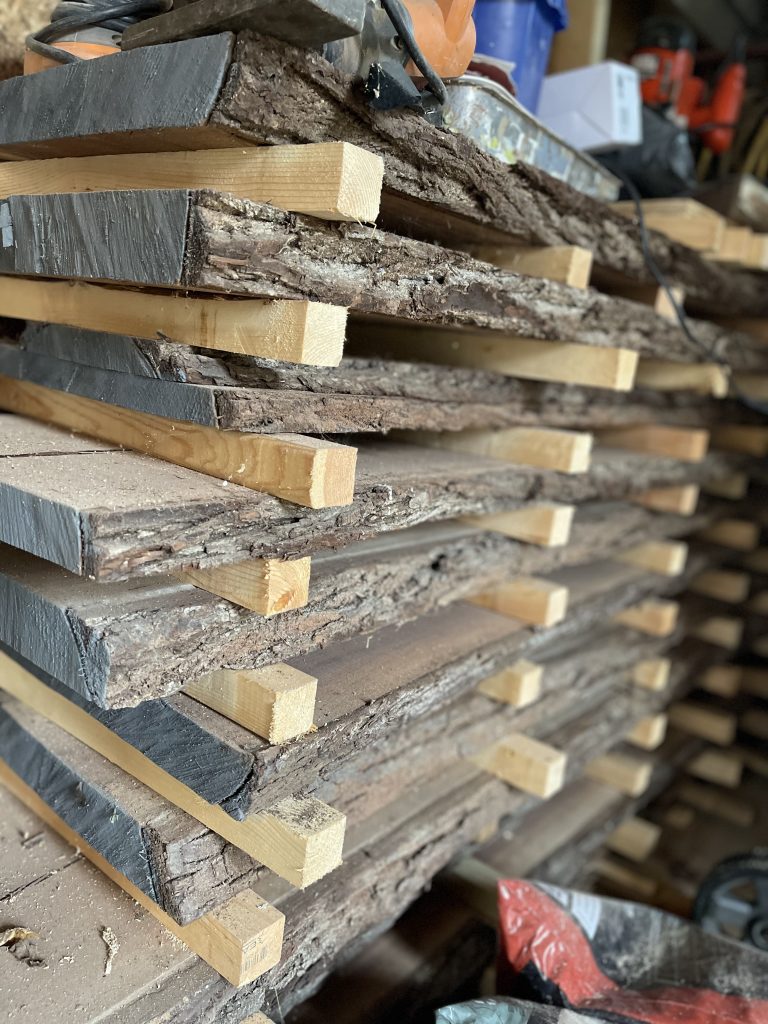
Fast forward a few months and I found someone who would cut the wood into the planks as you see them now. We hauled the wood to his shop and watched him do his magic and came home with 18 live edge slabs.
Next it spent almost 2 years in the shed stacked and separated to dry.
I was worried it was going to be so much hard work, but it wasn’t. I will share with you the easy steps I took to make the sofa table.
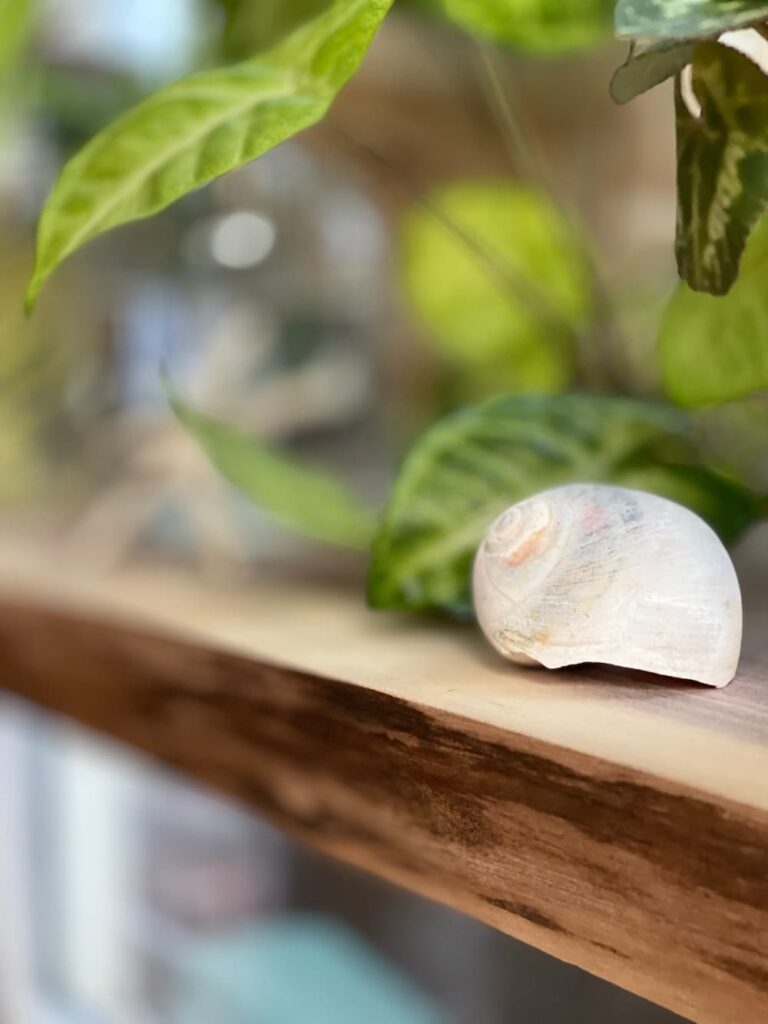
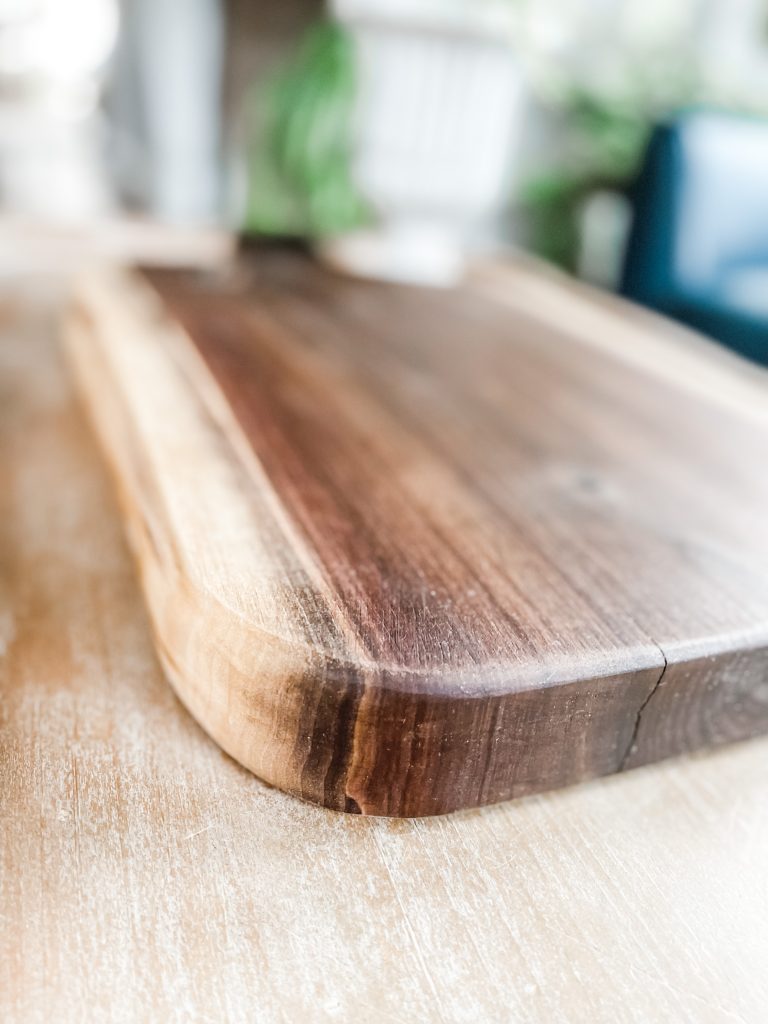
Prior to the table, we made a few cutting/serving boards, but this was the first “table” project.
I am so glad I tackled this project. I have seen slabs in reuse warehouses too, so you don’t have to have your own tree.
STEPS TO MAKE YOUR TABLE
STEP ONE
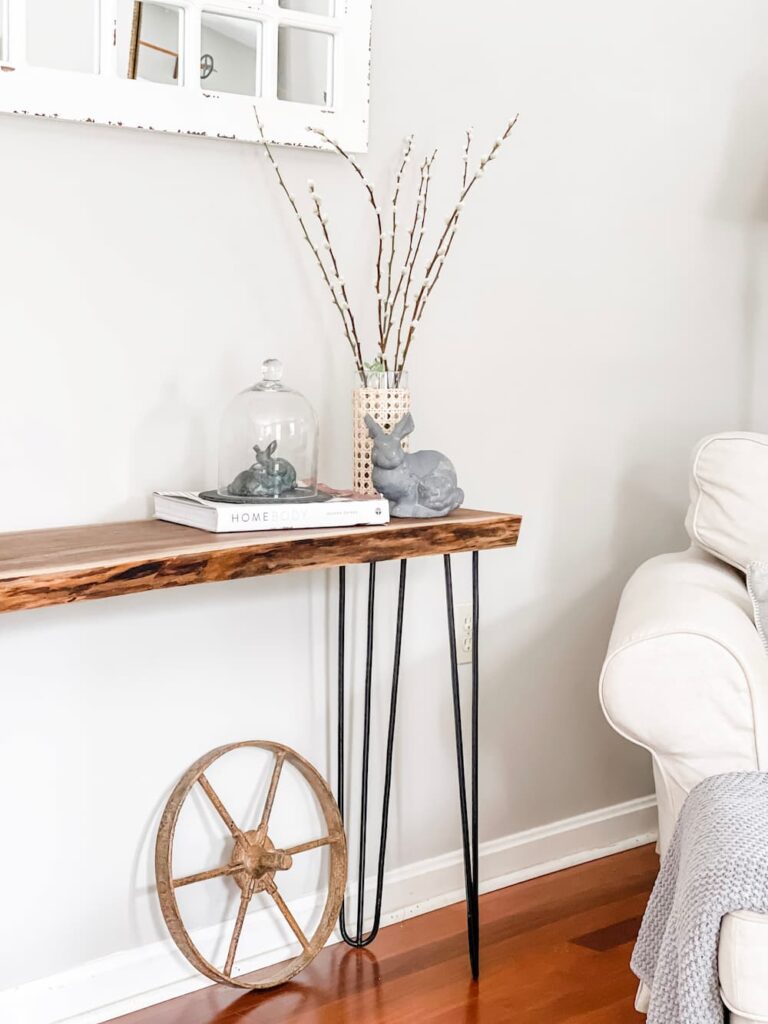
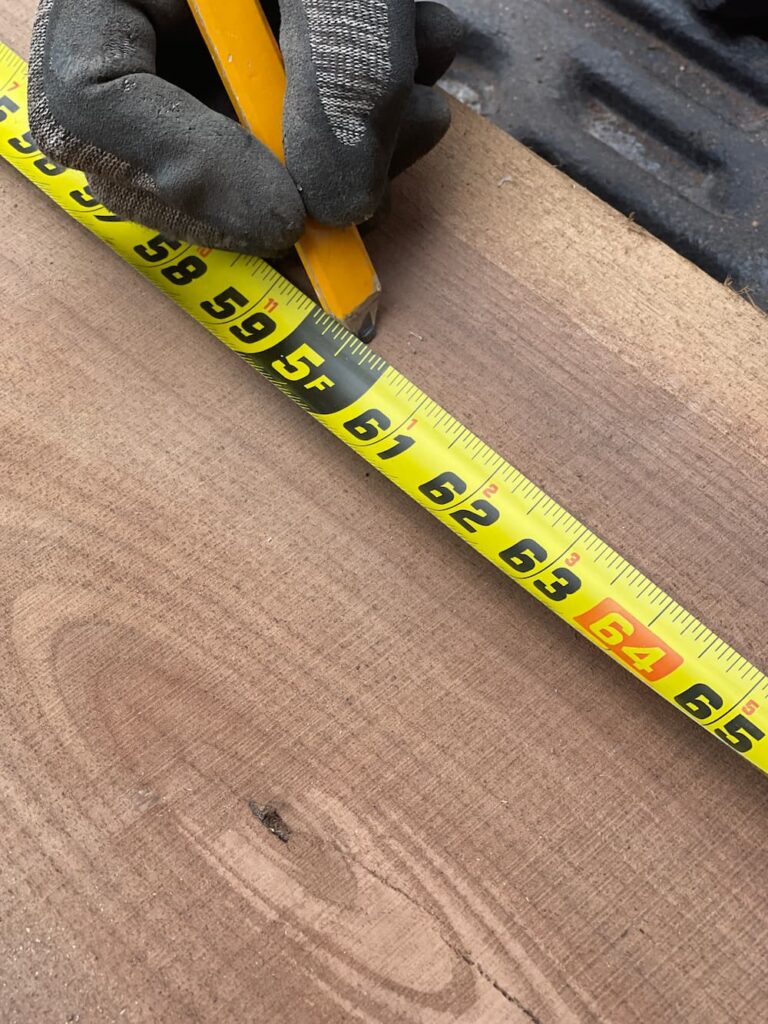
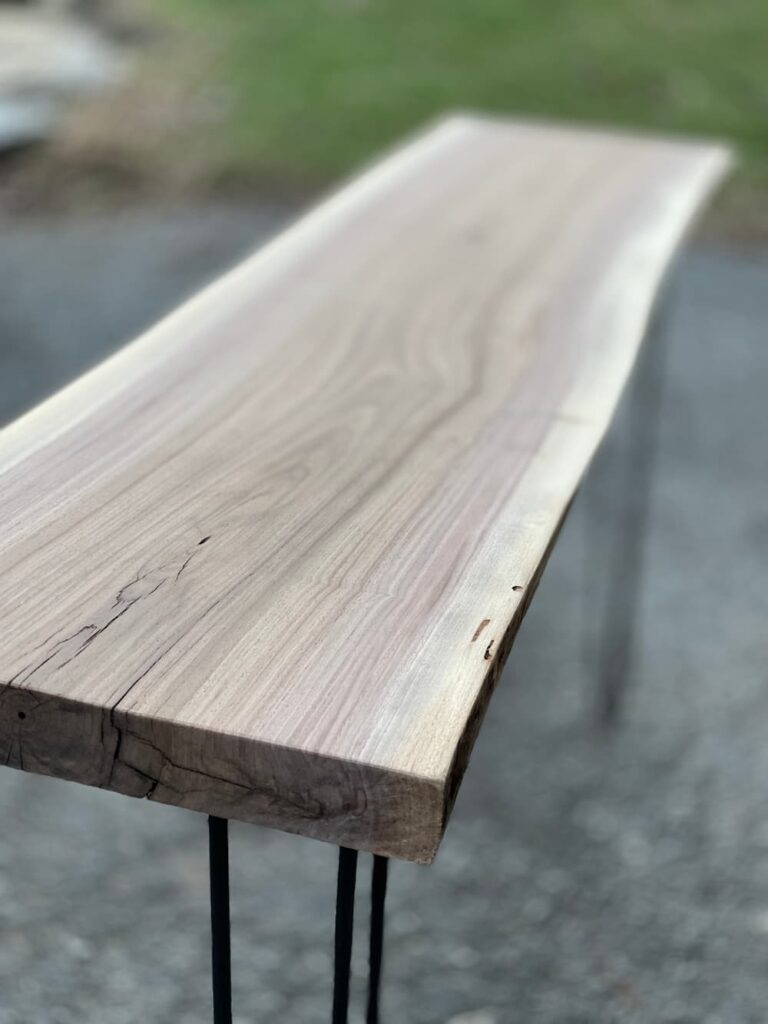
Pick out your wood and trim the ends so you have a straight edge. I cut mine to 5 feet, perfect for behind my sofa.

STEP TWO
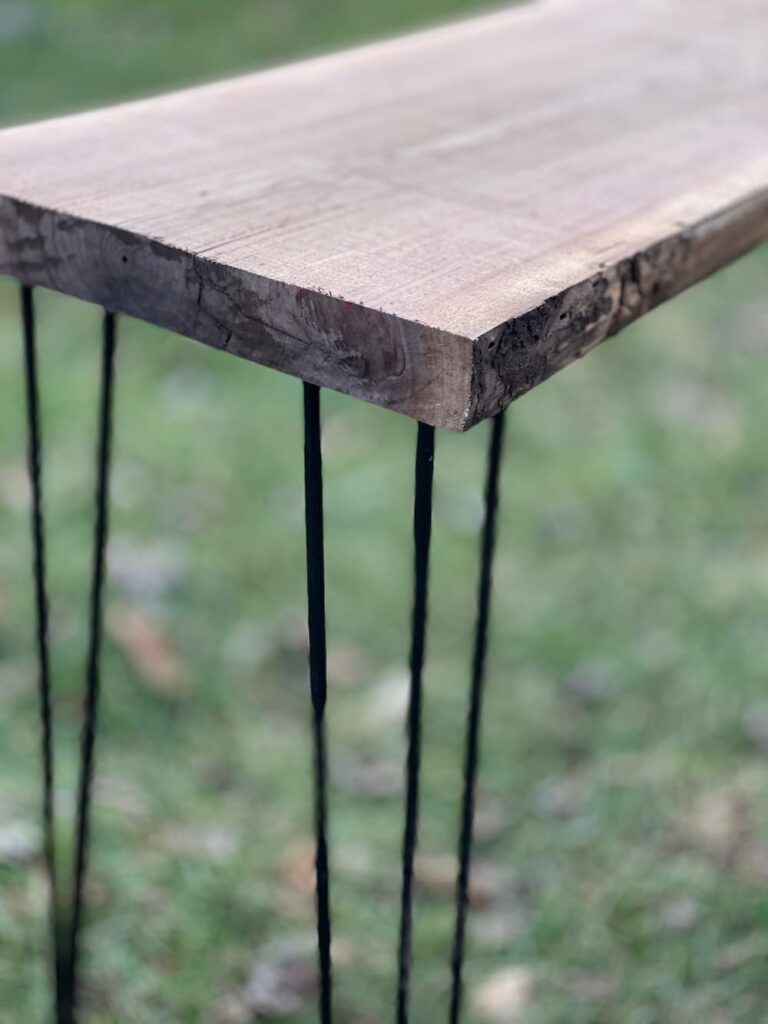
Next you will want to attach your legs.
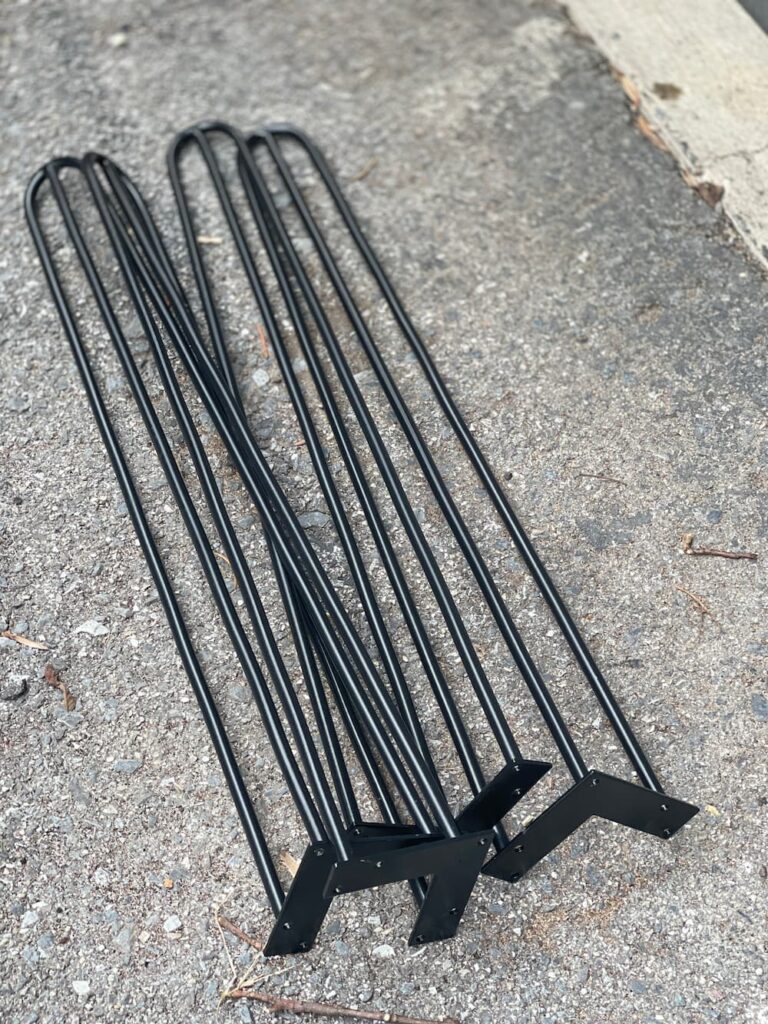
I had ordered 28 inch hairpin legs from Amazon.
I love to mix a rustic and modern look so I chose these hairpin legs for my table.
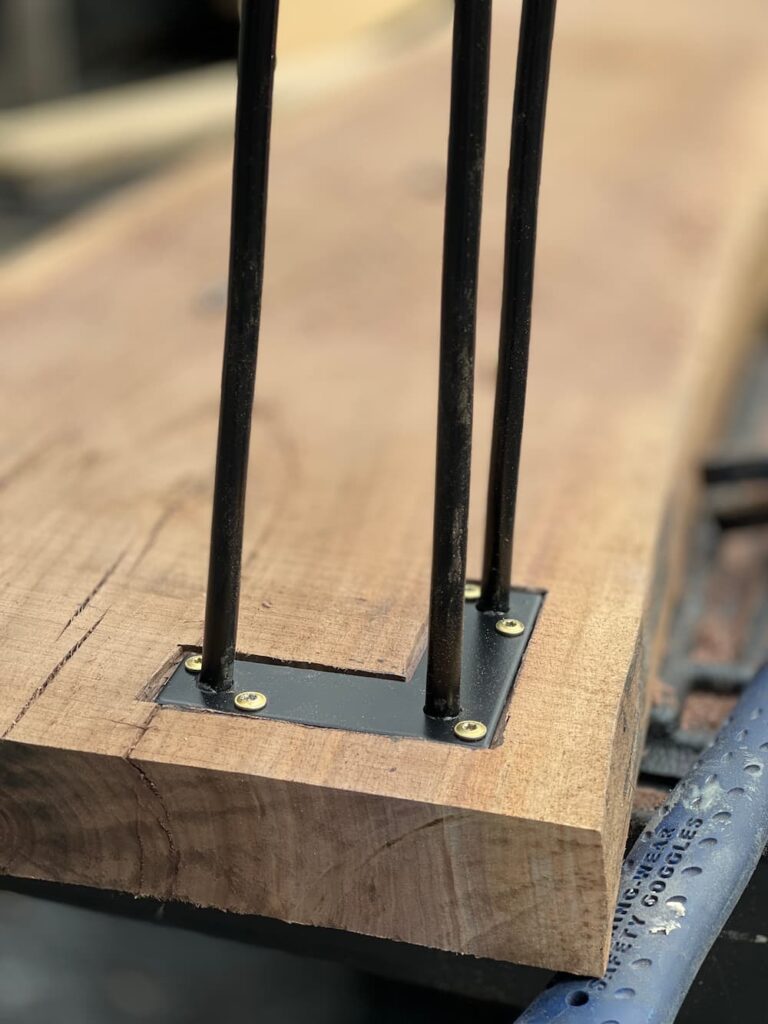
Carmine suggested we inset the legs, so instead of just screwing them into the bottom, we used a router to cut out the shape the top of the leg was flush with the wood.
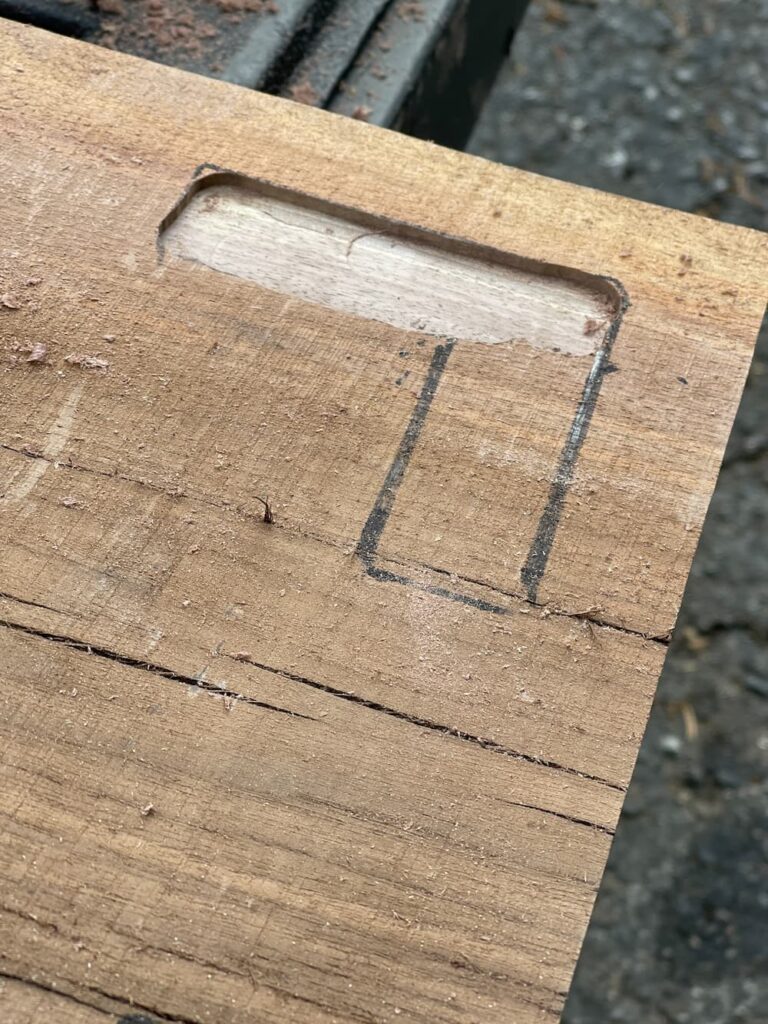
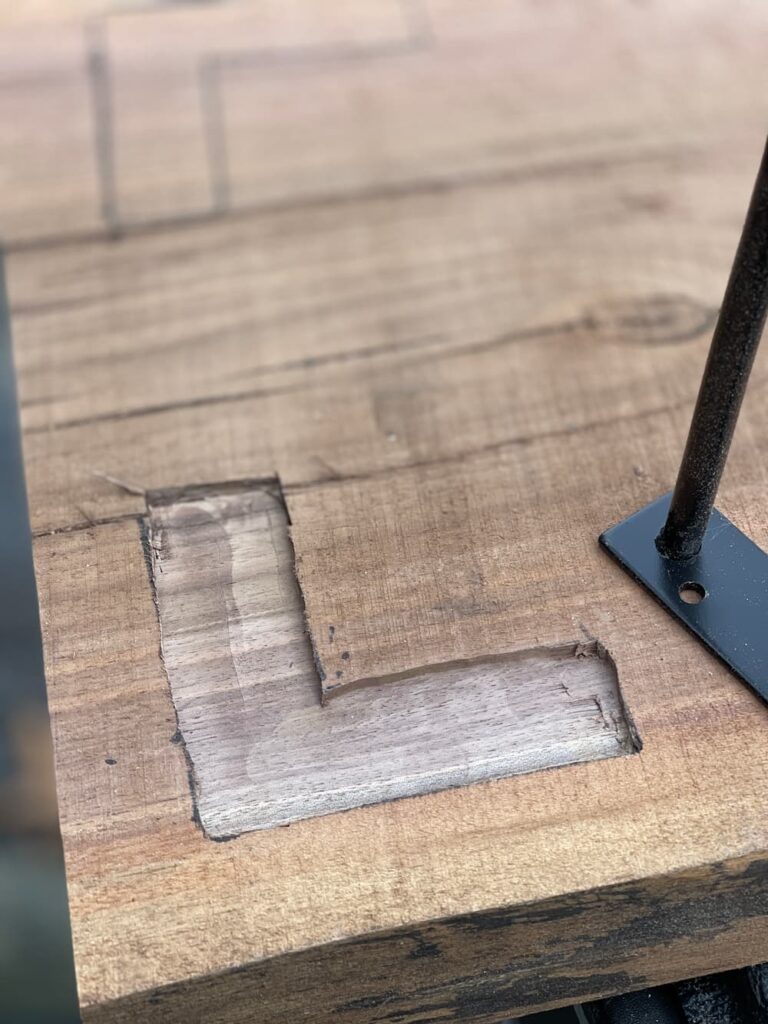
At first I wasn’t really on board with this because I wanted to be done quickly but I have to say that it looks so much better doing it this way.
I hadn’t used a router before but it was truly easy to use. You can see the videos below to see how it went.
STEP THREE
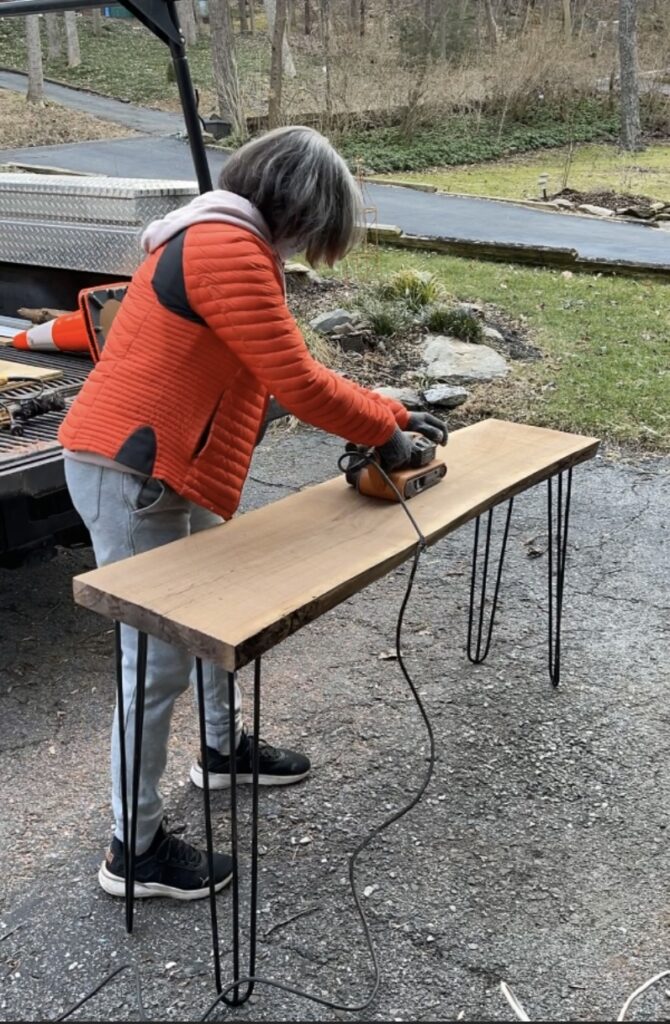
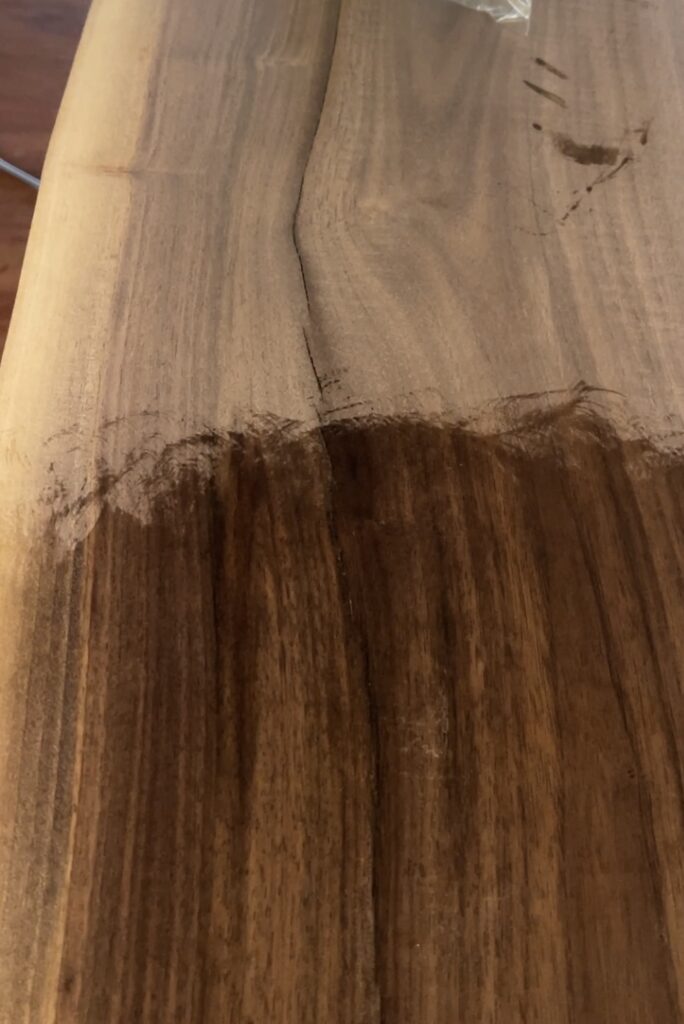
The entire process took about 1 day. I began with an 80 grit sandpaper on my palm sander and and continued sanding until I was ready for 120 grit sandpaper.
After the sanding was complete and it was super smooth, I used a trick I learned when we made the charcuterie boards.
I sprayed it with water which makes the fibers rise up again and then I began sanding again. I repeated this two times.
I continued to sand and then finished with a 200 grit sand paper. Having put the legs on the table first made the table a perfect height to stand and sand.
FINISHING YOUR CONSOLE TABLE
I will share the specific needs of caring for your table. I have used two different types of oils to keep my table looking great and in good shape.
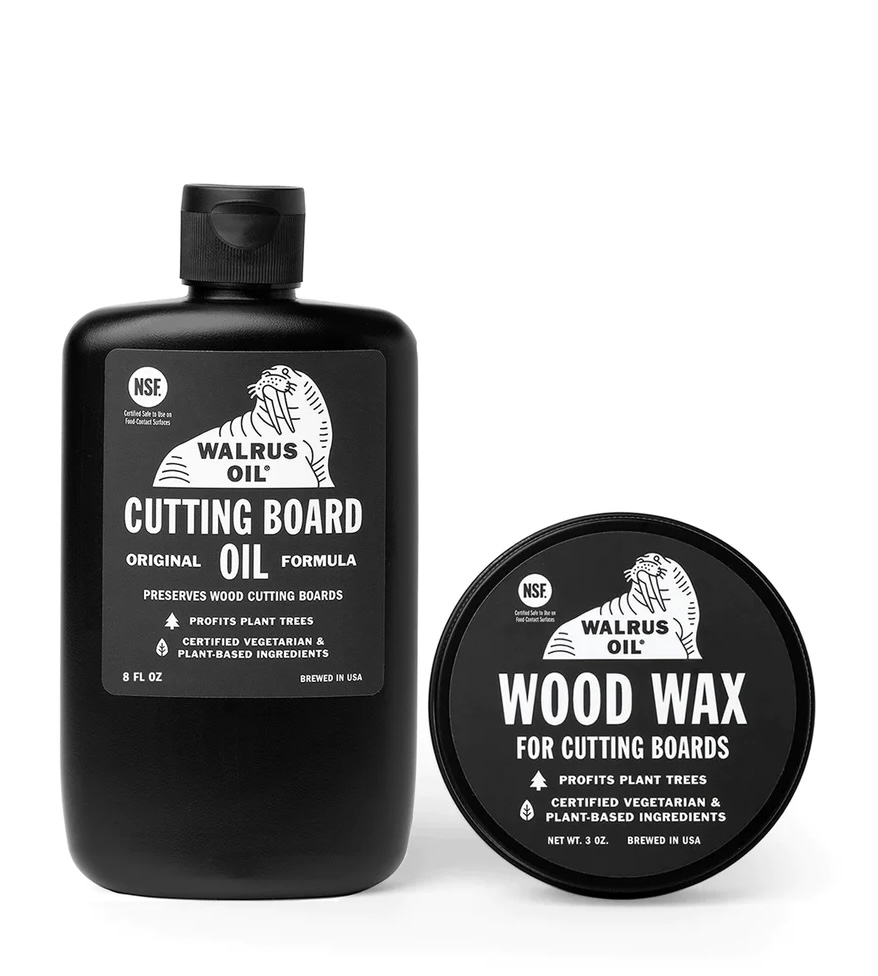
The final step was to condition the wood. I like something called Walrus Oil. I added the Walrus Oil to the table then wiped back the excess.
After it soaked in, I did it again.
I do this every few months just as I do to my charcuterie boards.
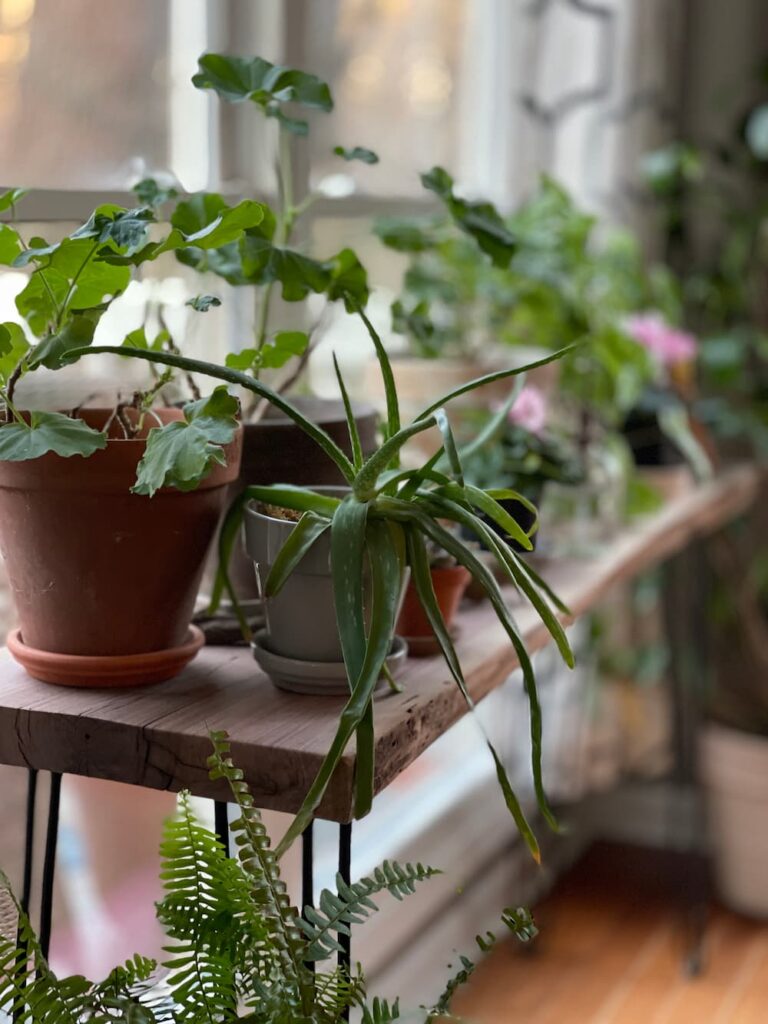
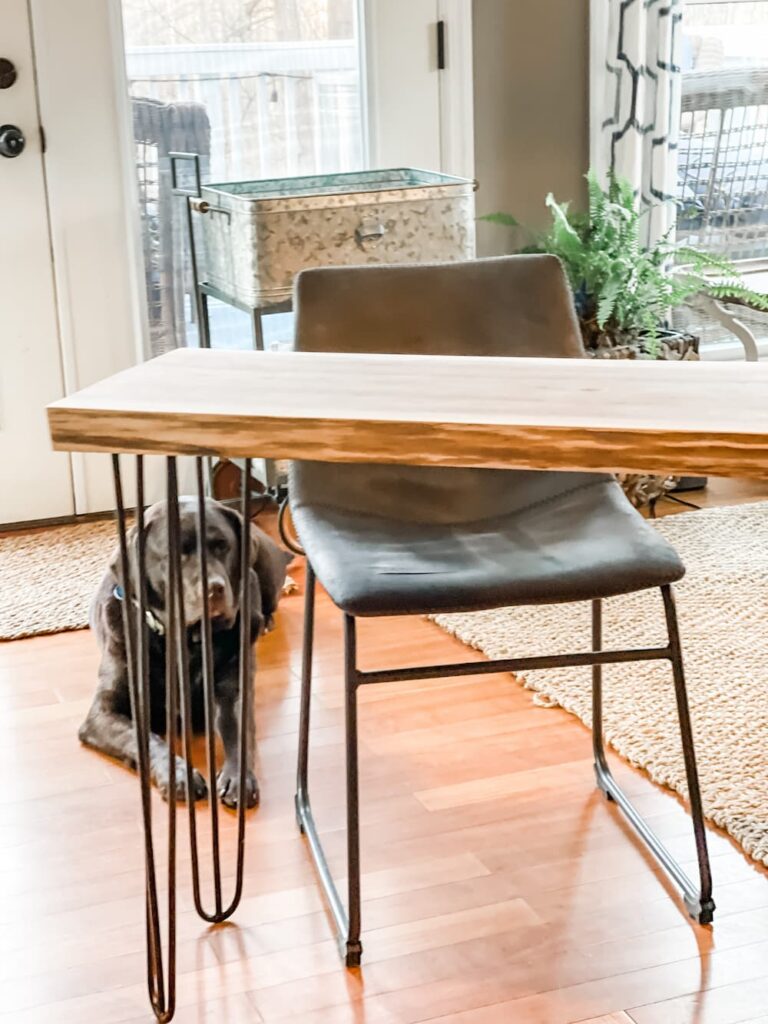
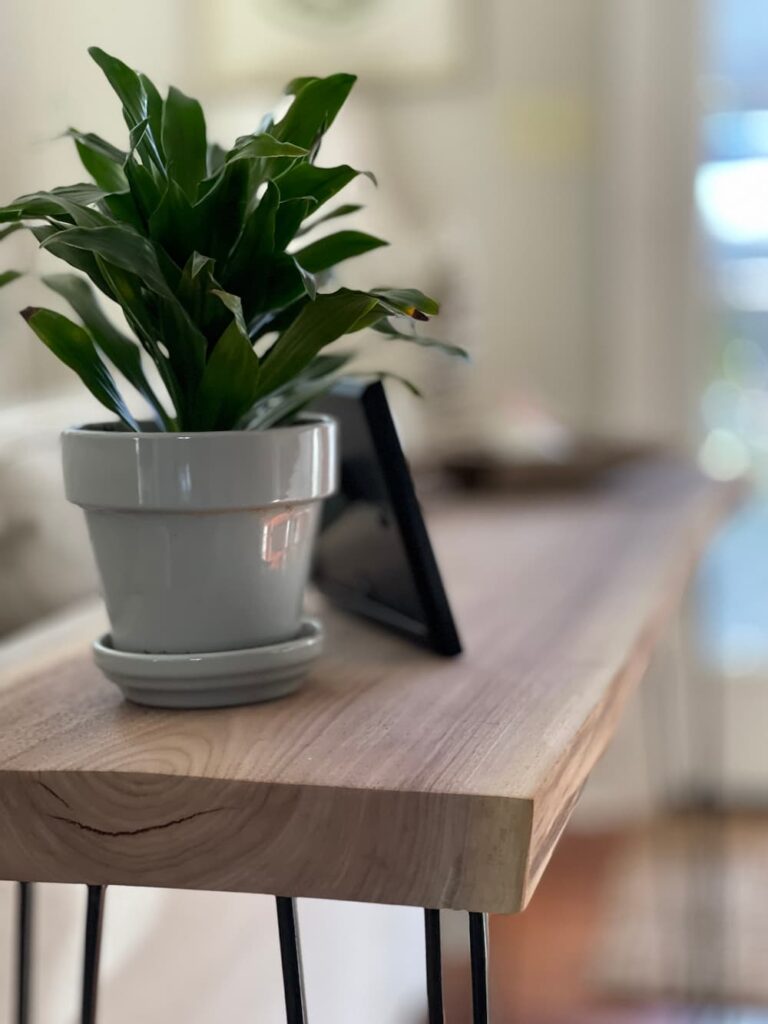
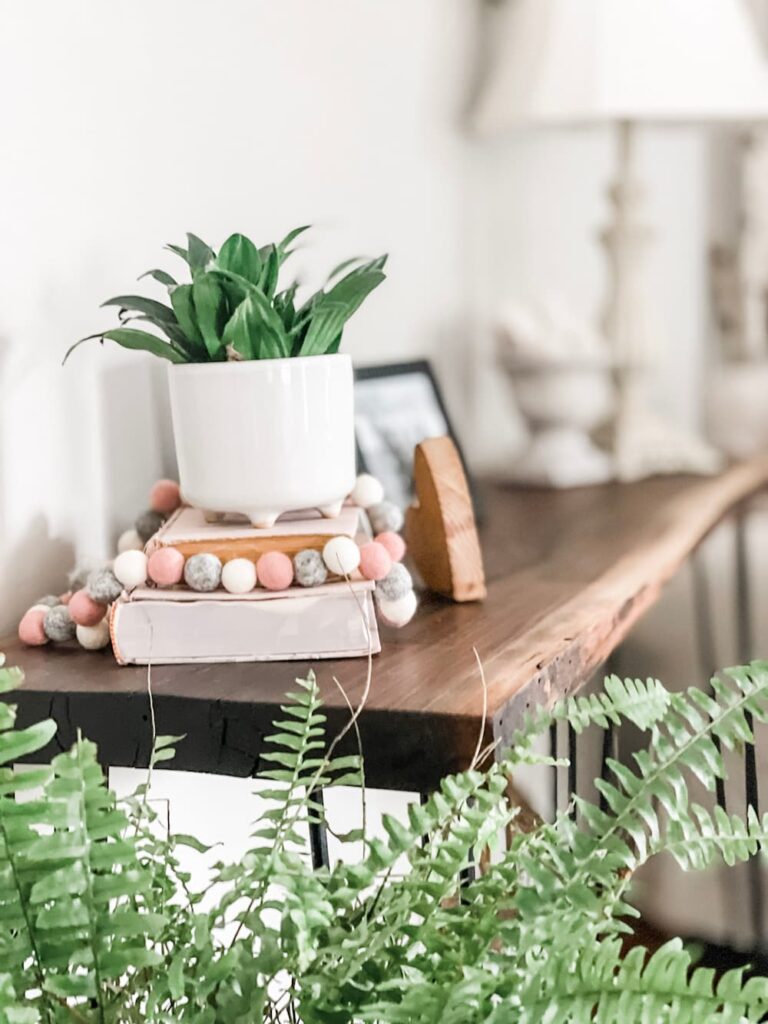
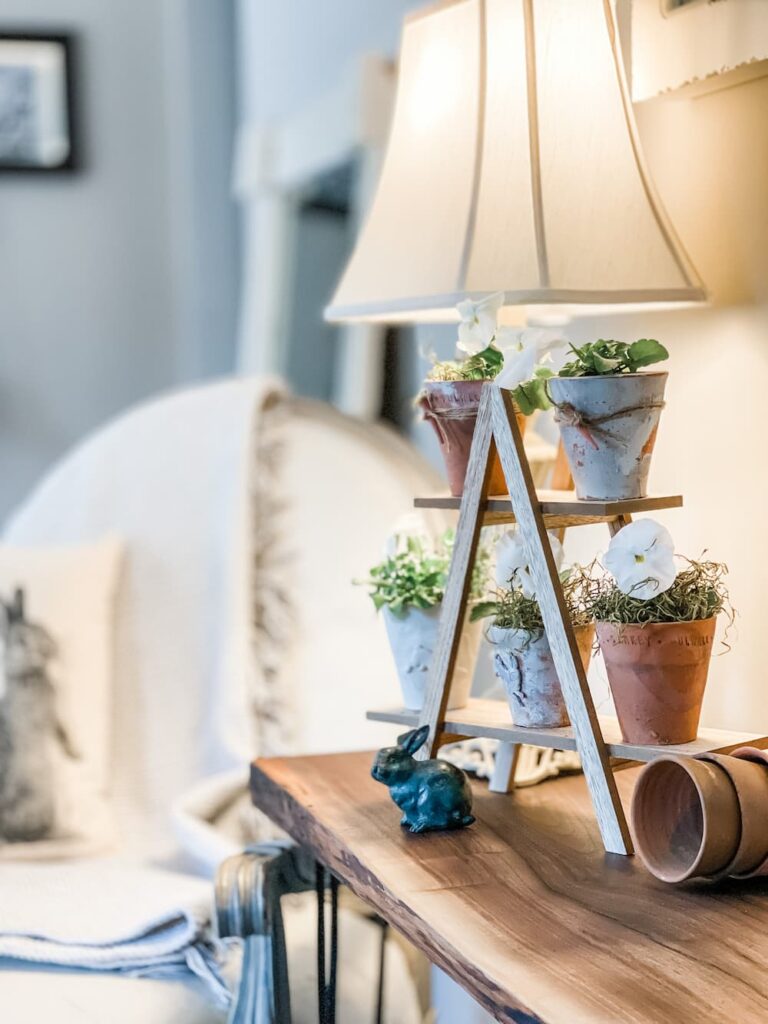
A few more pictures of this very versatile table.
SHOP THIS POST


Thanks so much for stopping by. To see all the details on how we made the charcuterie / serving boards, click here.
Enjoy working with all kinds of wood? You should try these adorable birch wood candle holders, a Terrain dupe.
Stop by the lake to see what’s happening at this week’s LATELY ON THE LAKE.
Until next time,
XO, Regina
That’s got to be very rewarding that your table was made from a tree in your yard. It turned out great! I’m featuring you tonight at the Home Matters Party. Hope to see you drop by to take a look. Thanks for sharing!
This table is gorgeous Regina! I’m sharing this in my weekly round-up this weekend! My readers will love it 🙂
Cindy – You are so sweet! Thanks so much 🙂
This is just stunning. Thank you for sharing with us at Handmade Monday, this will be a feature this coming week 🙂
Julie – Thanks so much!
I’m featuring you when the next To Grandma’s house we go Wednesday link party starts – thanks for sharing with us!
Wow, what patience you have! The end result is absolutely gorgeous. I love that you included the video on using the router to create indentations for the legs. I’m so excited to feature your beautiful table at our Wednesday Home Wednesday party this week! Thank you for sharing with us!
Wow, I had no idea it took that long to dry wood to create this lovely table. I am like you and impatient, but your table looks lovely. I love it when you can reuse items, and trees are a great way to upcycle.
Cara – Ha ha I know. I had to forget about it which was hard to do.
What a stunningly beautiful table. You are so talented! Featuring when my party opens.