Do you have a hard time throwing things away? I do, and today I’m sharing how a table that was in the garage for a (very) long time, upside down with two broken legs, got a new lease on life.
Hi, I’m Regina and I love junk. Yes, I get things back out of the trash (Sorry Carmine), dumpster, and off the side of the road.
It’s ok, I love sharing how to be resourceful and bring new life to trash. Welcome to Saved From Salvage.
I’ve had this end table since 1982, it was manufactured by Habersham, and matched a hutch, secretary and dining table.
I was ready for a change and painted it about 10 years ago.
I painted it off white. It’s been moved around and ended up with a crack that turned into a break.
I didn’t want to get rid of it but I was in no hurry to fix it.
Mostly because I did not need another end table.
Carmine couldn’t understand why I held onto it. I said I might make a sign from the top. Nope, never happened.
Well, last night I finally got it out of the garage and brought it back to life.
Here’s how.
Table of Contents
REPAIRING THE LEGS
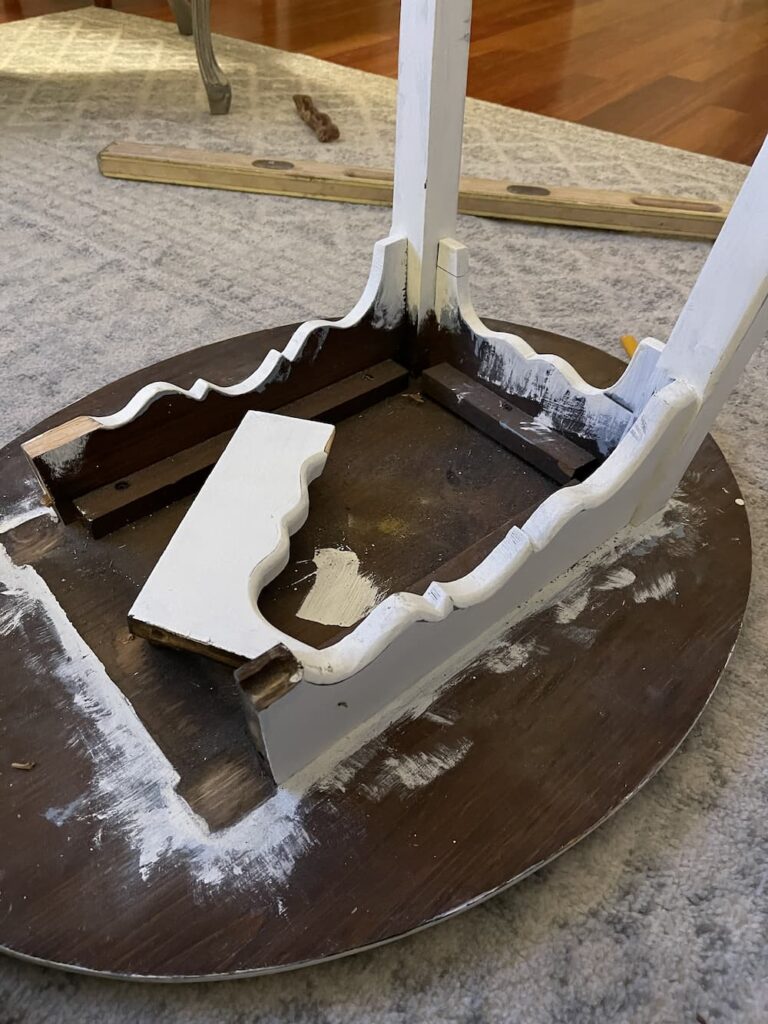
To repair the legs, it needed to be glued with Liquid Nails and added a few brad nails to sure it up.
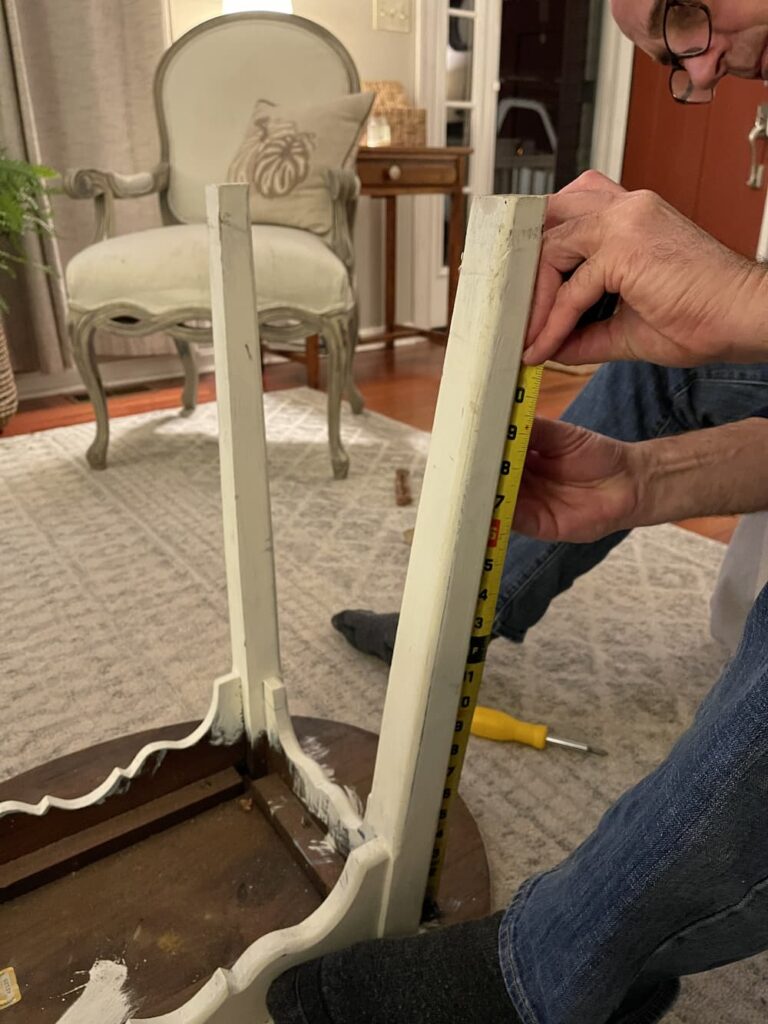
CUTTING IT DOWN TO SIZE
I measured some other coffee tables I had and decided 19 inches was the height I wanted the table.
So Carmine measured and we cut the legs.
Later that night I found the ends of the legs in the trash and took them back out.
SANDING AND SANDING
I sanded it with a palm sander until all of the paint came off of the top.
I sanded down through the stain to the natural wood.
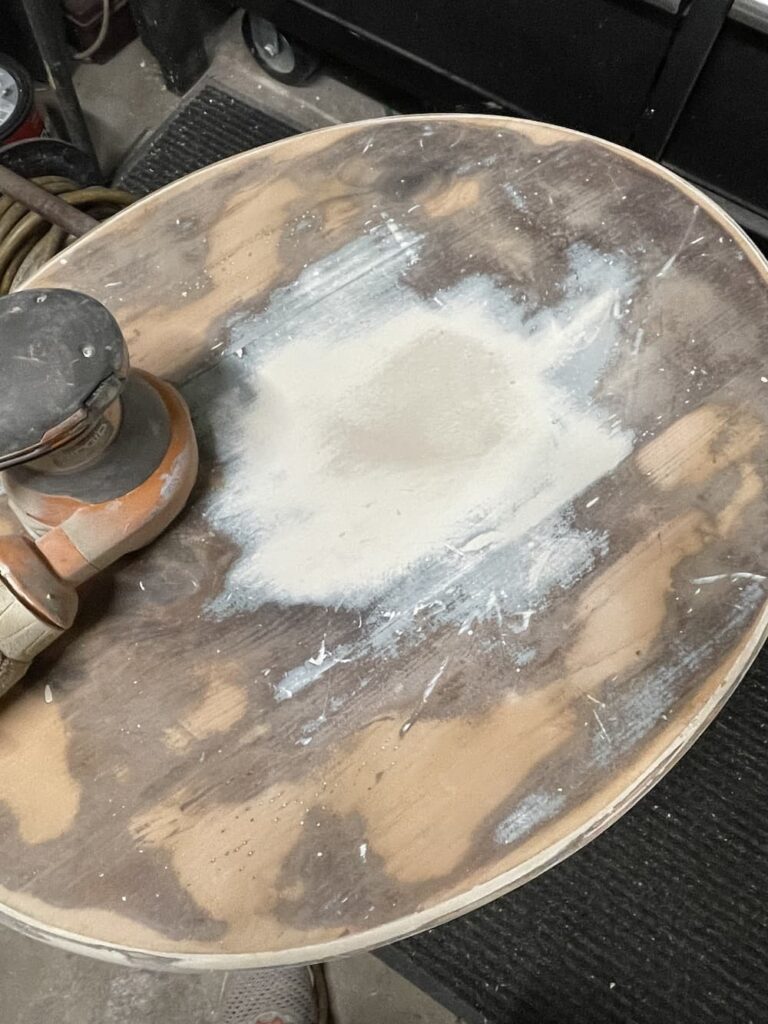
It had been distressed but I sanded most of the knicks and dents out of it.
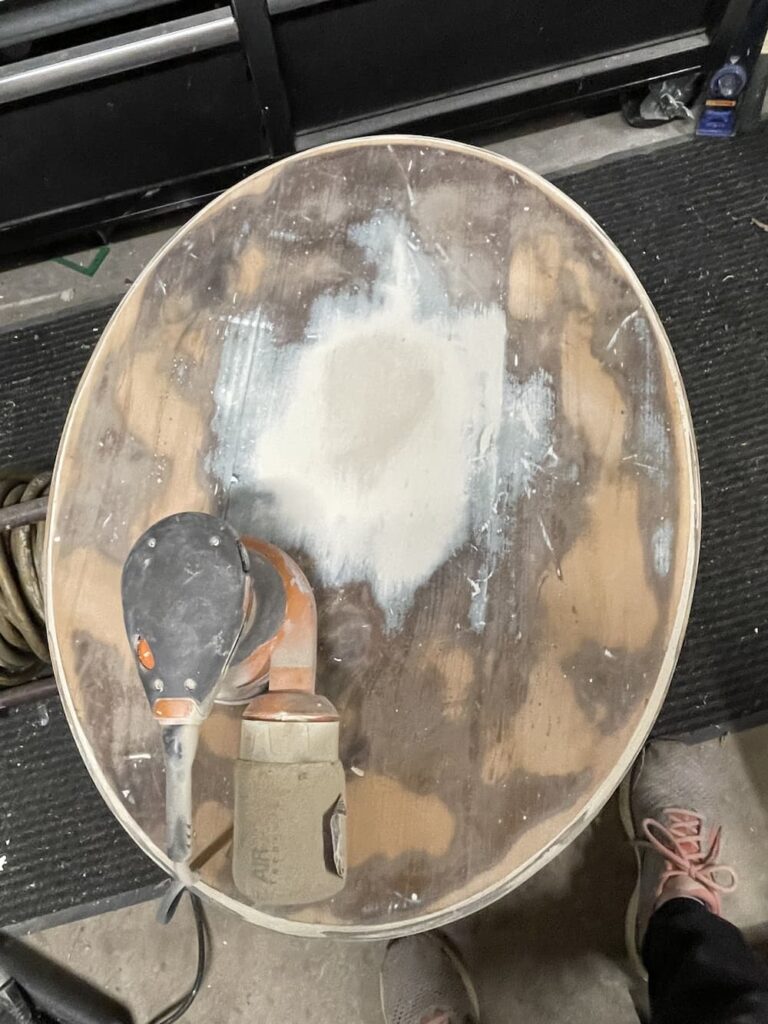
I sanded the legs next and the base. This only took about 15 minutes.
STAINING THE TOP
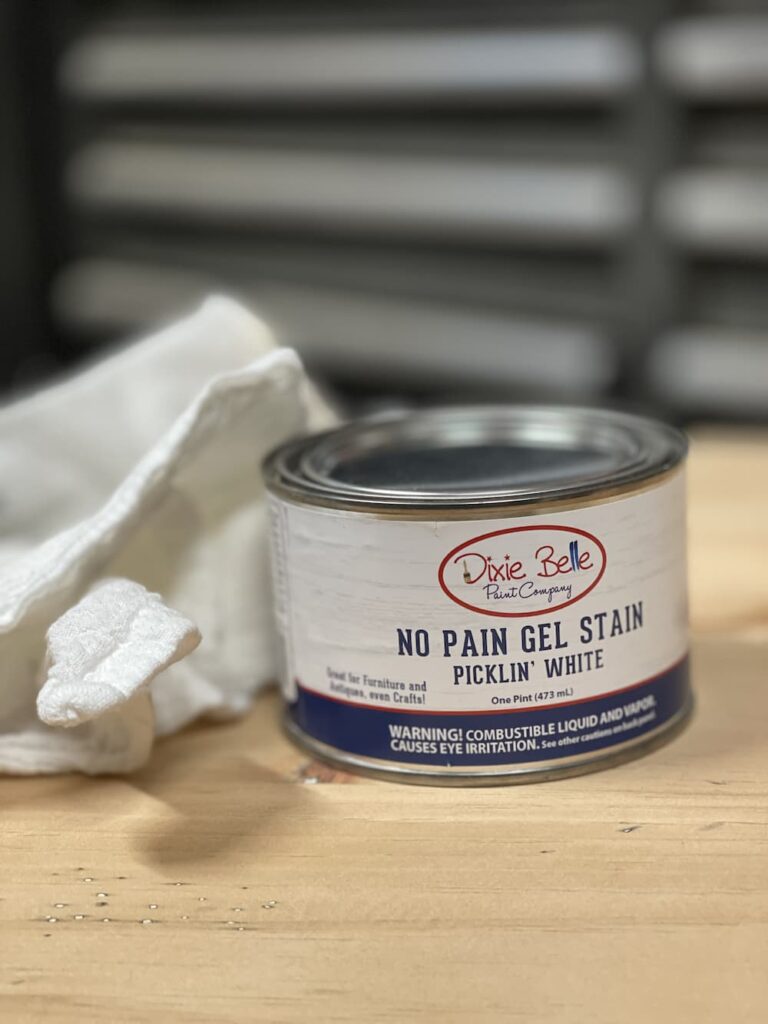
I decided to use a new product that I’ve been waiting to try.
It’s the NO PAIN GEL STAIN from Dixie Belle Paint in white.
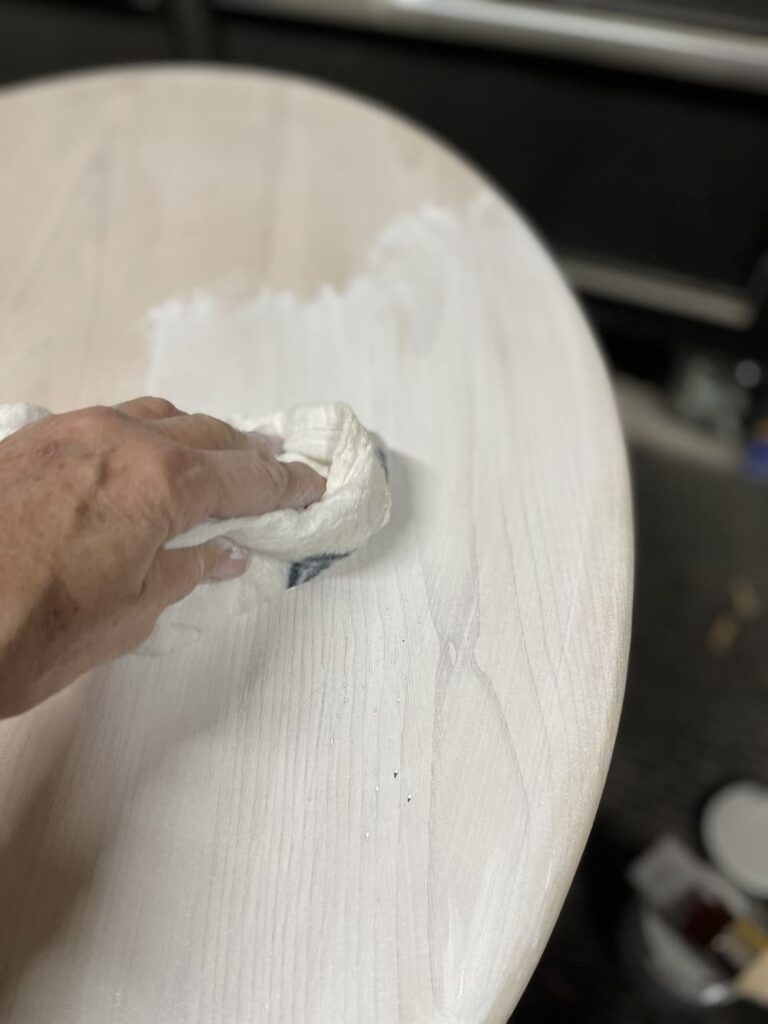
Using a damp rag, I made sure to wipe off all of the dust from sanding.
Next I used a clean cloth and added one coat of stain.
Such a clean and fresh look!
I added one additional layer of stain after it dried and was excited with the outcome.
The stain didn’t have a strong odor, was not runny and so very easy to apply.
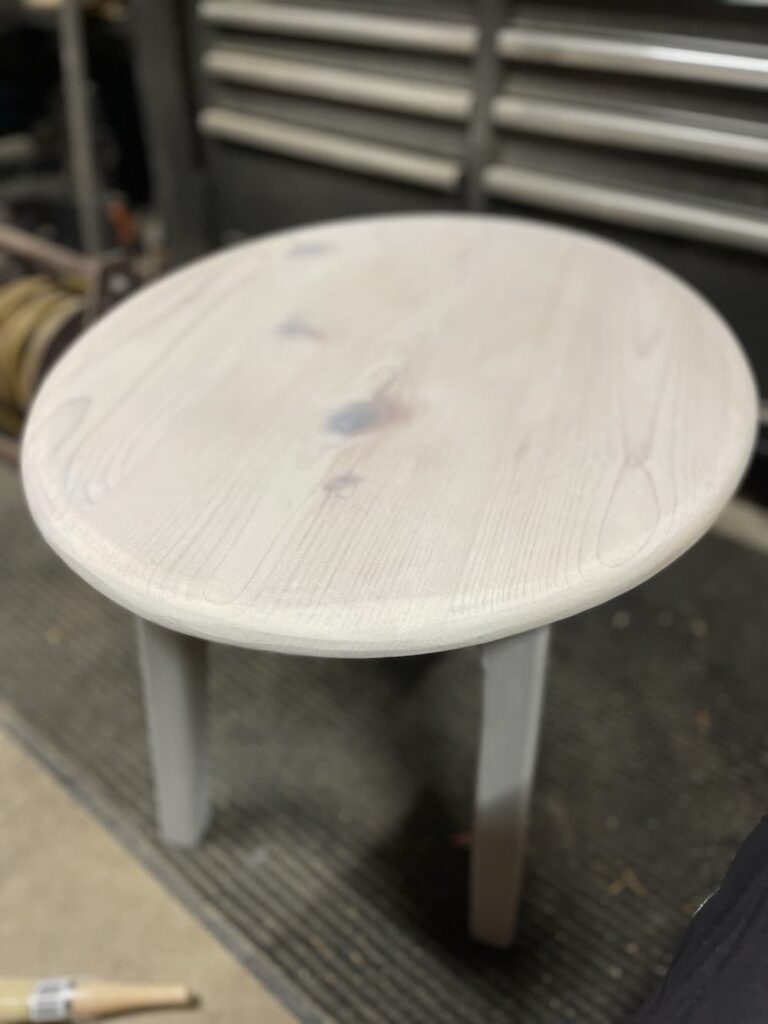
PAINTING THE BASE
I decided to paint the base a neutral color and chose Dixie Belle’s Baja Gray Silk Mineral Paint.
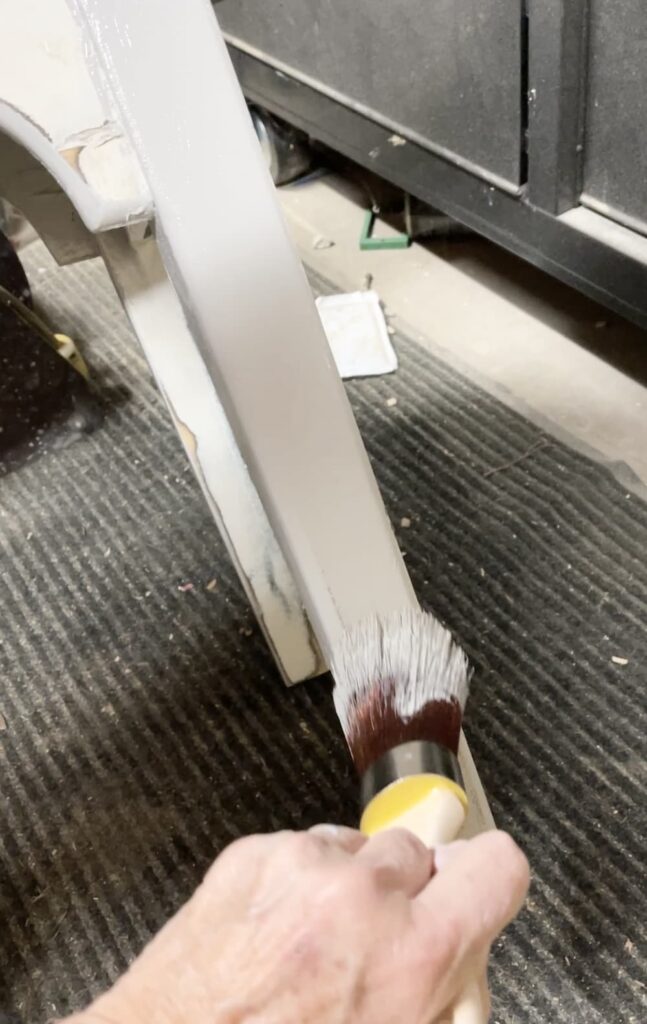
Just two coats and it was done. It’s a light pretty shade.

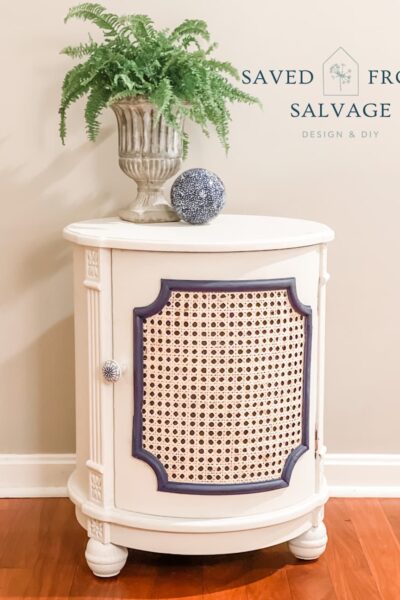
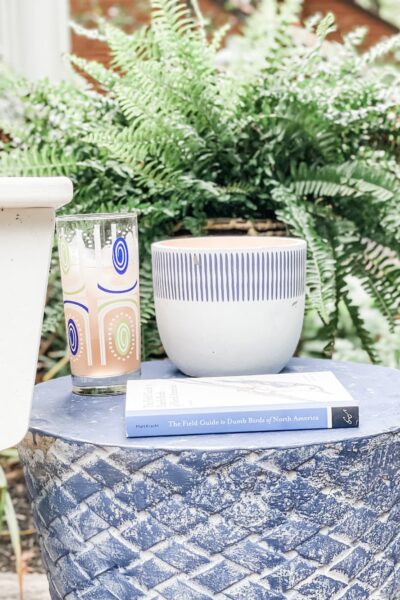
STAGING
This is the spot where I have my “coffee talk” with Dempsey every morning. I like to put my legs up and this is perfect.
How pretty is that top? The space where it is being used is small and there is a loveseat so I needed something that didn’t take up too much space.

The dogs prefer no table there so they have more room to play chase but I like to have a spot to decorate and lay a book or magazine I’m reading.
How easy and fun was that? Seriously it took me one evening. I don’t know why I left it in the garage for so long. Oh well.
To see my another fun flip, click here.
No time for flips? Maybe you are too busy wrapping gifts? I’ve got some really creative ideas for you to try, just click here.
Thanks so much for coming by and reading my blog. Please consider subscribing to get updates in your inbox.
XO, Regina
I am an amazon affiliate and receive a small commission from purchases through these links. This is at no additional cost to you. Thanks for supporting my small business.
You’re lucky you were able to hold onto that table for so long! My husband would have found some way to get rid of it if it were mine! It looks gorgeous now though, and well worth keeping!
I know right? I kept making up stuff I was going to do with it!
Well done Regina!!! This turned out so beautifully! So glad you got it out of the garage and brought it back to life!
Thanks so much Crystal!
Good thing you kept it! It looks great in that color
Thanks Kate! A throwback from 1982 🙂
Beautiful! I love it.
Thanks Friend