Are you ready to add spring decor to your door? This easy and adorable spring grapevine wreath will elevate your entrance. The good news? It doesn’t take much to make it. Come see how I did it.

Hi, I’m Regina and this is Saved From Salvage. I’m so glad you are here.
I love sharing DIYS, furniture flips and all sorts of home and garden decor, mixed in with some tablescapes and event planning ideas.
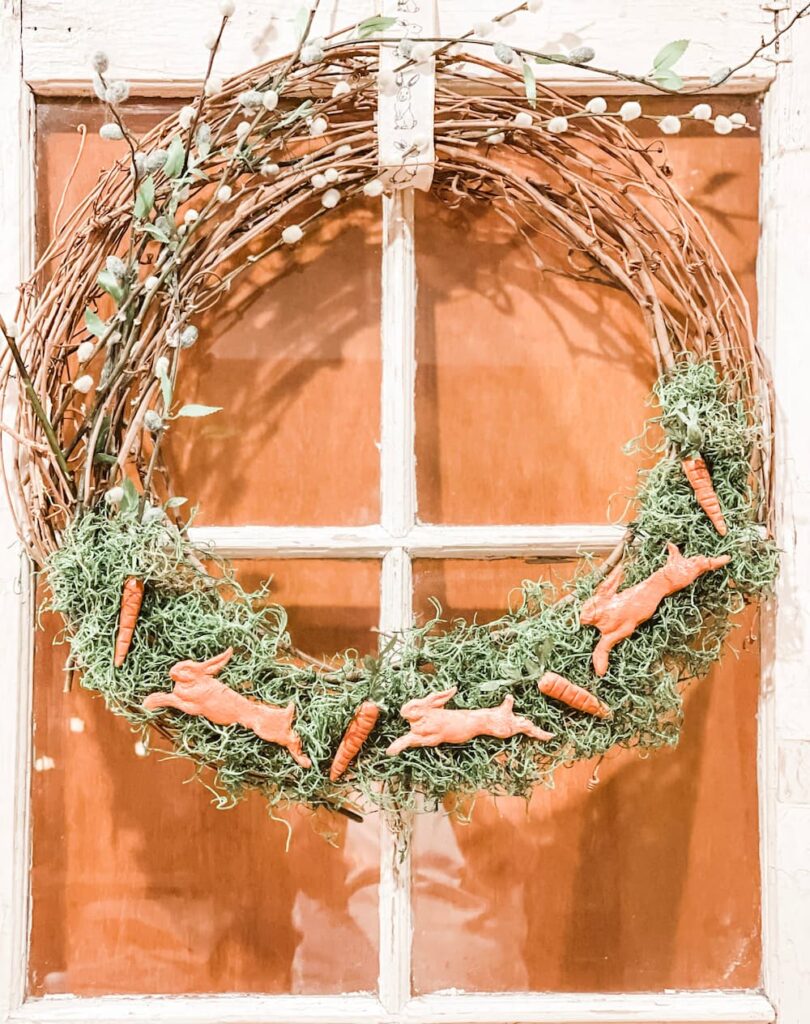
Table of Contents
SPRING GRAPEVINE WREATH SUPPLIES
For this wreath I used things that I had on hand. I am always re-using wreaths and wreath forms from year to year. This was no different.
- GRAPEVINE WREATH
- AIR DRY CLAY
- SILICON BUNNY MOLD
- MOSS
- GLUE GUN
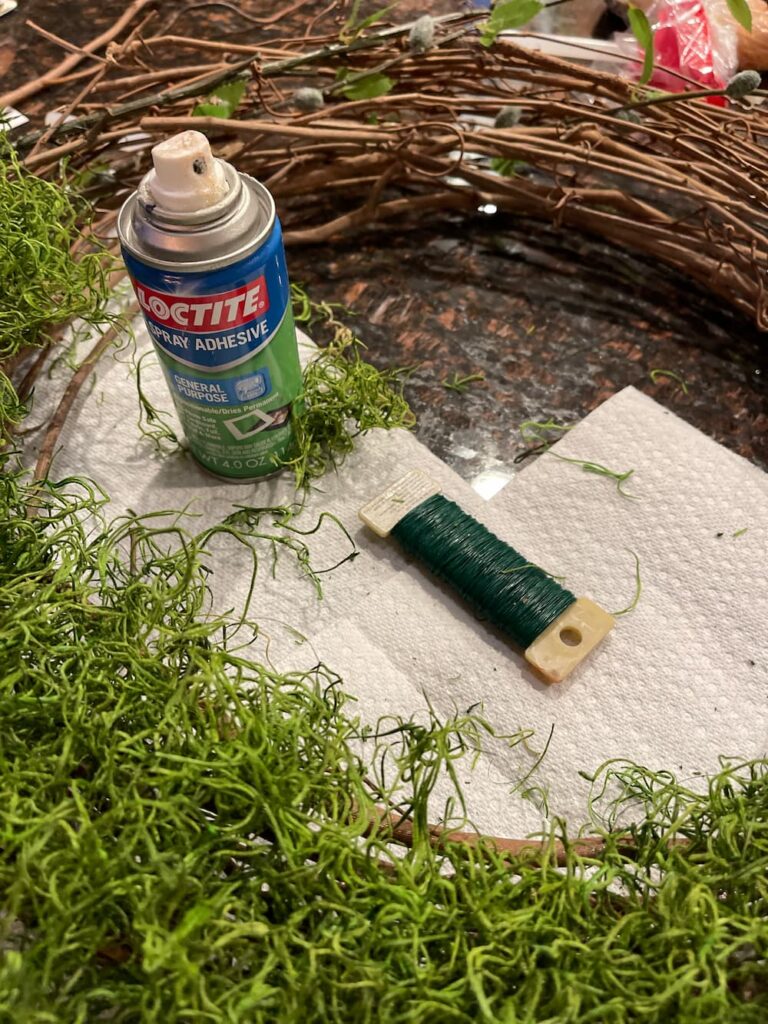
- SPRAY ADHESIVE
- RIBBON
- WIRE
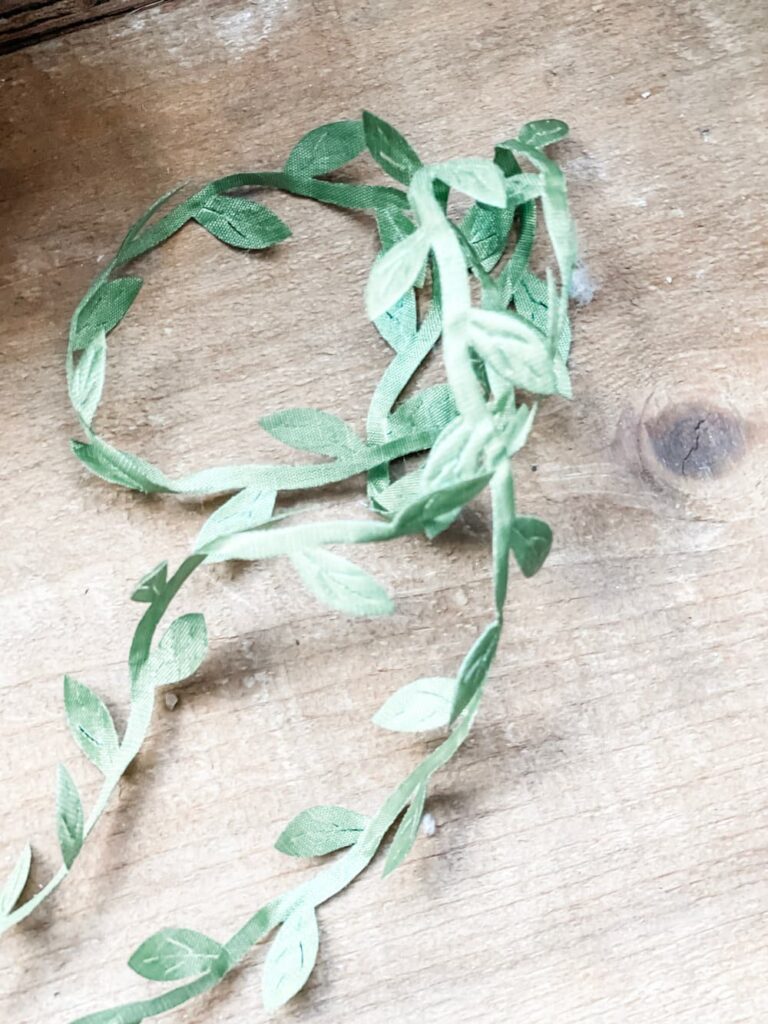
- LEAF RIBBON / GARLAND
- PUSSY WILLOW BRANCHES
- OPTIONAL (FAUX FLOWERS – EASTER EGGS)
MAKING YOUR SPRING WREATH
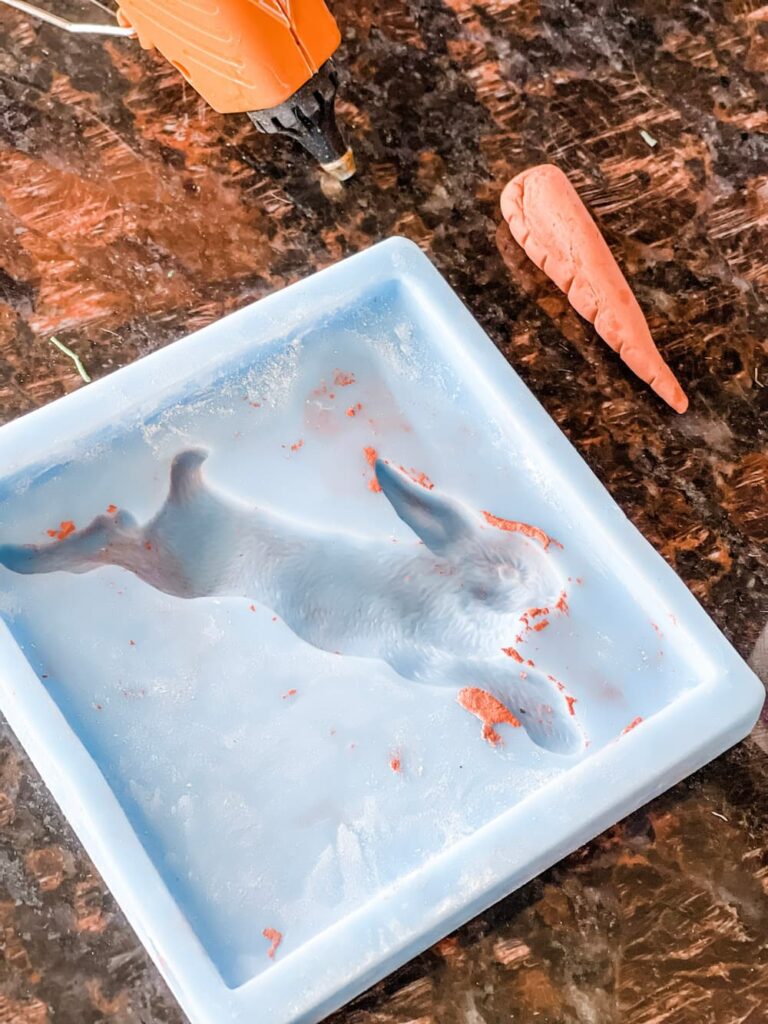
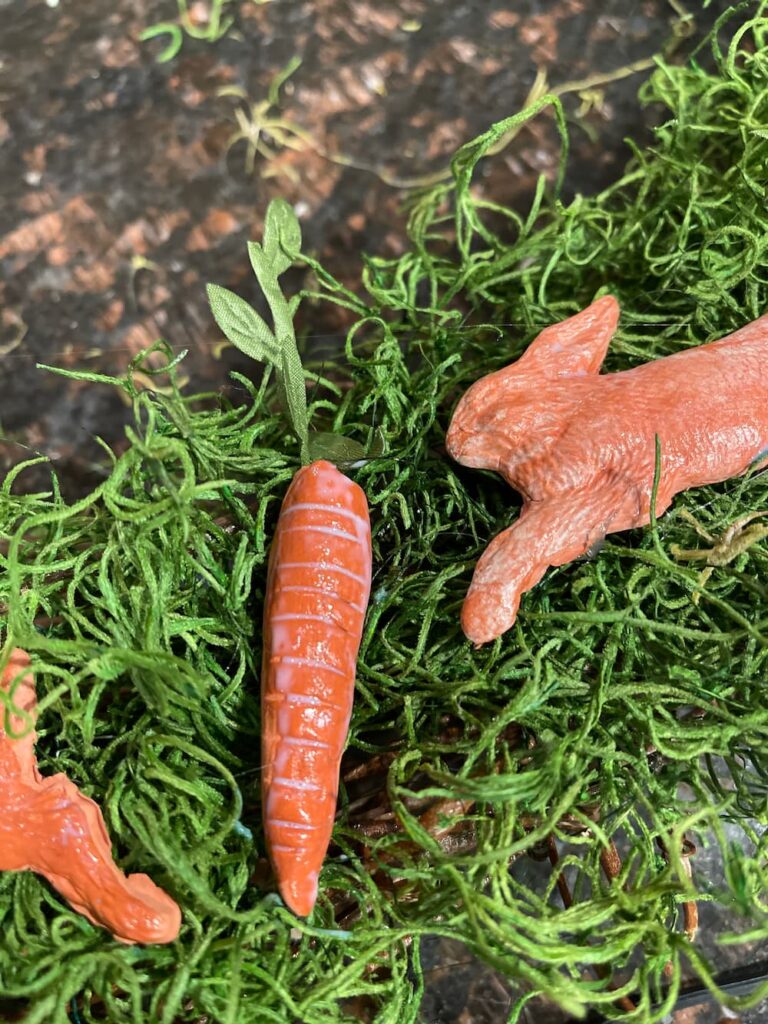
To begin, I created these little bunnies in a silicon mold I found on Etsy. I used the terracotta DAS air dry clay for a different look than my normal white clay.
Next I created carrots by rolling clay, tapering it and then adding some lines across it with a knife. You can let your clay dry overnight or put it in the oven for 45 minutes at 200 degrees.
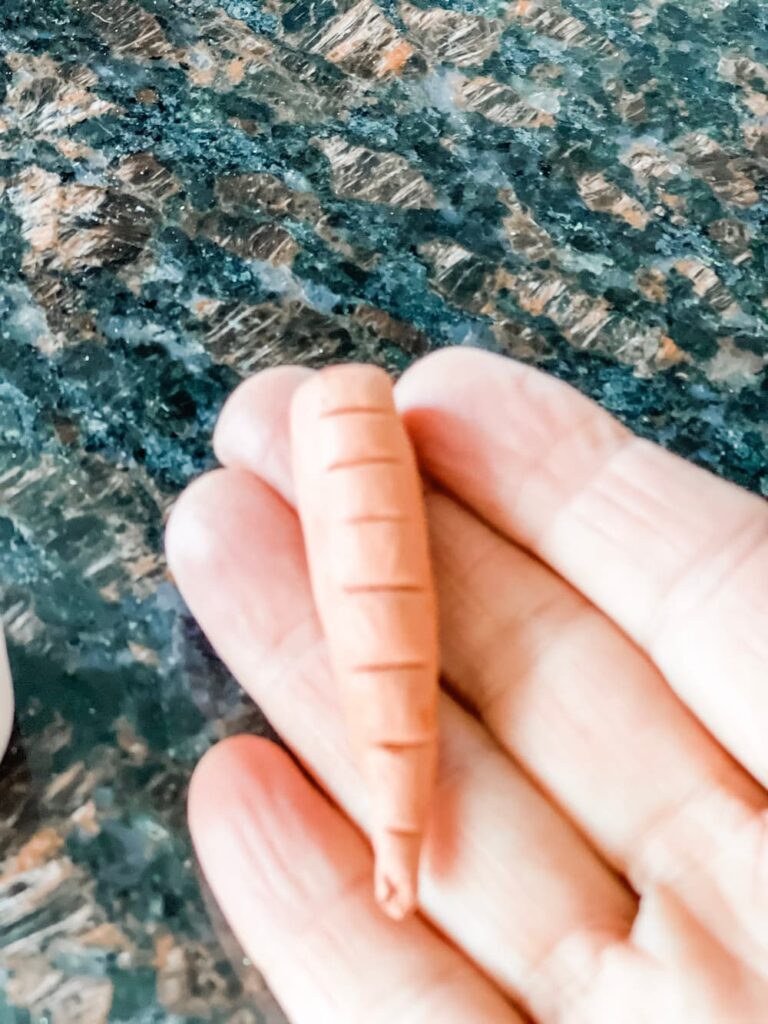
This is not mentioned on the package so you may want to wait the 24 hours, I am just impatient and it’s worked for me.
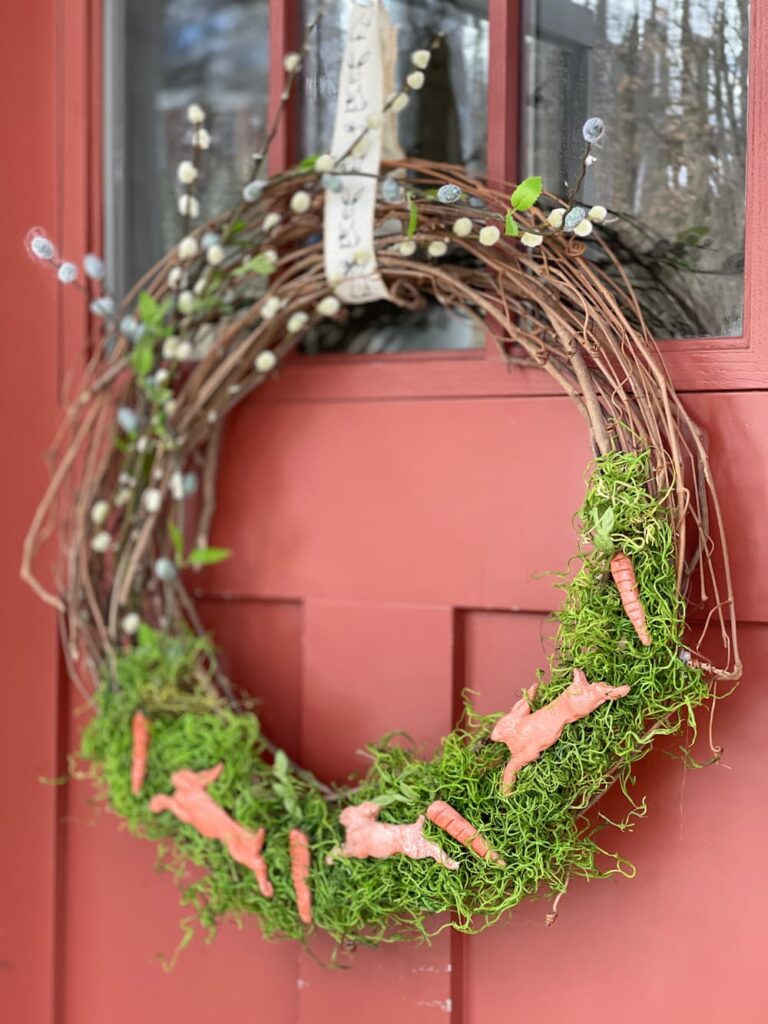
I laid out my moss along the bottom of the wreath to see how it looked. Then I laid out the pussy willow branches (faux and real) on the wreath.
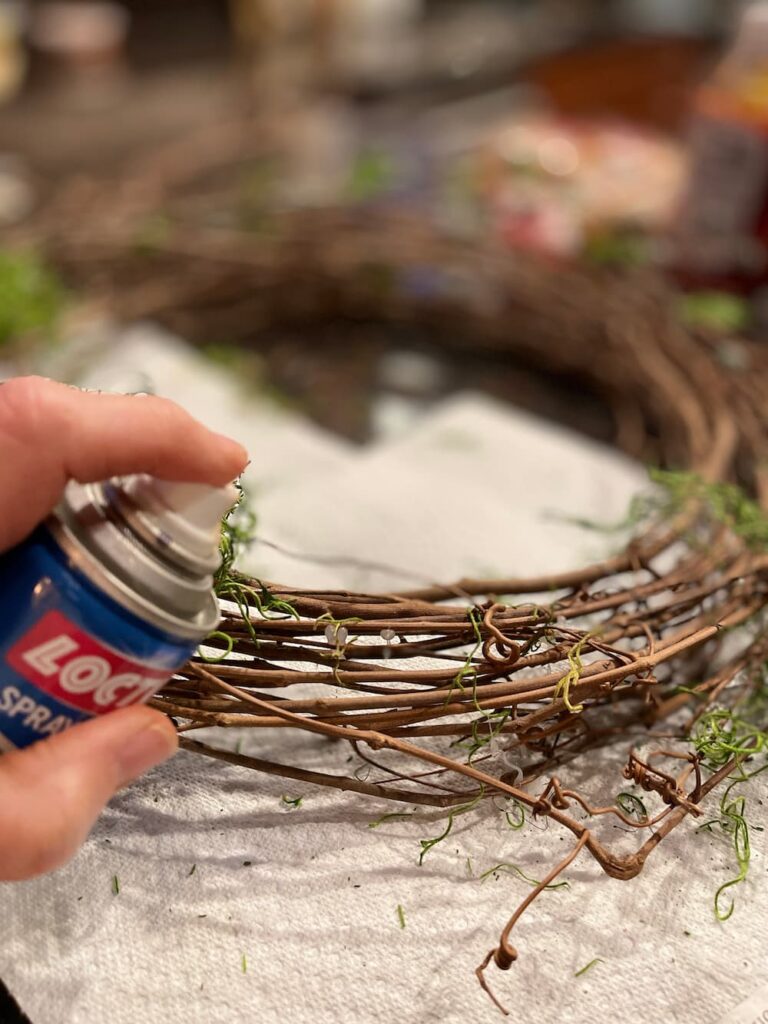
After I decided how I wanted it, using spray adhesive, I attached the moss to the bottom half of the wreath.
I used wire to attach my pussy willow to the wreath and then added a little more moss to cover the bottoms of the branches.
Next using a glue gun I added the bunnies and carrots onto the wreath. You could certainly add faux eggs or any other type of spring or easter decor to the bottom but we all know I am addicted to clay and bunnies.
I added a small piece of leave ribbon or garland to the tops of the carrots. It’s a little difficult to see against the most but it’s there. I had this leftover from a previous craft.
After the bunnies and carrots were added. I painted them with a coat of gloss to make them shine.
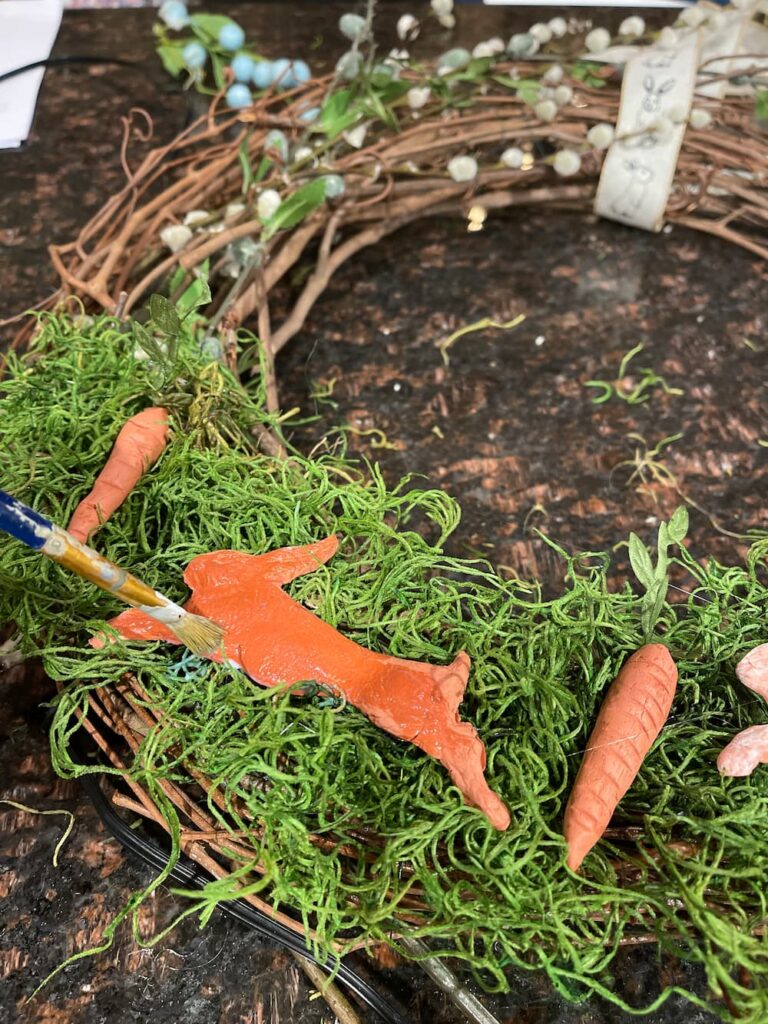
You can see how it looks while the gloss is still wet on the carrots and bunnies.
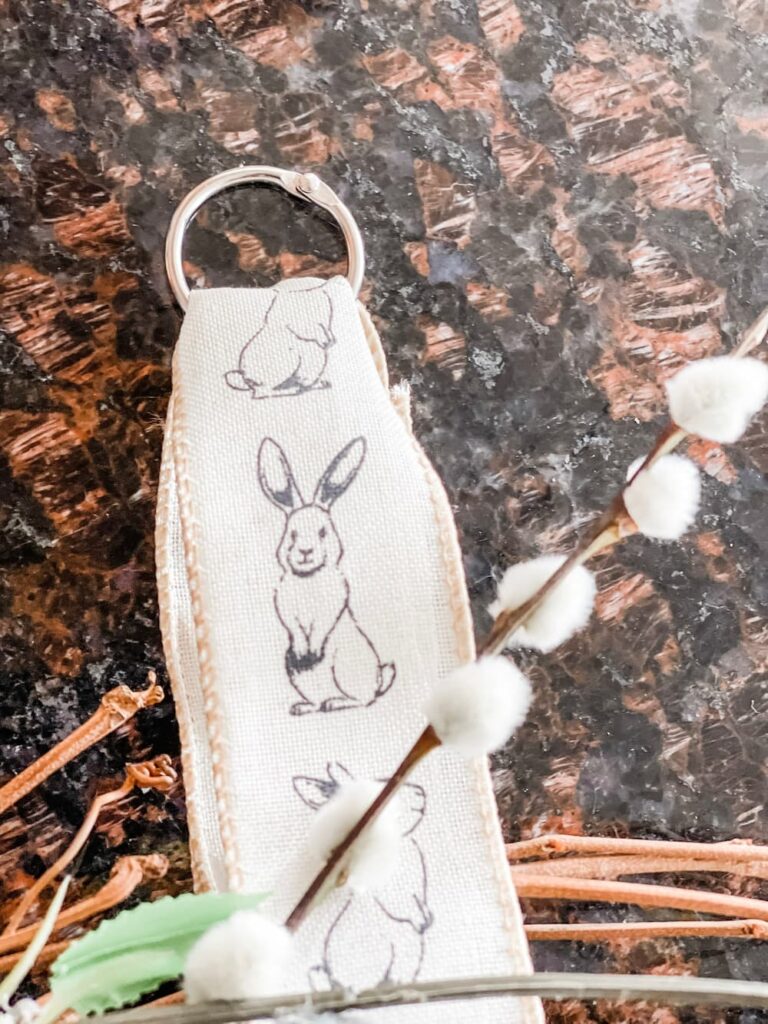
I then added a bunny ribbon to the top, added a metal ring I had and then glued the ribbon together with hot glue. Now I could use the ring to hang the wreath.
HANGING YOUR WREATH
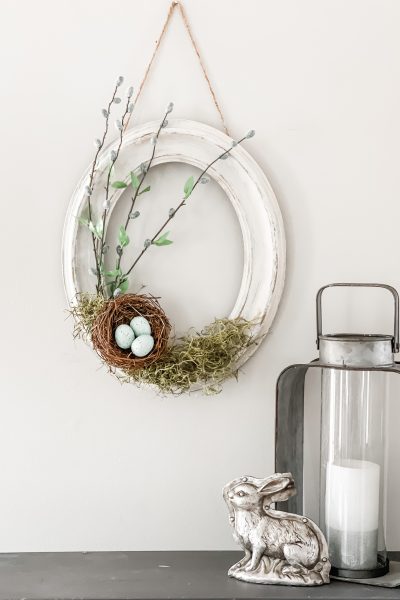
This actually looks great on my front door because of the color and it was there for a bit but….I love the look of it on this vintage window so it’s going to spend some time there too.

The terracotta clay coordinates well with the door don’t you think? It would also be a good backdrop for my Easter table.
On the door I have a suction cup wreath holder and the ring I added to the ribbon allows it to hang evenly.
It’s definitely time to starting transitioning to spring, whether it feels like it outside or not. I did plant some pansies in pots on the porch to give a little color in addition to my daffodils in the garden. Everything else is still brown.
For some more Easter and Spring inspiration, you should check out this adorable egg wreath I made for only $5, read about it here. Or my collection of tablescapes for Easter, soooo many ideas. You can see that here.
Or my addiction to air dry clay and my stamped bunnies here.
Thanks so much for stopping by and I hope you consider subscribing to my email newsletter that comes out only once a week.
XO, Regina
SHOP THIS POST
This post contains affiliate links. If you purchase from these links, I receive a small commission at no additional cost to you.


Your wreath is ADORABLE!! What an amazing idea to use silicone molds to make shapes! I love the terracotta color of your bunnies and that branch of pussy willows is just the perfect touch. Such a lovely wreath!!
Rachel, The Antiqued Journey
Such an adorable wreath and I love it that it is not overdone! Love it too that you hung it on an old window!!!
Such a pretty wreath! The DIY clay bunnies and carrots are the perfect finishing touches!!
Your wreath is beautiful, Regina! I love the little bunnies and carrots. You do such a good job explaining the process. I may need to ask your help when I do my clay project as I’ve never worked with it before! Thanks in advance! lol
I love your adorable bunny wreath, Regina. It’s perfect for Spring and Easter!
Your wreath turned out beautifully! I love the idea of making your own wreath embellishments using clay. I’m featuring you this week at the #HomeMattersParty. Thanks for sharing!