Have you ever create a project with pallets? I’m sharing the easiest project today, a pallet photo holder DIY.
Hi and Welcome to Saved From Salvage. I’m Regina and I’ve been creating things from pallets for a long time. Such an affordable and budget friendly medium for projects. If this is your first time visiting, make sure to add your email at the bottom of the post to stay up to date on projects.
Today is my first post as part of the International Bloggers Club Monthly Challenge. This month, obviously is pallets. Bloggers from across the globe create a project using the same theme. It’s fun to see how those from different countries interpret the theme.

Table of Contents
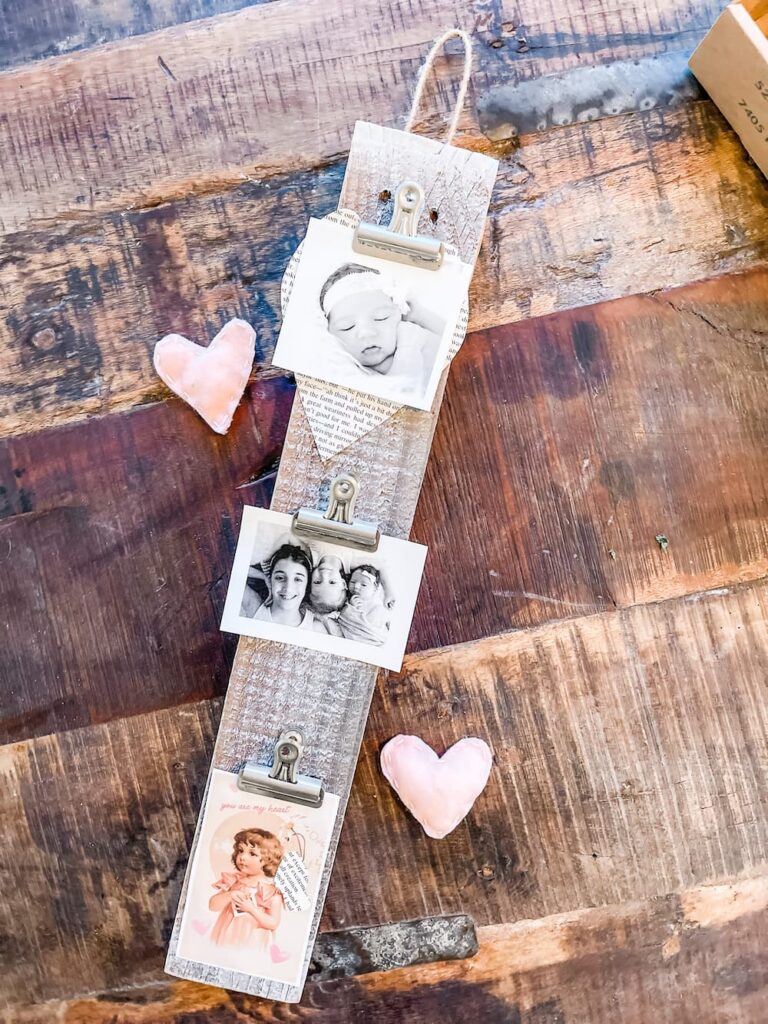
PALLET PHOTO HOLDER
PALLET PHOTO HOLDER SUPPLY LIST
- Pallet
- Nails
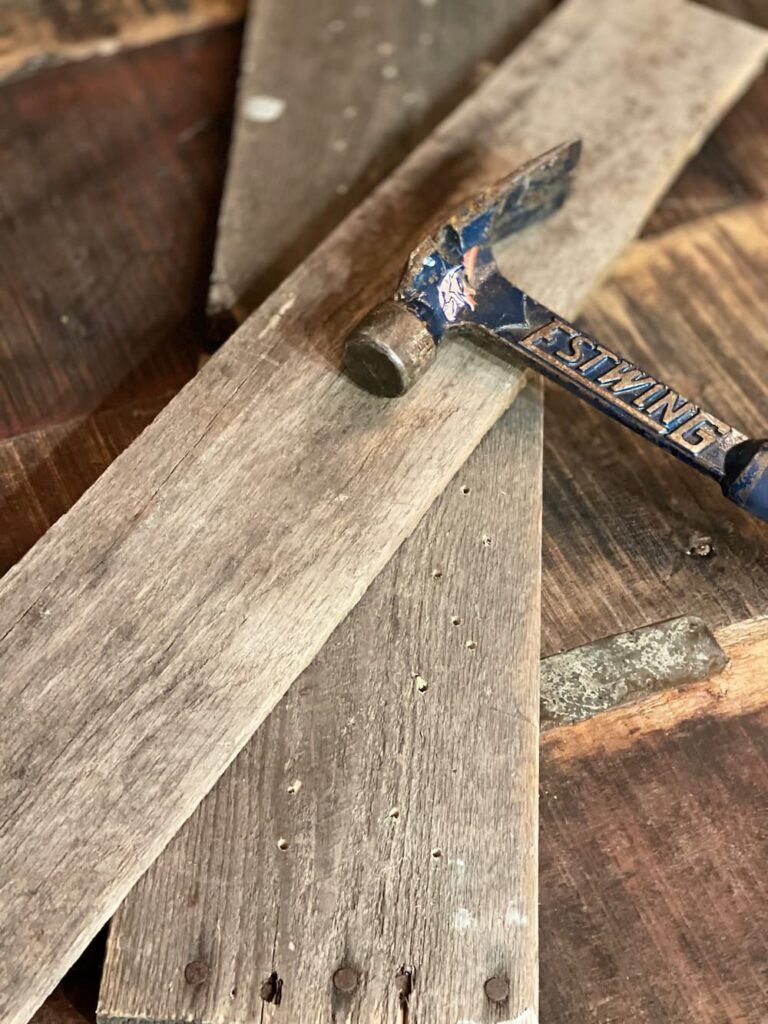
- Hammer
- Bulldog Binder Clips
- Twine or Wired Twine
- Jigsaw
- Glue
HOW TO MAKE A PALLET PHOTO HOLDER
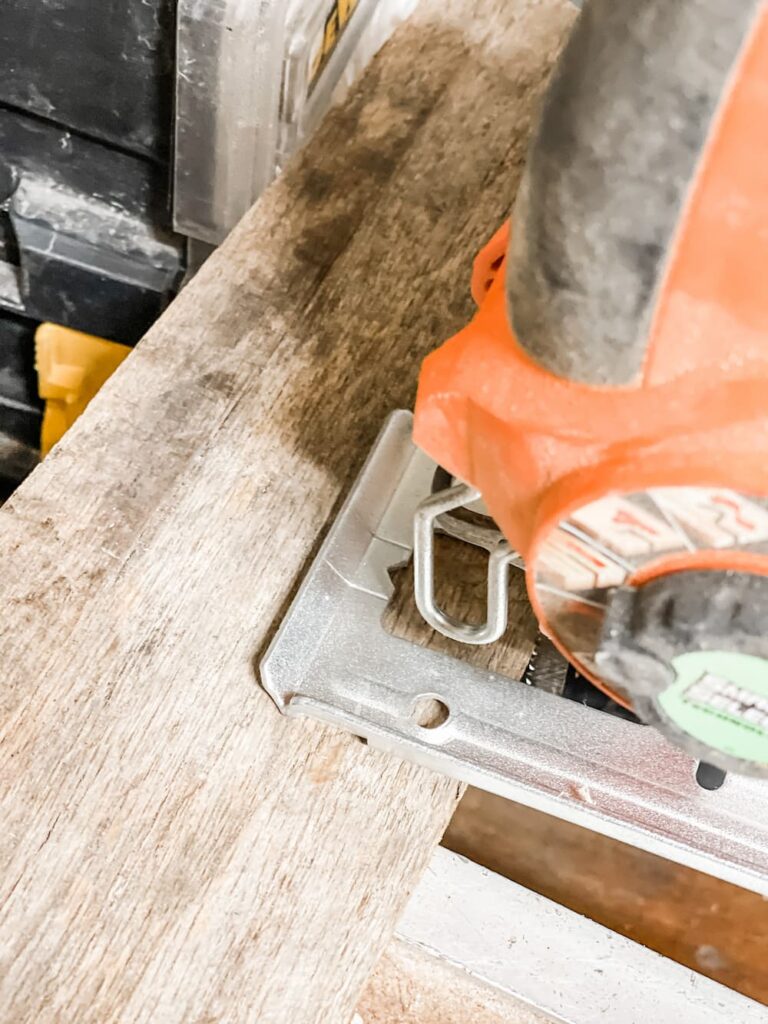
First step is to dissemble the pallet. This can be done by prying it apart with a pry bar or hammer, or you could use a reciprocating saw.
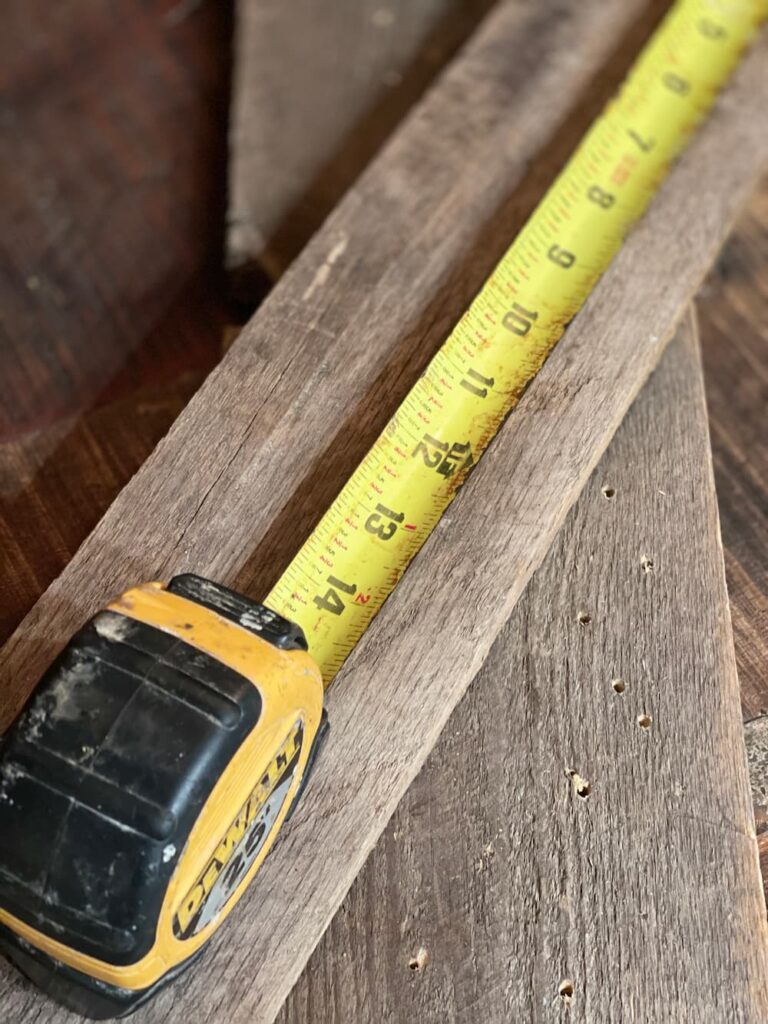
Take one slat of the pallet and using a jigsaw, cut to the length you desire.
The one in the picture is 14 inches long.
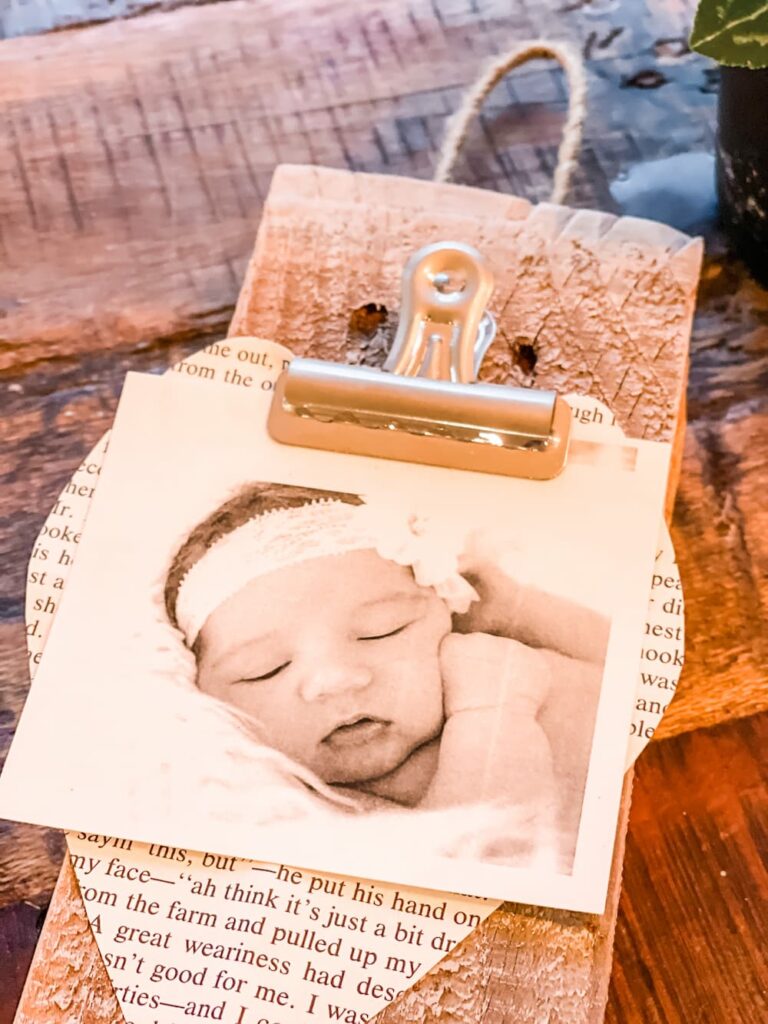
Cut a piece of twine or wired jute cord to the length you would like.
Cut a small piece of pallet board, about 2 inches long.
Take your twine and place between the long board and 2 inch board.
Now glue or tack the block of wood to the long piece and this will hold the twine in place.
If you want to paint or sand the board, now is the time.
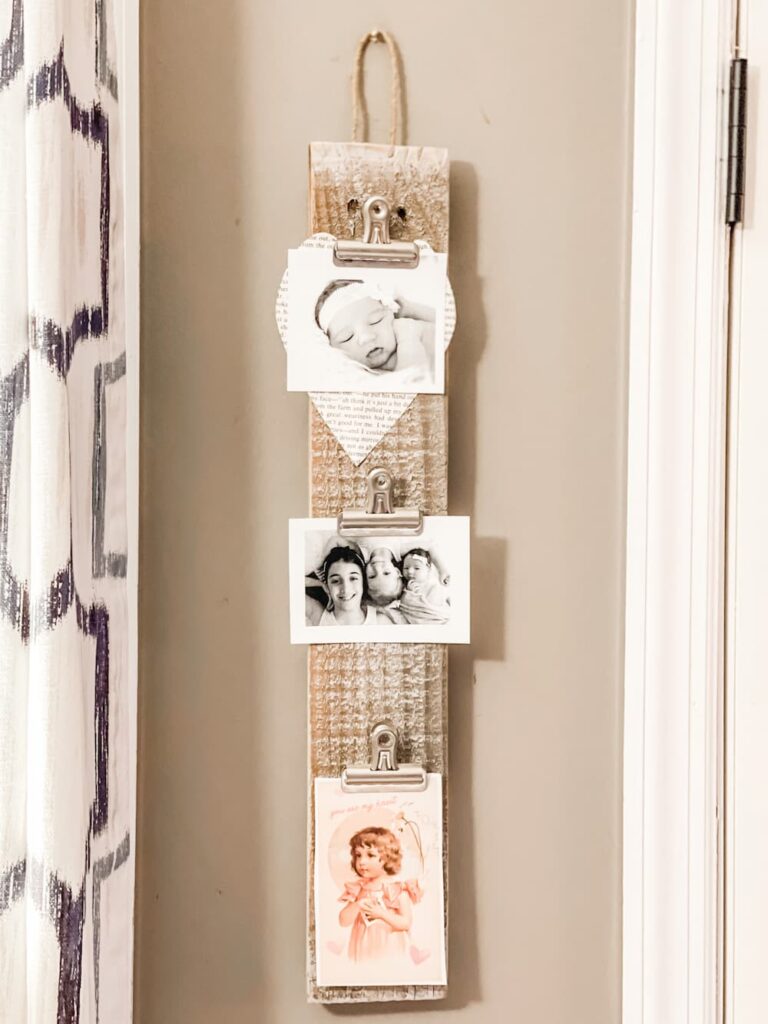
Next take your bulldog clips and space them to where you would like them on the board.
Using a nail and hammer, attach them to the pallet.
Attach pictures and enjoy.
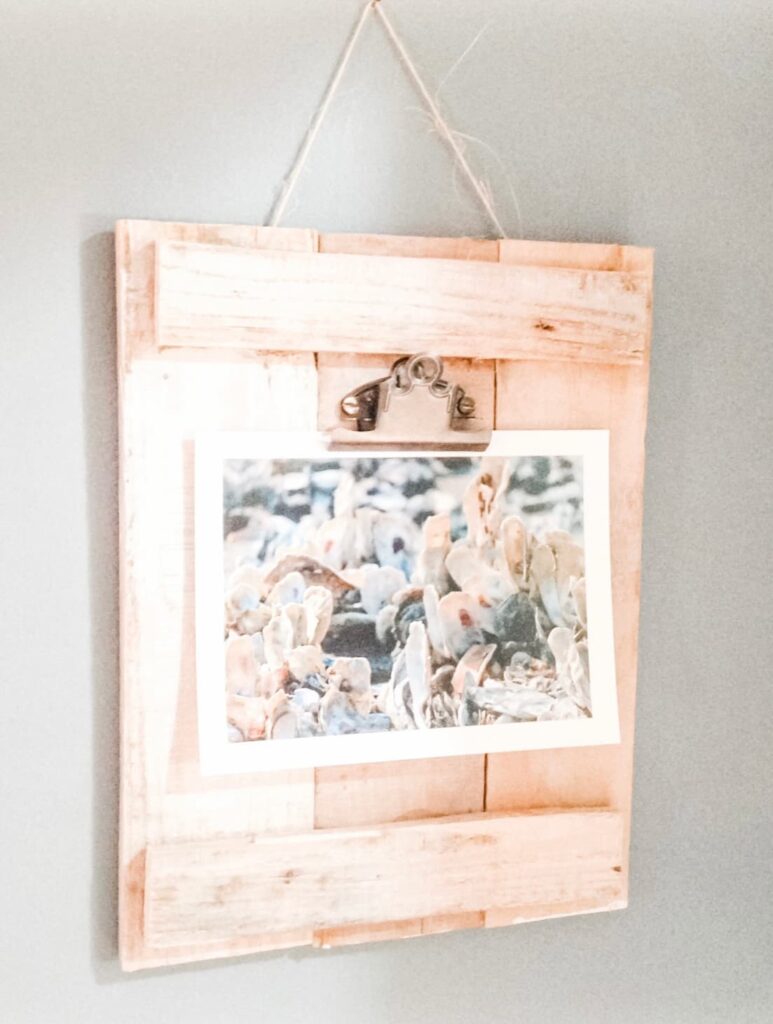
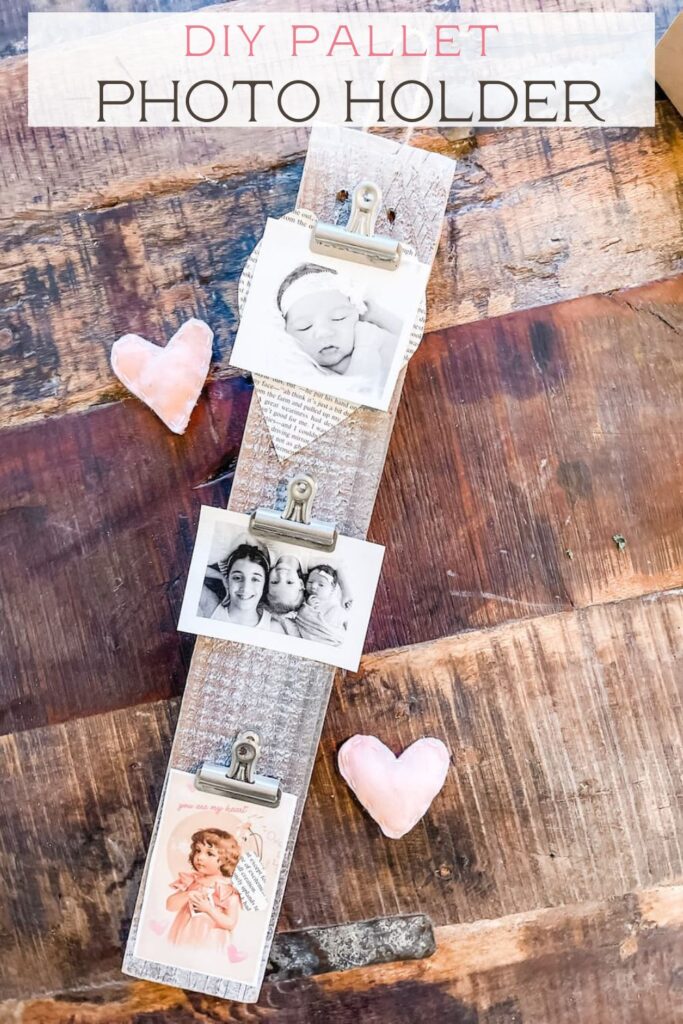
OPTION 2 PHOTO HOLDER
I also made another style of photo holder that takes a few more boards. You can see that below.
To create this style, I took 3 boards and cut them to 10 inches each. Then I took another board and cut it down the middle to make it thinner. I attached one at the top and one at the bottom to hold the boards together. I added one bulldog clip and then stapled the twine to the back.
INTERNATIONAL BLOGGER CHALLENGE
Now to share Pallet Projects from across the globe.
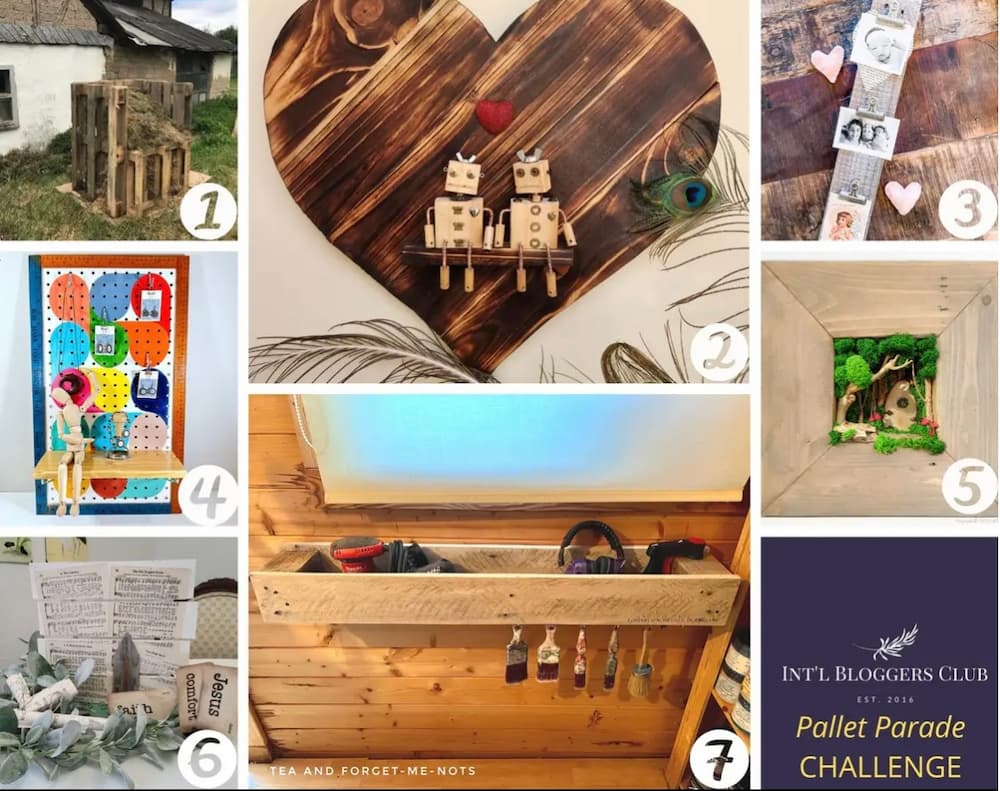
The number 1 picture belongs to Marianne from the Netherlands. Marianne’s blog is Songbird.
You can see her project here.
The number 2 picture belongs to Anita from Australia, her blog is Unique Creations by Anita.
You can see her post here.
I’m number 3, Saved From Salvage. My project was the photo holder.
The number 4 picture belongs to Sara from Canada. Sara’s blog is Birdz of a Feather.
You can see her project here.
The number 5 pictures is from South Africa and belongs to Michelle. Michelle’s blog is A Crafty Mix.
Check out her project here.
The number 6 picture belongs to Kristin, also from the US, her blog is The Fifth Sparrow No More.
You can see her project here.
The number 7 picture belongs to Rachel of Tea and Forget Me Nots, Rachel hails from England.
You can see her project here.
I hope you enjoyed the post and blogger pallet challenge. It was so fun to participate with bloggers from across the world.
To see what else I’ve been up to click here for my last Lately on the Lake.
Thanks for stopping by. Below make sure to add your email so you can receive all of my latest projects to your inbox.
XO, Regina
If you order from links provided, I will receive a commission on qualified purchases. This is at no additional cost to you. Thanks for supporting my business.
Welcome to the IBC Regina! Love the different options of photo holders you created; you can accommodate any size photo on these!
I love both versions of your pallet photo holders, Regina. They would make such lovely gifts too, especially now that Valentine’s day is around the corner. Oh, and I have so many pallet offcuts that need to be used up, so this is perfect.
Love the heart paper you added underneath the photos, the layers really finish it off.
What a great idea, you took a scruffy pallet and turned it into an elegant rustic holder. And those photos are just too cute. I also like the 3 plank version. Welcome to IBC. 😁
Thanks so much Anita – so happy to be part of IBC.
What a cute idea Regina! Thank you for sharing with Whimsy Home Wednesday.
Regina this is precious! What a great gift idea for grandparents! I pinned your DIY! Thank you for sharing at my weekly link party! <3
Thanks Nicolle – have a great weekend!
So nice to see you in the Int’l Bloggers Club, Regina! Love this easy-peasy idea for displaying photos. What a great gift idea too!
Thanks so much Marie – excited to be part of the group
Love this project! I have some boards that need a new purpose and this is a great idea. Thanks for sharing the inspiration. This post will be a feature this week. #HomeMattersParty
Donna – Yay! Thanks so very much. Have a great week.