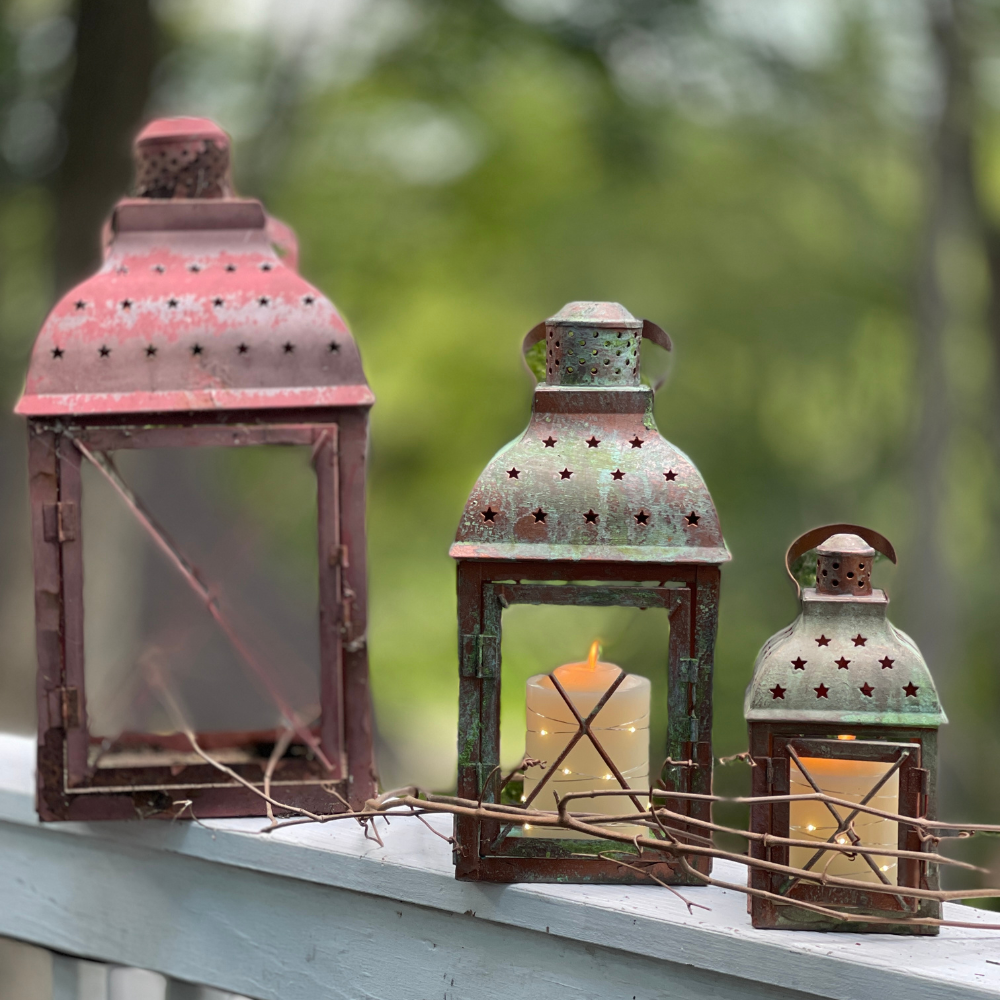
Do you love the look of copper or verdigris? See how I took these old lanterns that had been kept outdoors and transformed them into these copper patina beauties.

Hi, I’m Regina and this is Saved From Salvage, I enjoy sharing DIYs, home decor projects, furniture flips and event inspiration.
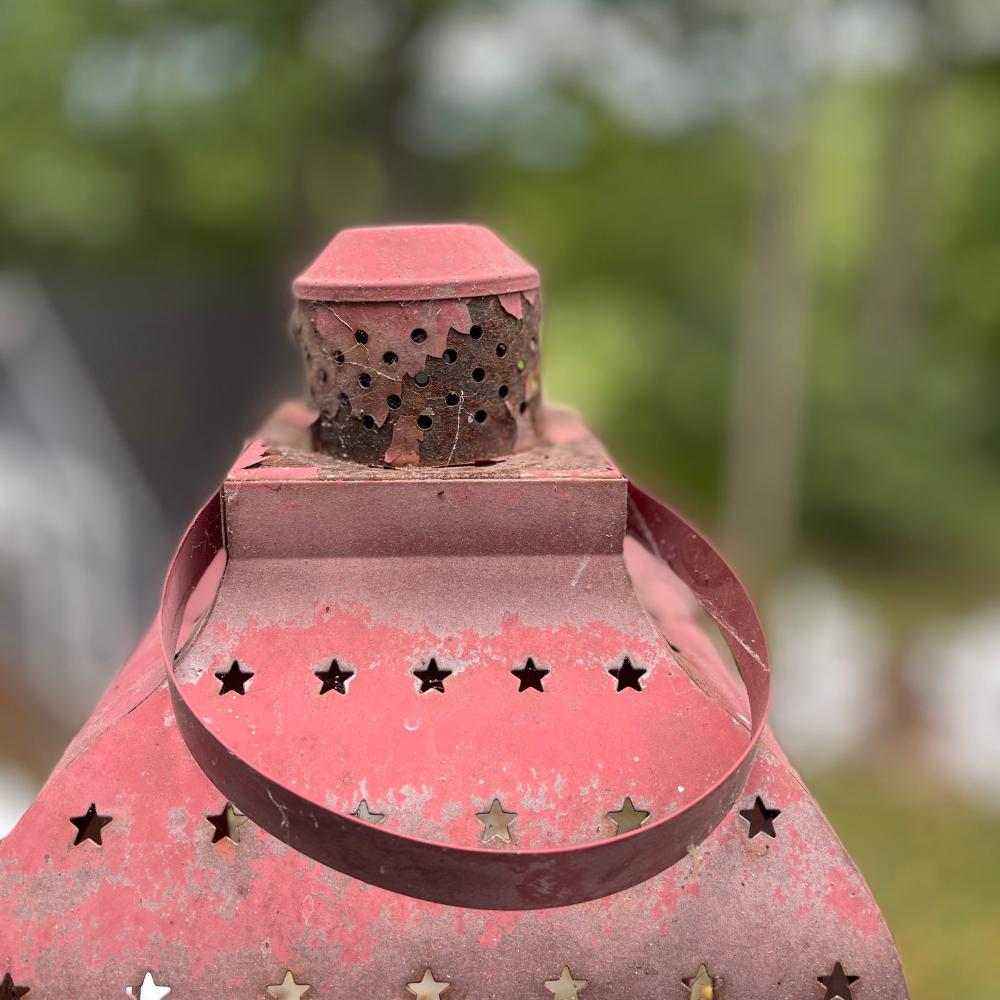
These red lanterns were my moms, one of the many things I have of hers. The color matches my shutters so instead of using them only around the holidays, I have used them outdoors since we moved into our home 5 years ago.
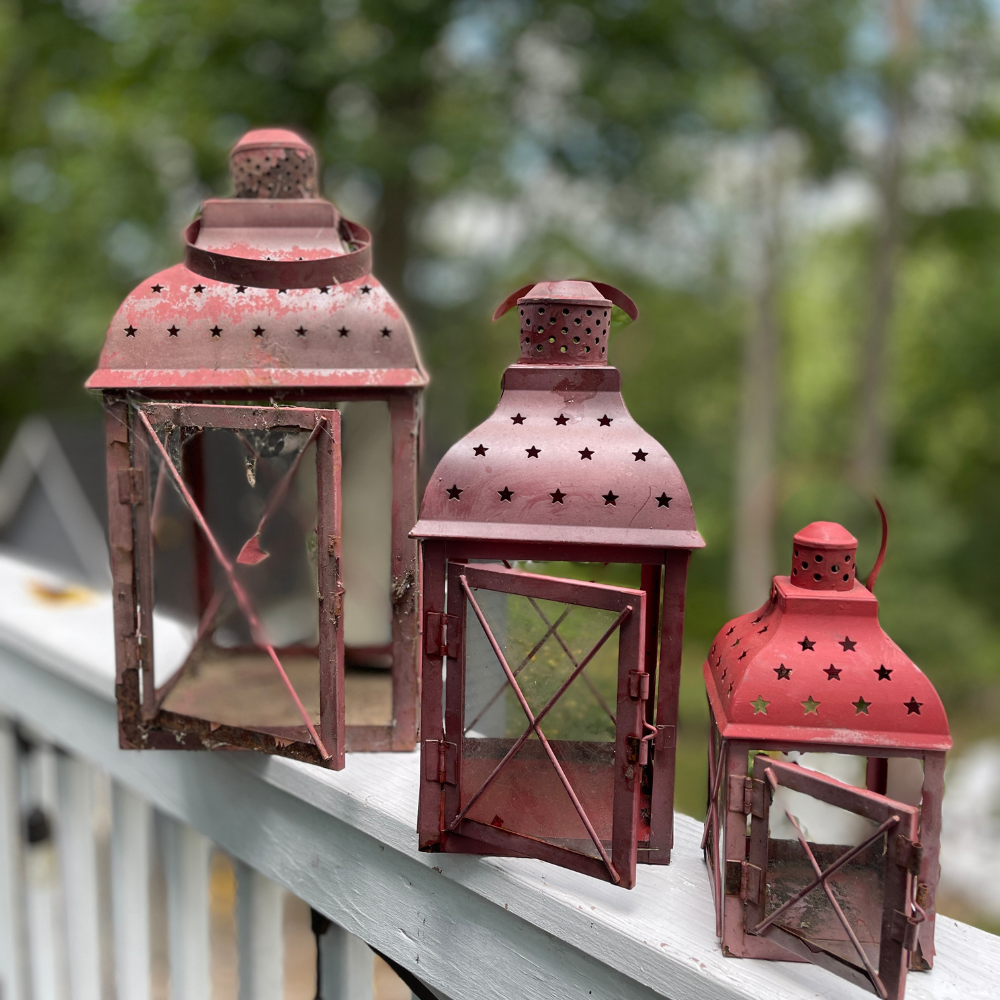
The weather has certainly taken their toll on them so I wanted to give them a makeover. I have been wanting to use the Patina Paint Line of Dixie Belle. I tried it on this project and since have used it on concrete, and wood. I can tell this product will be in my daily rotation.
This post contains affiliate links for your convenience. If you purchase from these links, I may receive a small commission at no additional cost to you.
Table of Contents
CREATING A RUSTY COPPER LOOK
Again, this was my first time using these products. This product can be used on any surface. Wood, metal, plastic, or burlap.
When it comes to upcycling furniture and achieving a faux metal look, our Patina Spray is a game-changer. Designed to be used in conjunction with our Patina Paint, it effortlessly transforms ordinary pieces into rustic, crusty metal look-a-likes. The combination of Patina Spray and Patina Paint creates a fun and unique faux metal effect that adds character and charm to your furniture.
If you use this product on metal, there is a step of using a primer first, if you are using it on another surface, then you first paint a layer of any color paint. I’ll share more detail below.
STEPS TO CREATE THIS PATINA
These lanterns were metal so I had to begin with a primer. It was a 4 step process, it began with cleaning, primer, copper paint, spray and wait. That’s actually five steps.
Dixie Belle’s line of products make it easy to get this finish. It really was a wonderful way to not only save these lanterns but to give them a unique look. I could have sprayed them with a spray paint but I love this look and finish.
Let’s get started on the process!
STEP ONE
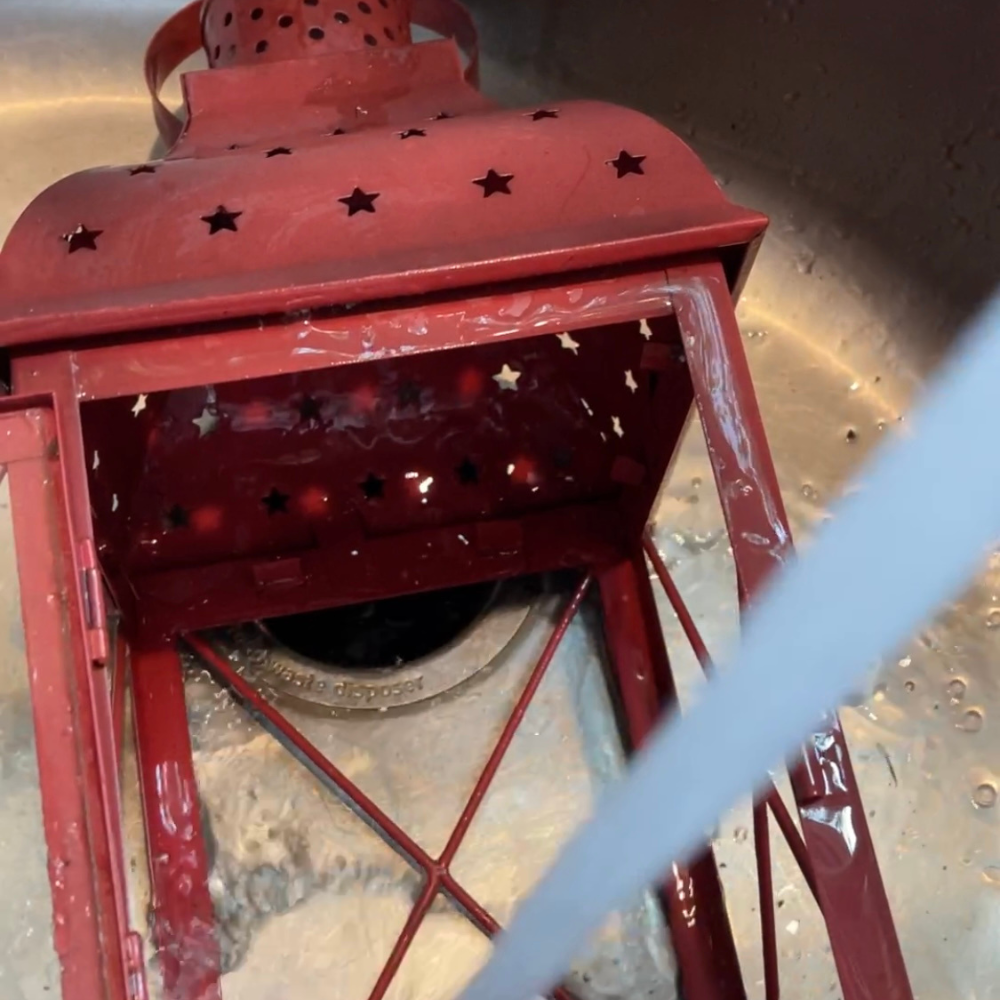
With any project, the first step is to clean your piece. This was no easy feat with these lanterns.
I dusted off the cobwebs, then ended up putting them in the sink to really rinse them.
After that I used the Dixie Belle White Lightning cleaner to go over the entire lantern. I did scrape off some of the rusted paint before priming.
STEP TWO
The next step after cleaning was to coat the lantern in the primer.
The reason you use the primer on metal is so that it prevents it from rusting.
Since the lanterns already had a little rust, I made sure to cover those parts well.
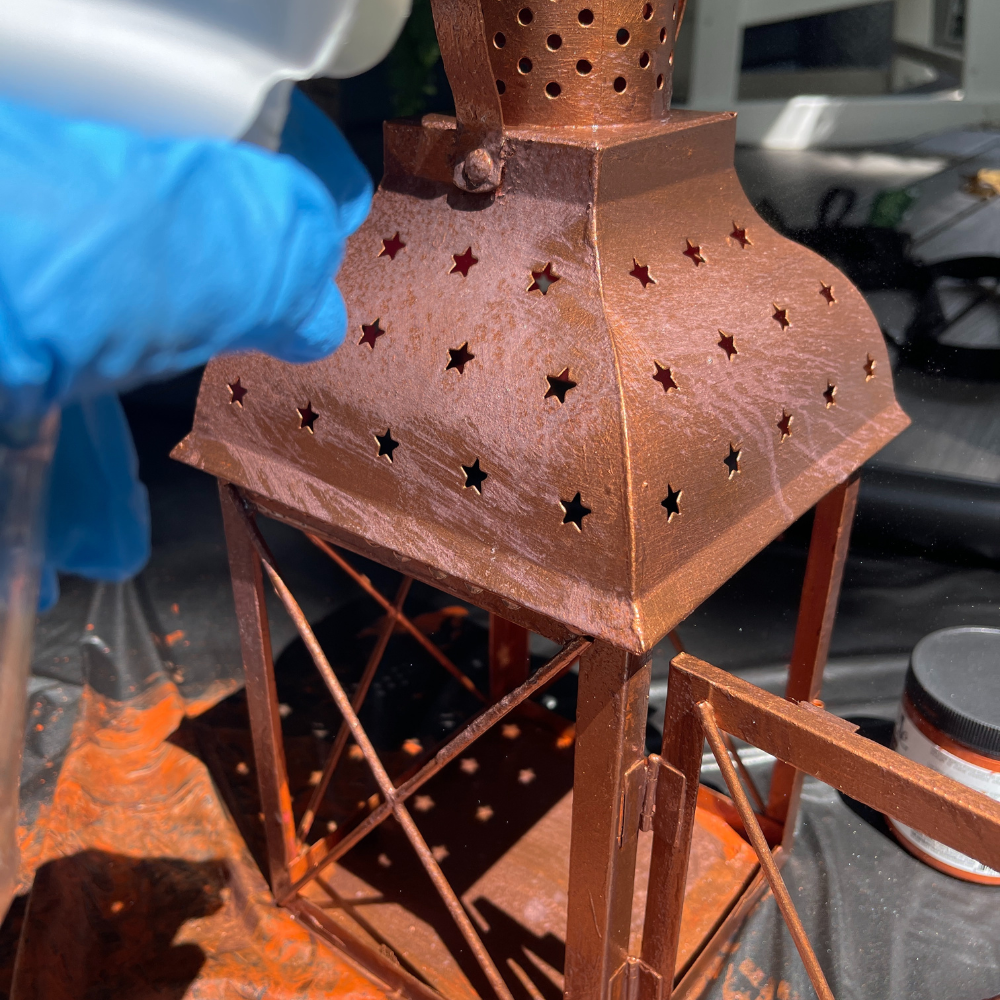
I laid out my plastic table runner on the front porch and got started. The primer was orange in color, I shook it up, stirred it and then began painting. One coat covered it really well, even the rusty spots.

I had a difficult time getting up inside the top, spraying definitely would have been easier but I did the best I could.
I was working out in the sun so it dried fairly quickly but I still used my hair dryer.

STEP THREE
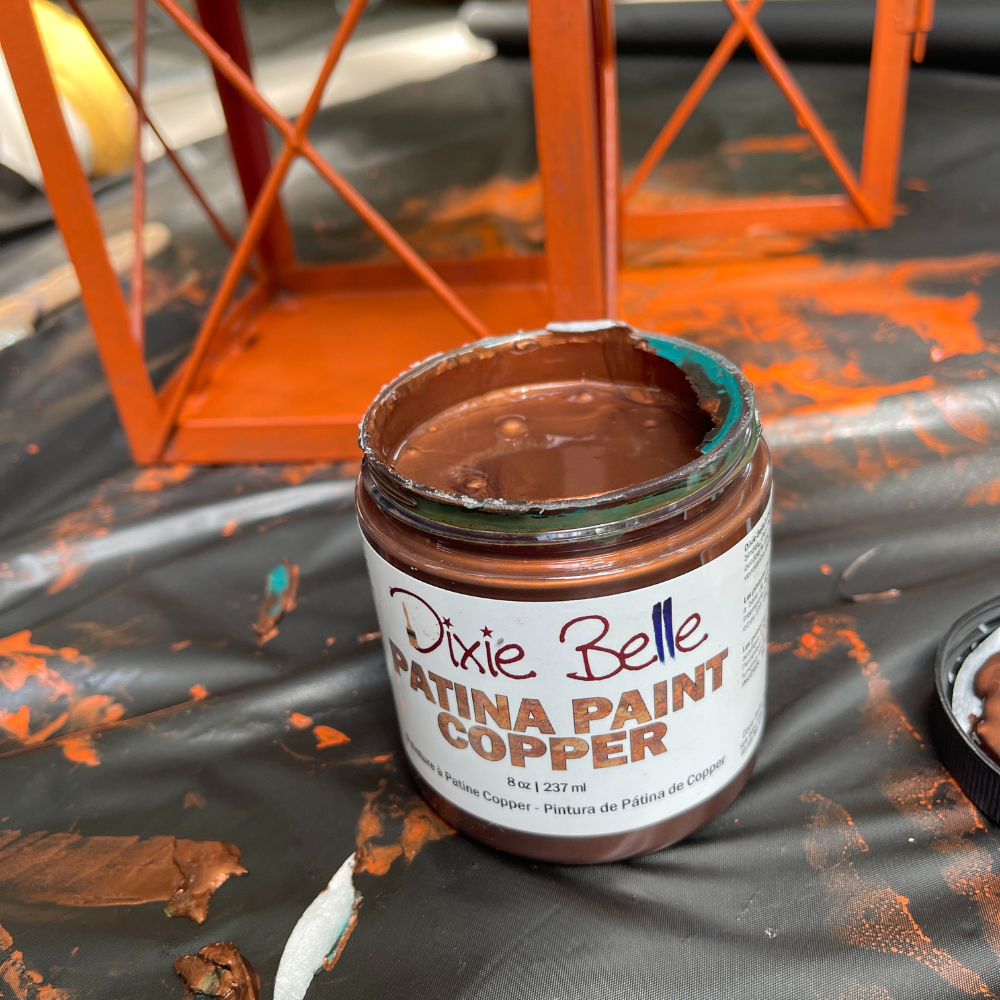
After the primer dried, I shook and stirred my Patina Paint in Copper. Dixie Belle has a variety of Patina Paints and this is one of them.

The Patina Paint has metal flecks in that are what reacts when you add the 4th step of Patina spray.
So step three requires one coat of Patina Paint and then let it dry. It says that using heat helps it adhere so I used the dryer again.
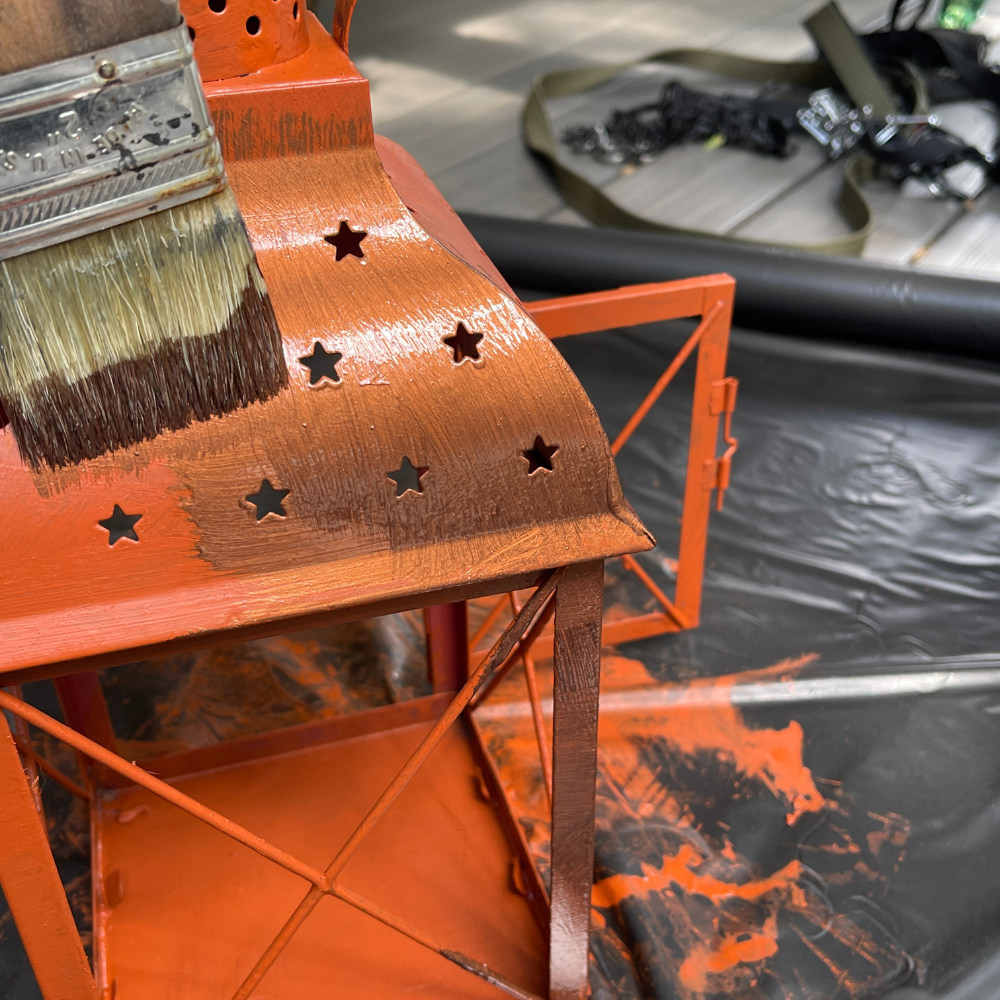
After the first coat is dry, you add another and while still wet, you move on to step 4 the Patina Spray.
STEP FOUR
As soon as you add the second coat of Patina Paint in Copper, you immediately begin spraying, brushing or sponging on your Patina Spray in Green. The Patina Spray comes in two colors, green and blue and on the Dixie Belle website you can see which they suggest for each Patina paint. You can see that here.
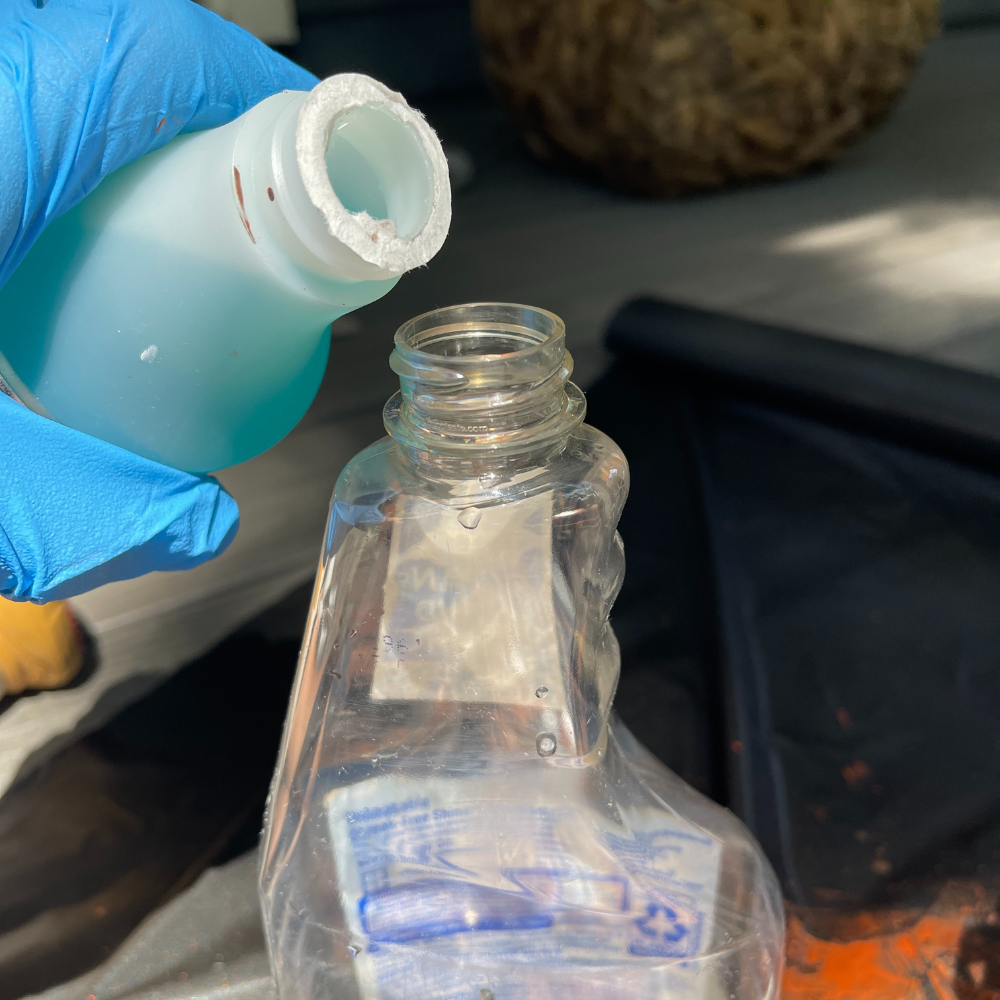
Make sure you wear rubber gloves for this part.
I opted to spray so I had an empty Windex Bottle that I cleaned out and added the spray to.

I wanted to see what it looked like to spray it on and let it drip down the lantern
As soon as I sprayed the Patina Spray, you could see a change in the color and texture.
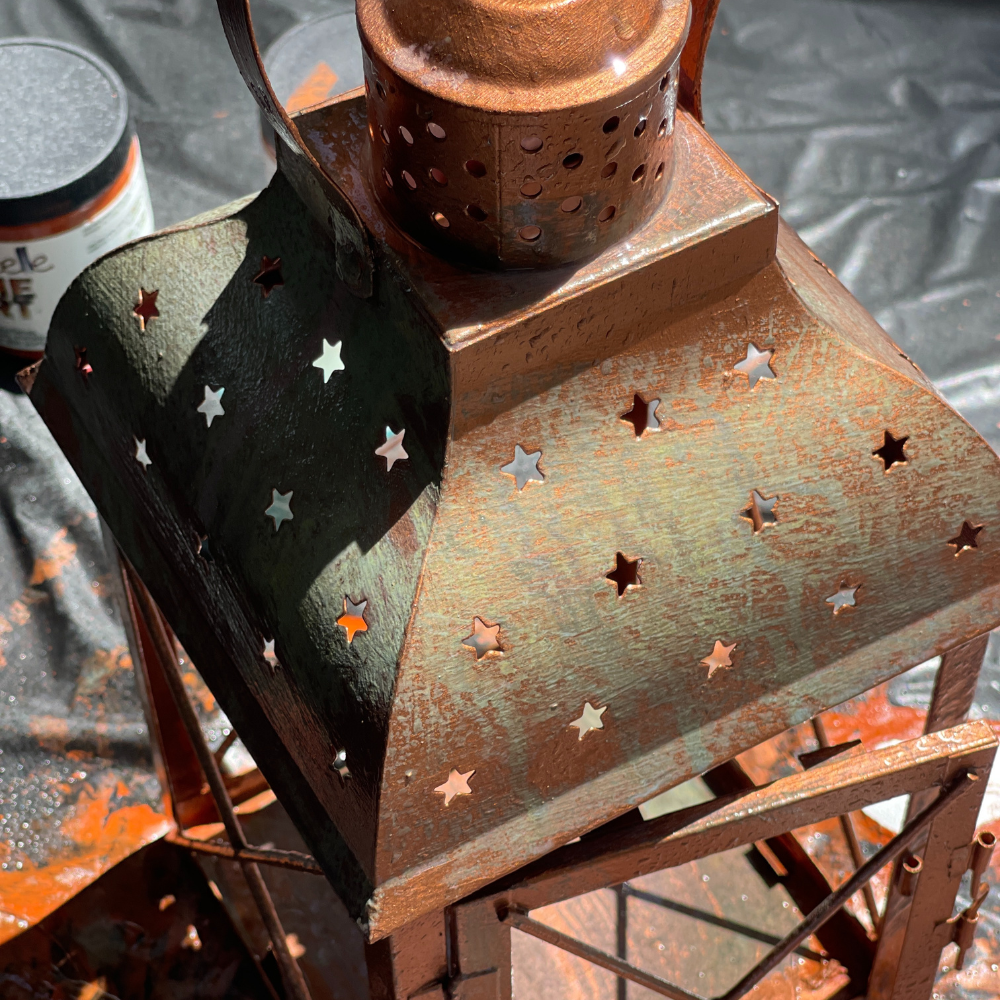
I sprayed the entire lantern and then let it sit.
The entire reaction time is 2-4 hours.
After just a few minutes it began to change colors significantly.
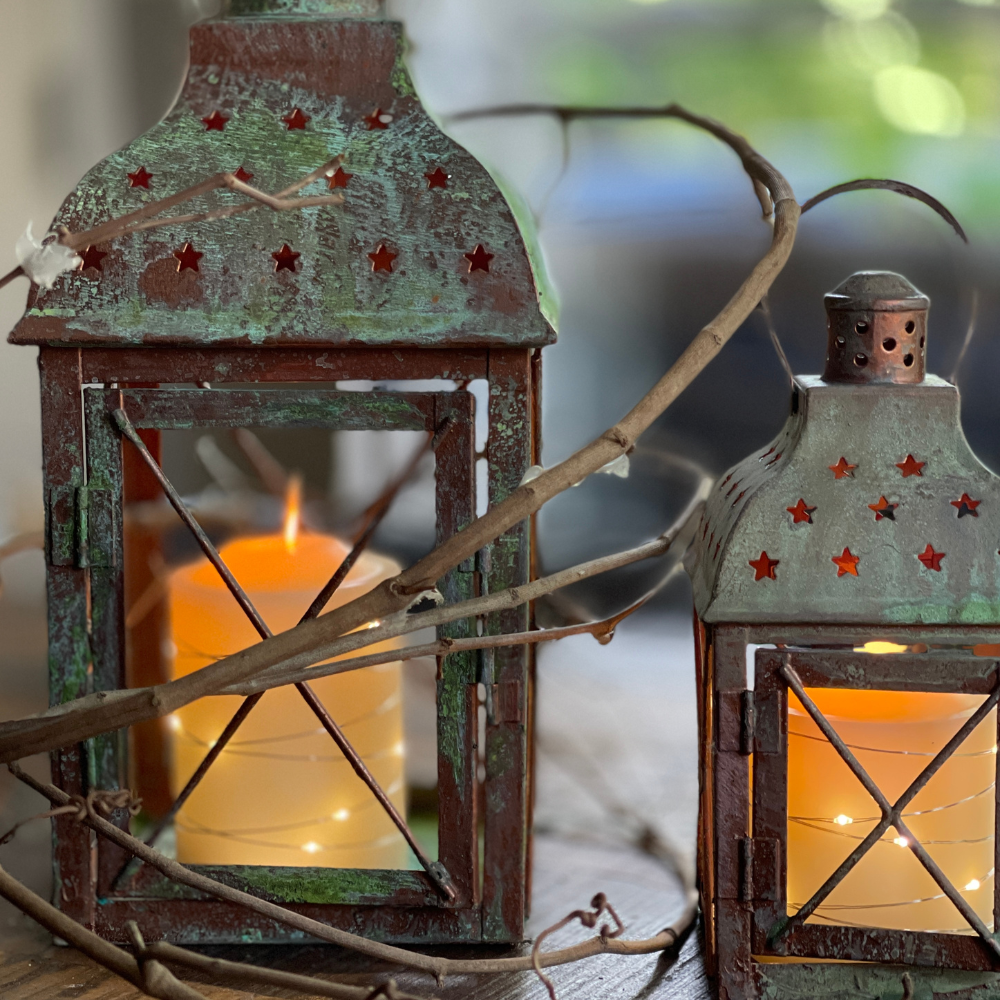
This picture you can see how the bottom inside of the lantern is very green.
During that time I did add a few more sprays to the top of the lantern because it didn’t seem to be reacting quite the same.
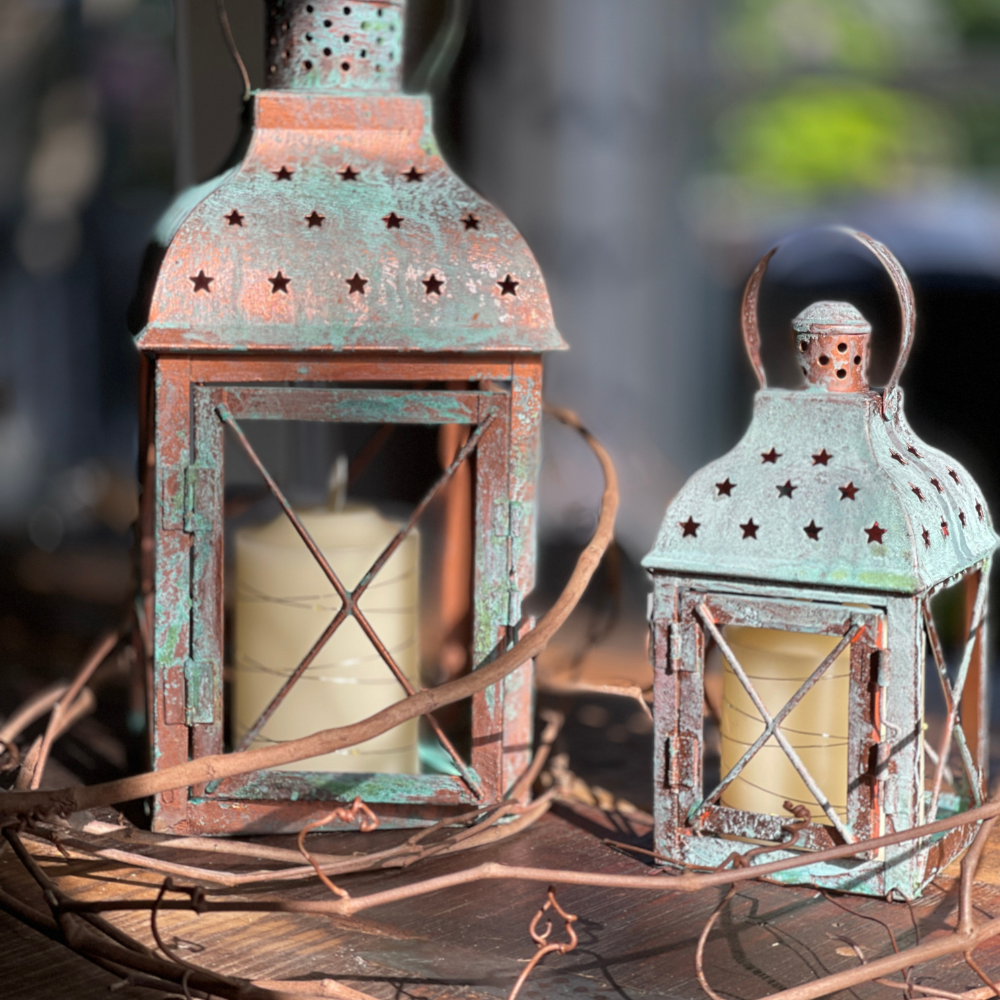
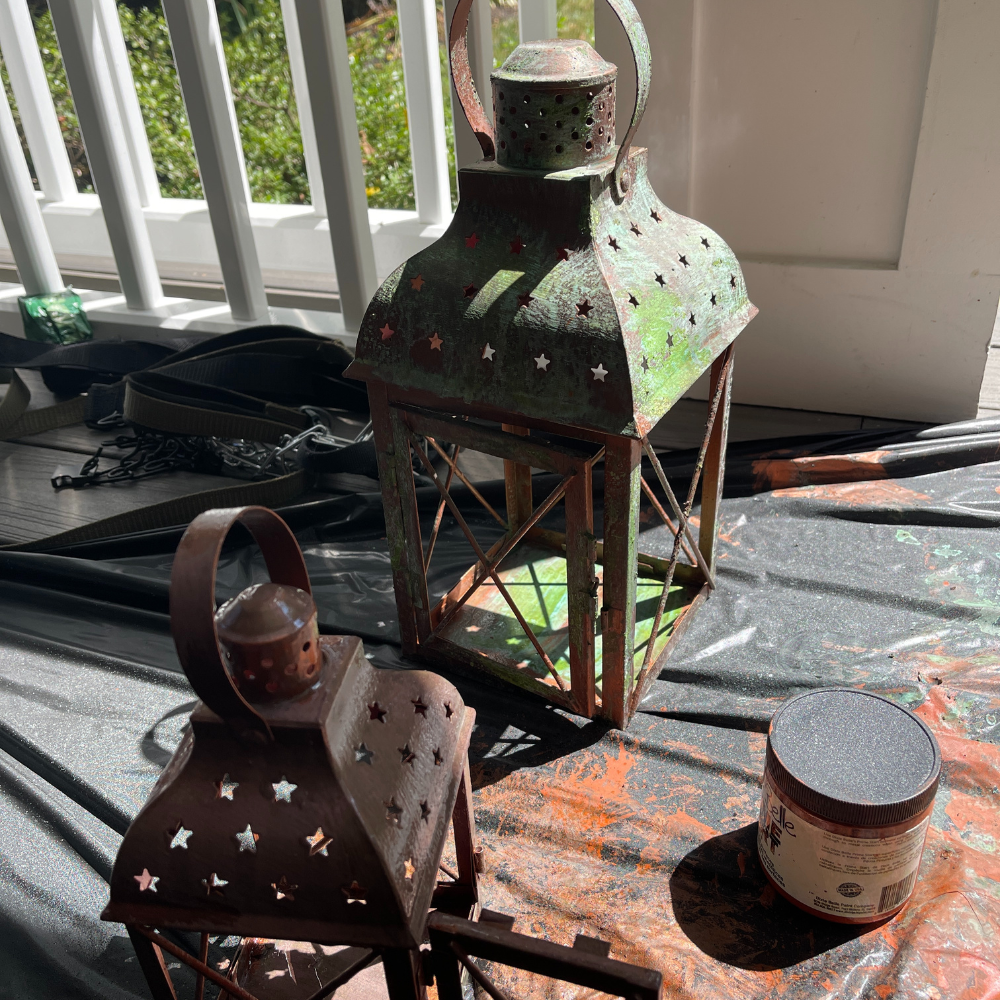
See the difference after completing the first two lanterns compared to the original one.
What do you think? I am in love with the look and texture.
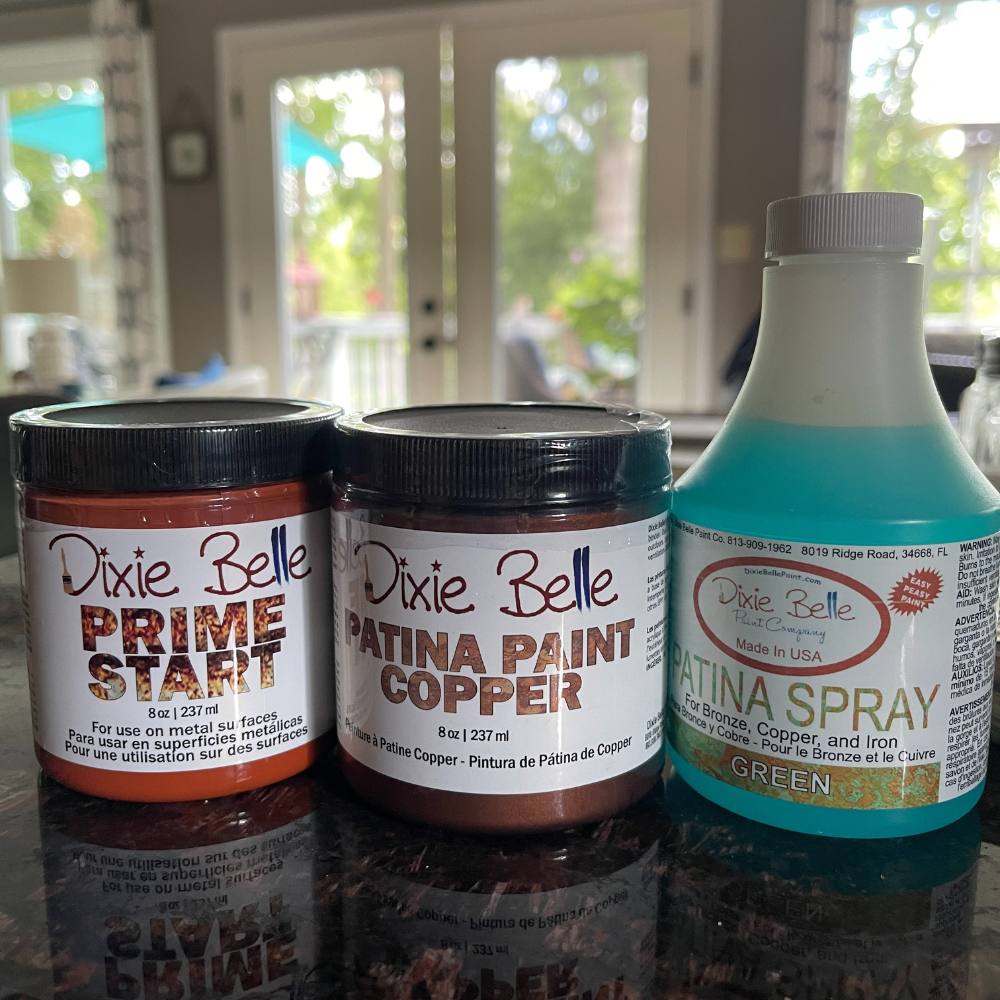
SUPPLIES NEEDED
Patina Prime – Dixie Belle
Patina Paint Copper – Dixie Belle
Patina Spray Green – Dixie Belle
White Lightning – Dixie Belle
Paint Brush – Dixie Belle
Thanks so much for stopping by. I hope you enjoyed. To see what else is going on at Saved From Salvage, visit Lately On The Lake here. or last week’s here.
XO, Regina
SHOP THIS POST
DIXIE BELLE PATINA PAINT IN COPPER
DIXIE BELLE PATINA SPRAY IN GREEN


I love this! It looks so beautiful! I’m definitely trying this. Hugs to you.
Great new look! A wonderful makeover for those lanterns. I am happy to feature your makeover of the copper patina lanterns at Love Your Creativity.