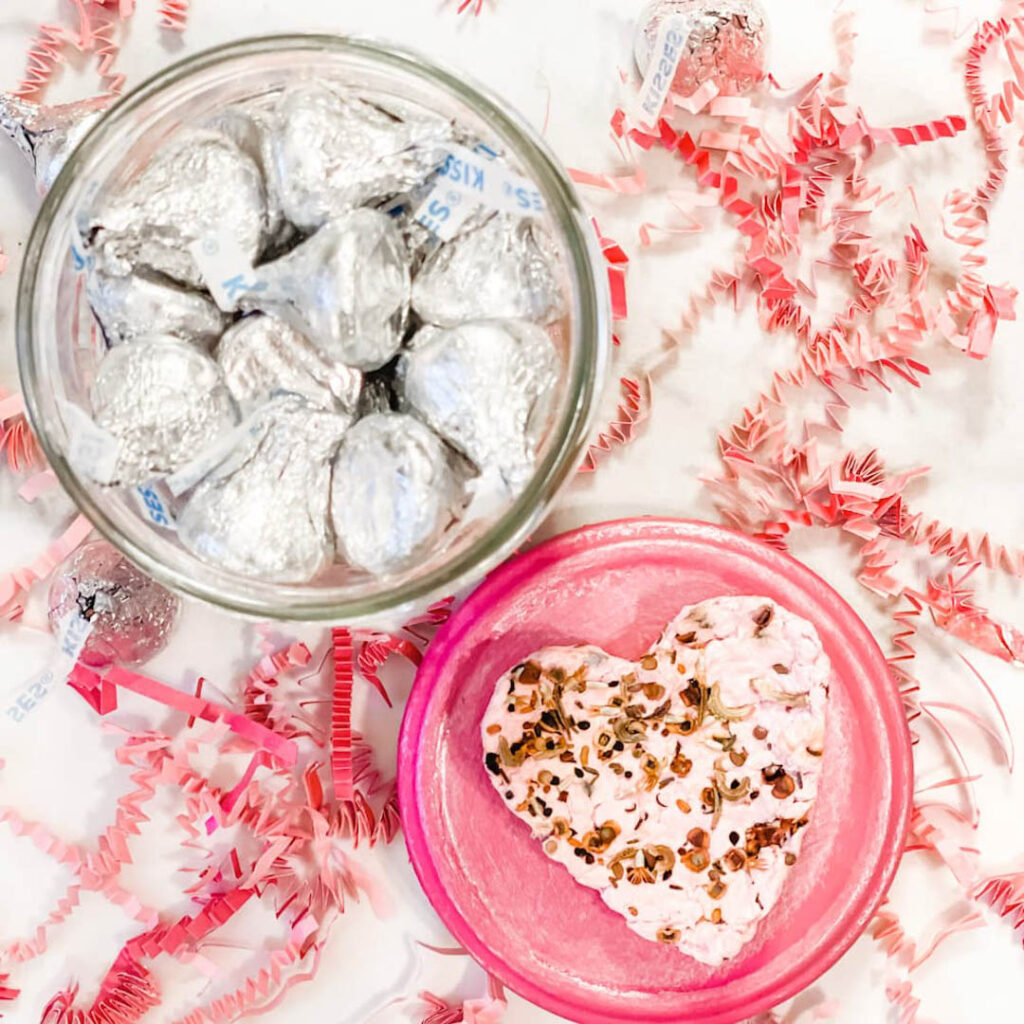
Have. you ever tried to make paper? I’m sharing a surprisingly easy craft today showing you how to make seed paper hearts.
Perfect for Valentine gift giving, perfect to use as tags on a hostess gift or save for Mothers Day.
Hi, I’m Regina and welcome to Saved From Salvage. If you are new here, make sure to subscribe below so you can get all of my inspiration delivered directly to your inbox.
Today is the inaugural post of the Handcrafted Society which is really a fancy name for a lovely and talented group of bloggers who love to create. Each month we are going to be using the same medium but no directions. I can’t wait to see what everyone comes up with.

MY (SEED) PAPER HEARTS
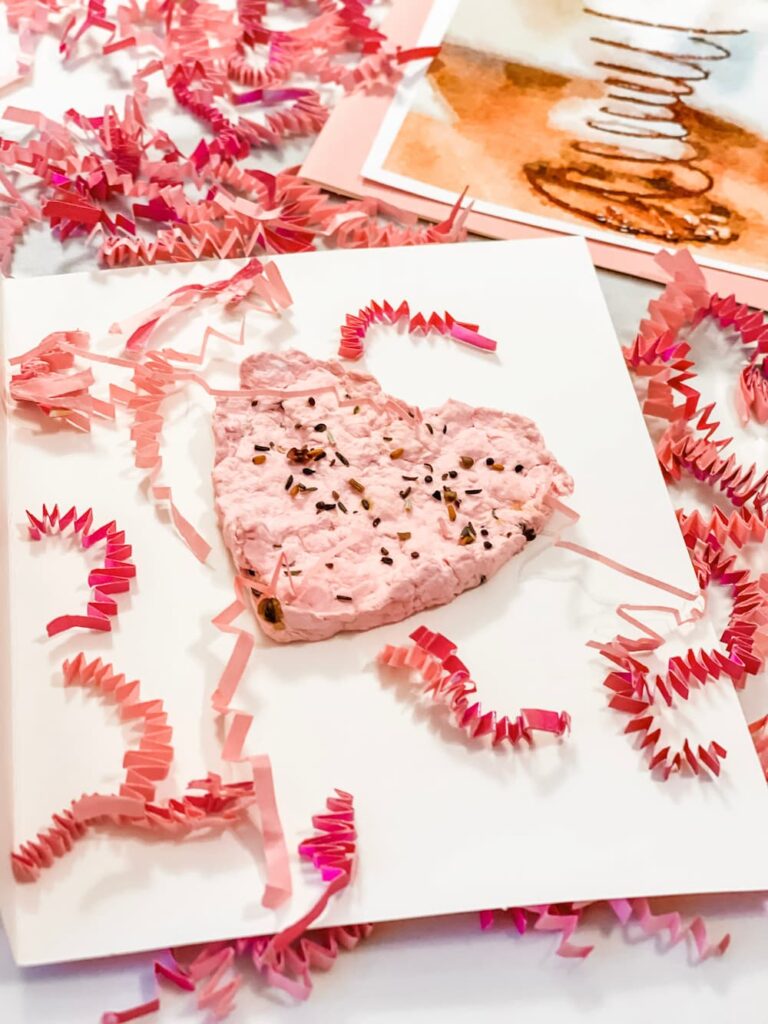
That was our directive for this month. Paper and Hearts. A few years ago I bought paper shaped like a butterfly with wildflower seeds inside. It made me think that this would be a good idea for this project using heart cookie cutters. I have never tried to make paper so I was excited to experiment. I made two batches and I share what worked best.
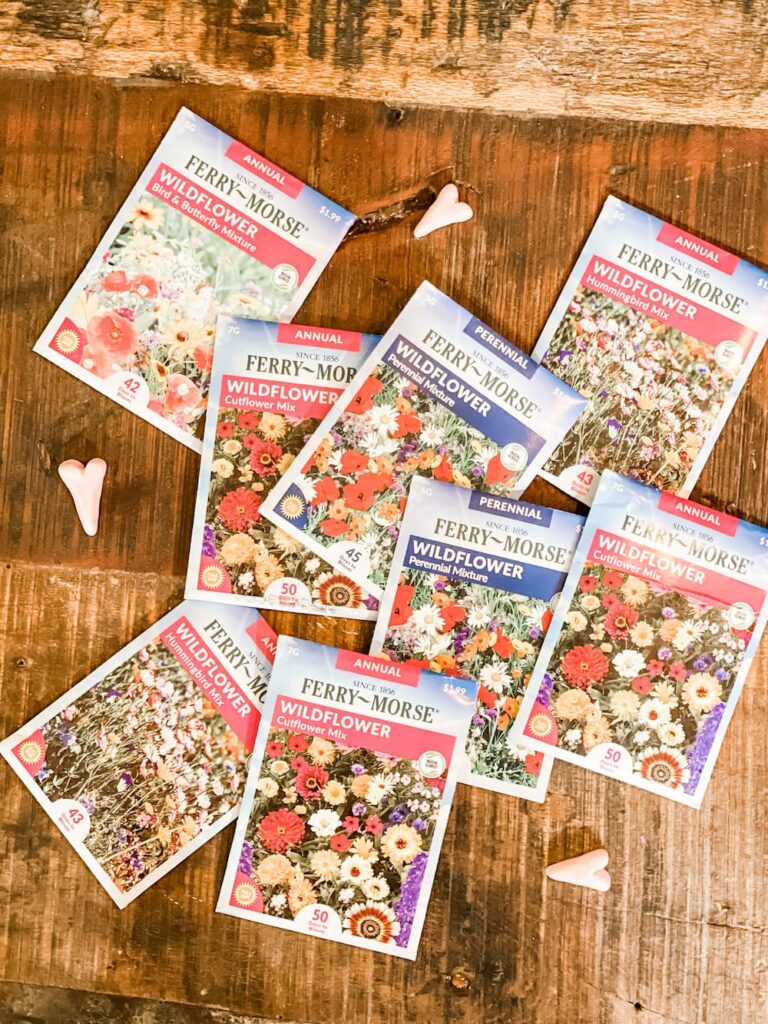
SEED PAPER HEART SUPPLIES
- Recyclable paper
- Strainer OR Splatter Screen
- Blender or Food Processor
- Water
- Terrycloth Towel or Microfiber Towel
- Seeds (I used wildflower)
- Cookie cutter or heart template
- Scissors
- Spoon
- Red Food Coloring OR Colored Paper
HOW TO MAKE SEED PAPER HEARTS STEP BY STEP
The first step is to collect recyclable paper, mine came from the mail. Nothing shiny was used. The second batch I made I used pink copy paper so I didn’t have to color it. After it’s gathered, you can rip it apart or put it through the shredder. I had luck both ways.
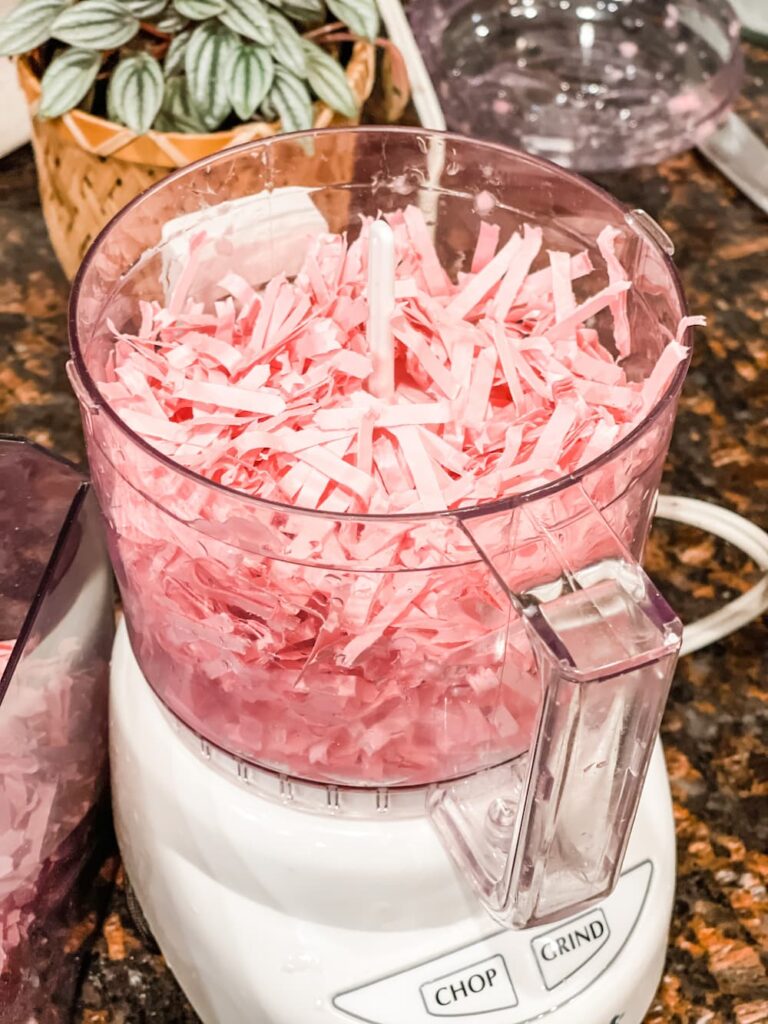
The second step was to place the torn up paper in a food processor or blender. The first batch I used my Ninja, the second batch I used the small processor pictured above.
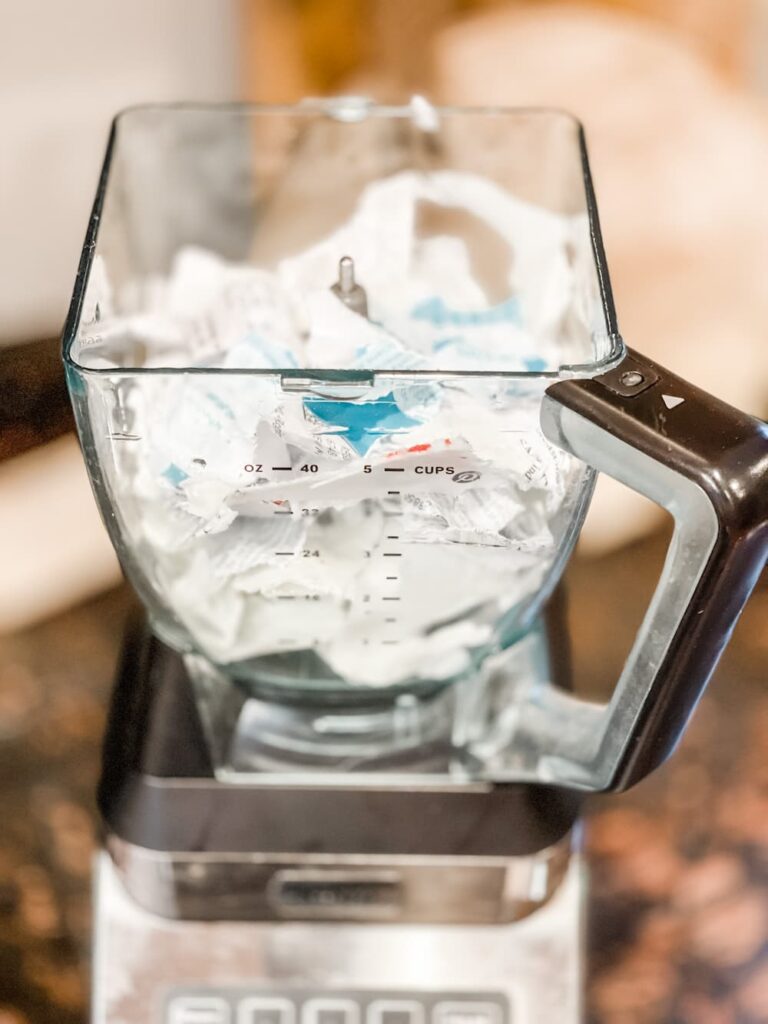
The first batch I poured water in and blended it together using the pulse motion.
The second batch I soaked in water before putting in the food processor. I didn’t see any difference.
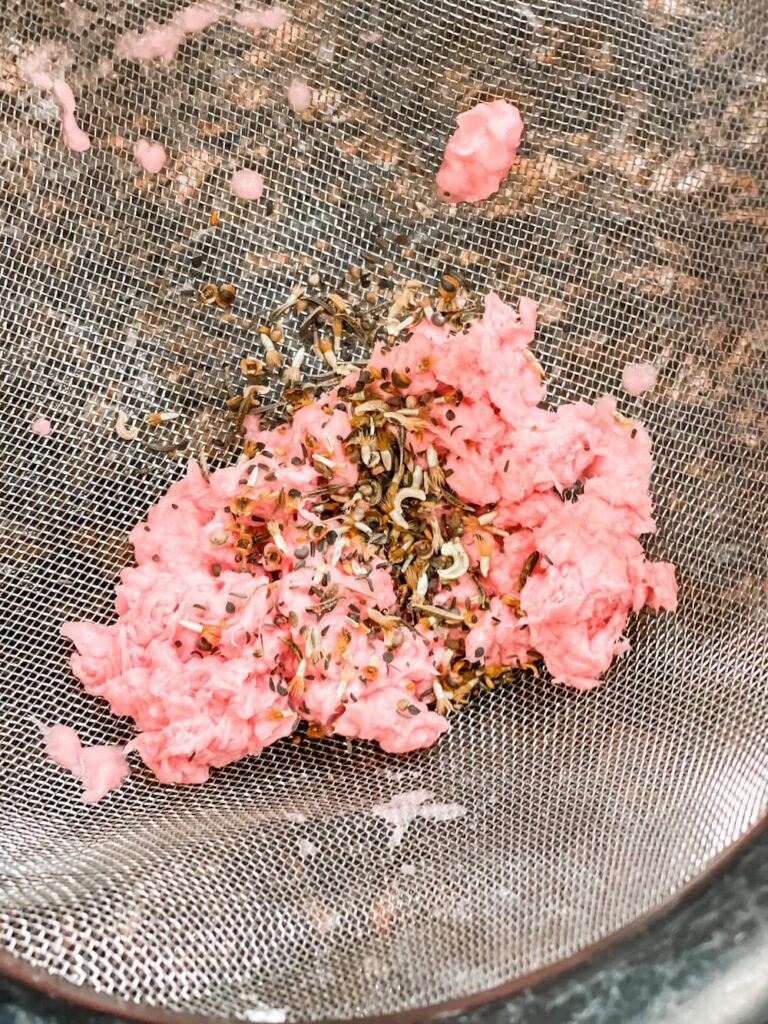
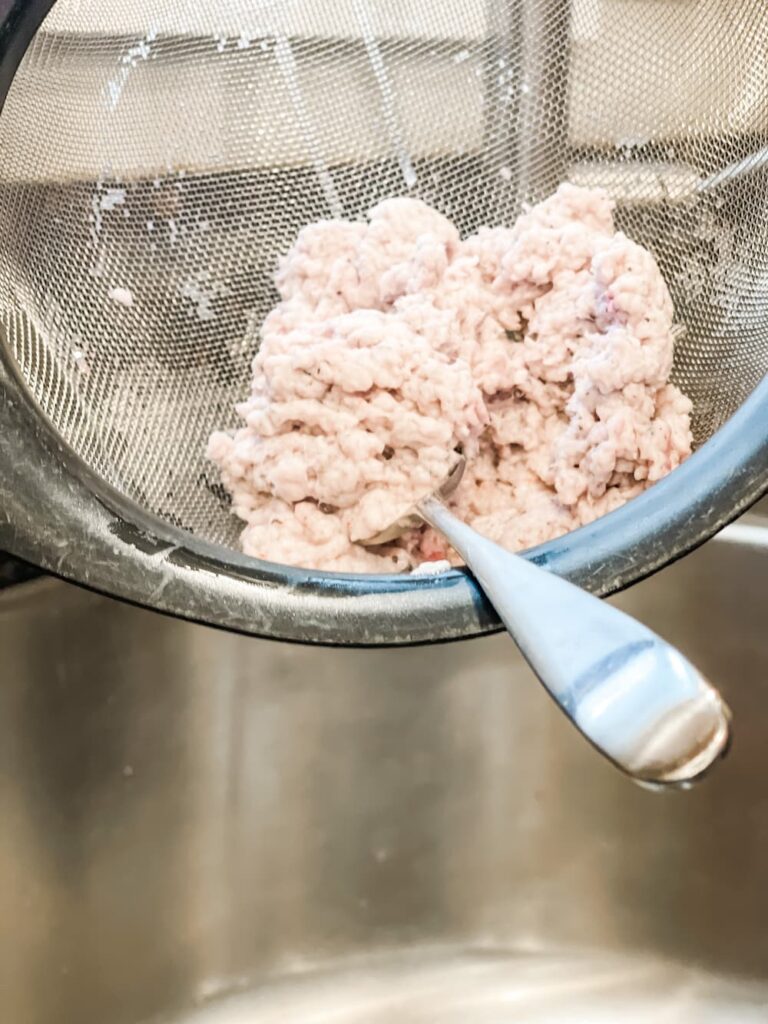
The third step was to stir in the seeds and then scoop the pulp out and put in a strainer (you could push onto a splatter screen). Both ways worked for me.
The fourth step was to add paper pulp directly into your cookie cutter. Try to add it evenly and press down as you add it. You can remove the cookie cutter and repeat these steps until you have used all of the pulp.
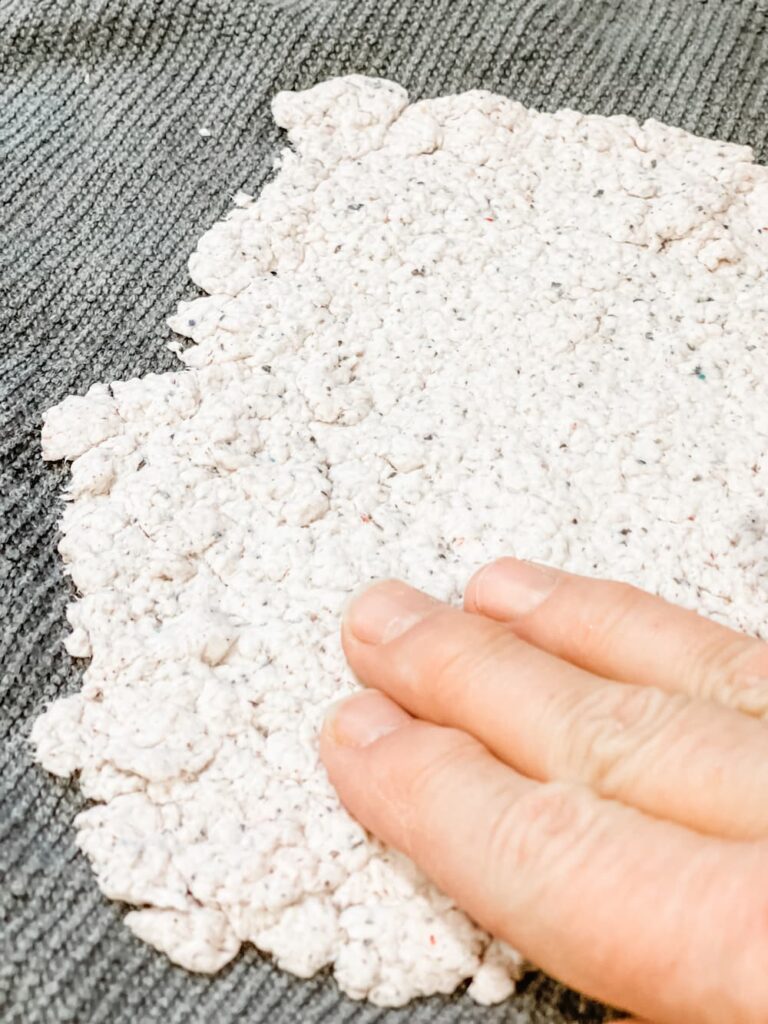
In my first batch I spread the pulp out on a cloth and pressed it evenly til flat. Then when dry I traced a heart and cut it out. This worked but it was difficult to cut. For the second batch I did the method above which was putting pulp directly into cookie cutter and it was much better.
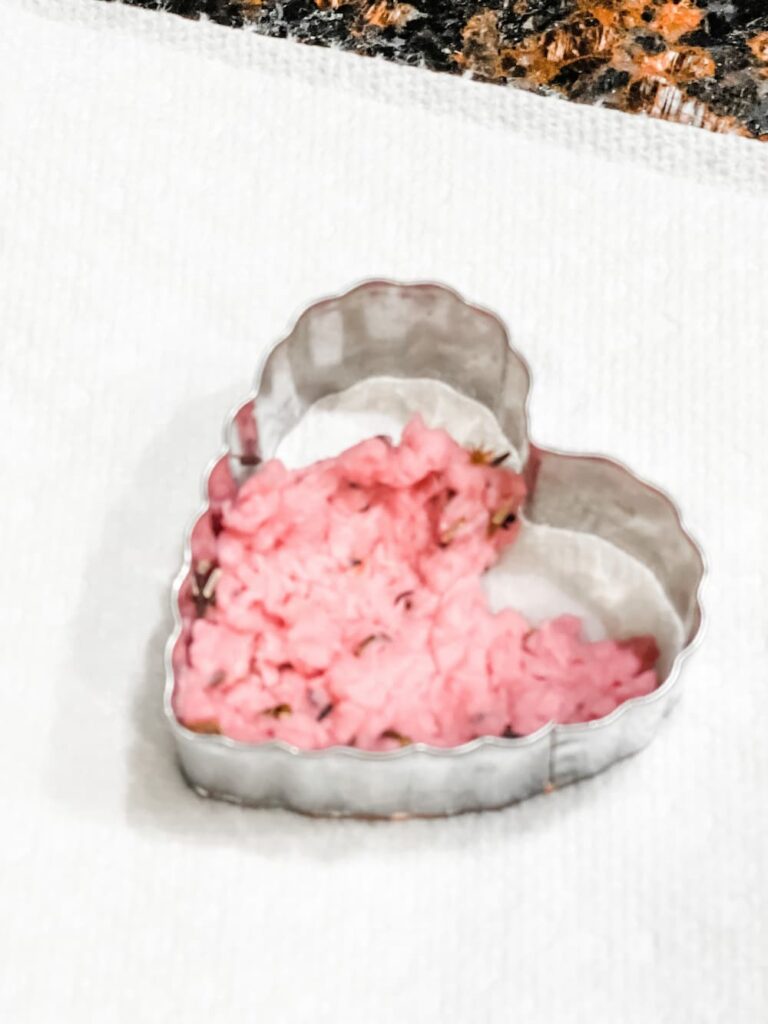
The fifth and final step was to turn on the oven to 200 and let them dry there. You don’t want the seeds to get soaked or too hot but with the temperature at 200, these dried fairly quickly. You can leave them out to dry or if you have no patience like me, you can use the oven.
DOES SEED PAPER REALLY GROW?
Yes it works and grows! They work best within 2 years. You should wrap your seed paper heart in a damp paper towel and place in a baggie on the window sill. Seeds should start to germinate within 5-7 days. Then they need to be transplanted to soil. You could also start them in soil after all chances of frost are gone. You can always type up the directions from your seed packet and add to the back of the heart or tuck in your Valentine card.
HOW CAN I USE MY HEARTS FOR VALENTINE’S?
I know you will love these, even more when you see all the ways you can use them.
ATTACH TO A JAR WITH CANDY
Being a huge jar saver, I alway as looking for ways to reuse them. I cleaned out and then painted the lids of these jars, a jam jar and a spice jar and added some candies. For the larger jar I attached a heart to the lid.
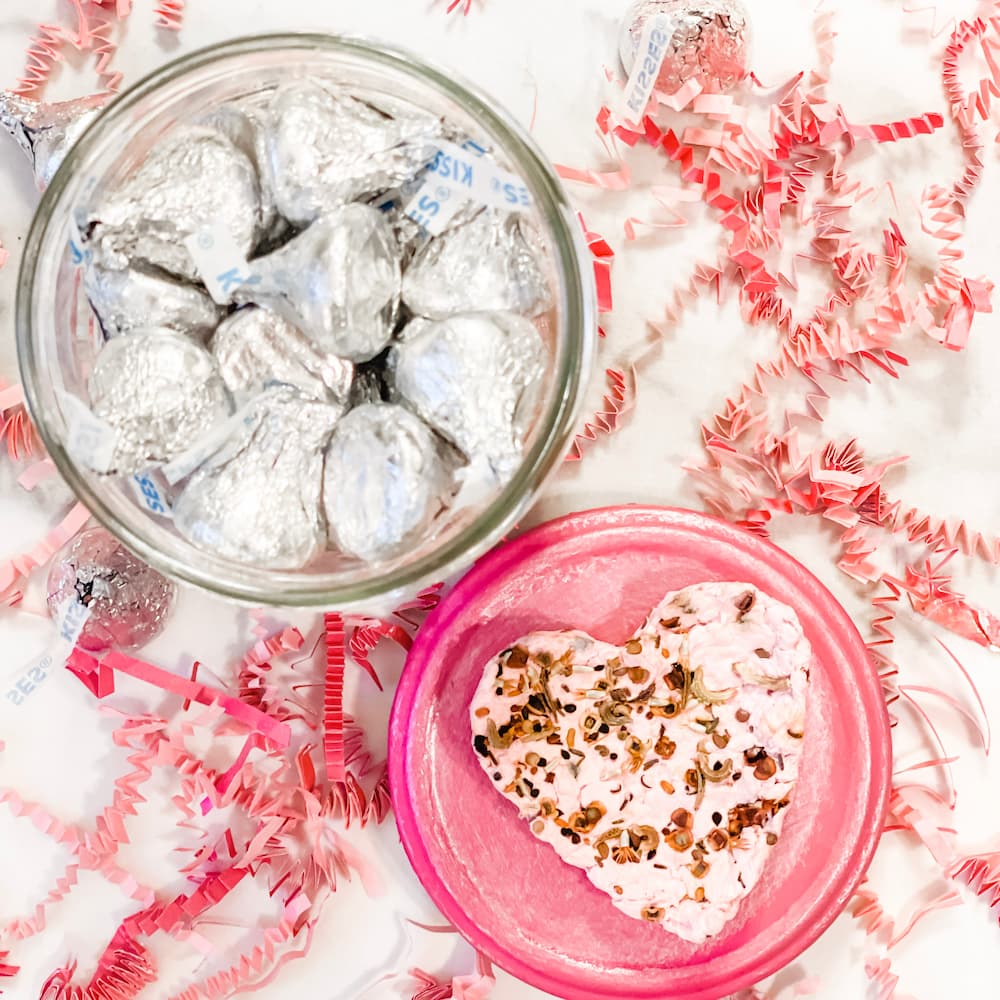
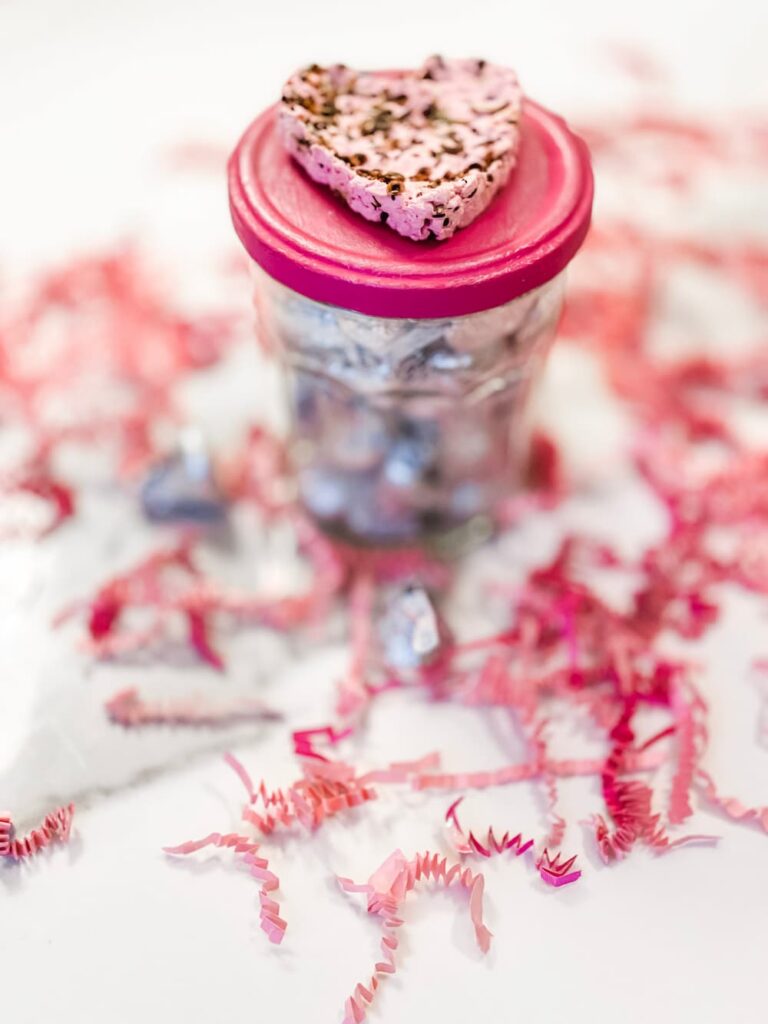
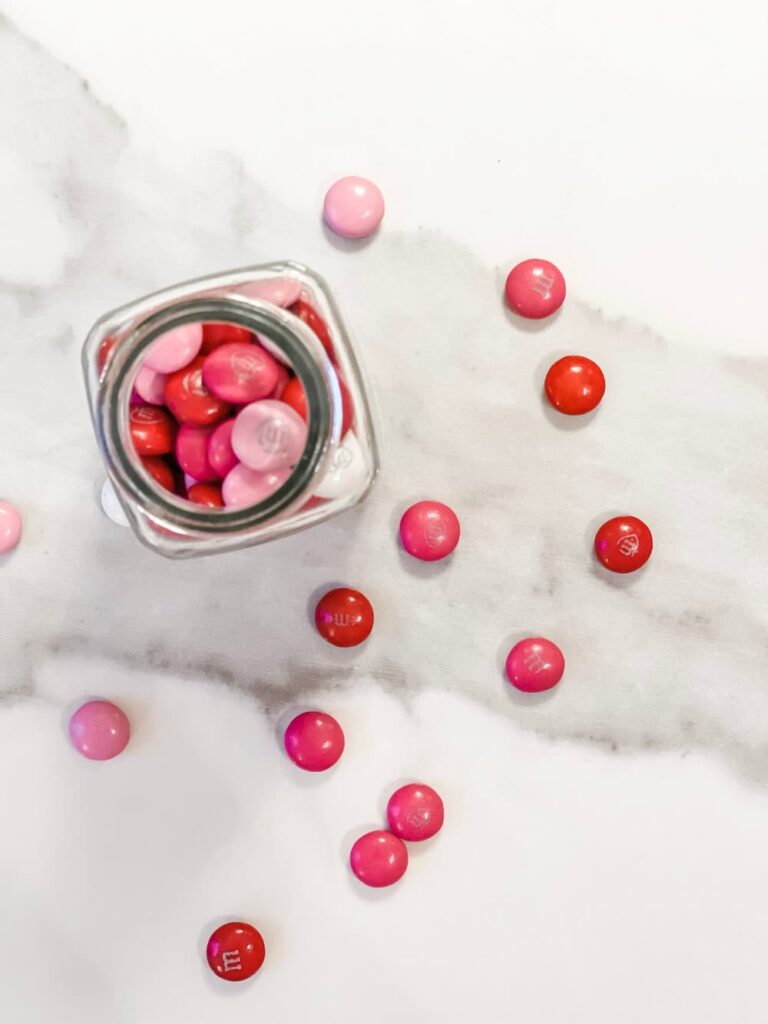
For the smaller spice jar, I attached a small heart to the front with a glue dot, and filled with M&M’s.
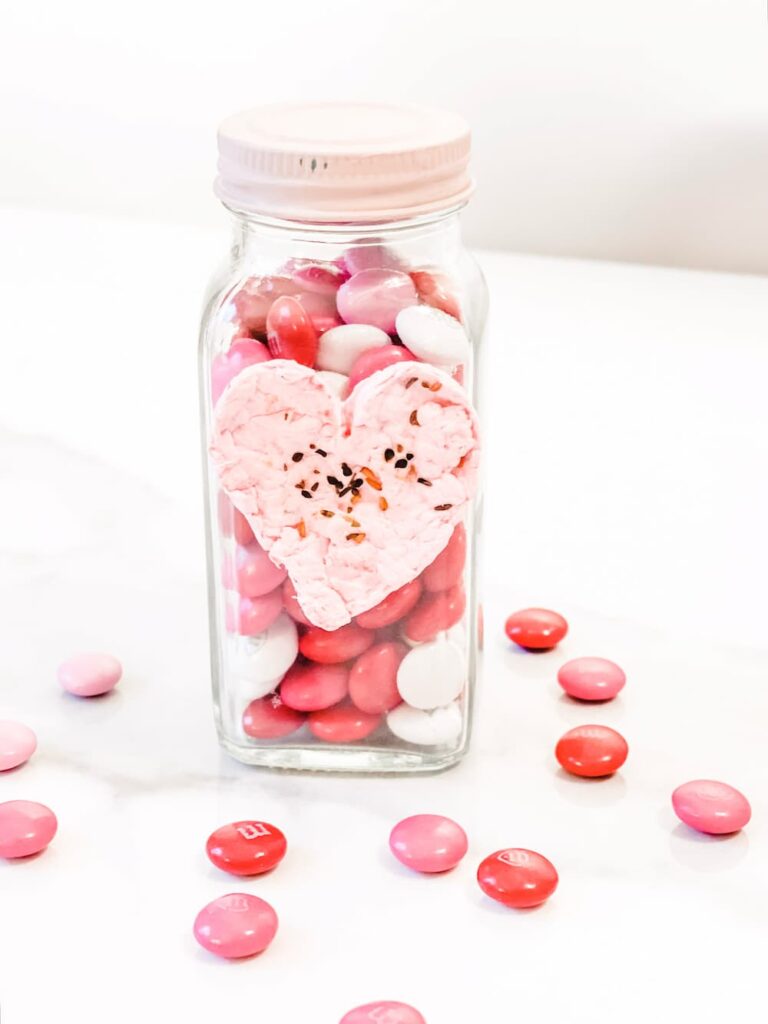
You don’t have to buy a 2lb box of chocolates. Who wants to eat that much (besides me)? Just a cute little jar with some candies and the seed heart make the perfect gift for a friend, co-worker or neighbor.
Just to let them know you are thinking of them.
AS A CUPCAKE TOPPER
If you are making sweets for Valentine’s Day, why not make cupcakes and add a seed paper heart on top?
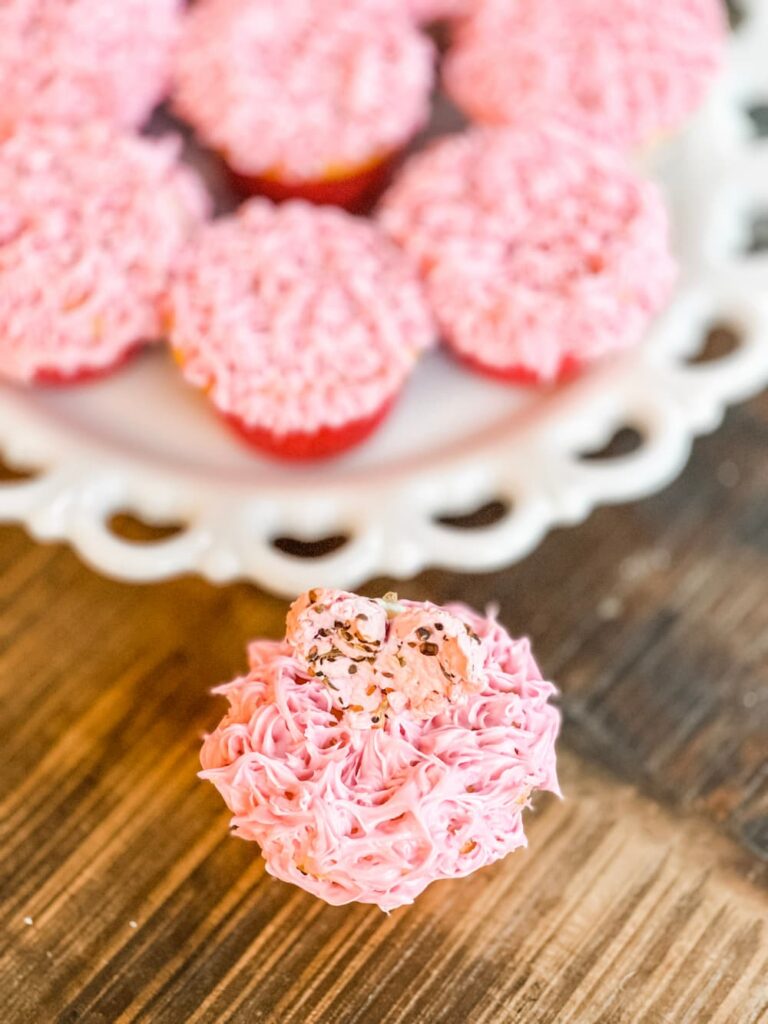
I did this for Earth Day a few years back and they don’t get thrown away. Just be careful that your seeds are secured in your paper heart so no one eats the seeds.
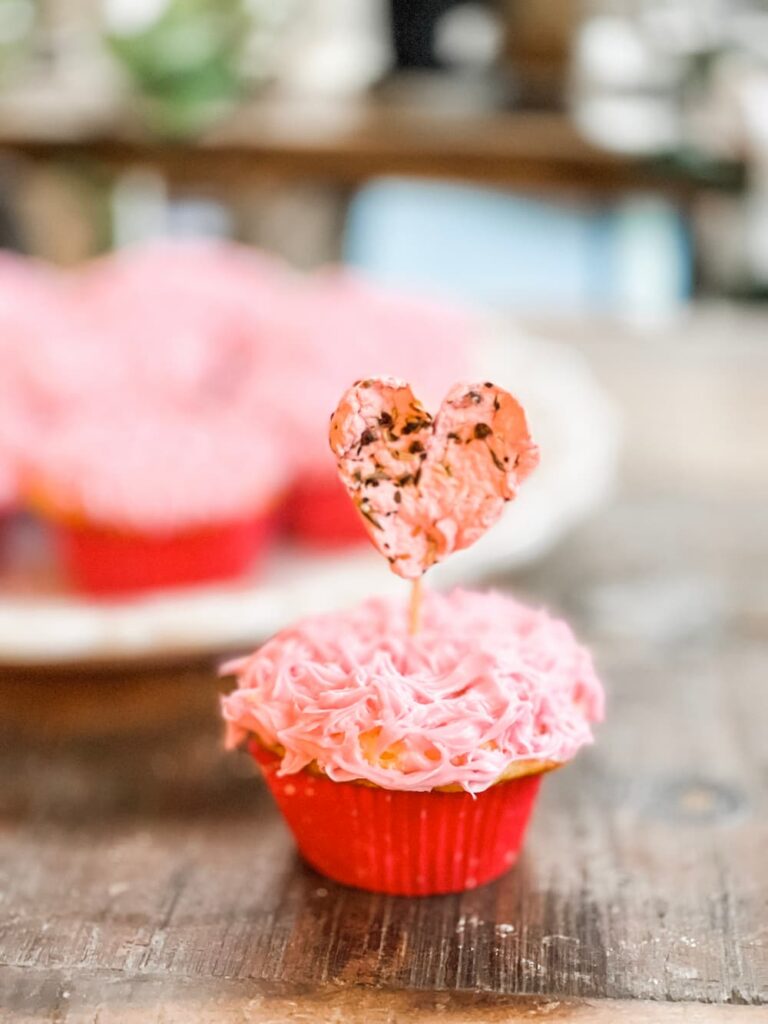
I used a toothpick and glue dot to attach the seed heart them added to my cupcakes.
INSIDE YOUR VALENTINE CARD
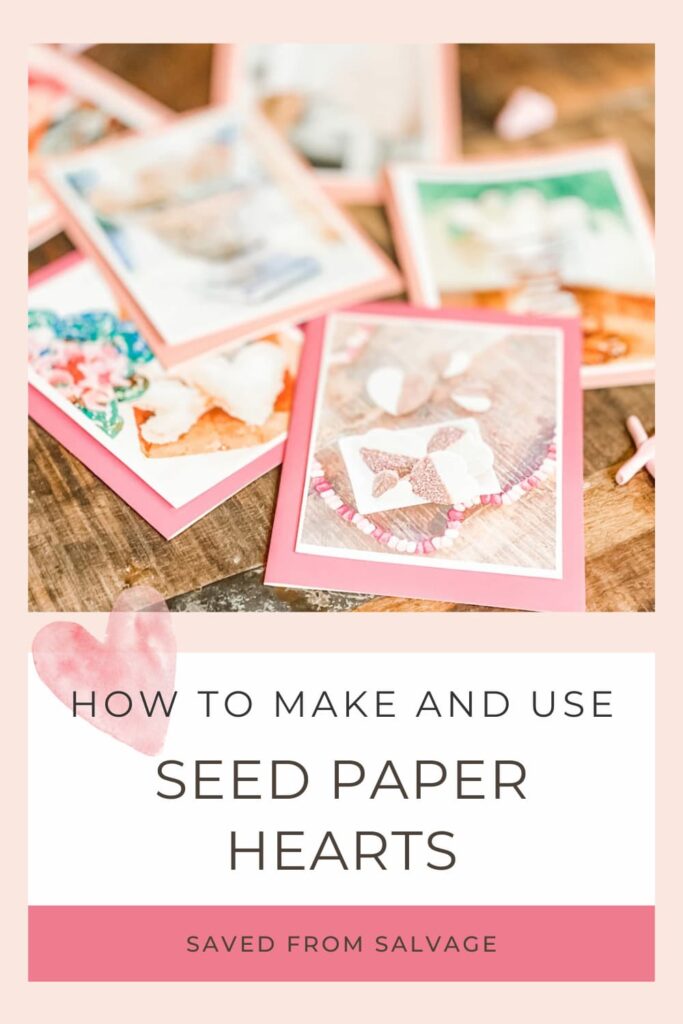
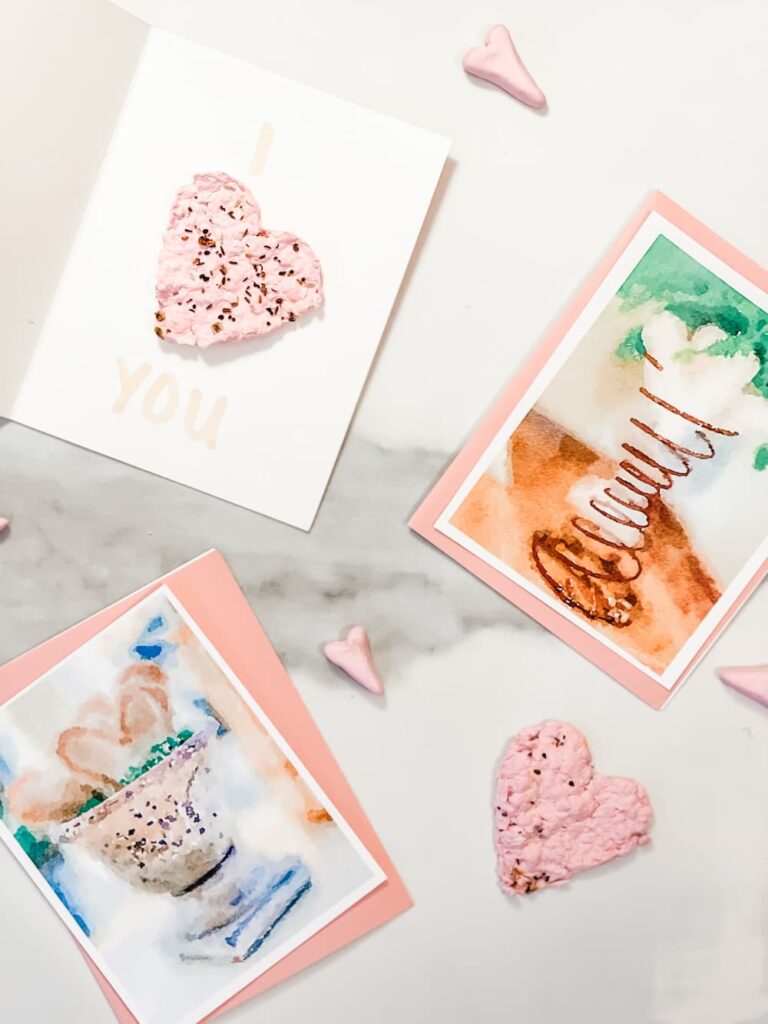
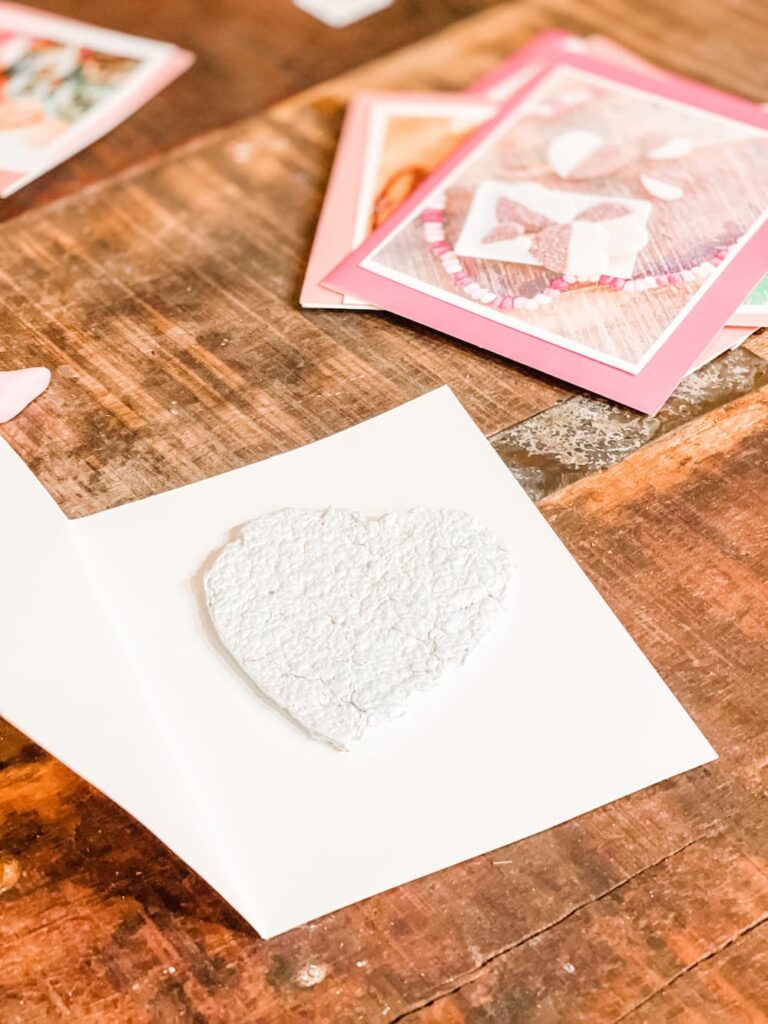
I used them as an insert for my Valentine Cards.
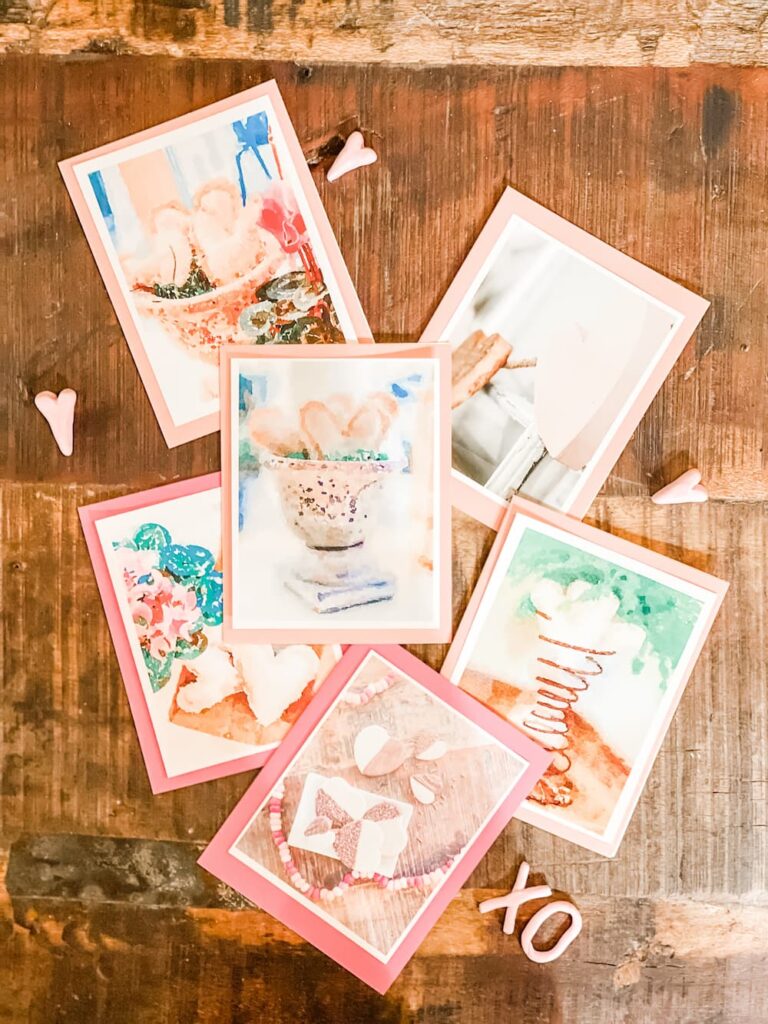
I enjoy using pictures I’ve taken of my seasonal decor and creating one of a kind notecards.
To see a post on how I make these, click here.
I made my cards and used a glue dot to attach the seed paper heart inside.
GIFT TAG
For an adorable gift tag for Valentines Day or Mother’s Day, put a hole in the paper heart with a skewer when you are making them, or with a hole punch after.
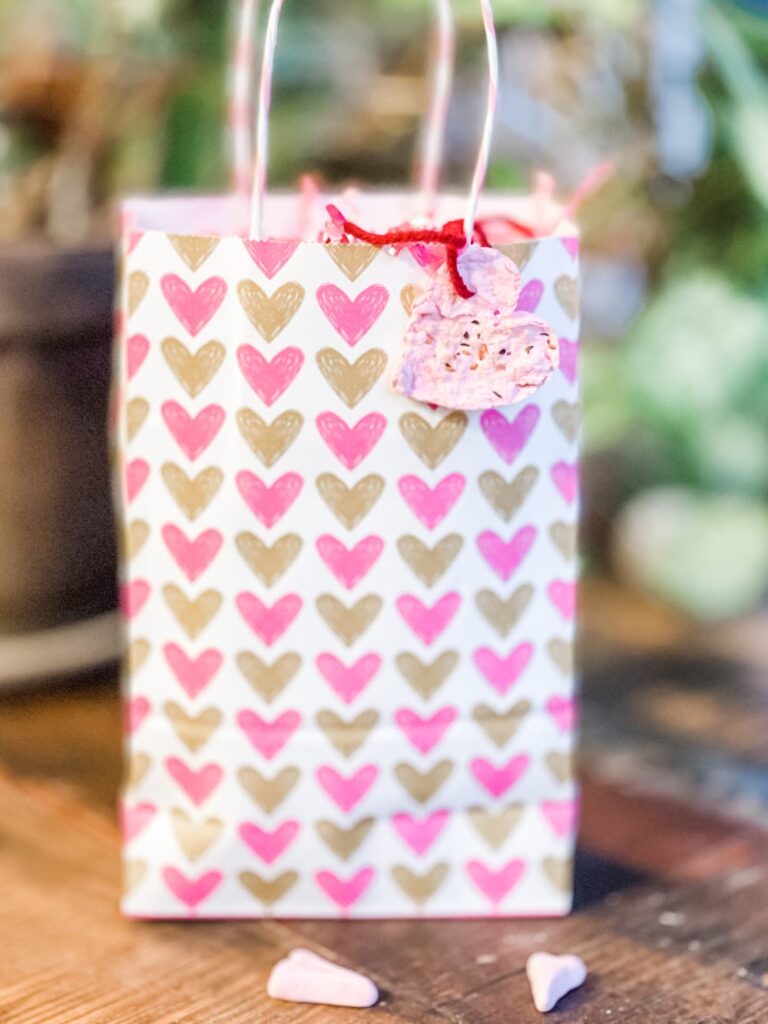
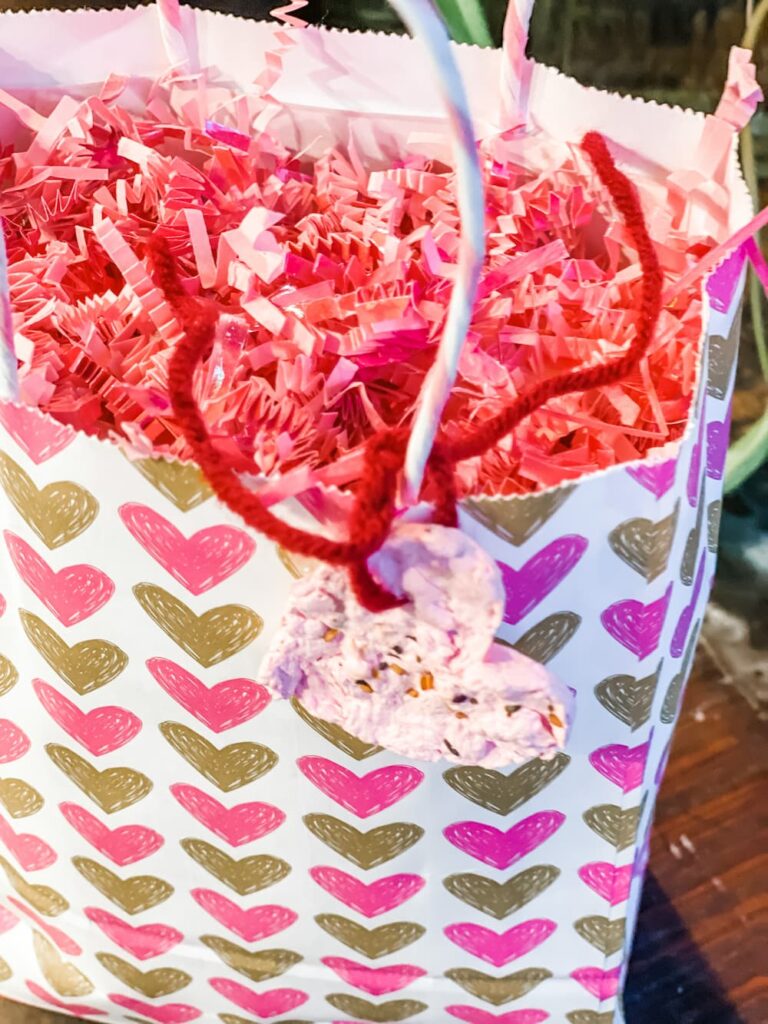
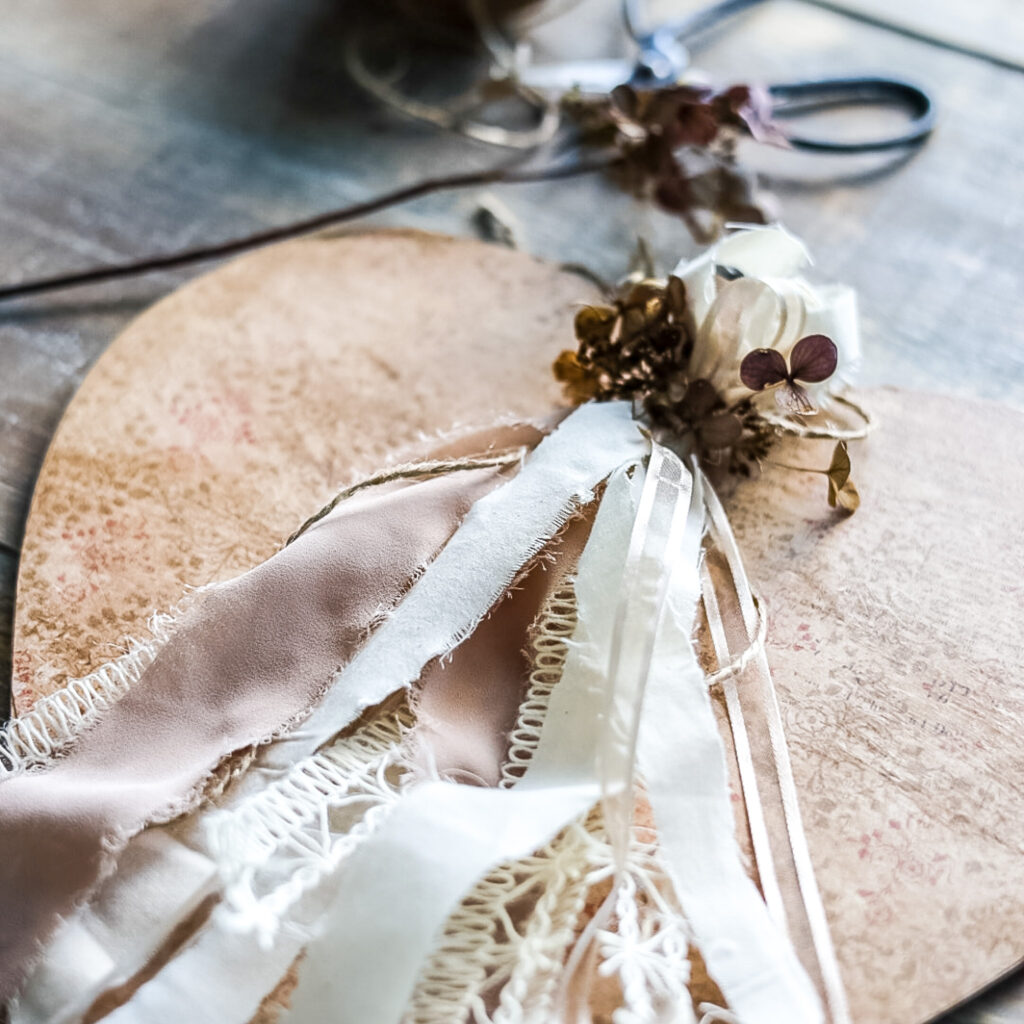
Tie a piece of string or twine onto the heart and attach to your gift. You could use a glue dot to add a paper heart on top with the name. Or you could leave them as a little heart decoration like a bow.
PAPER HEARTS WITH SEEDS FINAL THOUGHTS
I enjoyed this craft very much. I like that I could take trash and turn it into something beautiful and unique. Even though I used pink paper for the second batch, the first batch was a mix of mail and some red food coloring.
These would make cute favors at a shower or wedding. Any type of cookie cutter would work. Plus you could color them to match any event or theme. I did prefer the oven drying method. I’m the one who eats most of the meringue before it dries for 6 hours in the oven so it’s’ no surprise I don’t have patience for them to dry overnight.
- Tear or Shred Paper
- Add to Food Processor
- Add water to Food Processor
- Let soak a few minutes
- Blend
- Stir in Seeds
- Transfer pulp to strainer and push with hand or sponge.
- Add pulp into cookie cutter on top of hand towel
- Push down on pulp with paper towel or sponge
- Lift cookie cutter and repeat
- Place in oven on 200 degrees until dry
Paper making was always intimidating to me because I thought you had to have special tools. Well everything I used was from the kitchen. Let me know if you make them.
HANDCRAFTED SOCIETY POSTS
Make sure to give some love to my fellow Handcrafted Society Bloggers!
Thanks so very much for stopping by. I hope you subscribed so you can get your subscriber only newsletter each week. For more Valentine inspiration – click here.
If reading about seeds gets your thinking about Spring, you’ll want to check out this post on 10 Creative Spring DIY Projects. For tips on organizing – see my new post on Organizing Your Guest Bath.
Till next time, XO, Regina
LET’S GO SHOPPING
I AM AN AMAZON AFFILIATE, IF YOU PURCHASE FROM THE LINKS PROVIDED I RECEIVE A SMALL COMMISSION AT NO ADDITIONAL COST TO YOU. THANKS FOR SUPPORTING MY SMALL BUSINESS.




Regina, what a wonderful idea, and I love all of your gift presentation ideas! I’m so glad you shared this. I’m hosting a garden themed baby shower next month for our first granddaughter, and I’m going to make these for party favors!! Thanks so for great inspiration!!
I’ve always wanted to try this out!! What a cool idea, you are super talented!!
Regina, your seed paper hearts turned out so pretty! I can’t wait to try my hand at making some. Perfect as a party favor too!
I love this idea, Regina! So clever and unique…and such a great gift idea! And, I think the seed heart on the cupcake is adorable! Pinned!
Regina
I tried a similar project that was an epic fail. I’ve pinned to give it another try with your instructions.
Awe – We’ve all had those! Have a great day
Regina, these are so neat! I love how many things you can add them to! So smart!
Thanks so much Amy!
Wow, Regina!! I don’t think I’ve ever seen anything like this done before!! How cool!!! I love this…it’s super unique. What a special touch to add to anything! Thanks so much for sharing at Home Imagined this week!
Regina! I love this idea! This would be so fun to make as party favors. I love the color pink of your seed paper heart. Pinned! Definitely making this. (Now if only it weren’t snowing outside . . .)
Hi Regina, thanks for sharing these seed paper hearts. They look so pretty. I am new to this concept- looks interesting and a fun project to make.
You are so welcome – I’d love to know if you make them!
I love these and I really love how you tried a few different methods at each stage and shared how you got on.
I think these would be the most lovely favours at a wedding, or just a nice little treat to pop in a greeting card at any time. They are a feature over at this week’s Handmade Monday.
Julie – thanks so much – excited to be featured!
Hi Regina- We loved this idea so much that it will be featured on our Home Imagined Link party tomorrow!
Anna-Thanksso much!
These are super cute Regina! They would make a great gift for Mother’s Day or a just-because gift for sisters and girlfriends!