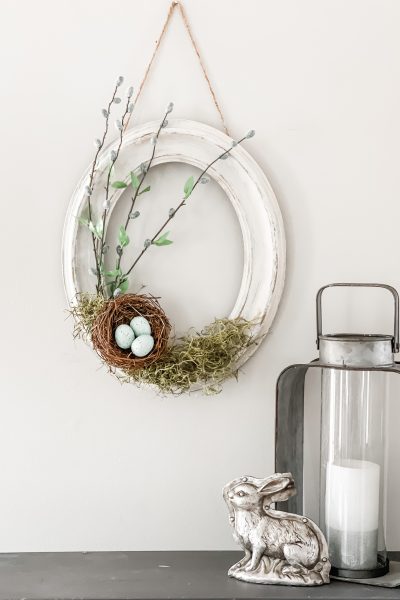
Do you love the simplicity of natural elements in your wreaths? I’m sharing the perfect DIY Christmas Wreath for you to add Hygge to your home.
Hi, I’m Regina and this is Saved From Salvage. Welcome to my blog.
I love to share projects, ideas and inspiration to create a cozy home.
I absolutely love the looks I see in blogs from across Scandinavia, especially around the holidays.
The natural elements and simple styling draw me right in.
How about you?
Is that a look you love, or are you more of a traditional Christmas person?

The good news is whatever style you like, you will probably find it in this fabulous Celebrate the Holidays Blog Hop.
We are sharing the best of our Christmas projects, tablescapes, diys, recipes and more.
I hope you enjoy.
If you are coming from Tammy at White Lilac Farmhouse – welcome! She’s a friend and fellow Marylander whose style I adore.
This year I’m all about cozy, simple and natural. I’m sharing an out of the ordinary wreath that features one of my obsessions….air dry clay.
Table of Contents
HYGGE HOLIDAY WREATH SUPPLIES
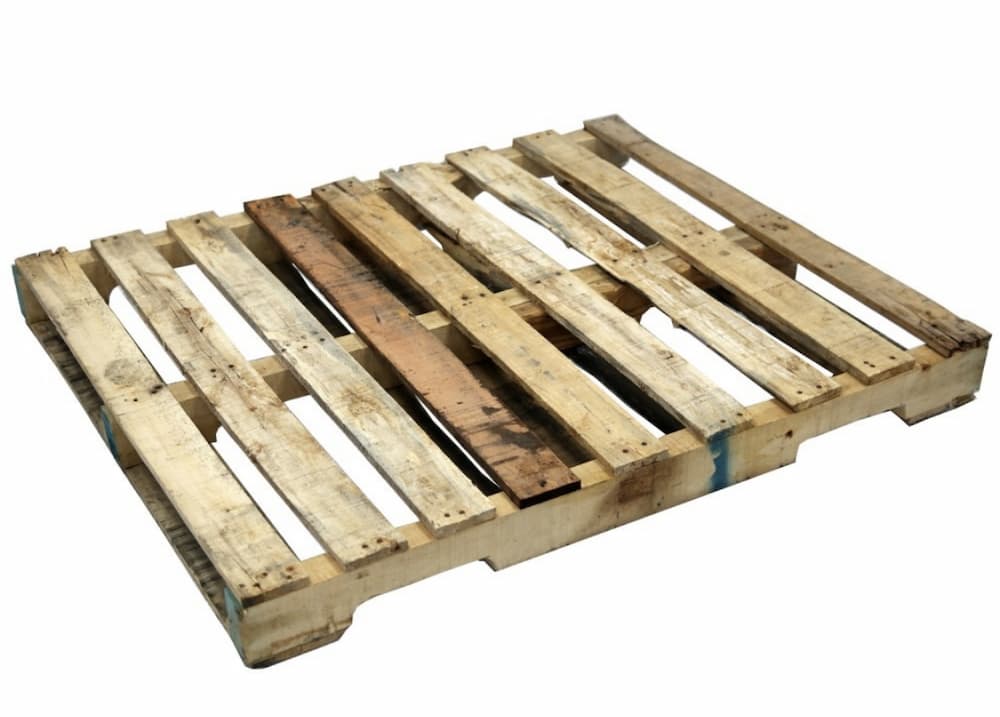
Pallet
Greens
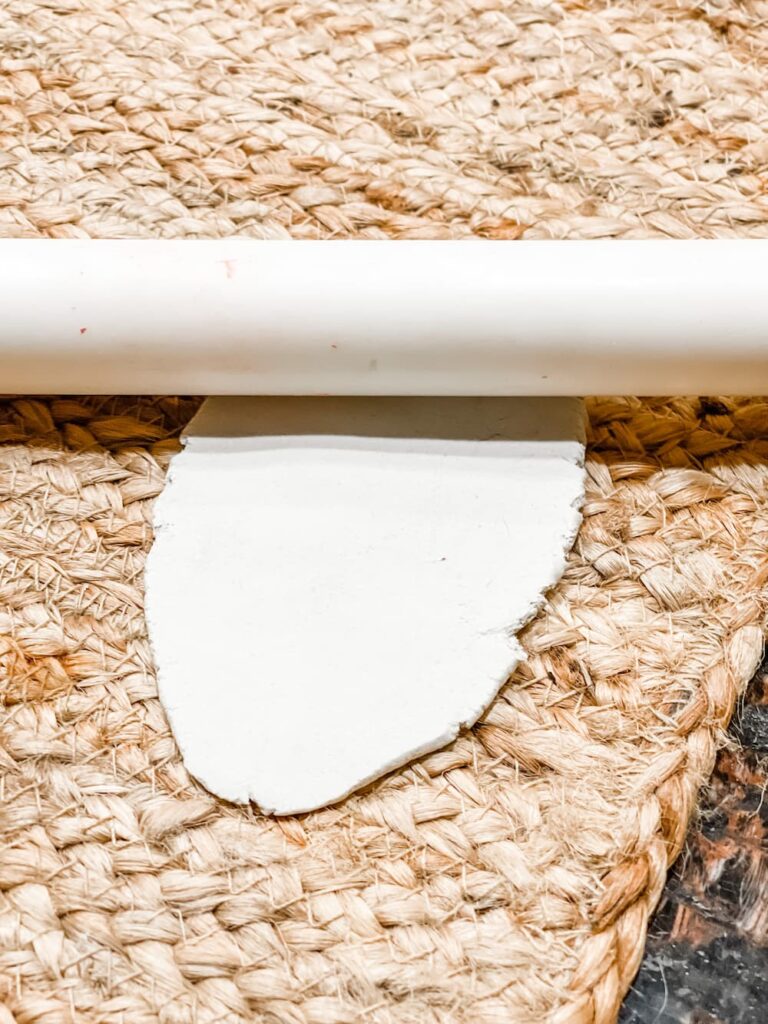
Air Dry Clay
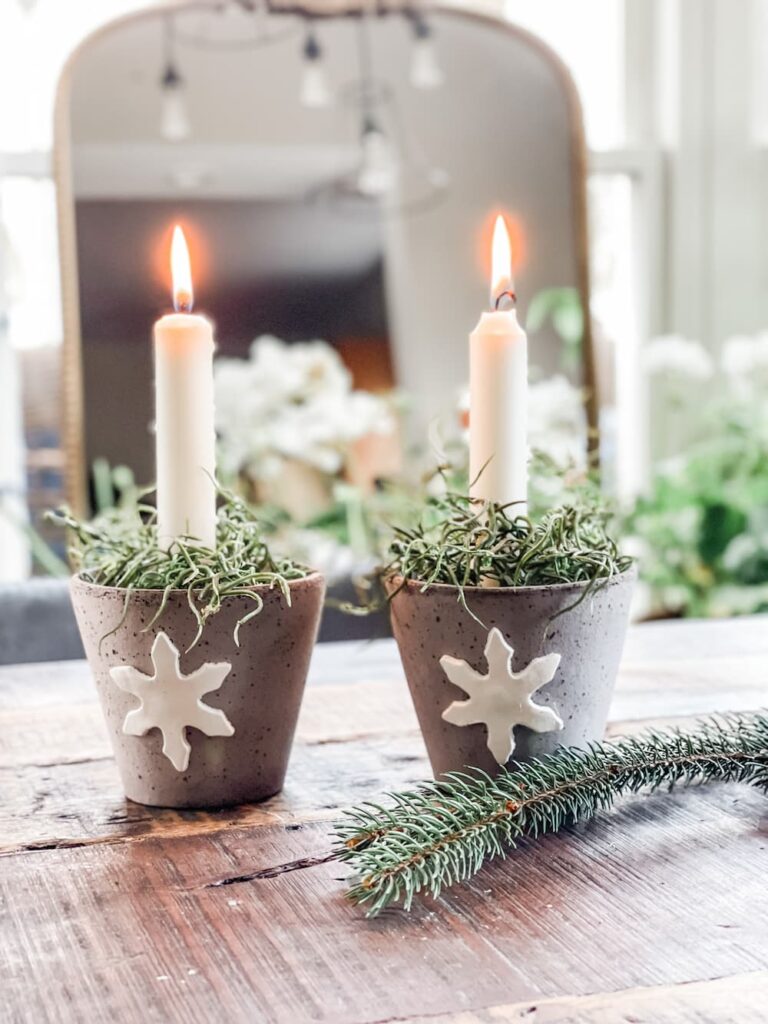
Tea Light
Twine
Rhododendron Leaves
Mod Podge
Star Cookie Cutters
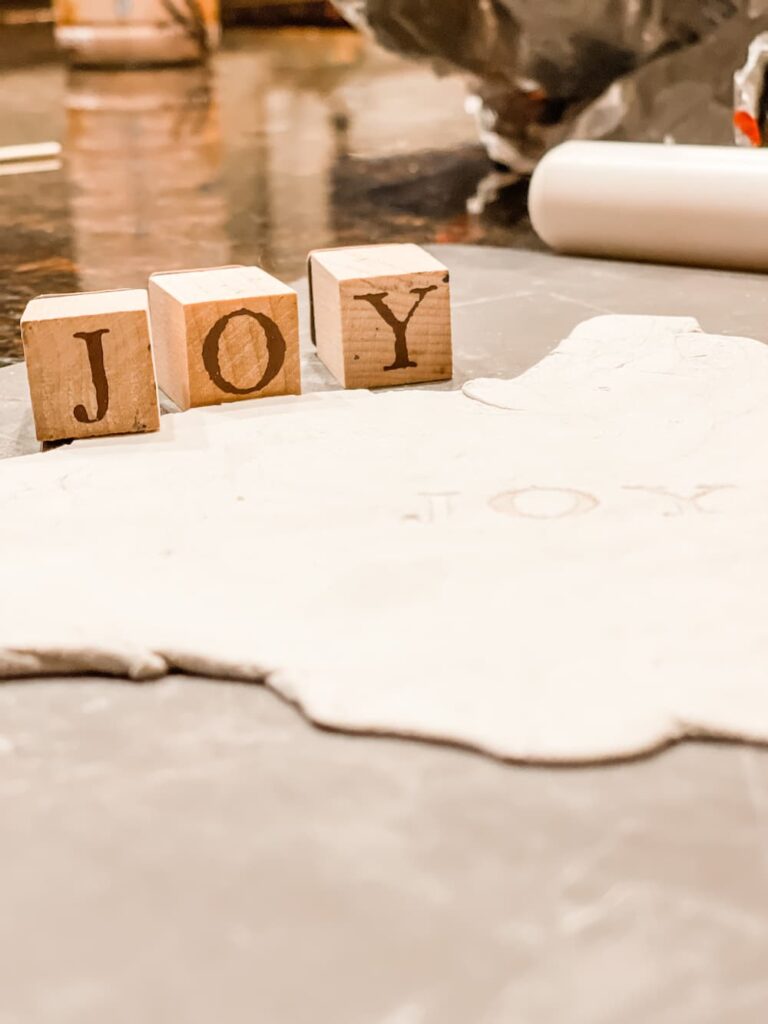
Letter Stamps
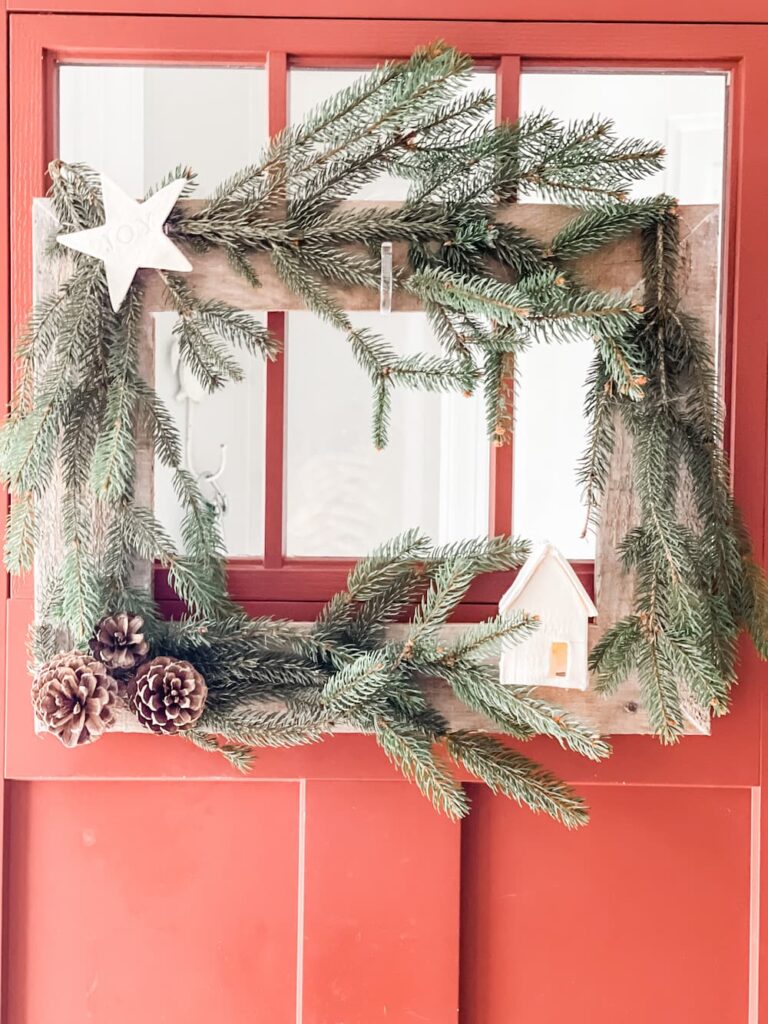
THE WREATH BASE
To make the wreath frame, I used an old pallet cut with a mitre saw. Next I stapled and glued it together to make sure it was sturdy.
It makes a perfect base for my Hygge Christmas Wreath.
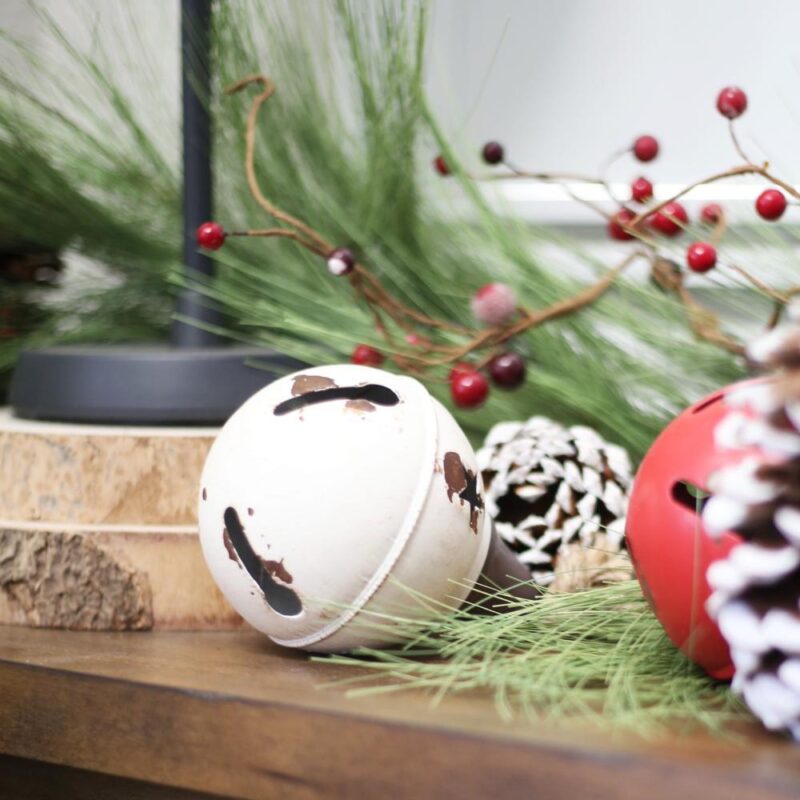
THE GREENERY
Fortunately, living in the woods, I’m surrounded by all sorts of greenery.
I snipped a few branches of evergreens and pinecones I forage on my dog walks.
I used a heave duty stapler to attach the branches.
Then some hot glue for the pine cones.
I glued a small piece of greenery over the staples to hide them.

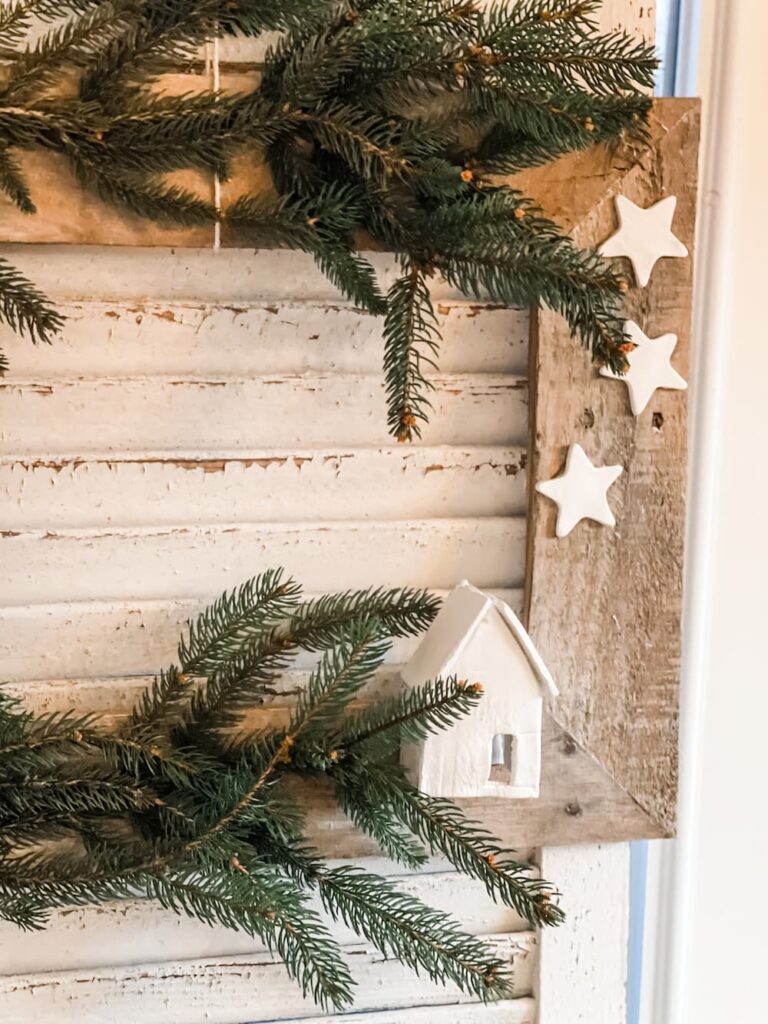
THE STARS
Using a star cookie cutter in two sizes, I cut a large star and three smaller ones.
I used DAS Air Dry Clay and let them dry overnight.
Next, I used my stamps to put a little “JOY” in my largest star. I coated the stars in Mod Podge.

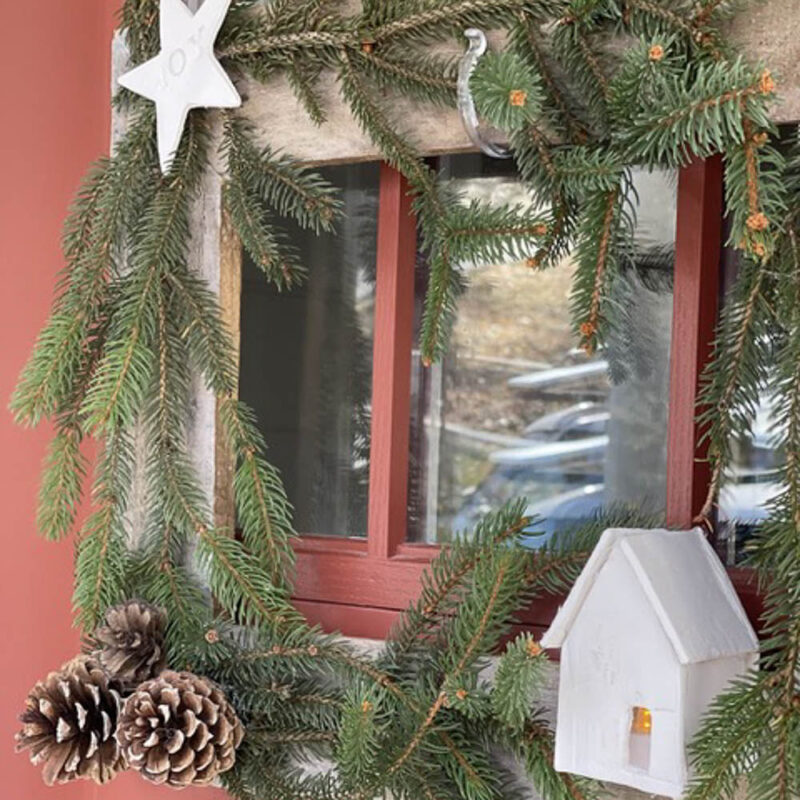
THE HOUSE
So I am making a little village of these adorable clay houses.
I used one that I made to attach to the base of the frame and hot glued a flickering tea light inside.
I love the glow from the windows. Again, using air dry clay, I rolled it out and cut the shape.
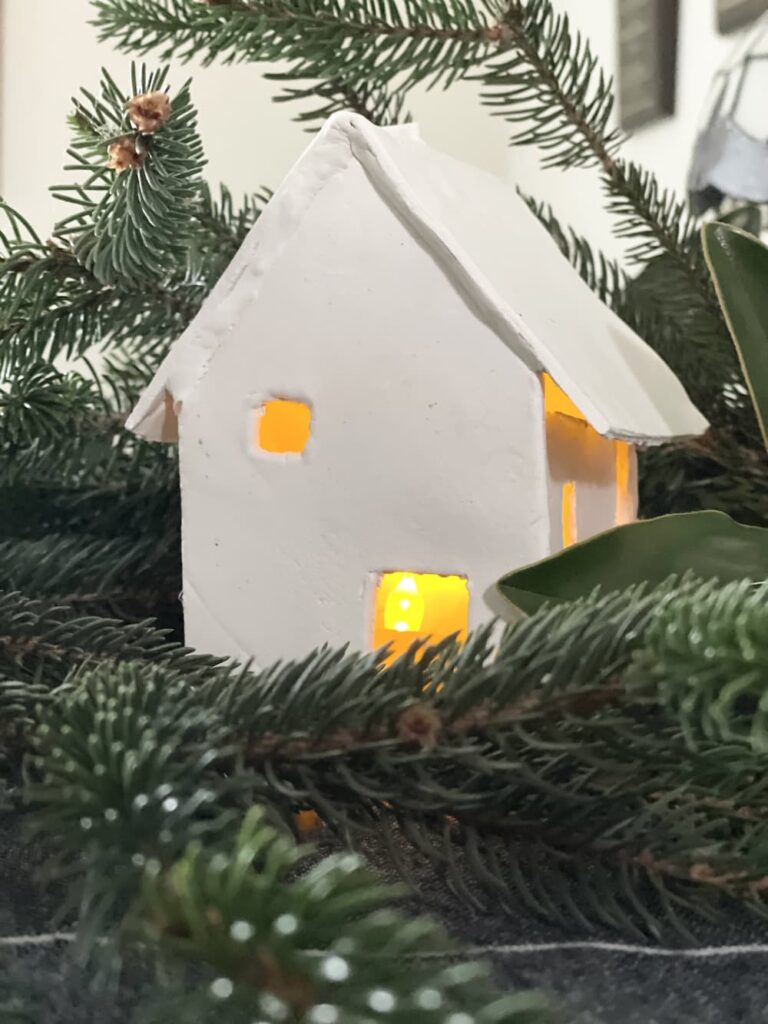
I will never become a home builder because it’s a little lopsided but I did some repair with extra clay.
I glued it together and then attached the back to the frame with hot glue.
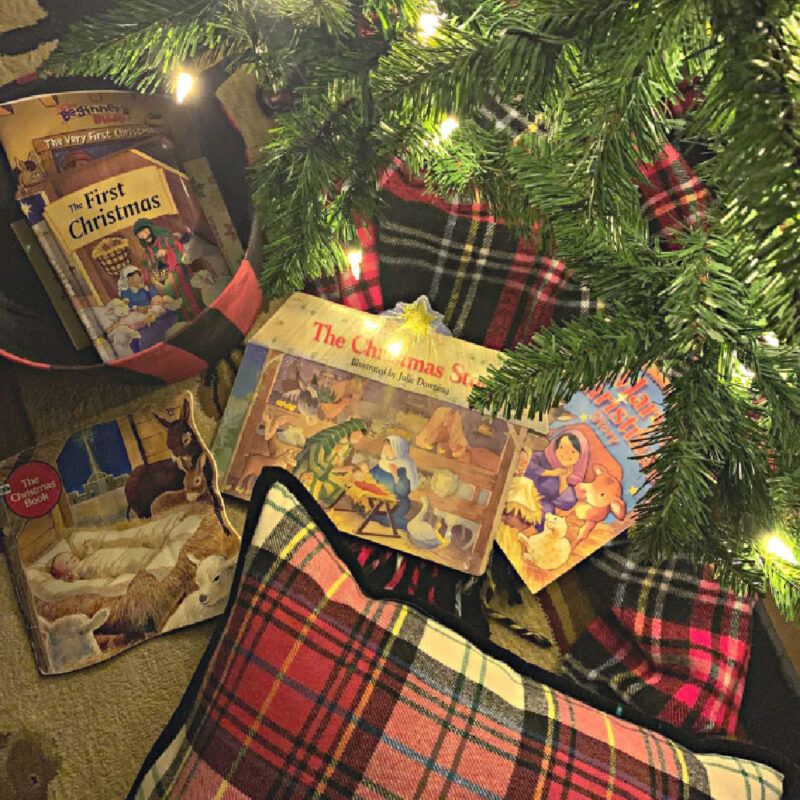
I am busy making more decorations for the holiday that reflect the simple, peaceful vibe I want.
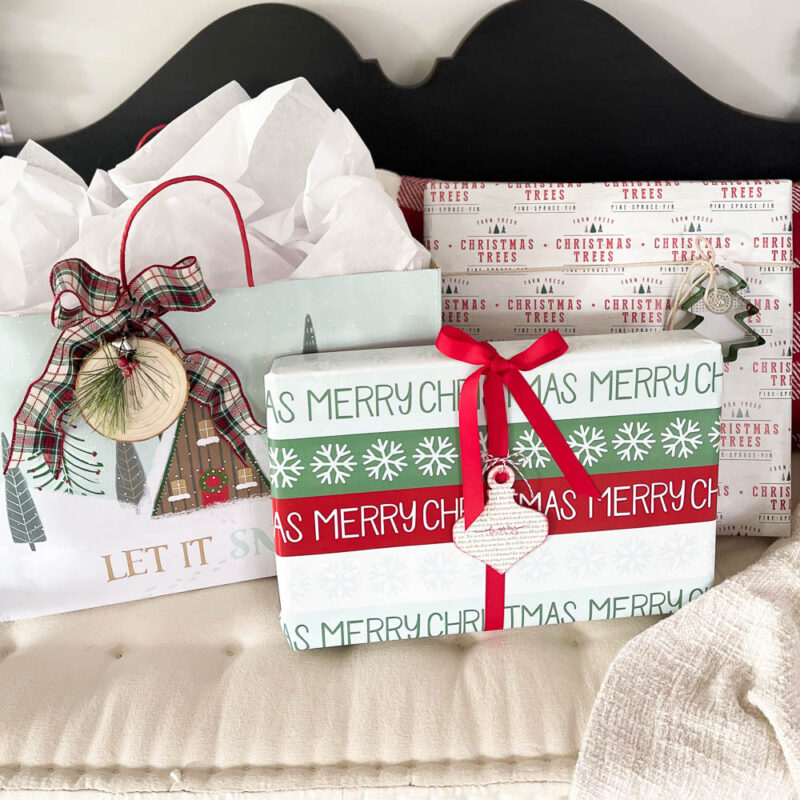
In addition to the natural elements, I’m stacking up on throw pillows and cozy throws all around my home.
Over chairs, in baskets and crates, no one will even think of being chilly in our house.
If you are looking for an easy and quick holiday party food, check out my Charcuterie Board here.
Next up on the Celebrate the Holiday Blog Hop is Kristin at White Arrows Home, check out her cozy cabin home.
To see all of the great ideas, click on each picture below.


Thanks so much for stopping by, I hope you enjoy all the of the inspiration today. Please sign up for my newsletter and keep up to date on all the happenings at Saved From Salvage.
If you want to see my most popular post from last Christmas, click here.
If you are entertaining this holiday season, you need to check out these 12 Charcuterie Board Ideas.
XO, Regina
LET’S GO SHOPPING


HI Regina, I love this idea and I love a repurposed project! Happy Day!
laura in Colorado Now I am going to see your most popular post!
Regina, you are so creative. I love seeing the beautiful things that you make with leftovers that others discard. The clay stars are a favorite but those little houses!!!! I am in love with the little houses.
And last but not least, your wreath looks beautiful!
Have a happy, safe, wonderful season!
Regina, I absolutely love this wreath you made and the embellishments to go with it. It is perfect for the holiday. I love the little white village houses too. They are so great to put out during the holidays. Enjoy this beautiful weather we are having this week! Hugs, sweet friend.
Oh, Regina! This is so perfect! I love the idea for the stamped star and that house! So very cute!!! Can’t wait to try out that clay for some projects here. Loved hopping with you!
Super cute idea! I love it. You are so creative. So fun hopping with you today.
This is just stunning, Regina!! I too am loving the look and feel of a simple, Scandinavian Christmas this year. This wreath is beautiful and really exudes the peaceful feeling of Hygge!
Regina, you are so creative!! I love this wreath idea, and it’s so fun seeing how you made the clay star and house. Your wreath is simply perfect!
Oh my gosh I love your wreaths what fantastic ideas❤️❤️❤️
Your wreath is so pretty Regina! I love this simple approach to Christmas decor and of course real greenery. By the way, your clay house is just adorable!
Regina this wreath is so cute! I love the house and stars you made too. Amazing job.
Such a lovely wreath Regina – I love how you made it from mostly things you had! Your Scandinavian holiday decor is so beautiful and peaceful!!
Regina, your wreath is fantastic! I love the peaceful simplicity of your Hagee decor. You do such lovely work.
Visiting today from GraceAtHome #10&11
Paula – thanks so much! I’m glad you like it. Have a great weekend.
Regina, what a great idea for a wreath. Very inventive and fits a rustic Christmas theme perfectly. I love your little house and star. You need a great job reusing wood from the palette. Thanks so much sharing on Celebrate the Holiday.
Thanks Carol. I loved your home tour, thanks so much for coordinating the hop!
Hello Regina! Thank you so much for sharing with us at the TFT party last week. I’m featuring you this week! Love your Wreath!
Congrats!
Theresa @ Shoestring Elegance
gorgeous, simple, joyful!
this wreath makes me smile as the season starts.
Such beautiful ideas and photos – thanks for sharing – congrats on being one of our Featured Friends at Friendship Friday at Create With Joy!
Thanks so much!