Are you interested in a new product to elevate your furniture makeovers? I’m updating a vintage bench using rice paper and paint. Come along and see how it turned out.

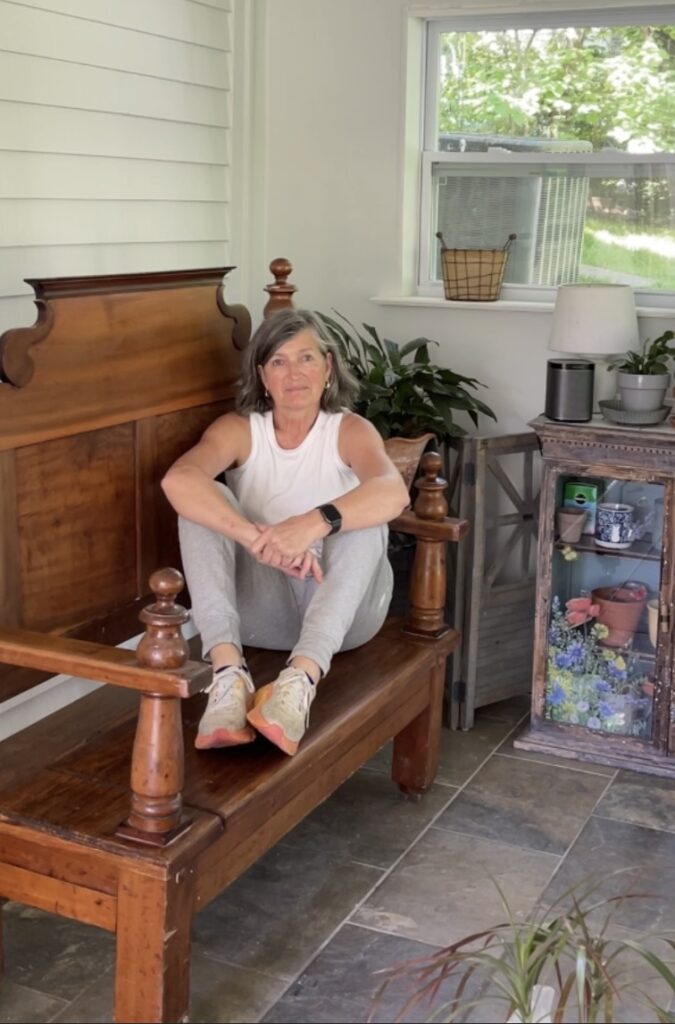
Hi, I’m Regina and this is Saved From Salvage, I love to share furniture flips, DIY’s, event inspiration and upcycling projects. Thanks for stopping by.
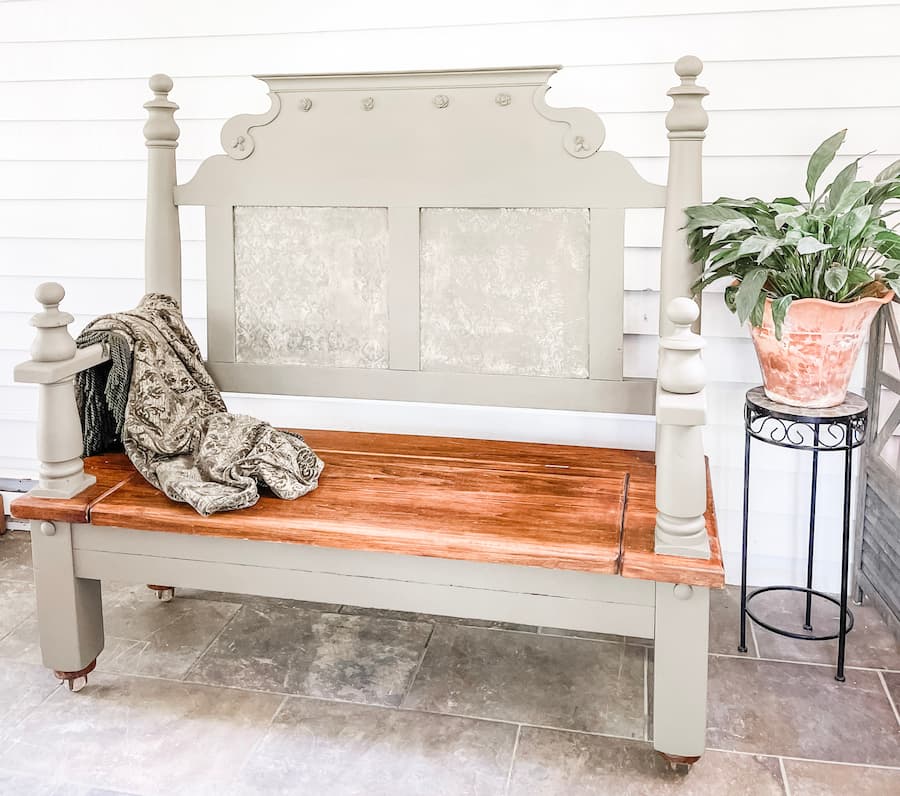
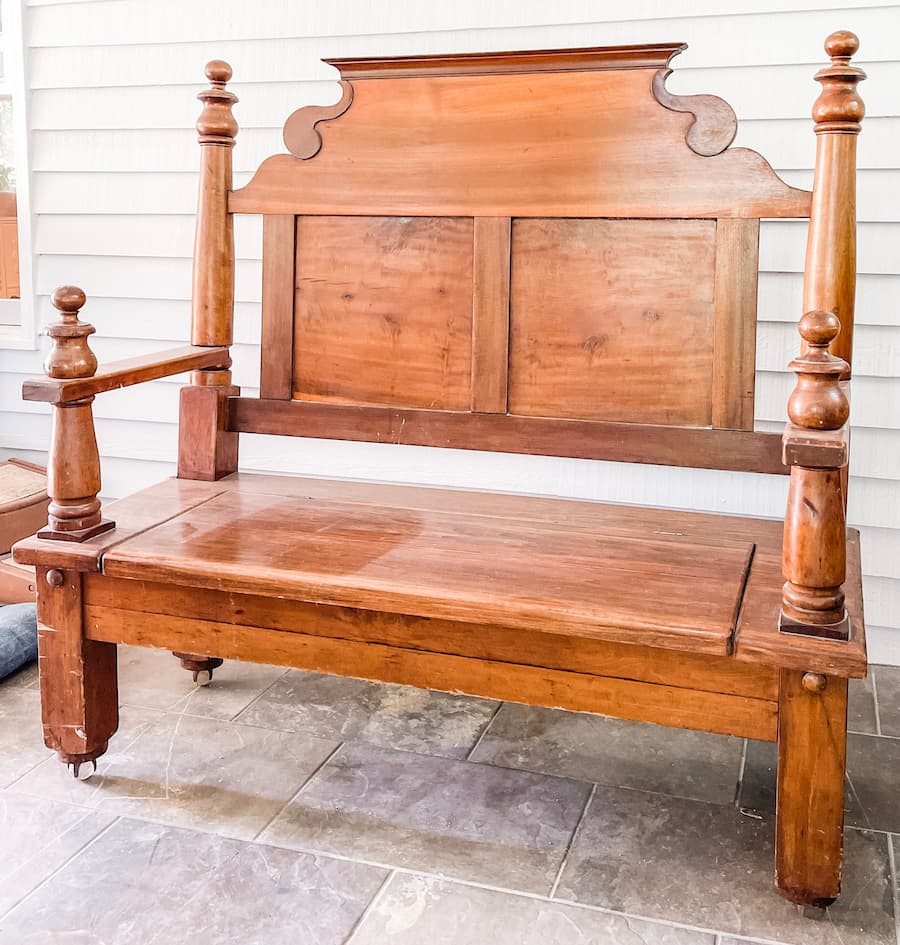
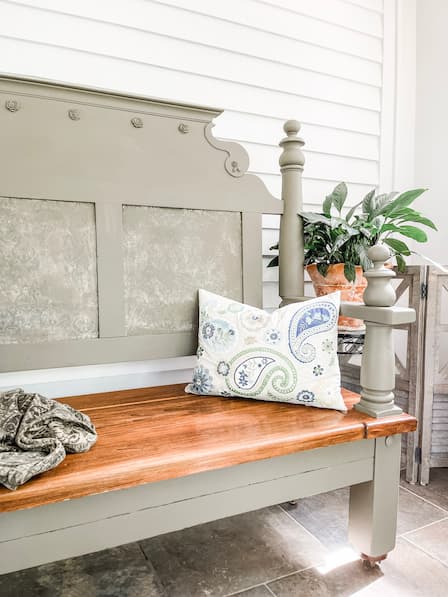
This fun project that has been on my to do list for a bit. Are you like me and you have craft projects and old objects lined up to be completed? This beautiful bench created from a headboard needed an update to fit into the sunroom, the space it’s been occupying for awhile.
I wanted to give this bench an update but I wanted to do more than just paint it, so read on to see how I mixed it up a bit.
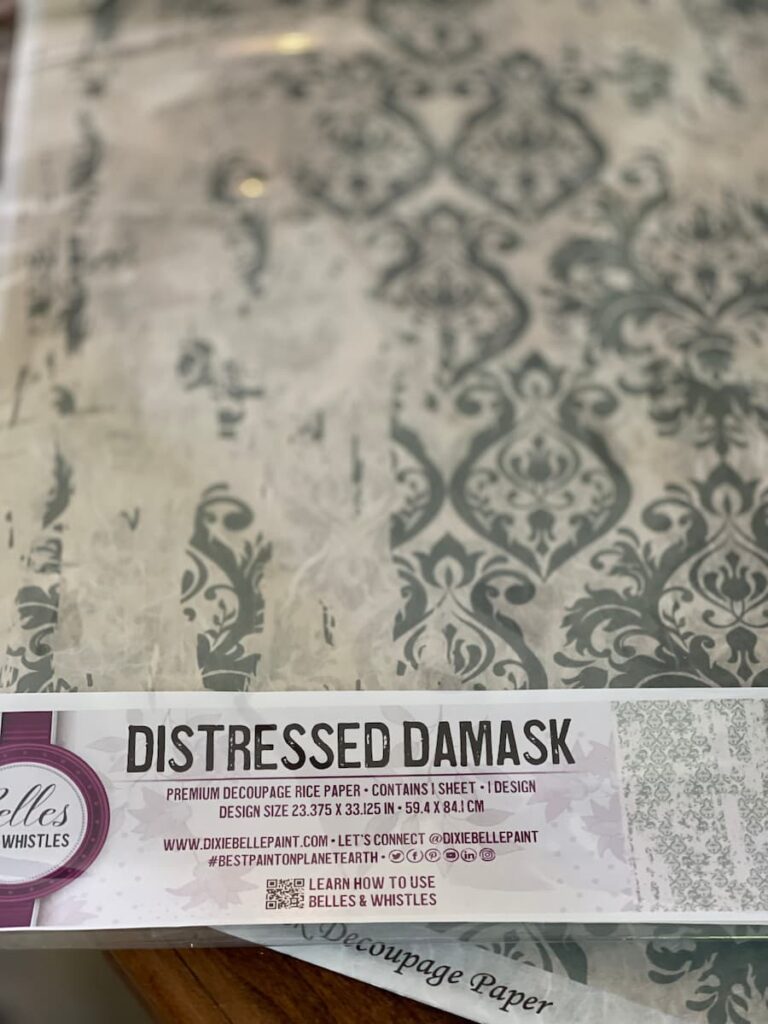
This beautiful rice paper from DIXIE BELLE PAINT seemed like the perfect addition, and I envisioned it on the inset on the back of the bench.
Have you ever used rice paper? I’ve only worked with rice paper once before, I used it to decorate some upcycled items for a tablescape.
I covered this old candle tops and made a tray from cedar planks for Cinco De Mayo. Cute right?
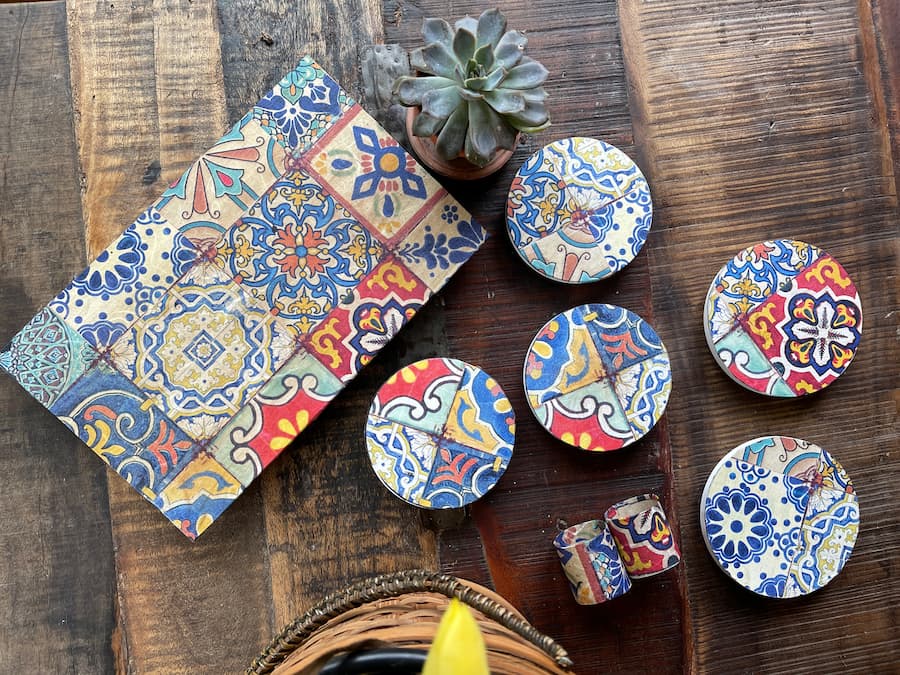
I found it easy to use, after that I had some good ideas on how else to incorporate it into my decor.
I have seen people use it on the front of a dresser, and even on the sides of the drawers.
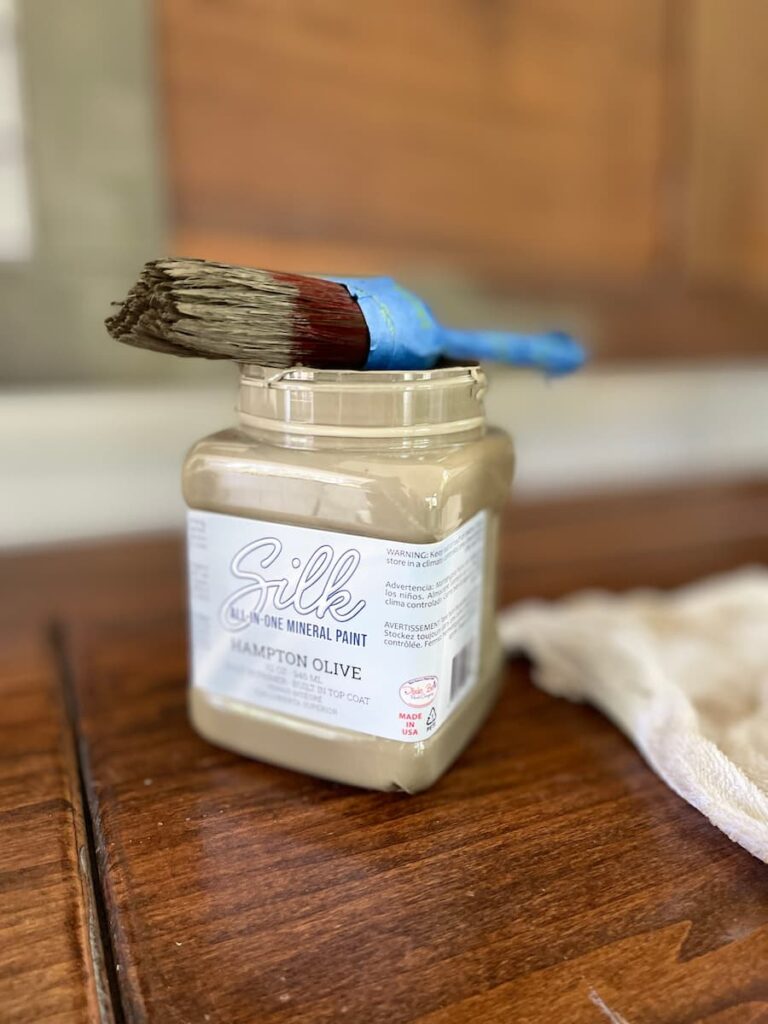
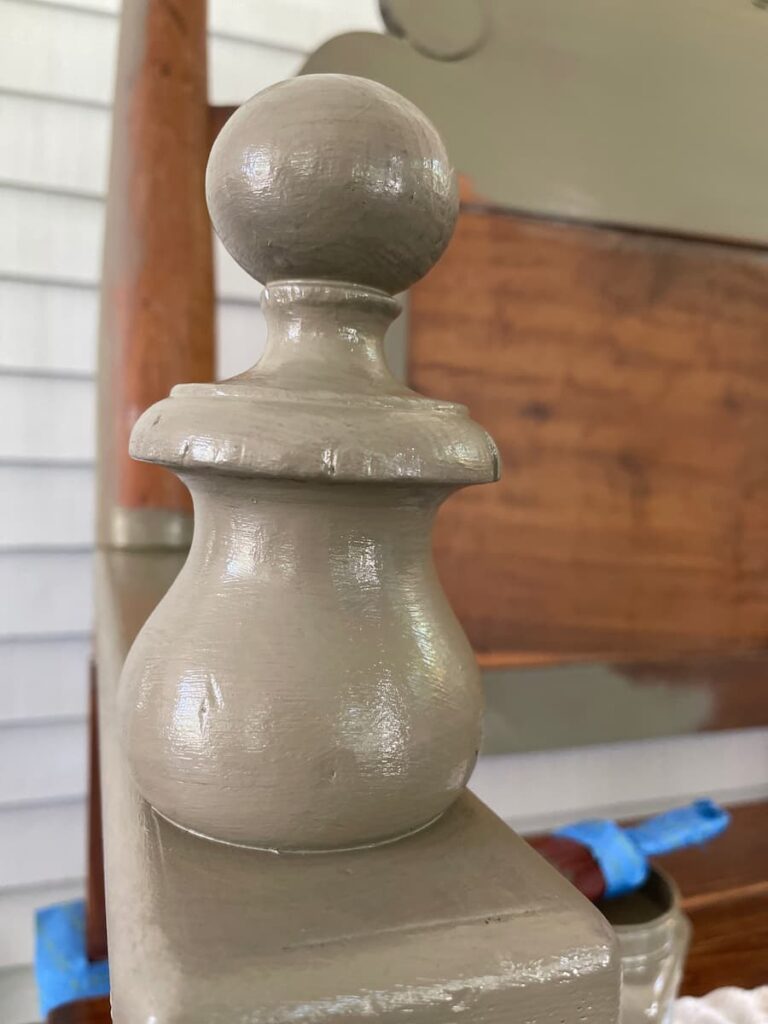
Since the bench was heavy and wooden and dark, I decided to lighten the overall look by using one of my favorite colors of DIXIE BELLE PAINT, Hampton Olive, Silk Mineral Paint.
It was going to be a focal point in our sunroom, which was recently painted a light white, specifically Nebulous White by Benjamin Moore.
With the background white, and the room teeming with plants, the soft color of Hampton Olive fits in perfectly.
Table of Contents
- STEPS TO UPDATE THE BENCH
- PREPPING THE BENCH
- CLEANING THE BENCH
- SUPPLIES FOR THE BENCH MAKEOVER
- PAINTING THE BENCH WITH A PRIMER
- ADDING FLOWERS TO THE BENCH
- PAINTING THE BENCH
- ADDING RICE PAPER TO THE BENCH
- FINISHING TOUCHES ON MY DIY RICE PAPER
- OTHER DECOUPAGE PROJECTS
- SHOP THIS POST
- DIY HAND DIPPED PINECONE FIRE STARTERS
- LATELY ON THE LAKE
- HOW TO DIY A FAUX GRAPEVINE TREE FOR CHRISTMAS
STEPS TO UPDATE THE BENCH
Below I have broken down the steps I took to update the bench using some of my favorite products by Dixie Belle.
PREPPING THE BENCH
There were a few scratches at the bottom of the bench so I used a high grit sand paper and sanded it smooth.
This was only on the very bottom front of the bench that I needed to do this.
You want to make sure that your piece is free of dirt and dust so that your paint adheres to the surface.
A smooth and clean piece makes the best base.
CLEANING THE BENCH
This piece was very dusty from being in a room with kitty litter, and four slider doors.
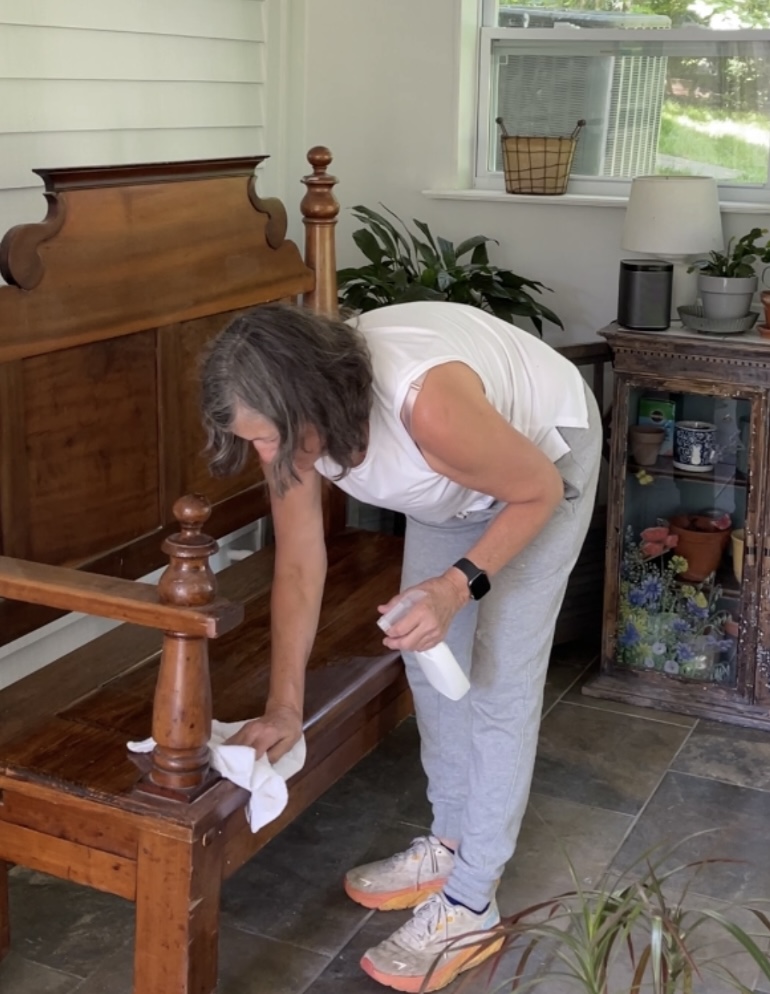
After dusting it off, I used a spray bottle of Dixie Belle White Lightning and a rag.
Making sure to get into the the lines and legs and indentations.
SUPPLIES FOR THE BENCH MAKEOVER
Hampton Olive Silk Mineral Paint by Dixie Belle
Howdy Doo Hemp Oil by Dixie Belle
White Lightning Cleaner by Dixie Belle
Rice Paper in Vintage Damask by Dixie Belle
Rag
Dixie Belle Applicator Sponge
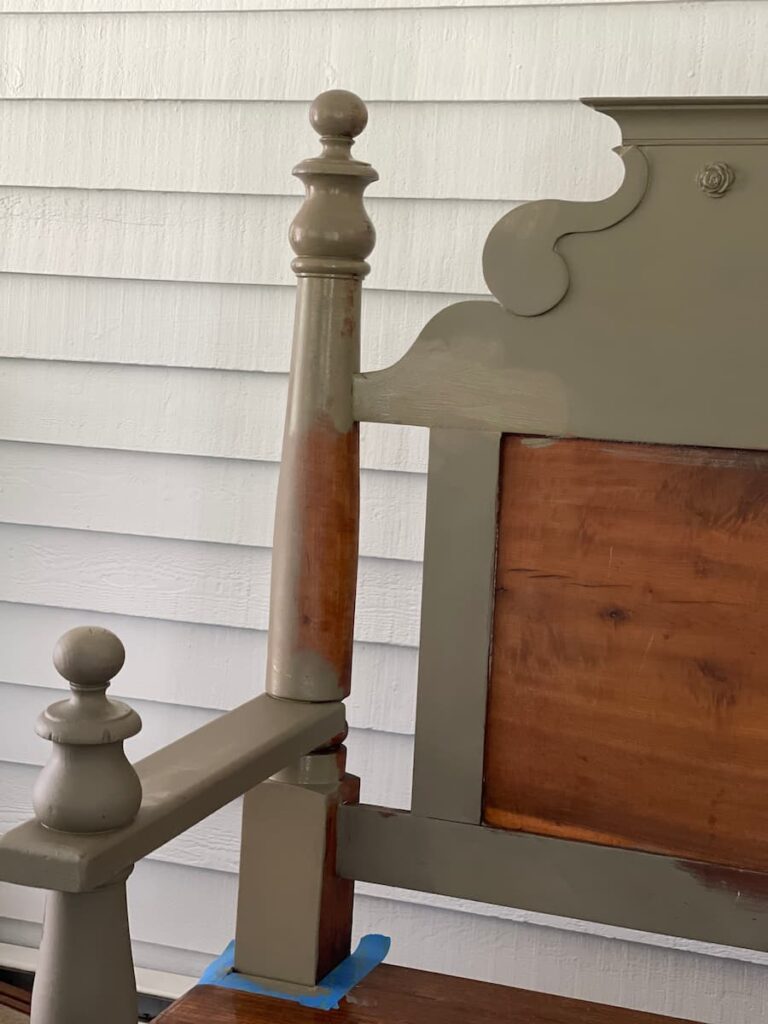
PAINTING THE BENCH WITH A PRIMER
After I cleaned my piece and gathered my supplies, my next step was to begin painting the bench.
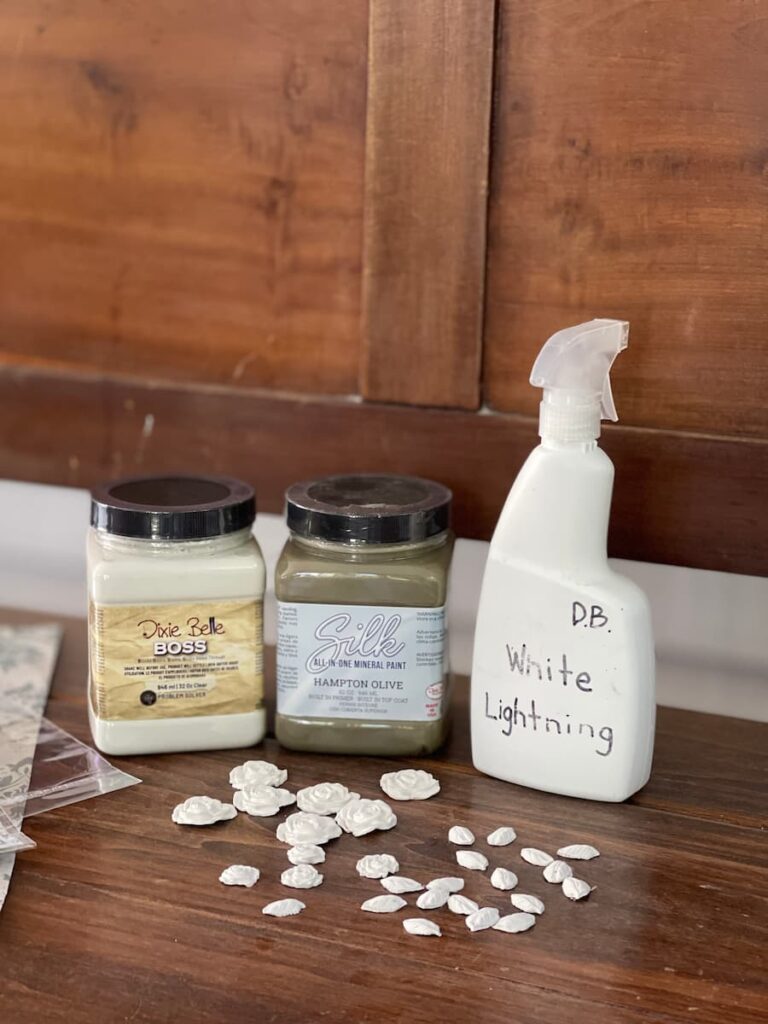
I began with a primer and stain blocker by Dixie Belle.
BOSS comes in a variety of colors and guarantees your furniture will hold the paint and keep any odors at bay.
After my coat of BOSS I moved on to the addition of clay flowers. (See details below).
I used only one coat of the BOSS and after letting it dry, I opened up my Hampton Olive Silk Mineral Paint.
ADDING FLOWERS TO THE BENCH
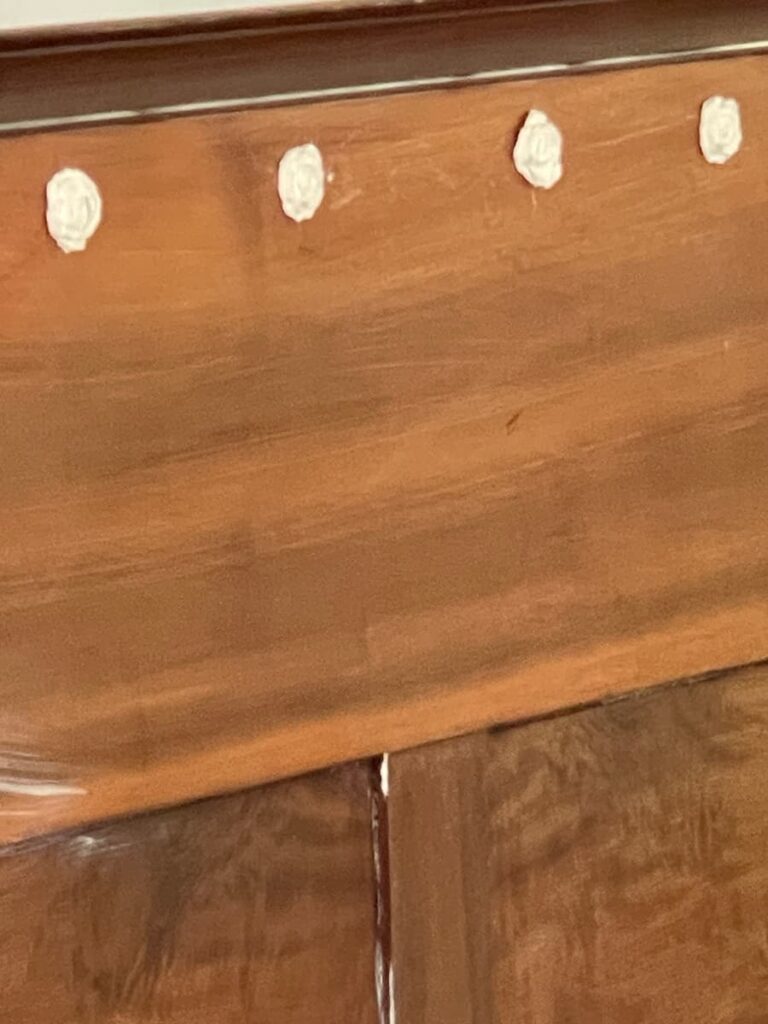
To soften the heaviness of the bench, I used a silicon mold and air dry clay to make white roses and leaves. I added them to the back of the bench using hot glue.
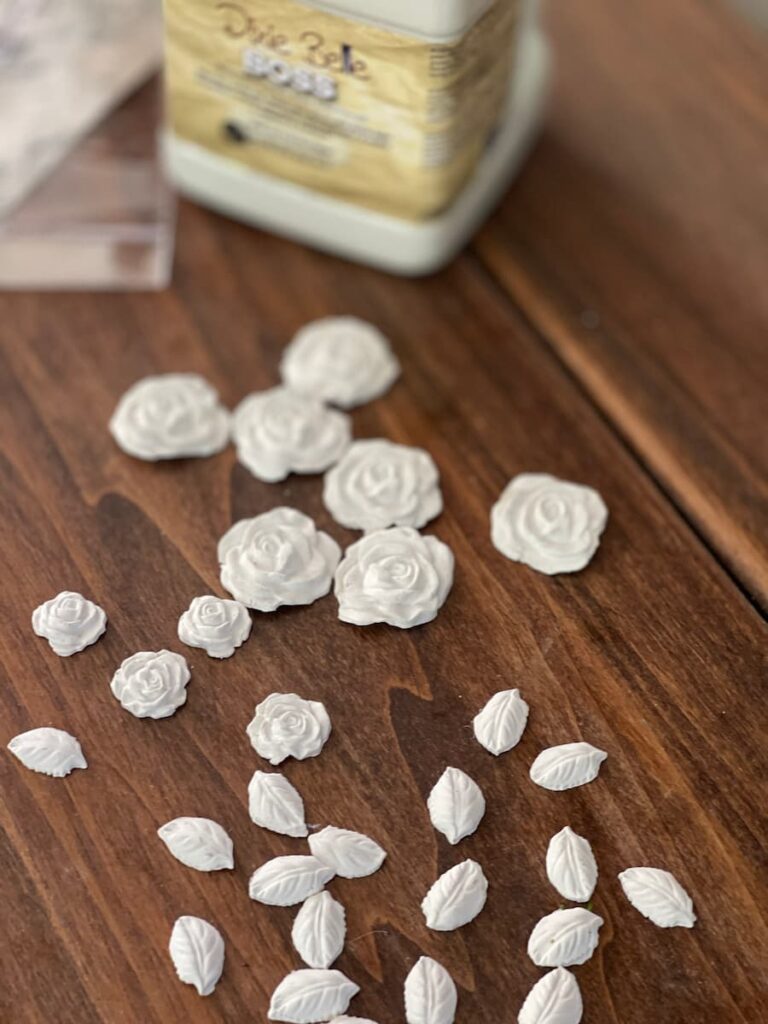
The reason I used hot glue was I wasn’t convinced if I would like it. That way they could be easily removed and I could paint over the spots where they had been glued.
The clay roses were an easy addition to the project and they didn’t overwhelm the bench so I could still add the rice paper for the look I was going for.
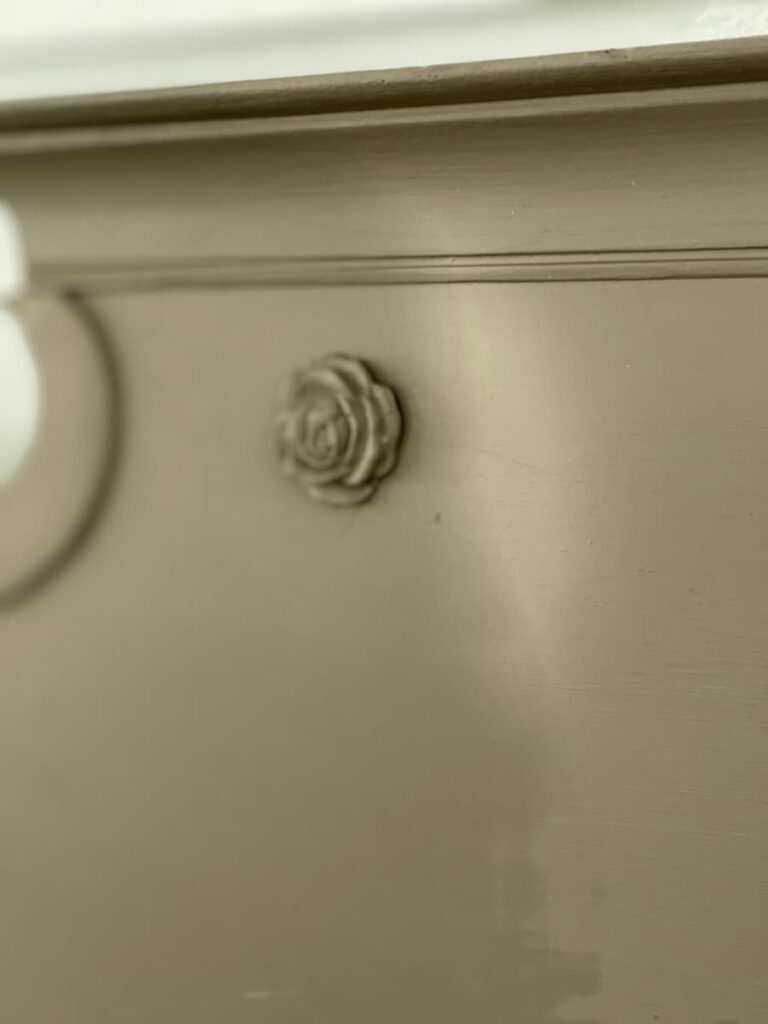
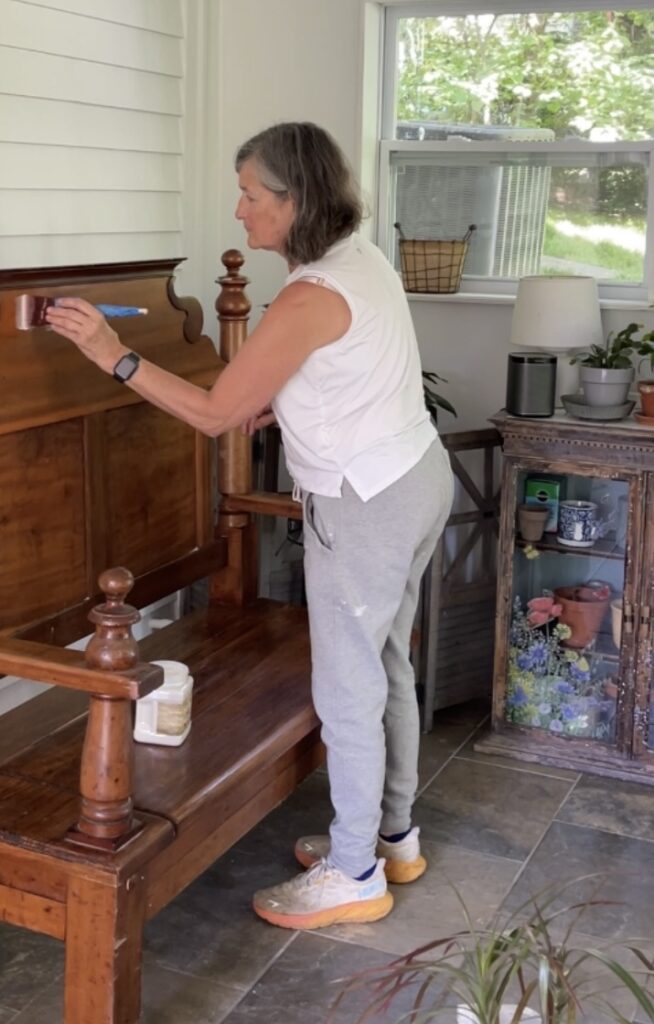
PAINTING THE BENCH
The Hampton Olive went on like butter. Silk Mineral Paint is so easy to use. I used painters tape to protect the parts I was not painting.
ADDING RICE PAPER TO THE BENCH

The rice paper from Dixie Belle is a high quality paper.
It’s Damask and has intricate designs all over.
I chose the insets on the back of the bench to add the rice paper.
I had already painted the spot I was using the rice paper with Hampton Olive.
In retrospect, I wonder what painting a white background would have looked like behind the rice paper.
To get to the back and put it on evenly, I laid the bench over on it’s back so I could reach the spot I was adding the paper to.
I coated the back of the inset on the bench with Mod Podge, then I laid the rice paper down. It overlapped a bit on the side. After it was dry, I used a straight edge to trim off the excess.
FINISHING TOUCHES ON MY DIY RICE PAPER
After the rice paper was added I went over it lightly with more Hampton Olive paint. I wanted it to look like old wallpaper and it did just that. After I added a light coat, I used a damp rag to rub it back off so it was not solid.
My last touch to the bench was to rub the seat with Howdy Doo Hemp Oil. It gave it a nice sheen and now it’s beautiful don’t you think?
OTHER DECOUPAGE PROJECTS
Are you interested in trying decoupage?
If you want to start small, I suggest you head to the thrift store and look for rectangular style boxes to practice on. You could search Pinterest for ideas as well. Grab some napkins if you want to experiment, and remove all but the top layer.
Remember that using napkins that match ones you use for hand towels would make a great addition to a guest bath, especially. if you used the wooden box to hold your hand towels.
I’ve seen so many other creative projects using mod podge and creating your own decoupage paper. Most of the time for me it’s tissue paper, specifically napkins with a floral pattern or design I love. You don’t need to buy a pound of tissue paper, just one sheet can really be enough for most small projects.
If you would like to continue to get ideas delivered weekly to your inbox, please consider subscribing to my mailing list. I also have an Etsy Shop where you could see some of the handmade pieces I’ve created with oyster shells and decoupage tissue paper designs. During the month of July I am offering free shipping on my Oyster Shell Tablecloth Weights.
Thanks so much for stopping by Save From Salvage. What do you think about the makeover? I love it. It’s not a drastic change but it feels fresher to me.
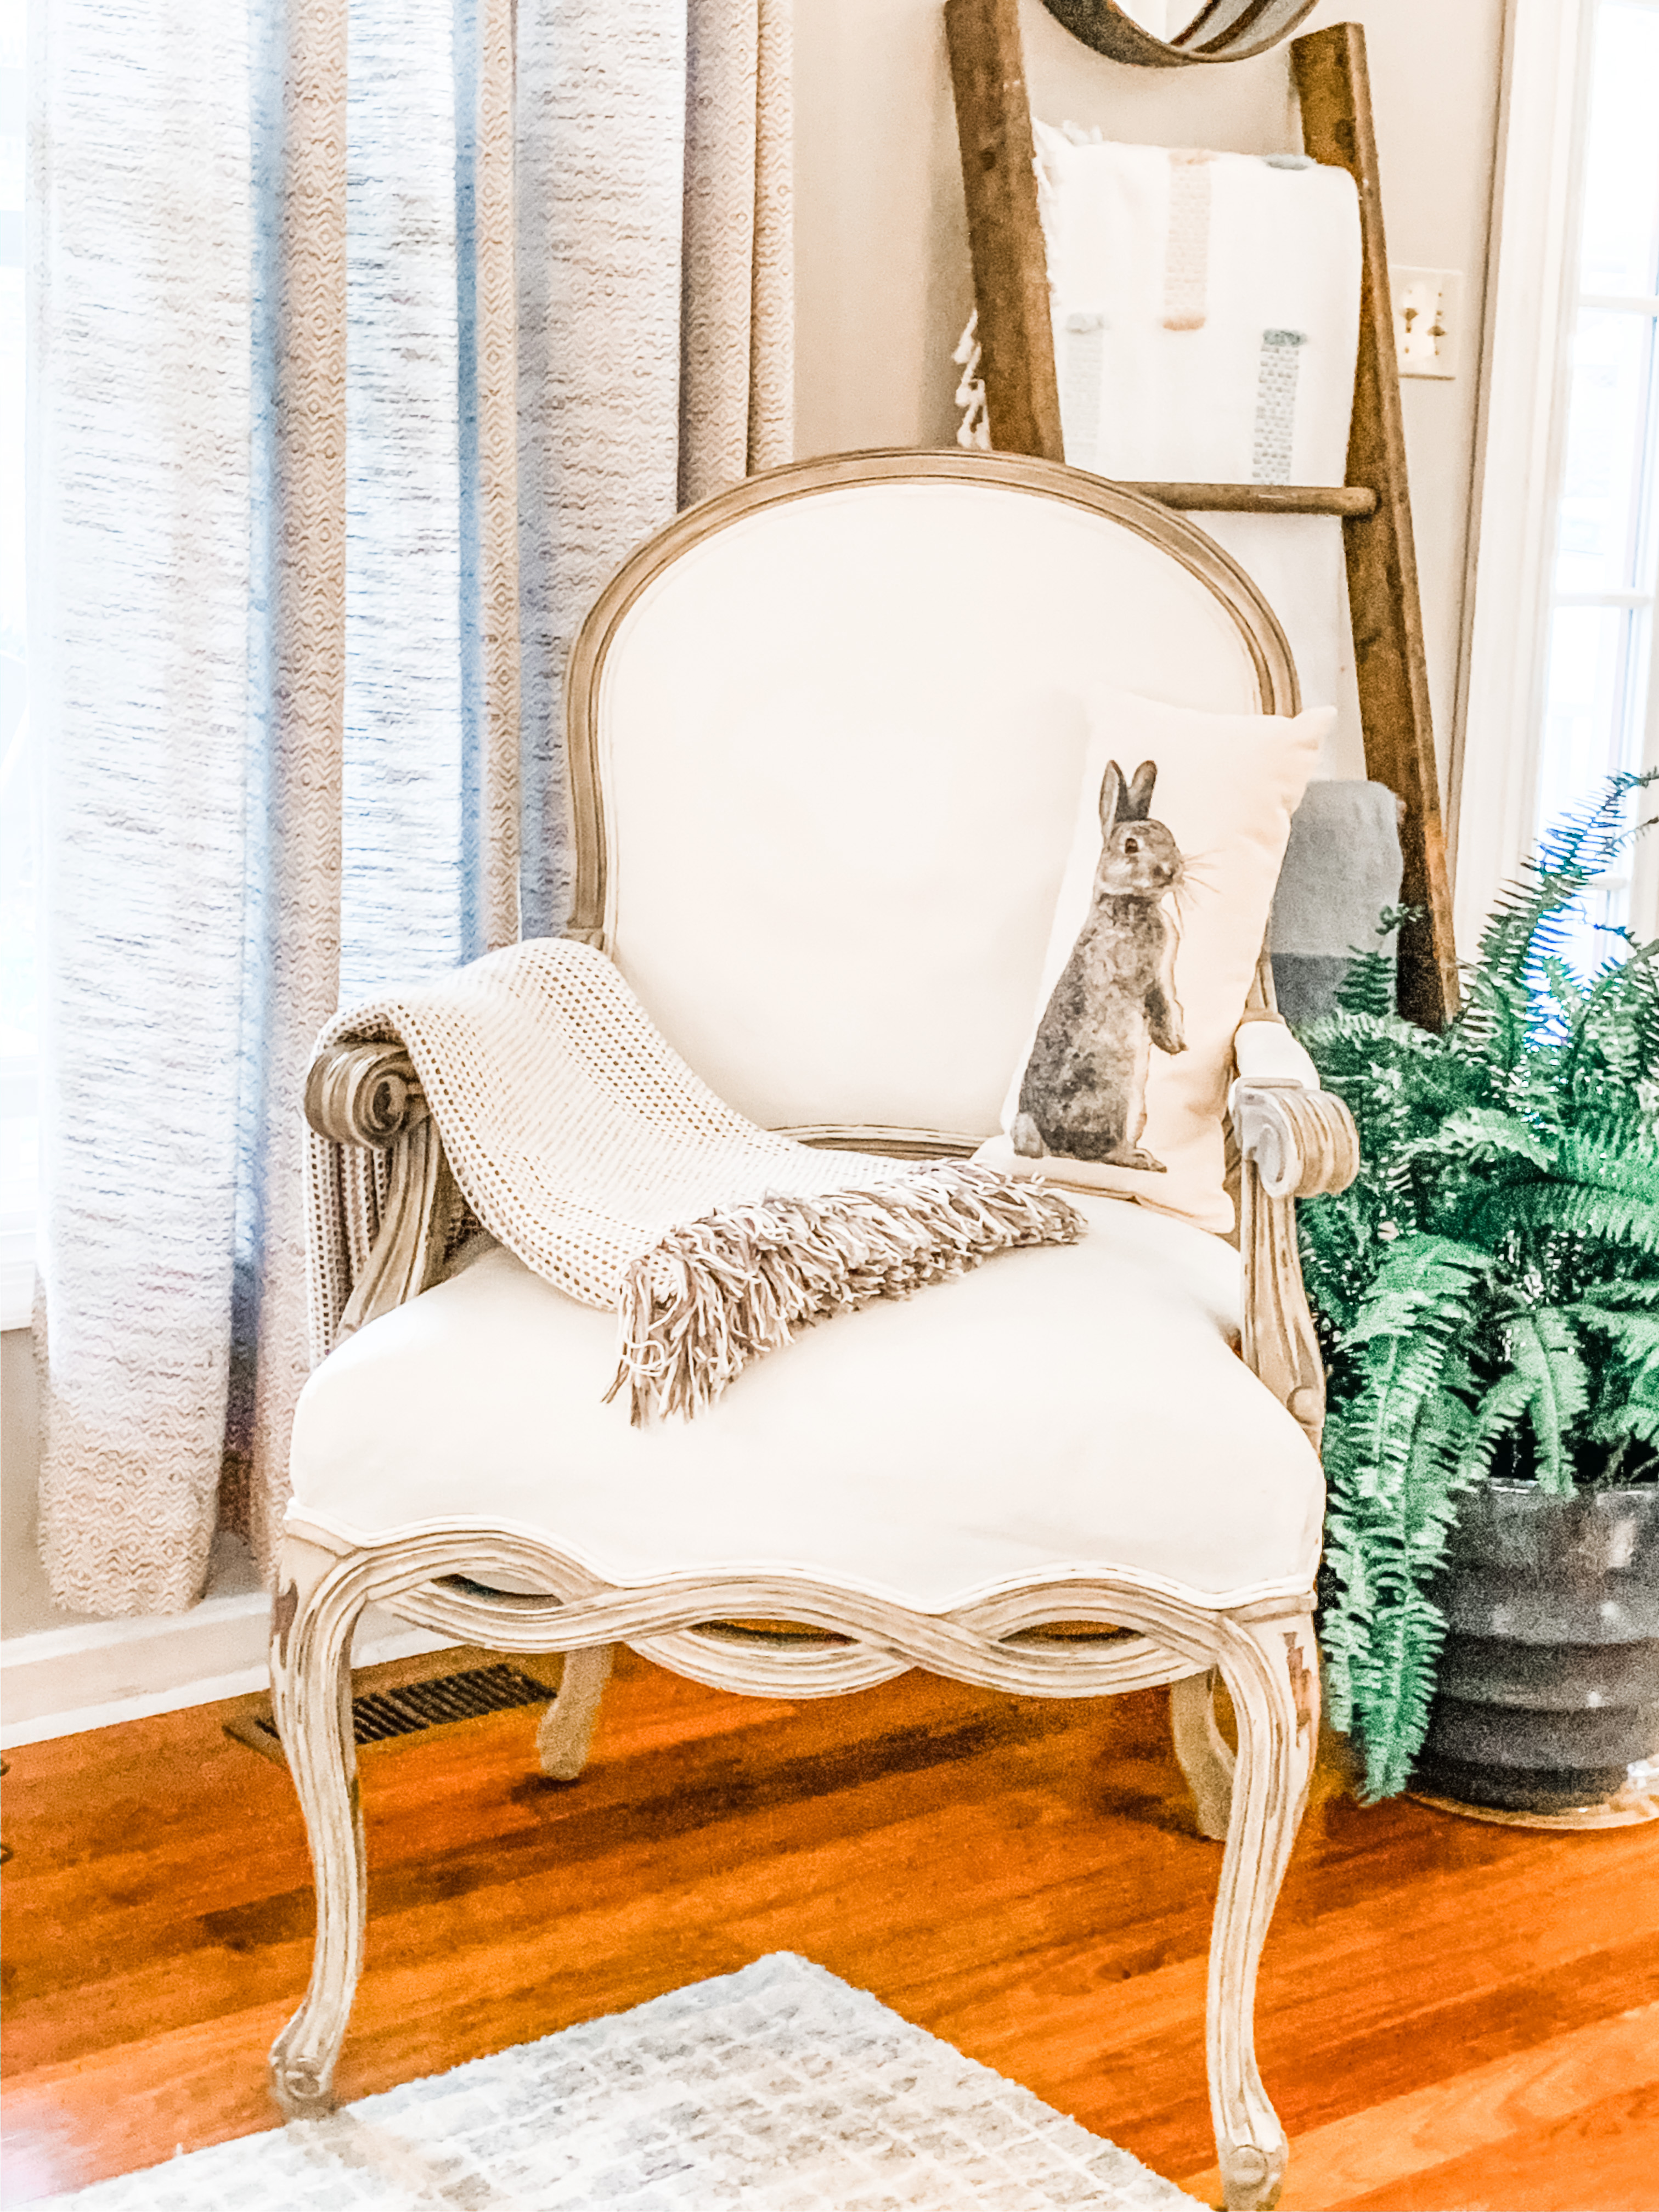
To see another seating makeover, check out my post on updating a vintage chair planter here.
XO, Regina
SHOP THIS POST
I AM AN AMAZON ASSOCIATE AND I RECEIVE A SMALL COMMISSION IF YOU ORDER FROM THE LINKS PROVIDED.
-

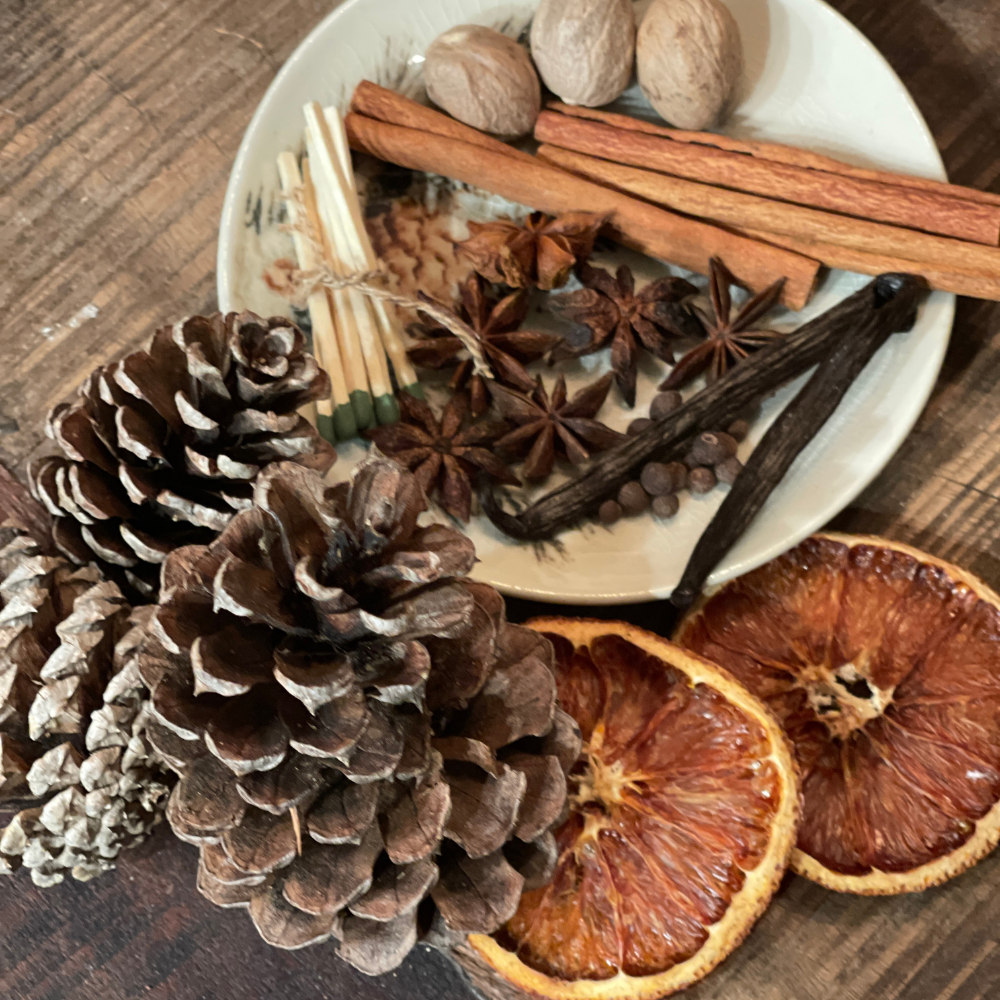
DIY HAND DIPPED PINECONE FIRE STARTERS
It’s that time of year when we are searching for the perfect gift. Functional, useable, beautiful, unique. You can stop searching and start making. These DIY Hand Dipped Pinecone Fire Starters make a perfect gift for neighbors, friends, housewarming or hostesses. Come see just how easy these are to create in an afternoon. Hi, I’m…
-
LATELY ON THE LAKE
Hi and welcome to November and Lately on the Lake. Last weekend it was in the 80’s, I woke up Thursday and it was 29. Yuck. I know many of you have already seen that white stuff. Today I’m sharing what I’ve been up to, what I’m working on, what I’m loving and what’s inspiring…
-

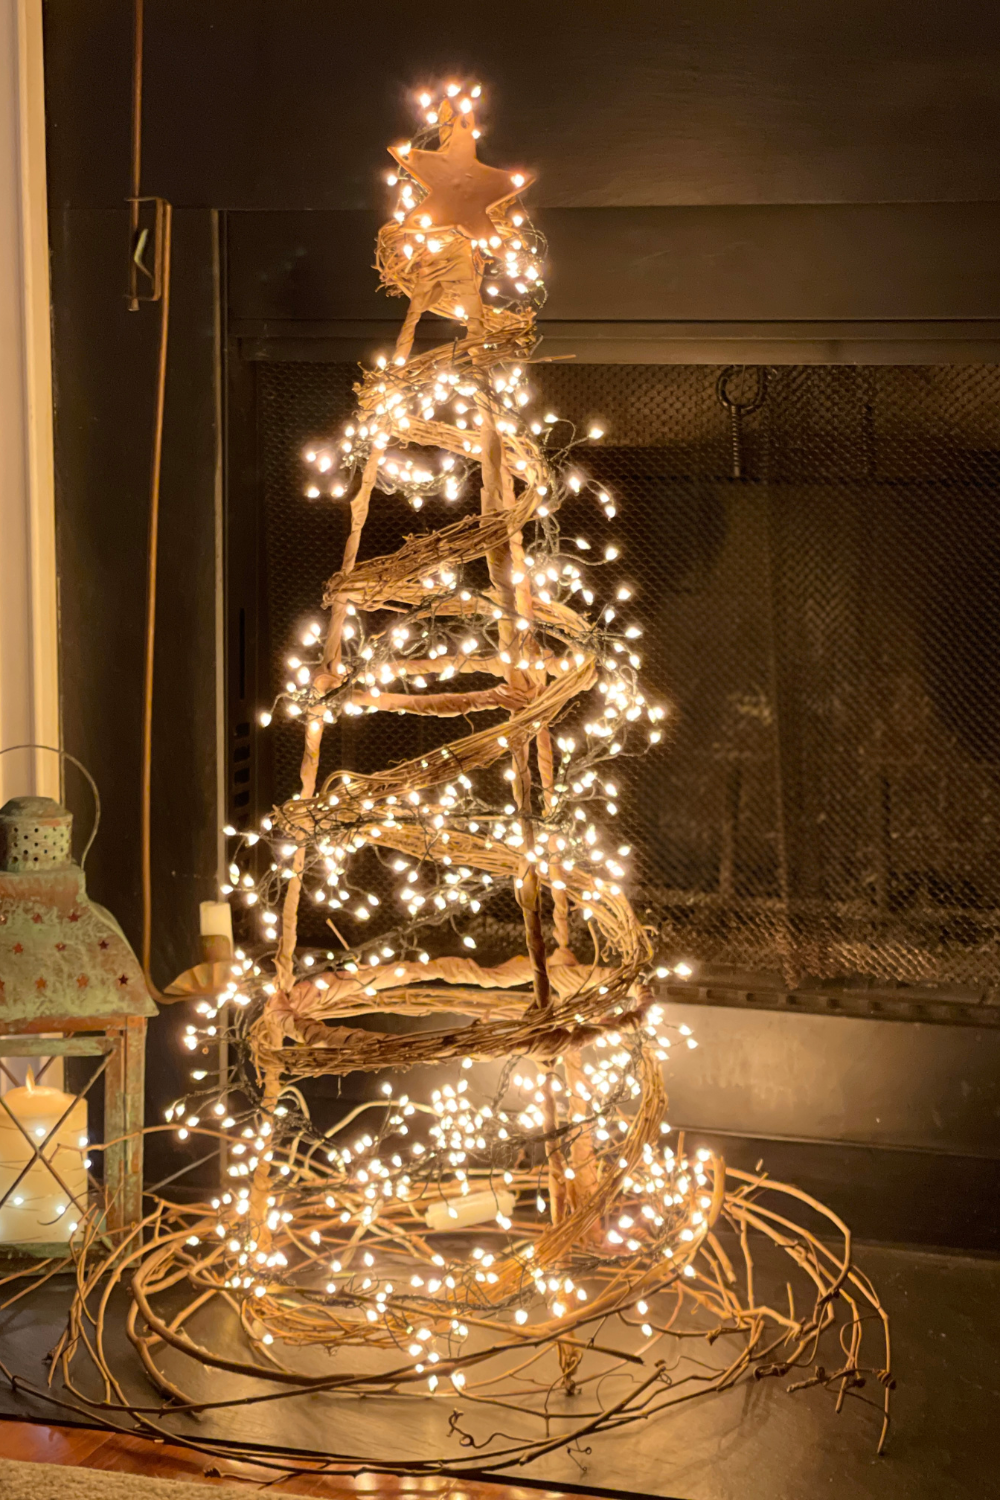
HOW TO DIY A FAUX GRAPEVINE TREE FOR CHRISTMAS
Do you love to use natural elements at the holidays? I do and today I’m sharing how to DIY a faux grapevine tree for Christmas. Inspiration came from the holiday shop at Terrain. If you’ve not been, it’s a great outing for inspiration and gifts. There are two in Pennsylvania that are a few hours…
Wow!! What a transformation!!! Your bench looks incredible, Regina! I LOVE the color you chose and those pretty rose details you added. So creative to use rice paper! Thanks so much for sharing this super amazing DIY at Home Imagined this week!
Hey Regina! I love how this turned out. I have never heard of clay flowers until I read this post. Love the color you chose and the rice paper pattern you added.
Love, love, love the rice paper! I really need to give this a try! The bench is really beautiful, Regina!
Oh my goodness! I love this. It’s gorgeous.
This is absolutely fabulous. I love the color and your attention to detail makes this a stunning piece. Thank you for sharing so many great tips. This will be featured tomorrow at the Home Imagined link party. Hope to see you there, Thanks for the inspiration. XO- MaryJo
Thanks so very much
Just beautiful, I love the flowers.
Brenda – thanks so much!
Thank you!