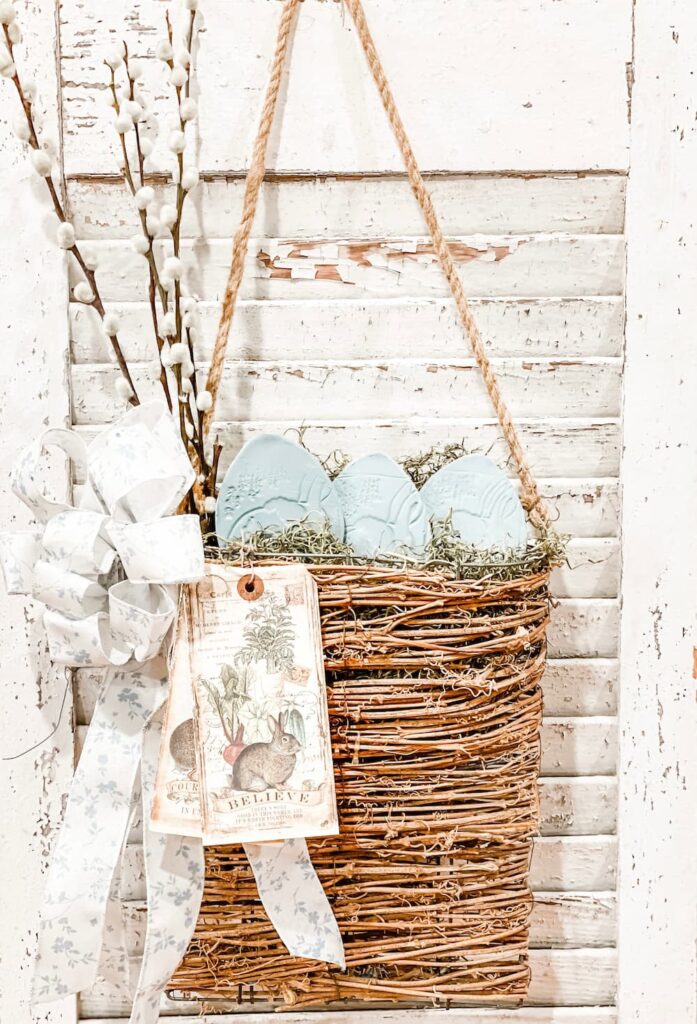
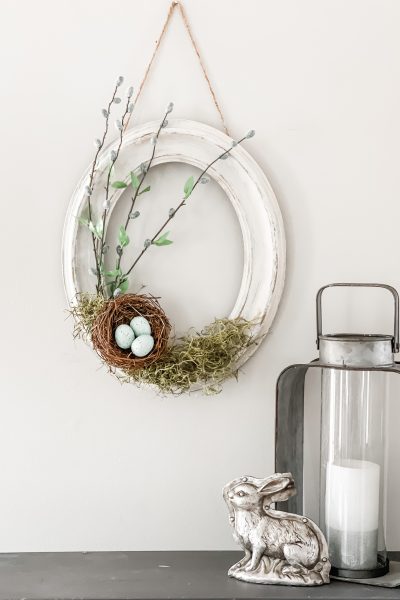
Have you worked with air dry clay? Spring is the perfect time to get creative, I’m sharing an easy air dry clay wall pocket with a spring theme.

Hi and welcome to Saved From Salvage, I’m Regina and love to share DIY’s, furniture flips, tablescapes, and event inspiration. I’m so glad you are here.
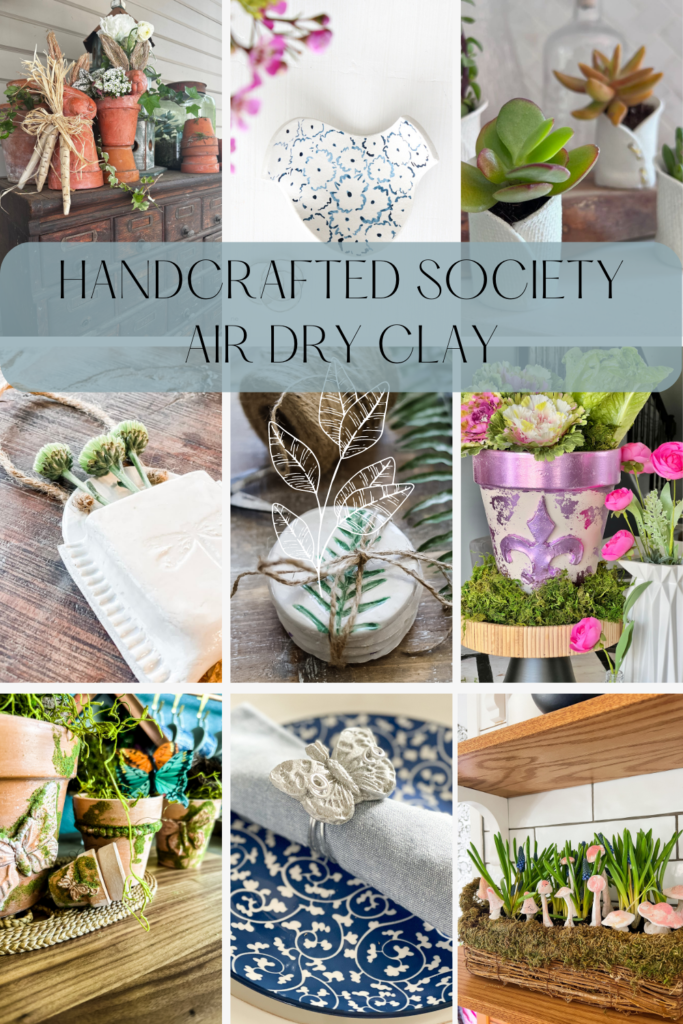
Today is the 3rd collaboration of the Handcrafted Society, a group of bloggers who are assigned a medium each month and then get creative. This month is air dry clay with a spring theme. I can’t wait for you to see what everyone came up with.
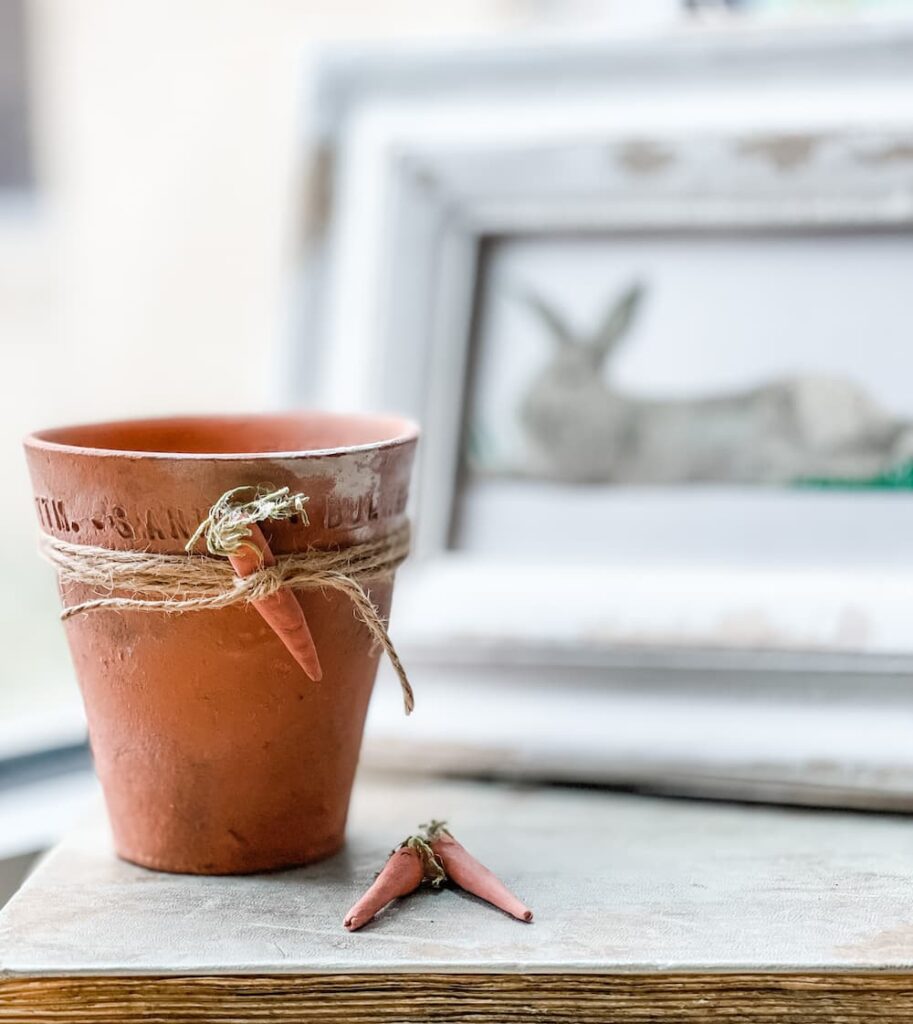
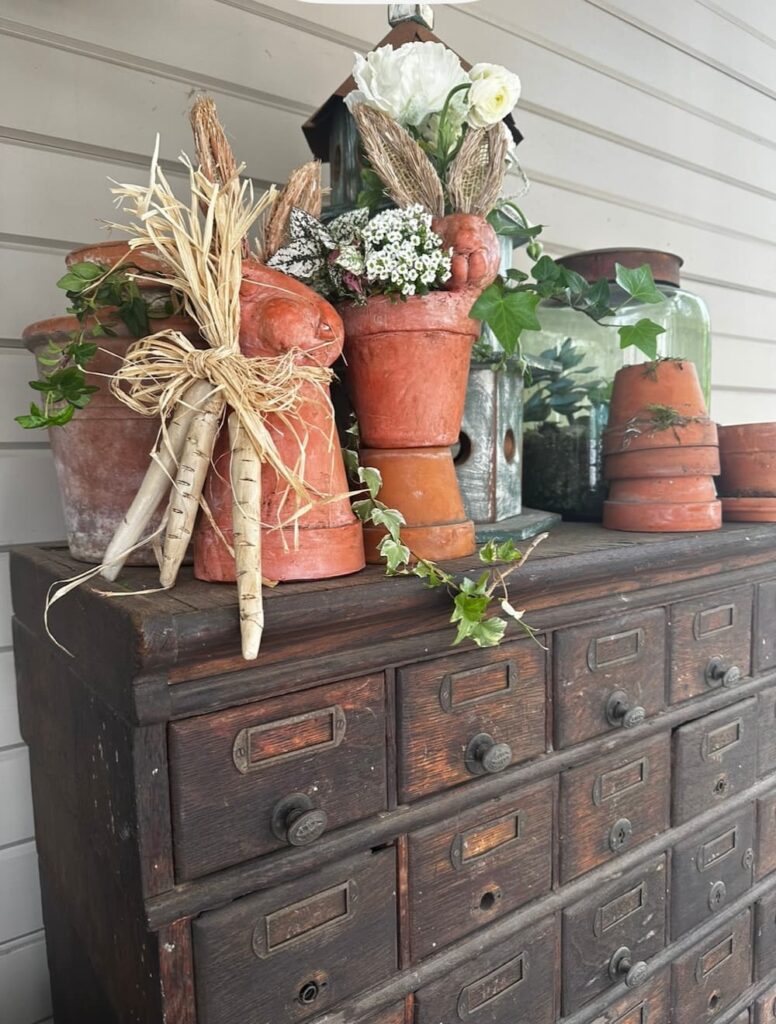
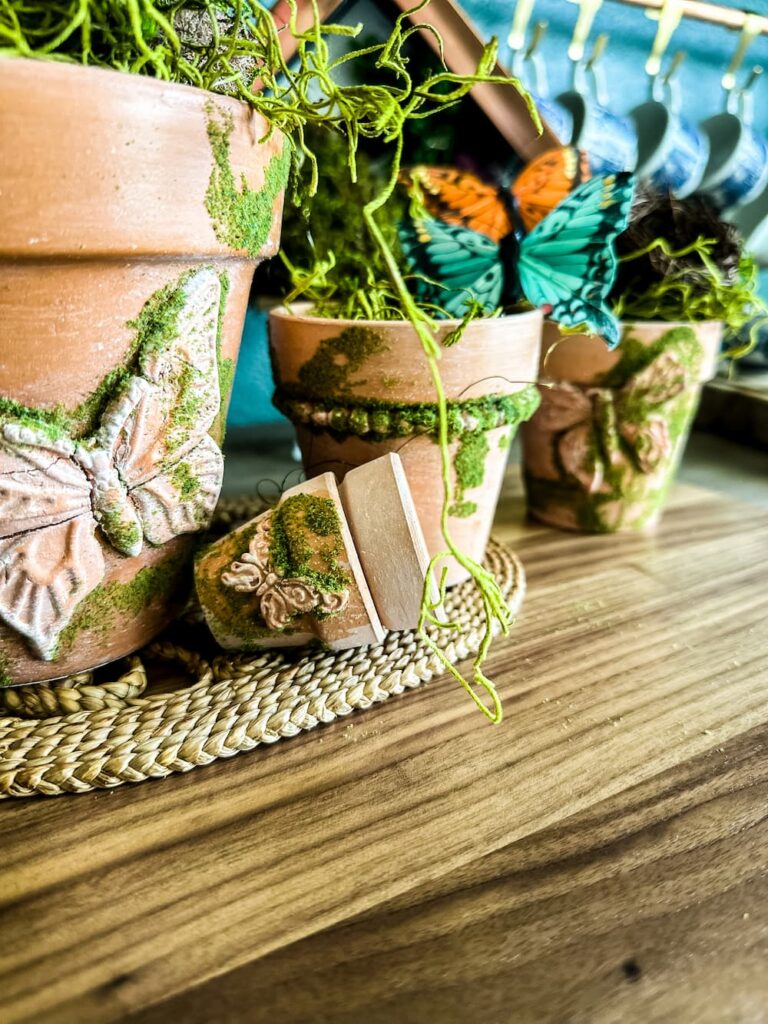
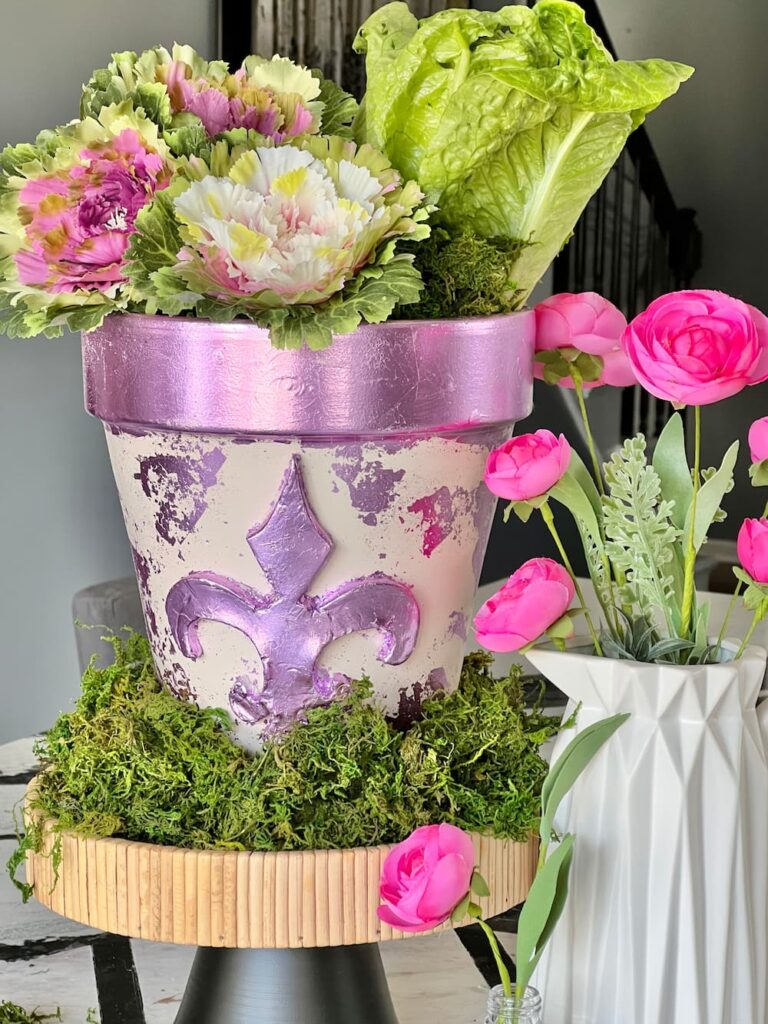
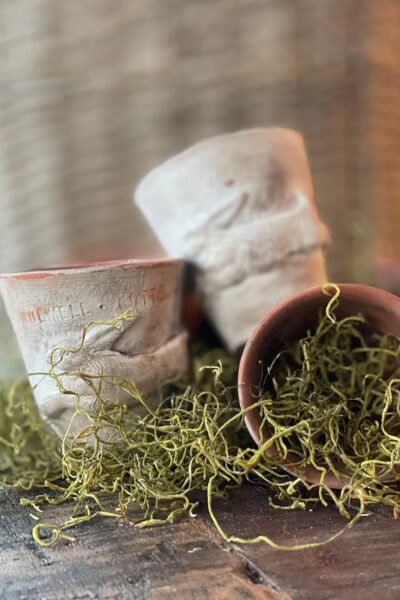
If you are stopping by from Amy at AmySadler Designs, welcome! Didn’t you love her vintage and mossy pots?

Table of Contents
AIR DRY CLAY WALL POCKET SUPPLIES
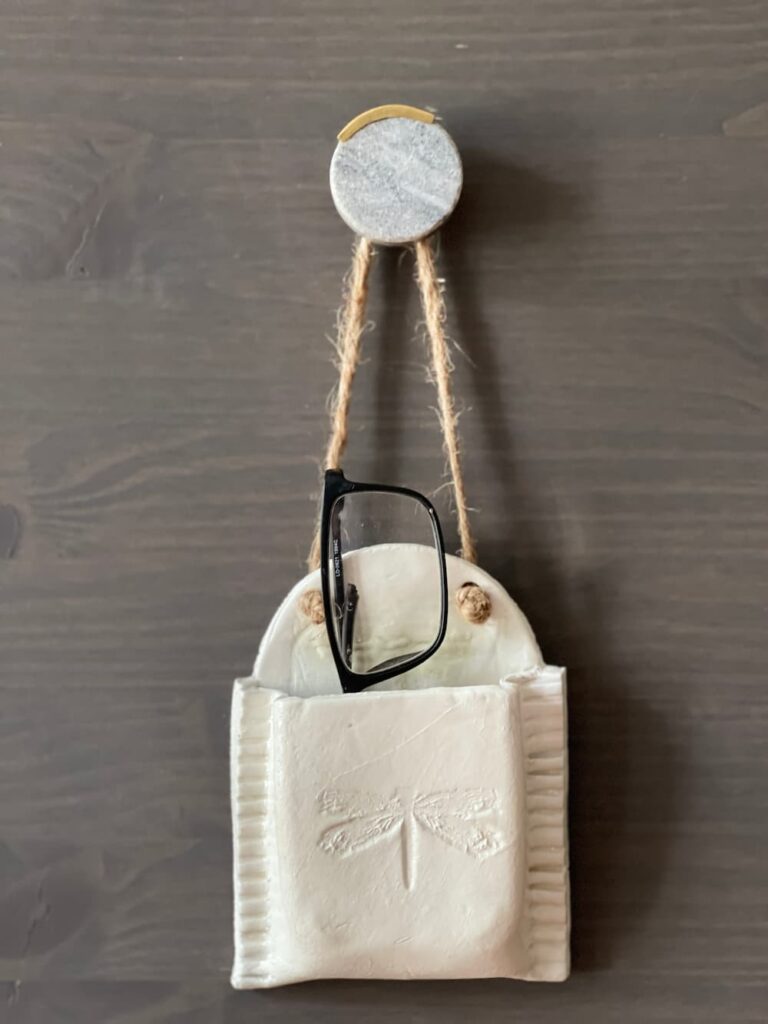
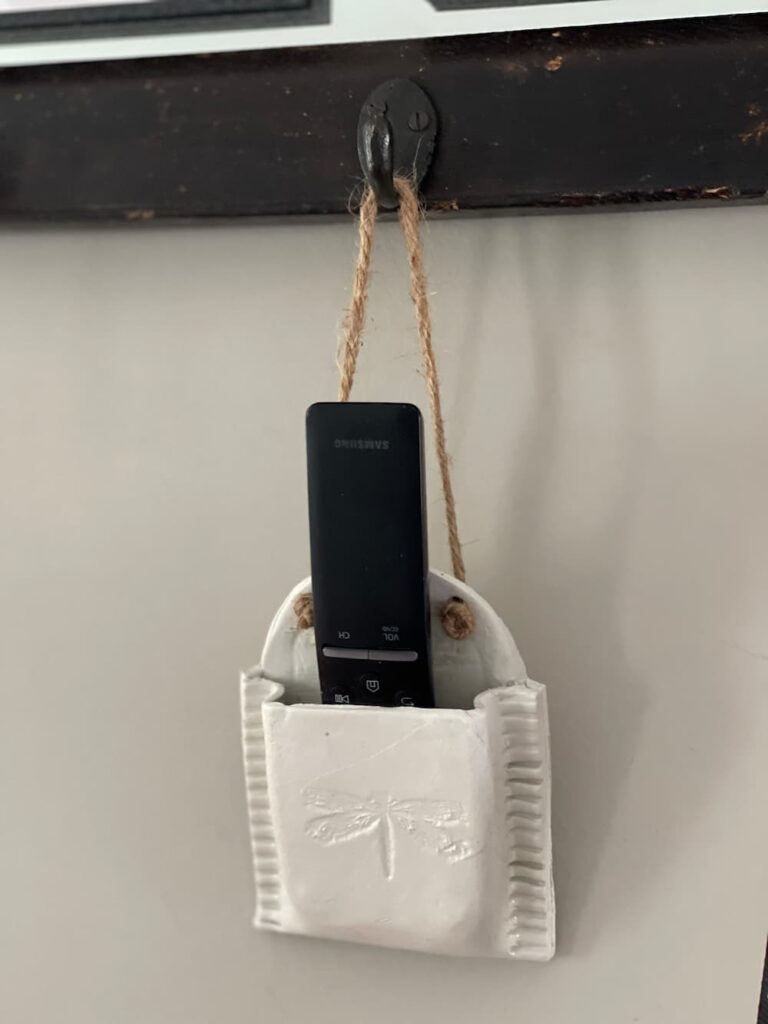
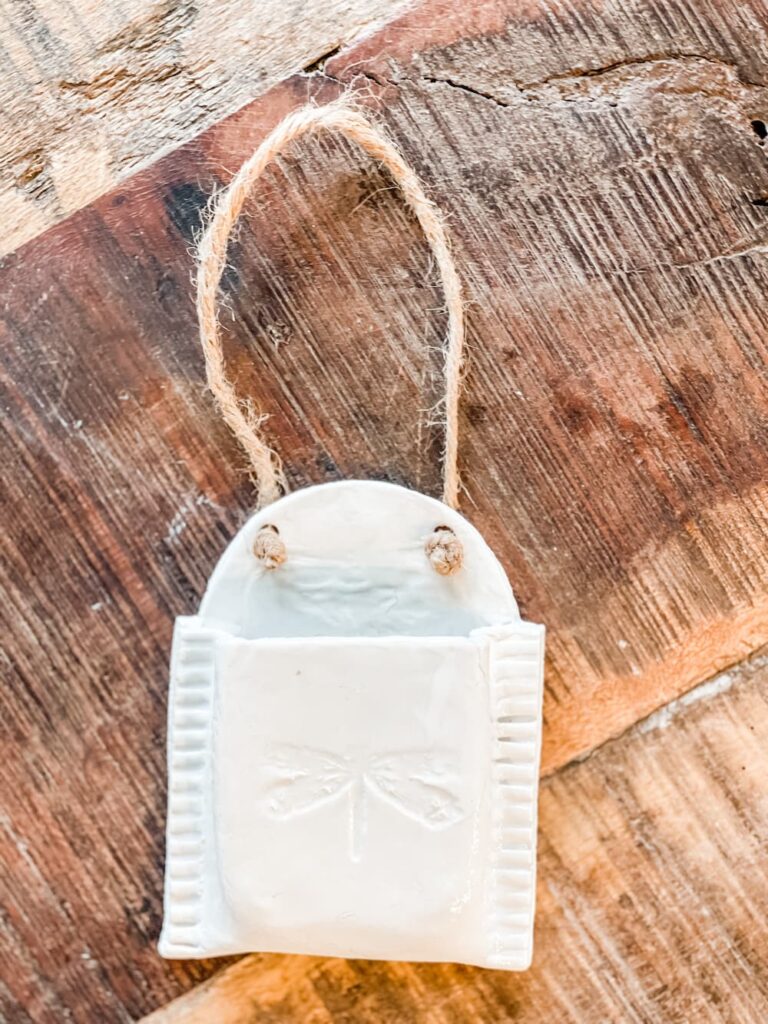
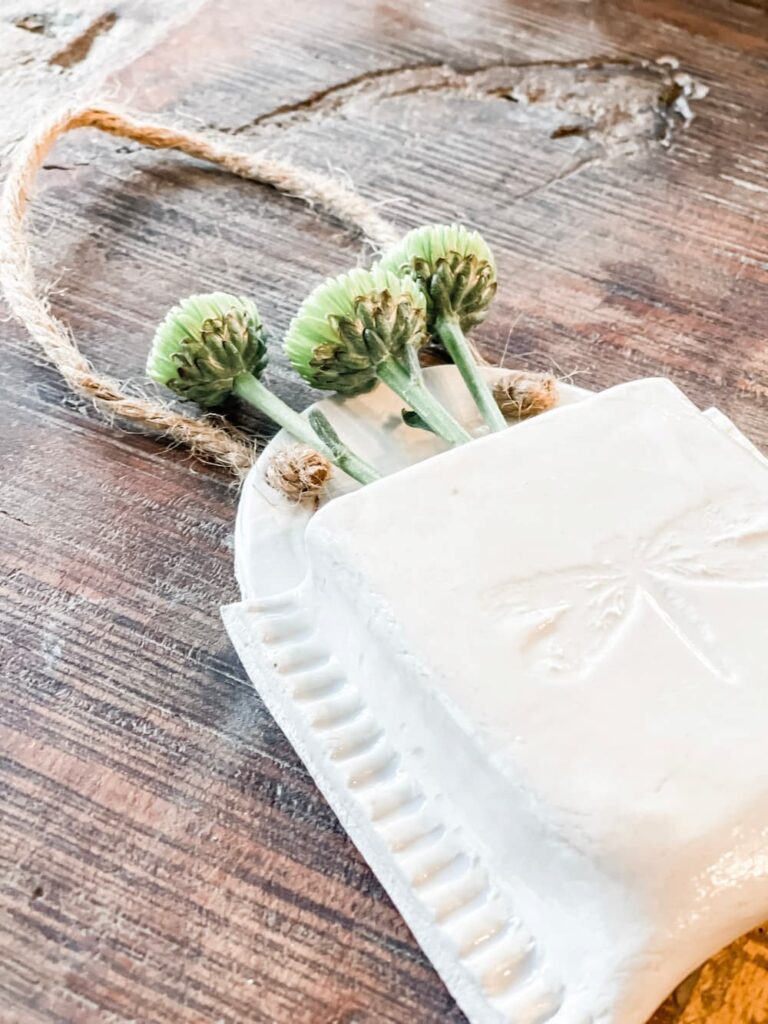
Creating is therapeutic for me. With clay, the sky is the limit when it comes to things you can make. I incorporate clay into several projects a year, but I’ve never made a wall pocket. I love the simplicity of these and the variety of uses it has. Above I have it holding some flower buds for spring.
- AIR DRY CLAY
- COOKIE CUTTERS
- STAMPS
- MOD PODGE
- ROLLING PIN
- TWINE
TIPS FOR WORKING WITH AIR DRY CLAY
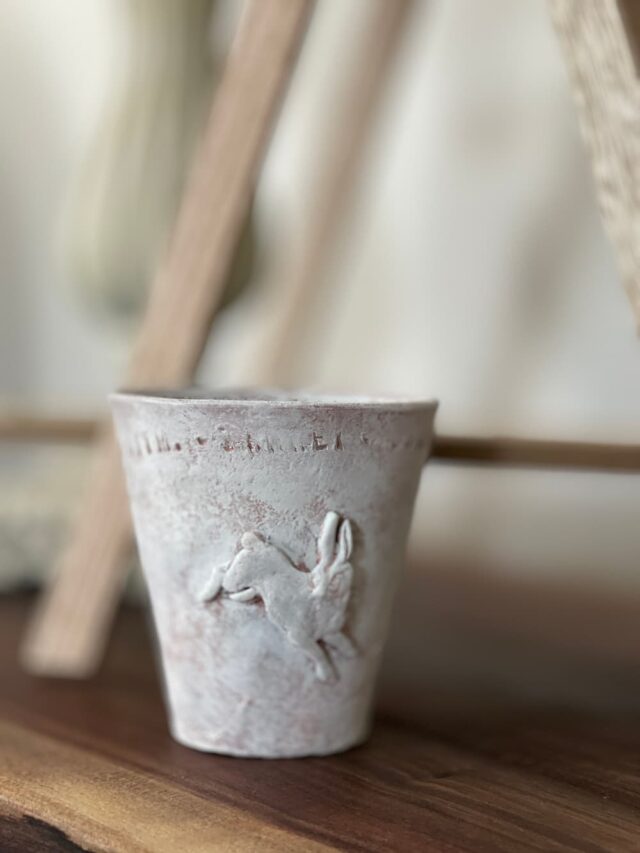
Before we get started, I want to share some tips for working with air dry clay. I have worked with several different types but my preferred brand is DAS Air Dry Clay. I have used it in both white and terra cotta colors.
- To keep it soft, keep it in a air tight container. If it begins to harden, wet a paper towel and place it in a zip lock bag with the clay.
- To add two pieces together, wet some clay and make a paste then attach the two pieces together.
- You can also scratch both surfaces and then put them together to stick better.
- To add a coating, you can use Mod Podge.
- To paint it you can use any acrylic paint.
- To create a glaze look you can create a glaze with
- Use cookie cutters, stamps or add embellishments.
- Create items that are at least 1/4 inch thick for durability.
- Let dry at least 24 hours.
- You can wet your finger and smooth over rough edges while wet.
- To smooth rough edges when dry, you can use a fine grit sandpaper or emery board.
HOW TO MAKE A WALL POCKET
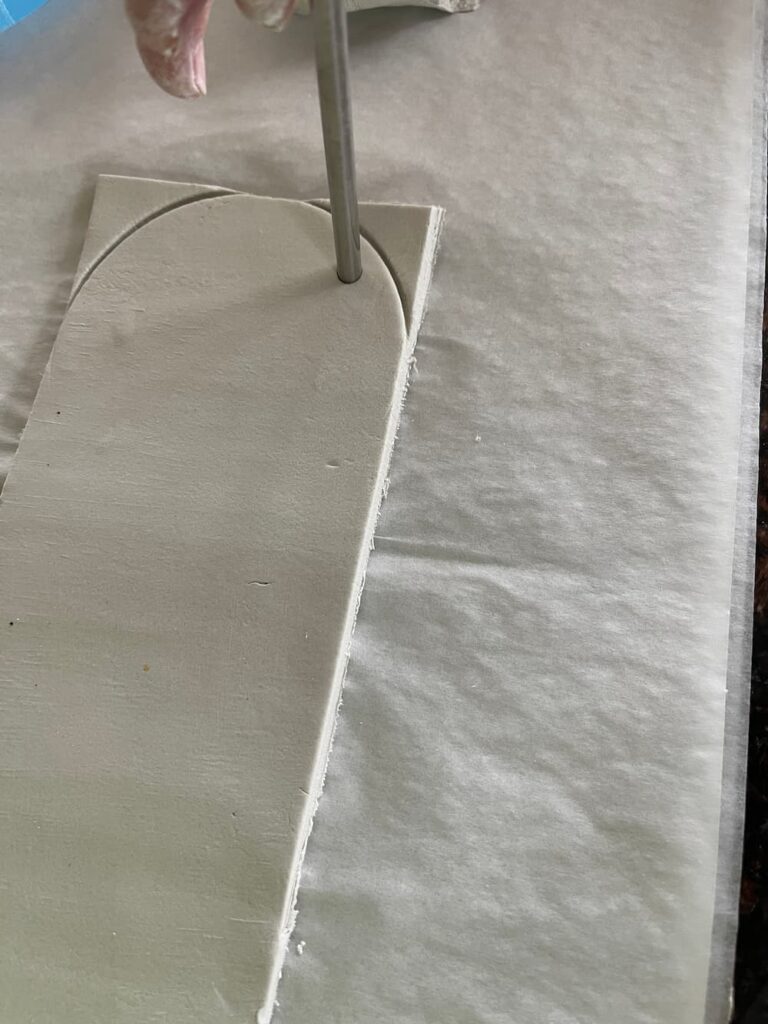
To create the wall pocket, I rolled out a large piece of clay. Next I trimmed it into a rectangle. I did this two ways, the first one I made the rectangle and the second one I just rolled out the clay and folded it over before I trimmed it. This way the pocket was larger and accounted for the opening. After I smashed it with the fork, then I cut around it.
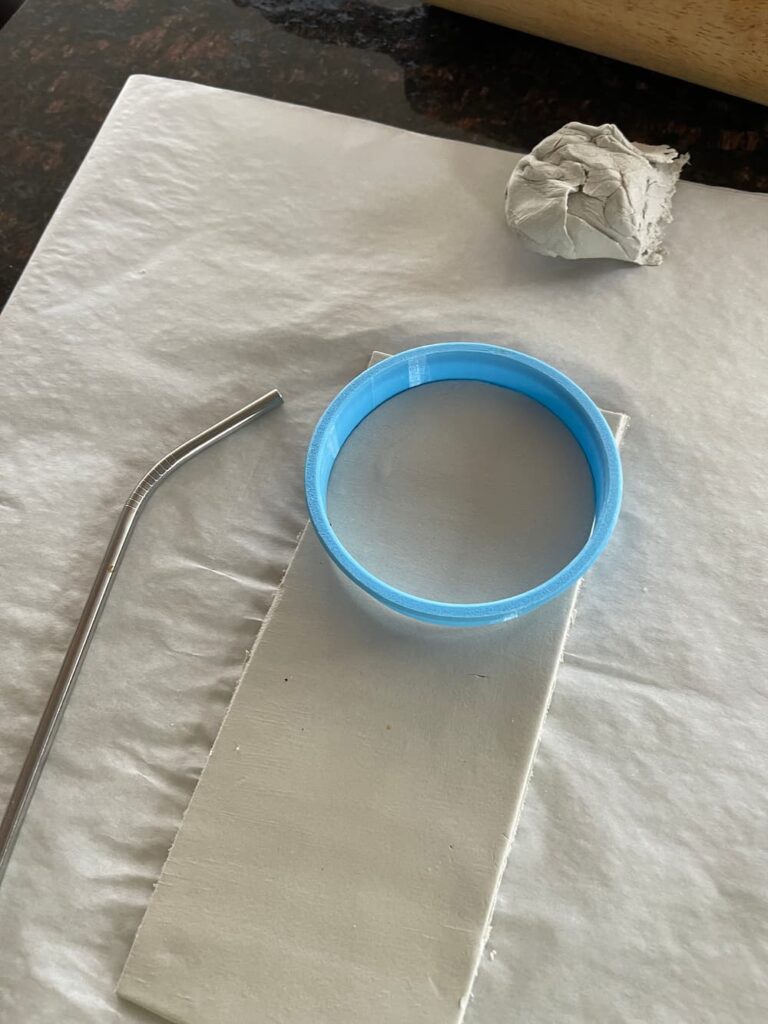
I then used a round cookie cutter at the top to create a rounded edge. This will be my top.
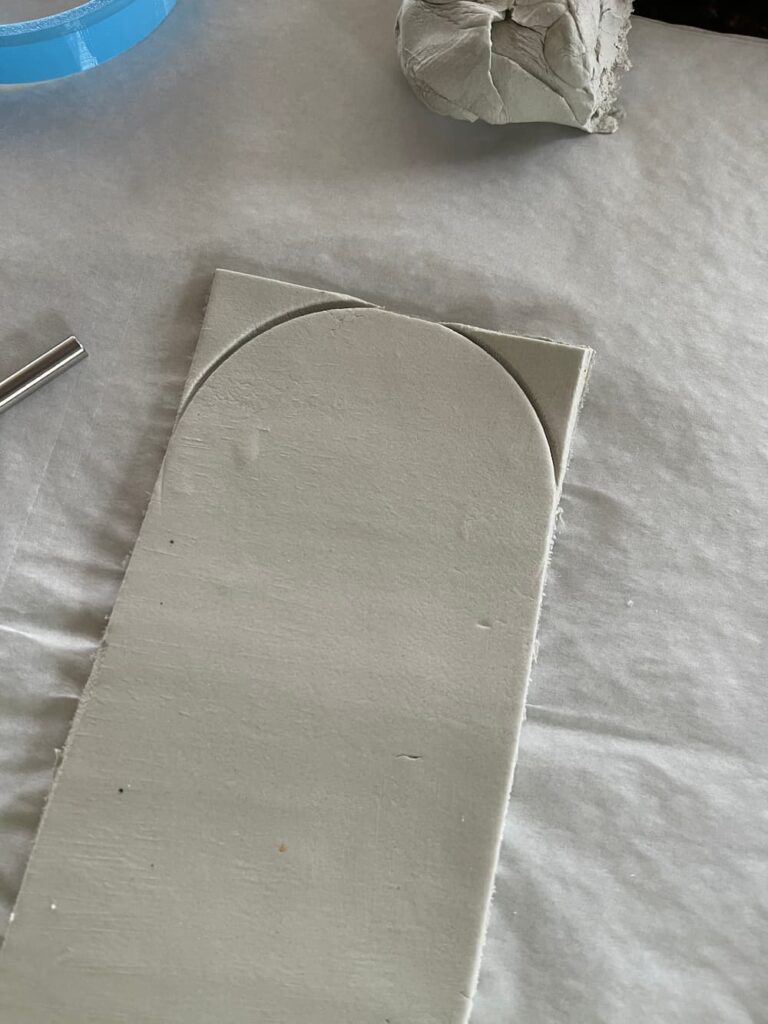
I then used a metal straw to add the holes for my twine so I could hang the pocket on the wall.
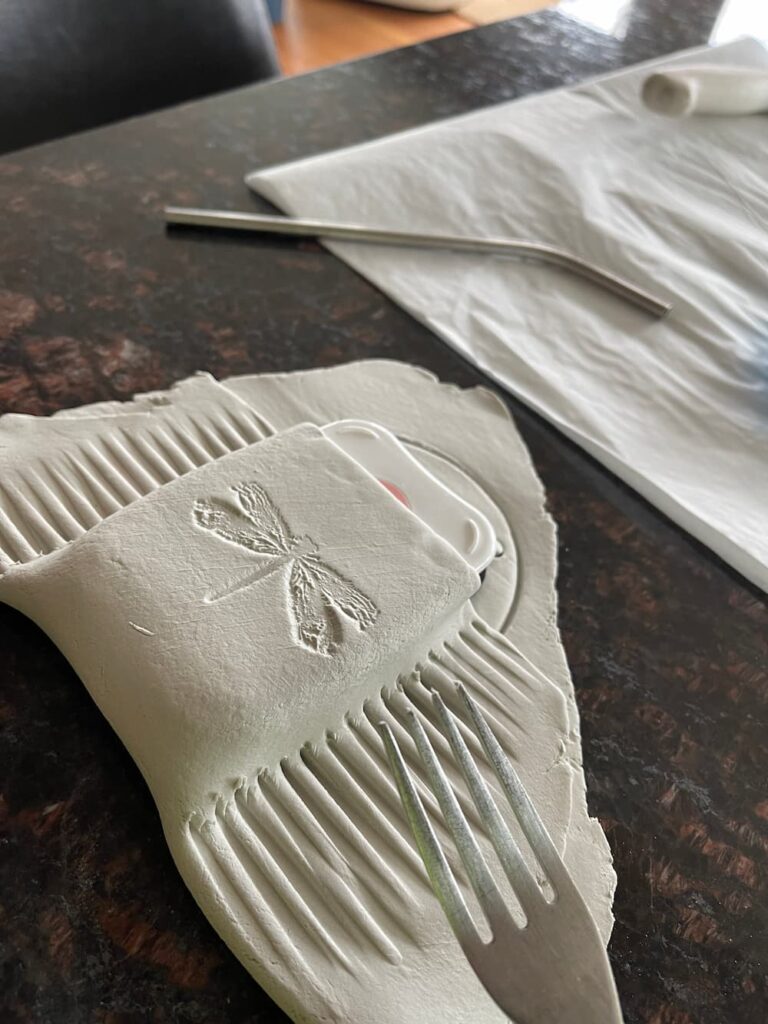
For the next step I stamped my dragon fly upside down towards the bottom of the clay. Then I flipped the entire piece over.
Next I folded the bottom of the clay up onto itself. Now the dragon fly was just below the top of the pocket.

Next, just like when you are baking a pie, I used a fork to seal the edges. I pressed down and then smoothed out the sides with my finger and some water. I placed an ink pad in the space to keep it open while drying.
This took longer than 24 hours because it had the ink pad inside and the air wasn’t circulating. I also pushed it down a bit and it took awhile to get the ink pad back out without breaking my pocket.
The last step was to coat it with Mod Podge and add my twine.
FREQUENTLY ASKED QUESTIONS
CAN YOU PAINT AIR DRY CLAY?
Yes, you can paint it. Acrylic paints work best, just make sure it’s completely dry before painting.
WHAT IS THE BEST AIR DRY CLAY?
Personally I prefer DAS. For me it dries the hardest and is the easiest to work with.
CAN YOU MIX PAINT WITH AIR DRY CLAY?
Yes, you can mix a small amount of acrylic paint to your air dry clay.
CAN YOU GET AIR DRY CLAY WET?
Unlike normal clay that is fired, this will continue to absorb water. You can make it water resistant by coating it, but it is not made to be immersed in water or wet.
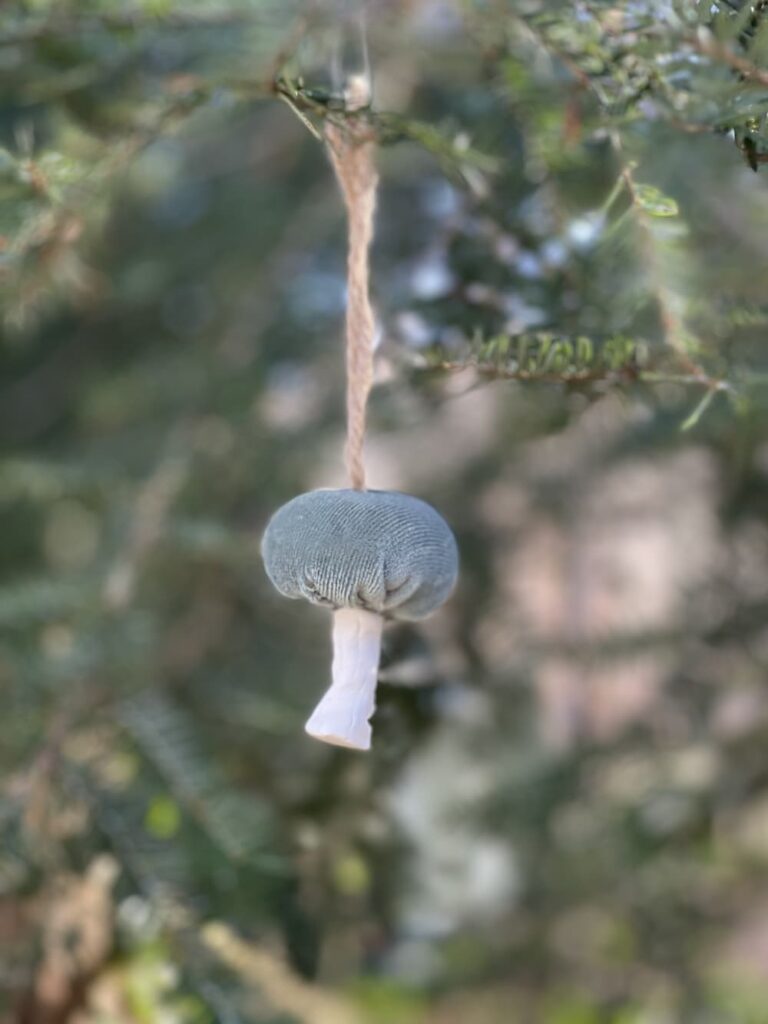
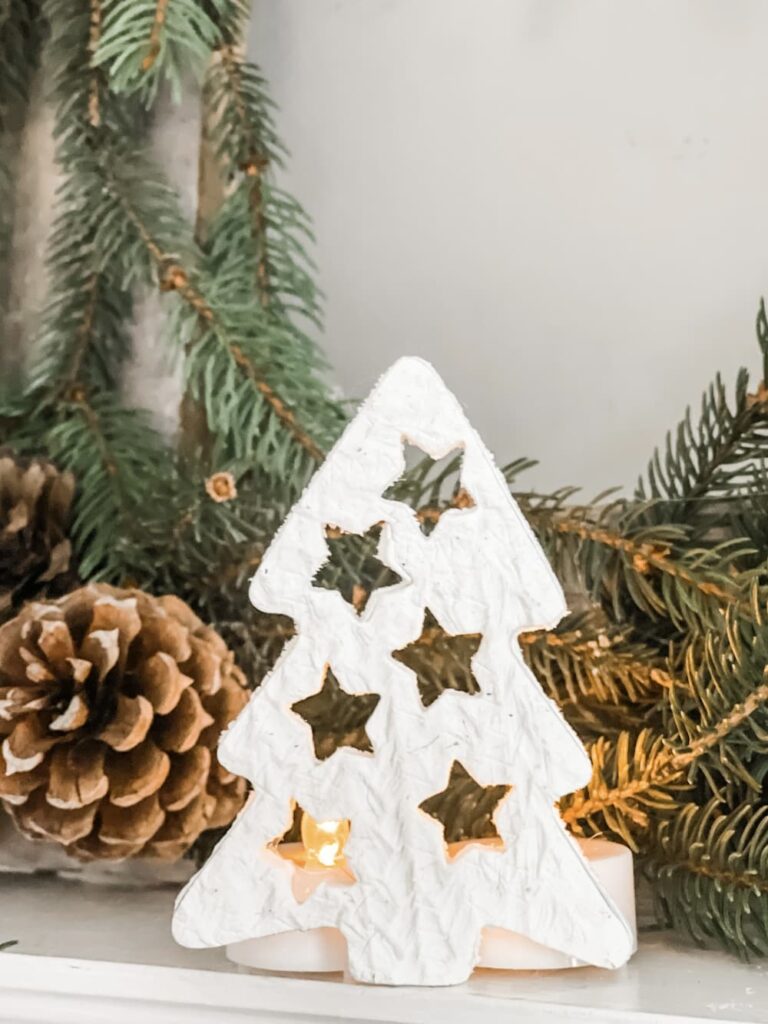
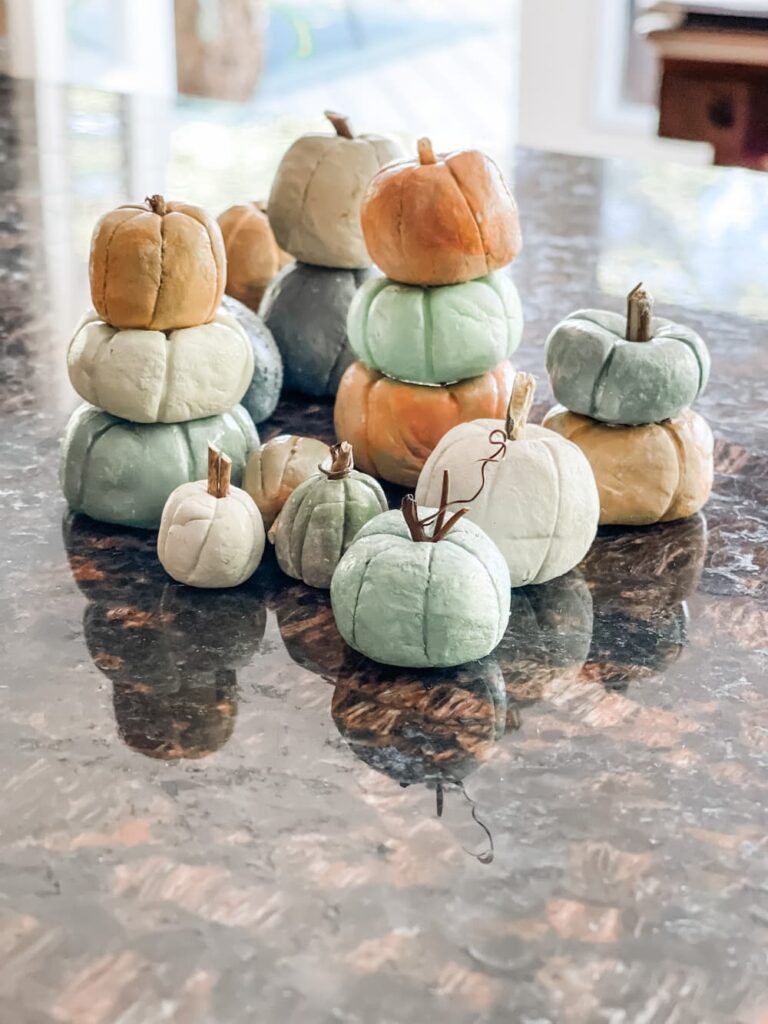
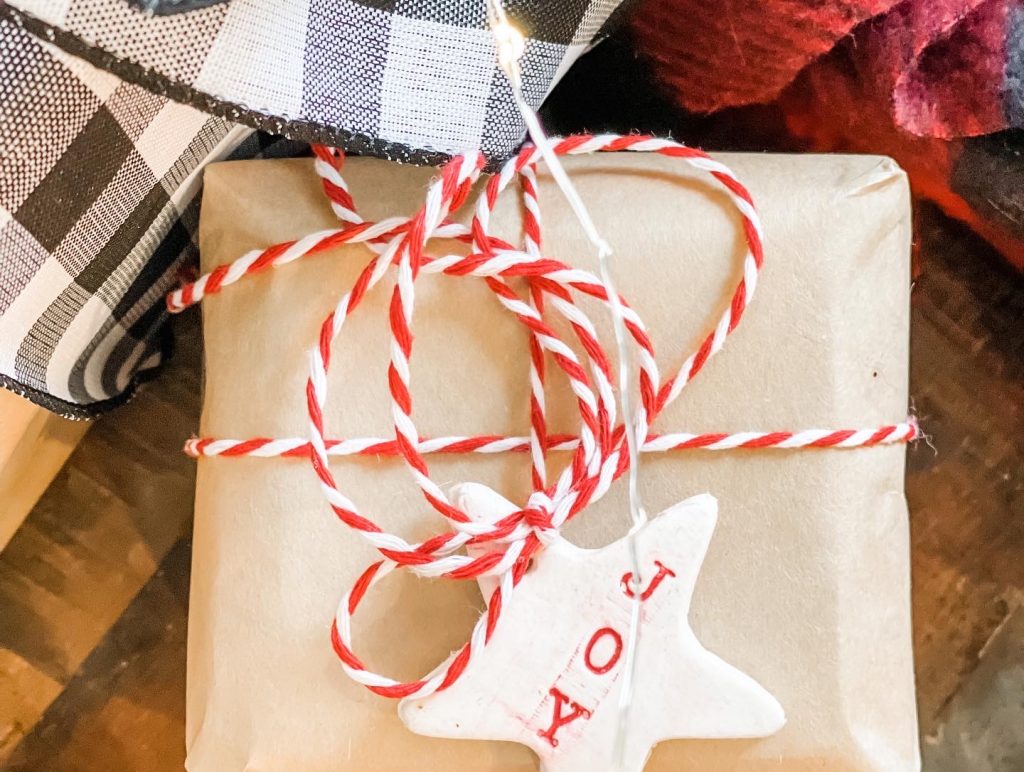
AIR DRY CLAY PROJECT GALLERY
HANDCRAFTED SOCIETY
Be sure to check out all the creative ideas from our Handcrafted Society group this month. So many fun spring projects to add to your to do list.
WMDesignHouse

I hope you enjoyed all of this wonderful inspiration for working with air dry clay. Let me know in the comments if you have ever tried it? It’s crazy how many different ways you can create. Make sure to pin this for later.
Thanks so much for stopping by, make sure to go visit Jen from Cottage on Bunker Hill next, she created the sweetest coasters.
This post may contain affiliate links. If you purchase from these links, I receive a small commission at no additional cost to you.
SHOP THIS POST


-

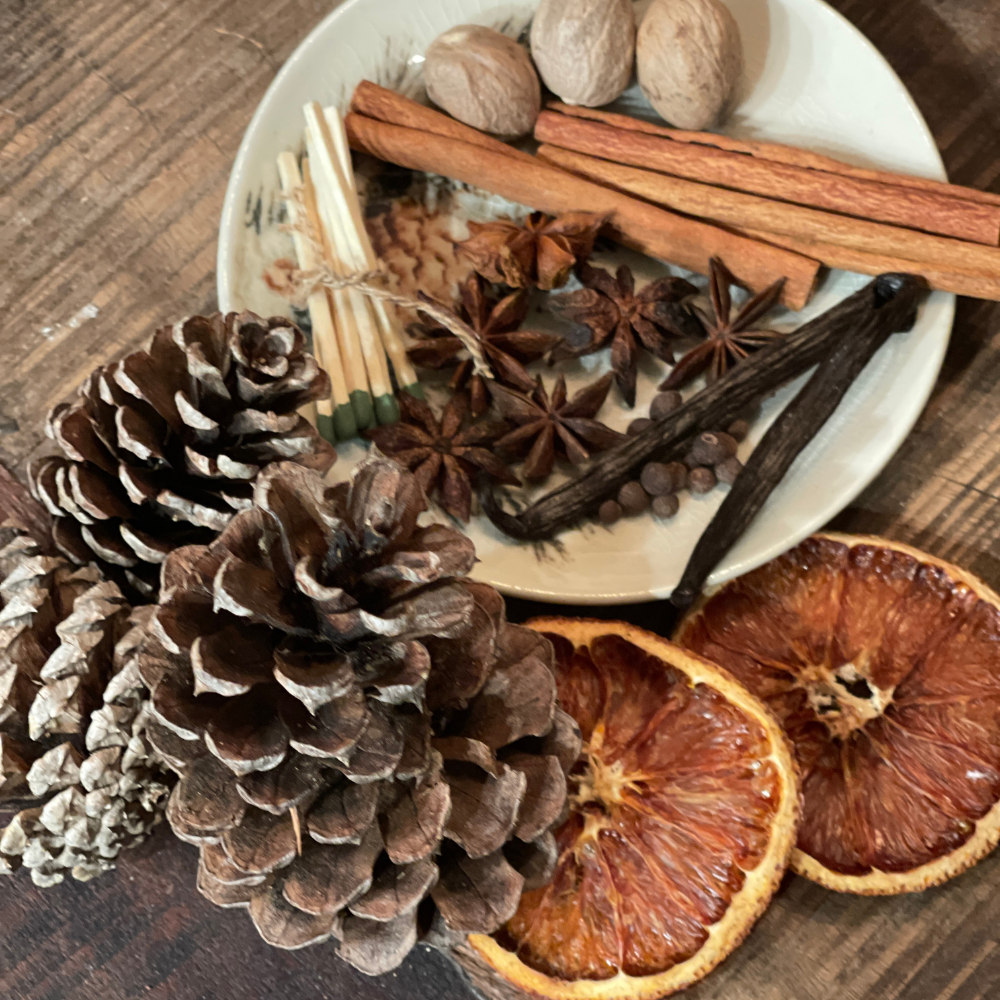
DIY HAND DIPPED PINECONE FIRE STARTERS
It’s that time of year when we are searching for the perfect gift. Functional, useable, beautiful, unique. You can stop searching and start making. These DIY Hand Dipped Pinecone Fire Starters make a perfect gift for neighbors, friends, housewarming or hostesses. Come see just how easy these are to create in an afternoon. Hi, I’m…
-
LATELY ON THE LAKE
Hi and welcome to November and Lately on the Lake. Last weekend it was in the 80’s, I woke up Thursday and it was 29. Yuck. I know many of you have already seen that white stuff. Today I’m sharing what I’ve been up to, what I’m working on, what I’m loving and what’s inspiring…
-

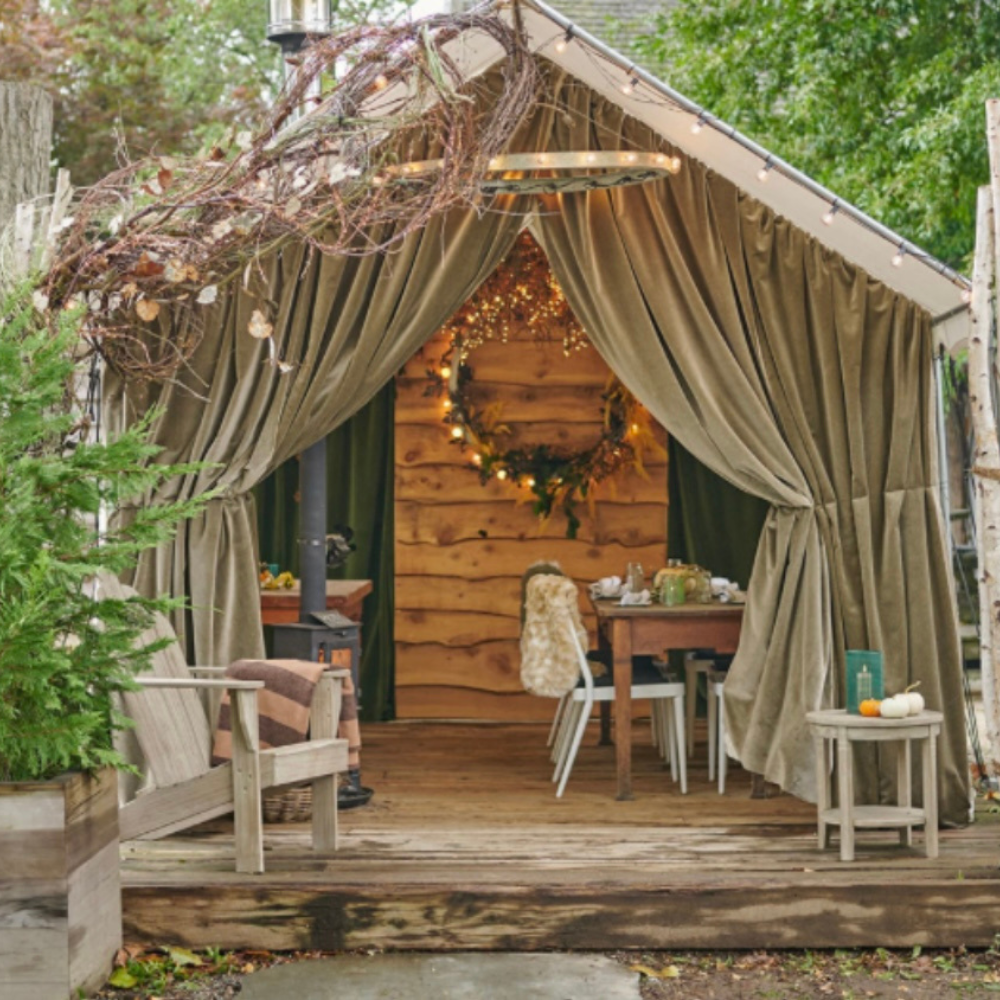
HOW TO DIY A FAUX GRAPEVINE TREE FOR CHRISTMAS
Do you love to use natural elements at the holidays? I do and today I’m sharing how to DIY a faux grapevine tree for Christmas. Inspiration came from the holiday shop at Terrain. If you’ve not been, it’s a great outing for inspiration and gifts. There are two in Pennsylvania that are a few hours…
Regina, you did a great job coming up with our medium this month! I’m so impressed with your wall pocket project and I love the dragonfly detail! I’m adding a wall pocket to my clay to do list and will let you know how it goes! Thanks for the inspiration!
Oh my gosh!!! This is such an adorable way to use clay!! Nice job!
Thanks Jennifer – I think it pairs great with your coasters!
Regina, thank you so much for asking me to join in the fun this month. How beautiful is the wall pocket. I am looking at everyone’s ideas and so many great gift ideas.
Thanks Tammy – So glad you joined us!
Wow Regina, you knocked this project out of the park. I love this idea and what place to store your glasses.
I also want to say thank you for taking the reigns on this months project. You did an amazing job and the intro was just over the top!
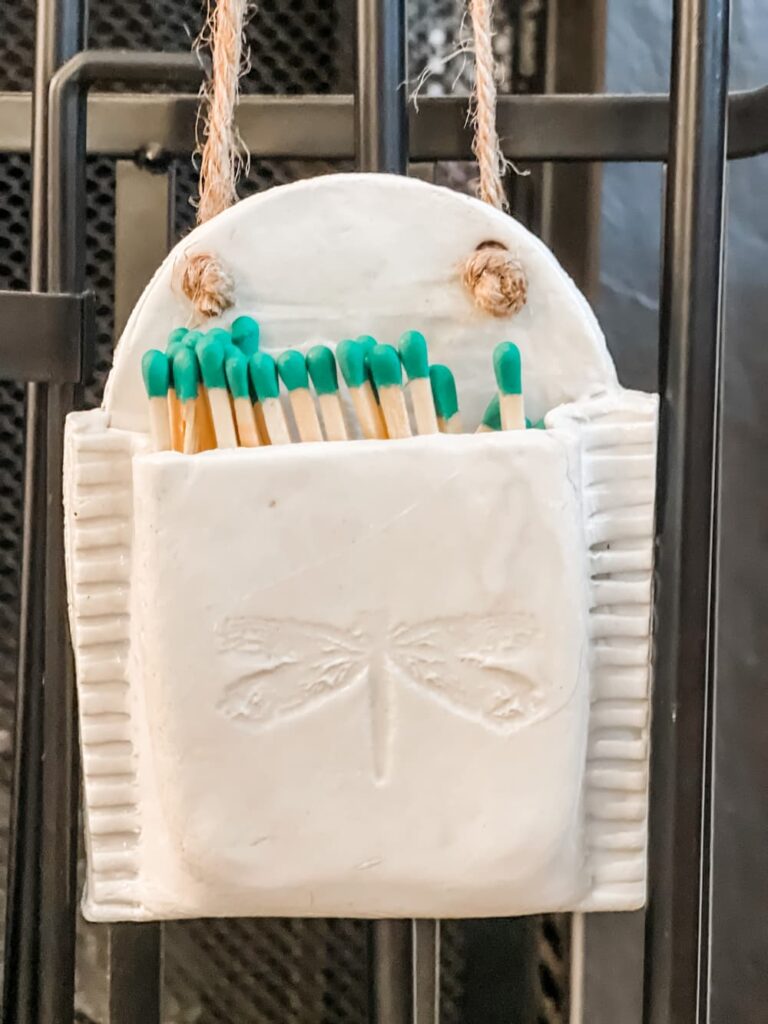
You are the “Queen of Air Dry Clay!” I love how brilliant each of your projects is! I love the dragonfly stamp on this project and how you use it to store matches and reading glasses! Clever girl! Pinned!
This was such fun, Regina! Thanks for organizing us so well this month. You are quite the video editor! And your darling pocket is so. cute and great tips for working with air dry clay!
Thank you for all the air dry clay tips! I have only used it a handful of times but now I am seeing so many uses for it!
I am obsessed!!! Such a cute idea! Pinned 🙂
xoxo