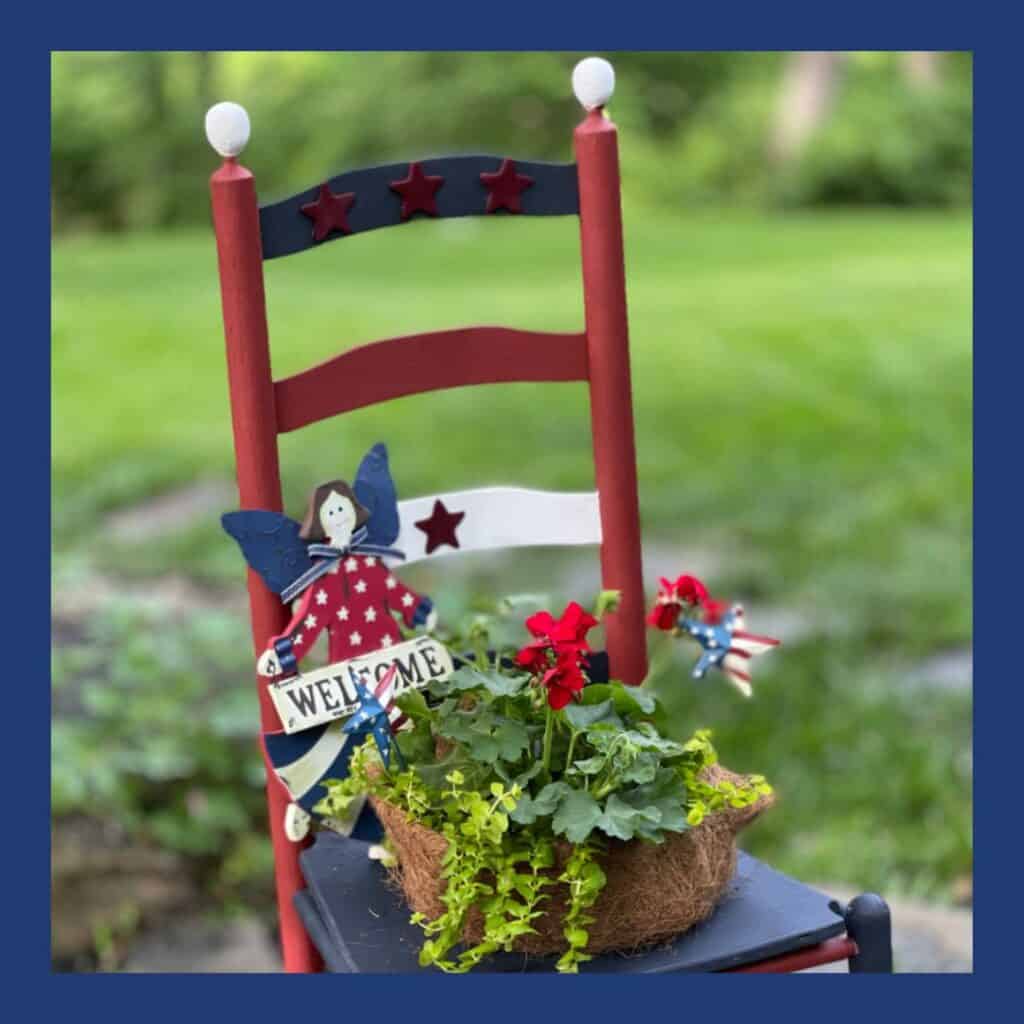
Hi, today I’m sharing an update to a vintage chair that makes a perfect planter for the garden, especially around Flag Day and July 4th.

Hi, I’m Regina and this is Saved From Salvage. I love to share DIYS, Furniture Flips, Tablescapes and Event Planning ideas, I’m so glad you are here.

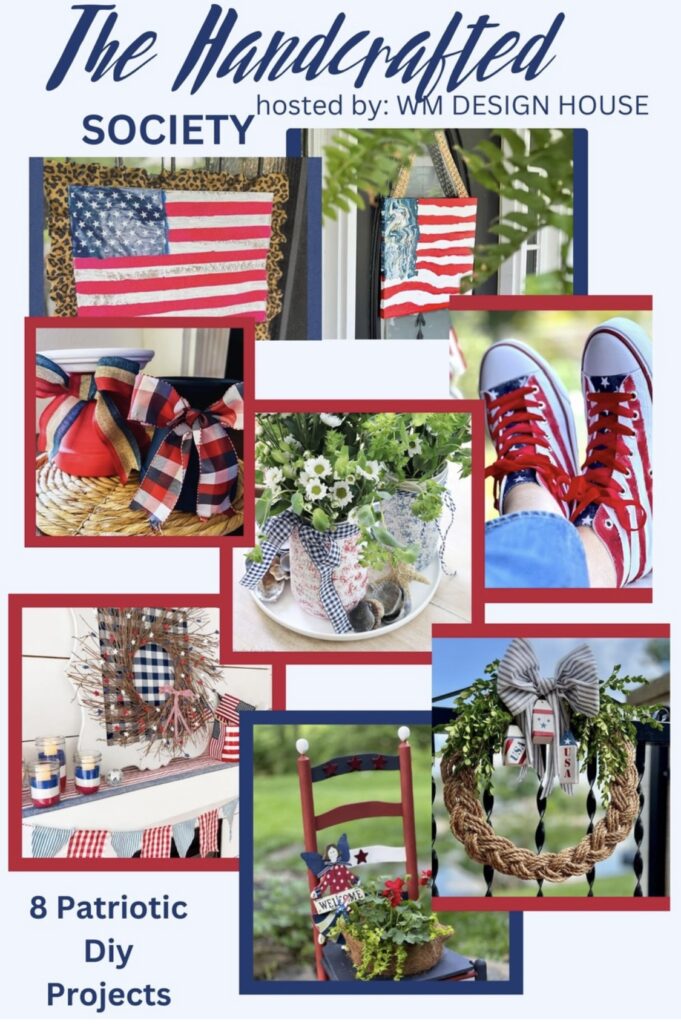
Today is our monthly Handcrafted Society Post where a group of bloggers create our own project with a prompt, this month it was paint something Red, White and Blue. If you are coming from our host, Wendy at WMDesign House seriously how fun are those shoes?

My project was a vintage chair planter, it was my moms. She had it in her beautiful garden.
It has been up in the attic until last week, it has been there a long time.
I decided that this was the perfect time to fix it up and add some new outdoor elements to the garden.
Since our project his month for the Handcrafted Society was to paint something red, white and blue, I figured all this needed was to be cleaned up and add a pop of color.
I had decorated the shed for Memorial Day so I thought in front of that would be the perfect place for the vintage chair planter.
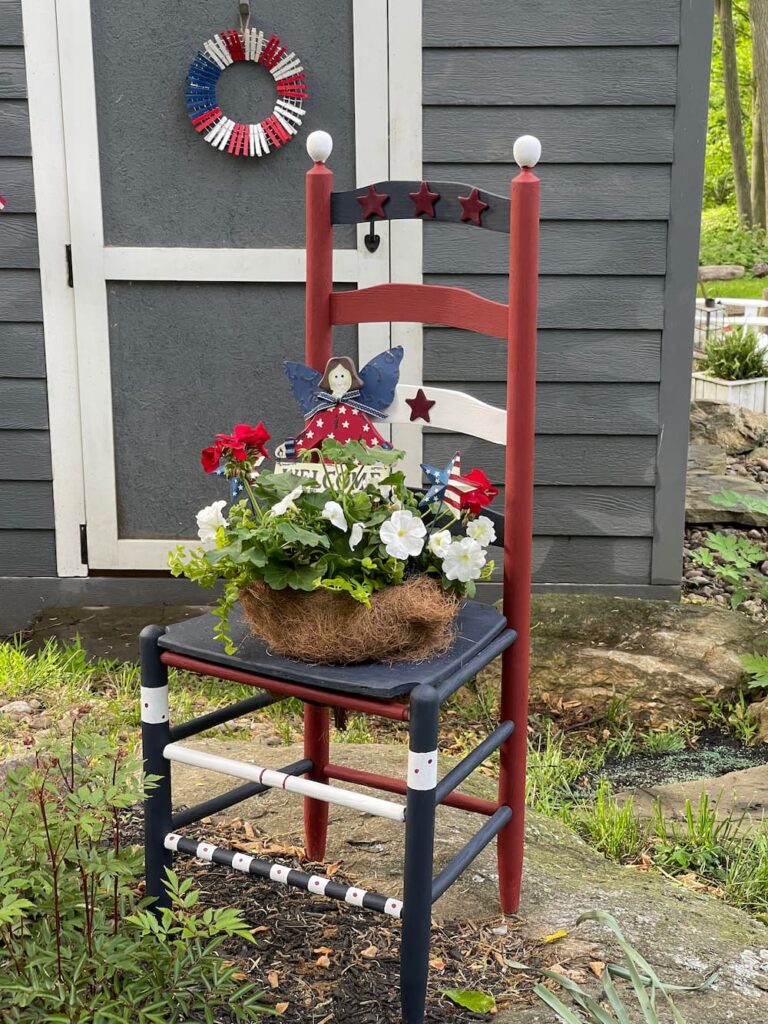
Table of Contents
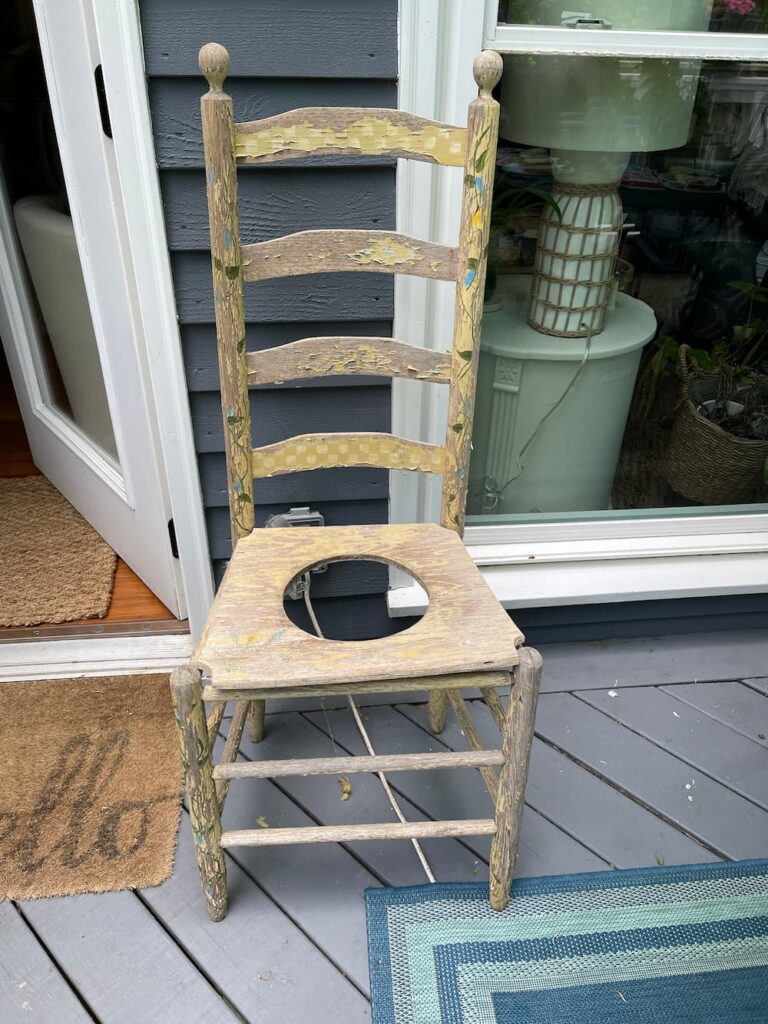
THE CHAIR PLANTER BEFORE
This was an easy DIY.
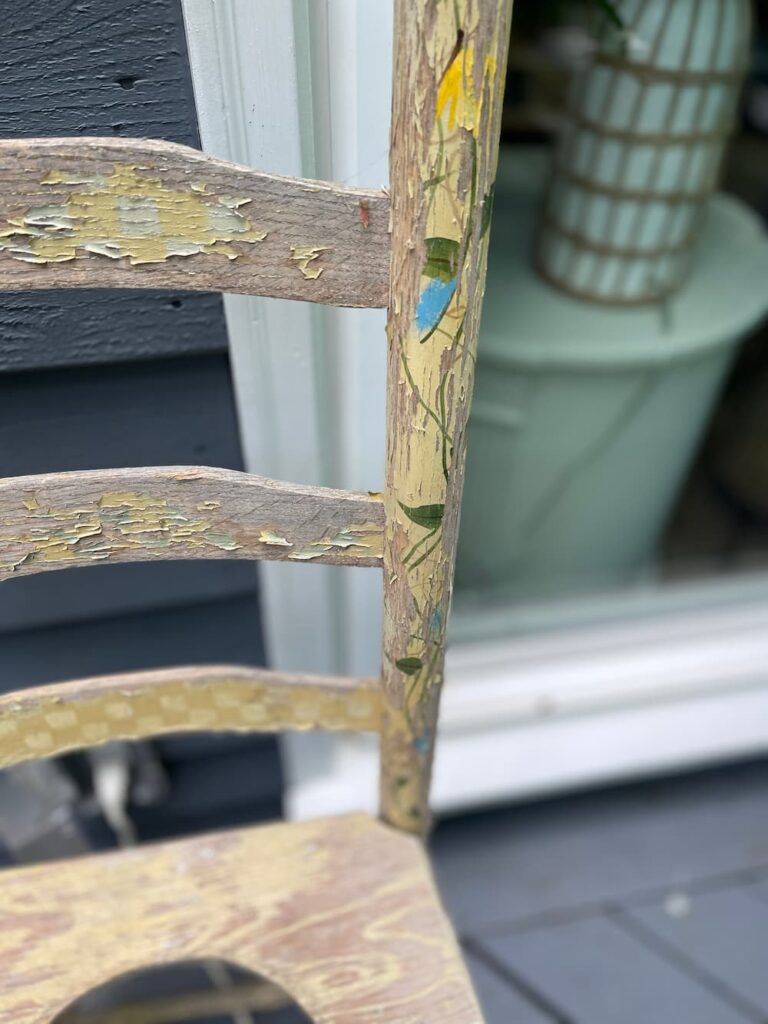
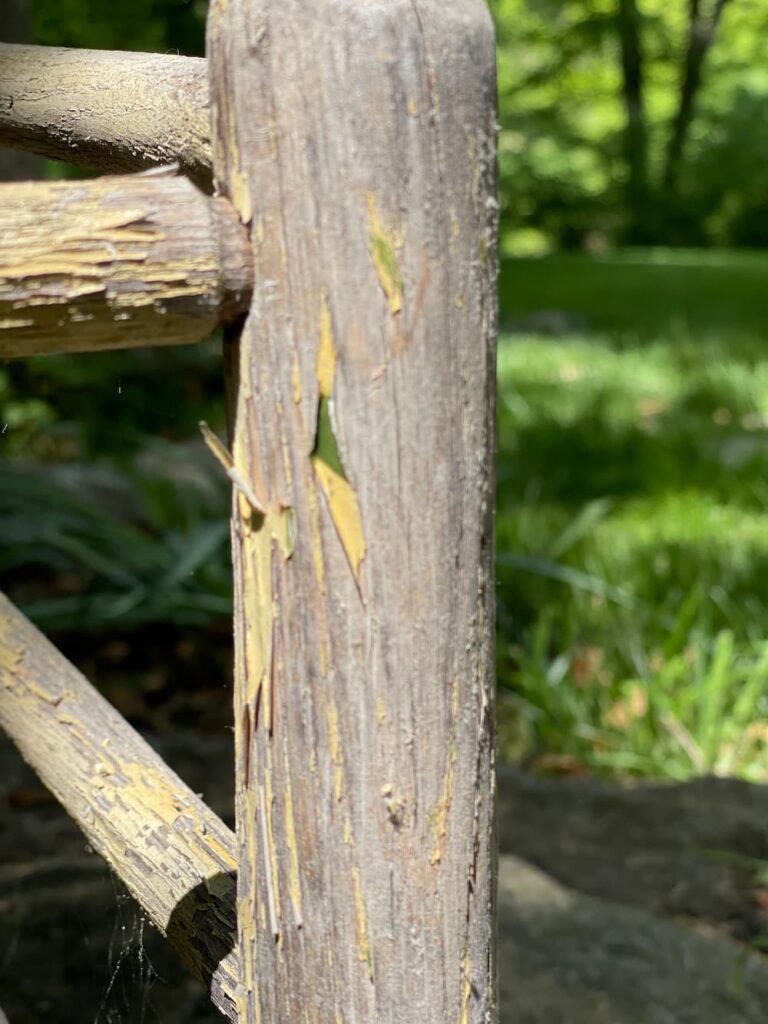
As you can see in the picture it was in rough shape, I actually love the chippy look but I wanted to give it an update.
SUPPLIES TO CREATE THE PATRIOTIC PLANTER
- DIXIE BELLE PAINT IN DEEP SEA
- DIXIE BELLE PAINT IN RUSTIC RED
- DIXILE BELLE PAINT IN COTTON
- DIXIE BELLE PAINT BOSS IN CLEAR OR WHITE
- PAINTERS TAPE
- LARGE PAINT BRUSH
- SMALL PAINT BRUSH
- SCULPEY CLAY
- STAR COOKIE CUTTER
- GLUE GUN
- POT FOR PLANTS
- RED, WHITE FLOWERS
STEPS TO MAKEOVER THE CHAIR
STEP ONE: CLEANING THE CHAIR
It was a beautiful sunny day and I found a perfect outdoor space to work.
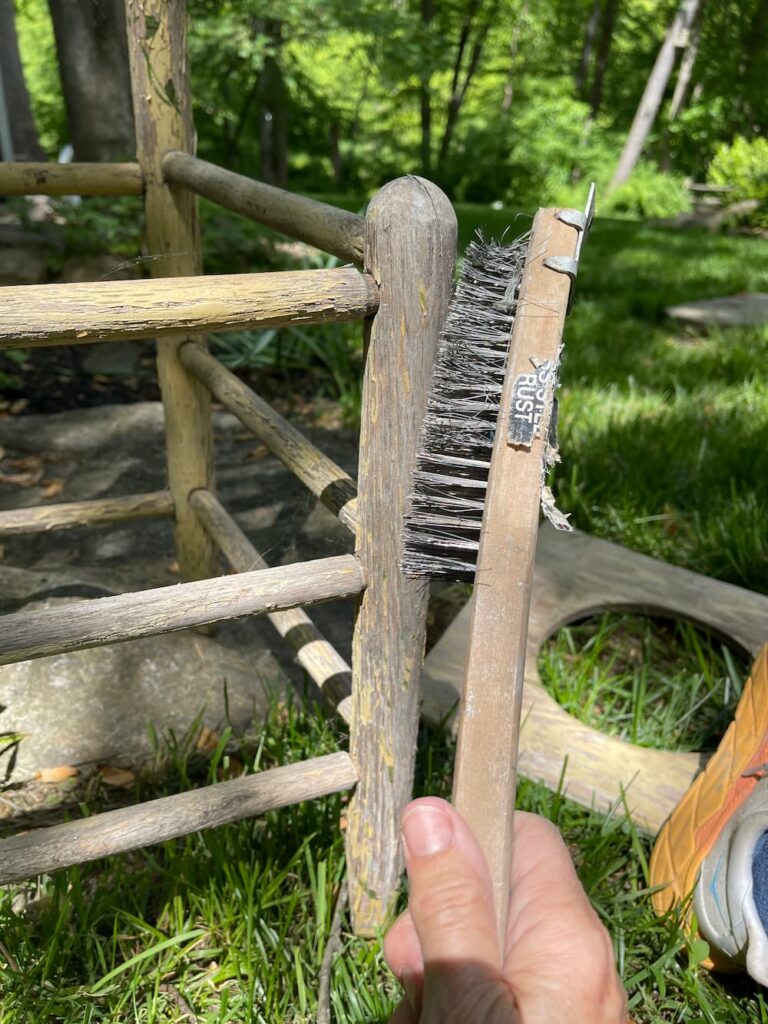
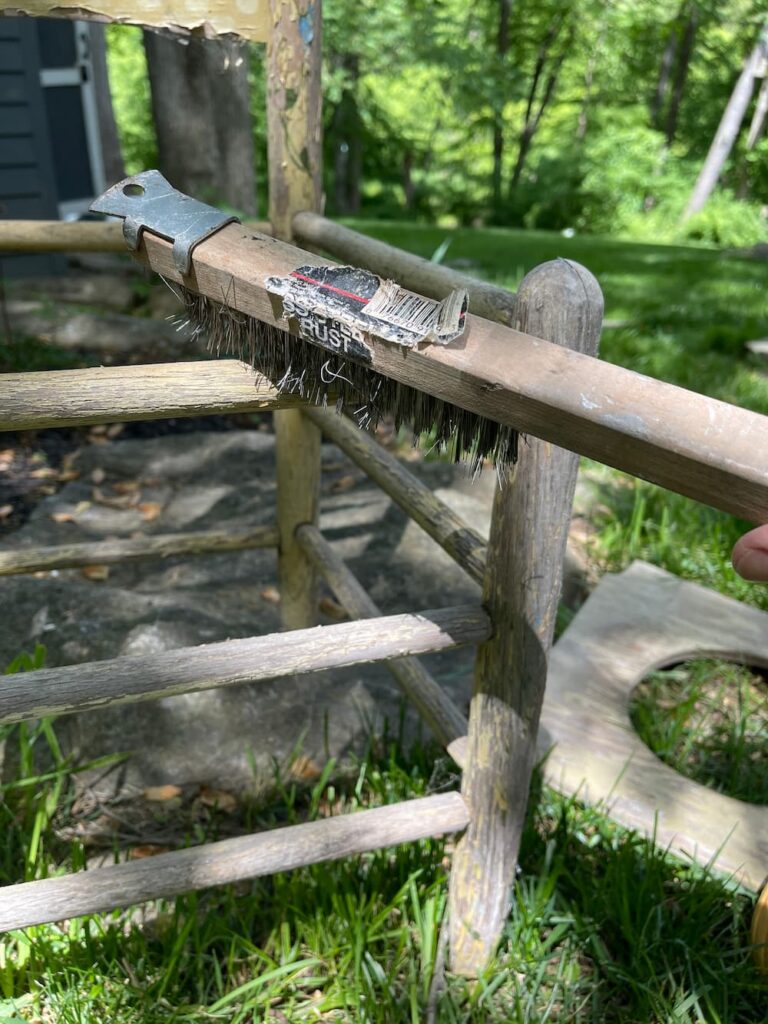
My first step was to clean the entire planter chair with a wire brush.
I cleaned up the entire chair and realized a bottom slat was loose. I used wood glue and fixed that.
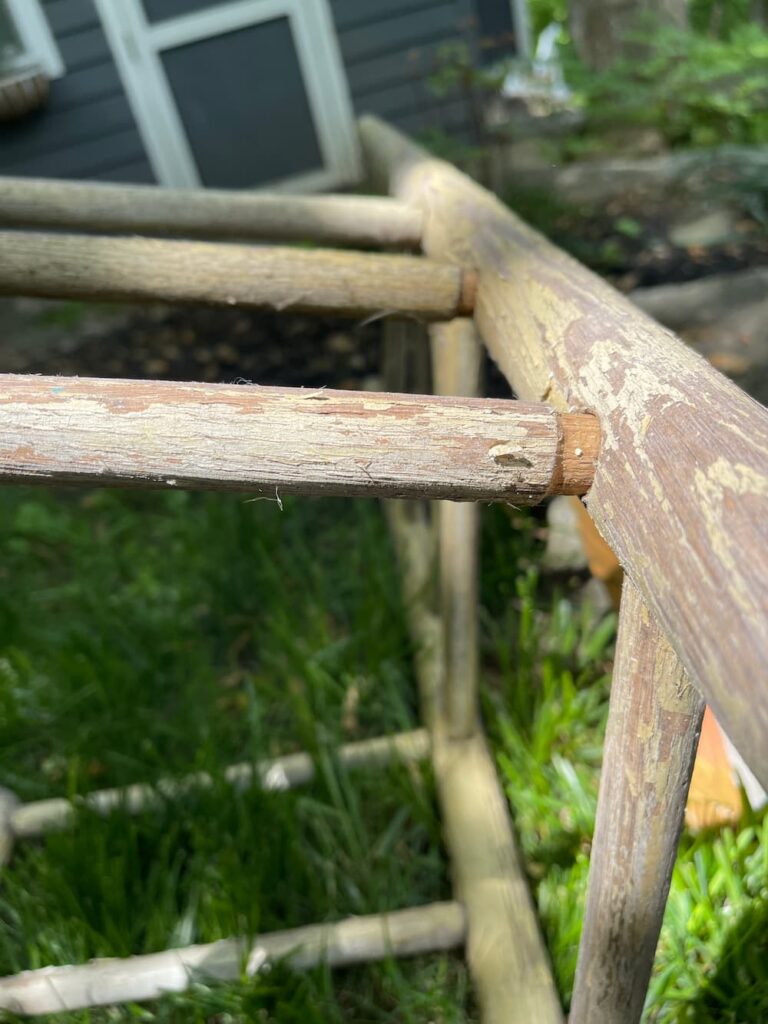
Next I lightly sanded the entire chair.
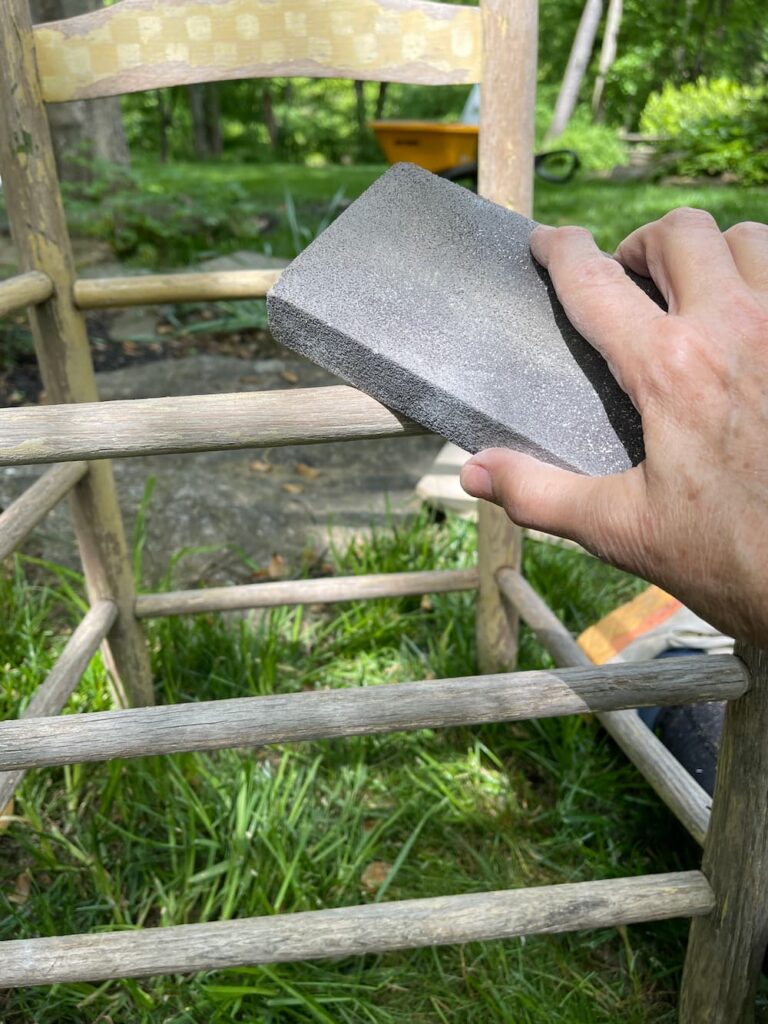
Next I worked on the seat. The seat was a false bottom that sat on top of the chair. It had been cut to hold a planter.
STEP TWO: PREPPING THE CHAIR
After cleaning and sanding, it was time to paint. I got my paints out and then decided what I wanted to paint what.
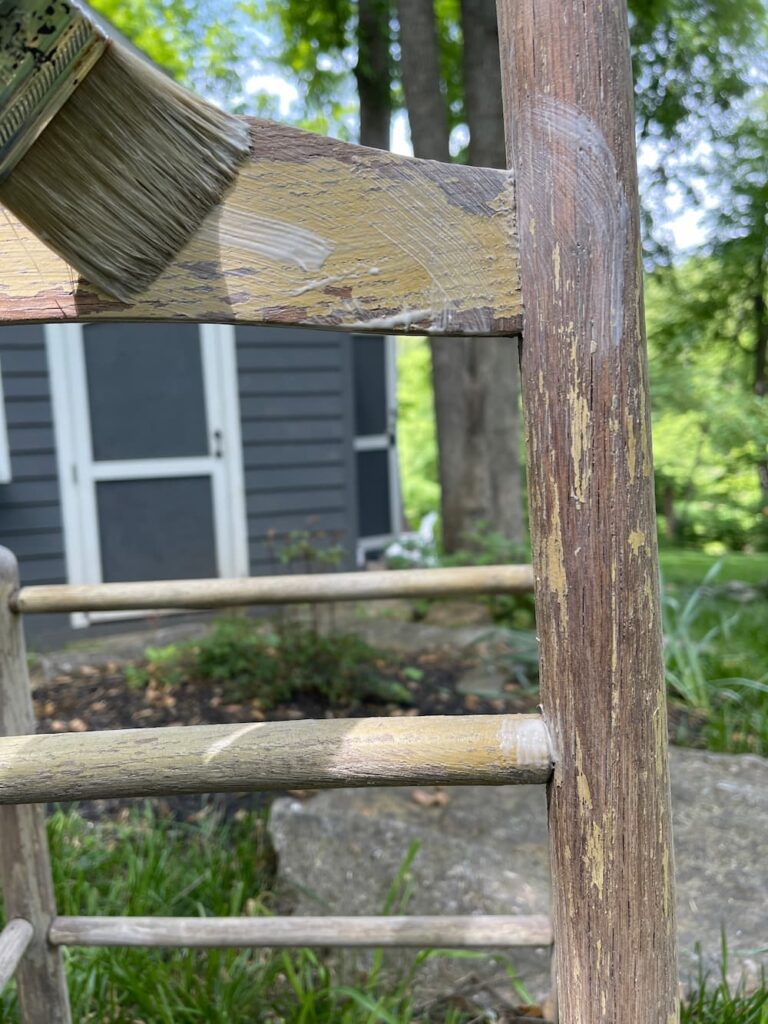
Before I began with the color, I decided to paint the entire chair with BOSS by Dixie Belle, it serves as a primer, blocks odors and prevents bleed through.
I thought I had brought out my white color but it was clear, I had not used the clear before but I went with it instead of going back in the house and getting my white.
After I was done with the BOSS, I began with my colors.
STEP THREE: PAINTING THE CHAIR
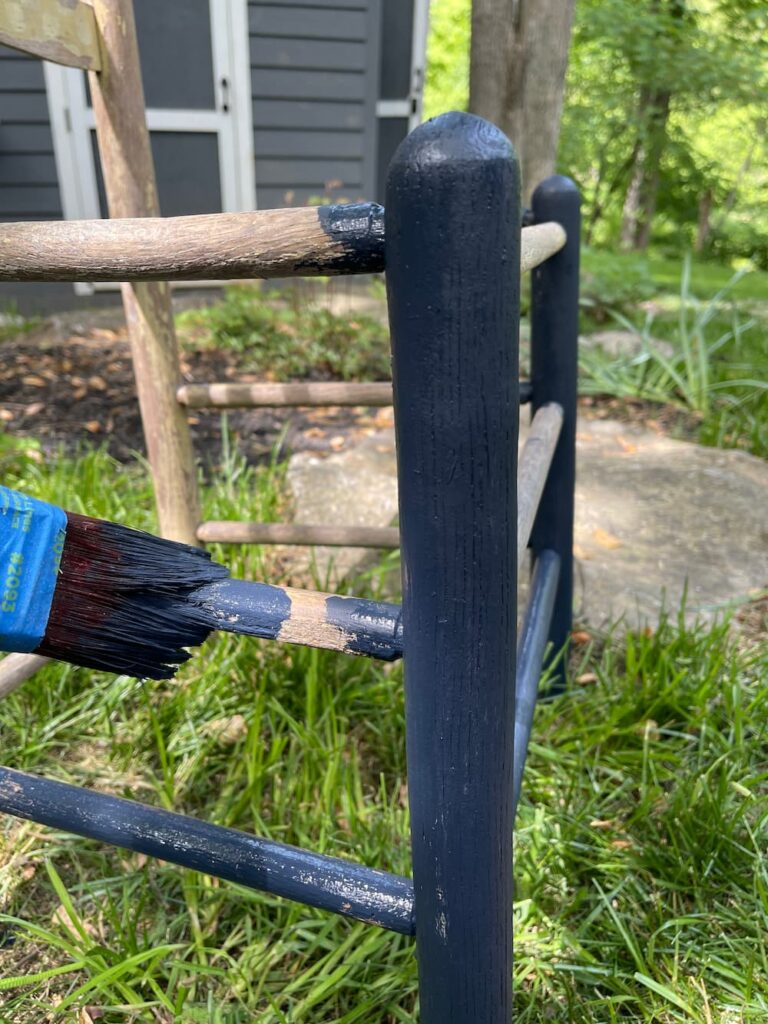
I used Deep Sea, Silk Mineral Paint by Dixie Belle, a very rich deep navy. This was my first time using this color and I loved it. I thought doing the majority of the base of the chair this color was a great way to keep it a little bit neutral for Carmine’s likes.
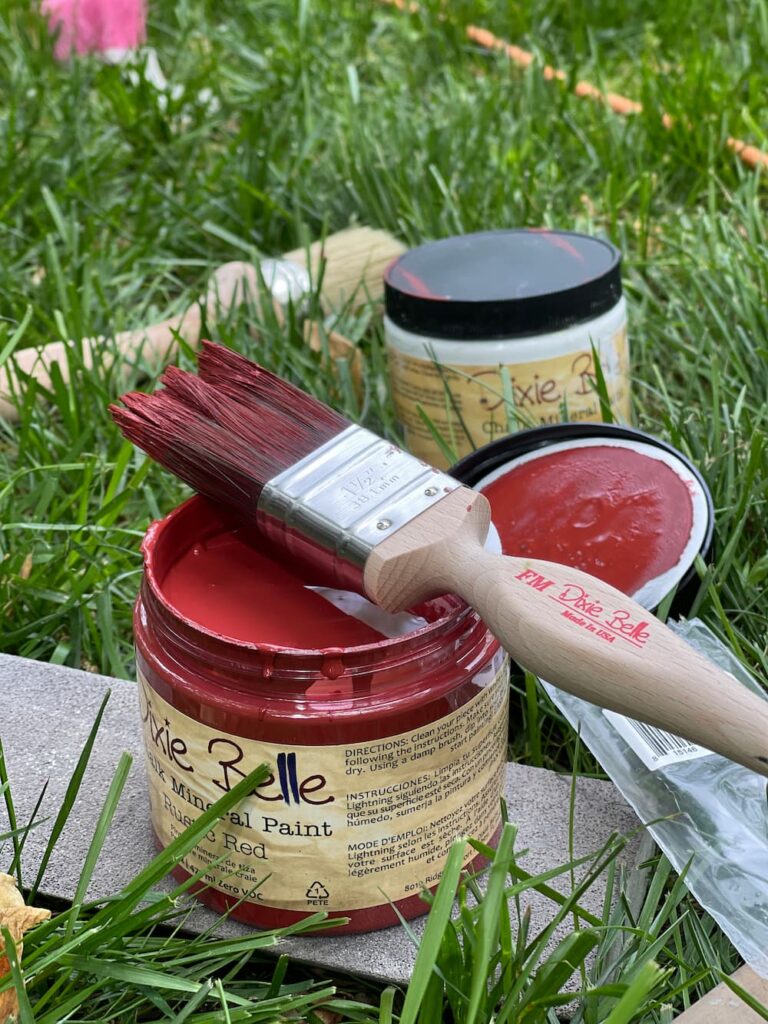
I don’t use red in my decor, I prefer neutrals, so since I am not a huge fan of red, I decided to use Rustic Red Chalk Mineral Paint by Dixie Belle. This shade of red has a primitive look to it, reminiscent of old barns and covered bridges.
I thought this color would look great on the front porch because it almost matches our shutters.
Next I used Cotton Chalk Mineral Paint by Dixie Belle, it only took one coat of each color to completely cover the chair.
This was seriously one of the easiest DIY projects ever. I finished painting my red, white and blue and then went back and touched up and areas that needed it with a smaller brush.
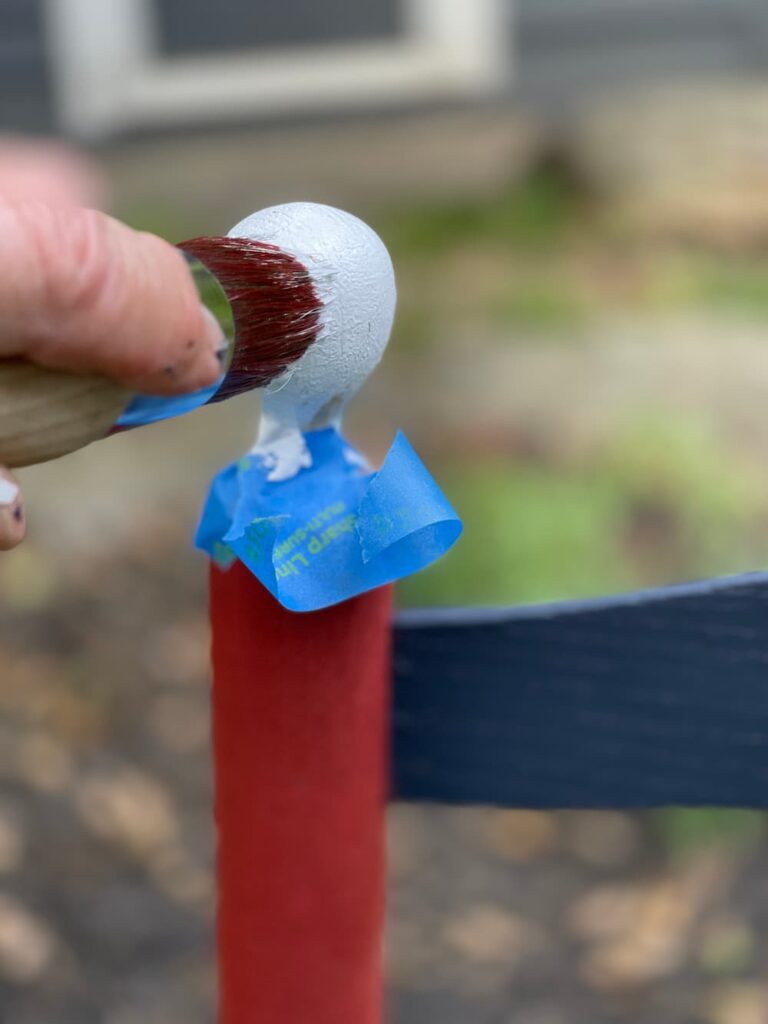
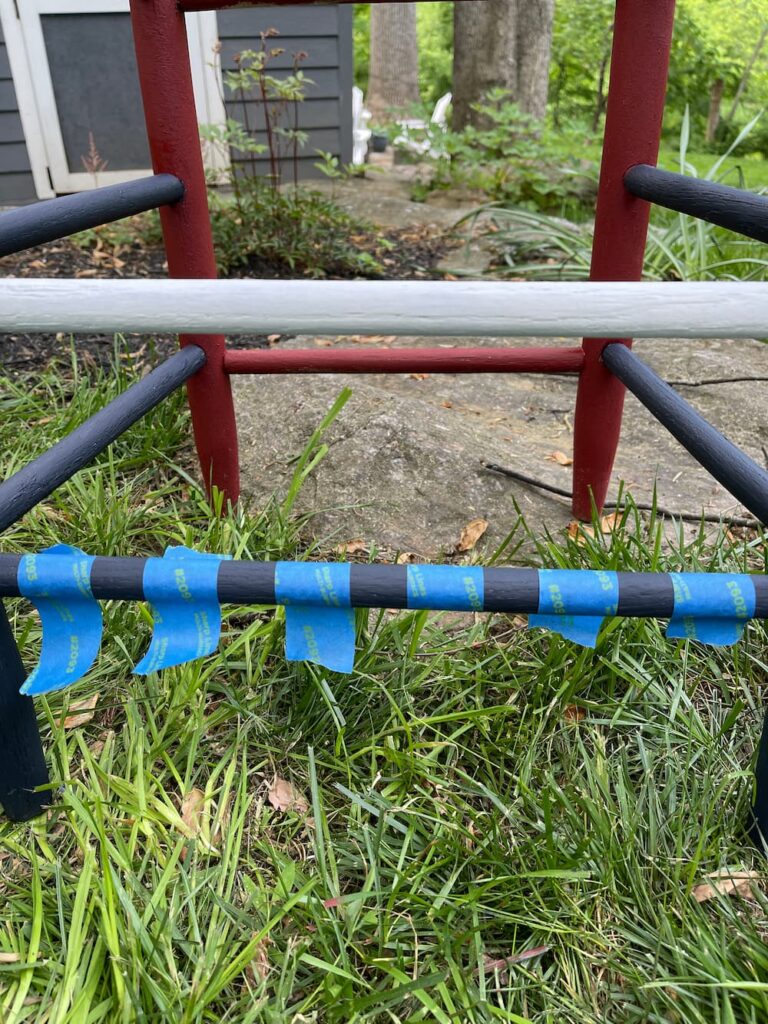
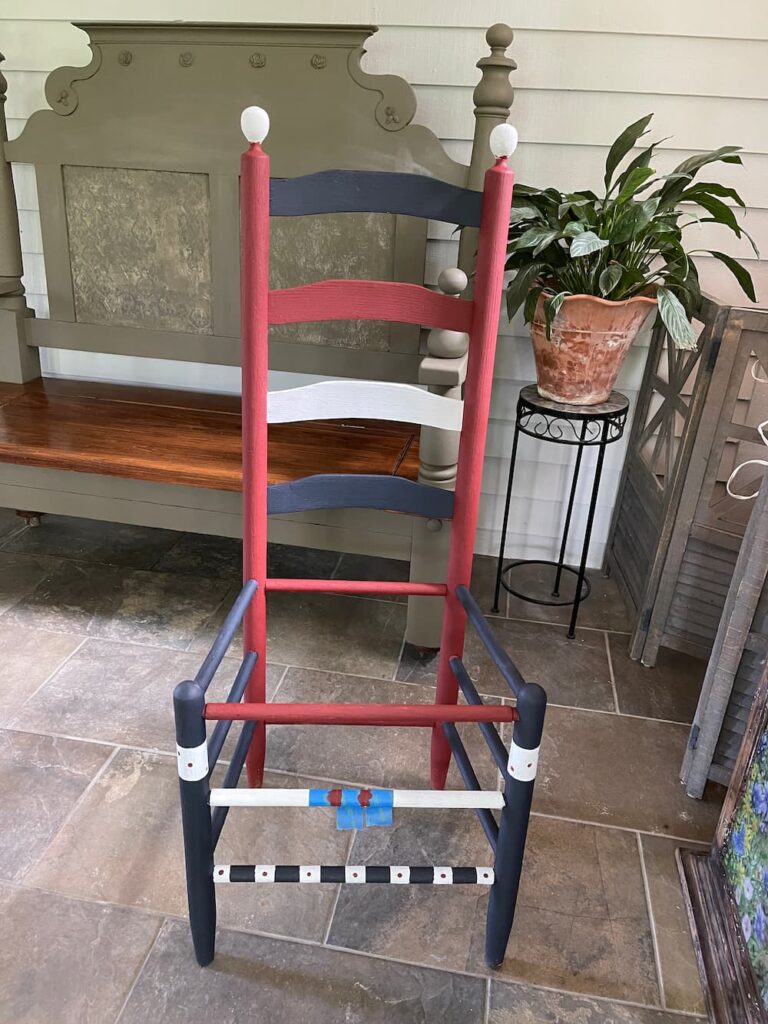
Then I added some stripes by using painters tap, painted the top of the back white and added some dots to the rungs. This added a touch of whimsy.
STEP FOUR: FINISHING TOUCHES
Of course if you know me, you know I love working with clay and adding it to whatever DIY I am working on.
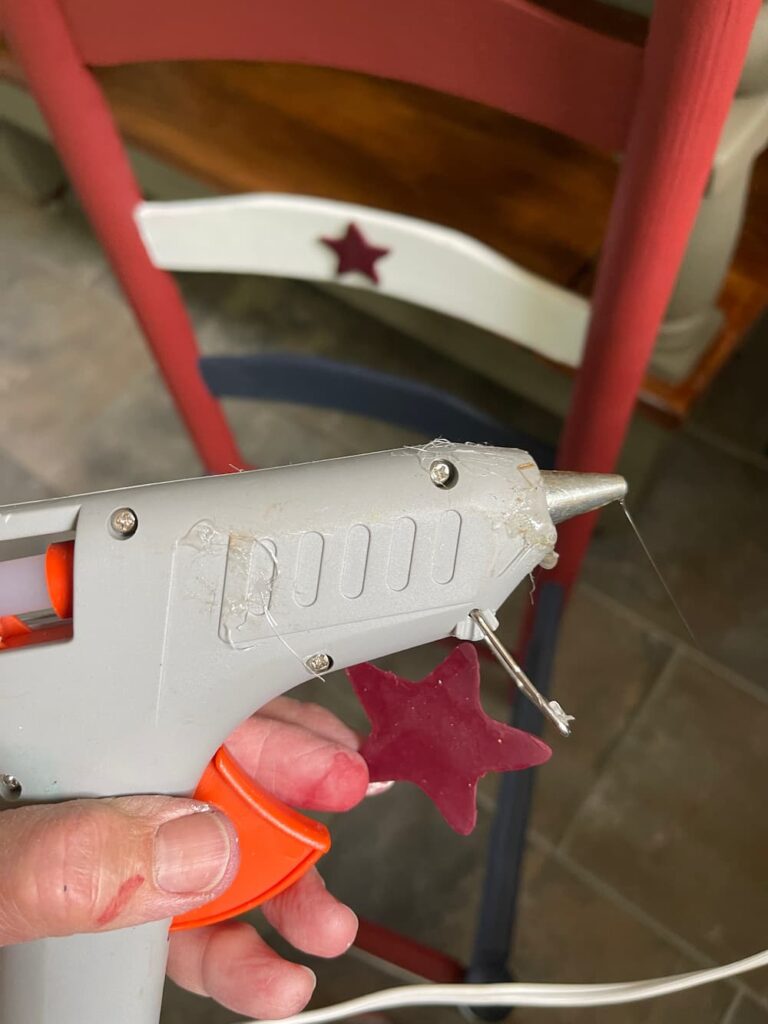
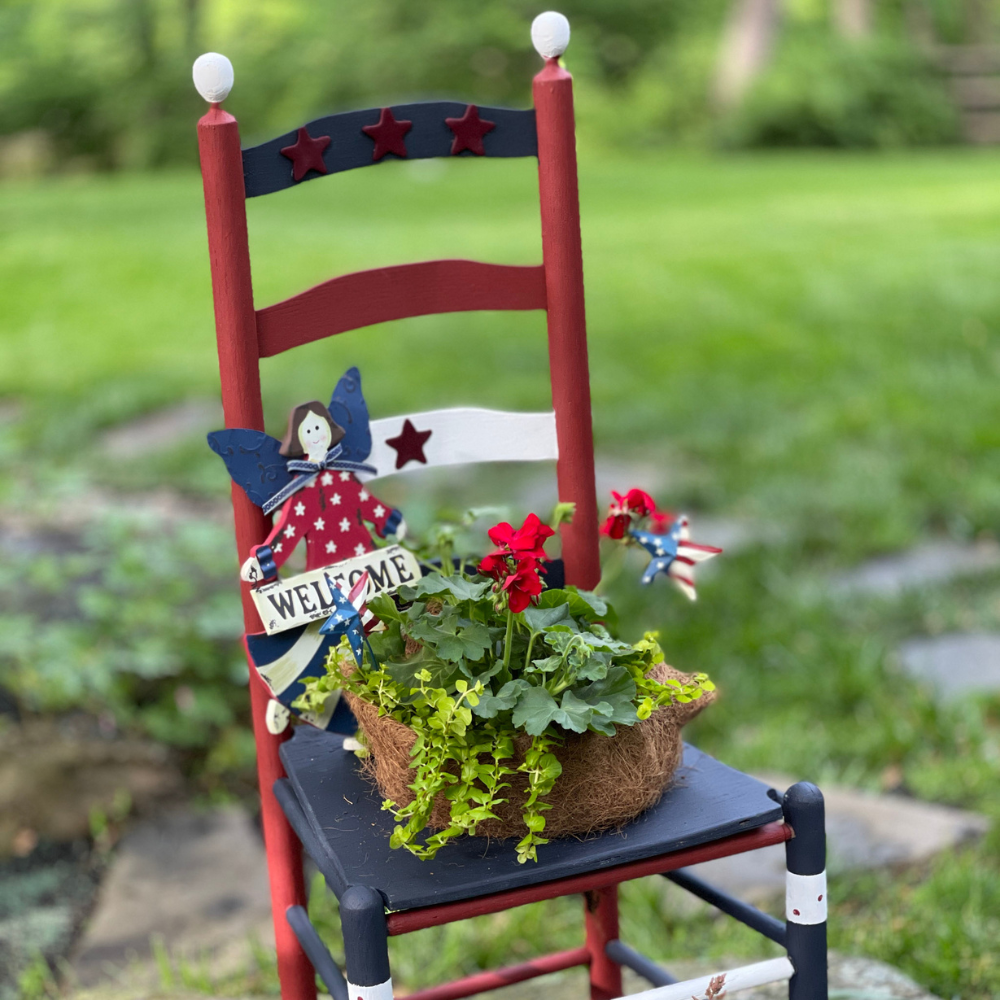
I cut out stars from Sculpey clay, then I baked them in the oven. The top slat on the chair would be a great place to add stars, so I added three there and one more on the white slat.
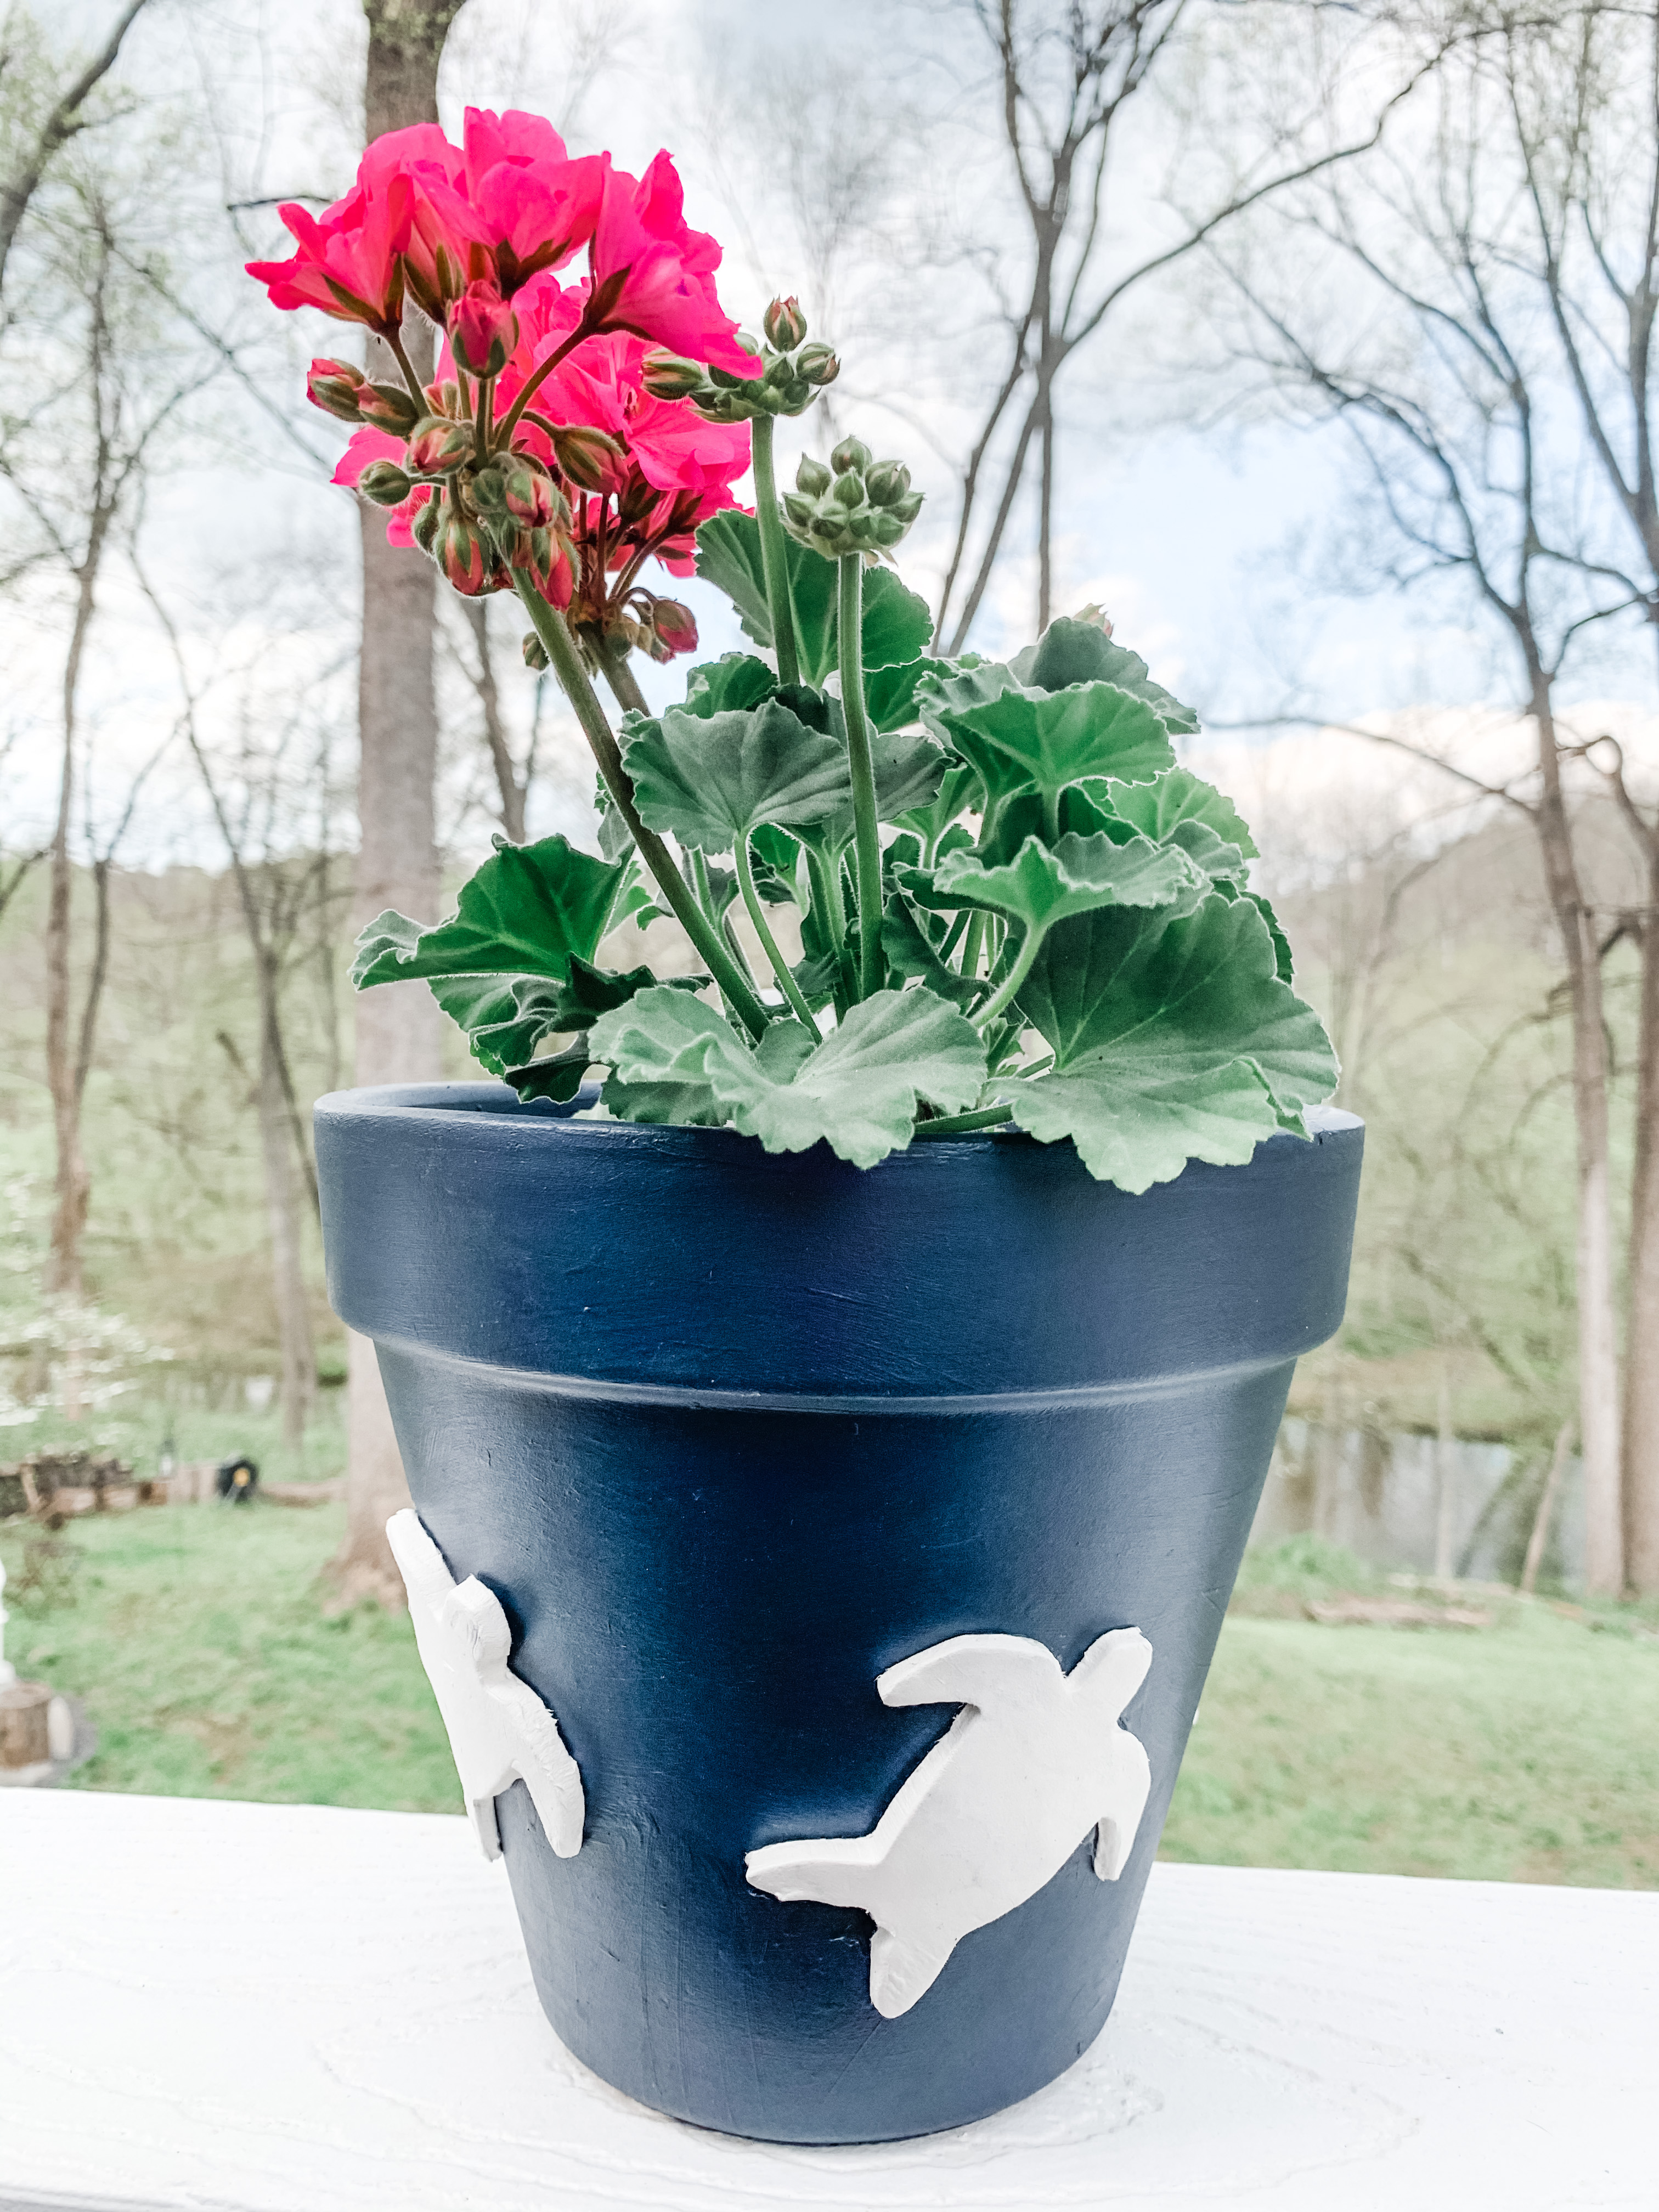
Last year I made my own DIY planters and used the clay to give a coastal feel.
I also made a wooden planter box that can be used for other decor too. It has long sides and is the perfect size for a centerpiece for a table.
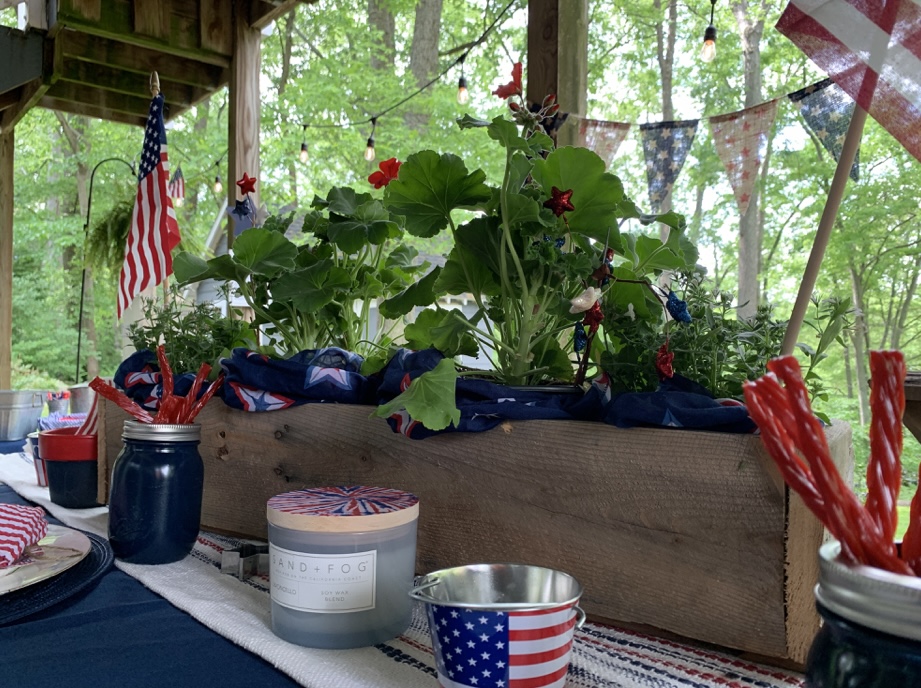
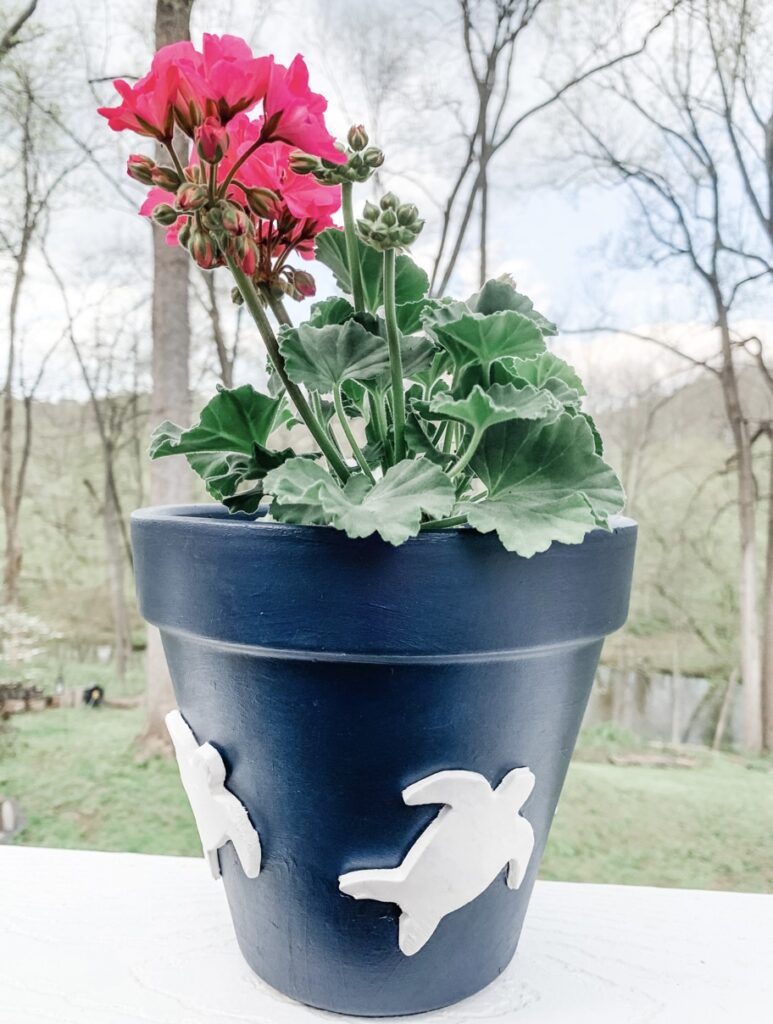
The star cookie cutter I used for these clay additions were the same cookie cutters I used for my Patriotic Pancakes since we are talking about red, white and blue.
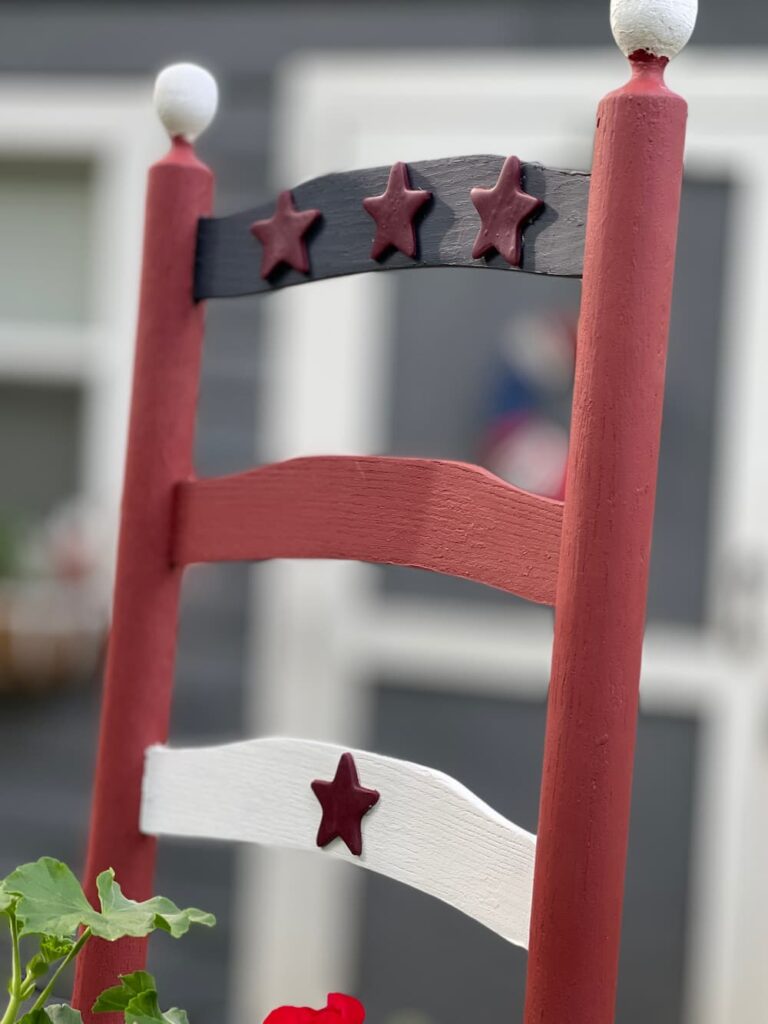
Now that the chair was painted and had the stars on it, I hunted through the shed and garage for a suitable pot.
STEP FIVE: ADDING THE PLANTS
I had a few plastic pots that would work, but on a trip to Home Depot, I saw a planter with geraniums and creeping jenny and it was a great price.
The bottom of the planter fit perfectly in the opening on the chair.

It was less expensive than adding the plants individually so I thought it was the perfect solution.
The very bottom of the planter was warped and I did gather some scrap wood to work on a new bottom but decided to stick with the warped bottom.
Because the pot has drainage holes and I couldn’t add a saucer to it, I wrapped coir around the side and bottom of the planter.
I liked the look of this and it hid the plastic pot so it seemed like a good idea.
I added some white petunias to the mix and an old garden angel and a tin star and now it looks like a new beautiful folksy piece of garden art. Plus it reminds me of my mom every time I look at it. I think she would approve.
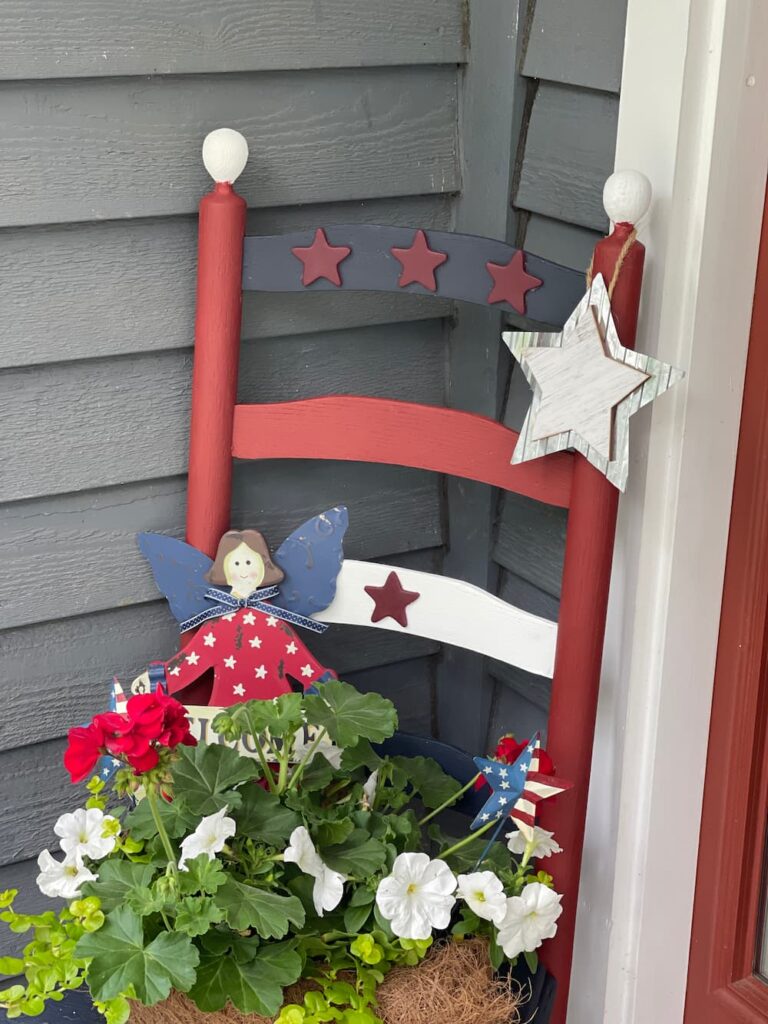
Next I will add a coat of sealer to the top of the planter and all over so outside it doesn’t get warped or ruined with too much water.
In the meantime I found the a great spot, in a small space on the porch right next to the front door.
This really adds curb appeal if you ask me.
Now on to the rest of the Handcrafted Society. Wait until you see what everyone came up with for their project! You will love them.
HANDCRAFTED SOCIETY PROJECTS
SHOP THIS POST
THIS POST CONTAINS AFFILIATE LINKS FOR YOUR CONVENIENCE. IF YOU PURCHASE FROM THESE LINKS, I RECEIVE A SMALL COMMISSION AT NO ADDITIONAL COST TO YOU.

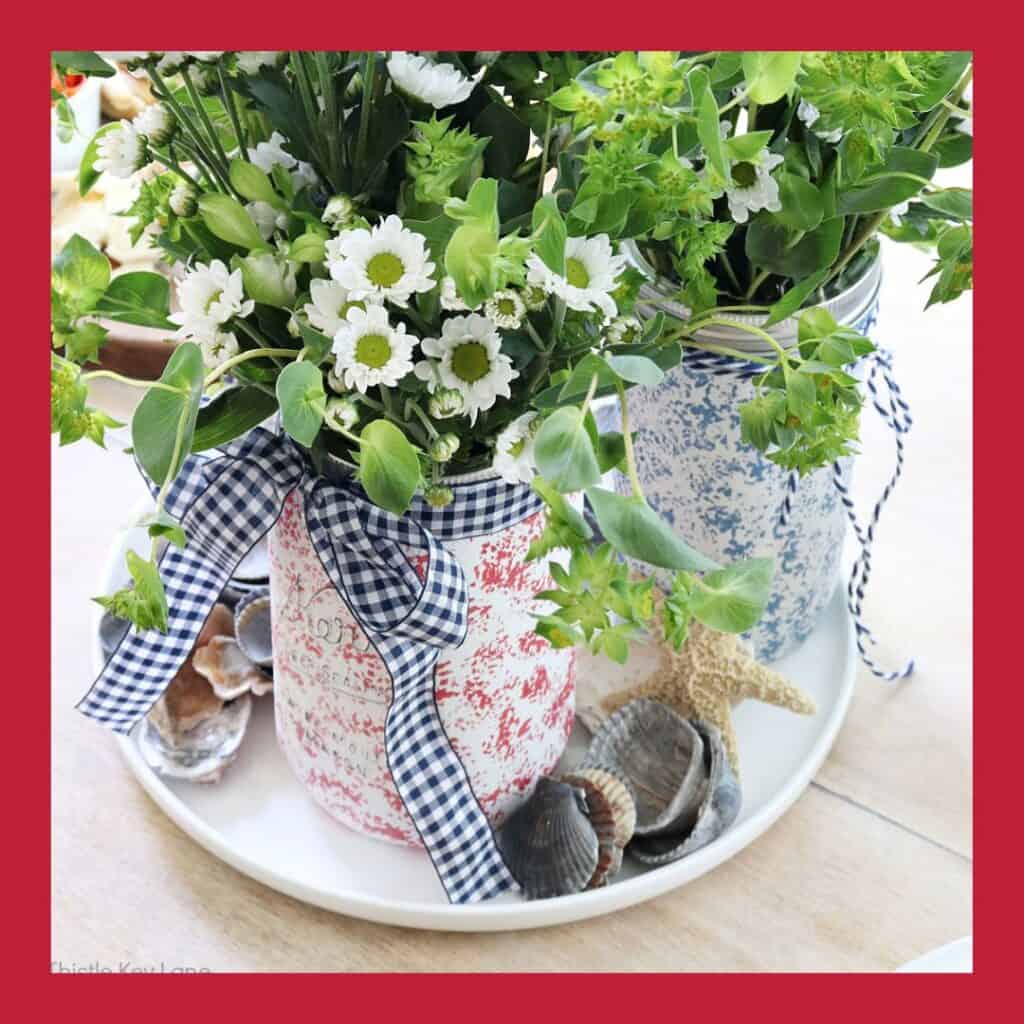
Thanks so much for stopping by Saved From Salvage, I hope you enjoyed my update to my moms planter. Now make sure you stop by Michelle’s at Thistle Key Lane for her adorable vases.
XO, REGINA



Sooo Cute Regina! I bet your Mom is smiling down on you. Hope you can feel the love.
This is so cute Regina. Your mom must be smiling at how pretty her chair came out! I loved how you added the small stripes and the dots, a great way to add some whimsy! Thank you for sharing! (I have three chairs in the basement that could use this sweet update!)
I love this upcycle project Regina! Your chair looks so cute with the little paint details you added, and I agree it offers a lot of curb appeal on your porch. Pinning!
Ph my goodness, Regina, this is adorable!! I love it. I pinned it to my patriotic board to share. SO cute!
xoxo
Oh my goodness, Regina, this is adorable!! I love it. I pinned it to my patriotic board to share. SO cute!
xoxo
Your chair is adorable Regina. I love the addition of the clay stars and the fact that it was your moms chair. So special.
This chair is adorable! I love the detail of the stars and your flowers look fabulous sitting on top. GGreat job, Regina! Pinned!
Oh Regina! What a creative project! I love this idea! Thank you for sharing your talents!
What a great idea! You turned that old chair into something super fun. Sharing with our readers on Sunday!